When you click on links to various merchants on this site and make a purchase, this can result in this site earning a commission. Affiliate programs and affiliations include, but are not limited to, the eBay Partner Network.
Finally caught back up on this. This all just confrims that I really do want to do a lift kit and M45 on the NB when it is back together (curse me for selling both supercharger kits I had....). Gonna do 25" tires though (195/65/15).
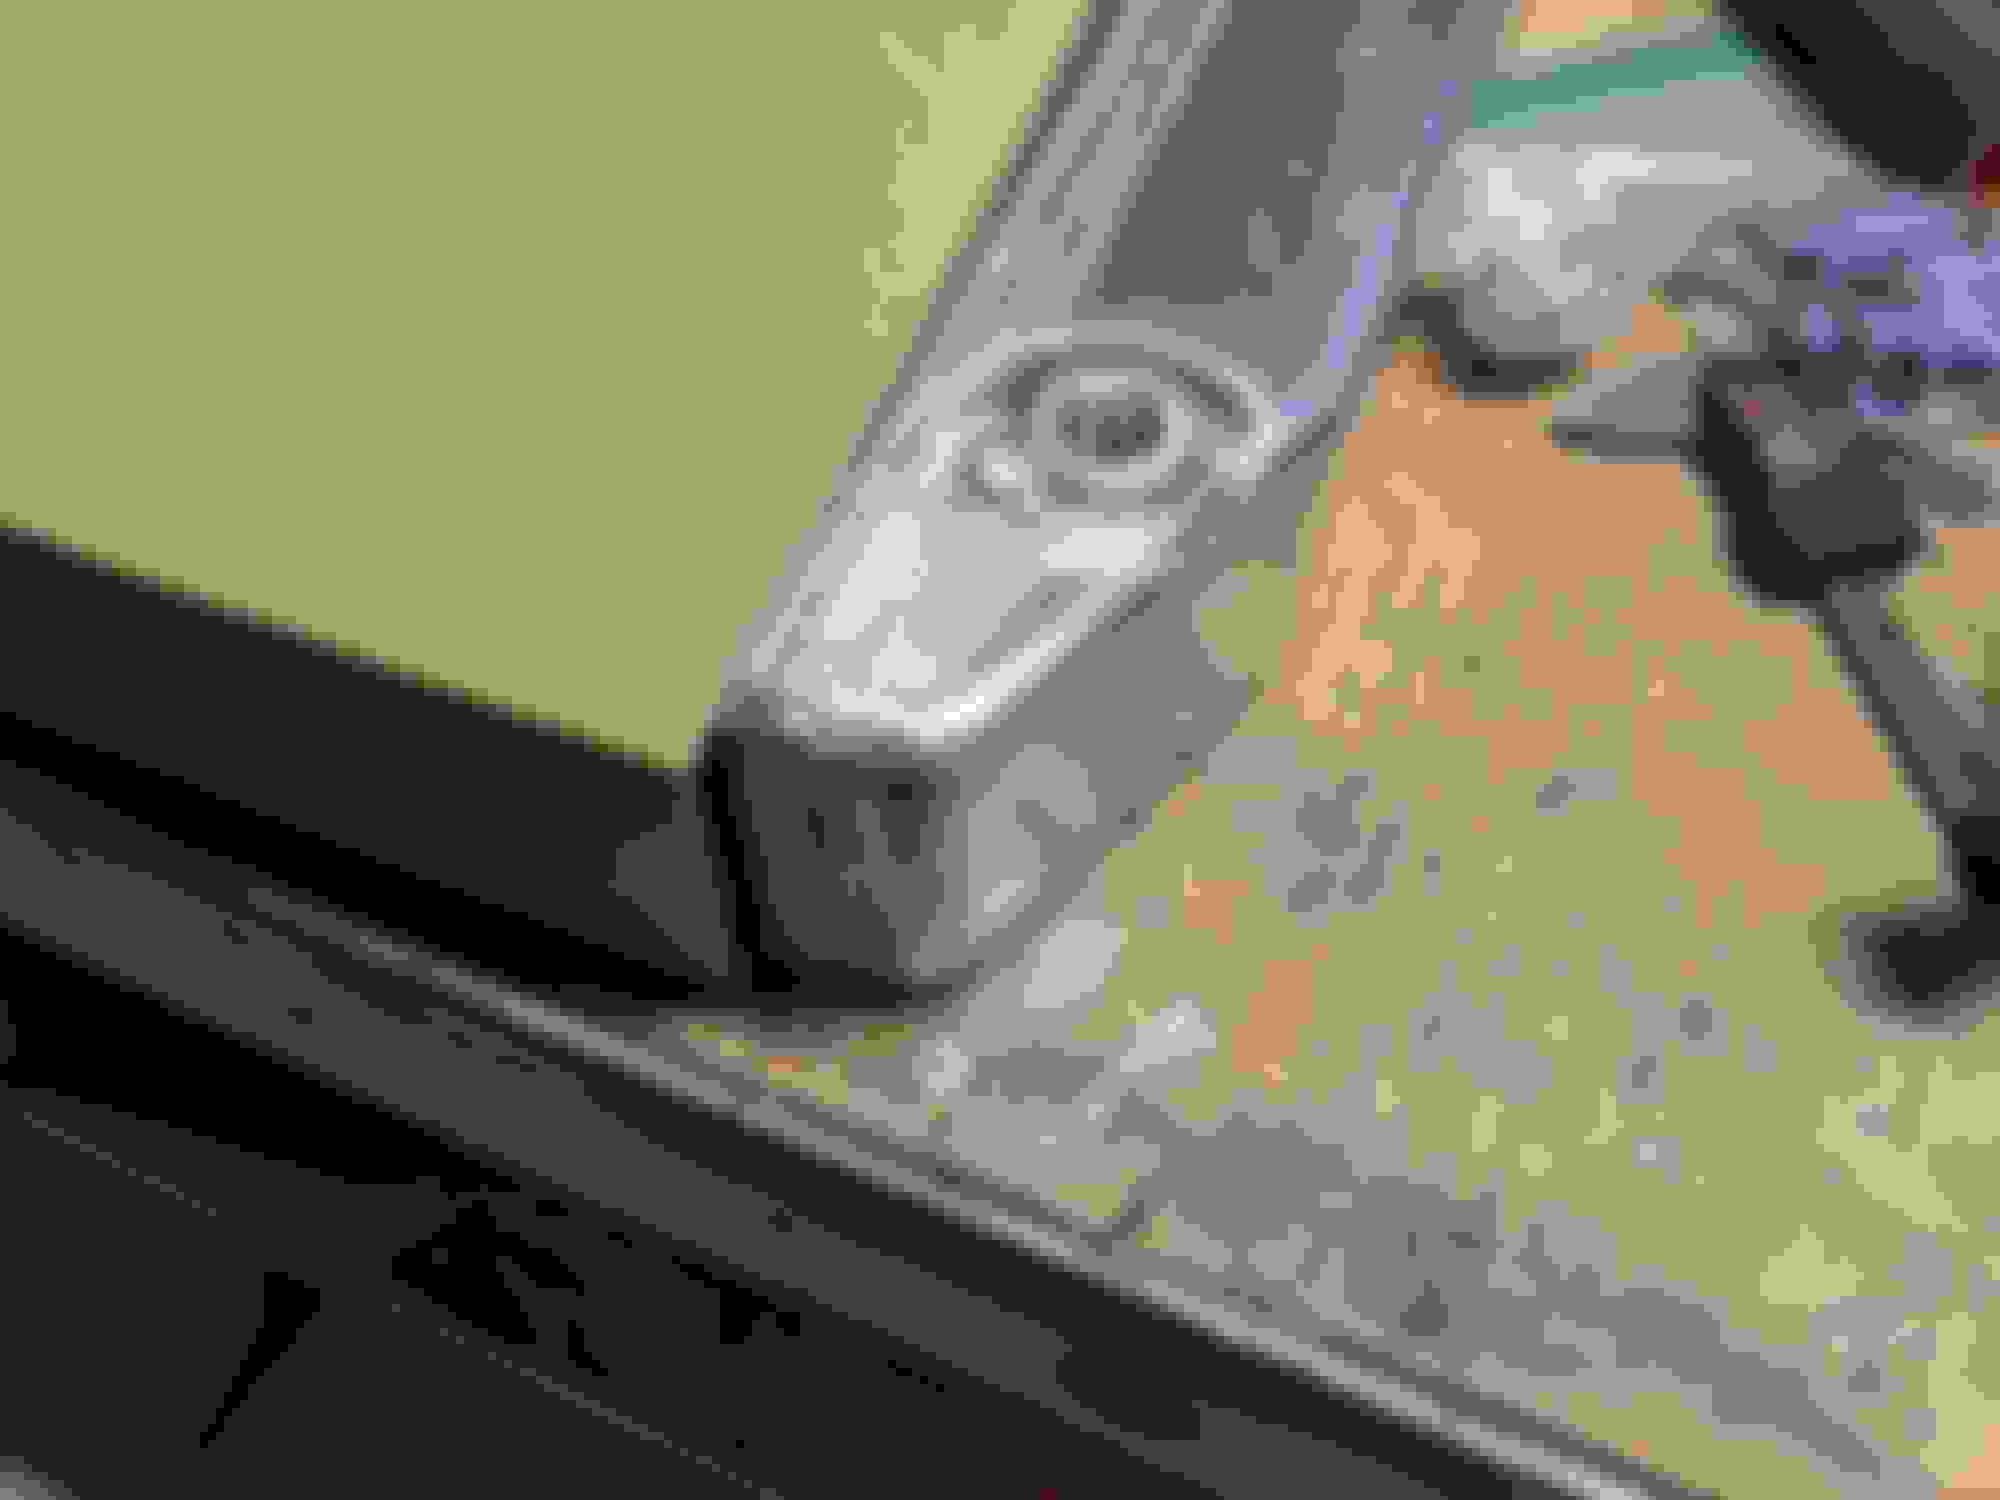
so, is that a 'mostly' drain plug?
or is the boss on right tank for a sensor & theres another on lower edge?
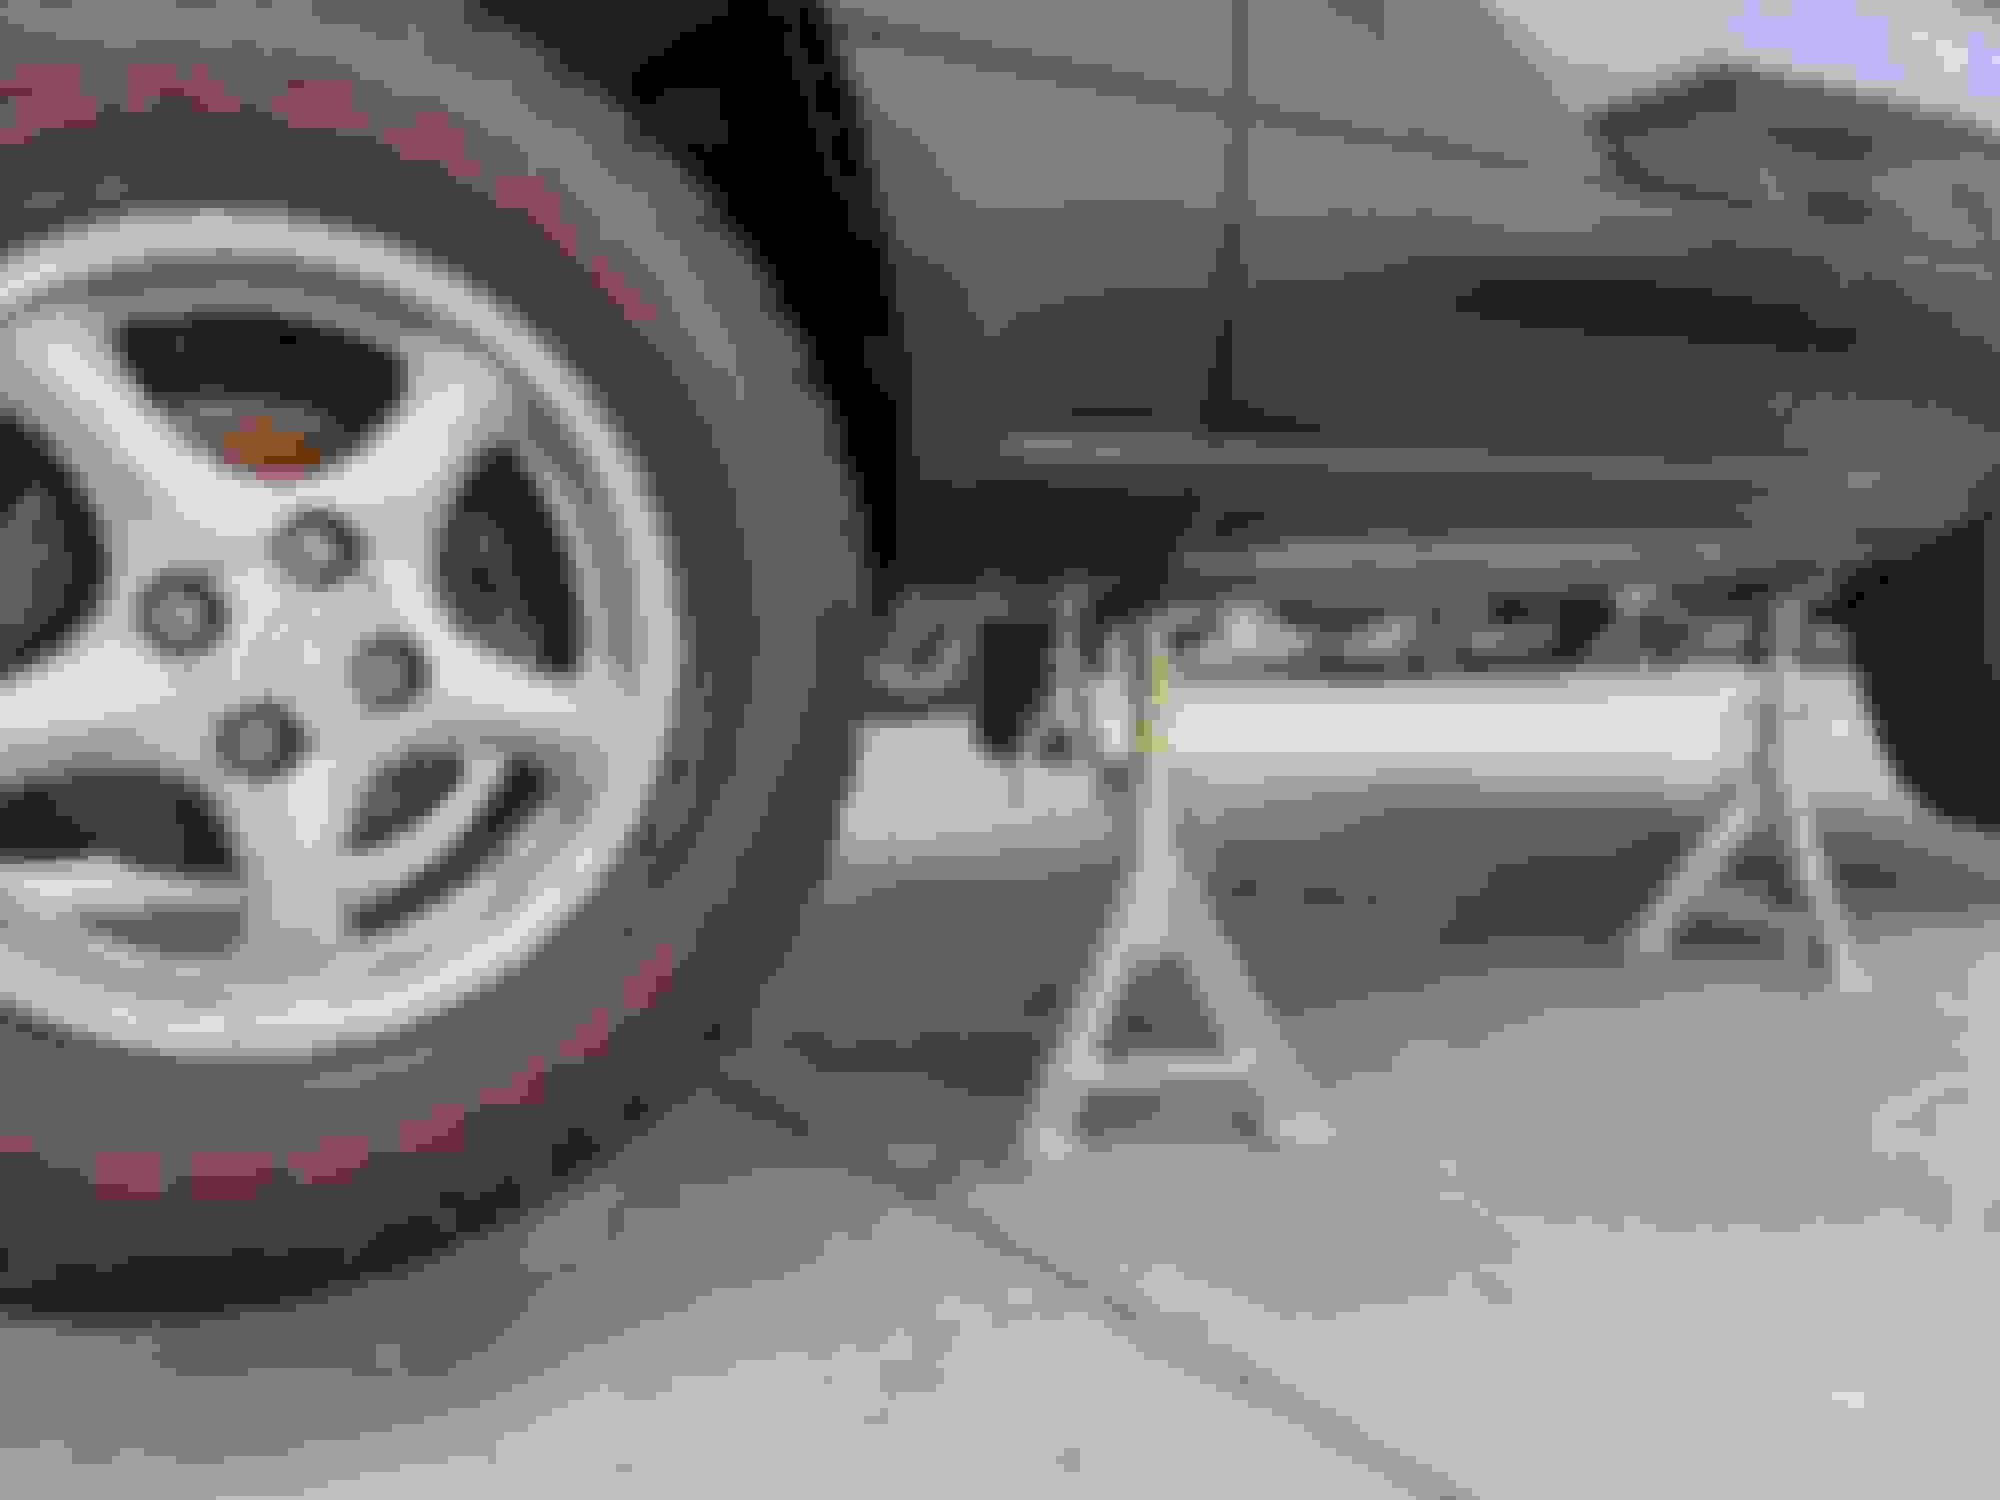
Drains enough, just jack up the other side of the car to get it all out.
Originally Posted by x_25
Finally caught back up on this. This all just confrims that I really do want to do a lift kit and M45 on the NB when it is back together (curse me for selling both supercharger kits I had....). Gonna do 25" tires though (195/65/15).
Get you some China Gravel Spec tyres!
Originally Posted by Joe Perez
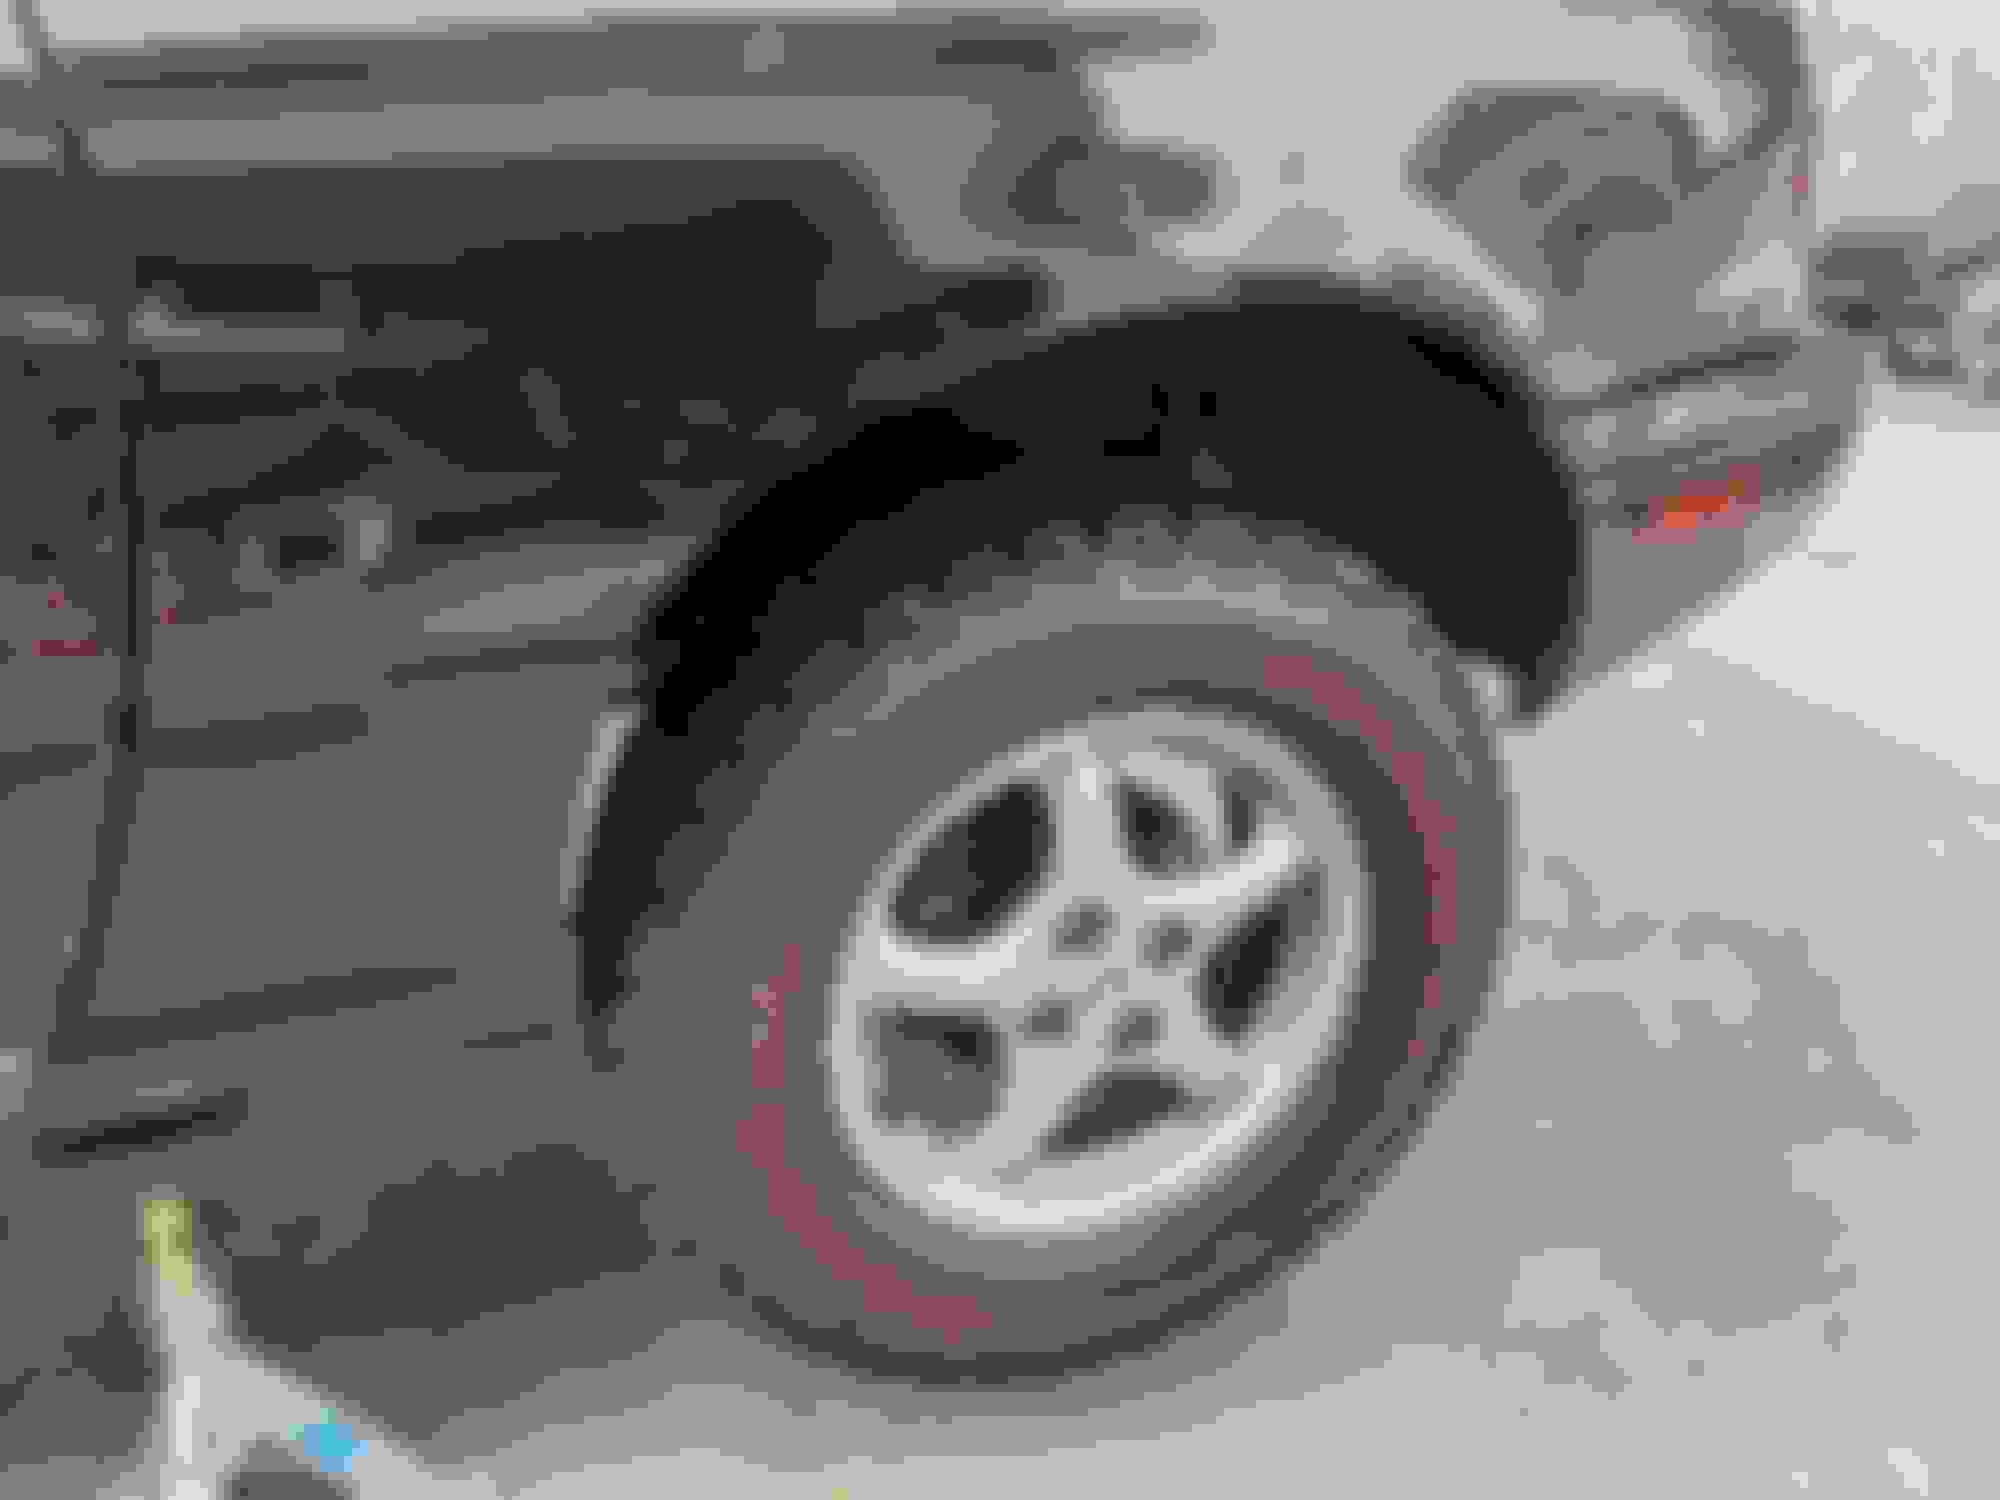
Assuming that's a Ford Explorer radiator, that is the correct location for a 'fully drain' plug.
Not an Exploder radiator (that I'm aware of) but yes, that's the "drain plug" boss. The brass petcock that came with it is surprisingly nice!
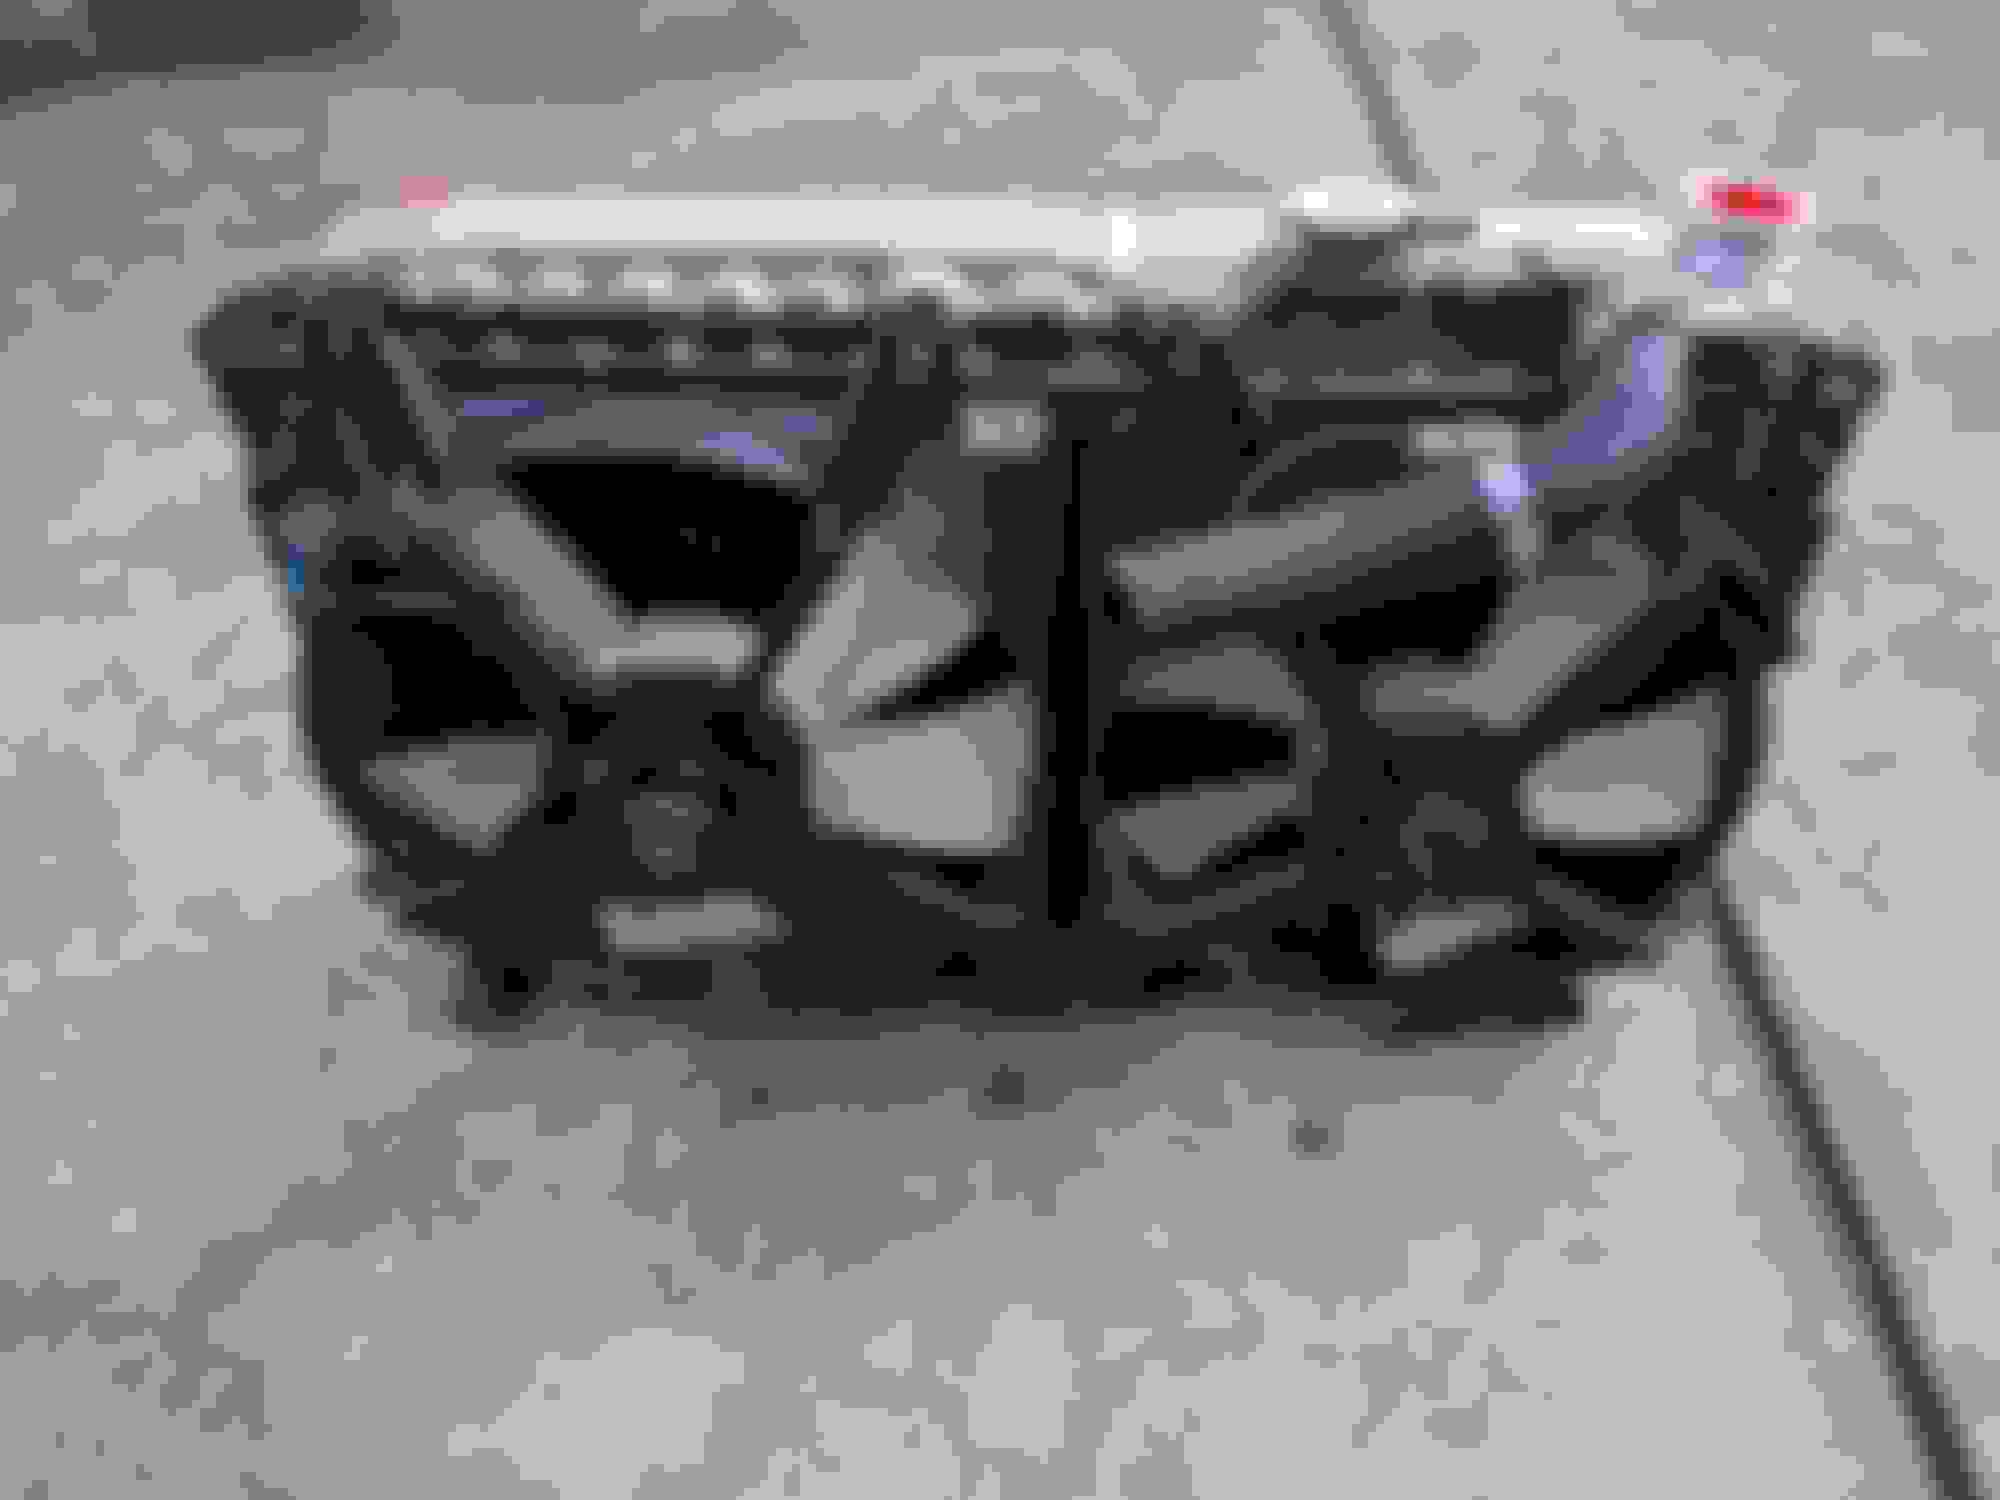
This is a universal fit radiator so it comes with no mounts, and the hoses are all the wrong sizes but they are in the correct locations. It's also annoying in that the outlet is angled in towards the centerline of the vehicle. A BETTER radiator would have been the Griffin 1-26221-XS which is almost exactly the same radiator, but the outlet is straight rather than angled. Unfortunately the XS version is out of stock until some time in March.
The 26x15.5x3 is almost a perfect match for the stock radiator, but you cannot use the stock NA mounts because its too "wide" for the lower "hooks" used in the NA. If you wanted to try to reuse the factory mounts like @Zed. did for his VW radiator, you'll want to explore the Griffin 1-26201-XS which is exactly the same as the one I bought, but 2" narrower at the core and comes in a 24" wide. It's also listed at $177 on Summit and also backordered until March. The frame around my brass and copper NA radiator is somehow bound to the core and there is no way to remove it without destroying it, so I opted to just go slightly wider and come up with my own mounting.
Full disclaimer here, I have absolutely no idea if this radiator will be sufficient to cool this car. I am not a mechanic and this is not mechanical advice. I don't think you can get both the stock fans on this thing, and there is absolutely no provision to mount this radiator. The inlet and outlets are the wrong size but they are in the correct locations, but there is definitely going to be some work with a TIG welder to make this fit.
And now, I'll just dump a bunch of pics.
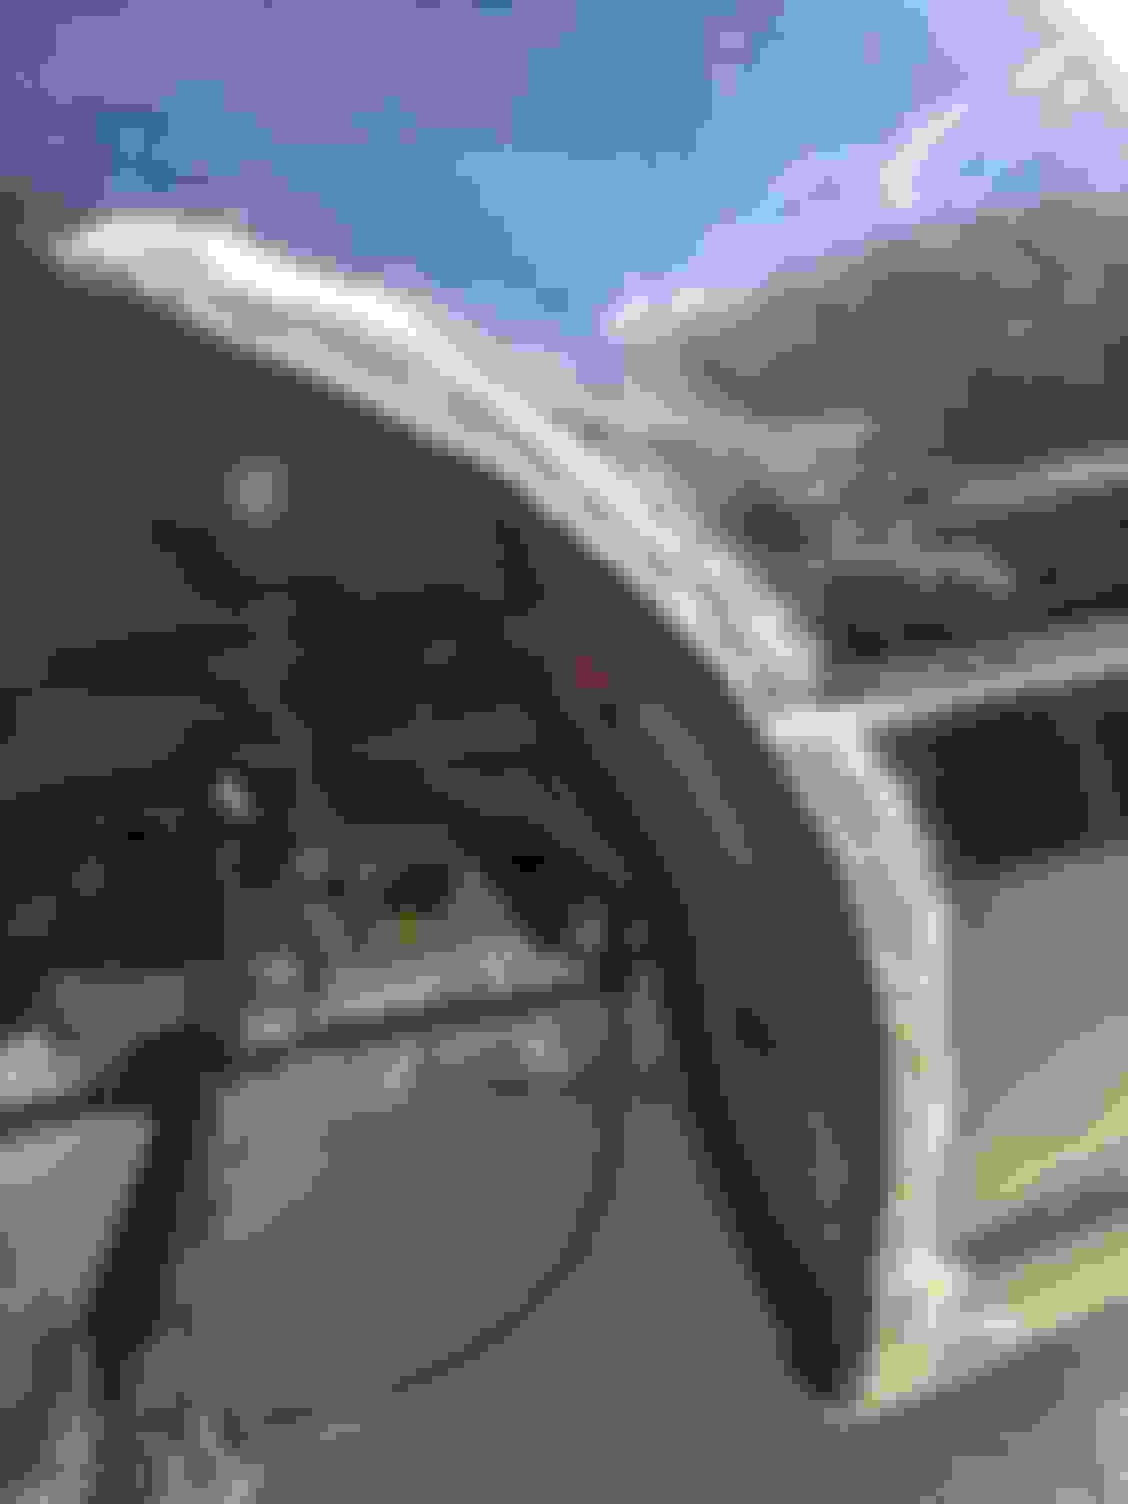
As you can see, its almost the same size
Almost frighteningly so
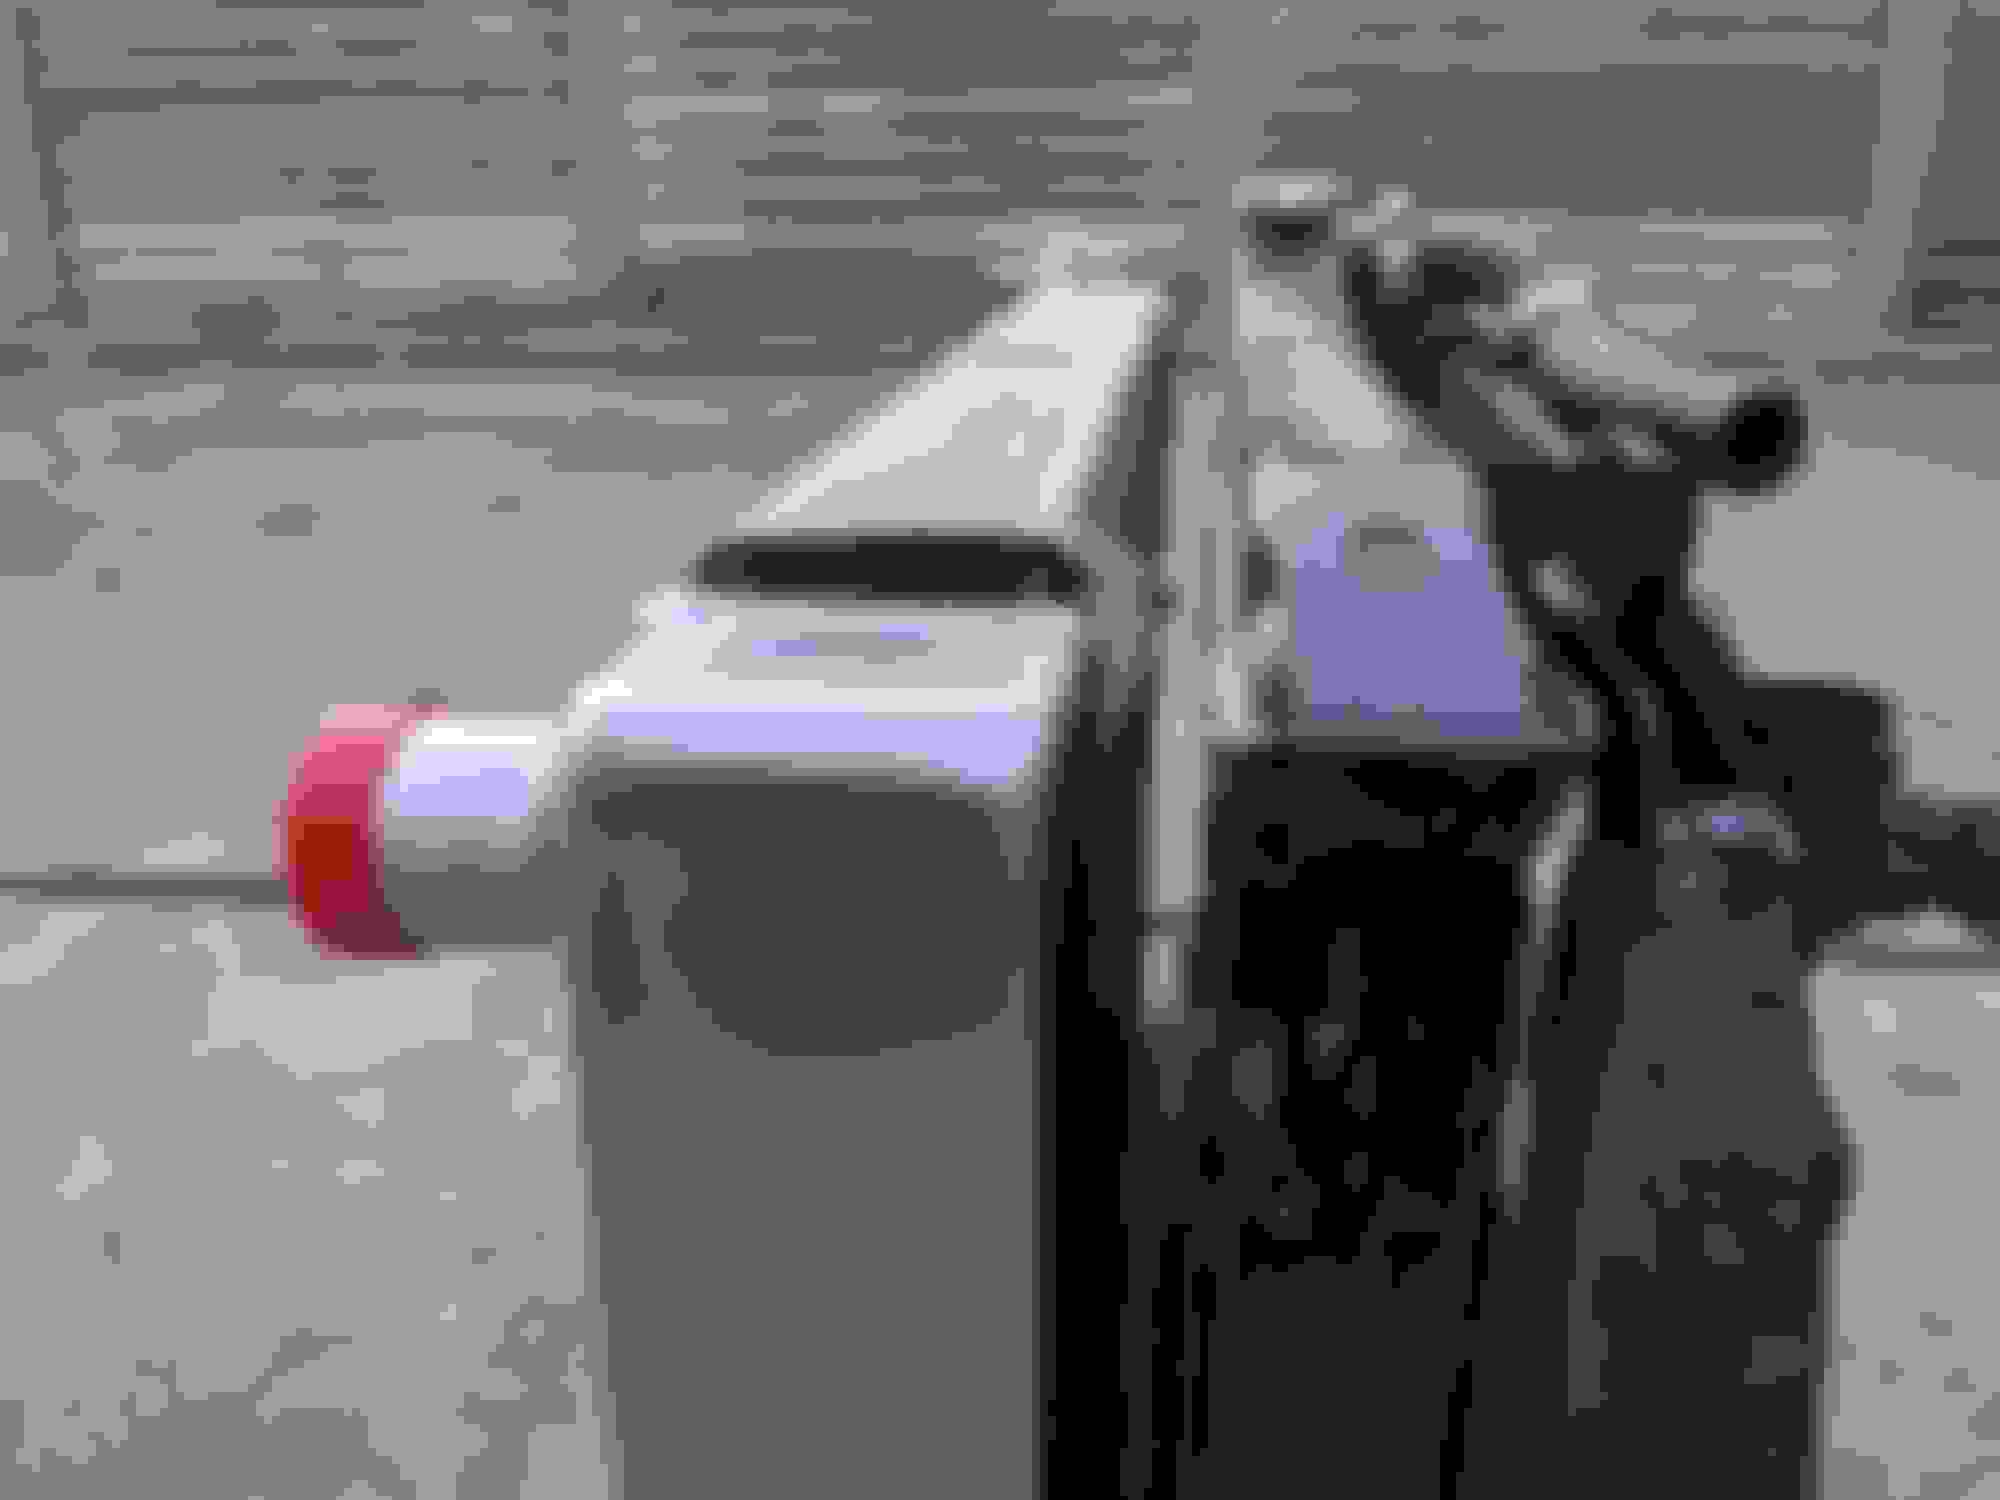
But it certainly puts the hoses where I want them. Too bad that overflow bleed nipple isn't pointing to the center.
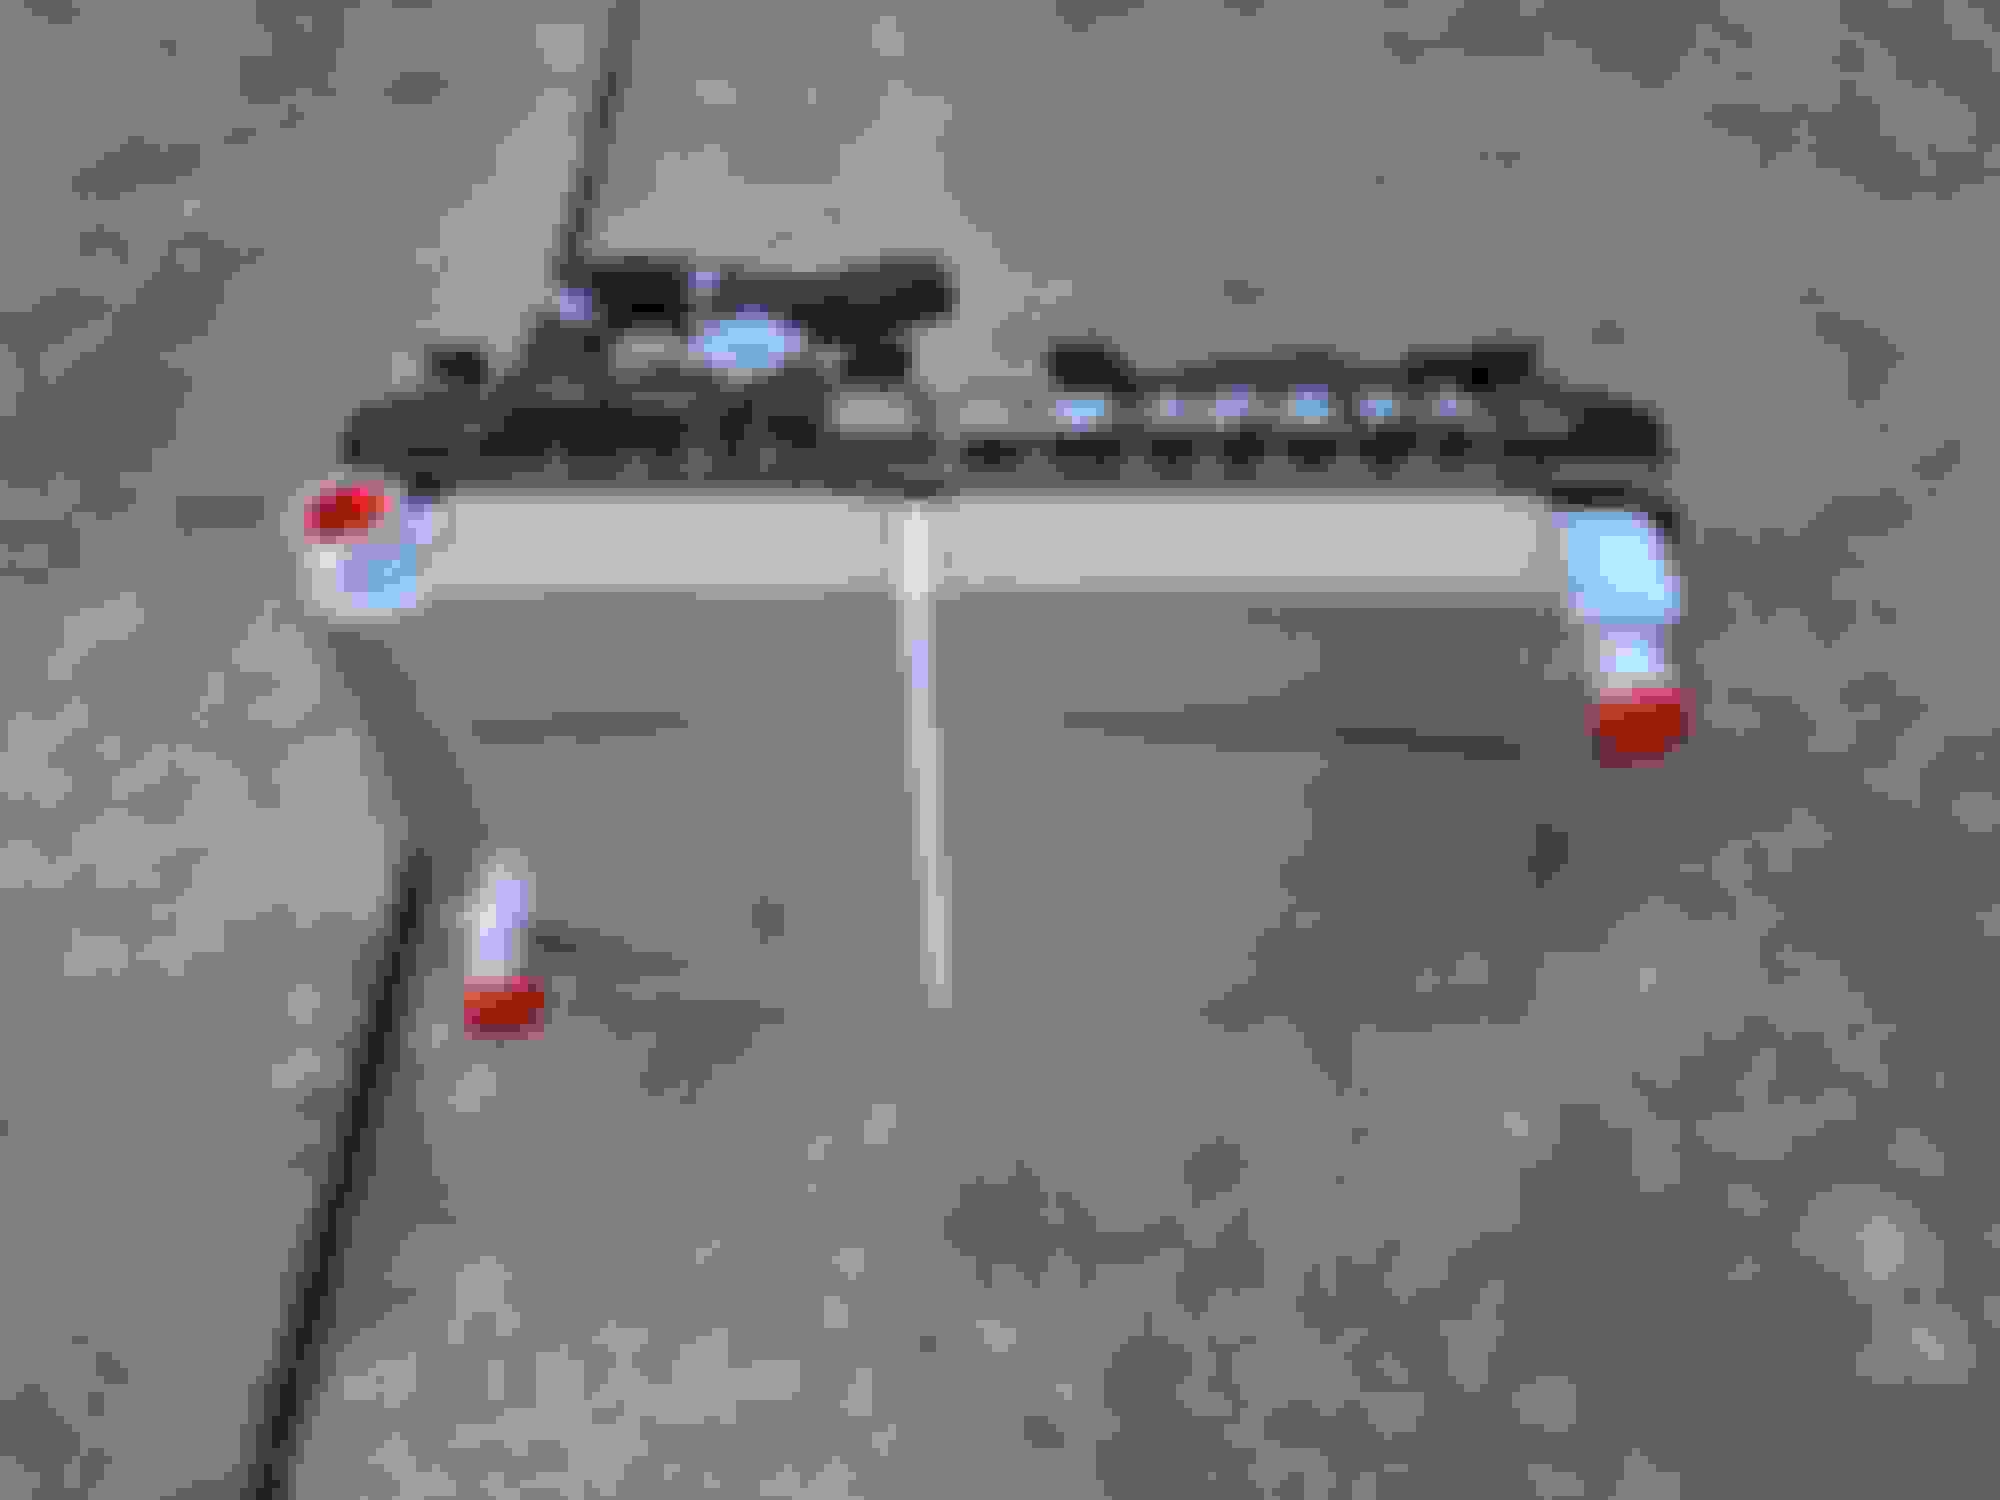
She's also THICCCCCCC
Bad angle here, that's actually about 2" for the one I'm replacing
Good angle here, this thing is actually 3" thicccc
By all accounts this should be plenty of radiator for the Miata, but only time and testing will tell. If I decide I'm going to keep it, I need to figure out how to mount it. I'll post up pics of the rad in situ in a bit
Another challenge for mounting is the bottoms of the end tanks. They aren't flat.
My initial thought was to mount it like an NB radiator, with pins and rubber bushings at the bottom. I'm not comfortable putting the pin in the bottom of the core section and the bottom of the tank doesn't leave much surface area to work in. I might be able to do padded saddle mounts, but that is going to take up a bunch of vertical space. I also can't to NB style top straps with bushings and pins because of the location of the filler neck.
Well yes, clearly the radiator is going to need to be TIG welded. While I don't own a TIG I know someone who does and he tends to support my bad decisions
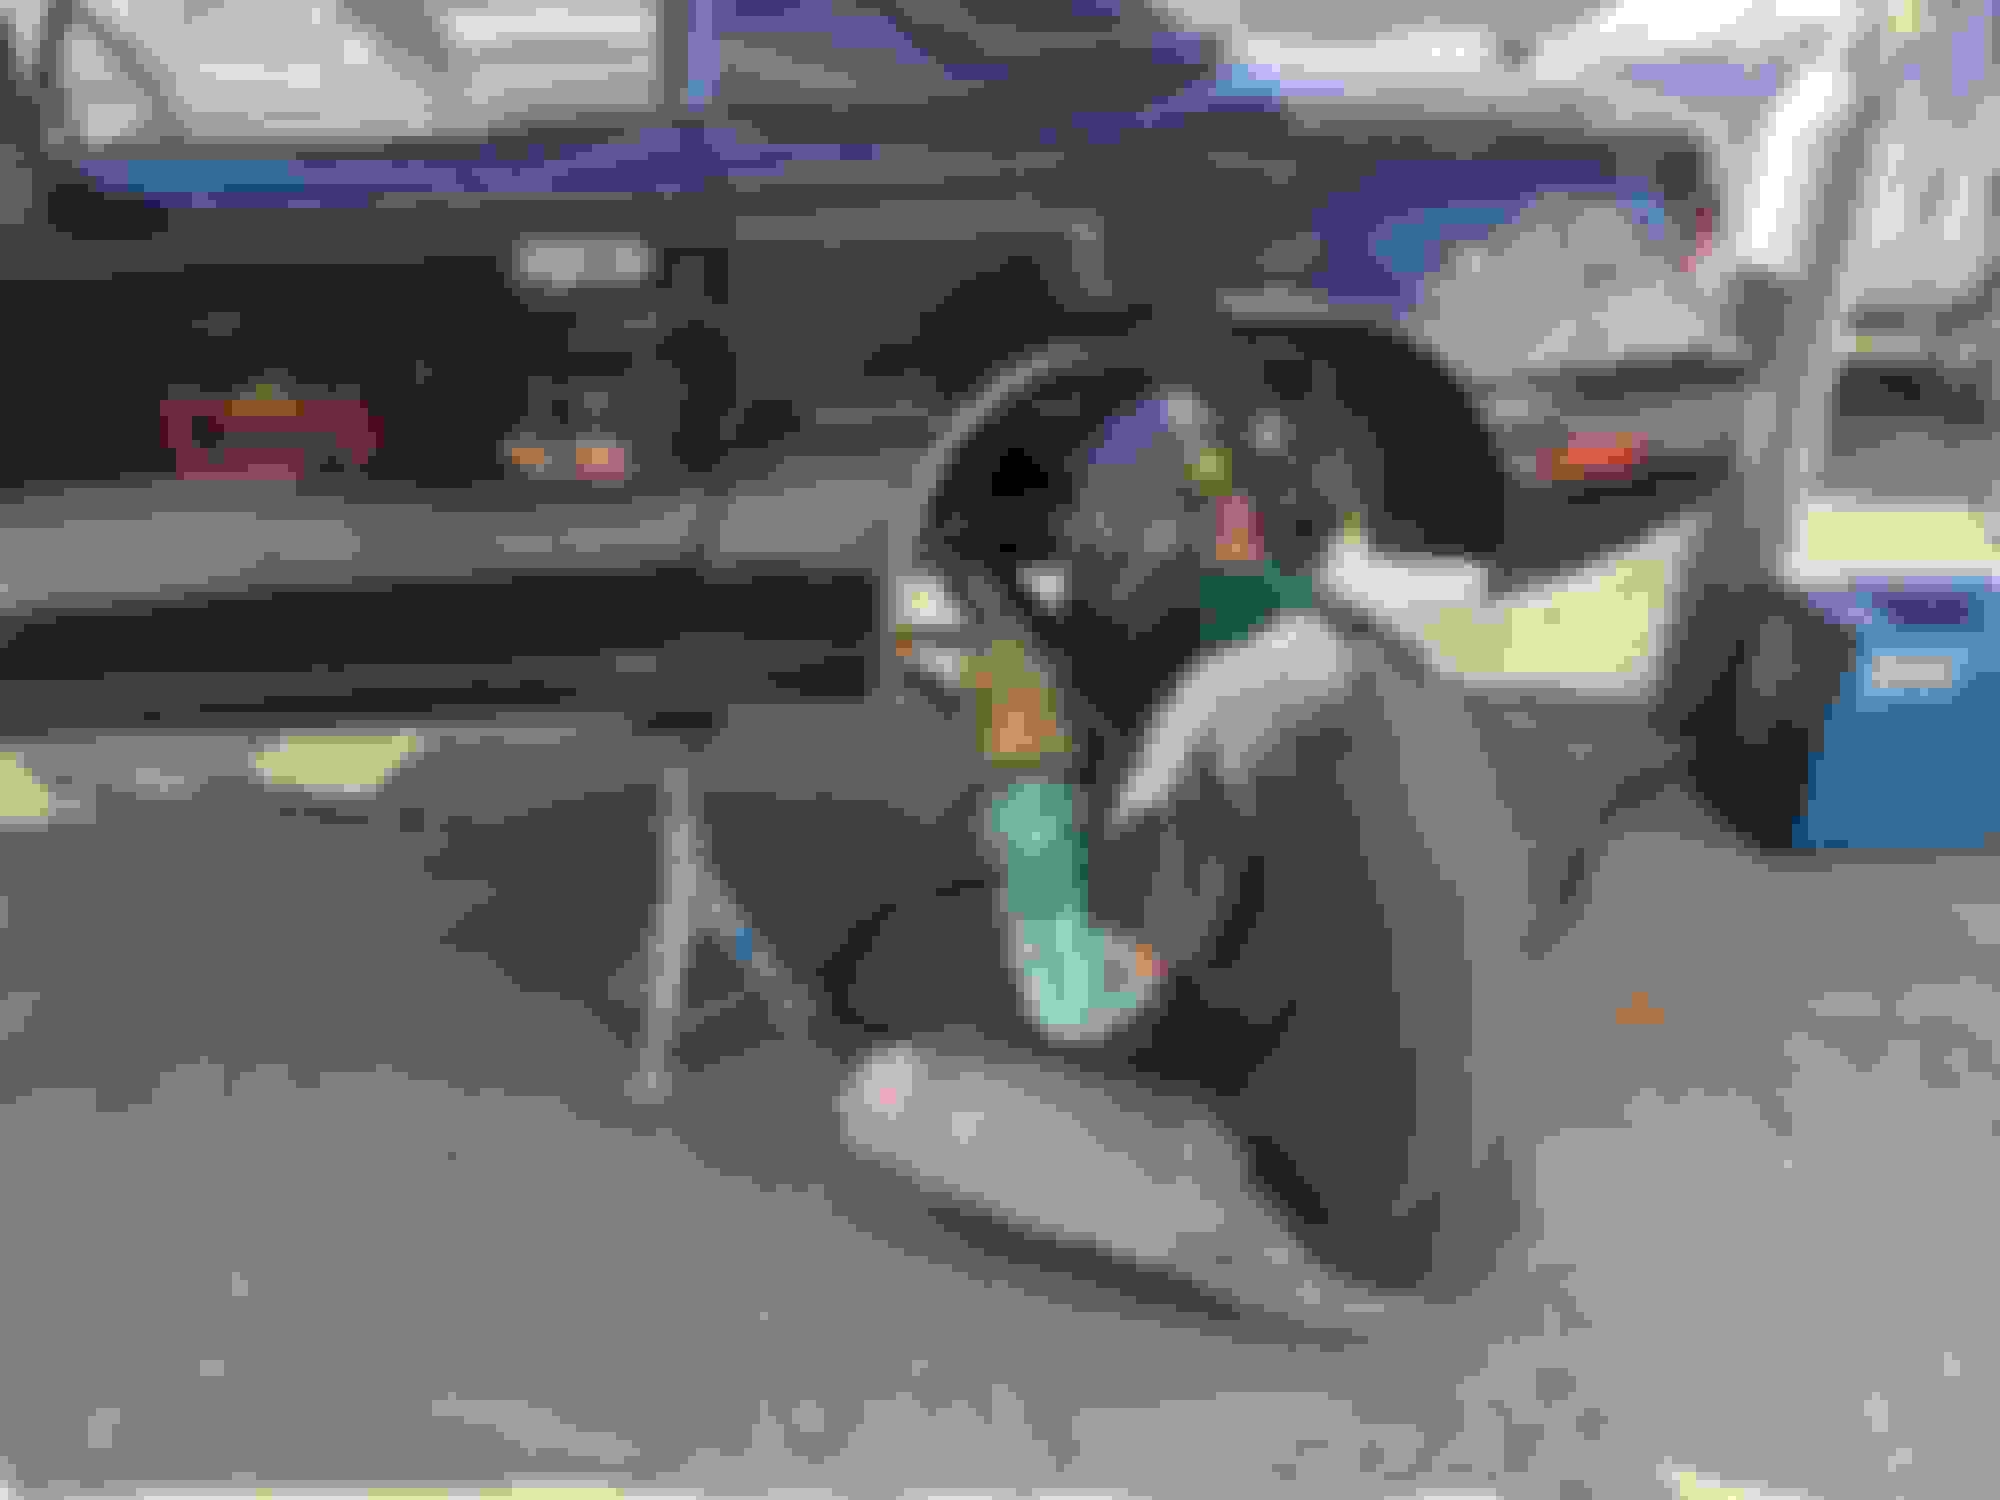
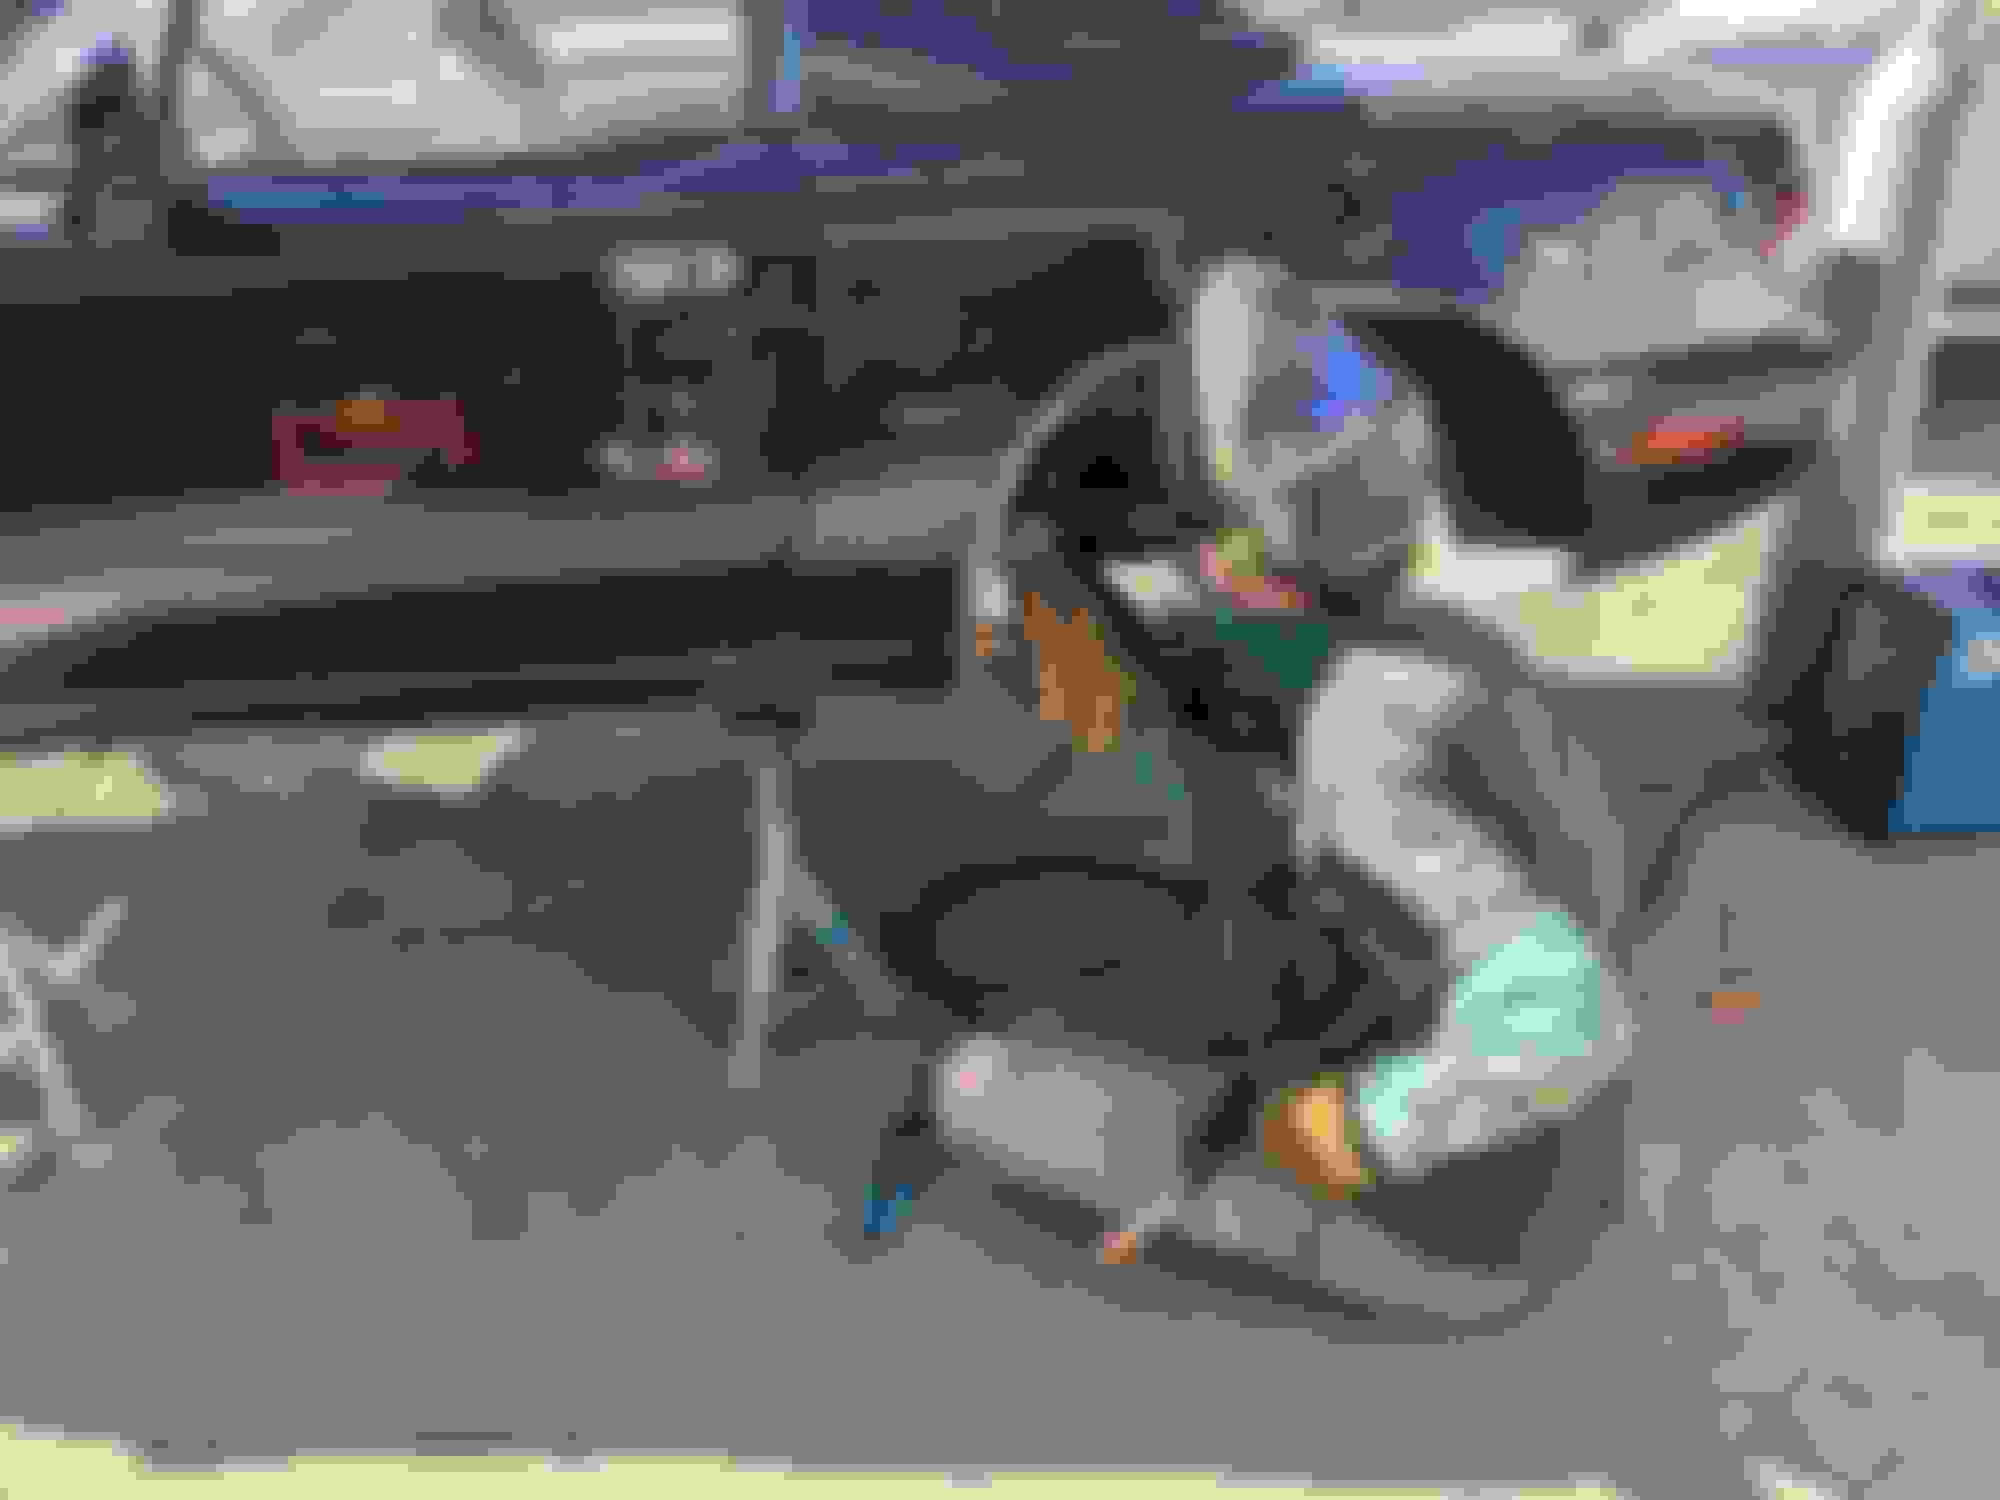
I took Friday off and @gesso stopped by for some SARS-CoV-2 friendly insanity while he was on his way to another location. He was kind enough to haul his fancy blue lightning box over and fused some metal together for me. This is not the extent of what we did, but I'm saving some of the rest of it until its a little closer to done. He's a seriously awesome human being and I am tremendously glad to count him as a friend
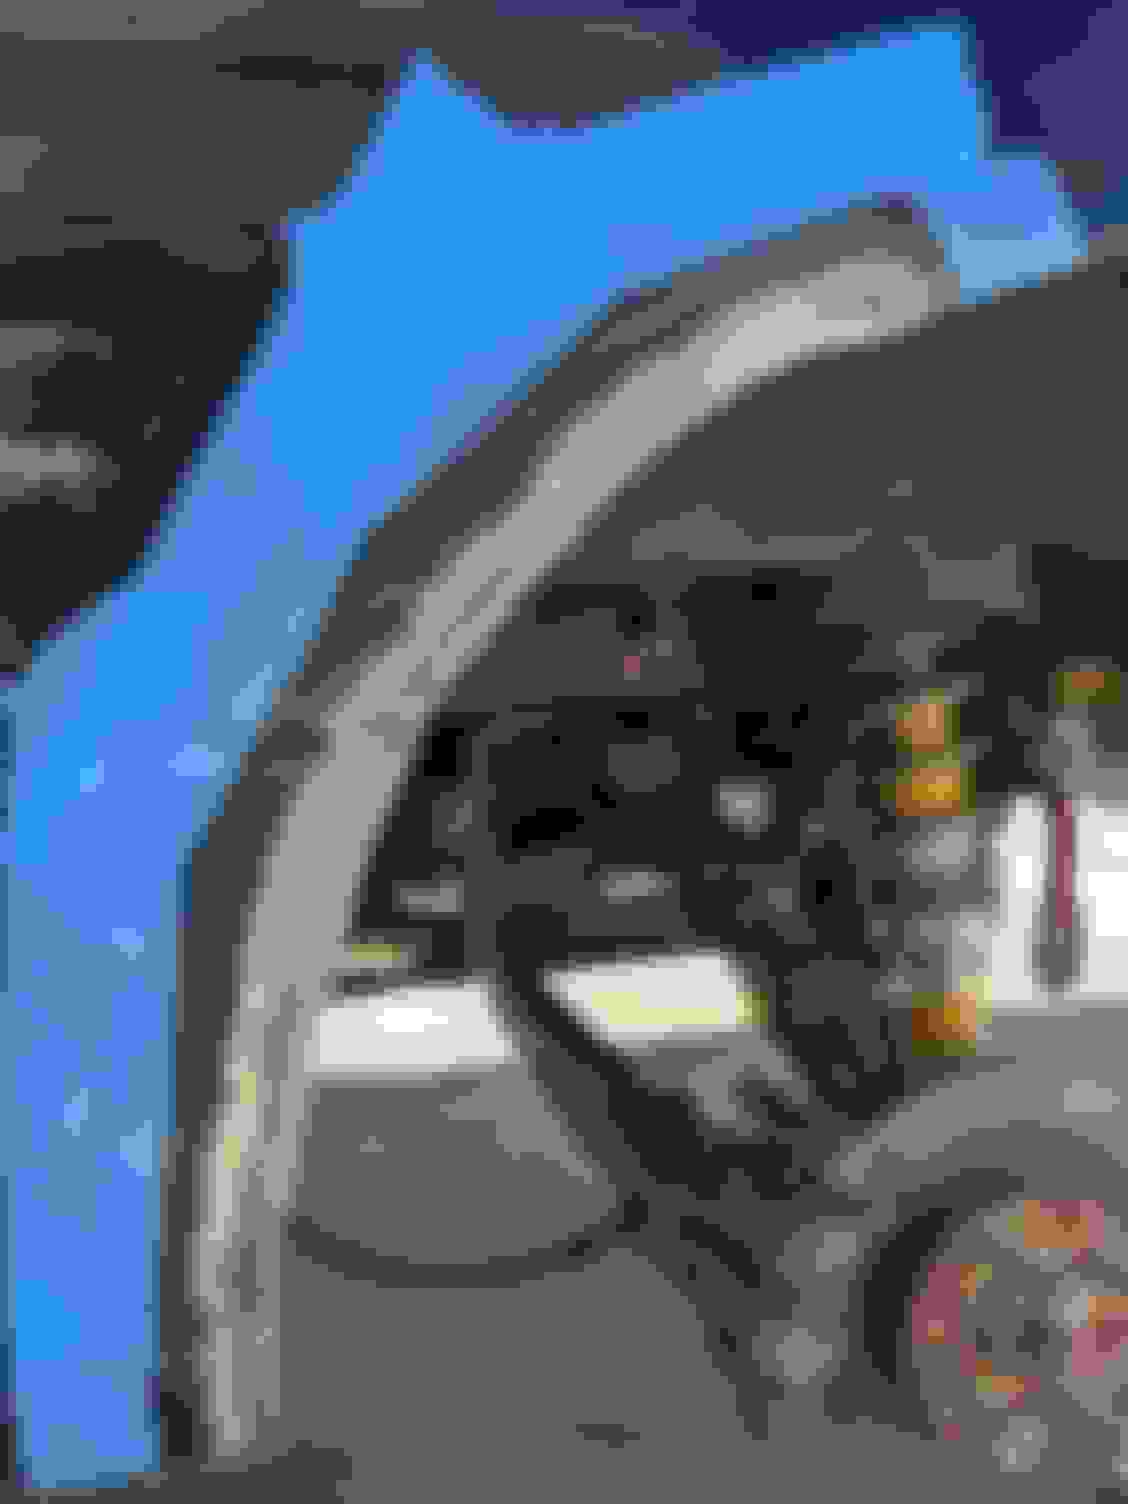
While making clearance for the ~28" tall tires, I had to remove most of the seam in the front wheel arch and also cut back the rear fender. As both of these locations are somewhat structural on a unibody car, they really should be welded back up. A lot of guys pound in the front seams with a BFH, but that's not my style and I was hoping to come up with something that would stick around for a while. I'll cover the front in this post, and the rear in a future post. All of this welding and paint stuff was done over the course of about 3 days, just to make sure things had a chance to dry or cure properly. Full disclosure, we also did some work around the radiator mounting which will also be covered in a different post.
For those of you who have been following this thread for a while, you may remember this image from a previous post:
All of these layers used to be sandwiched together and spot welded when Mazda originally assembled the car. When I cut this all out, I suspect it took a lot of rigidity out of the wheel arch. Pounding on the inner wheel well probably didn't help much. I also rattle canned this black to try to stop it from flash welding. I'm unsure if it was necessary and I just ended up wheeling it off later in an attempt to make the welding "easier" for Gesso.
I did as much prep as I could before he got here, and he went to work immediately. Battery and ECU were disconnected or removed before welding. Safety first kids!
The Man, the Myth, the Legend. I don't know how he manages to do this, but given the terrible materials and working conditions he's always able to make it happen. Its JFM as far as I'm concerned.
Passenger side somehow magically closed up!
And drivers side as well!
I didn't quite remove enough of the undercoating so there was a fair bit of, um, fire. I went back afterwards with the wire wheel and removed the burnt undercoating and polished up the welds as best as I could. I also knocked off all the factory undercoating I beat to **** with the hammer, then rubbed it down with an acetone rag and some of my favorite libation, FLAPS Brake Parts Cleaner.
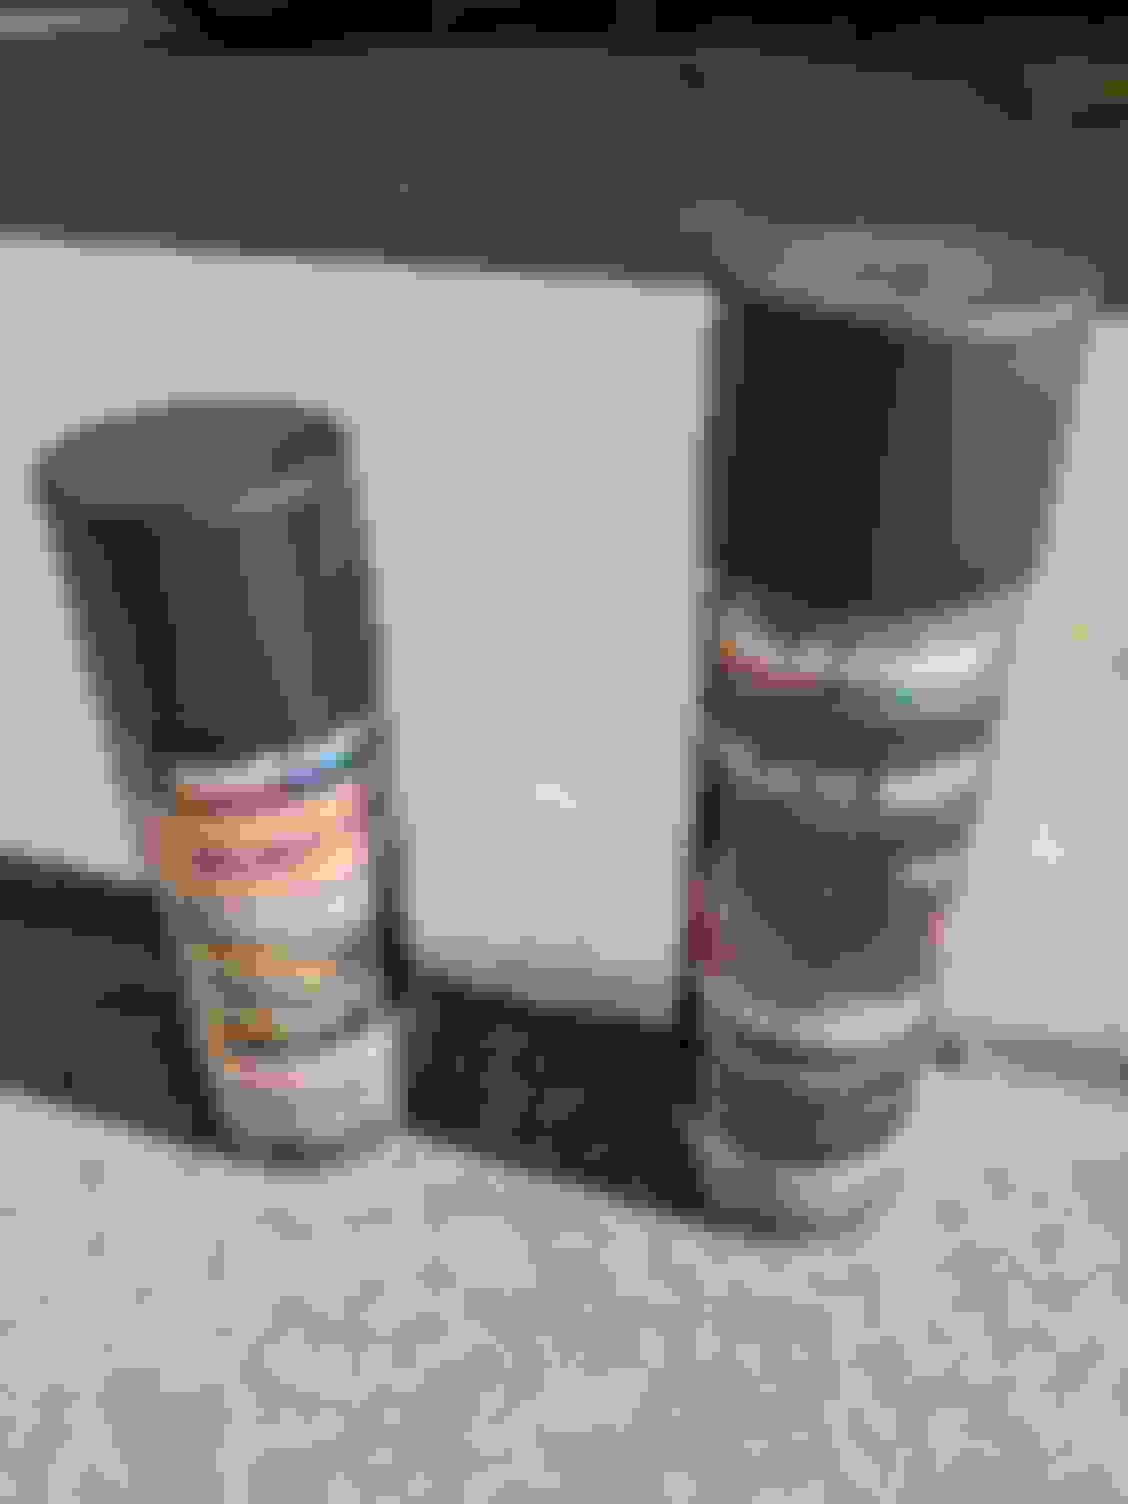
As I'm trying to make sure these welds stick around for a while, I cleaned everything as best as I could with the chemicals at hand, then sprayed all the exposed steel down with the above Dupli-Color "Rust Fix" which contains a rust converter. Hopefully this will help any rust that has already developed in this part of the tub.
After that was allowed an appropriate amount of time to dry, I liberally coated all areas with the Dupli-Color Truck Bed Coating. It stinks like hell but it sure seems bond well with the remnants of the factory undercoat. In fact, as long as it doesn't go on too thick is a pretty good match.
This stuff goes on THICK and FAST and its a bit hard to control, but as this is a "high impact" area on the tub, I felt it needed a bit more than a squirt of paint for long term protection.
I call that job done!
With the front wheel wells looking spiffy, I felt the need to repaint the lower edges of the fenders as most of the paint had been scored off over the years due to road grit damage.
I think I did maybe 8-10 coats of stuff. It says "Professional" and "High Performance" and I figured that's me and that's this car, so I basically couldn't not use it. I chose to paint from the body line down as that's where the majority of the damage had occurred on the panel. Plus I wasn't about to try to blend the paint and the body line will mostly cover my sins I must say, the can is a somewhat harder to control than my previous endeavors with touch up paint (see previous posts for nose repaint) but the results are better than expected.
In fact, this turned out so damn well that I might follow the same process and re-spray the lower rocker. Or maybe I do from the body line down, humm. Regardless, you can really see the scouring in the paint below the door.
So that's the front wheel wells and fenders done. I'm super stoked to have this part of the project complete! Again, couldn't have done it without @gesso I literally can't stop thanking him for his efforts.
Or just do from the body line down in that undercoat, should reduce scars from all the rocks those swappers are going to throw up.
Swampers, lol. These ATs are nothing compared to some of the MTs I was looking at. In the end these were cheaper though they might now be a discontinued size... I was thinking about picking up a 6th one before they are all completely gone :|
I actually considered doing the Truck Bed Coating from the body line down, but there is no way to get it on anywhere near smooth. It would seriously bother me to have that runny, gloopy **** down the side of the car if I went juuuuust a little to heavy with it, and it would probably take another 2-3 cans to get that much coverage, and I'm lazy. HOW MANY MORE EXCUSES DO YOU NEED?!
Ok, so rear arches. These are a real bear because they are super thin and they immediately gapped out when I cut out the weld. /sadtrombone. Its nothing that can't be fixed with a welder and some vice grips! This is also a seam that brings the inner fender together with the outer fender skin, the part with the paint on it. Gesso warned me that I'd need to remove something like 1/2" of paint or other coating from around the surfaces he was welding, so I figured I'd try out a surface stripping disc on the grinder.
I like things that have "Quick" in the product name.
This thing worked great and it ripped the paint, primer and undercoating off the steel in no time. The drivers side was down to bare metal with a quickness.
The passenger side, however...
I discovered a little bit of Bondo. Ok, maybe more than a little bit. I knew it was there because it was cracking, but I guess I didn't realized it was alllll the way down the arch, and a bit more than 1/8" thick. But no matter! We just need to get this welded up.
Who is that masked man?! @gesso putting in work while I watch, as usual.
You know its a good time when the hammer comes out
And the driver side welds are done! Unfortunately I didn't quite take enough paint off, so there was definitely some paint and primer under there that got burned and separated from the steel. I pulled out the disc and blasted all that crap off, then went at it with some fairly aggressive sand paper, just to smooth out the lip. You can see the Classic Red under what I assume is high build primer from whenever the color change was done when this car was grafted back together.
I feel the need to add a disclaimer at this point: Like everything else in this thread, I strongly recommend you do not attempt this kind of work unless you don't care or know what you are doing. I have no damn idea what I'm doing and I'm just making **** up as I go along. I am not an experienced body shop guy and I barely understand how any of these chemicals work, so follow along at your own risk!
I started working on grinding down the welds, but I didn't want to get TOO aggressive and grind OFF the welds. The goal here was just to smooth it out a bit and clean it up so it was less noticeable at a glance, and wouldn't try to scalp me if I accidentally banged my head on the wheel well. I'm not going for perfection here, just a little bit of smoothing.
Sprayed it down with the rust converter stuff and let it dry overnight. It turns black when its fully cured, which is odd, but whatever. I then came back through and scuffed it up and applied about 15 coats of self etching primer. This wasn't high build primer so of course it took forever. After every 4-5 coats I sanded it down with a block to try to level it out between the remaining paint and the welds, which I didn't grind flat. I wanted to fill that space between the weld bead and the existing paint with primer. I think it went okayish, but it was a lot of work. I wasn't using a high build primer so it took FOR EVER. Time will tell if it holds up.
This pic was after the first coat of primer, it really shows how bad the existing paint got burned. I went back and pulled a bunch more of it out.
The more coats I got on it, the better it looked. Sanding with a block also helped smooth out the hard edge.
After about a million hours of this stupidity, I scrubbed off the primer that was over the existing black paint with acetone, then squirted some paint on it. Because I don't ******* care anymore.
Taa-daa! This **** is black again. If I had a DA or orbital or whatever I might try to blend it, but I don't, so for now its fine. The pics and the lighting make it look much worse than it actually is, its barely noticeable in person unless you look directly at it. There is so much other lunacy on this car that its barely noticeable.
Burnt undercoating was of course removed from the wheel well with wire wheel, wiped with acetone, sprayed with the rust converter, allowed to dry, then followed up with truck bed liner, as is tradition. Driver side done!
Which, of course, brings us to the passenger side. Which is a god-awful ******* mess. Gesso did a heroic job with the welds, but there is SO much bondo on this panel.
It was cracking before, but now its burnt and cracked. Because lol. I don't want to take all of it out, because OMG what a nightmare, but I'll cut as much of the burnt stuff back as I can.
Clearly Gesso shares my sense of humor
Just like the drivers side, I busted out the grinder and started taking the welds down
Then I block sanded it with 120 between the remnant of the weld bead that I left in place and the existing massive ridge of bondo and paint to try to "give it a taper to the edge" or at least that was my idea at the time. After the grinding, wire wheel, and sanding everything was wiped with acetone, it was masked so that only bare metal was exposed, and I shot it with the rust stuff. At this point I realized there was enough of a step that I was never going to be able to fill it with just a billion layers of primer, so I gave in a bought some Bondo.
Now, I've never used Bondo before so I watched about 5 random videos on Youtube, as one does. What I discovered is that the mix ratio is "critical" and that you need something like 2% hardner, but 1.5%-3% is "acceptable" based on your "conditions" and you'll get a feel for it over time "with experience." I have no feel, no time and no experience, so off I go! Scuffed everything with 220 and then made a quick run to the auto parts store.
One thing that all the videos mentioned was to NOT mix bondo on a piece of cardboard as it will absorb the solvents, and you were better off using plastic, so I found some plastic.
This ratio looked good to me, time to get mixing.
Mix mix mix. The youtube people were very specific about mixing.
So I started my first pass, top to bottom. At first it went on super soft and supple, like buttercream frosting. Mmmm... buttercream. But as I moved downward, it started to thicken. Rapidly. Very rapidly. By the time I got to the bottom it was ******* fondant and it came off the blade in gobs, and the surface actually started to tear? What the ****? I tried to load up the blade again and all I got was chunks. This **** totally set while I was in the process of applying it. Goddammit.
You know what? **** Bondo. I'm over it.
This all went straight in the trash. **** Bondo.
I busted out the 220, 320 and 400 grit and block sanded across the high spots that were the remaining weld bead that I didn't grind off and the existing paint and bondo. I just wanted to fill that gap so there wasn't a huge step. But because this Bondo **** is terrible, it failed to accomplish that meager task and was still full of voids and surface tearing. Not wanting to deal with mixing up more of that foul crap, I did some reading and discovered spot putty. Which is awesome. I applied it with a gloved finger after re-scuffing with 220.
And it worked out pretty damn good! Well, pretty damn good for this horrible mess I've created. After it set I sanded it back down to some acceptable level then squirted with with some of my primer.
It is not perfect but I do not care. I was able to reasonably fill in the enormous step so my mission was accomplished.
I wet sanded back the primer from places I didn't want it with 400 grit, then let it dry. Overnight. With a fan on it. In my driveway. Remember that this whole process started on Friday of last week and its now Tuesday. I've been doing my best to make sure all these products are fully dried/cured before proceeding so its taking me forever. My apologies for the somewhat blurry pics, I know my camera can do better but I was running out of patience to take good pictures. I just want this **** done.
Passenger side wheel well got the same treatment as the previous, rust converter stuff on exposed metal (including the ground and wheeled welds) which was then allowed to dry, scuffed with 220 and shot with a healthy helping of Truck Bed Liner.
The sun has finally come far enough around the house that its shining directly on my patchwork on the outside arch. I'm going to let it heat up real good for a couple hours and squirt some paint on it. I'm so over this body work ****. Will post final results tonight.
I'm sure none of this will hold up to the first rock or stick that hits it, but I literally have no ***** to give. I wanted to play with this stuff and see how hard it actually is in a consequence free environment. To me, the only cost is money for the materials and a whole bunch of time, and time is something I have way too much of right now. I learned a lot, and I think the #1 take away from this, for me, is if you want something like this done right, pay someone who knows what the hell they are doing.


 02-04-2021, 09:20 AM


 0
0


 I must say, the can is a somewhat harder to control than my previous endeavors with touch up paint (see previous posts for nose repaint) but the results are better than expected.