When you click on links to various merchants on this site and make a purchase, this can result in this site earning a commission. Affiliate programs and affiliations include, but are not limited to, the eBay Partner Network.
Started by dicking around with a battery mount in the trunk. The car came with a very nice but very smol Odyssey PC680. It was held down with zip ties and there really isn't a good, cheap way to mount it. I've also killed it dead twice because it doesn't have much in the way of reserve capacity. So... I dug around in the garage to see what I could find.
This is some DIY battery mount cage kajigger I bought on clearance from some random offroad shop online a couple years ago for the Shitty VW project. I didn't end up using it in that vehicle so I figured I could find it a home in the Miata. I blasted a couple bolts through the floor, backed them with some washers and blue loctite'd the lot. That battery cage ain't goin' nowhere.
The Garage Of Plenty™ also spewed forth this magnificent beast as well, an Optima RedTop 75/35. The sharp eyed amongst you will have noticed 2 things:
Date code on this battery is "3/11" as in, Feb March of 2011
It has those godforsaken GM sidepost terminals as well as the normal top terminals.
Much like the car this battery has seen some ****, but its still crankin'. I bought it new in 2011 when the factory Panasonic AGM in the NB started getting weak and its seen constant service ever since. Everything from the NB, my old daily driver WRX, my wifes Escape after the battery in that thing went **** up, and it even did the Lemons Rally with us in the Shitty VW. It still puts out good amperage though its certianly lost some capacity in the last 9 years. Let's see it she can go for 10. Battery cut off switch seemed like a good idea to keep the dark current load off the battery.
For those of you concerned about the bolt heads poking holes in the bottom of the battery, I got that covered.
Whenever setting up a custom battery solution in your vehicle I always recommend customizing it for a discontinued niche product that has grossly exceeded its life expectancy. It makes life more exciting!
The stupid GM sideposts are right underneath the steel crossbar that holds the battery to the cage and I can't mentally handle the idea of the battery going hard short on the mount so I'm going to need to come up with a different solution. More on that one later.
The other thing I got done today was the diff oil changed
Smells like death. Ungh.
Cracked the fill and popped out the drain and the oil started to glug so I'm not sure if the diff vent is working. I'll have to check that if I ever pull the diff housing out. Whomever serviced this last put the drain plug with the magnet in the fill plug hole and the fill plug without the magnet in the drain plug hole. As a result the factory magnet was pretty clean.. It also had no gasket so it's been weeping out the plug and making a gross dark ring on the back of the case. Amsoil Severe Gear 75W-90 in the drug of choice for this service item. The new Capri Sun pack is awesome and I can't wait for other manufacturers to rip off this idea and make it an industry standard. I used my last fancy stainless magnetic drain plug in the drain plug location and put the factory drain plug with the magnet back in the fill location. You can never have too many magnets. Both got fresh crush washers, as is tradition.
I also got the fancy extended top hats installed in the rear shock assemblies.
How many of you have actually seen a set of those plastic film squeak eliminators before? How many of you have actually ordered new ones? (Ian, you don't count)
The Speedthane Integra bump stops were once again cut down to about 40mm as that seemed like a good idea at the time. The "without the spring or the bumpstop" testing went well, the shock shaft bottoms out before the lip in the top hat can hit the threaded sleeve, and the lip passes over the shock body with plenty of clearance. Yuss. Cleaned all the threads and put some anti-seize on all the contact surfaces, reassembled on the bench and then fired them into the car. Job done. I really need to order a set of spanner wrenches for these things.
The Bauer ELBJs went into the LCAs without any issues, as did the new ES poly boots for the OTREs and UBJs. I can confirm they use the same ES boot. I wiped out the old grease as best I could then gave them an aggressive helping of Redline CV-2 Grease, but only because I'm flat out of Amsoil Dominator Grease. Once I can get a new tube of Dominator I'll probably disassemble, clean, inspect and repack the front hubs. Probably. If it wasn't for the snout of that OTRE that I managed to crush out of shape I'd be driving the car today. Sigh
Something that's been bugging me is the excessive fuel tank pressure. Every time I crack the cap I get a face full of fuel vapor and I have to wait for the thing to fully vent before I can put gas in it. This is apparently fairly common on NAs and you can find threads all over m.net where people complain about it. Mine is bad enough that if you listen closely, you can hear the tank creak and groan back into a relaxed state. It's A LOT of pressure. @revlimiterwrote an amazing blog post about it just last year and his solution, while functional, would cause my car to fail California SMOG check so hard it would make your head spin so I had to figure something else out. Following his logic I popped the hose off the canister under the hood and was greeted with a rather aggressive jet of fuel vapor so clearly my check valve and the tube that runs back to the tank are clear. Opened the cap on the tank to confirm and no pressure was present. So for me, this means the problem lies between the canister and the intake manifold. The only part of that puzzle is the EVAP Purge Solenoid mounted to the headlight frame and a couple of hoses. It looks like this:
Most of you probably recognize this as "one of those things I yeeted into the trash" but it's actually a fairly critical part. On my car it's plumbed into the canister correctly according to the handy vacuum diagram on the underside of the hood so I figured maybe the valve itself was shot. I pulled the plug to investigate and found this:
Someone has taken a dull beaver and cut off the alignment keys for the wiring connector and ... plugged it in to an abandoned HVAC switch plug. Yikes. I'm just going to throw this out there but I'm fairly certain I found my problem.
After reading 4 threads and watching 2 Youtube videos about 'How to delete your carbon canister" (Its not actually a carbon canister...) I figured out where it was supposed to me mounted, how it was supposed to be plumbed and where the EVAP Purge Solenoid plug might be hiding. Turns out it was tucked up under the body behind the coolant overflow reservoir thinger so I fished it out, cleaned it, smeared it with my favorite Dow Corning #4 Electrical Insulating Compound and then reinstalled the lot as the factory intended.
I even used the factory rubber isolator. I unfortunately had to extend one of the molded hoses and I need another spring clamp (or two) but that shouldn't be an issue. Now maybe my EVAP Purge will work correctly and I won't have to deal with the filler hoses rupturing in the trunk and flooding the car with fuel. Don't laugh, that **** actually happens.
So, you might ask, how did you pass SMOG with an inoperative EVAP Purge? Well, the test regiment prescribed by the State tests to see if it holds pressure, not to see if the purge function actually ...functions. During the pressure test they actually clamp off the line under the hood right before the Purge solenoid, remove the gas cap and pressurize the system to some nominal amount. The machine then checks that pressure to make sure it doesn't bleed down over time. If it doesn't drop pressure, then the EVAP system passes. I actually snapped a pic of this test and posted it earlier in the thread. This test may be different on different vehicles, I don't know because I'm not a SMOG Technician, but that's how they did it on my OBD1 NA8. Under those conditions it doesn't actually matter if the solenoid is functional or not because its not part of the test. So I passed. Yay.
It doesn't seem like a whole lot but that actually burned up quite a bit of my day. New OTRE will be here I think Tuesday from RockAuto so tomorrow will probably be odds and ends, and maybe finally get that oil pressure gauge and sender installed. I'd also like to set up that AC fan to run in parallel with the main fan, and maybe set up a manual override switch on the dash so I can run the fan with the engine off and the key out. Oh, and change the shifter turret oil now that I have something with which to suck out the nasty old gear oil.
Date code on this battery is "3/11" as in, Feburary of 2011
.
I know you do things differently over there, like writing dates backwards, DIY spelling etc, but still ... put me out of misery, what are the two months before 'February'? I know (I think) one of them January (you might call it Jaunary)? Or do you start counting with December?
Great writeup, impressed that the Optima has lasted so well. Do you reckon those hold-downs are strong enough to cope?
Sorry, March of 2011. Posted that very drunk. I'll just leave it.
The factory mount was just a couple brackets a top strap, something kinda like this:
This car doesn't have any of those parts anymore so I think mine is an improvement I just need to re-work the retention mechanism to hold the battery to the bracket and I'll be good to go. More on this later.
How many of you have actually seen a set of those plastic film squeak eliminators before? How many of you have actually ordered new ones? (Ian, you don't count)
Lol. I have transferred those stupid things between many different sets of shocks over the years. Never bought new ones.
I recently replaced the seat belt in my truck because the retractor stopped working, so I had a moment of inspiration:
Factory steel belt mounts bolted through the body with enormous M12 bolts and nylocks with backing washers. That battery ain't going nowhere.
Also removed this thing because lol why not
And got my Orange Spec braided stainless clutch line installed. Groovy.
So much garbage in the clutch hydraulics system. I pushed and sucked probably a quart of DOT3 through the system and I'm not satisfied that I've got the all the air out. I'll let it sit for a couple hours and give it another try. There's enough trash in the system that I'm genuinely worried the master or slave piston are breaking down, but for now I'll let it ride.
The way to ensure these things last forever is to have spares.
Huehuehue
Looks as though my suspicions were correct and front main seal is leaking. Like a lot. This is after something like 75 miles of driving.
Rear main isn't looking so hot either.
It's too damn hot to do anything else outside until this evening, maybe I'll try to do the OPG stuff and the turret oil. We'll see.
Haha! Good spot, those are 90s vintage from the FLAPS, maaaaaybe Harbor Freight. Those are the first jack stands I ever bought so I could work on my first car.
Production date appears to be November 27th 1997 which jives with my memory. These stands are definitely older than some of the members here, to say these things "have seen some ****" over the years would be an understatement. Haven't killed me yet!
Hahaha that connector reminds me of the welder who took it upon himself to modify the fixture that kept him from welding parts wrong......so he could weld the parts wrong.
I'm pretty sure I'm the one that tore that ribbon and I'm the one who originally put a ring terminal and connected it to the harness...
Was the original repair wire connected to the harness with one of these:
If so, it was definitely me and I used that instead of solder to make it easier to remove the cluster in the future.
Nope, just soldered extension on the harness and ring terminal. Which I found, didn't understand, removed, and then had tank level issues so I had to put it back, lol.
However I DID find some of those connectors on the harness going to the MAF, probably from when you had the turbo installed.
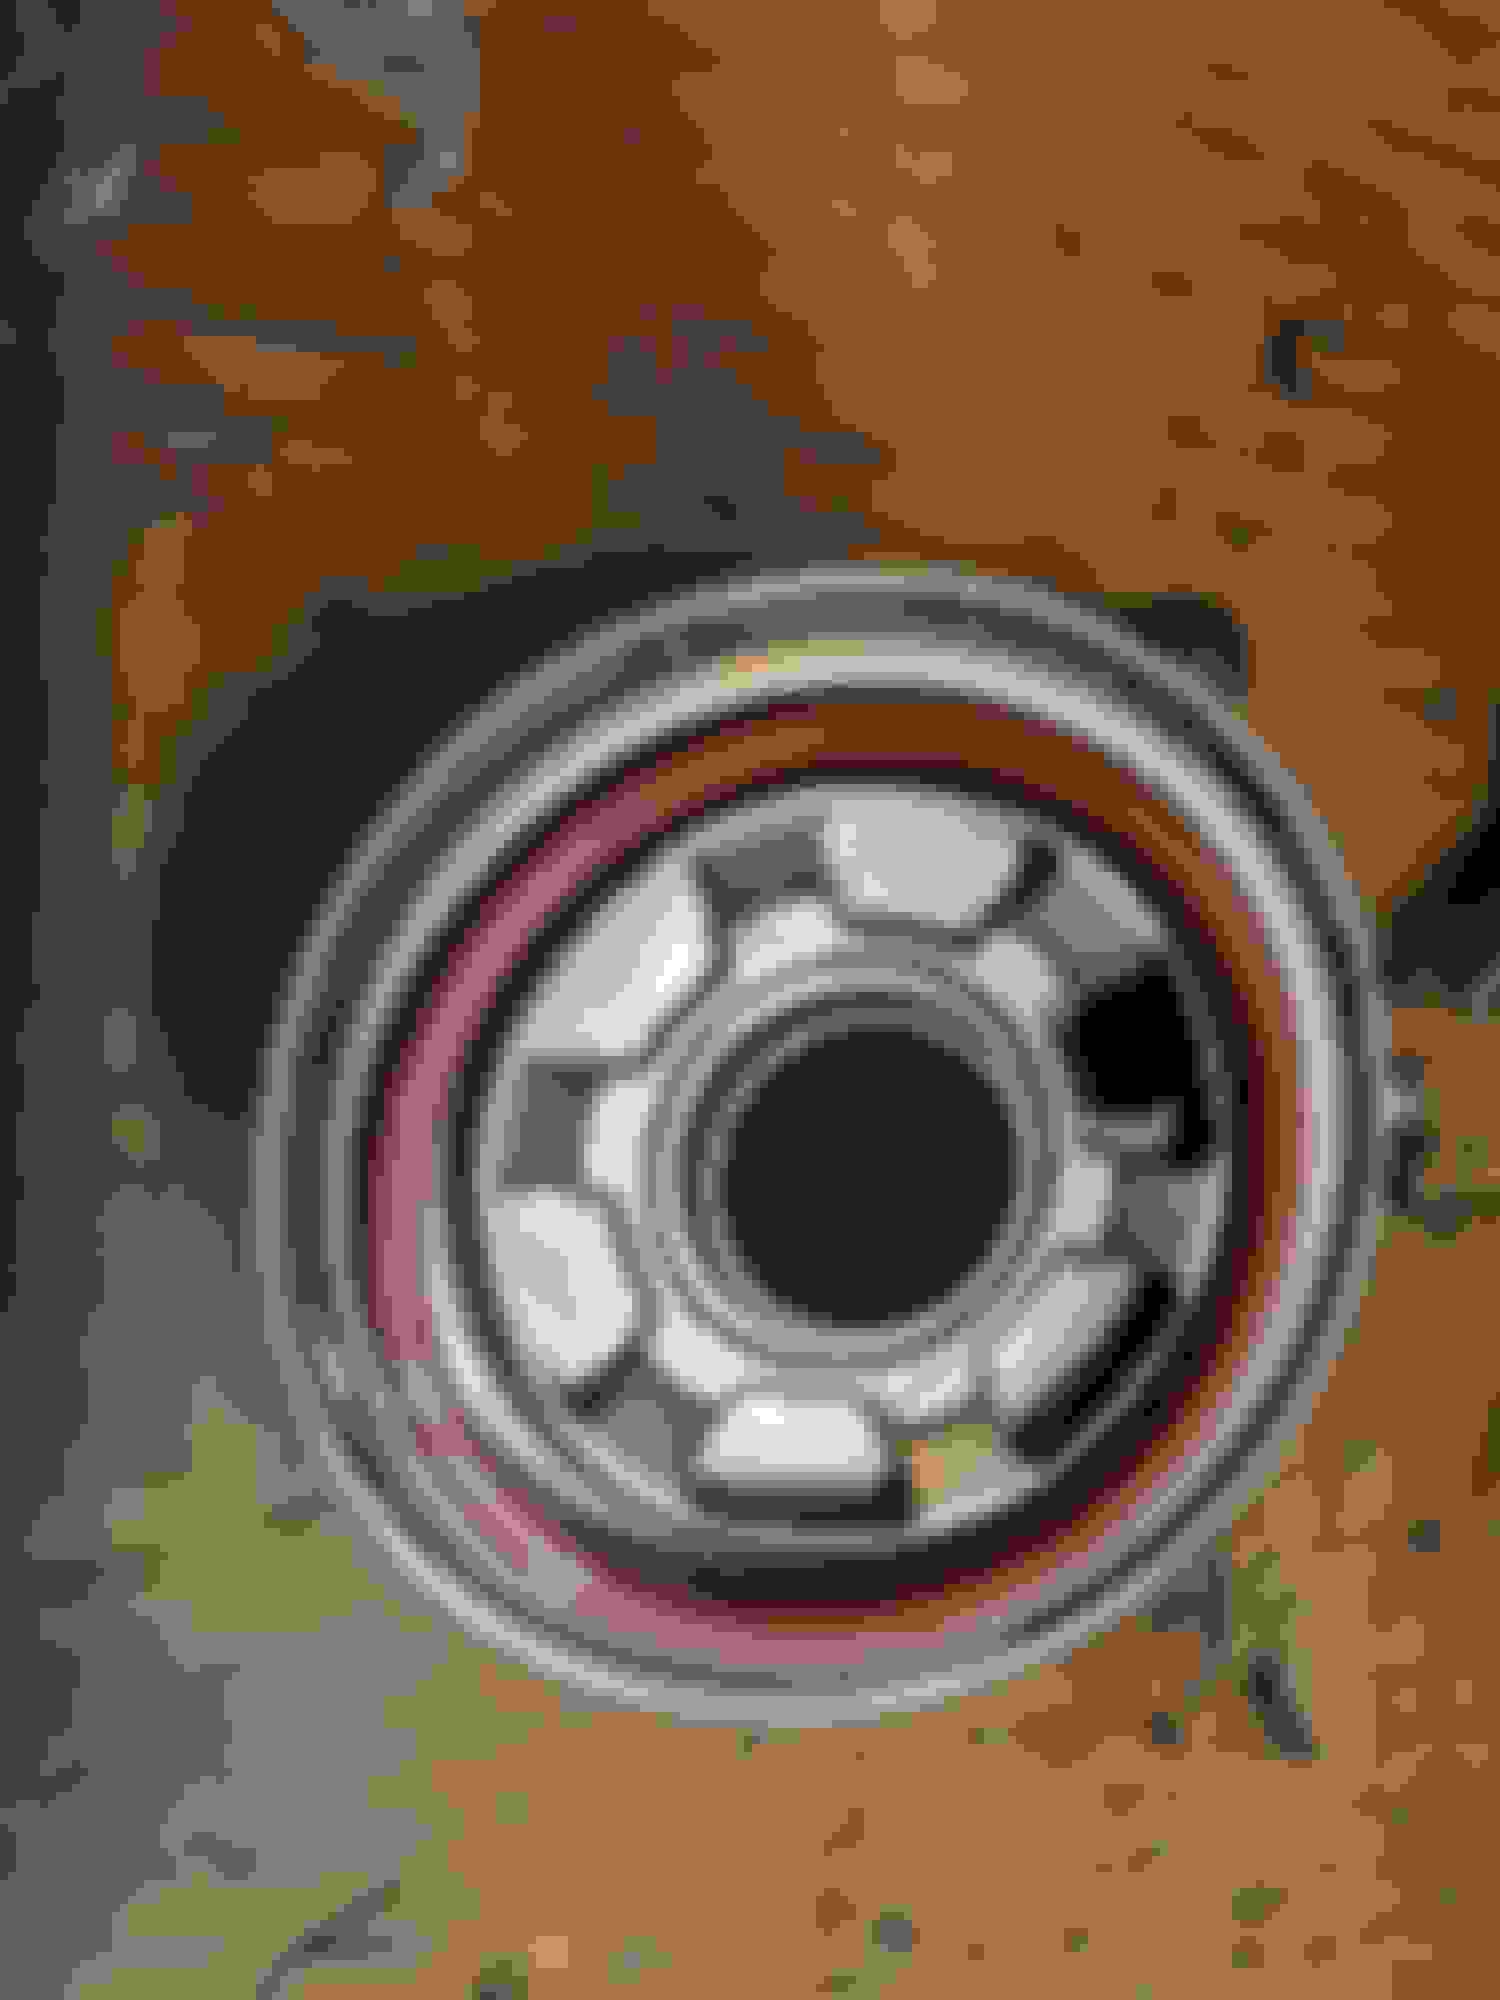
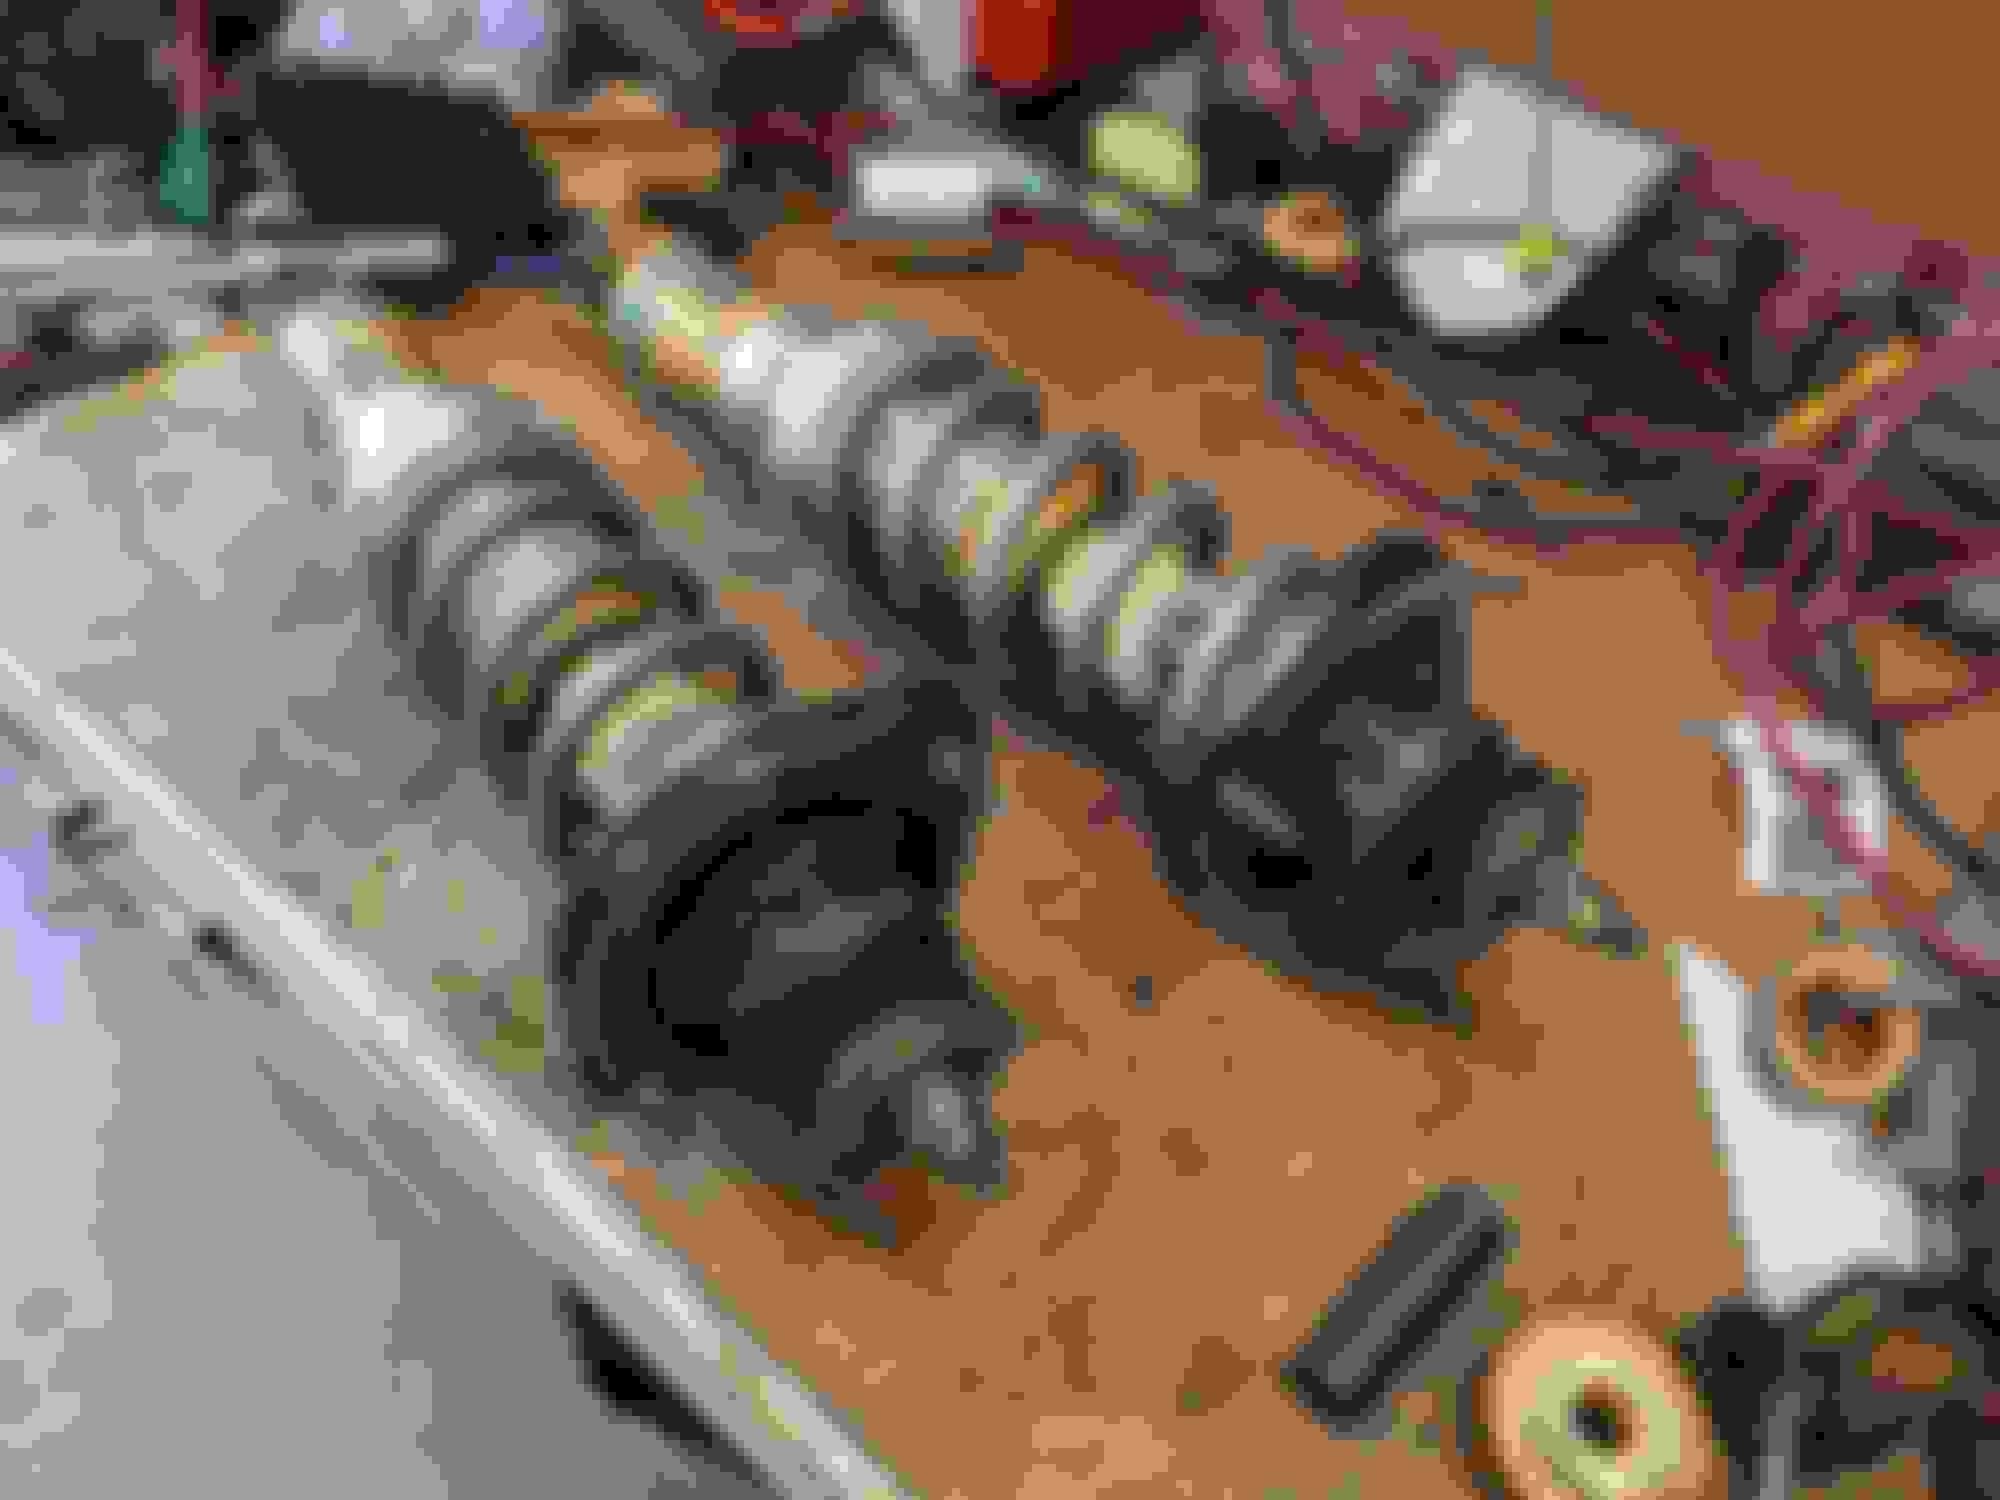
had a similar looking (but pre-loved) thing on my workbench last year...
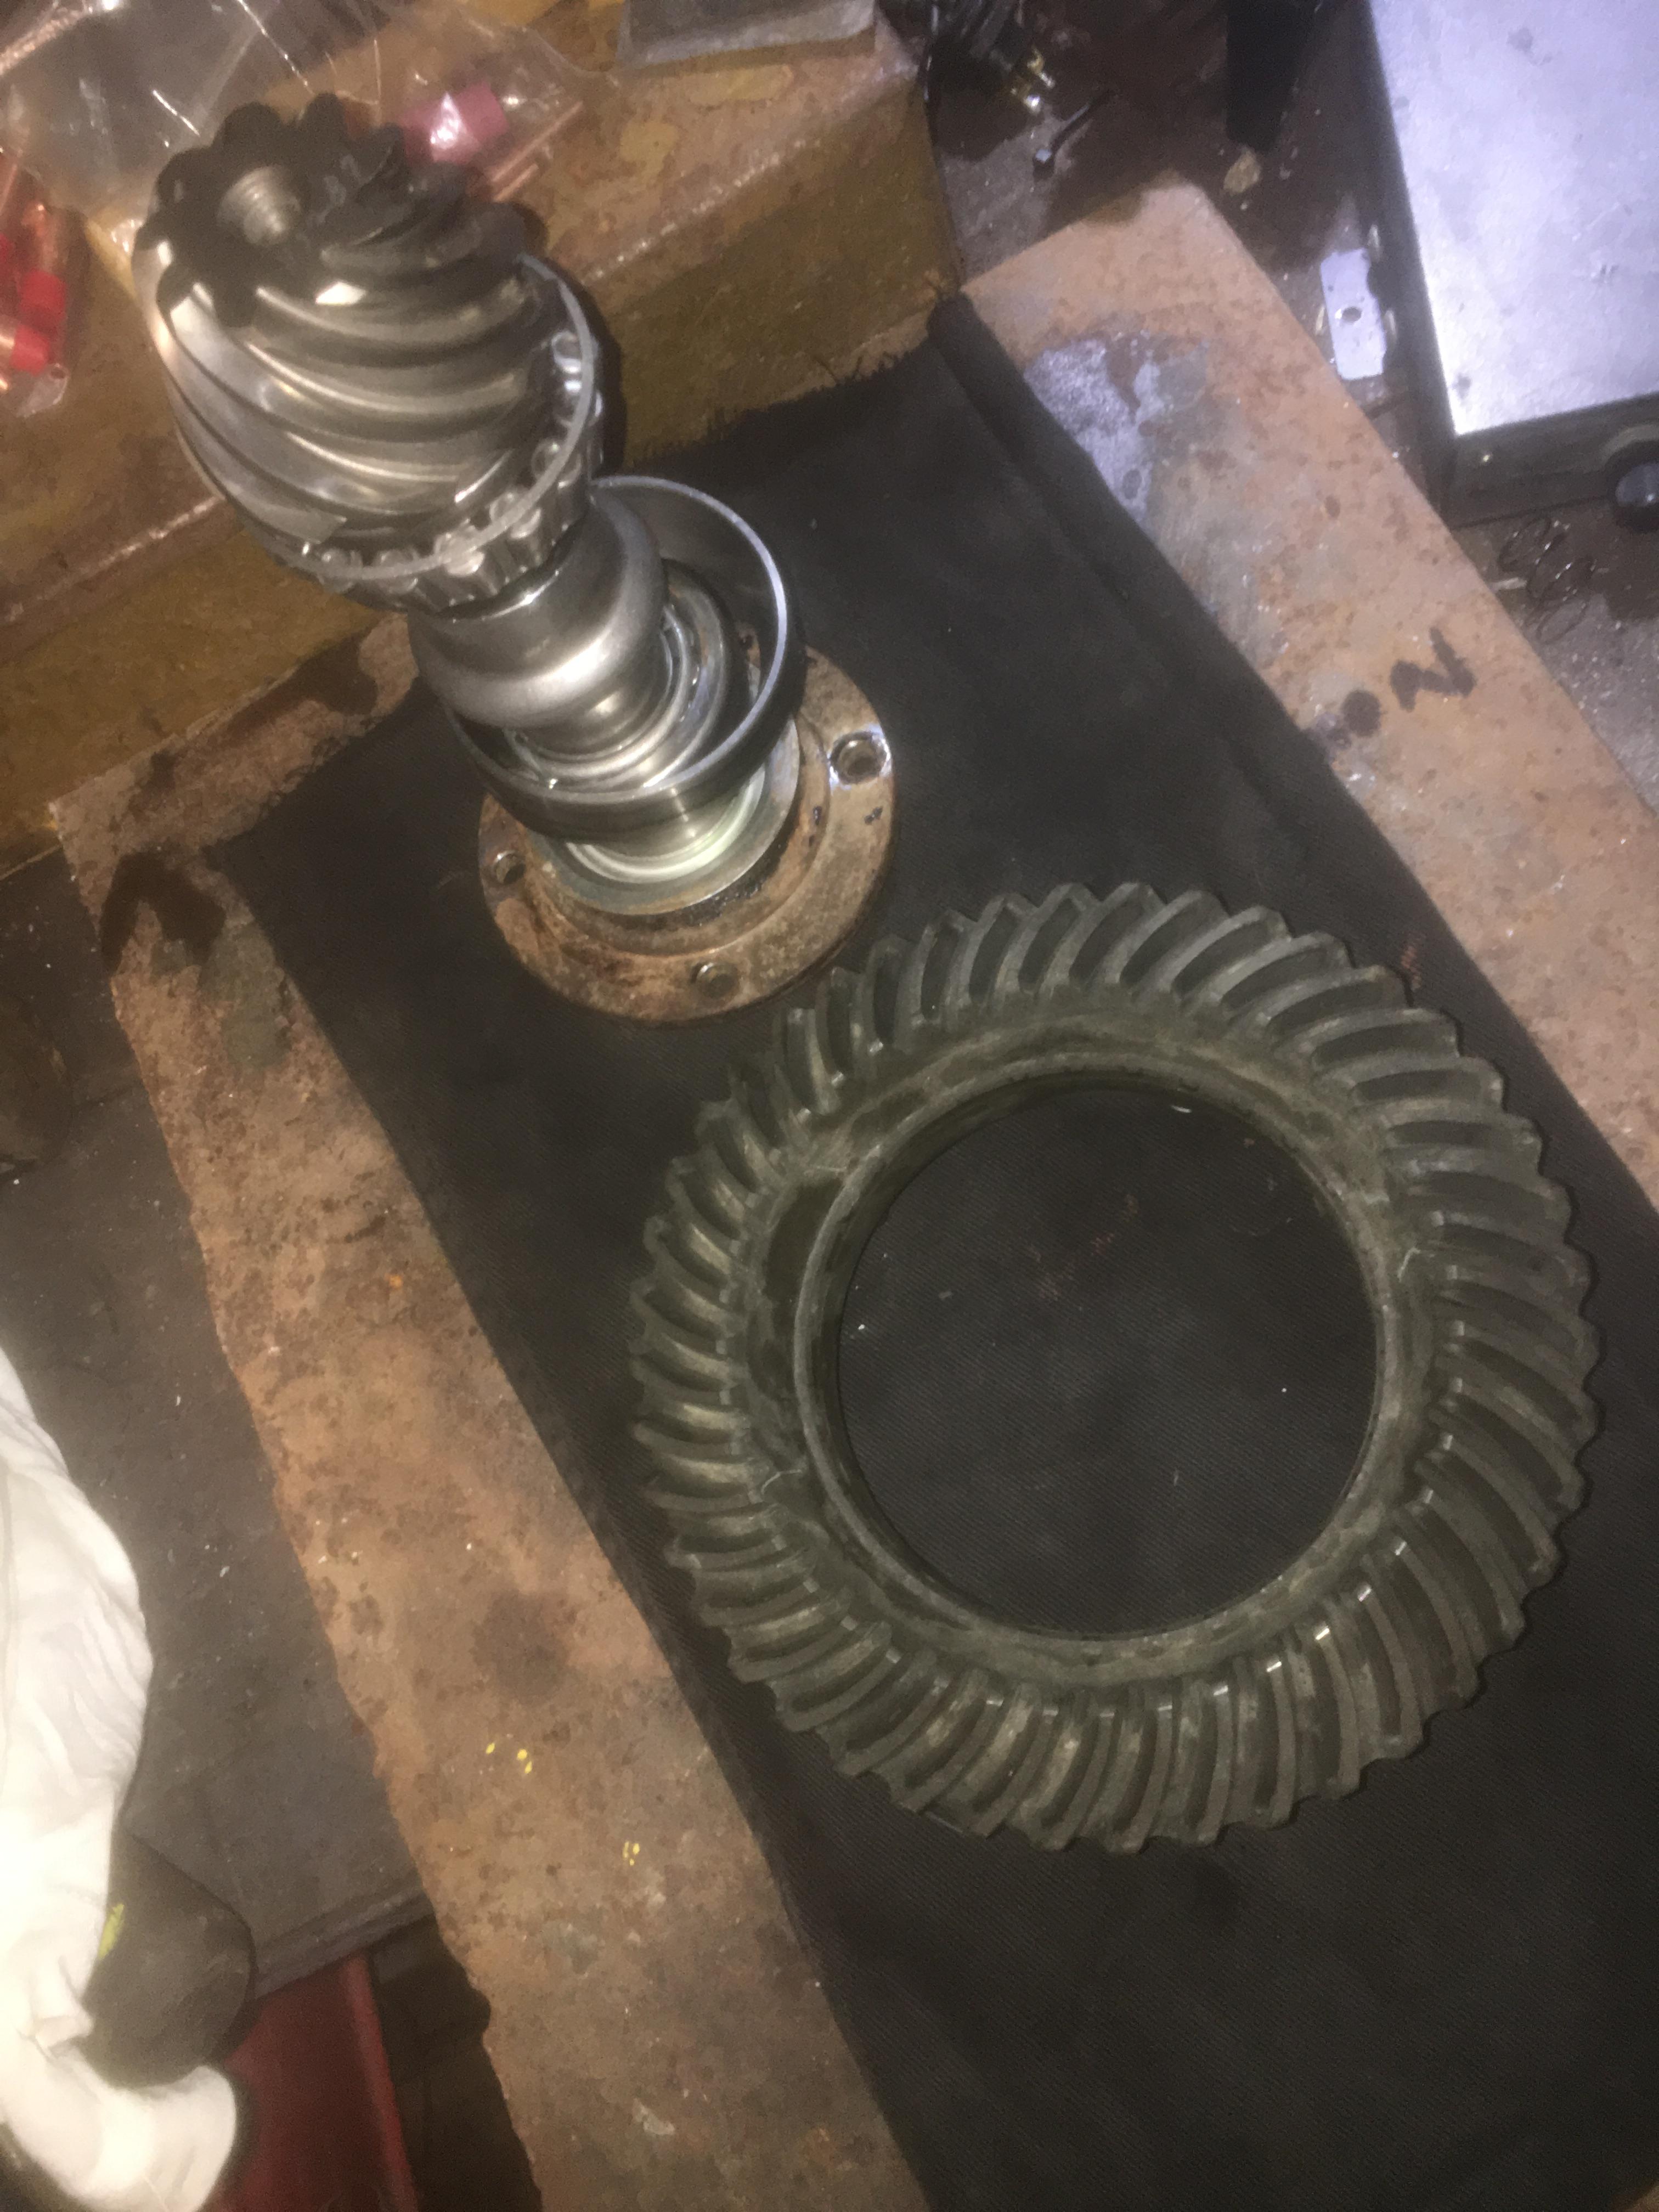
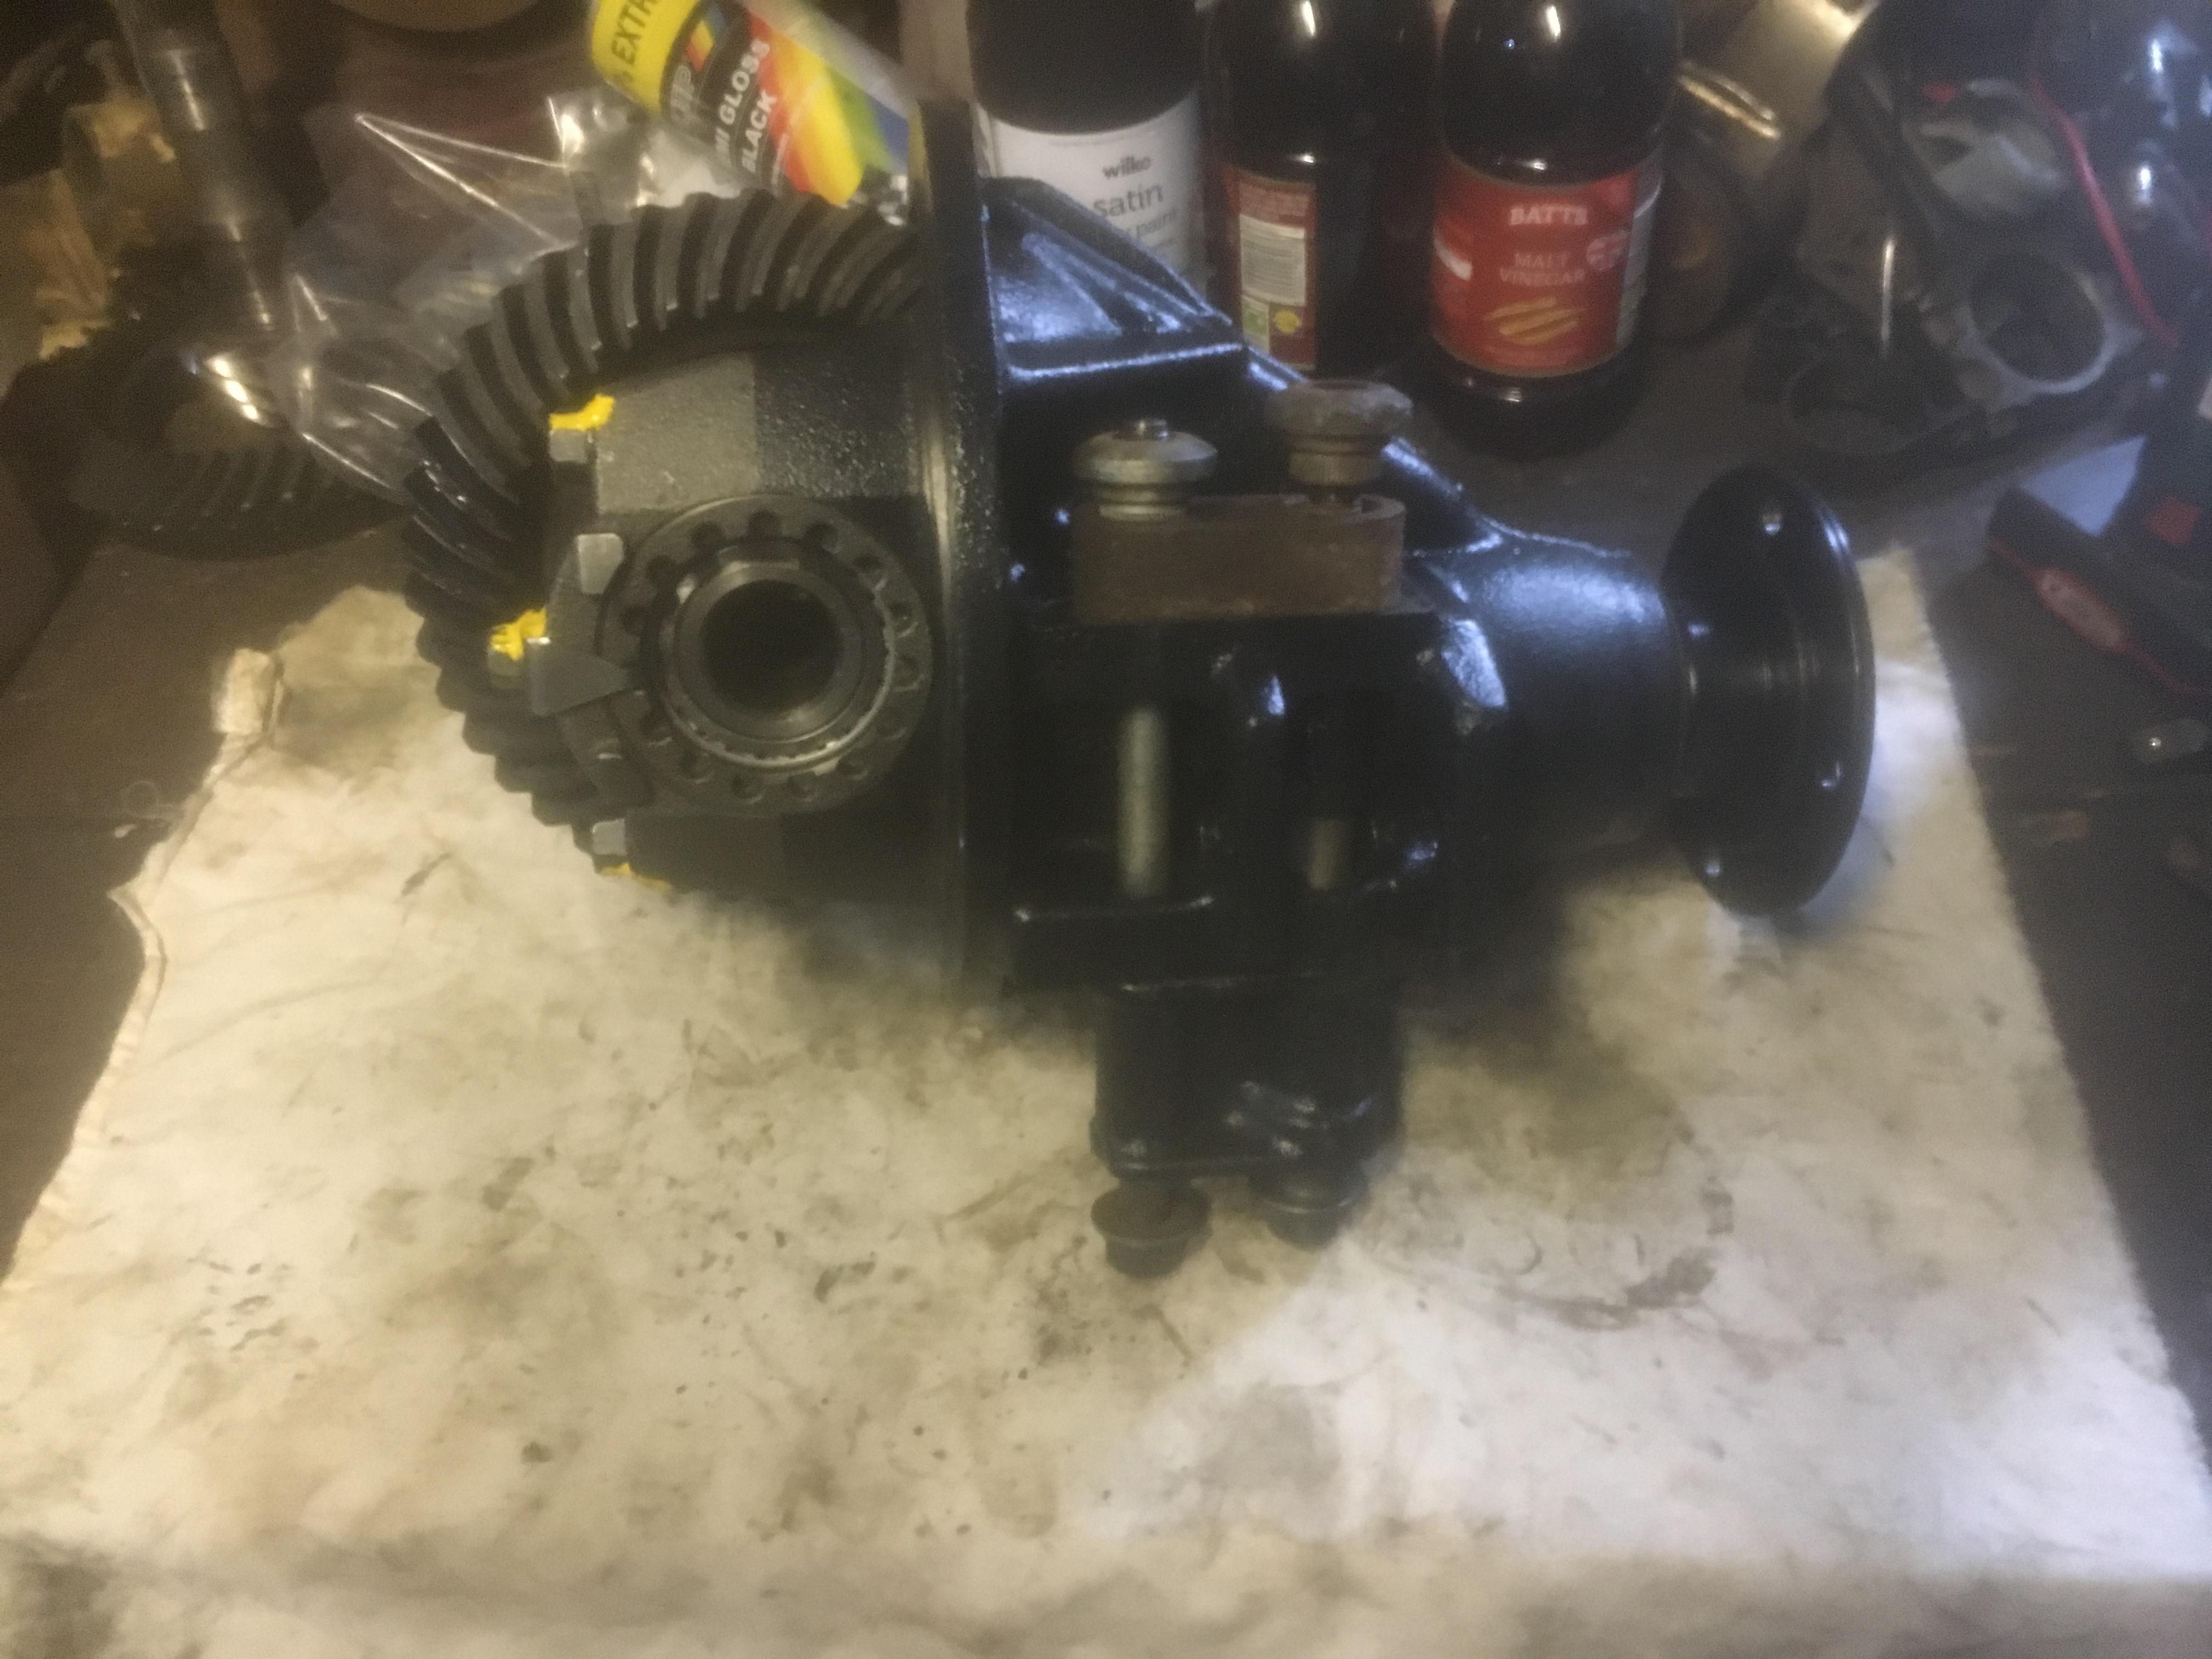
turned it into this
if you're replacing the bearings, they are... pinion rear is a 32307 pinion front is a 32206 diff sides are 32008XA (2 required)
if this helps?
Rich.
How very astute And, it does help thanks @Zed. / Rich! I'll add a pinion seal and a pair of axle seals to that shopping list and I should be good to go. Did you do all that yourself? I wish I had the patience to not screw this up but I think I'm probably going to pay someone to do it. Did you end up going with the crust sleeve or the solid/shim "distance piece" to set pinion depth? My understanding is the shim method takes longer but ends up being stronger in the long run.
Originally Posted by rleete
Take your time to heal. Believe me, I've been there several times. We can wait.
Thanks Roger, its much appreciated. Fortunately this was scheduled ahead of time but in my extensive experience oral surgery is never fun. Laying low and trying to follow the doctors orders for now.
yup, built a few gearboxes & diffs
I re-used the standard collapsable-spacer / crush sleeve after battering it's 'belly' to lengthen (cheating but cheaper than buying new) - my intention is to make a solid shim when the diff comes apart to fit a different lsd as I'm looking at a plate type sometime when I'm rich
the pinion intrusion / depth is set by a solid shim between the pinion gear & the inner bearing, I try to use the one that came with the donor pigshead as these are usually matched @ the factory (fingers crossed! )
if you can handle the waffling & wandering off on tangents...
Lol, have you seen the crap I post? Good info though, thanks for the link!
Things got complicated with my recovery and I've been lying low and going stir crazy. Lots of pain and lots of hydrocodone, not a whole lot of progress on the car. The last couple of weeks have been a real ************. I'm off the hard stuff at this point and making due with ibuprofen, so that's good. I'm only 2 weeks in to my projected 6-8 weeks of recovery so I can't expect everything to be perfect quite yet.
I assure you I am being well cared for during my convalescence
My ever patient and understanding wife is doing a smashing job as well
I posted previously that I got the real OPG into the cluster, and I made an attempt to install the sender. Unfortunately the factory oil preheater/cooler was clocked in such a way that the coolant tubes were attempting to occupy the same space as the sender so I had to start pulling that apart. The enormous 24mm nut was going to pose a problem until I discovered it was only finger tight! Removed the oil preheater and did my best to clean it up.
Mmm, squeaky clean. It was fairly obvious by the oil all over the side of the block and the underside of the intake that this thing had been leaking at some point. I assume this is the 25 year old factory o-ring so I figured it was time to retire it and get a fresh one. Ordered it from Dwayne Johnson Auto.
There's so little compression on this original. Unsure if its crushed/shrunk so replacement seemed like a good idea.
Here is the one RockAuto sent me after nearly a week of shipping time...
And of course it doesn't fit. GREAT JOY. Trying again with a Fel-Pro 73065 sourced from the O'RLY that should arrive this afternoon. It'll be nice to get this done so I can move on to more stupidity.
Also, Proforged OTRE went in to replace the one that I somehow buggered up.
Now its off half a turn. Derp. I opted to go with an additional half a turn of toe in rather than toe out. Then after I got it back together I realized I could have rotated the ITRE to compensate. Many lolz were had. I blame the drugs.
The buggered up plastic drain plug for the radiator finally split on me so I started looking for an alternative.
Turns out motorcycle o2 sensors are M12x1.25 so I ordered s t a i n l e s s s t e e l replacement plug. Copper sealing washer wasn't going to work so I turned down a nylon one on the lathe.
Installed with thread sealant and nylon washer. SWANKY.
It's amazing with a vehicle this old how everything you touch cascades into 2-3 other things you have to fix/address before you can move forward. It's the little things that'll drive you nuts when you are determined to do it right and not cut corners, but I feel it'll pay off in the end because I won't be fighting shitty shortcuts. I feel like this is the difference between a project car you owned in your early 20s versus your late 30s.
Trying again with a Fel-Pro 73065 sourced from the O'RLY that should arrive this afternoon. It'll be nice to get this done so I can move on to more stupidity.
Lol, apparently now the "this afternoon" estimate is now "Saturday AM maybe" /sadtrombone
Well, that was fun. I would not attempt this again without the proverbial 90lb double jointed assistant. Lol.
Fel-Pro seems to fit. It was a blonde one large on the OD but not to the point where it was going to pop out, and was quite a bit thicker than the one that came out so should have some solid compression. Smeared some oil on the rubber and got it installed along with new coolant hoses and the real oil pressure gauge sender, then re-installed the oil filter. Wasn't changing the oil so didn't feel the need to replace it. However...
As you may remember, I dumped some Seafoam in the crankcase and then topped off with oil when the car was delivered as it was critically short on oil. I drove it for probably ~50 miles with the Seafoam and then dumped the oil, replaced with whatever cheap house brand oil the O'RLY had on sale and the larger Mobil1 M-110A (I think the "A" is the extended OCI) filter. After that I've driven the car maybe 150 miles with the fresh oil and filter and the oil is DISGUSTING. Spend 5 minutes on BITOG and you'll learn that color has nothing to do with old condition but holy ****, I'm pretty sure its not supposed to get that dark that quickly. I may have to do a bunch of short changes on this thing and see if I can get it more reasonably cleaned up before it eats itself.
Now I just need to add coolant and button up a couple other things and I can drive it again! w00t!

 10-18-2020, 02:26 AM


 Yikes. I'm just going to throw this out there but I'm fairly certain I found my problem.


 0
0


 I just need to re-work the retention mechanism to hold the battery to the bracket and I'll be good to go. More on this later.


 And, it does help thanks @Zed. / Rich! I'll add a pinion seal and a pair of axle seals to that shopping list and I should be good to go. Did you do all that yourself? I wish I had the patience to not screw this up but I think I'm probably going to pay someone to do it. Did you end up going with the crust sleeve or the solid/shim "distance piece" to set pinion depth? My understanding is the shim method takes longer but ends up being stronger in the long run.

 )
)