When you click on links to various merchants on this site and make a purchase, this can result in this site earning a commission. Affiliate programs and affiliations include, but are not limited to, the eBay Partner Network.
That's the 1/8" BSP(!!!) oil pressure sensor I'm using, came down in price about $70 since I bought one, of course... Only 4 left though, get em while they're hot.
The MIP series is rated for everything, but has very little off the shelf options on fittings we normally use, and I'd hate to use an adapter after spending $130 on a sensor...
Isn't that a female NPT? I'd check the sheet but figure you have. The stock images are actually accurate on these I thought.
That's a 1/8" BSP sensor that fits in the stock location and doesn't mess up with heat, and I think you can get them from Arrow. I think I've found a few that are actually rated for fuel but most are 3+ months out and custom order. I think they are MIP series, or at least the ones rated for fuel. Supposed to work well with coolant, too.
My ebay fuel pressure sensor wanders over 20psi after a 30 minute drive, waste of money. If someone has a good source for a rated for fuel honeywell in 1/8" NPT, I'd sure like to see!
MLH series from your picture is rated for fuel and basically all fluids. It uses a stainless diaphragm, and all wetted parts are stainless (no seal contacts the fluid).
That's the 1/8" BSP(!!!) oil pressure sensor I'm using, came down in price about $70 since I bought one, of course... Only 4 left though, get em while they're hot.
The MIP series is rated for everything, but has very little off the shelf options on fittings we normally use, and I'd hate to use an adapter after spending $130 on a sensor...
Isn't that a female NPT? I'd check the sheet but figure you have. The stock images are actually accurate on these I thought.
I didn't catch that, but it looks like you're right. I need to keep looking around, and figure out how I'll connect these and where. If I needed it to connect to an AN hose, then the female would be ok, could connect a NPT to AN adapter. But likely need male NPT threads for most, that's what i thought I clicked before you caught that!
AFM - Is it though? The datasheet says alternative fuels but doesn't specifically mention gasoline like the MIP does. Since they were like $130 then I decided not to risk it.
The only other helpful advice I have is searching on digi or mouser and finding one you like, then google searching the part number. Just building one off the datasheet doesn't seem to work unless you want a lot. Sometimes you can find them off the shelf somewhere else, how I found the oil pressure sensor at least.
I bought my 1/8 NPT 150 psi pressure sensor from Adaptronic, which has now been absorbed by Haltech.
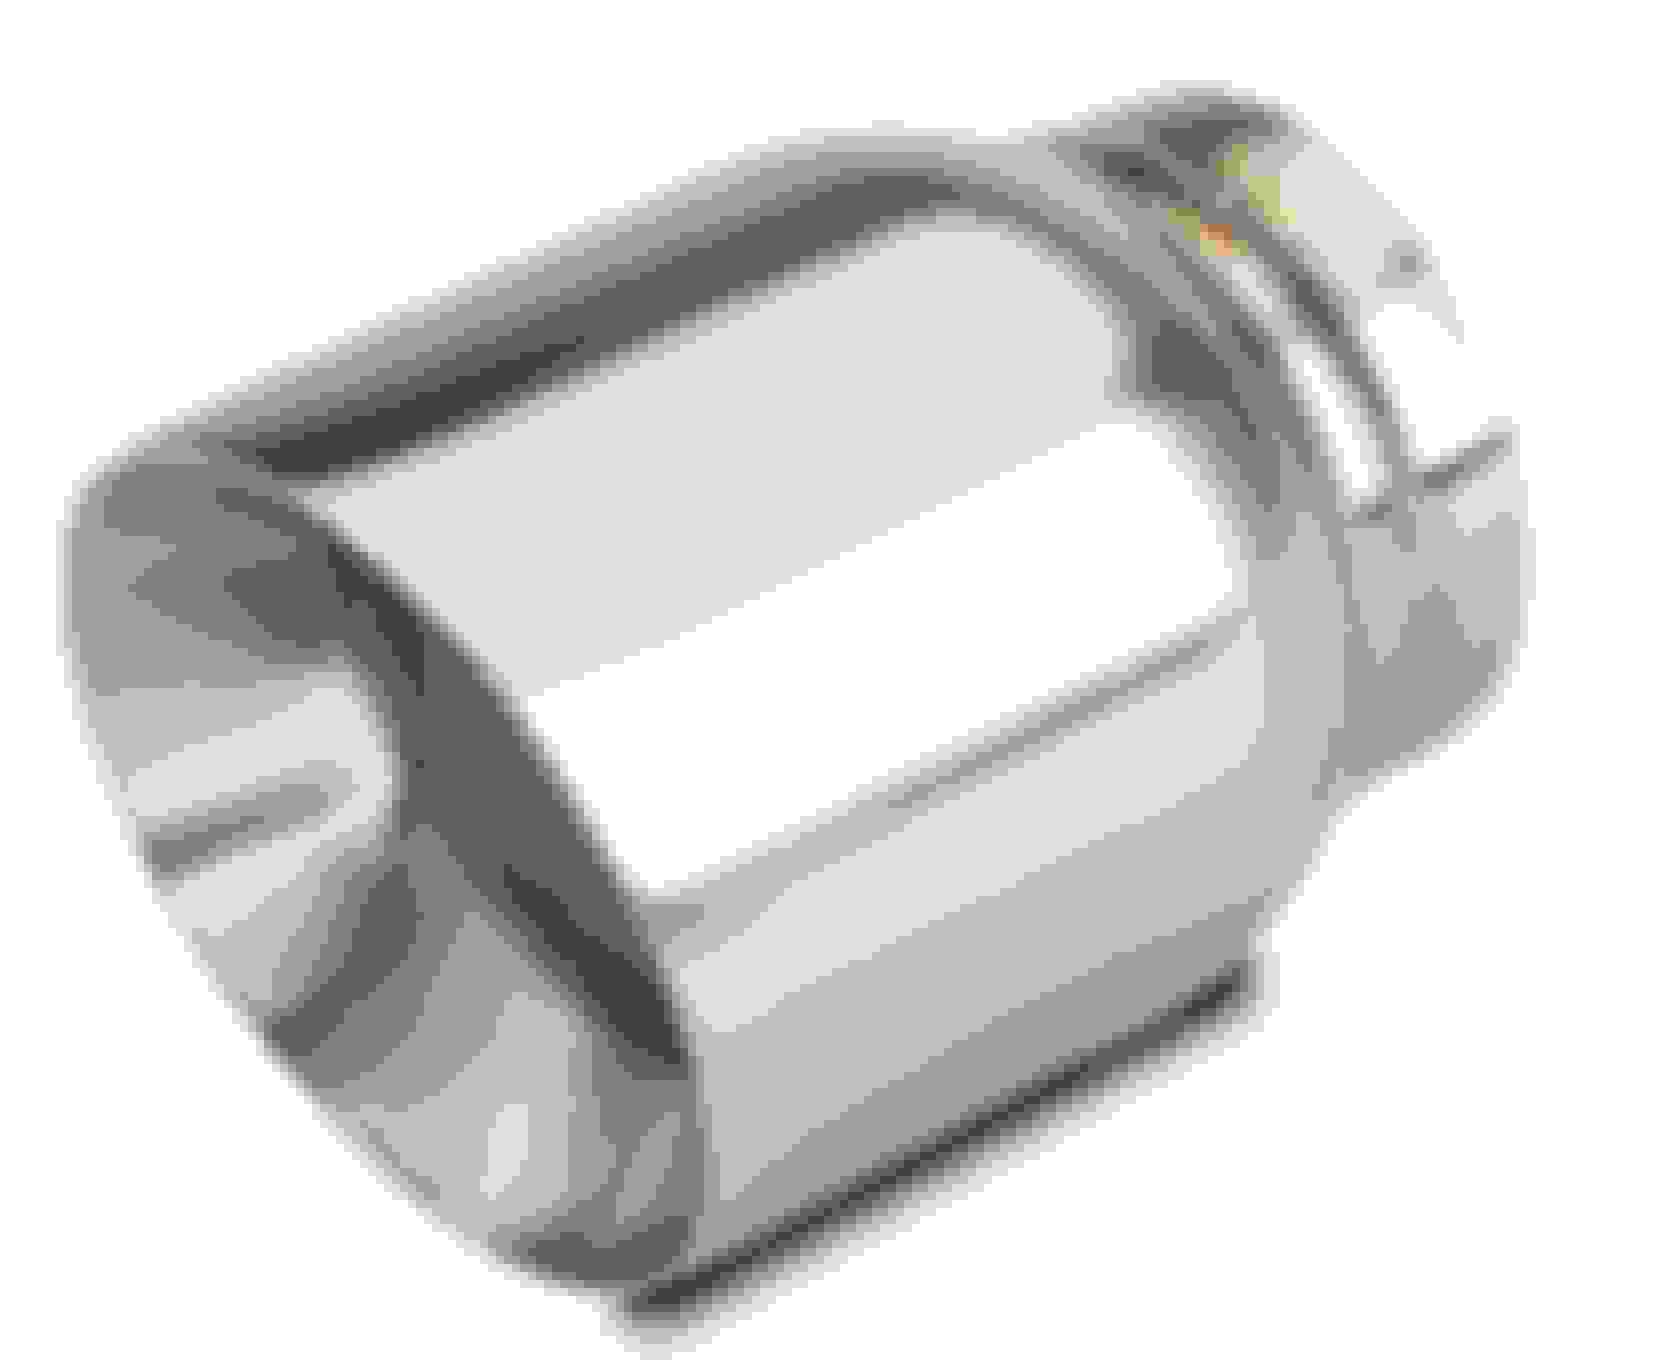
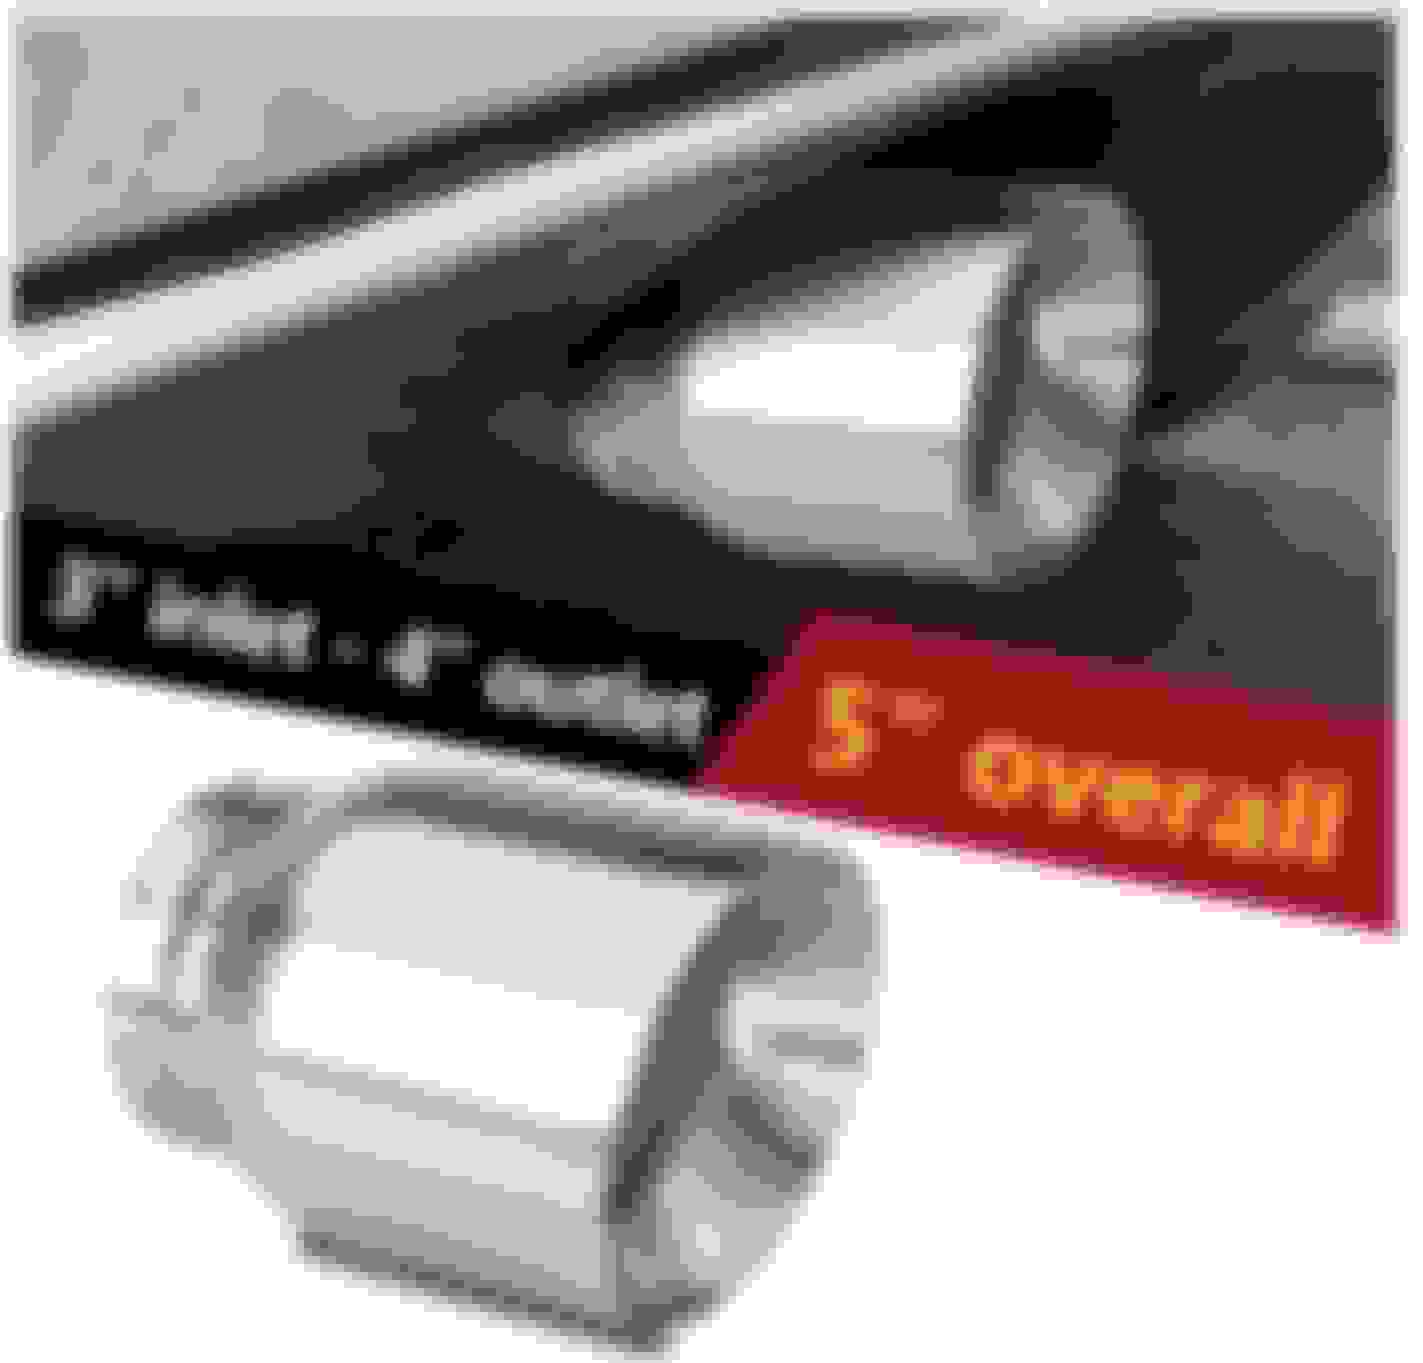
Mine looks like this Haltech store one, including the 3-pin connector, except that mine is a Honeywell sensor and this one is a Delphi sensor that includes an additional AN-4 fitting for wastegate pressure: 150 PSI "TI" Fuel/Oil/Wastegate Pressure Sensor
Even at half the current price when I bought it 4 years ago it was expensive so when I see cheap pressure sensors I figure they must be crap.
This is all good info about sensor quality. I have probably 4 to 6 cheap ebay ones on my car. So far I have not noticed any problems, but I have never looked for any. I am definitely interested in upgrading to some better ones now.
If you're doing your own daq why limit yourself to automotive 5V sensors? Bet you can get industrial mA transducers that fell off the truck on ebay cheap.
If you're doing your own daq why limit yourself to automotive 5V sensors? Bet you can get industrial mA transducers that fell off the truck on ebay cheap.
The industrial transducers I've worked with have been physically to large to work well in automotive applications. It's worth looking into as I'm sure there are smaller ones out there, but I think the typical ones you'll find dirt cheap are going to be to big.
The industrial transducers I've worked with have been physically to large to work well in automotive applications. It's worth looking into as I'm sure there are smaller ones out there, but I think the typical ones you'll find dirt cheap are going to be to big.
I figured pat was going to remote mount hem anyways since anything dangling off these motors breaks off.
Big update, with modest progress, and some bumps along the way, and for a first... Video! I shot some mini clips along the way on some of this, and jammed it all together in a video. LMK if you like the video format!
So we will get back to the fancy warning system later. That is more of a here and there, finish it by this winter. More immediate, my car needs to get back on the road!
Last update with fabrication, I had machined the header flange that bolts up to the cylinder head. Well, I wanted to do the turbo flange too, but there's no way to clamp in in my mill. So I kinda decided not to do it, but then never moved forward. Finally decided to see if it looked flat enough to just run as-is.
Inspection said, nope! It was actually leaking before.
Ok, so I came up with a plan. I'll machine a block of steel flat, put a piece of sand paper on it, and use that to surface the turbo flange flat.
So that's what I did!
Then I sanded away. For 1.5 hours until my hand hurt, thumb hurt, and it looked like I was close. Problem was, it looked like I was 70% done after 20 minutes, since the high spots get knocked off quick. But to finish it, you end up sanding away almost the entire surface. I gave it another 10-20 minutes the next morning. Then started seeing if there was any way I could get this clamped in my mill.
Well, after about 1.5 hours, I figured out a way to hold it so I could machine it!
Also, all my stainless tubing arrived. It all looks pretty good.
Any my dynomax muffler I decided on came in. So good news is, I thought it would sound good. But bad news, it necks down to 2.0" on the inside! Ha! Not going on my car. Sending that back, pretty disappointed about that.
I did want a chambered muffler though. A couple people recommended flowmaster. I watched some videos, found some cross section views of their mufflers, and ended up choosing the original 40 series flowmaster, 3" inlet, dual 2.5" out. This muffler is actually 3" dual outlets, but has 3" to 2.5" transitions welded to the muffler. So plan is to cut those off, and just run a pair of 3" pipes our and have dual exhaust! More importantly, its internal design should flow great. And lastly, since the WG will dump to atmosphere, this exhaust won't have to flow as much as it did before anyway.
Even bought a couple of exhaust tips to dress it up. Kind of funny, never bought an exhaust tip before, always just used tubing. Looking forward to it looking nicer, from trying, to using better tools and materials! I like how they look. 3" inlet, 4" outlet, pretty short, and I like the flared design.
And ordered flat bar and tubing to build an EGR tube (how exciting?).
Also been looking into cams, based on my experience with my car, and what works for other cars, I think it's time my car got some cams. I have many things that can flow well, but stock cams.
And finally, I did get the touchscreens in and did some basic testing. Wow, they are easy to use so far! Was able to upload an image, write text, write numbers, and have a button press work, and text scrolling. So far, looking great. Should be able to use one of these to display data for my warning system in the future!
My TIG welder, the company that shipped it messed up my address, so that got delayed. But it should hopefully arrive next week.
I have used wood to build simple jigs to hold parts for machining. You need to use really slow feed rates, but it can fix a problem at low overall cost.
Pat you really need to buy some machinists jacks or a ton of 1 2 3 blocks and a strap clamp set.
Be interesting to see how the flow master works for you. That big jumbly chamber doesn't seem great for flow and everyone on the internet says they don't quiet turbo cats down much since they work by canceling out exhaust pulses and the turbo has already chopped all those up with the turbine. But internet wisdoms isn't always right.
I have used wood to build simple jigs to hold parts for machining. You need to use really slow feed rates, but it can fix a problem at low overall cost.
That's a good idea. I haven't done that before, but that would be pretty easy to make a fixture with.
Originally Posted by Leafy
Pat you really need to buy some machinists jacks or a ton of 1 2 3 blocks and a strap clamp set.
Be interesting to see how the flow master works for you. That big jumbly chamber doesn't seem great for flow and everyone on the internet says they don't quiet turbo cats down much since they work by canceling out exhaust pulses and the turbo has already chopped all those up with the turbine. But internet wisdoms isn't always right.
You are right, my mill doesnt' have much to go with it. I'll put those on my list of things to buy.
I hope it works out, already ordered. At this point, it's going on the car. The WG will be dump to atmosphere, so I'm hoping what amount goes through the muffler isn't enough to be much backpressure.
I built one a few years ago. During the R&D phase of that one, I burned up a few mosfets until I sort-of figured out what I was doing. Eventually I had a setup that would run 80A continuously, at 15V, on a 90*F day, for several hours. That setup went into the car and was used for about 3 years. During the last year, one of the fans quit working, likely something on a mosfet or controller, or loose wire, but I never looked into it. Knew I wanted to replace it.
Anyways, I know a lot more about electronics now, so V2.0 PWM Fan Controller is on!
Basic features will be
30ish kHz frequency, not audible.
50A rated at 100�C
Very beefy electronics for high current hardware to improve reliability.(thermal considerations, vibration, switching losses, etc)
Dip switches to set Target temp in 5�F increments from 150 to 225�F
GM Coolant Temp Sensor to measure Temp
A/C wire to run fans to 100% when A/C is on
Wire to Ignition Switch to signal the fans OFF with key off.
Dip switch to enable/disable a 30 second cooldown sequence after key off to reduce heatsoak.
Dip switch to select between a 10�F temp range from 0 to 100% duty cycle, or a 15�F temp range.
Push button connection to allow user to enable a 5 minute 100% fan setting to reduce heatsoak/temps when needed. Just two wires to a button from the fan controller, connect to get 5 minutes of 100% cooling.
I now have an oven I can control temp within +/- 2�F, so I will bake the electronics during accelerated testing to make sure they work reliably under high load and high temp.
Got all the parts picked, power and thermal calcs look good, schematics drawn on paper and now entered into my PCB software. Next step is to make sure the schematics are right, then layout a board and get a test board made. Hope to have that ordered in a week or so!
I may try selling a few of the fan controllers on ebay if they turn out good.
Also the A/C Condenser and drier were ordered and arrived. Need a few fittings still, but got all the big parts. The new Condenser, I think is a better unit than the factory one.
Nice job, I have a suggestion from a past life. In development, try to design easy to access test points or test LEDs into the board. It helps a lot, and can allow for quick rework between board revisions. I’m trying to remember who I used for prototyping pcbs. If that’s helpful for you, I can try to find it.
Awesome. I started working on the same thing for myself because the off the shelf solutions are garbage. That feature list is fantastic.
Care to share what mosfets you're using?
Glad you like it! Anything you don't see that you would want on a PWM fan controller?
The only thing I don't have that I was considering was a low-voltage fan-speed limiter. Just to keep the fans from pulling your battery voltage low at idle if your alternator can't keep up. That feature isn't on there now, but could be.
And yes, the off the shelf ones I found, man, the reviews are either bad or mixed usually. And the specs are often not even published, and no features. And then the sticker shock at the price. Yeah, kept looking but couldn't find one I wanted, so making my own!
Originally Posted by HarryB
Interesting; both the PWM controller and the AC condenser, as I need a new one as well.
This is the condenser I bought. I emailed them before buying, they said it's a 4 pass. It is. In fact, it is, and the row width per pass vaires, starting off really wide, and getting very narrow as it goes toward the bottom. Which makes sense, as the gasses should be condensing to a liquid as it goes. However, the fitting it included didn't match the pictures. Gonna have to buy some different ones.
Nice job, I have a suggestion from a past life. In development, try to design easy to access test points or test LEDs into the board. It helps a lot, and can allow for quick rework between board revisions. I�m trying to remember who I used for prototyping pcbs. If that�s helpful for you, I can try to find it.
I got a place I normally use that does a pretty good job. I will be doing test points like you said. Not sure about LEDs, haven't thought about that. I'll have my scope and digital logic analyzer connected so I can see everything that way.
 07-15-2020, 11:48 PM


 0
0