When you click on links to various merchants on this site and make a purchase, this can result in this site earning a commission. Affiliate programs and affiliations include, but are not limited to, the eBay Partner Network.
Hey man, sorry I didn't make the race, something seriously unexpected happened. My friend Brian said you made it though! What did you run?
Hey no problem, I think I can make the next one in September so I might see you then if you can make it.
My times were slightly better than before I put the turbo kit on, fastest lap was 1:44.1 so lots of room for improvement. Was just running the 7psi off the wastegate since I dont think I could handle 14psi yet on the track. Had some slight traction issues in 2nd on the two tighter hairpin turns, the back end was wanting to come out, much fun!
My first set was a wash, I kept missing 3rd and going into 5th. Slowed my shifting down for the last two sets.
The weather was nice, mid 70s in the shade. I still saw 225F coolant temps after 3 hot laps so I night need to fix that.. Other than the that, I had zero issues with the car.
Nice work man! More power doesn't always equal a faster lap time, sometimes more speed means you overbrake and end up going slower, so good job. Consistent times too. I definitely plan on making the Sept event, so seeya then.
Finally got an alignment done today, first one after replacing all the control arm bushings. I went with the Super Miata dual duty specs. Ride height is 12.125" front and 12.250" rear. My pinch welds are all jacked up and cant measure them.
The middle spec sheet is after I replaced all the control arms bushings and lowered the rear like 1/8" and before they did the new alignment. I marked the eccentric bolts with a sharpie before replacing the bushings and put them back in the same position as best as I could. Camber and caster wasnt changed too much but the toe was all over the place after.
Initial feedback on the SM dual duty alignment vs the screwed up alignment:
The steering feels a little lighter
Handling seems more nimble
It feels like it doesnt understeer as much in turns when on the throttle
I fixed the rear window zipper, so no more 2x4 prop needed. The zipper pull tab broke off a while back.
I wasnt able to remove the old puller so I just pulled it to the fully closed position and left it there. Tried cutting it off with a dremel but it was surprisingly hard.
The zipper puller and stop both had "YKK" stamped on them, which is a zipper company. The zipper measured 10mm across when closed, so a #10 zipper. And looking through the catalog, it looks like the Coil zipper. https://ykk.meclib.jp/Slider/book/#target/page_no=36
I ordered this from amazon, its the "10C Coil Zipper DFL Slider".
Once I got the part in, it took about 5 mins to fix it. Basically have to pry off the silver stopper on the end, slide the new puller on, and re-crimp the stop back on. Then zip it up like a jacket.
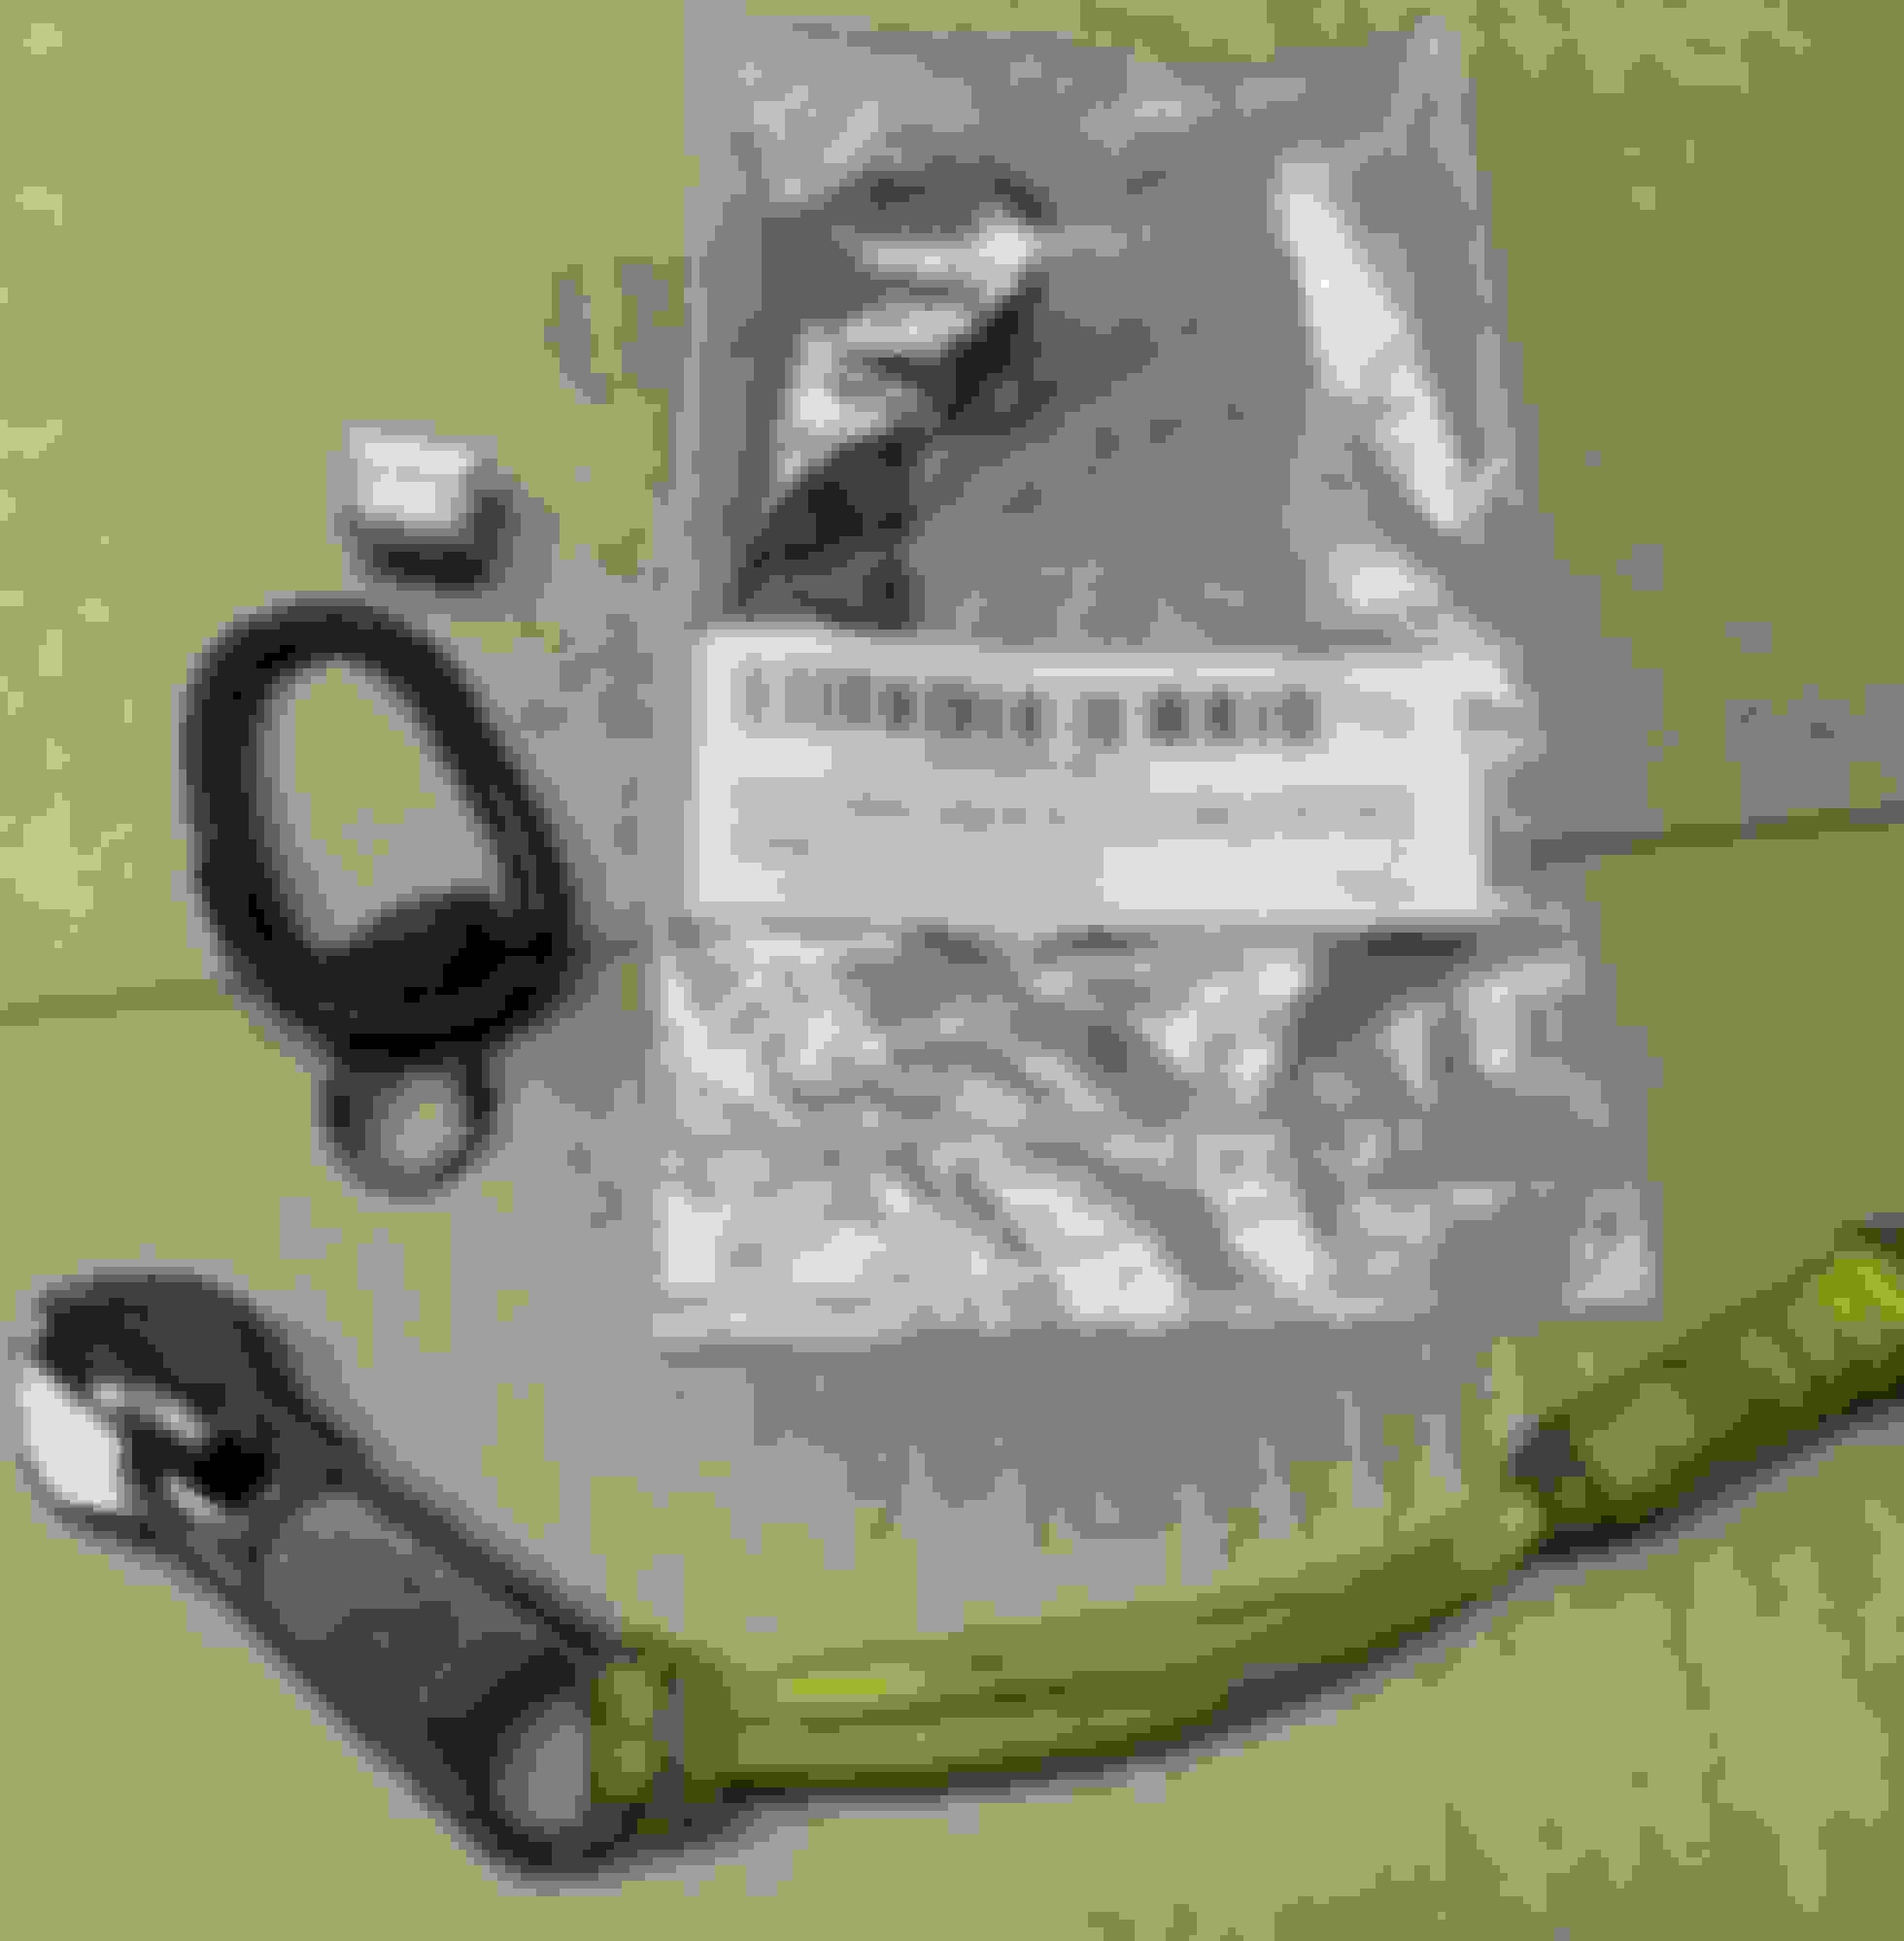
I also installed some poly inserts for the diff bushings. I installed these to fix the 2nd to 3rd gear miss shift, I was finding 5th gear a lot when shifting fast.
I wish I installed proper bushings when the diff was out of the car, but these seem like a good compromise. They were about $60 delivered but took a while to get in.
Installing them was super easy, it took about 45 mins to get them in.
Basically:
Jack up the rear end of the car
Support the diff with a jack and remove the 4x12mm and 2x17mm nuts on the diff arm mounts
Lower diff a few inches and slide in the inserts as shown (Instructions say to lube inserts but it wasnt provided with them...)
Raise diff back up and reinstall 6x fasteners
Lower car back down
How the lower inserts sit in the lower diff mount plates
Another angle
How the upper insert sits in the oem bushing. I have it shown on the bottom of the bushing here so I could get a pic of it.
This insert has a flat surface on it, I installed the flat side on the top and against the car body.
I couldnt lower the diff enough to slip the top inserts in. The diff was resting on the exhaust and the diff stud mounts were still inside the metal diff bushing sleeves.
I cut the upper inserts so they could go around the stud and into the bushings.
I couldnt find any reviews for these for miatas. So heres my review compared to my decent shape oem bushings.
The 2nd to 3rd gear miss shift is fixed for me
The throttle response feels much faster when hitting the gas. It can be harsh if flooring it in 1st or 2nd gear but not too bad
Taking off from a stop in 1st gear feels smoother. If I let the clutch out too fast I could feel the diff bounce back a forth a little but not after installing these
I hear a slight gear whine when engine braking and a slight clunking sound when cruising, both in the 3-4k rpm range. Its quiet enough that I think I will tune it out soon
Somehow the rear view mirror vibrates even more
I lubed the bushings and dont have any squeaks (yet)
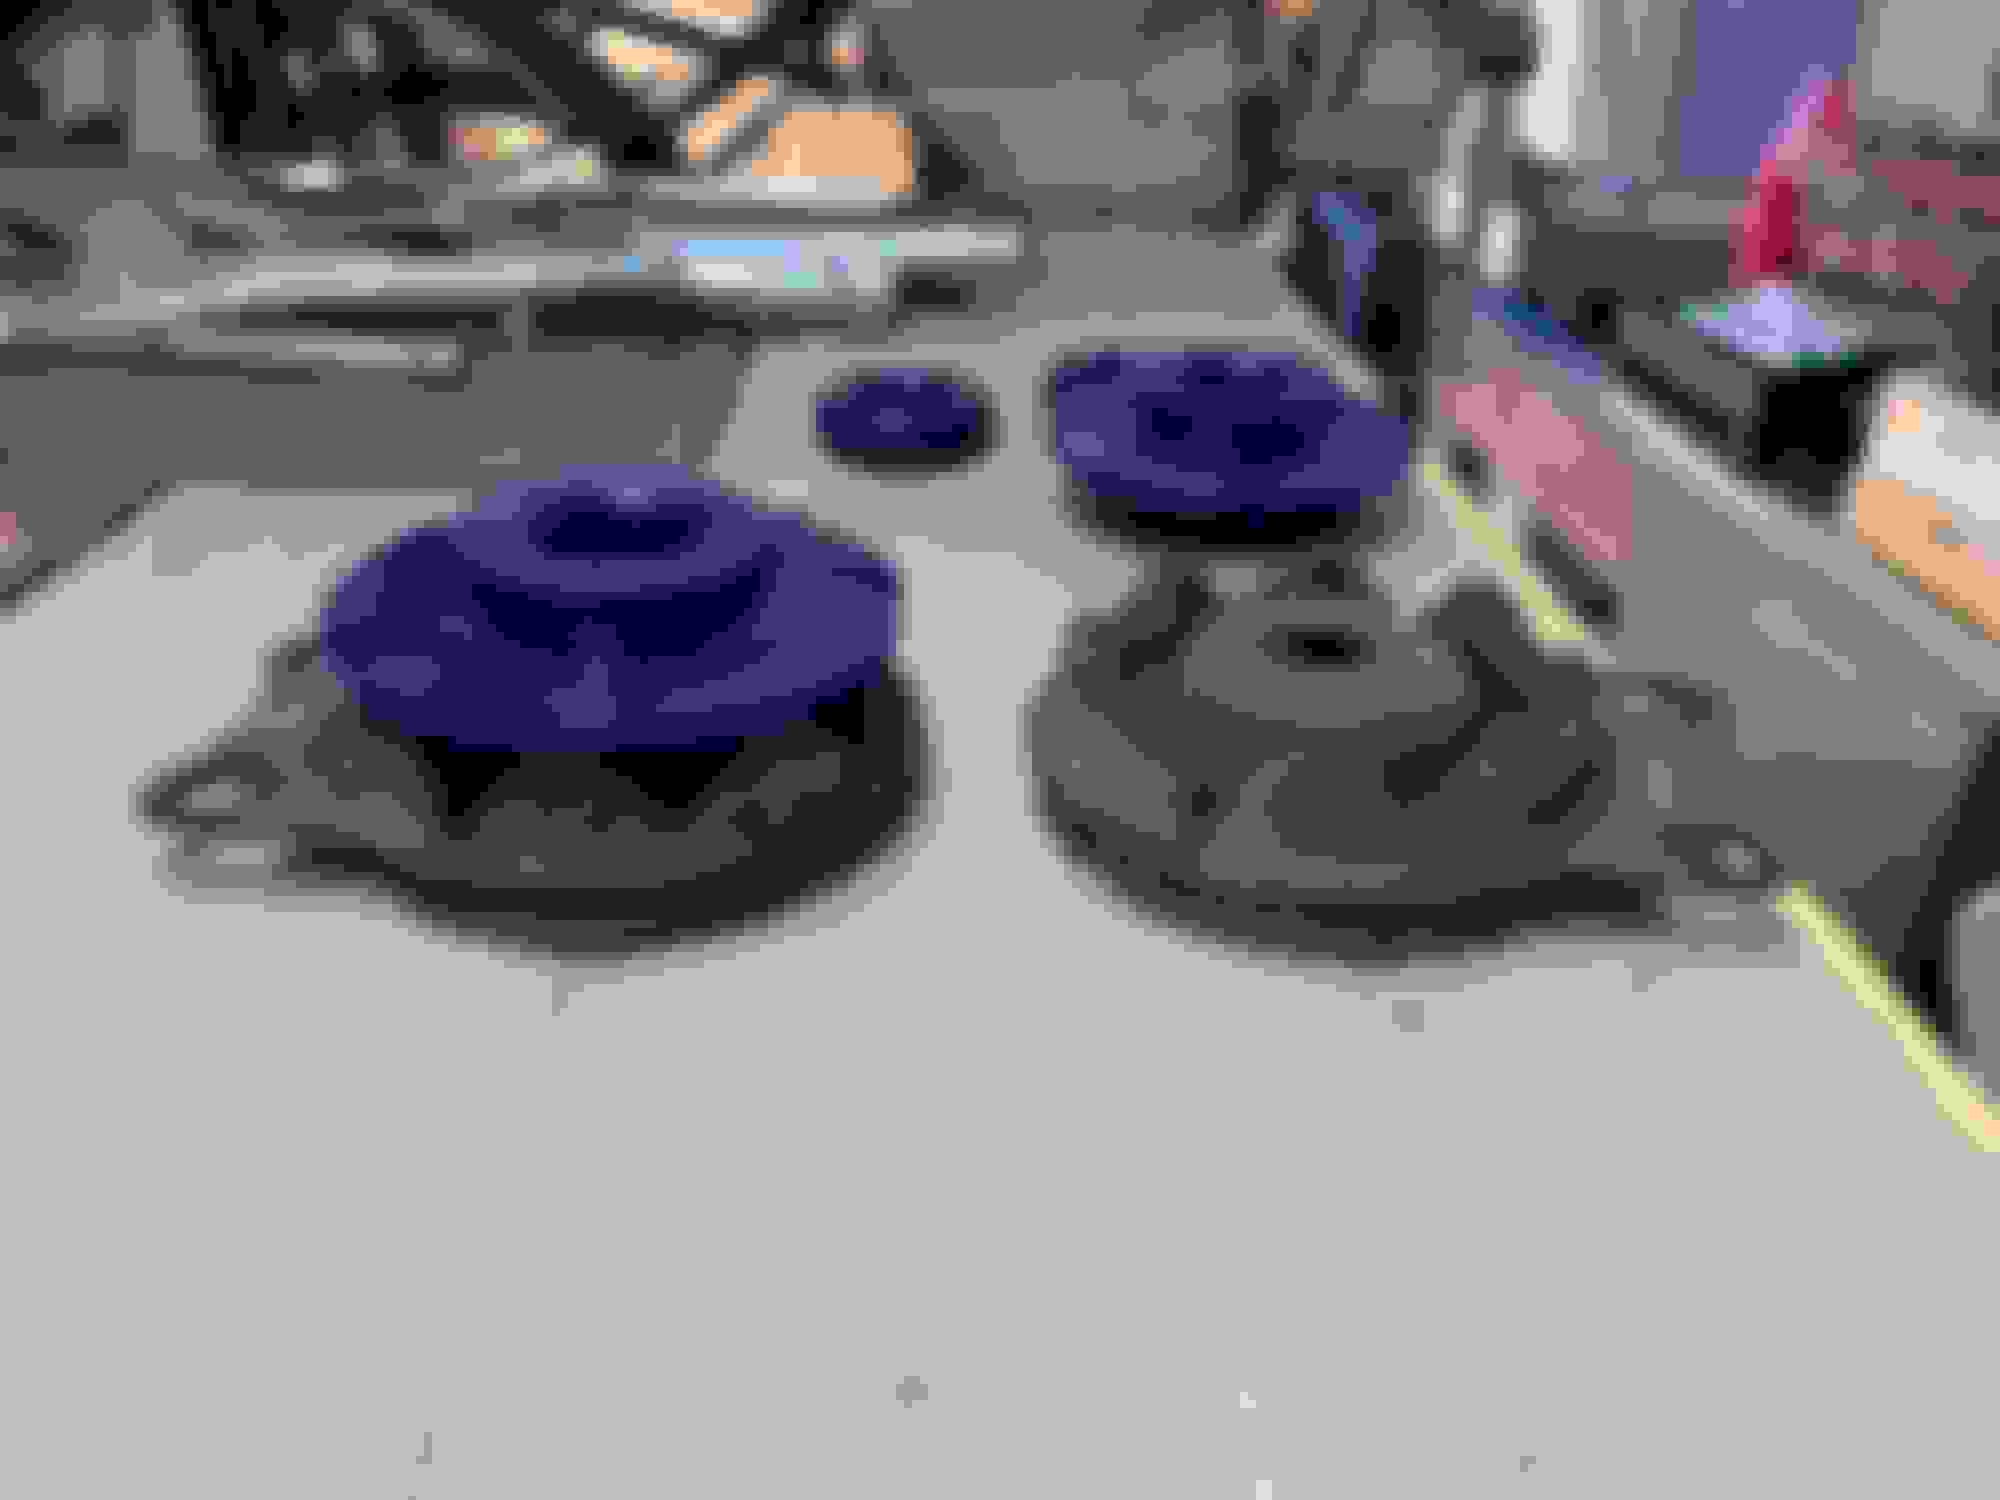
Upgraded my headlights to E-code housings and H4 bulbs. I was going to get the Cibies but theyre $250 a set right now for some reason.
Ended up going with Bus Depot's knock offs (NL910CH4) with Hella 60/55 watt bulbs. Was $60 shipped total.
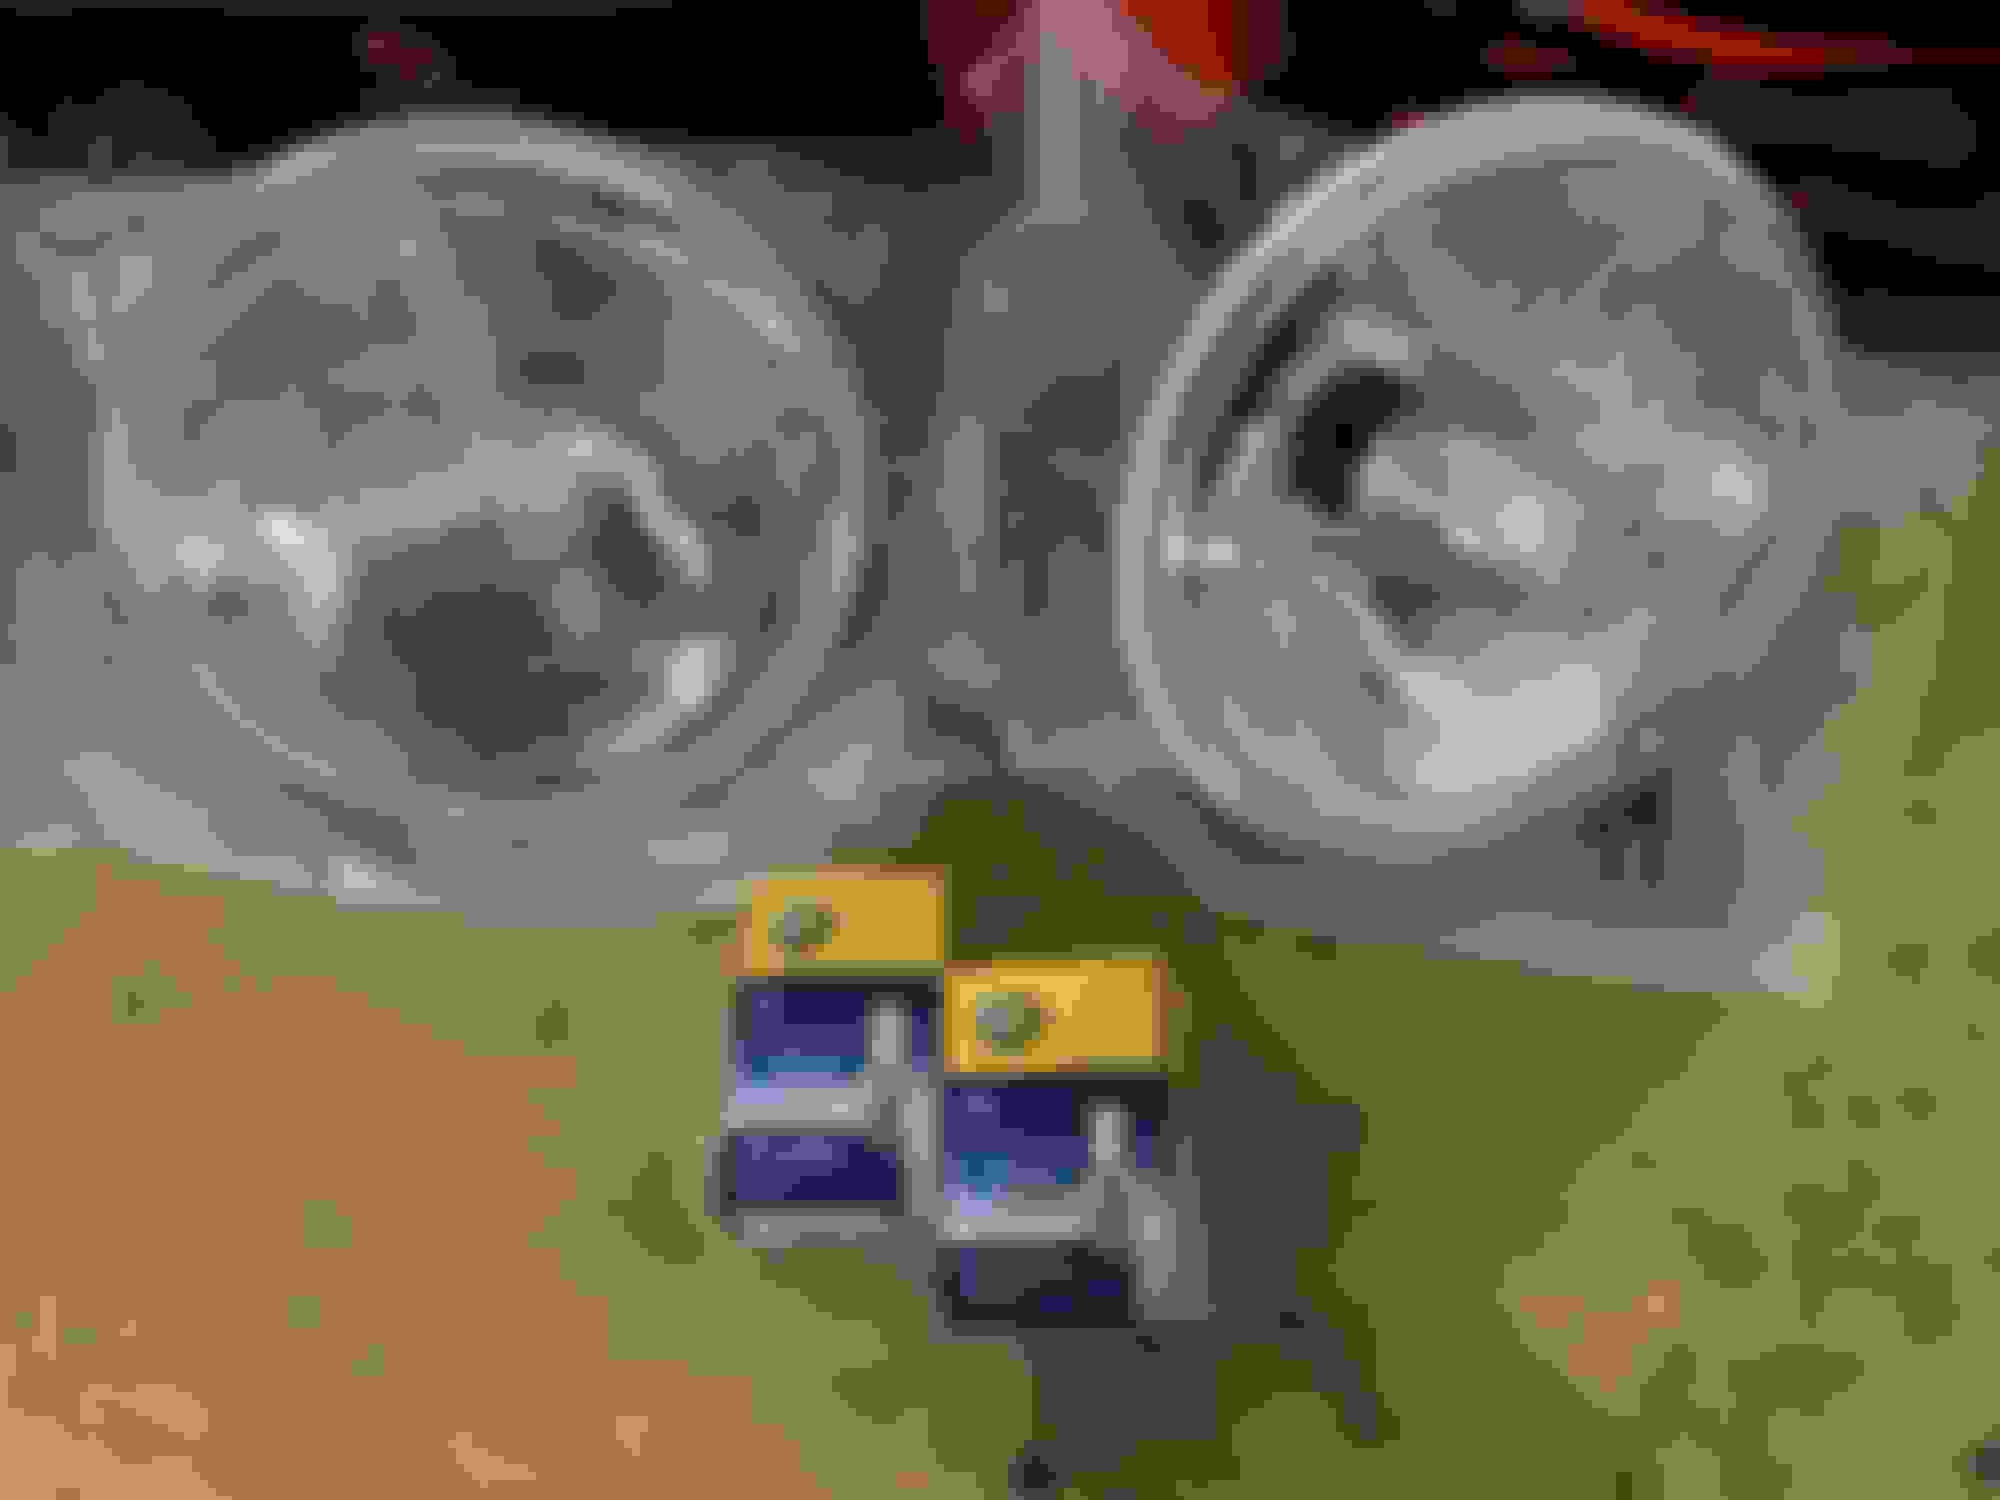
New parts
Old sealed beams on left, new on right
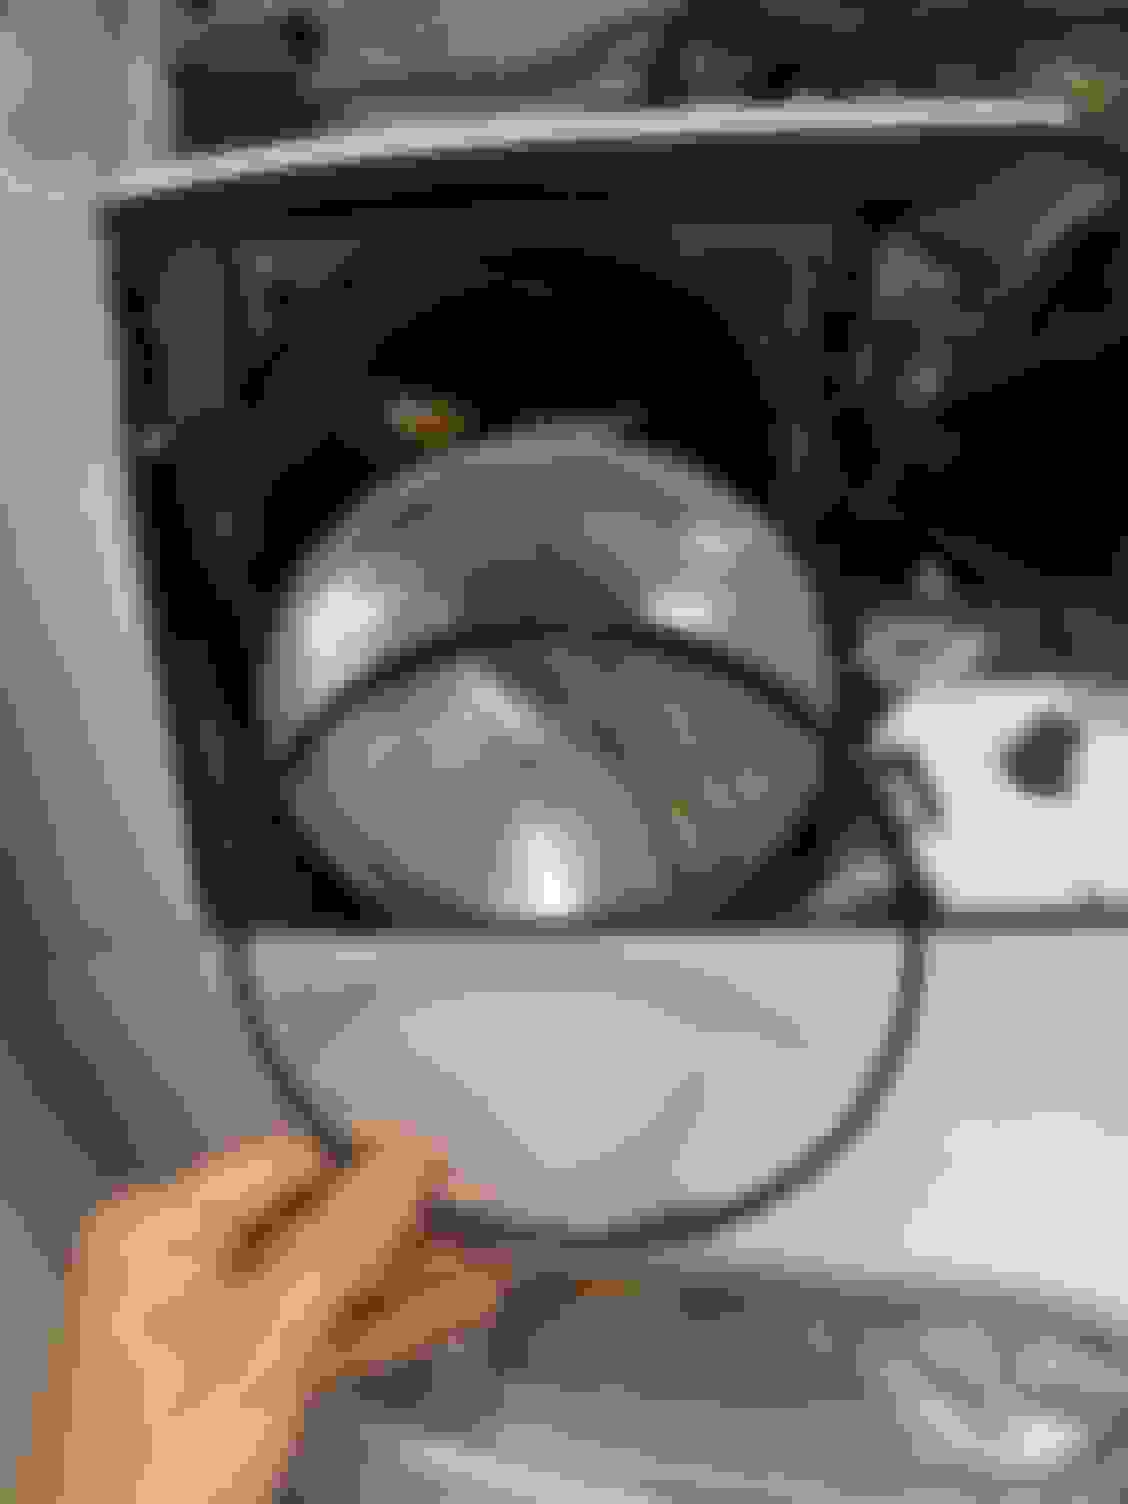
Really easy to remove, 4 screws on the outer covers, then 3 screws for the black twist ring thing.
Aimed as best as I could.
2.25" drop at 25 feet and aimed straight ahead. Decent cutoff for halogens. A little glare above the cutoff from the drivers side.
Low beams, theyre significantly better. I think I might need to aim the passenger light outwrads a little to light up the side more.
Forgot to get a before pic and a pic of the hi beams.
Emissions testing time.
I had a hell of a time passing 2 years ago since Im not running a cat. They run a sniffer in the exhaust and check idle and ~2500 rpms. I had trouble with HC at idle, too much unburnt fuel.
I got it to pass after a few attempts and screwing with the tune, passed at 180 out of 180 limit . I think idle HC was around 300 before these changes:
Adjusted idle speed to 1050 rpm
Switched to 86 octane fuel
Gapped spark plugs to 0.038"
Retarded idle ignition timing to like 1*
15.0:1 afr at idle
Adjusted radiator fan to kick on at 220F to get engine extra hot
Old emission cert
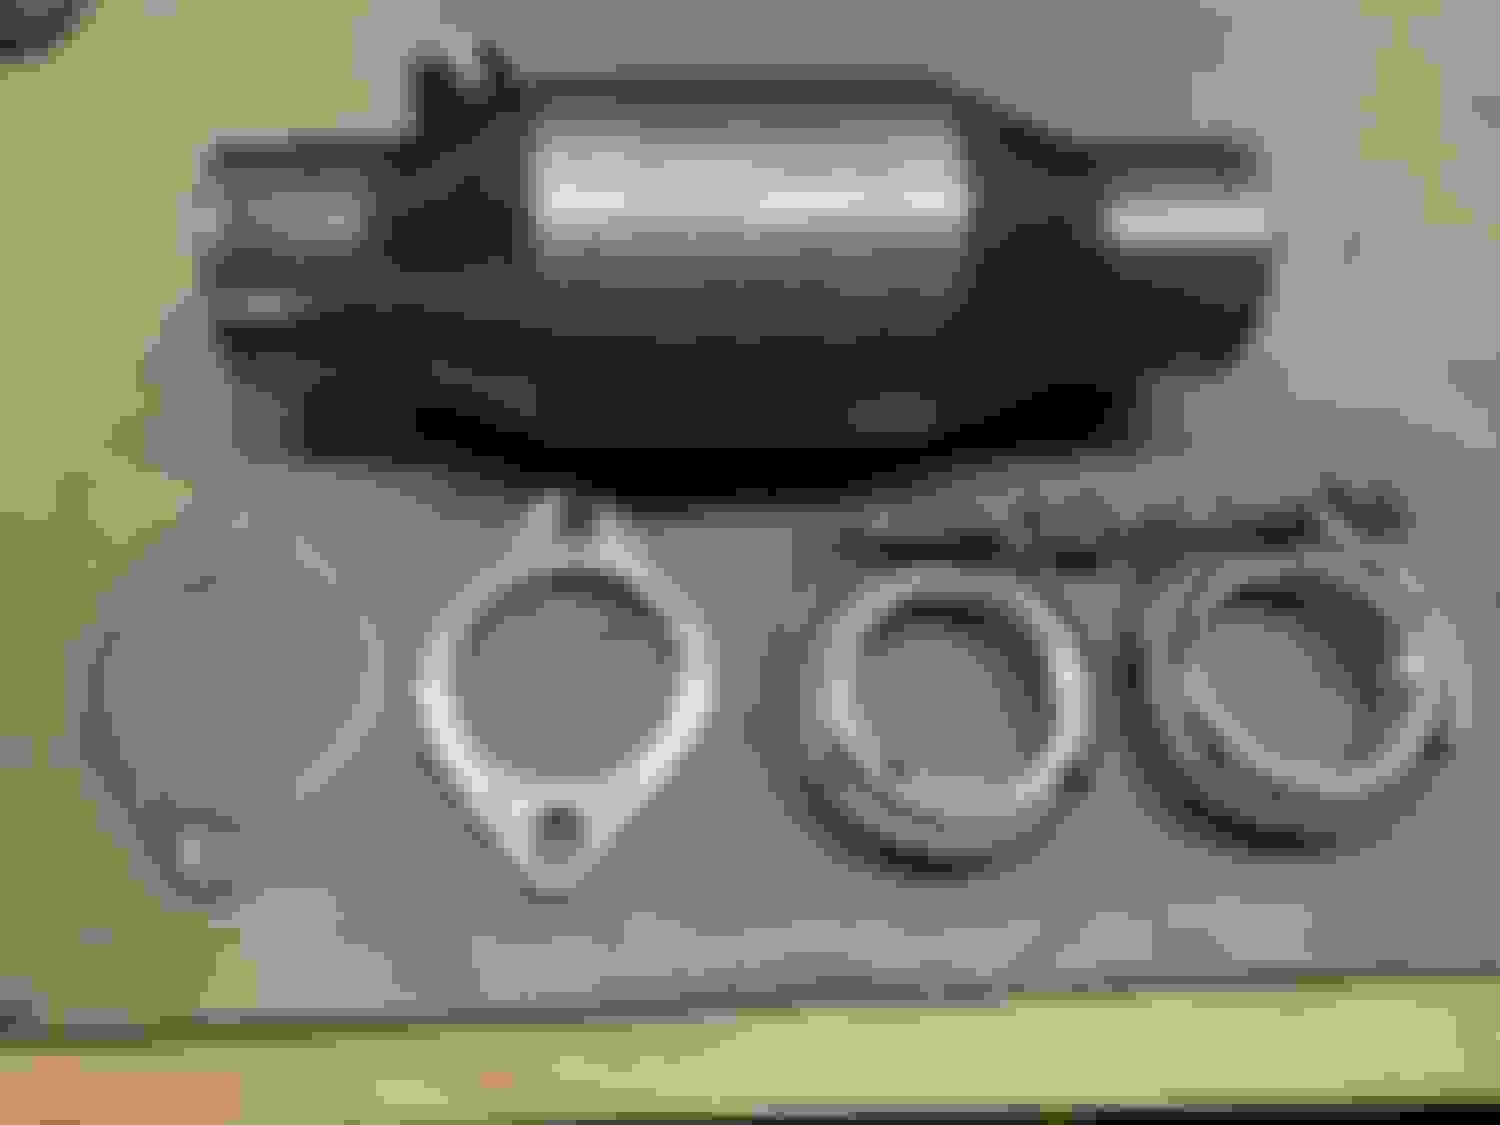
This year Im making a swappable test pipe and a cheap cat. It was $155 for all the parts, a little more to get it welded.
The kraken exhaust kit I got is catless and the down pipe flange is at a different angle as the OEM exhaust. So I cant just swap it back for the oem cat.
$55 shipped cheap cat, probably too constrictive to keep in on.
Flange on one side for the down pipe and a Vband on the other side to connect to the exhaust.
Ill have another Vband welded to the section of pipe thats cut out so I can switch it back to catless if needed.
Is your rear end twitchy? I think your end links are installed on the wrong side of the swaybar.
Havent noticed it feeling twitchy, but its definitely on the wrong side. They been like that since I got the car.
Think Ill swap them around this weekend and see how it feels.
I switched the endlinks around. They look a little tired, but it does feel a little less twitchy when starting to turn and transferring more weight to one side.
Before, when first starting to turn, it felt like you could feel the oversteer increasing then leveling out. It feels more linear now. In the middle of a turn though I cant feel a difference.
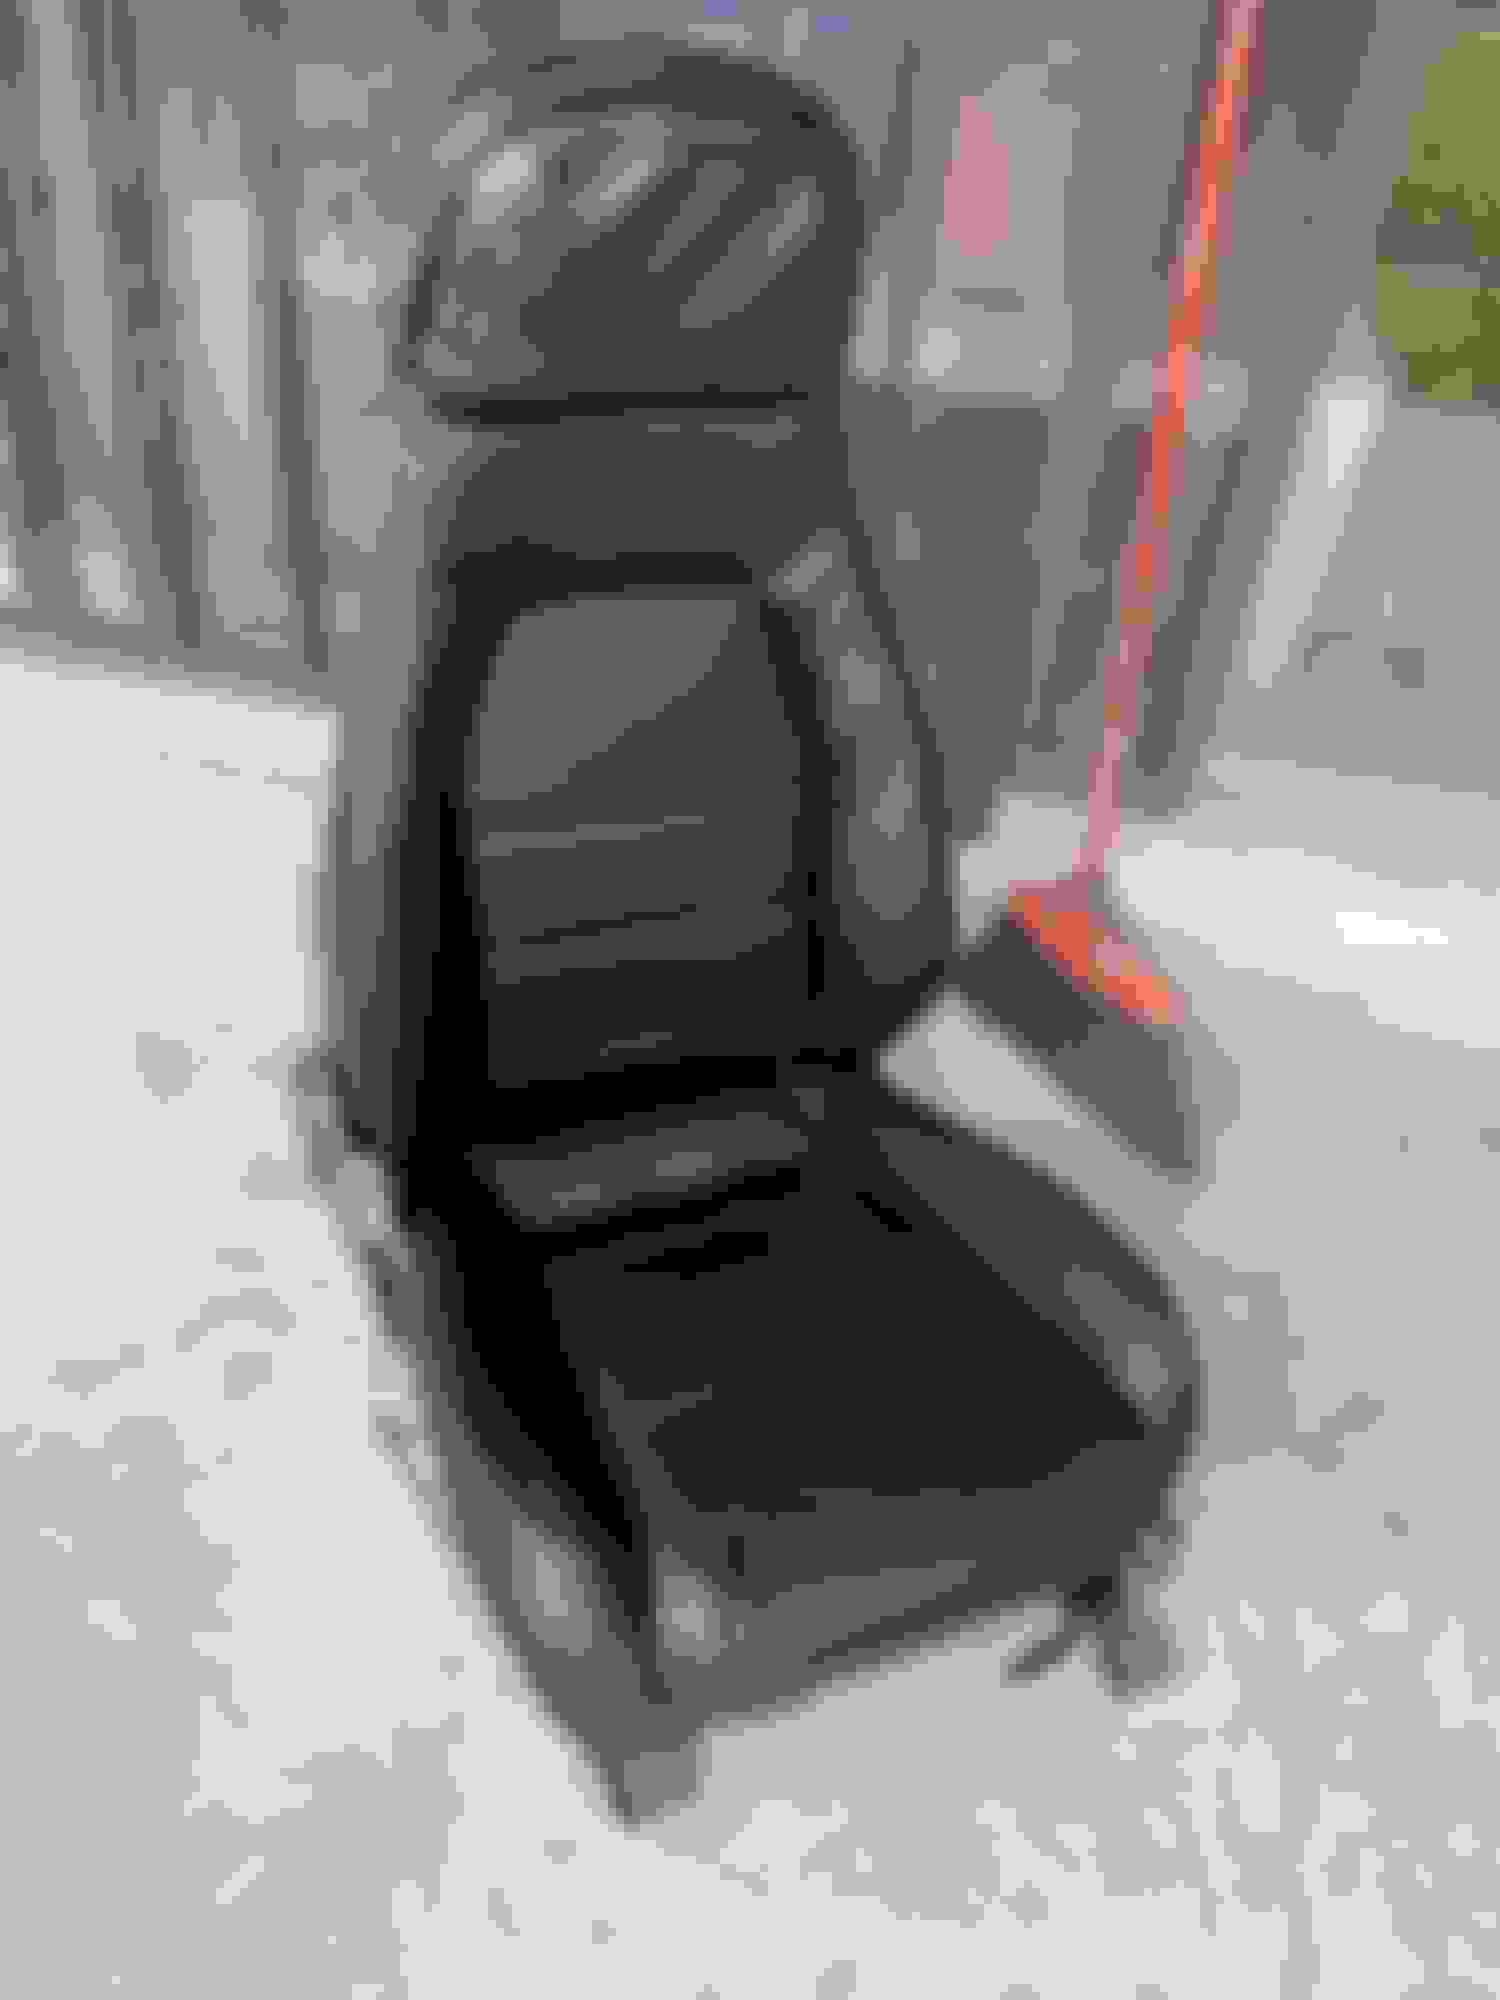
I re-upholstered the seats and did a minor foamectomy on the driver seat. Went with the "Sierra Auto" ones on amazon for $115 shipped for the set. They never came with instructions
The install took about 5 hours. Its pain to do, so I didnt take too many pics. I think I went through about 120 zipties between the two seats.
The original cloth covers had some minor tears and weird stains. But the main reason I replaced them is they held a ton of dust.
Here I smacked the passenger seat and filled the cabin with dust. No amount of vacuuming would clean it.
Remove the rails
Separate the back and bottom pieces
Driver side bottom cloth removed.
Theres metal bars embedded in the foam along the creases in the fabric. These ripped out on the drivers seat bottom since it was so worn. I wont be able to get the crisp creases in the fabric anymore.
Minor foamectomy. I just shaved off the part in the metal belly on the bottom. About 1.5" removed.
Skipped some pics, but the new cover on ready to be tightened
Starting on the back side, the center of it is in a flap for the lumbar support
Back dismantled
Rolling the new cover on, starting at the top and working down.
With the foamectomy, it felt like there was too much support in the back. I removed the lumbar support and shaved it down a little.
This made a huge difference, it feels more like a bucket seat after shaving the back down.
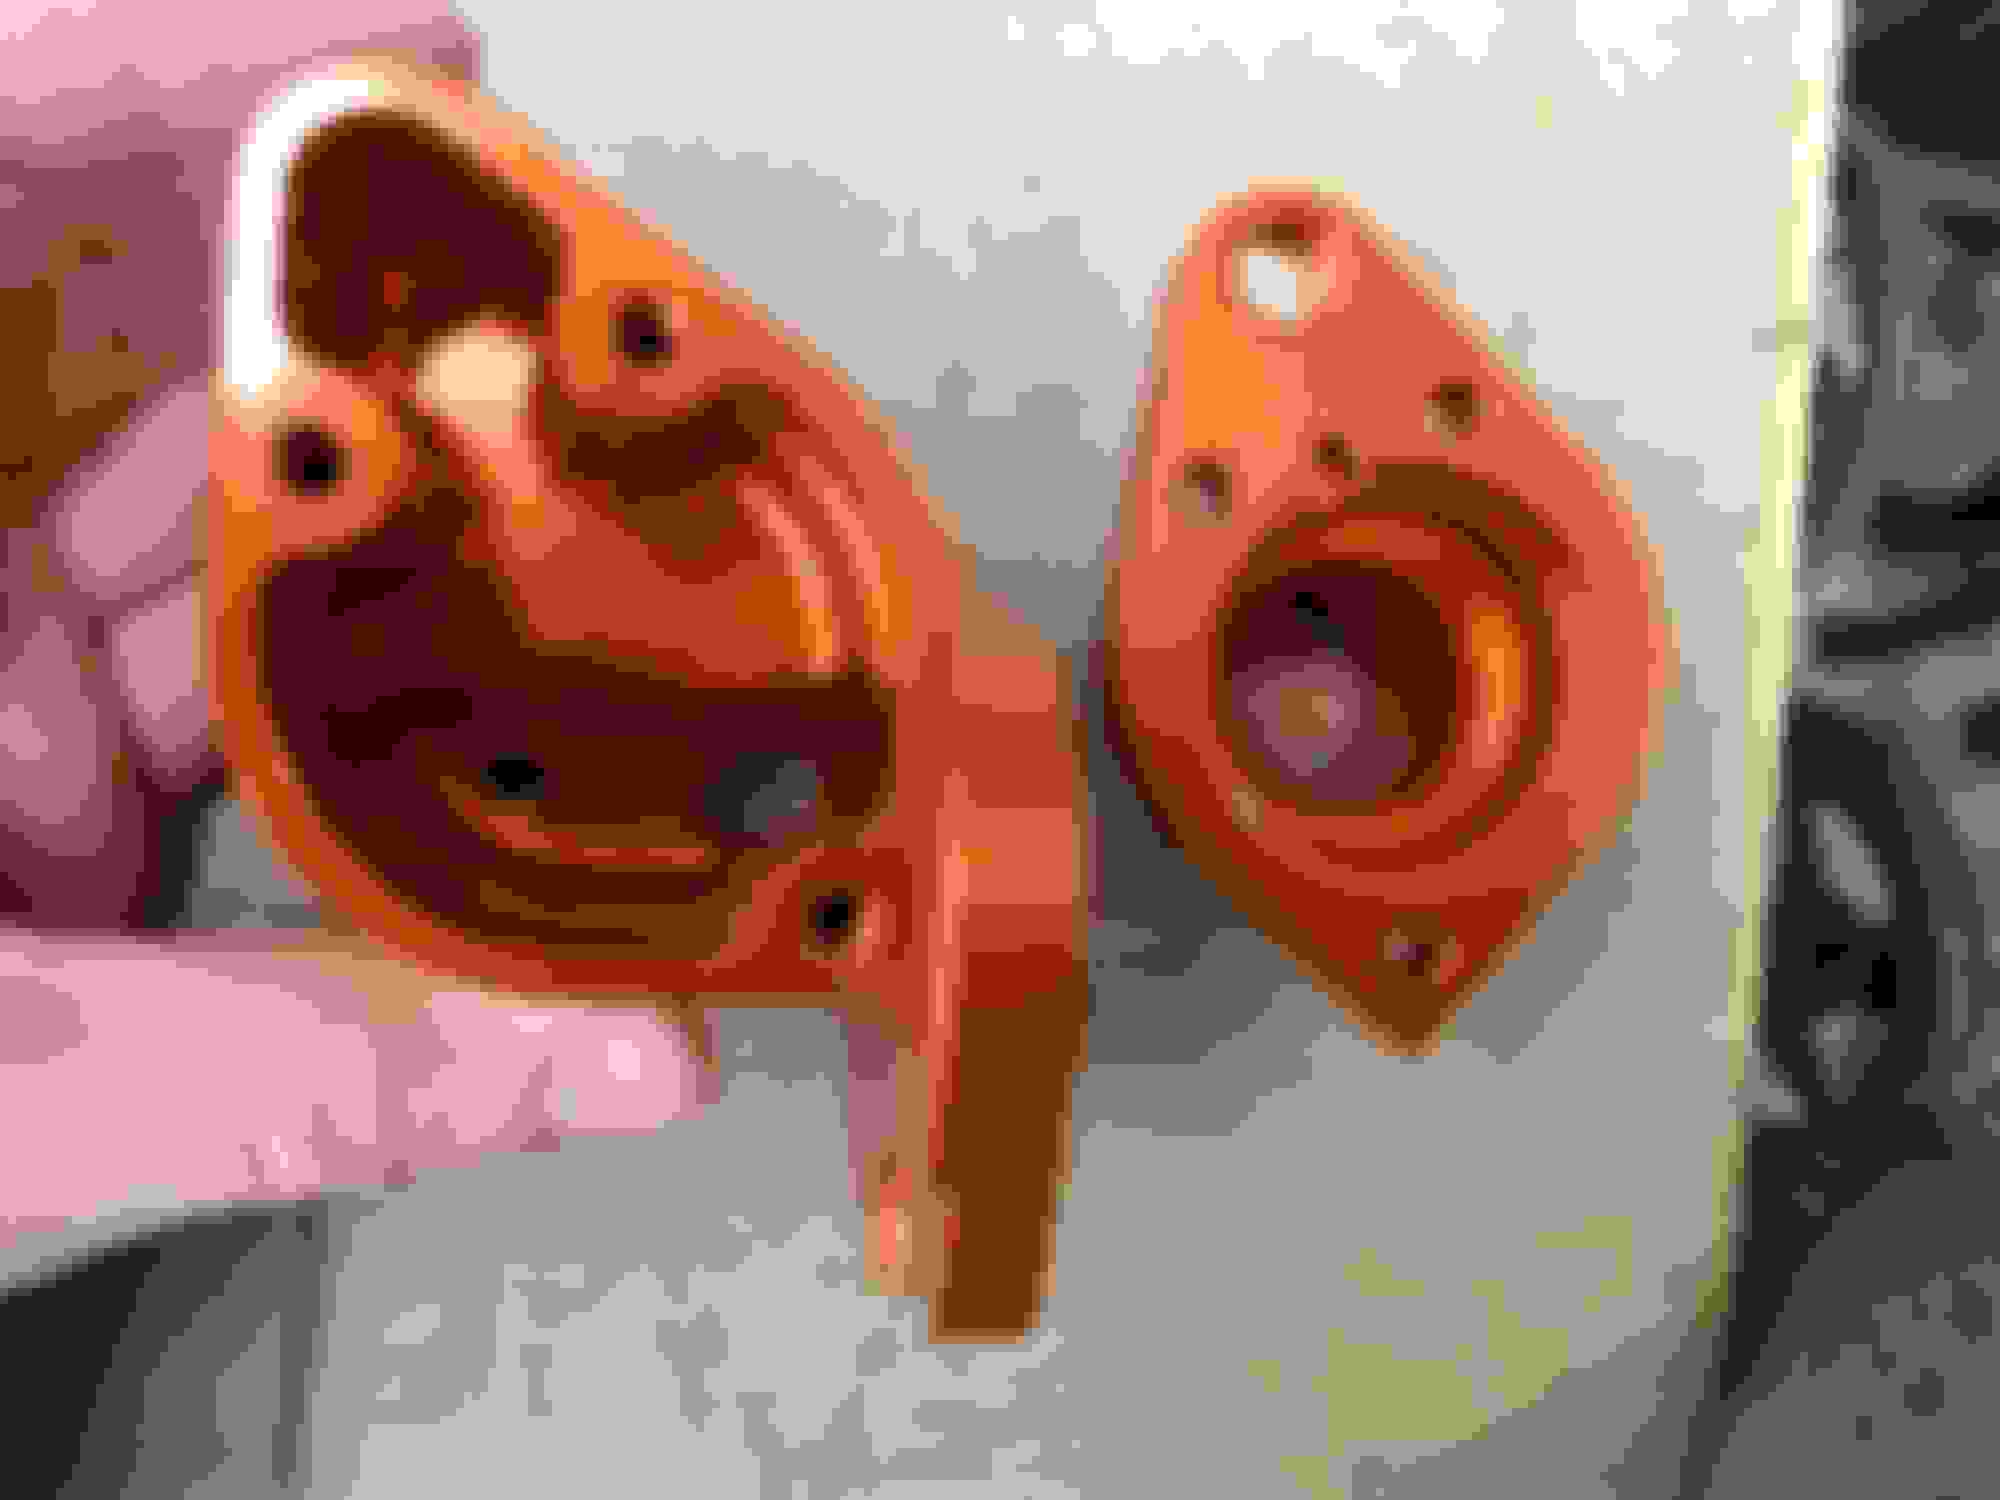
Have plans to clean up the cooling system a little. The heater core is still leaking a year later and I cant find a replacement, and all the windows fog up if its below 40F. Im just going to delete the heater core and add in seat heaters to make up for it. Should make the interior cooler in the summer too.
Figured I would finally knock out a coolant reroute too since the coolant will be drained. I still see 210-215F coolant temps just casually driving around in the summer.
The U-shaped hose in the top center should work for bypassing the heater core (Dayco 87618).
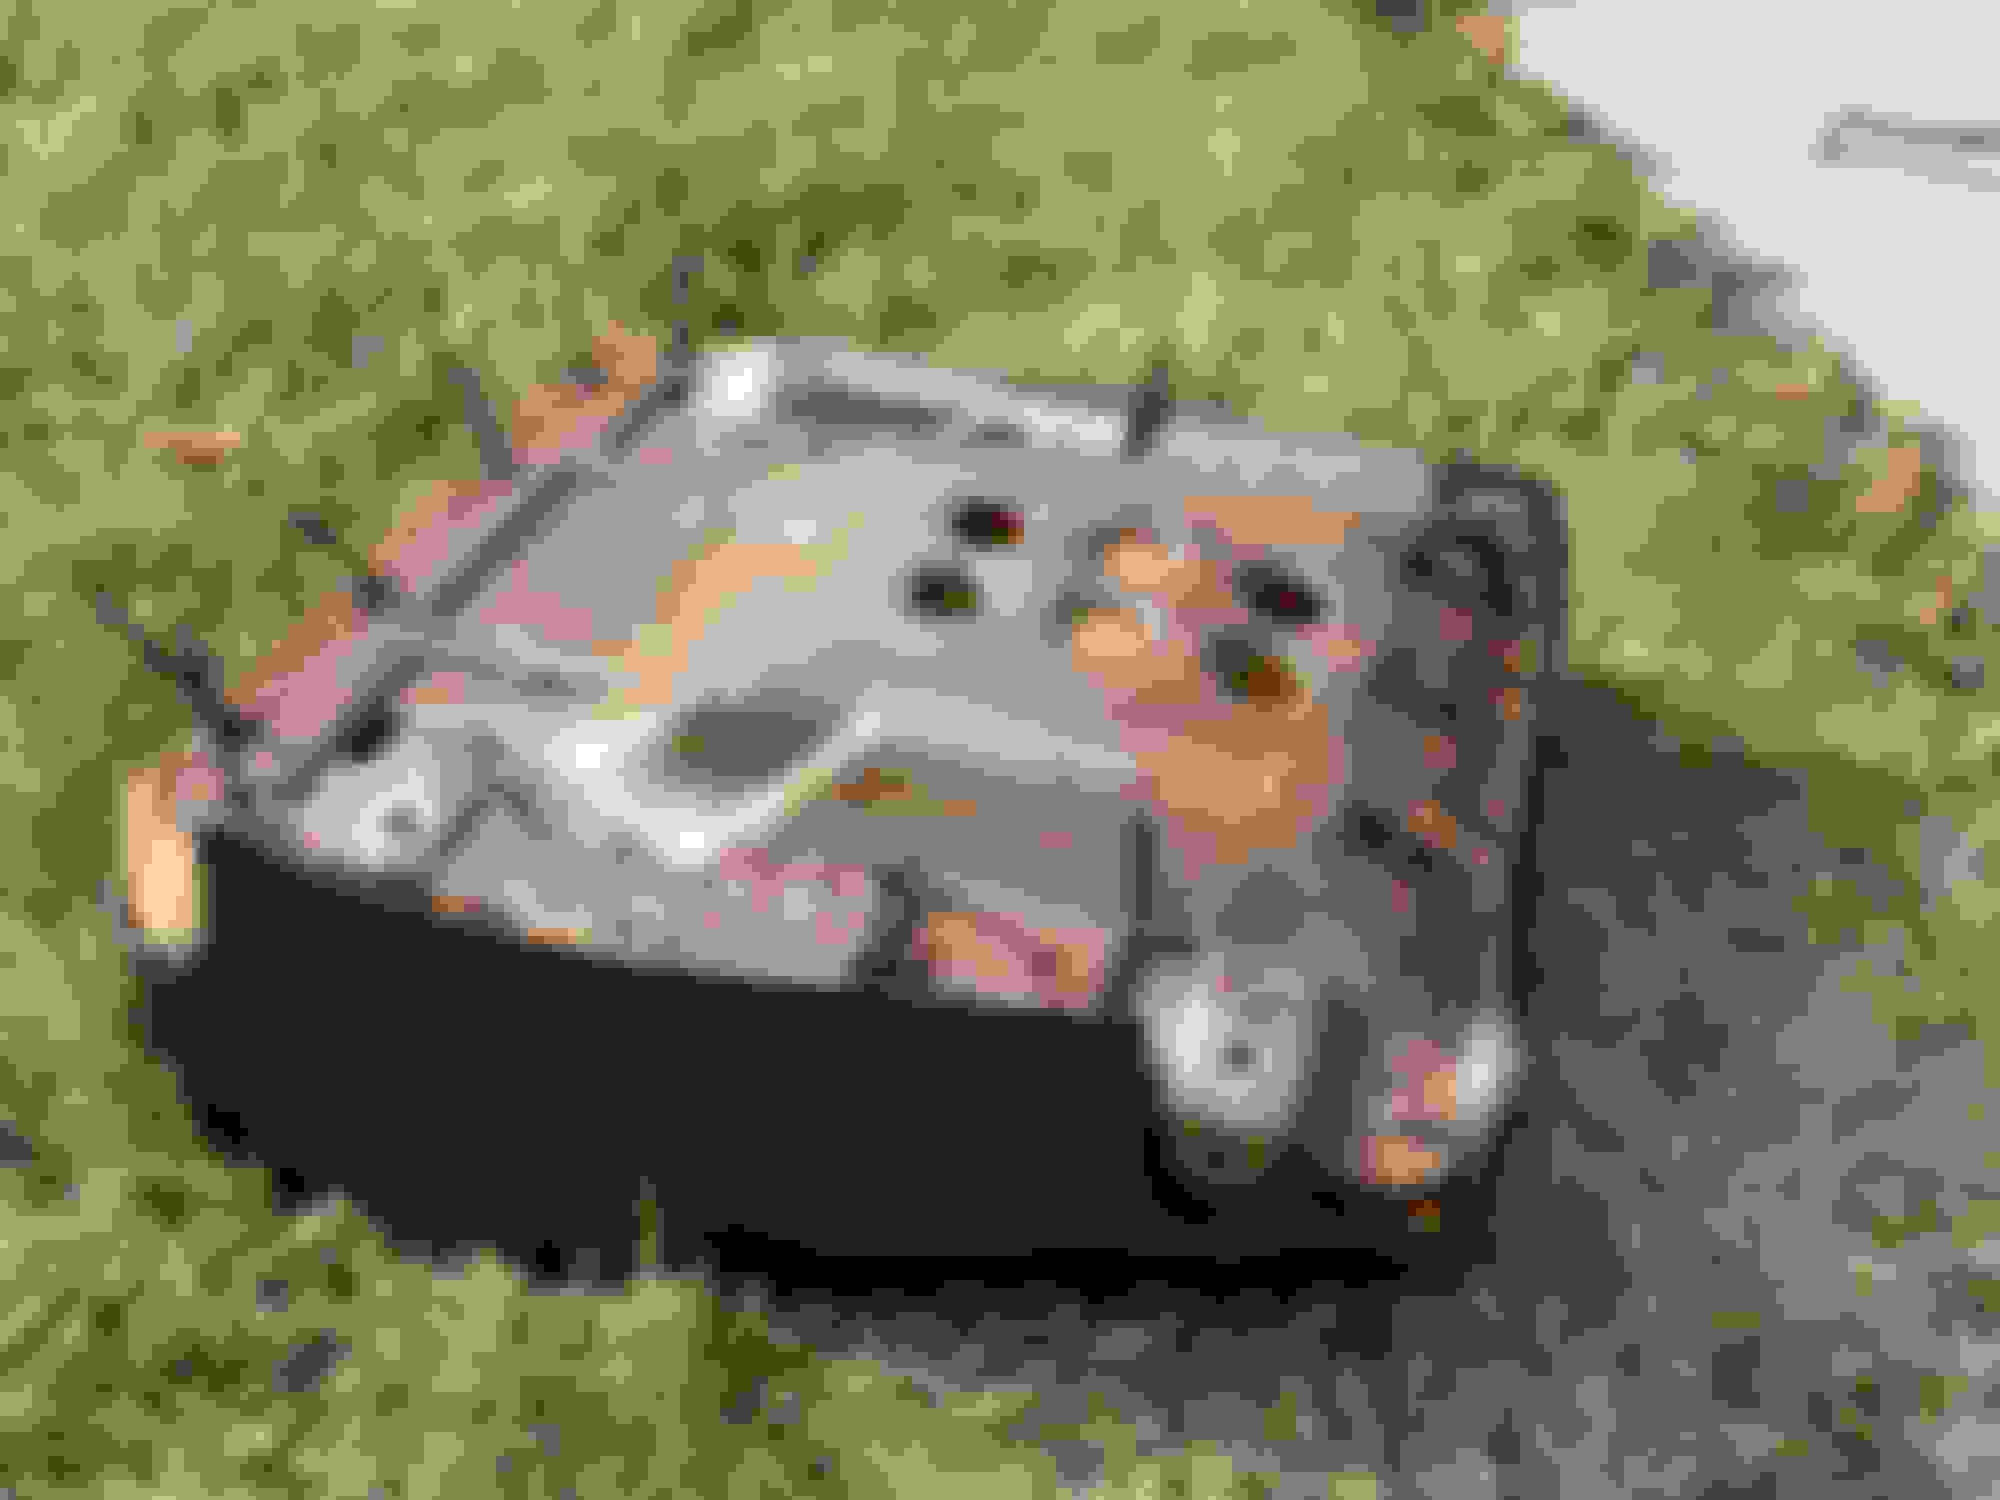
Went with Super Miata qmax reroute. I plan to delete the water neck on the front of then engine too.
Hats off to the machinist
And I got it to pass emissions on the first try with the $60 cat
Old battery was almost 5 years old, it cranked over real slow in the cold
Got a braille B2317, about 7lbs lighter and hopefully a lot more CCA. I think its around 450 CCA and my old 8AMU1R was like 330 when new.
Way better
Installed
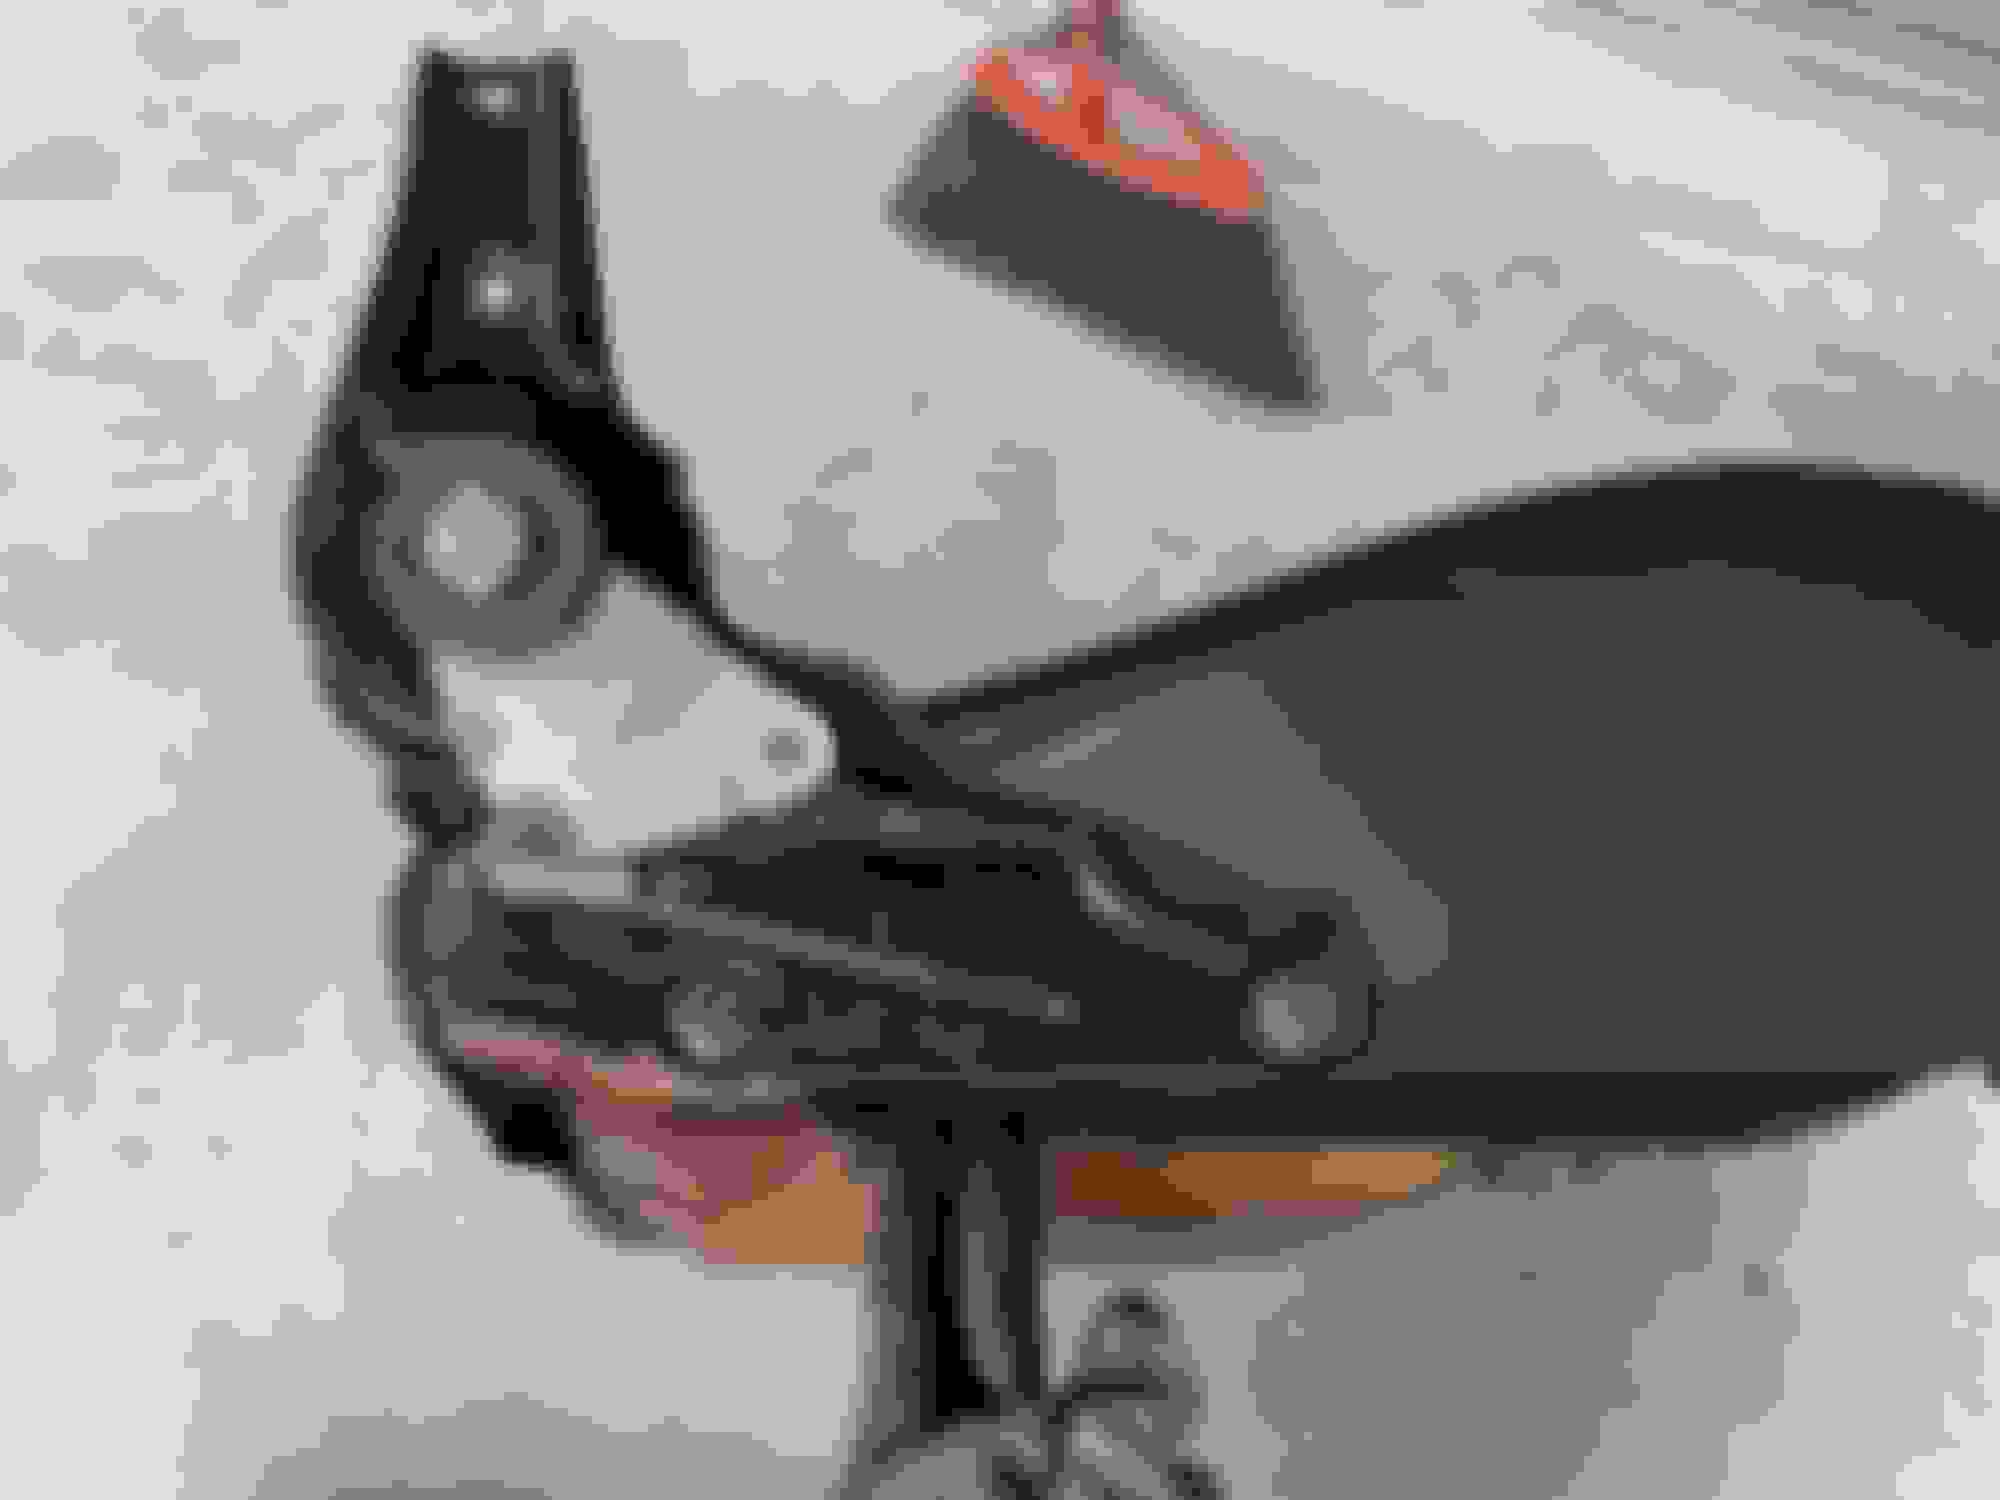
Dry fitting seat heater pads. The whole kit was like $50 shipped, super worth it
It needs only two electrical connections, switched power and ground. I used a "add a fuse" tap thing to feed off the cigarette lighter, didnt have to cut oem harness. The seats use a 7.5A fuse and cig lighter is 15A. I ran the ground to a stud nearby.
Added the switch with the other ones
Rough cable routing under the center console
And had to tear apart the driver seat again to add the heating elements in... getting pretty fast at it
I got the miata on a dyno today to get the timing map tuned. Also made some minor changes to the AFR target table, mainly richened it up around 85-100kpa.
Ended up making 221whp and 231wtq at 12psi. The torque drops off more than I like after 4700rpm but its not that bad. The tuner thinks its my 2.5" exhaust choking it out. Looking at other dyno plots, it looks like torque on a 1.8 and 2554 combo will start dropping off around 5500 to 6000rpm.
Red lines are at wastegate pressure (7psi spring)
Blue lines are high boost 12psi (about 14.5 psi above barometric pressure at this elevation)
Nothing to do with a 2.5".
Textbook how it should be and you got a couple pounds of boost to spare.
Nice work by your tuner, especially with your elevation and fuel.
Just read through the whole thread, you've ended up with some nice numbers at the end of all that, how's it feel on the road? I'm pretty much at the start of an almost identical build, minus the elevation, so keen to hear your thoughts.
Its super fun, turbo is really responsive and fast spooling (why I went with it), should be even faster at sea level. And its really nice for daily driving, it kind of feels like a bigger engine since theres very little lag.
However, I can feel the power dropping off before redline so I usually shift below 6k rpm when accelerating hard. Thats ok for me, but something to think about if you like to rev it high.

 08-02-2021, 10:46 PM


 0
0


 . I think idle HC was around 300 before these changes: