When you click on links to various merchants on this site and make a purchase, this can result in this site earning a commission. Affiliate programs and affiliations include, but are not limited to, the eBay Partner Network.
So even though I have the Wilwood hats and their correct offsets, I decided to take some liberties and redesign a set with inspiration from the design of the Trackspeed setup I had for the miata. Printed it out and it fits well!
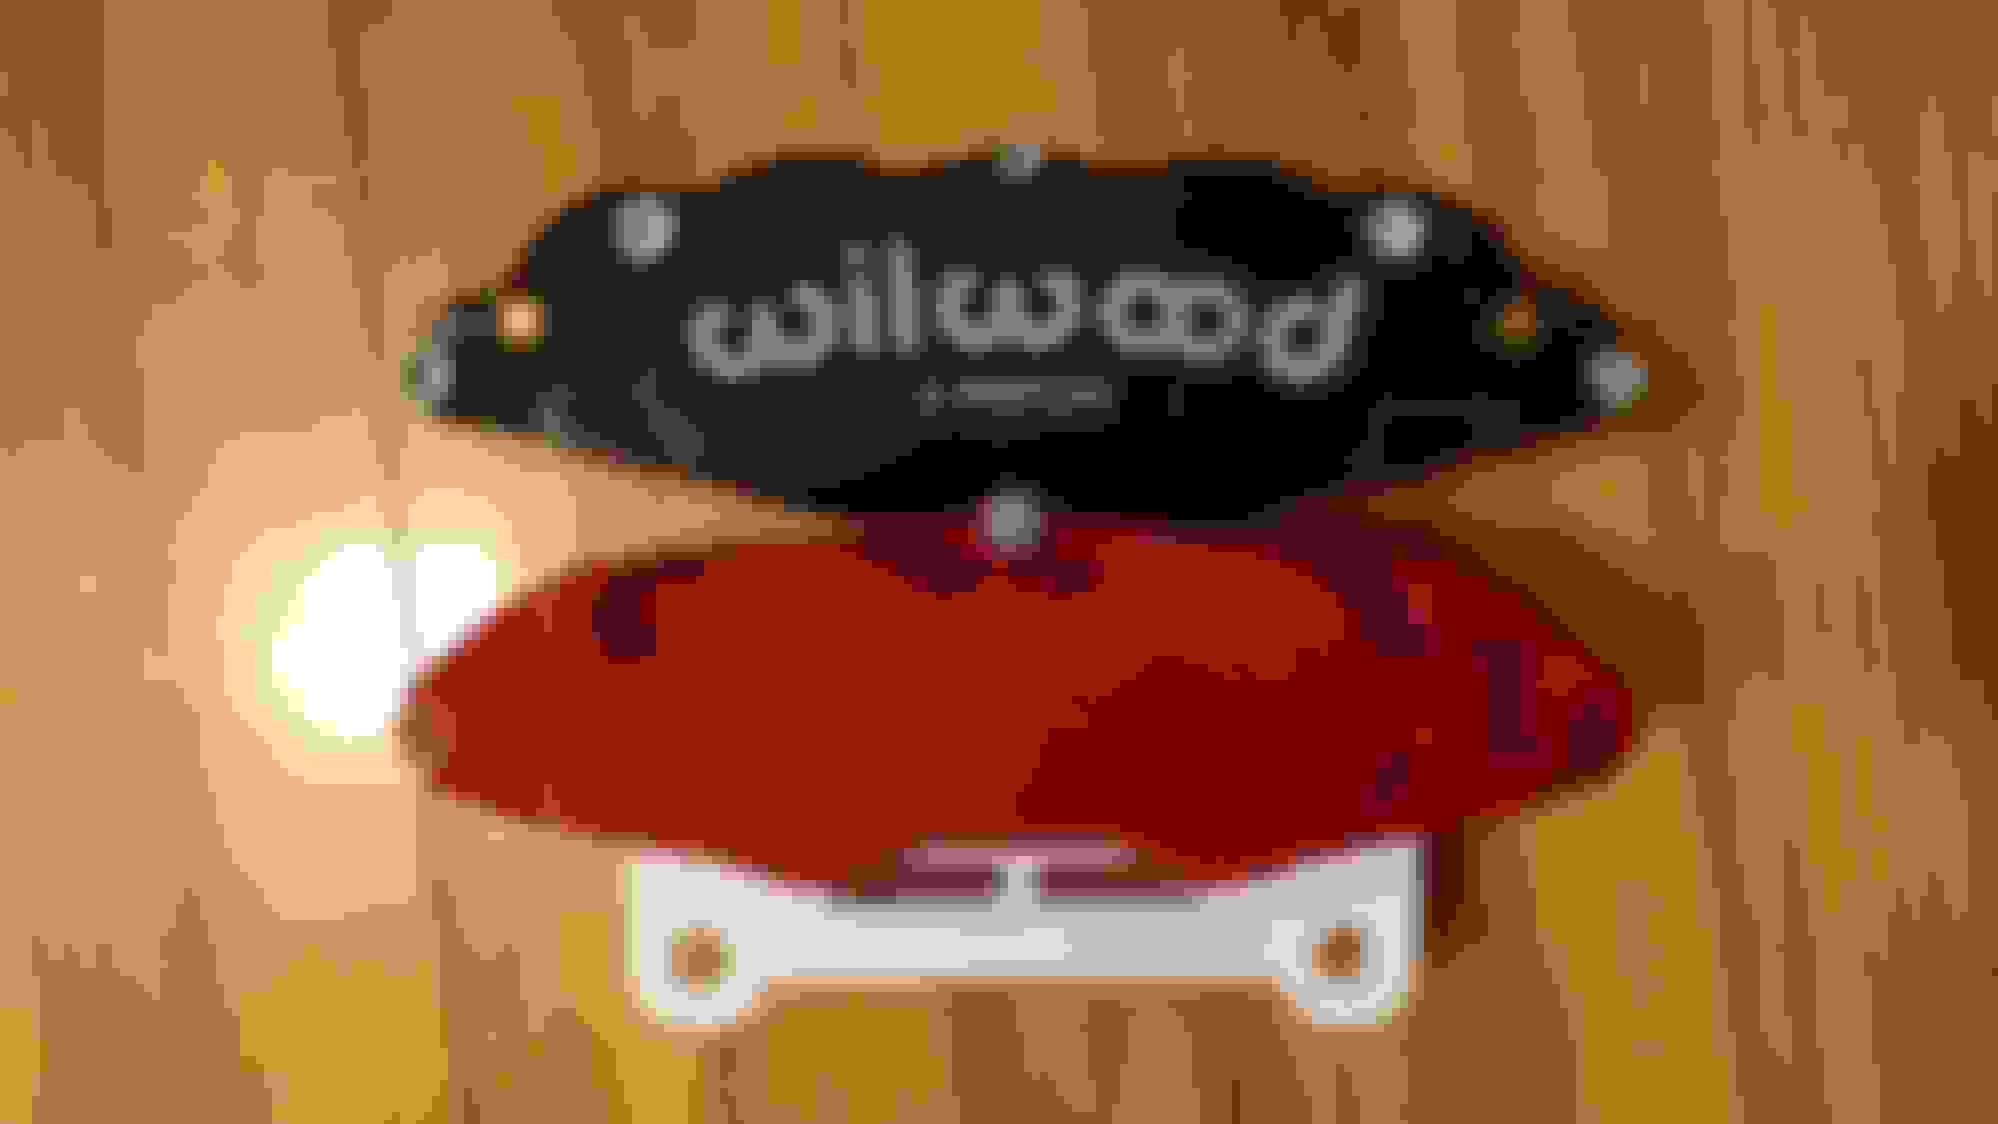
Calipers came in, and I have confidence now in the model previously printed.
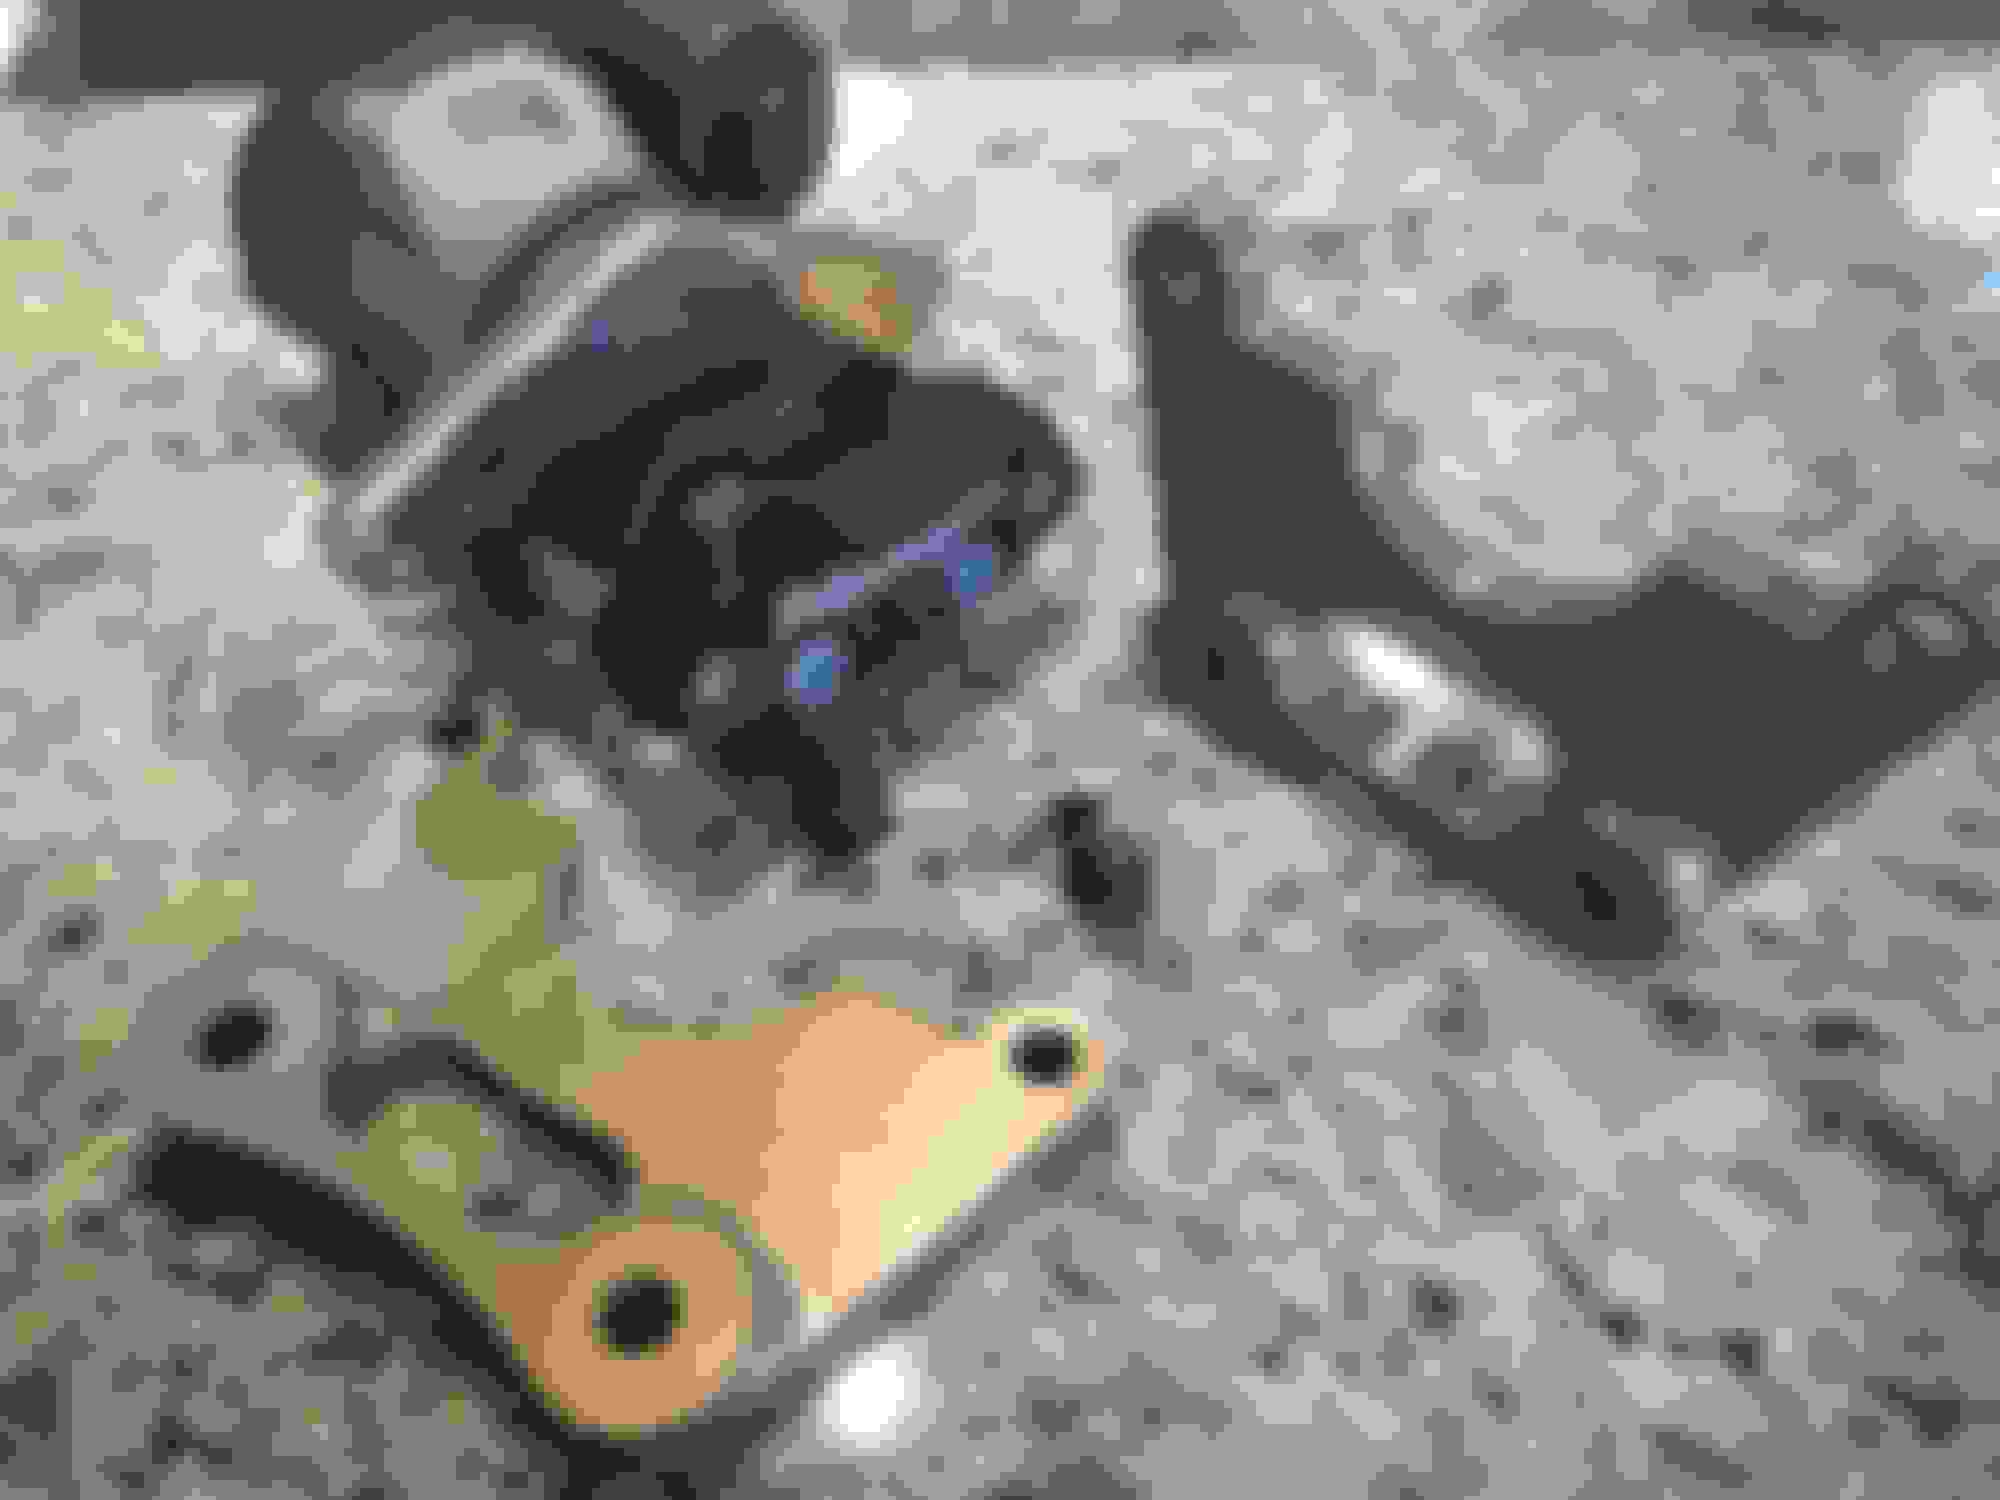
Had the brackets previously designed cut and test fitted to the OEM 370z knuckle. Tooling didn't come in to make the slots, but I'm not too worried about it.
Perfect fit!
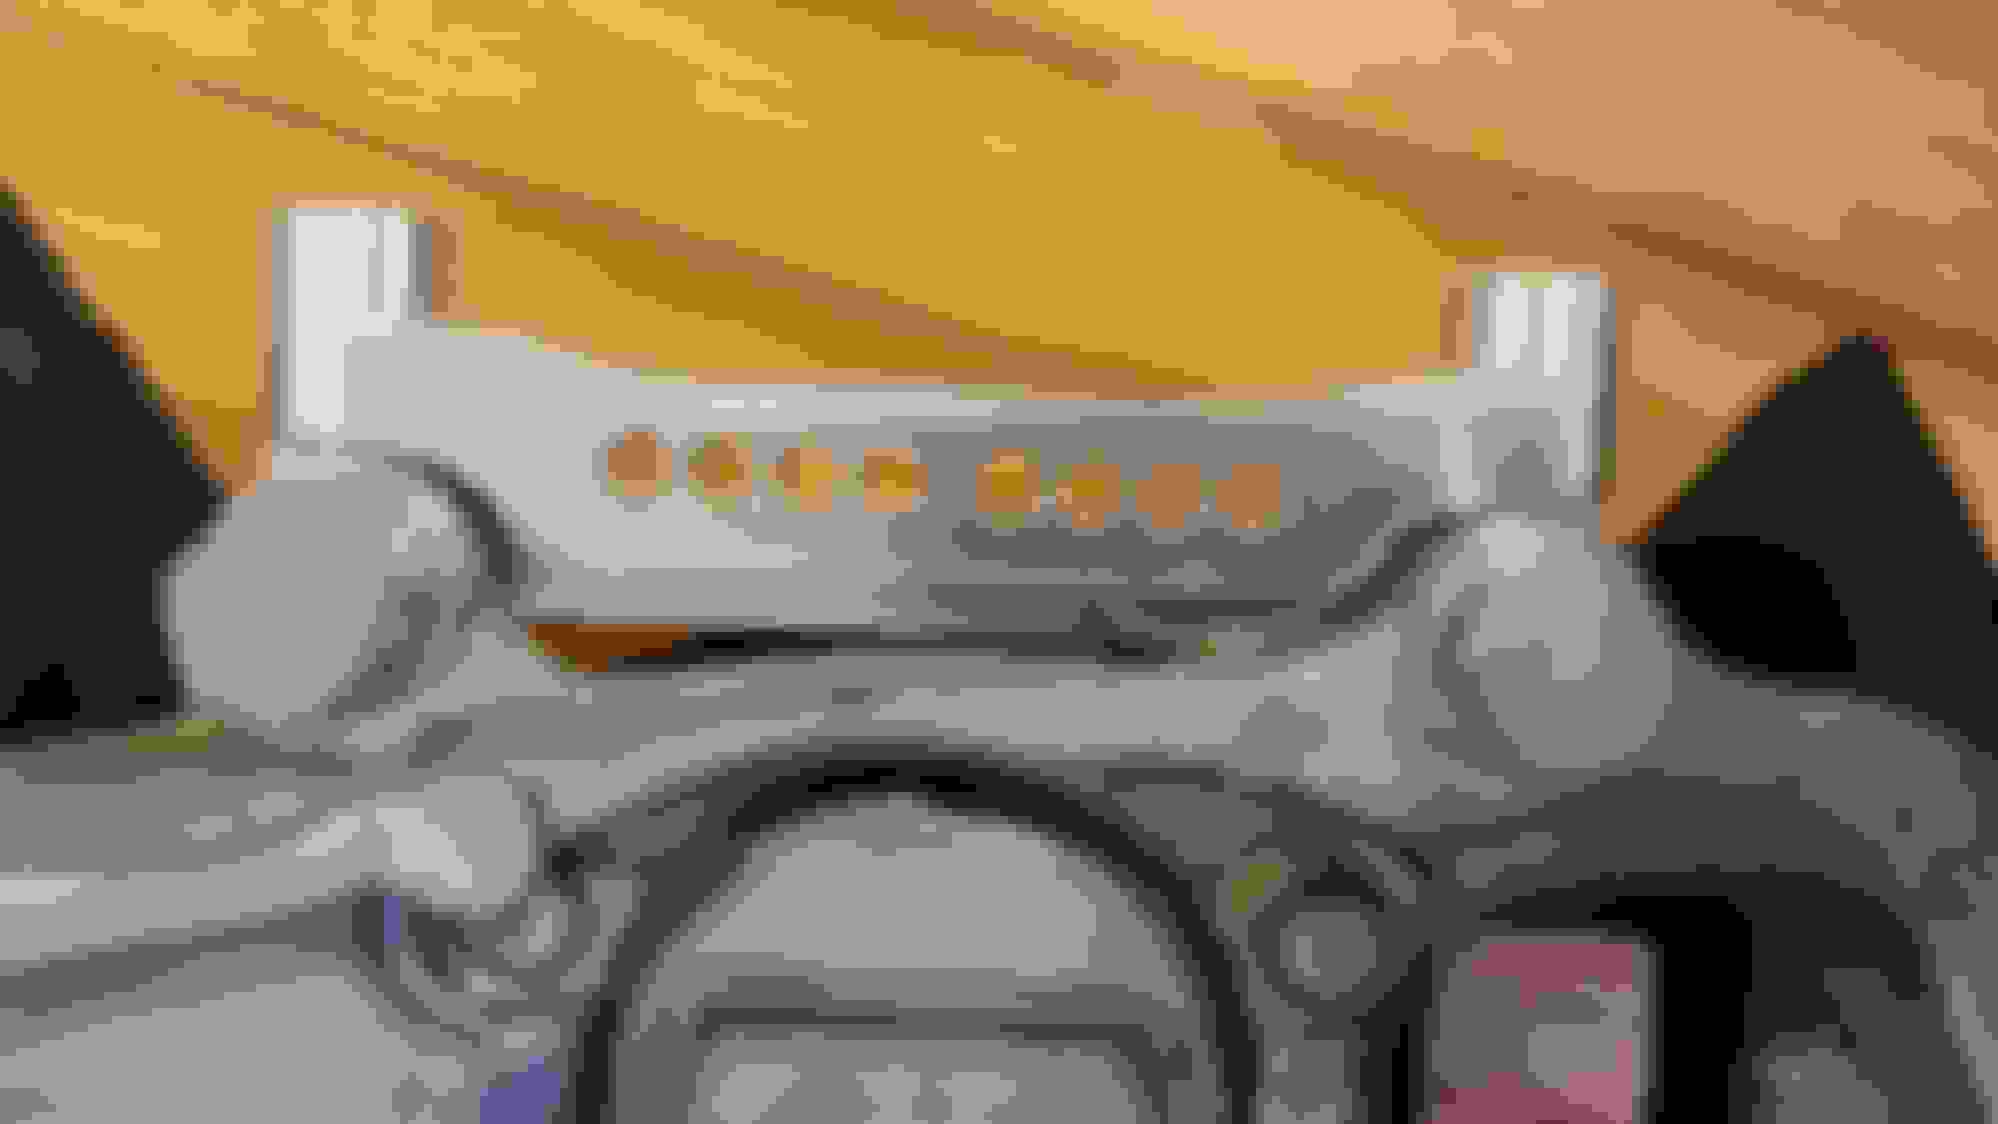
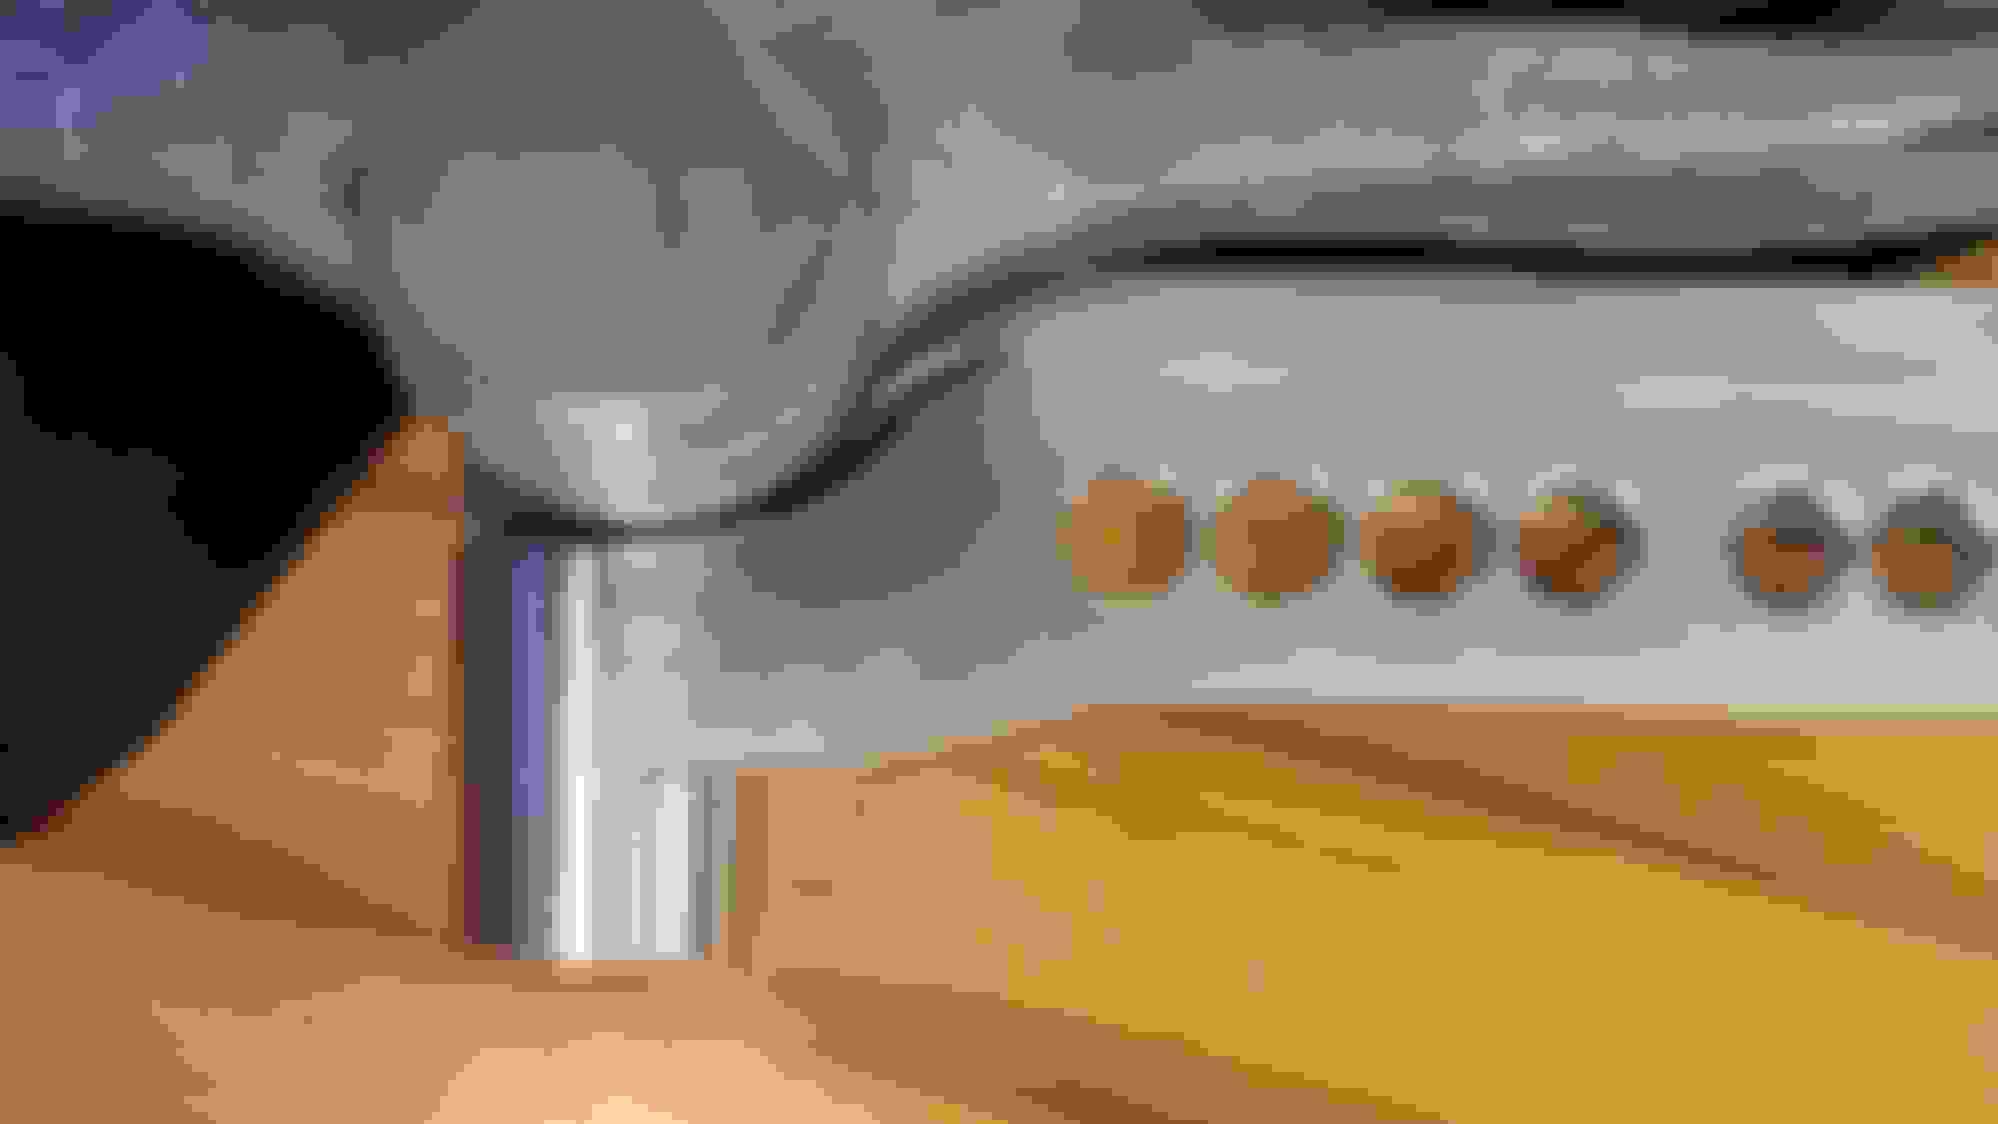
I don't think I'll ever use Heli-coils ever again. Time-serts feel far superior. I didn't want steel bolts galling the aluminum bracket. Who knows how many times I'm going to be taking this thing on and off. Kit comes with pilot drill bit, counterbore tool, special tap, inserts and installation tool. The last two threads are malformed so when driving the install tool all the way through, it'll set the insert and cold forge the bottom into the substrate metal. Some loctite, and it's not going to budge.
DRIVETRAIN
I decided I'm going with a TR6060, so I needed a shifter. This H-pattern from S1 Sequential will fit the bill. Why do so many of my parts come from Australia?
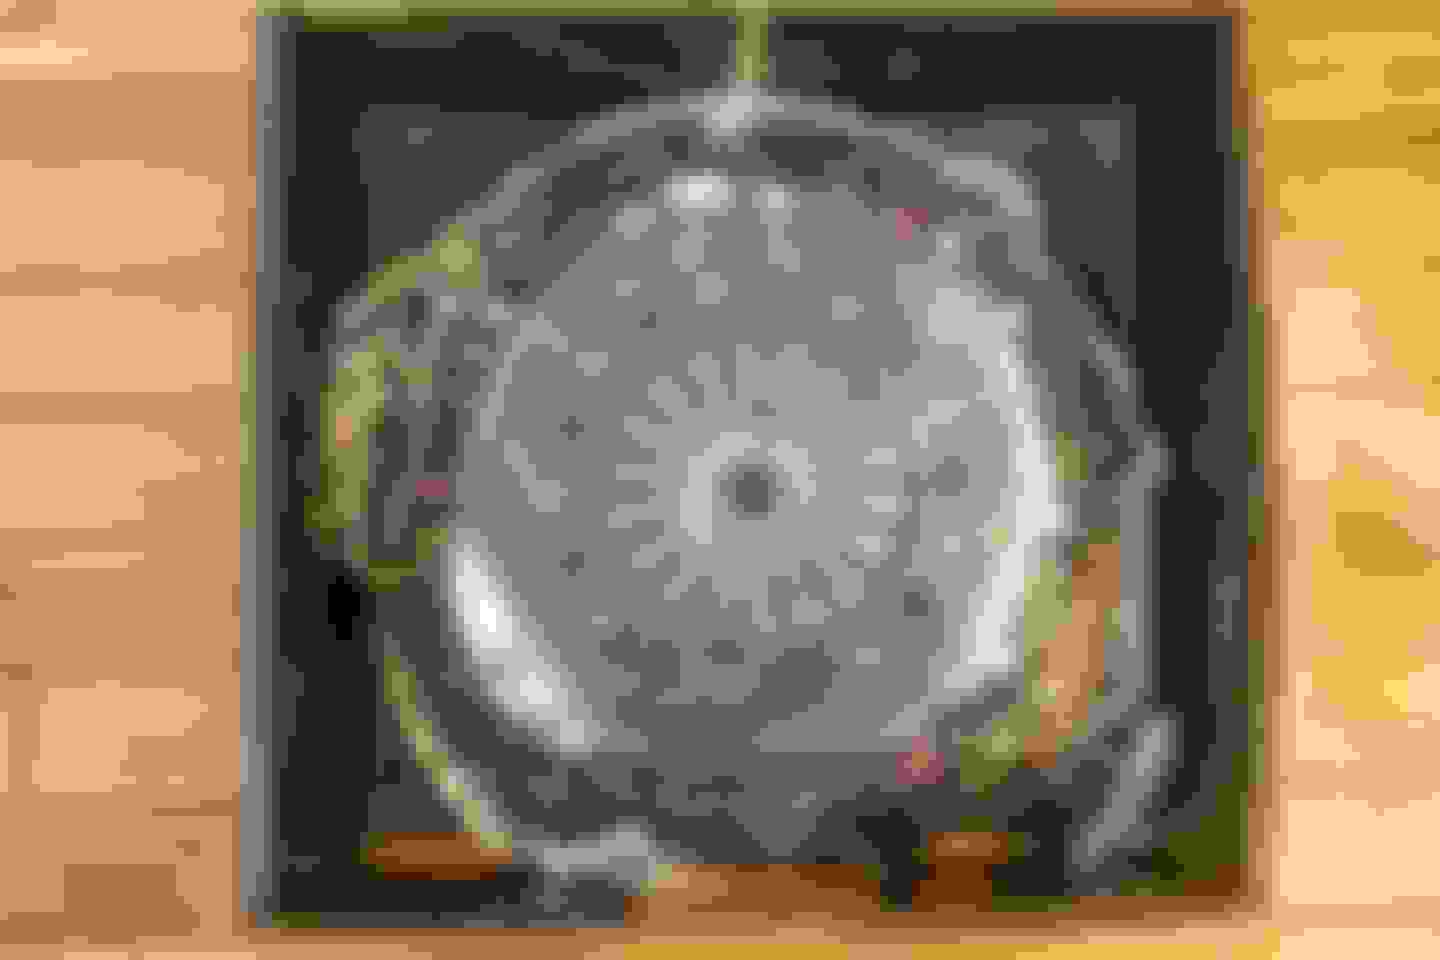
In other updates, got clutch from the nice folks at Competition Clutch who is selling a full face Twin Organic Disc clutch as part of their Vengeance lineup. Excited to get this mounted to the LS3 once I source a TR6060.
TIRES
If the suspension comes sometime soon, I'll be ready to throw these on to wheels and get the shell rolling
BODY
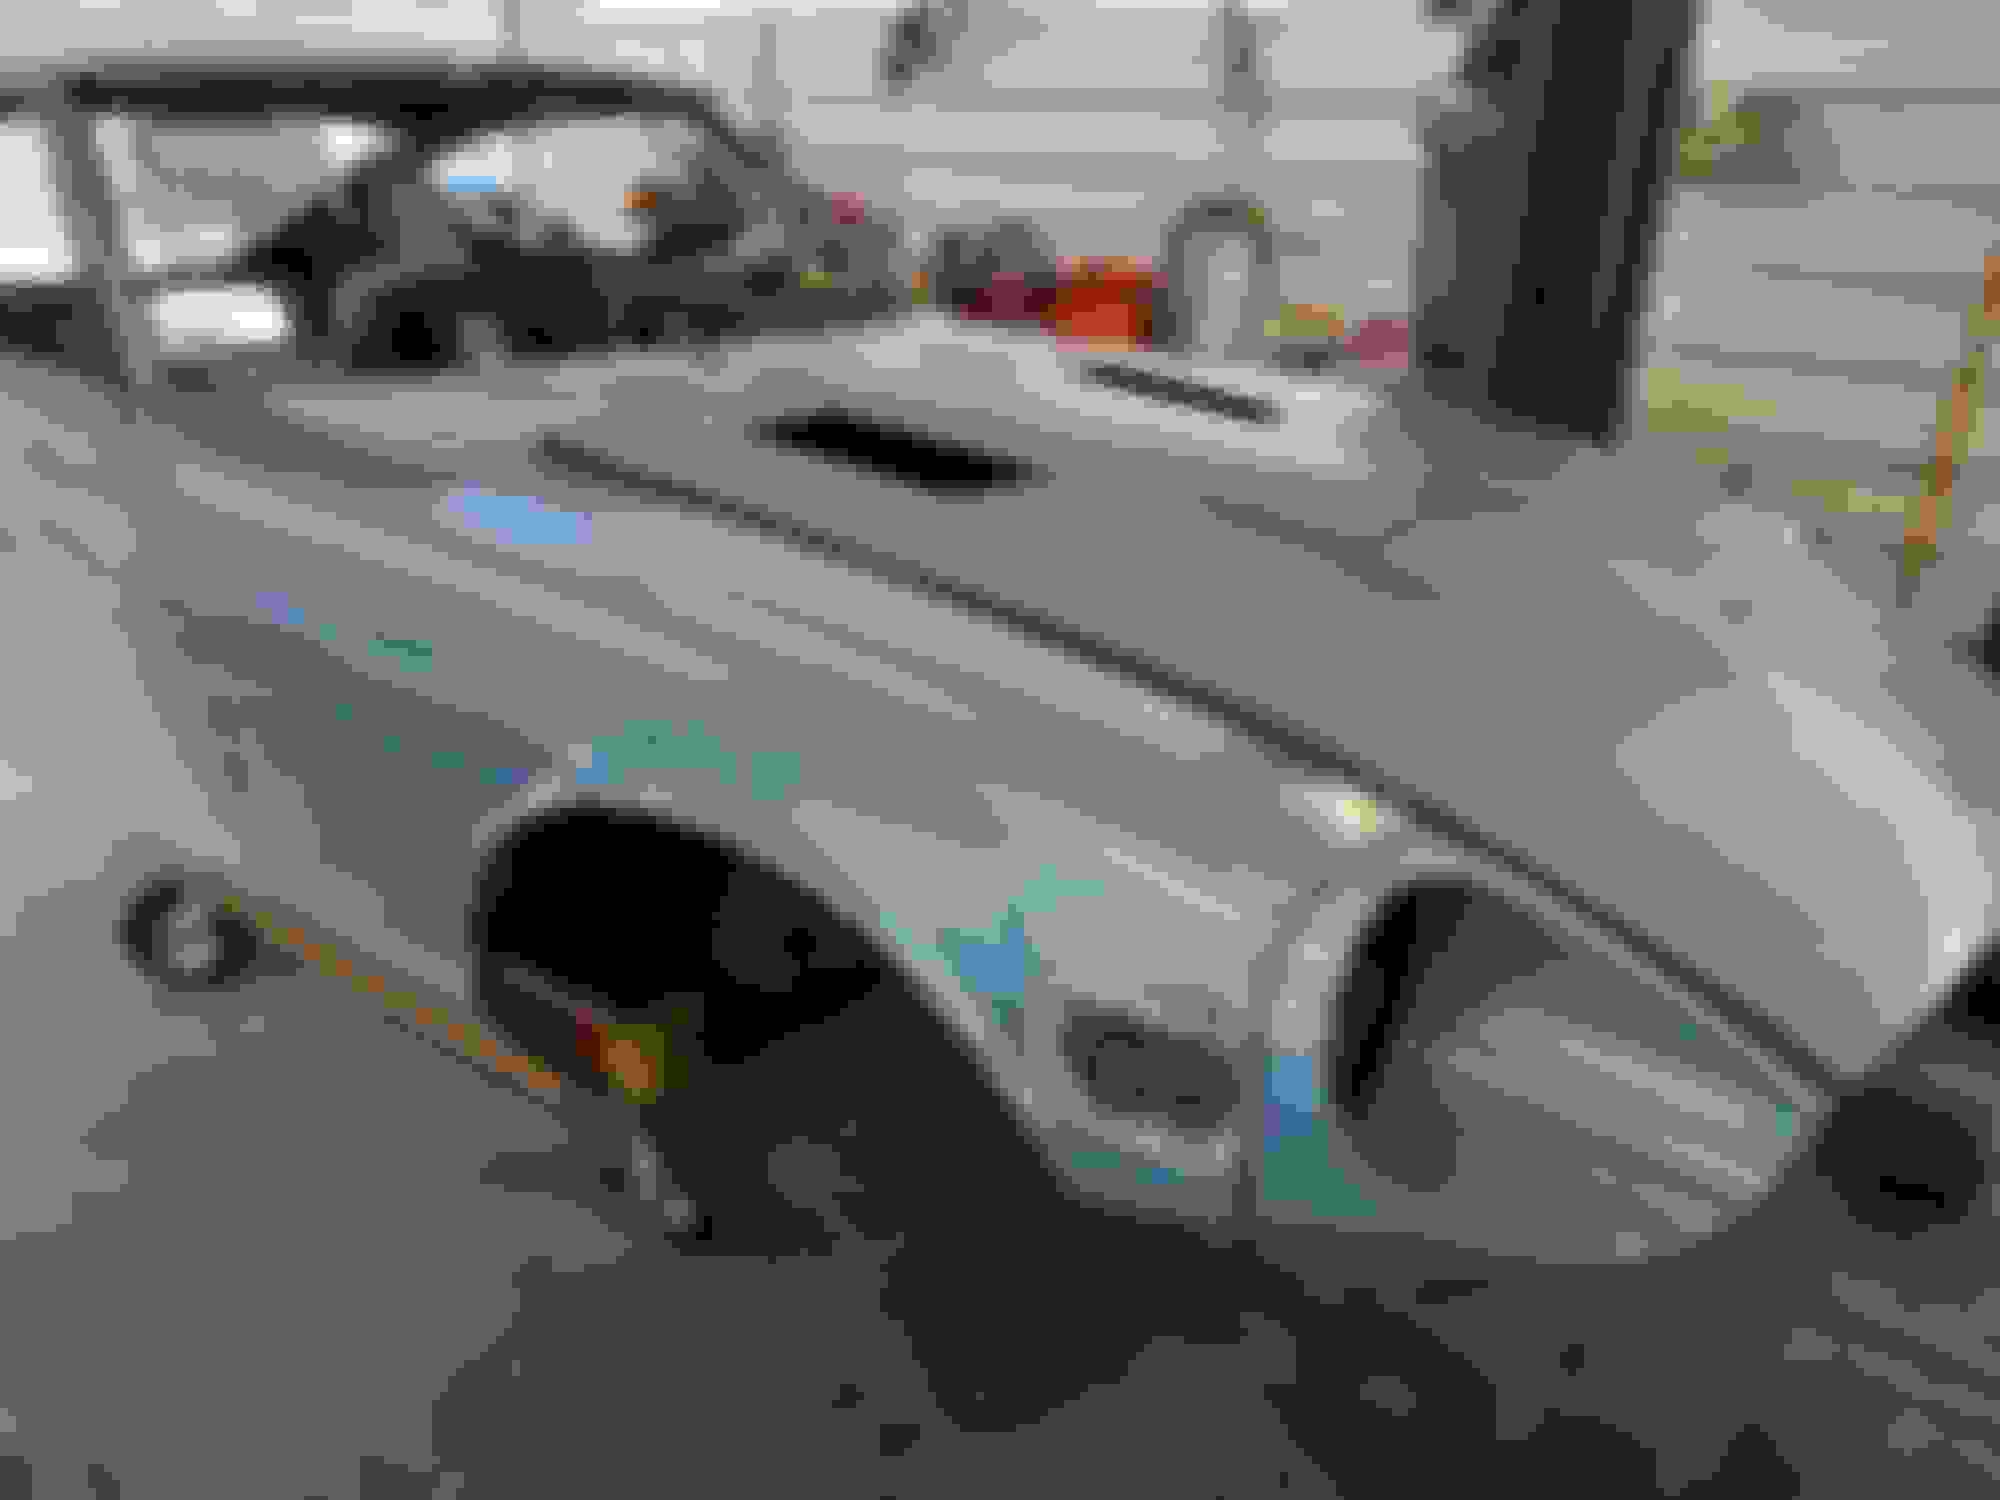
Finally cut all the old frame rails out
My buddy Denis dropped by to help melt metal
Test fitting and aligning the frame
Lot's of fitting, trimming and re-fitting. Finally got it tacked on the firewall and in a couple places down the floor.
Next week, finish welding the frame in, then try to get help on fixing the body. It's been stagnating for far too long and I want to get this thing done.
This post brought to you by Theia basking in the sun...
....Lilith casually posing...
and Koios.....being weird.
Last edited by psyber_0ptix; 09-14-2020 at 07:42 AM.
I guess not too much to update. Toying around with maintaining the 370z front speed sensors so ABS and/or traction control will be a realized option.
Everything's works as expected. Modeling and 3D printing paid off. Safety wire, then fitup.
Got a new tiny brake booster.
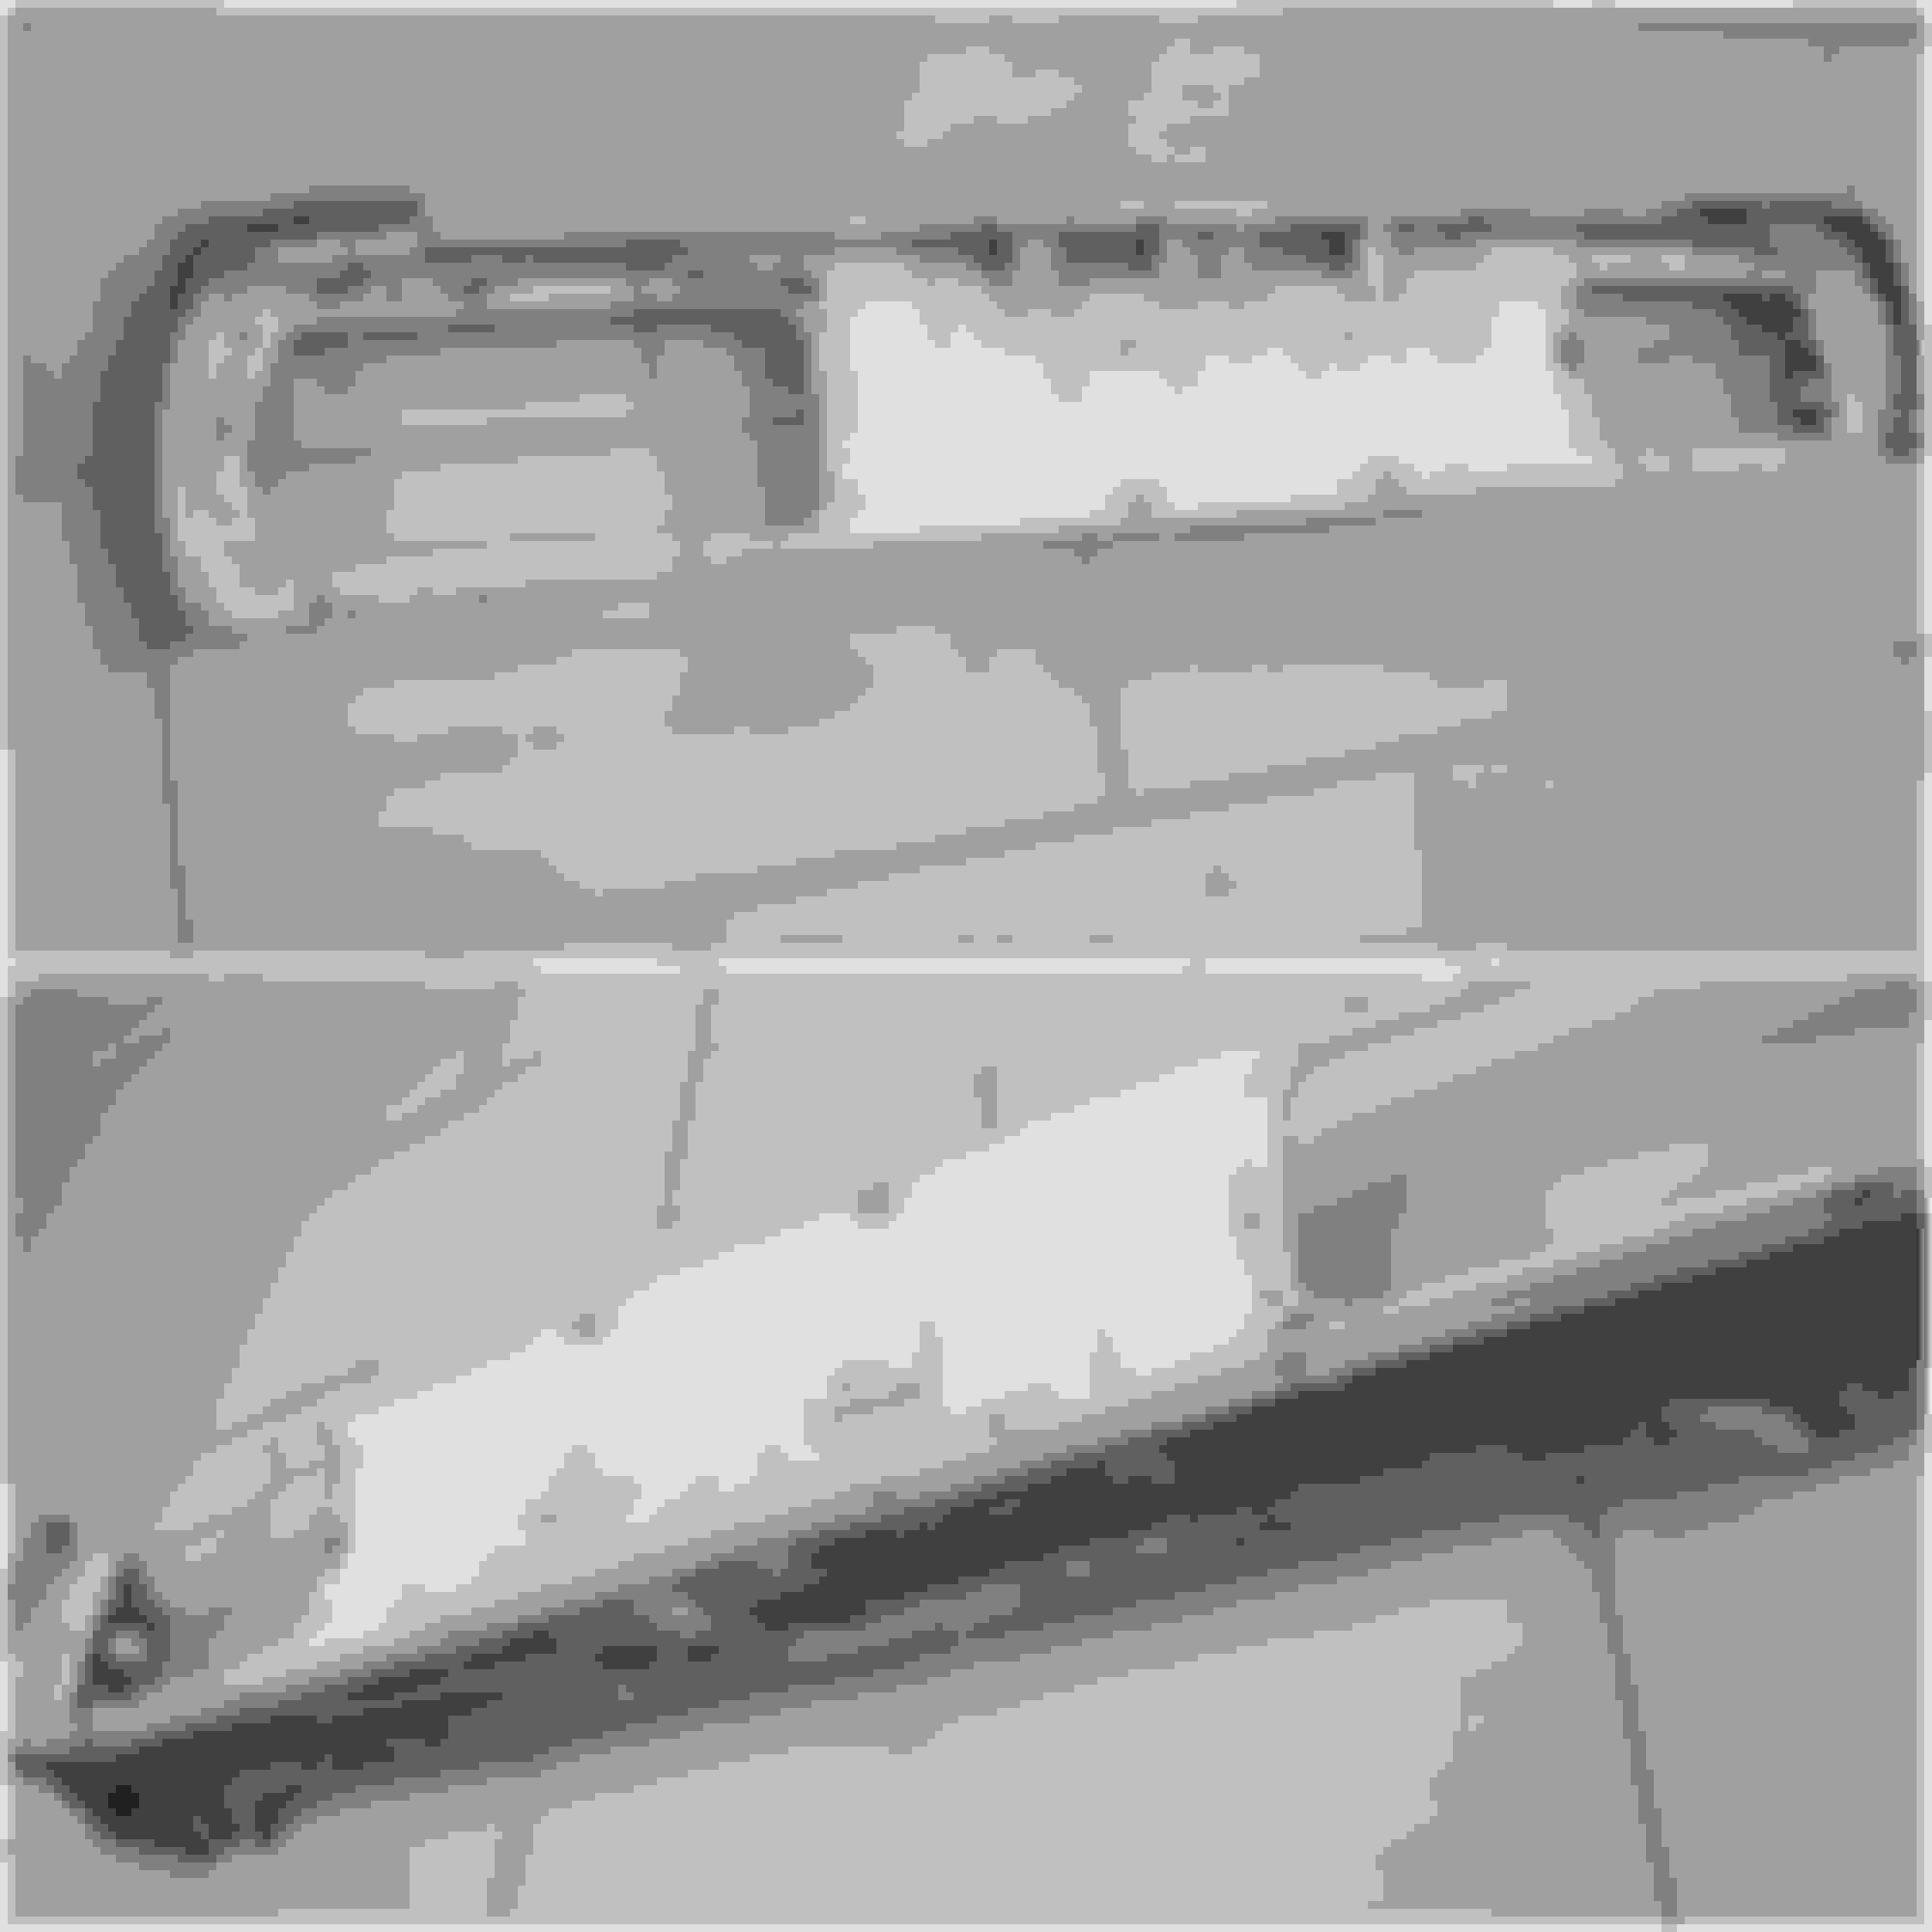
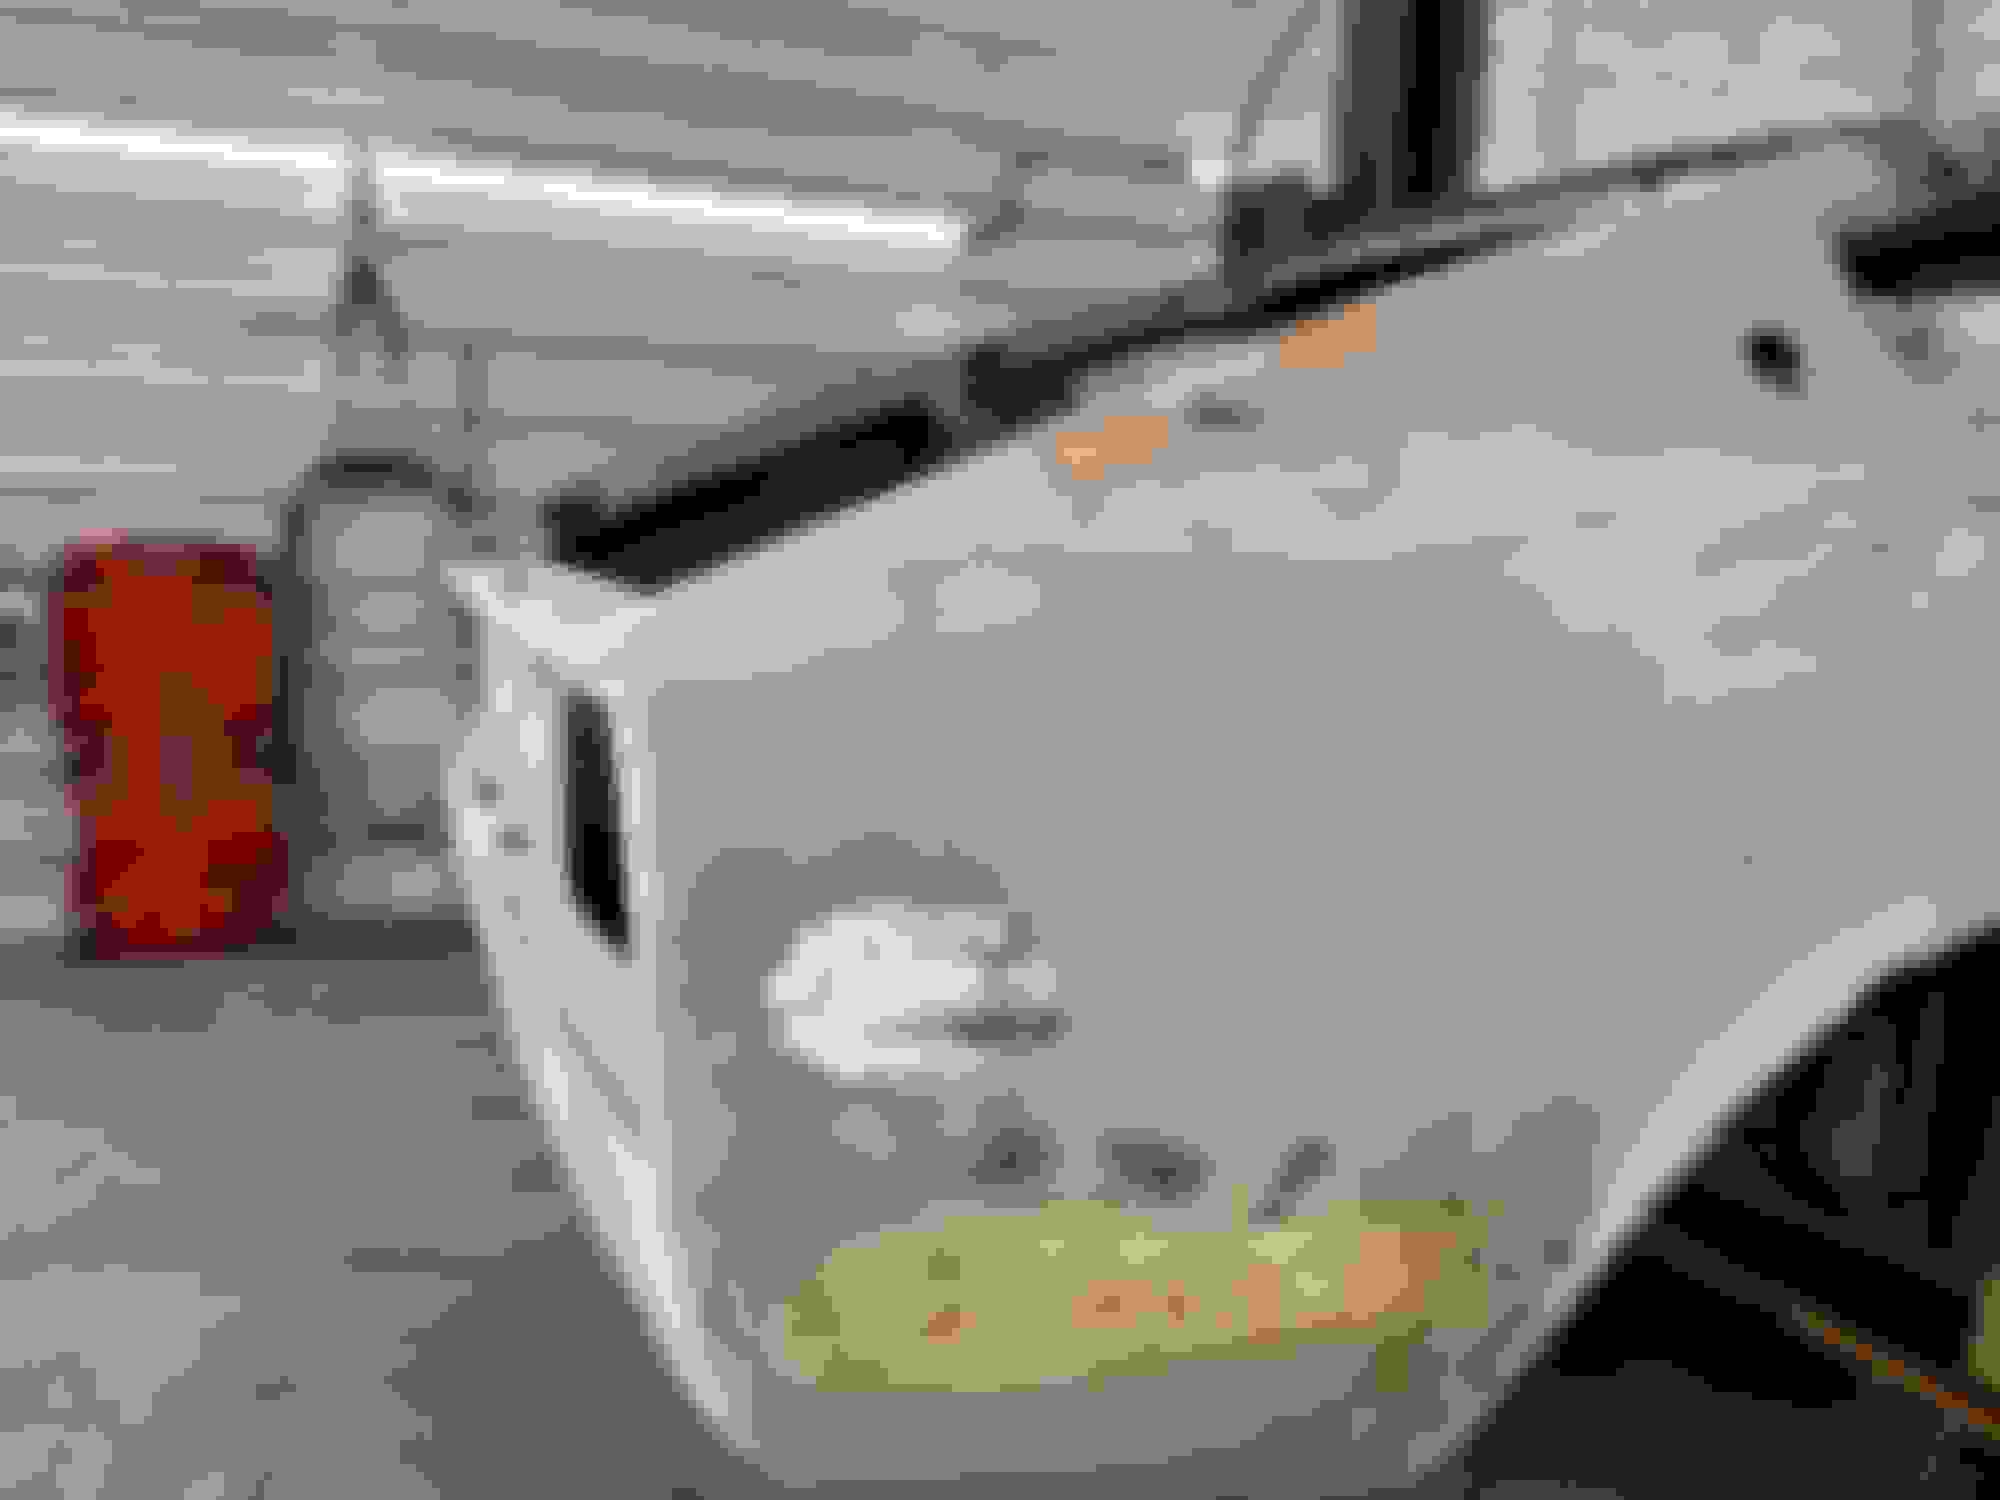
Someone was nice enough to cut off the tail light panel to replace the one on the 72 which is in terribly rough shape. This will be a big time saver since I don't know anything about body work and don't have the experience to do any sheet metal fab. Here's the current state of the rails.
I'm tired of buying panels for this project because I already got everything I could to make it easier. I just couldn't pass this up because it will simplify things instead of being a complete fab job to rebuild. A fellow enthusiast posted a picture of a salvage yard and came across a single 240z among multiple 280z's. It's tail light panel was intact.... And it's been hard to come by. He cut it out and sent it to me for a very reasonable price considering his time, efforts, size, and transit across the country. I had my helpers thoroughly inspect it to great satisfaction. One step closer. Still feels like 100 miles to go.
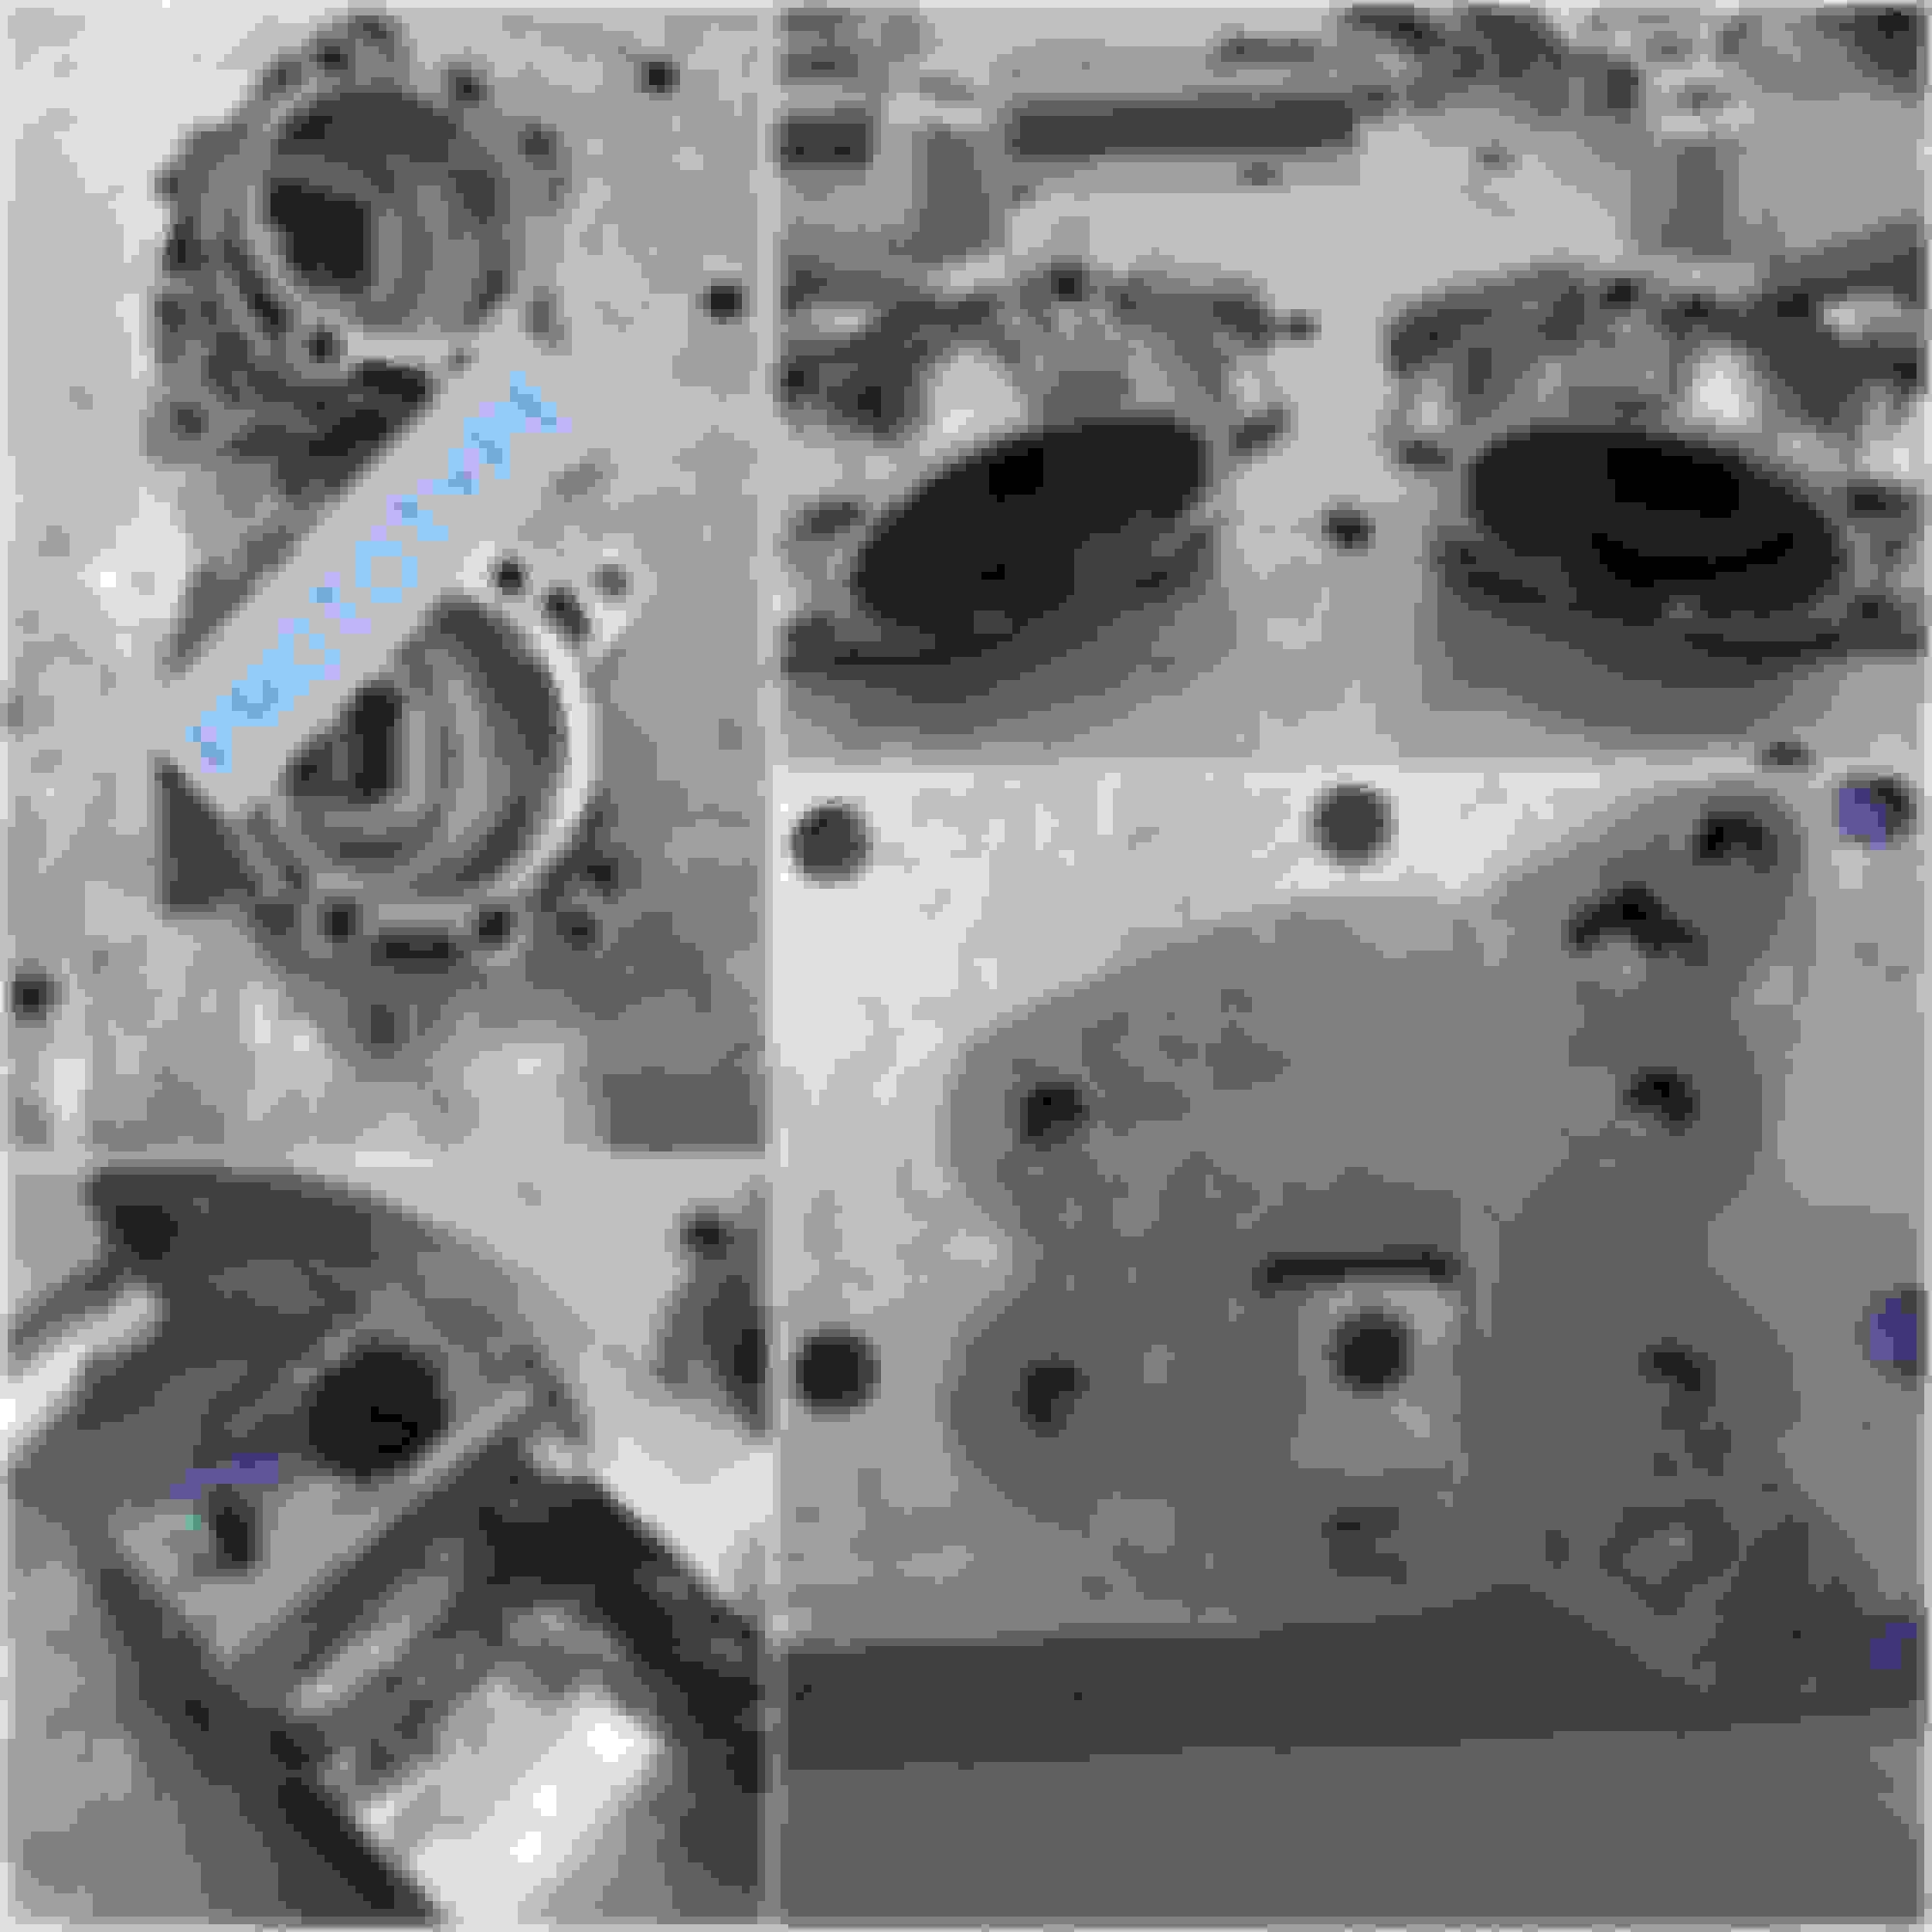
update in different stages since it's been so long. But front knuckle has been figured out along with a boss for the VSS allowing me to utilize the stock 370z sensors for ABS or traction control.
Onto modelling the rear knuckle with two generic brake caliper mount points.One for the Wilwood MC4 parking brake, later upgraded to electronic parking brake of same dimension....and dynapro radials on the rear.
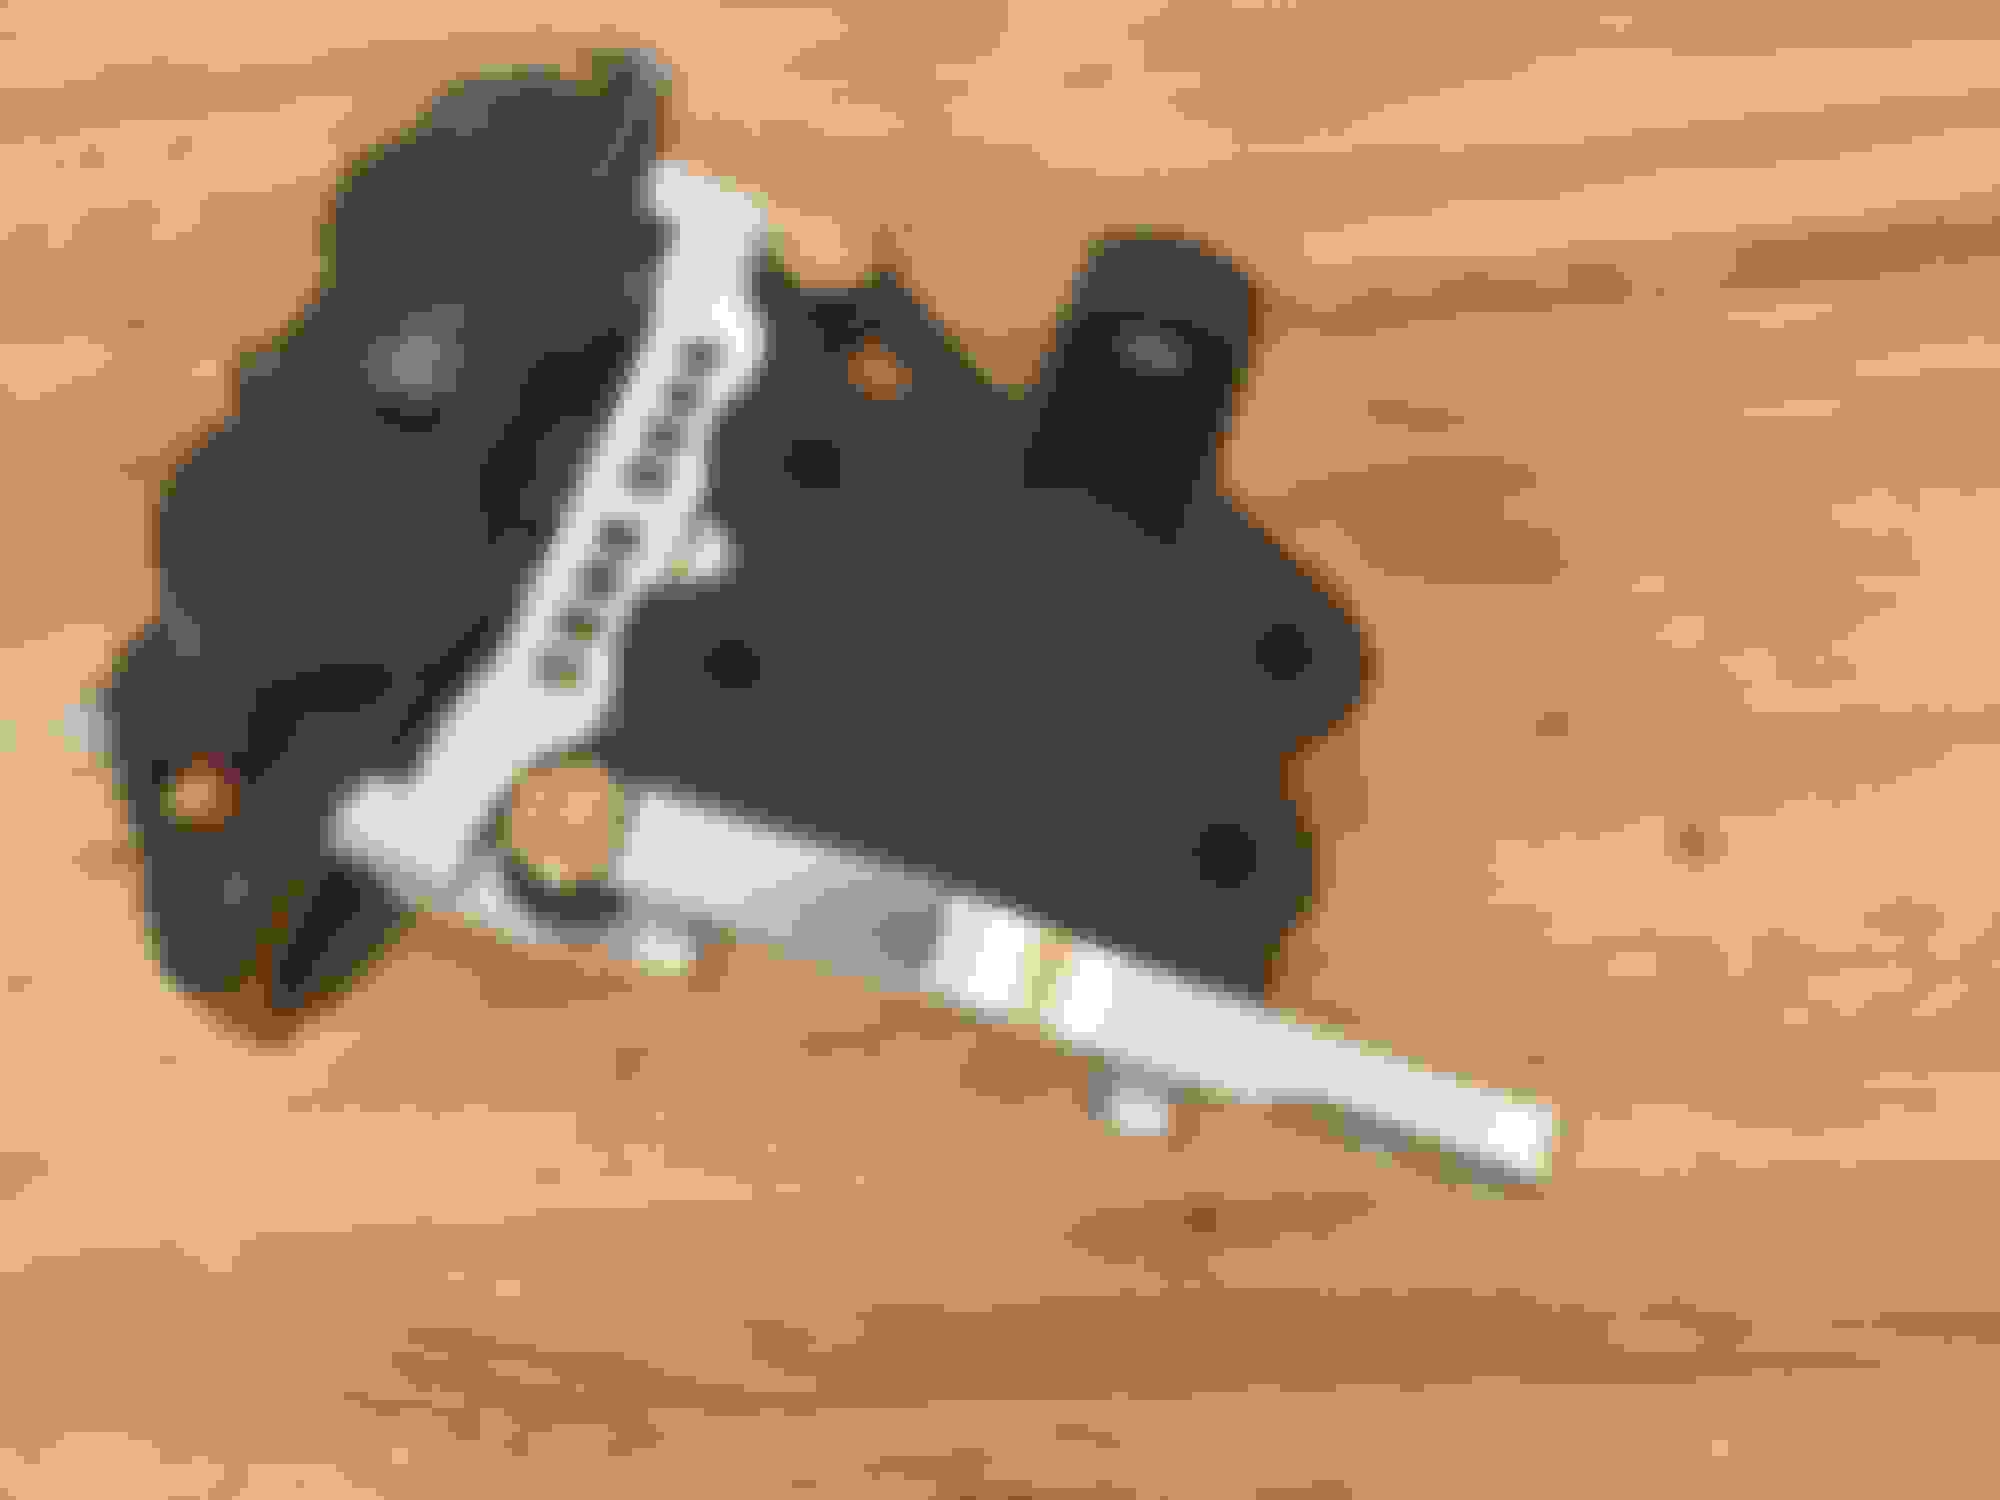
Had brackets made for the parking brake, the dynapro was off the shelf from a Wilwood kit for a R56 Mini
At some point because of COVID, there was no work being done on the shell and the shop I had it at didn't seem like they would be able to fulfill the job. I sold the shell with the spare cut up 280z and bought a Texas shell from a Datsun buddy and had it shipped to Lil C's Custom in Daytona Beach FL where another Datsun buddy was going to blast/paint. I drove down all the spare parts I had including doors, two hoods, two hatches and two pairs of fenders to have it all coated at the same time. I feel better about the process now since i'm actually getting updates. I sold the AGI roll bar and got a 6pt bolt in cage. It's been fitted into the vehicle so the mount pedestals can be welded in. Roof had to be replaced since shell had a cut out for sunroof.
Just a couple weeks ago, the shell has been blasted and I'm told it's now sealed.
I've decided on Porsche Etna Blue. This was a departure from the deeper dark teal blue I was thinking about originally.
So on the badge side of the house, I modeled a new dash badge and hood/pillar emblems.
Dash badge incorporates the Fairlady logo as well as the stylized LS3 embossment....since I'm already ruining the car in purists eyes. I printed it on my 3D printer as a test then had it manufactured via binderjet additive manufacturing in stainless steel
For the new hood and pillar emblems again modeled then had it manufactured two ways. Binder Jet Stainless Steel and Direct Metal Laser Sintering in Aluminum. It was surprisingly inexpensive, maybe $150 for all three emblems in aluminum. Looks ok after polish. But eh, that's about as much effort I'm willing to take on decorations at the moment.
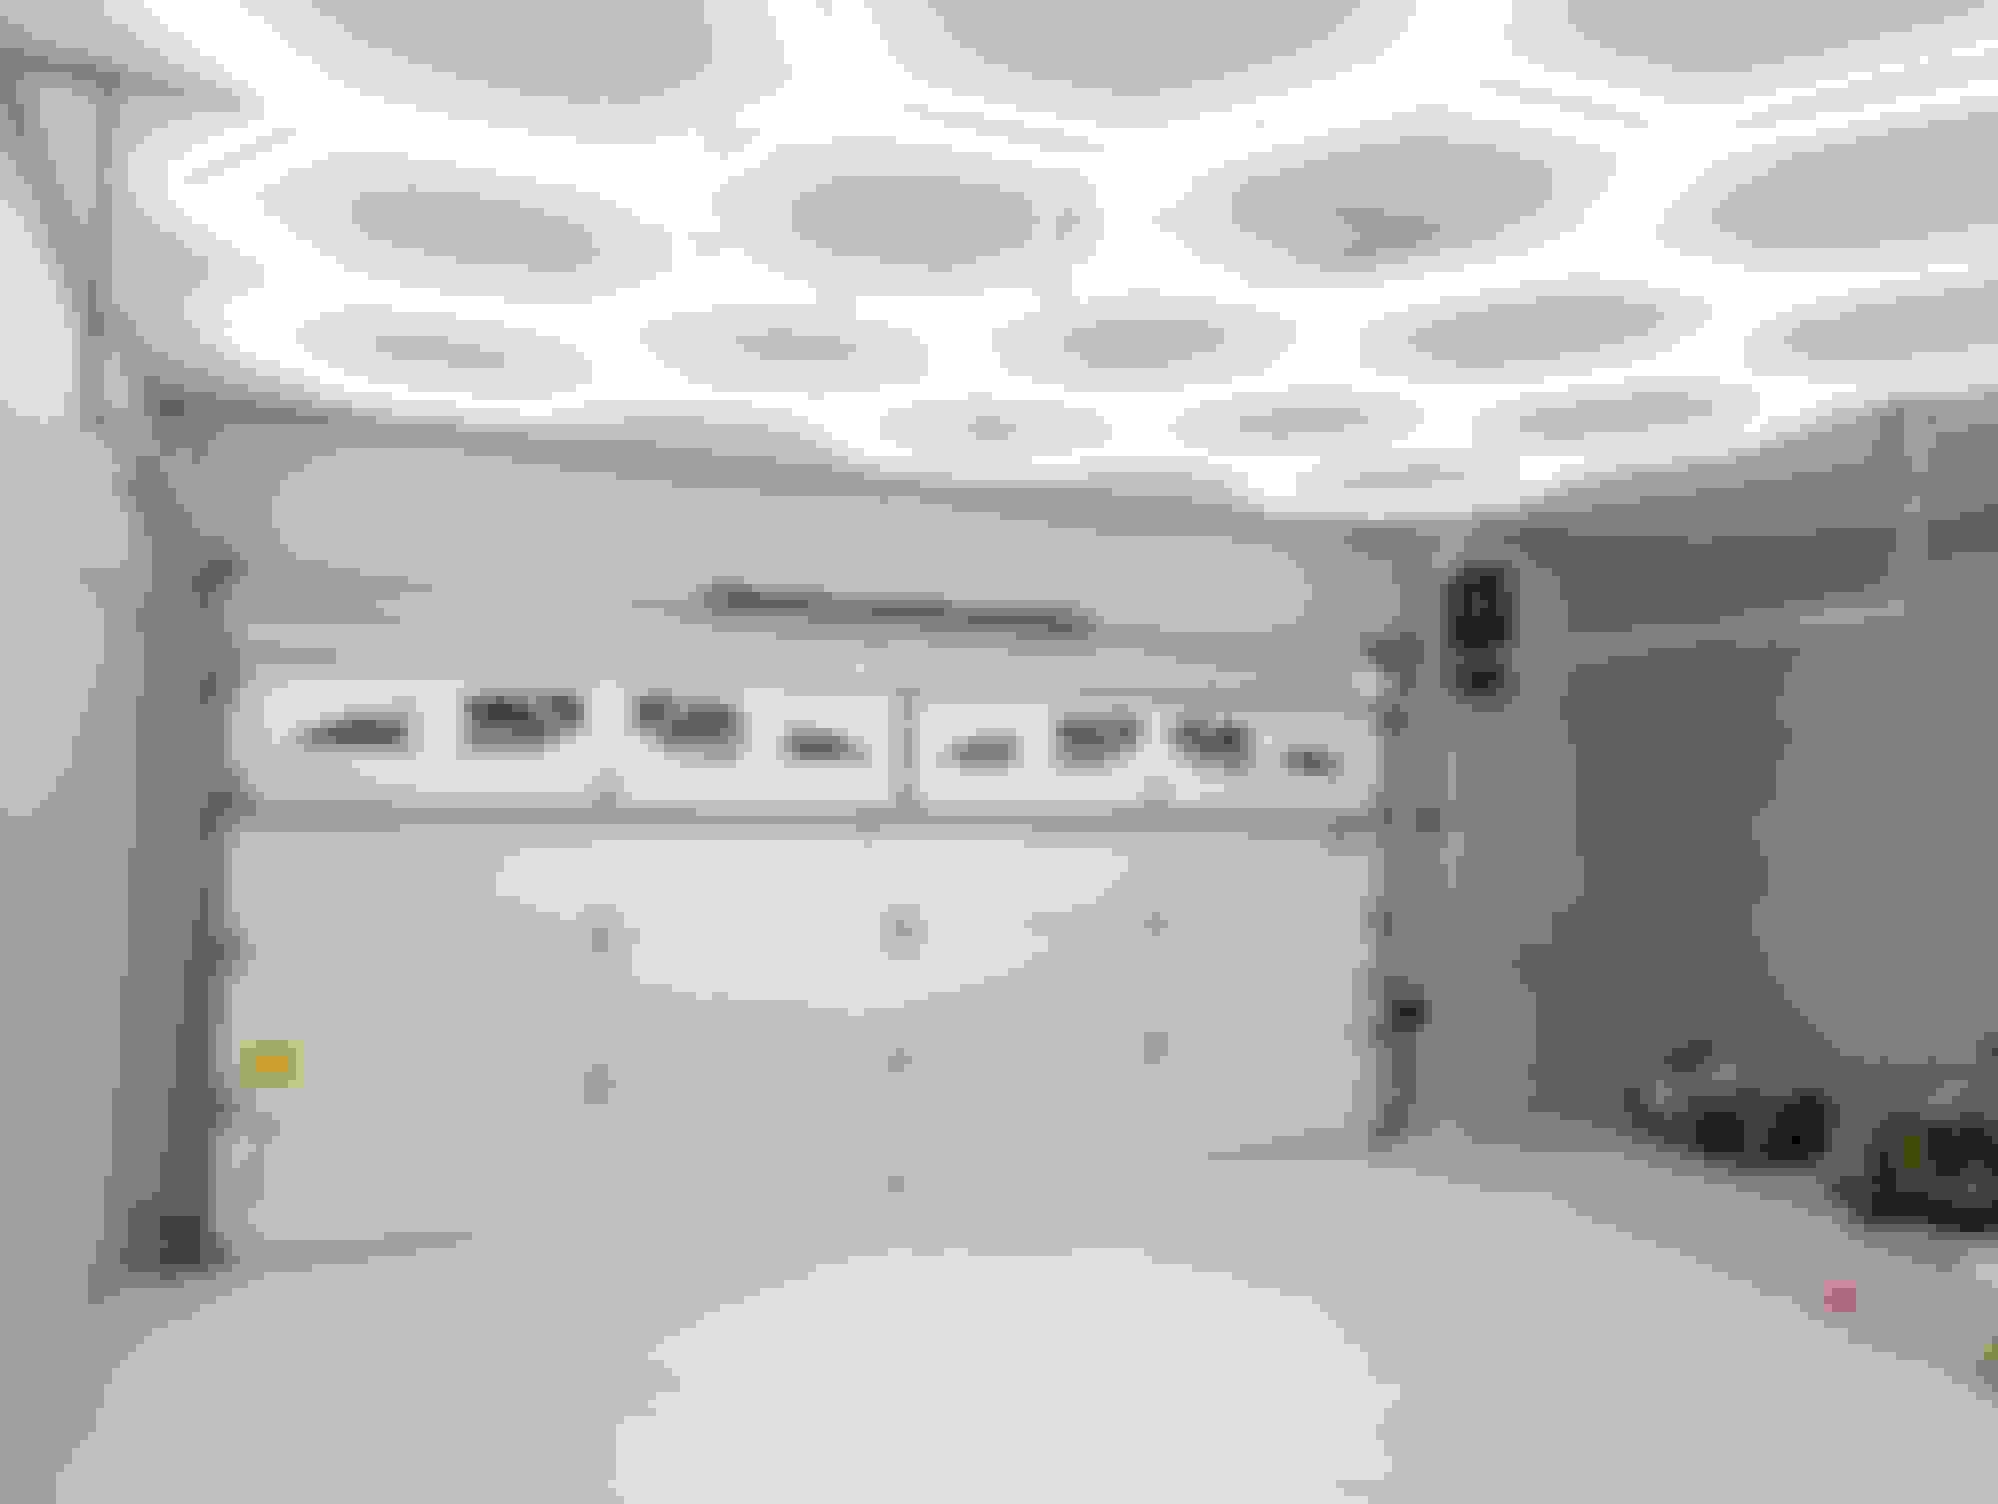
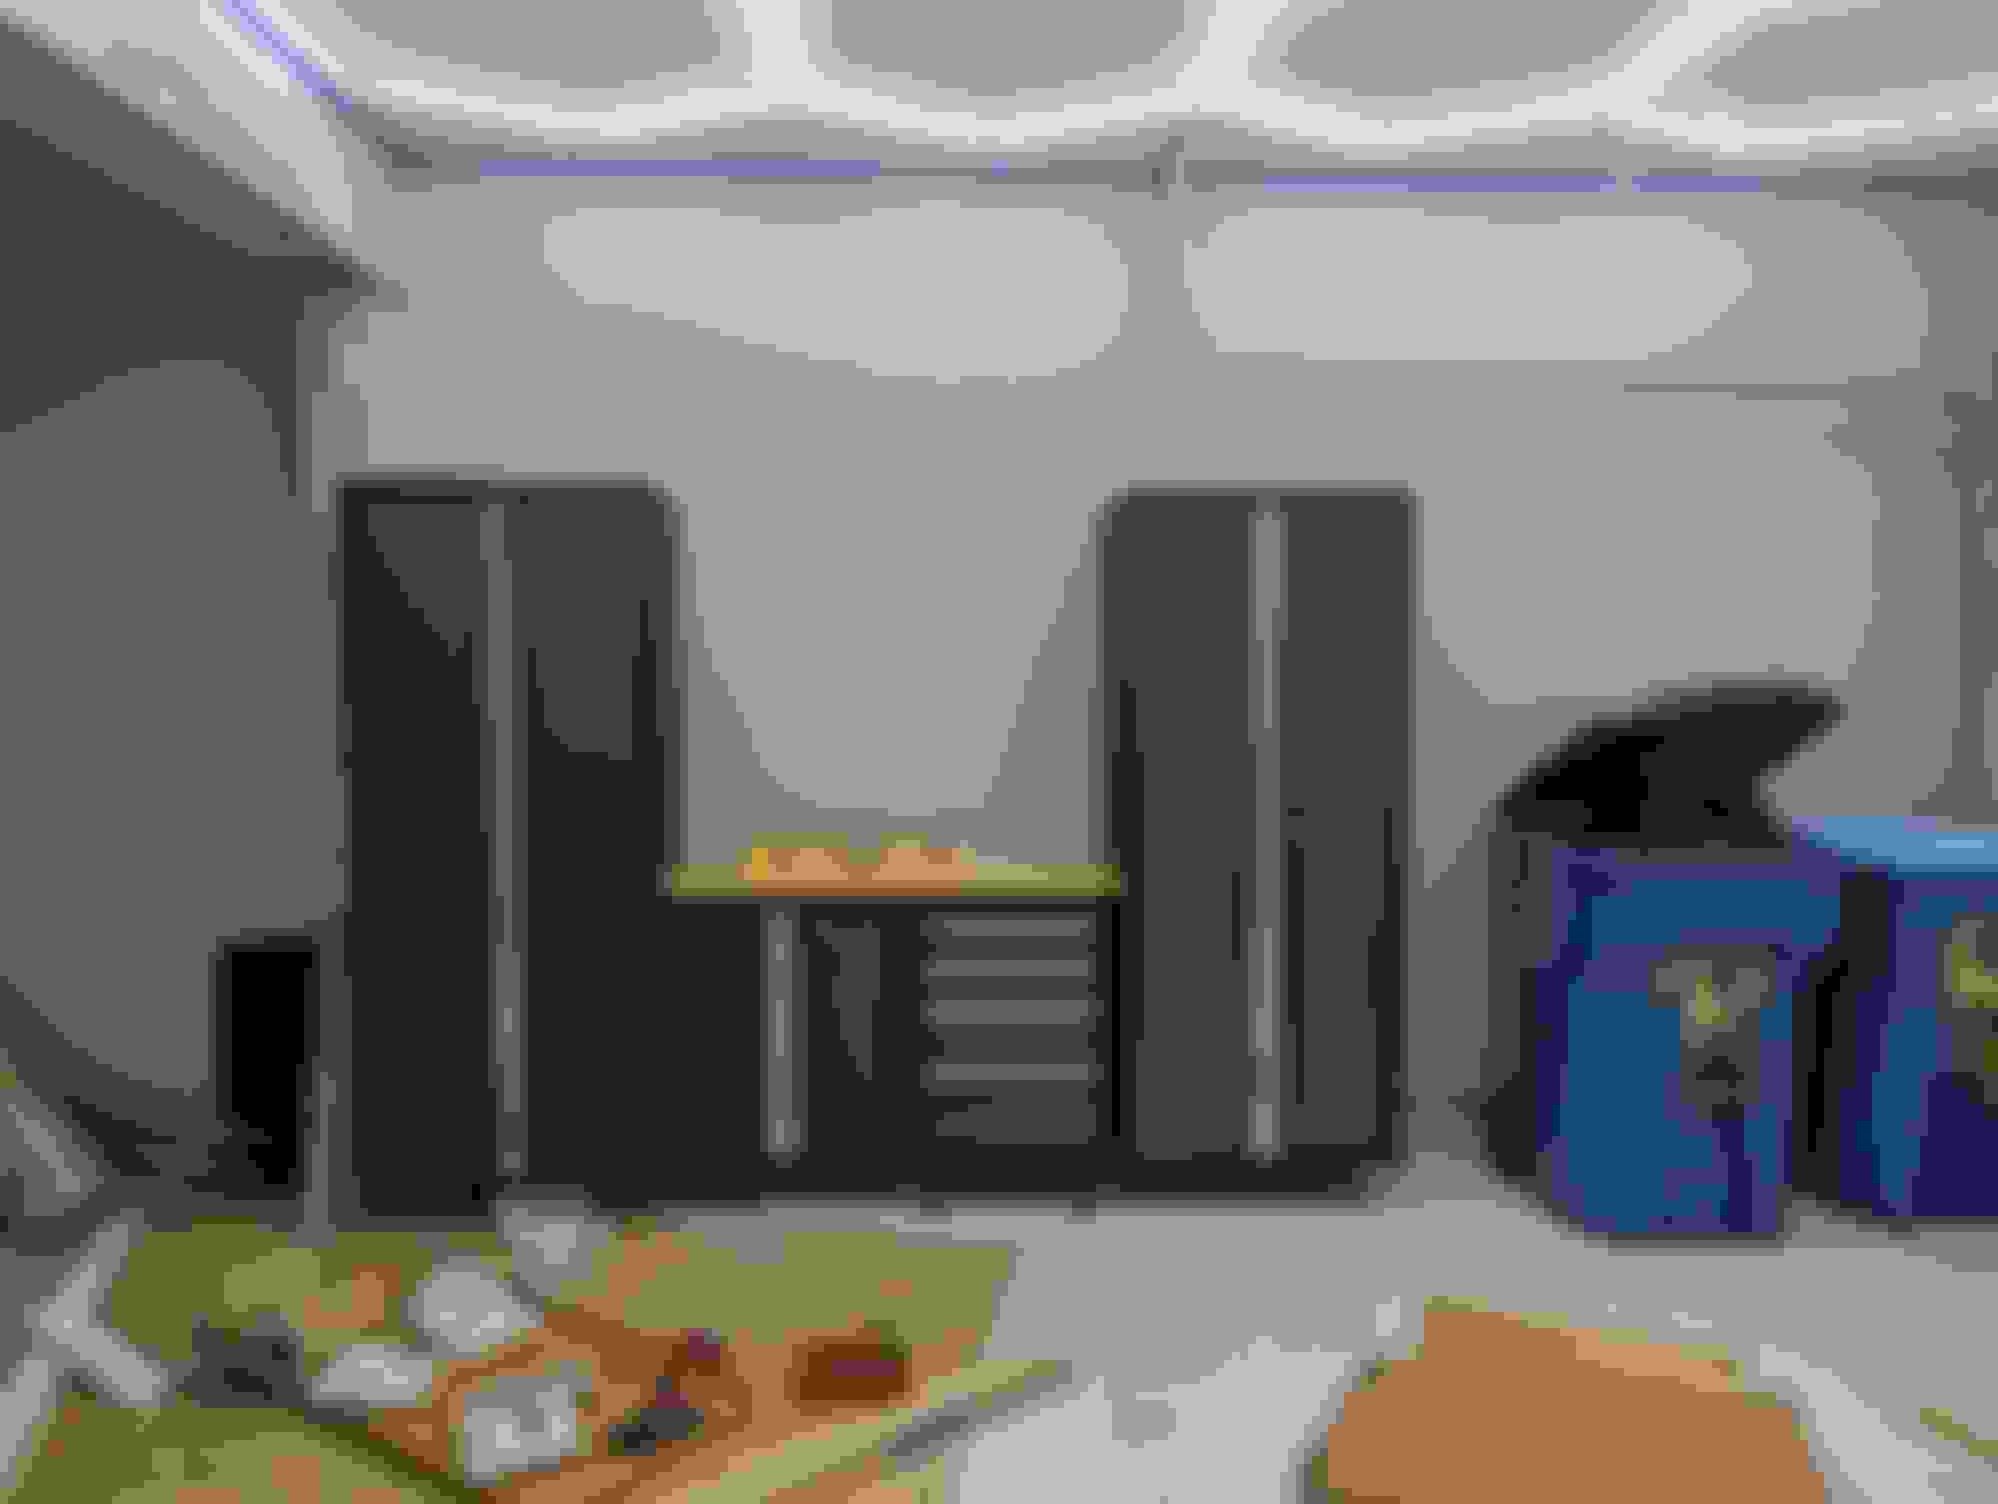
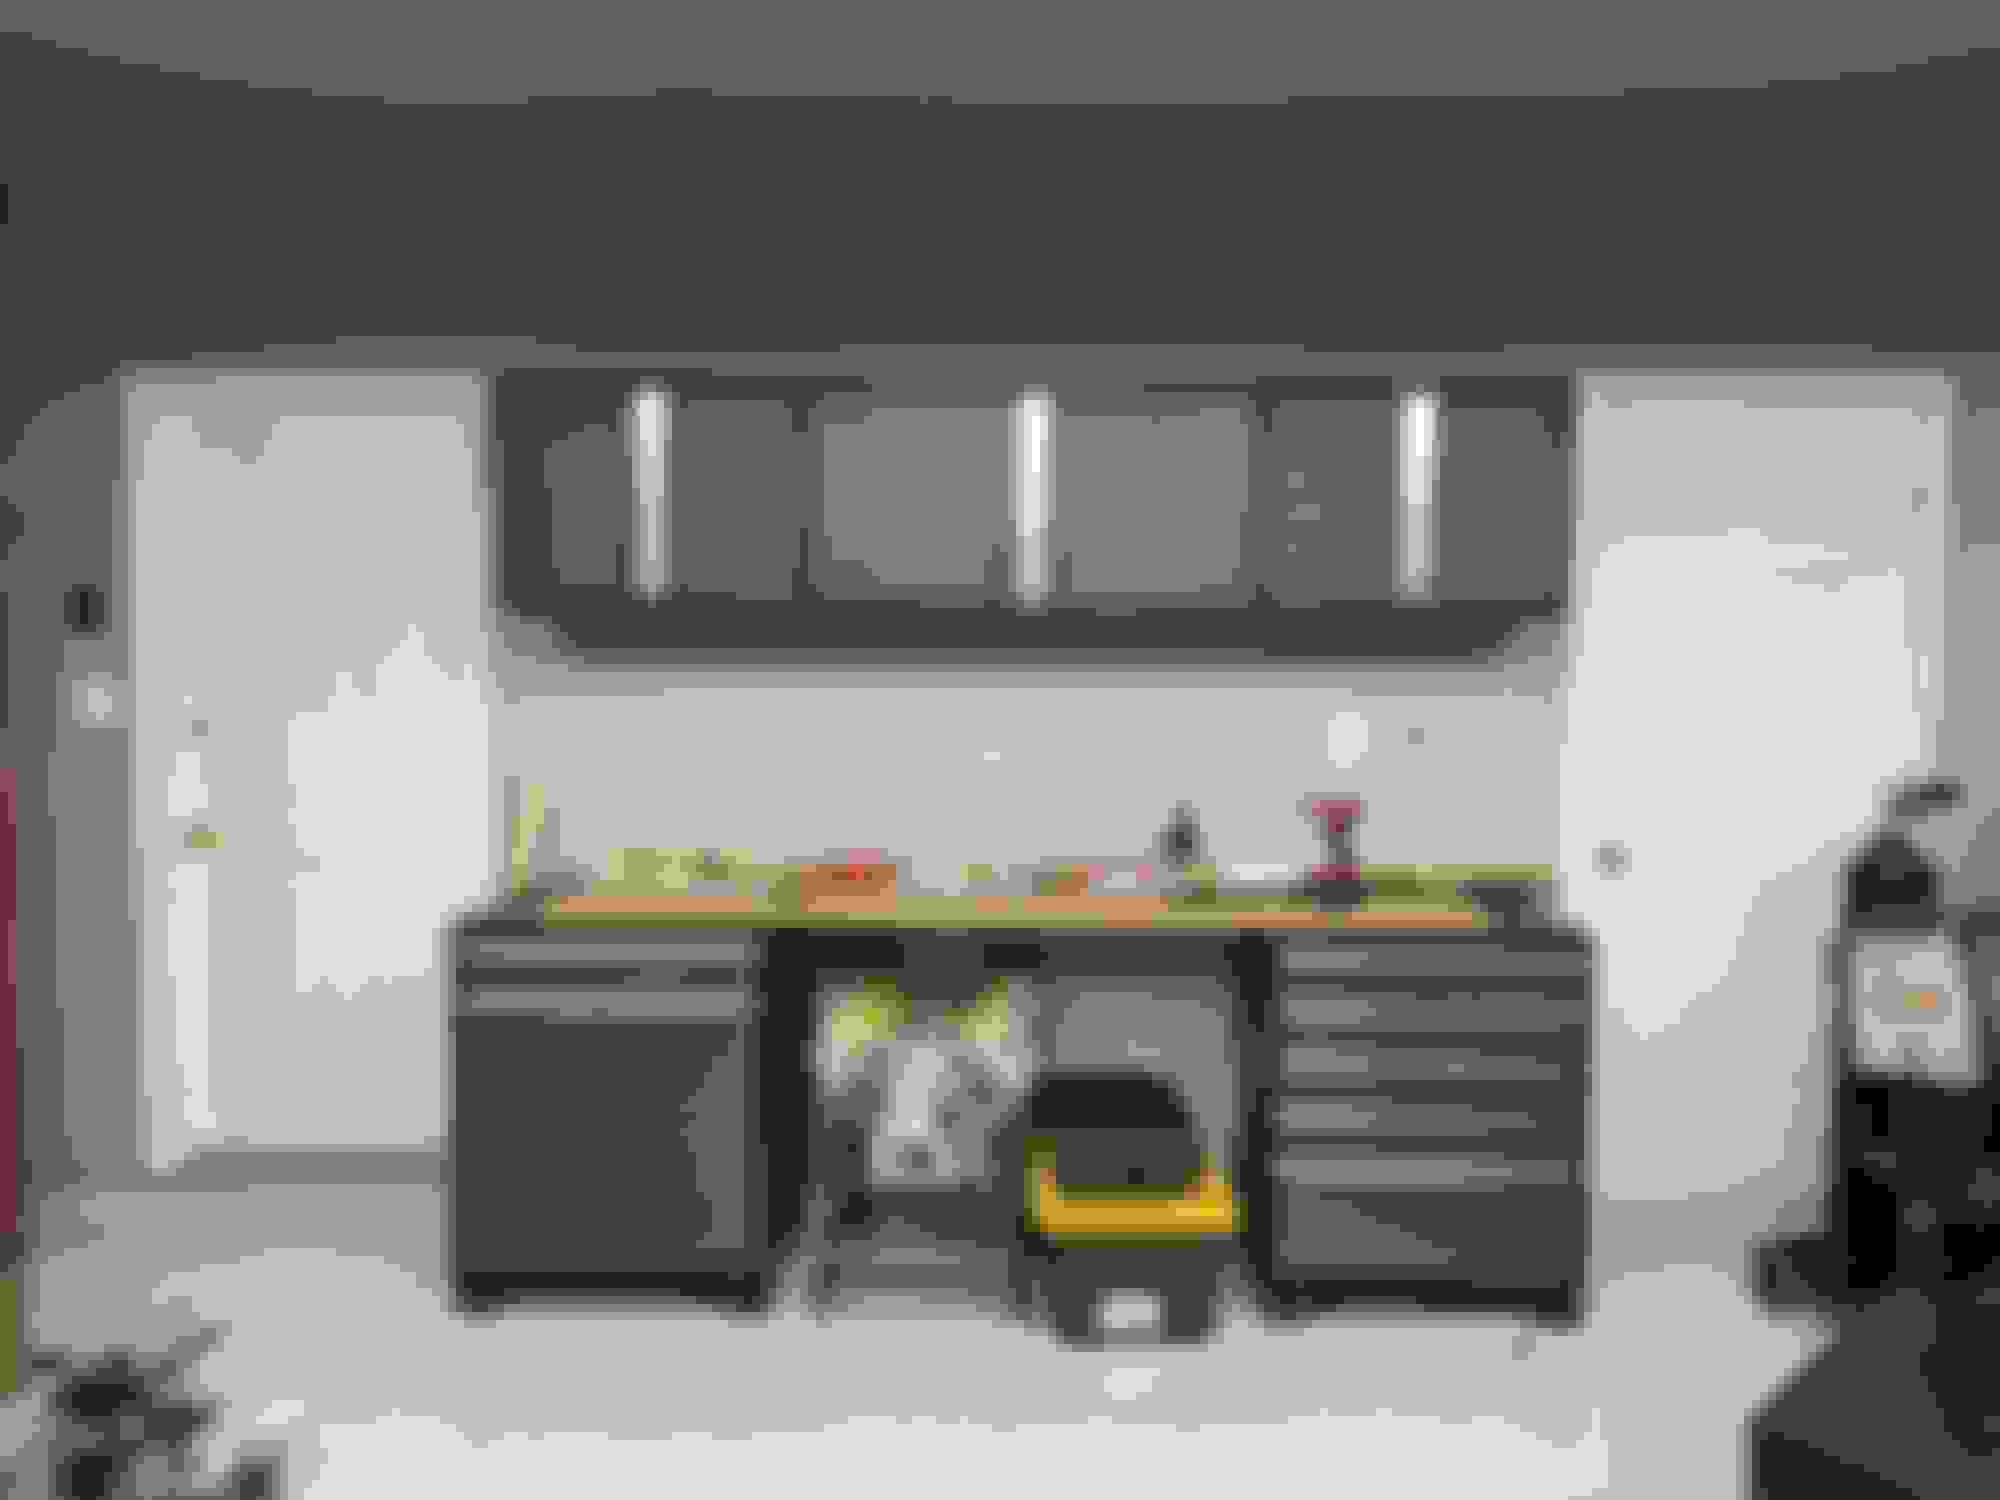
As a sidebar....I changed jobs and moved, selling the 960sqft, 102 year old house that has been in the family since the 80's, and moved into a townhome with three times the space and a two car garage. For the first time in my life I can take on a project without it being on a driveway or on the side of the street. No more borrowing garages for major jobs like swaps and trans. I'm excited about this because I can take the time I need to do things pragmatically.
On the day we moved in I had 240v and 220v drops installed in the garage, and set up an appointment to have the floors coated. Installing this lights was a pain in the *** and I had to find a creative solution to get rid of the garage door opener and track, and modified a jackshaft opener to work. Opens up the overhead space.
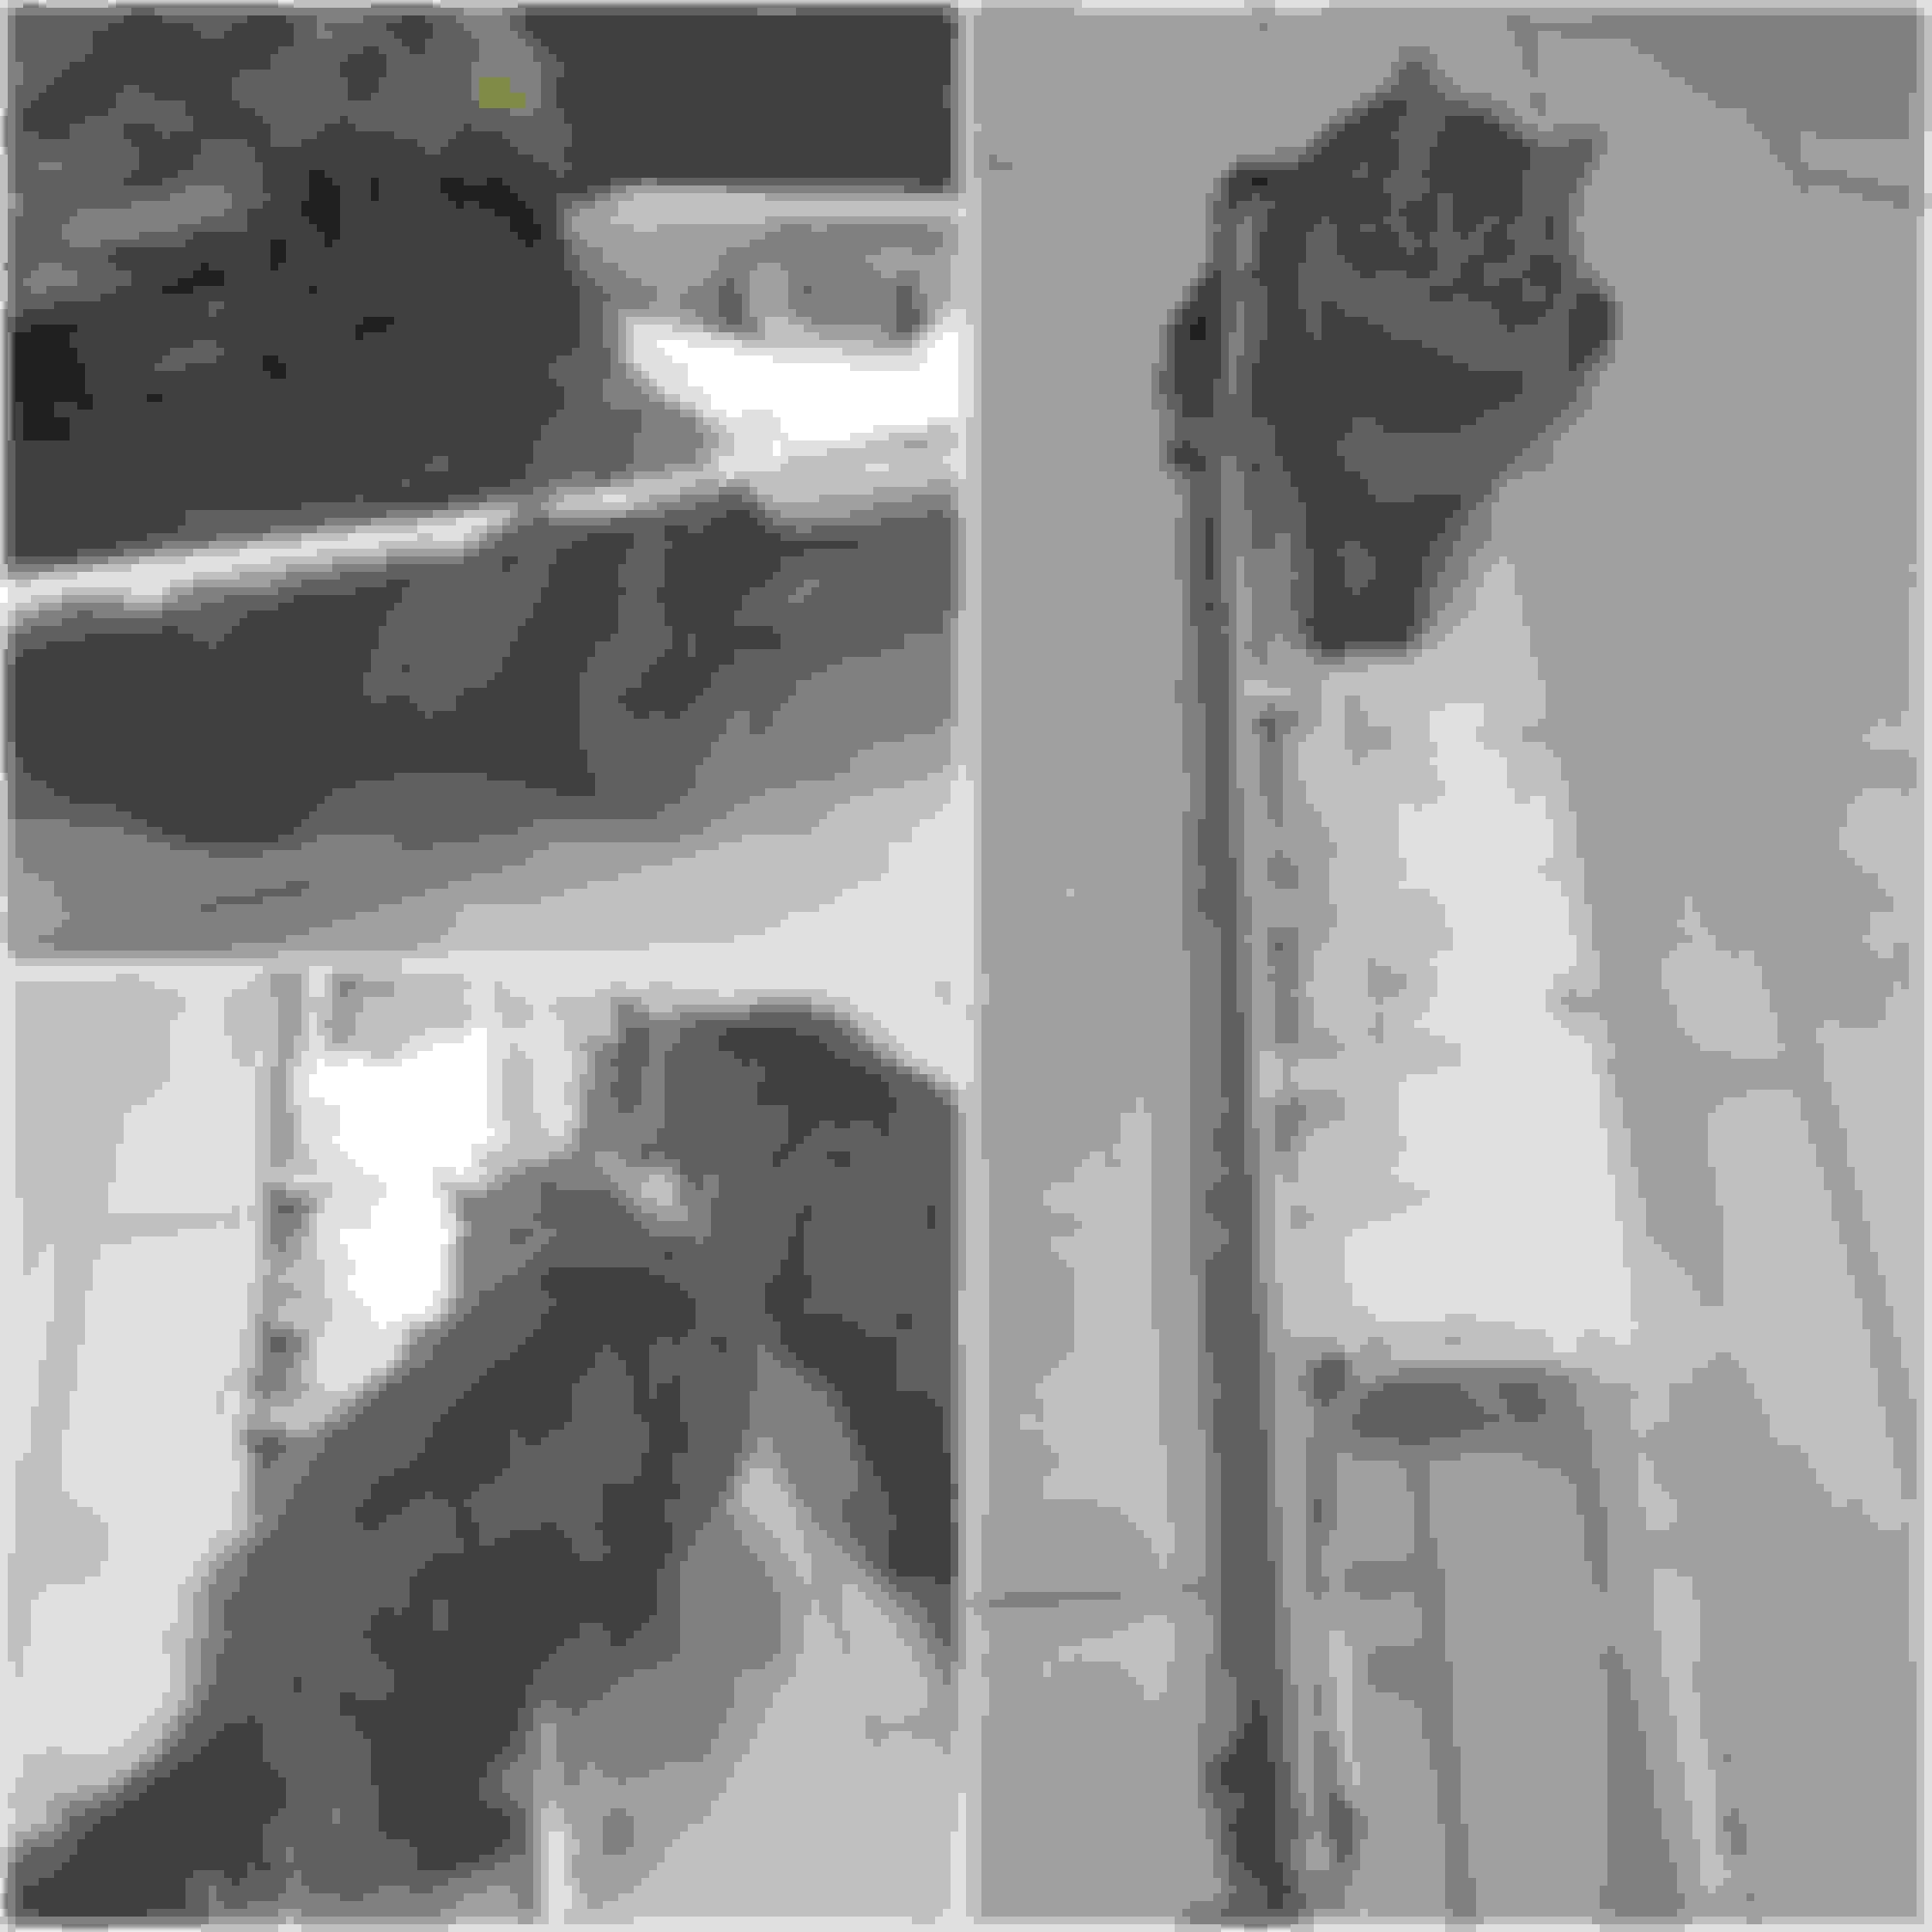
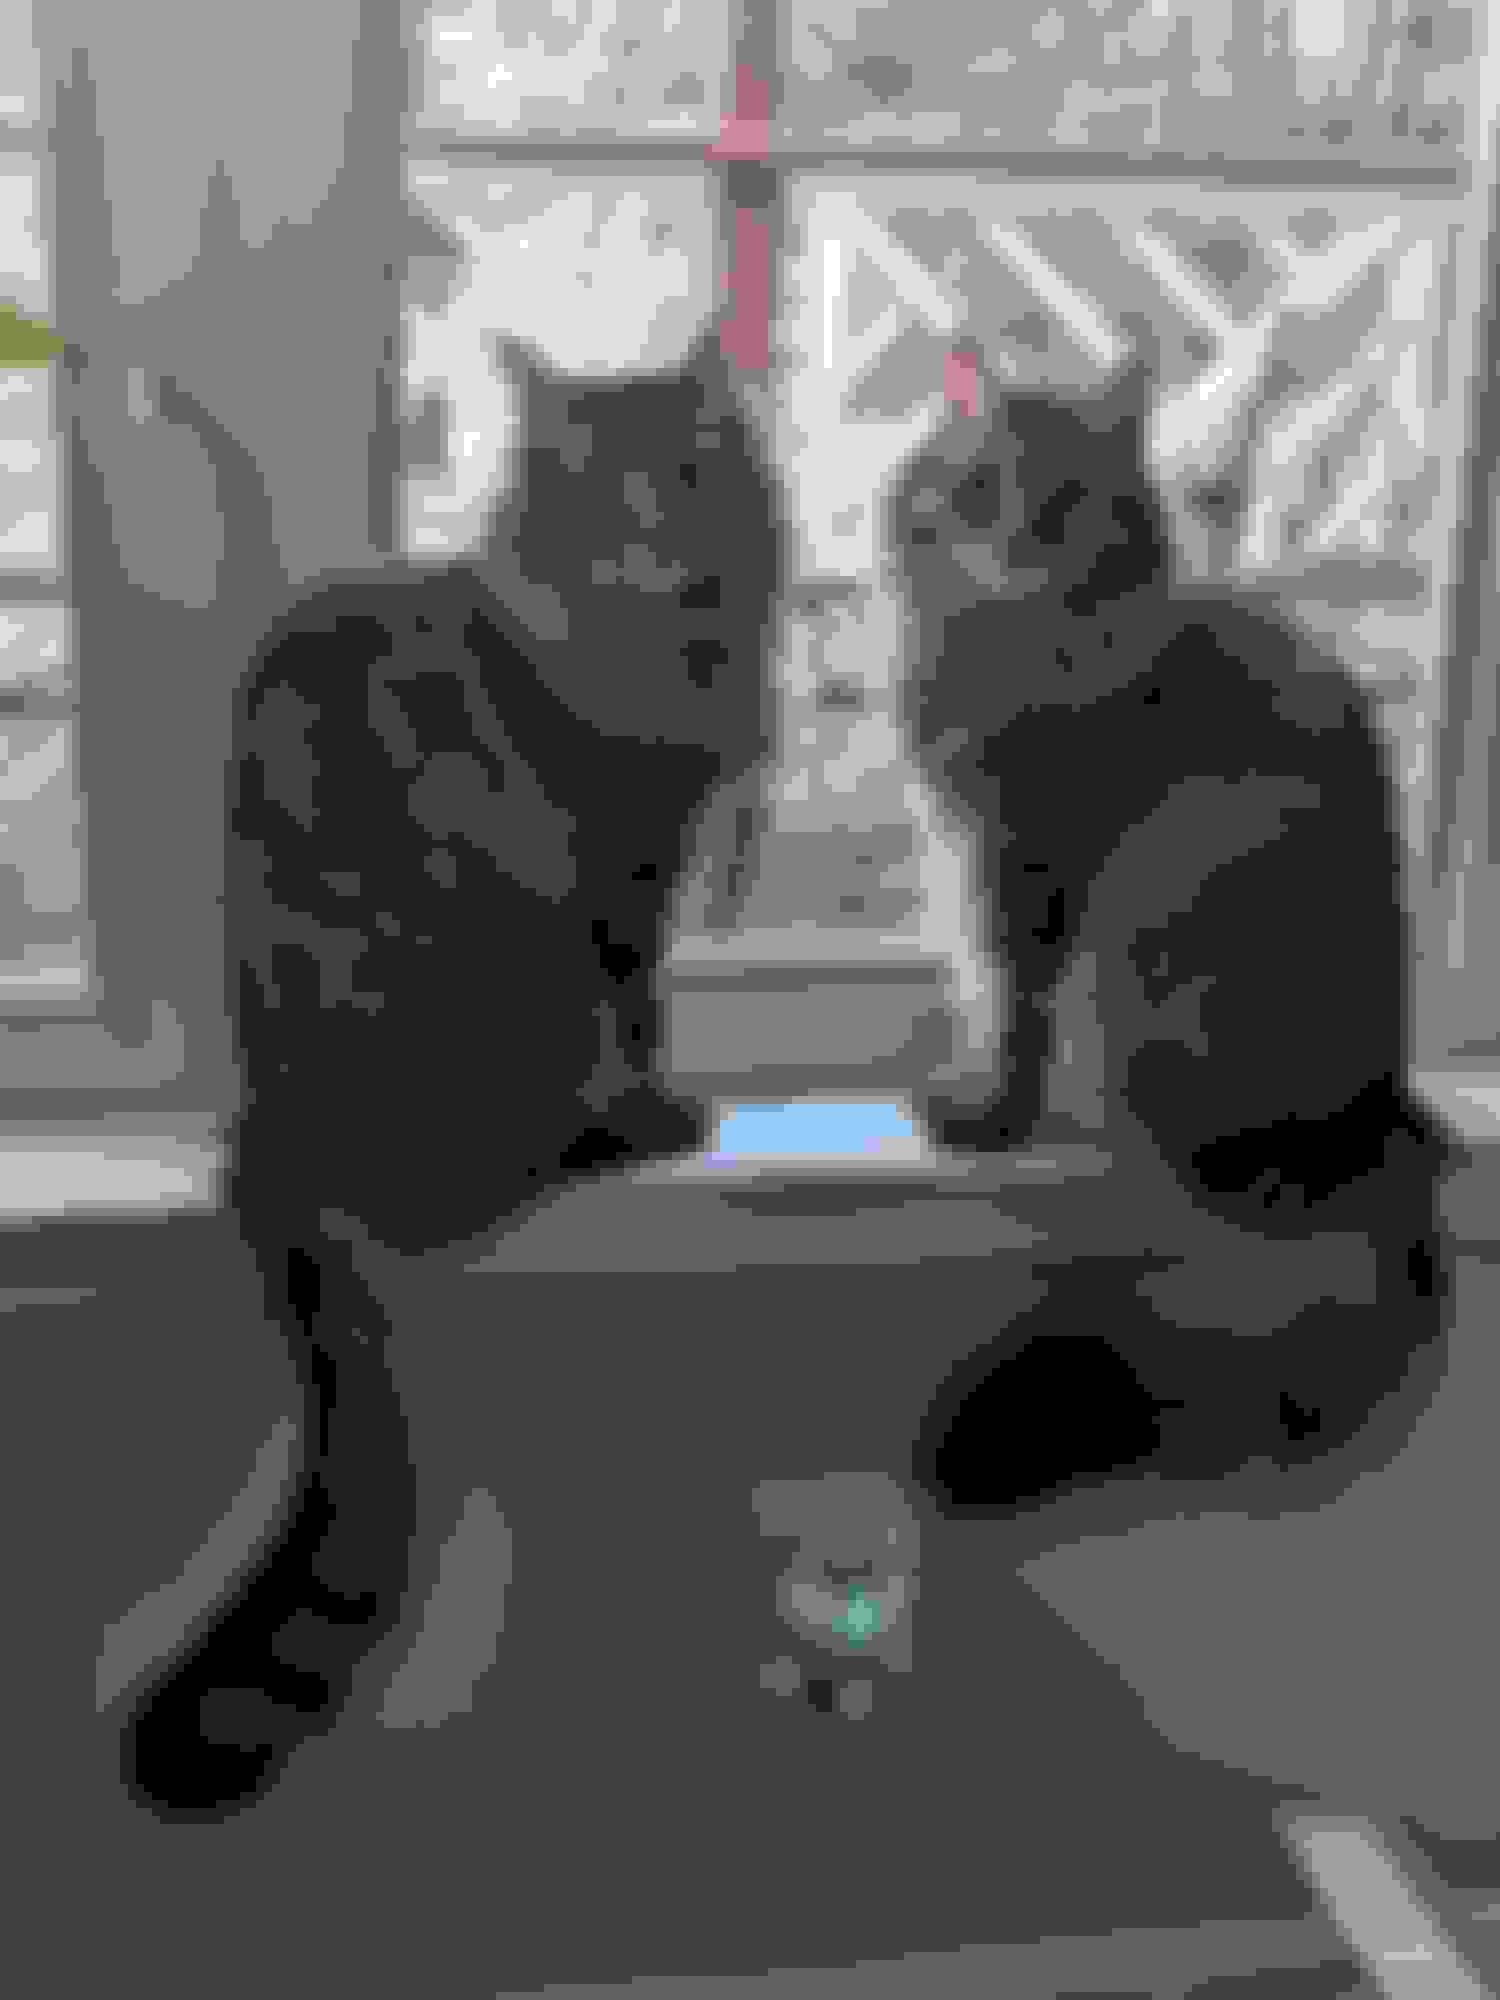
Cat's seem to approve of the new space
My first major project after the garage was building a dining table out of a slab of cherry.
For more up-to-date posts, you can visit my instagram: shorturl.at/DIRZ7
I'll try to cross-post here from time to time.
Last edited by psyber_0ptix; 01-29-2023 at 05:10 PM.


 09-14-2020, 12:21 AM


 5
5