NOT A MIATA, FE3N+HOLSET+73 FORD COURIER BUILD
 12-29-2022, 05:38 PM
#261
Senior Member
Thread Starter

Join Date: Jan 2011
Location: sacramento ,ca
Posts: 568
Total Cats: 162
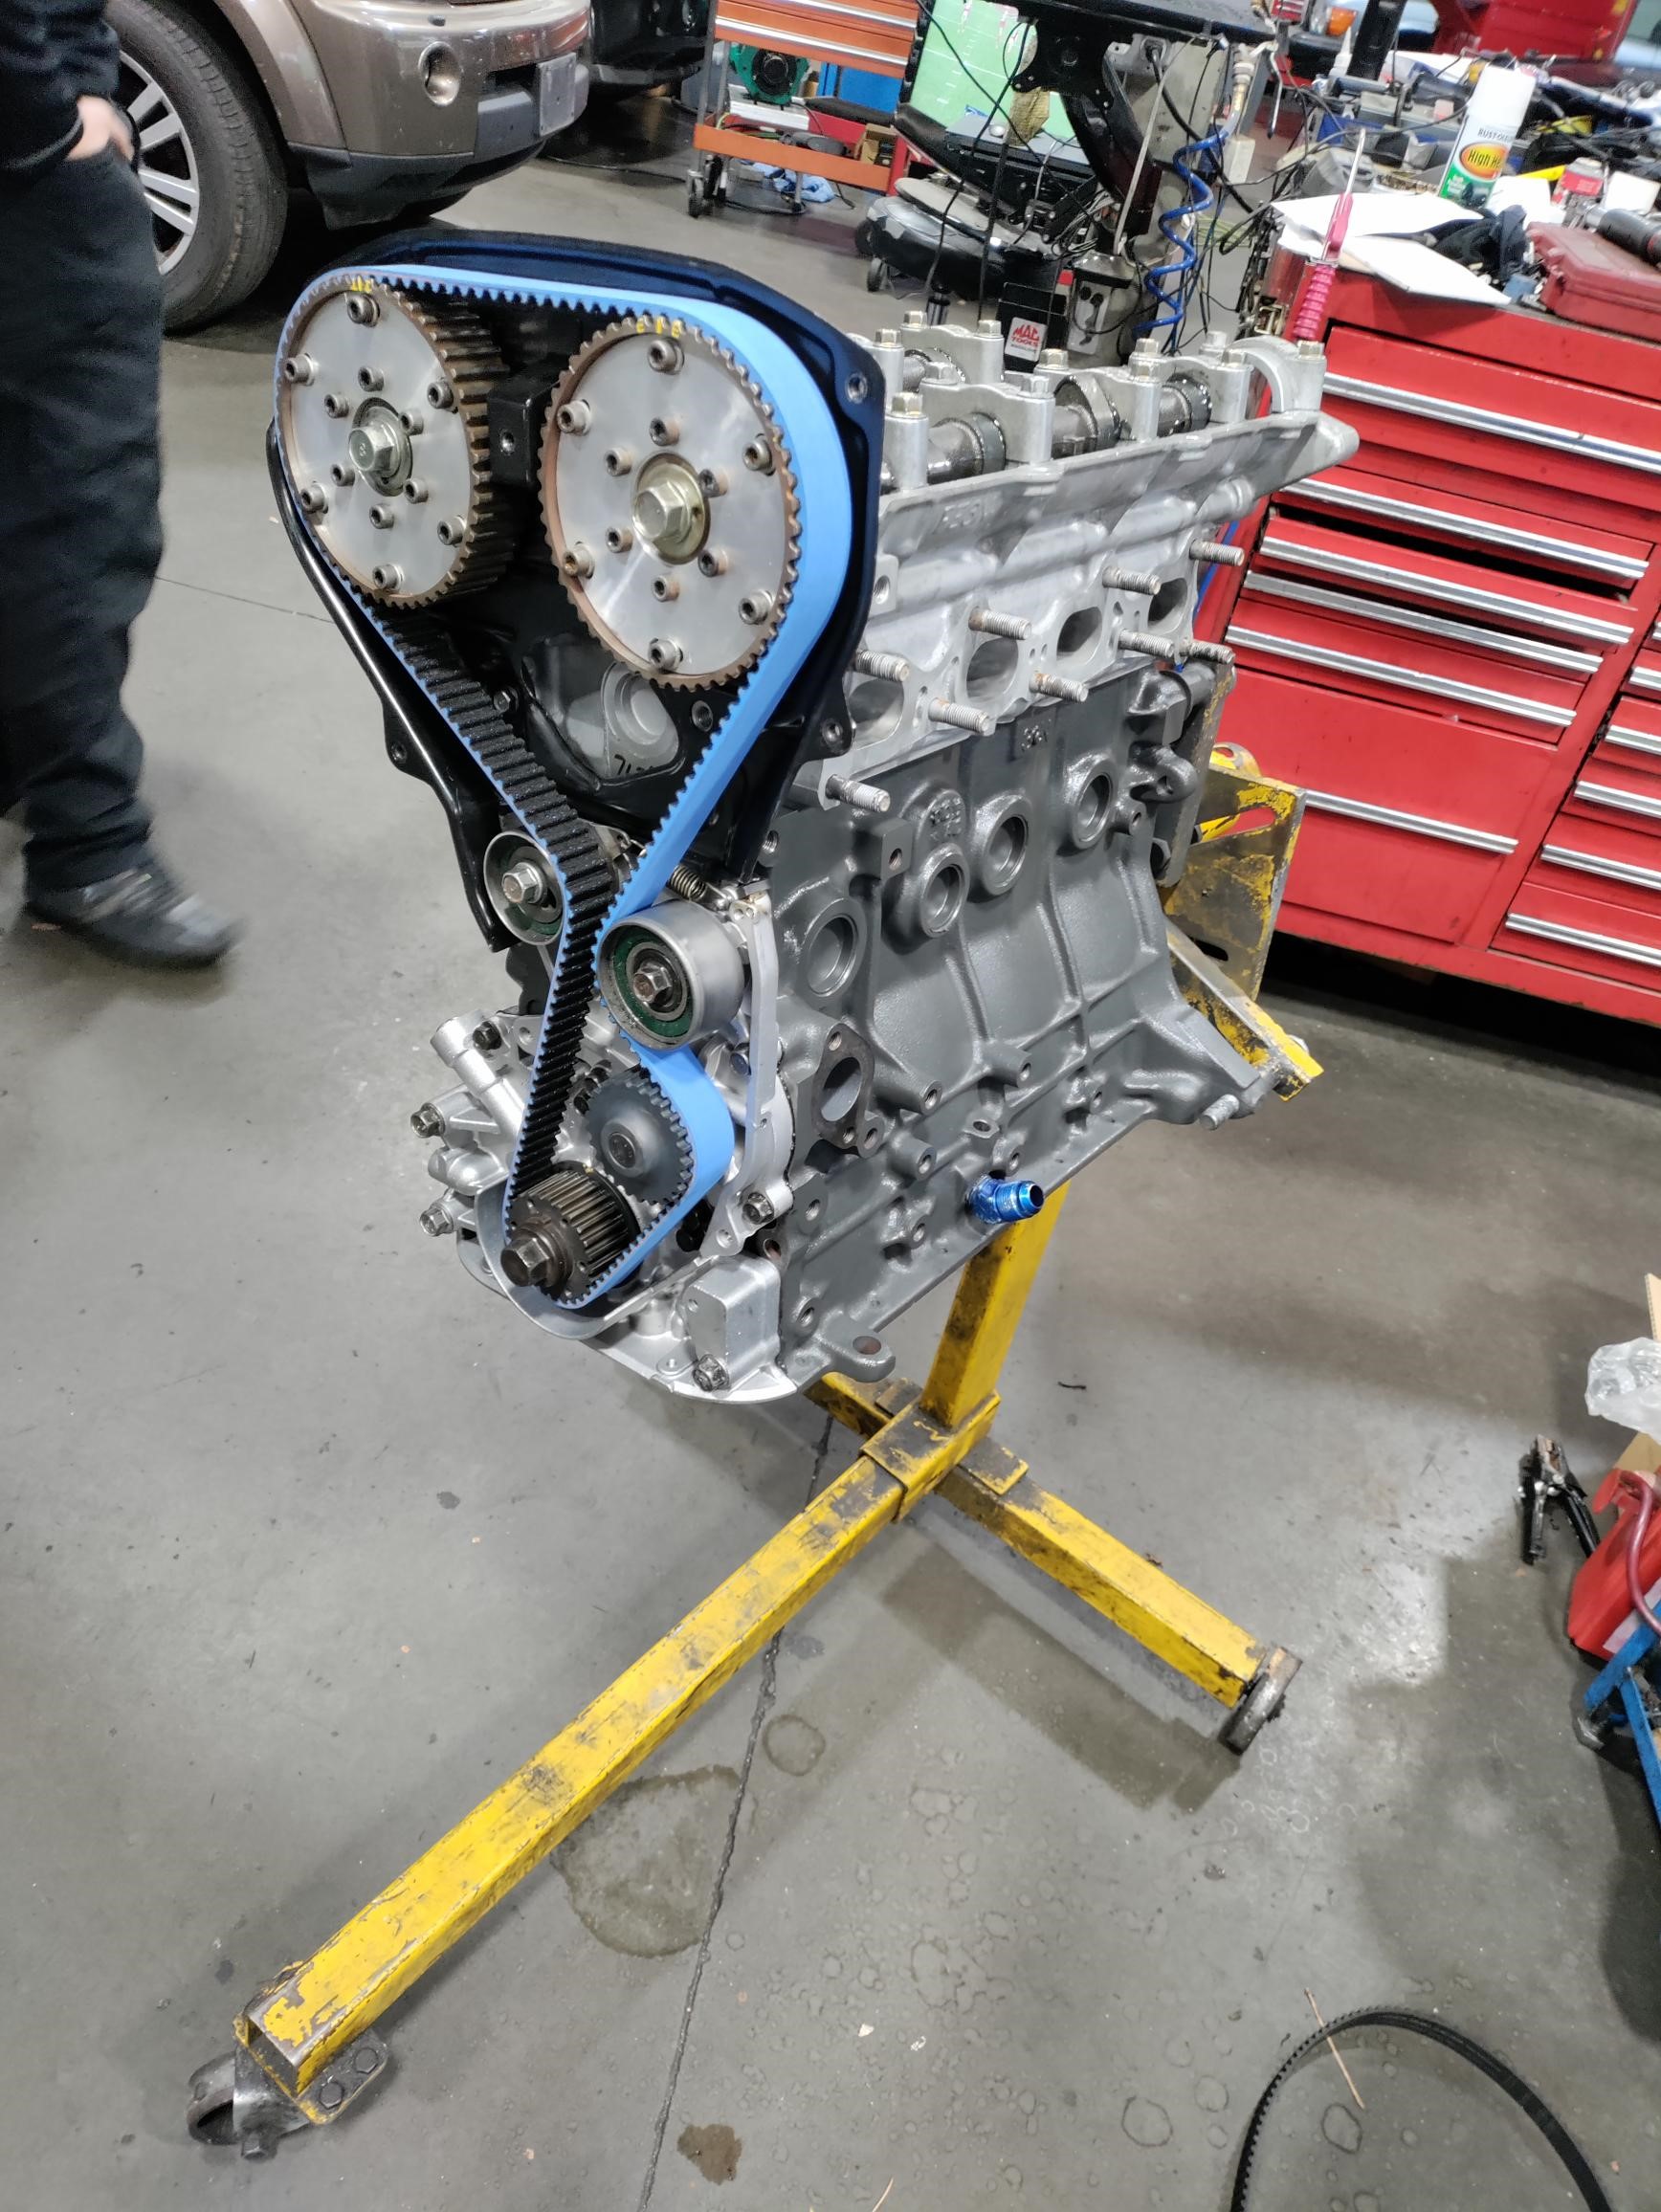
The main reason I want to keep it noninterference is the cams spring toward each other on the compression stroke causing the belt to slacken between the cam gears which looks like it will cause shock load and compromise the belt. I started a thread with more info in the "engine performance" section.
I have a new gates RPM blue timing belt. From my experience with this motor and previously on my B6T I have thrown a few timing belts and don't want to blow up an engine that has taken 2 years and almost 10k to build.
I have a new gates RPM blue timing belt. From my experience with this motor and previously on my B6T I have thrown a few timing belts and don't want to blow up an engine that has taken 2 years and almost 10k to build.

Reply
 0
0

0
01-08-2023, 12:21 AM
#262
Senior Member
Thread Starter
Join Date: Jan 2011
Location: sacramento ,ca
Posts: 568
Total Cats: 162
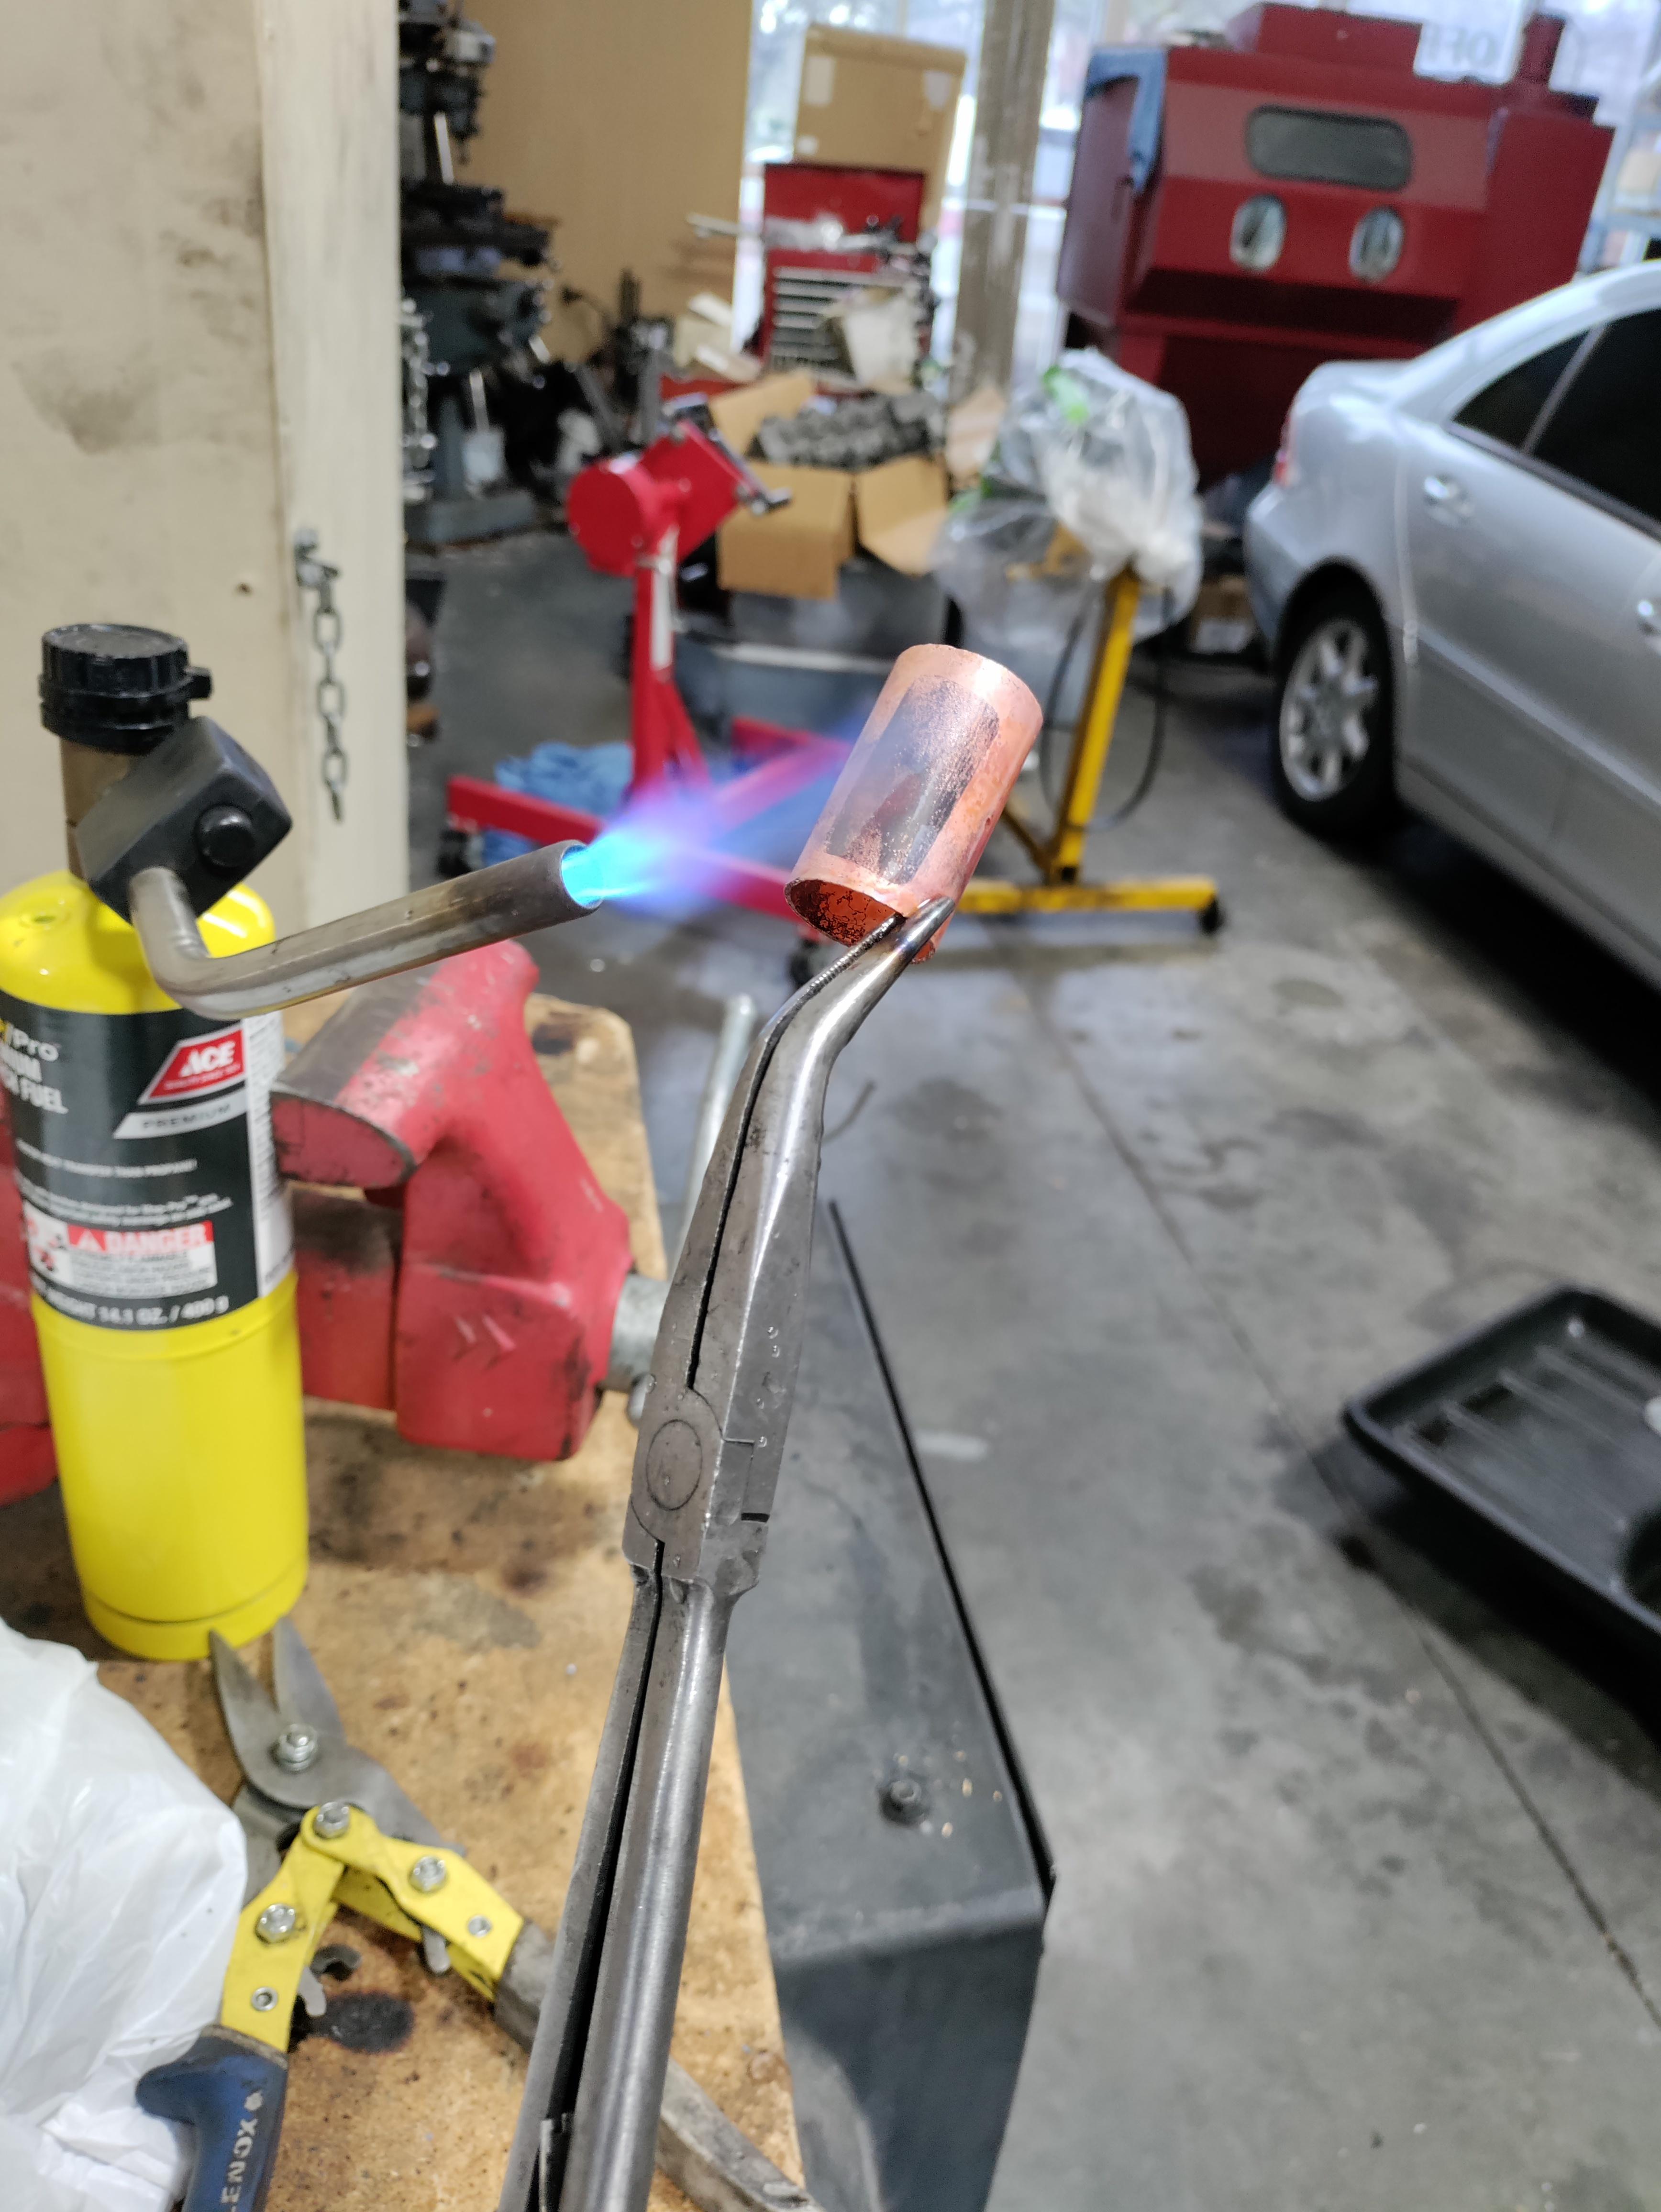
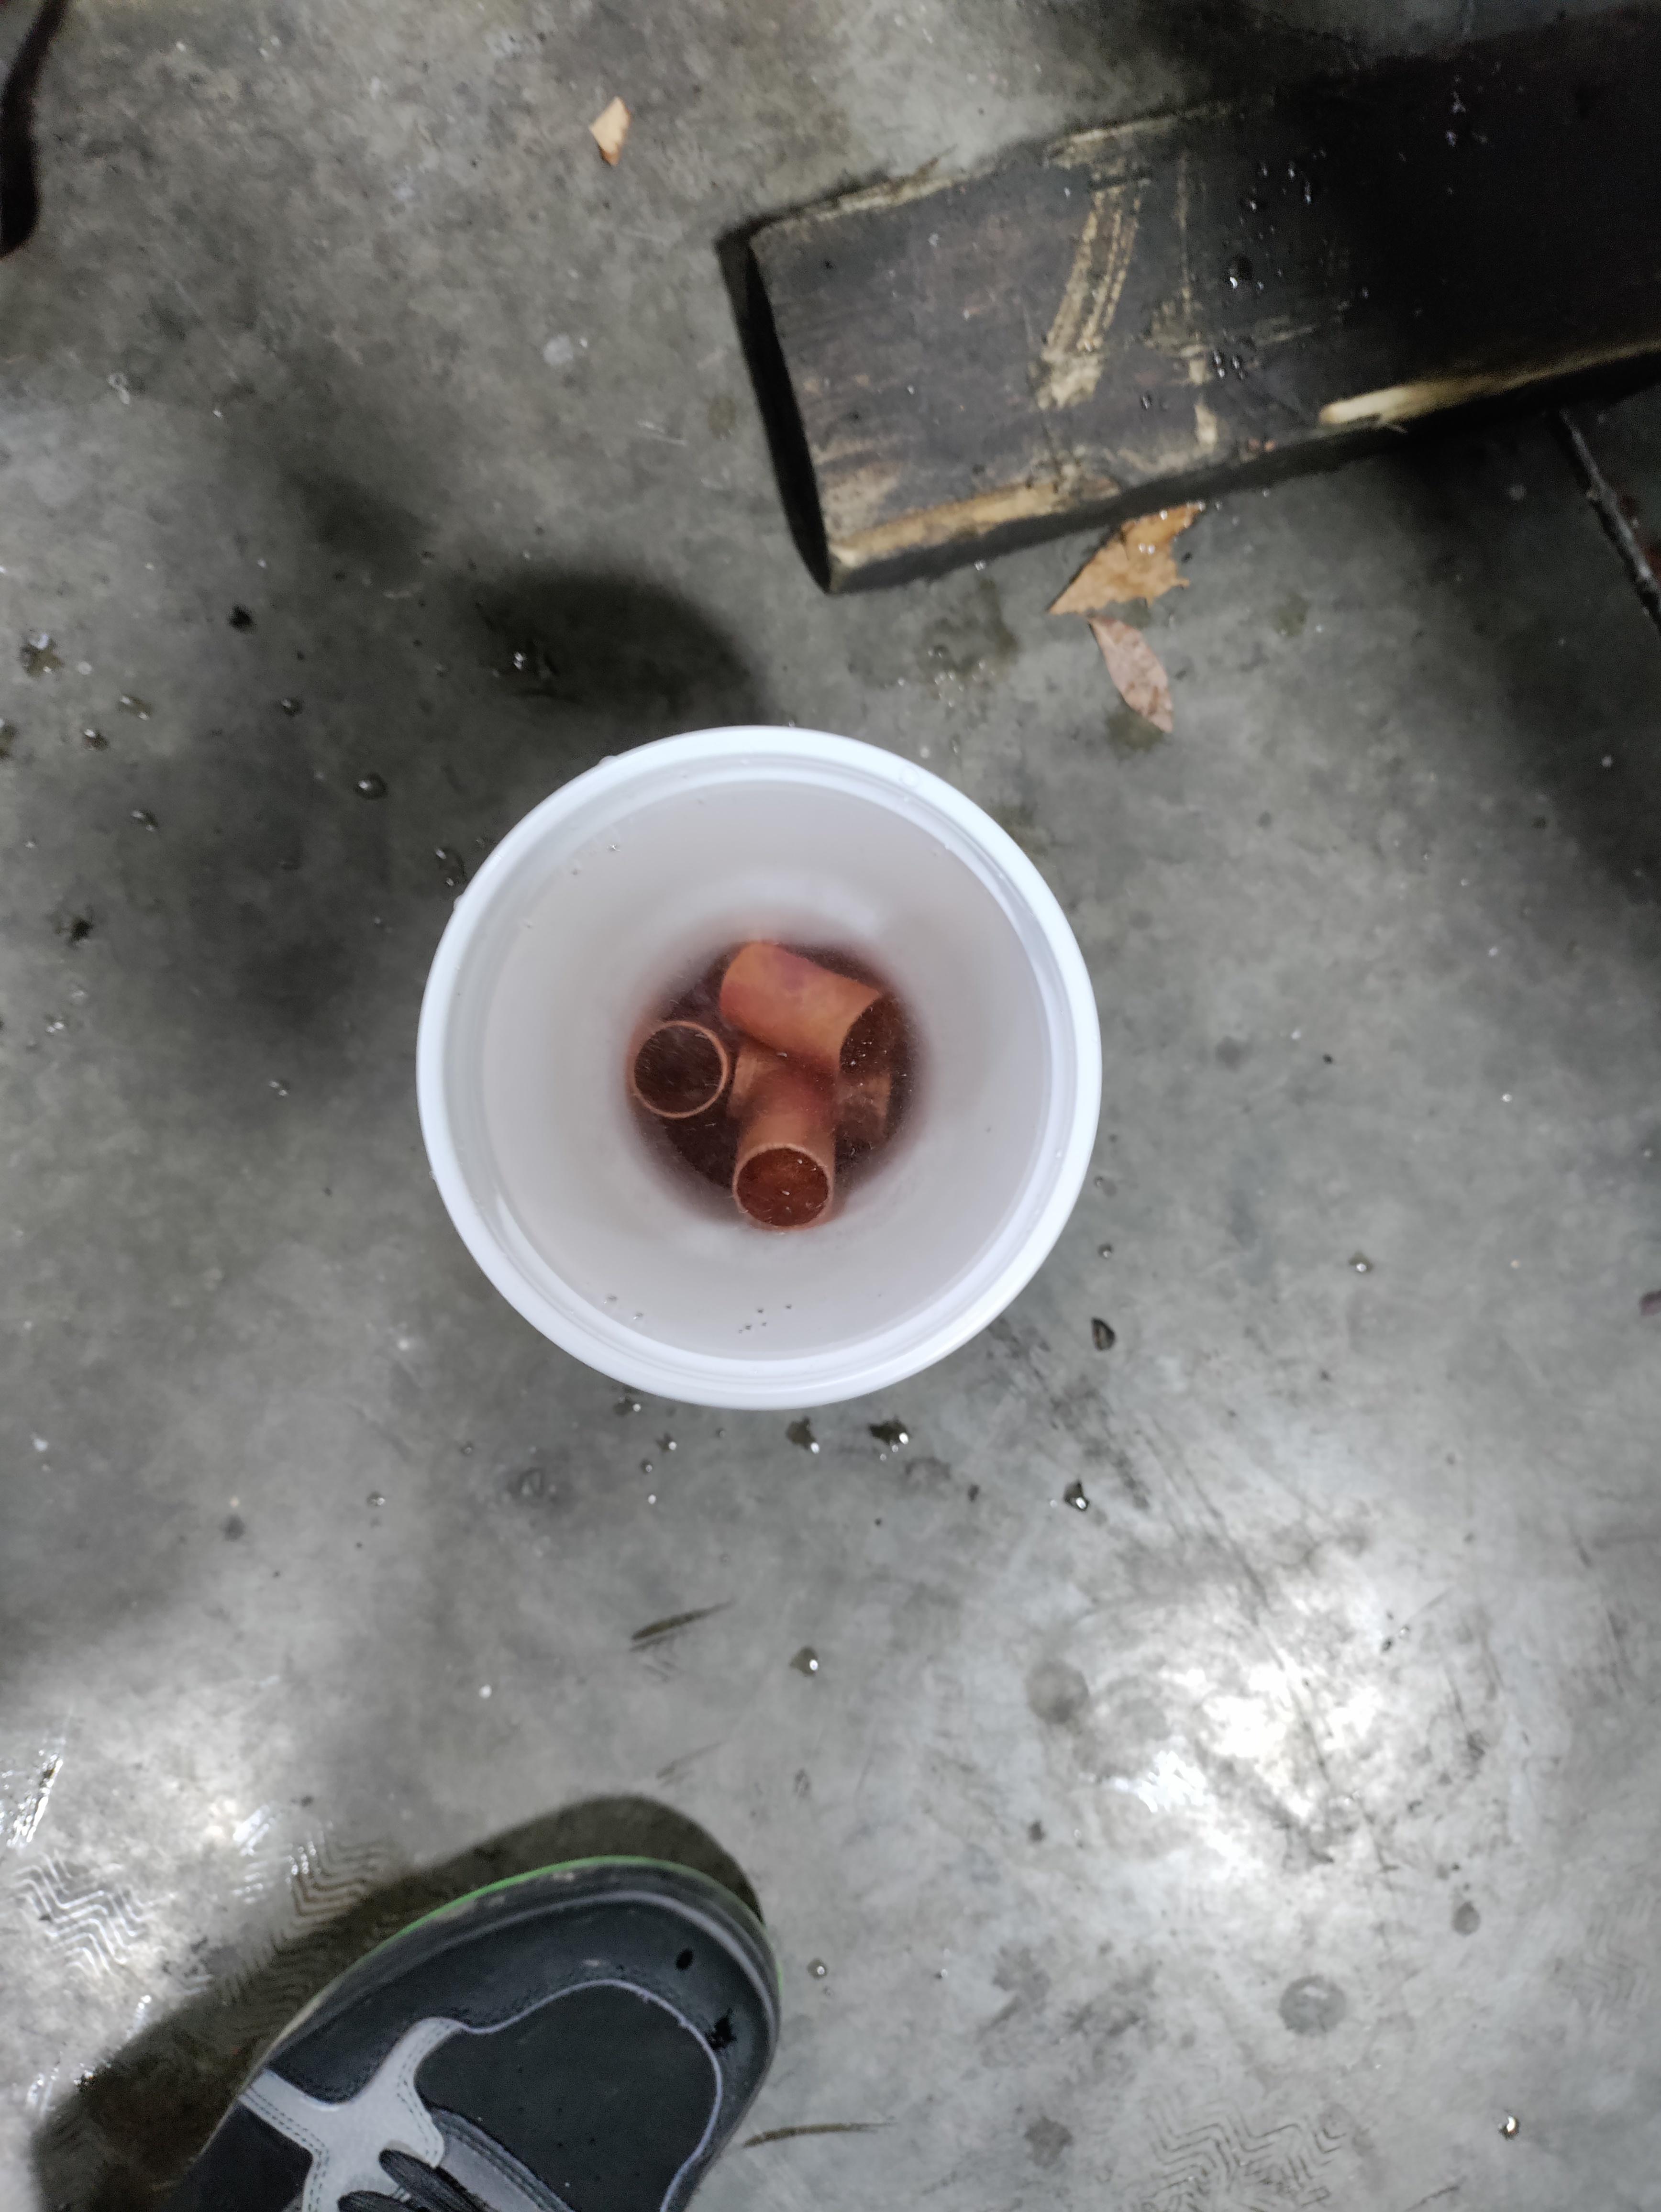
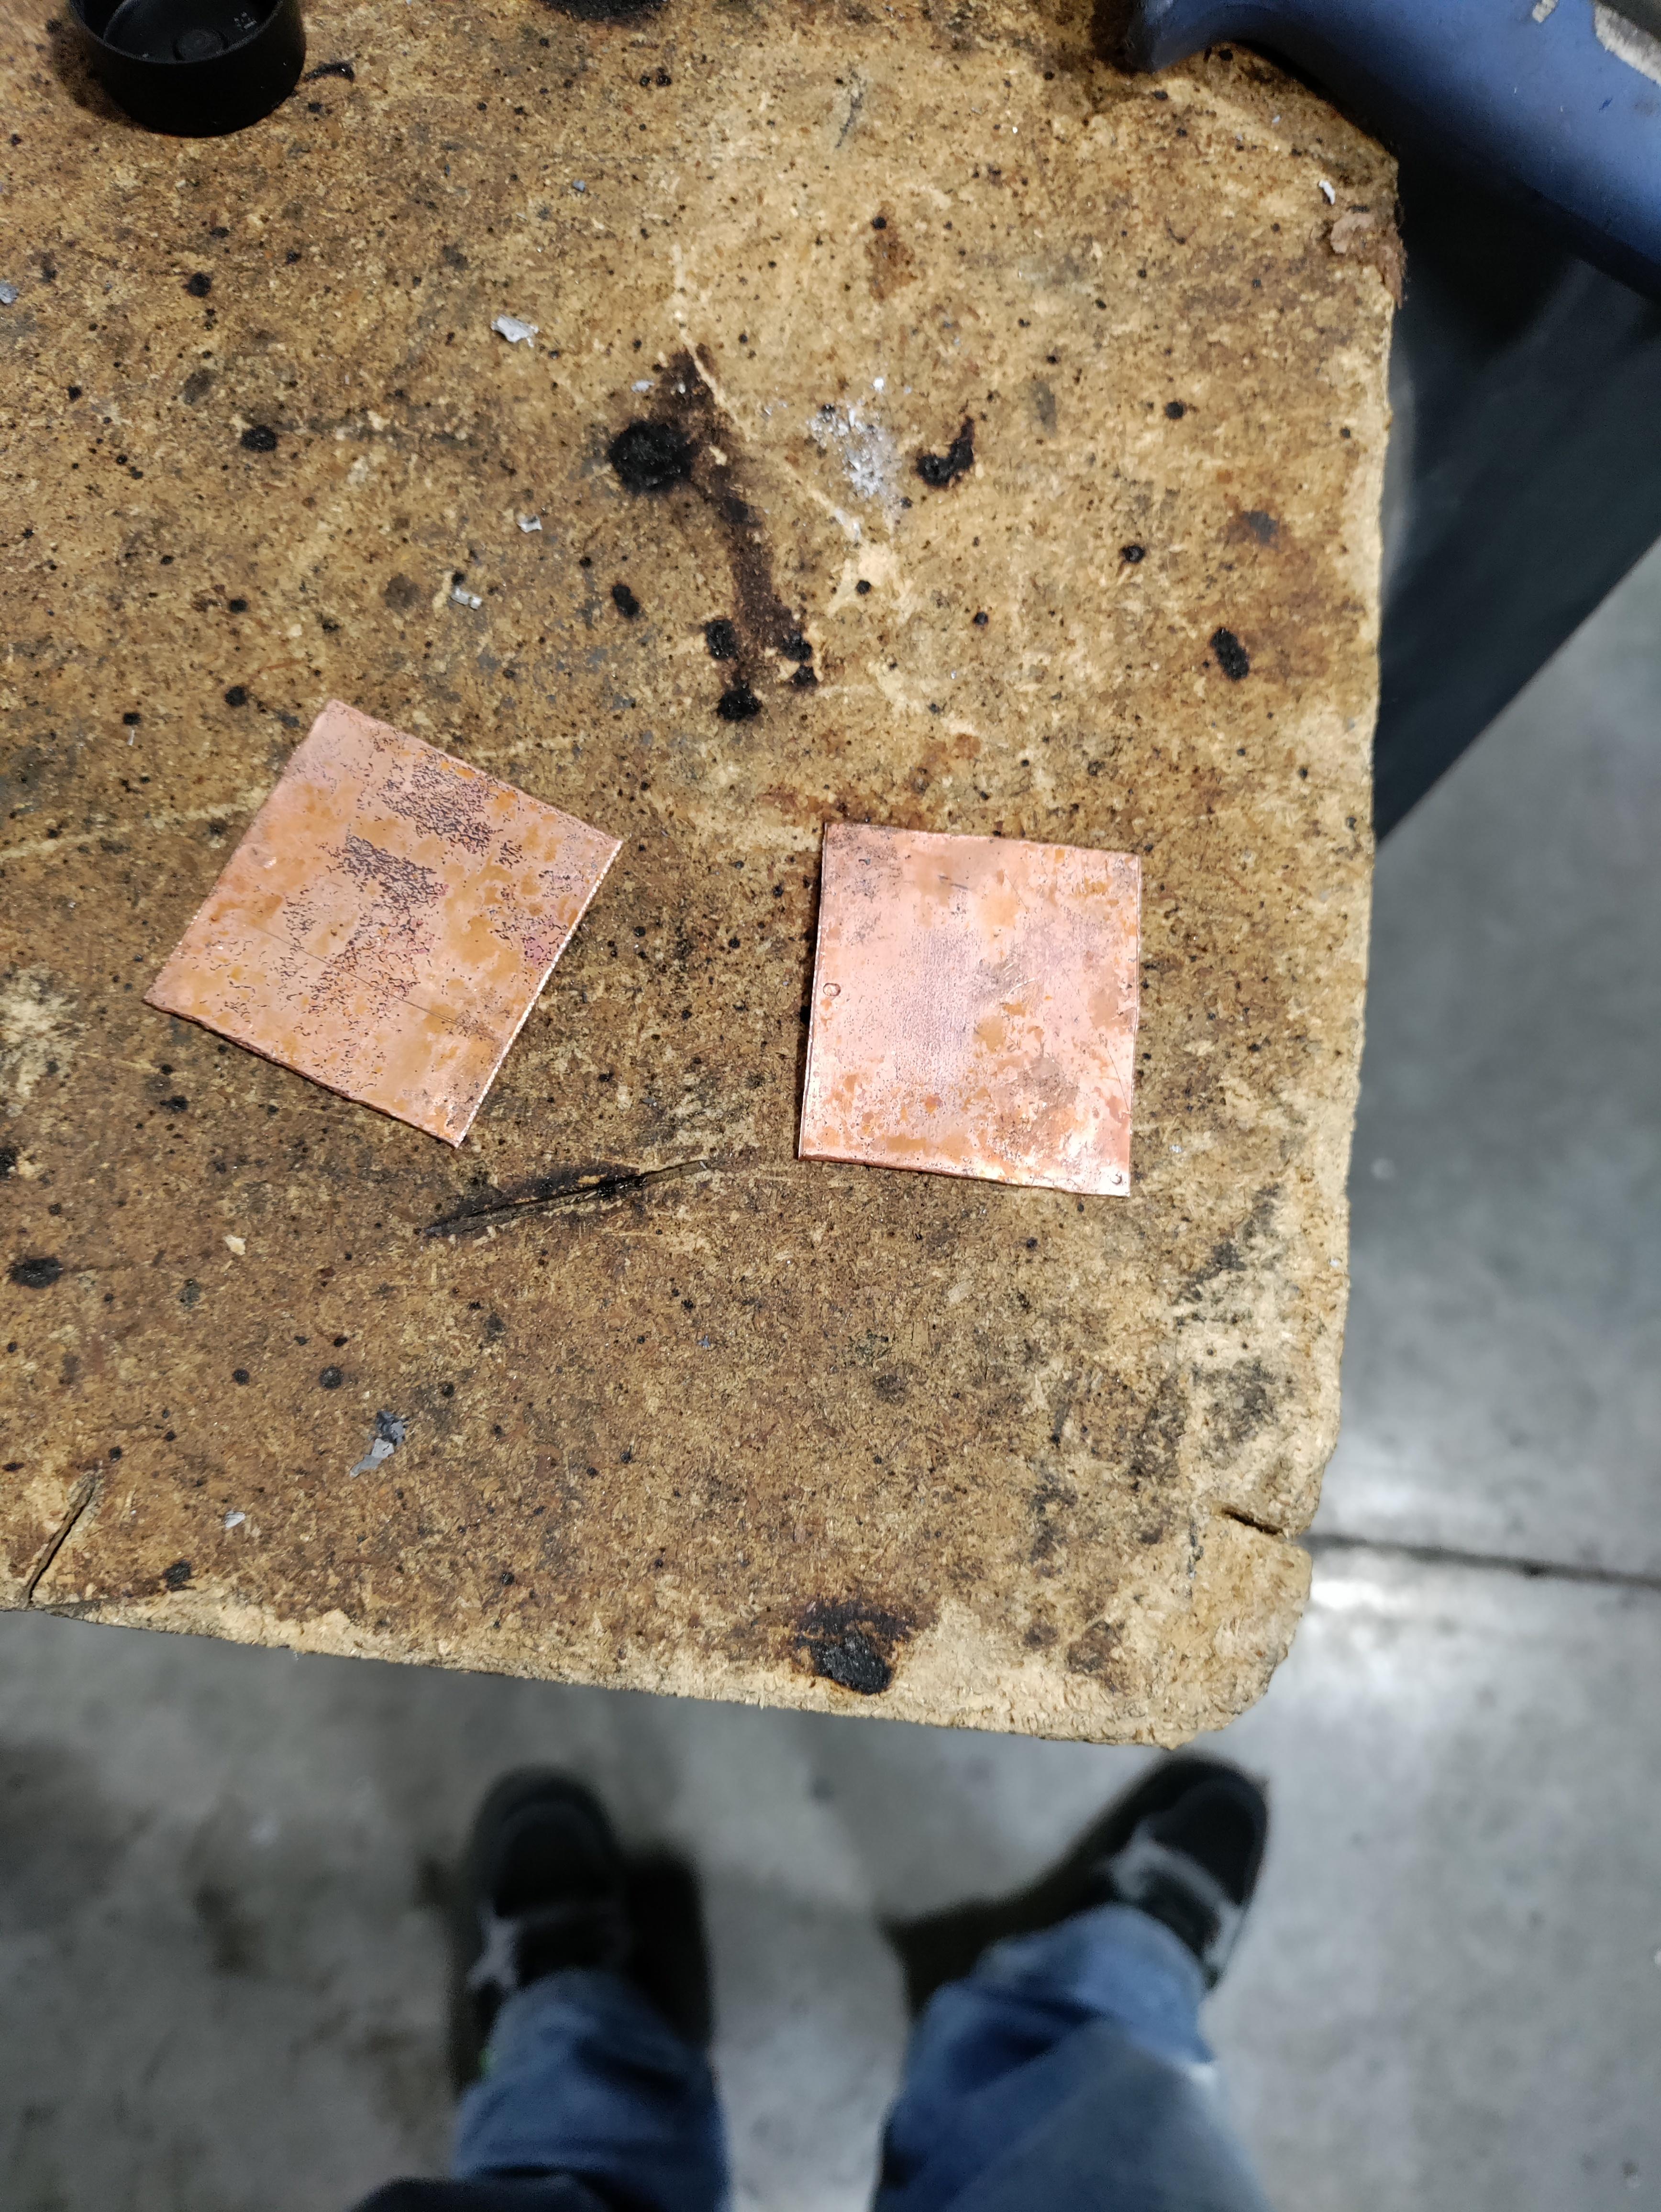
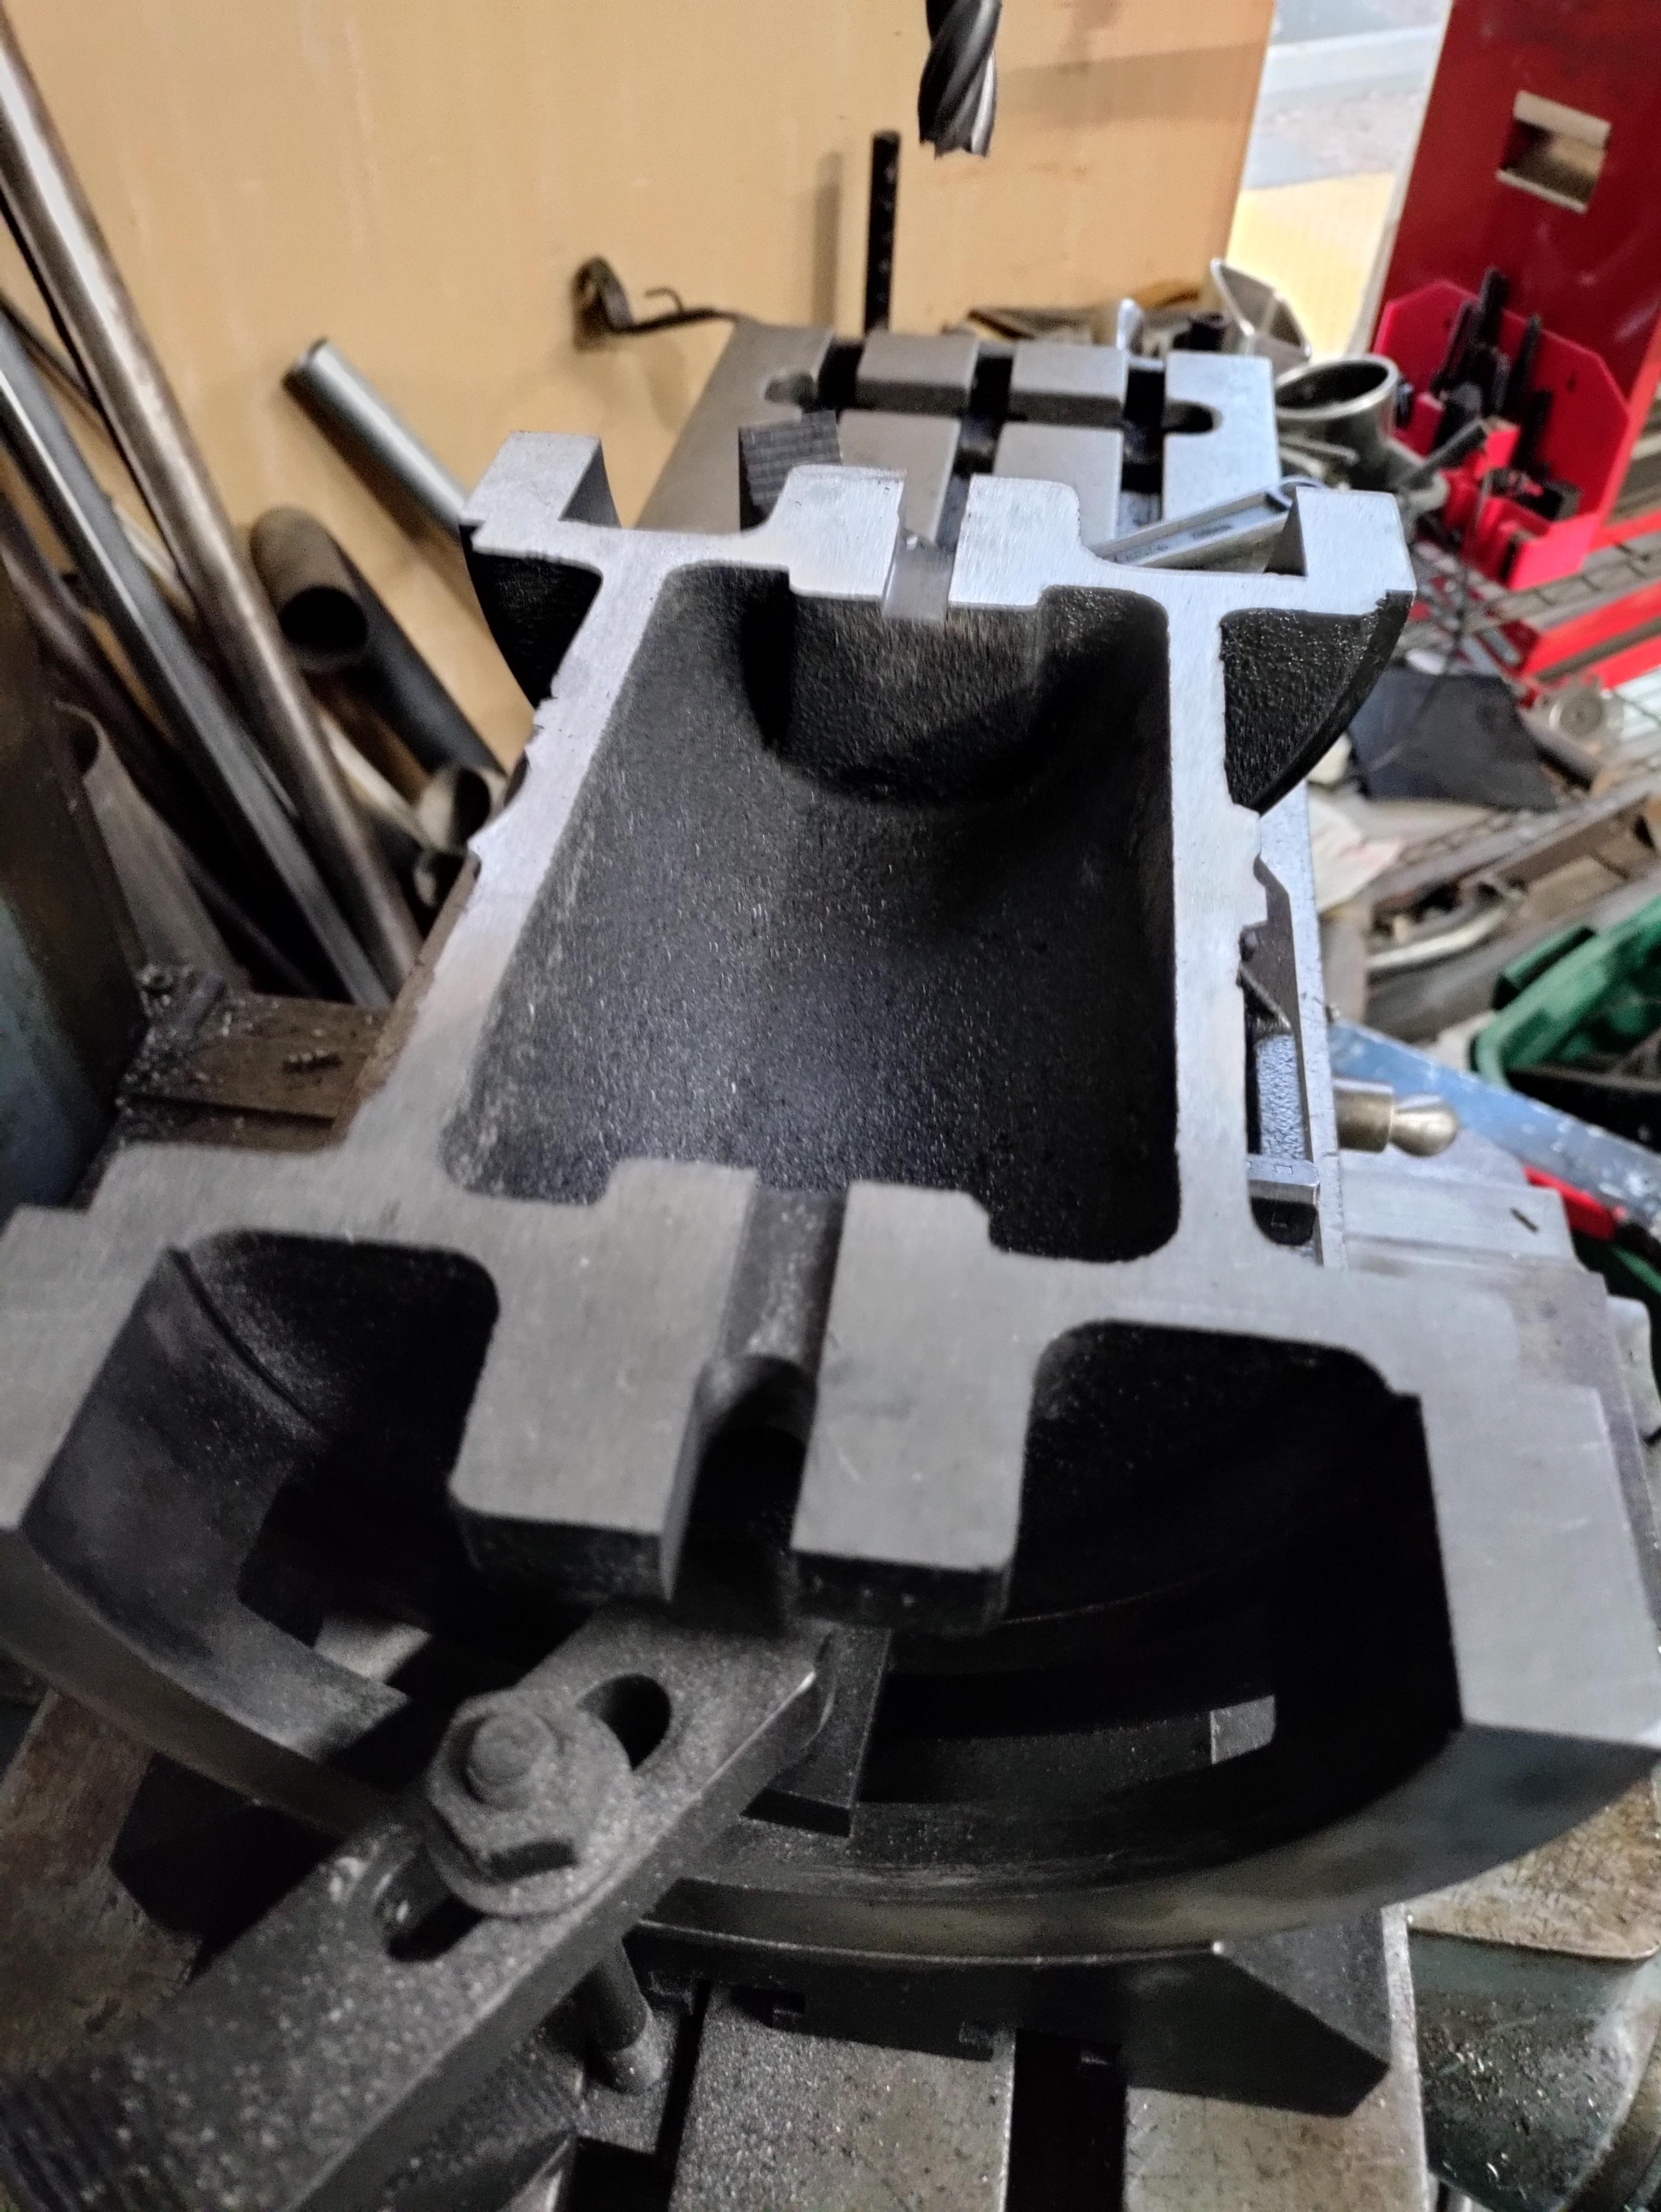
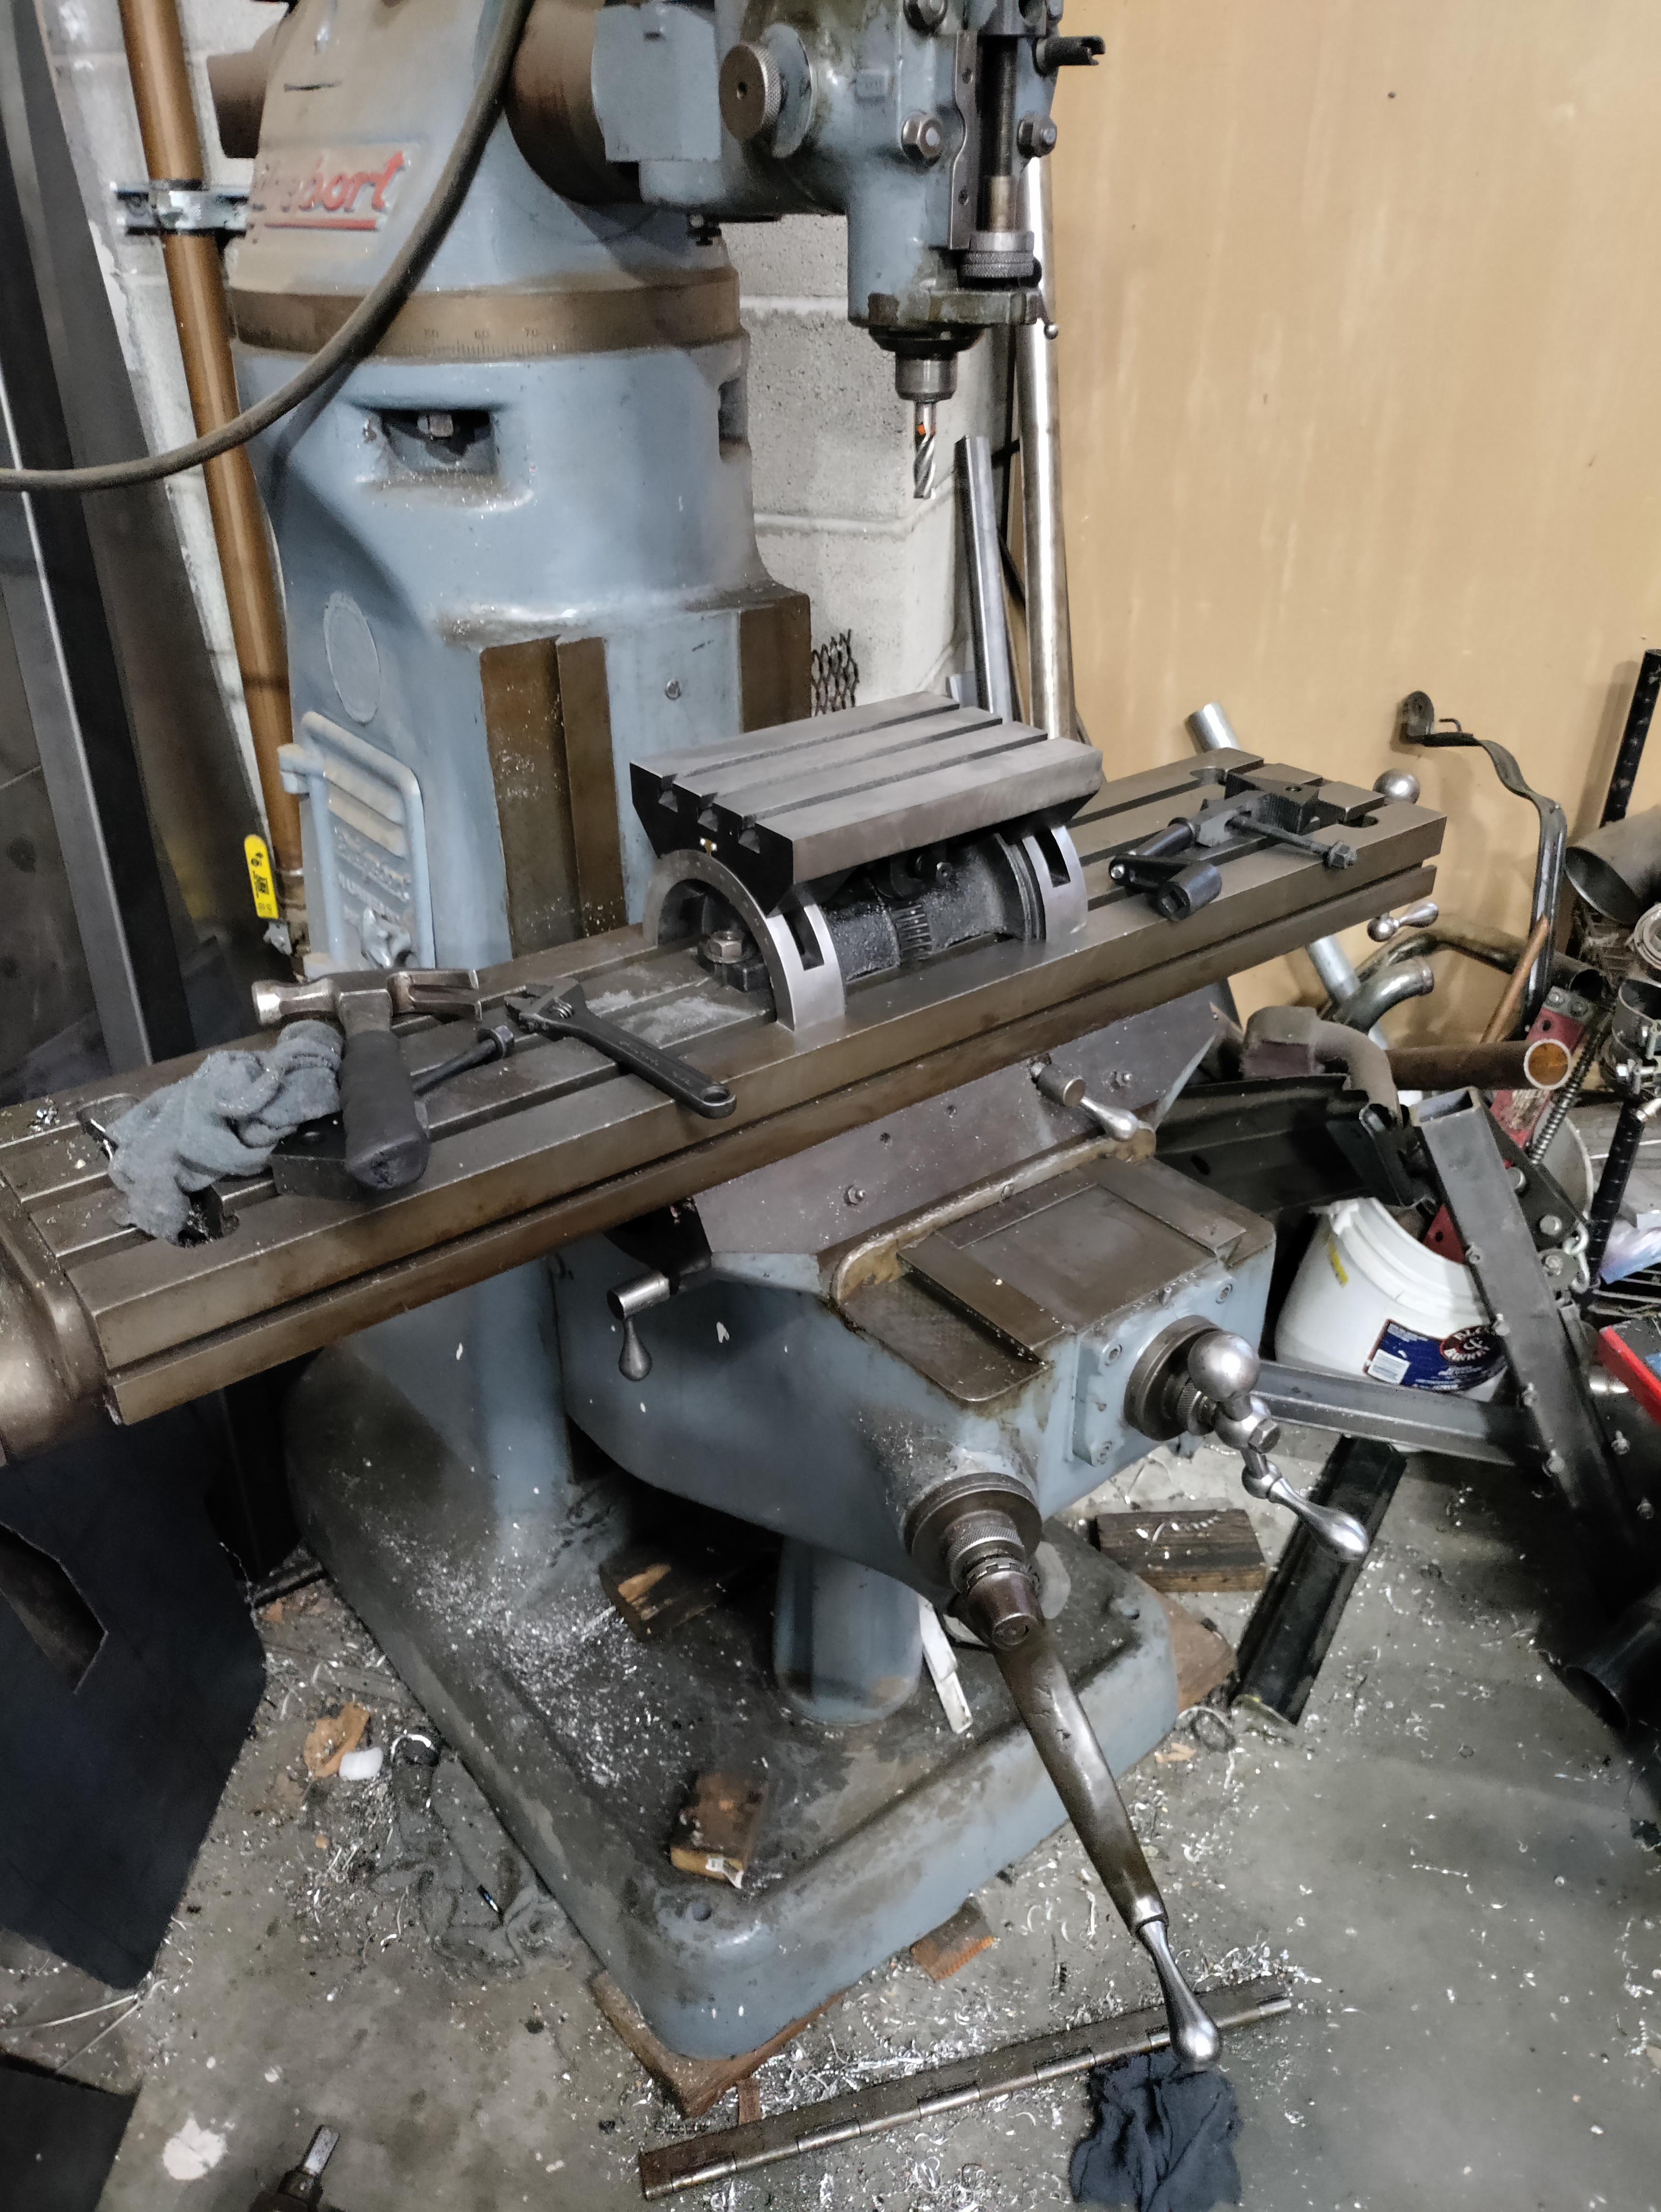
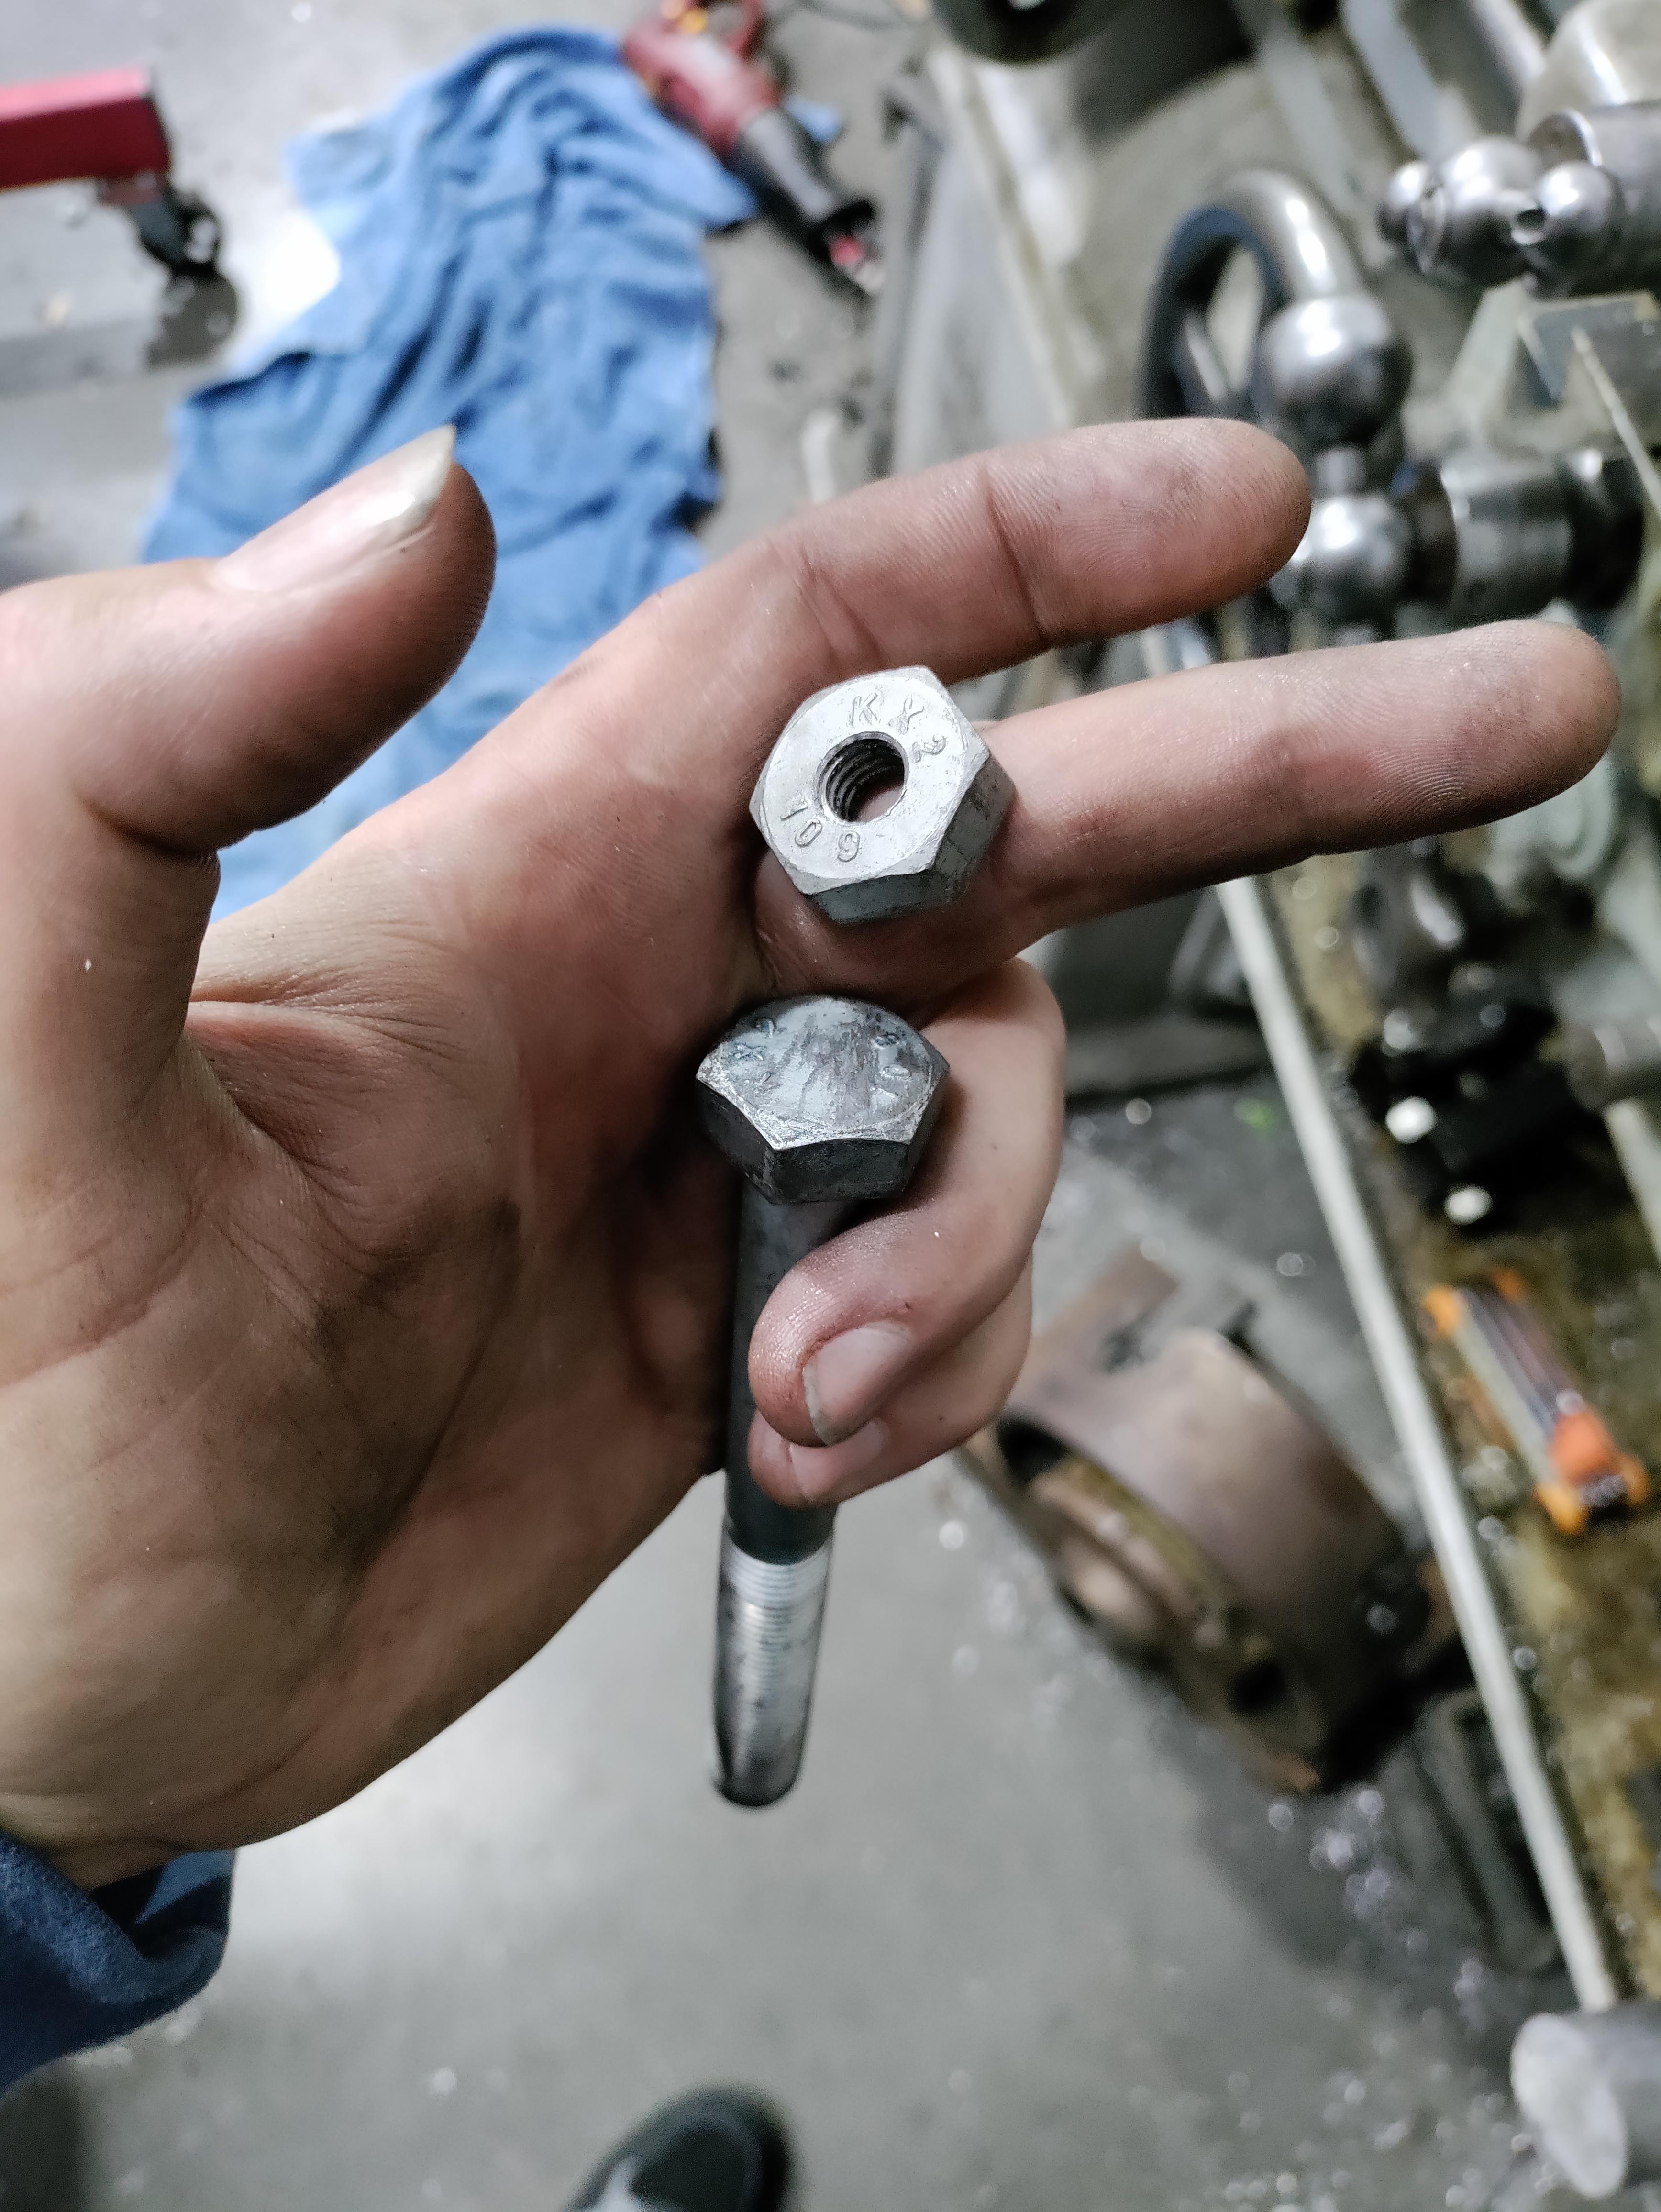
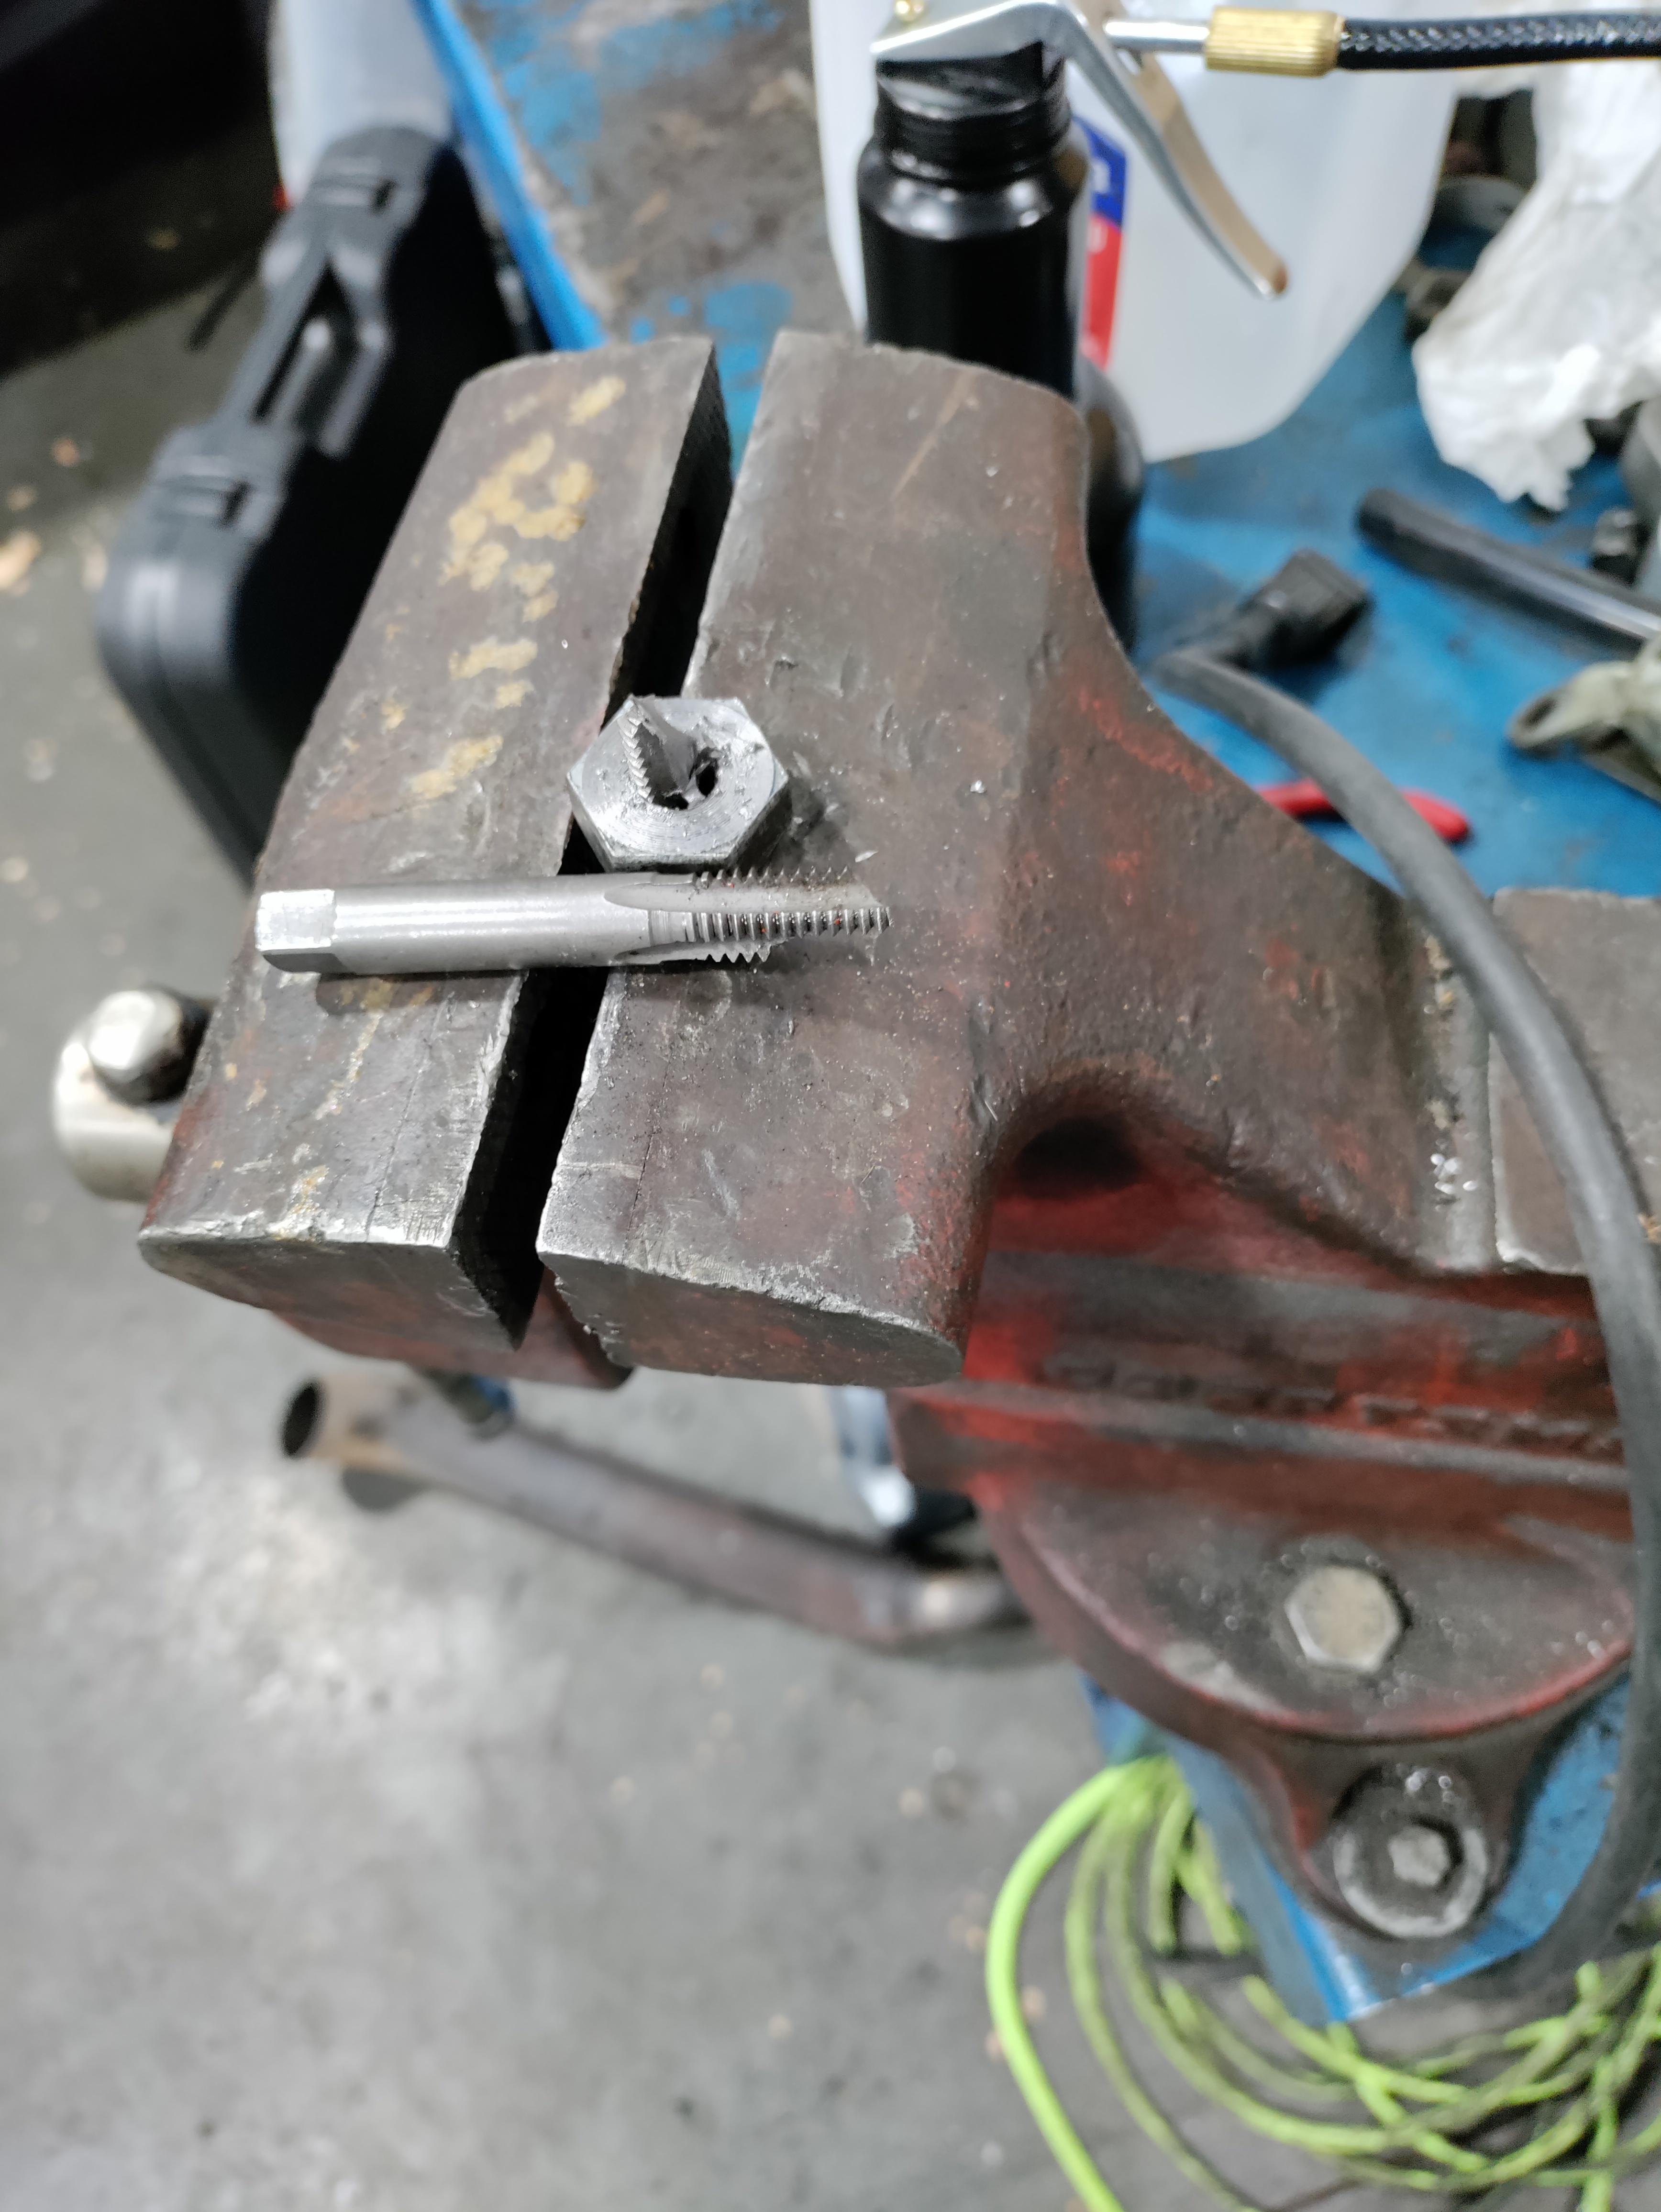
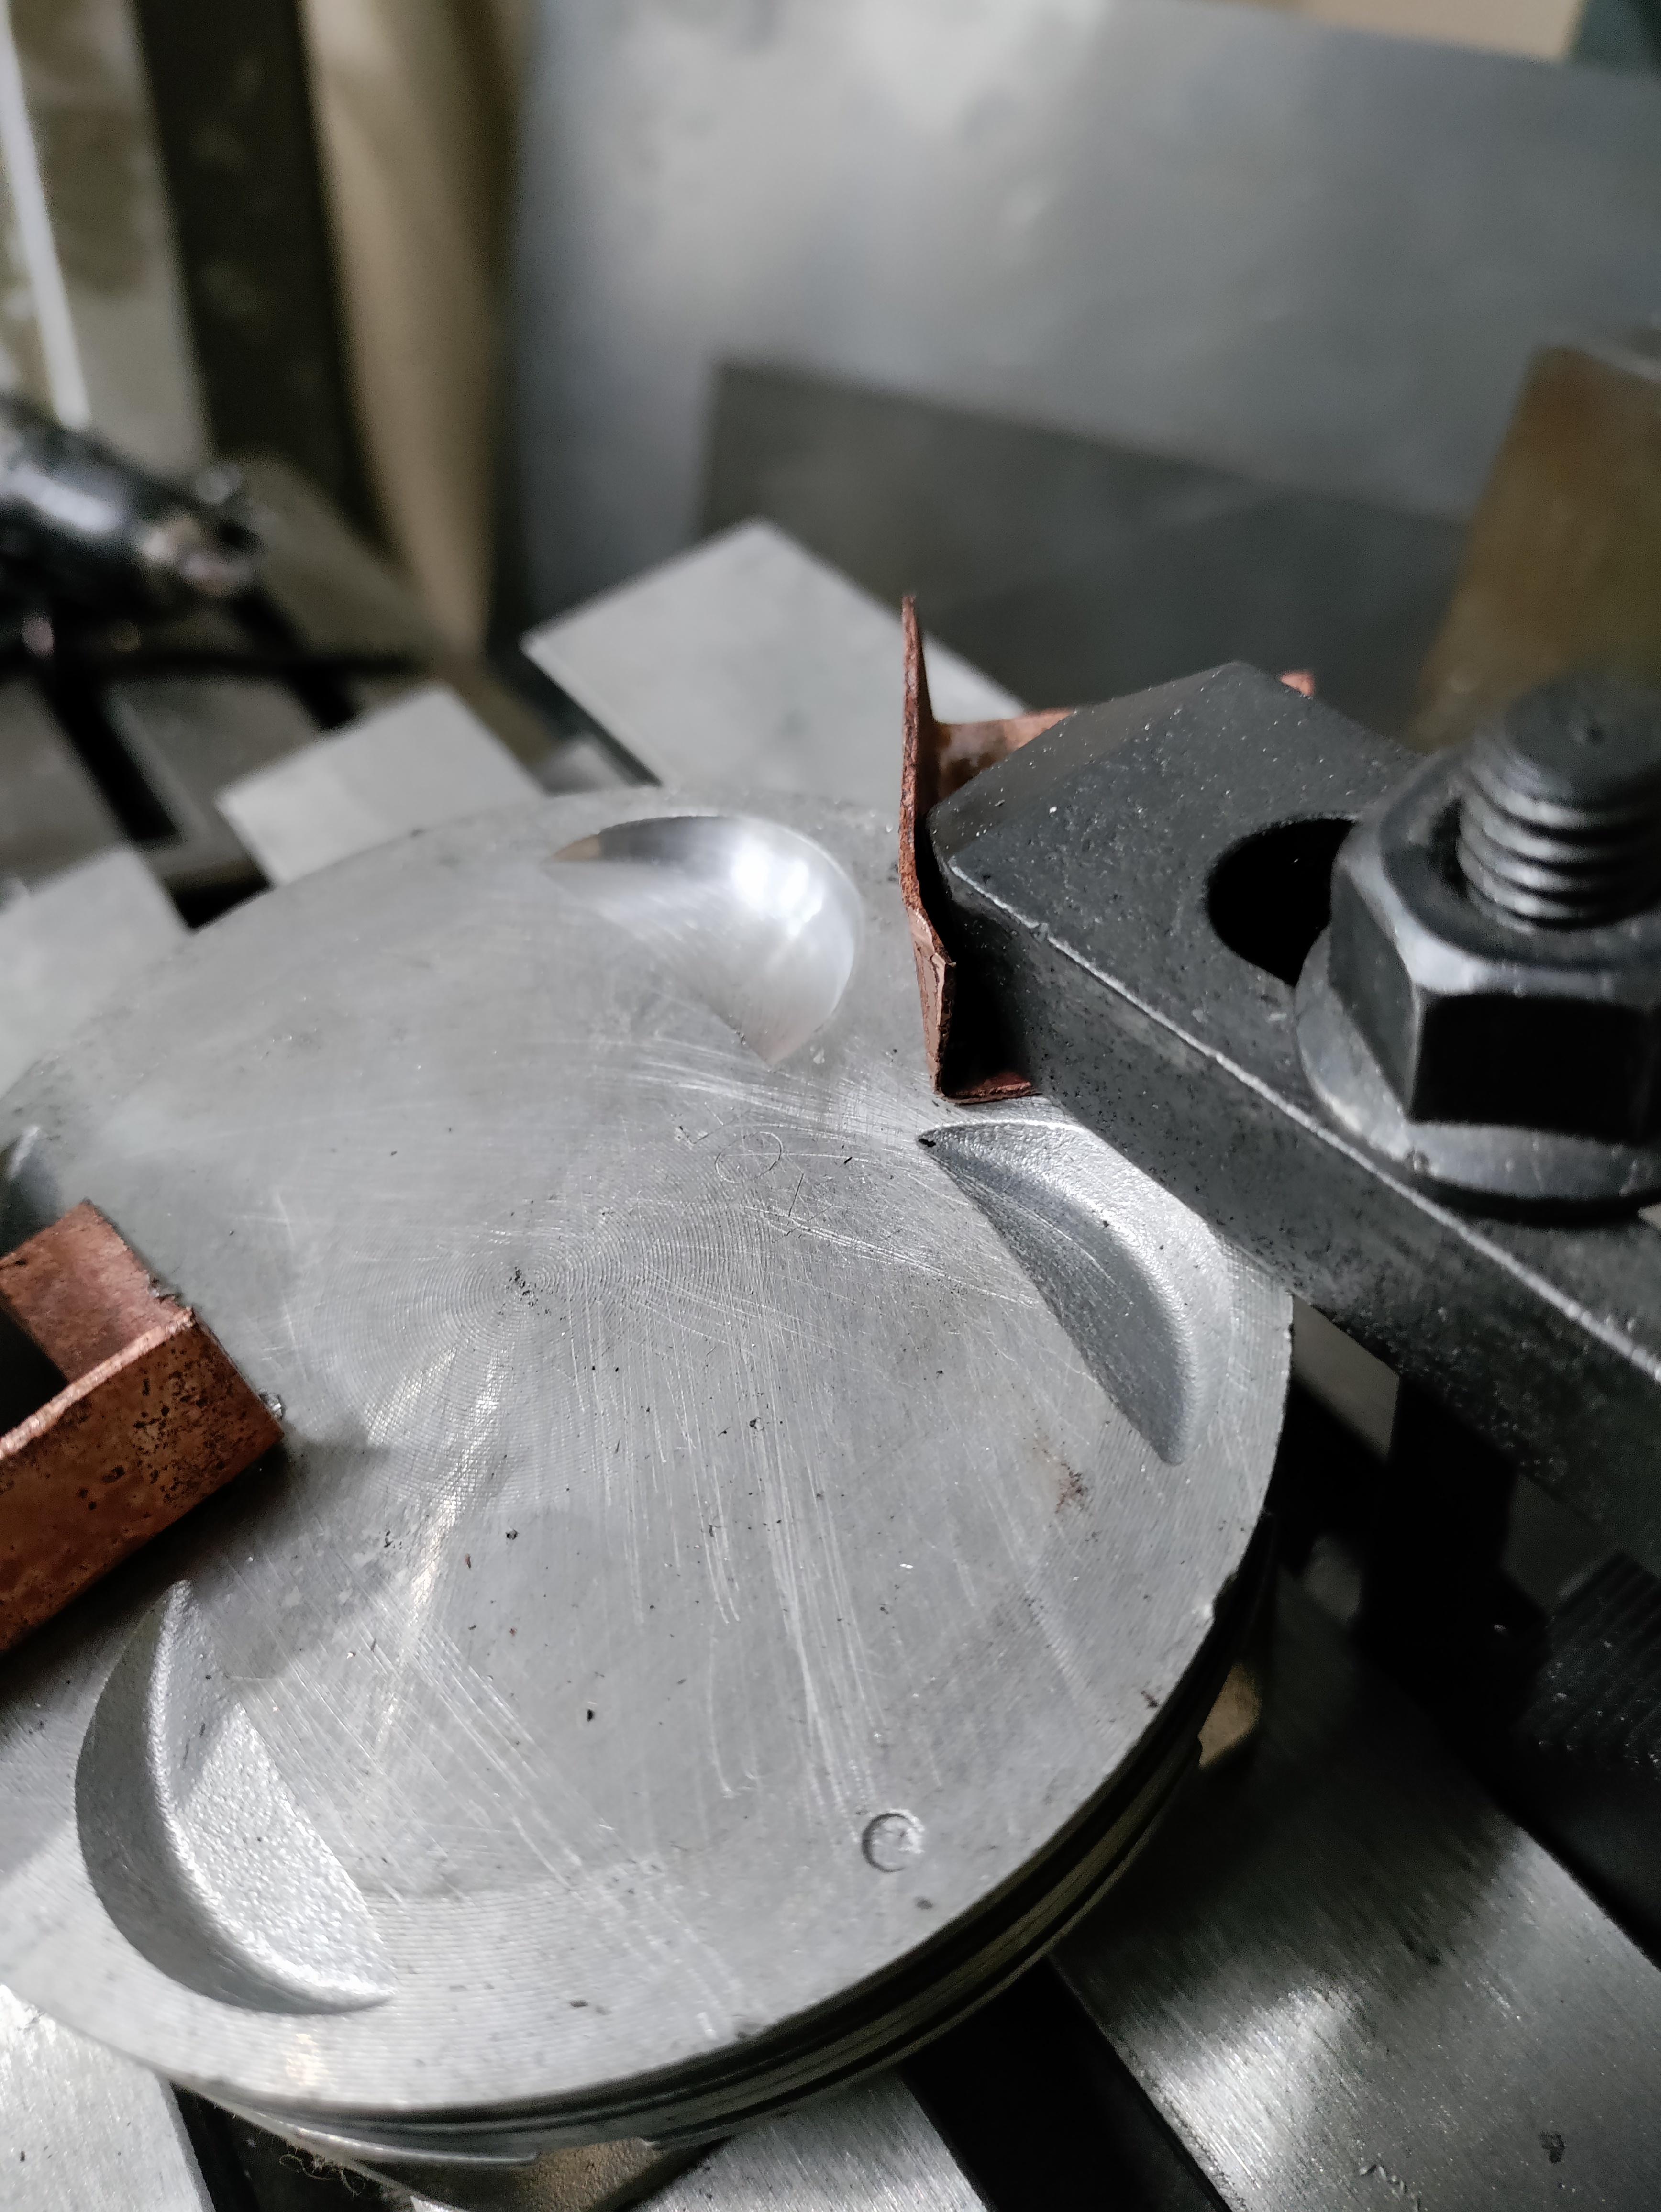
Angle plate got here early. Made some soft jaws by annealing some copper plumbing couplers so my toe clamps cant mar the pistons. Had to open the slots in the base cause they're 12mm and not 1/2". Broke a tap making new T-slot nuts out of some grade 10.9 bolts. Luckily the tap broke high enough to grind it back and tap a second one. Got a test piston cut. Gonna clamp up the Wisecos tomorrow and hopefully they come out as nice.
Reply
1
1
01-16-2023, 02:17 PM
#263
Senior Member
Thread Starter
Join Date: Jan 2011
Location: sacramento ,ca
Posts: 568
Total Cats: 162
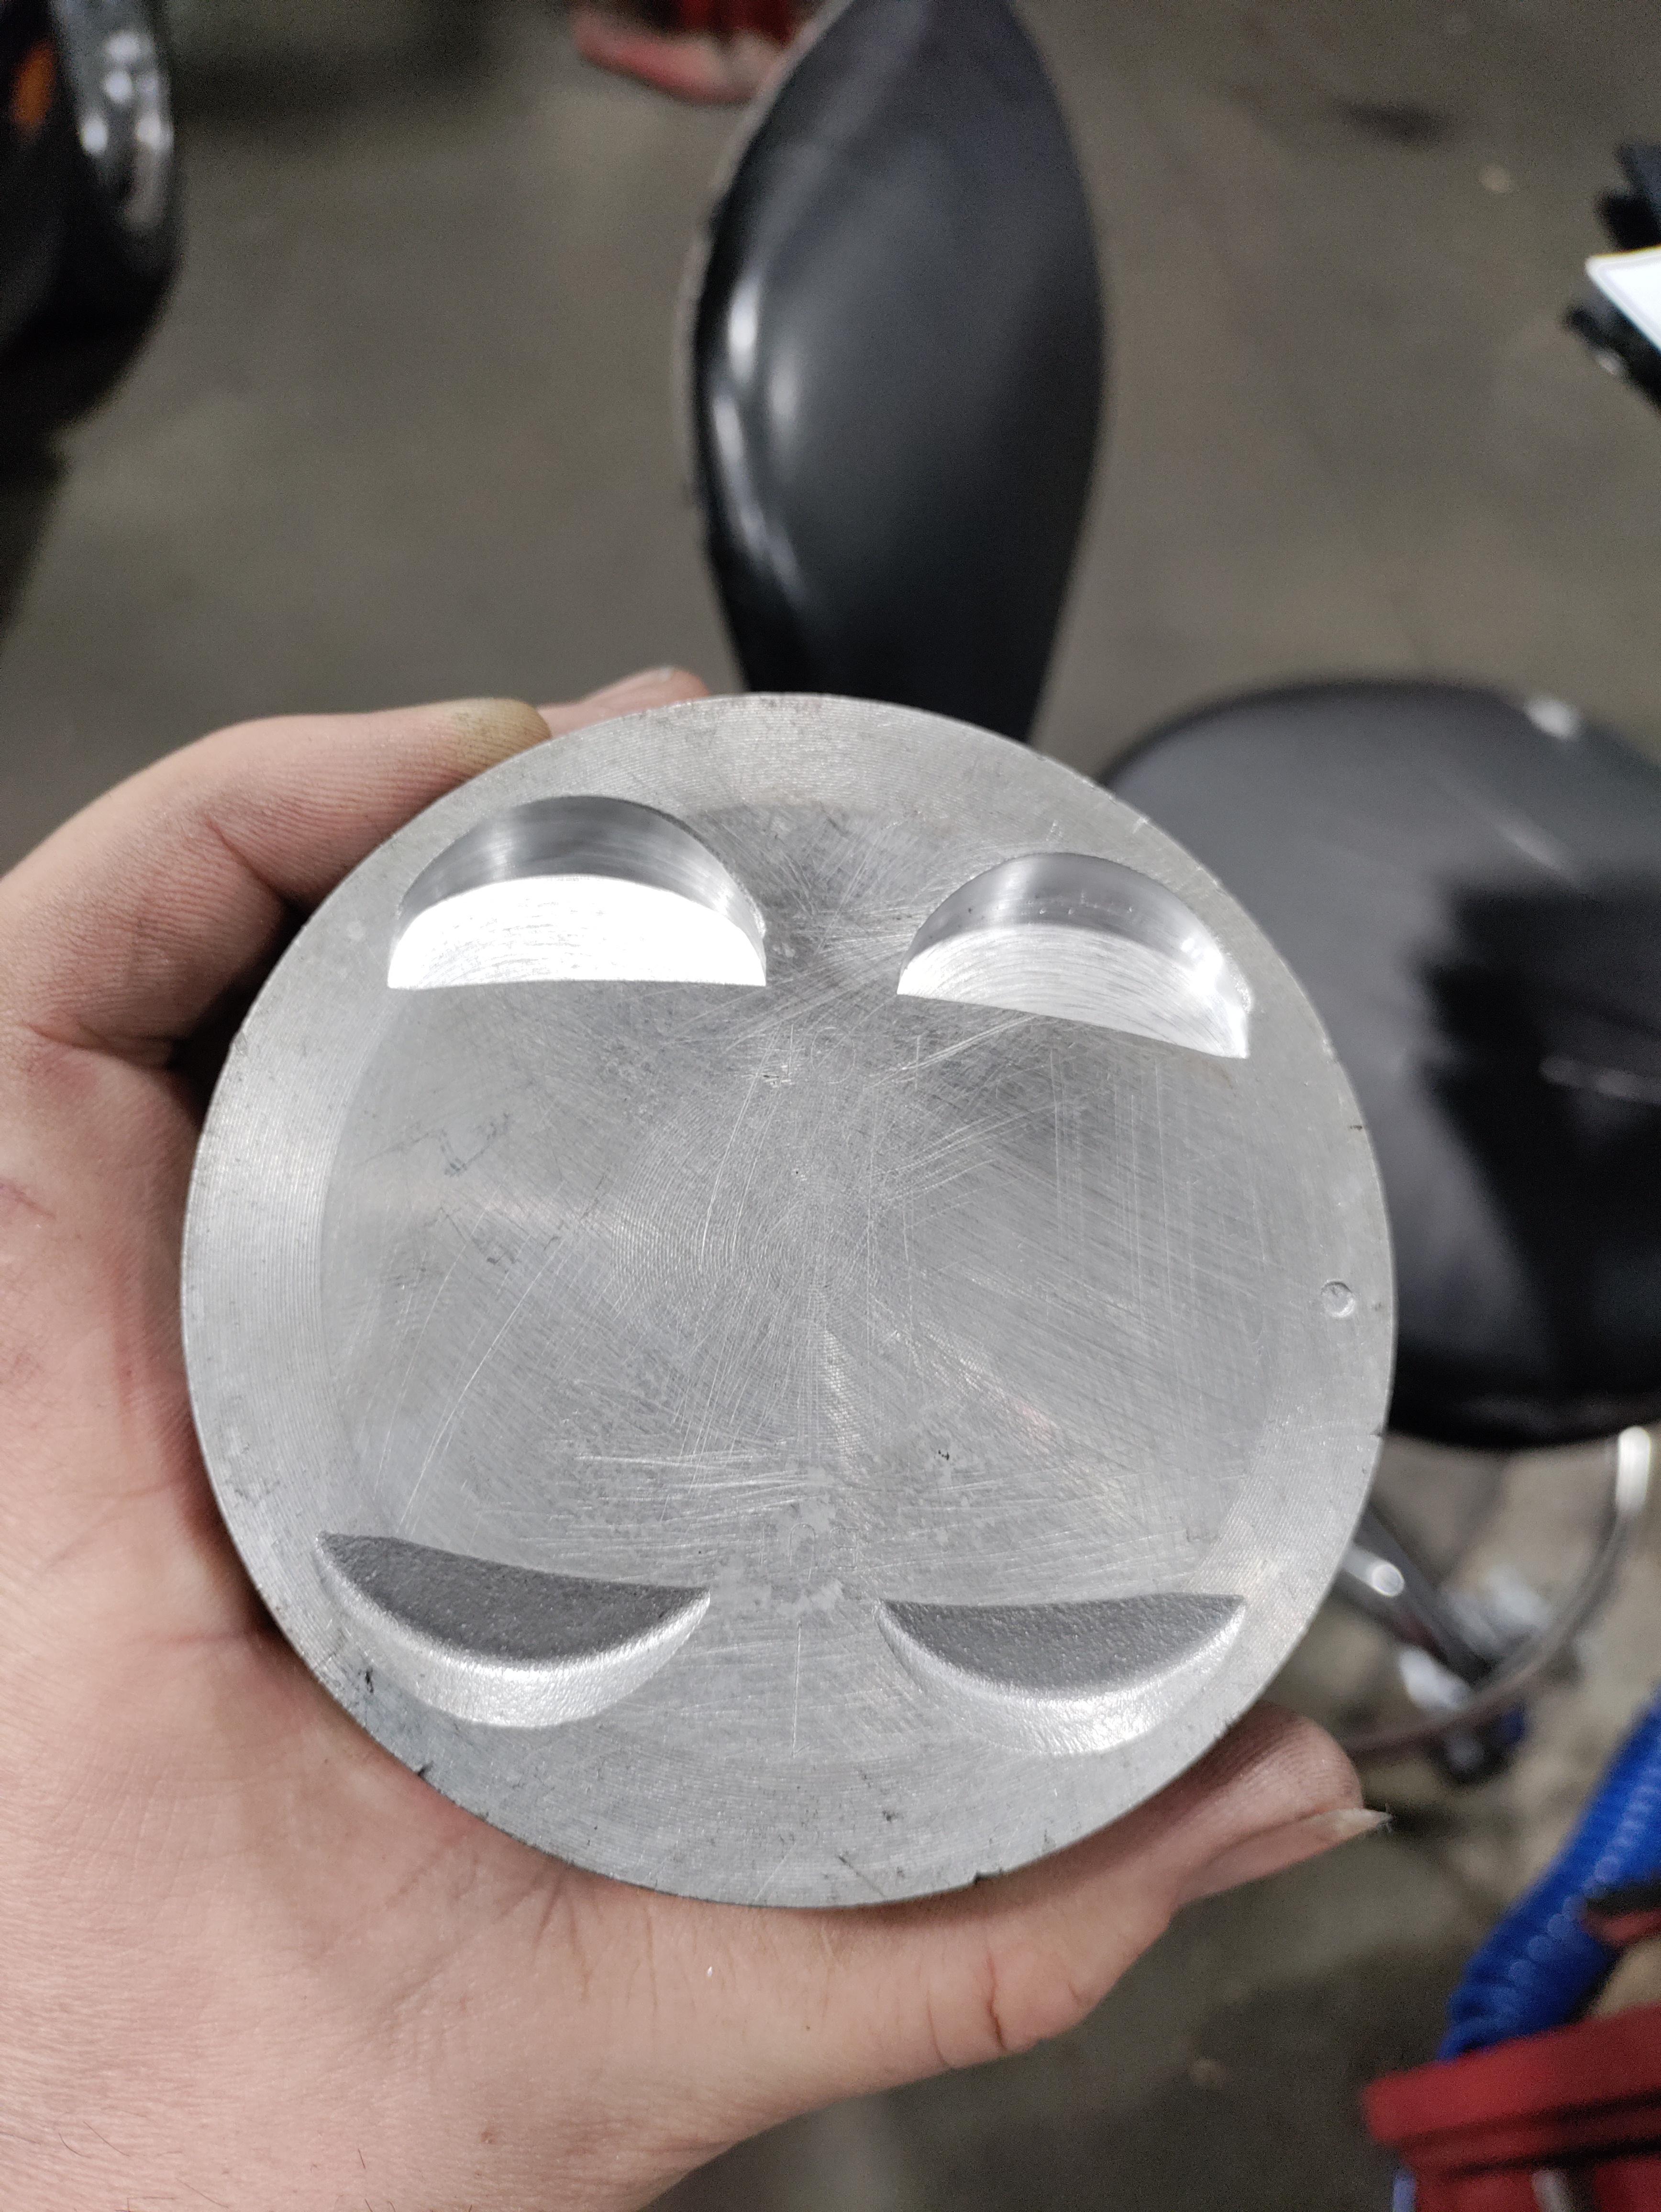
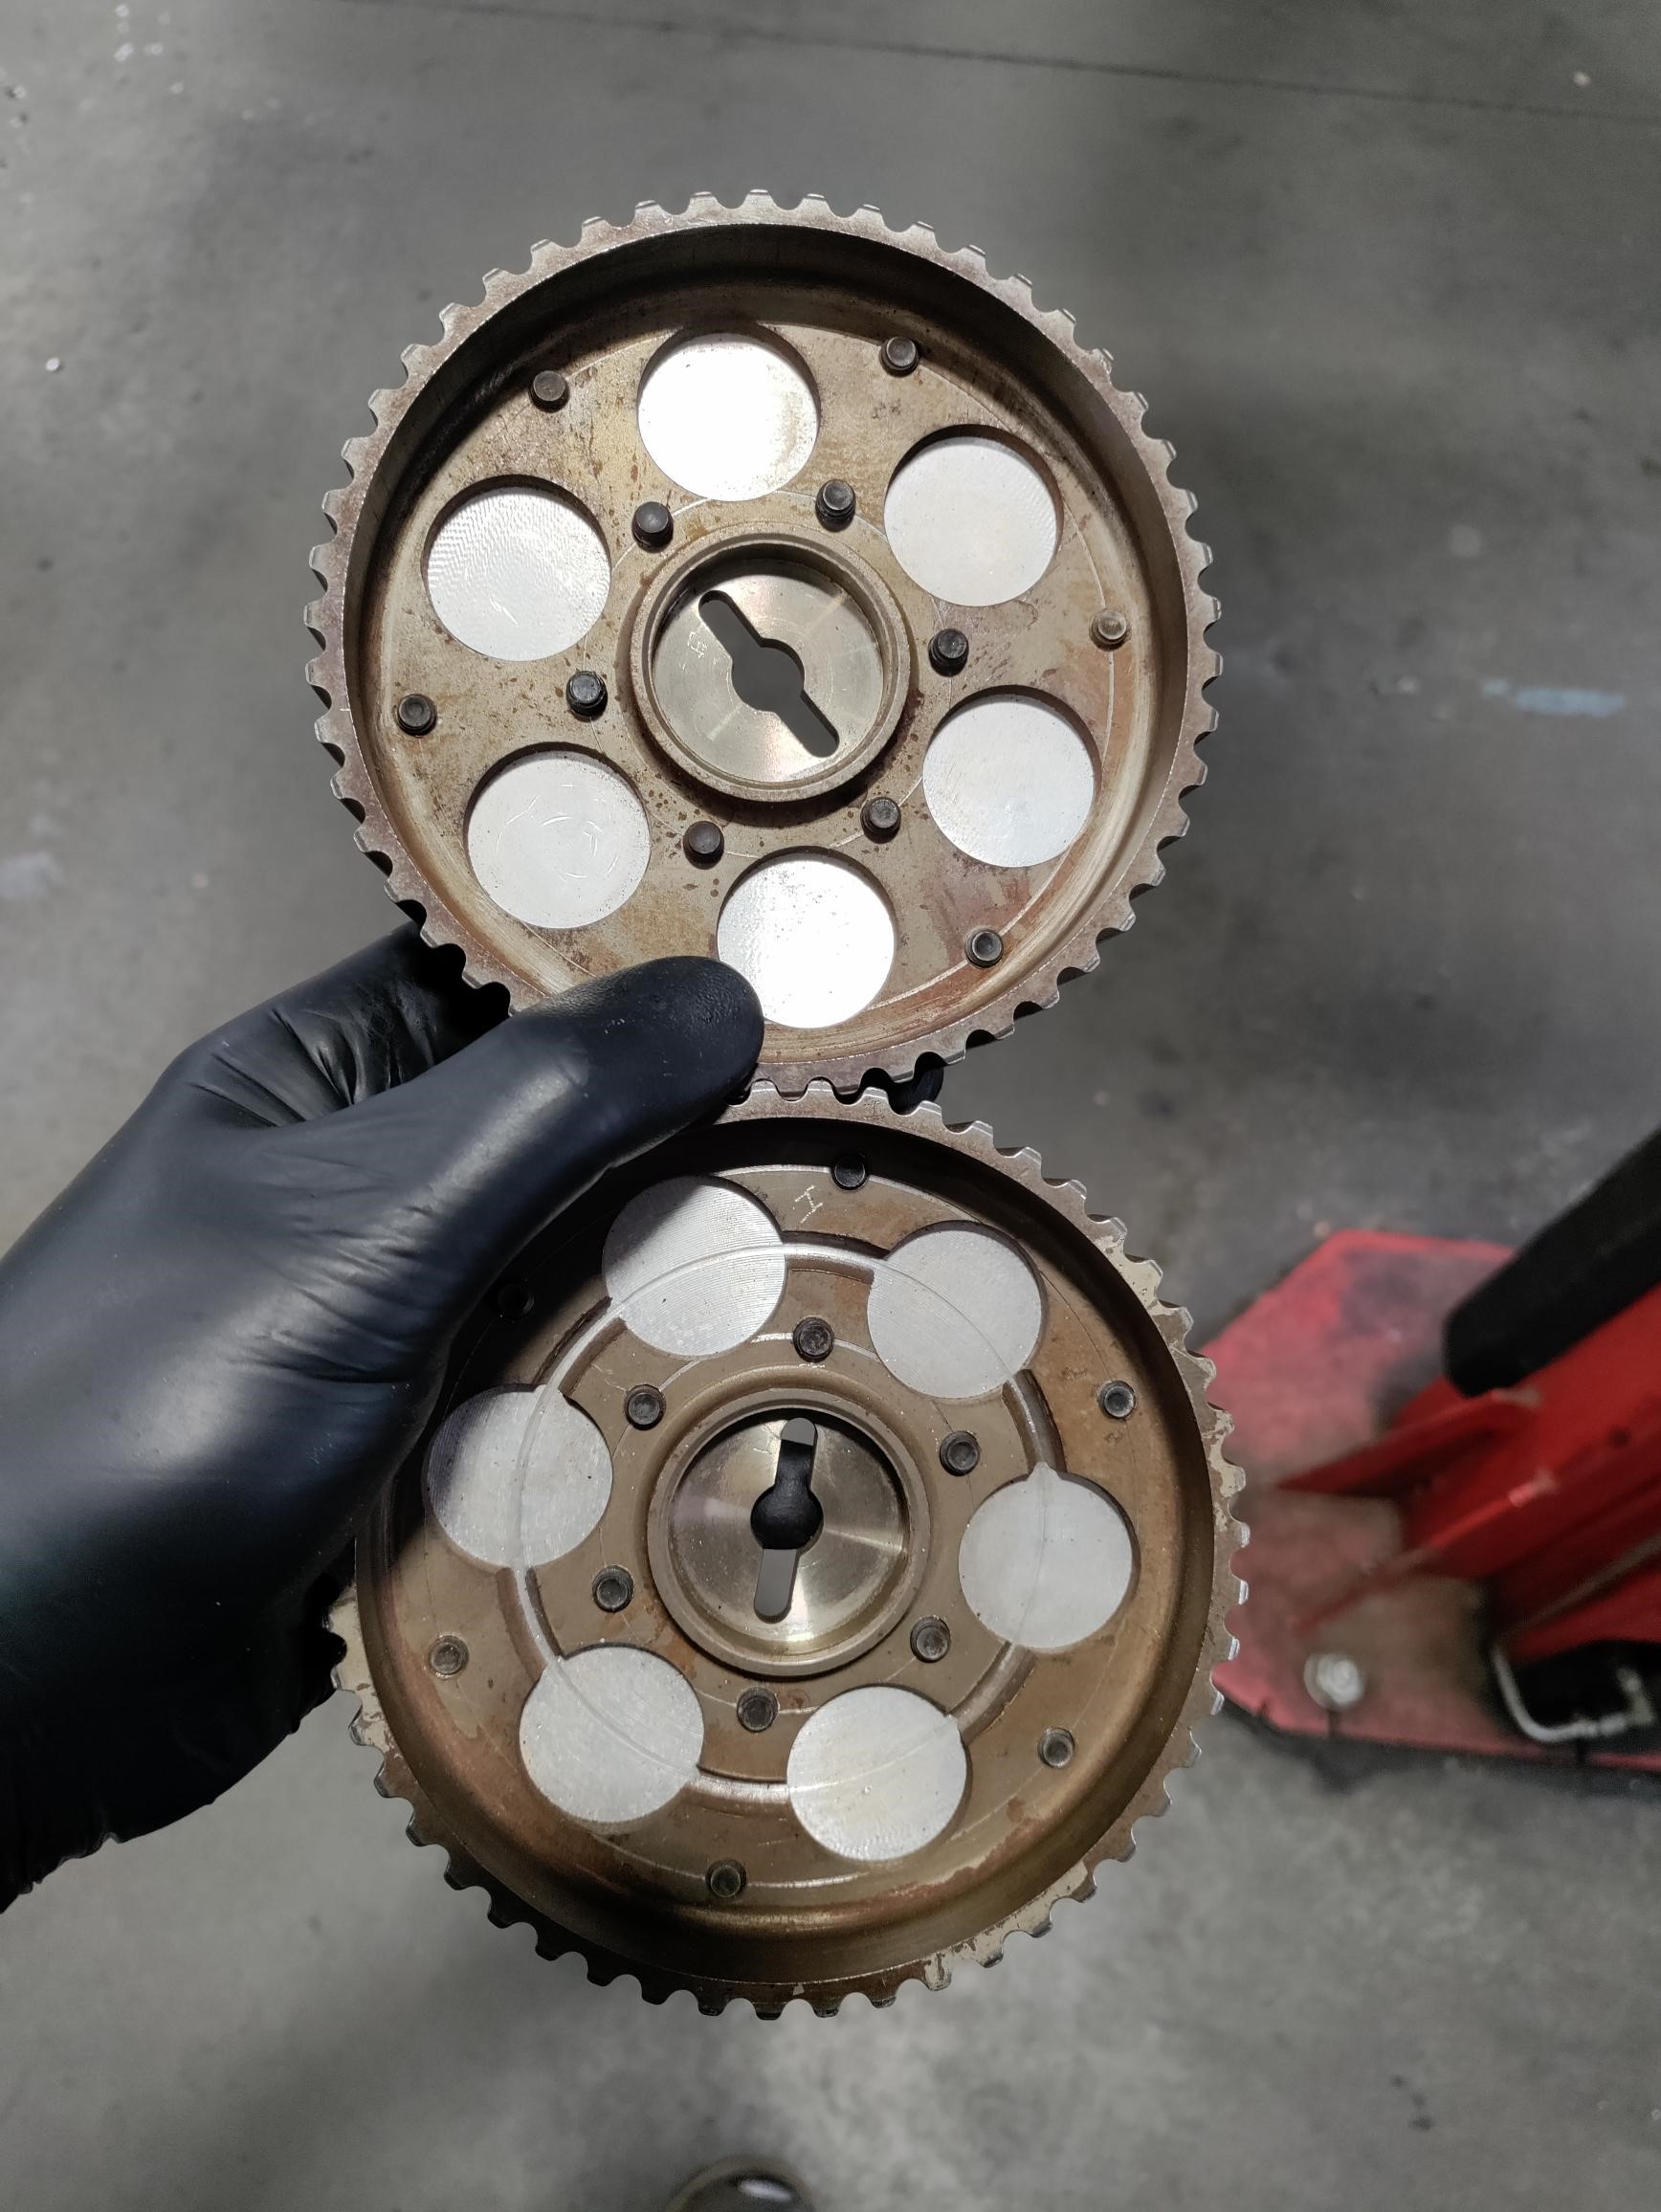
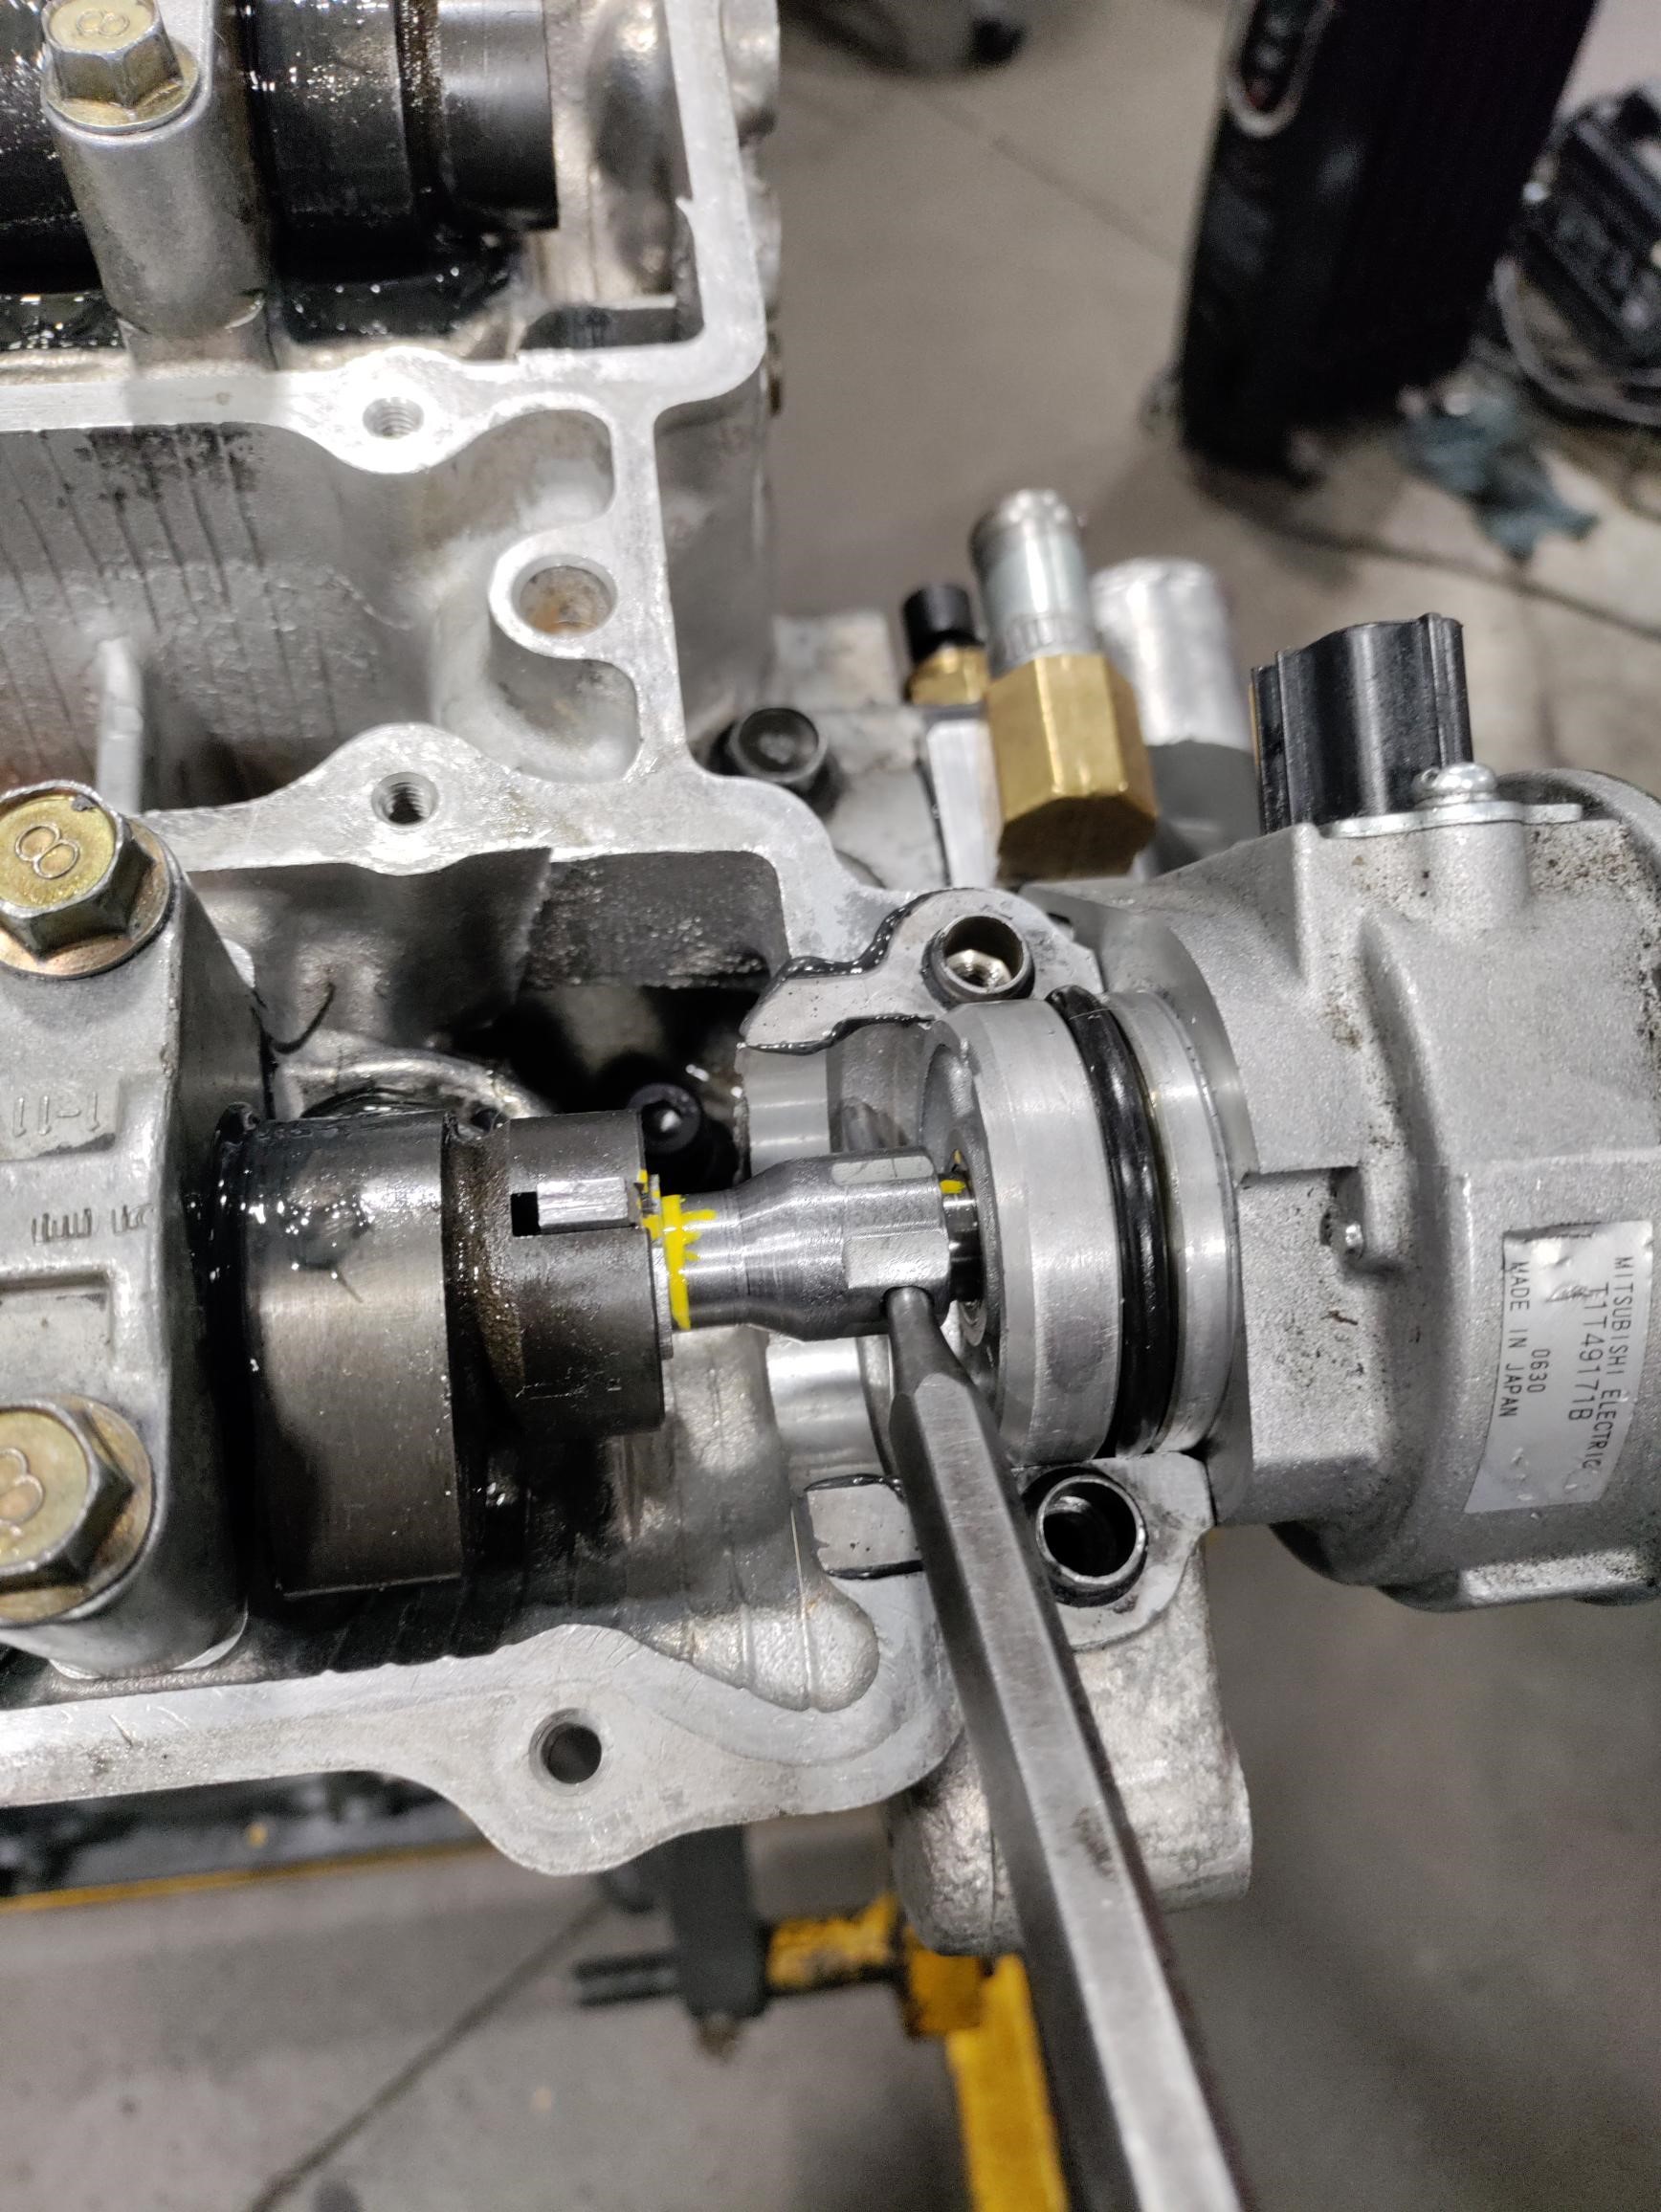
Finished machining the pistons and started the final assembly. More issues with the head I bought, they only cut one gear to make it adjustable. Luckily, I have a lathe at work and was able to cut it but it's still very frustrating. With the head torqued I reconfirmed that it is a non-interference engine. I needed to know that the pistons 100% can't touch the valves just in case something goes wrong. I made a new CAS extender to fit the FE5A camshaft. Had to reduce the diameter of the offset wing piece without touching the wings which was pretty sketchy operation then machined down a lug bolt to make up the extra 30mm pin to pin distance.

Reply
1
1
01-23-2023, 06:35 PM
#264
Senior Member
Thread Starter
Join Date: Jan 2011
Location: sacramento ,ca
Posts: 568
Total Cats: 162
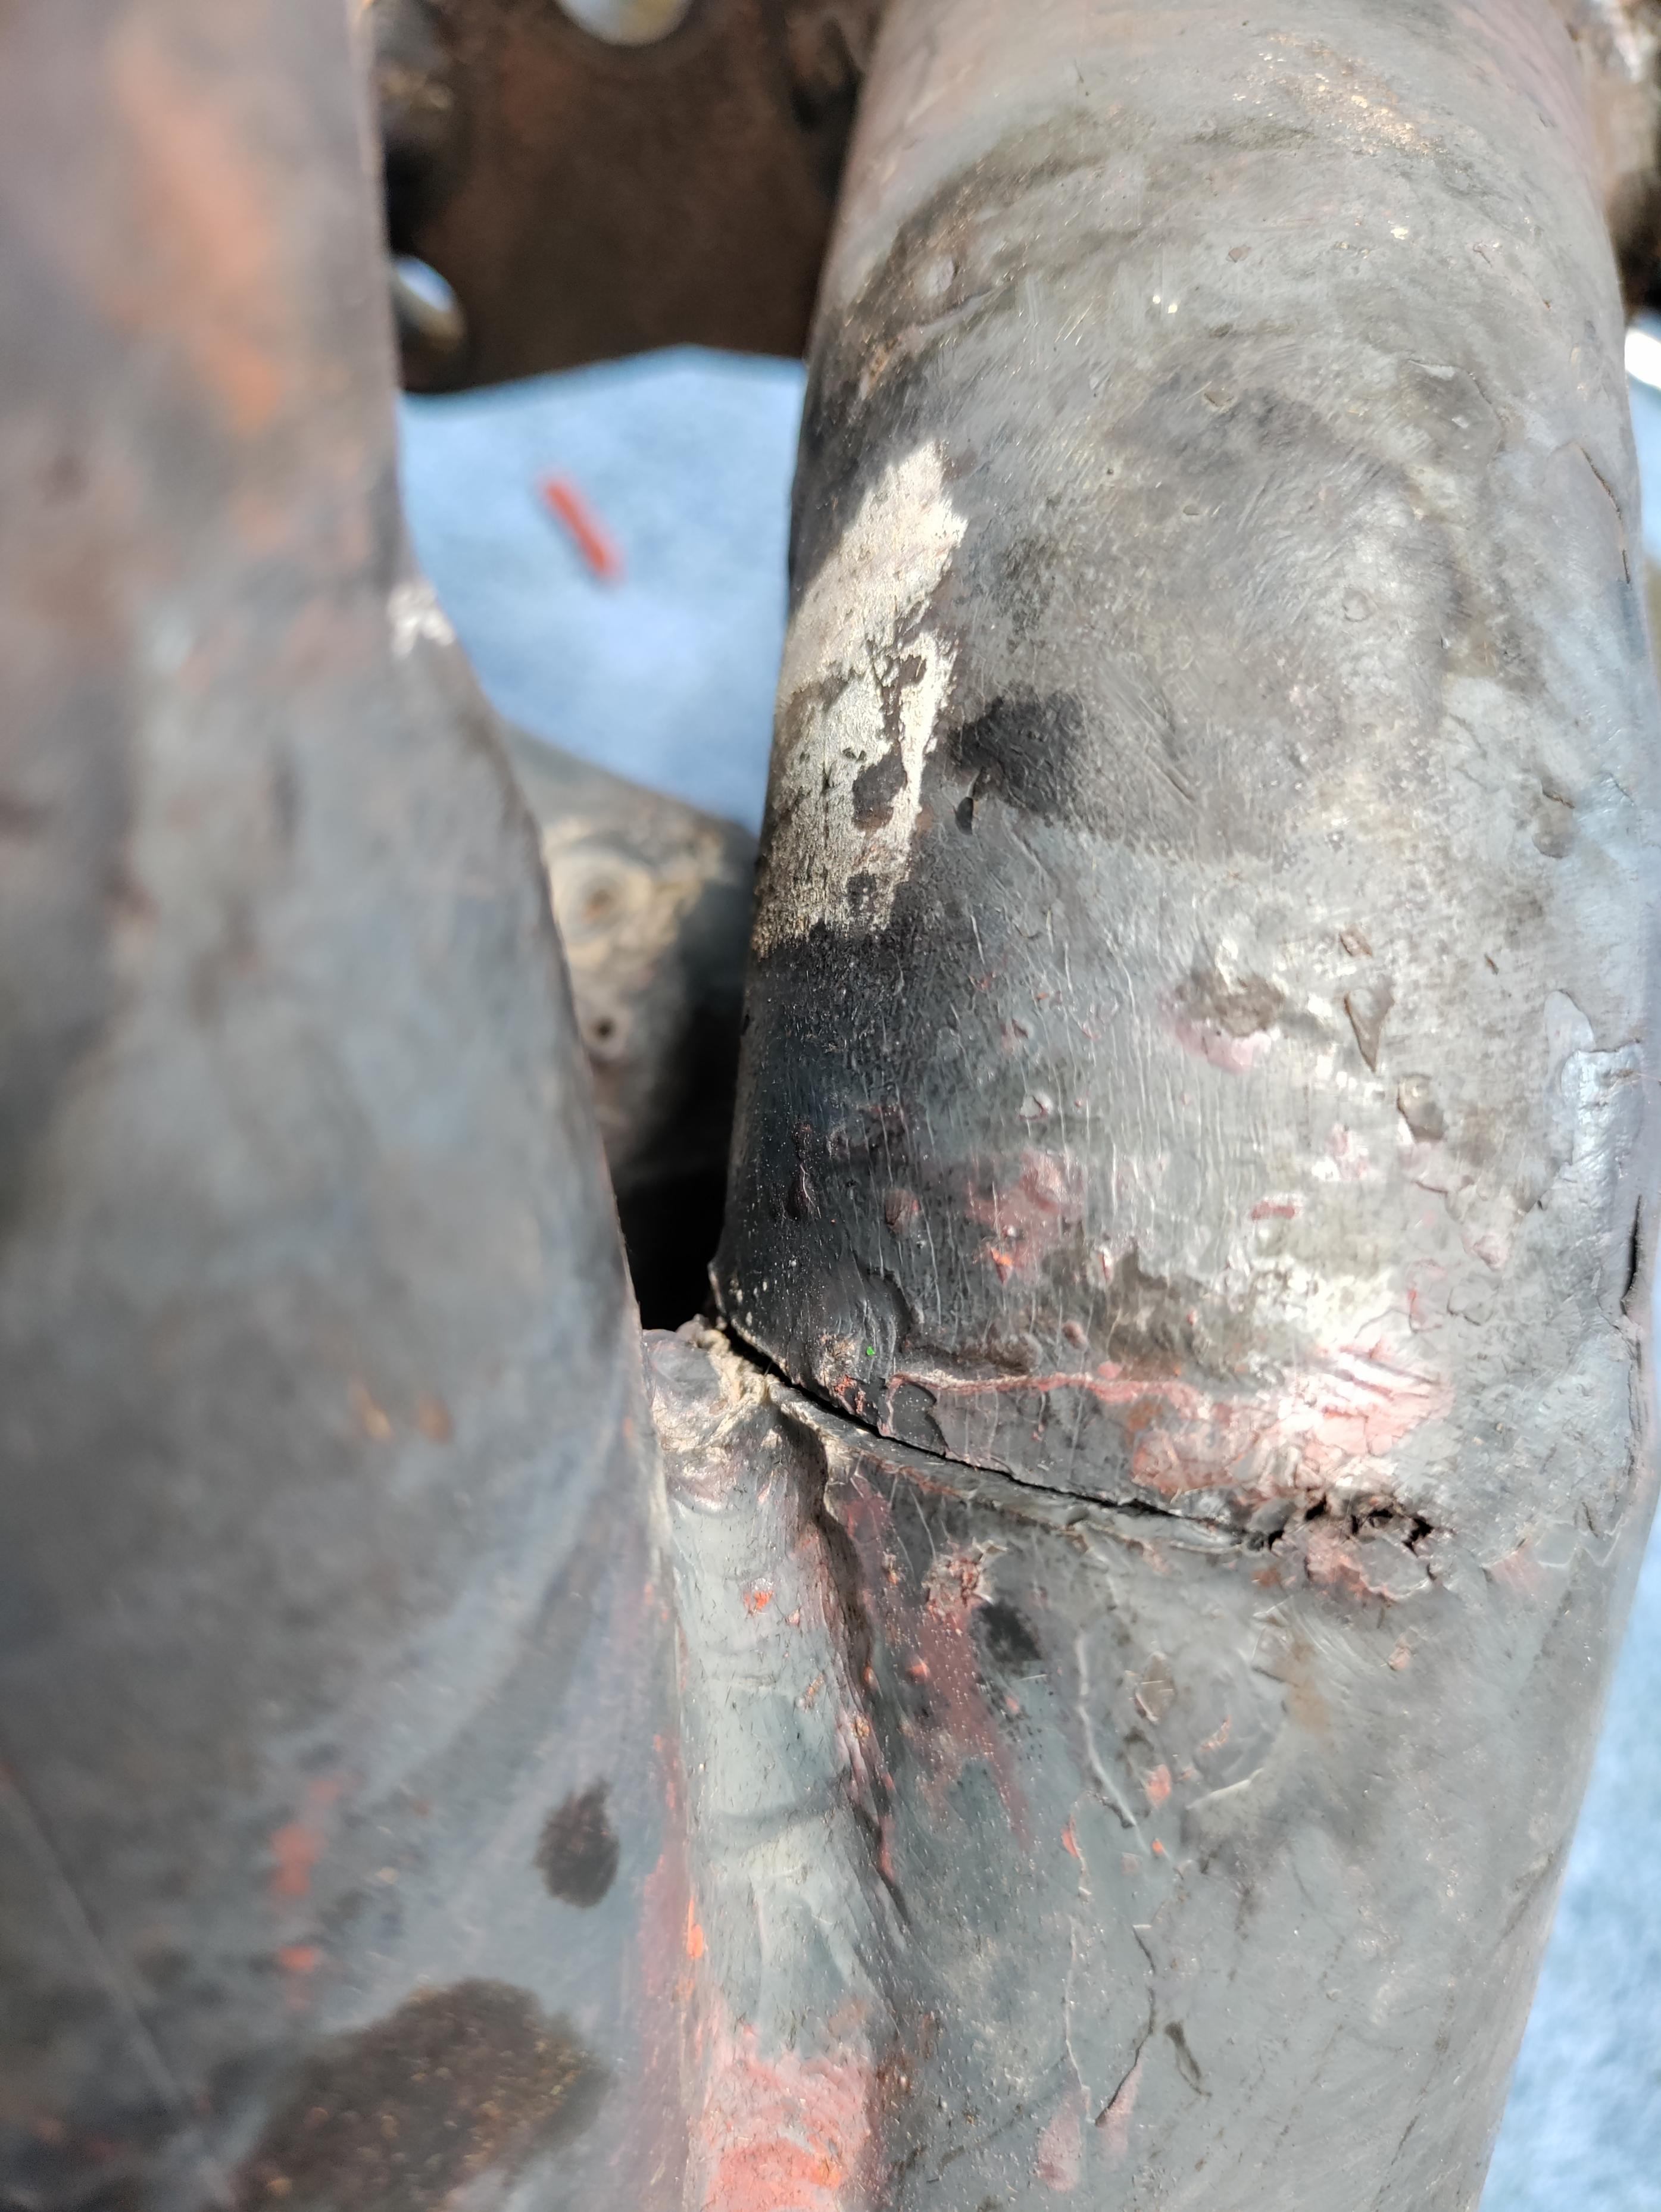
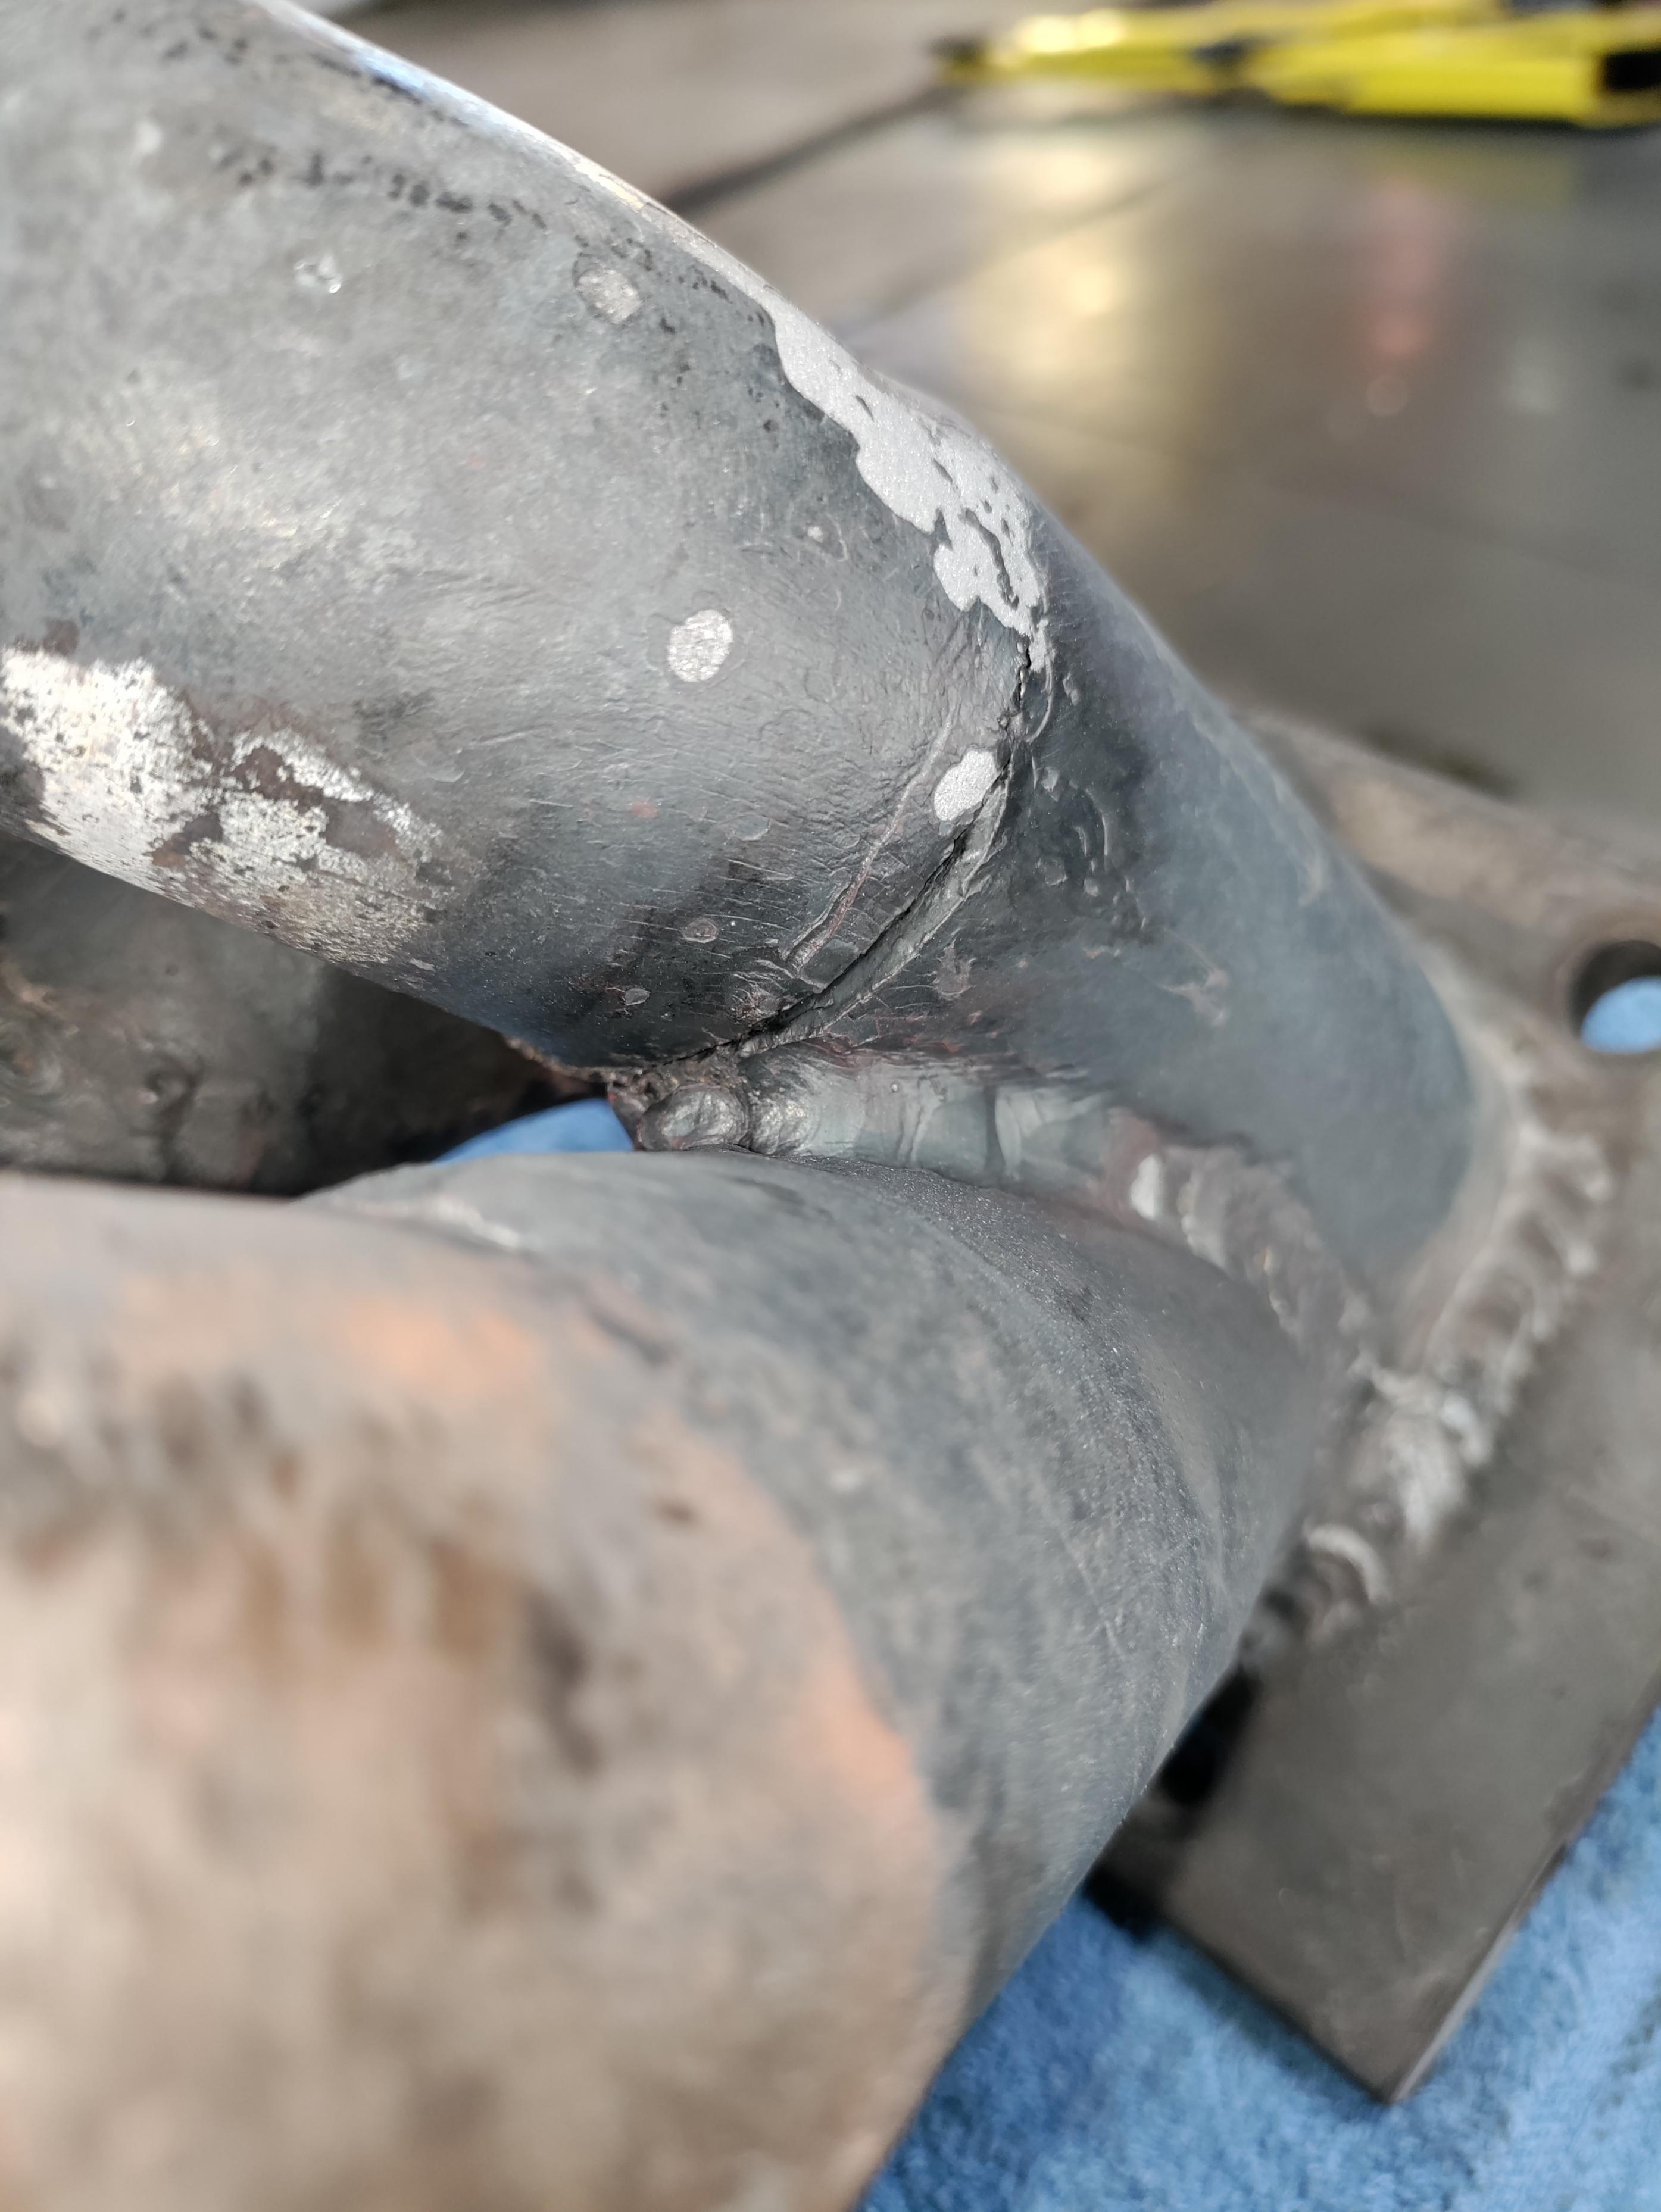
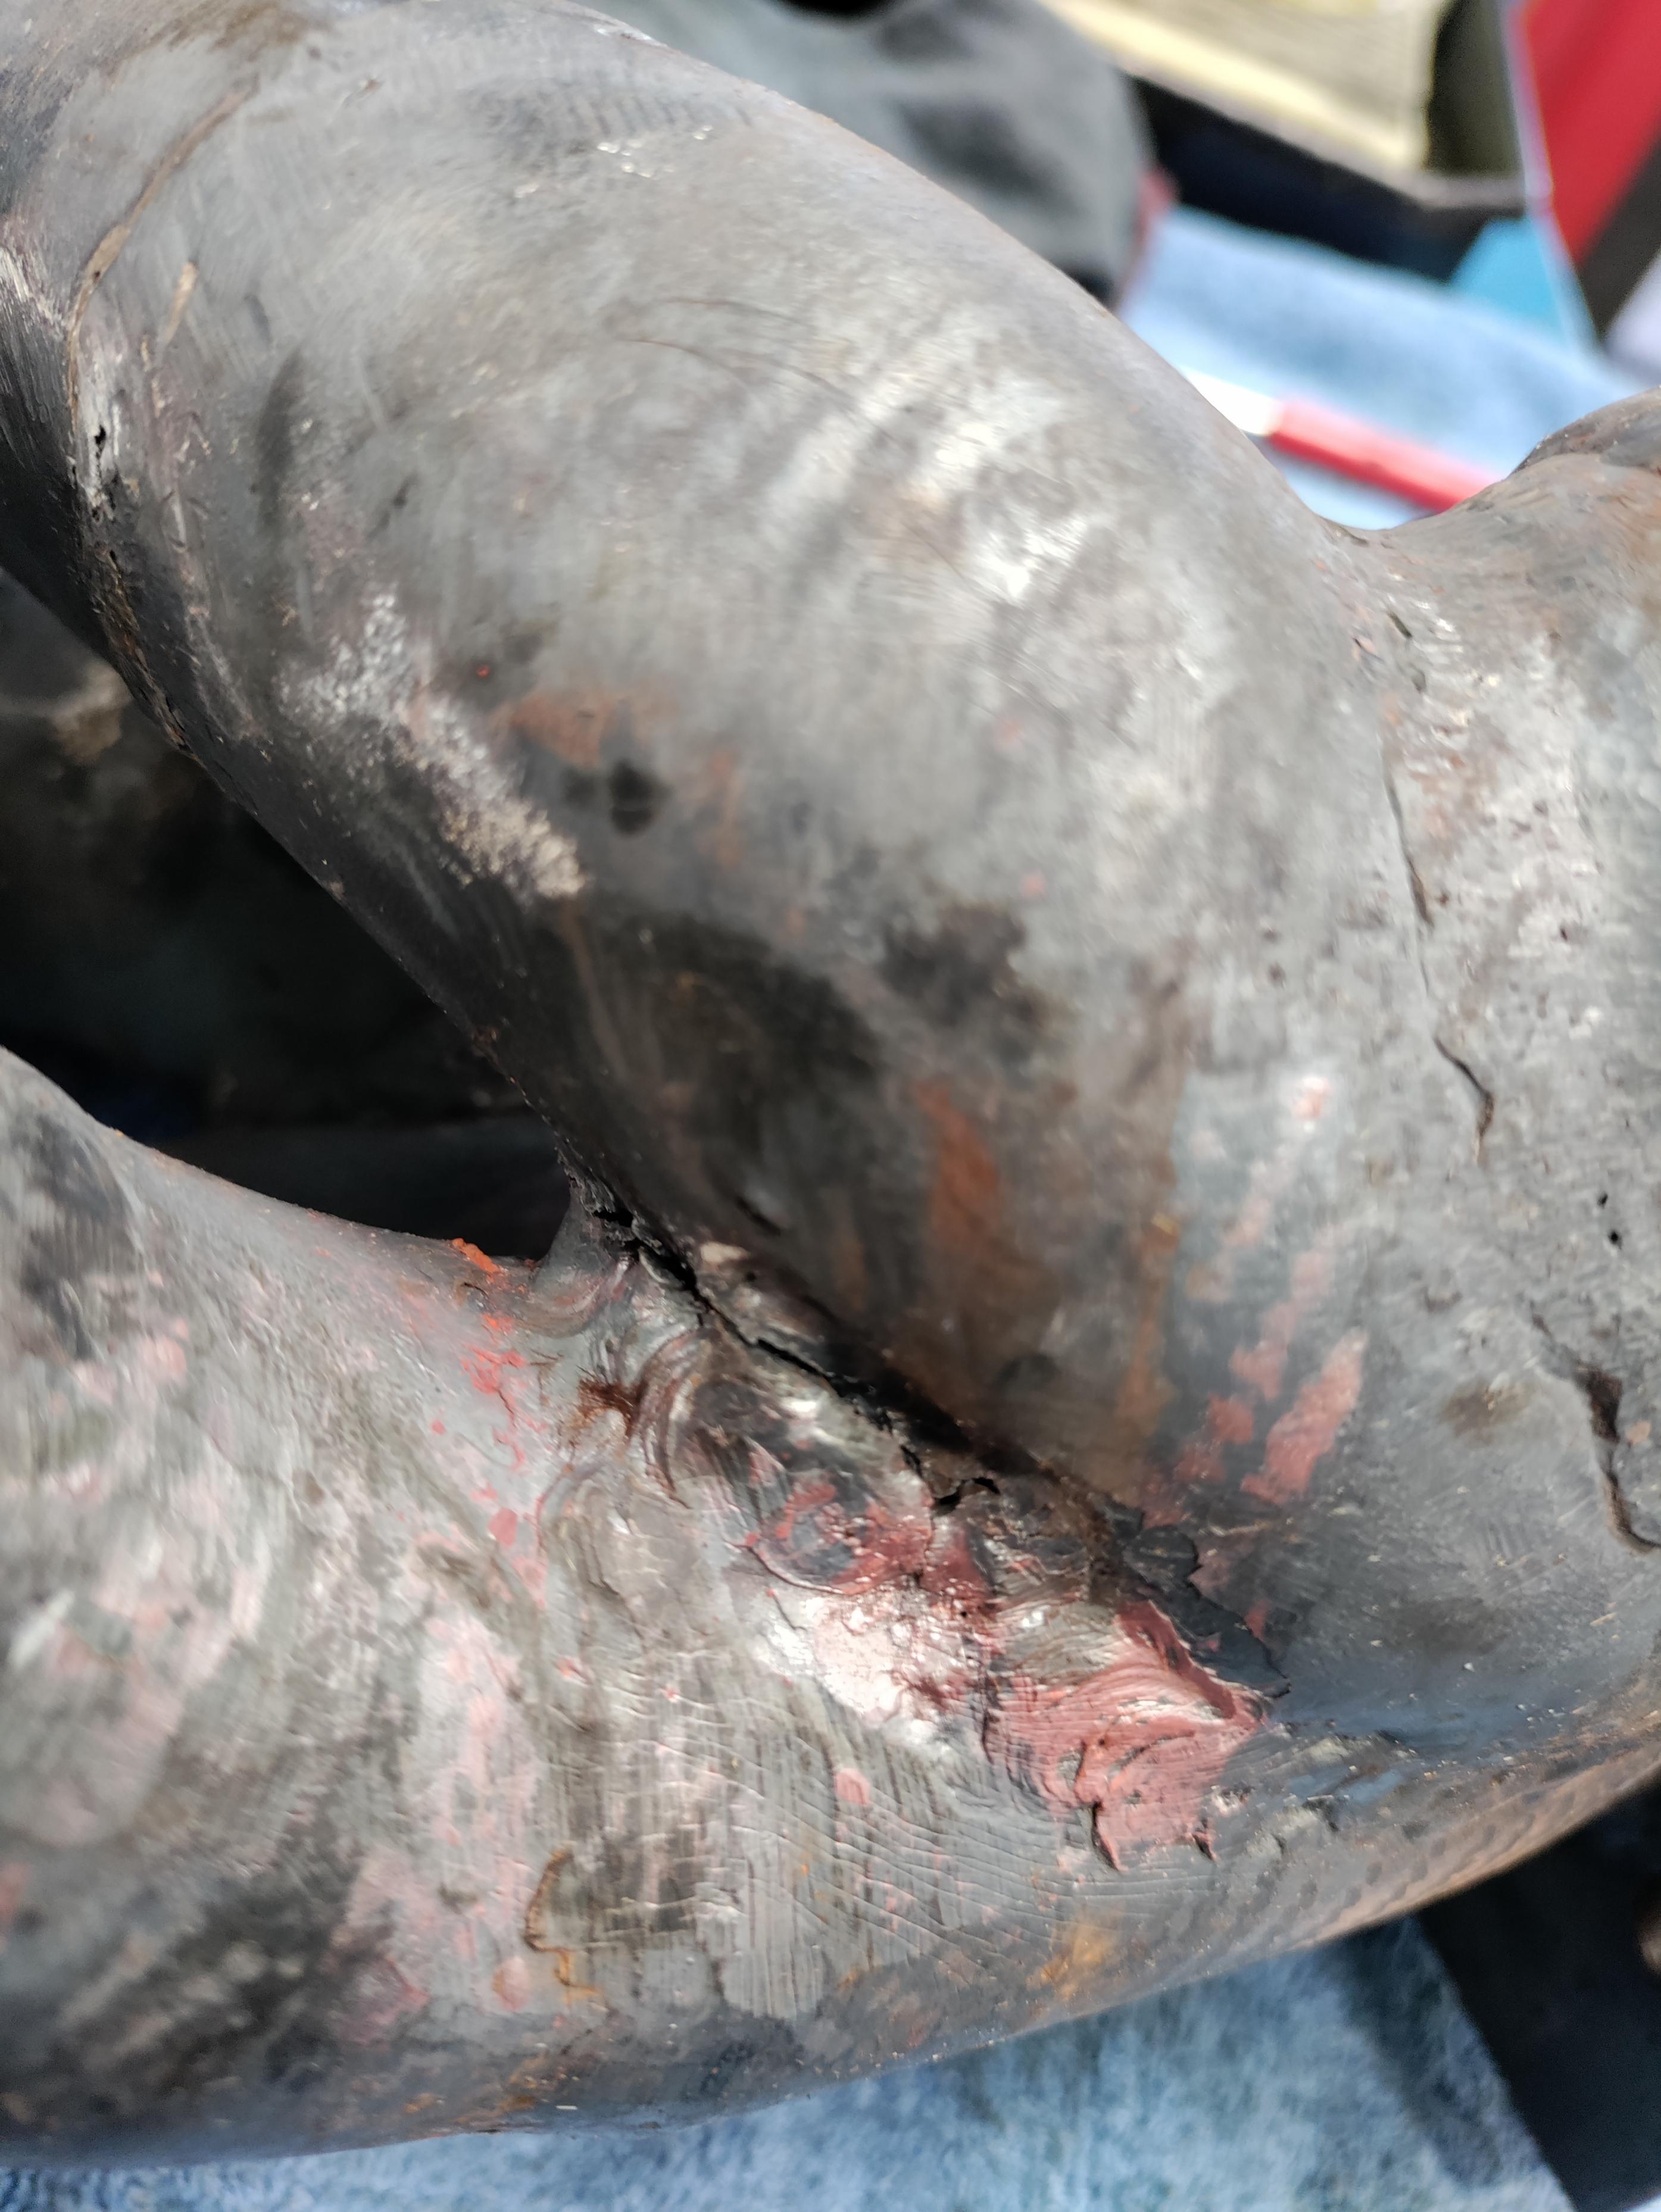
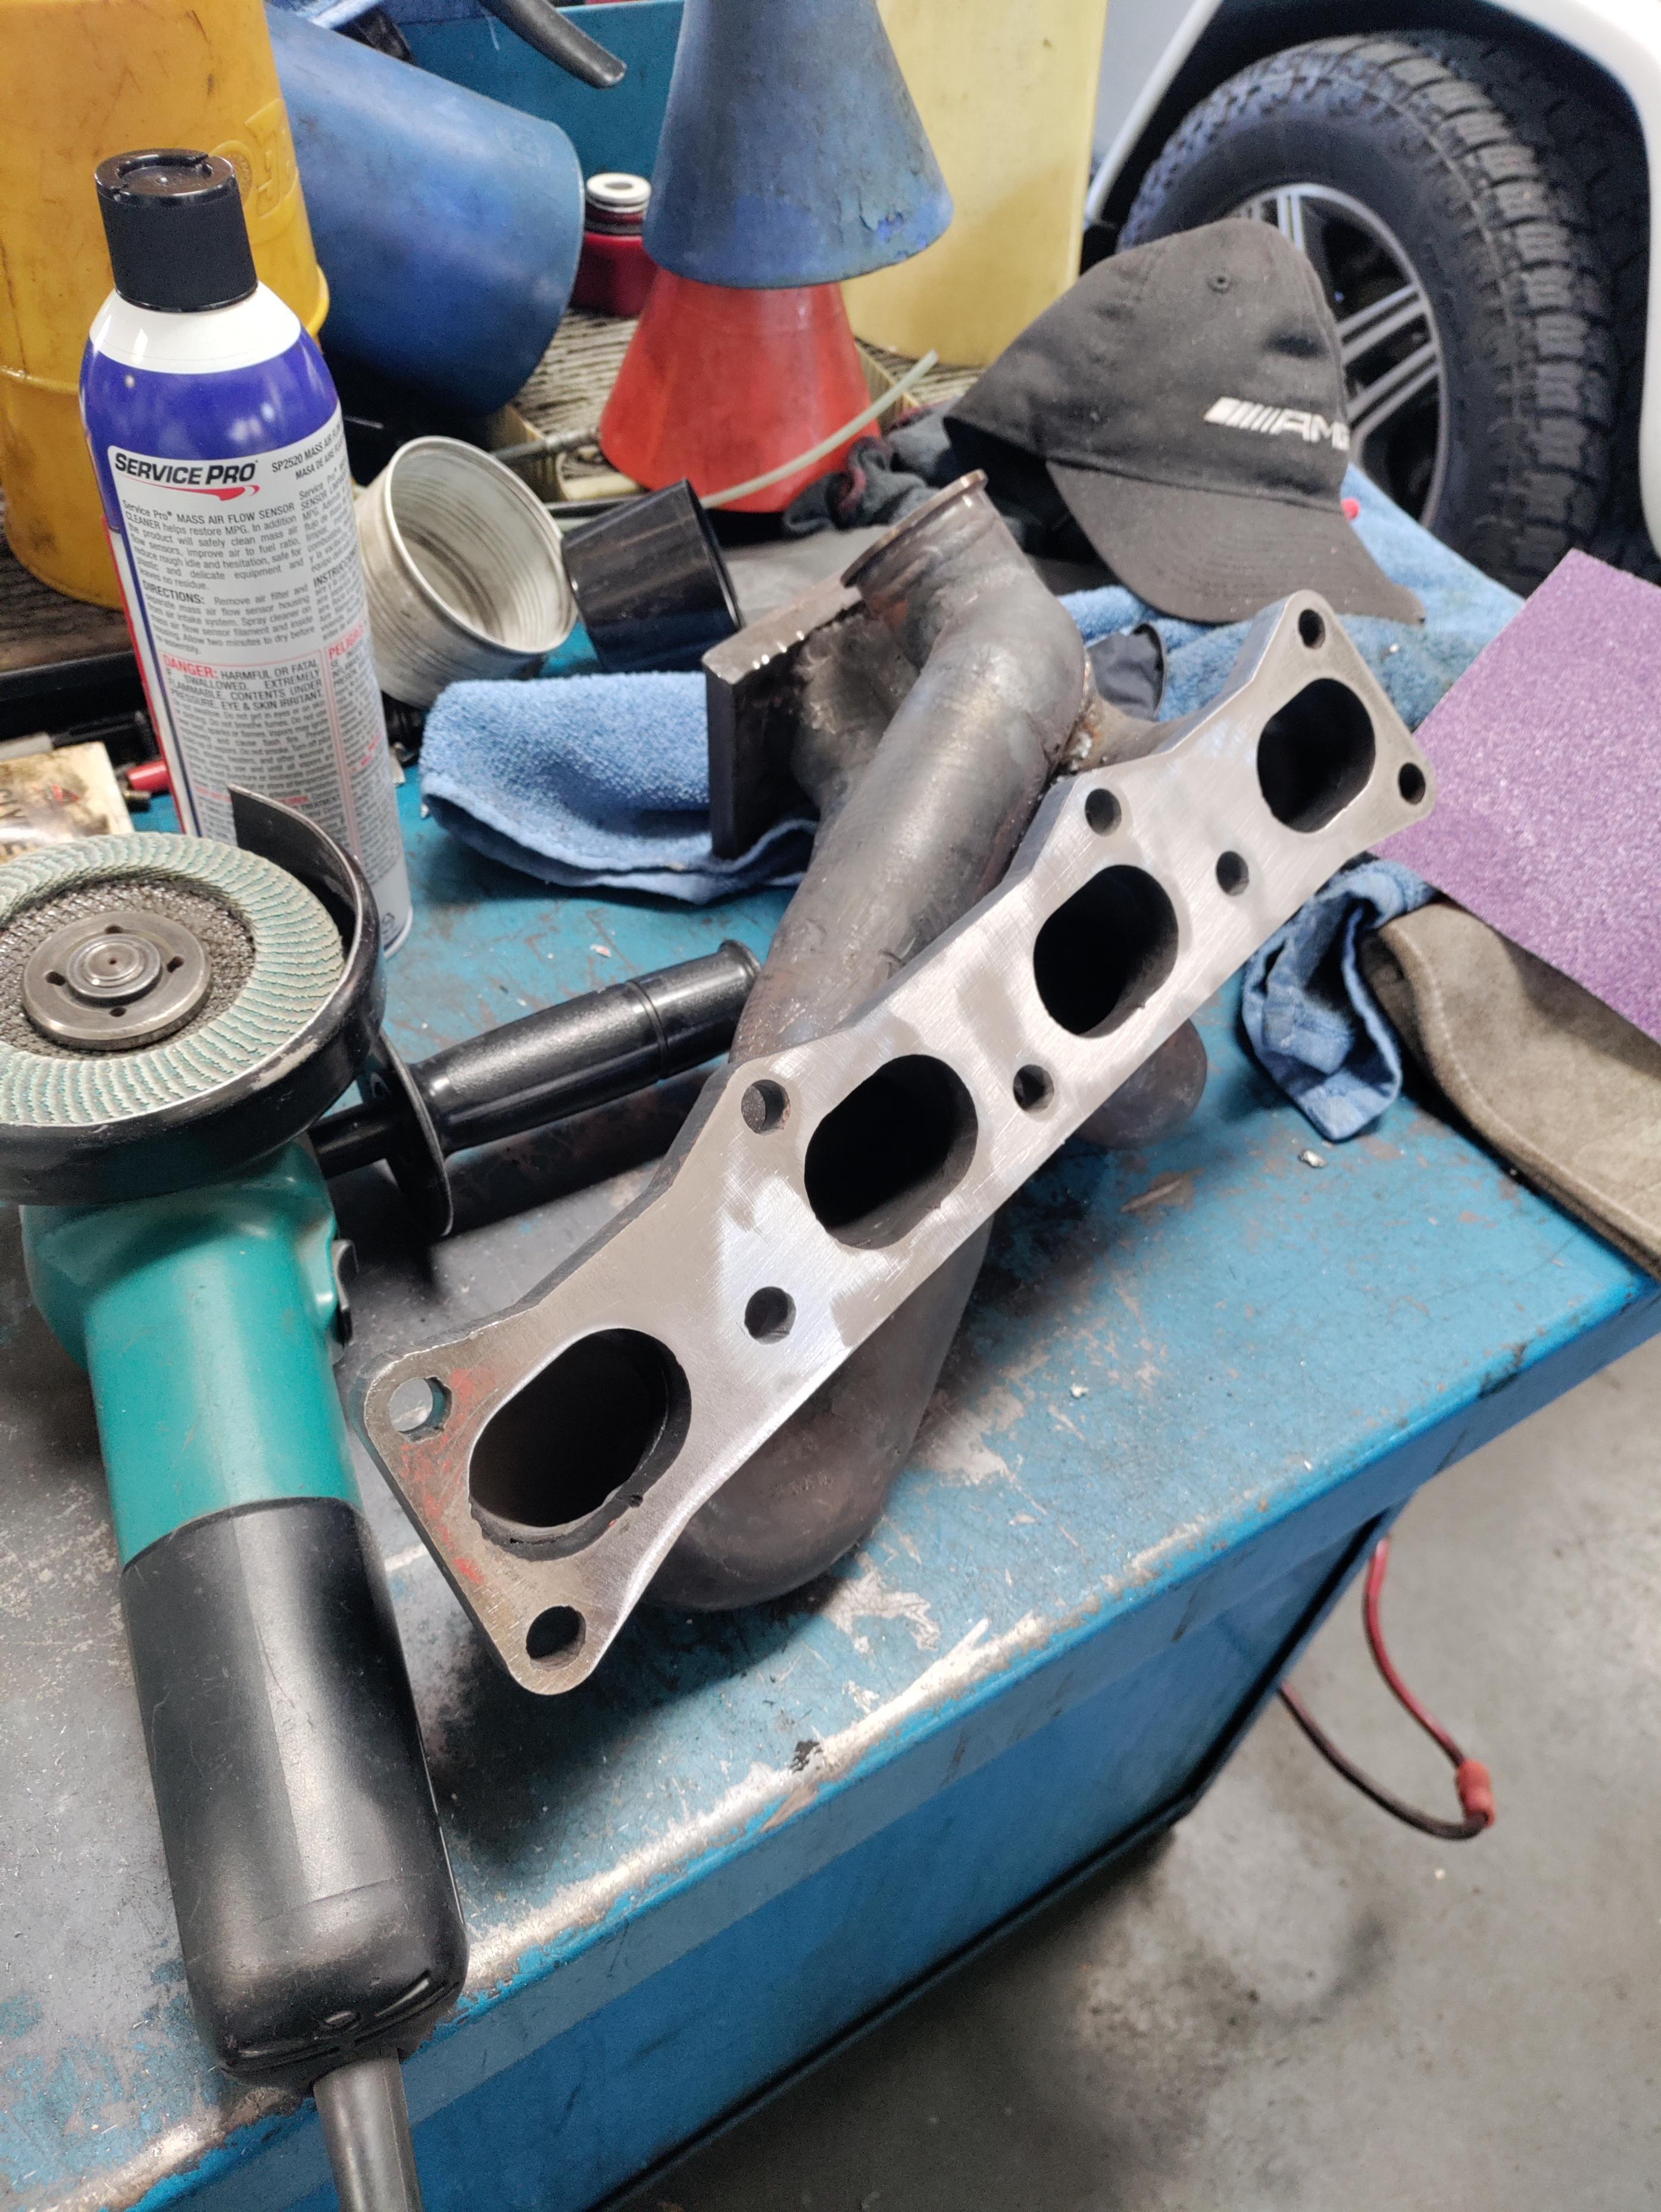
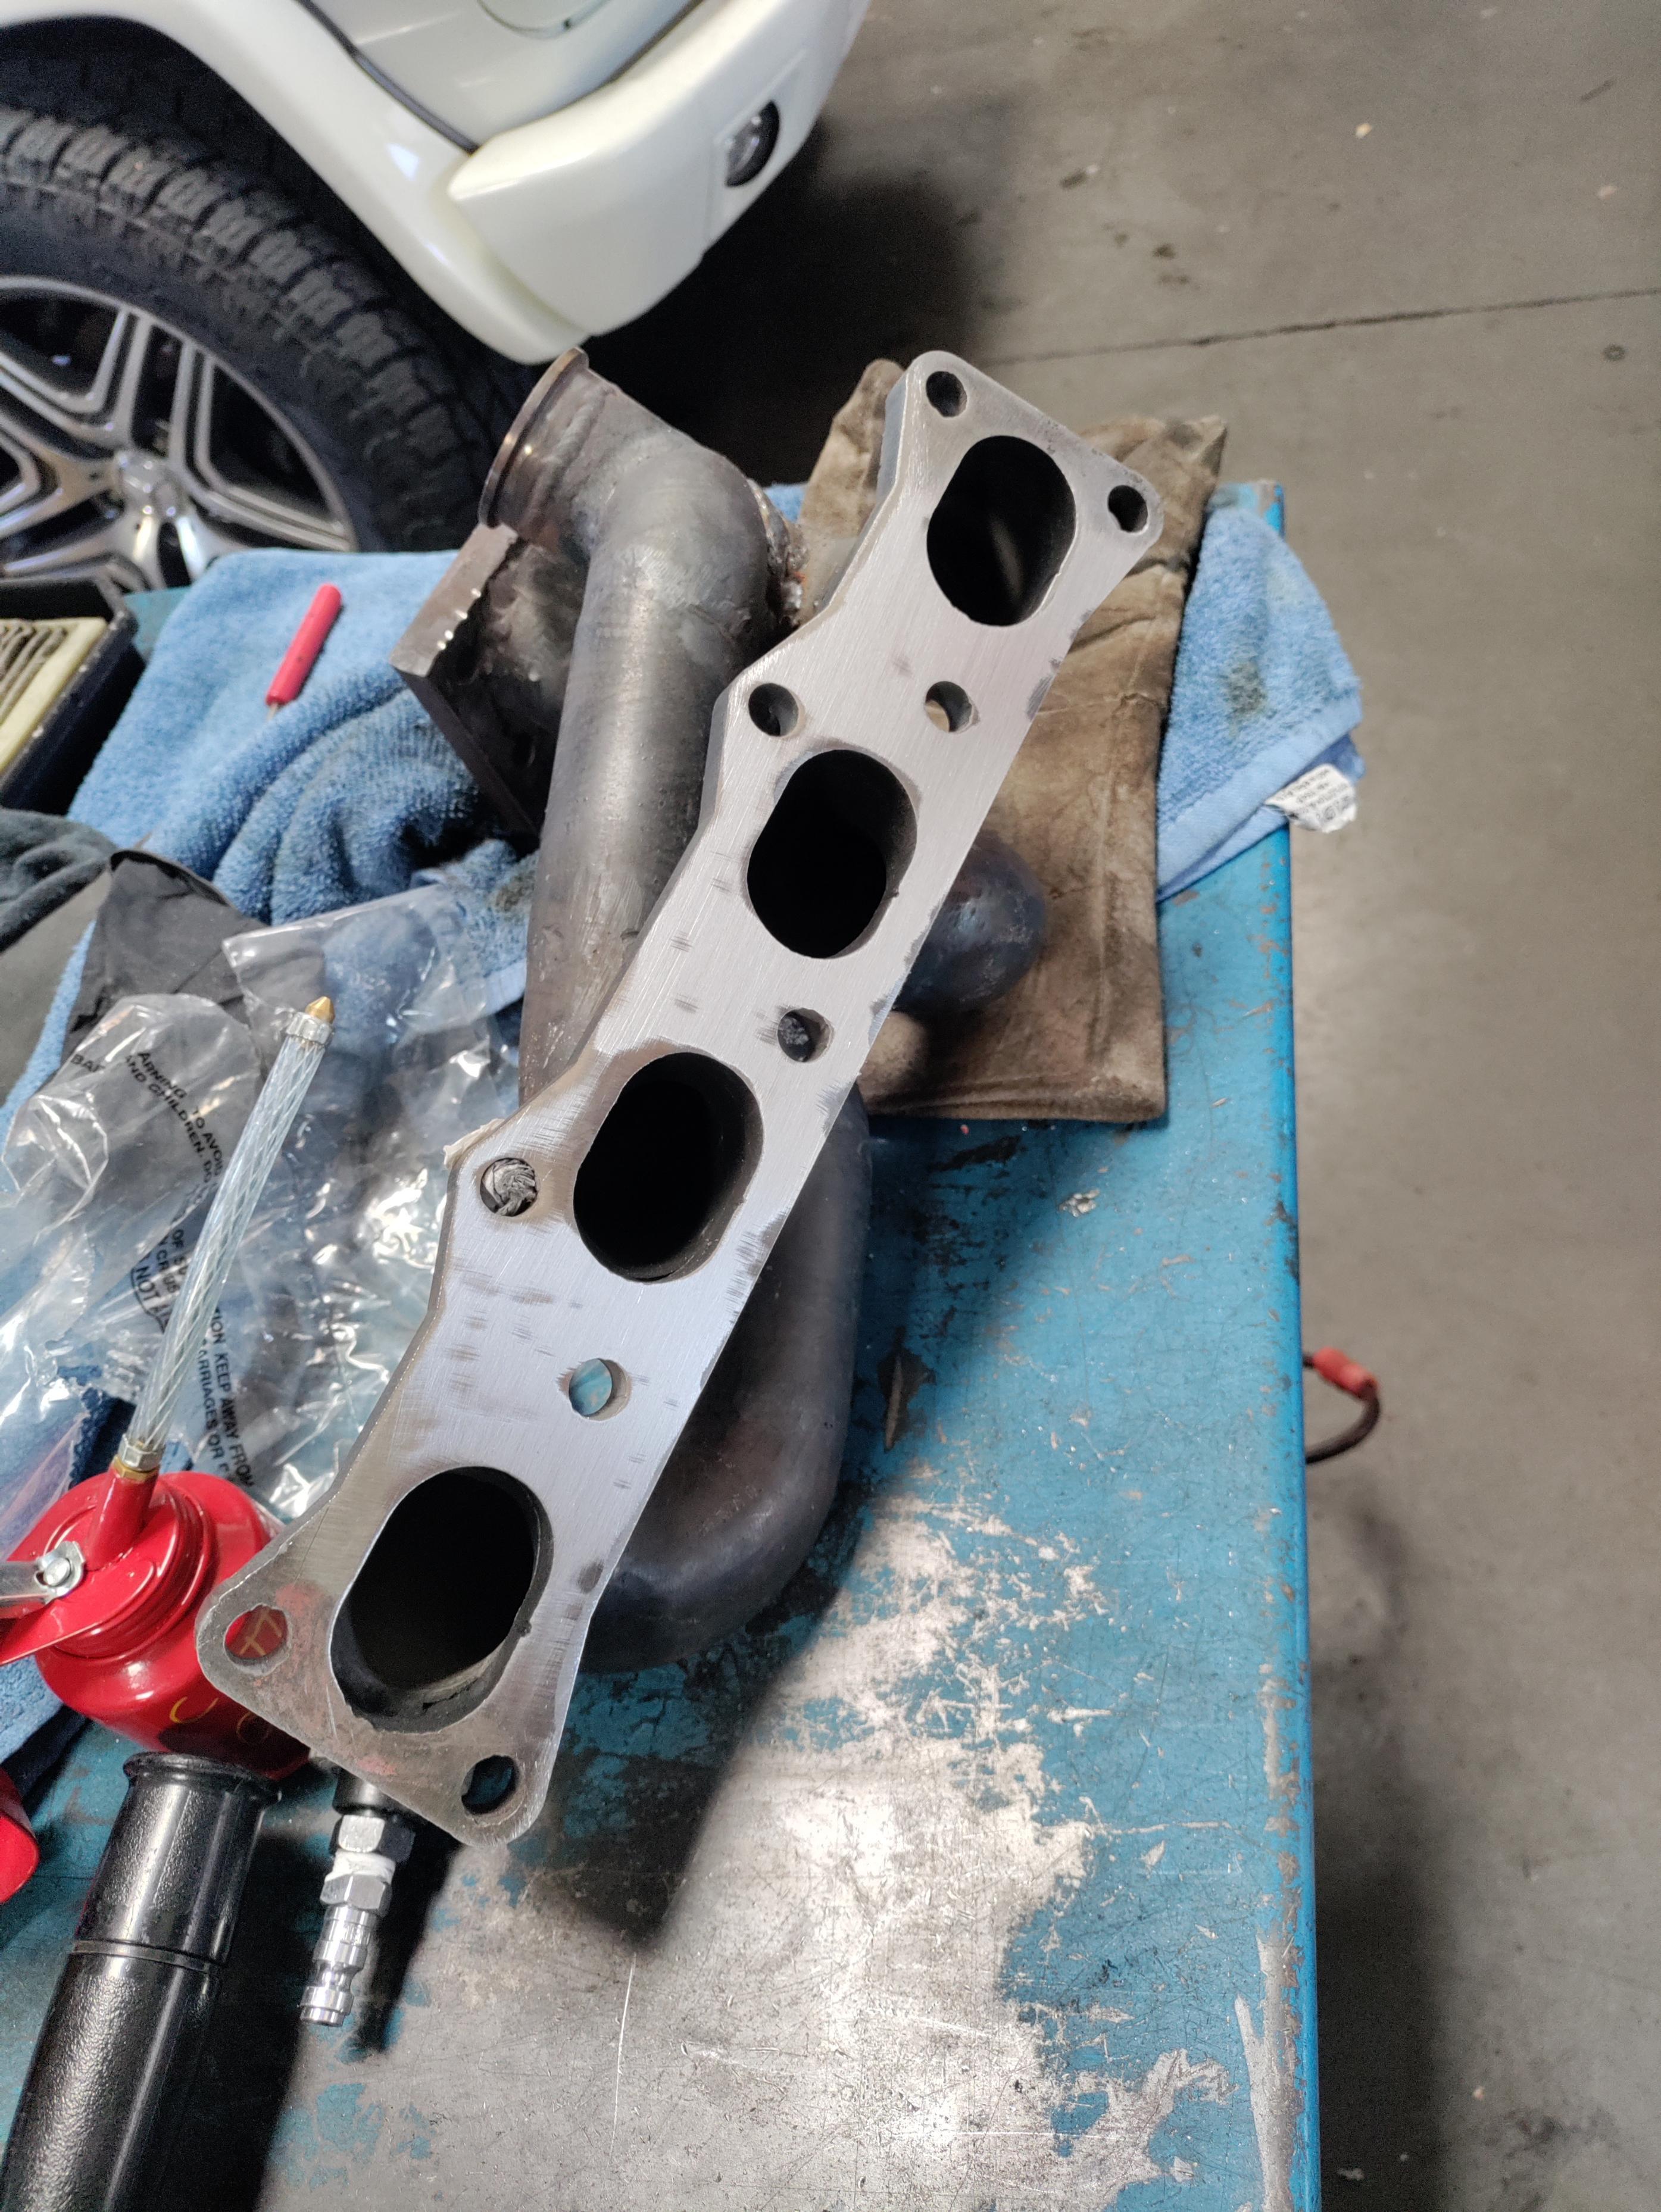
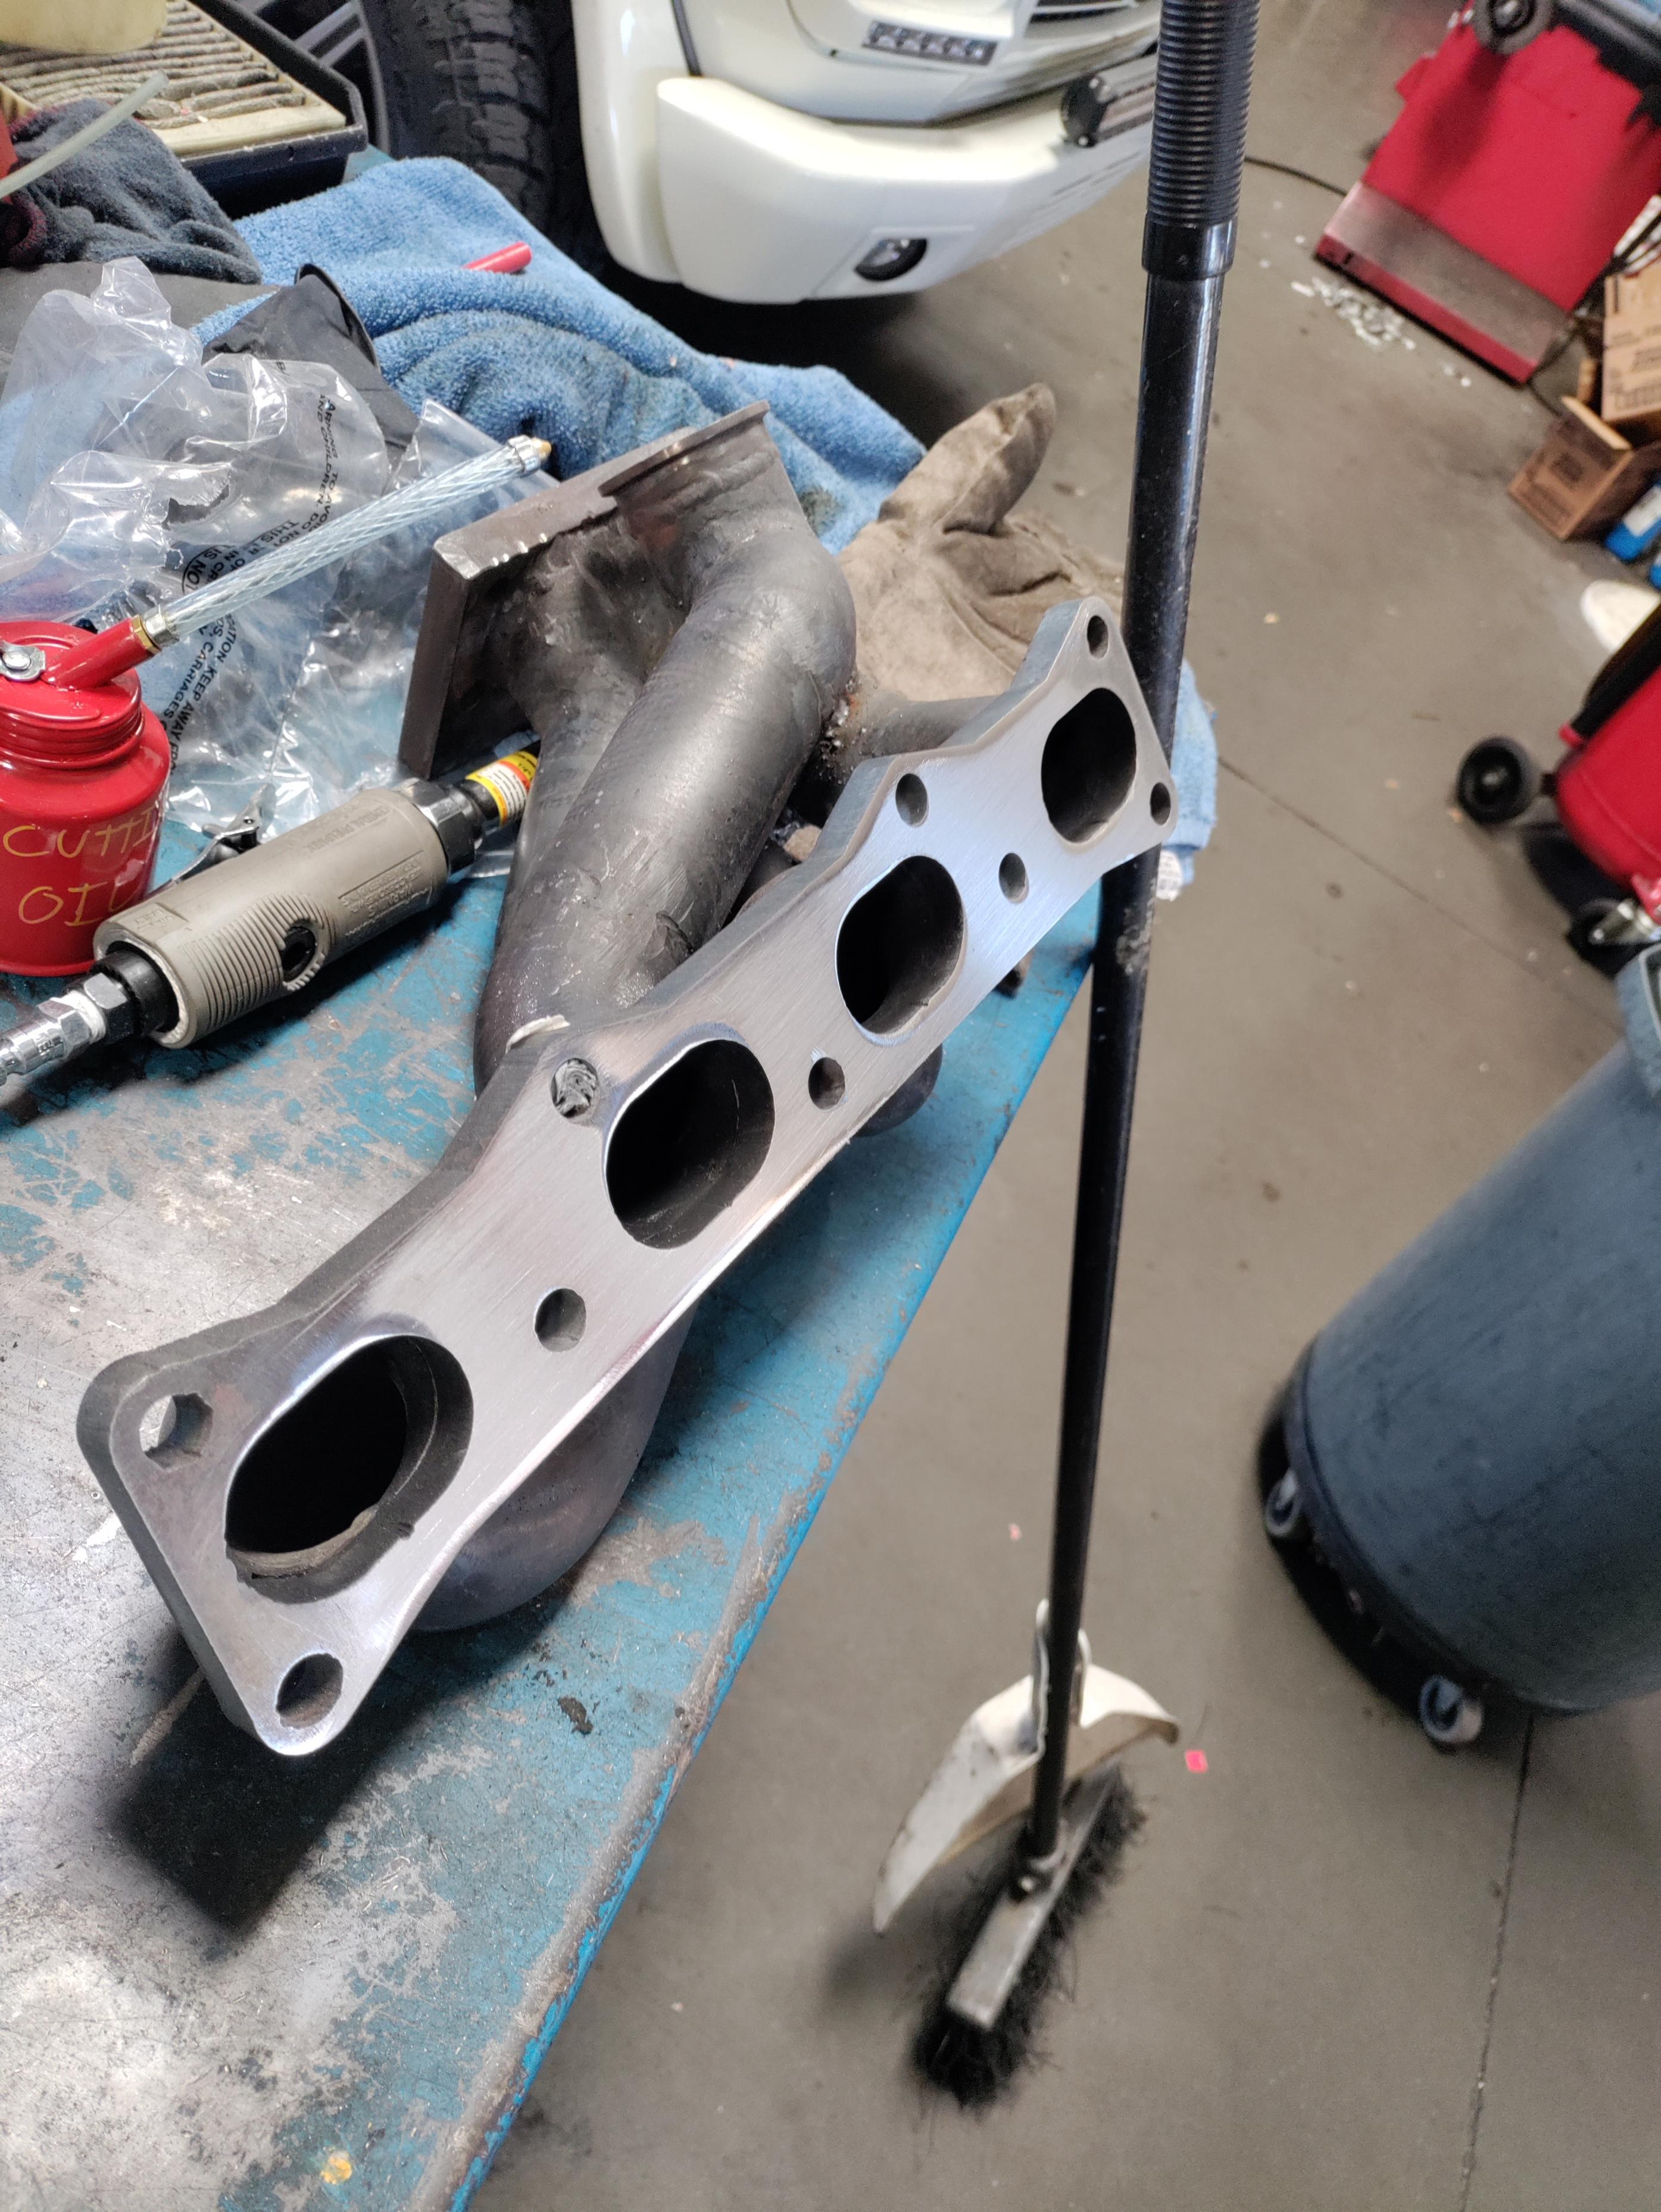
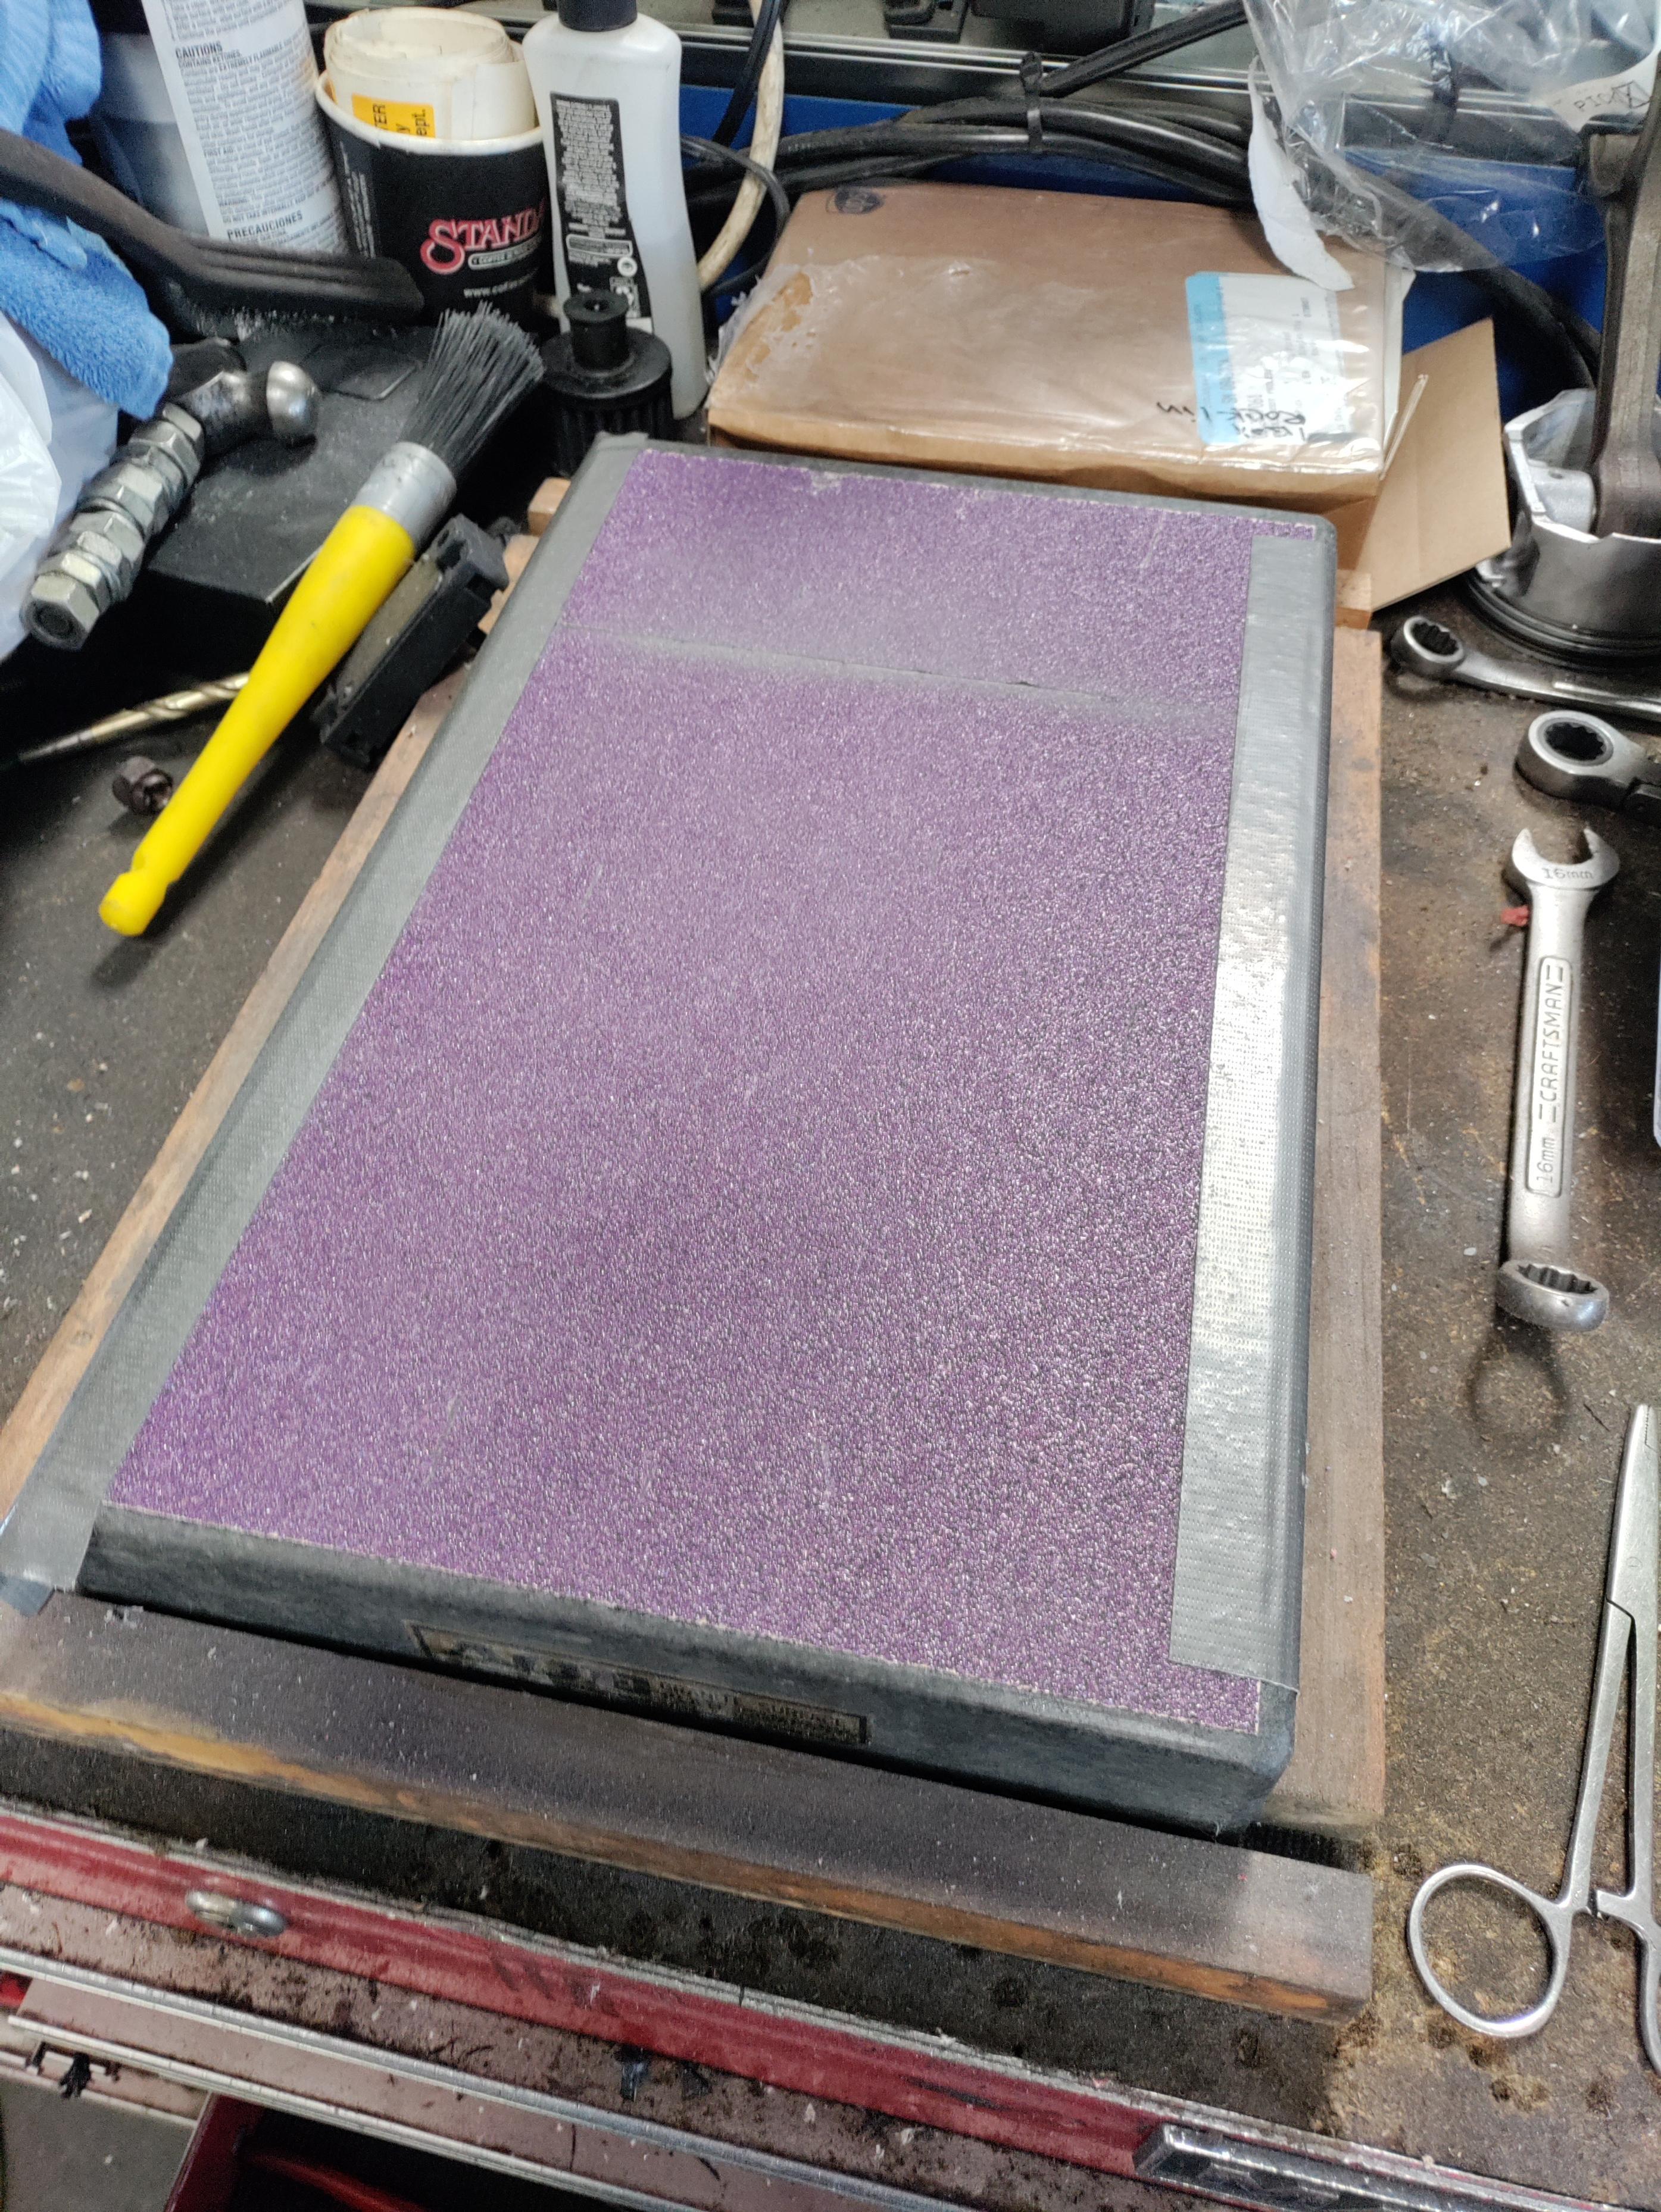
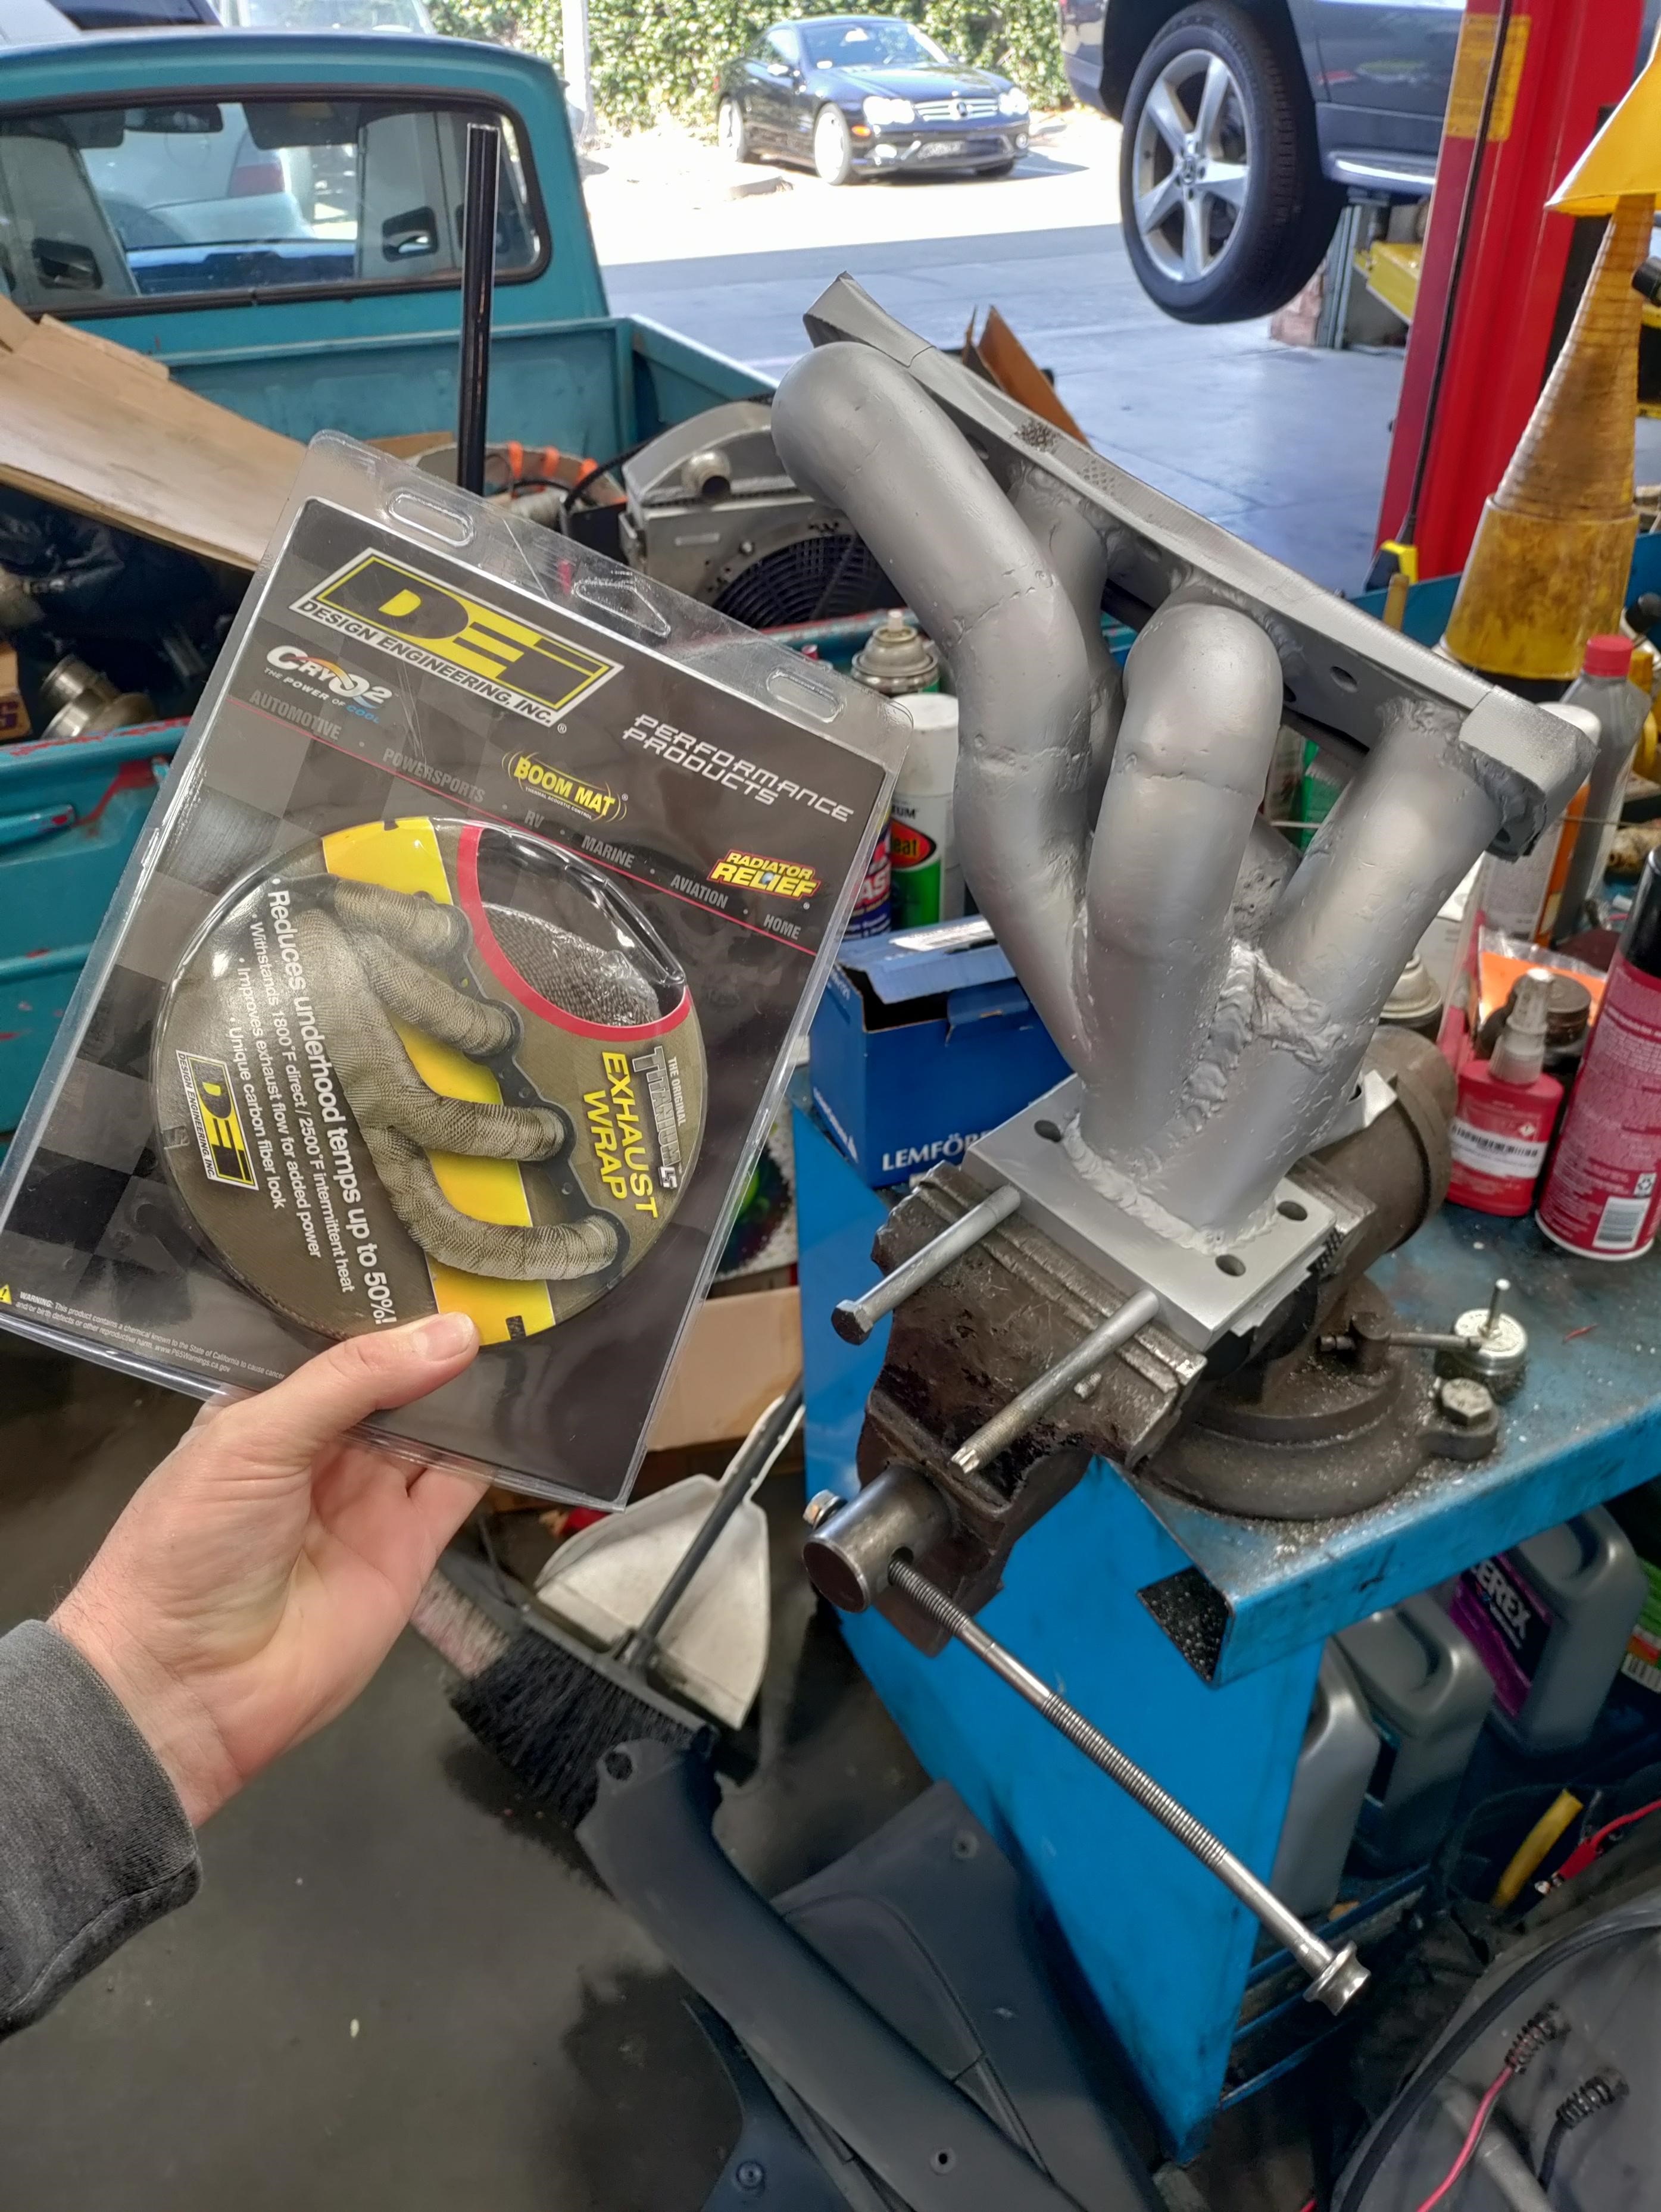
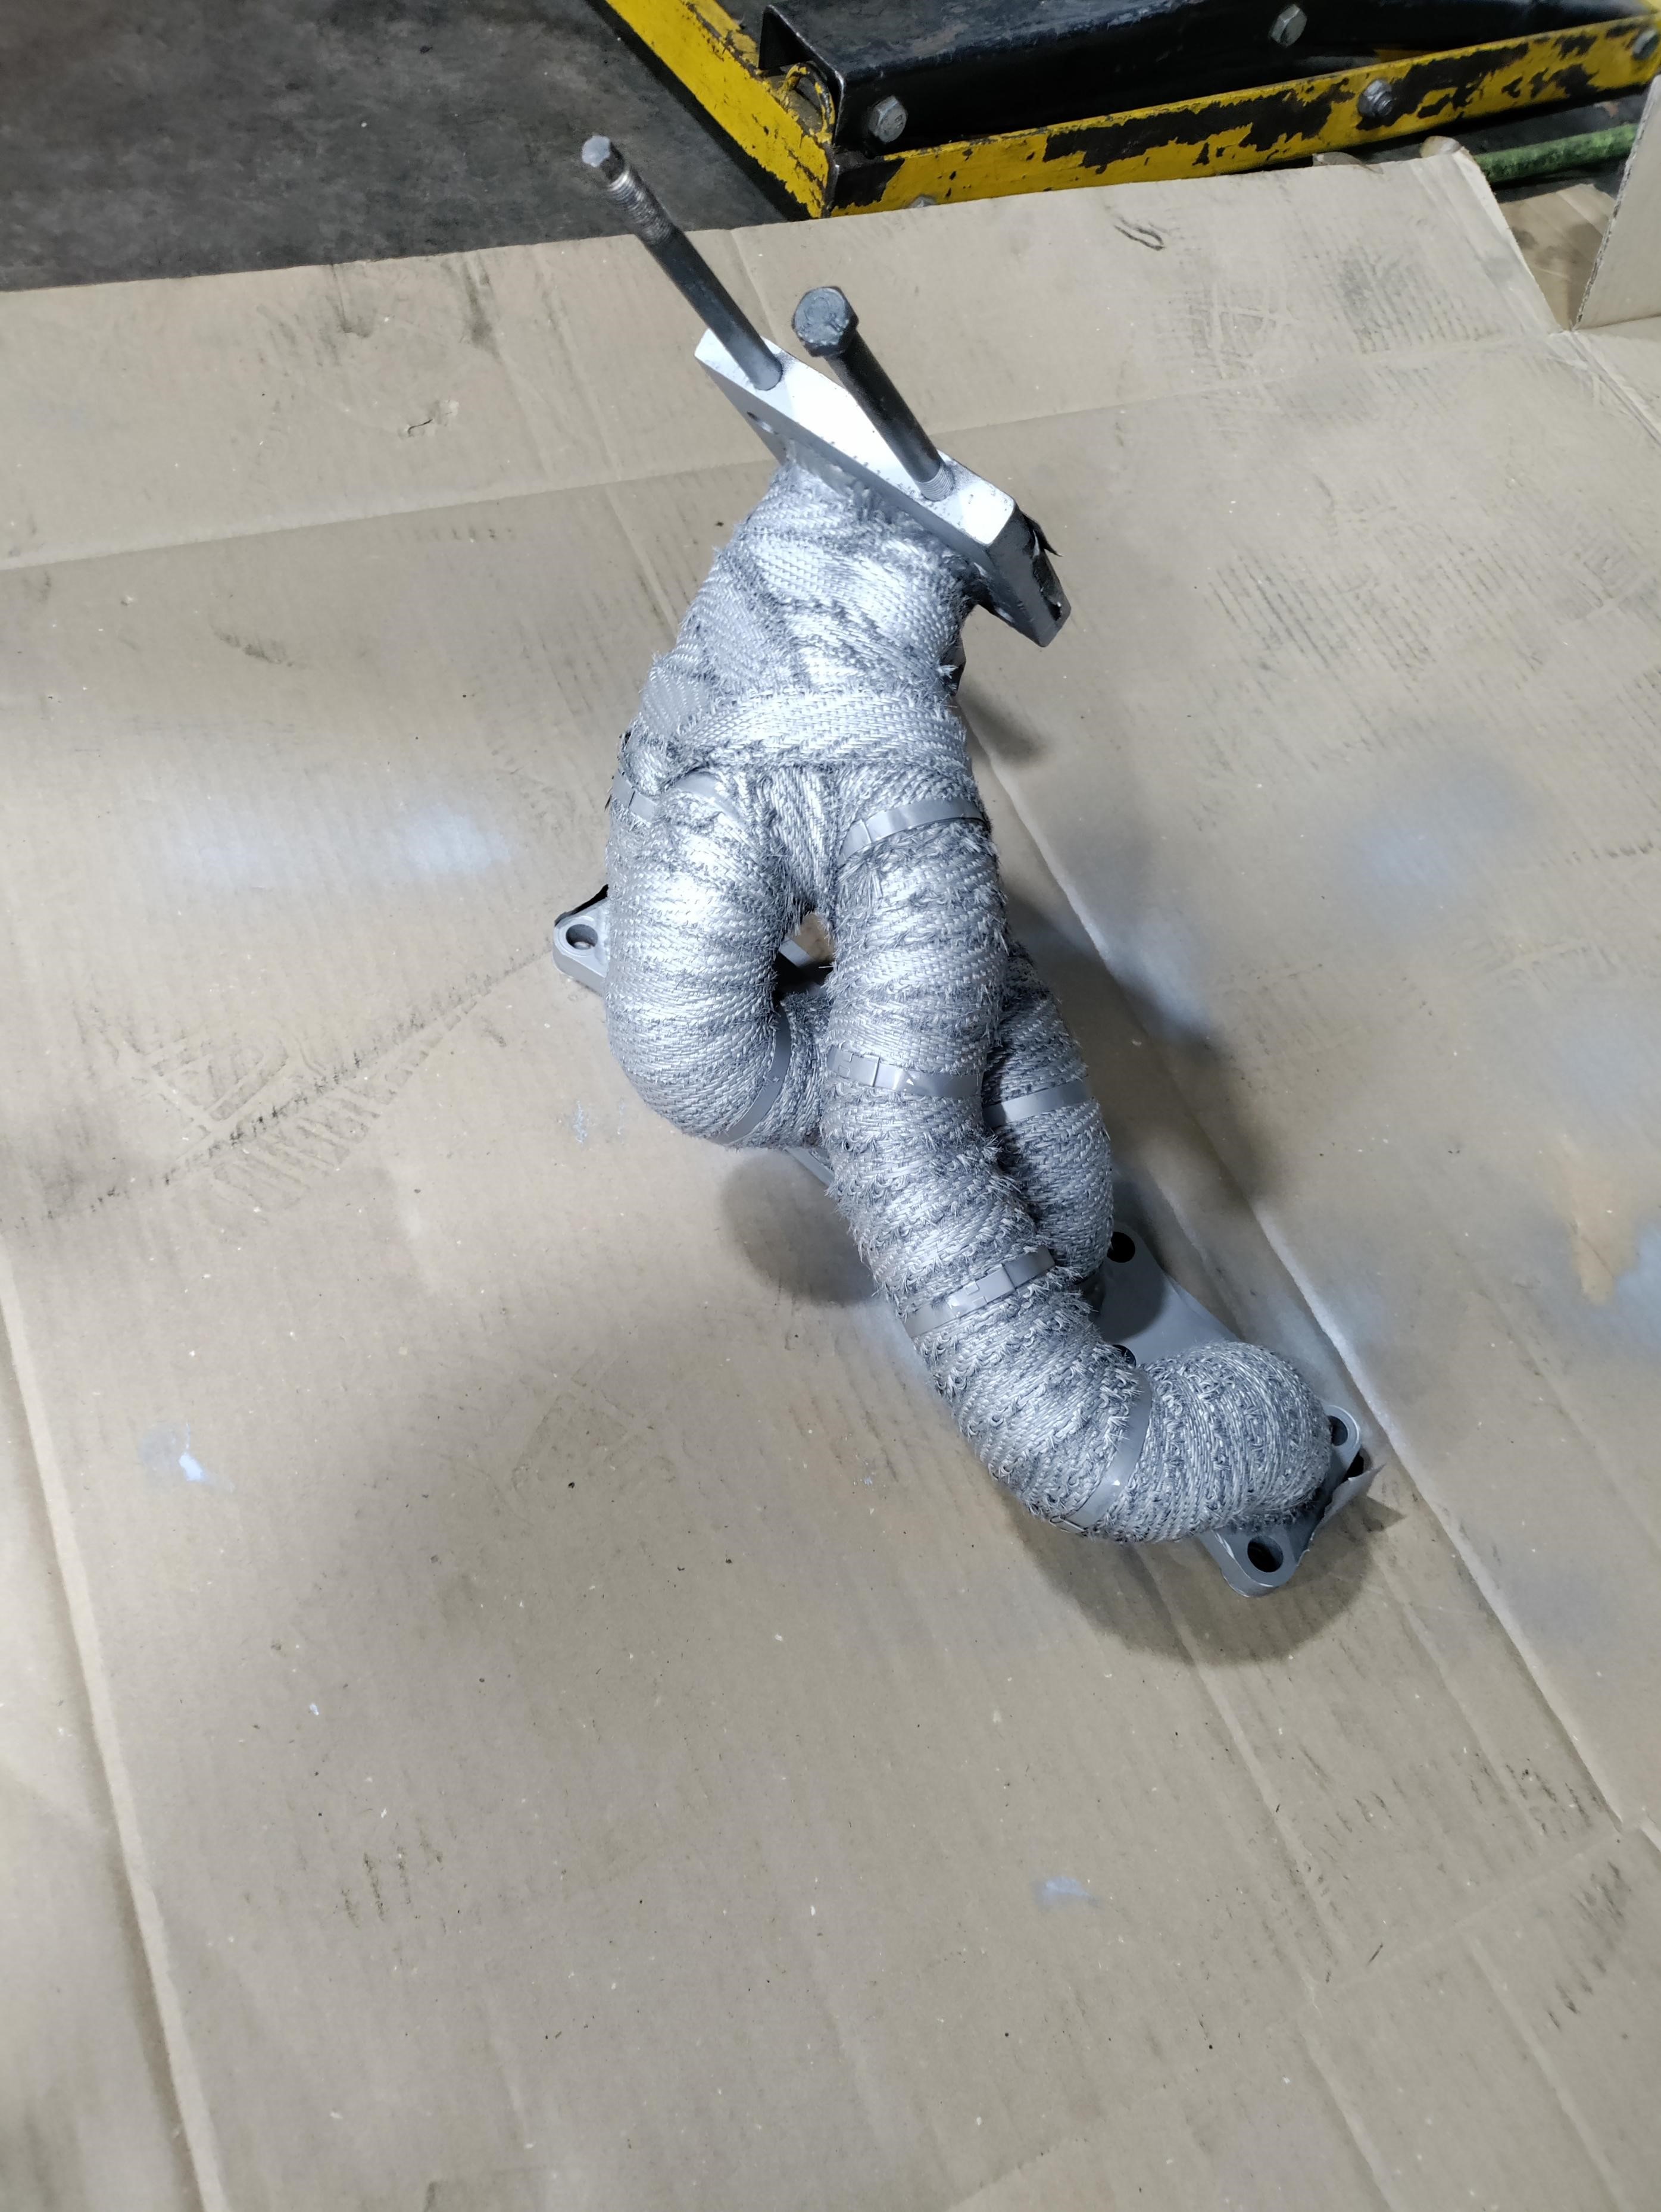
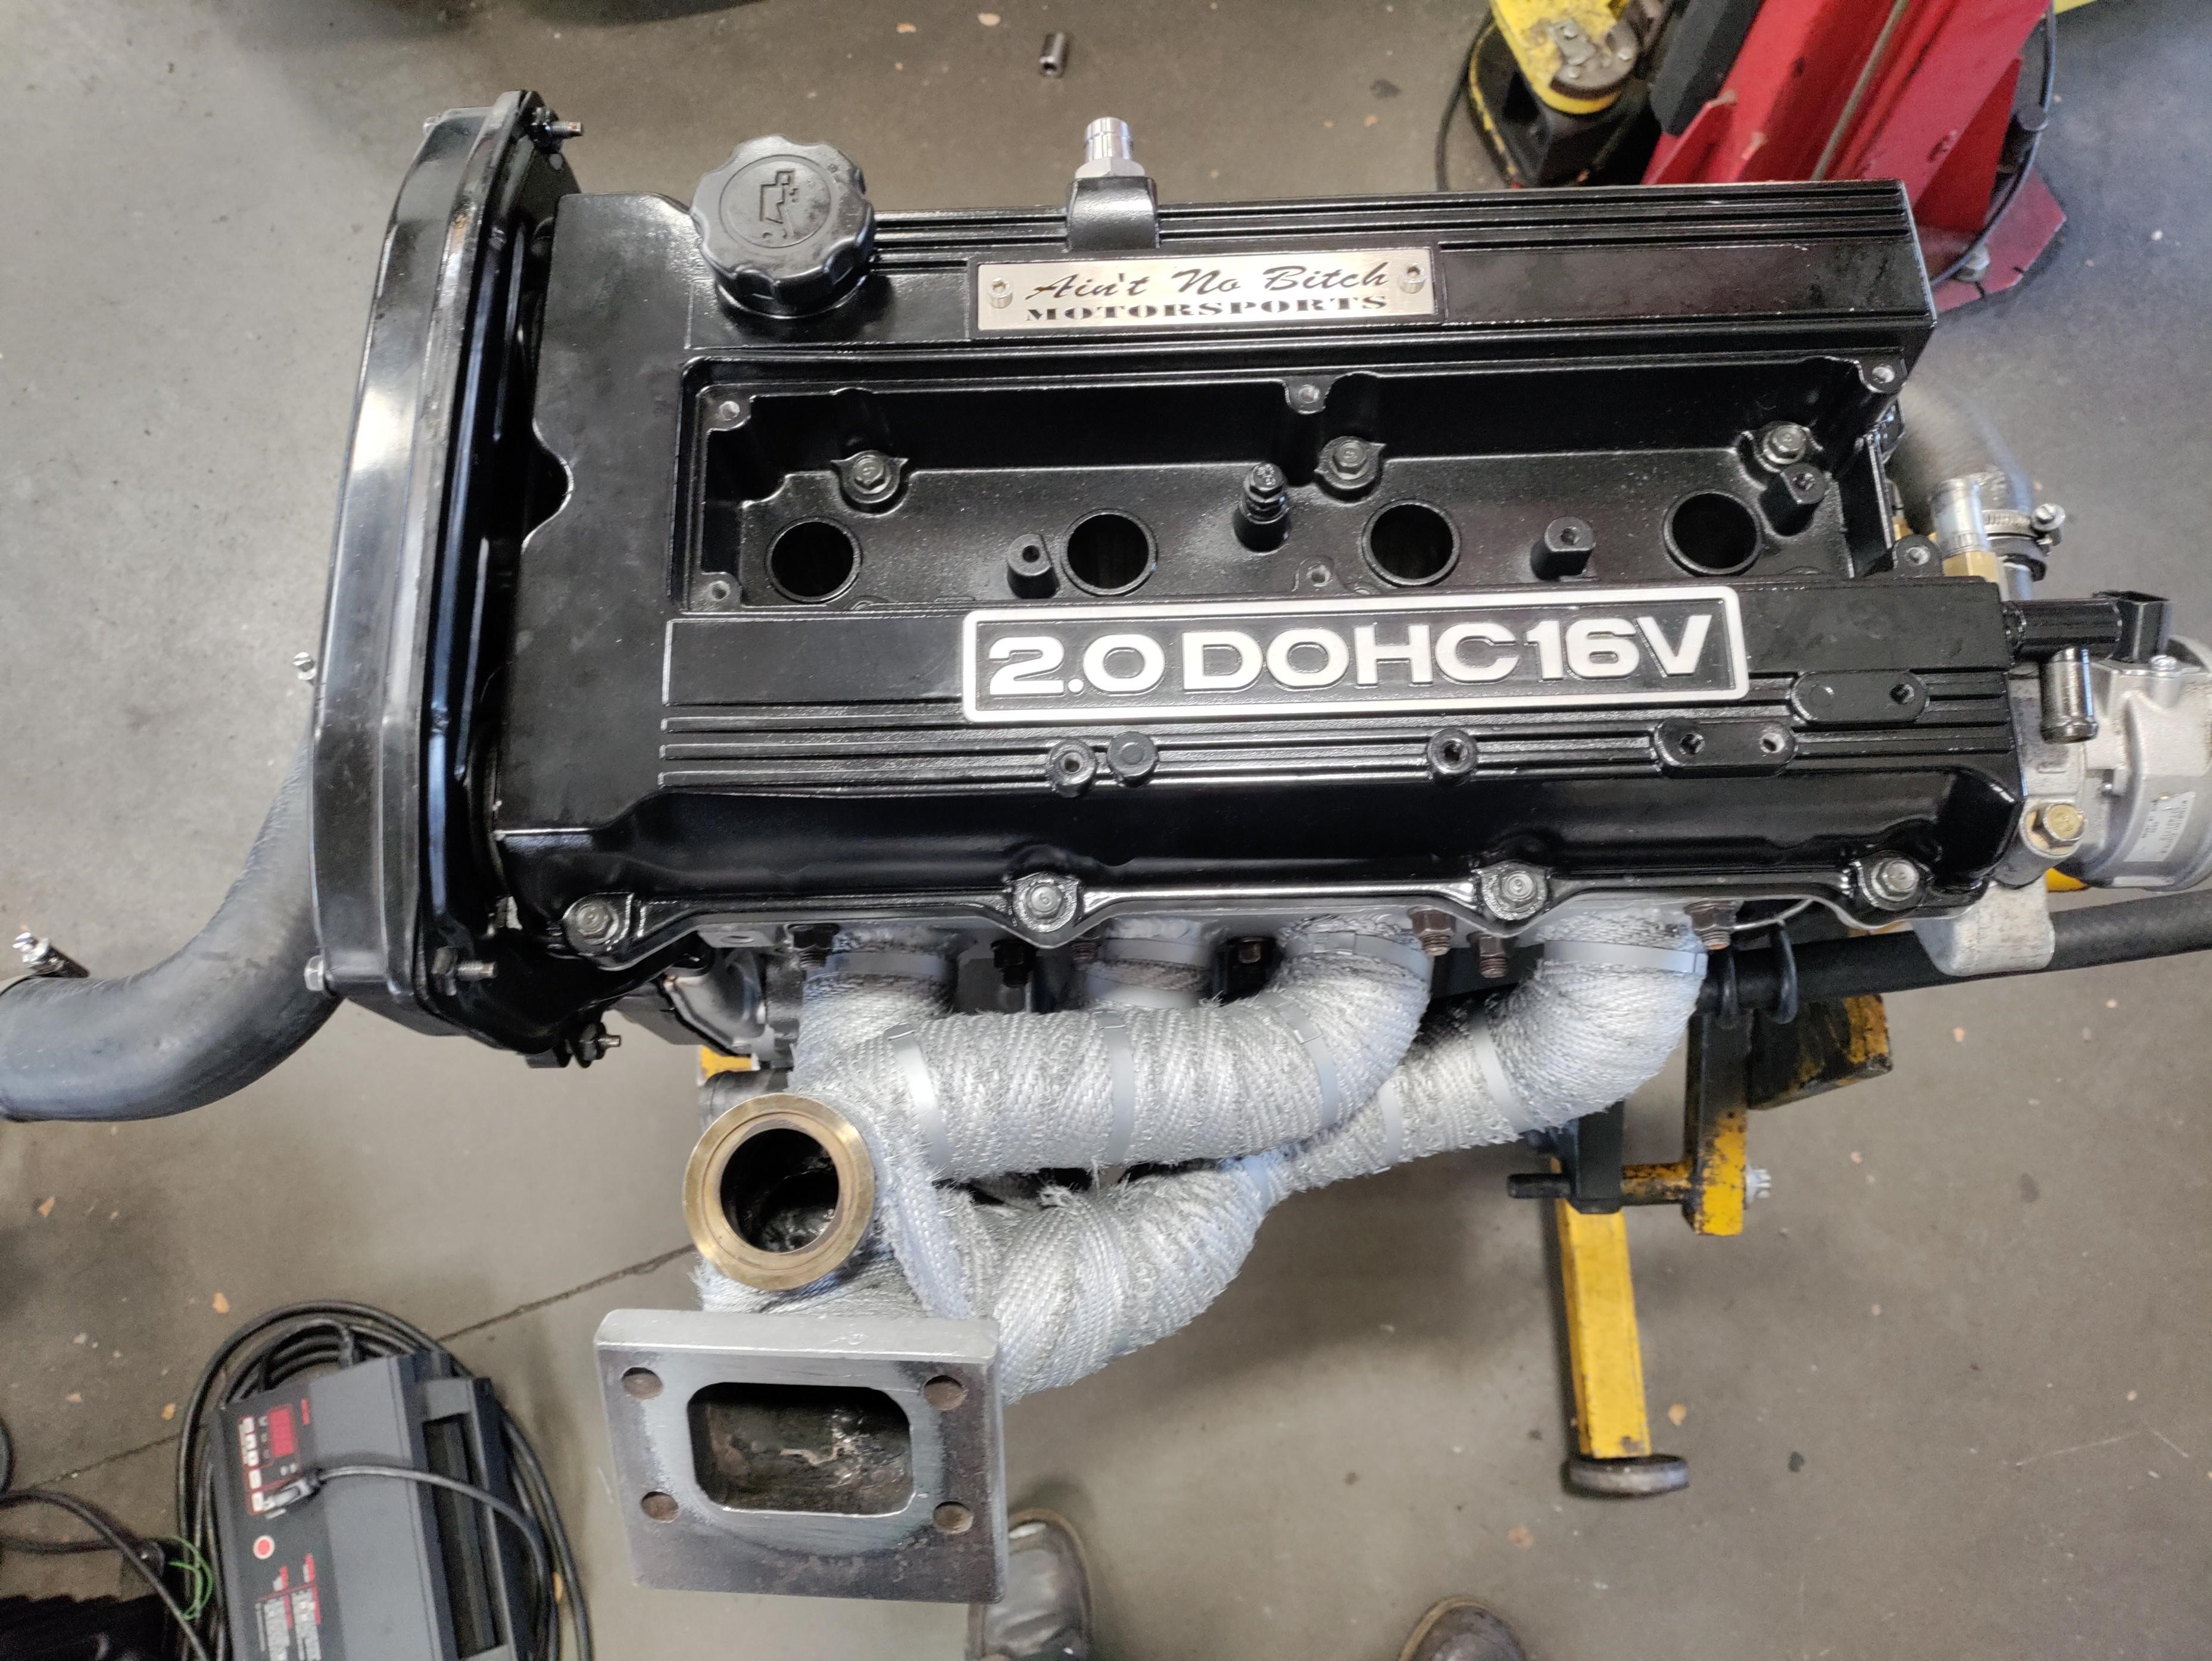
Pulled the wrap off to re-rap it and found my #1 runner split in half. welded it back together and found the exhaust flange badly warped. No machine shops would put it on their belt grinder so I spent 4 hours with a surface plate and 80 grit sandpaper to get it to within .005" of flatness.
Reply
1
1
01-30-2023, 01:58 PM
#265
Senior Member
Thread Starter
Join Date: Jan 2011
Location: sacramento ,ca
Posts: 568
Total Cats: 162
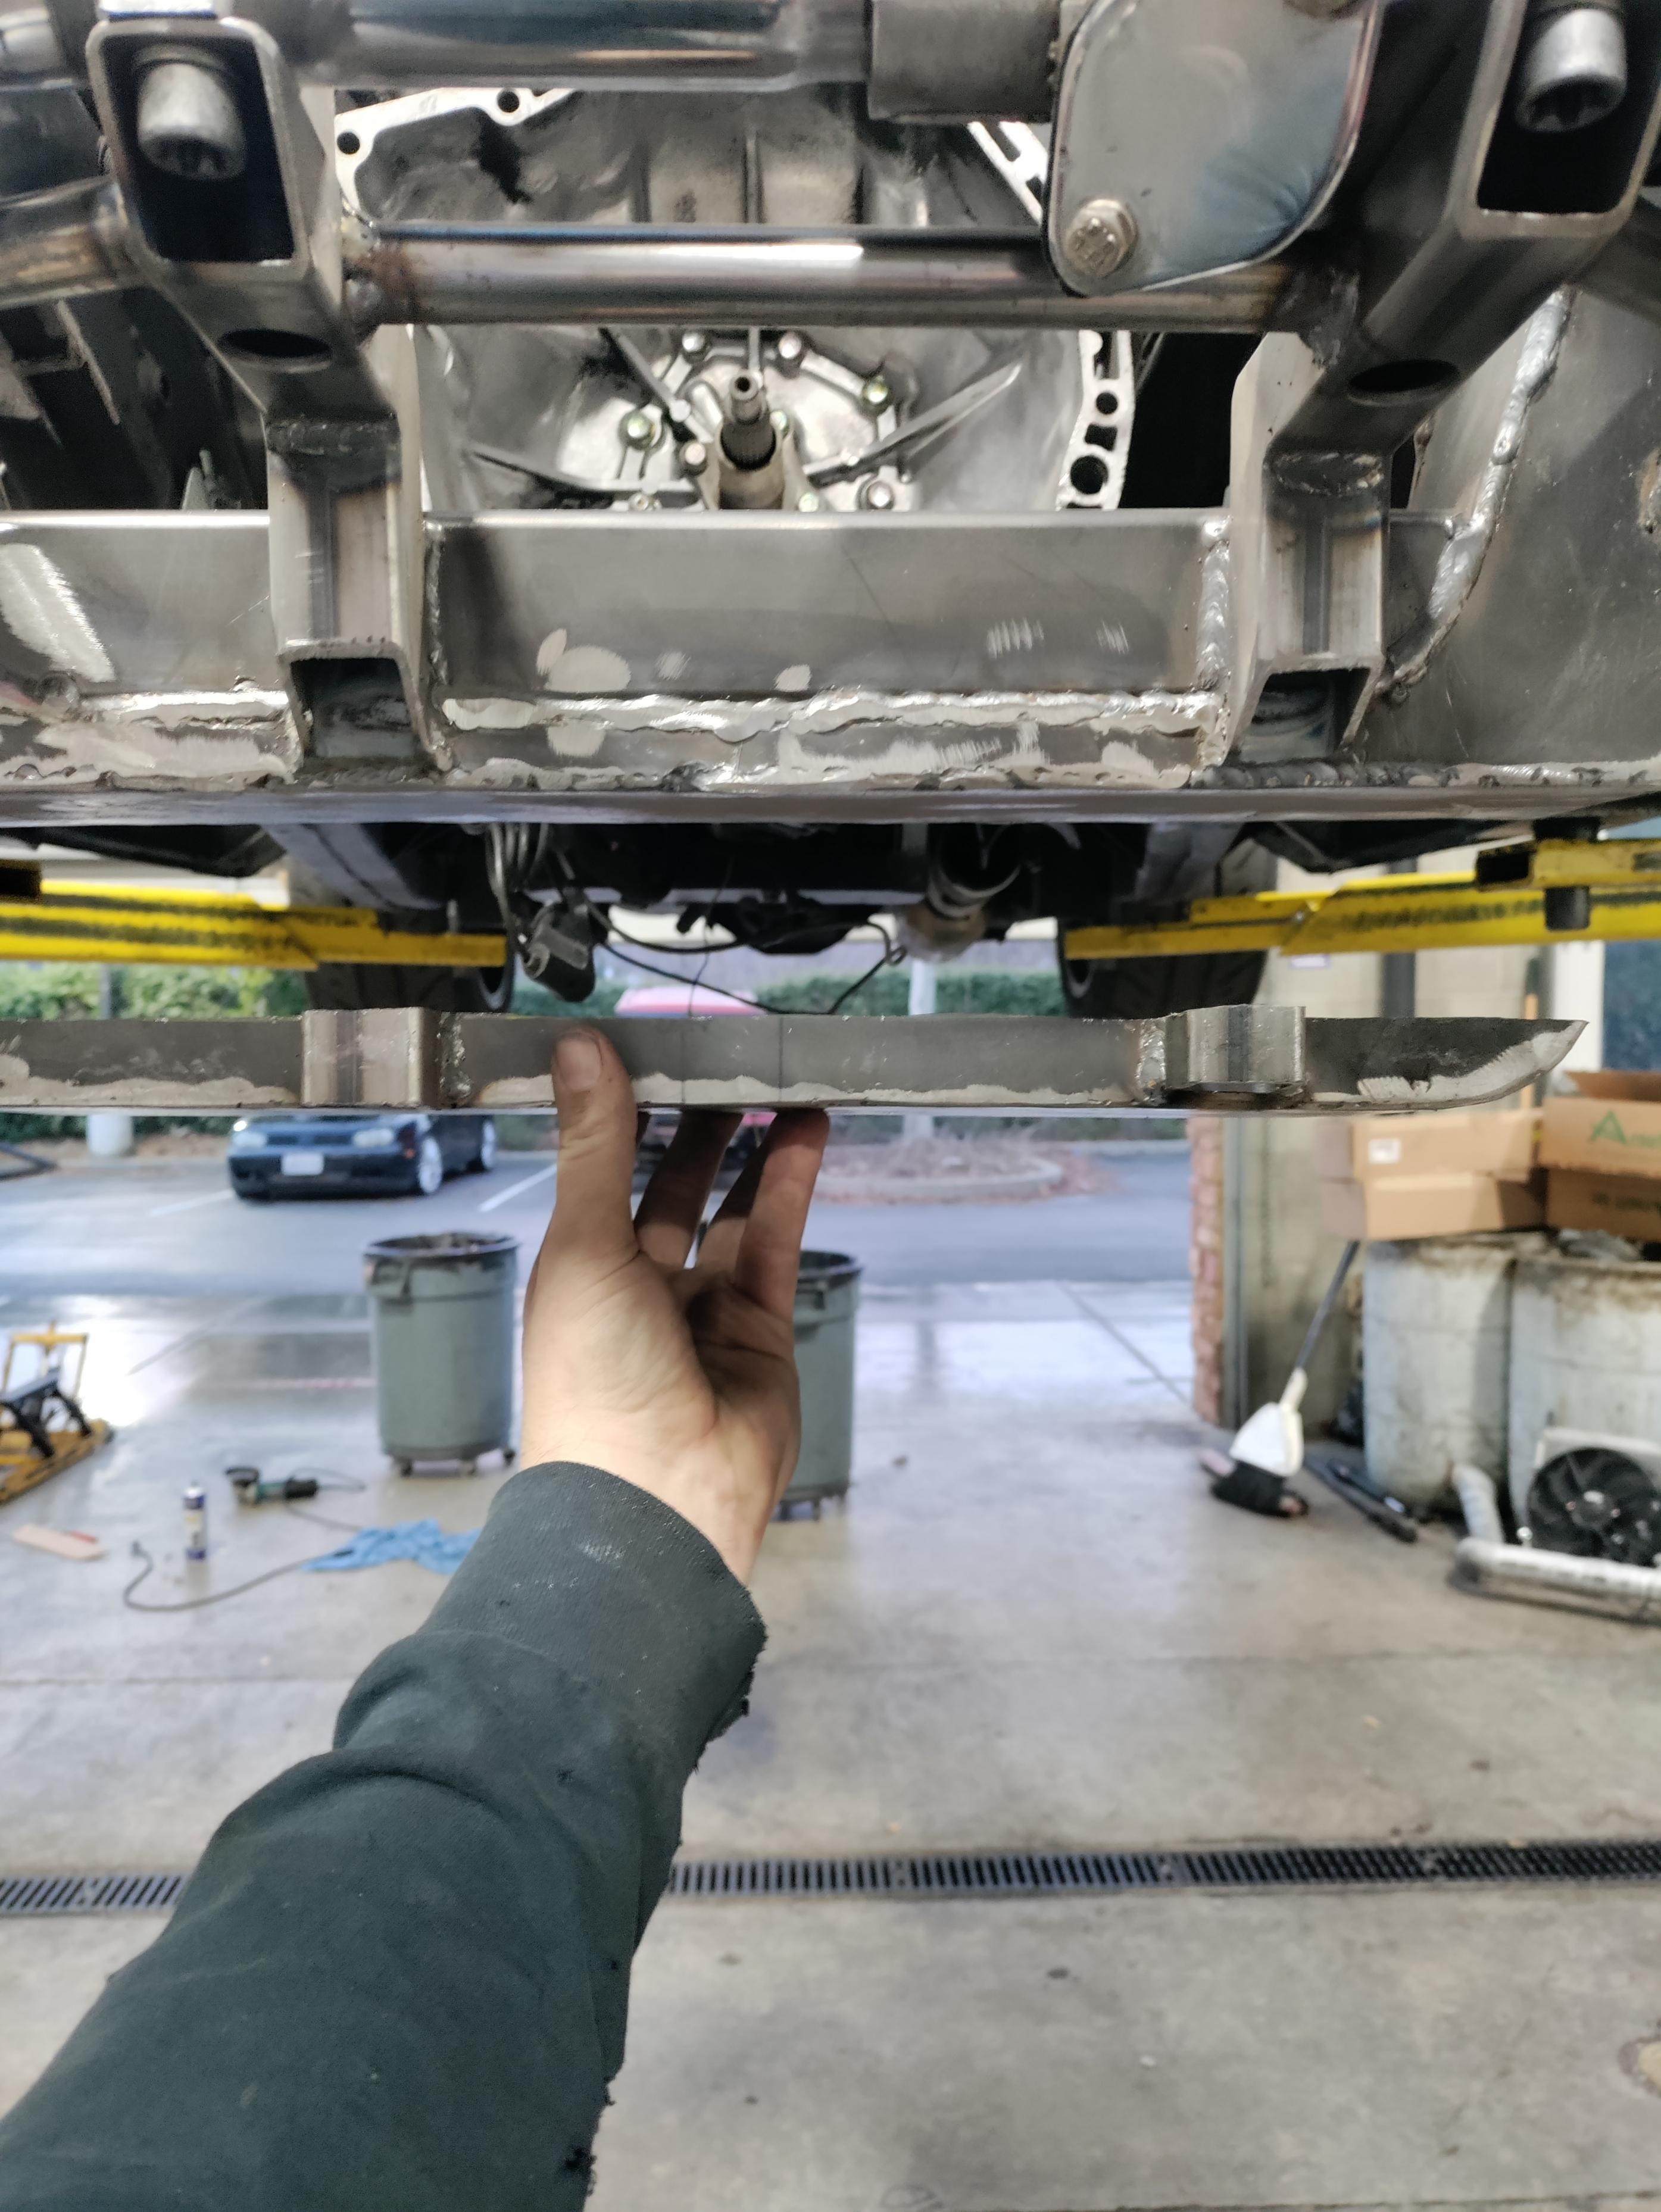
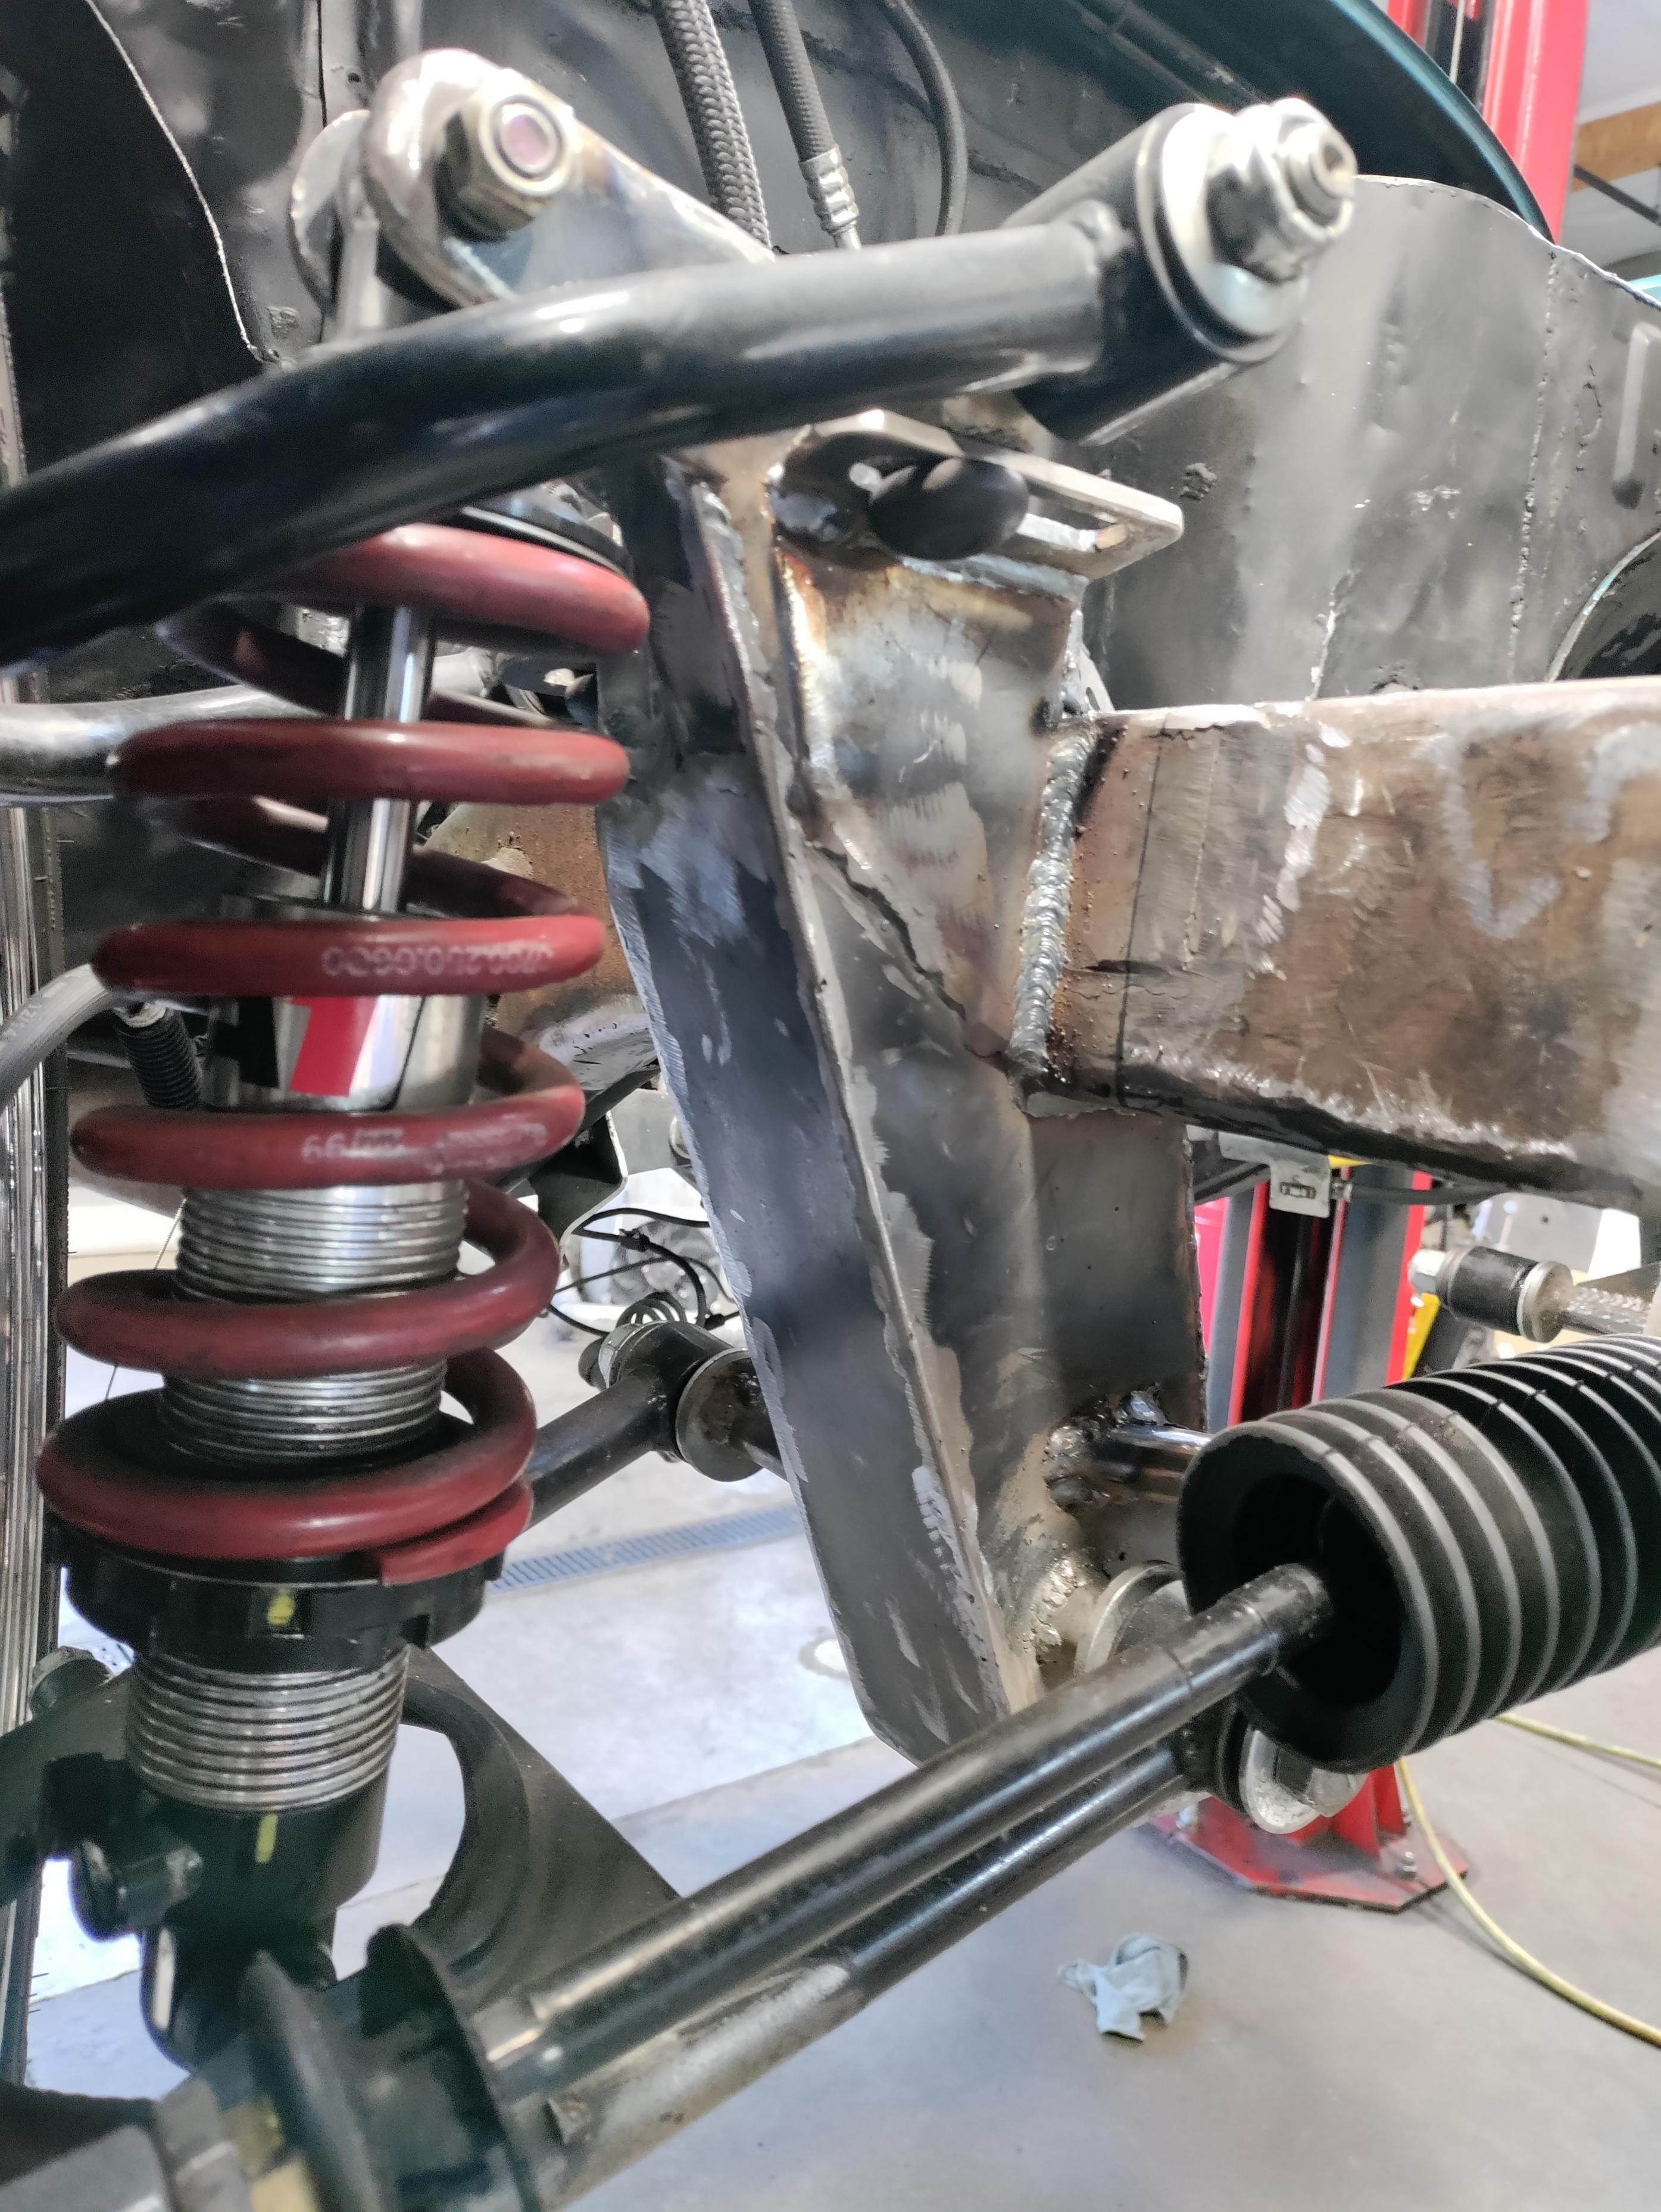
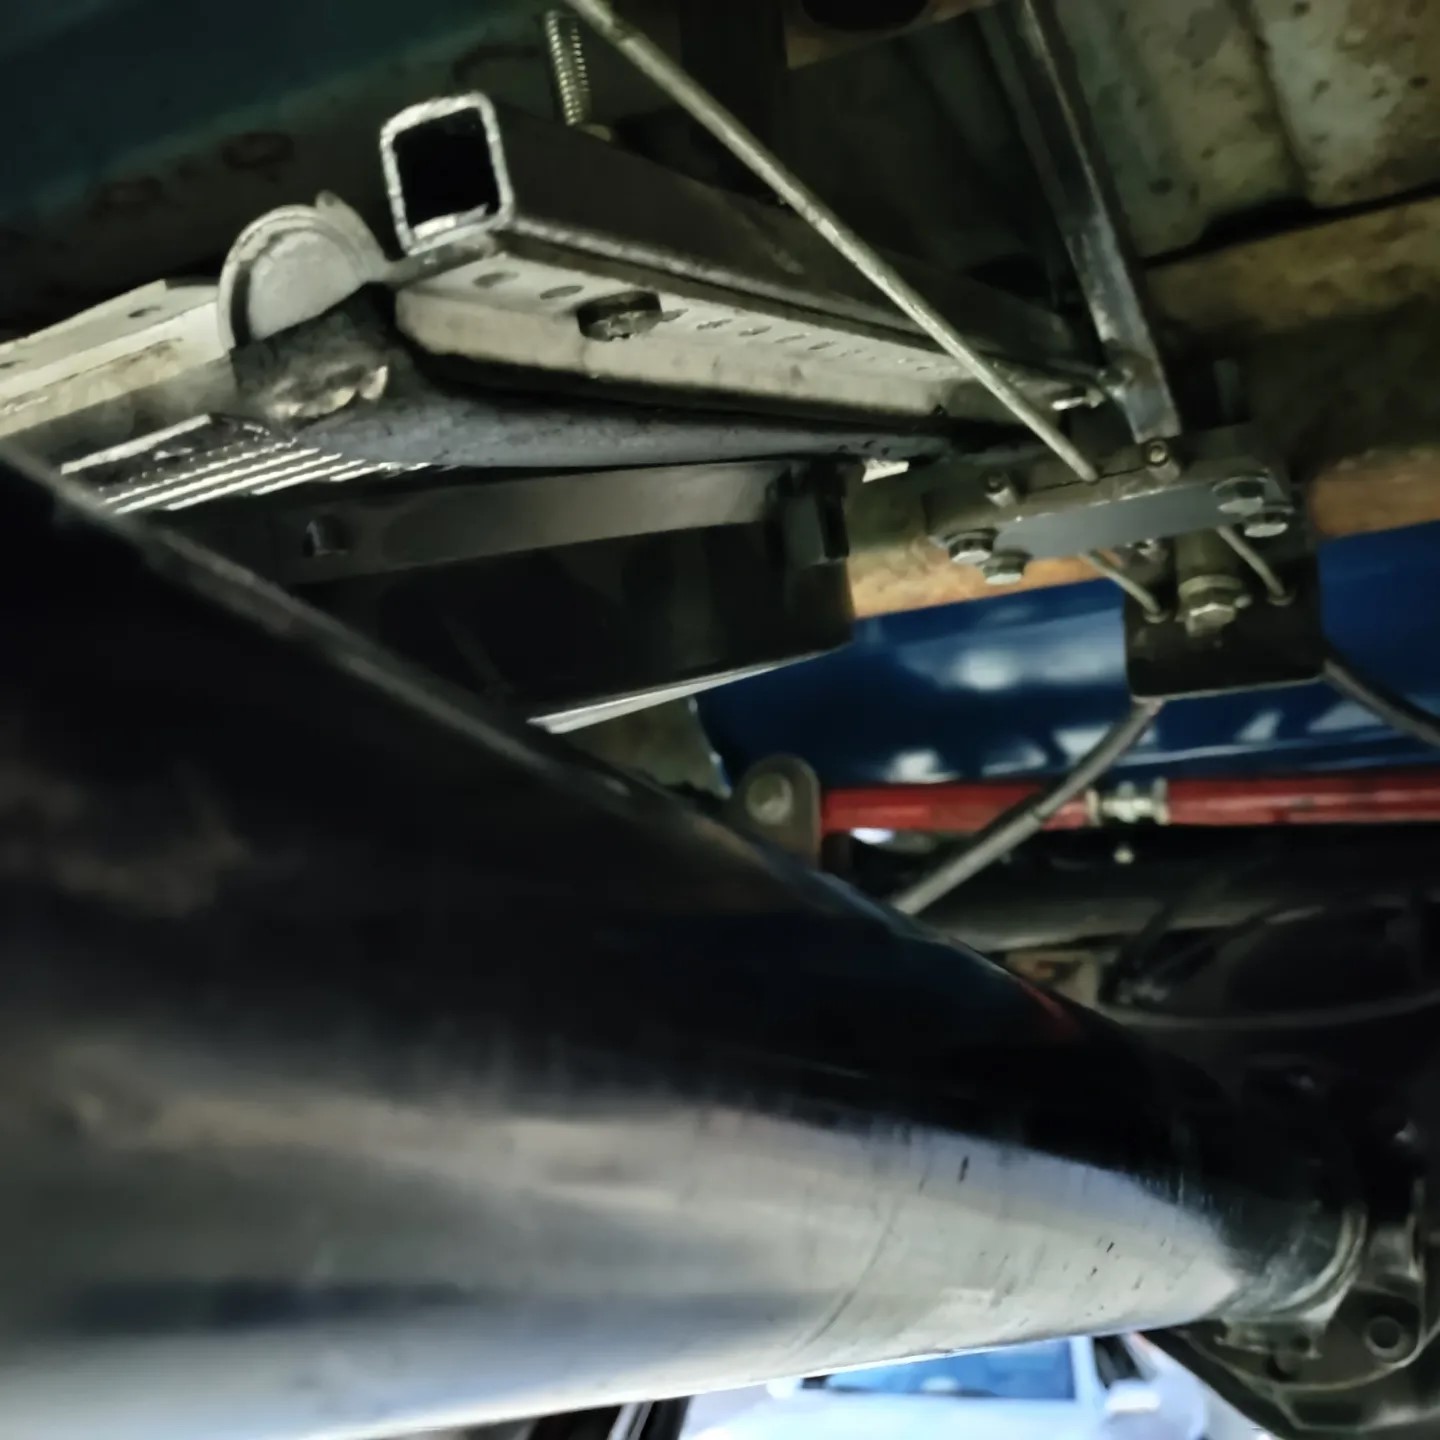
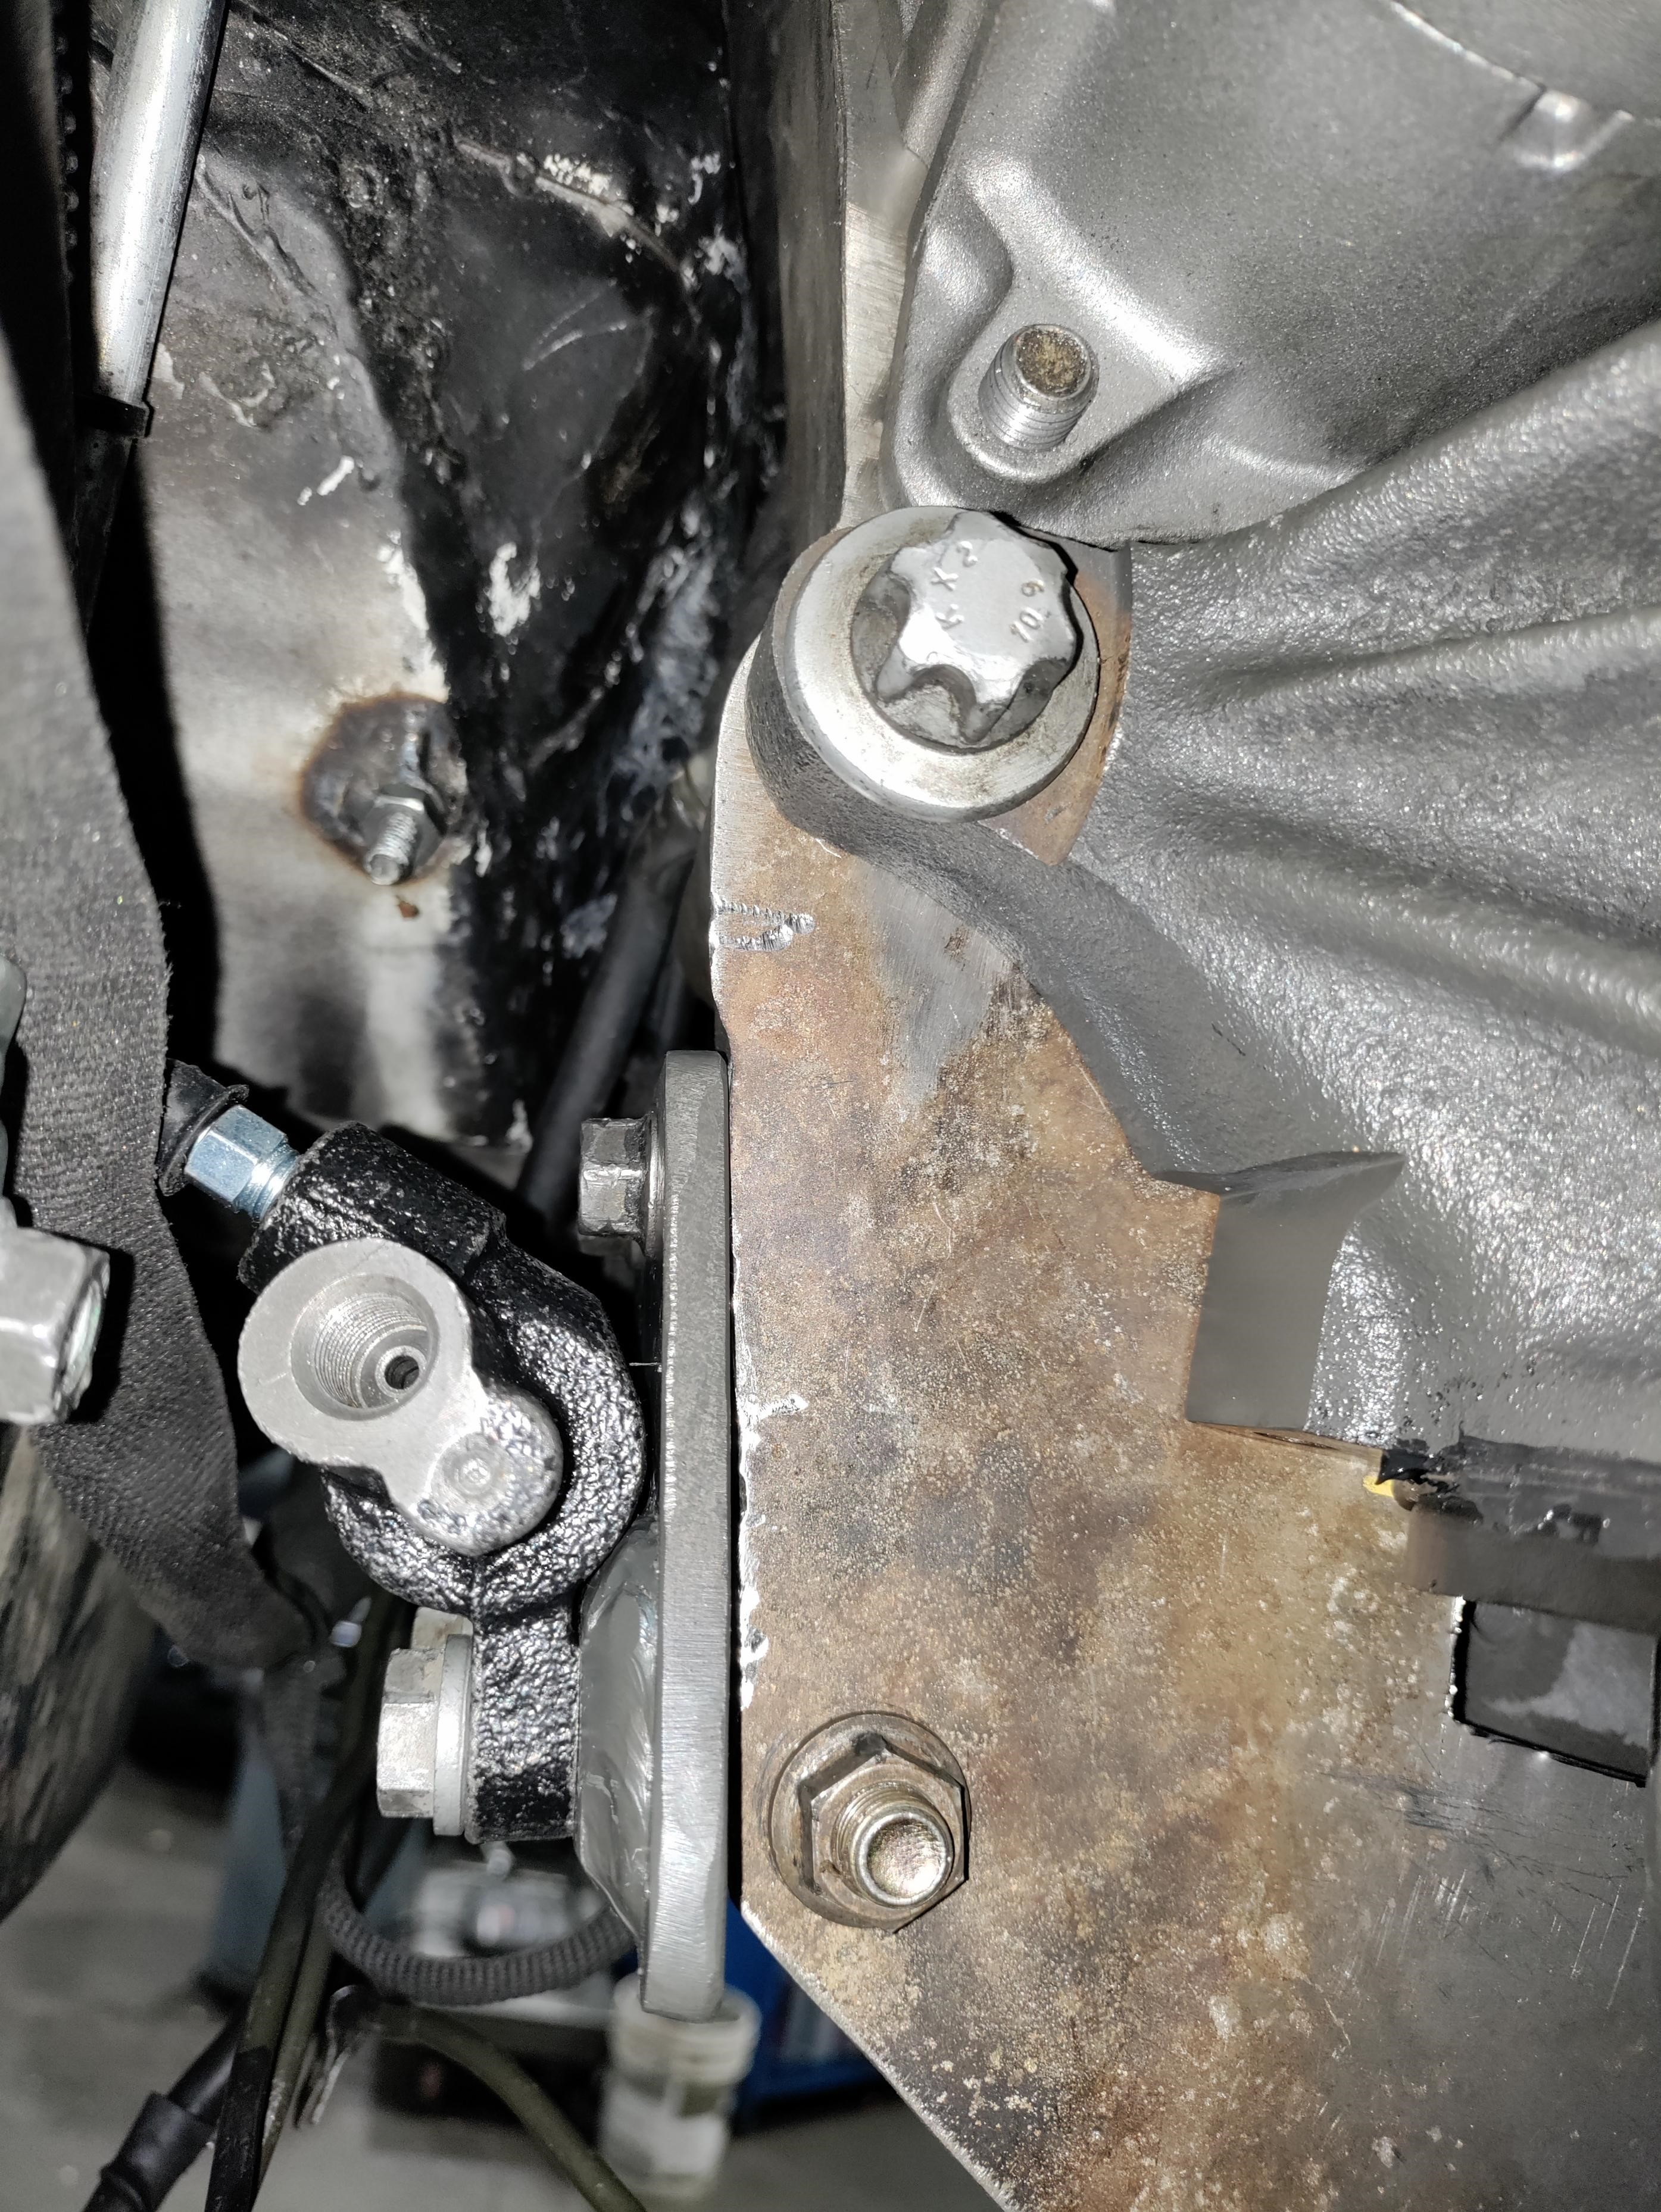
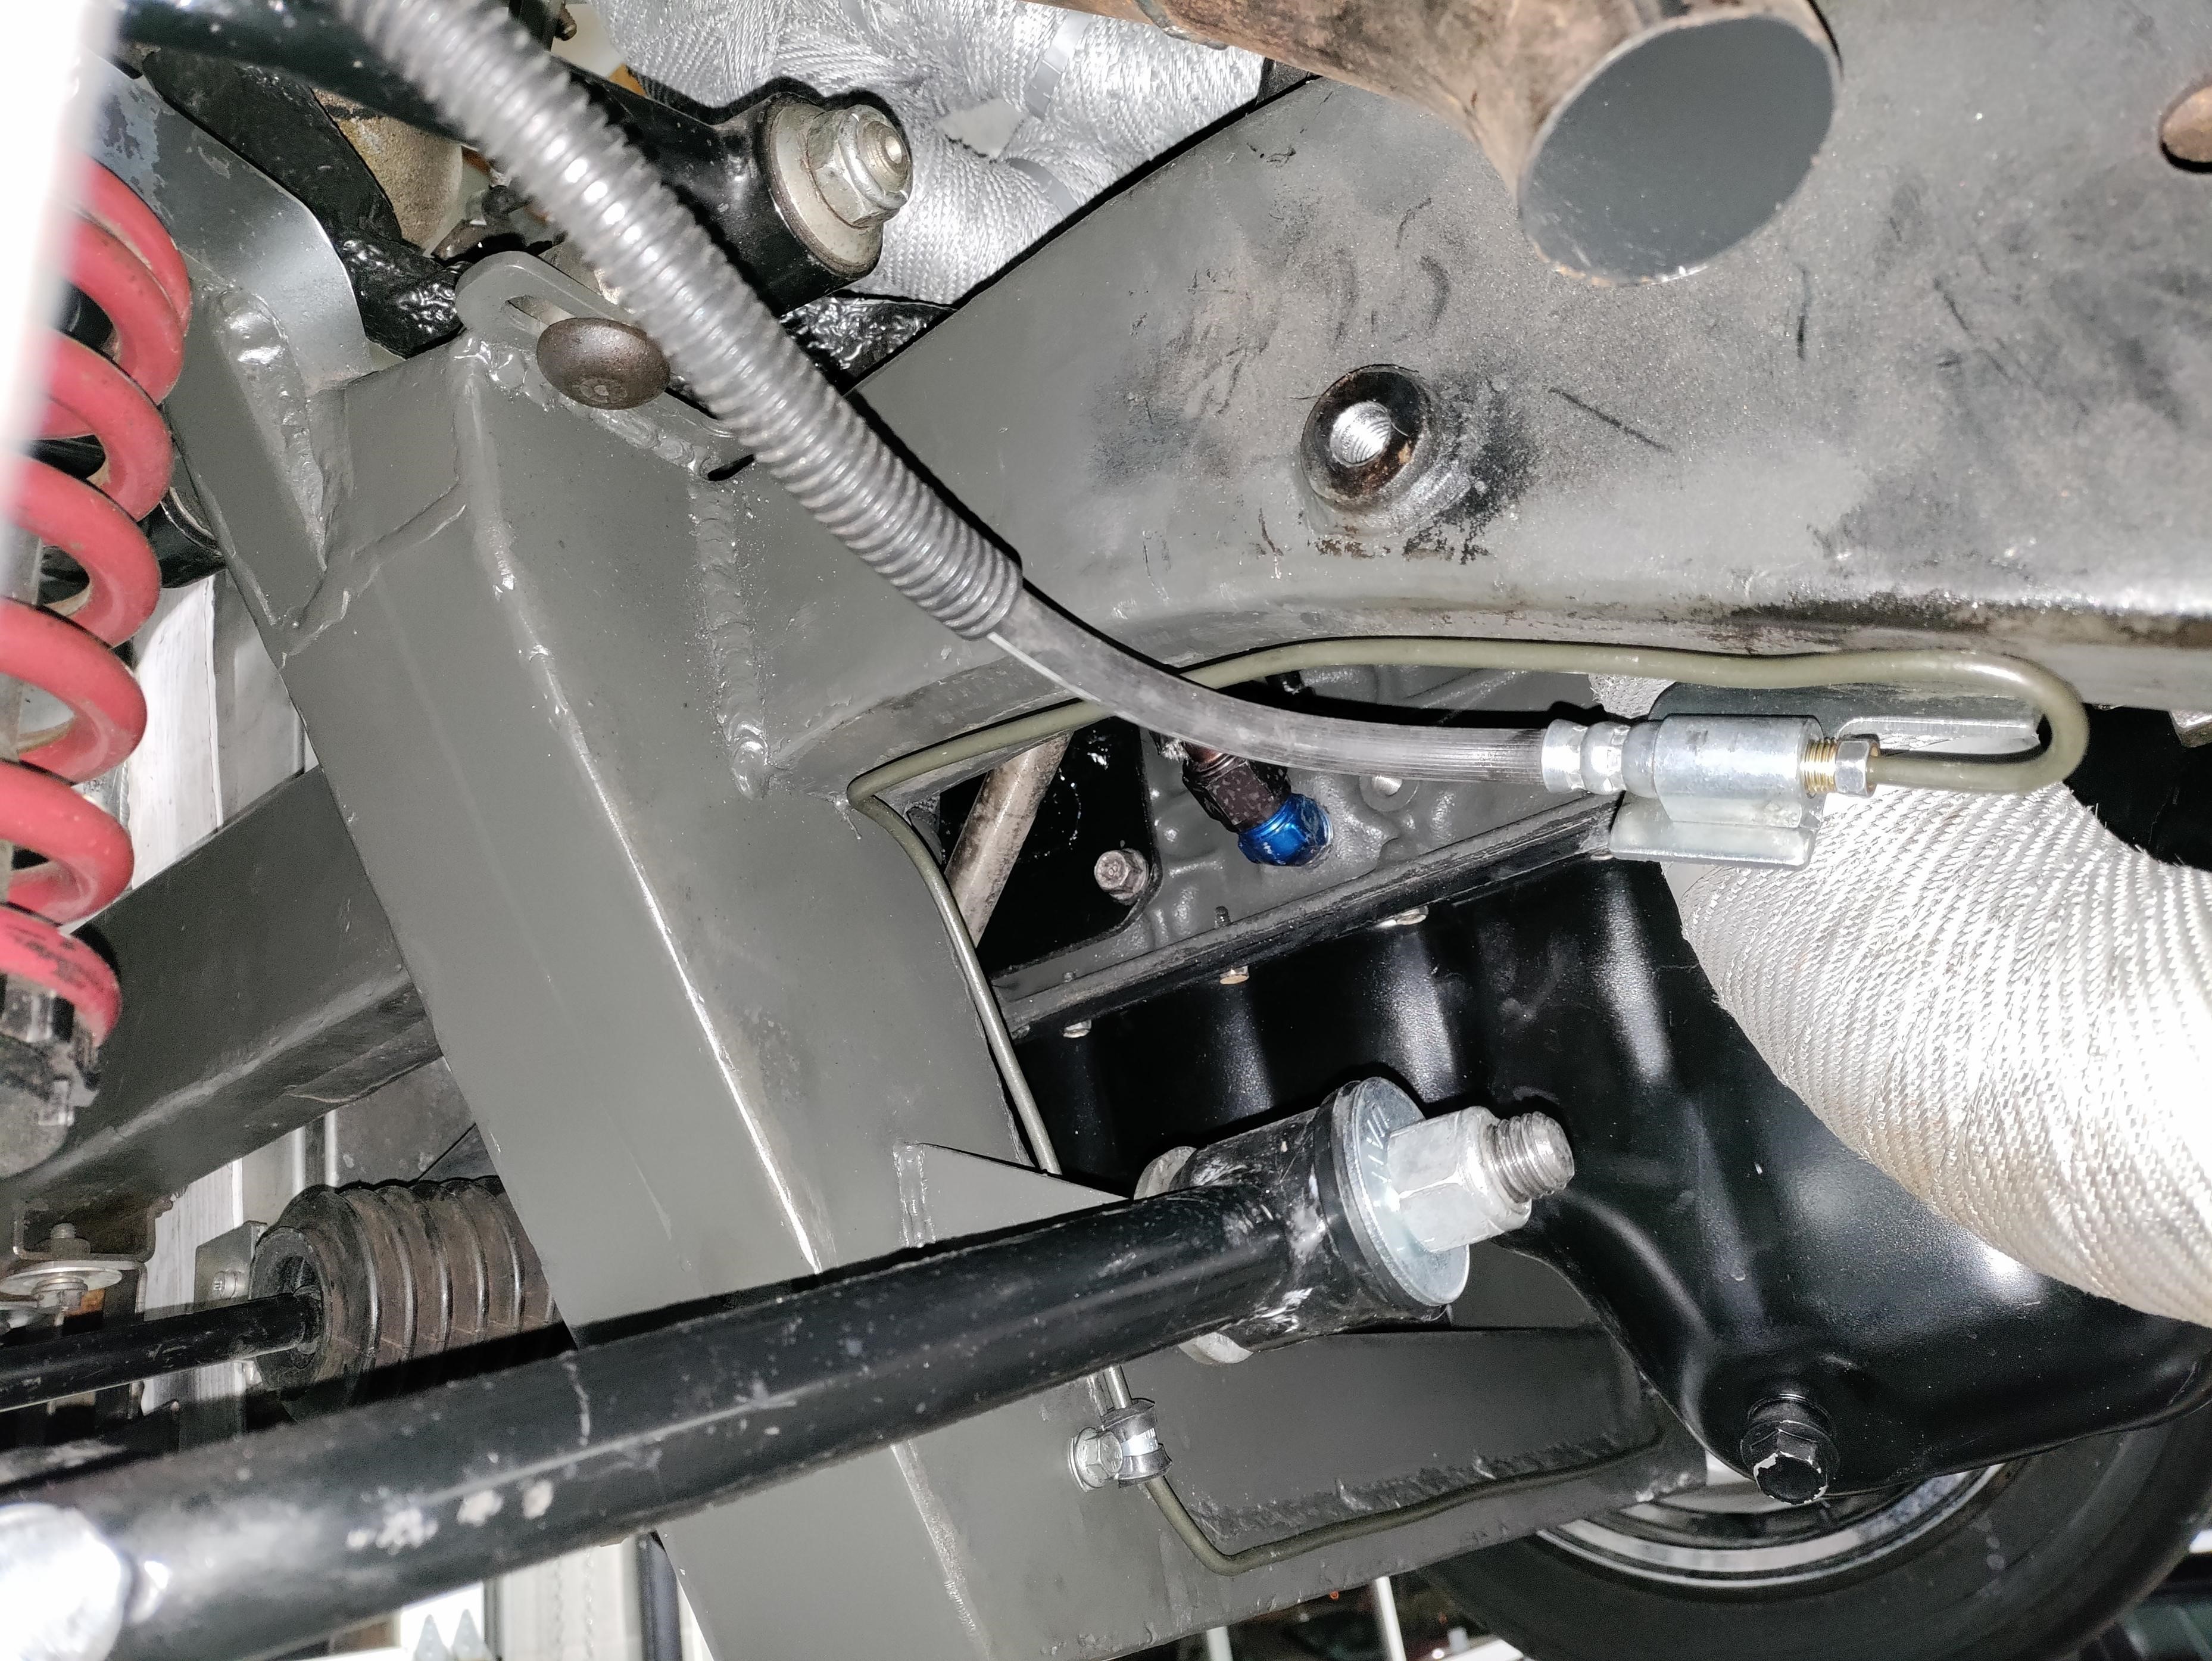
Hopefully this is the last finishing touches on my mustang 2 front end. Turns out my upper control arm height was an inch high, and the lower edge of my cross member was an inch low. Proper suspension geometry and ground clearance has been restored. I just need to do more clean up, shoot some paint on it so it doesn't rust and finish the final touches on the motor so I can drop it in.


Reply
1
1

 02-15-2023, 11:47 AM
#269
Senior Member
Thread Starter
Join Date: Jan 2011
Location: sacramento ,ca
Posts: 568
Total Cats: 162
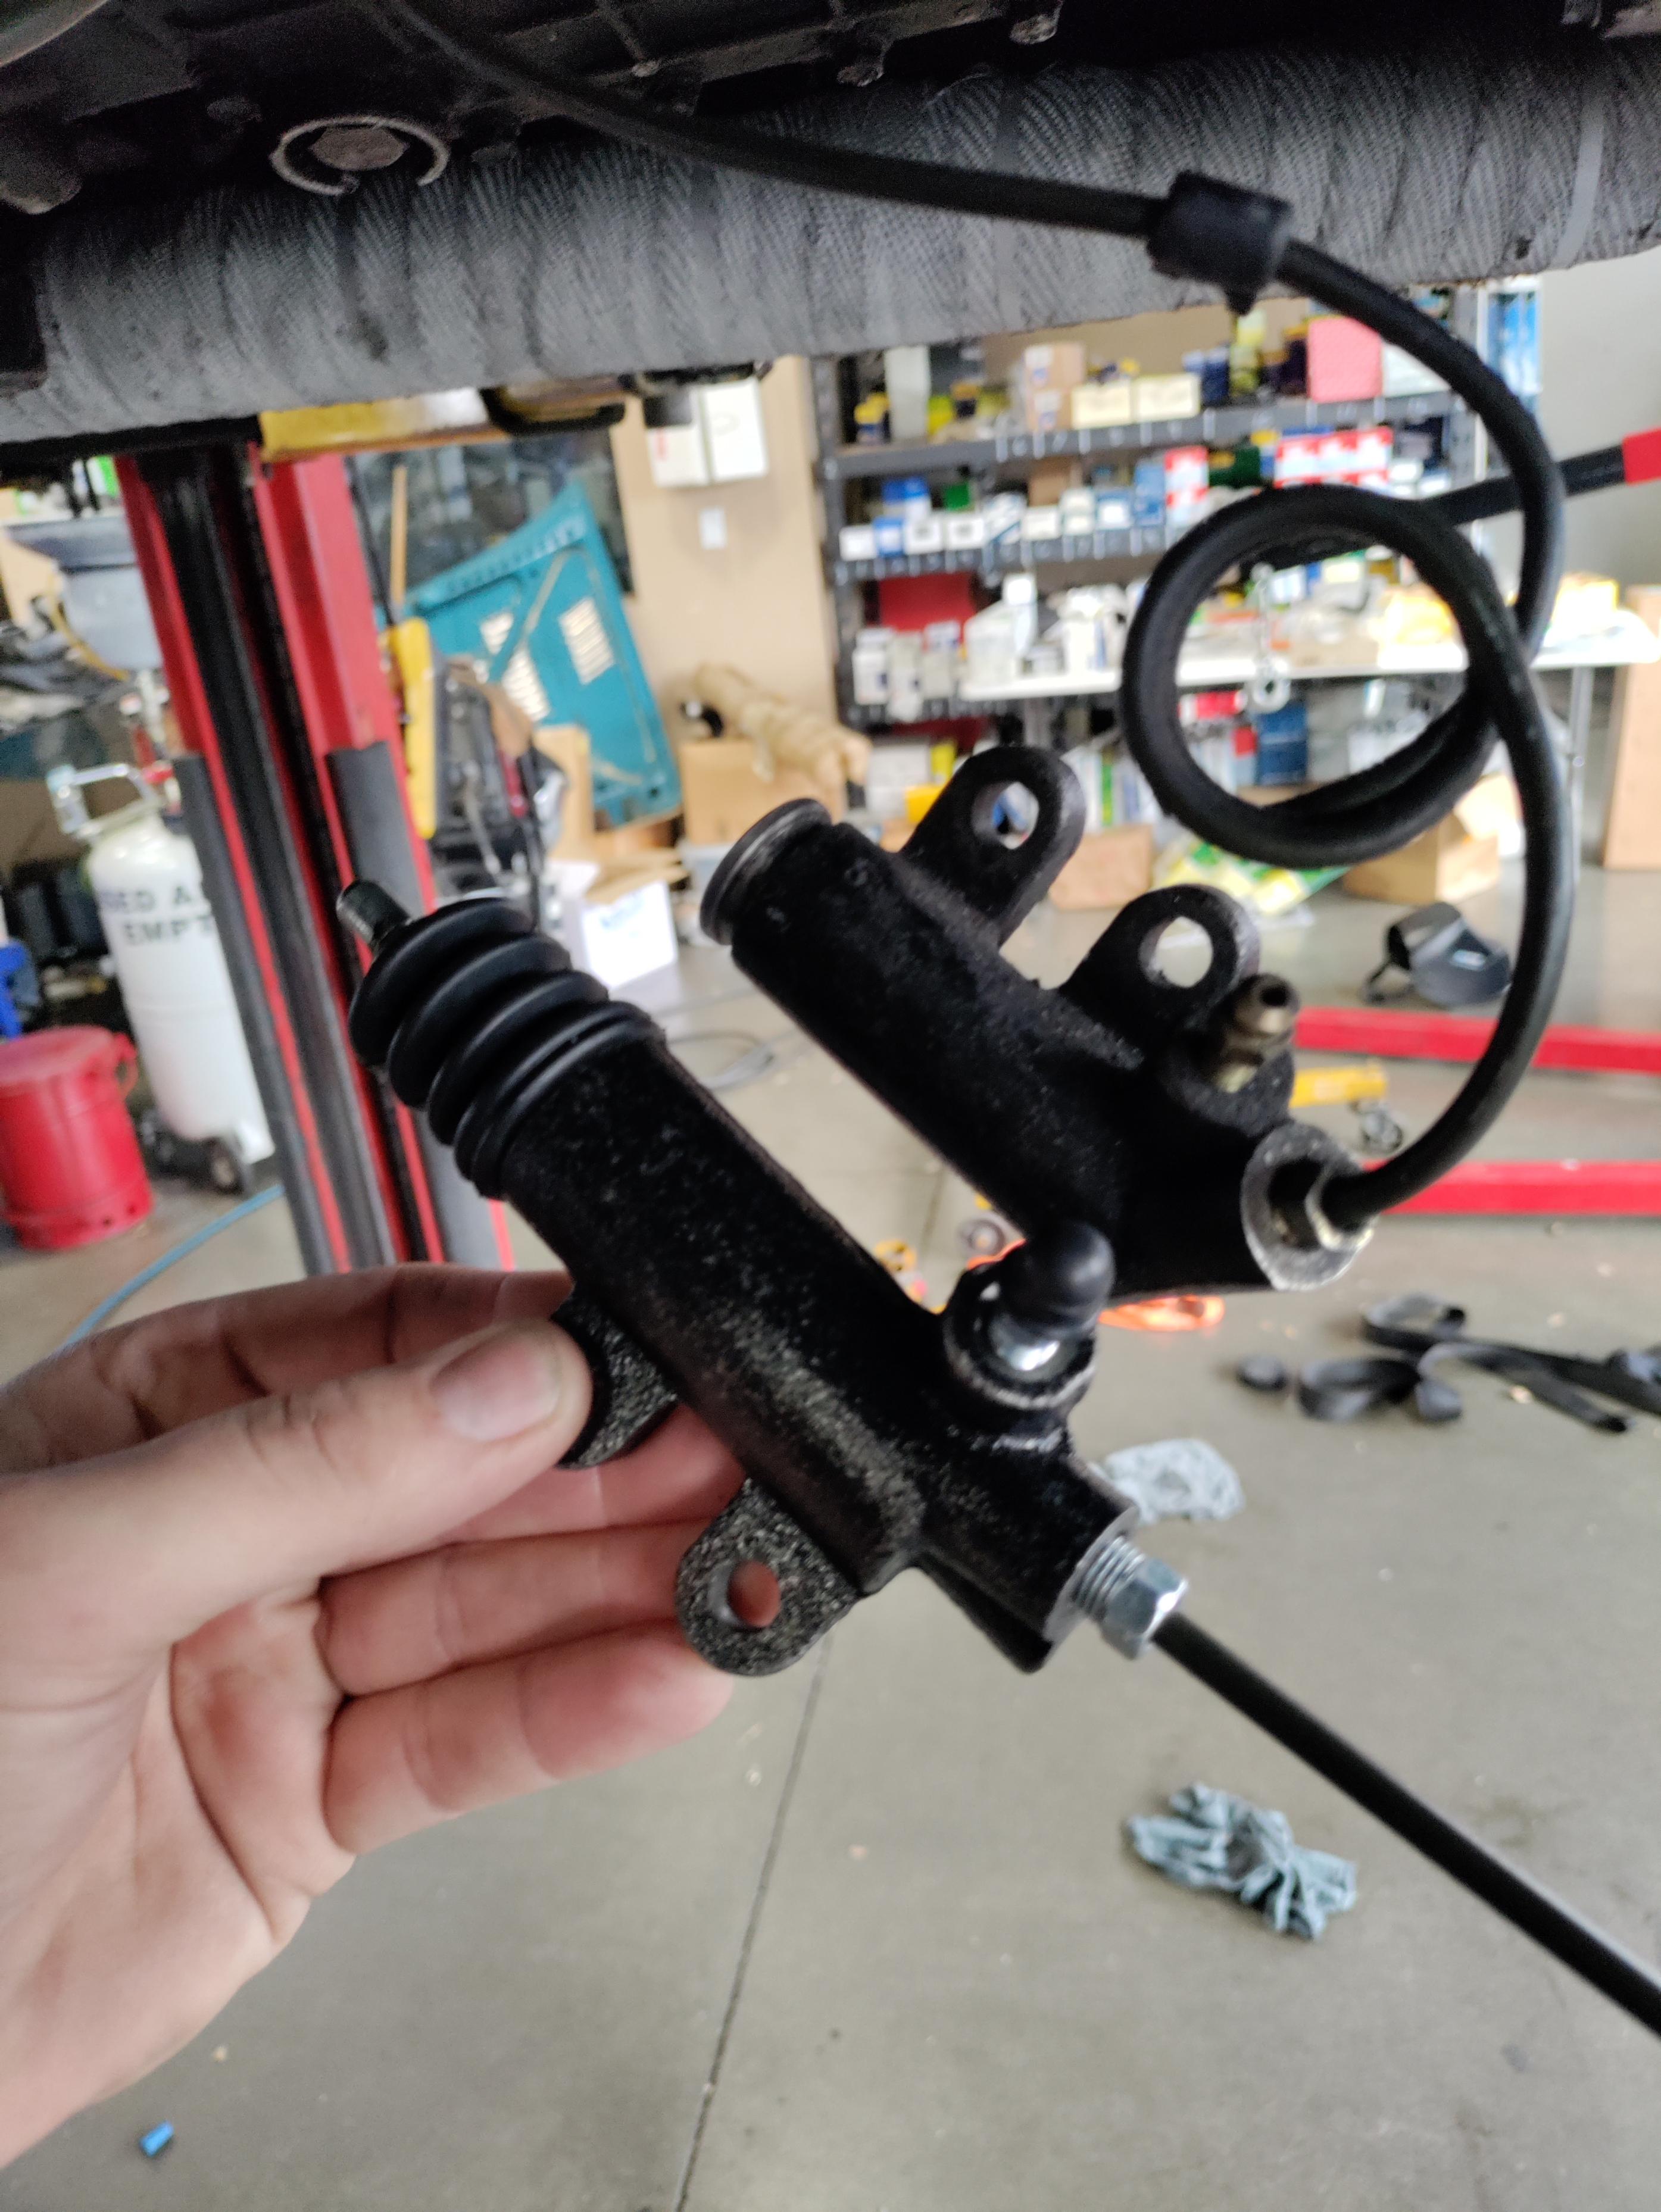
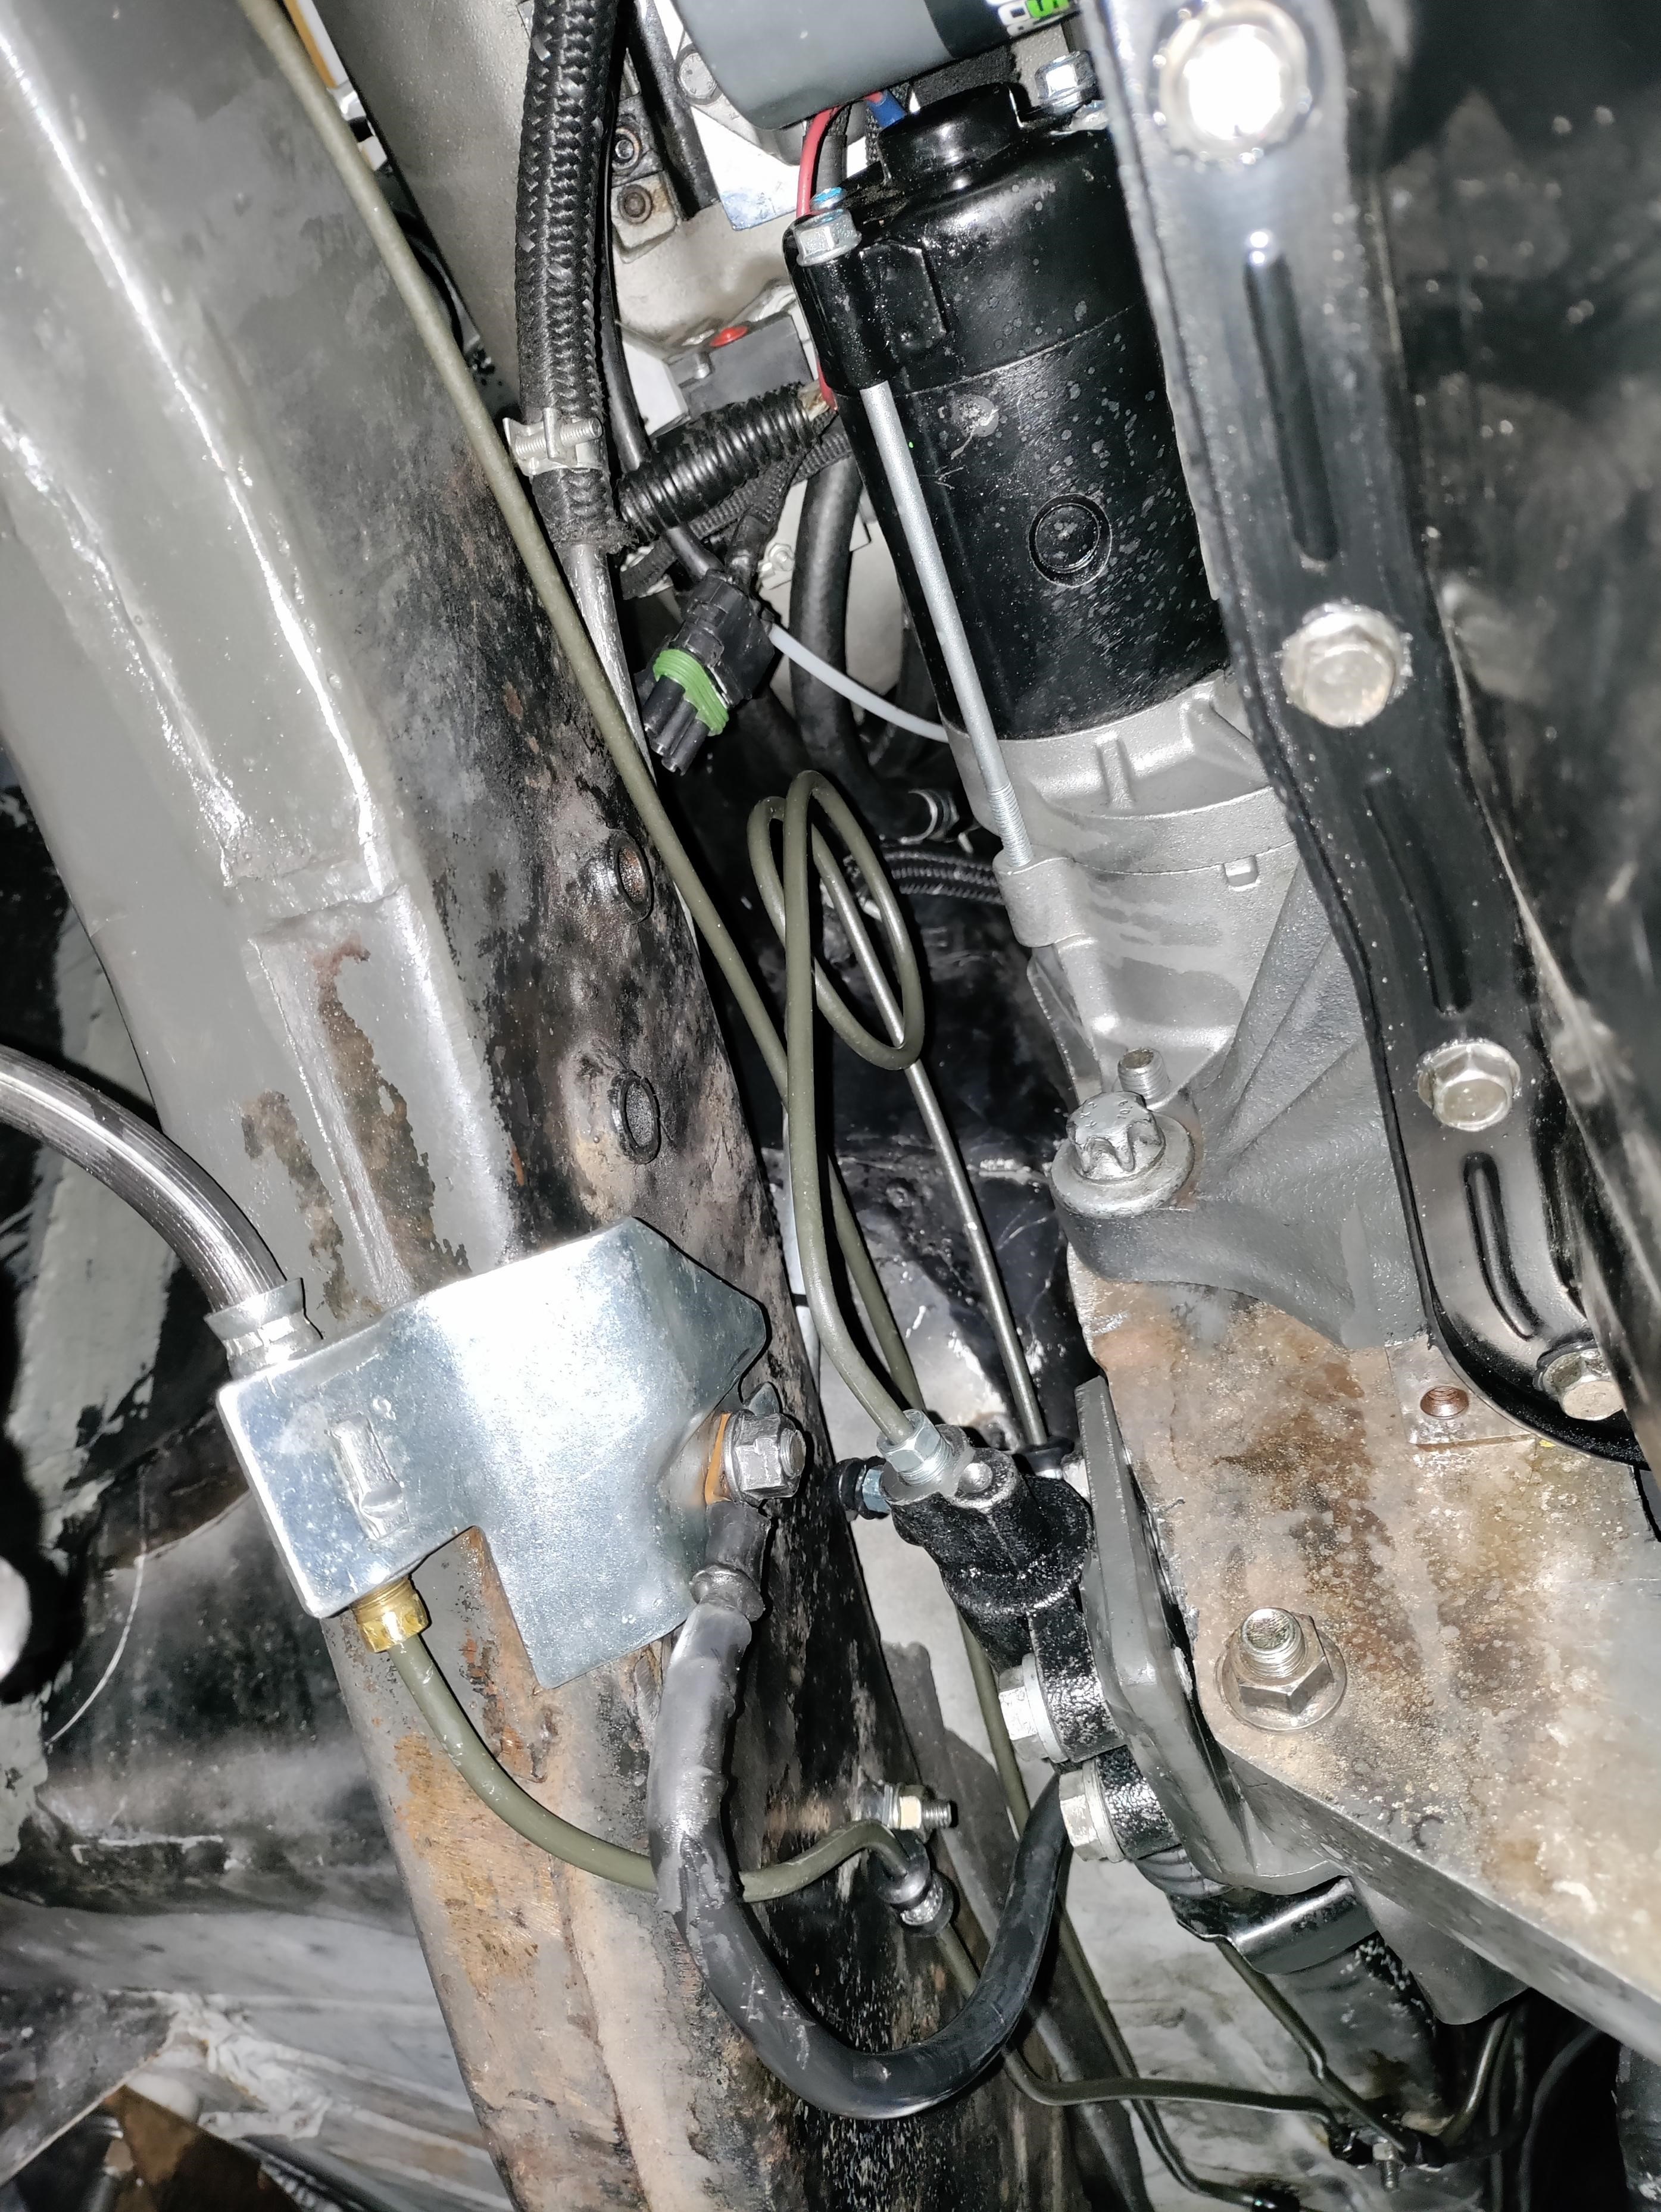
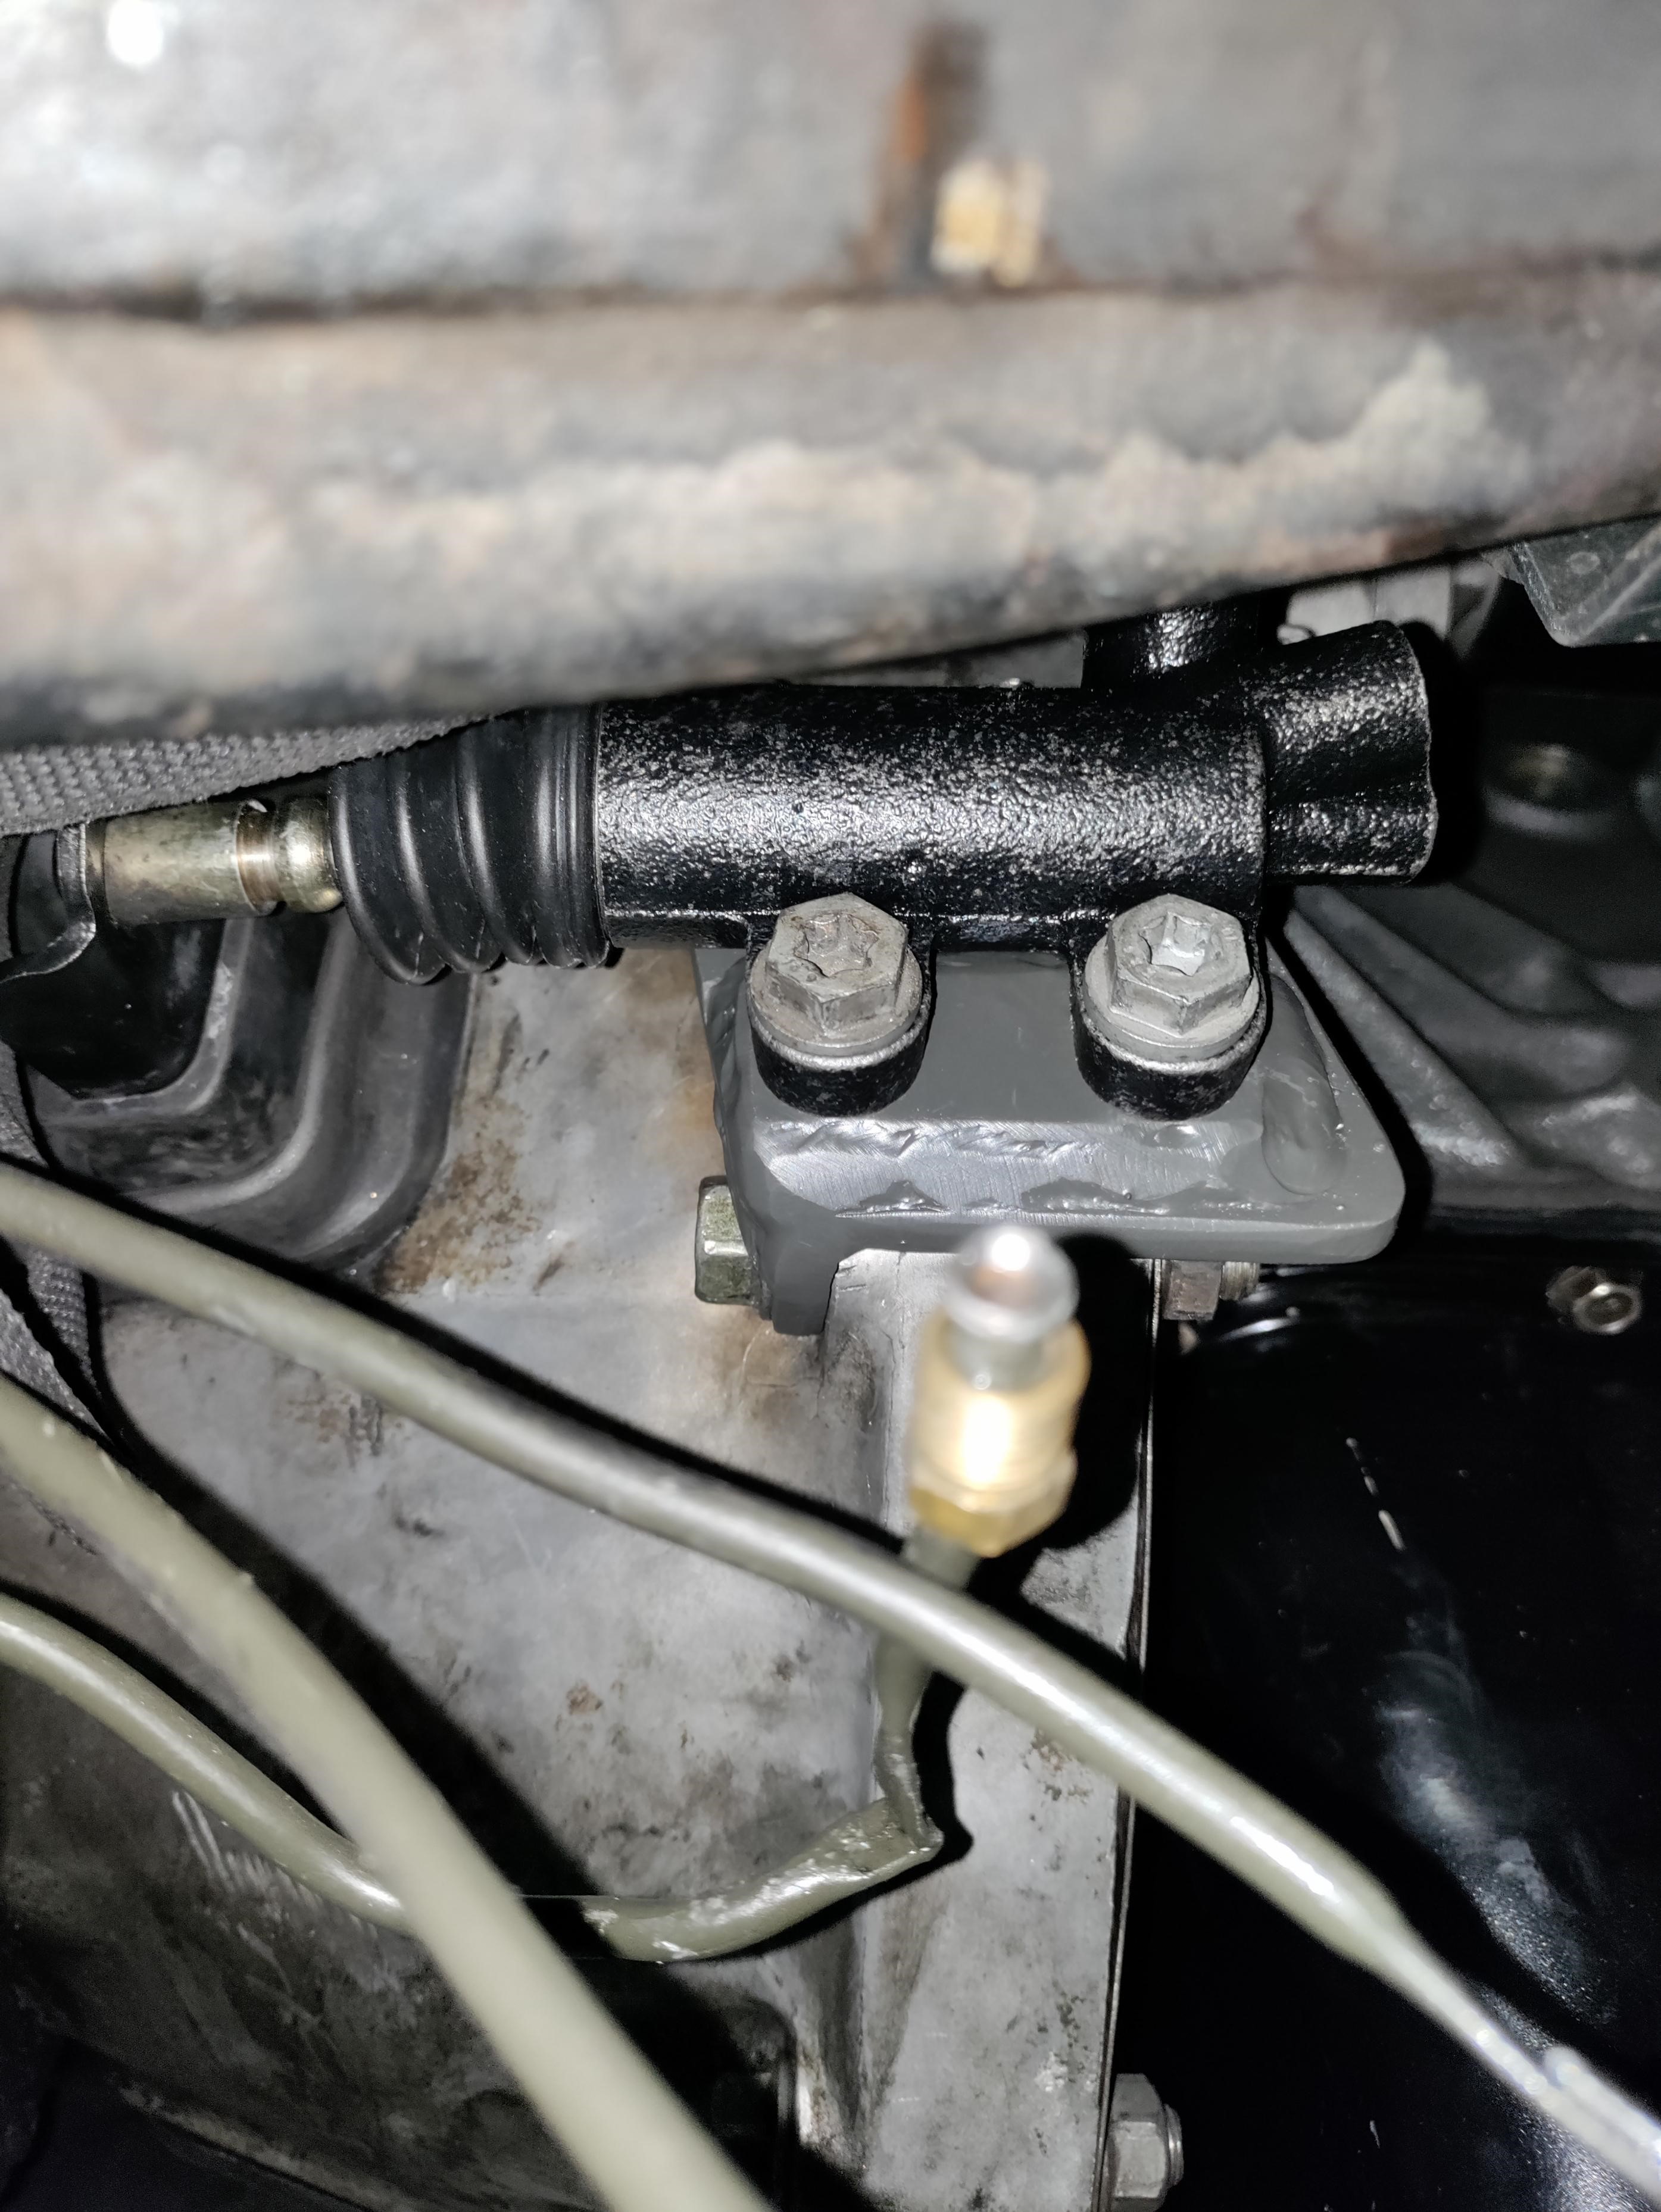
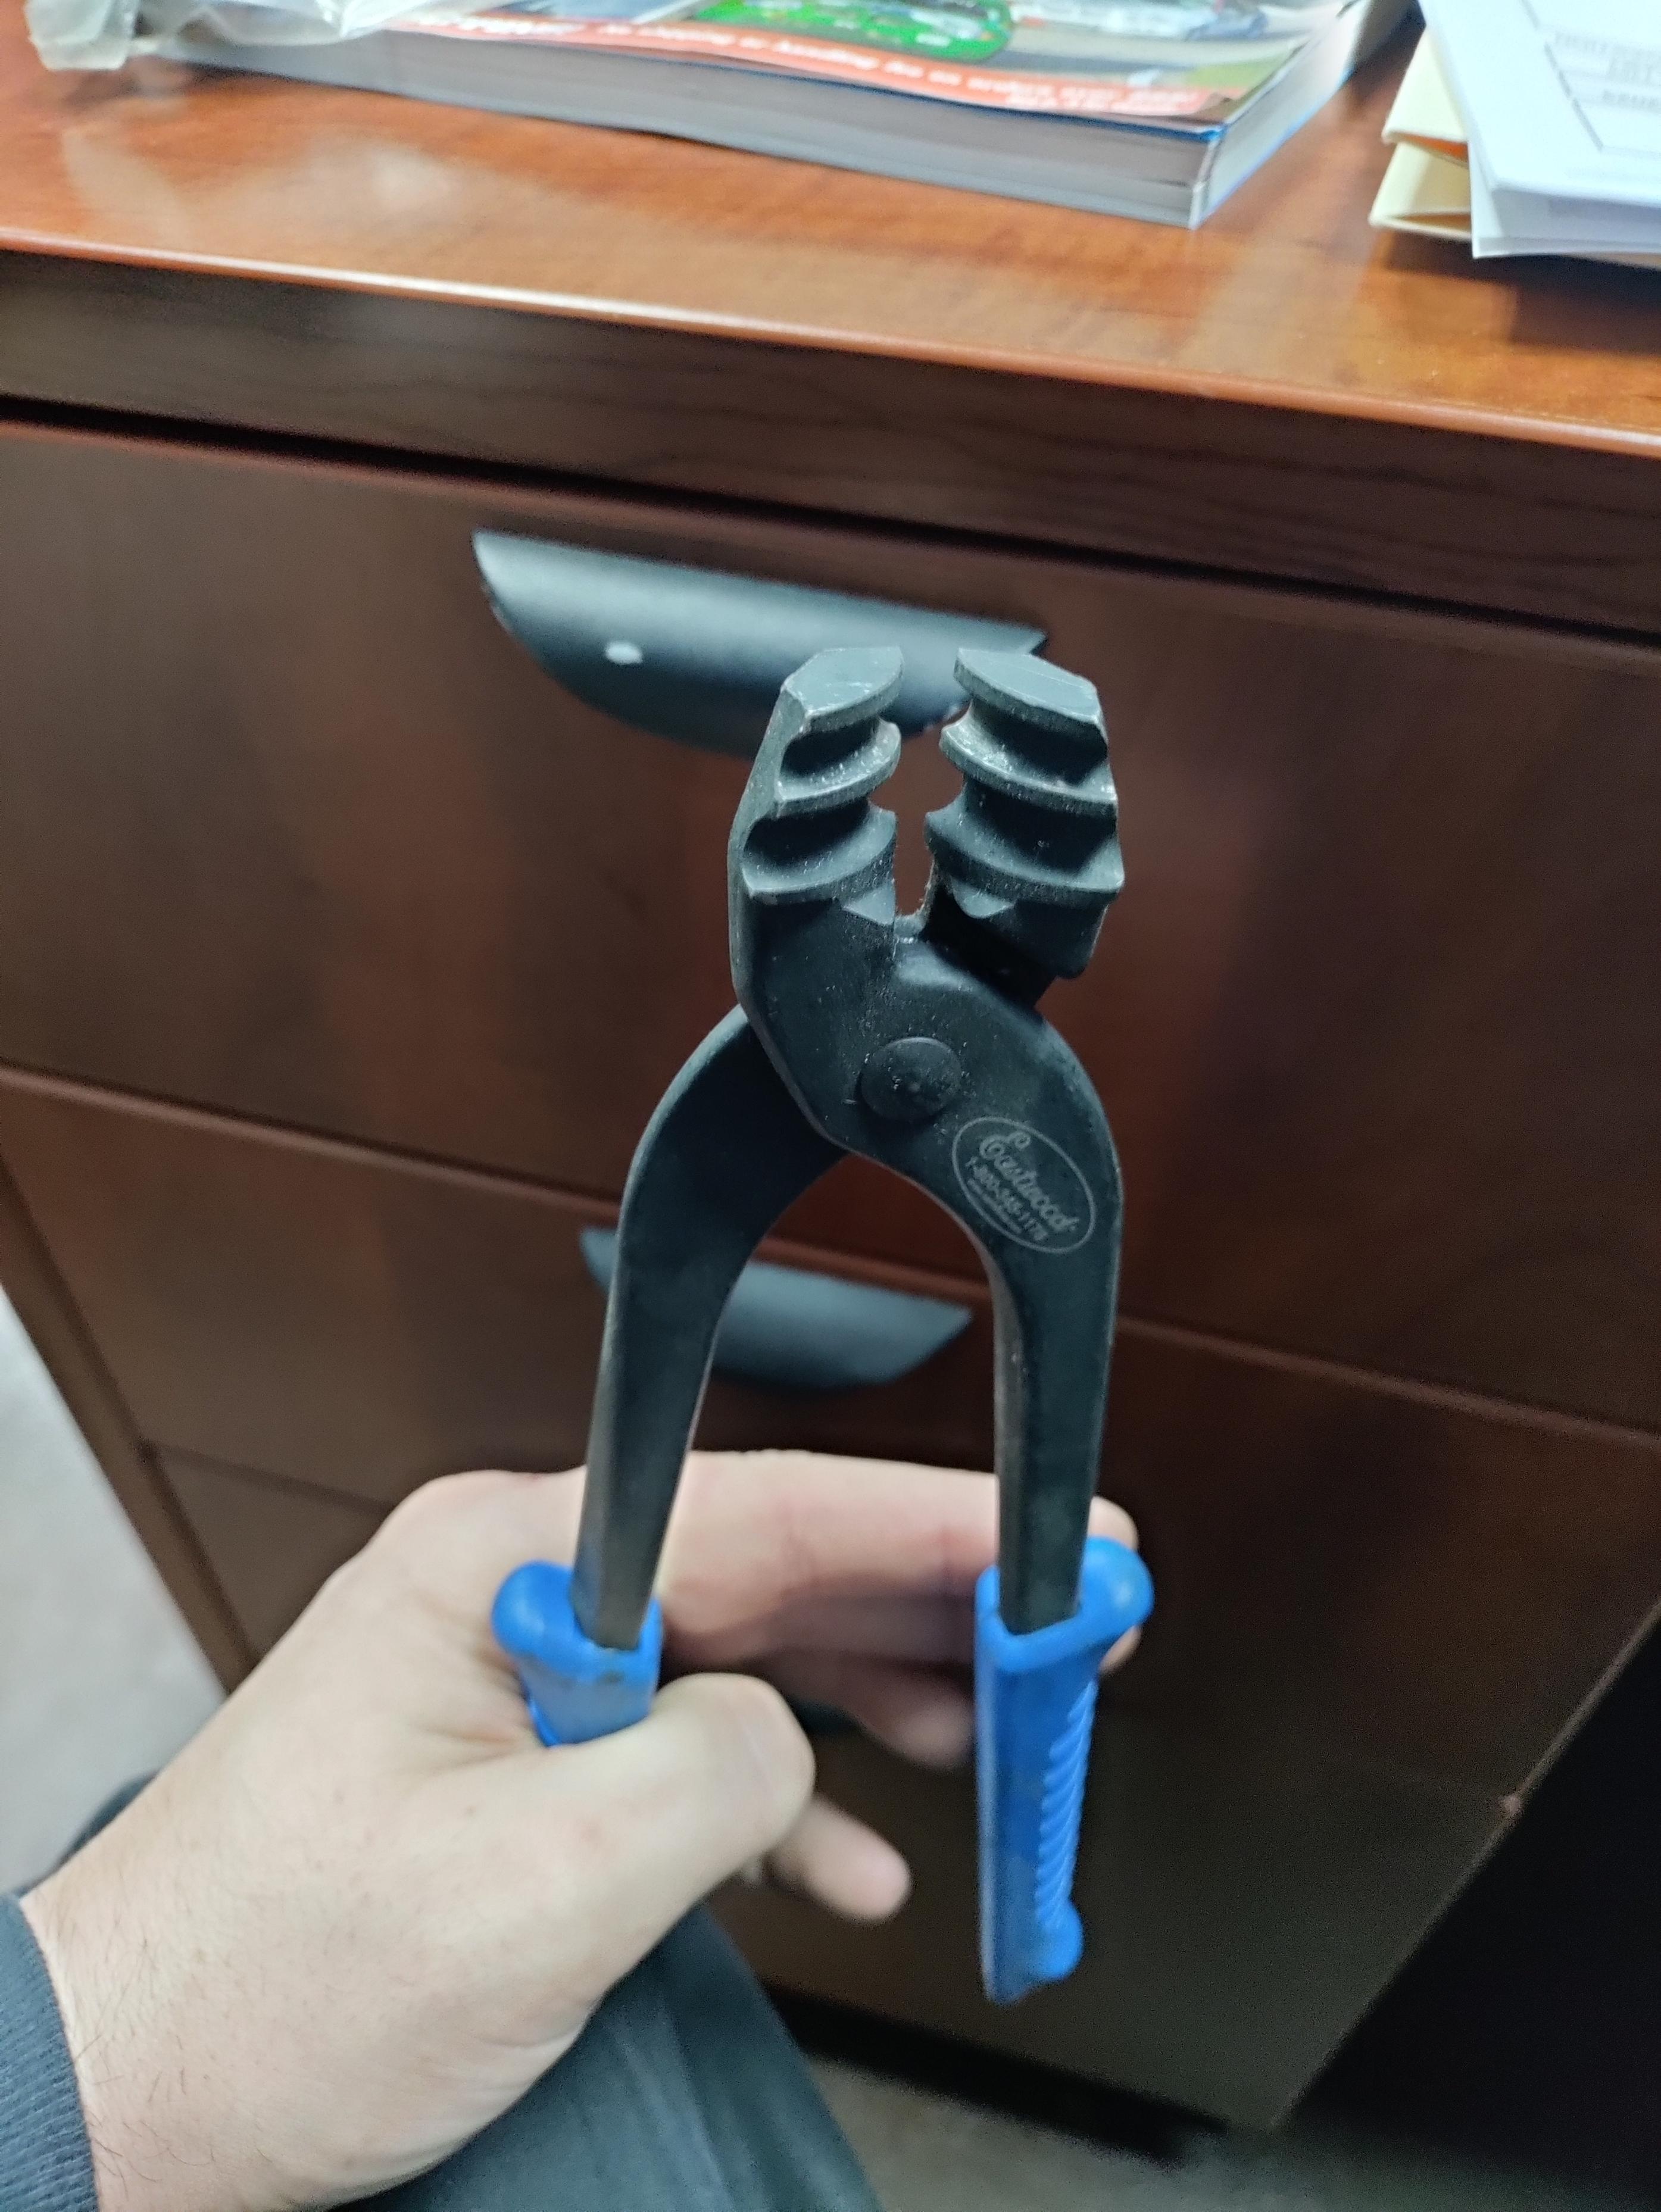
Tying up all the loose ends. Condenser is mounted, oversized slave from a 86 4Runner SR5 installed. There is a massive improvement going to a 13/16 master vs the stock 3/4 master. Brake hydraulics are all finished and leak free. I've been driving it for the last few days with my shop floor alignment using a toe bar, tape measure, and a digital angle finder to set camber. I need to get 500 miles on it to break it in before final tuning.

Reply
2
2
02-27-2023, 03:54 PM
#270
Senior Member
Thread Starter
Join Date: Jan 2011
Location: sacramento ,ca
Posts: 568
Total Cats: 162
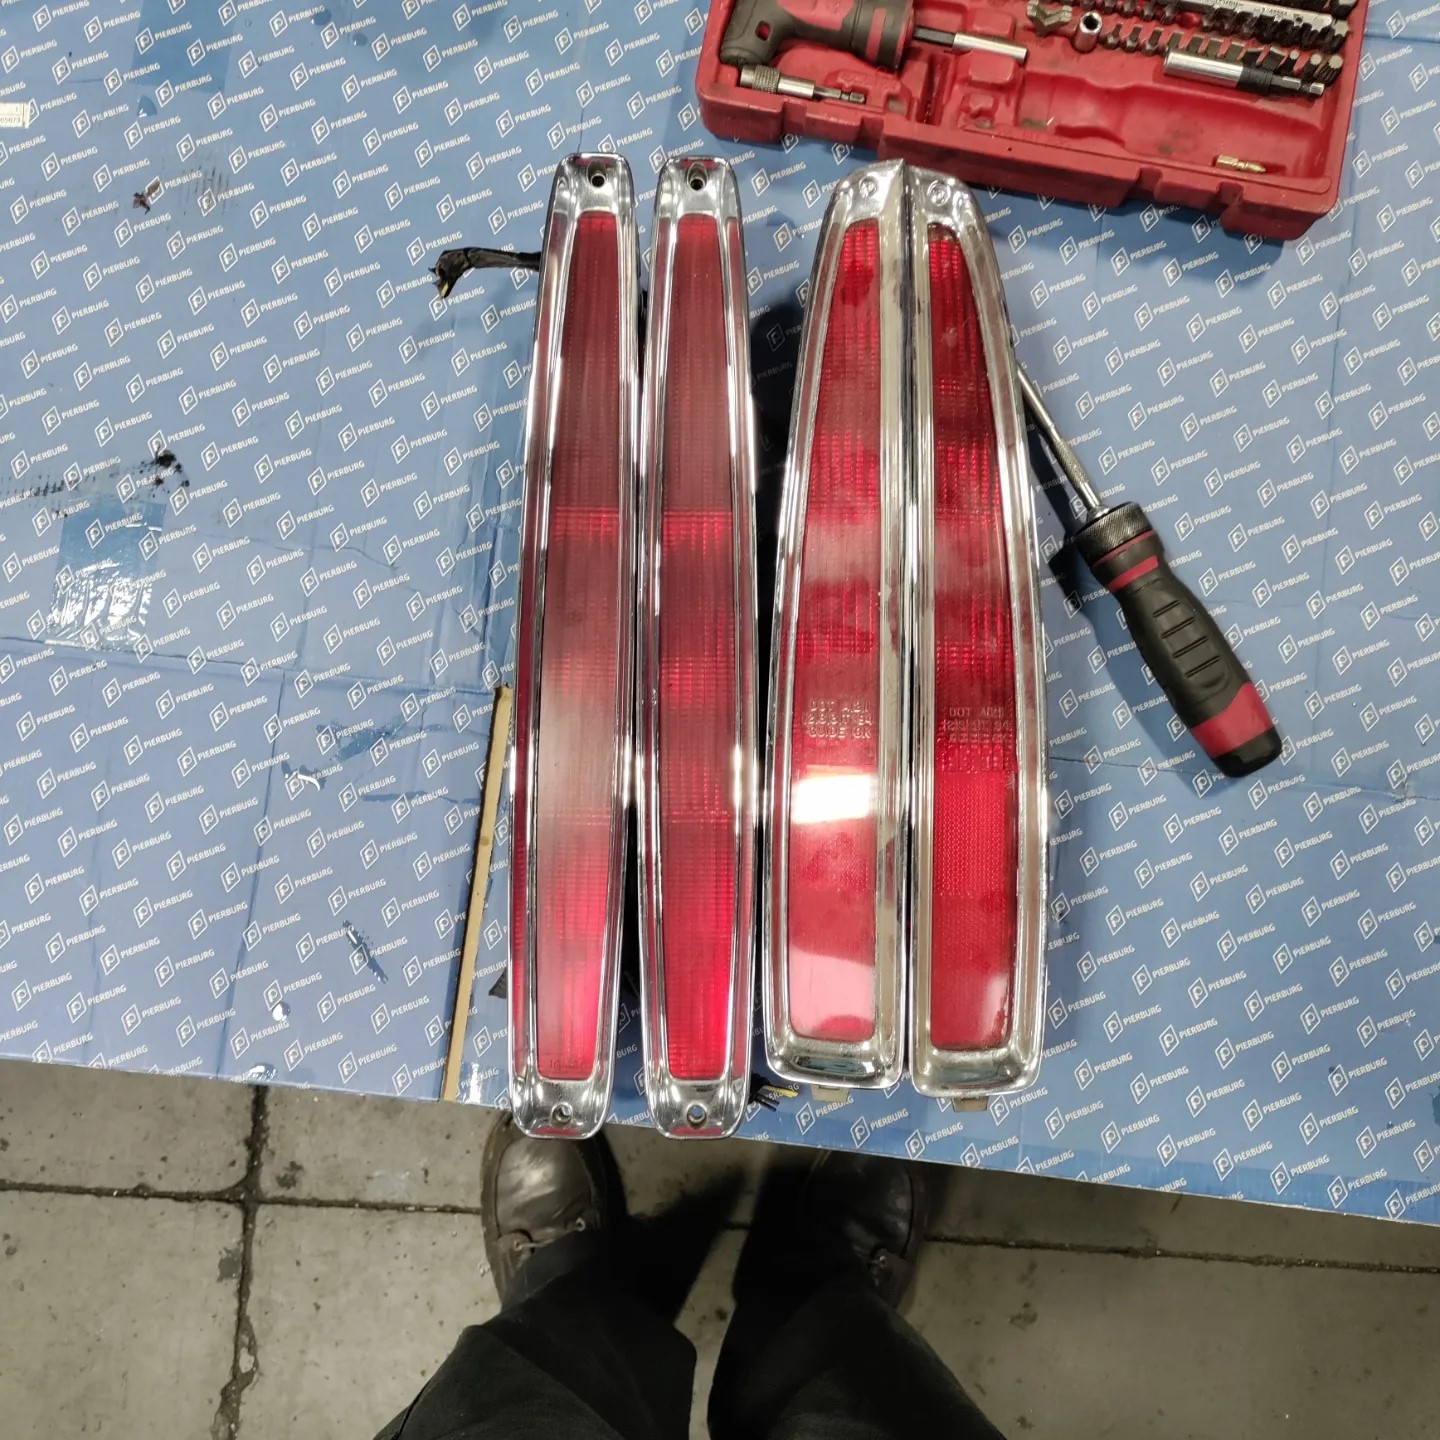
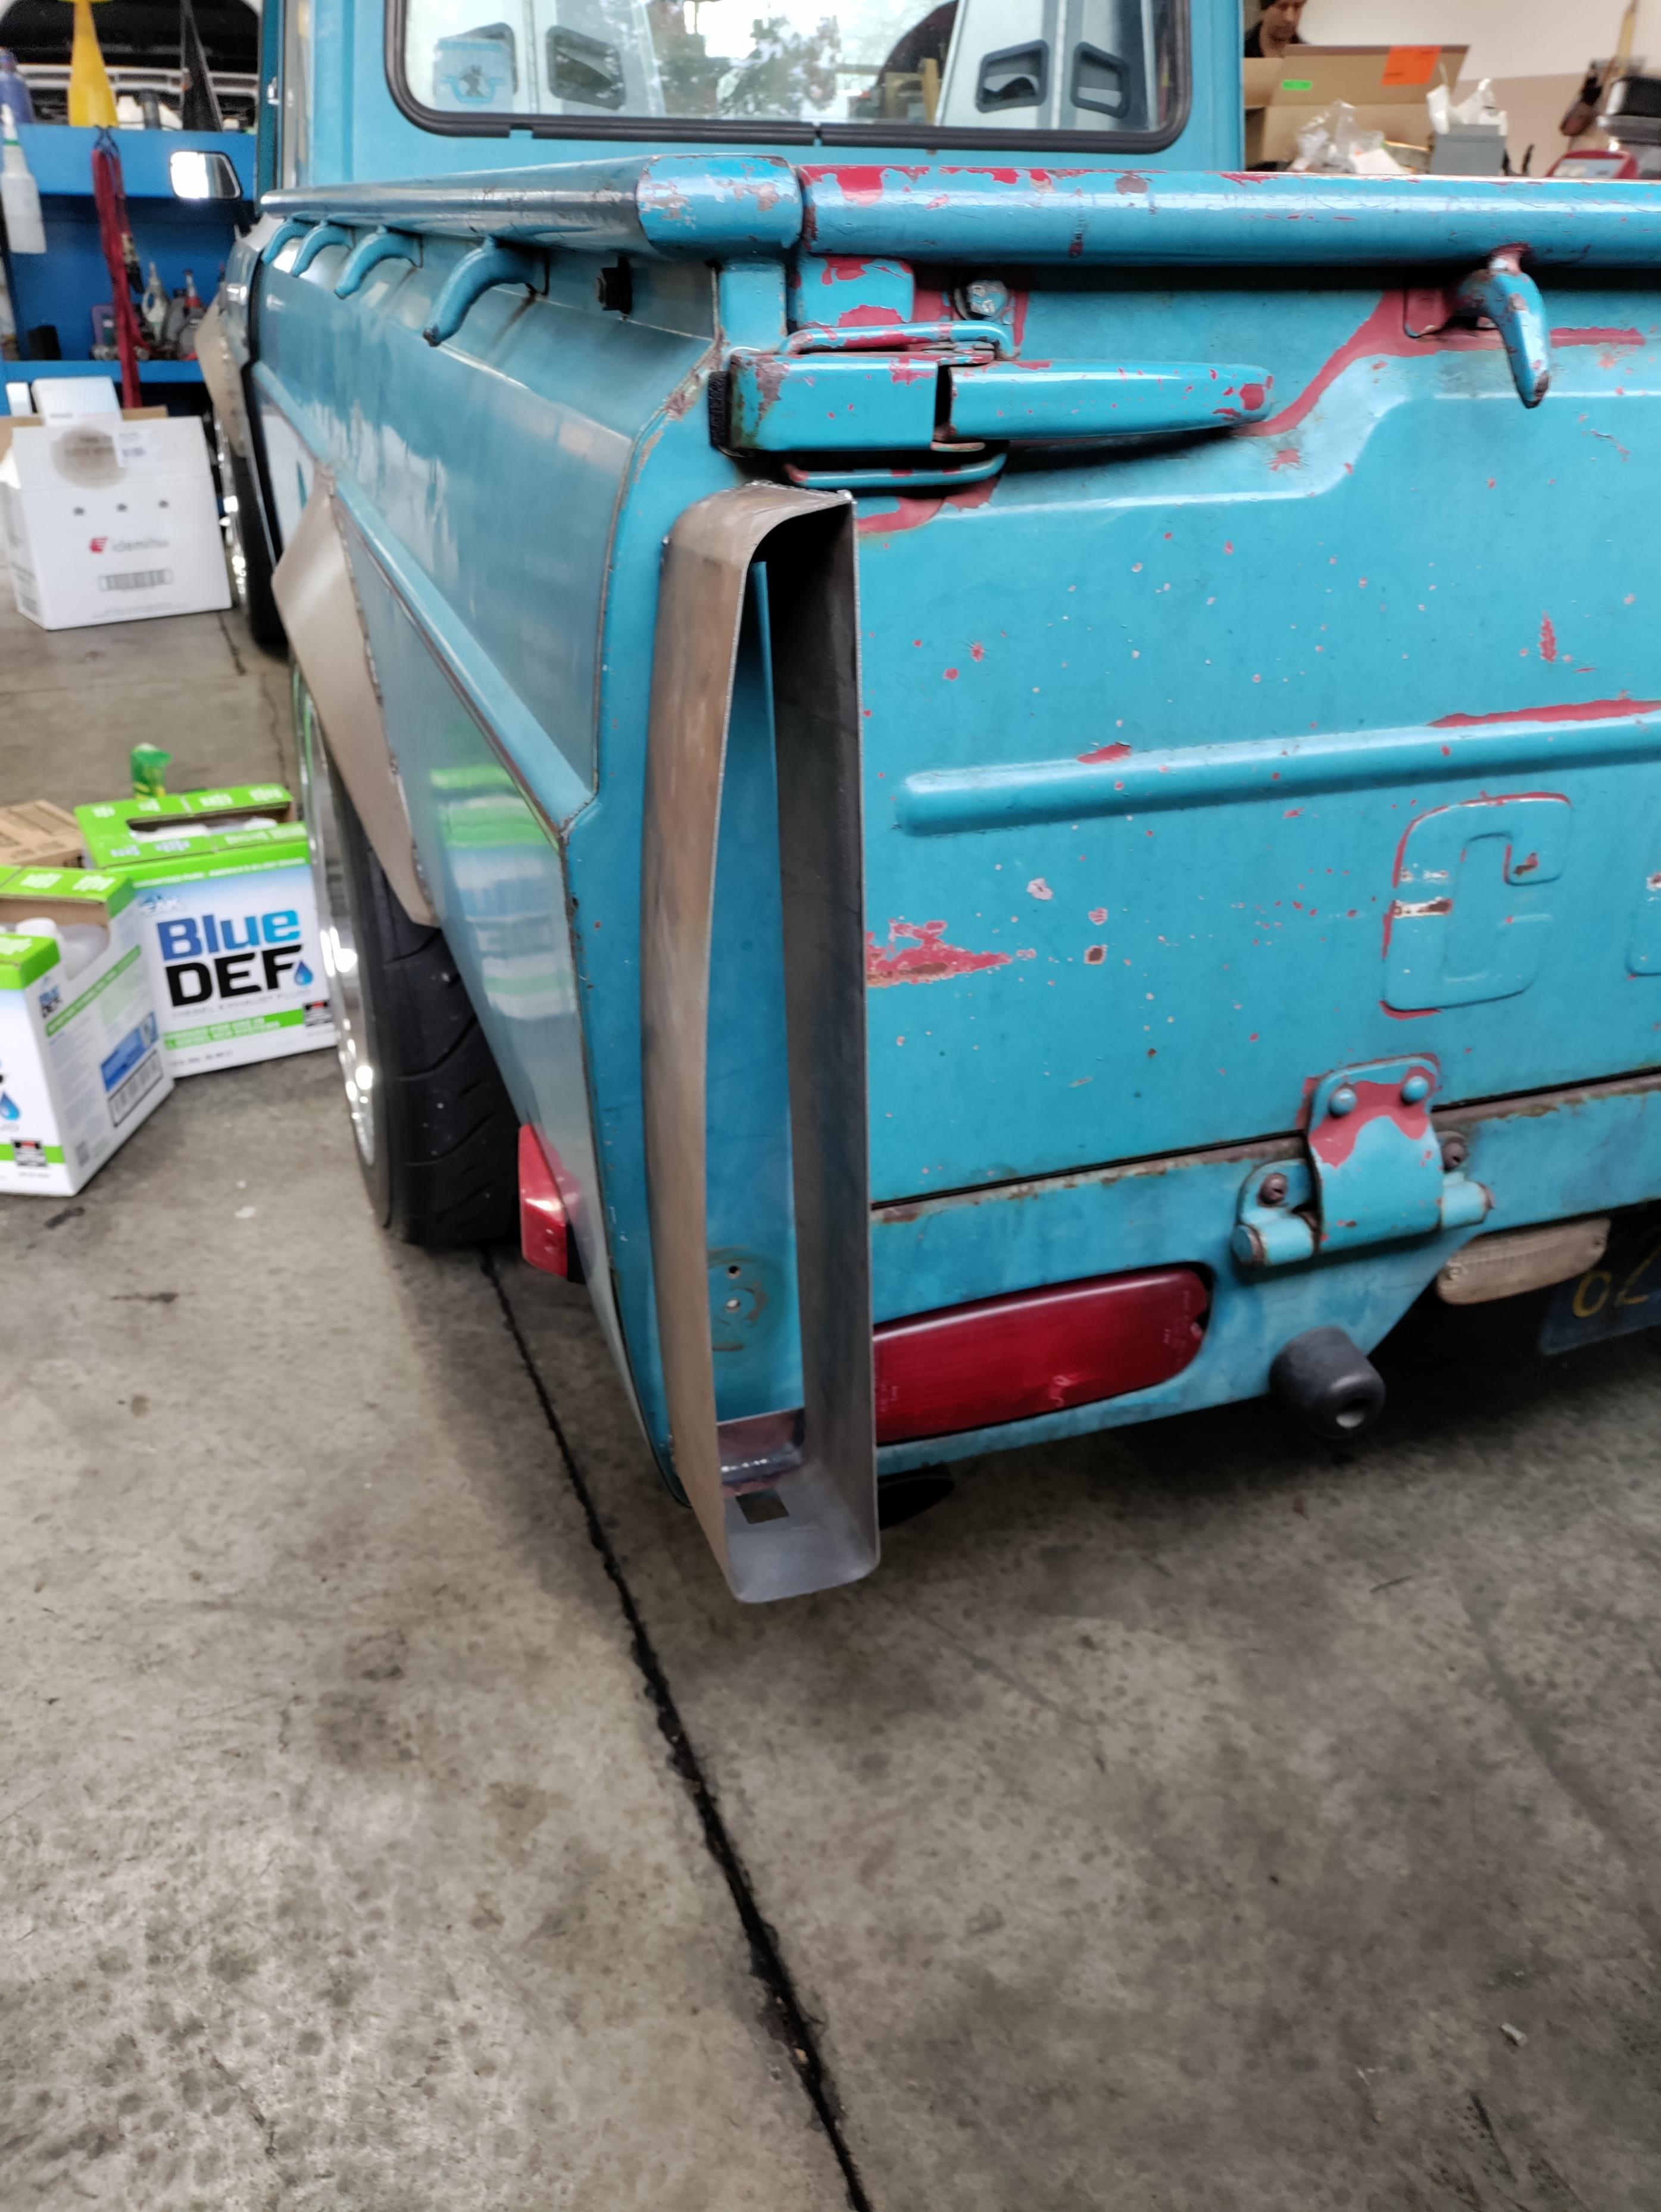
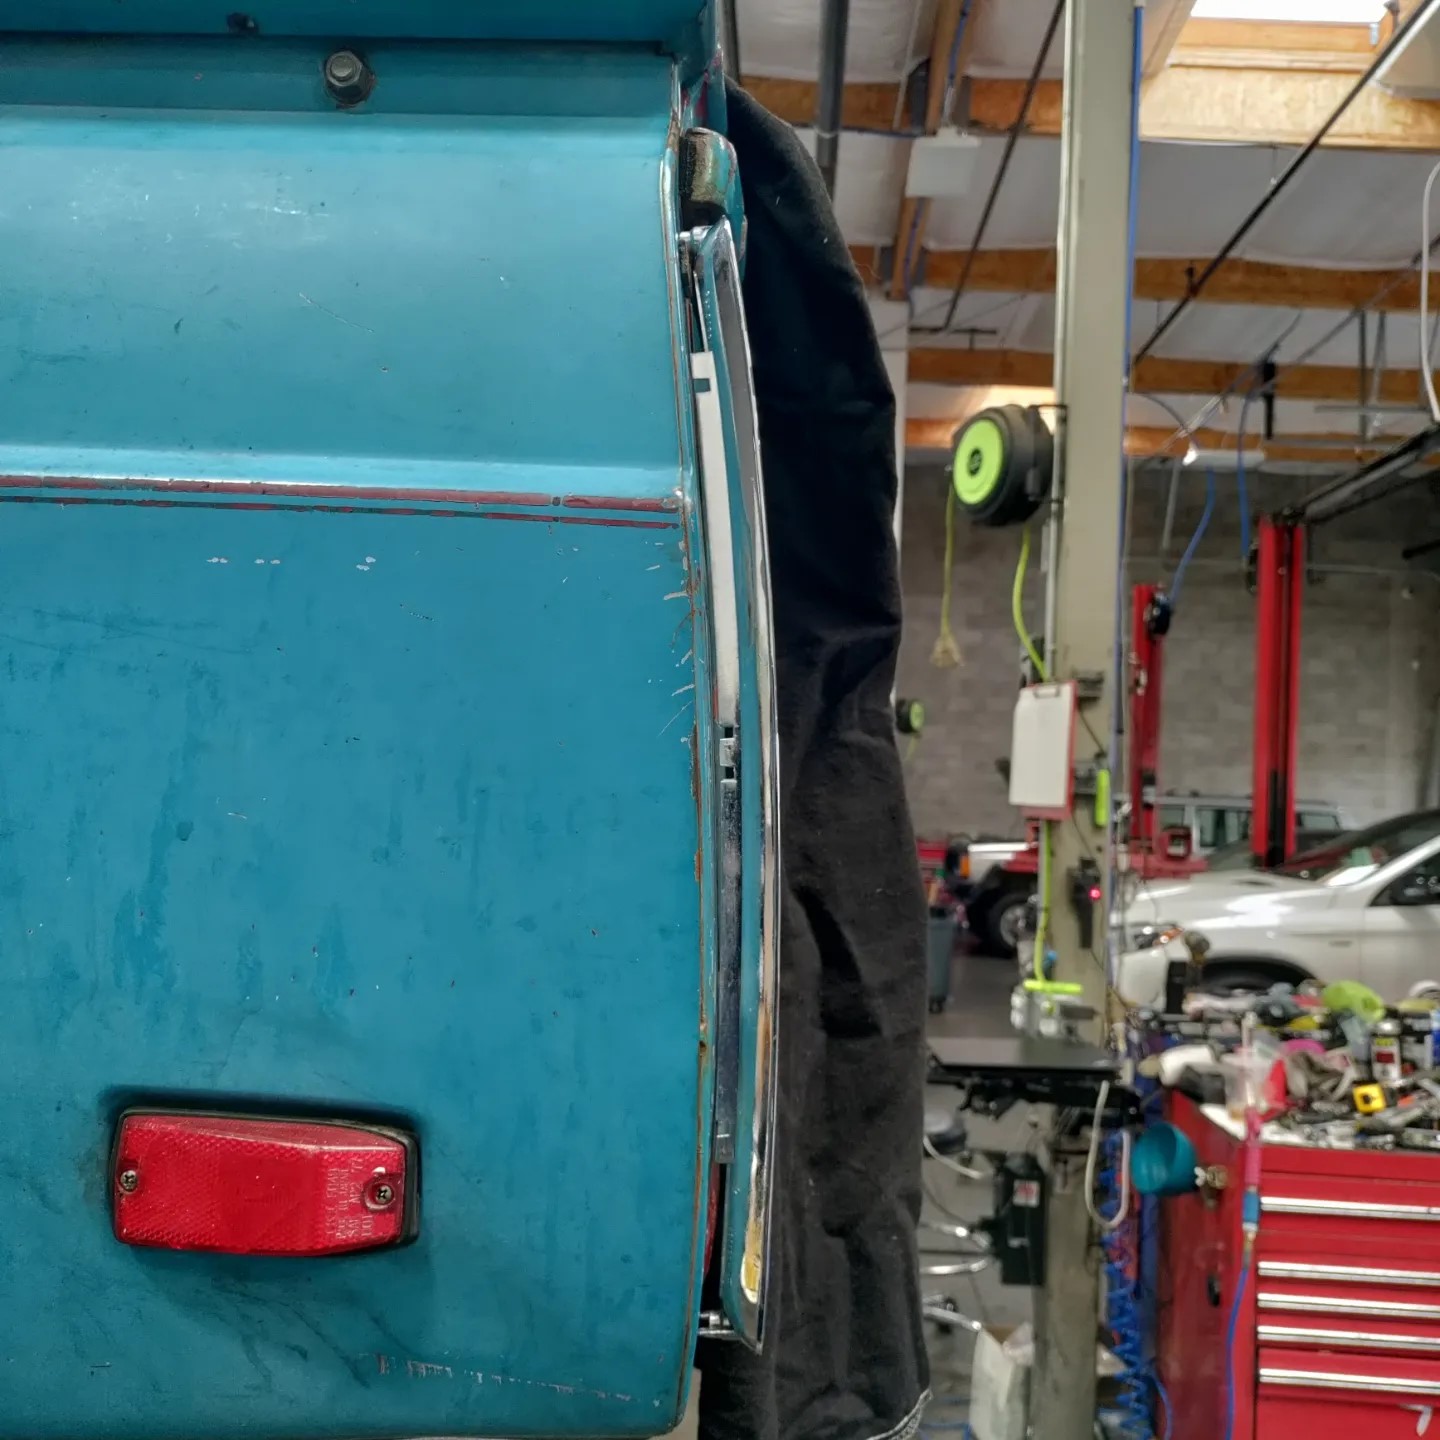
More progress. The 94-99 DeVille tails looked a bit thick on the bottom so I found a set of 89-93s. Not 100% sure which ones I'm going with at the moment but ill have the buckets from Grant Fab this week. I'm leaning towards the taller, thinner 89-93s cause the contour is pretty much perfect.

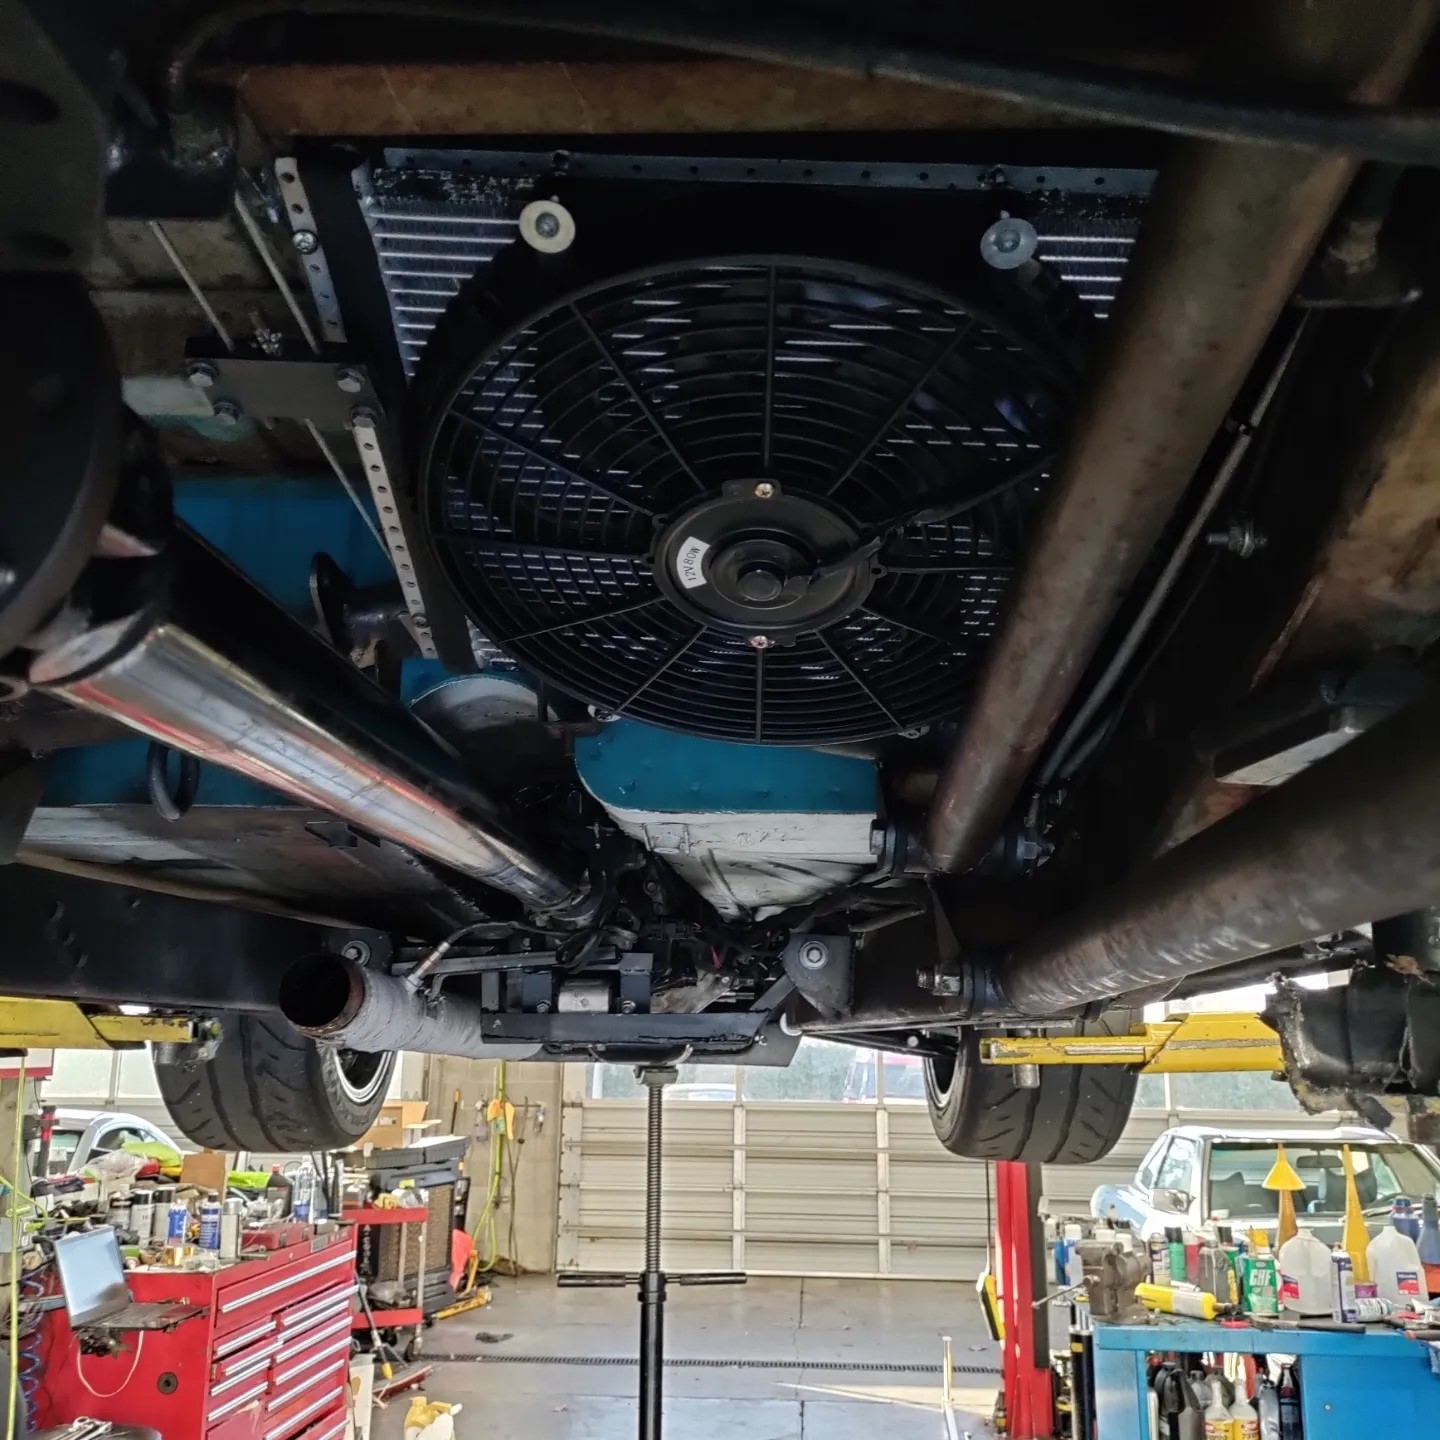
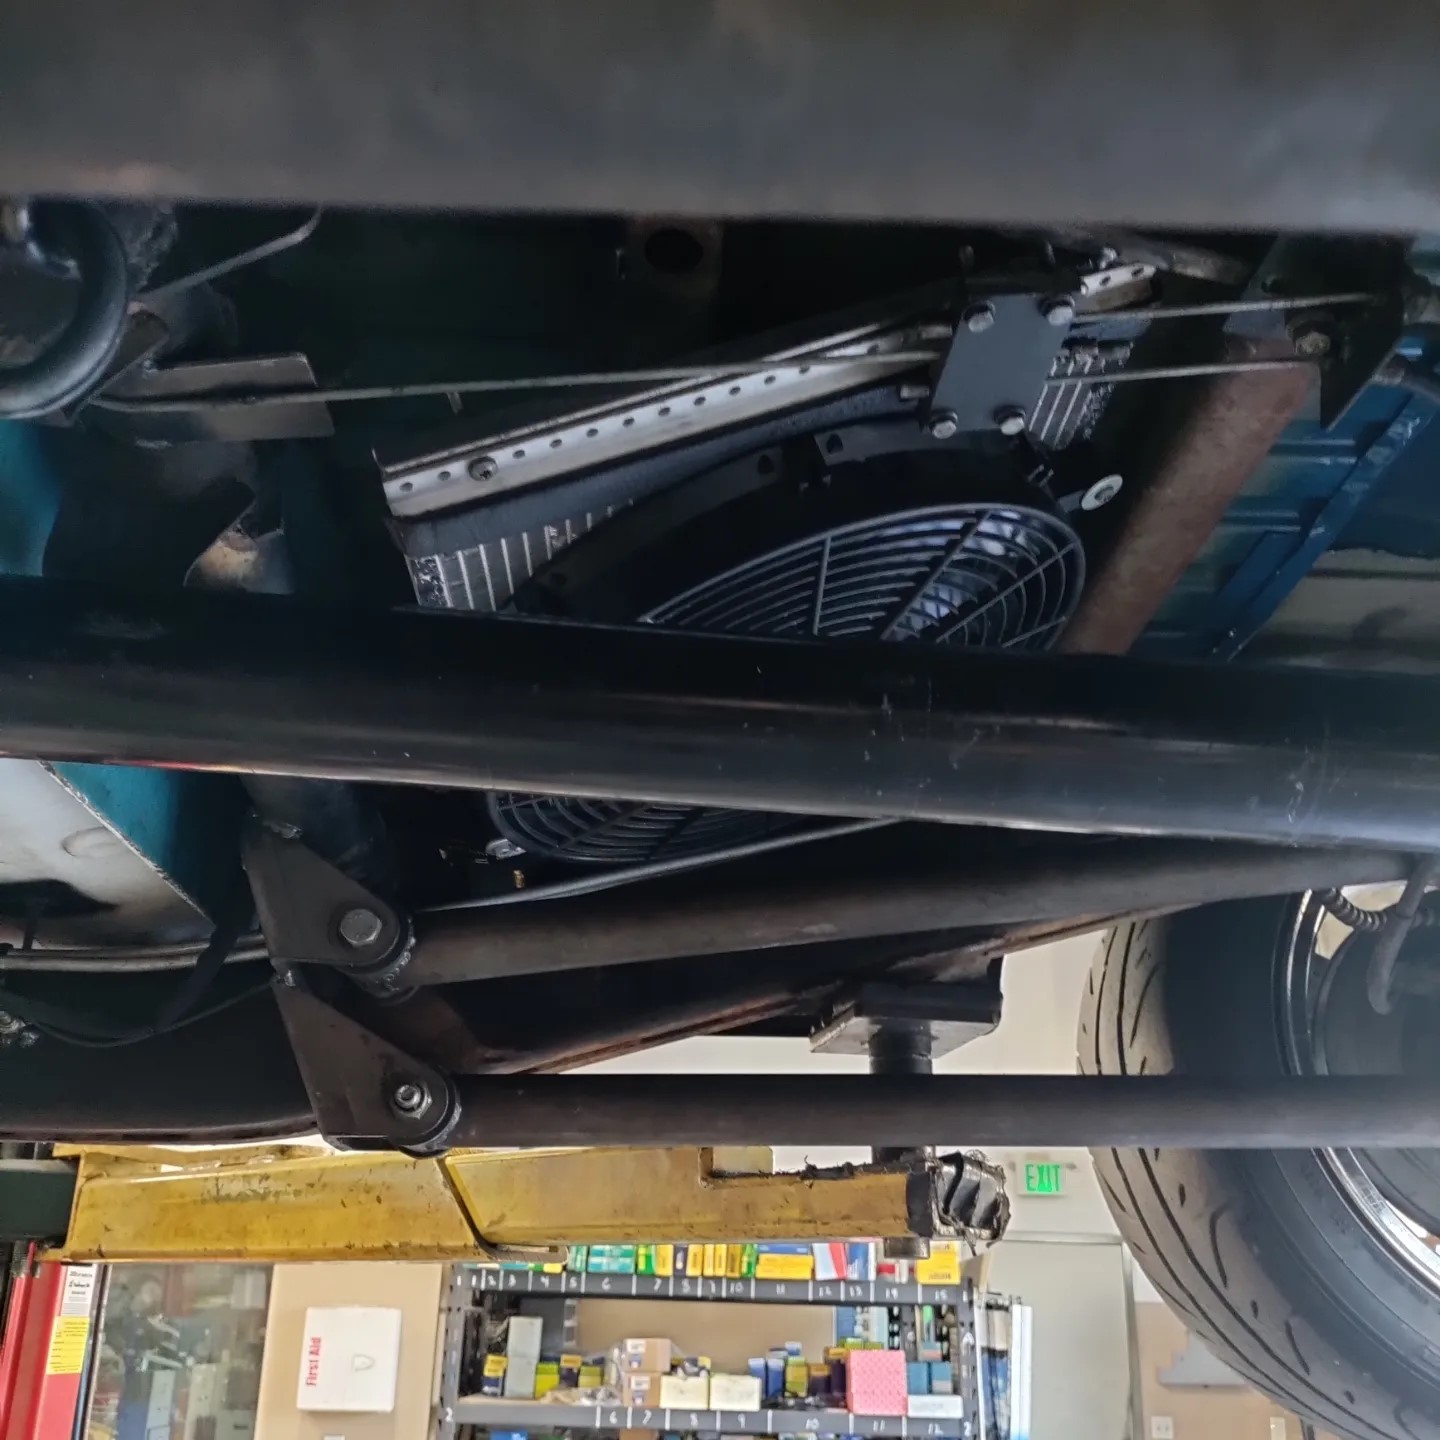
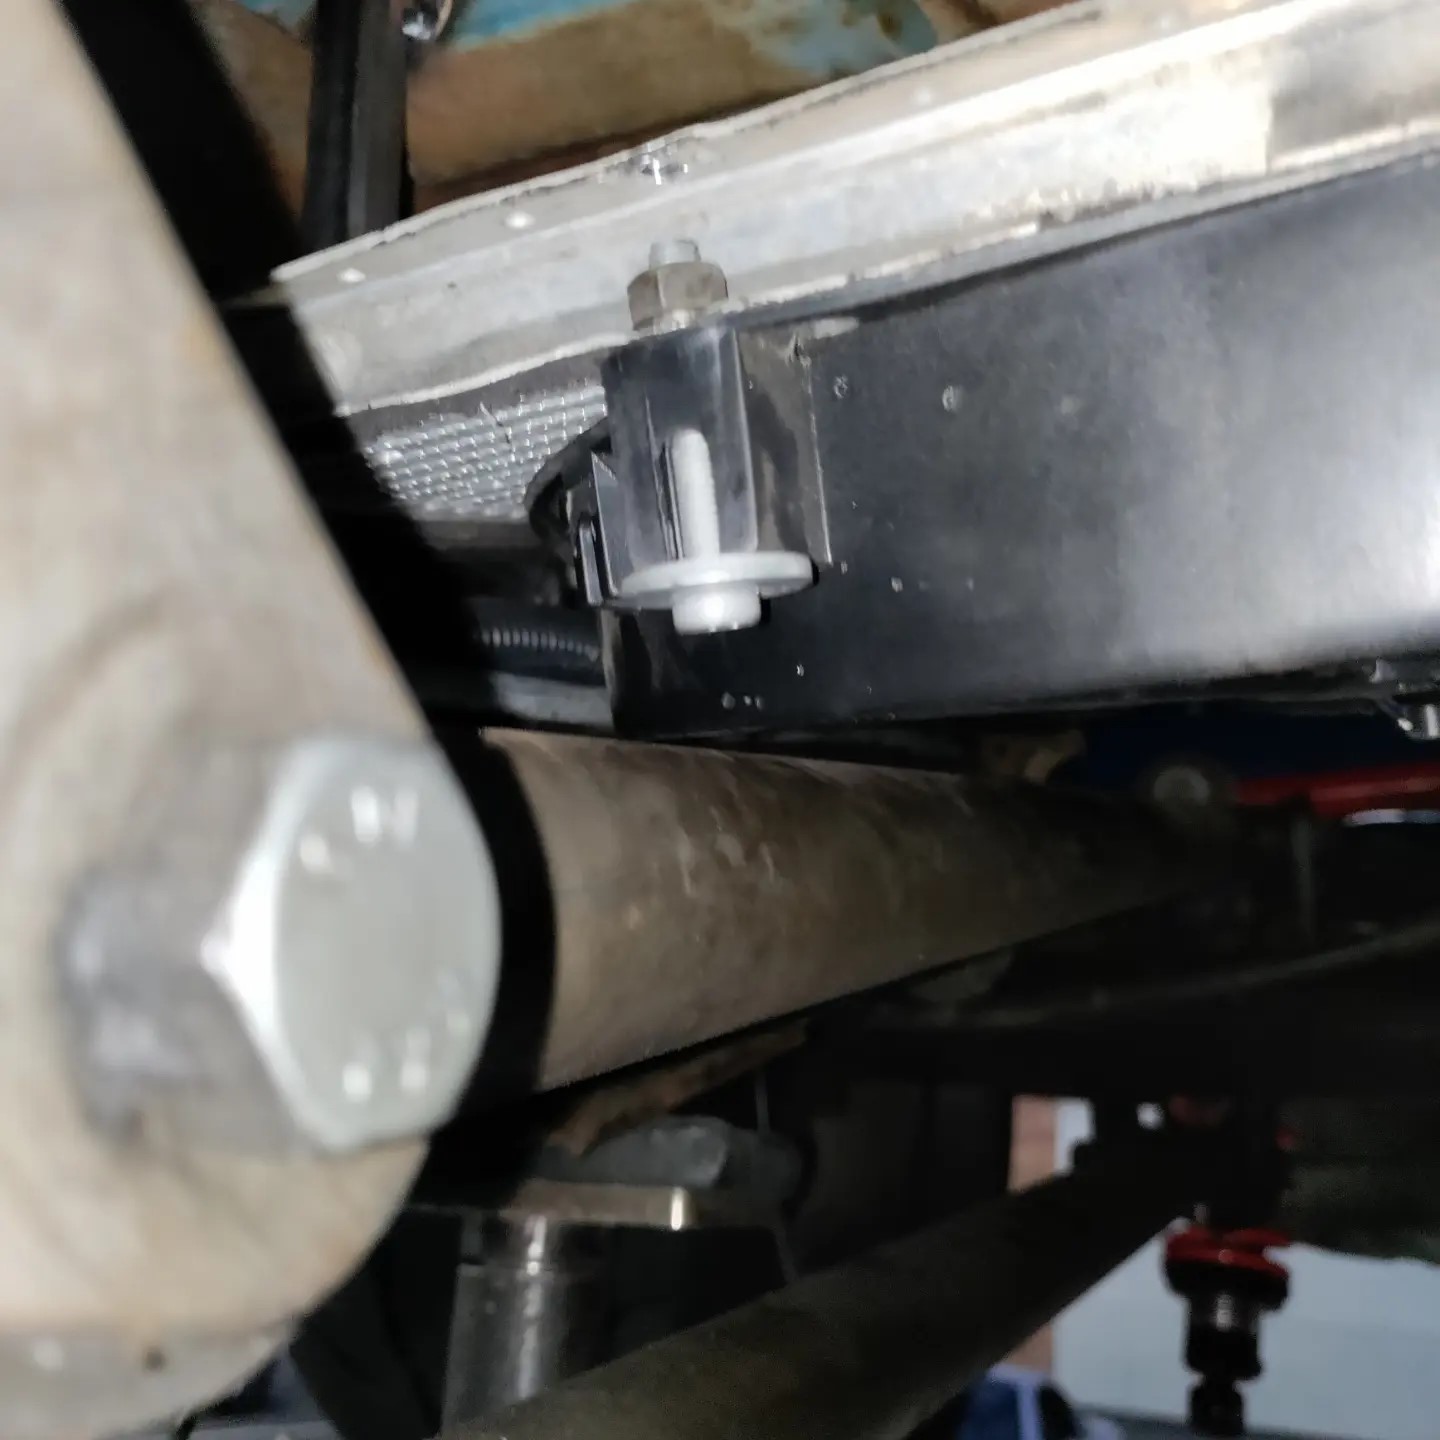
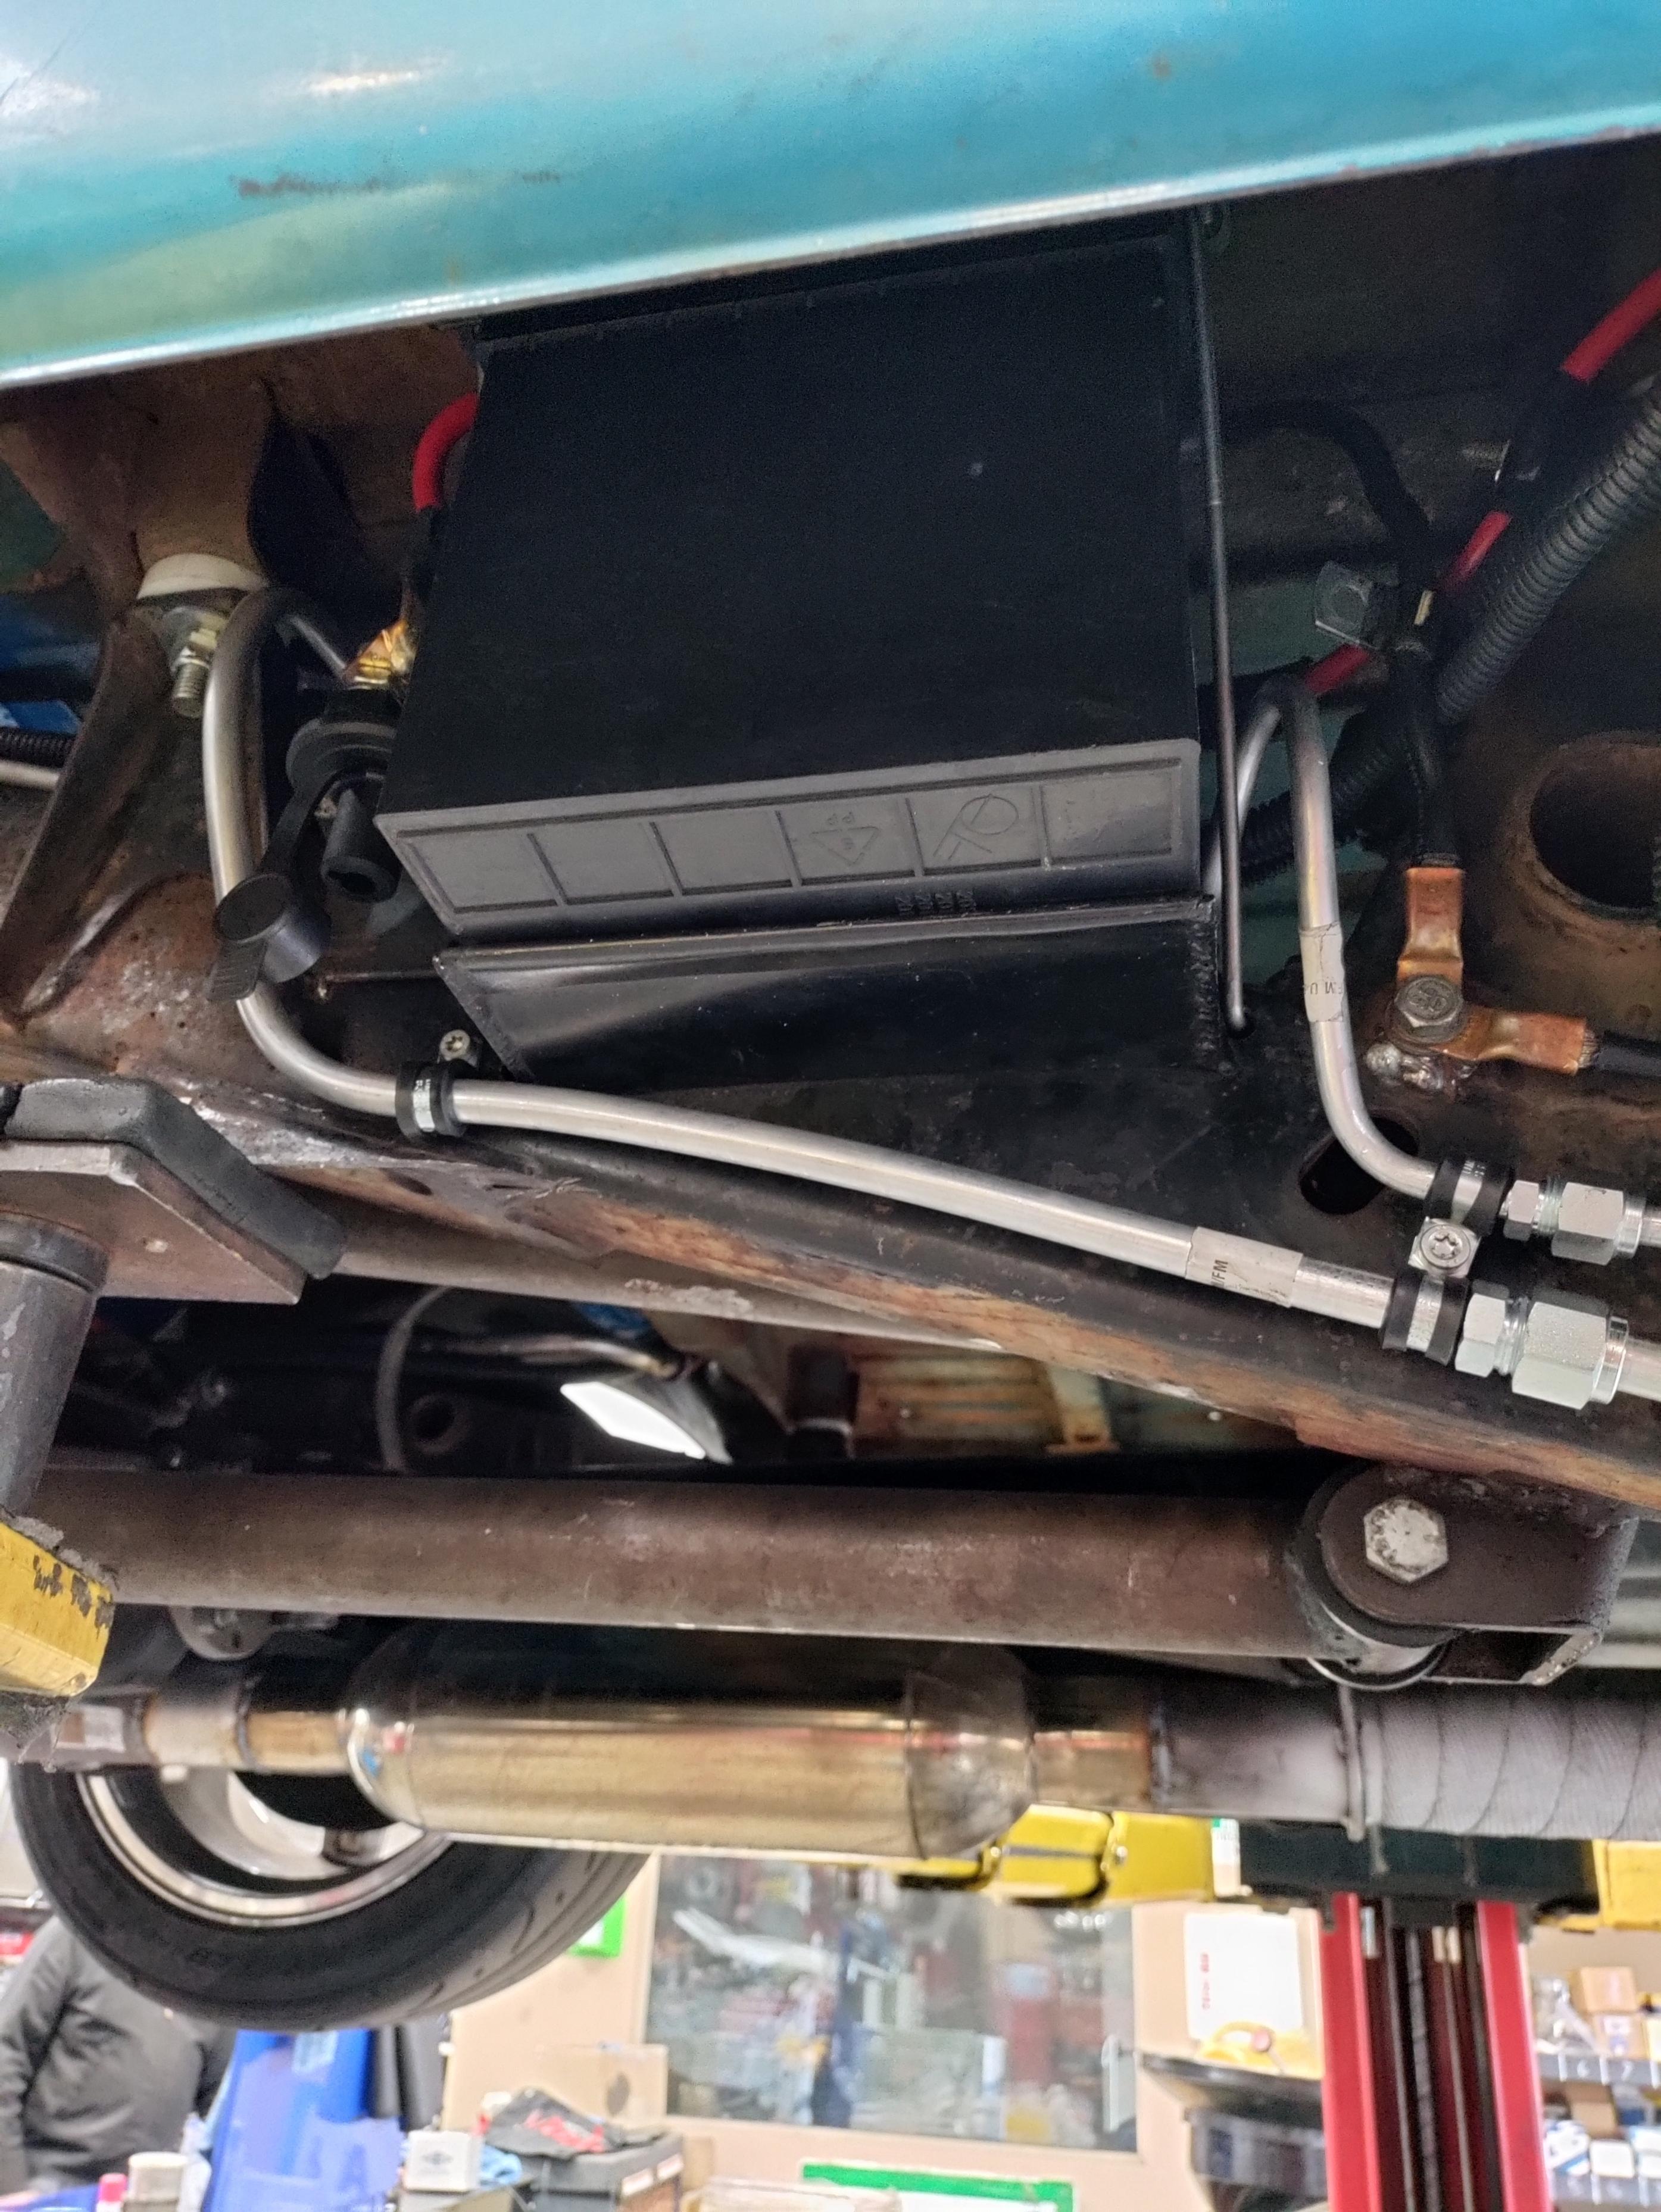
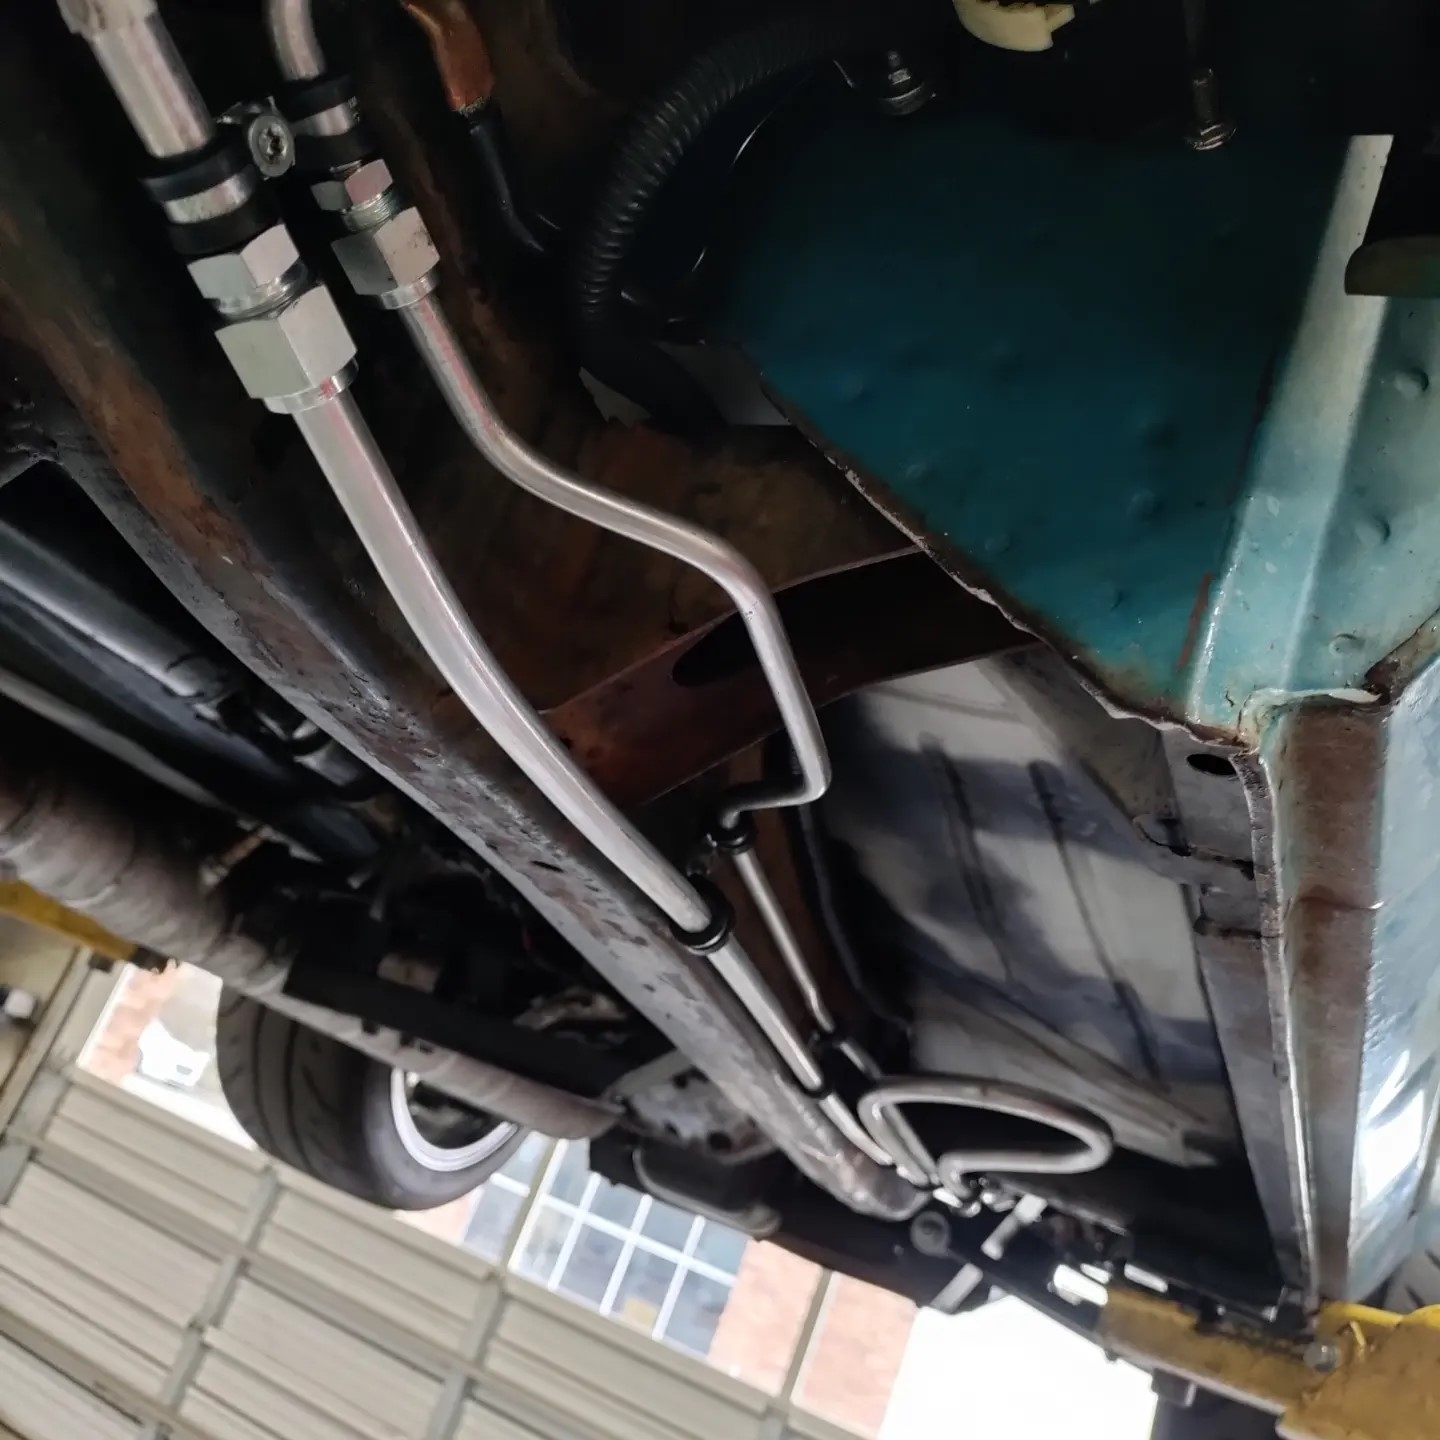
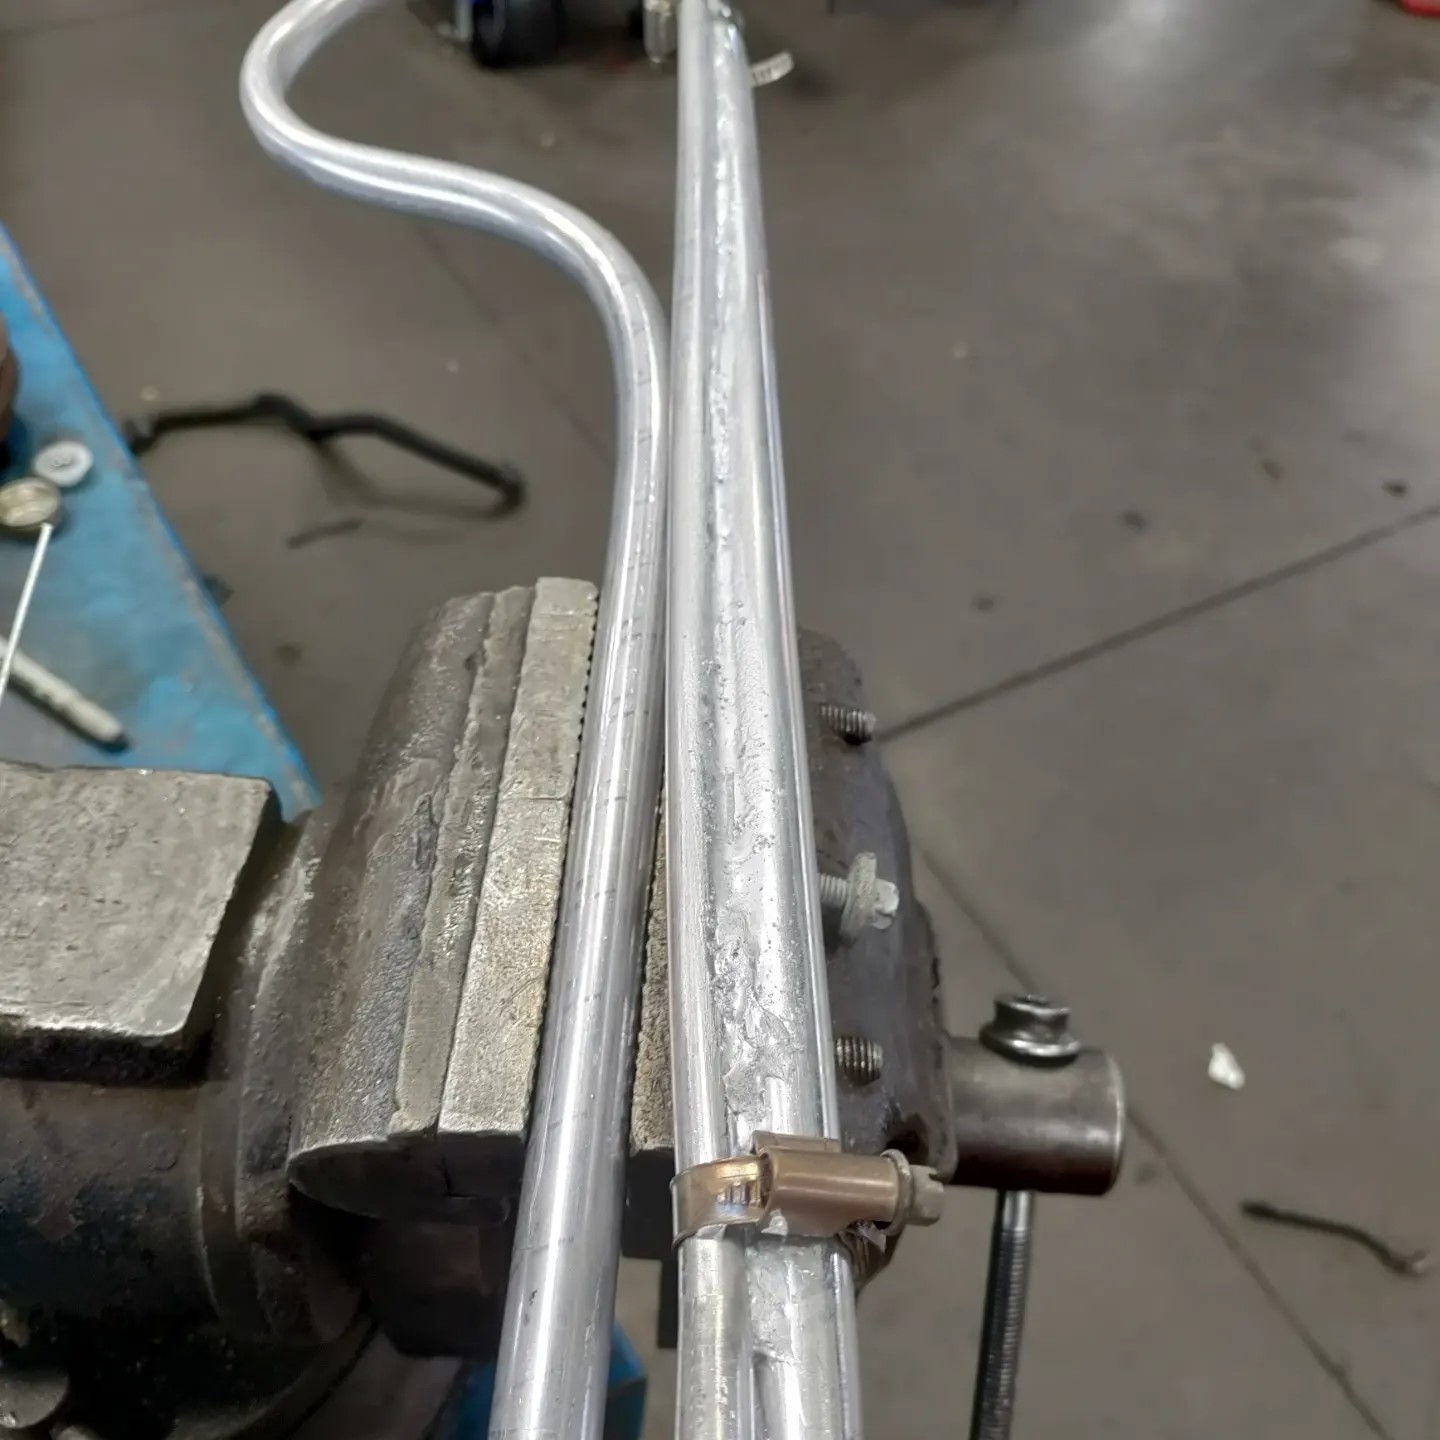
I finished the A/C hard lines and should have the hoses and fittings to finish everything this week. I routed the low side from the expansion valve down and looped it back forward so I could braze the high side line that goes into the expansion valve to it to assist with cooling the refrigerant a little more. all newer cars do this by putting the high side line inside the low side line so I figured it might help.
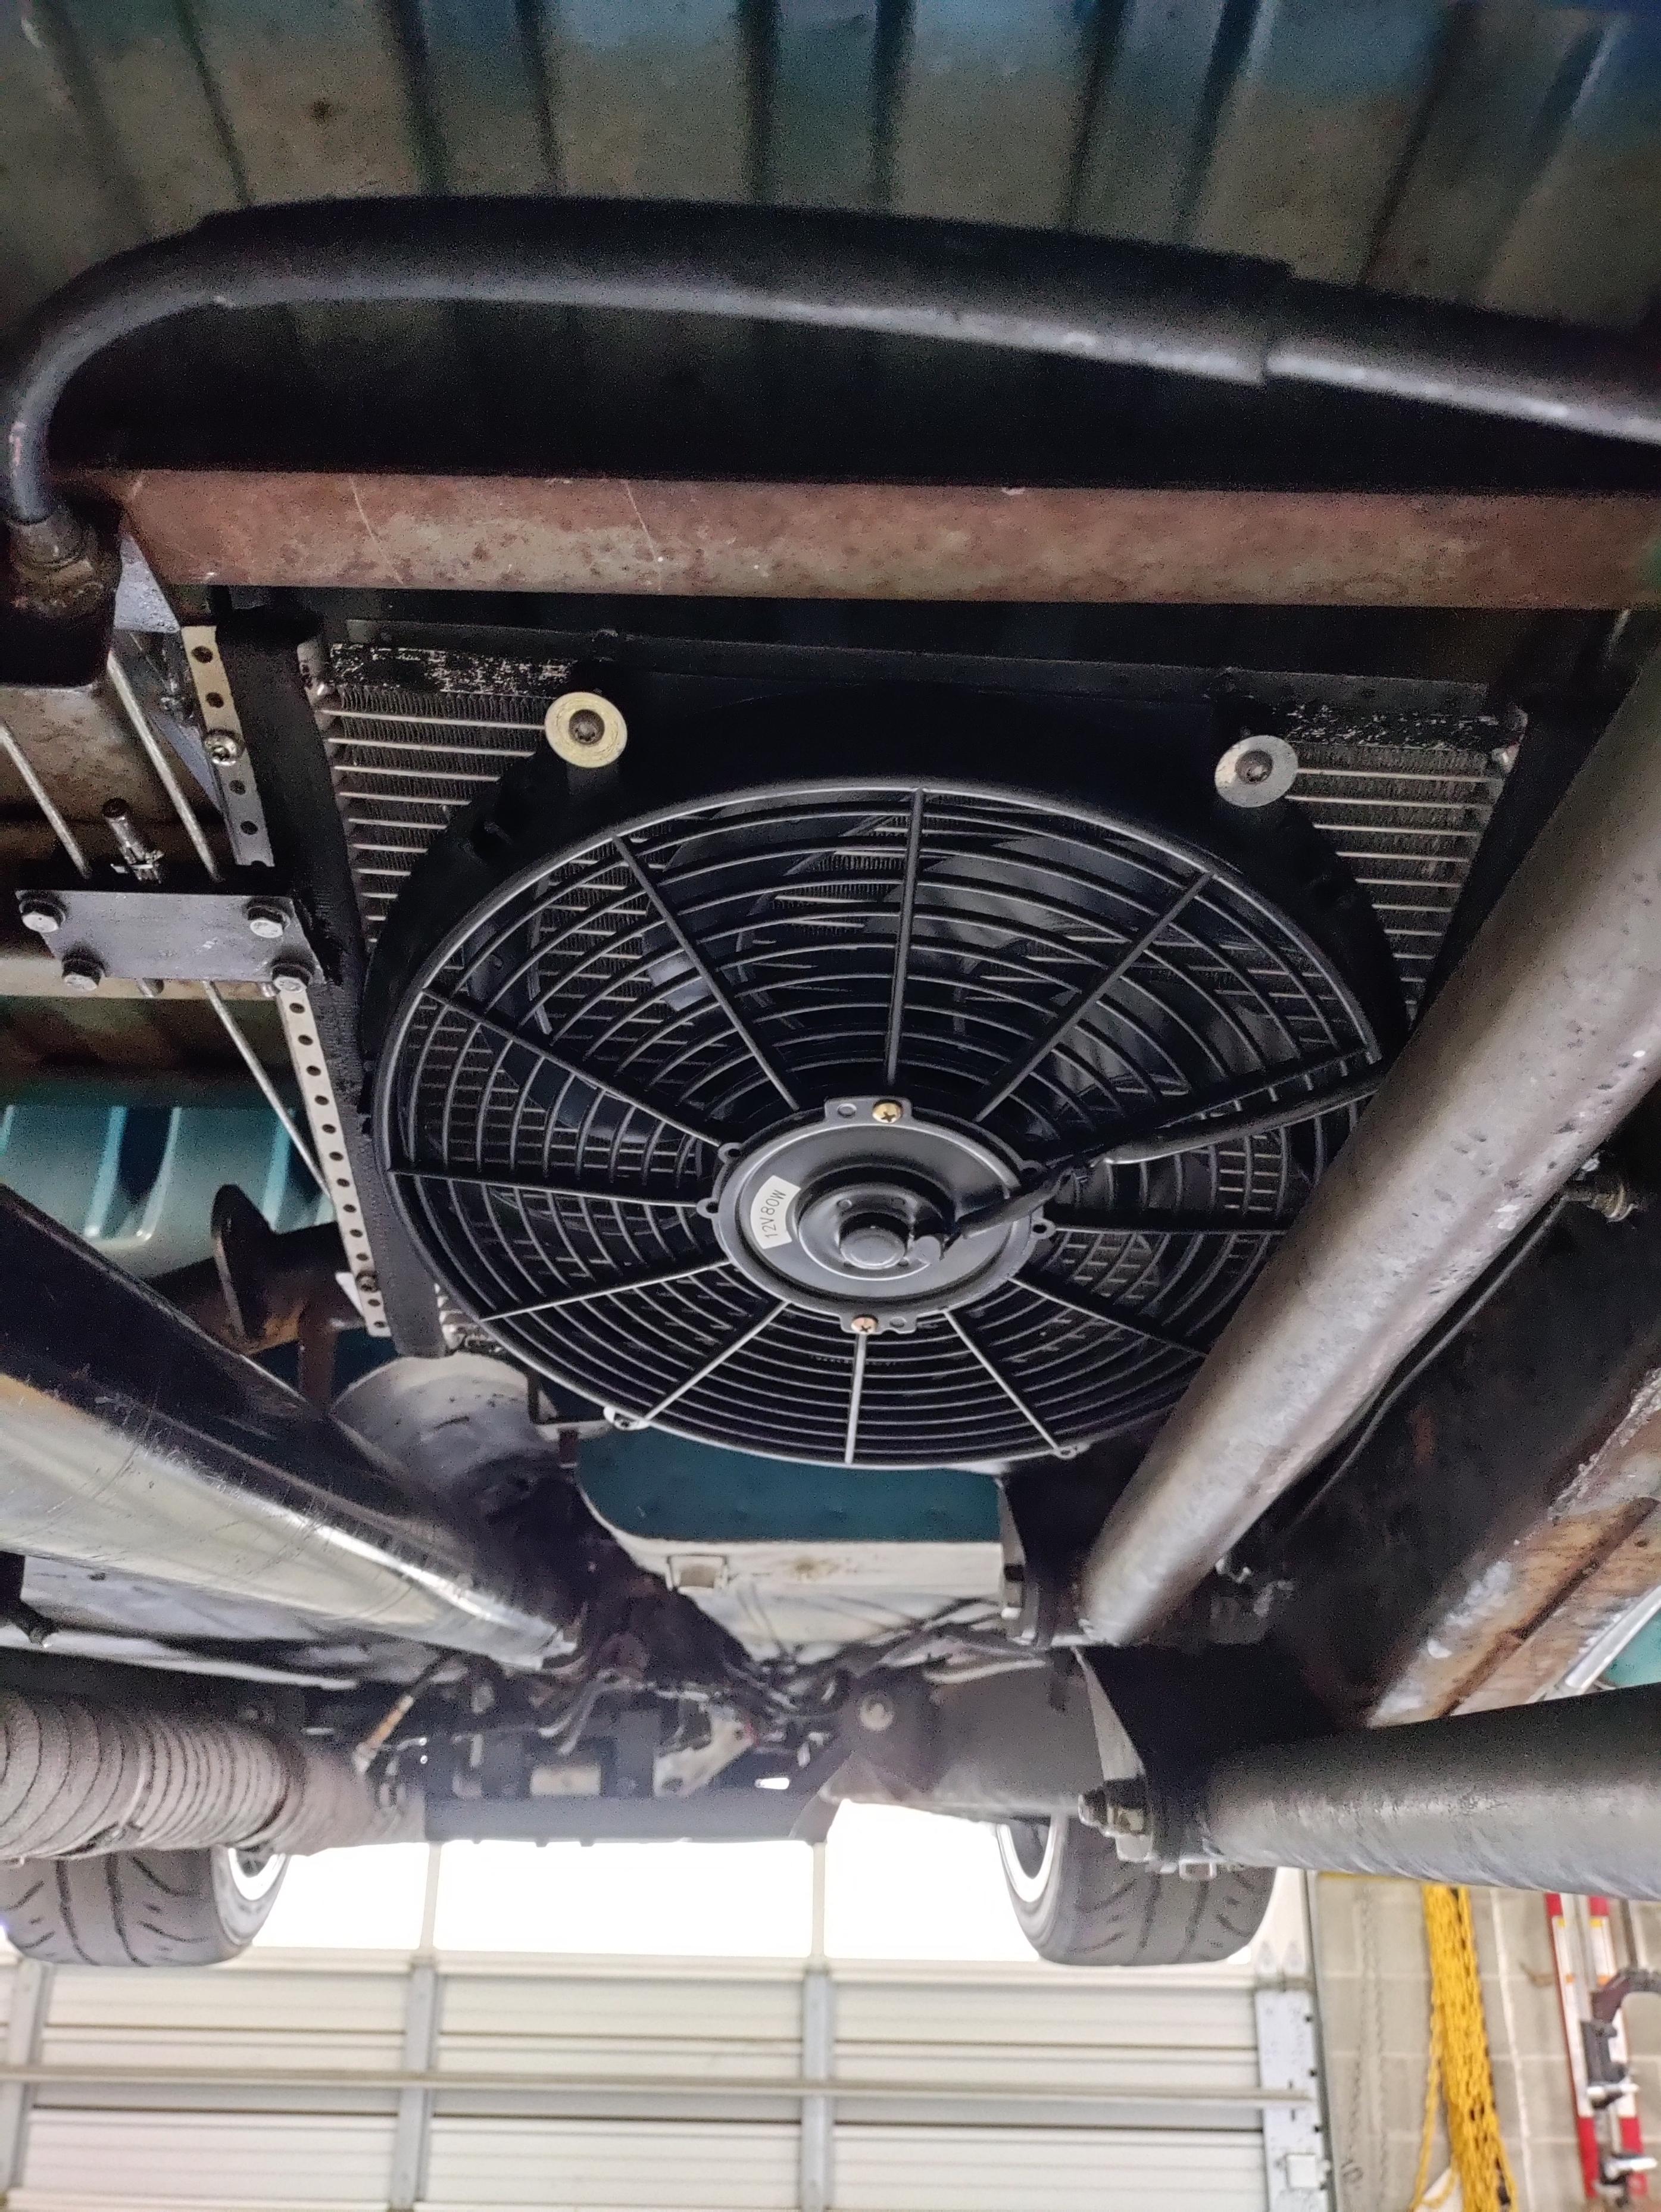
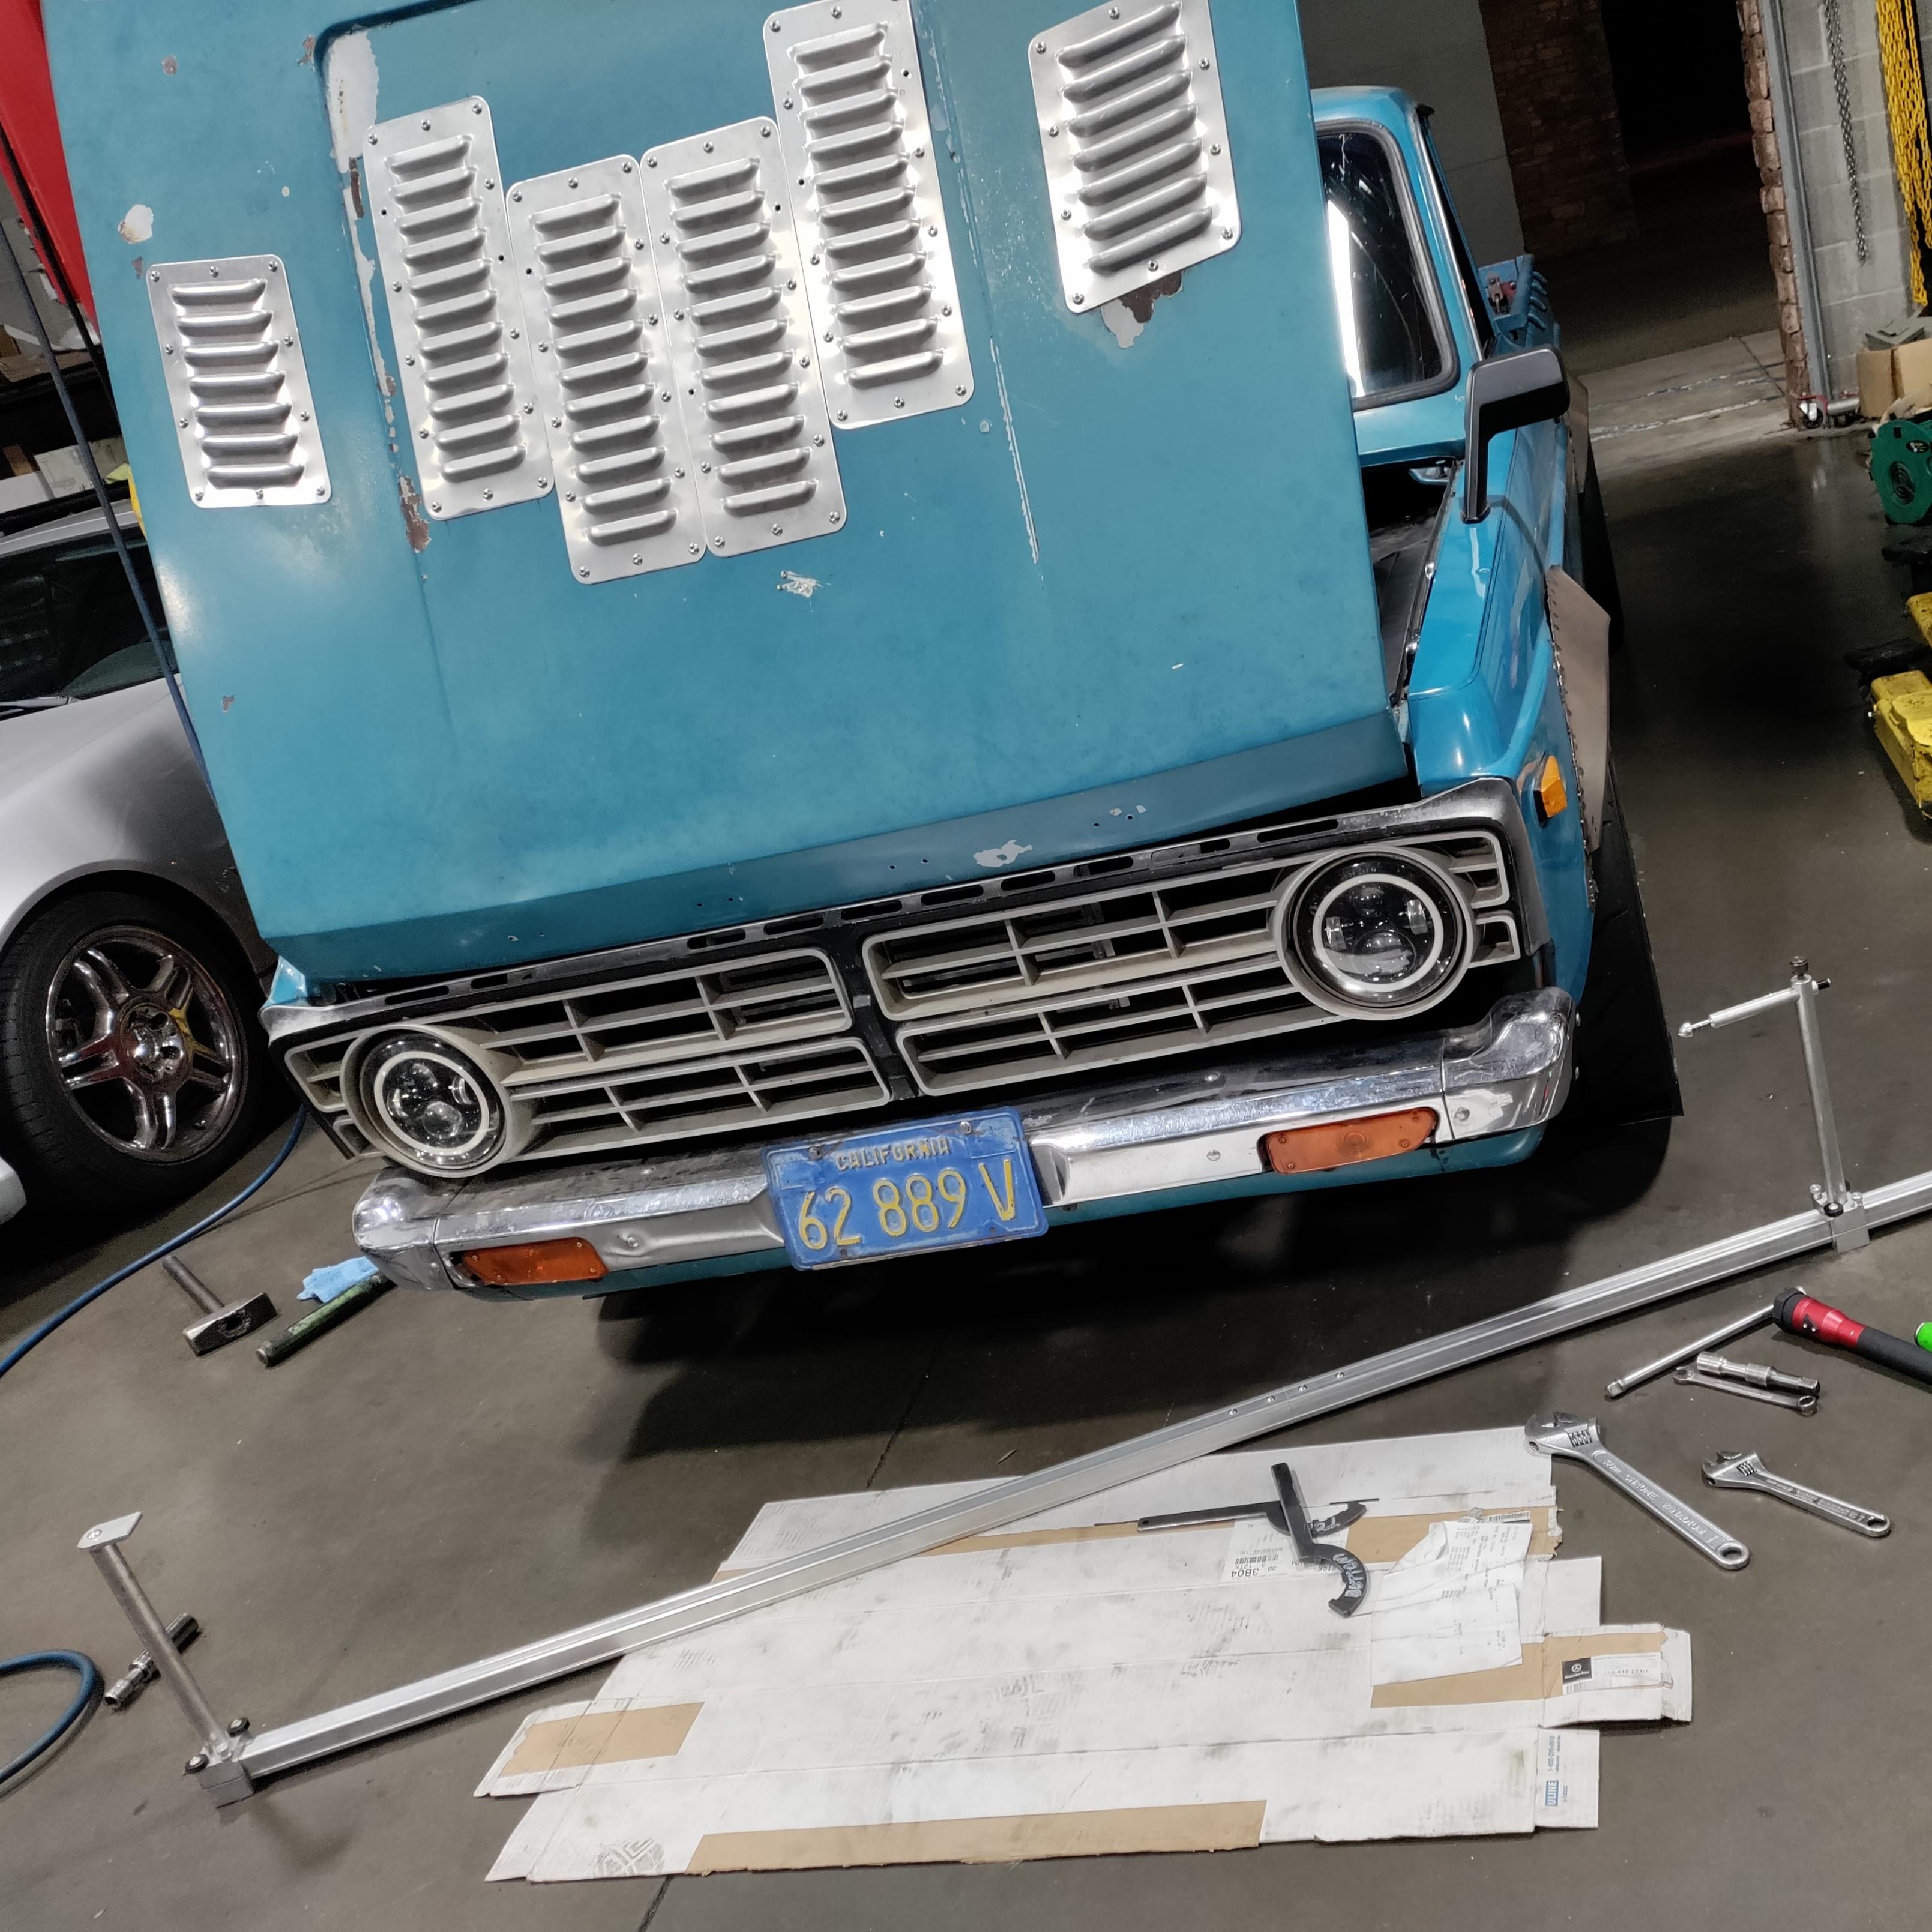
I swapped out the louvered hod for the smooth one. I like the smooth look better and im hoping the louvers will not be necessary with the condenser under the bed.
I finished the A/C hard lines and should have the hoses and fittings to finish everything this week. I routed the low side from the expansion valve down and looped it back forward so I could braze the high side line that goes into the expansion valve to it to assist with cooling the refrigerant a little more. all newer cars do this by putting the high side line inside the low side line so I figured it might help.
I swapped out the louvered hod for the smooth one. I like the smooth look better and im hoping the louvers will not be necessary with the condenser under the bed.
Reply
1
1
03-13-2023, 06:06 PM
#271
Senior Member
Thread Starter
Join Date: Jan 2011
Location: sacramento ,ca
Posts: 568
Total Cats: 162
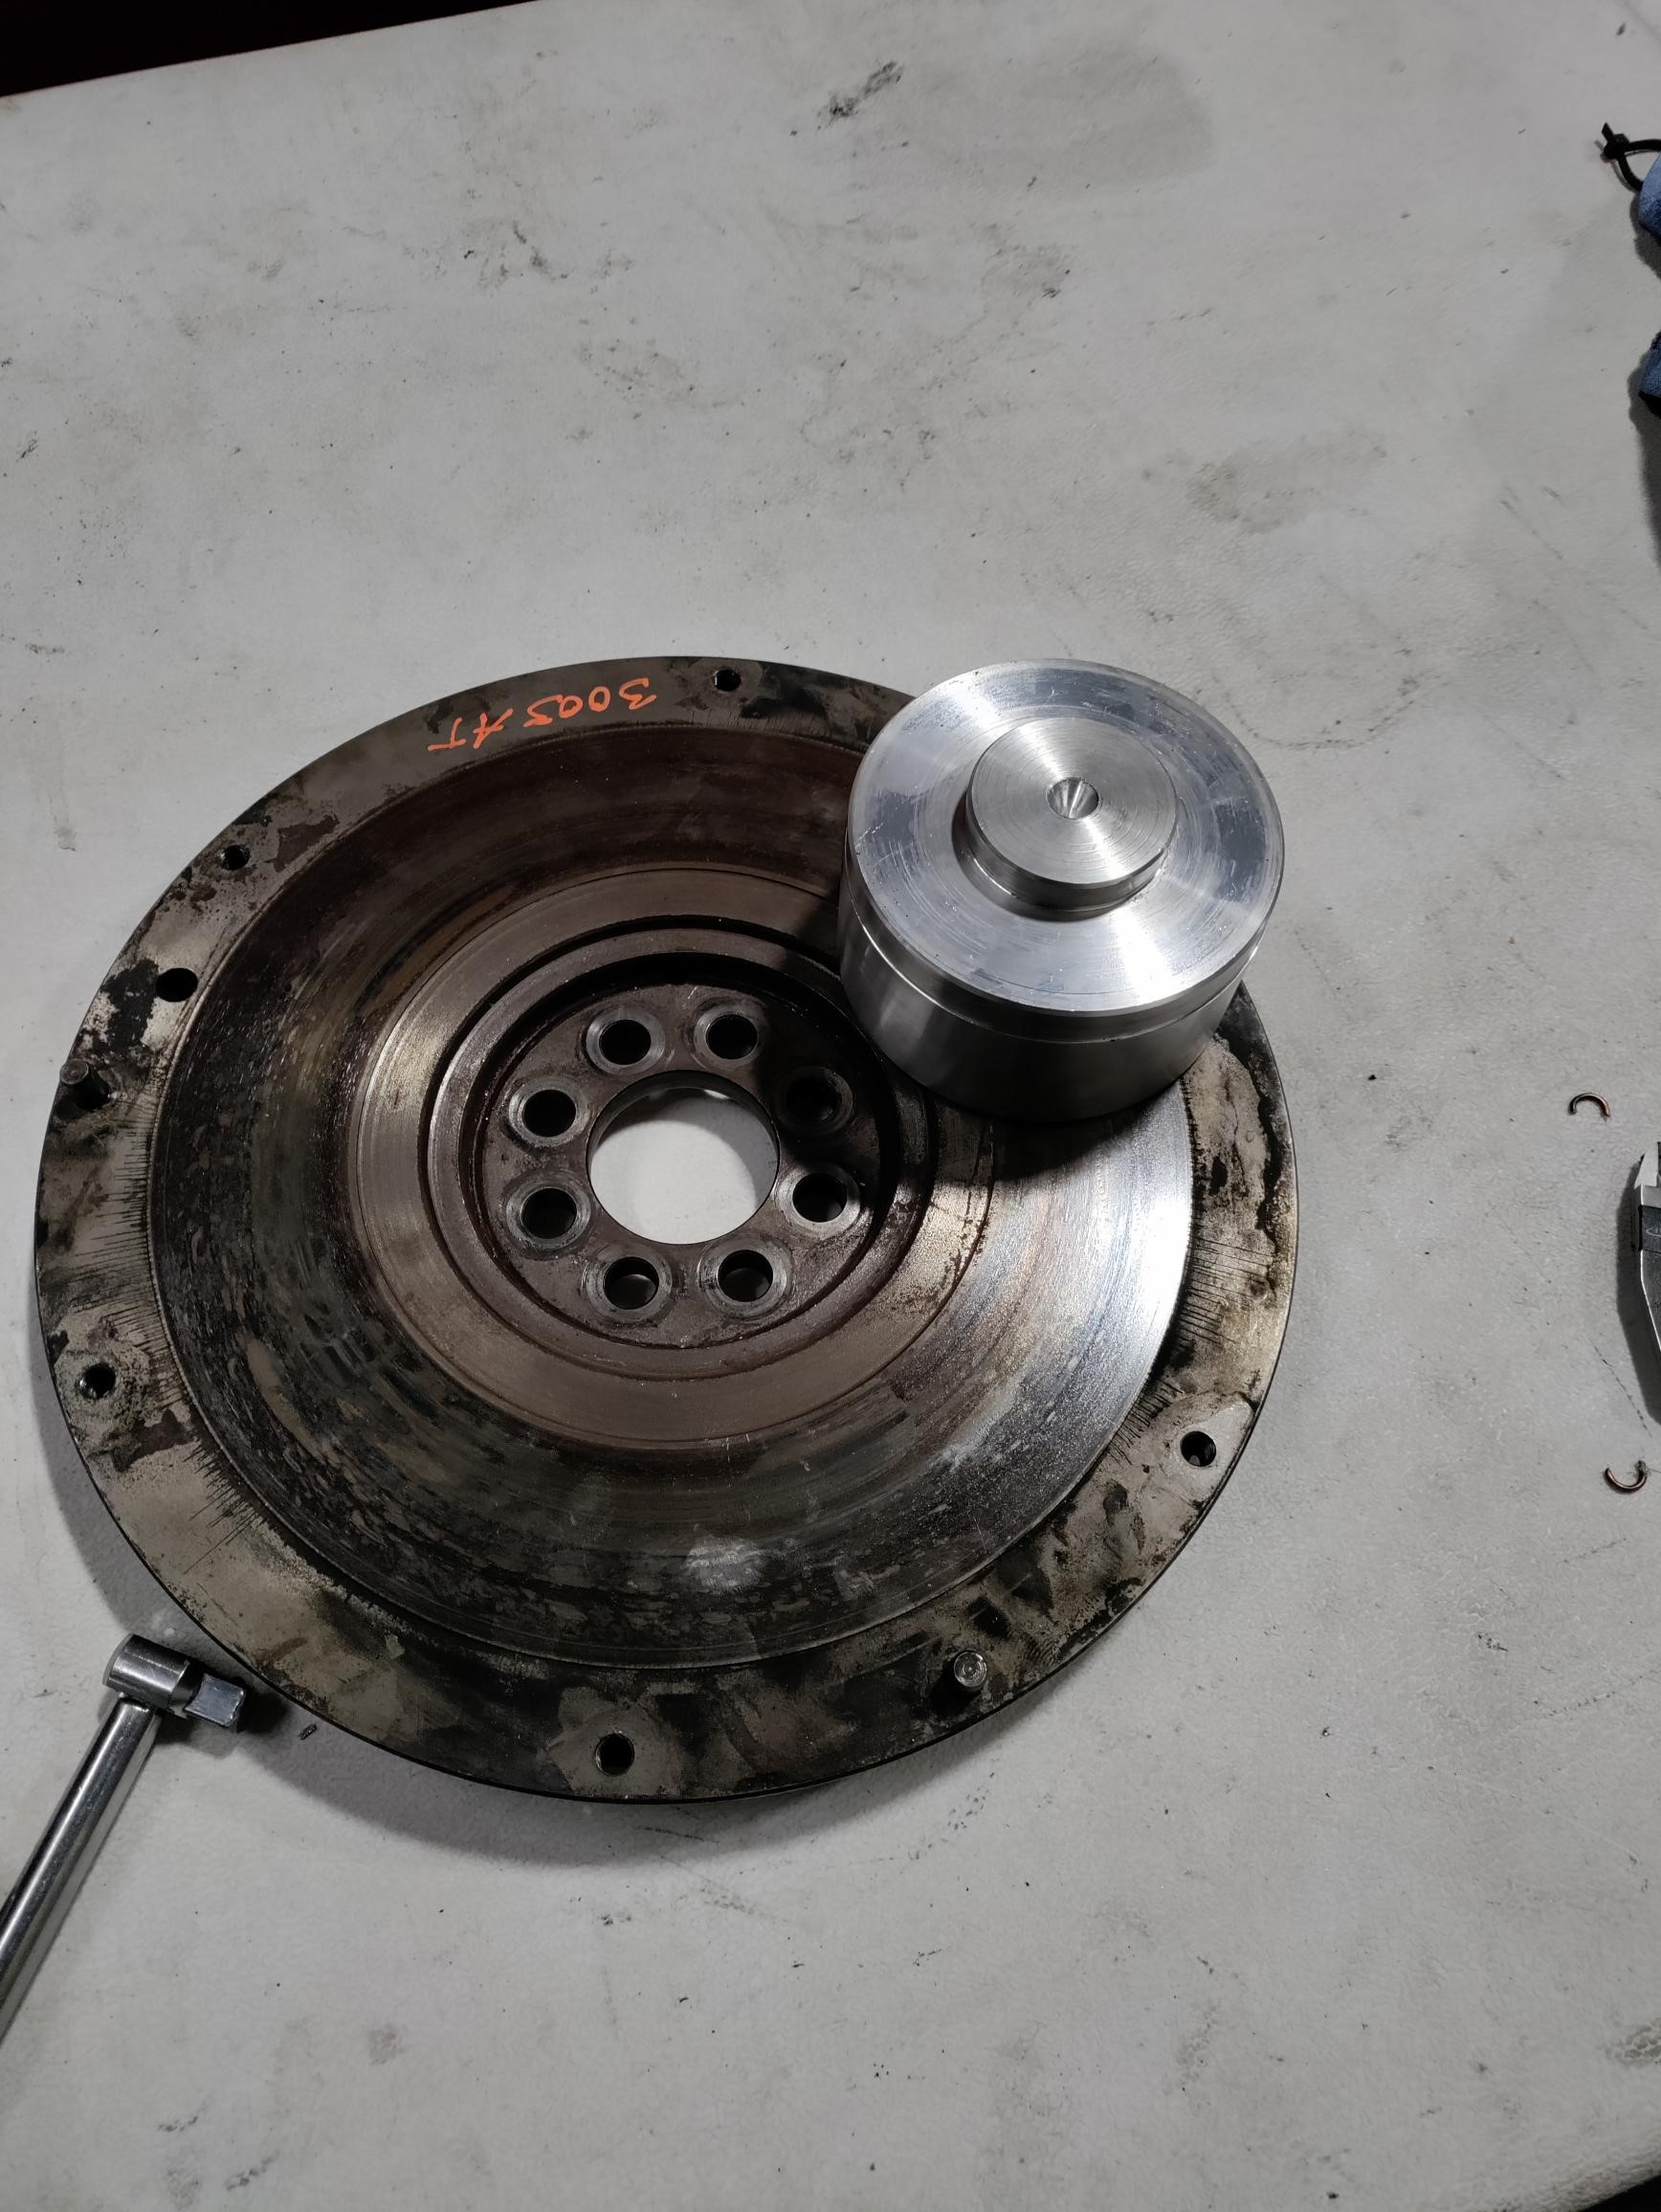
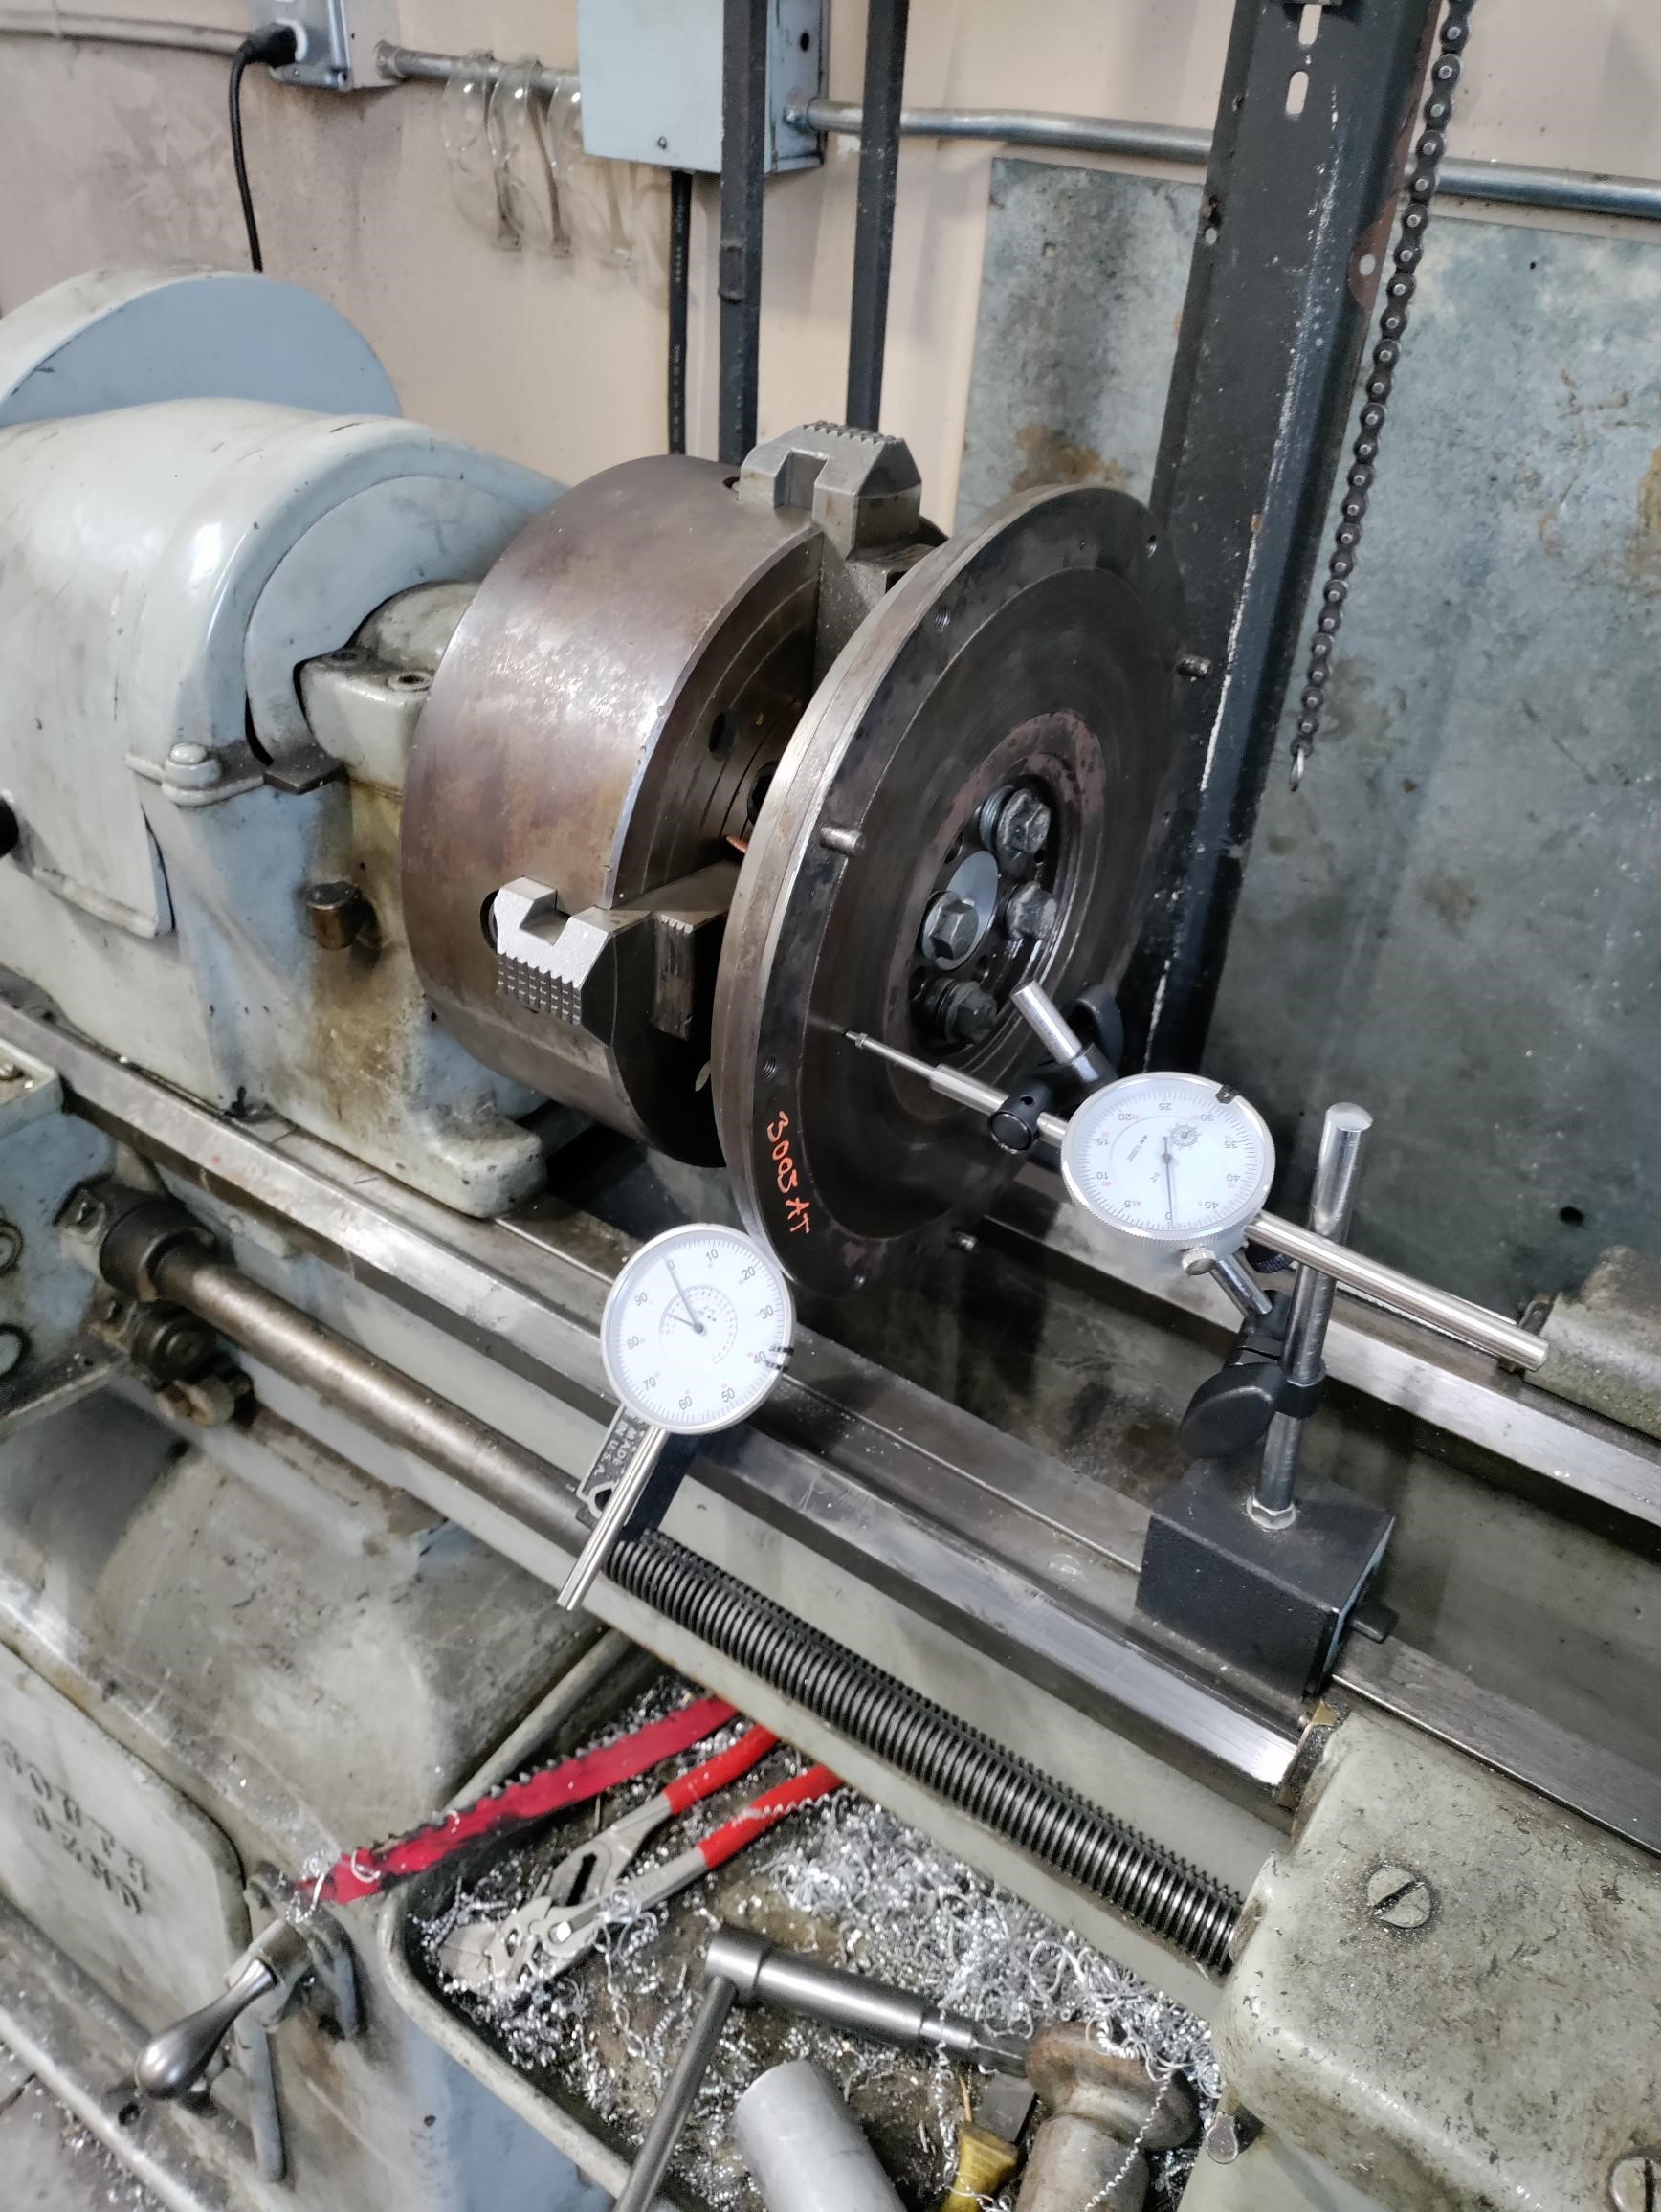
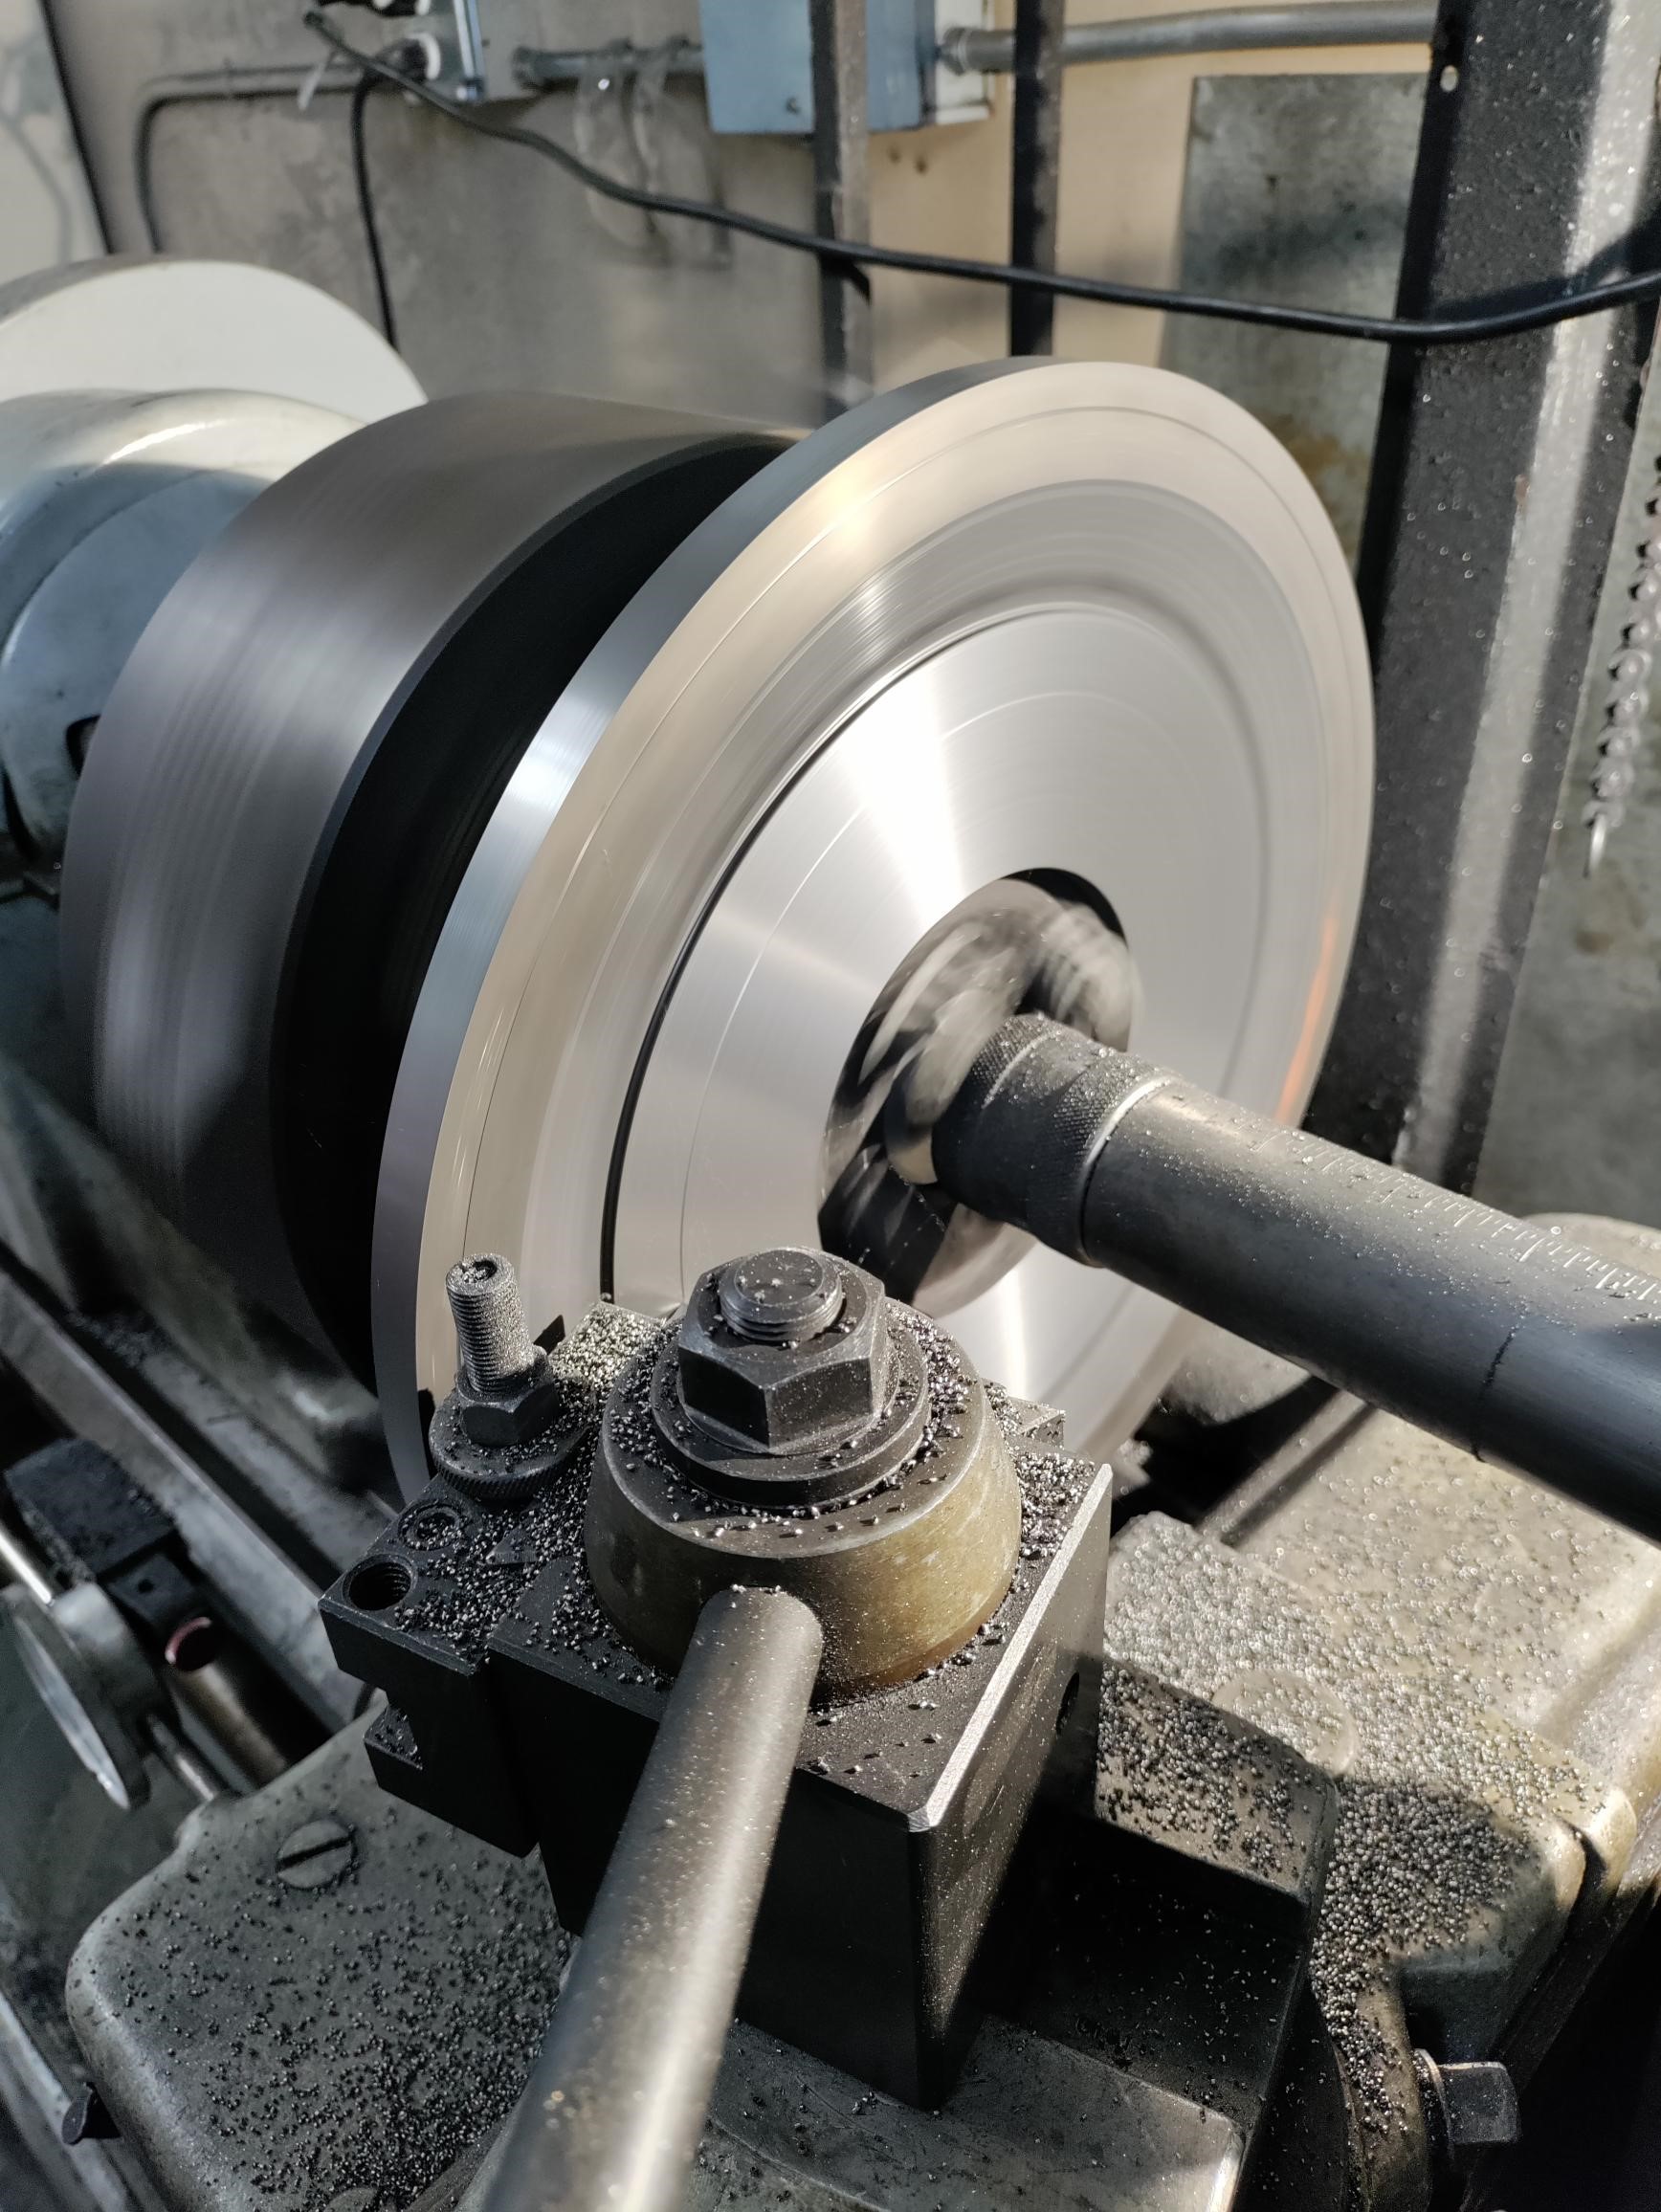
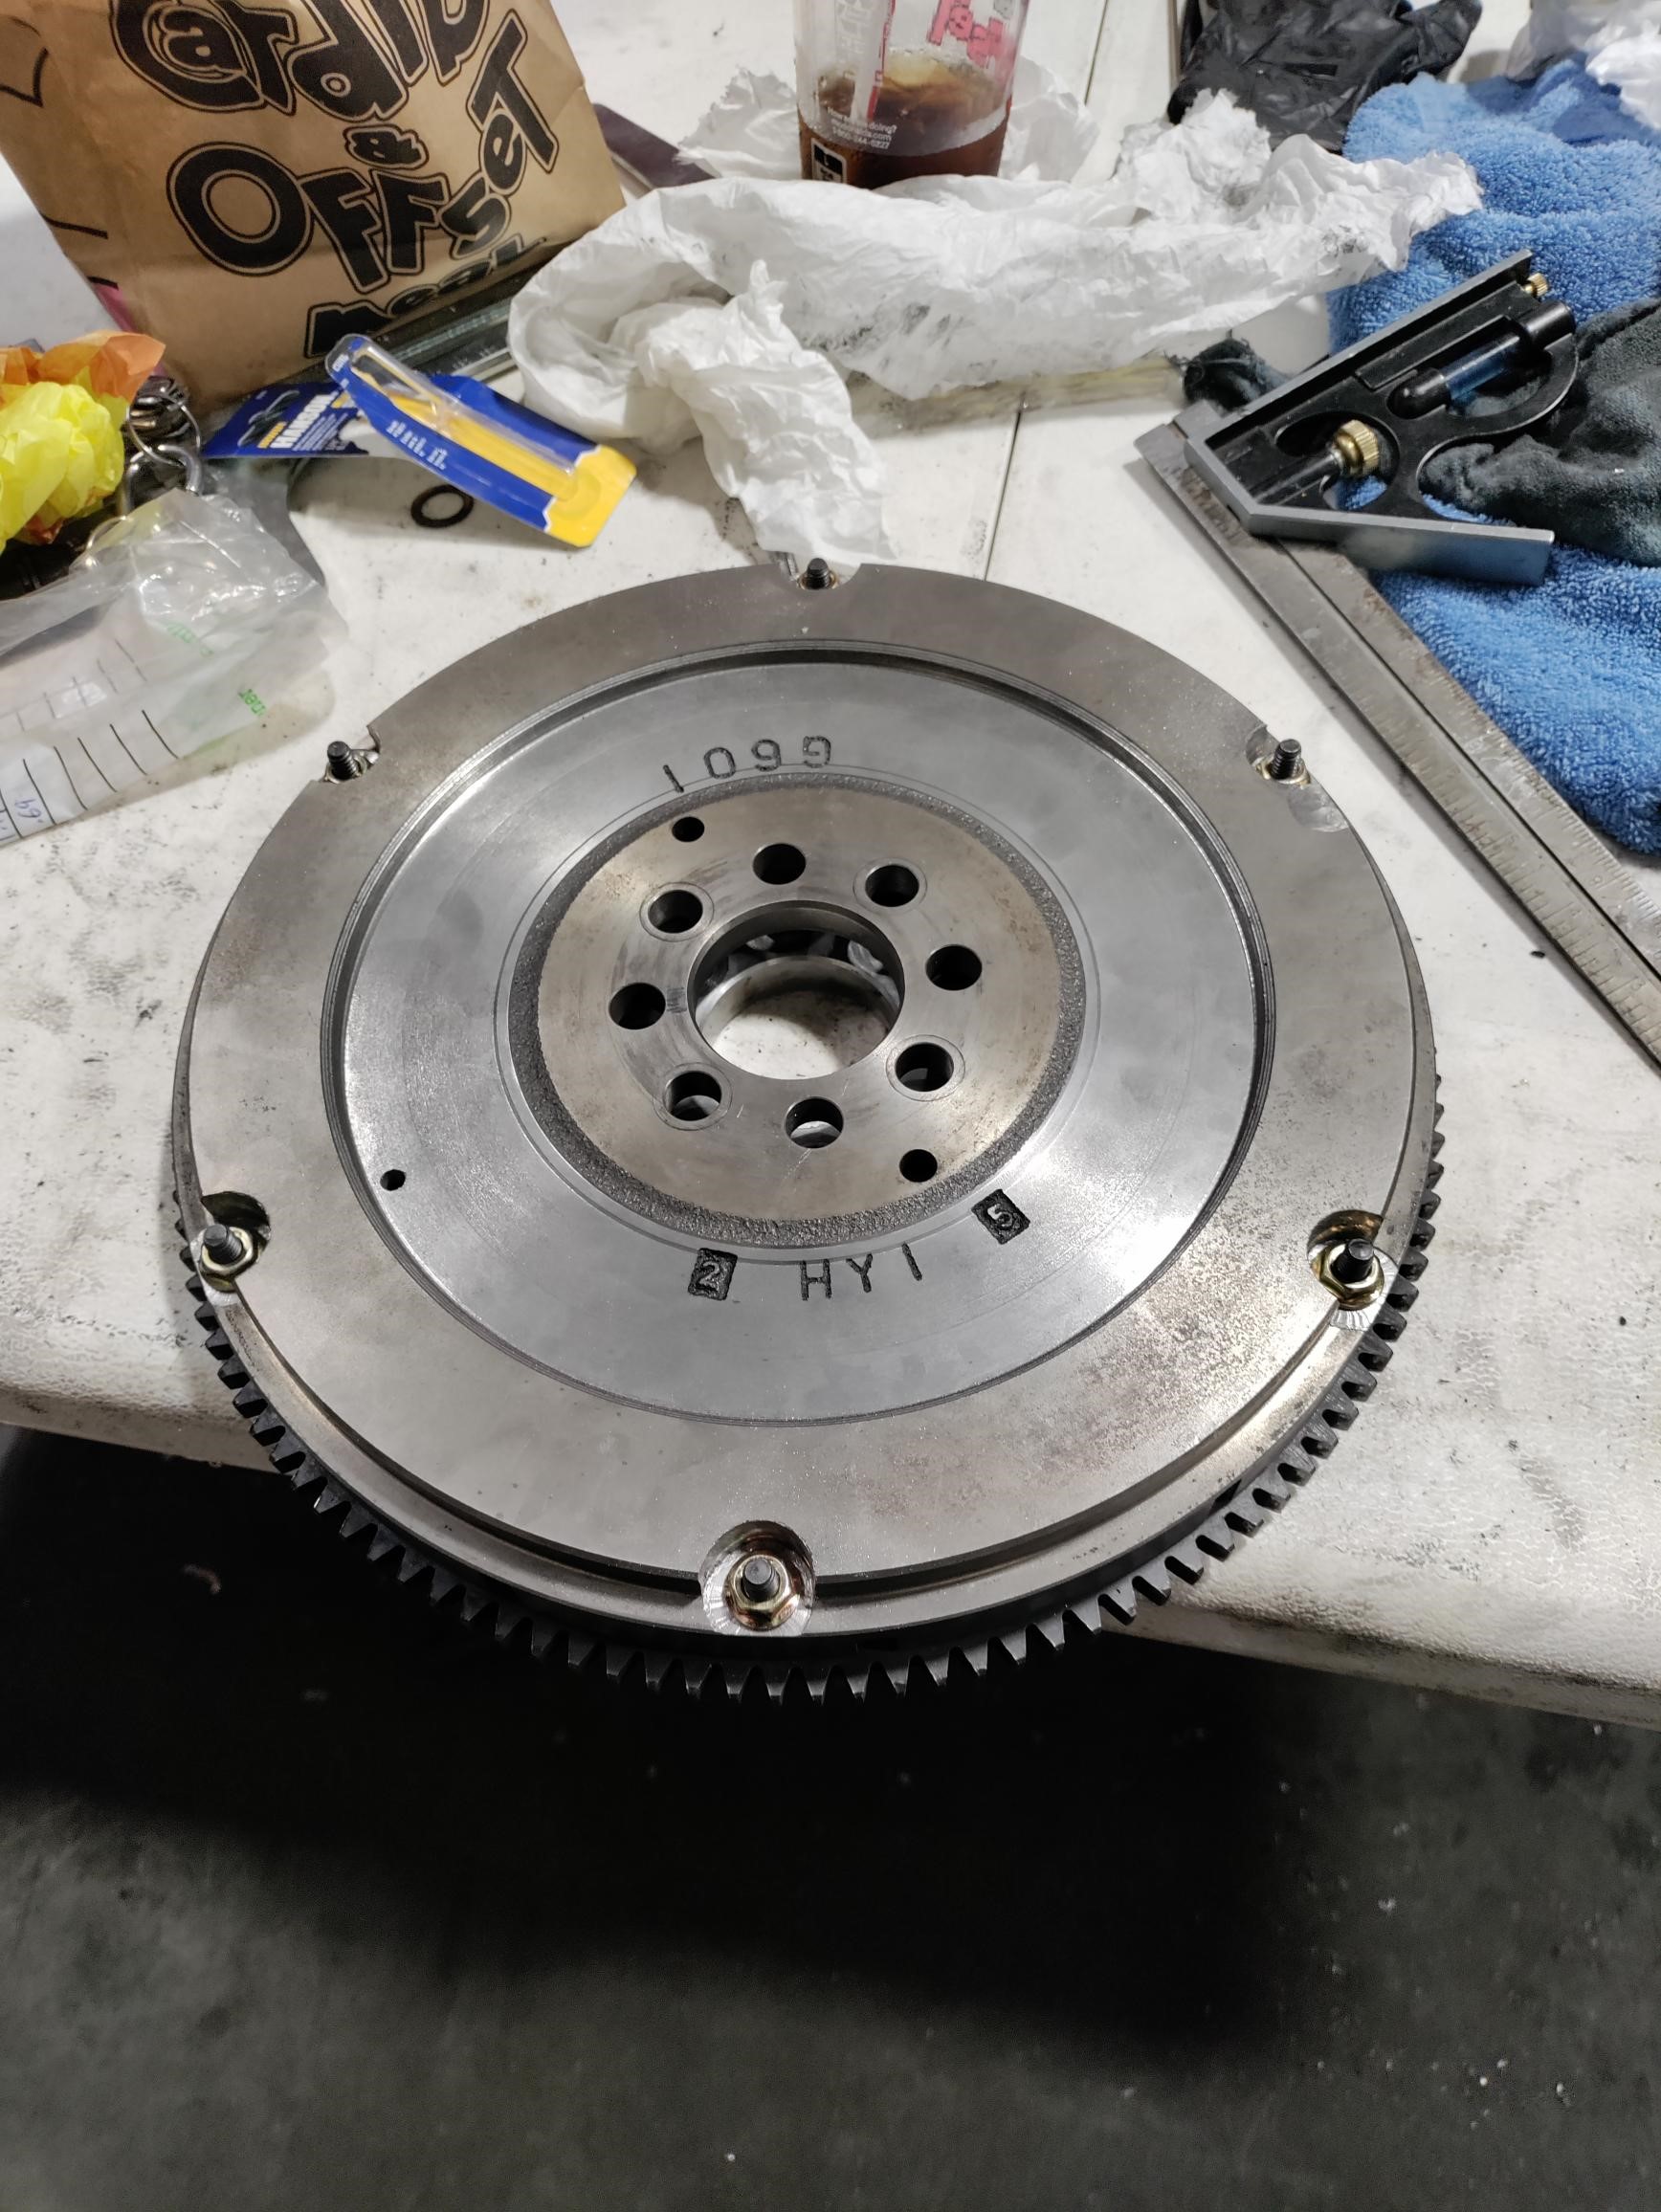
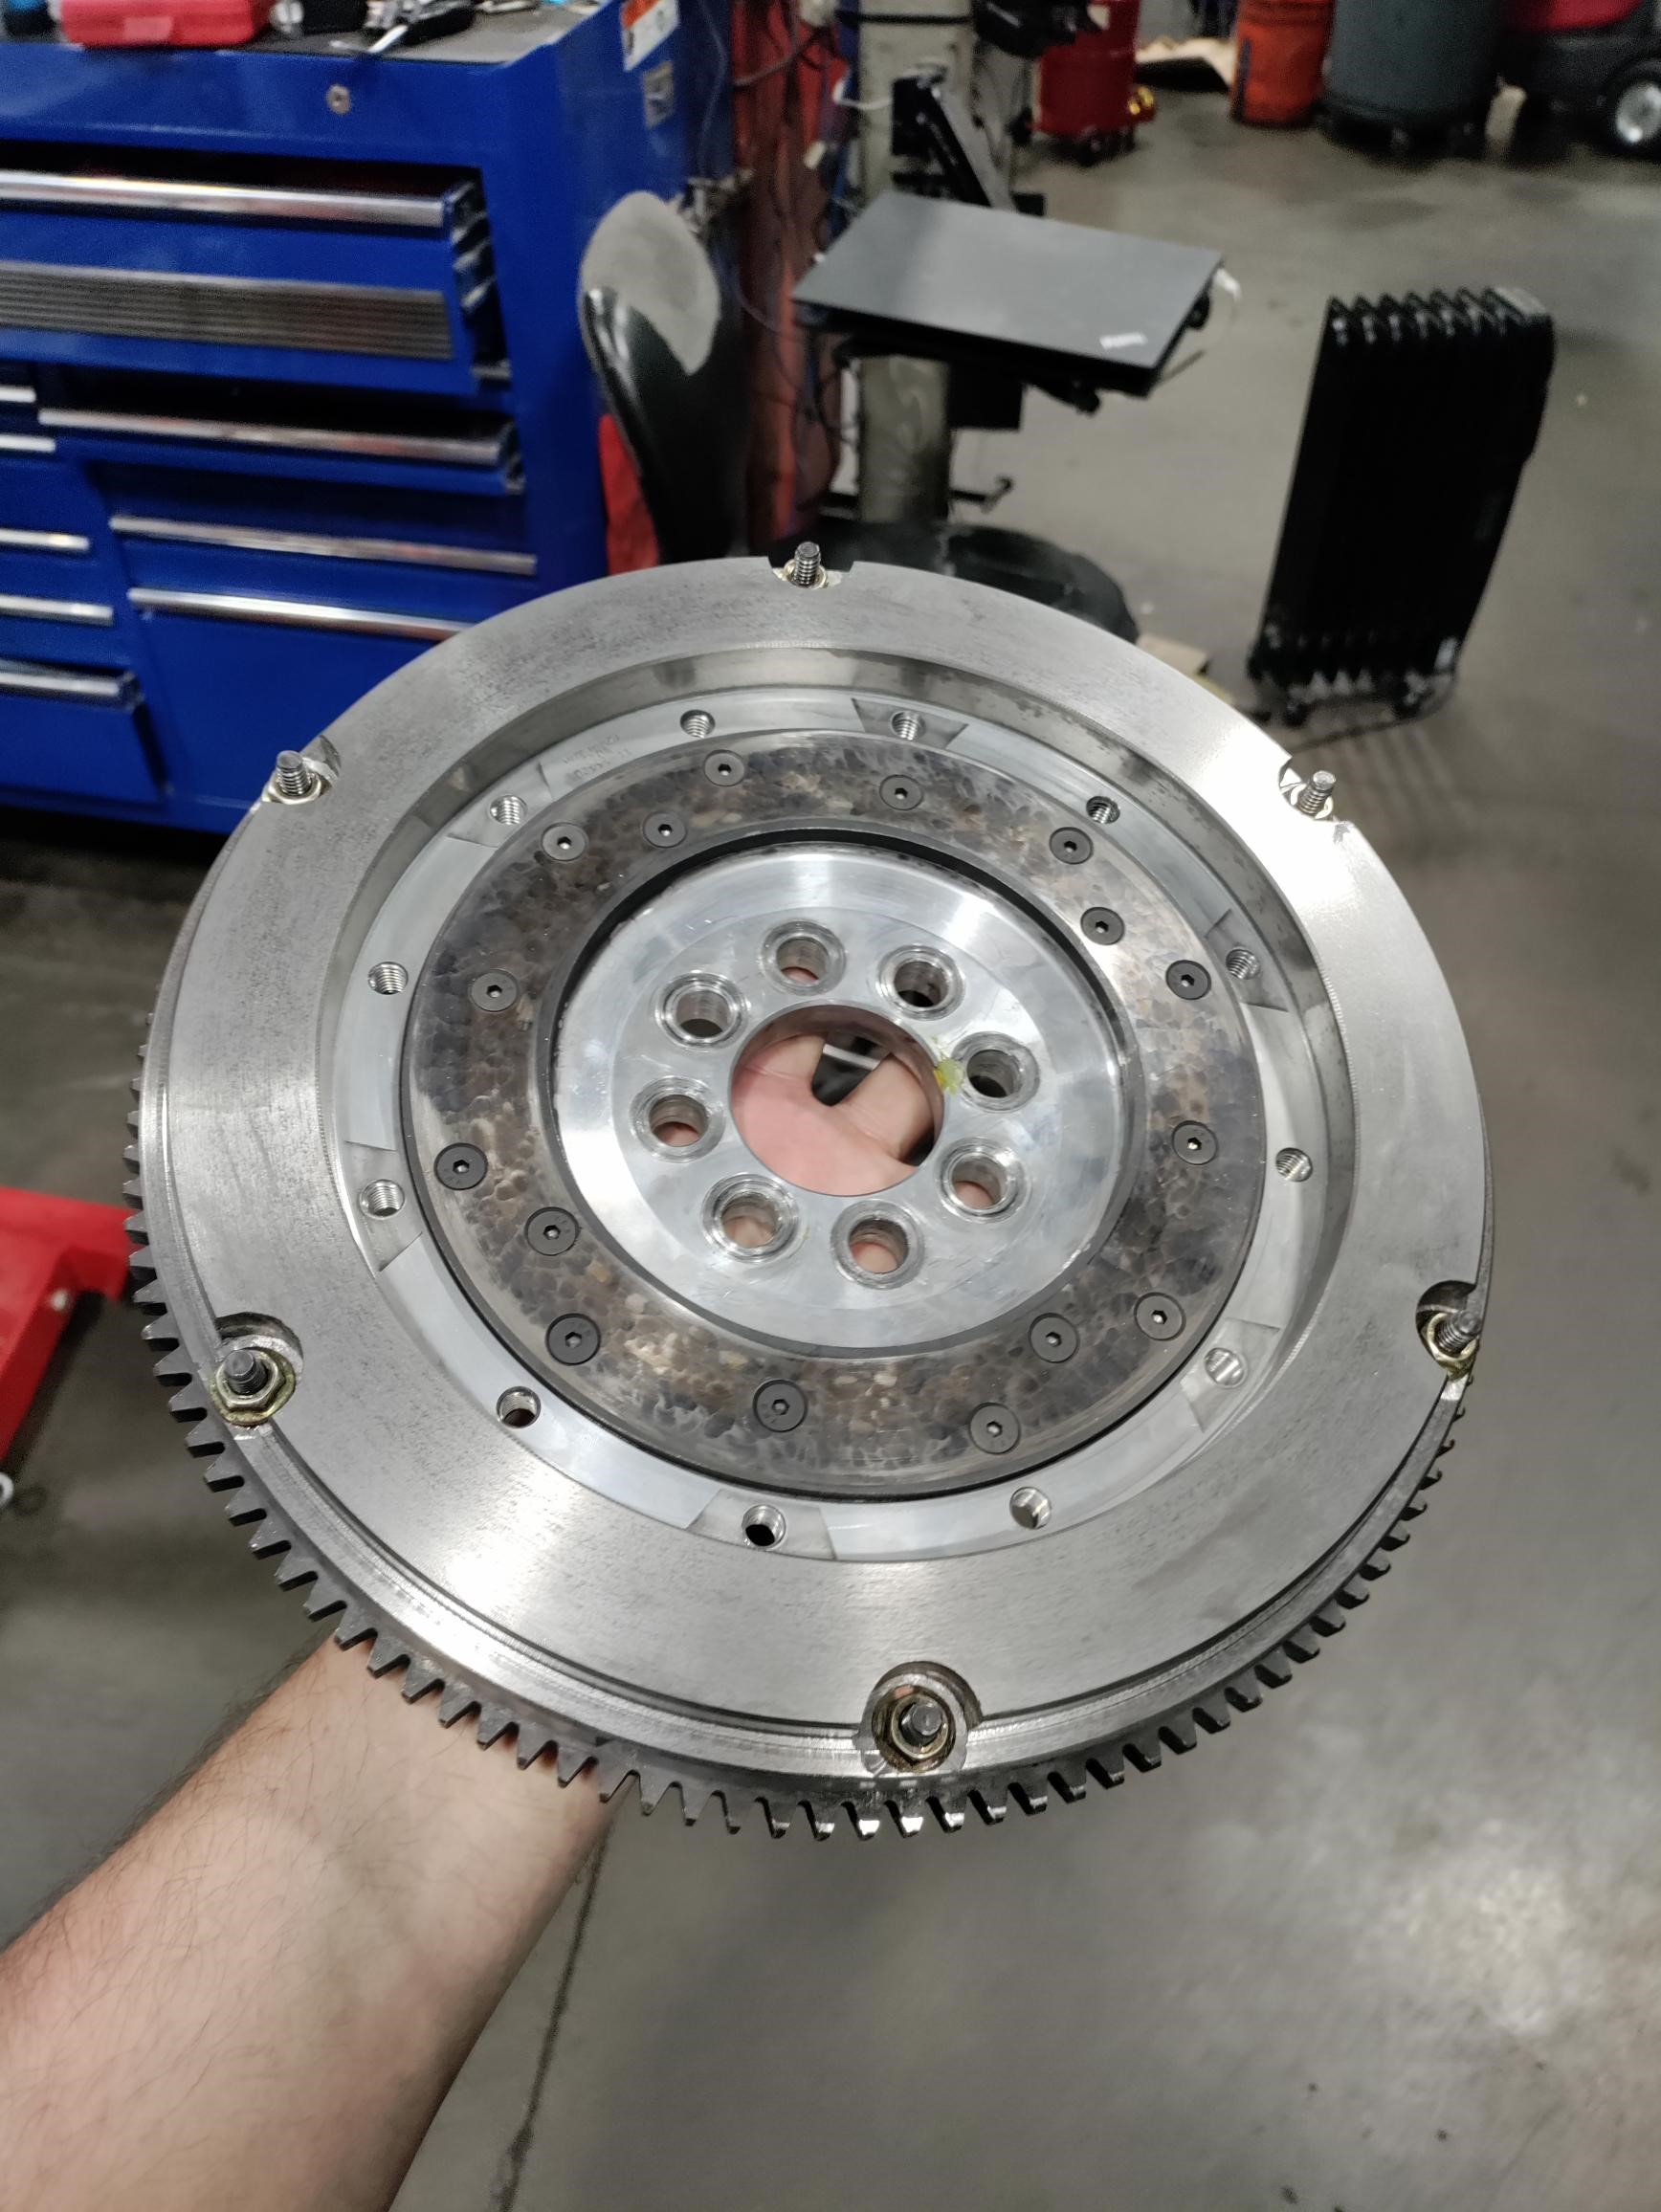
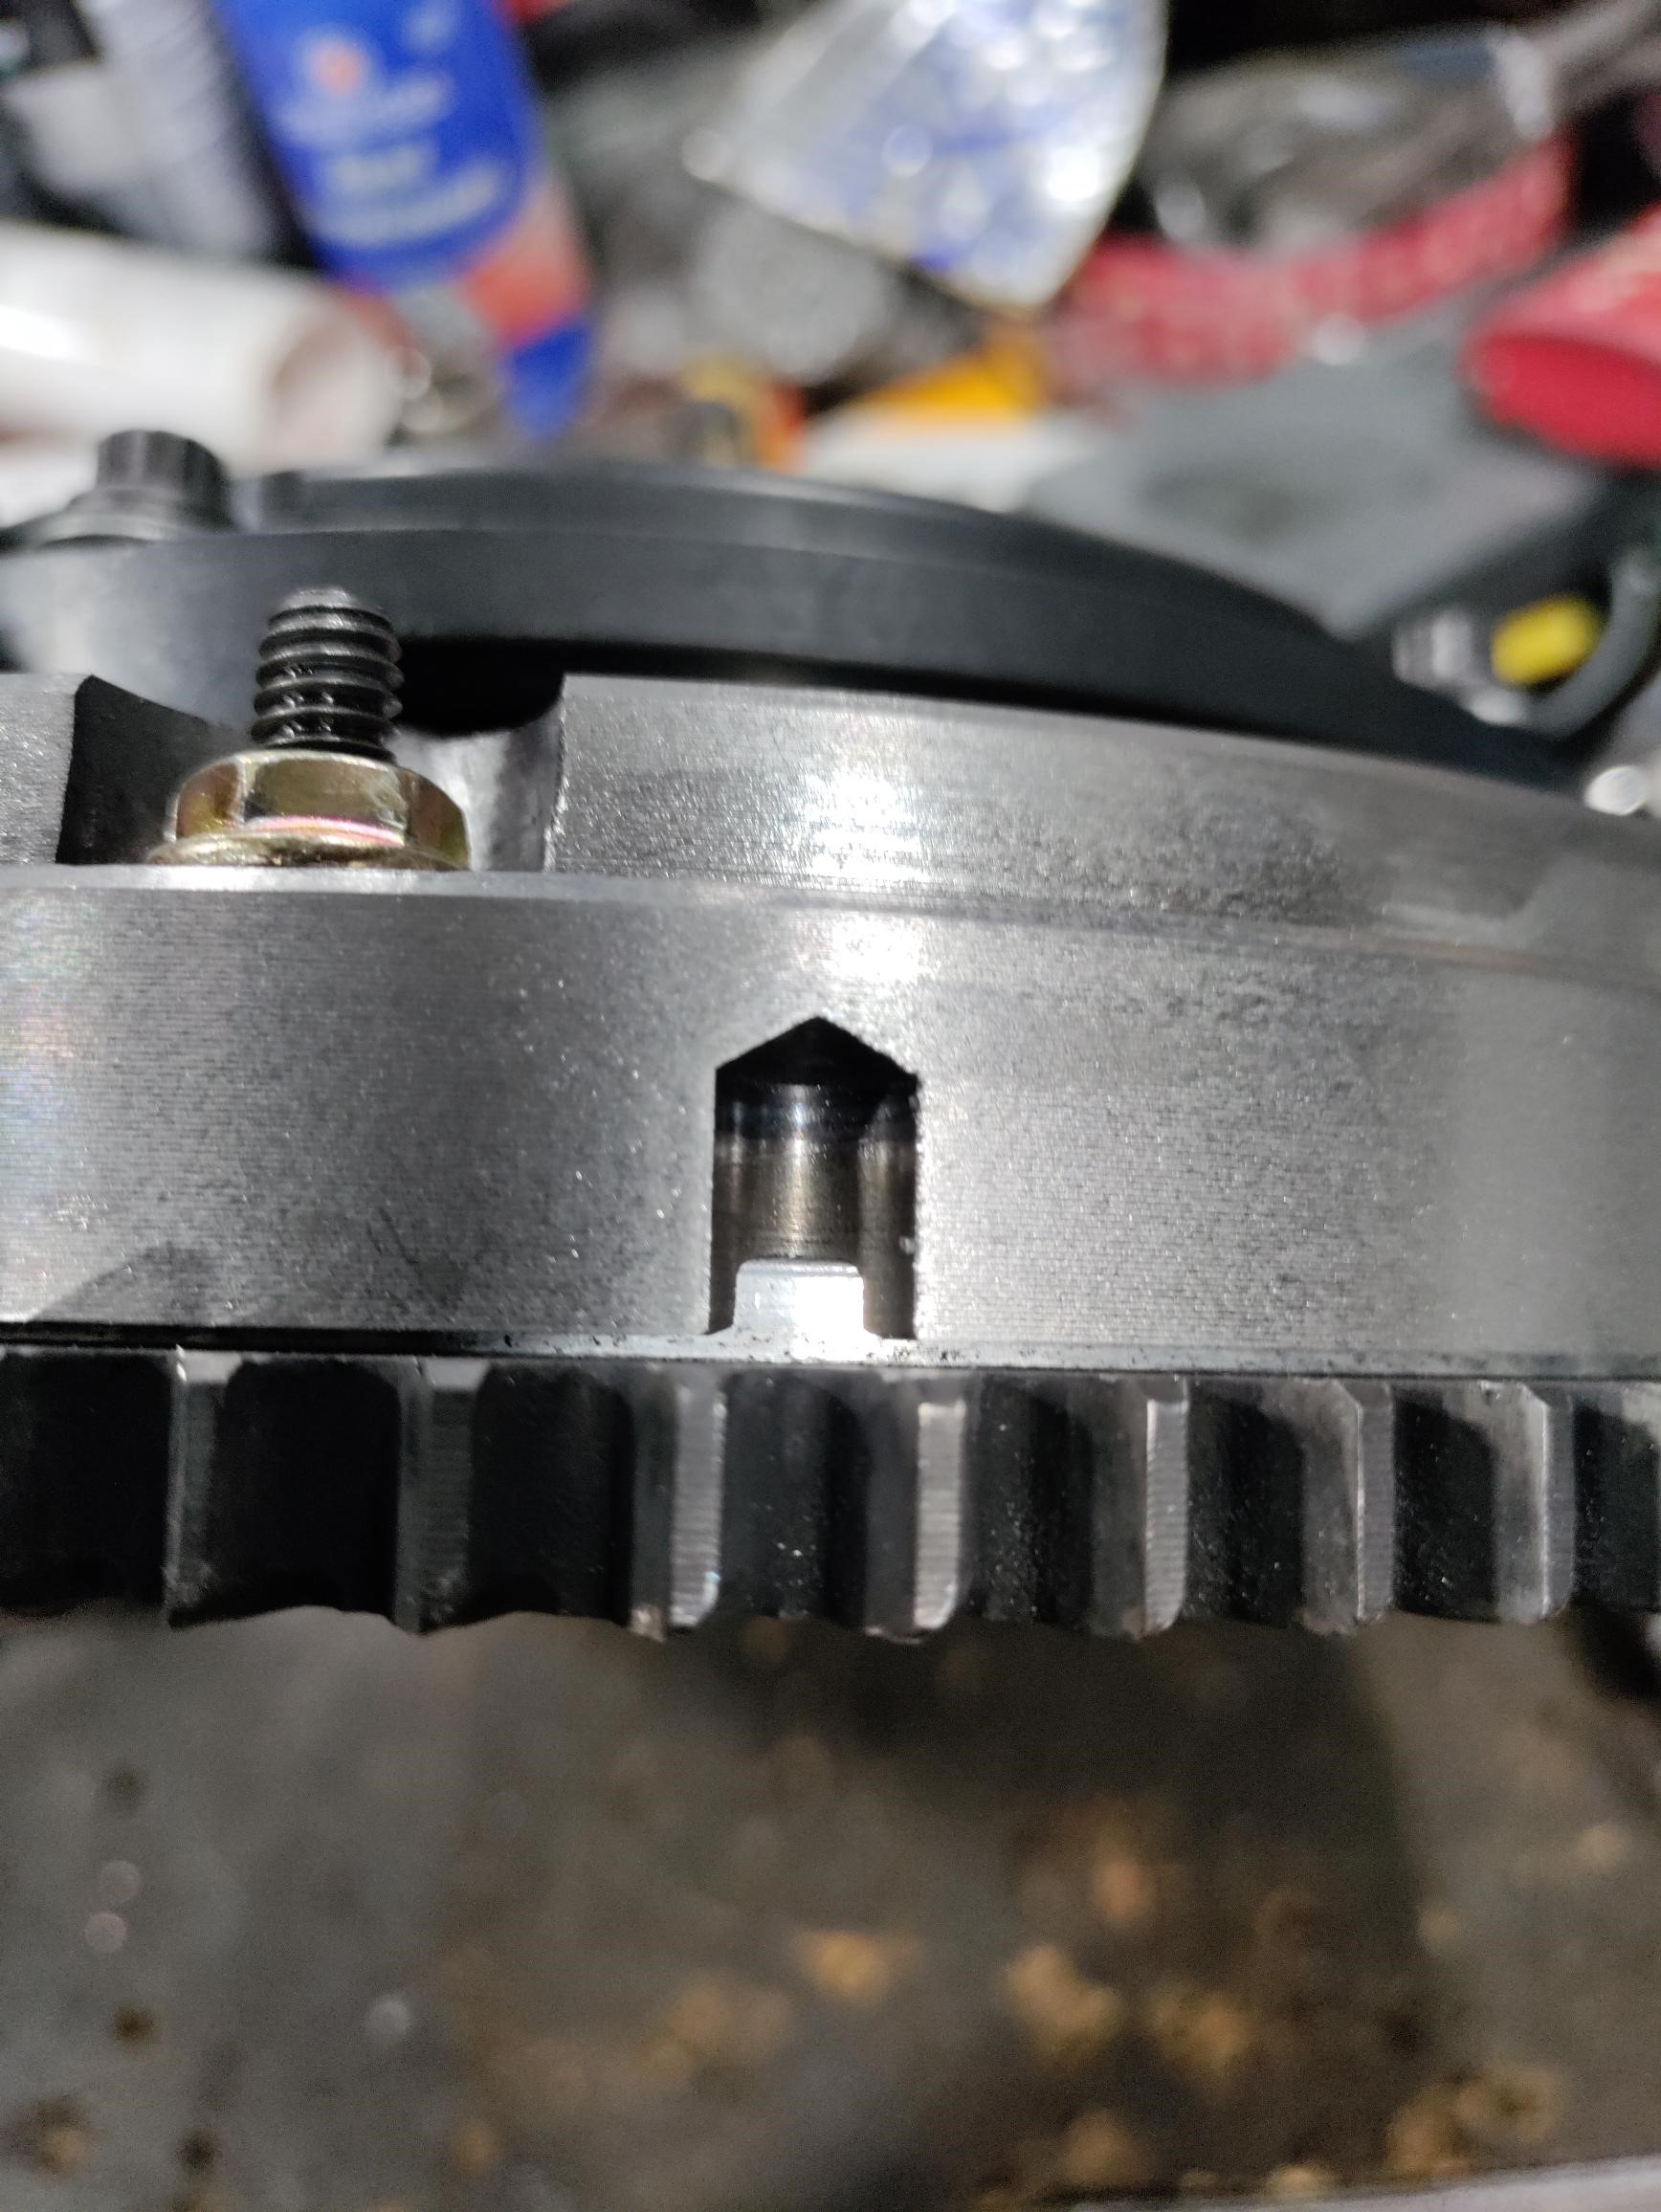
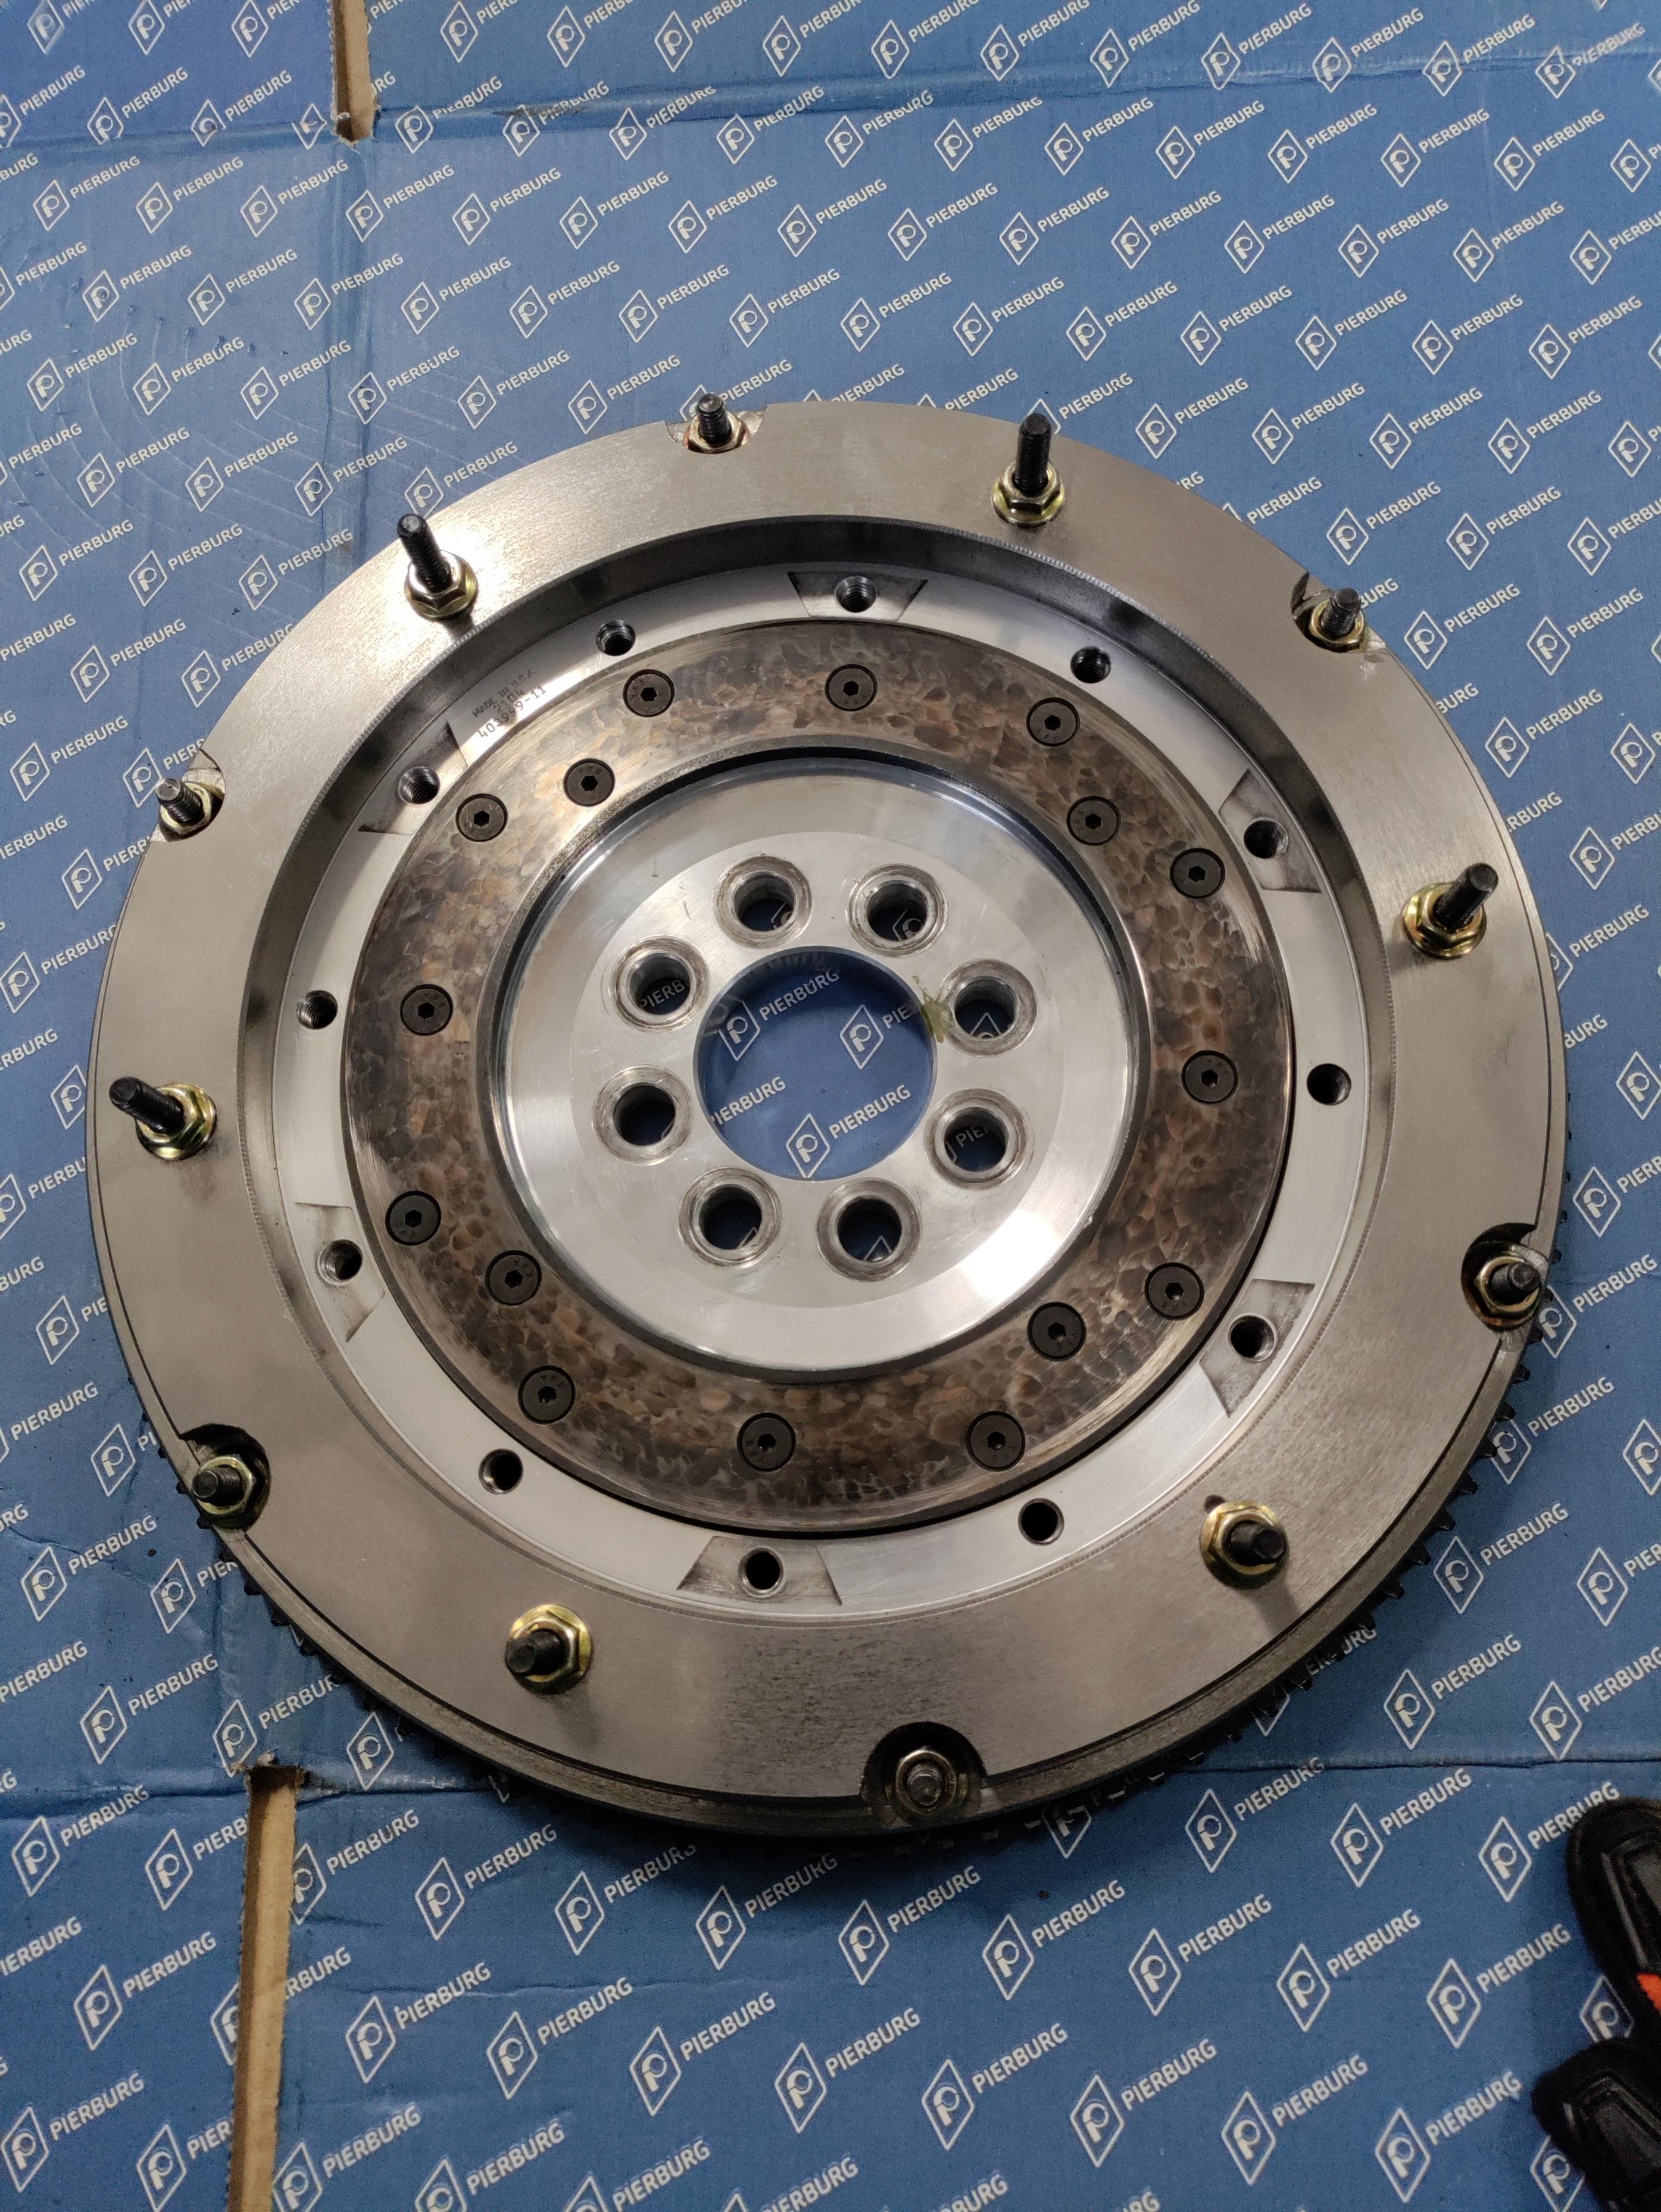
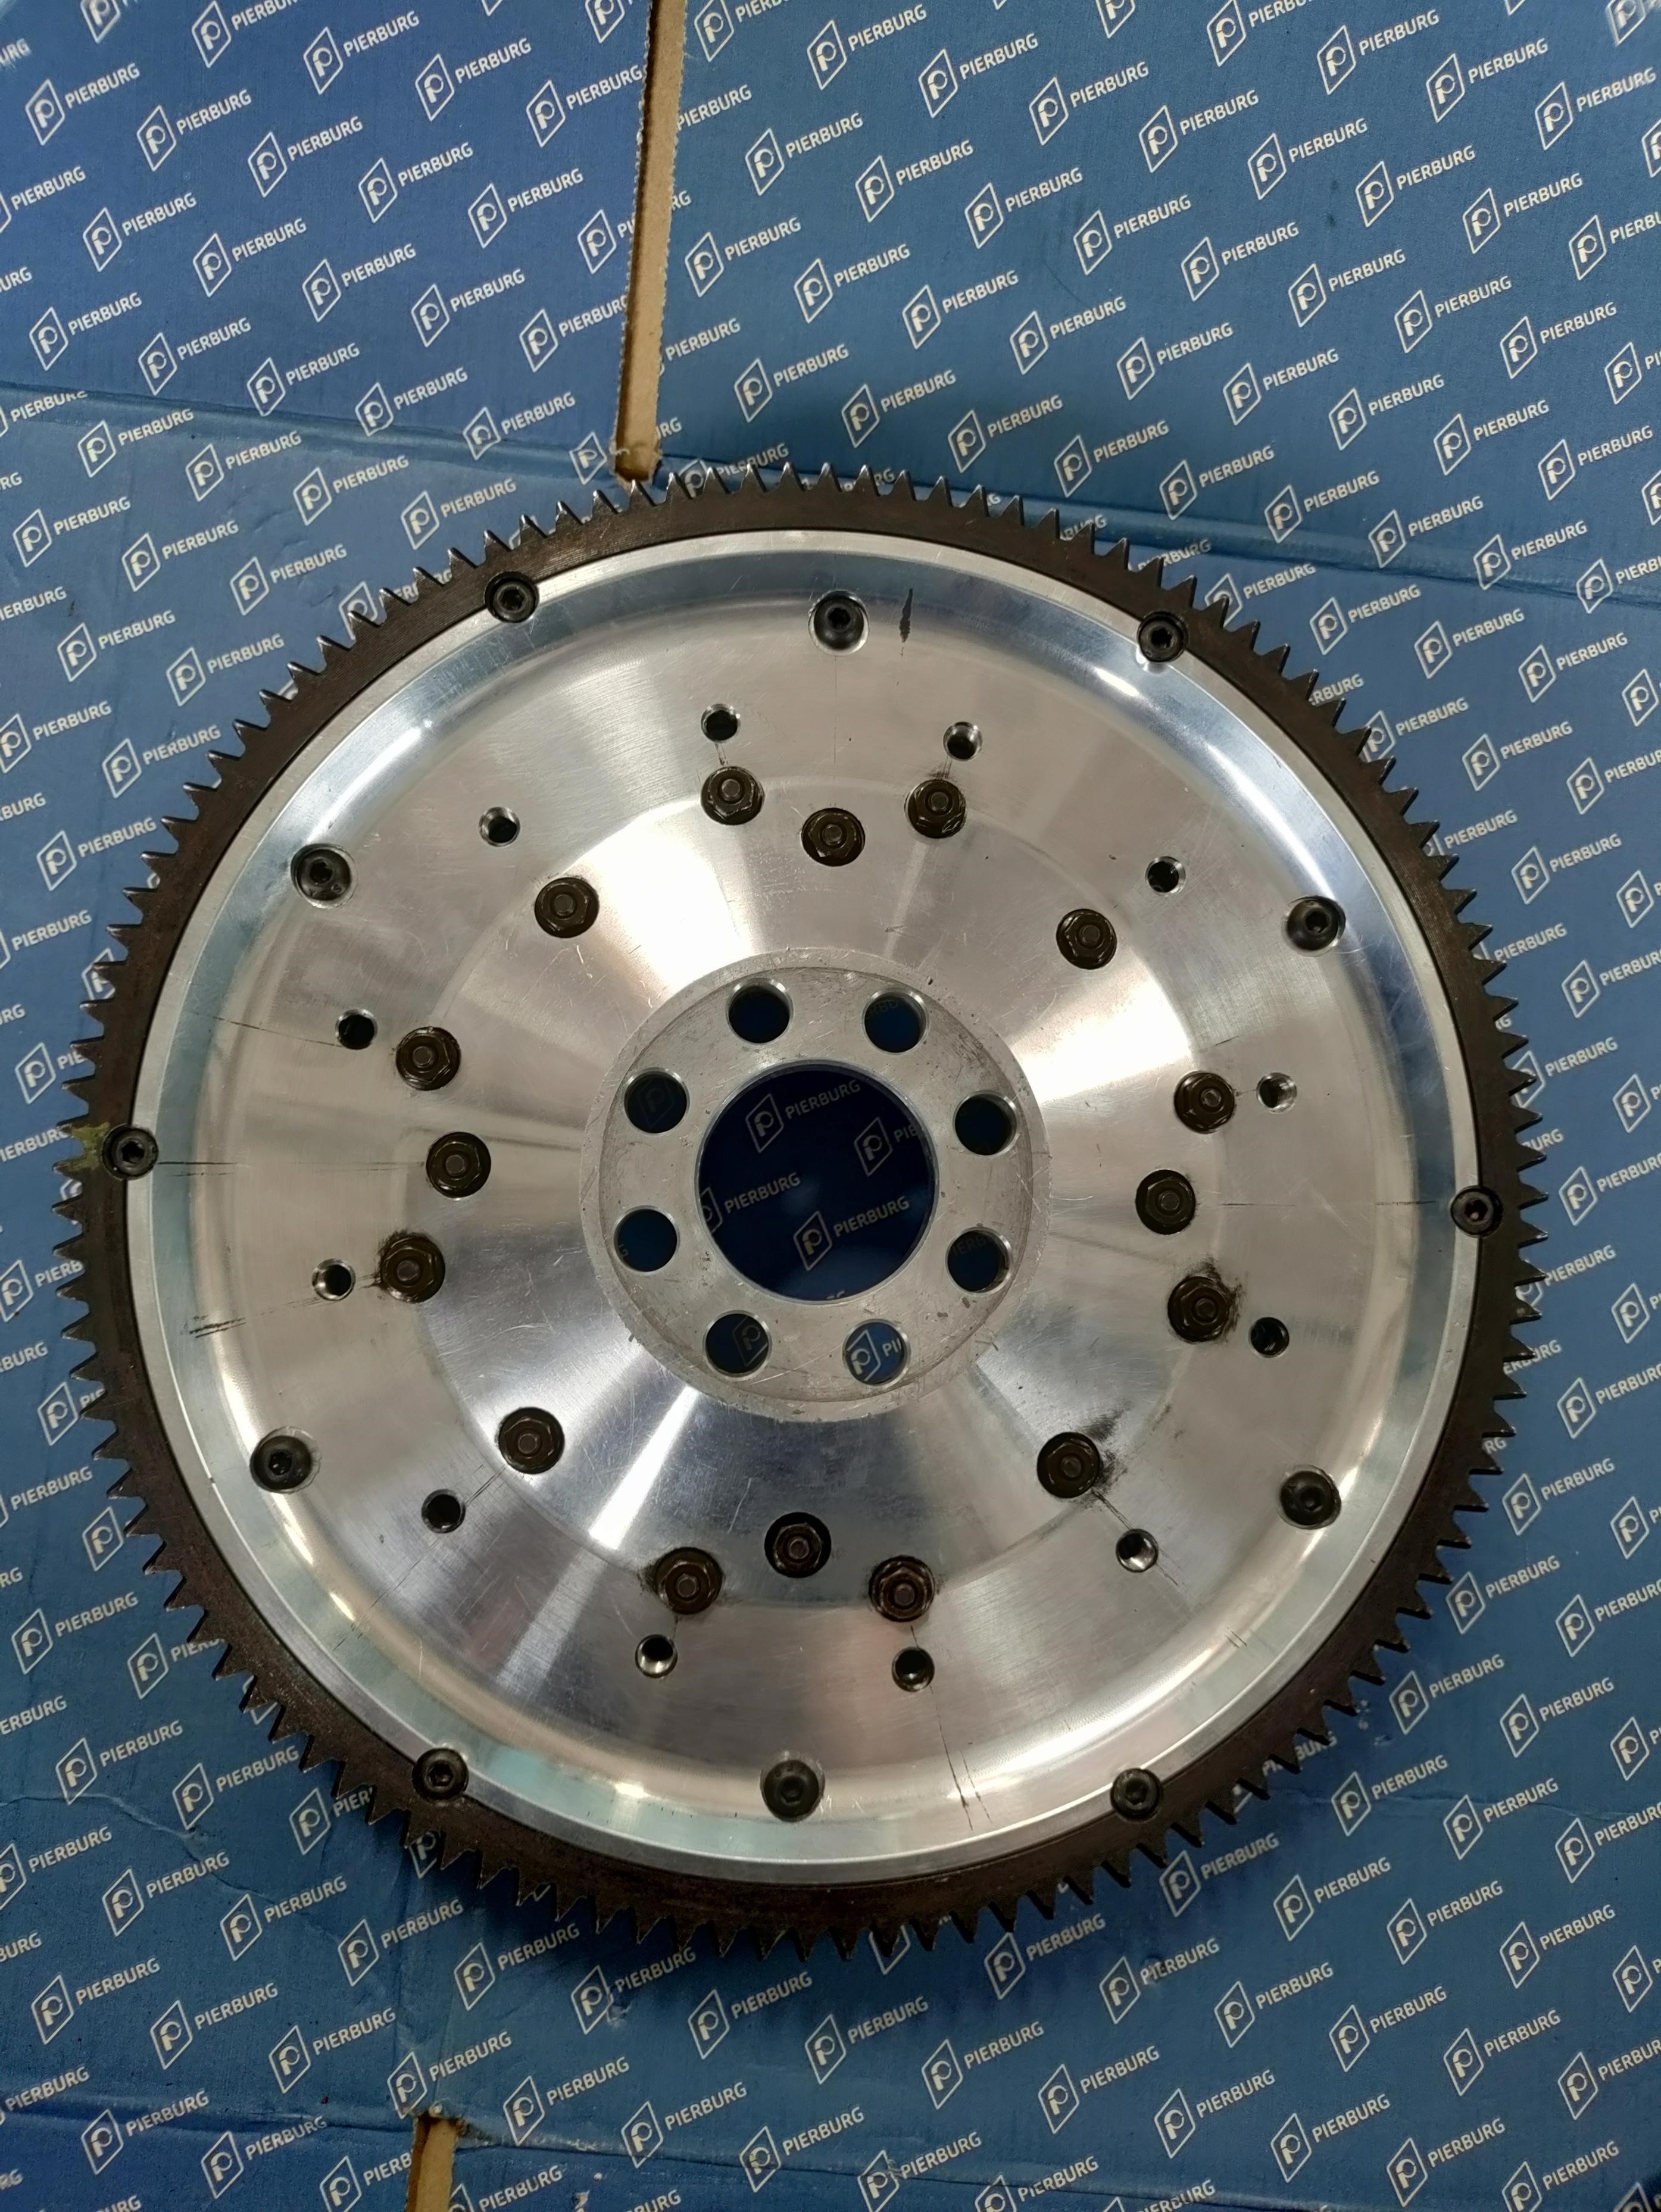
Finishing up the A/C so I thought I'd make it more fun to drive. Made a tight slip fit arbor, cut down the old flywheel and made a weight for the new aluminum one. 6lbs was way too light. Added 12lbs to the flywheel. Clutch and flywheel together weigh in at 25.8lbs which is still 5-7lbs lighter than stock. It took around 16 hours to make. Such a pain but I'm hoping it will be more pleasant to drive and be able to idle under 1000rpms now.


Reply
2
2
04-18-2023, 06:00 PM
#272
Senior Member
Thread Starter
Join Date: Jan 2011
Location: sacramento ,ca
Posts: 568
Total Cats: 162
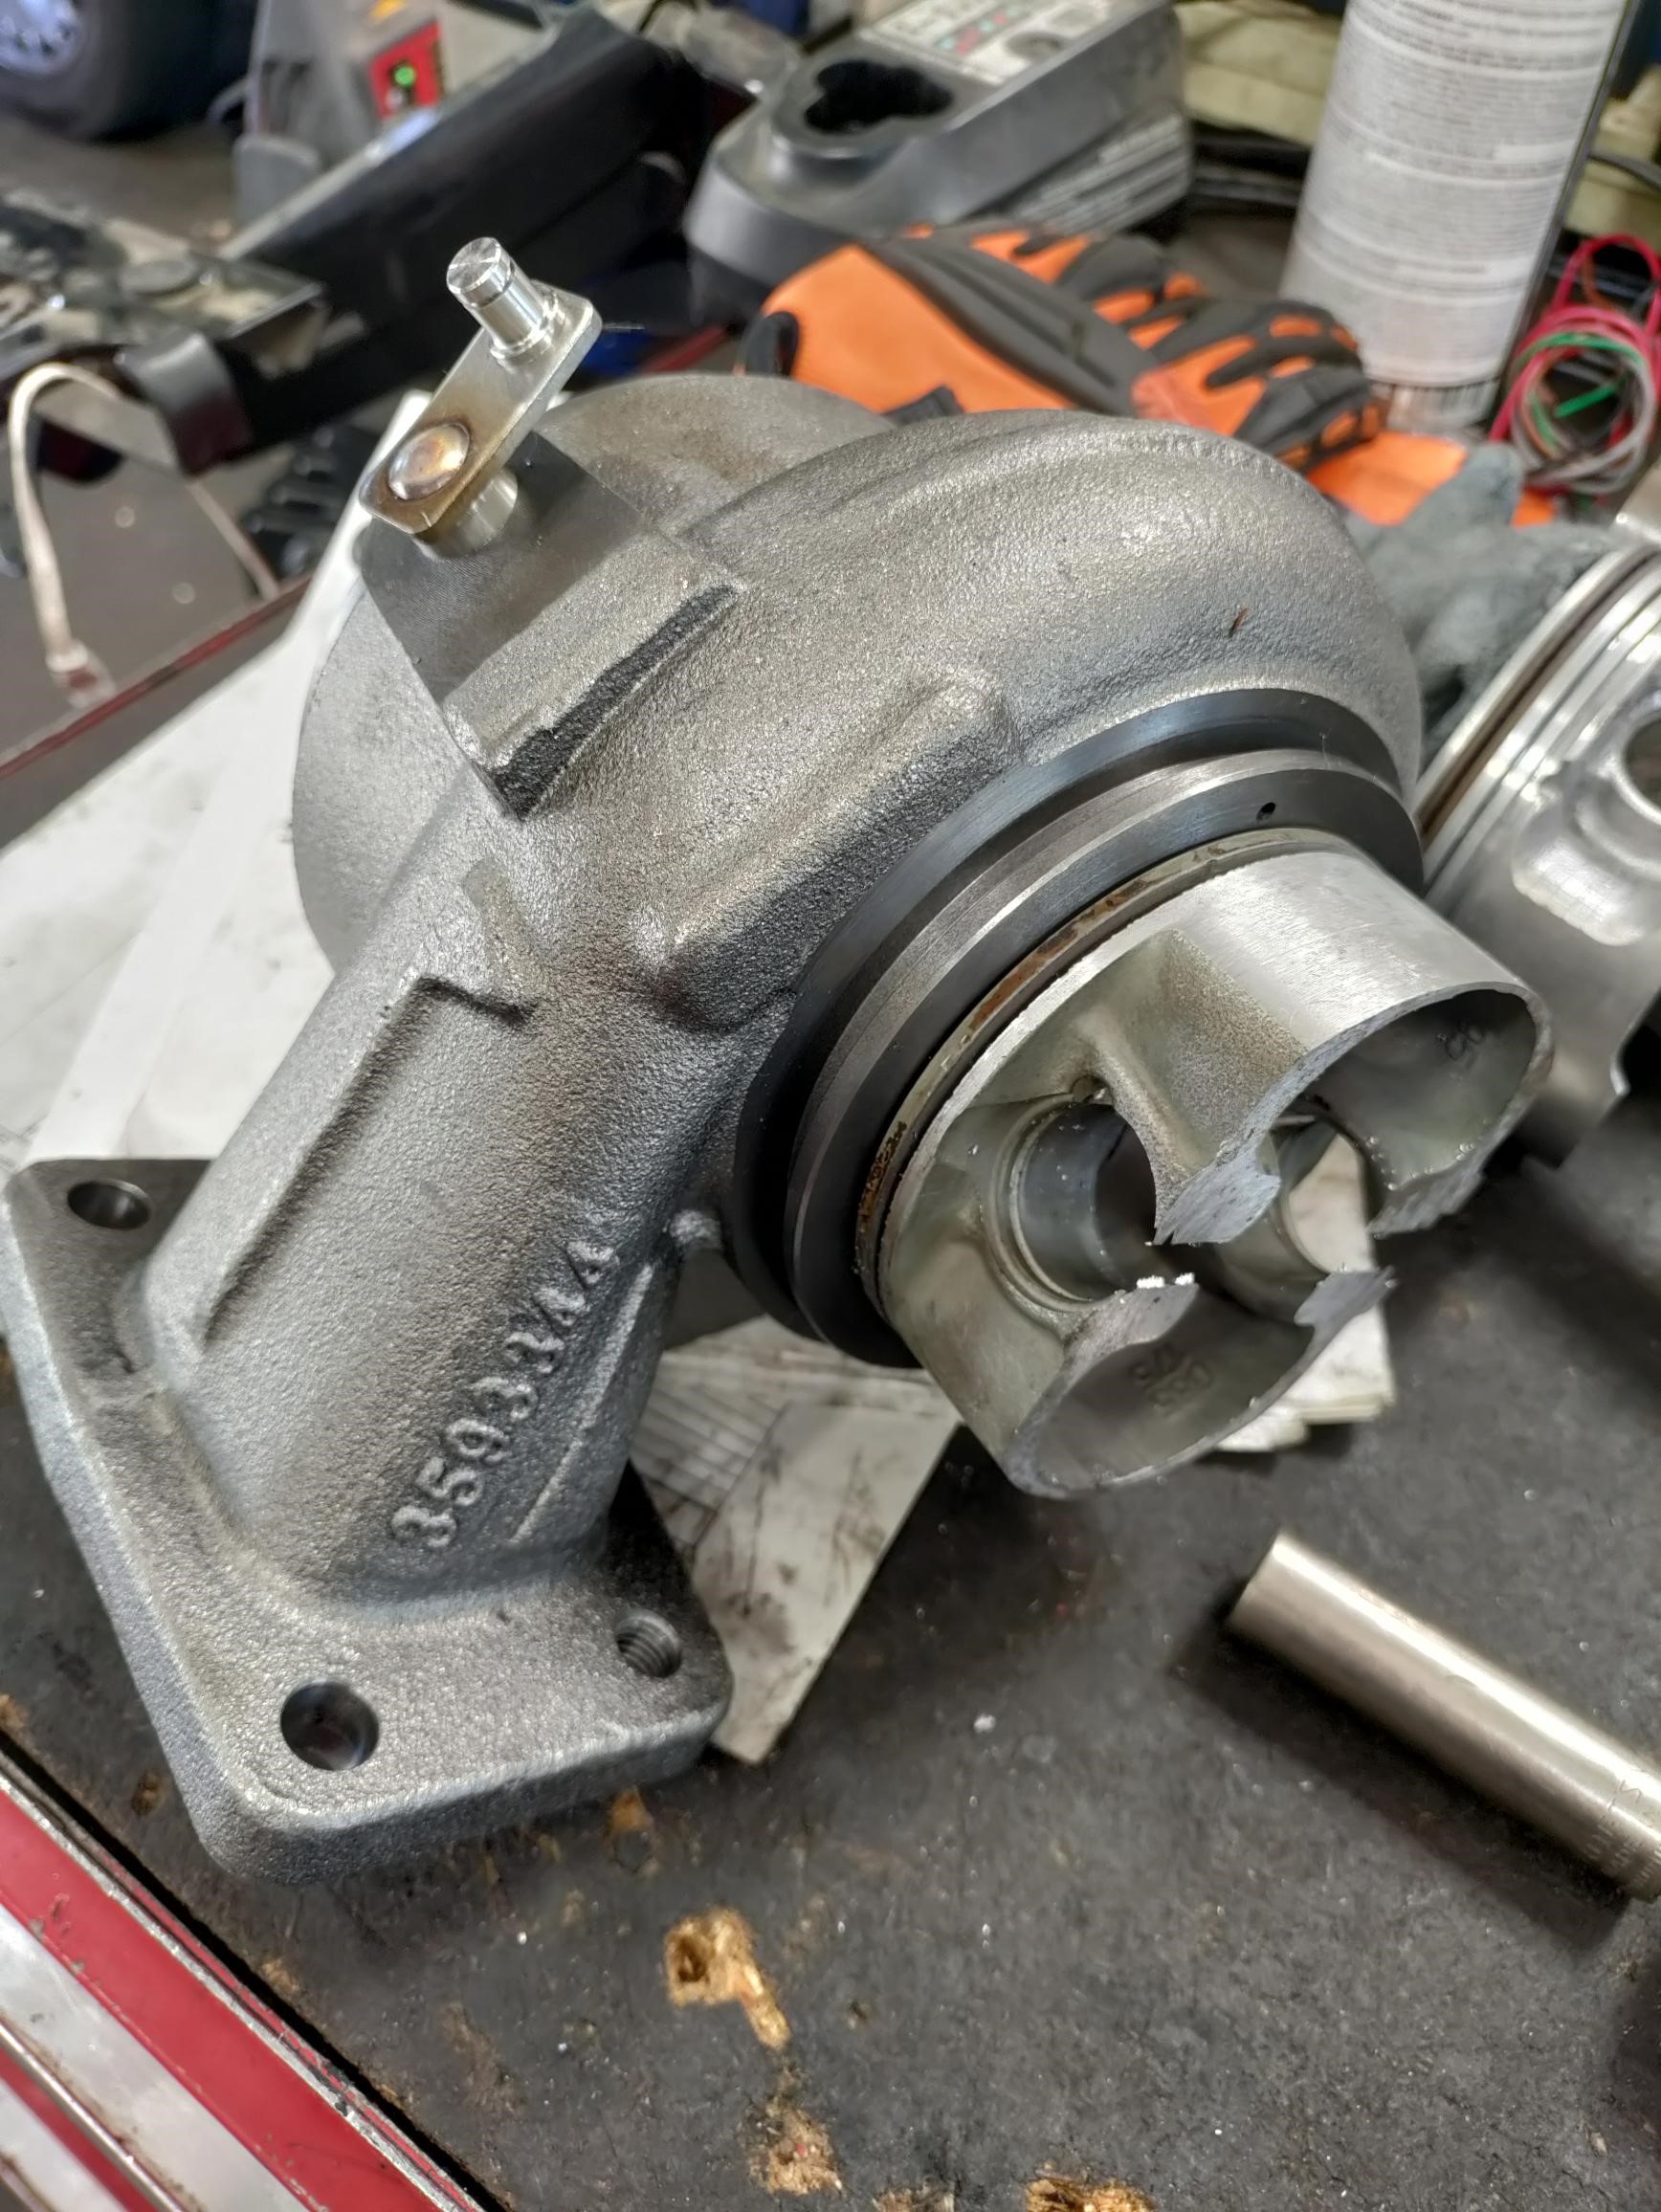
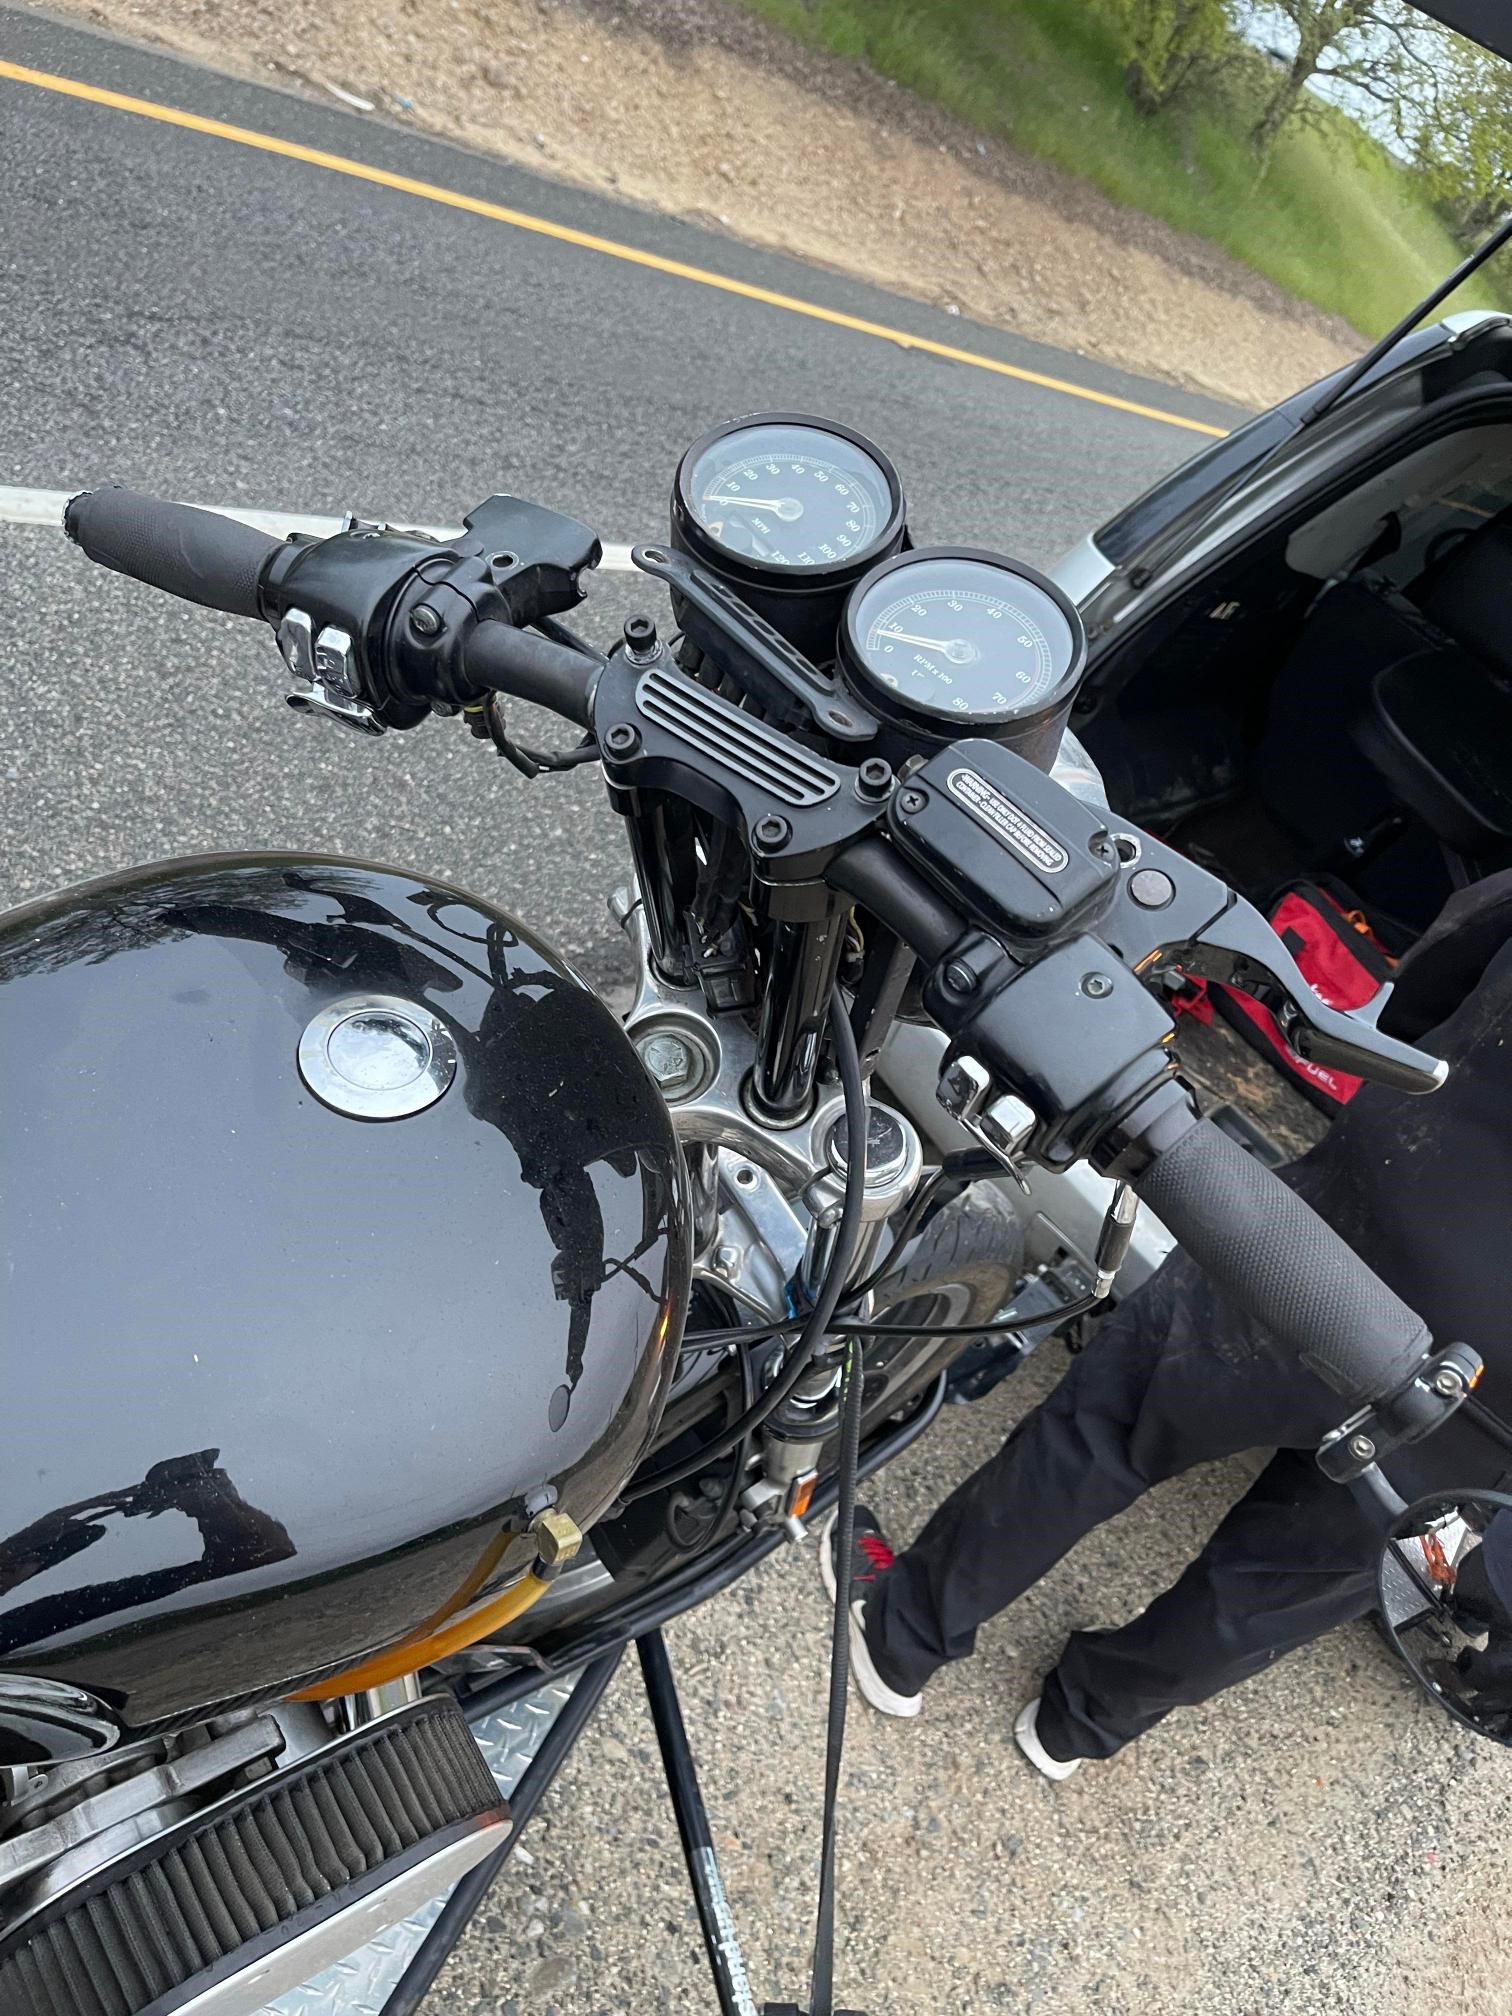
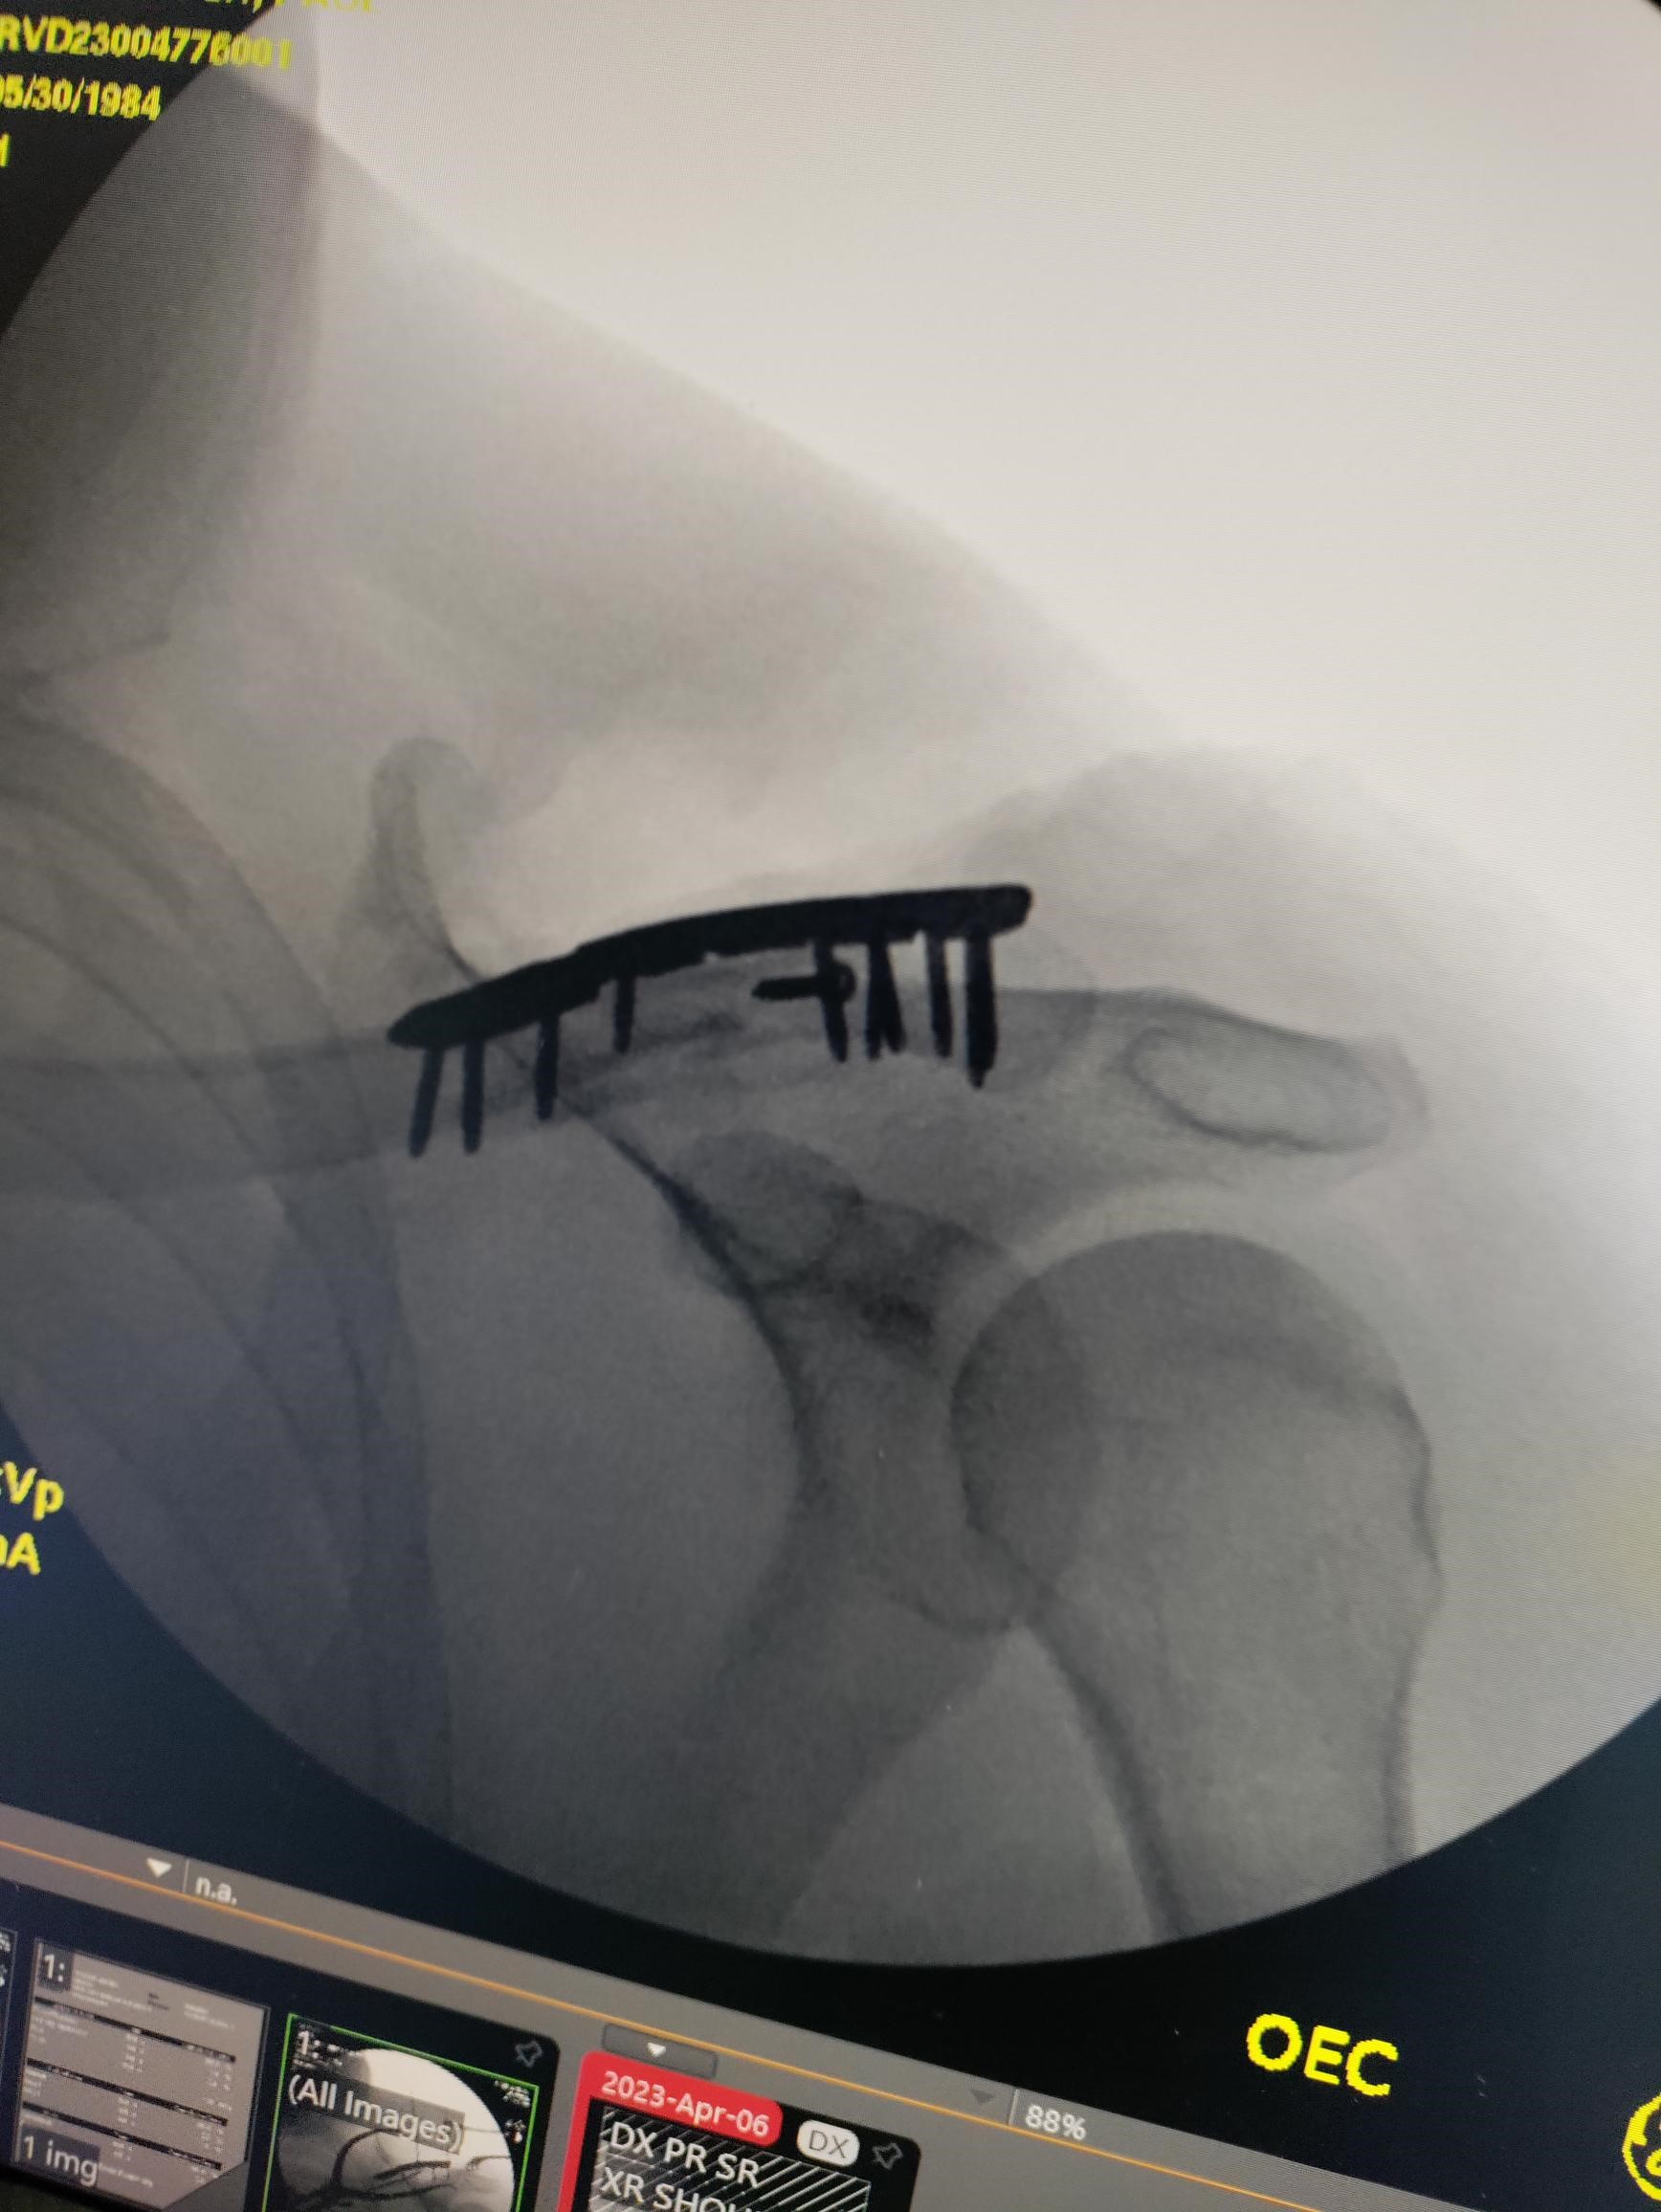
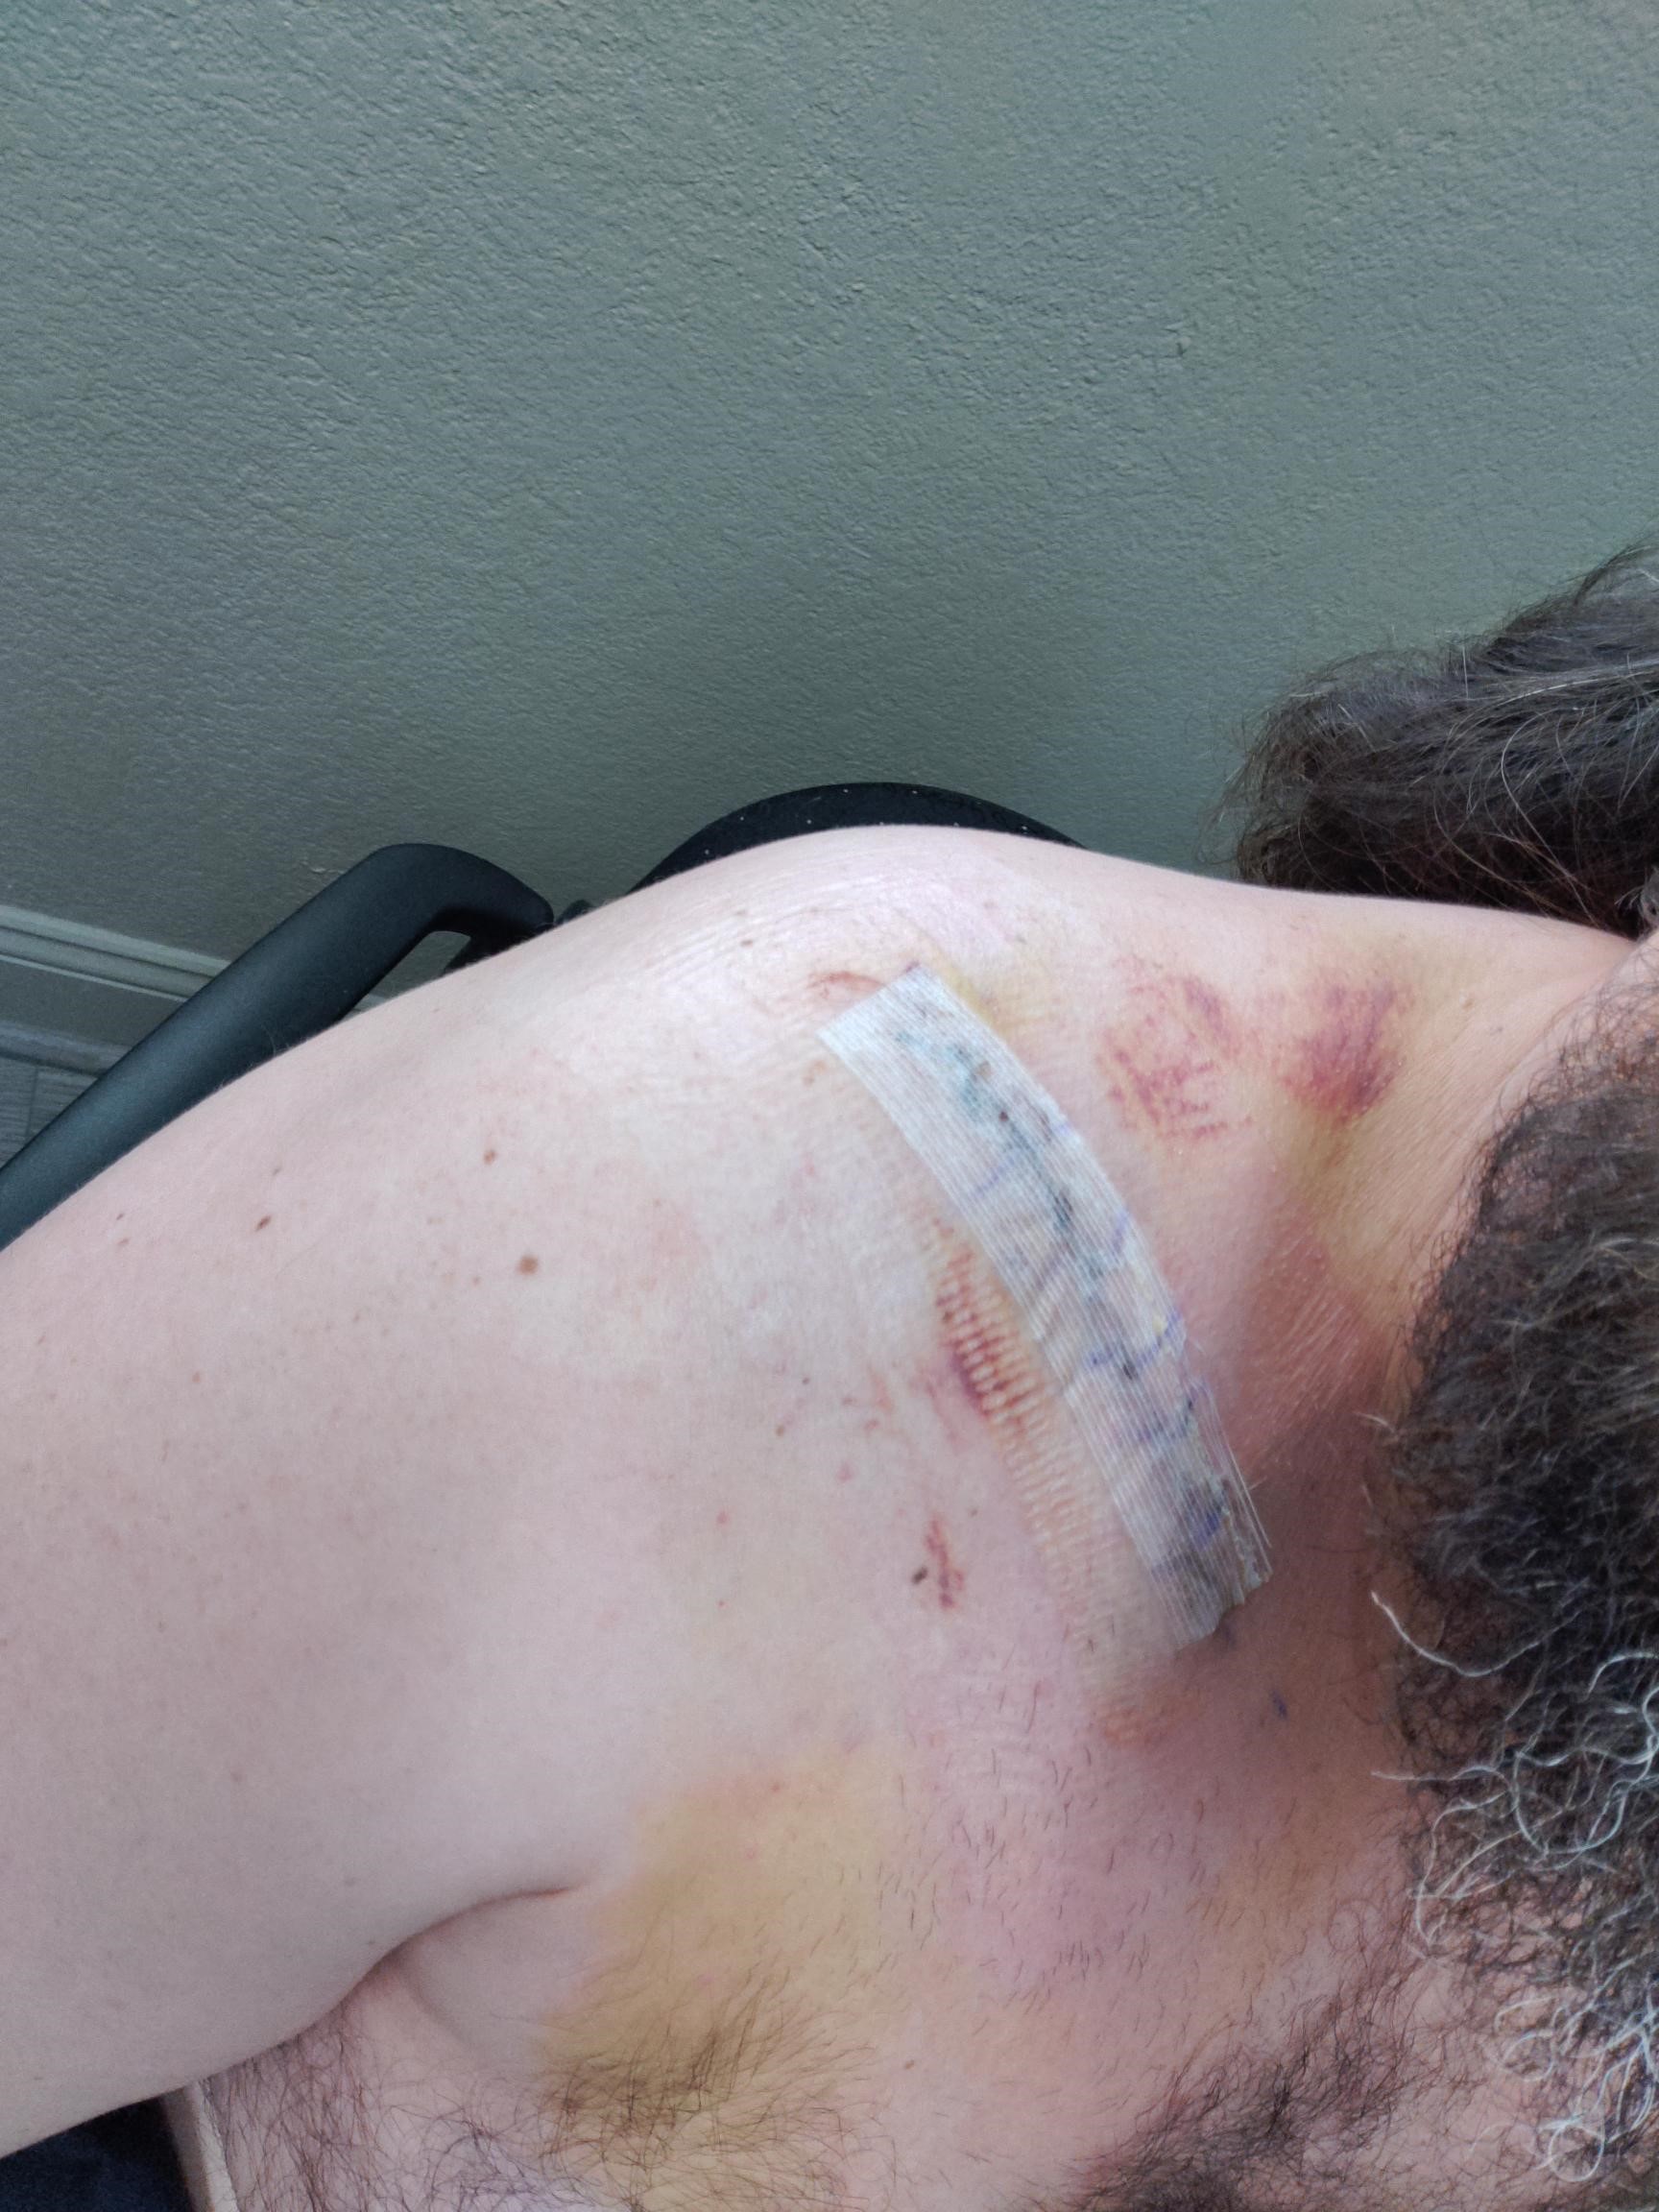
UPDATE: Flywheel is balanced, took it for a drive then the turbo blew, dropped the turbo off to get built and got a cheapo housing and machined a piston to press into the center section so I could drive it NA and get the alignment done. Then I wrecked my Harley. I can't work on anything for a few weeks until my ribs and collar bone heal. Hopefully my turbo gets finished soon so it's waiting for install it as I heal up.
Reply
0
0

 you literally never cease to amuse me
  05-11-2023, 11:29 AM
#275
Senior Member
Thread Starter
Join Date: Jan 2011
Location: sacramento ,ca
Posts: 568
Total Cats: 162
After looking at so many different ways to get the alignment heads to clear without hitting my fenders it dawned on me to just put the skinnier wheels on that leave tons of room. I feel stupid when the solutions are so simple. Alignment is done. Found the source of my a/c leak, it was coming from the base of an r12 filter that I'm using as an accumulator for my cycling switch. sealed the threads and I don't see any further leaks yet. Thanks to my awesome turbo block off piston, I've been able to drive it around to get all the little things taken care of so it's ready to go when the turbo comes back. Fuel tank is painted black, the silver one has been bugging me for quite some time.


Reply
1
1
05-13-2023, 05:48 PM
#276
Senior Member
Thread Starter
Join Date: Jan 2011
Location: sacramento ,ca
Posts: 568
Total Cats: 162
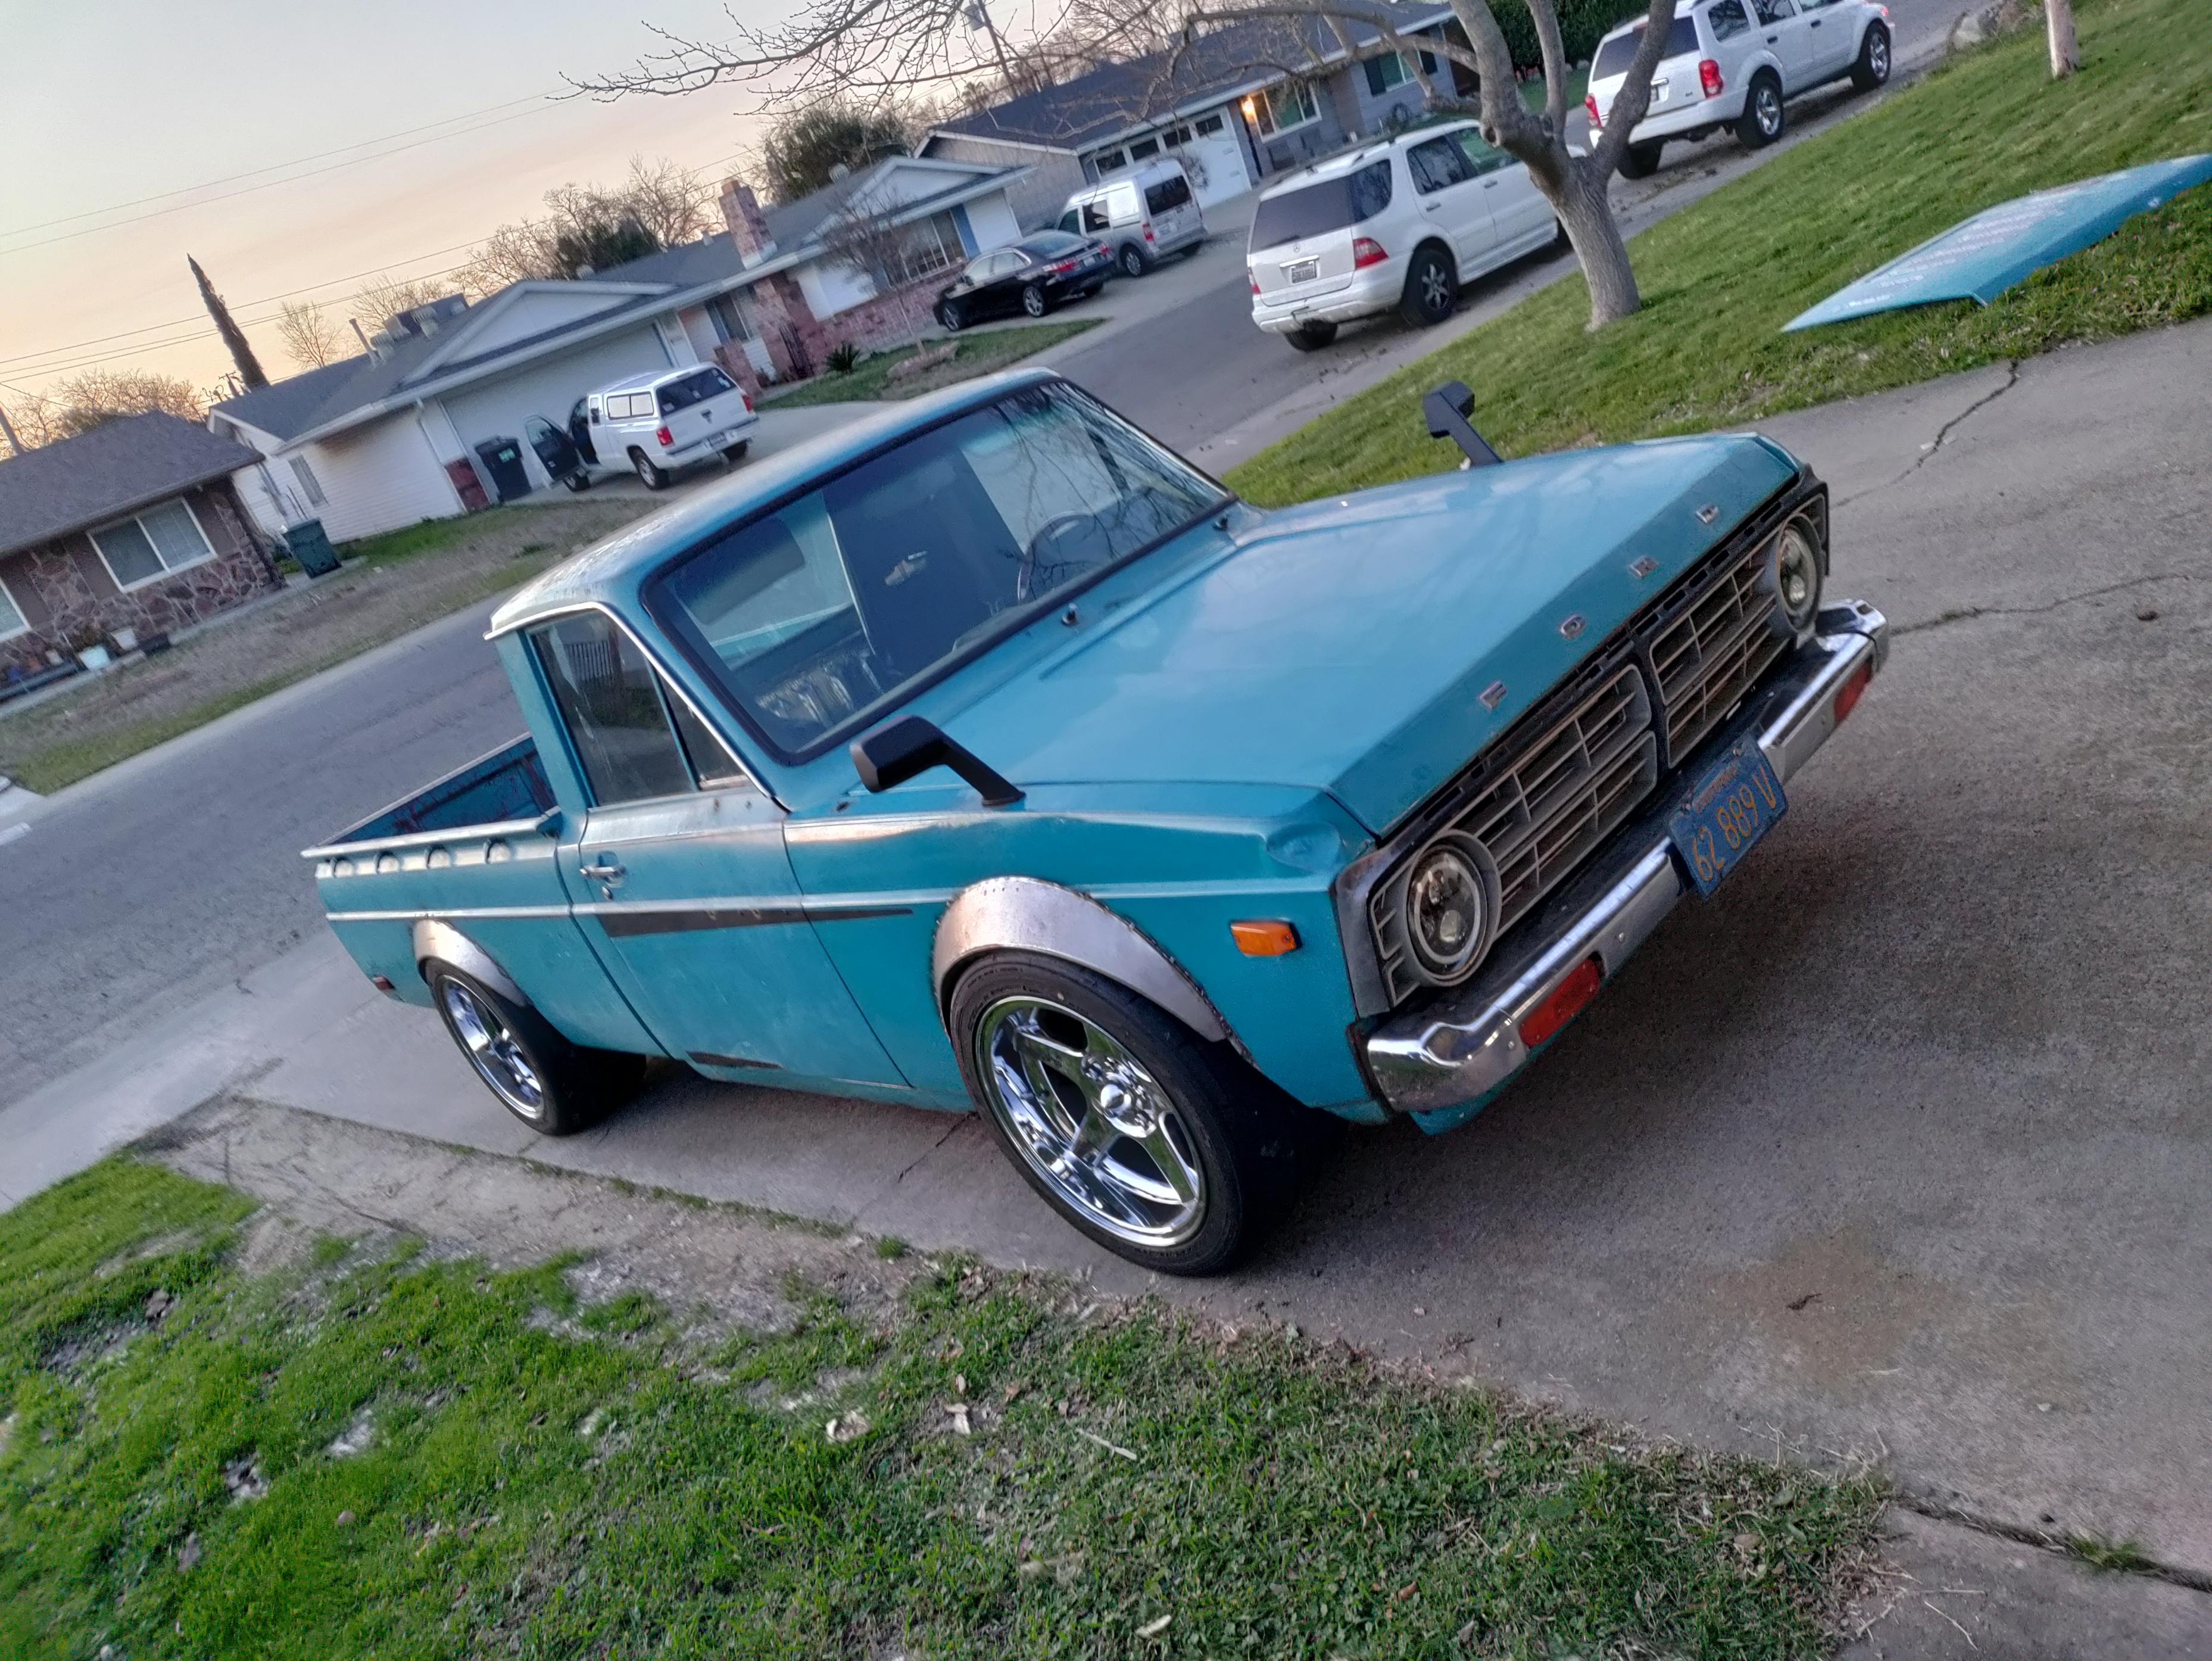
the rub marks on the flares are old when it was like 2" lower. there is plenty of clearance now.
Working on finishing up the interior, foamed up the center console. As soon as it cures i can shave it down into shape and fiberglass over it.


Got a message on fordfestiva.com that someone needed a hydro trans ims adapter for their build. luckily i never throw anything away and still have some of my jigs from over a decade ago.


Working on finishing up the interior, foamed up the center console. As soon as it cures i can shave it down into shape and fiberglass over it.
Got a message on fordfestiva.com that someone needed a hydro trans ims adapter for their build. luckily i never throw anything away and still have some of my jigs from over a decade ago.
Reply
0
0


 06-04-2023, 09:46 PM
#279
Senior Member
Thread Starter
Join Date: Jan 2011
Location: sacramento ,ca
Posts: 568
Total Cats: 162
More updates on the truck. Turbo is finished and back in. The oil catch can is mounted and connected, not running a filter just a draft tube to the bottom of the truck, the drivers door panel is installed but I ran out of rivets so ill have to wait til next weekend for the passenger side.


Reply
0
0
08-23-2023, 11:58 AM
#280
Senior Member
Thread Starter
Join Date: Jan 2011
Location: sacramento ,ca
Posts: 568
Total Cats: 162
More updates!
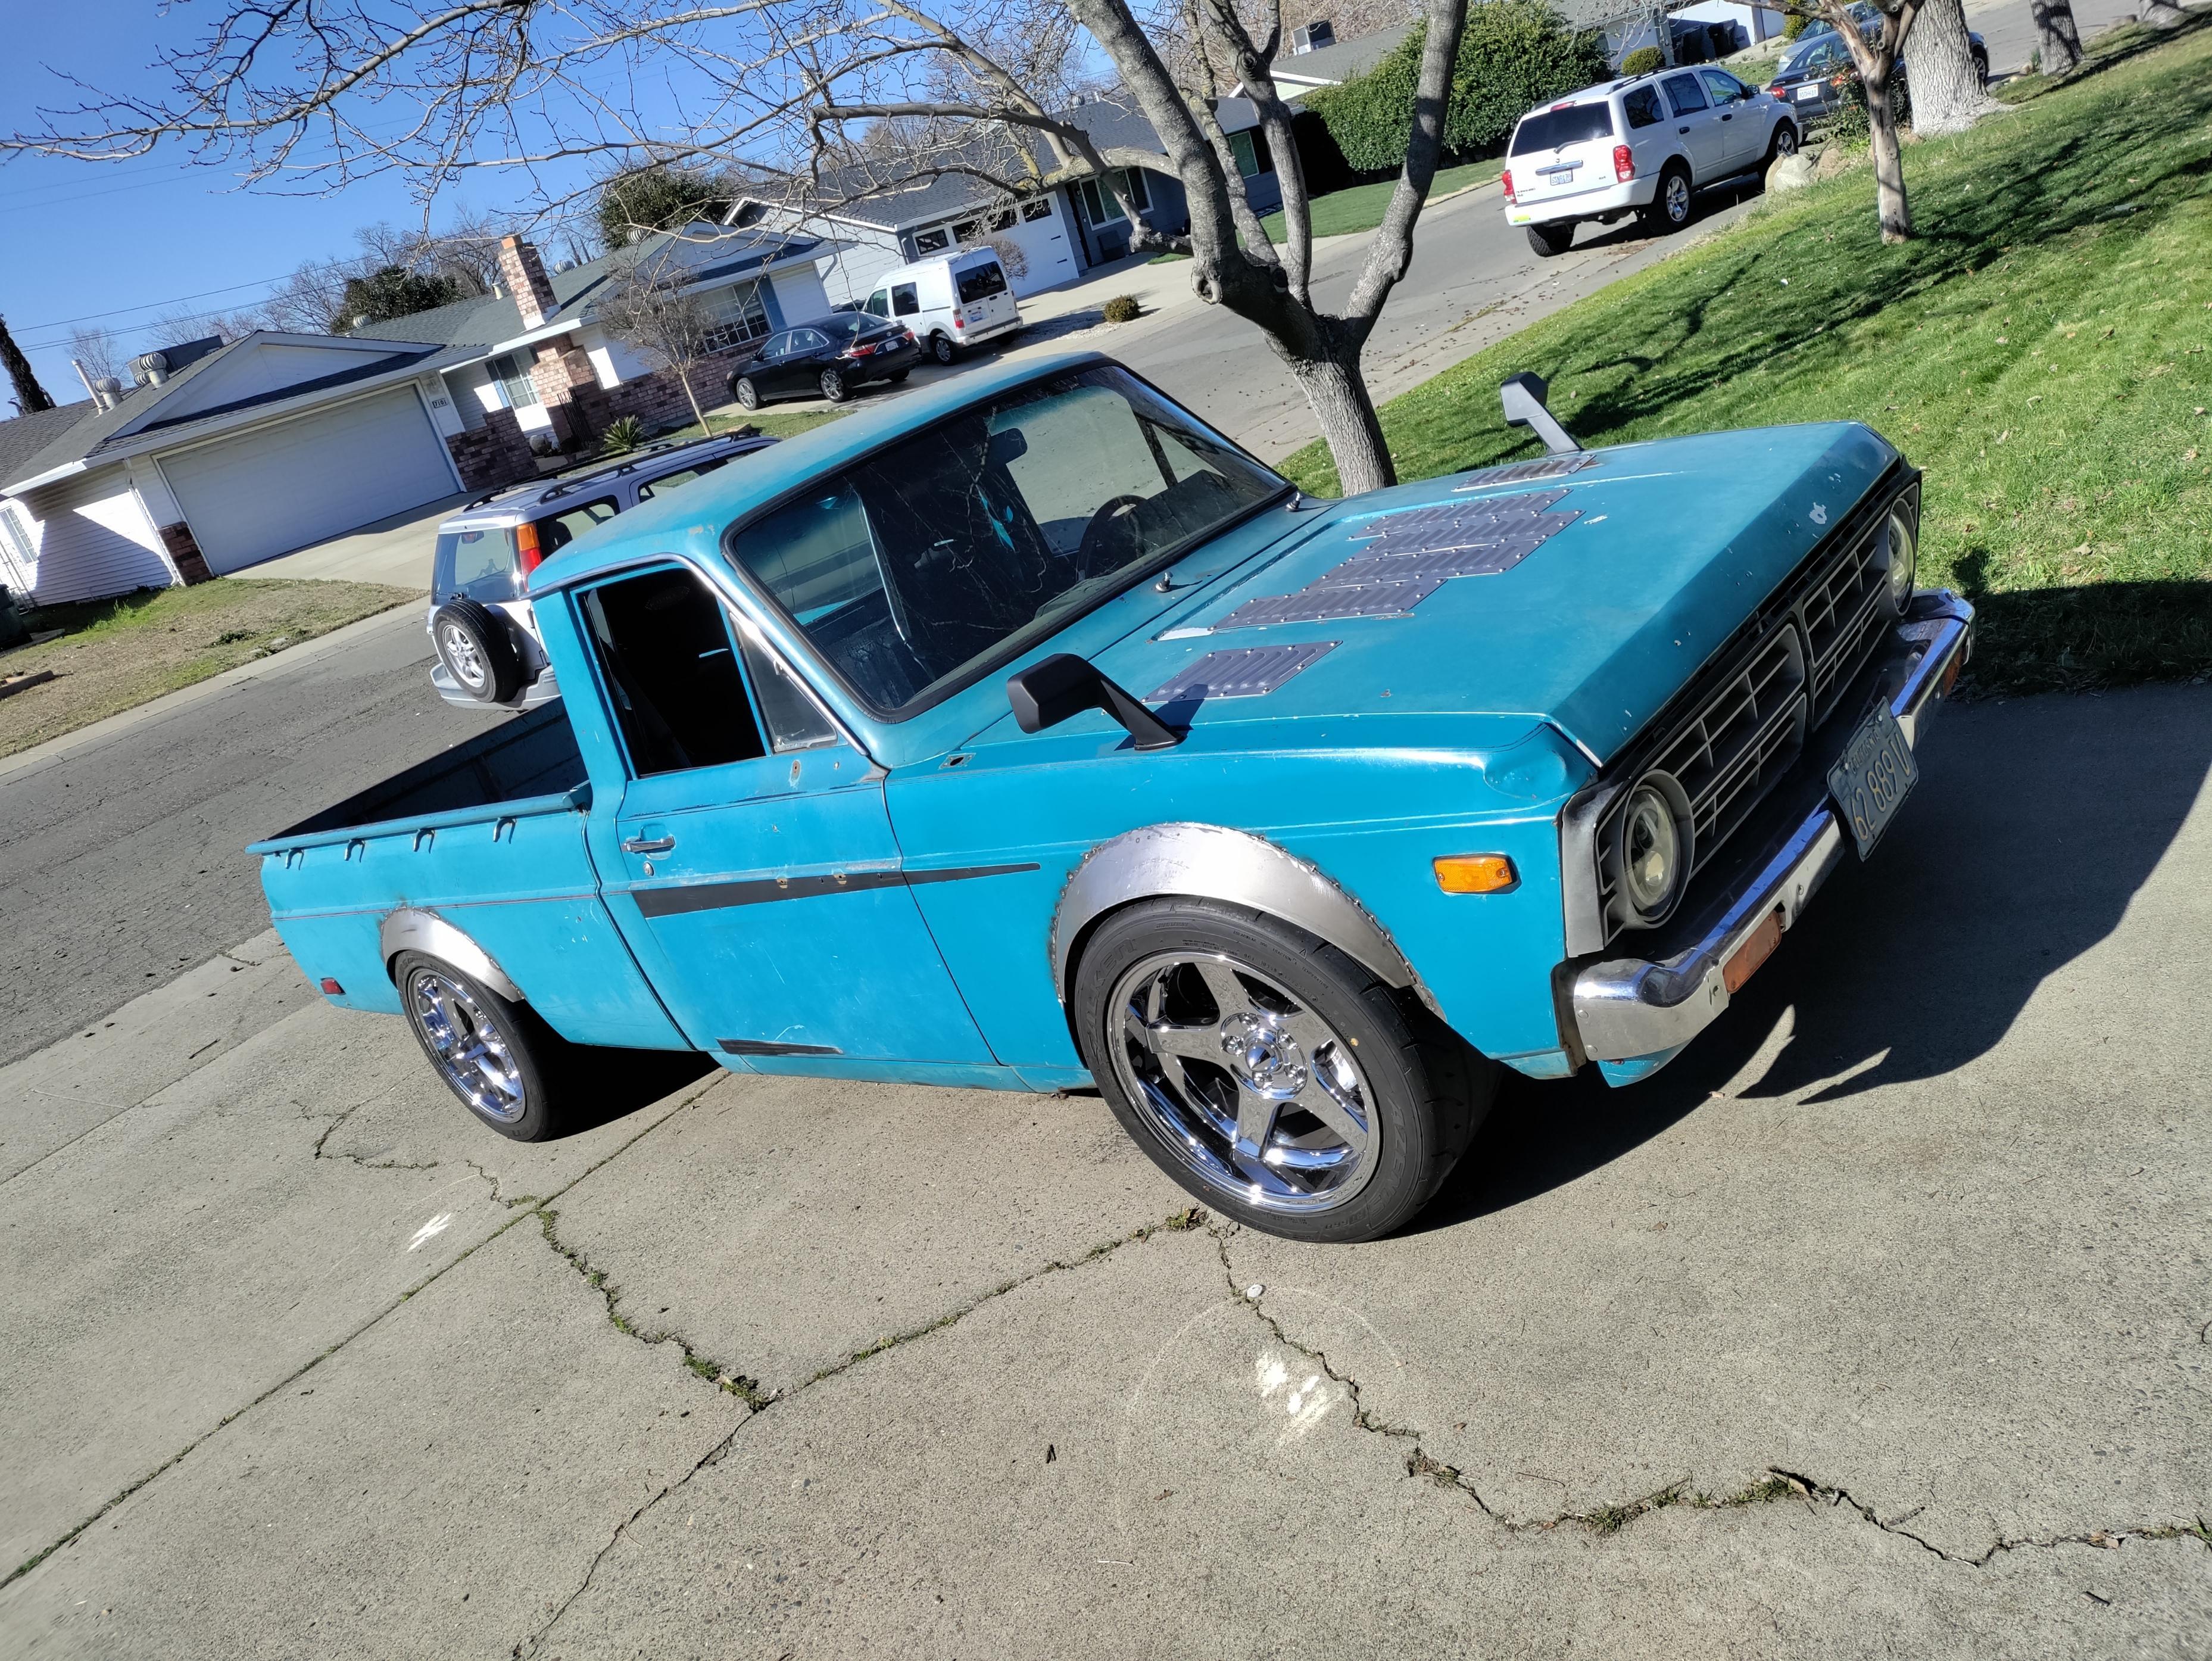
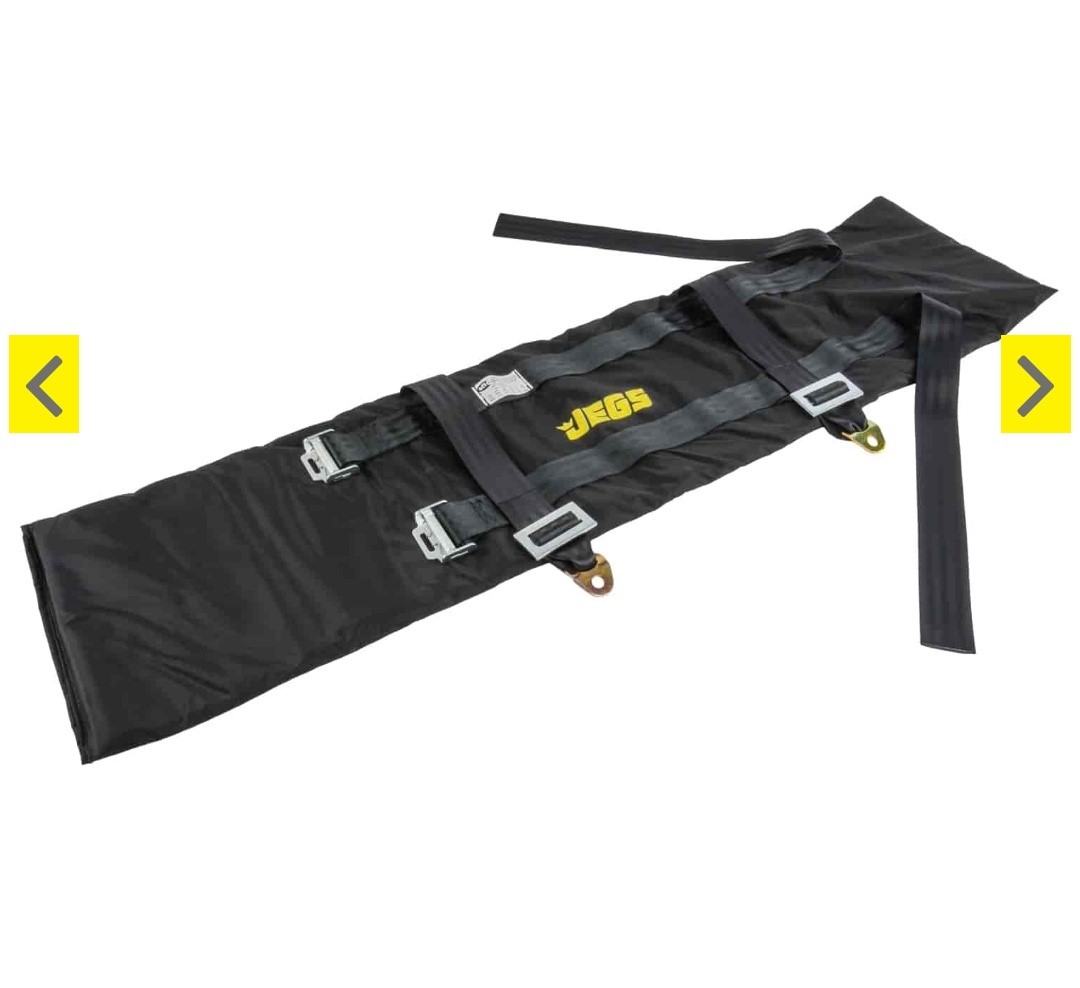
I put the 4 point harness in on the passenger side. Got the passenger door assembled and looking pretty. Got my initial tune done, 20psi and only 9* of timing for now. I need to learn how to control it before it gets the other 10psi and 6*. I dropped off a spare tranny to get rebuilt. I cut the fender flares off cause I was sick of them cutting my tires. I have new plastic flares that have not yet been installed.


I put the 4 point harness in on the passenger side. Got the passenger door assembled and looking pretty. Got my initial tune done, 20psi and only 9* of timing for now. I need to learn how to control it before it gets the other 10psi and 6*. I dropped off a spare tranny to get rebuilt. I cut the fender flares off cause I was sick of them cutting my tires. I have new plastic flares that have not yet been installed.
Reply
0
0


