When you click on links to various merchants on this site and make a purchase, this can result in this site earning a commission. Affiliate programs and affiliations include, but are not limited to, the eBay Partner Network.
I wrote my introduction thread ages ago, while having issues with my AE settings.It has a kia tps now with a 3d printed bracket ��
Did a lot of reading in the meantime and i got my car on the road without blowing stuff up.I've seen a lot of noobs fighting against guys like savington and all, that was pretty fun but you're right, all the info is here to find ��
So, about me:i started with rc cars since i was a kid, and slowly grew into full size vehicles.
Bought a 3d printer, landed a job @ Tesla,and am stiil learning a lot of good stuff over there.
My red NA below is my second mx5 , my other one is a stock NB on which i recently replaced the cluth slave and master. I will also post all my pittfalls here so you don't have to fail in the same way i did (like the intercooler pipe routing trough the ps)
This car will be a purely street driven rat. I want to go about 200 hp at the wheels. This should be easily achievable from what i saw here.
And yes, there is a 1.6 in it for now. I wasn't using my brain correctly, but it only costed me 200 euro on which the seals were already done ��
1.8 blocks cost around 600 here... maybe i'll build one from an old 1.8 with a vvt head one day.
This is her in stock form
So what's in the car?
- Flying miata clutch ( shipping and import fees really killed me sine i live in Holland )
- 1.6 liter with power steering ( yeah i know, should have bought a 1.8 NA for obvious reasons )
- 1.8 flywheel
- AEM wideband
- Diypnp
- Rx8 yellow tops
- Diy log style manifold (took me 2 tries because clearance issues)
- EBS ultimax pads
- Mishimoto intercooler
- HKS bov ( no fake)
- GM IAT
- TD04 i bought for around 100 euro
- 2,5 Inch ebay intercooler piping
A 3d printed doorhandle that i designed( pic will follow soon)
And at the moment i'm finishing up the exhaust and rebuilding the rear calipers
So, now for some build pics :
As you can see, there was not a lot of space in my 1 car garage After some gentle wiggling and creative angles i got it out.
Took me about half a day to get the engine out by myself
Just some welds for the intercooler brackets. i didnt use filler material yet. I was at my learning stage
Fitted the intercooler. Thats 3mm thick steel right there
This was my first try on the intercooler routing.You can see the 2 inch to 2,5 inch reducer path, both designed in my spare time and 3d printed. Then i found out that the manifold was up way to high and way to far back. I cut up the manifold and redid it
thats how she sits now. .She will get some ducting.
I made a temporary hood exit exhaust to see if it would spool up. And holy cats, it did!
I'd already burped the coolant system, and didnt find any leaks (yet)
So first mistake.. make sure to put washers under both the coolant and oils lines. It made a small spill��
Second mistake, ordering parts makes way more sense when you order everything you need in one order, instead of waiting 5 days and finding out you didnt order specific gaskets and stuff.
I was fighting with the idea that i don't have a alu welder, so i just took some 2,5inch mild steel to make to bov adapter, and a bung for the IAC from some piece of an old bicycle.I ordered the flange trough ebay, since no shops around here have that part
it's fully welded on the flange now, don't worry ��
i heard you like cats, so one of my girly friends sent me her cat.
Hello other Dutch guy
Where are you located?
Please bear in mind there are some differences between US Miata's and EU MX-5's like diffs, diff ratios and fuel/injection systems.
I have broken a few MX-5s, so if you are looking for a 1.8 or a torsen, feel free to PM me.
I'm from Tilburg, how about you?
I indeed saw some differences between the diff's, and people grenading them even on stock power ��
I'm getting some 1.8 discs in soon, for some better stopping power.
You'll get a pm from me soon, thanks for the offer
So guys, i promised you 3d prints ��
I don't own a miter saw, and since i needed to make some pie cuts i just decided to make life a bit easier.
It's not much more than a square with a hole inside , and a 9 degree angle at both sides
And here you see the tool in use. The second version is going to be a bit smaller so i can make smaller radiuses. You can see the cuts laying around the pliers ( dont look at my ugly welds, they're improving )
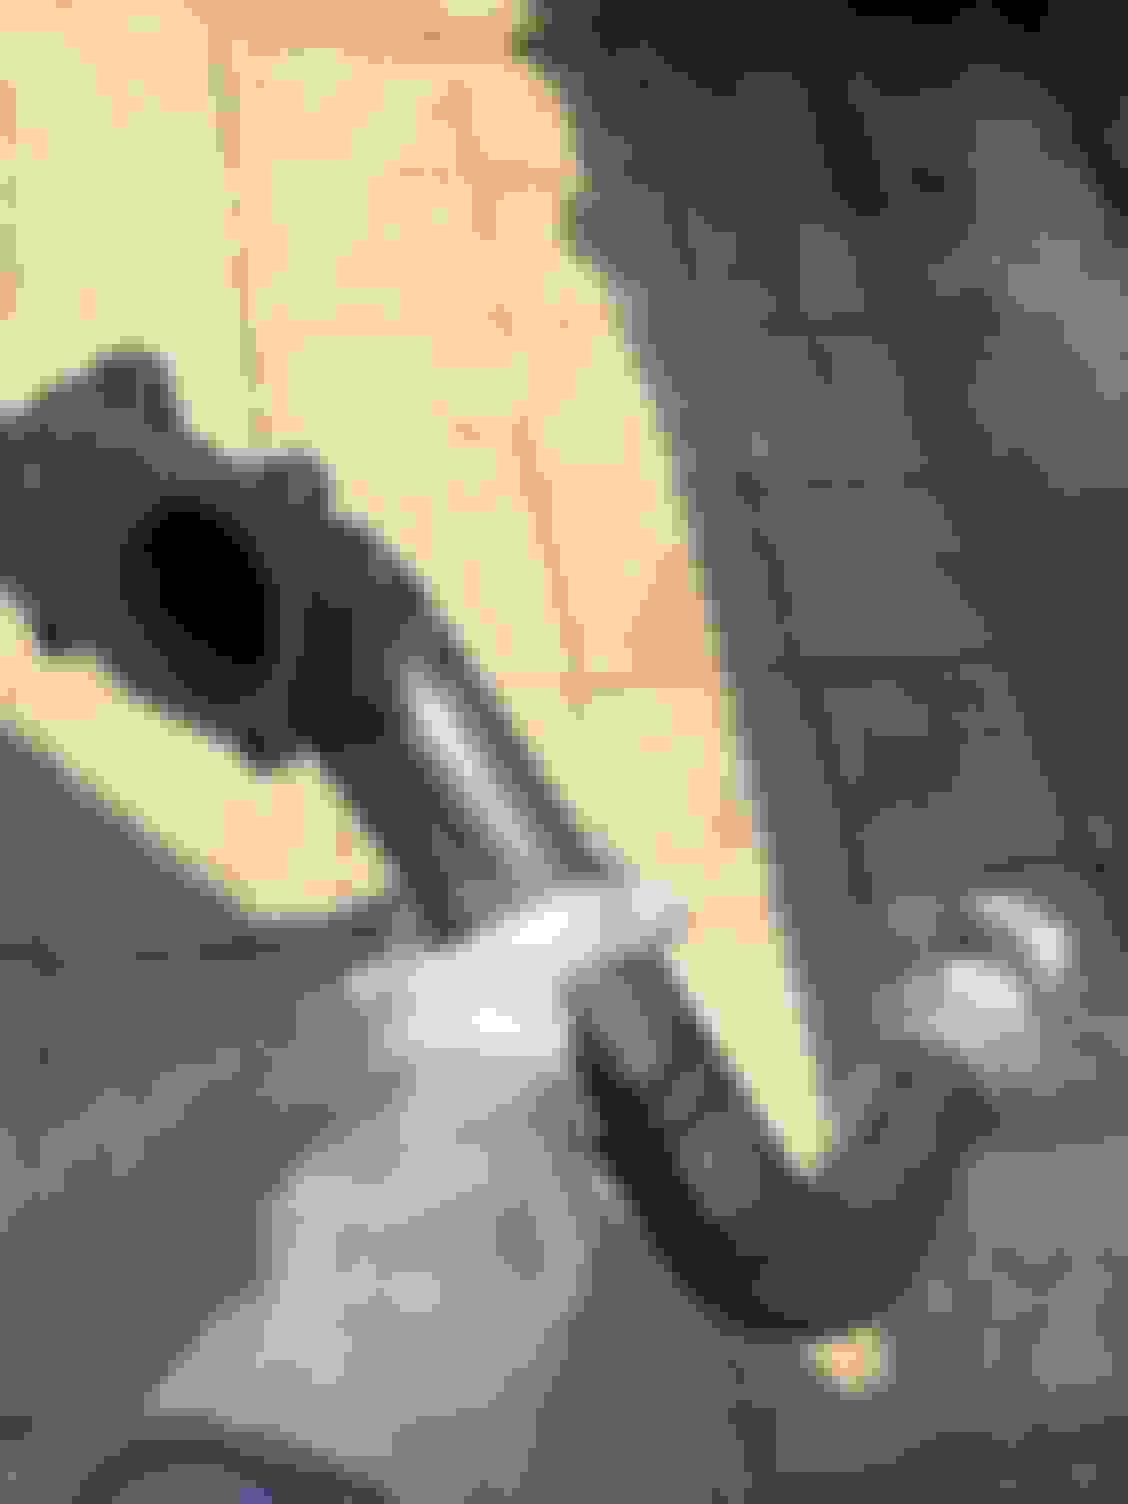
And here's the mock up. It almost fitted, just needs some trimming so the flange is parallel to the end of the pipe. There's about 3/4 inch distance from both sides of the transmission tunnel.
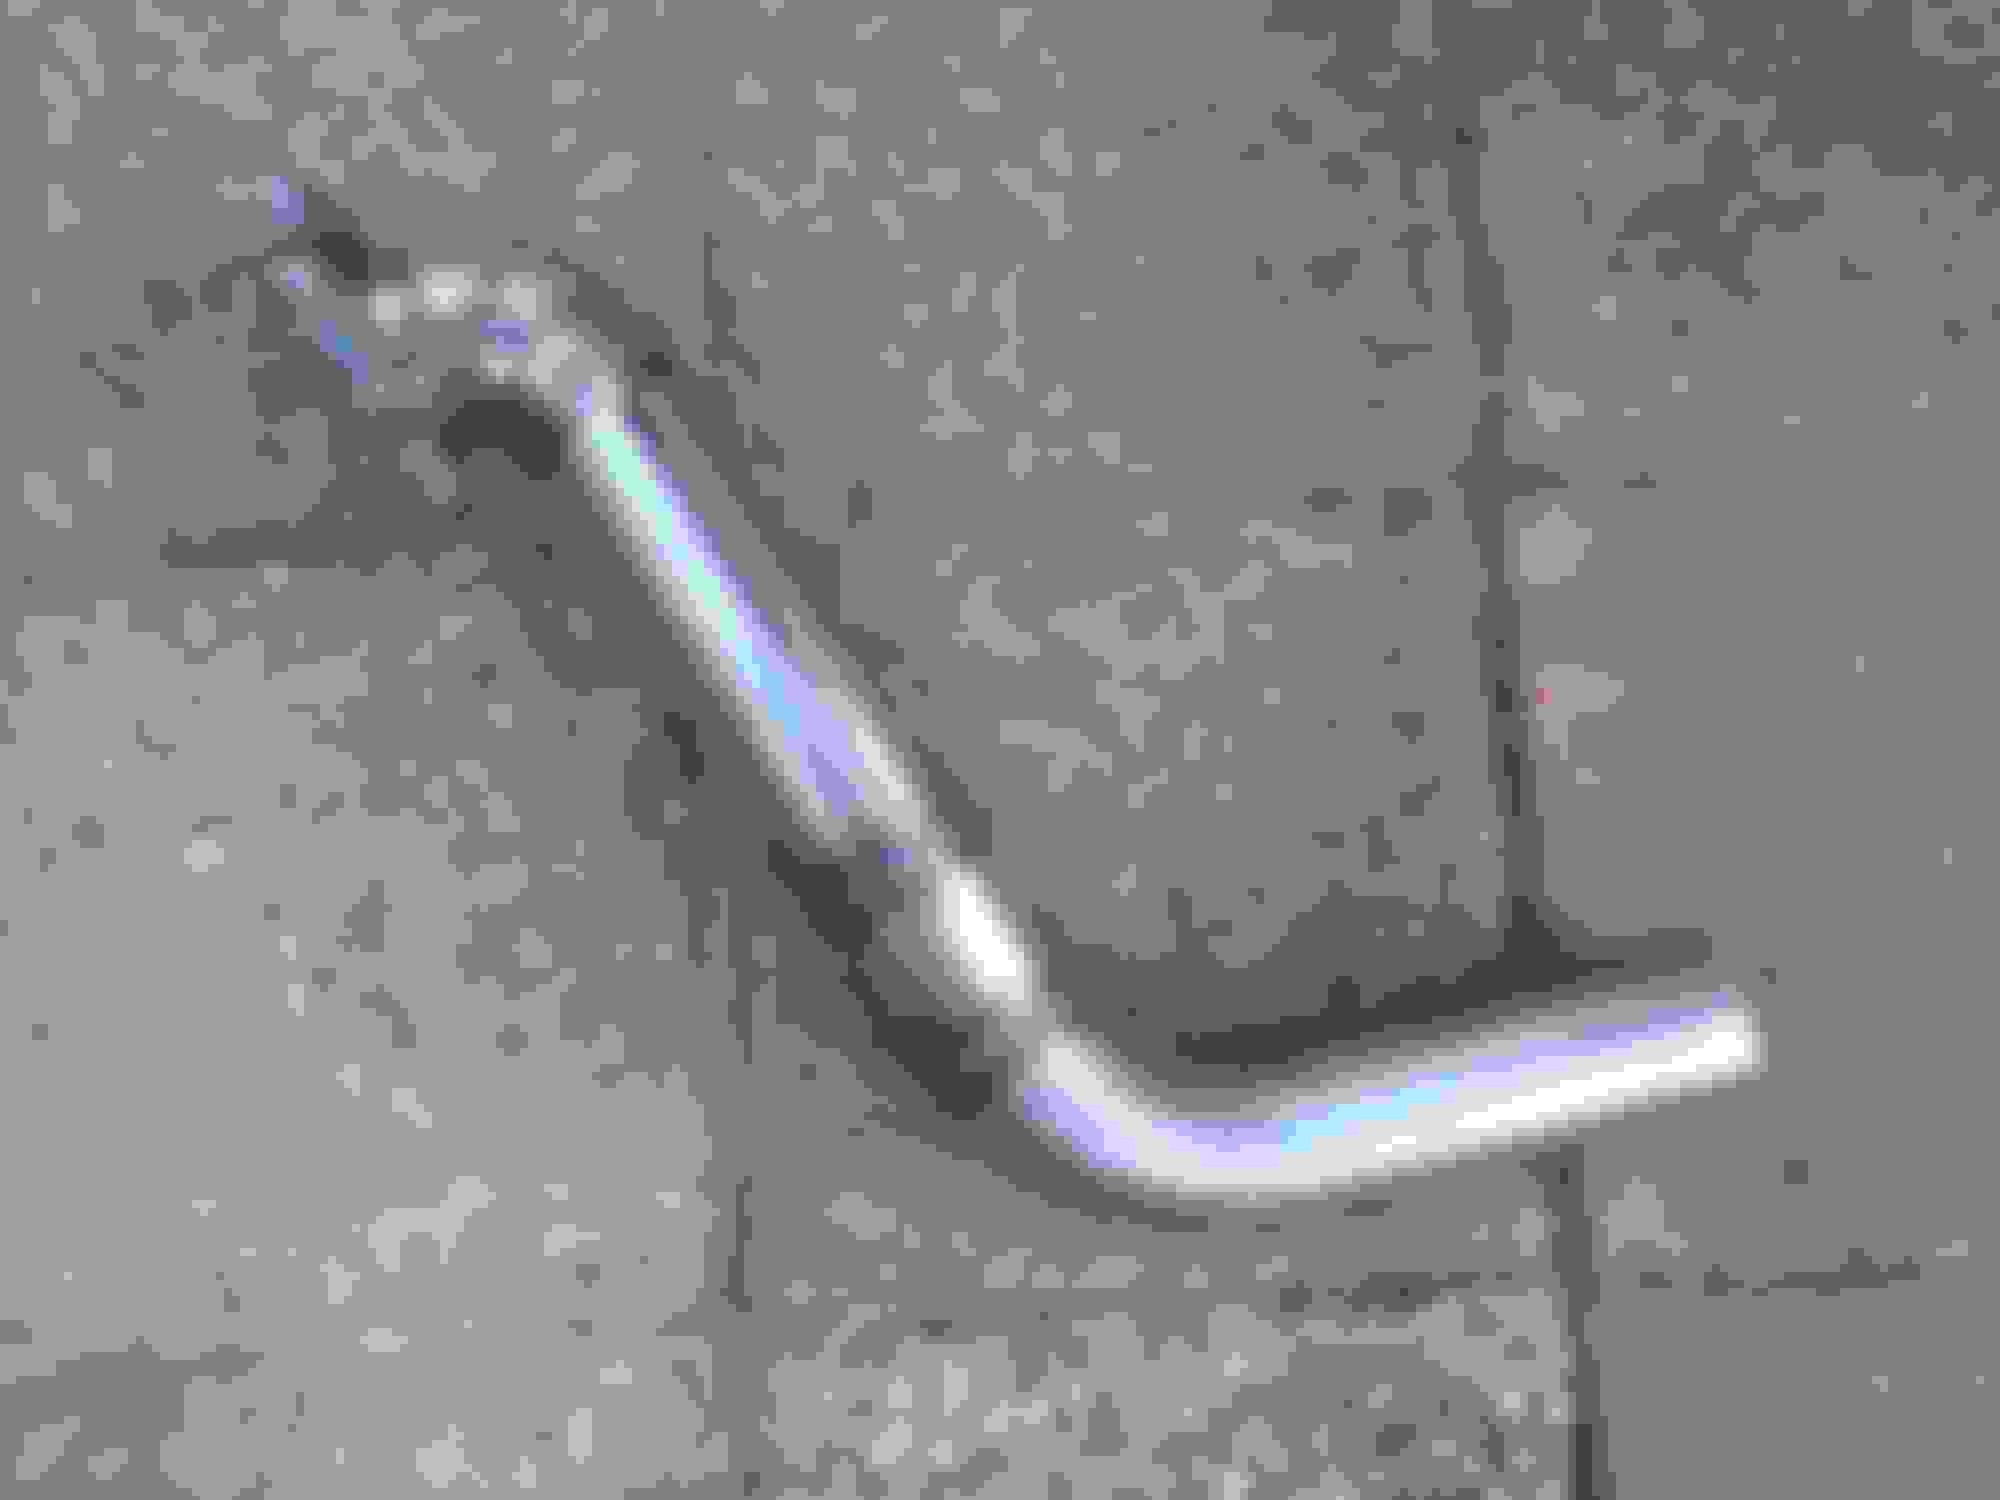
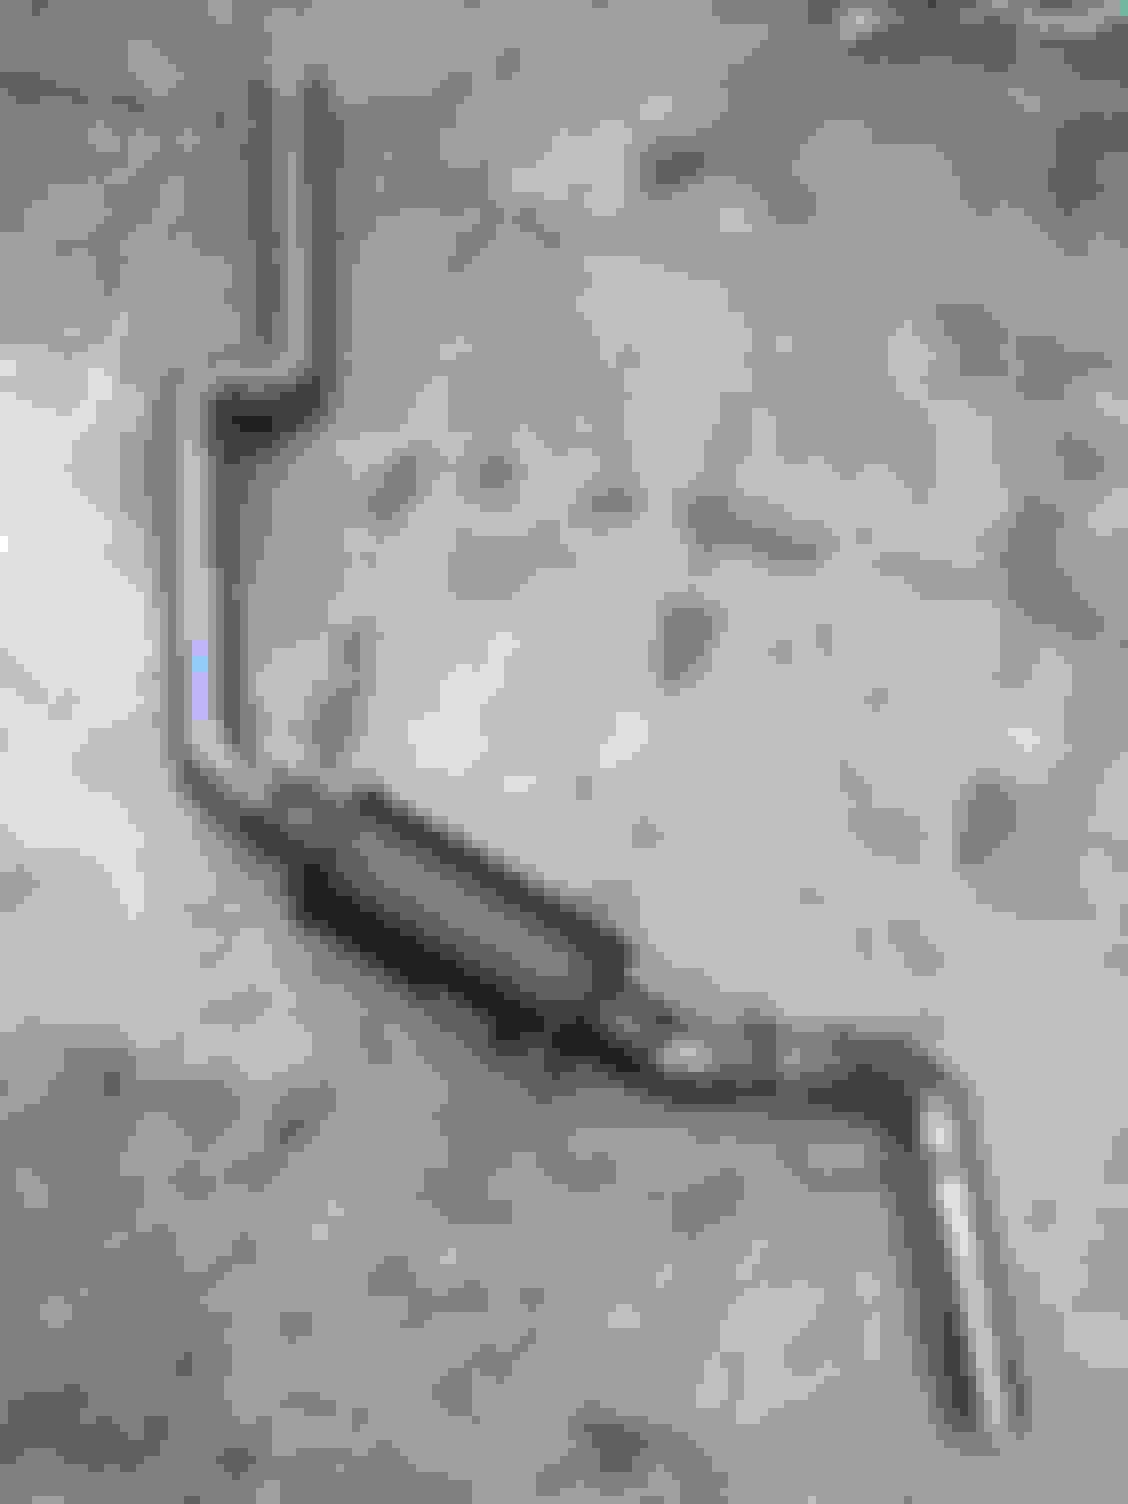
So, since it was pretty good weather over these past few days, i decided to do some more work on the downpipe, and the rest of the exhaust.
Here she is
And then came the rest of the exhaust. It would be way easier to do a straight pipe from front to back, but i had some clearance issues, so pie cuts were the way to go ��
I also don't want the popo's hunting me down, so a damper will be fitted at the back of the car. For now i need to figure out my air filter setup, so you guys will see some more fab work soon. in her full glory
Thanks, i will be keeping an eye on yours to. Have you got any idea about your setup ?
I'm having a few issues (think I got them sorted) and I have a 6 month old baby so I'm low on time.
Is/will be MS2, rx7 injectors, eBay intercooler, 1.8 clutch and rear, and I'm doing stock exhaust with an e-cutout. I'll have someone else fab the downpipe...
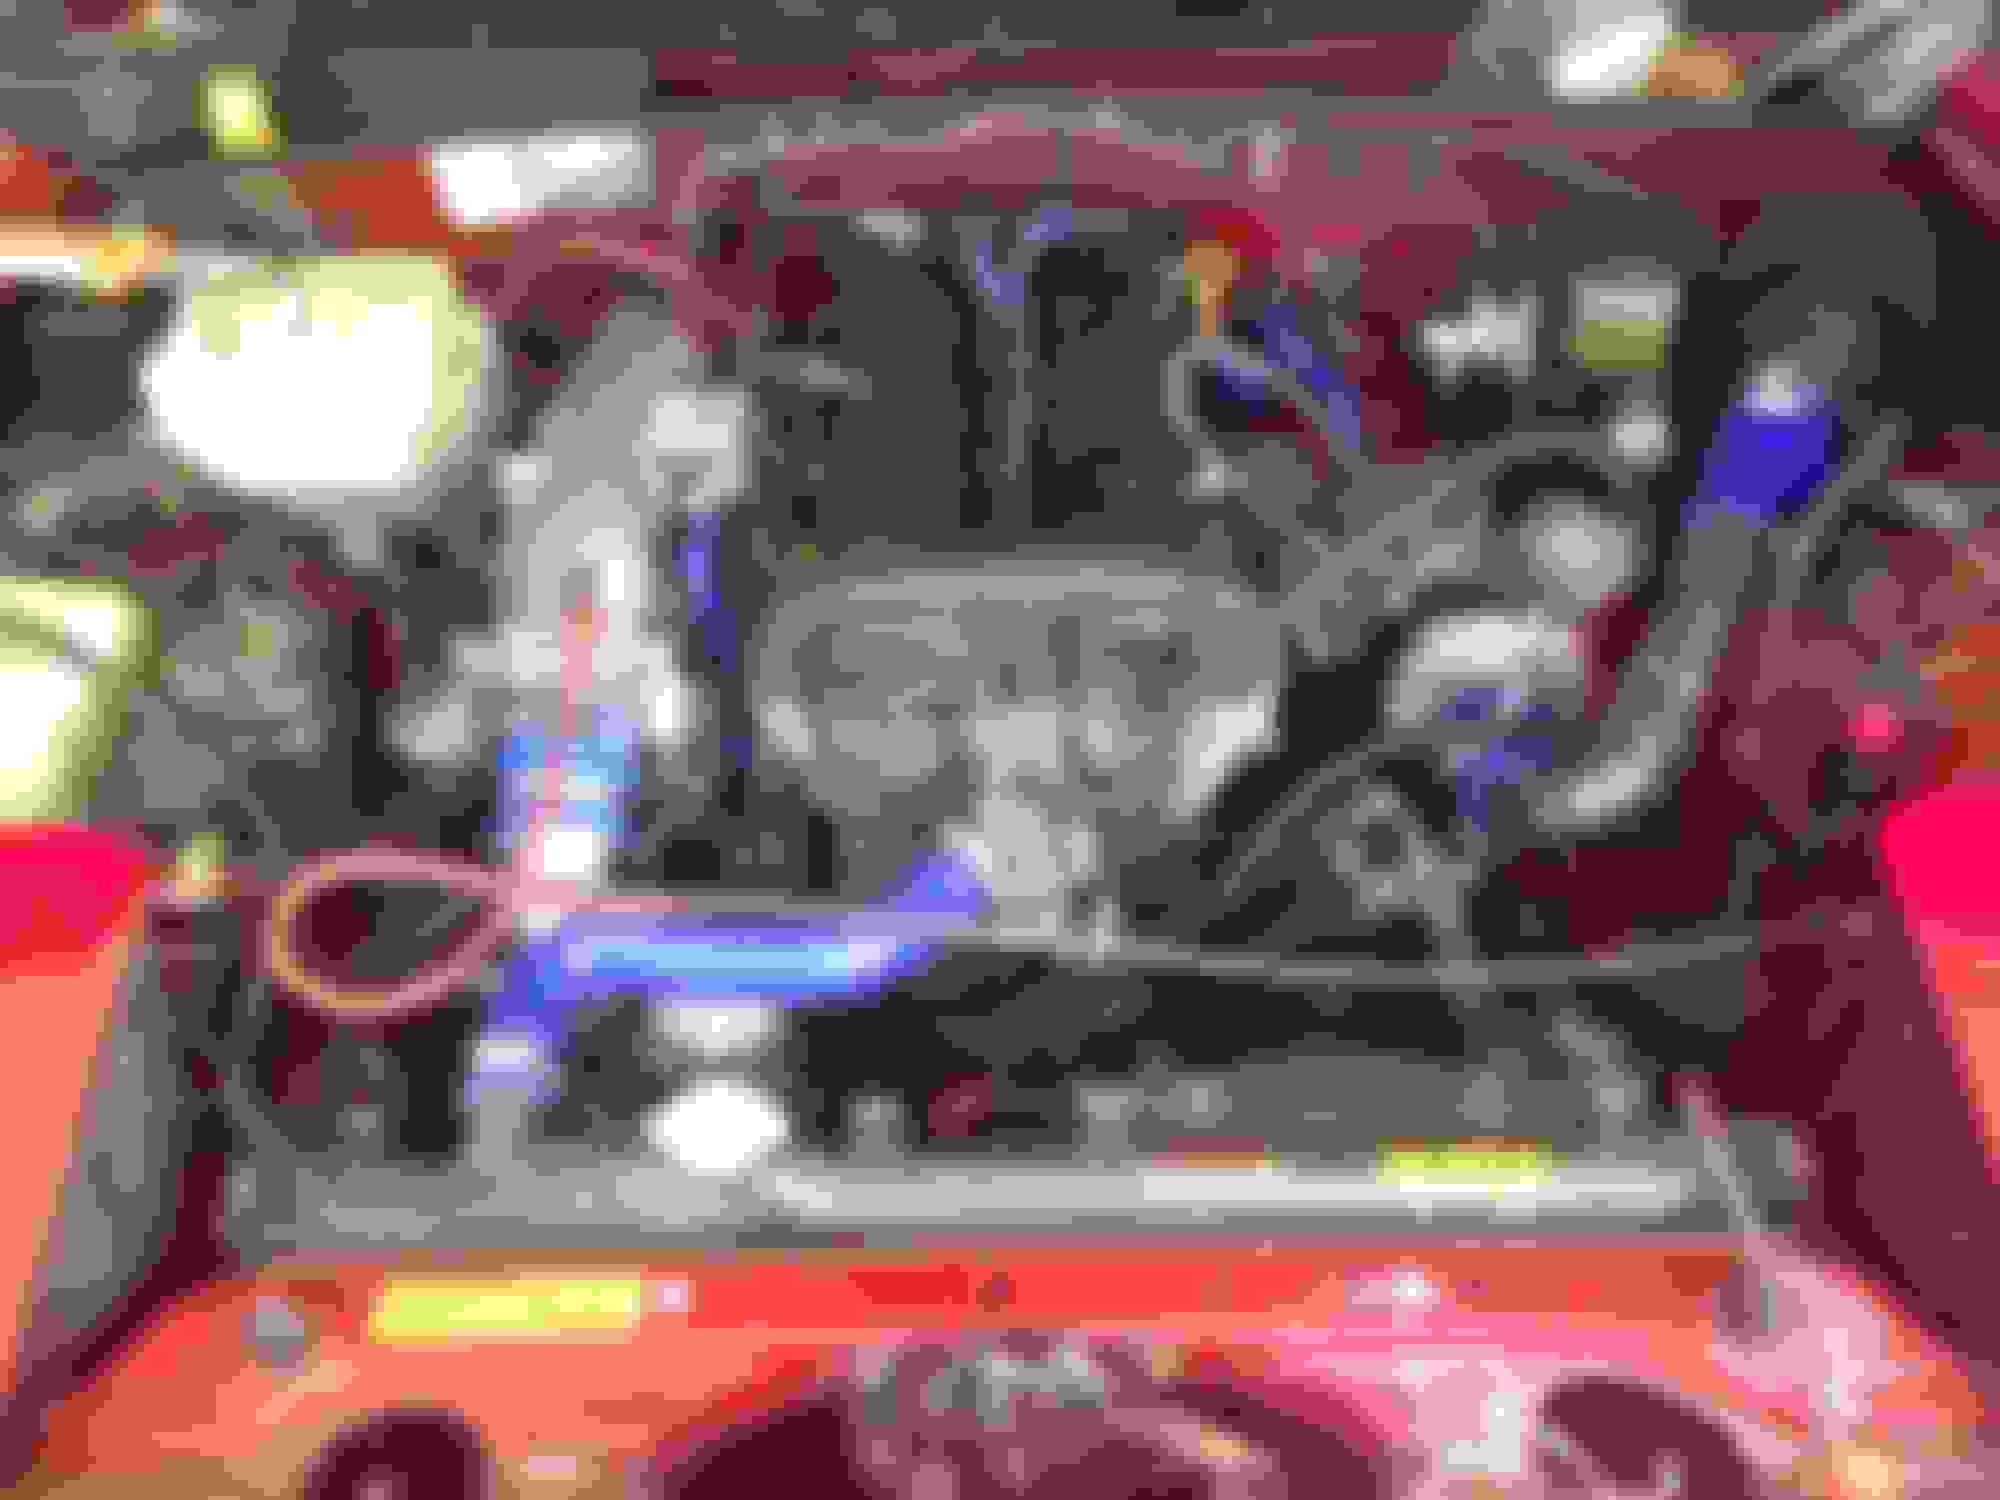
I forgot to update the picture where i clocked the turbo downwards. There has been some progress in the meantime.All the intercooler piping is done, the iat is mounted in between the throttle body and the intercooler( because i dont want to get heatsoak). About the air filter: i didnt want to cut a hole trough the body to put the air filter into the cold air stream near the front bumper.Of course, i'ts better to suck cold air in, but im wondering how much temp/performance difference it will make in the long run. Guess i'll have to have the car on the road to check that. It did give me the chance to practice my pie cuts tho �� That was rather.. interesting, while doing it with only an angle grinder. I will add a heat shield to the turbo , since i've seen pictures of melted brake reservoirs and thats a big no no.
I like that you go through the trouble of making everything yourself and not just buying it off the shelf. Very rewarding isn't it. Keep it up!
Thank you,it is indeed very rewarding. Nothing on this car would fit in a normal way, so everything had to be custom built with only cm's to spare. I almost had clearance issues with the 2,5 inch pipes trough the back, luckily it all worked out.
Well, since my last post, i finished the whole exhaust from front to back, the car pased MOT.
I was playing around with acceleration settings,warmup enrichments and idle settings, using some guides form mx5nutz,diyautunes reads,and of course, a lot of related threads on miatatrubo.
And yes, all the info noobs need is online somewhere.Car is on 15 inch nb wheels now, which are waaay better then the 14 inch daisy's.
The car also has a makeshift heatshield and some heat reflective tape on the master brake cilinder. I learned from others mistakes on this one
The fuel mileage i get now is about 235 miles( about 400 something kilometers) . If anyone has some pointers to improve this, i'll gladly hear them. AFR are at about 15 at cruise, and i didnt alter the spark map yet.
Also,a few days ago i found out why the car wasn't giving me any boost.
Tunerstudio was showing me around 0 boost under throttle. What i found out that one of the couplers from the intercooler blew off. I was allready wondering why a stock miata, and even a 1.2 liter Ford something could keep up with me
So, a word of caution, if you find out that your car doesn't pull, CHECK YOUR HOSECLAMPS.
It's running wastegate pressure for now, since i couldn't really get the EBC working. I put a switch in between the DIYPNP and the solenoid(i can hear it activate when i flip the switch so it's getting power), and only got the ebc cycling ONCE, by putting 50% over the whole table.( i took that info from : https://www.miataturbo.net/megasquirt-18/ebc-pos-46521/ )
The 12V is taken from the blue plug under the hood.In the output test it's working fine though. I'm not really sure what causes this, since it's adviced to run in closed loop boost, but for now, i can't even get open loop working.
And now, back to the exhaust building part
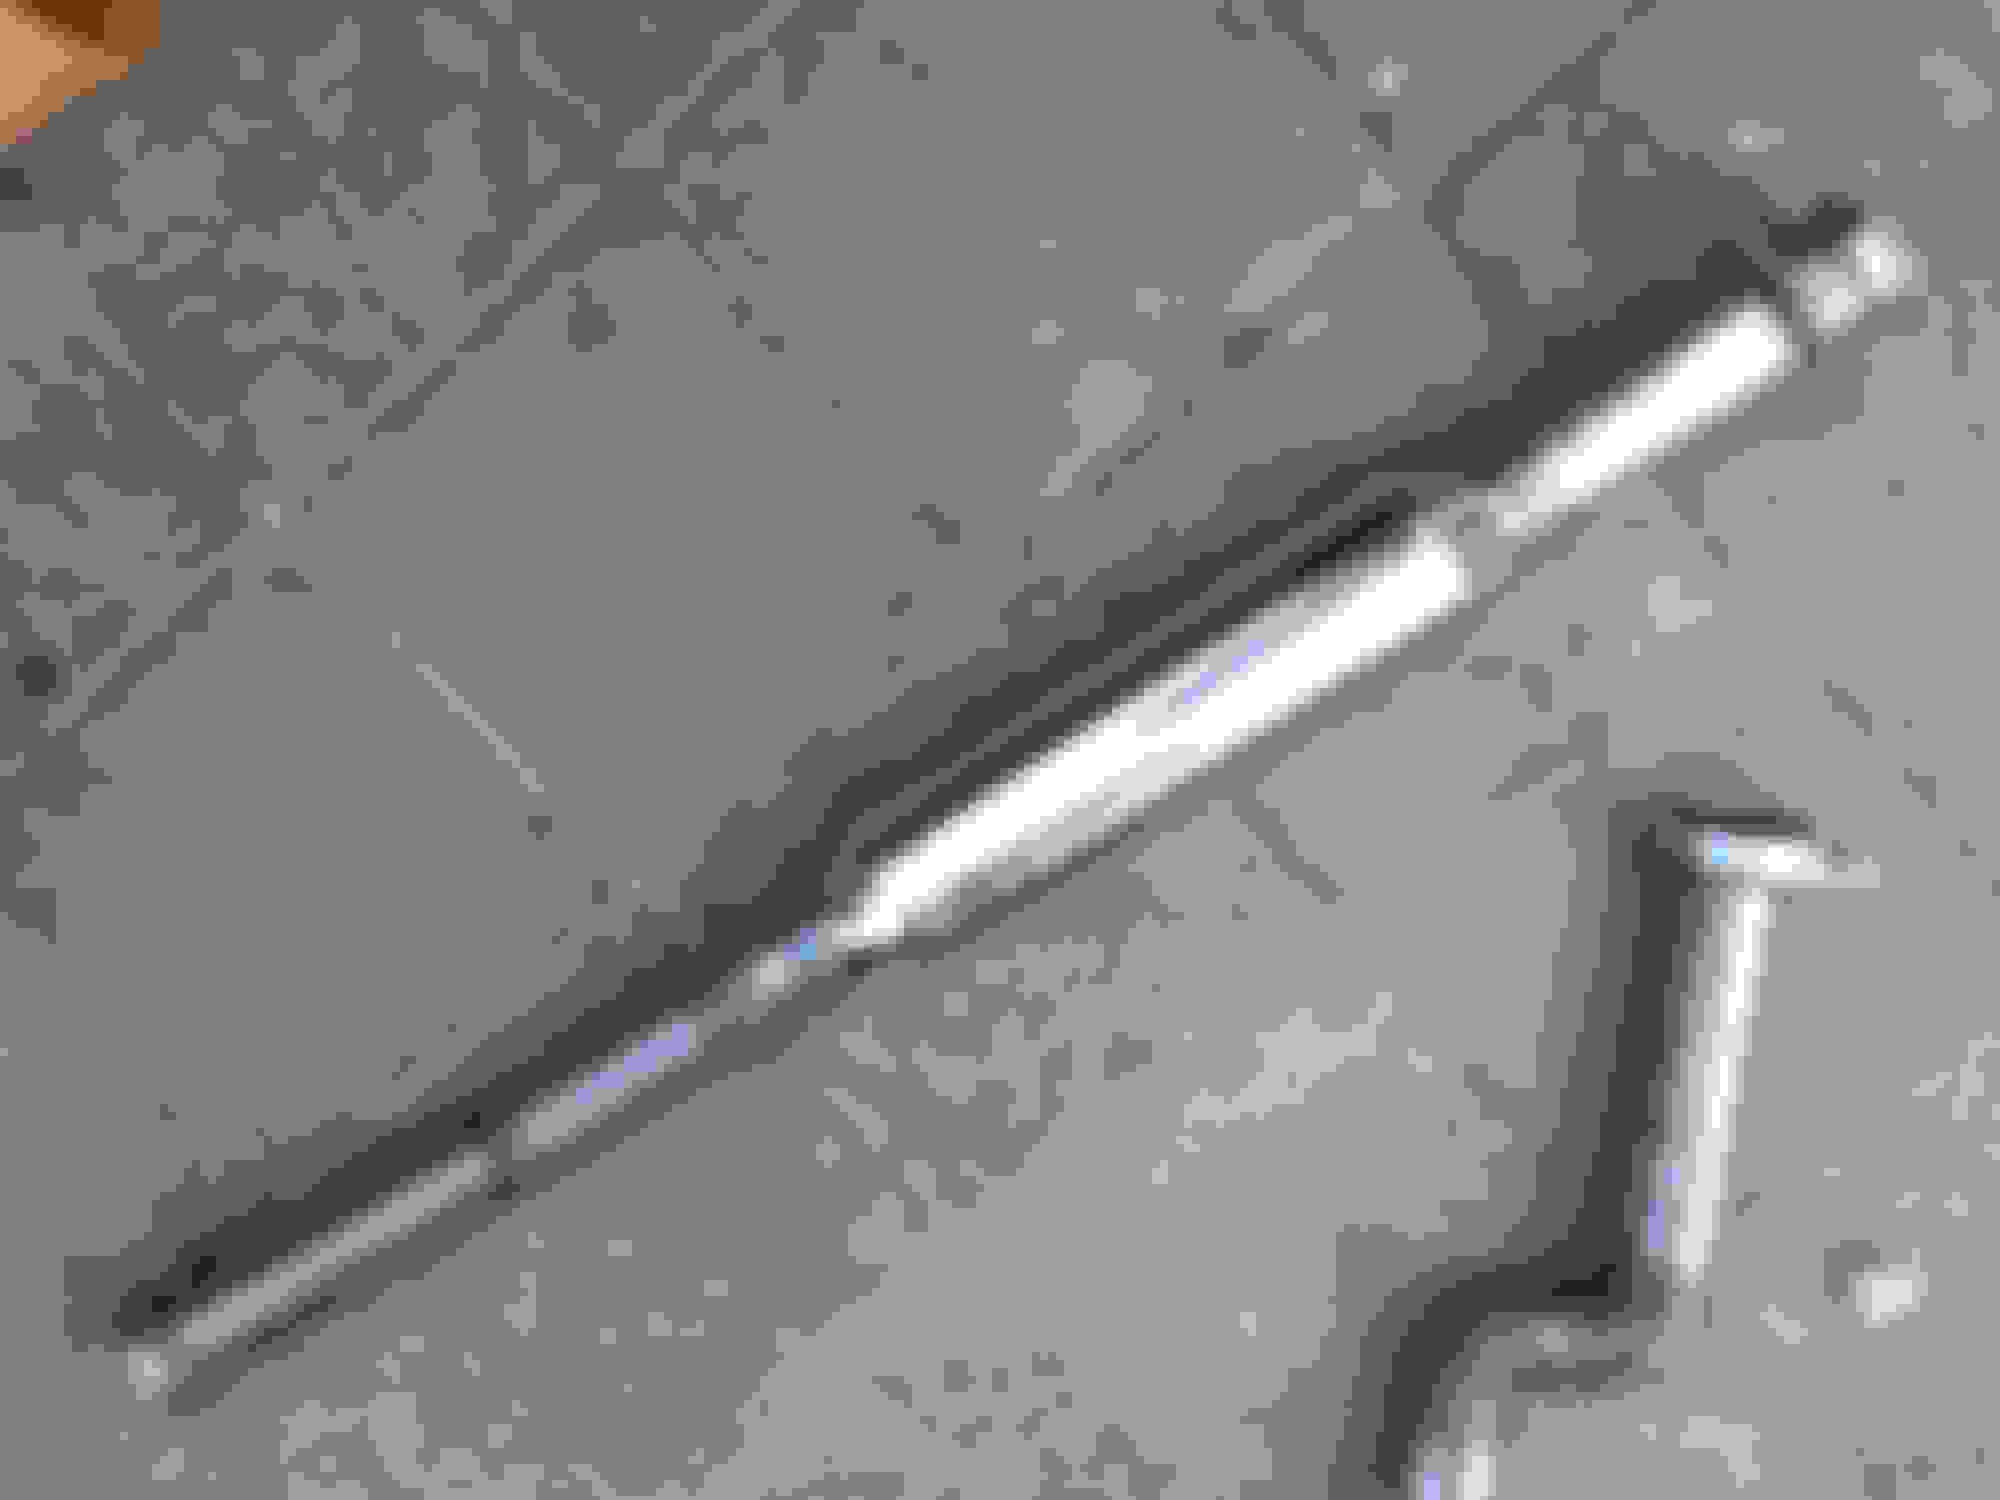
Buying this from a local guy would cost me around 900 something euro. I did it for about 500 + the manifold( iirc). The exhaust tone is pretty deep, and ofcourse, people are always wondering where that deep note is coming from when i pass them by.
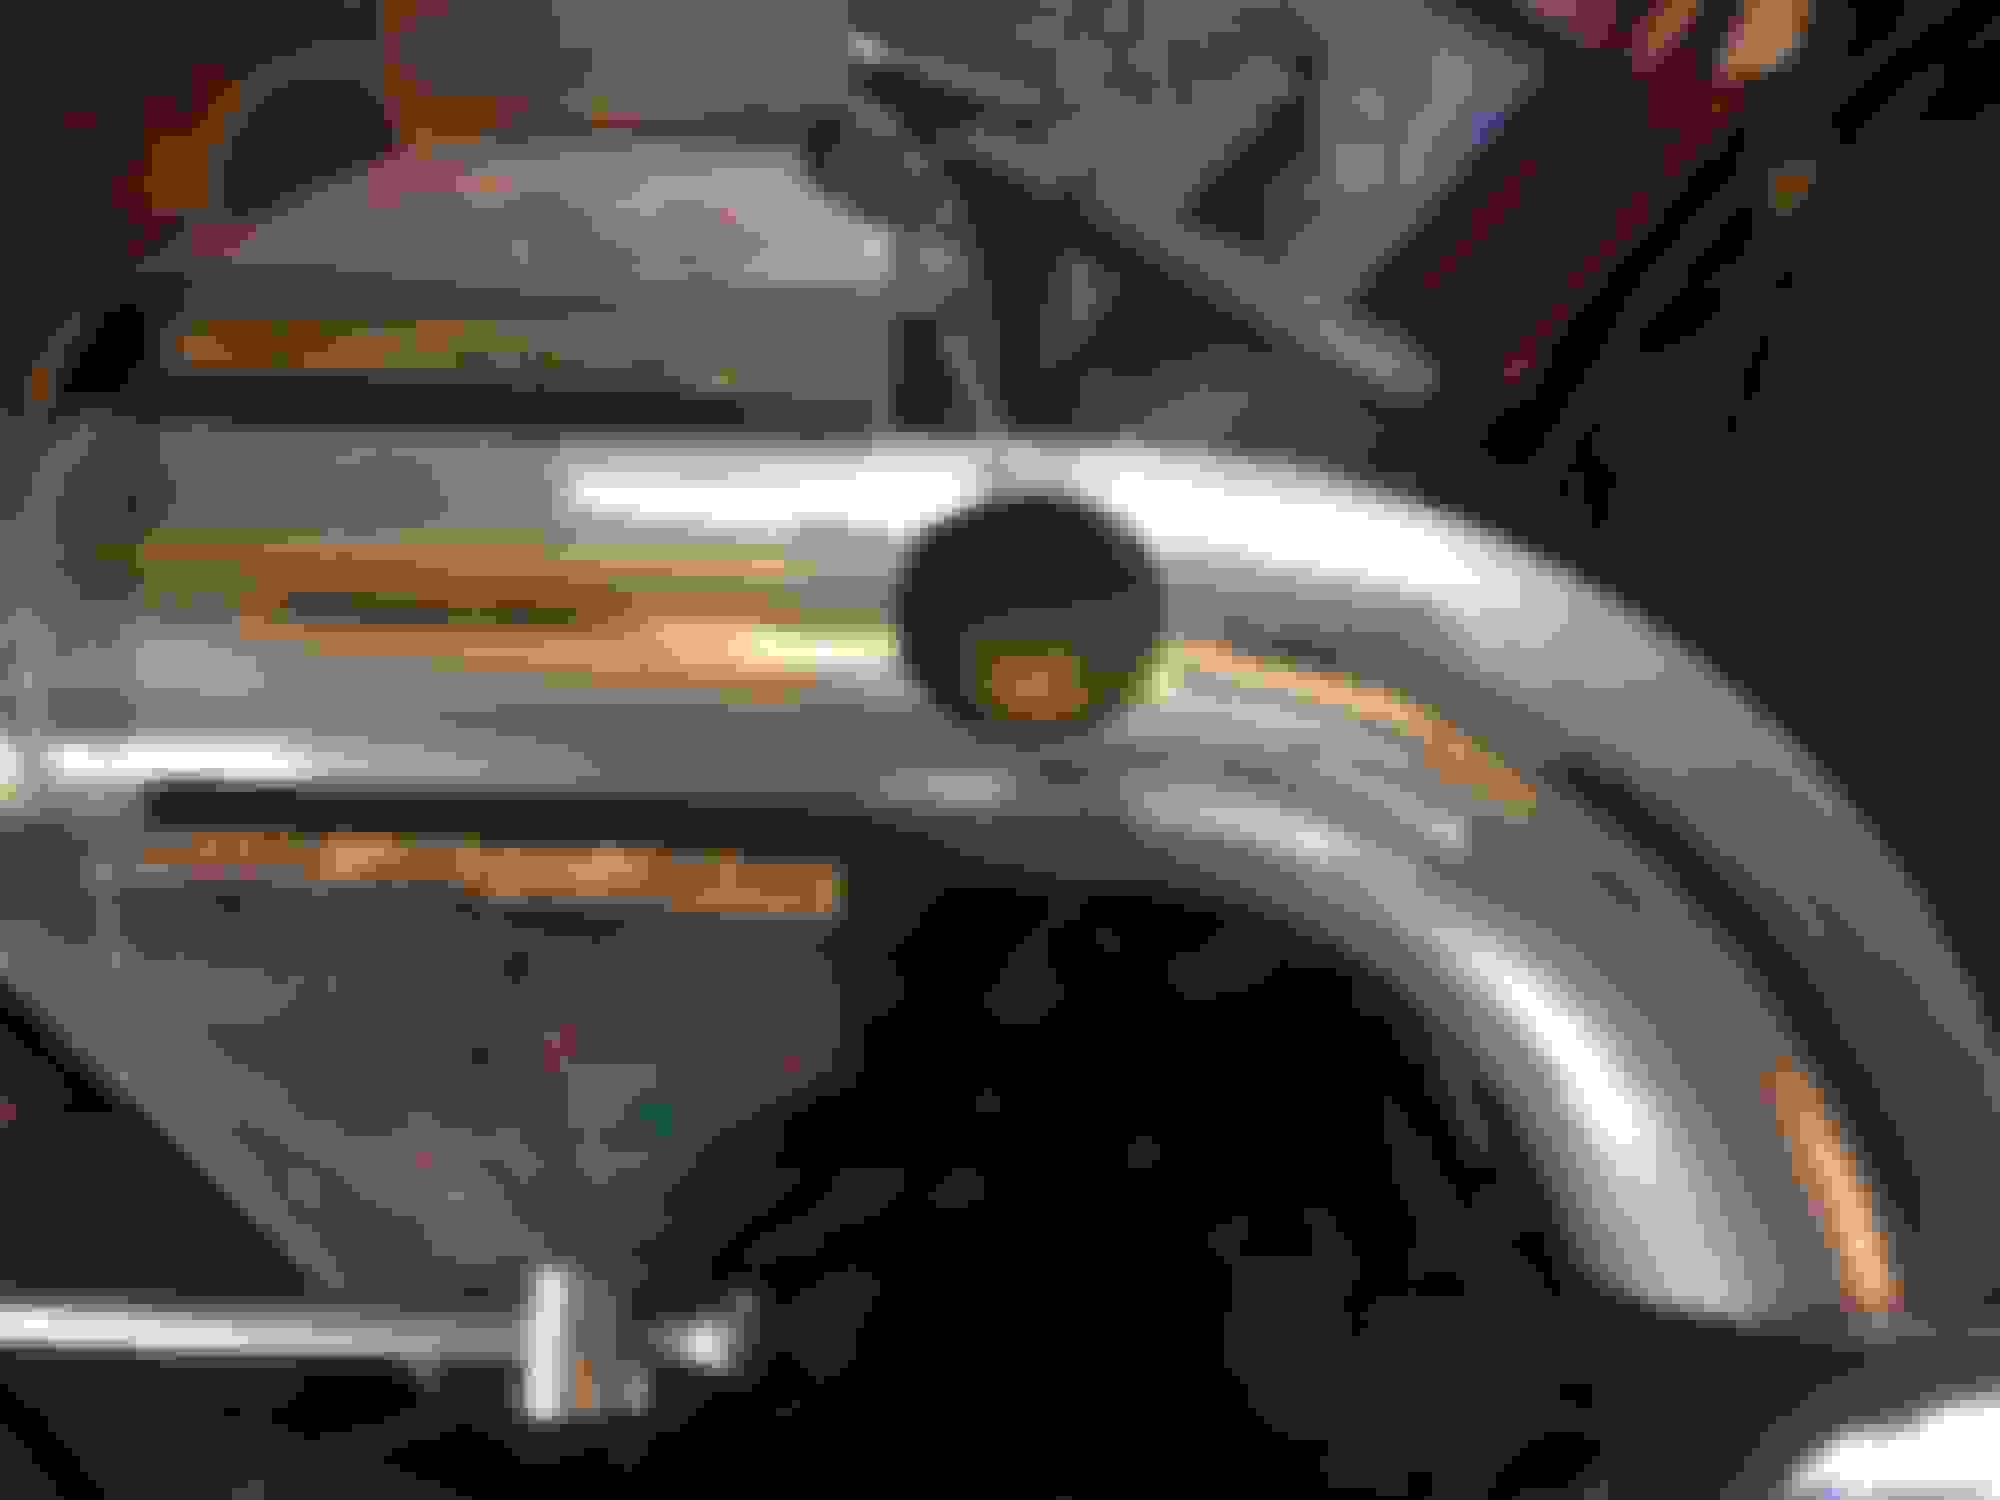
The exhaust was making my ears cry, so i put a cherry bomb under the transmission tunnel. This dampened the noise quite a bit
Well, going under the car , while being parked in the street was no fun, but i managed. Its mounted diagonally. For now the car is not lowered, so normal speedbumps are fine
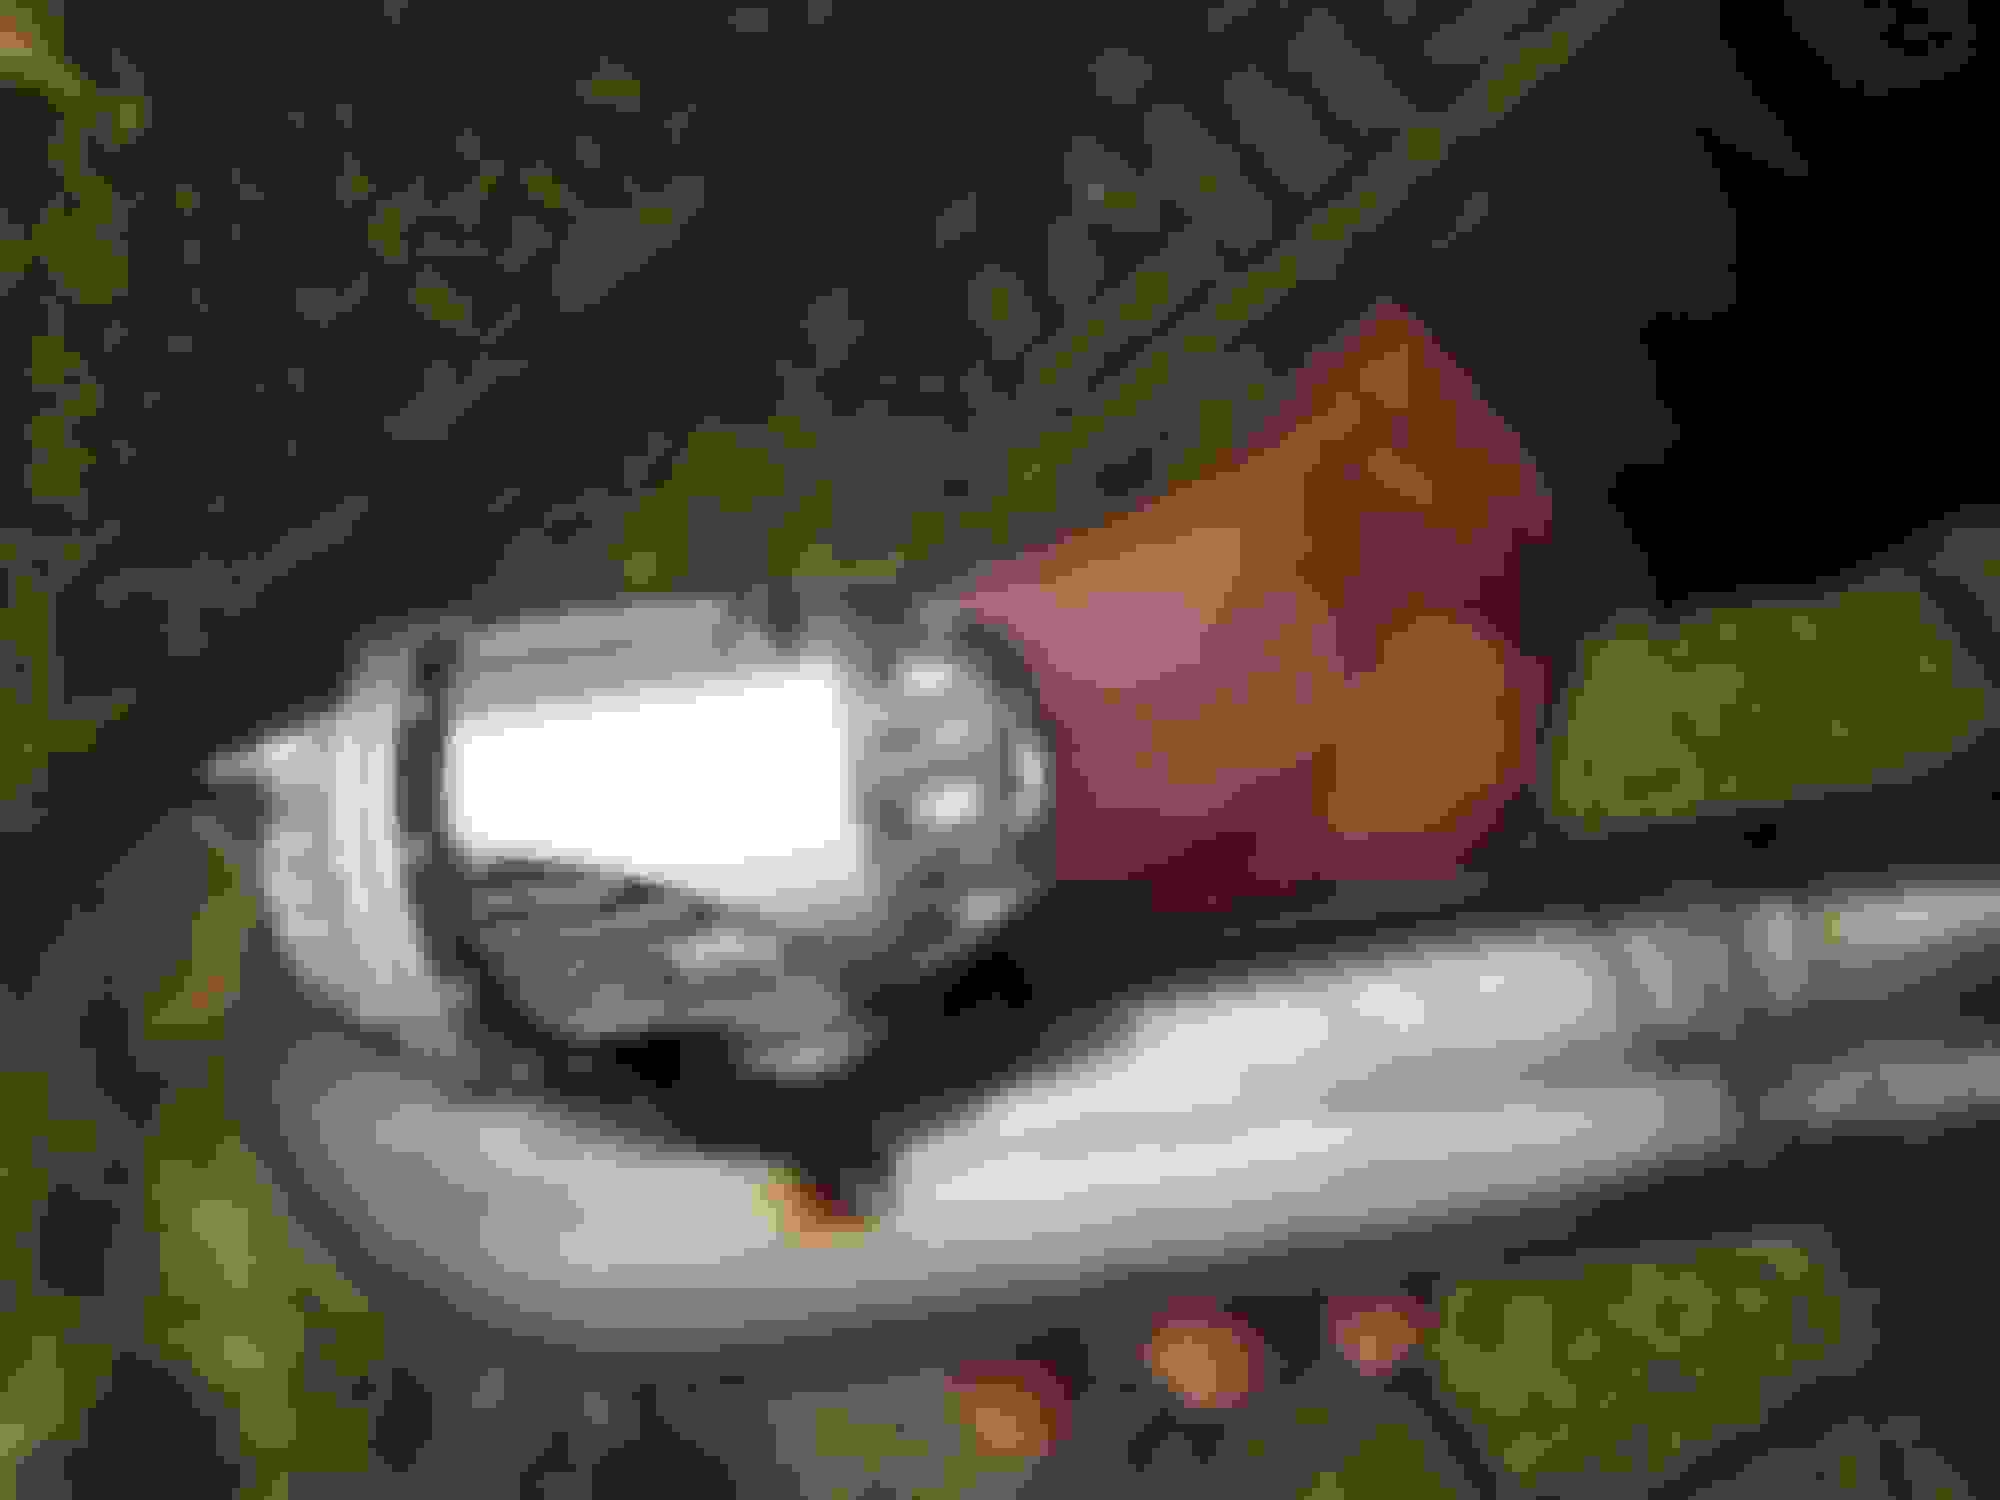
The welds are getting better also.No filler material and cranking it up to about 60 amp seems to do it
Thats a 5 eurocent coin for comparison . I have no idea how this compares to a nickle
I feel for you for how much time you must have sunk into those pie cuts. Is it impossible to get mandrel bends where you are at?
There were no mandrel bends over here in the sharp radius that i wanted . And i had a lot of straight tubing since i kinda overshot on the amount of materials i needed , so i just used that instead. It also made good practice to weld round tubing this way. And indeed, this took quite some time, but my stubborn self likes to find ways to do the impossible for some reason
Regarding your fuel economy, look into increasing the ignition timing in your cruise cells. There are some threads about the stock timing having 40� or more for lean cruise and some posts of MS map screenshots.

 05-11-2019, 04:46 AM


 0
0