Mobius's Build - Brotrex and Bromex galore!
#61
Thread Starter
Joined: May 2008
Posts: 3,468
Total Cats: 365
From: Portland, Oregon
Why, weep away my friend, for I has the nitro running. I like to get big IPA's and put them on nitro. Yumm.
I usually only have two of the four faucets running. It's a tough, first-world problem to have 20 gallons of beer in the beer fridge and not be able to drink it in a reasonable amount of time. So I pretend I'm second world and only keep 10 gallons in it. Obviously, I need more garage bishes!
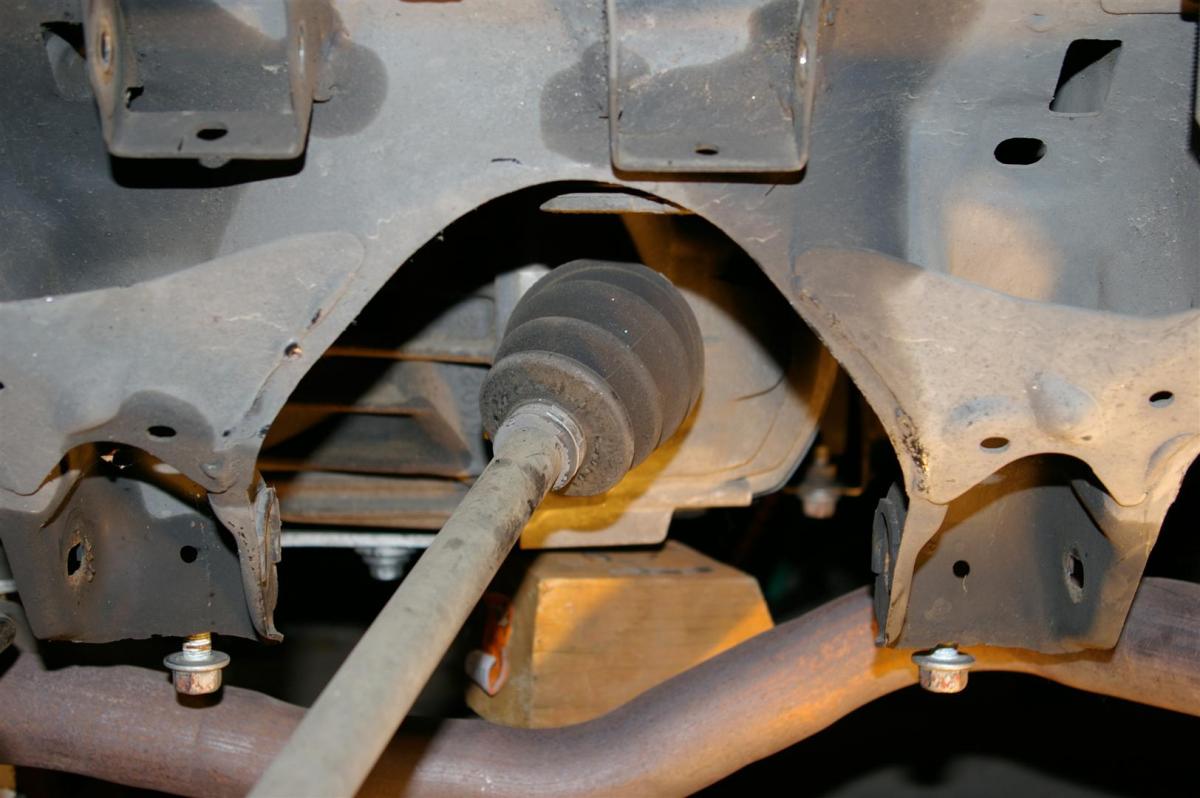
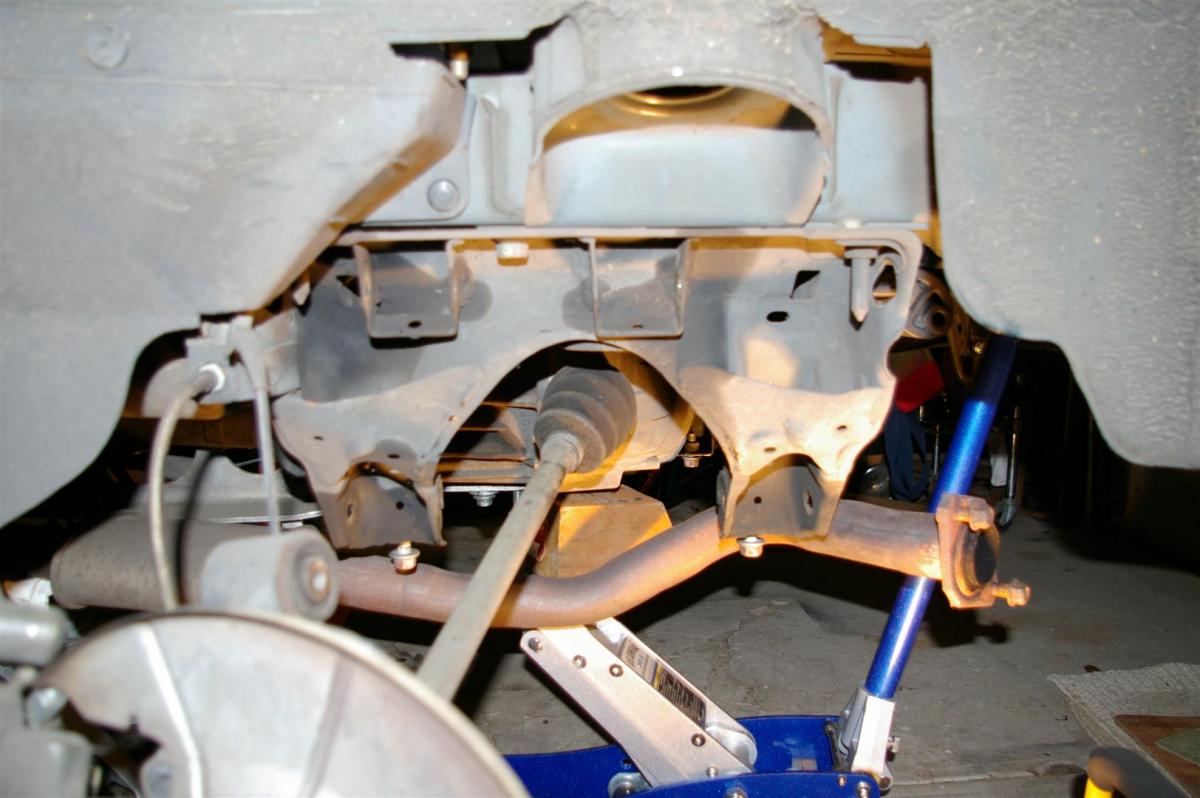
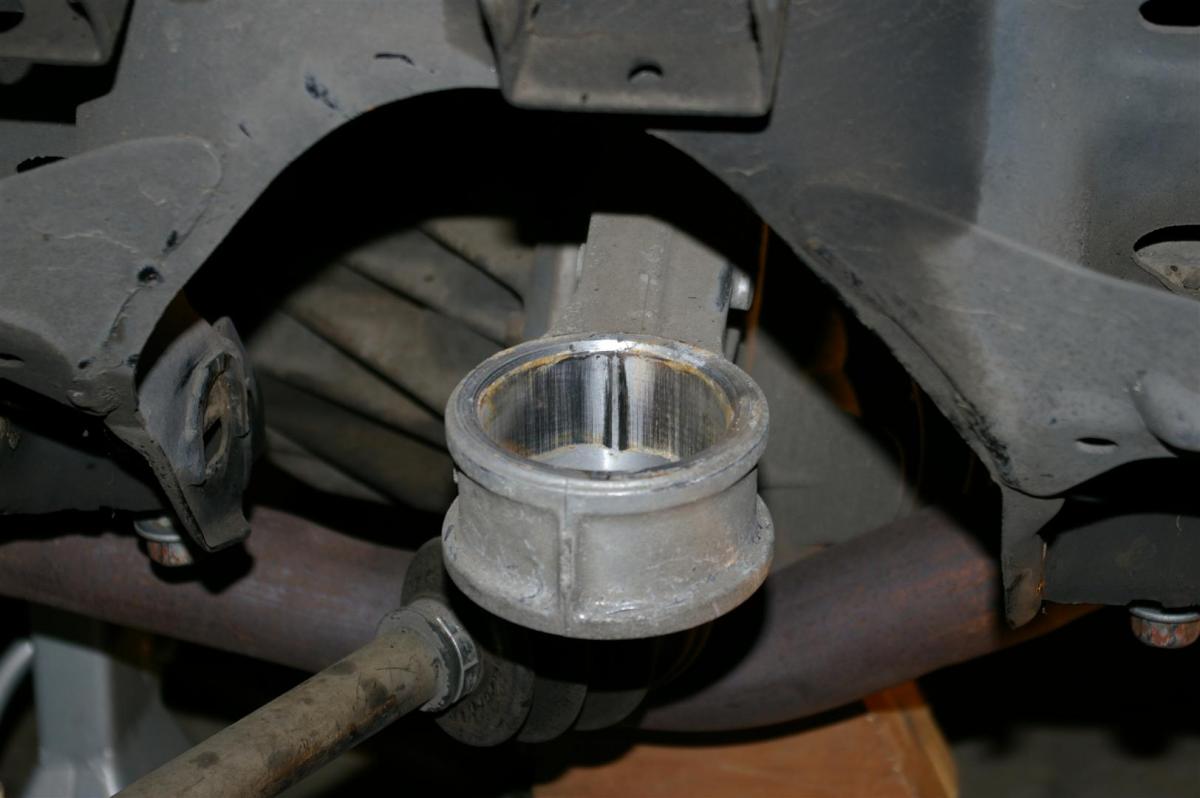
This is what I did today:


#62
Thread Starter
Joined: May 2008
Posts: 3,468
Total Cats: 365
From: Portland, Oregon
Someone had sent me a PM about rotrex components, but it has now disappeared. Whomever that was, please send it again and we'll discuss. Not sure what happened to the pm.
#63
Thread Starter
Joined: May 2008
Posts: 3,468
Total Cats: 365
From: Portland, Oregon
Curly stopped by on Tuesday to lend a hand. We got the axles into the diff with a few love taps from a small sledge and a block of wood, then got the fronts mostly assembled before we ran out of time.
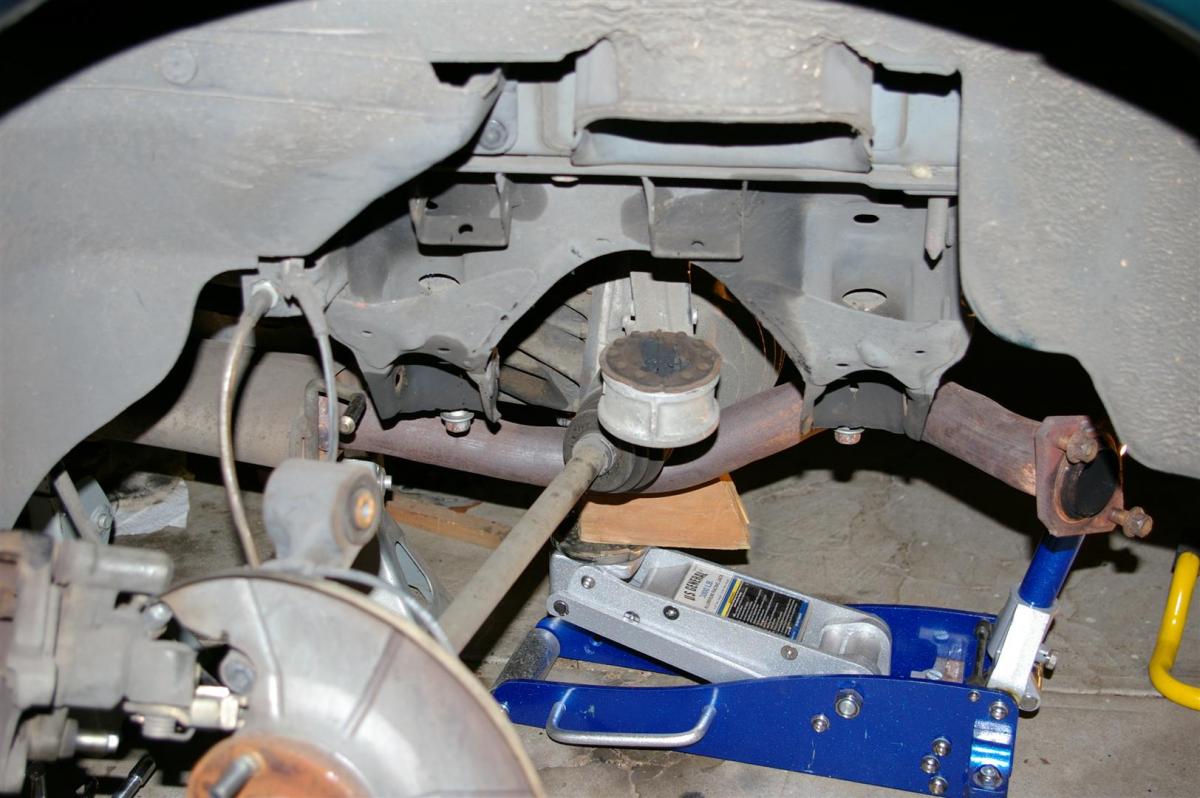
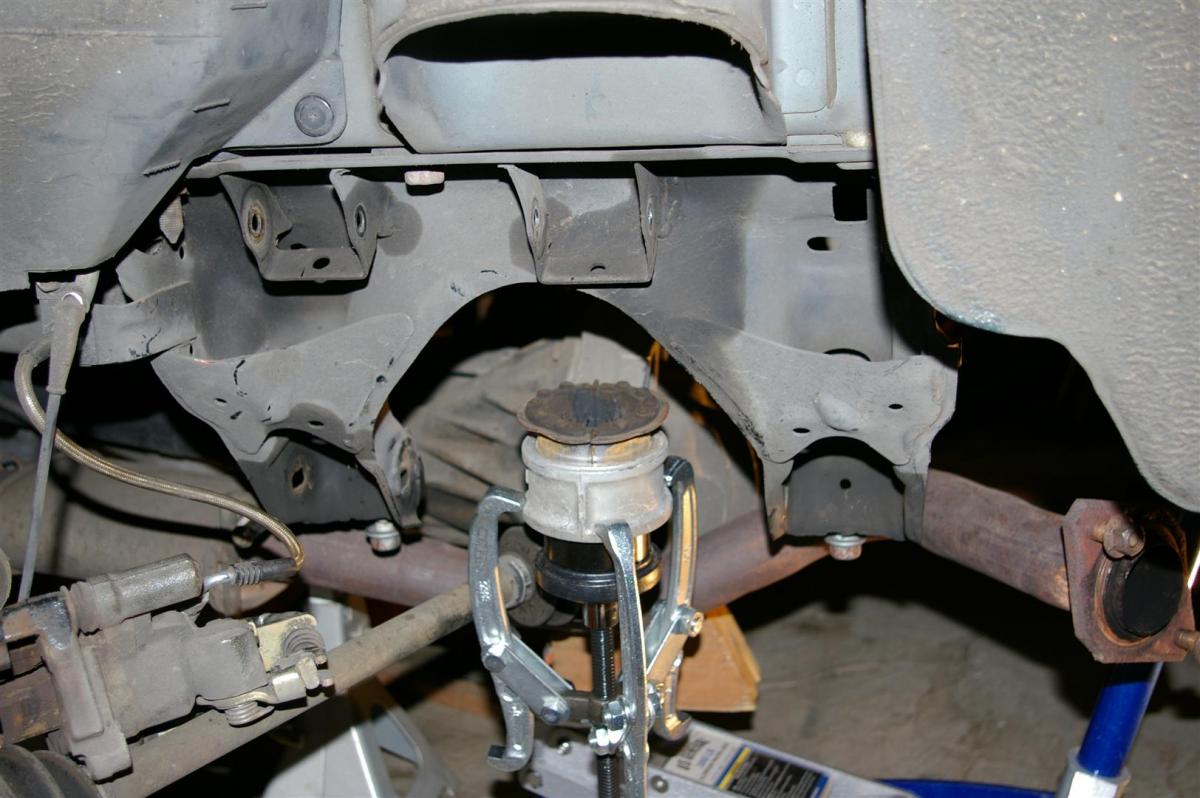
I couldn't get the ball joint for the right upper control arm to grab with hand tools. It sat and spun. So out came a couple of pieces of 2x6 and the jack to put some pressure on it and seat it to get the nut to tighten:
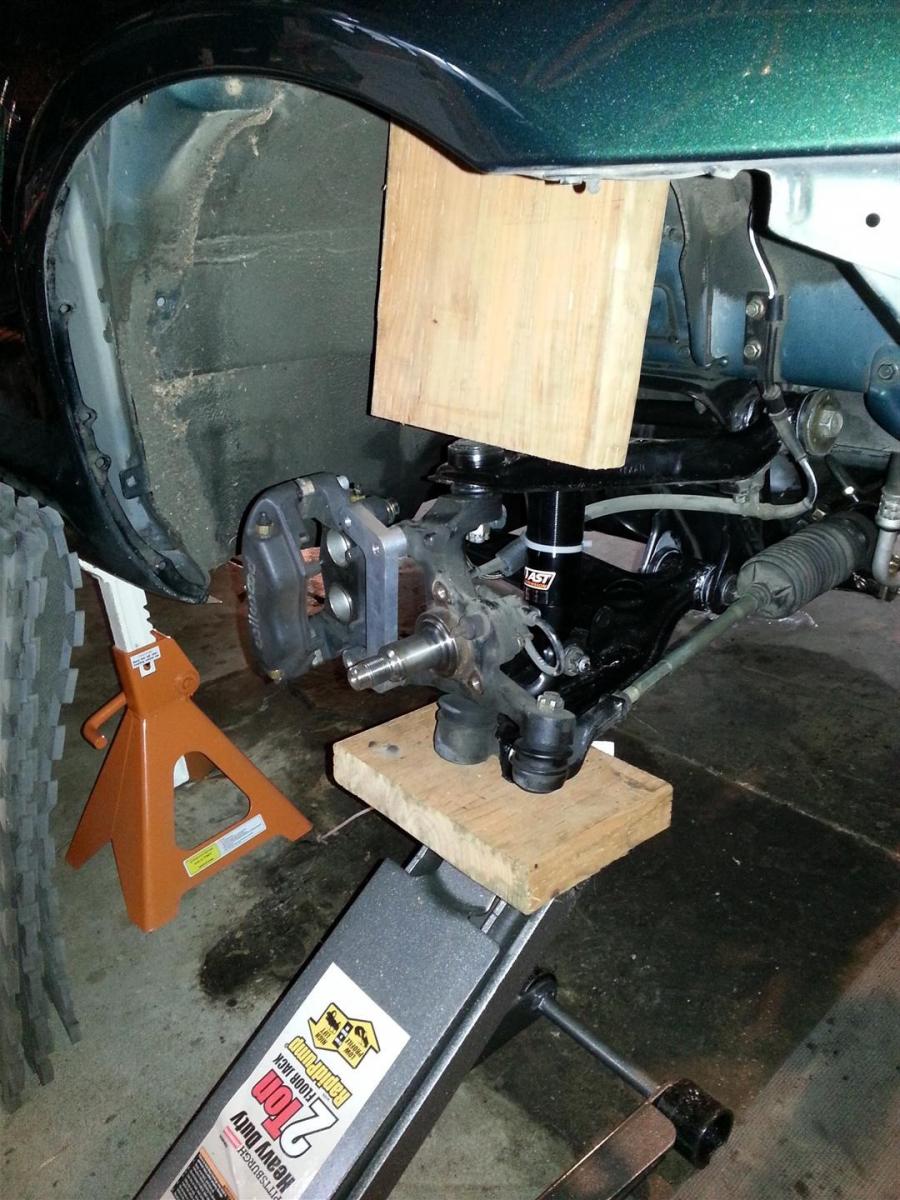
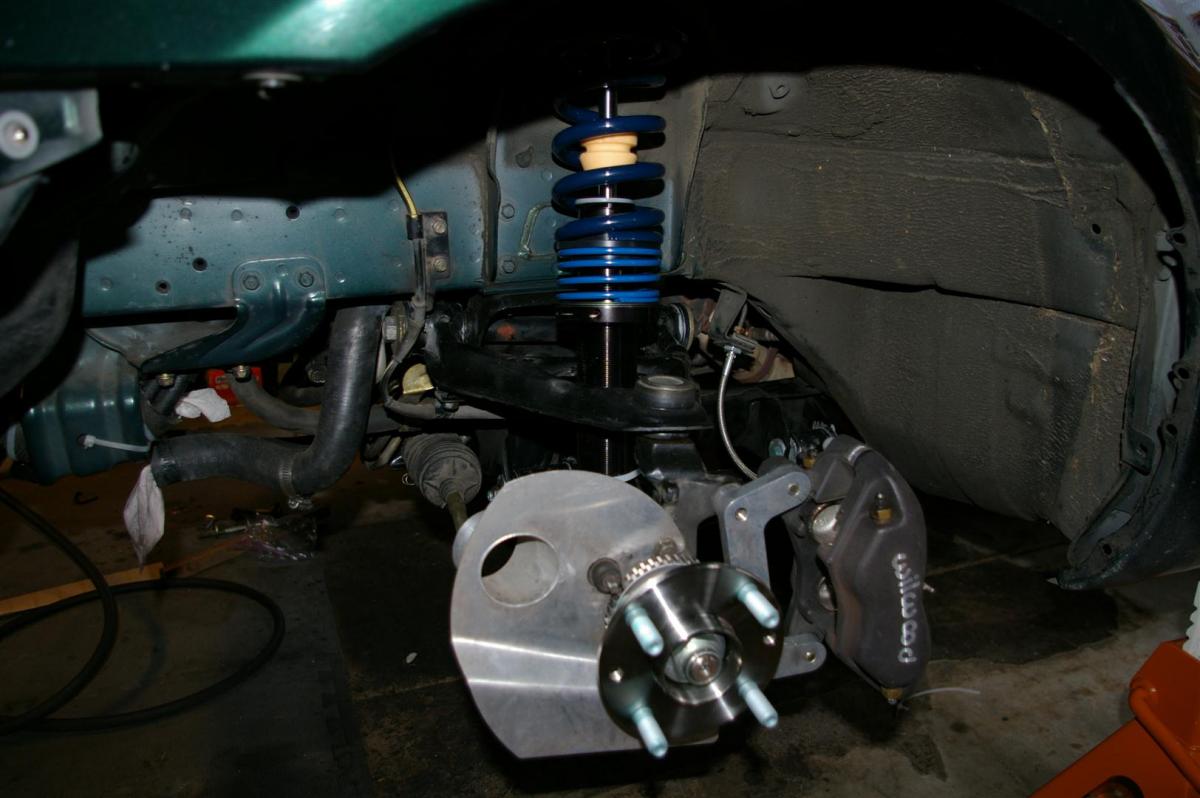
All four corners are completely assembled now, with brakes. Woot! Yes, I know there's no rotor in the pic .... it's there now. New OEM hubs. I will rebuild the old hubs with the blessed grease and ebay super-*****. These will then be the spares. After this season assuming the rebuild experiment goes well I will rebuild these as well.
While Curly was here he asked, "what's next for the car?" I didn't really have an answer. I mean, I've just done power (80mm nose pulley for the rotrex) and suspension (big grip kit). But obviously, the answer is aero. And look what's coming in the mail!
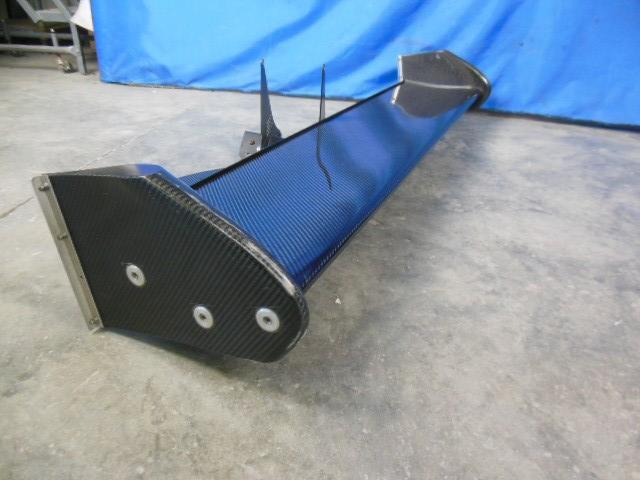
This is the CoT wing. I have FM's trunk lip mounts on order as well. I already have a Touge Run front airdam in the basement to put on the nose.
Now, obviously the wing will be able to generate much more rear downforce than the airdam by itself can create in front. The initial plan is to just run the airdam to prevent high speed lift, then add the wing at a neutral or very slight downforce angle, then put a splitter on the front.
I couldn't get the ball joint for the right upper control arm to grab with hand tools. It sat and spun. So out came a couple of pieces of 2x6 and the jack to put some pressure on it and seat it to get the nut to tighten:

All four corners are completely assembled now, with brakes. Woot! Yes, I know there's no rotor in the pic .... it's there now. New OEM hubs. I will rebuild the old hubs with the blessed grease and ebay super-*****. These will then be the spares. After this season assuming the rebuild experiment goes well I will rebuild these as well.

While Curly was here he asked, "what's next for the car?" I didn't really have an answer. I mean, I've just done power (80mm nose pulley for the rotrex) and suspension (big grip kit). But obviously, the answer is aero. And look what's coming in the mail!

This is the CoT wing. I have FM's trunk lip mounts on order as well. I already have a Touge Run front airdam in the basement to put on the nose.
Now, obviously the wing will be able to generate much more rear downforce than the airdam by itself can create in front. The initial plan is to just run the airdam to prevent high speed lift, then add the wing at a neutral or very slight downforce angle, then put a splitter on the front.
#64
Thread Starter
Joined: May 2008
Posts: 3,468
Total Cats: 365
From: Portland, Oregon
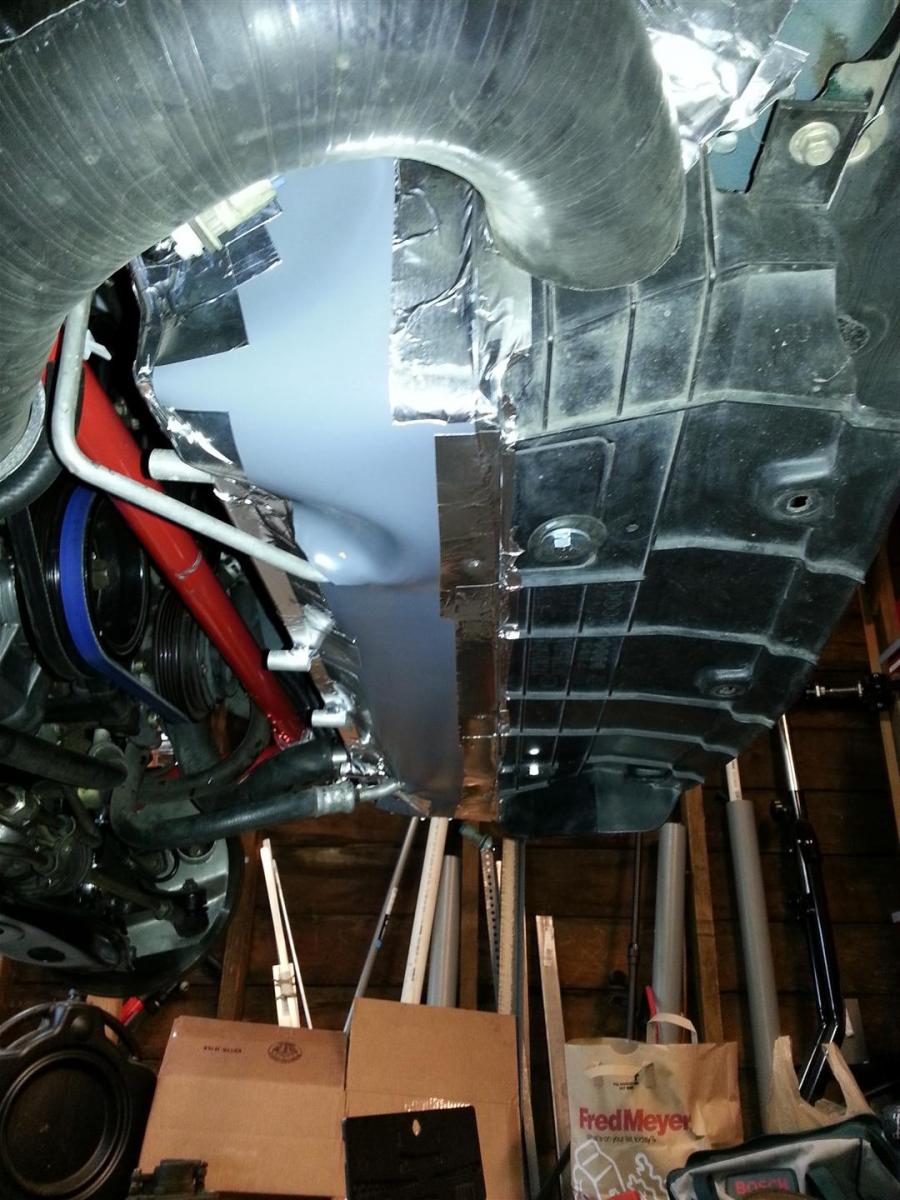
Radiator shrouding is done. I decided to follow Genespicer's example and used PVC tub/shower liner to seal the gap between the airflow straightener box thing and the radiator. It wraps up the radiator support brackets on each side. Aluminum HVAC tape seals it all.
I put weatherstripping on the side of the radiator, and that took care of that gap. There's still some space at the very top on each side, but I'll seal that later, it can be done with the rad in the car.
Filled it up and started it, ran until warmed up. No issues. I like that. Next up: put the bumper back on, then attach the Touge Run front airdam.

#65
Thread Starter
Joined: May 2008
Posts: 3,468
Total Cats: 365
From: Portland, Oregon
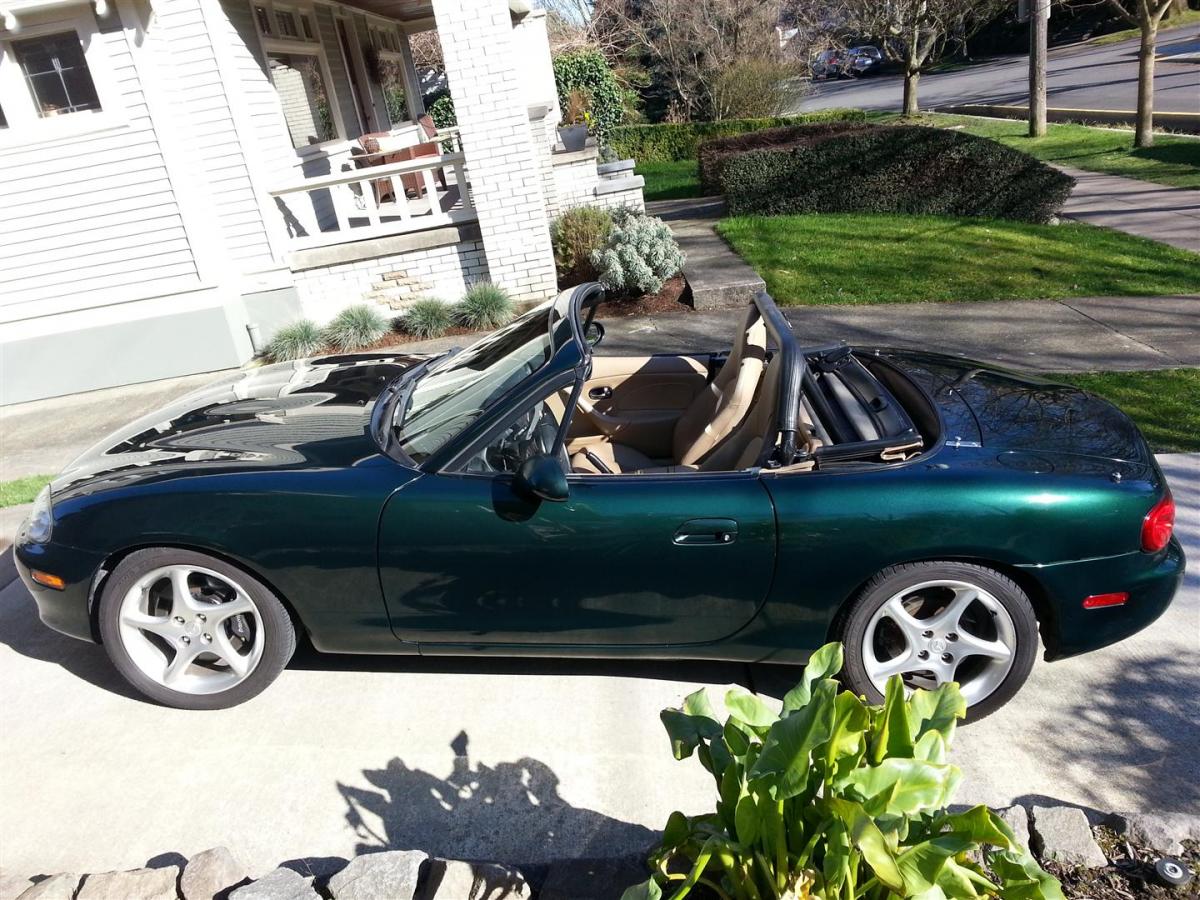
Car is on the ground, washed and waxed. Alignment isn't until Tuesday, so ride heights etc will have to wait, and cornering will be sedate until then. I haven't gone through and double checked my Xede maps yet, so I didn't romp on it during limited test drives today.
Before, on cold startup, the car would squeak and chirp until everything was up to temperature. It was something in the rotrex assembly. Between replacing the bracket with one that appears identical, and replacing the autotensioner and manual adjustment idler pulleys, those noises are gone. Nice.
60 degrees and KAVU! What a gorgeous day.

#66
KAVU? Is that pilot talk?
So, did you go with their replacement manual adjustment idler pulley or the super double secret Miata OEM timing belt one? Glad to see she's on the ground and looking clean! I almost wish I had tan leather... almost.
So, did you go with their replacement manual adjustment idler pulley or the super double secret Miata OEM timing belt one? Glad to see she's on the ground and looking clean! I almost wish I had tan leather... almost.
#67
#69
Thread Starter
Joined: May 2008
Posts: 3,468
Total Cats: 365
From: Portland, Oregon
2 (3?) sets of 6uls and you post up the stockers.
Although, I did almost put the Nickels with the RS2's on. Almost. I had to put the fronts on anyway to tighten the axle bolt on the ground, and considered putting them the rest of the way on, but those RS2's have little traction and the car now has a mystery alignment until Tuesday. And my child was riding with me today. So the stockers with the Yoko all-seasons went on.
This morning I went to one of the local Cars and Coffees. Performance Race Engineering was there handing out flyers for donuts. Since my 7yo was with me, donuts got added to the agenda. They're mostly a Subie shop, but donuts are a universal language! And while we were there, they had a raffle for a dyno pull.
So after winning my dyno pull like a baus, I have to go out to the car and tighten the supercharger belt. I set the original pre-load on it to 6mm, but by now after about 20 miles it has stretched some. No big deal. But I have to admit, I am a little nervous about this dyno pull. I had my annual dumbass moment earlier today. On the way from Cars and Coffee to PRE, I decided to romp on it a little bit in 2nd gear. About 5k rpm I hear PSSHHHHHhhhhh and the engine dies.

Won't do a rolling restart. Coast into a parking lot. Car starts, then dies. Pop the hood, can't smell anything, belts are ok. Thinking about the noise, throttle body connection is fine, intercooler connections I know are tight, then I found it. The hose for the recirc bypass valve, as well as the actual compressor outlet, had popped loose. Tightened them up and all is well, car restarts on first try. T-bolt clamps are awesome when you tighten them!
Excellent! Car has been off the jackstands for less than 24 hours, no tuning has been done, one failure has been corrected, let's hit the dyno!
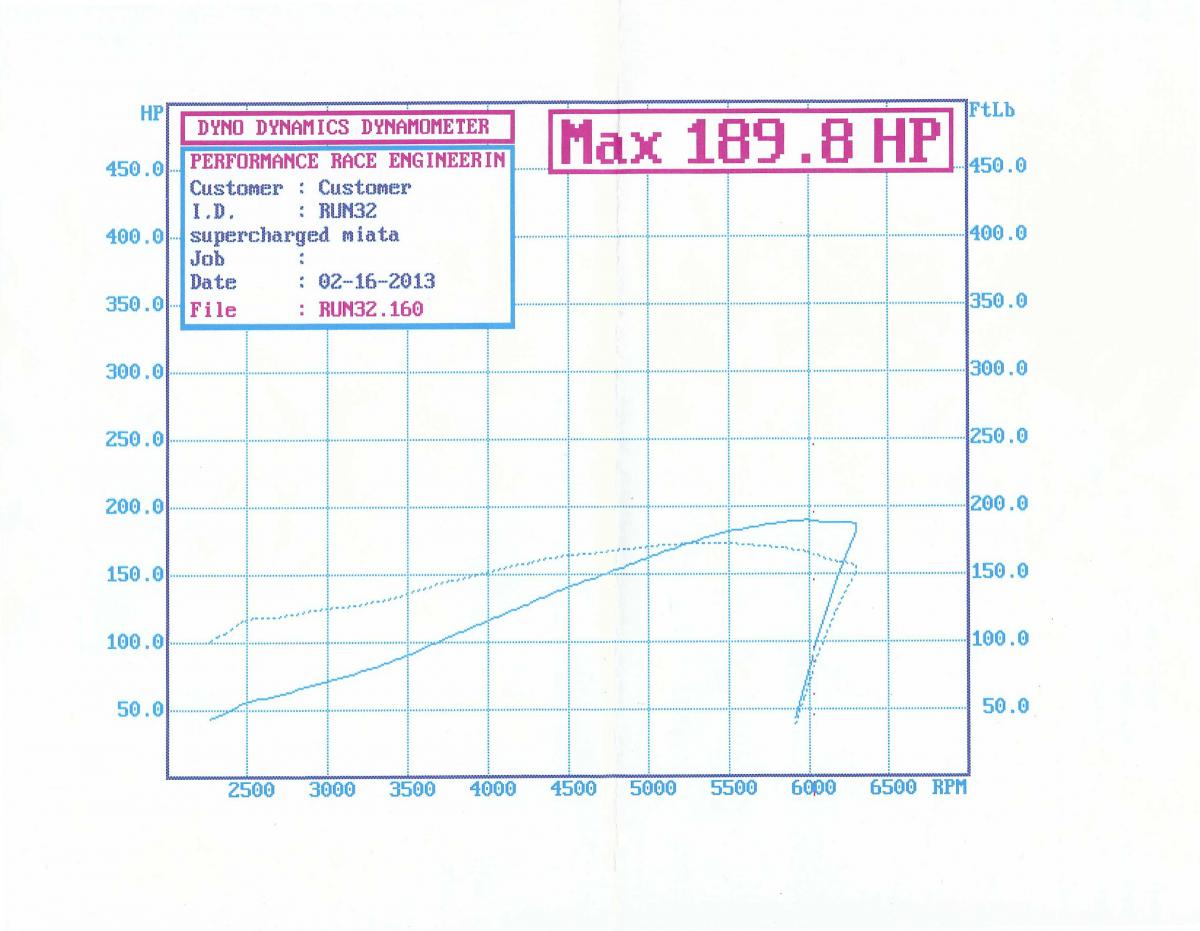
189.8 HP, 172 ft/lbs. Couple of things to note:
- no tuning since pulley change
- runs stop at 6300 due to lean condition, so there's definitely a higher HP number there
- this dyno is a conservative one for the area. Reads about 10% lower than a popular Mustang dyno. It's a Dynojet, but I don't know if it's a newer fancy one or if it's old school inertial roller.
Overall I'm very pleased. Suspension feels awesome. Tuesday will show how much camber I've gained by running lower, whether replacing the right front LCA fixed my excessive caster issue, and I can finally start to explore it on the street.
KAVU is pilot talk, however I am not a pilot, but my father-in-law flew cargo in Nam. It's also an apparel company based in Seattle. For some reason us PacNW'ers have a fascination with days that can be described as clear above, visibility unlimited. Don't know why.
Edit: I used all the new Kraftwerks components - bracket, autotensioner, idler pulley. The new steel idler pulley looked to be of higher quality than the old one, and it has a bit larger diameter than the t-belt idler pulley, so will spin at slightly lower RPM. The t-belt idler is in the toolbag, however. I am very satisfied with the new Kraftwerks components. Previously, on every cold start, there would be a rather loud metallic chirp chirp chirp from something in the rotrex components until everything warmed up. Now it is completely silent except for the normal little high-pitched rotrex "burble" for lack of a better word.
#72

Ungh! I don't want to buy another bracket & autotensioner, but I want a new bracket & autotensioner

This gives me so much hope, you have no idea. So glad to see these results
 I guess I need to put an 80mm pulley on my "list of things to acquire." No restrictor, right? No one wants to buy my setup, so I guess I'll stick it out and see what happens.
Serious congrats man!
#73
Thread Starter
Joined: May 2008
Posts: 3,468
Total Cats: 365
From: Portland, Oregon
I am lazy. Blurring my license plate photo in stills and vids from my events is tedious work I do not wish to do.
Therefore:
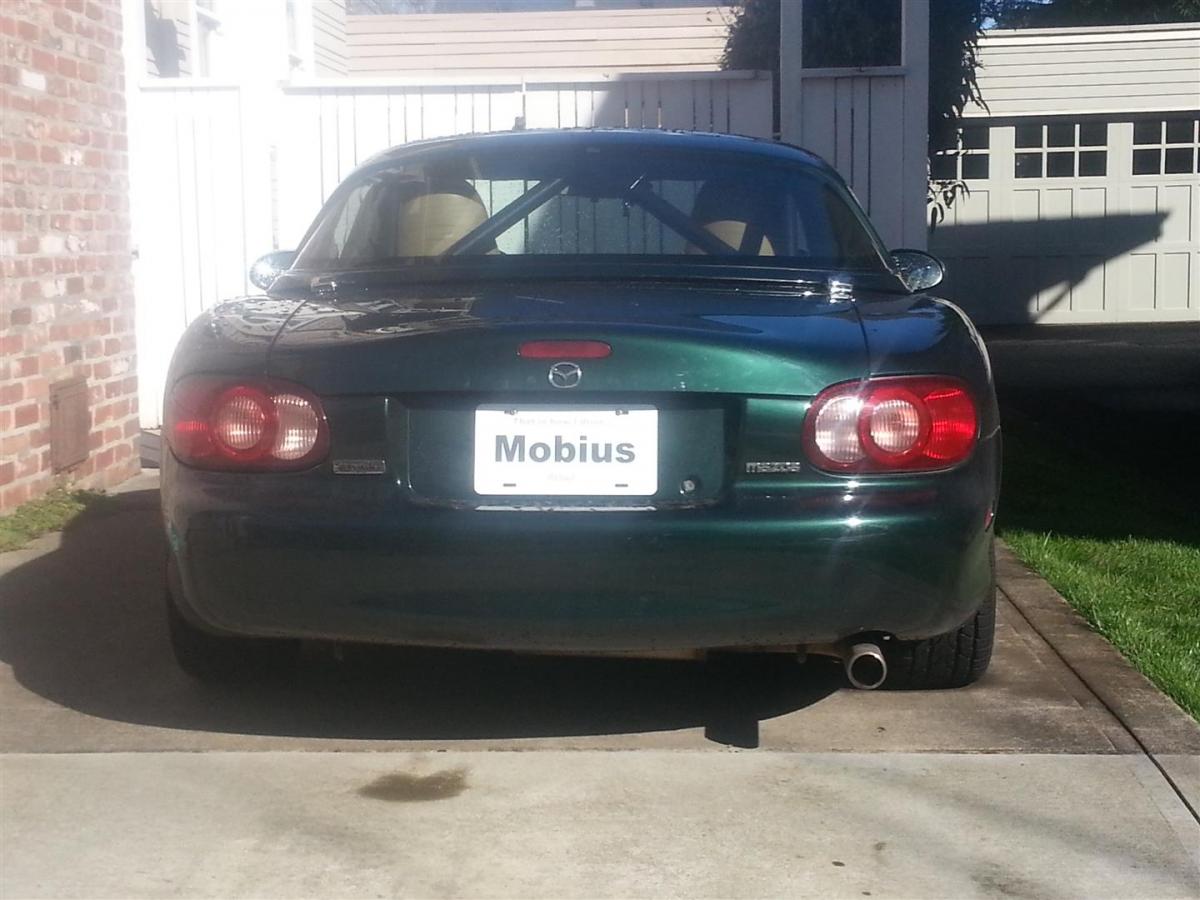
The direct sunlight makes part of the plate harder to read. Which is working as intended, as it is supposed to be a bit more subtle:
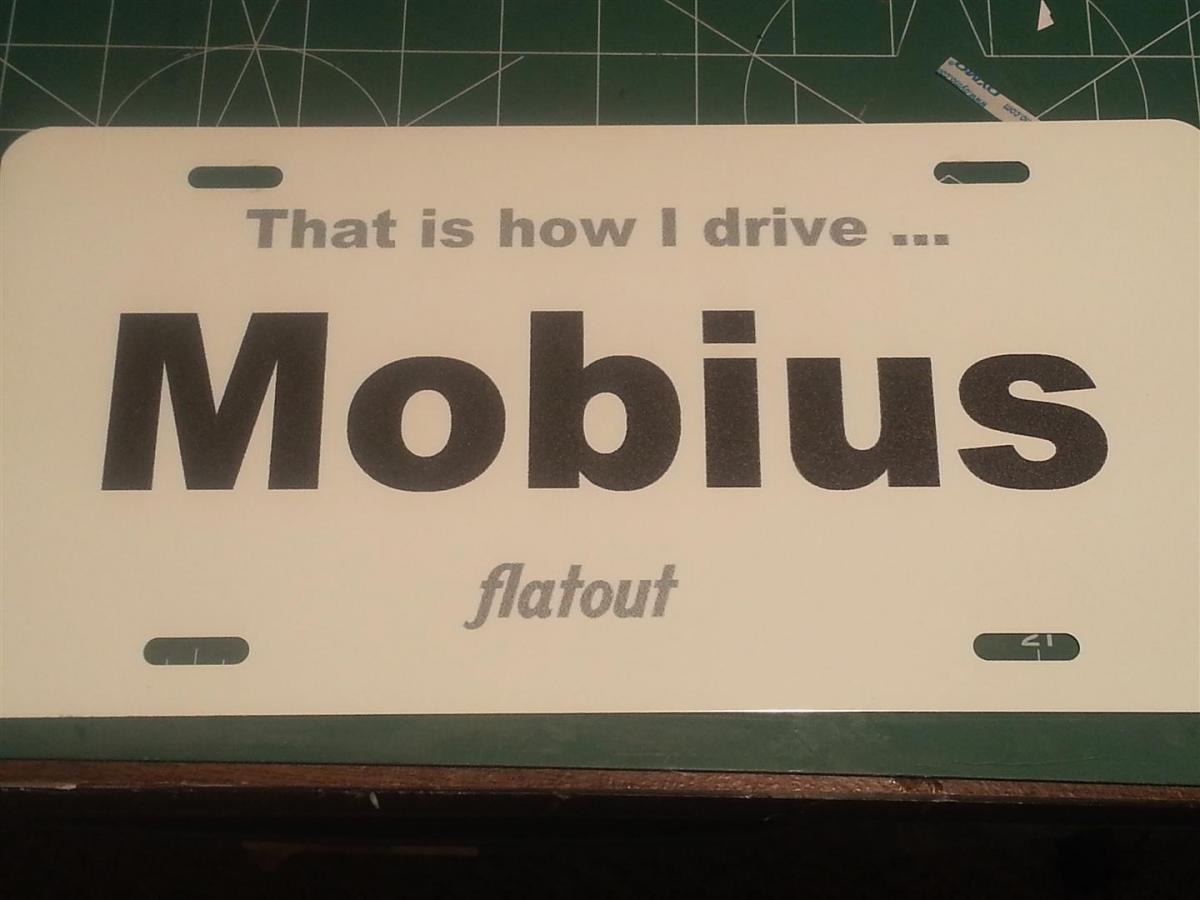
Therefore:

The direct sunlight makes part of the plate harder to read. Which is working as intended, as it is supposed to be a bit more subtle:

#80
Thread Starter
Joined: May 2008
Posts: 3,468
Total Cats: 365
From: Portland, Oregon
Children, behave. My exhaust does what it needs to. I don't know that the Racing Beat header is going to gain me much over my current header. As for the rest of it, I am content to run it as is for now. It may not be 3", but it doesn't have any restrictive bends and it gets the job done. With the Enthuza muffler it's plenty loud enough to be heard in the cabin with the hardtop on at 100mph while wearing a helmet & earplugs. Good enough.
Edit - besides, in a few years when I go EFR and start showing C5 and C6 vette owners my tail lights, that will be the time to replace the whole thing anyway.
Edit - besides, in a few years when I go EFR and start showing C5 and C6 vette owners my tail lights, that will be the time to replace the whole thing anyway.


