MatosMiata's build, turning a booger into something worth looking at
 06-20-2022, 04:48 PM
#181
Junior Member
Thread Starter

Join Date: Jan 2012
Location: Miami
Posts: 316
Total Cats: 3
Dec 28 2017
There are some of the original bolts which I need to reuse (unfortunately), so I made a mix to remove the rust from them. It's a gallon of white vinegar mixed with a cup of salt.
 PF88 by Jose Matos, on Flickr
I dumped the battery brackets from the truck and the Miata in this mix, as well as various bolts from both vehicles (none of the truck bolts were all that bad whereas the Miata ones were pretty ugly). I made a mix of baking soda and water to neutralize the acid on each bolt once the rust has been removed.
 PF89 by Jose Matos, on Flickr
It's remarkably effective, especially with parts that only have surface rust. Some love with a toothbrush is needed to rub the rust off.
 PF90 by Jose Matos, on Flickr
 PF91 by Jose Matos, on Flickr
There are some of the original bolts which I need to reuse (unfortunately), so I made a mix to remove the rust from them. It's a gallon of white vinegar mixed with a cup of salt.
PF88 by Jose Matos, on FlickrI dumped the battery brackets from the truck and the Miata in this mix, as well as various bolts from both vehicles (none of the truck bolts were all that bad whereas the Miata ones were pretty ugly). I made a mix of baking soda and water to neutralize the acid on each bolt once the rust has been removed.
PF89 by Jose Matos, on FlickrIt's remarkably effective, especially with parts that only have surface rust. Some love with a toothbrush is needed to rub the rust off.
PF90 by Jose Matos, on FlickrPF91 by Jose Matos, on Flickr

Reply
 0
0

0
06-20-2022, 04:49 PM
#182
Junior Member
Thread Starter
Join Date: Jan 2012
Location: Miami
Posts: 316
Total Cats: 3
Dec 28 2017
I did the cowl cover in black plastidip, it sprays on with a bit of orange peel but it dries nice and flat
 PF94 by Jose Matos, on Flickr
 PF95 by Jose Matos, on Flickr
I did the cowl cover in black plastidip, it sprays on with a bit of orange peel but it dries nice and flat
PF94 by Jose Matos, on FlickrPF95 by Jose Matos, on Flickr
Reply
0
0
06-20-2022, 04:50 PM
#183
Junior Member
Thread Starter
Join Date: Jan 2012
Location: Miami
Posts: 316
Total Cats: 3
Dec 28 2017
The Tacoma watches anxiously, waiting for the Miata to be complete so she can get her turn... she's never really approved of the little guy...
 PF96 by Jose Matos, on Flickr
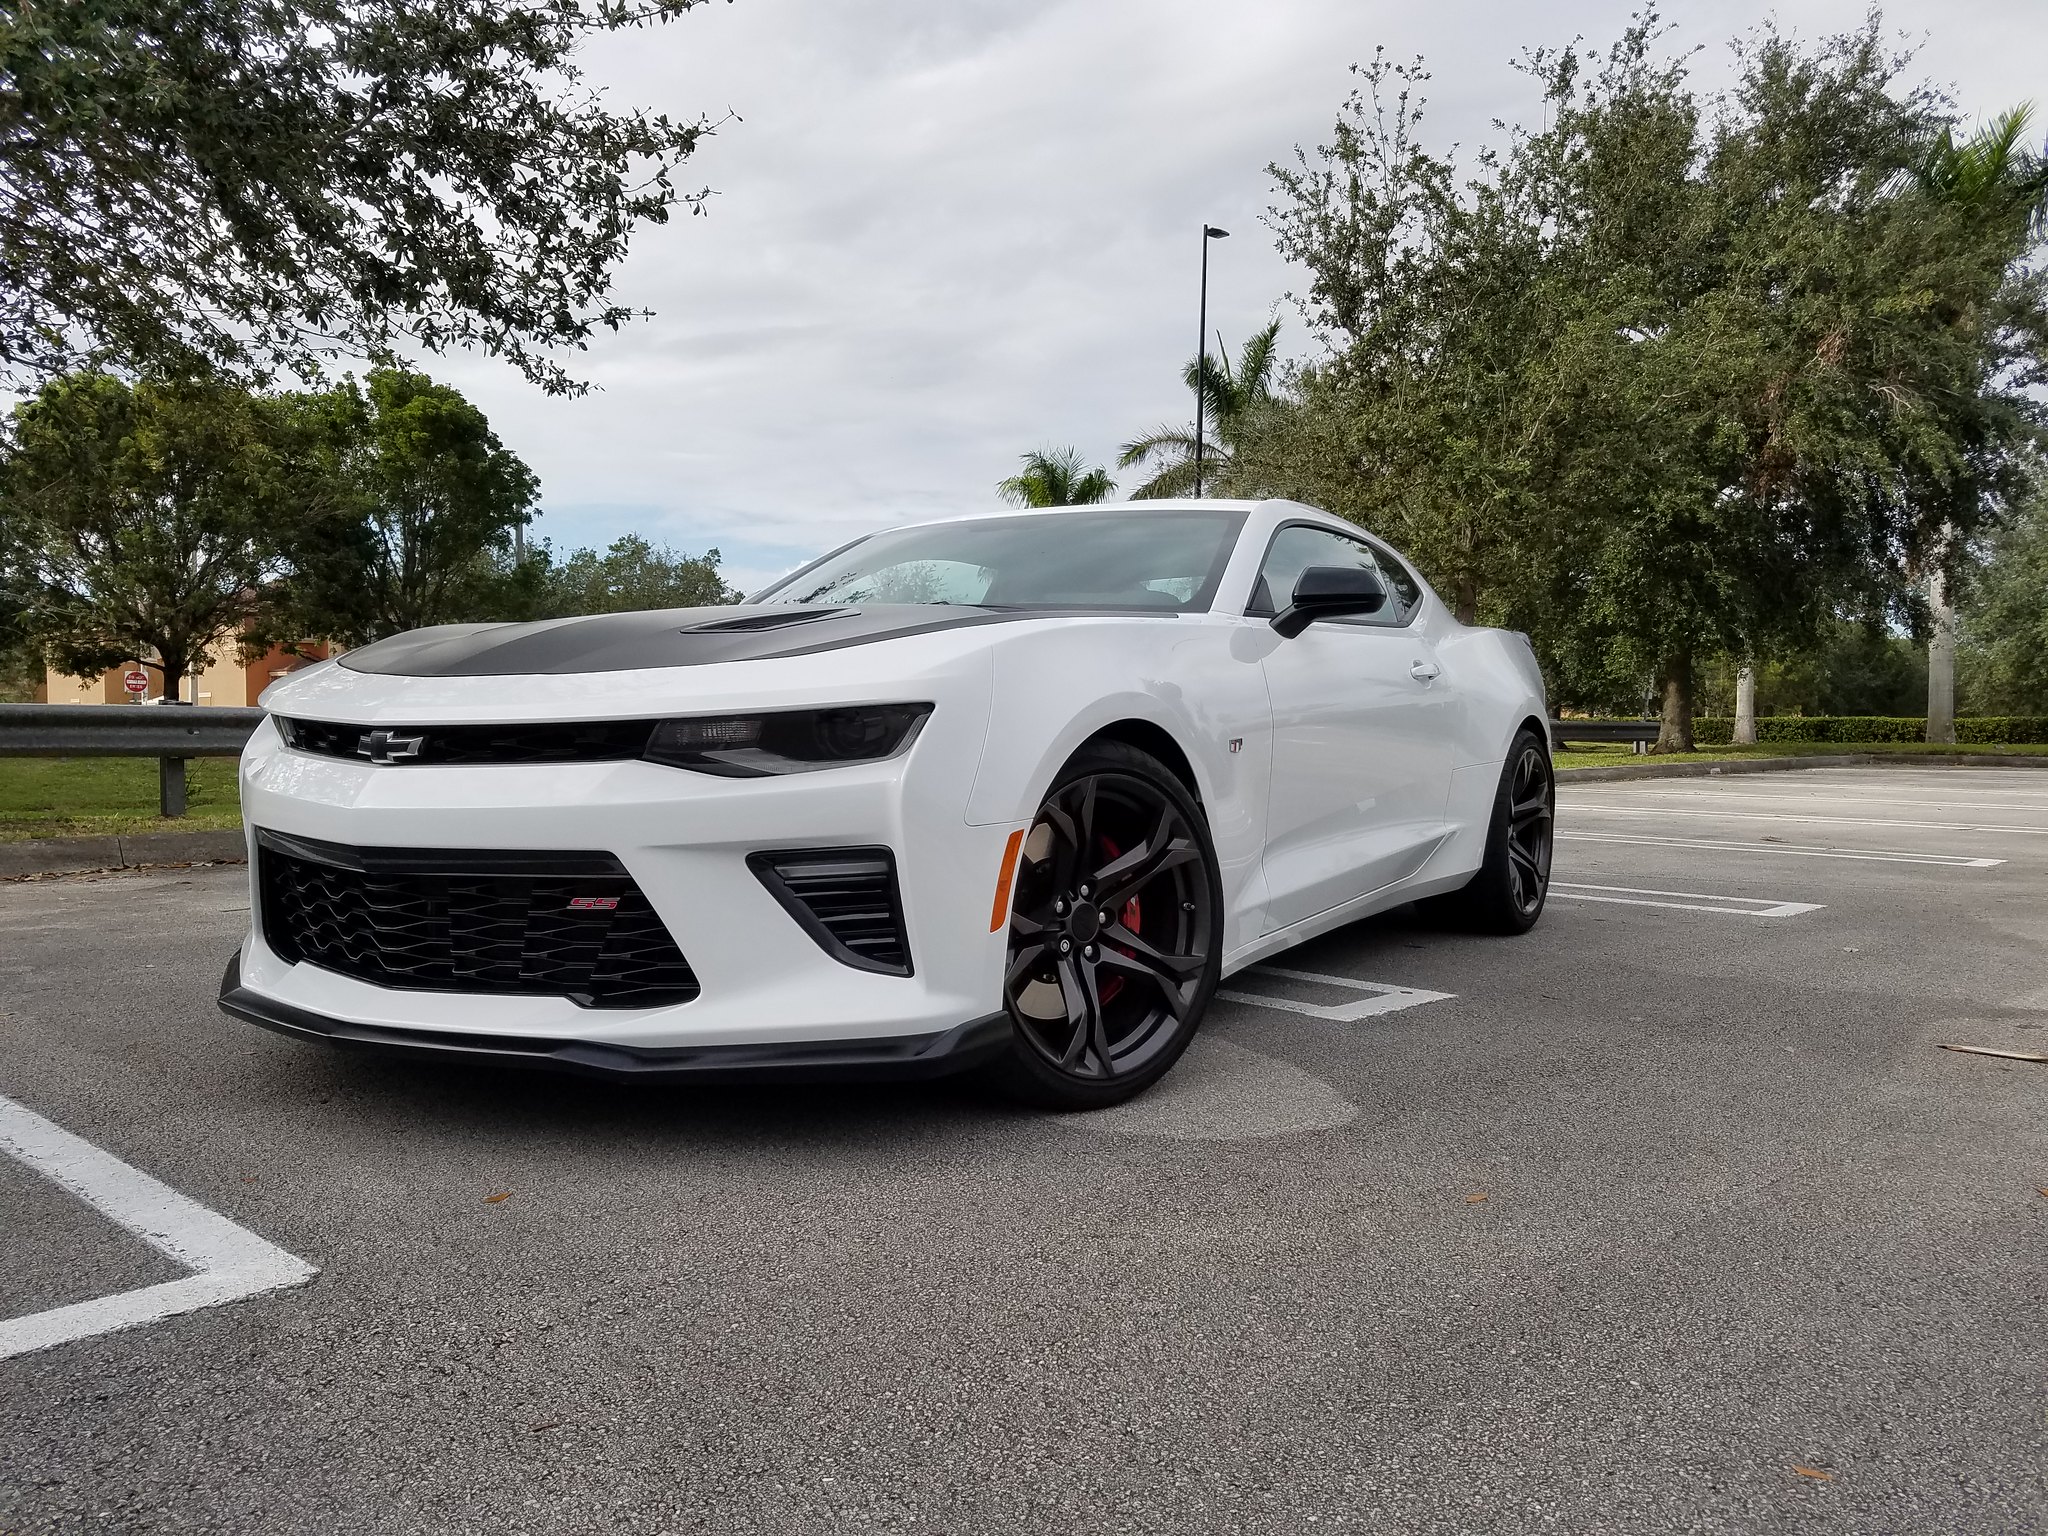
The Camaro remains generally unimpressed
 Cam1 by Jose Matos, on Flickr
It's busy wondering how this new Mustang can be so ugly
 Cam2 by Jose Matos, on Flickr
The Tacoma watches anxiously, waiting for the Miata to be complete so she can get her turn... she's never really approved of the little guy...
PF96 by Jose Matos, on FlickrThe Camaro remains generally unimpressed
Cam1 by Jose Matos, on FlickrIt's busy wondering how this new Mustang can be so ugly
Cam2 by Jose Matos, on Flickr
Reply
0
0
06-26-2022, 10:33 PM
#184
Junior Member
Thread Starter
Join Date: Jan 2012
Location: Miami
Posts: 316
Total Cats: 3
Dec 28 2017
I pried off some old bolts and metal in the battery area so that I could install the new bracket. I should have done this before blasting and painting the trunk, as I found more surface rust underneath. Fortunately, it was a small area to repair and I got it fixed quickly.
 PF97 by Jose Matos, on Flickr
I got some good hardware together to hold it in place
 PF98 by Jose Matos, on Flickr
 PF99 by Jose Matos, on Flickr
 PF100 by Jose Matos, on Flickr
I pried off some old bolts and metal in the battery area so that I could install the new bracket. I should have done this before blasting and painting the trunk, as I found more surface rust underneath. Fortunately, it was a small area to repair and I got it fixed quickly.
PF97 by Jose Matos, on FlickrI got some good hardware together to hold it in place
PF98 by Jose Matos, on FlickrPF99 by Jose Matos, on FlickrPF100 by Jose Matos, on Flickr
Reply
0
0
06-26-2022, 10:36 PM
#185
Junior Member
Thread Starter
Join Date: Jan 2012
Location: Miami
Posts: 316
Total Cats: 3
Dec 29 2017
I got my triangle windows and window rails in today. I gave the doors and windows a serious cleaning to get them ready. Unfortunately, the passenger's side door crank broke somehow and so I wasn't able to finish that side. I only installed the driver's side.
 PF105 by Jose Matos, on Flickr
 PF106 by Jose Matos, on Flickr
All with nice hardware of course!
 PF107 by Jose Matos, on Flickr
 PF108 by Jose Matos, on Flickr
I got my triangle windows and window rails in today. I gave the doors and windows a serious cleaning to get them ready. Unfortunately, the passenger's side door crank broke somehow and so I wasn't able to finish that side. I only installed the driver's side.
PF105 by Jose Matos, on FlickrPF106 by Jose Matos, on FlickrAll with nice hardware of course!
PF107 by Jose Matos, on FlickrPF108 by Jose Matos, on Flickr
Reply
0
0
06-26-2022, 10:37 PM
#186
Junior Member
Thread Starter
Join Date: Jan 2012
Location: Miami
Posts: 316
Total Cats: 3
Dec 29 2017
I also got the headlights back on. If you have to do this at some point, take note that the headlights have nubs on the back which you have to align to the recessions in the headlight bucket. Otherwise, the ring that holds the lights in won't seat properly when you try to pop it on. They are unequally spaced nubs so that the two pieces only fit together one way. This is to keep you from installing the lights upside down.
Notice the rectangular nubs
 PF109 by Jose Matos, on Flickr
and rectangular recessions
 PF110 by Jose Matos, on Flickr
Assemble the headlight and ring to the bucket before installing them in the light housings
 PF111 by Jose Matos, on Flickr
 PF112 by Jose Matos, on Flickr
One of my headlights isn't cycling up and down now smh... here's winking at ya
 PF113 by Jose Matos, on Flickr
It's likely a bad connector (it was exposed for a couple of days while I painted the headlight housings).
I also got the headlights back on. If you have to do this at some point, take note that the headlights have nubs on the back which you have to align to the recessions in the headlight bucket. Otherwise, the ring that holds the lights in won't seat properly when you try to pop it on. They are unequally spaced nubs so that the two pieces only fit together one way. This is to keep you from installing the lights upside down.
Notice the rectangular nubs
PF109 by Jose Matos, on Flickrand rectangular recessions
PF110 by Jose Matos, on FlickrAssemble the headlight and ring to the bucket before installing them in the light housings
PF111 by Jose Matos, on FlickrPF112 by Jose Matos, on FlickrOne of my headlights isn't cycling up and down now smh... here's winking at ya
PF113 by Jose Matos, on FlickrIt's likely a bad connector (it was exposed for a couple of days while I painted the headlight housings).
Reply
0
0
06-26-2022, 10:39 PM
#187
Junior Member
Thread Starter
Join Date: Jan 2012
Location: Miami
Posts: 316
Total Cats: 3
Dec 29 2017
I also got my trunk carpet in. Now I just need to obtain the portion that covers the battery and my trunk set should be complete...sans spare tire lol
 PF114 by Jose Matos, on Flickr
I'm also going to take some time and replace all the nuts here with new gold zinc ones before I put the cover over this part.
 PF115 by Jose Matos, on Flickr
I also got my trunk carpet in. Now I just need to obtain the portion that covers the battery and my trunk set should be complete...sans spare tire lol
PF114 by Jose Matos, on FlickrI'm also going to take some time and replace all the nuts here with new gold zinc ones before I put the cover over this part.
PF115 by Jose Matos, on Flickr
Reply
0
0
06-27-2022, 08:48 AM
#188
Junior Member
Thread Starter
Join Date: Jan 2012
Location: Miami
Posts: 316
Total Cats: 3
Jan 1 2018
Happy New Year's everybody!
Continuing on with my build, I busted out some more gold zinc hardware and went to town in the trunk area
 PF116 by Jose Matos, on Flickr
 PF117 by Jose Matos, on Flickr
 PF119 by Jose Matos, on Flickr
 PF120 by Jose Matos, on Flickr
I also plastidipped the fuel hose cover and reinstalled it with blingy hardware. I mistakenly grabbed a can of navy blue instead of black, but it's dark and sprayed over black paint, so it looks almost black.
 PF121 by Jose Matos, on Flickr
Happy New Year's everybody!
Continuing on with my build, I busted out some more gold zinc hardware and went to town in the trunk area
PF116 by Jose Matos, on FlickrPF117 by Jose Matos, on FlickrPF119 by Jose Matos, on FlickrPF120 by Jose Matos, on FlickrI also plastidipped the fuel hose cover and reinstalled it with blingy hardware. I mistakenly grabbed a can of navy blue instead of black, but it's dark and sprayed over black paint, so it looks almost black.
PF121 by Jose Matos, on Flickr
Reply
0
0
06-27-2022, 08:49 AM
#189
Junior Member
Thread Starter
Join Date: Jan 2012
Location: Miami
Posts: 316
Total Cats: 3
Jan 1 2018
I switched out the hardware on the wipers as well
 PF122 by Jose Matos, on Flickr
Who says a Miata trunk can't hold a lot of stuff? Here's the trunk with enough tools to take apart the whole car!
 PF123 by Jose Matos, on Flickr
I switched out the hardware on the wipers as well
PF122 by Jose Matos, on FlickrWho says a Miata trunk can't hold a lot of stuff? Here's the trunk with enough tools to take apart the whole car!
PF123 by Jose Matos, on Flickr
Reply
0
0
06-27-2022, 08:50 AM
#190
Junior Member
Thread Starter
Join Date: Jan 2012
Location: Miami
Posts: 316
Total Cats: 3
Jan 1 2018
My dash was also cracked, and this is unacceptable, so it had to be removed and repaired
 PF124 by Jose Matos, on Flickr
The AC unit is best removed before the dash, but I couldn't figure it out due to poor lighting and poor pictures in the dash removal instructions online. If you follow where the black lines run, at the end of each line there is a loop that slides onto a tab. All you need to do is slide these out and undo the electrical harnesses on the unit and it comes out.
 PF125 by Jose Matos, on Flickr
 PF126 by Jose Matos, on Flickr
What a mess this was lol, smh
 PF127 by Jose Matos, on Flickr
Now there's even more junk in the trunk
 PF128 by Jose Matos, on Flickr
My dash was also cracked, and this is unacceptable, so it had to be removed and repaired
PF124 by Jose Matos, on FlickrThe AC unit is best removed before the dash, but I couldn't figure it out due to poor lighting and poor pictures in the dash removal instructions online. If you follow where the black lines run, at the end of each line there is a loop that slides onto a tab. All you need to do is slide these out and undo the electrical harnesses on the unit and it comes out.
PF125 by Jose Matos, on FlickrPF126 by Jose Matos, on FlickrWhat a mess this was lol, smh
PF127 by Jose Matos, on FlickrNow there's even more junk in the trunk
PF128 by Jose Matos, on Flickr
Reply
0
0
06-27-2022, 08:52 AM
#191
Junior Member
Thread Starter
Join Date: Jan 2012
Location: Miami
Posts: 316
Total Cats: 3
Jan 1 2018
However, this presented a prime opportunity to clean inside the dash. I used an old tooth brush and a shop vac to do it.
 PF129 by Jose Matos, on Flickr
 PF130 by Jose Matos, on Flickr
 PF131 by Jose Matos, on Flickr
However, this presented a prime opportunity to clean inside the dash. I used an old tooth brush and a shop vac to do it.
PF129 by Jose Matos, on FlickrPF130 by Jose Matos, on FlickrPF131 by Jose Matos, on Flickr
Reply
0
0
06-27-2022, 08:53 AM
#192
Junior Member
Thread Starter
Join Date: Jan 2012
Location: Miami
Posts: 316
Total Cats: 3
Jan 1 2018
The dash itself went to my garage
 PF132 by Jose Matos, on Flickr
I cut a bunch of pieces of ABS plastic sheet and glued them to the bottom of the dash using plastic bond
 PF133 by Jose Matos, on Flickr
 PF134 by Jose Matos, on Flickr
 PF135 by Jose Matos, on Flickr
 PF136 by Jose Matos, on Flickr
Once these dry up, I'll fill any gap left on the top of the dash and then wrap it in suede
With all these paints and epoxies going on the car, I'll be working on it like this until I can take it for a good spin and air it out.
 PF137 by Jose Matos, on Flickr
The dash itself went to my garage
PF132 by Jose Matos, on FlickrI cut a bunch of pieces of ABS plastic sheet and glued them to the bottom of the dash using plastic bond
PF133 by Jose Matos, on FlickrPF134 by Jose Matos, on FlickrPF135 by Jose Matos, on FlickrPF136 by Jose Matos, on FlickrOnce these dry up, I'll fill any gap left on the top of the dash and then wrap it in suede
With all these paints and epoxies going on the car, I'll be working on it like this until I can take it for a good spin and air it out.
PF137 by Jose Matos, on Flickr
Reply
0
0
06-27-2022, 08:54 AM
#193
Junior Member
Thread Starter
Join Date: Jan 2012
Location: Miami
Posts: 316
Total Cats: 3
Jan 2 2018
Now that the Christmas break is over, I suspect progress will be slower. Got home late today and all I did was add more reinforcement under the dash.
 PF138 by Jose Matos, on Flickr
 PF139 by Jose Matos, on Flickr
Now that the Christmas break is over, I suspect progress will be slower. Got home late today and all I did was add more reinforcement under the dash.
PF138 by Jose Matos, on FlickrPF139 by Jose Matos, on Flickr
Reply
0
0
06-27-2022, 08:56 AM
#194
Junior Member
Thread Starter
Join Date: Jan 2012
Location: Miami
Posts: 316
Total Cats: 3
Jan 7 2018
With the underside of the cracks reinforced, I went over the top with a cutoff wheel.
 PF140 by Jose Matos, on Flickr
You may wonder why I would widen the cracks this way. There are two reasons for this. First, the heat from the cutoff wheel melts the plastic together into one piece again. Two, this creates a groove which I can fill with epoxy (the primary reason for the tape). If you decide to do this, be sure to do so in an open area and use a respirator mask! The plastic WILL produce horrible fumes.
 PF141 by Jose Matos, on Flickr
I used this stuff to fill in the cracks. Keep the respirator mask on for this part!
 PF142 by Jose Matos, on Flickr
 PF143 by Jose Matos, on Flickr
With the underside of the cracks reinforced, I went over the top with a cutoff wheel.
PF140 by Jose Matos, on FlickrYou may wonder why I would widen the cracks this way. There are two reasons for this. First, the heat from the cutoff wheel melts the plastic together into one piece again. Two, this creates a groove which I can fill with epoxy (the primary reason for the tape). If you decide to do this, be sure to do so in an open area and use a respirator mask! The plastic WILL produce horrible fumes.
PF141 by Jose Matos, on FlickrI used this stuff to fill in the cracks. Keep the respirator mask on for this part!
PF142 by Jose Matos, on FlickrPF143 by Jose Matos, on Flickr
Reply
0
0
06-27-2022, 08:57 AM
#195
Junior Member
Thread Starter
Join Date: Jan 2012
Location: Miami
Posts: 316
Total Cats: 3
Jan 7 2018
From there, I took some sand paper and blended the epoxy to the height of the rest of the dash.
 PF144 by Jose Matos, on Flickr
With all of the epoxy smoothed out, all that's left is to apply a finish to the dash. I could do it in black plastidip (easiest possible option) or wrap it in suede to match my door panels
 PF145 by Jose Matos, on Flickr
I think I'll do the suede
 PF146 by Jose Matos, on Flickr
From there, I took some sand paper and blended the epoxy to the height of the rest of the dash.
PF144 by Jose Matos, on FlickrWith all of the epoxy smoothed out, all that's left is to apply a finish to the dash. I could do it in black plastidip (easiest possible option) or wrap it in suede to match my door panels
PF145 by Jose Matos, on FlickrI think I'll do the suede
PF146 by Jose Matos, on Flickr
Reply
0
0
06-27-2022, 08:58 AM
#196
Junior Member
Thread Starter
Join Date: Jan 2012
Location: Miami
Posts: 316
Total Cats: 3
Jan 8 2018
Came home today and steamed the suede in order to remove the wrinkles
 PF147 by Jose Matos, on Flickr
Then, I prepped the dash for adhesive spray
 PF148 by Jose Matos, on Flickr
Decided to cover the corners, so I un-taped them
 PF149 by Jose Matos, on Flickr
From there, I followed the instructions on the can of headliner adhesive, something I hadn't done for the door panels... so it came out really thick!
 PF150 by Jose Matos, on Flickr
 PF151 by Jose Matos, on Flickr
I also sprayed some on the back of the suede
 PF152 by Jose Matos, on Flickr
Came home today and steamed the suede in order to remove the wrinkles
PF147 by Jose Matos, on FlickrThen, I prepped the dash for adhesive spray
PF148 by Jose Matos, on FlickrDecided to cover the corners, so I un-taped them
PF149 by Jose Matos, on FlickrFrom there, I followed the instructions on the can of headliner adhesive, something I hadn't done for the door panels... so it came out really thick!
PF150 by Jose Matos, on FlickrPF151 by Jose Matos, on FlickrI also sprayed some on the back of the suede
PF152 by Jose Matos, on Flickr
Reply
0
0
06-27-2022, 08:59 AM
#197
Junior Member
Thread Starter
Join Date: Jan 2012
Location: Miami
Posts: 316
Total Cats: 3
Jan 8 2018
At this point, I laid down the suede
 PF153 by Jose Matos, on Flickr
Then spent a while smoothing it down, peeling it off and re-sticking it, and cutting and tucking material for the corners
 PF154 by Jose Matos, on Flickr
At this point, I laid down the suede
PF153 by Jose Matos, on FlickrThen spent a while smoothing it down, peeling it off and re-sticking it, and cutting and tucking material for the corners
PF154 by Jose Matos, on Flickr
Reply
1
1
06-27-2022, 09:01 AM
#198
Junior Member
Thread Starter
Join Date: Jan 2012
Location: Miami
Posts: 316
Total Cats: 3
Jan 8 2018
Lessons Learned:
1. Don't follow the instructions on the can! Spray one thin coat on the dash and another on the back of the
fabric and only allow it to set for 7 minutes before putting down the suede. Spraying it thick created some
globs which I had to work down and kept the final product from being 100% perfect! Not allowing it to set long enough will cause it to soak through the suede. Too long, and any globs of adhesive are hard to work down.
2. DO NOT TAPE anything down to cover it! Peeling the tape before laying down the suede took some adhesive
with it, leaving bare dash in some small sections which I had to re-spray. The adhesive spray is very
directional and easy to aim. Any unwanted overspray can be removed with your fingernail once dry.
3. Have another person help you lay down the suede, that way it will go on with less wrinkles for you to work
out.
4. Take your time and don't freak out if it isn't perfect initially. You can peel and re-stick the fabric quite a bit. Also, if you are an impatient person, this may not be for you. It takes time and OCD levels of focus to get it all right.
5. Have a sharp Xacto knife handy in order to cut the suede where needed.
Reply
1
1
06-27-2022, 09:02 AM
#199
Junior Member
Thread Starter
Join Date: Jan 2012
Location: Miami
Posts: 316
Total Cats: 3
Jan 8 2018At this point, I popped the corner vents back in and drilled the suede where the holes for the VIN tag are. Then, I grabbed my rivet gun and popped the VIN tag back on the dash.
 PF155 by Jose Matos, on Flickr
I wish I had rivets with bigger heads to match the stock, but oh well.
 PF156 by Jose Matos, on Flickr
PF155 by Jose Matos, on FlickrI wish I had rivets with bigger heads to match the stock, but oh well.
PF156 by Jose Matos, on Flickr
Reply
0
0
06-27-2022, 09:03 AM
#200
Junior Member
Thread Starter
Join Date: Jan 2012
Location: Miami
Posts: 316
Total Cats: 3
Jan 13 2018
At this point, I popped the corner vents back in and drilled the suede where the holes for the VIN tag are. Then, I grabbed my rivet gun and popped the VIN tag back on the dash.
PF155 by Jose Matos, on Flickr
I wish I had rivets with bigger heads to match the stock, but oh well.
PF156 by Jose Matos, on Flickr
At this point, I popped the corner vents back in and drilled the suede where the holes for the VIN tag are. Then, I grabbed my rivet gun and popped the VIN tag back on the dash.
PF155 by Jose Matos, on FlickrI wish I had rivets with bigger heads to match the stock, but oh well.
PF156 by Jose Matos, on Flickr
Reply
0
0


