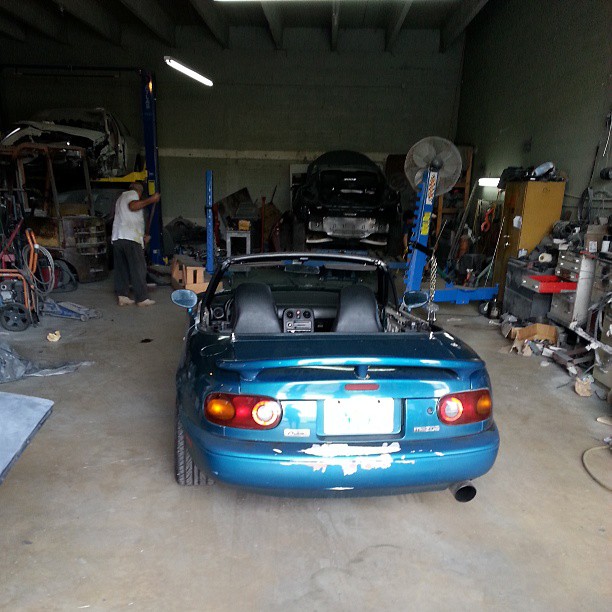
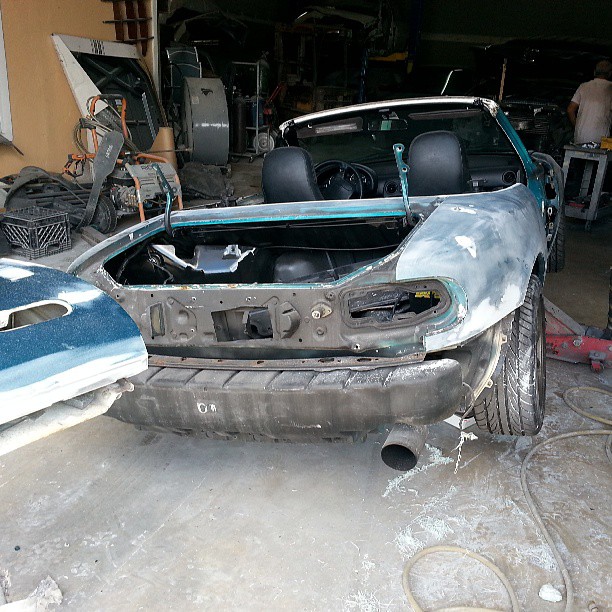
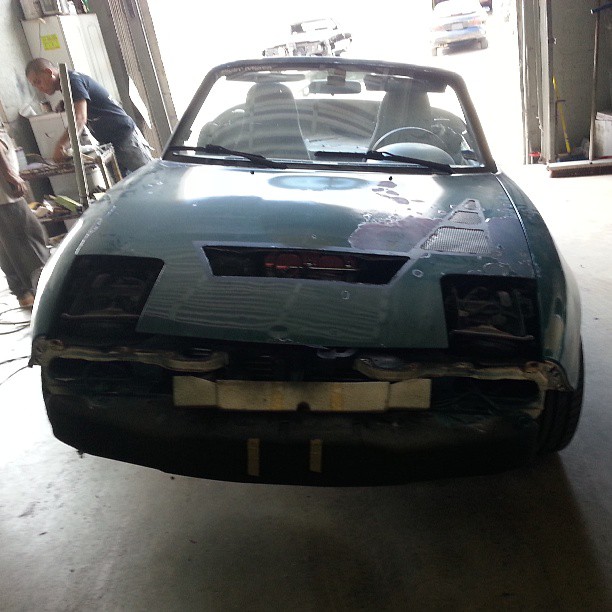
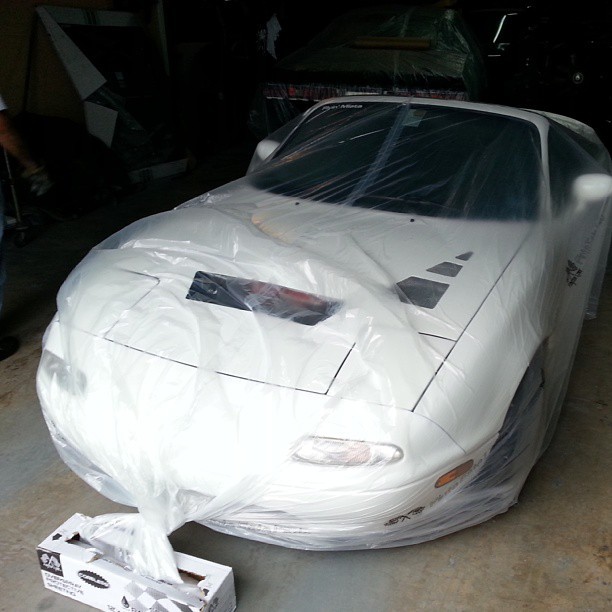
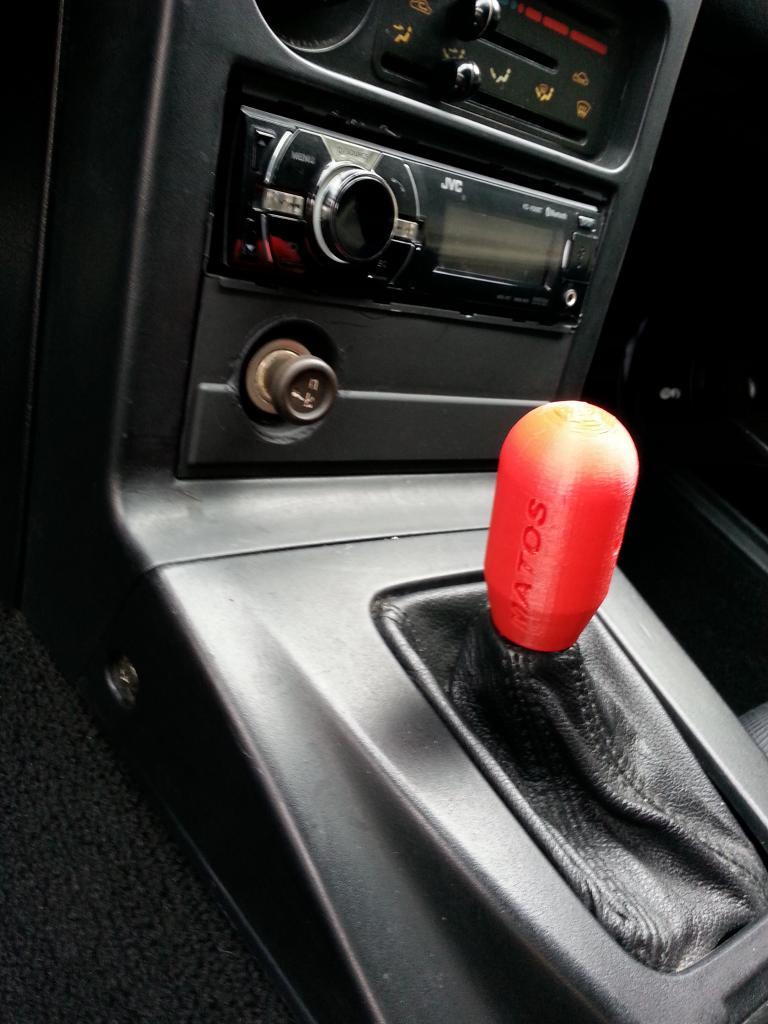
MatosMiata's build, turning a booger into something worth looking at
#1
I bought my Miata a few years ago from a lady who had it taking up space on her driveway. Her daughter used the car to go to MIT and no longer needed it after graduating and scoring a six figure job... lucky her.
Here it is in all its former glory..
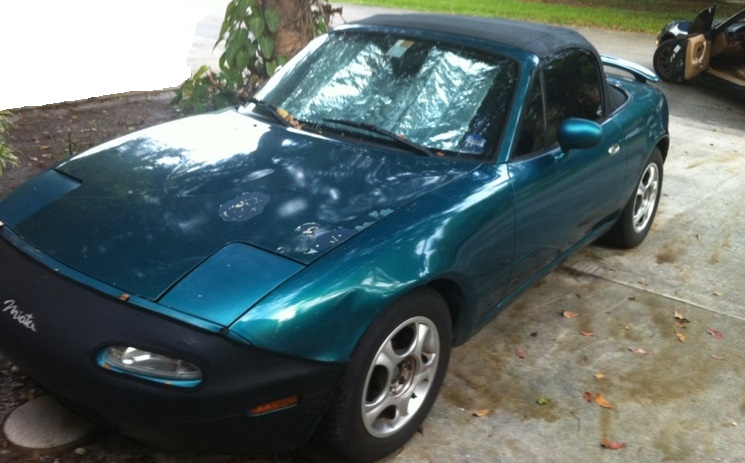
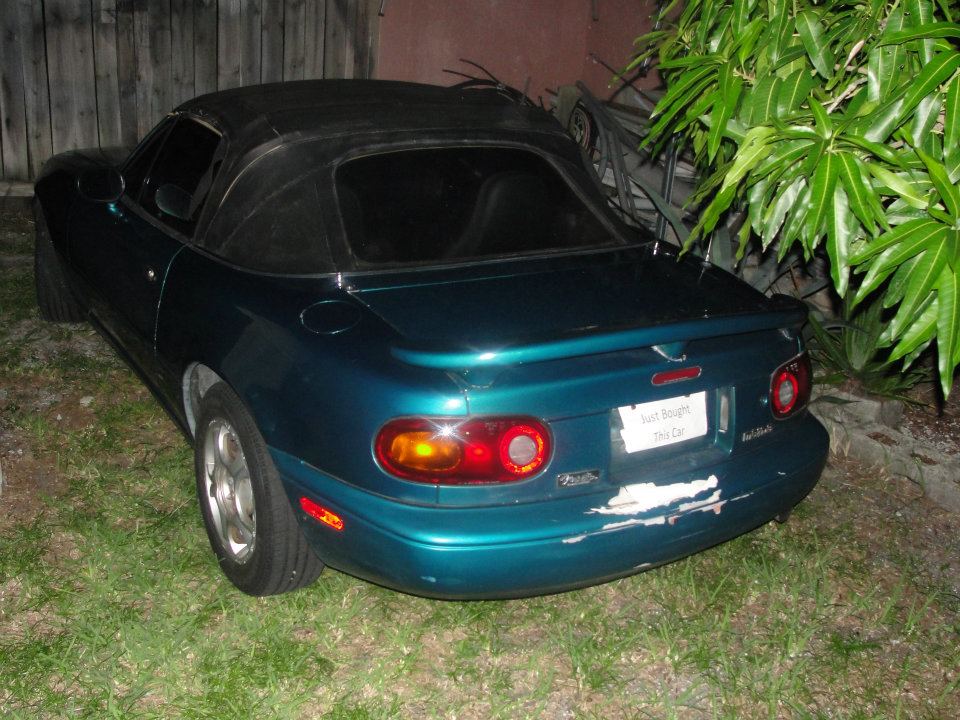
Here it is in all its former glory..


#2
It quickly got a healthy round of fixes and mods starting with a new top, new metal in the parcel shelf area, rust proof paint and pickup truck bed liner in order to ensure it wouldn't rust again. I also threw in a new battery as the non AGM battery they had in it chewed a hole through the quarter panel.
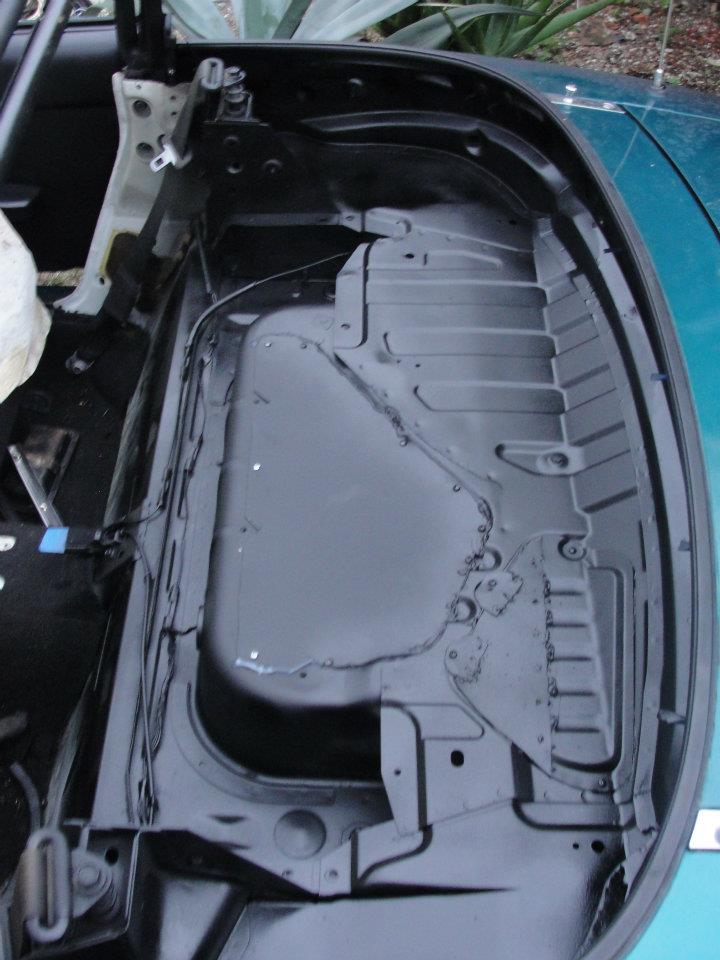
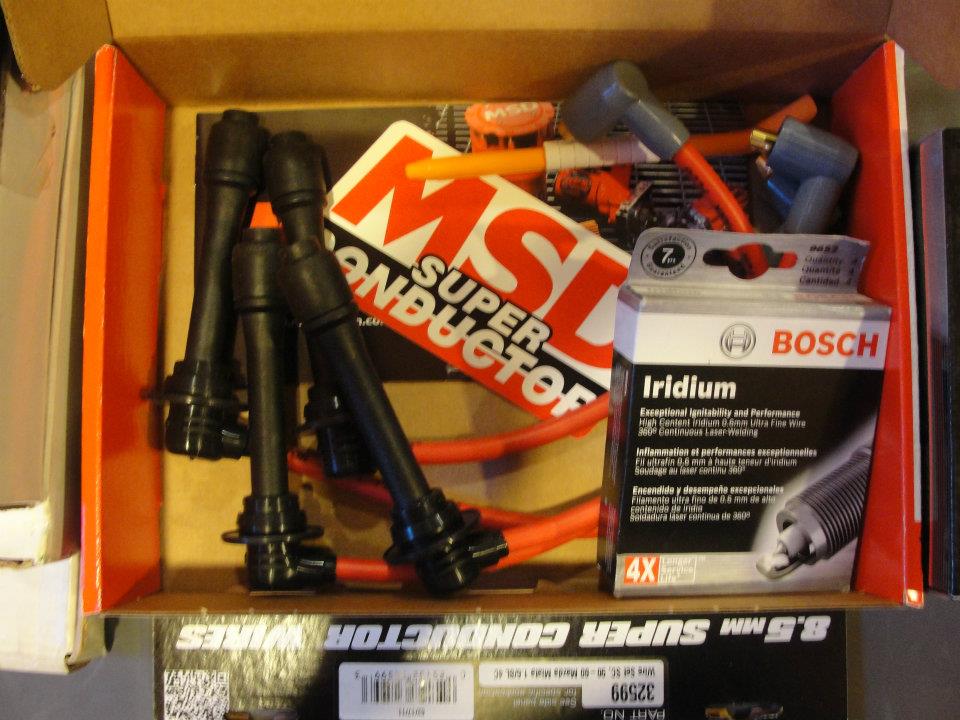
New spark plugs and MSD wires went in
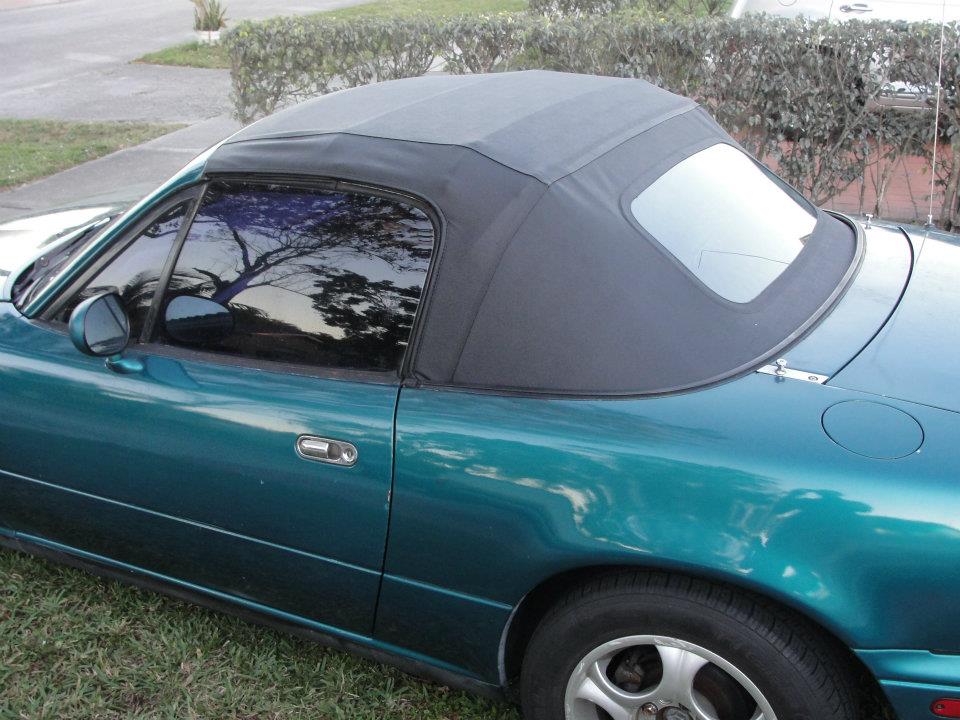
The new top made a big difference as compared to the torn up old one that let rain in

New spark plugs and MSD wires went in

The new top made a big difference as compared to the torn up old one that let rain in

#3
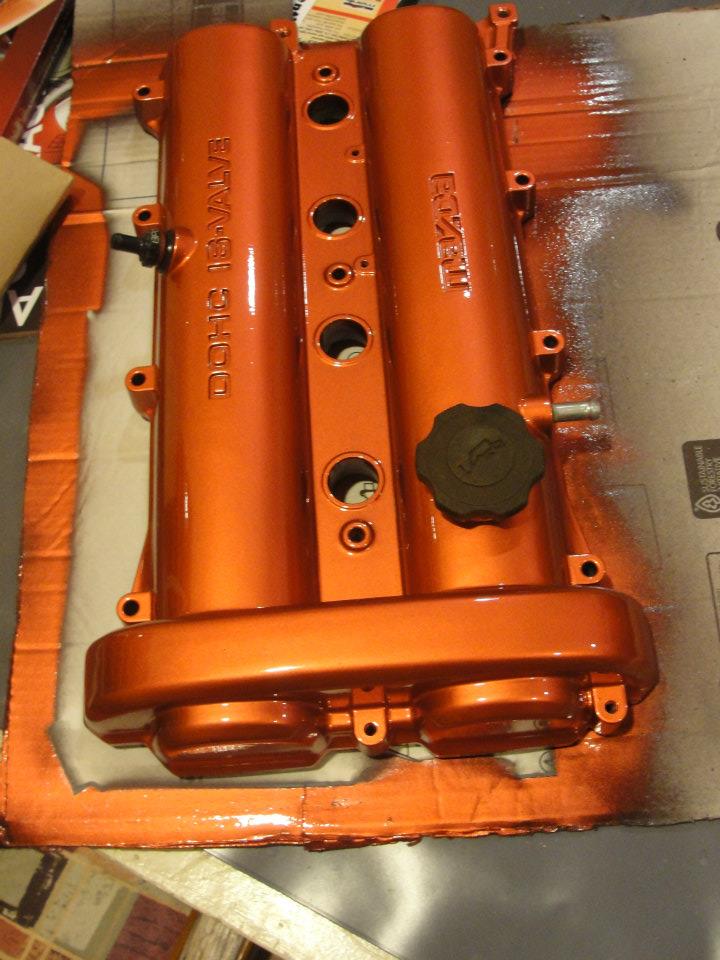
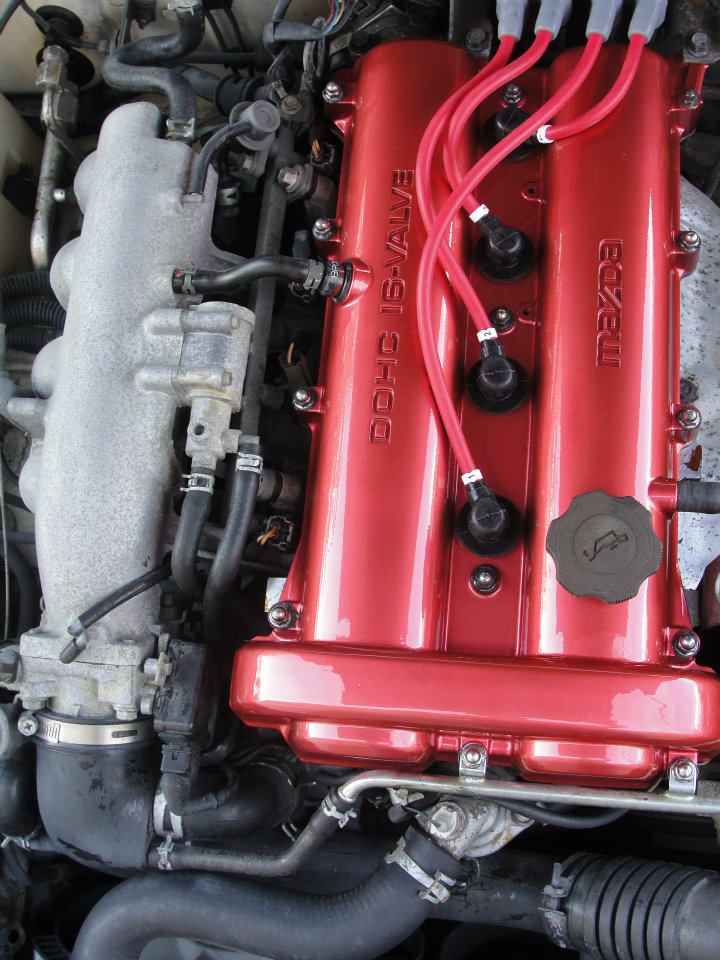
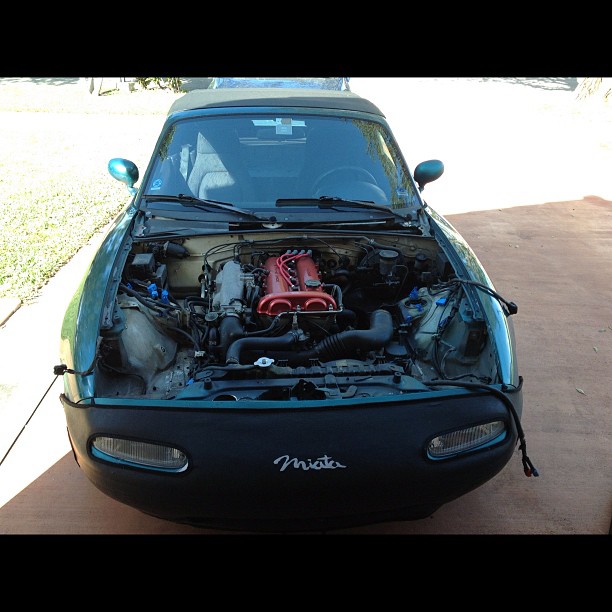
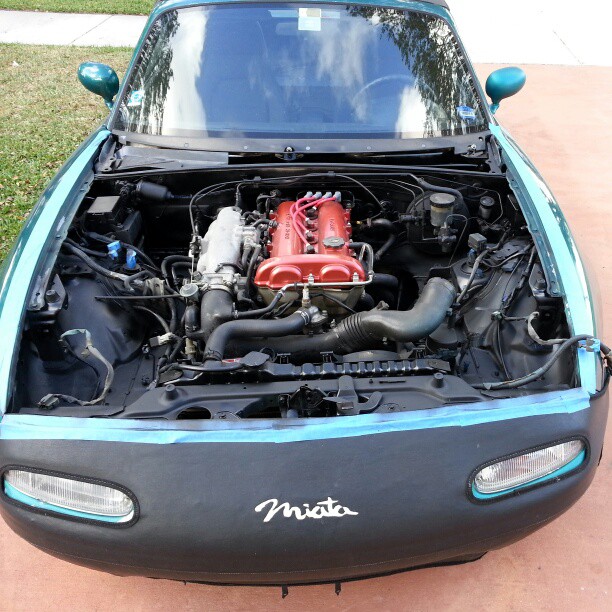
My engine bay had quite a bit of filth, and rust. My valve cover also looked horrible. I took some of it apart and painted it all black. I also painted the valve cover.
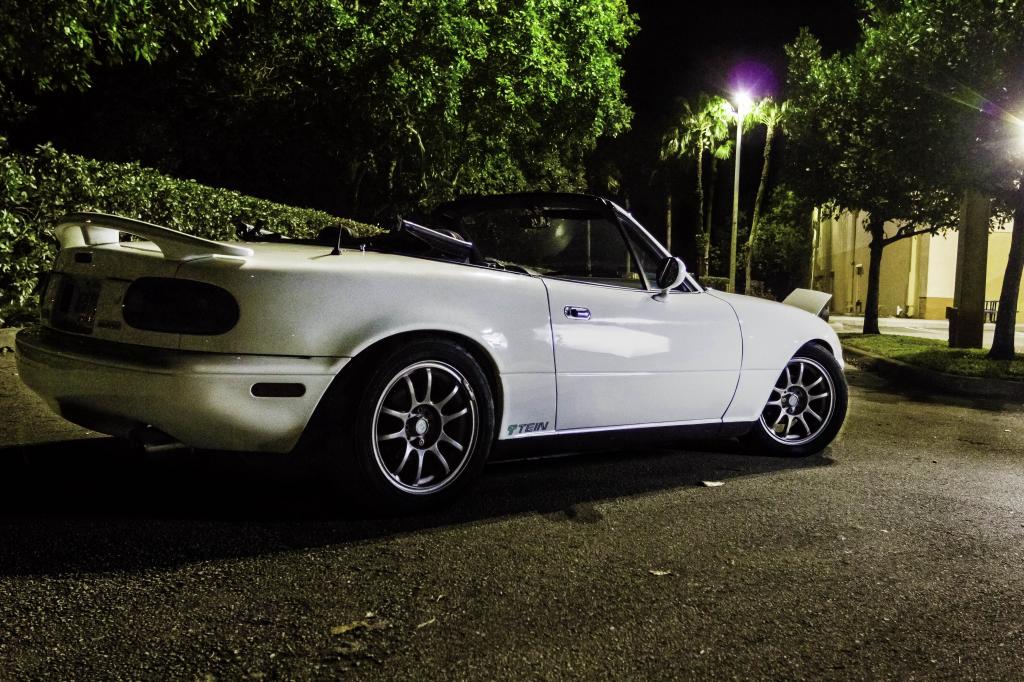
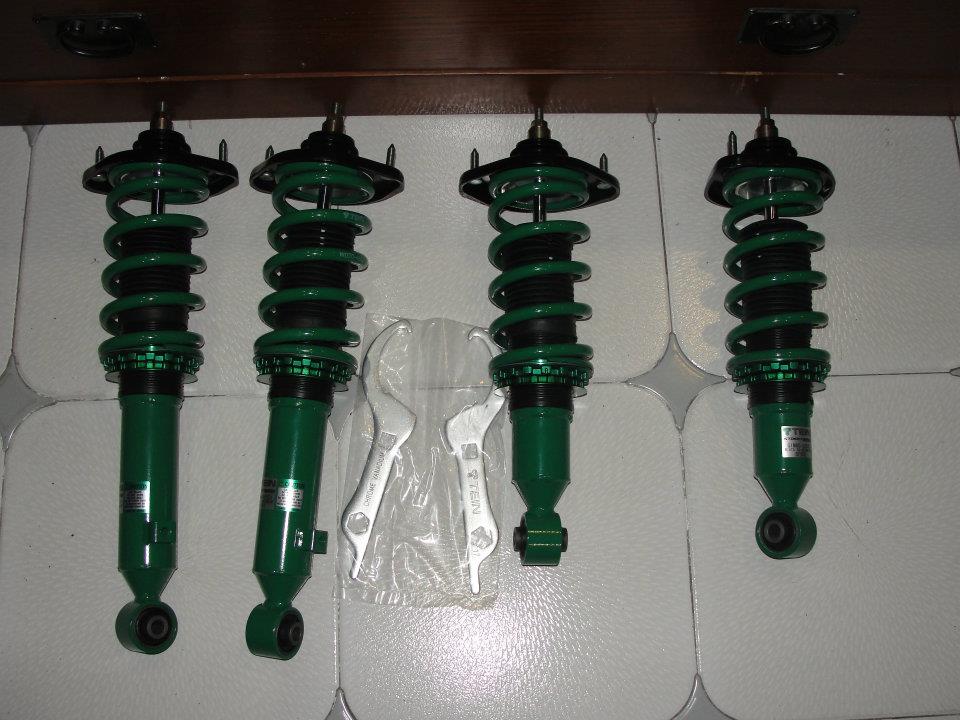
I also bought Tein basis coilovers from 949 racing
By this point, my buddy had traded in his NB for a newer car and I scored his TR Motorsports wheels and his radio(my Miata came without one) for a great price
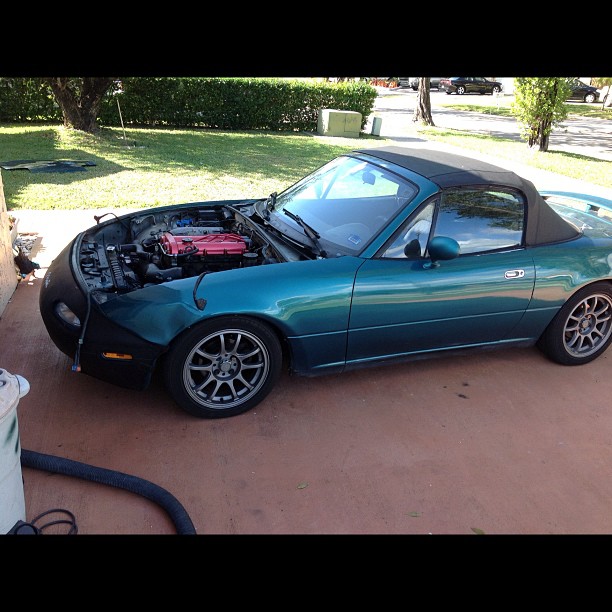
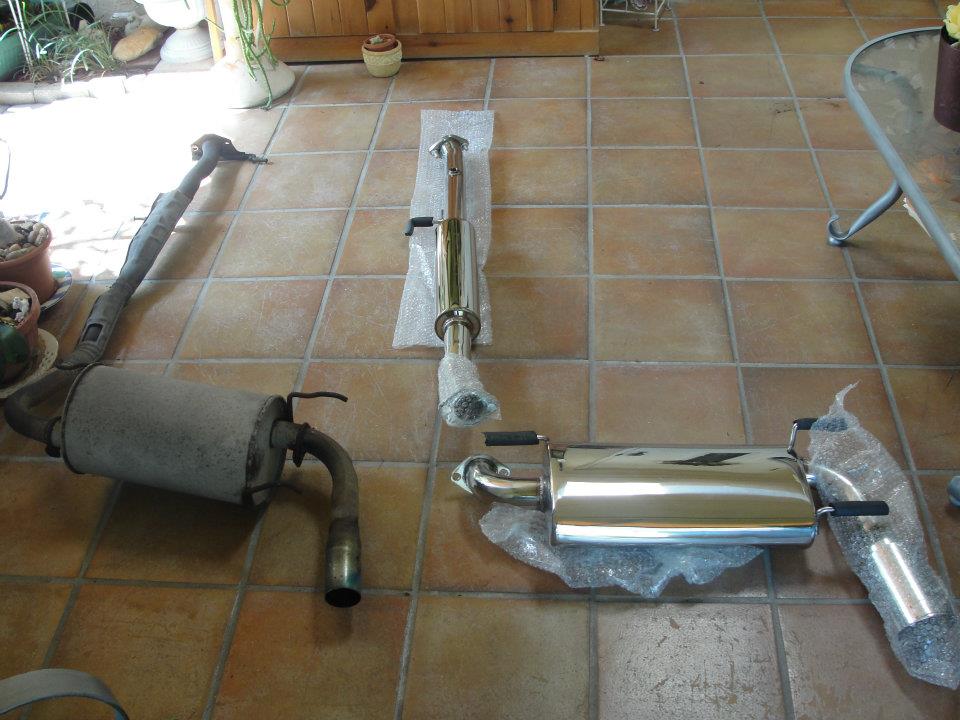
I also added a header and a new exhaust. I bought the header off Curtis from Motion Motorsports as he was going rotary and the exhaust came from ebay. Both the header and exhaust are the hated OBX brand, but they have held up well for the three years they've been on(3/1/2016 edit: 5 years at this point). No cracks or rust on the exhaust. Mild rust on the header.


I also bought Tein basis coilovers from 949 racing

By this point, my buddy had traded in his NB for a newer car and I scored his TR Motorsports wheels and his radio(my Miata came without one) for a great price

I also added a header and a new exhaust. I bought the header off Curtis from Motion Motorsports as he was going rotary and the exhaust came from ebay. Both the header and exhaust are the hated OBX brand, but they have held up well for the three years they've been on(3/1/2016 edit: 5 years at this point). No cracks or rust on the exhaust. Mild rust on the header.

#4
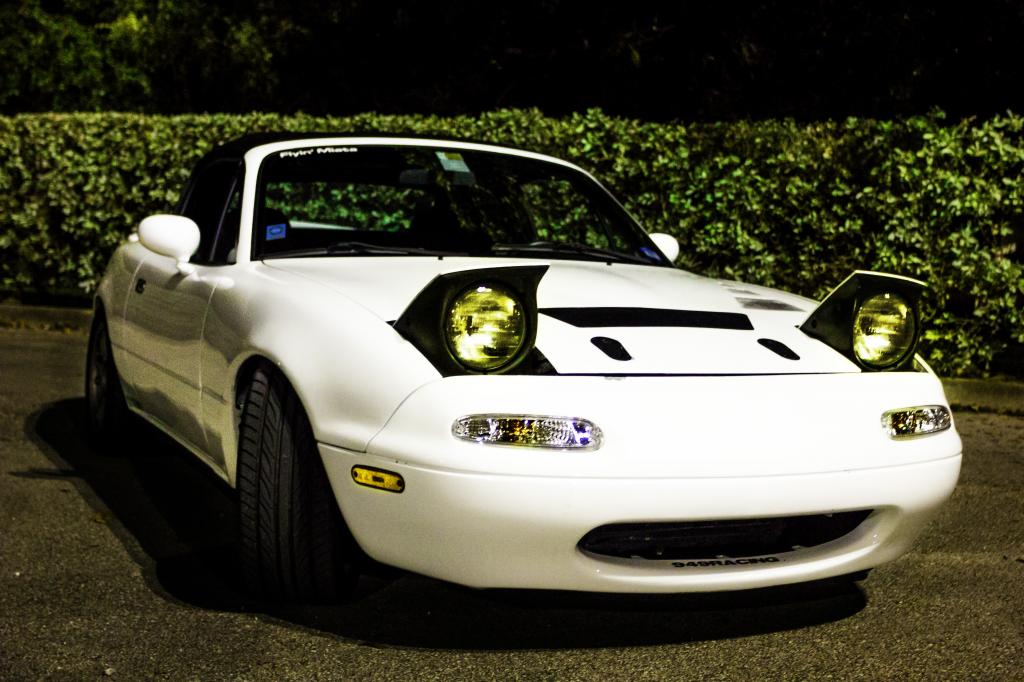
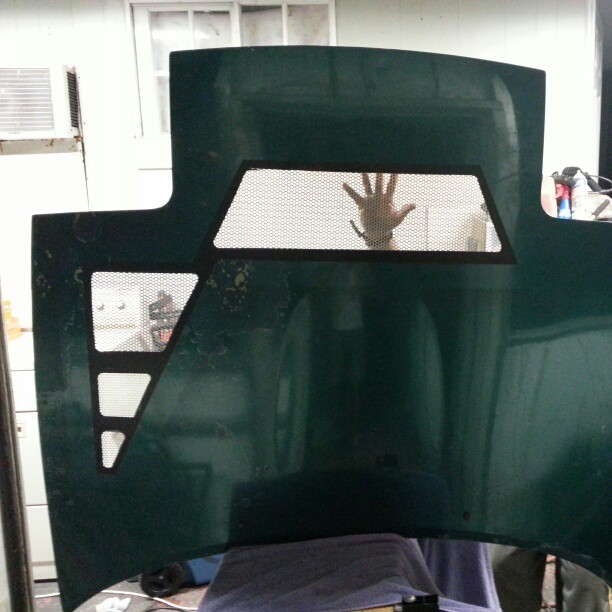
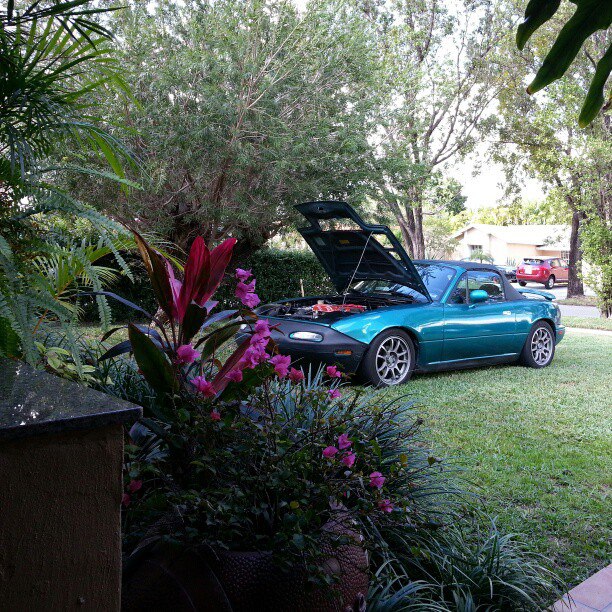
I ran hot a few times (particularly on the ultra hot day I went to buy the header), so I did some checking and found that the thermoswitch and radiator fan were bad. I replaced both and cut hood vents into the car to help with cooling.
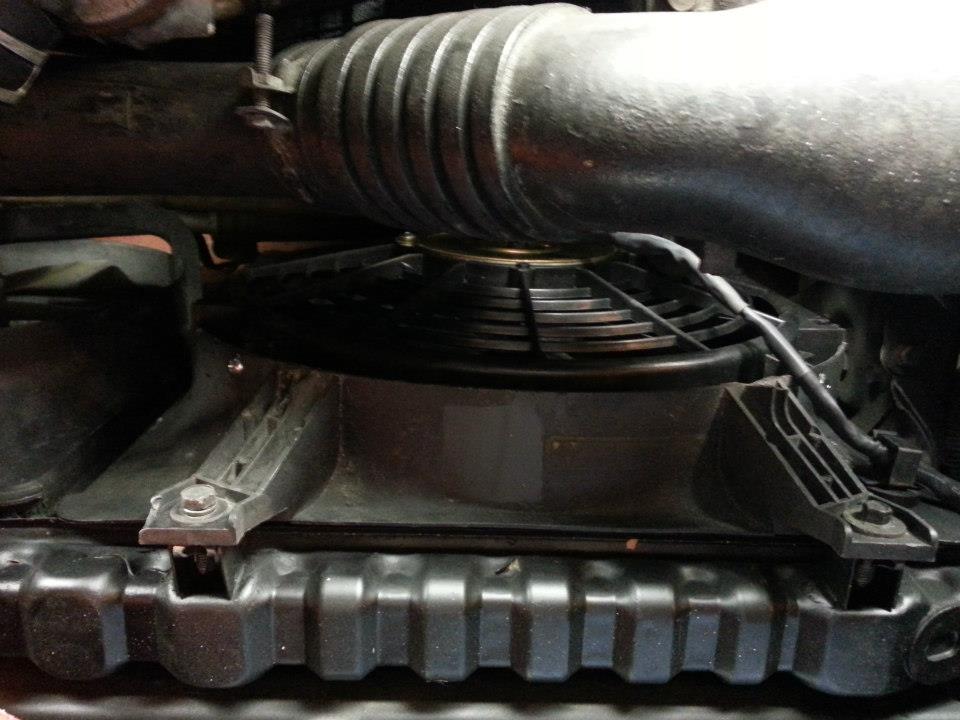
I retrofitted a stronger aftermarket fan into the shroud from the stocker.
It was then that I took it to its first autocross
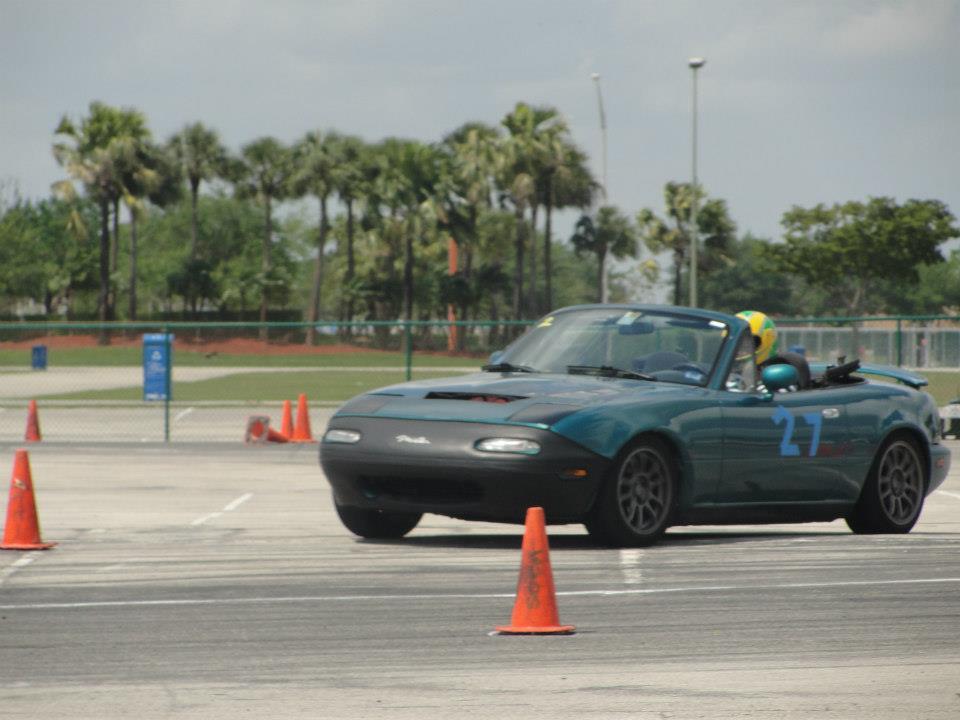
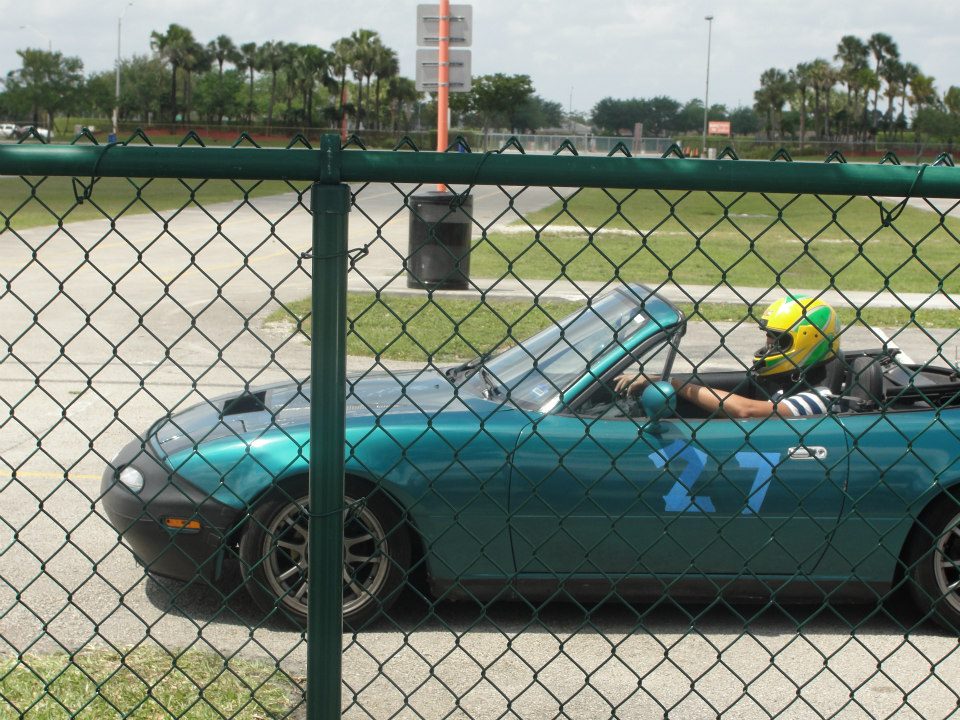
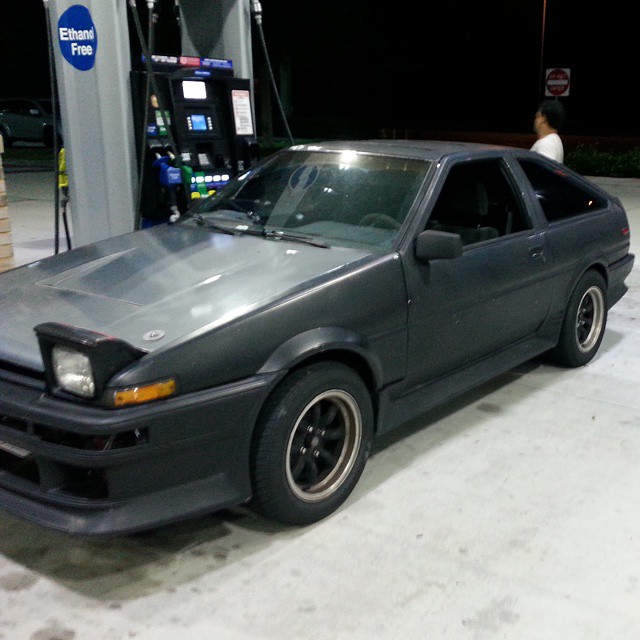
This thing showed up and tore up the course... while I was working the course. It was one of the most awesome and scary moments of my life, having it fly by my station full blast. I hung out with the owner for a bit and it turns out he's an engineer like me. Hope for the future lol.
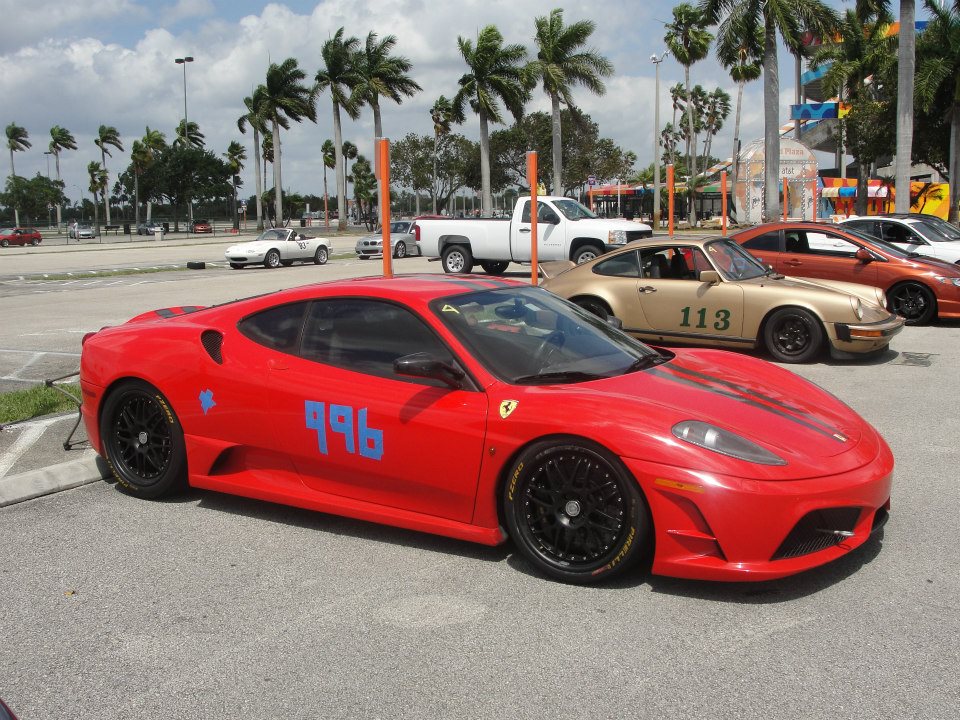


I retrofitted a stronger aftermarket fan into the shroud from the stocker.

It was then that I took it to its first autocross


This thing showed up and tore up the course... while I was working the course. It was one of the most awesome and scary moments of my life, having it fly by my station full blast. I hung out with the owner for a bit and it turns out he's an engineer like me. Hope for the future lol.

#9
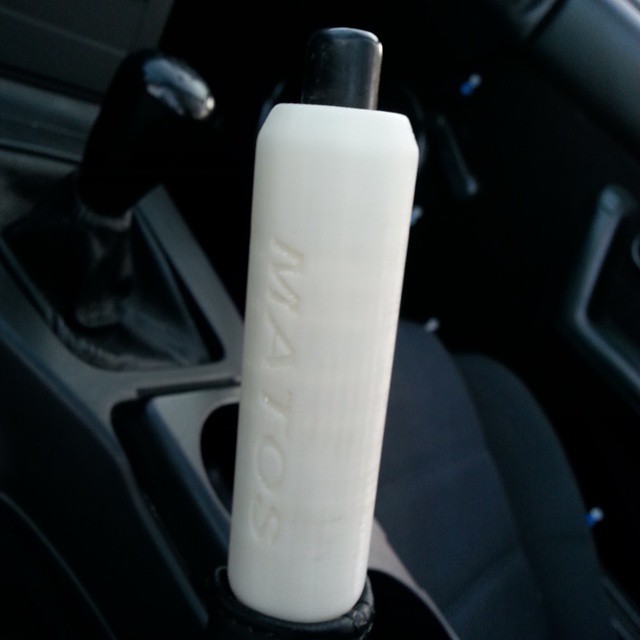
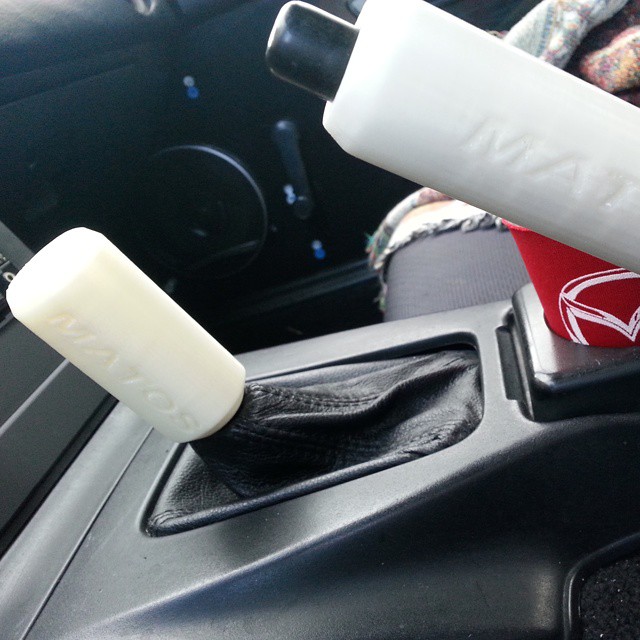
Sometime before painting the car, I installed all new shift bushings with new inner and outer boots (the rubber ones), plus leather boots for the shifter and e-brake handle. I also got new seals for my tail lights in order to keep water out of my trunk.
At this point, my lame steering wheel and pedal covers(put in by the previous owner) were not going to cut it anymore.
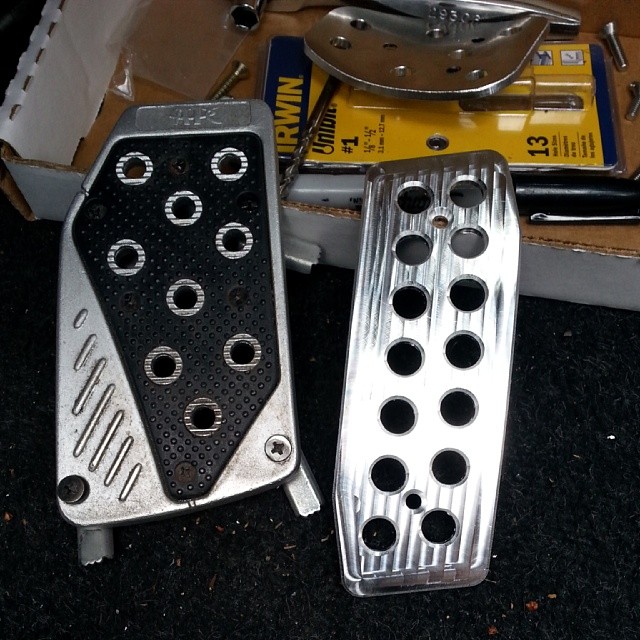
First order of business was the pedals, from Pepboys to Cobalt lol
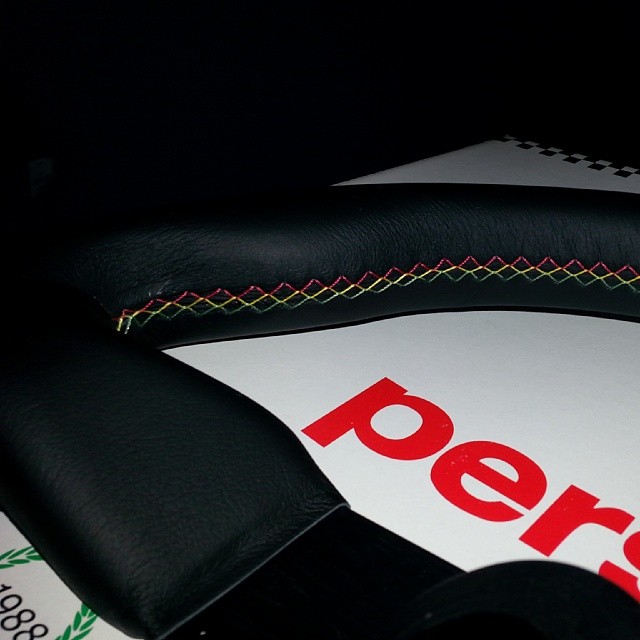
Then came the steering wheel, Nardi Personal Kingston Edition: PURE HOTNESS!
No more embarrassing interior
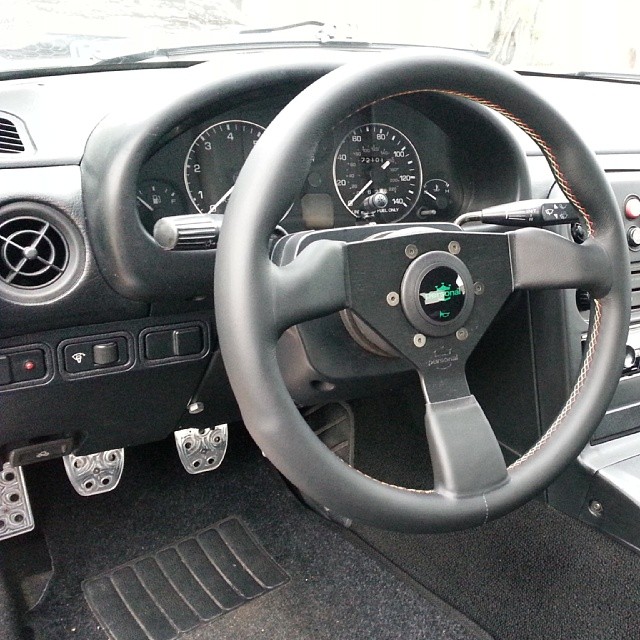
At this point, my lame steering wheel and pedal covers(put in by the previous owner) were not going to cut it anymore.
First order of business was the pedals, from Pepboys to Cobalt lol

Then came the steering wheel, Nardi Personal Kingston Edition: PURE HOTNESS!

No more embarrassing interior

#10
I also swapped in some clear turn signal lights, mainly because the stockers were faded and one had a ton of surface cracks
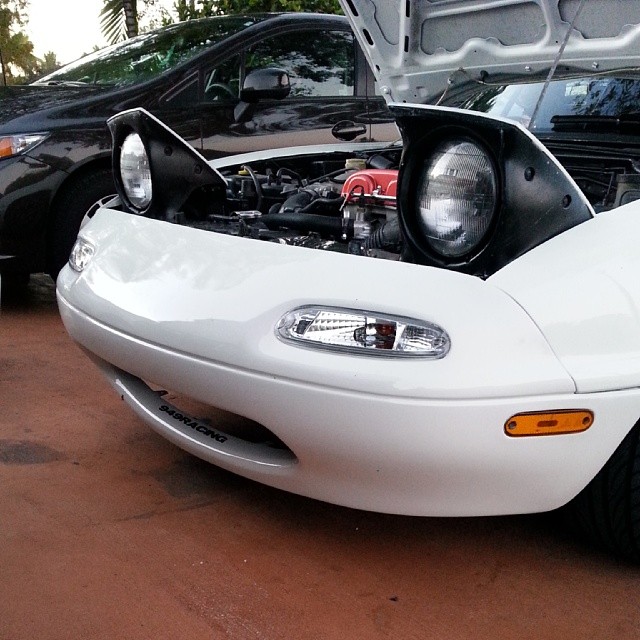
I made ABS door panels while the car was in paint. The factory ones had gotten wet and deformed. I also got new beltline moldings and all new top seals for the windows. Those seals are way too expensive and there is still some adjustment needed to keep all the rain out, but it is a marked improvement. I would like to upholster the door panels or replace them with carbon, not sure which route I'm taking just yet. My abs panels use the speaker grills that came with my new speakers.

I made ABS door panels while the car was in paint. The factory ones had gotten wet and deformed. I also got new beltline moldings and all new top seals for the windows. Those seals are way too expensive and there is still some adjustment needed to keep all the rain out, but it is a marked improvement. I would like to upholster the door panels or replace them with carbon, not sure which route I'm taking just yet. My abs panels use the speaker grills that came with my new speakers.
#11
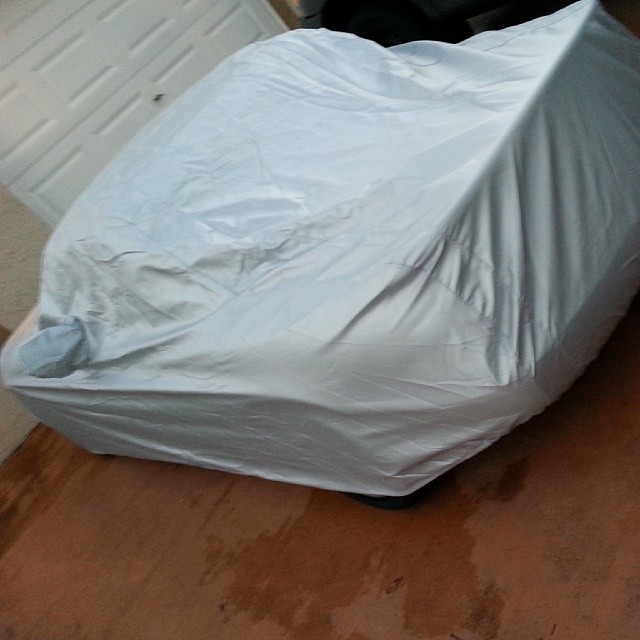
Now that my car was finally looking clean, I wanted to keep it clean, so it got a car cover from Moss Motors
I also swapped out my alternator and power steering pump. The factory alternator was getting weak and the power steering pump made the most annoying squealing sound. While I was in there, I bought all the hoses for the cooling system from Moss Miata. All new factory hoses, worm gear clamps, and bleeding the system per the guidelines posted here on Miata.net, and I have not overheated again. I really should have done a reroute, but I have plans for a completely different motor, so I didn't bother.
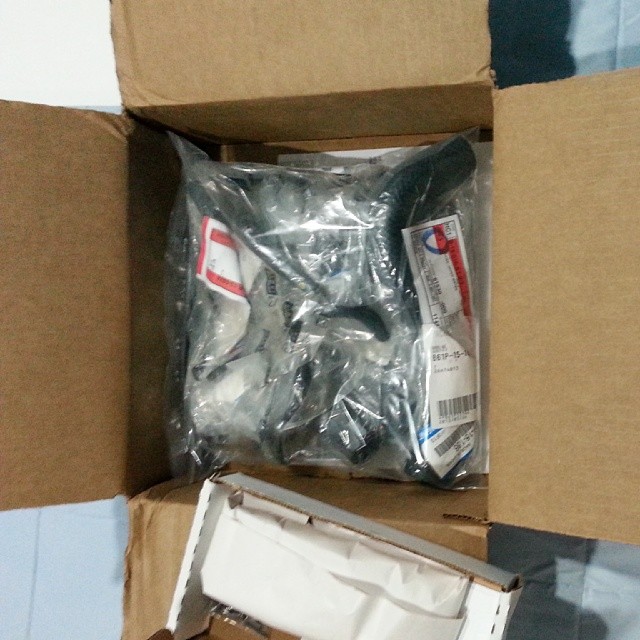

I also swapped out my alternator and power steering pump. The factory alternator was getting weak and the power steering pump made the most annoying squealing sound. While I was in there, I bought all the hoses for the cooling system from Moss Miata. All new factory hoses, worm gear clamps, and bleeding the system per the guidelines posted here on Miata.net, and I have not overheated again. I really should have done a reroute, but I have plans for a completely different motor, so I didn't bother.

#12
Then my freshly changed alternator blew on the way to work one morning. Luckily, my brother was in town, and he brought my truck so we could tow the car off the highway.
As you can tell at this point, I don't like to leave anything stock
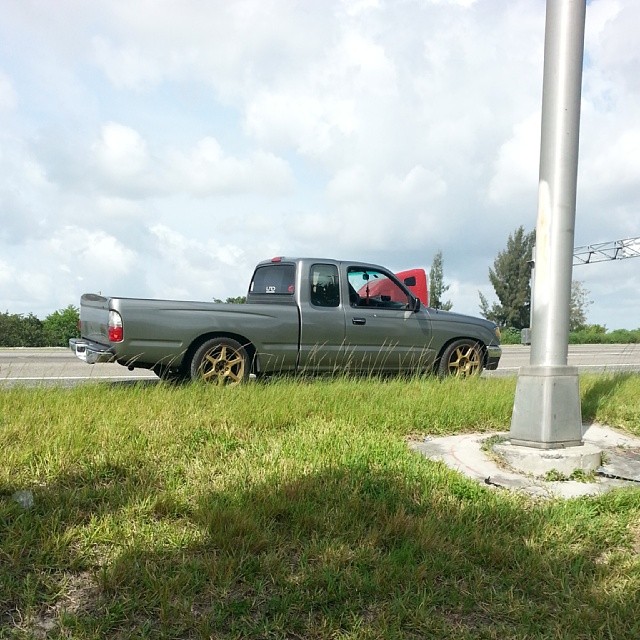
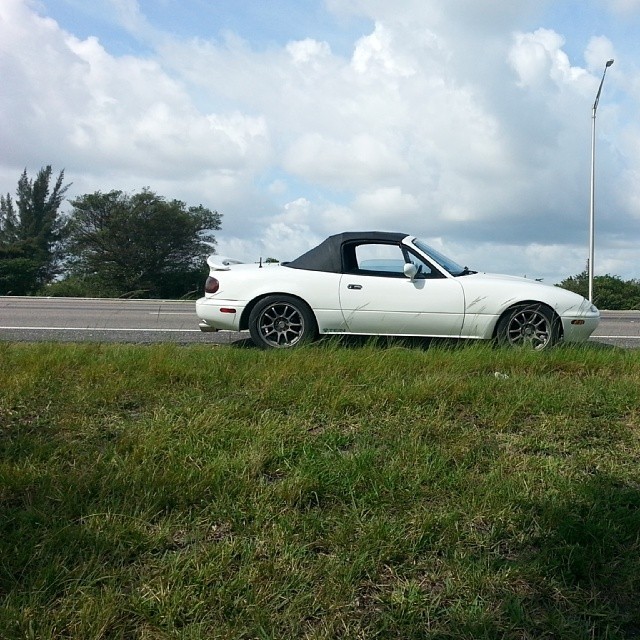
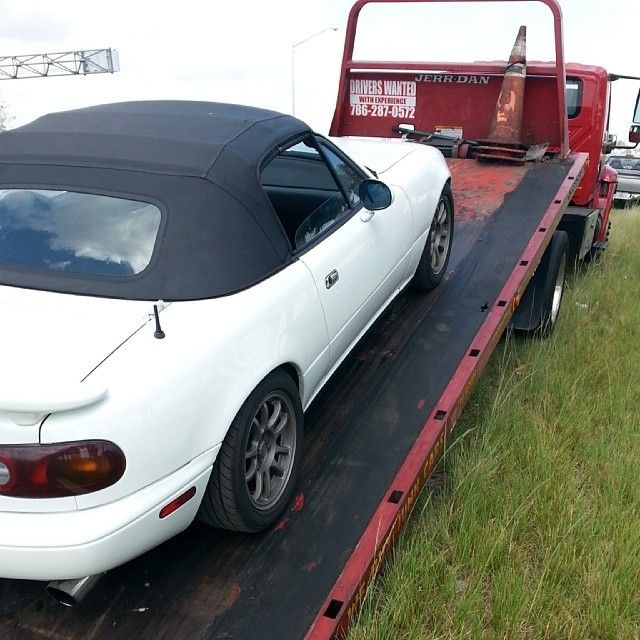
I decided I was not about to pull that thing home, that's when I remembered my insurance includes roadside service. So I had a flat bed come tow it and place it gingerly on my driveway. Tow truck driver took great care with my car. Here's where I give Allstate a plug lol. Are you in good hands?
I went back to Autozone and had them give me another alternator, and my car was back on the road. It takes me 15 min to do the swap. It's dead simple. They tested the new one and their test rig had problems, so the manager told me to come back if this new one didn't work. I said "Sure, I'll literally find out in 15 min and be right back here."
As you can tell at this point, I don't like to leave anything stock


I decided I was not about to pull that thing home, that's when I remembered my insurance includes roadside service. So I had a flat bed come tow it and place it gingerly on my driveway. Tow truck driver took great care with my car. Here's where I give Allstate a plug lol. Are you in good hands?

I went back to Autozone and had them give me another alternator, and my car was back on the road. It takes me 15 min to do the swap. It's dead simple. They tested the new one and their test rig had problems, so the manager told me to come back if this new one didn't work. I said "Sure, I'll literally find out in 15 min and be right back here."
#15
Then I did the door pull mod and designed some door cups
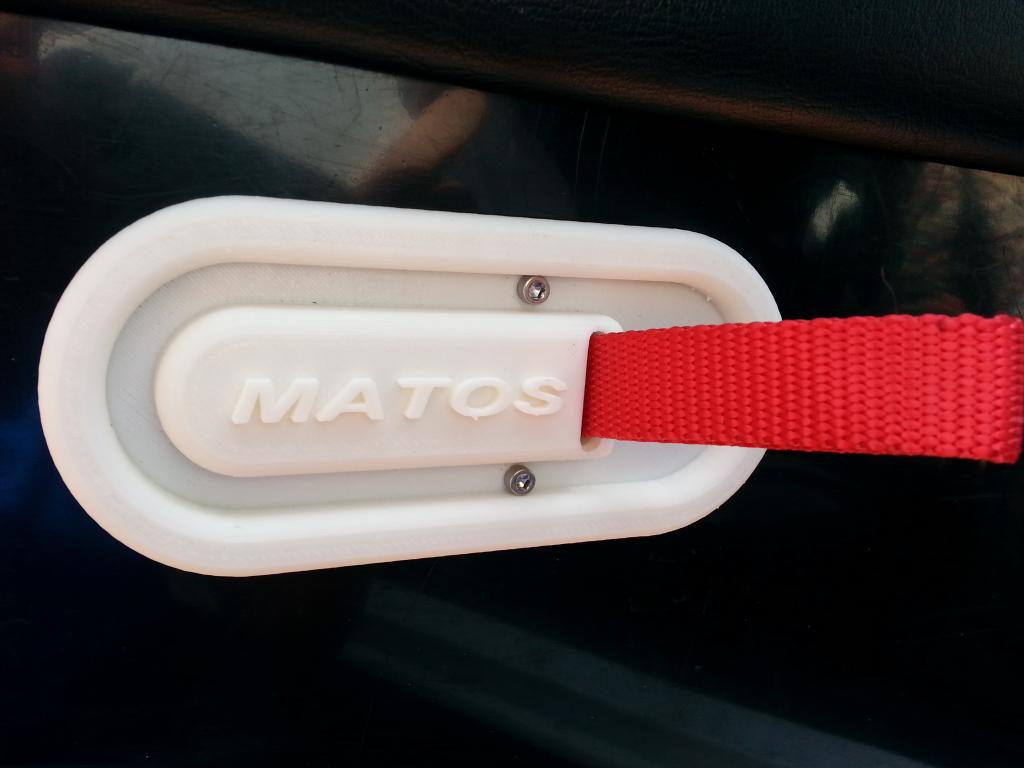
The whole time, I was looking for ways to keep the door lock. After some tinkering, I designed a door cup with a functional locking mechanism
http://vid295.photobucket.com/albums...023_132337.mp4

The whole time, I was looking for ways to keep the door lock. After some tinkering, I designed a door cup with a functional locking mechanism
http://vid295.photobucket.com/albums...023_132337.mp4
#16
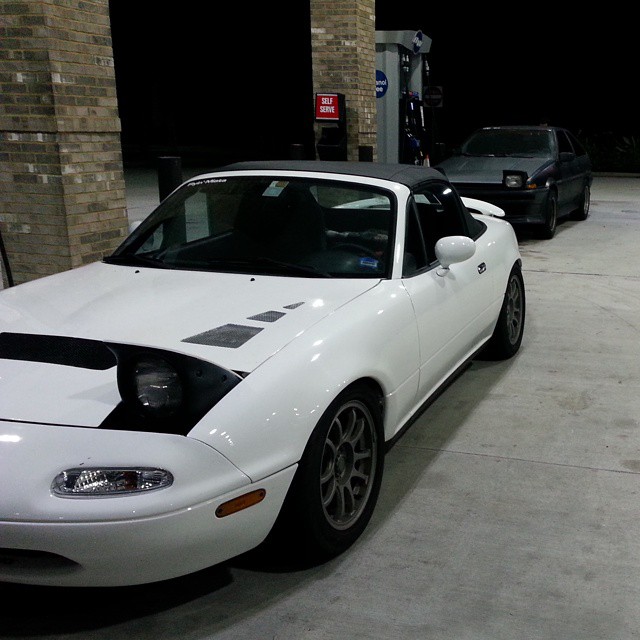
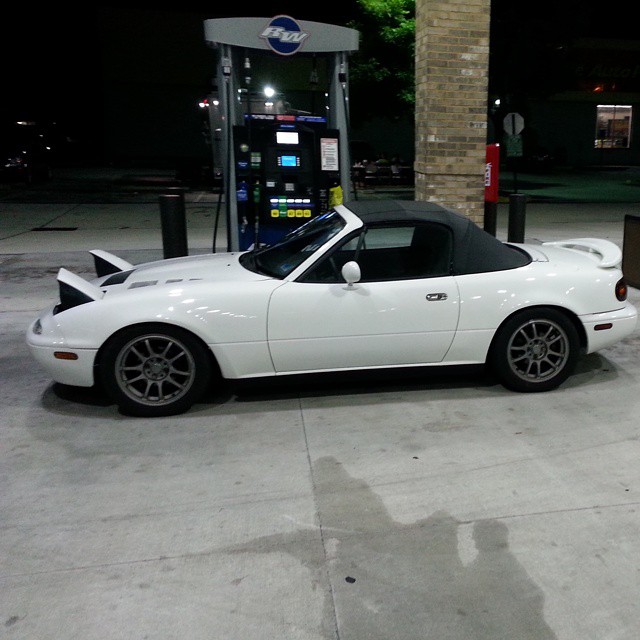
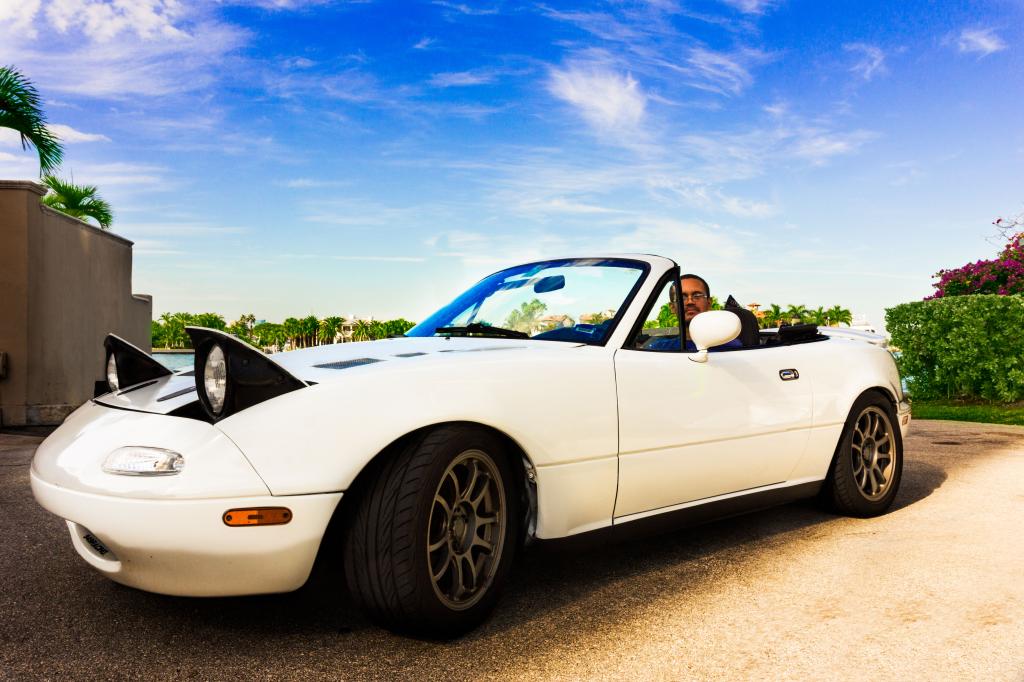
Here are the first two pics
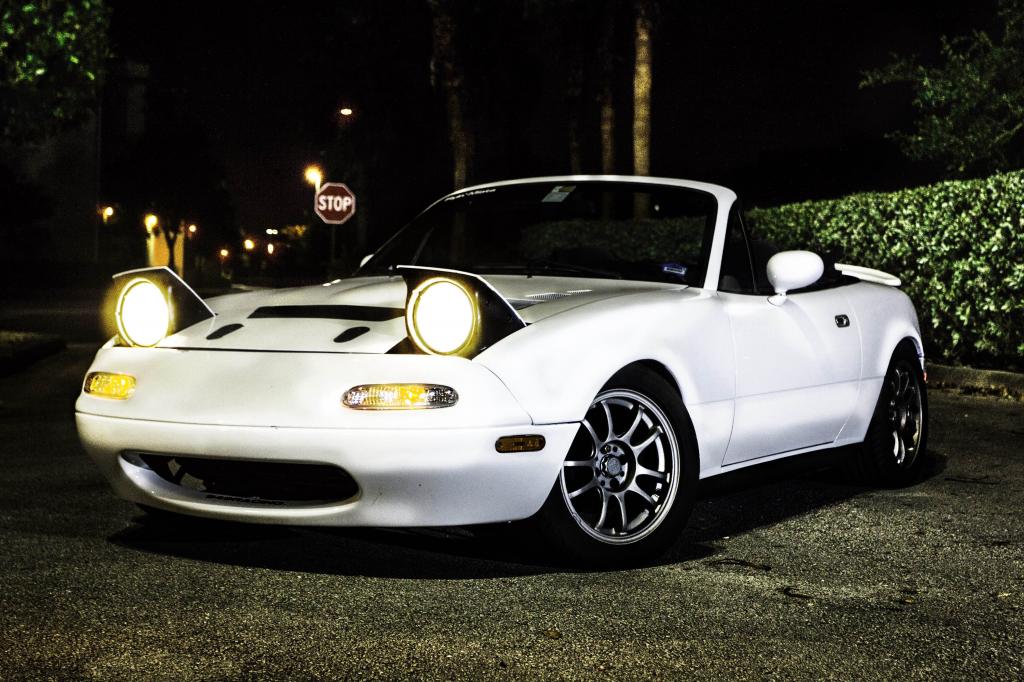
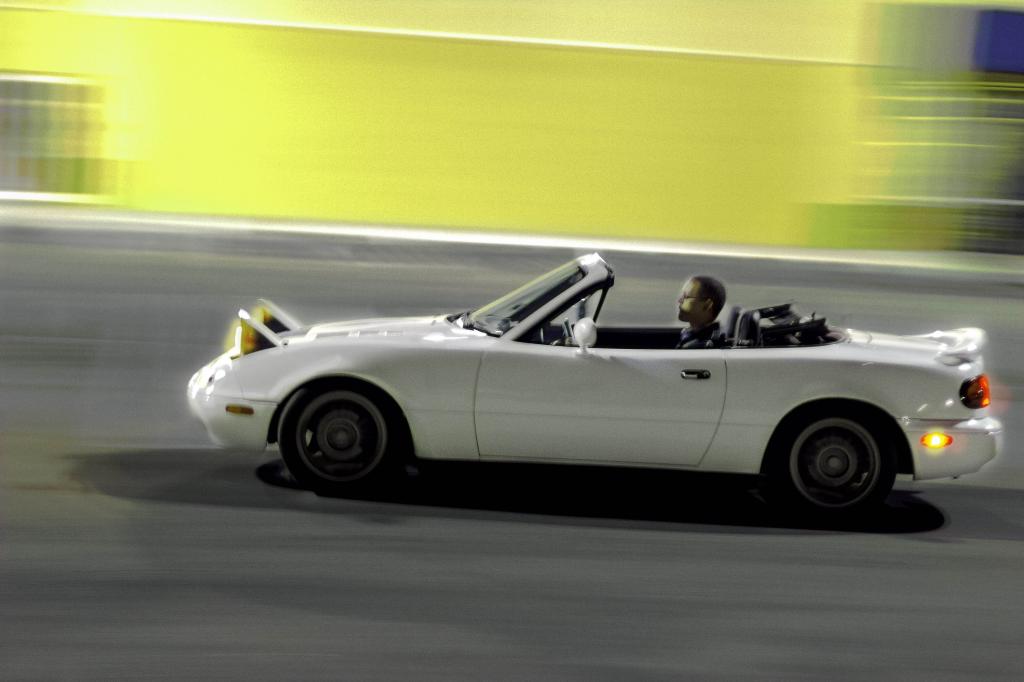
As you can tell from the first picture, I added Aerocatch hood pins. They were a major pain to install, I suggest that anyone who wants these just buys two hole saws in the appropriate diameters and uses a cutoff wheel only to connect the lines. Also, turn them sideways! If you have them facing forward like I do, the angle of the hood will not allow the pins to go into the catch properly. You are forced to bend the rad support where the pins are such that they slant forward. If not, your hood won't close. That can all be avoided by using sideways mounting.


As you can tell from the first picture, I added Aerocatch hood pins. They were a major pain to install, I suggest that anyone who wants these just buys two hole saws in the appropriate diameters and uses a cutoff wheel only to connect the lines. Also, turn them sideways! If you have them facing forward like I do, the angle of the hood will not allow the pins to go into the catch properly. You are forced to bend the rad support where the pins are such that they slant forward. If not, your hood won't close. That can all be avoided by using sideways mounting.


