Build Threads Building a motor? Post the progress here.

Konmo's 1990 Turbo VVT Swap

Thread Tools
 
Search this Thread
 
Old 04-26-2017 | 08:31 PM
  #1  
konmo's Avatar
Thread Starter
Junior Member
iTrader: (2)
 
Joined: Dec 2014
Posts: 307
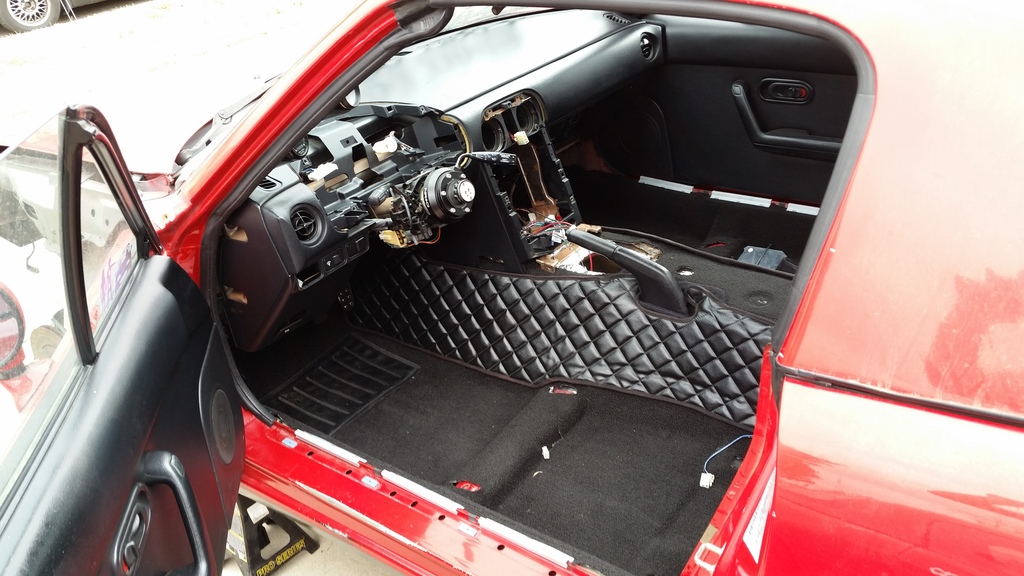
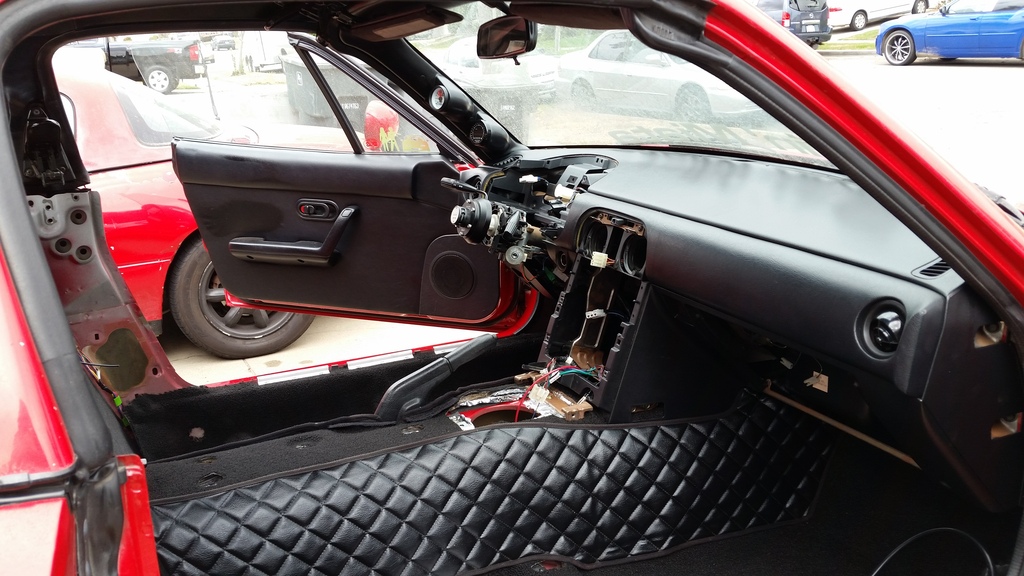
Total Cats: 23
From: Salinas, CA
Default Konmo's 1990 Turbo VVT Swap

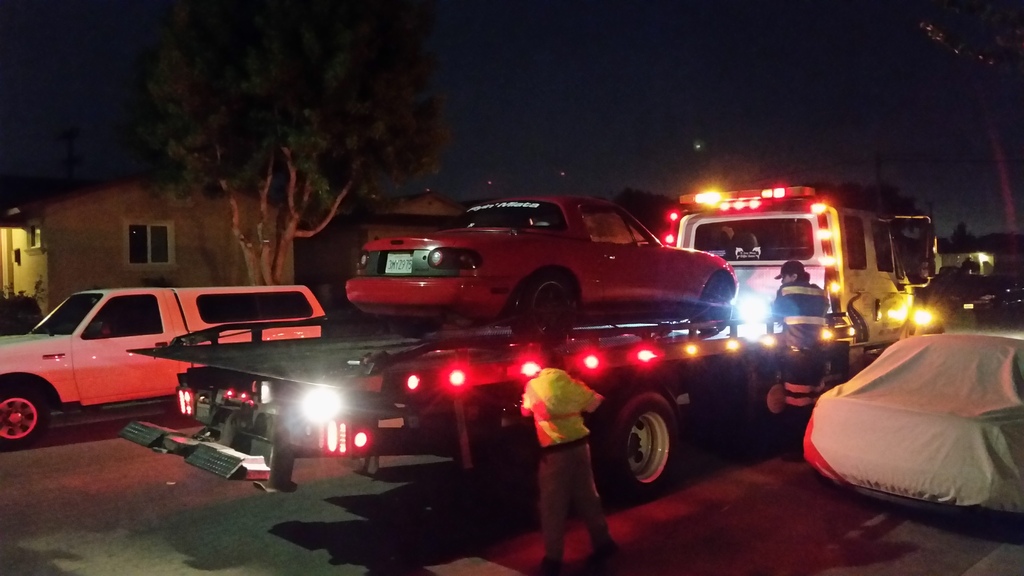
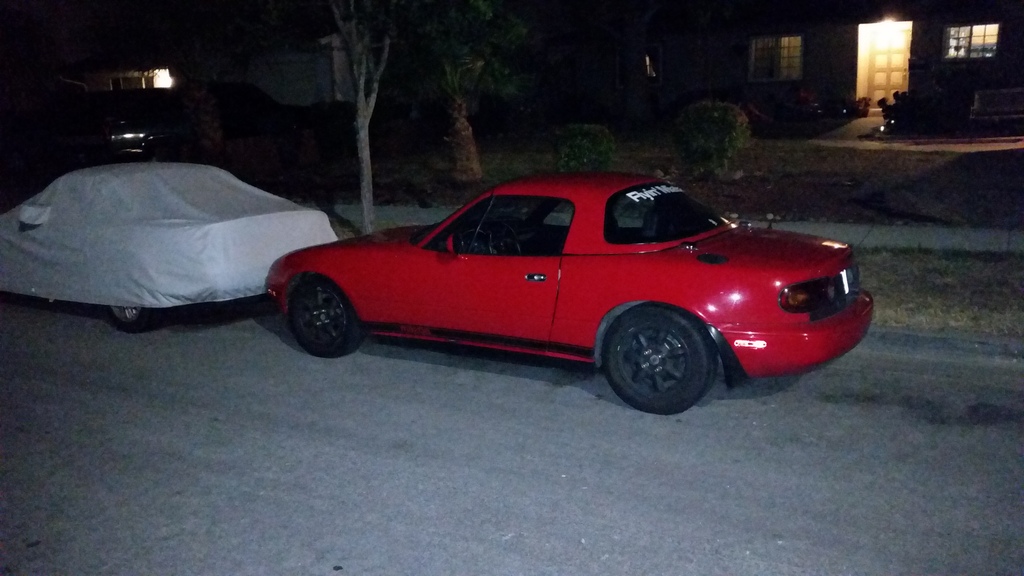
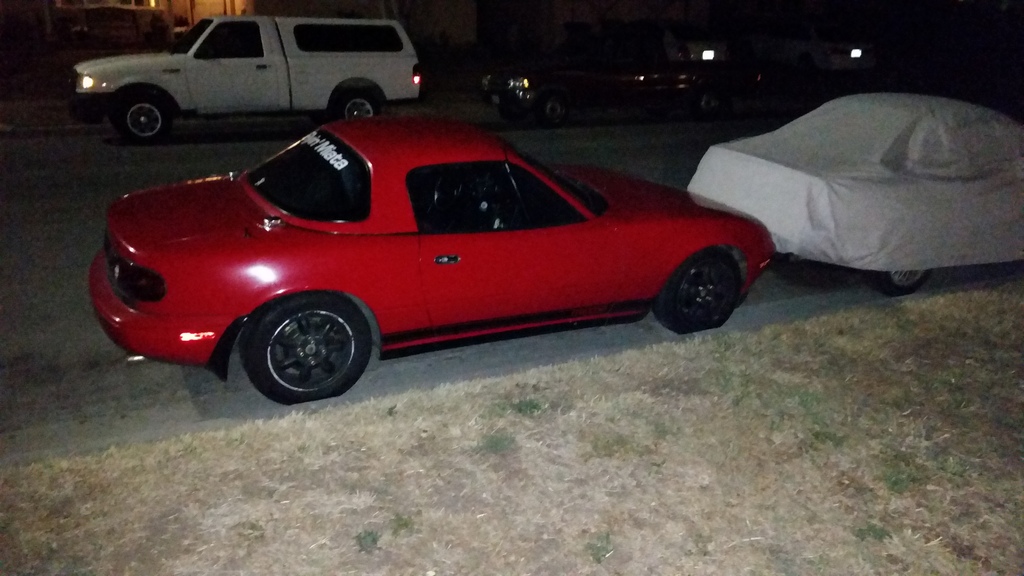
In July of 2016 I acquired this 1990 miata with 145000 miles on the odometer. It is all red with a red hardtop. The engine had spun rod bearings according to previous owner. I didn't even bother trying to turn it in on since the engine was going to come out anyways. It was mostly stock with raceland coilovers. I got it towed from San Jose to my house and soon after the build began.
Old 04-26-2017 | 08:31 PM
  #2  
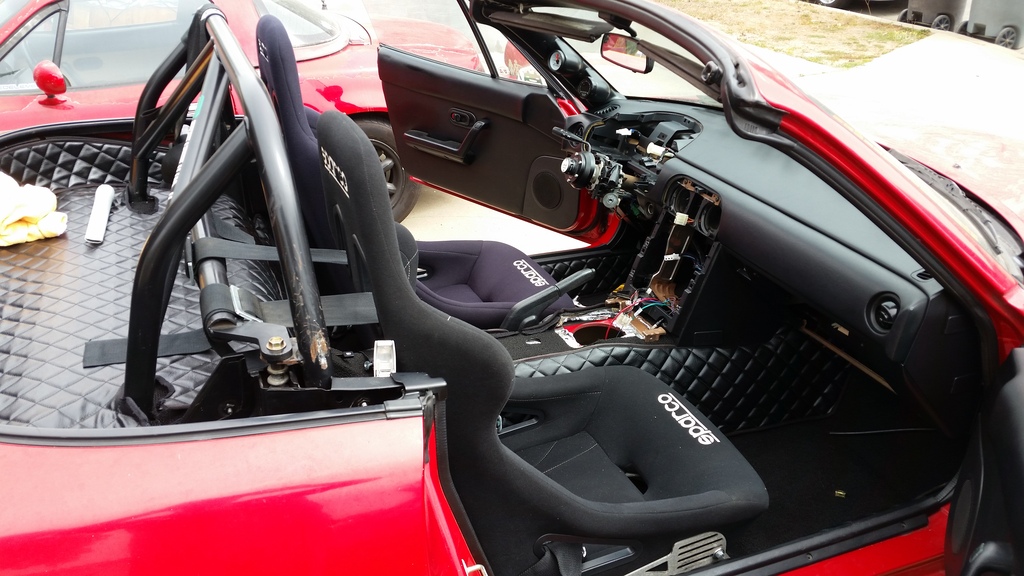
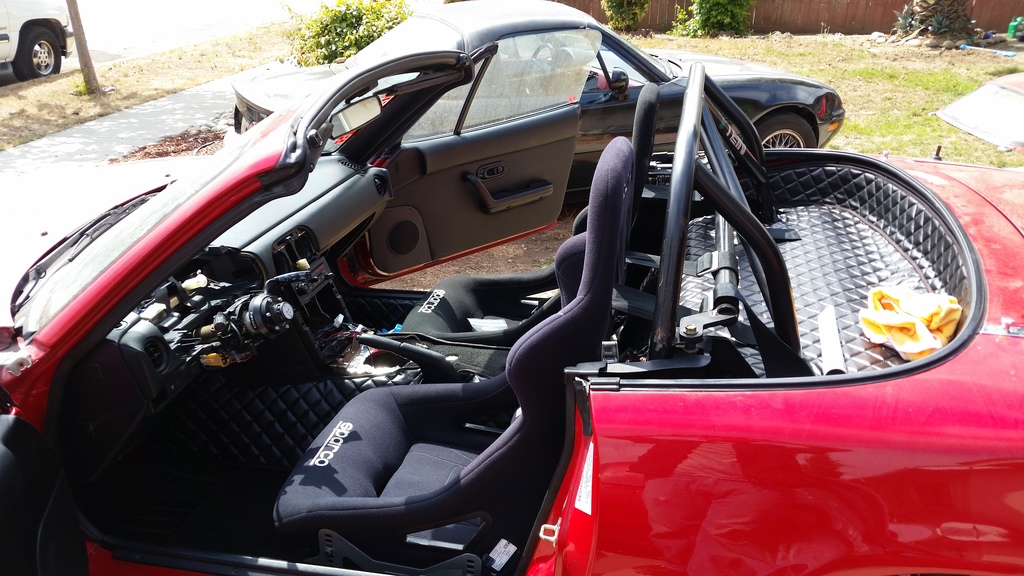
konmo's Avatar
Thread Starter
Junior Member
iTrader: (2)
 
Joined: Dec 2014
Posts: 307
Total Cats: 23
From: Salinas, CA
Default

Name:  20160713_211238.jpg
Views: 460
Size:  168.6 KB
Name:  20160713_213255.jpg
Views: 449
Size:  201.6 KB
Name:  20160713_213219.jpg
Views: 435
Size:  215.8 KB
This was the night that it arrived from San Jose.
Old 04-26-2017 | 08:32 PM
  #3  
konmo's Avatar
Thread Starter
Junior Member
iTrader: (2)
 
Joined: Dec 2014
Posts: 307
Total Cats: 23
From: Salinas, CA
Default

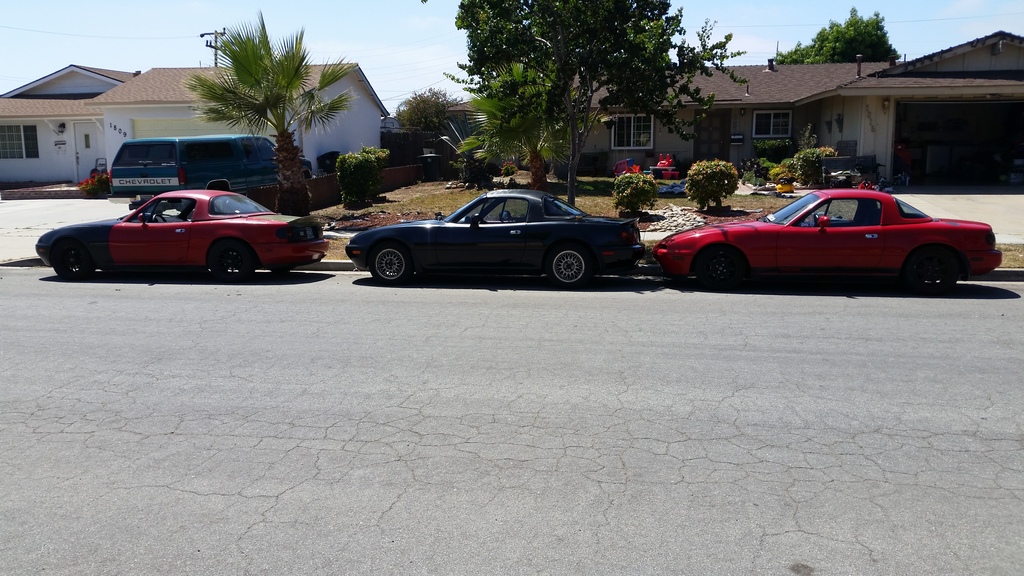
I woke up early the next day and took a picture of all three miatas because well why not :smile:
Name:  20160714_145809.jpg
Views: 436
Size:  301.2 KB
Old 04-26-2017 | 08:32 PM
  #4  
konmo's Avatar
Thread Starter
Junior Member
iTrader: (2)
 
Joined: Dec 2014
Posts: 307
Total Cats: 23
From: Salinas, CA
Default

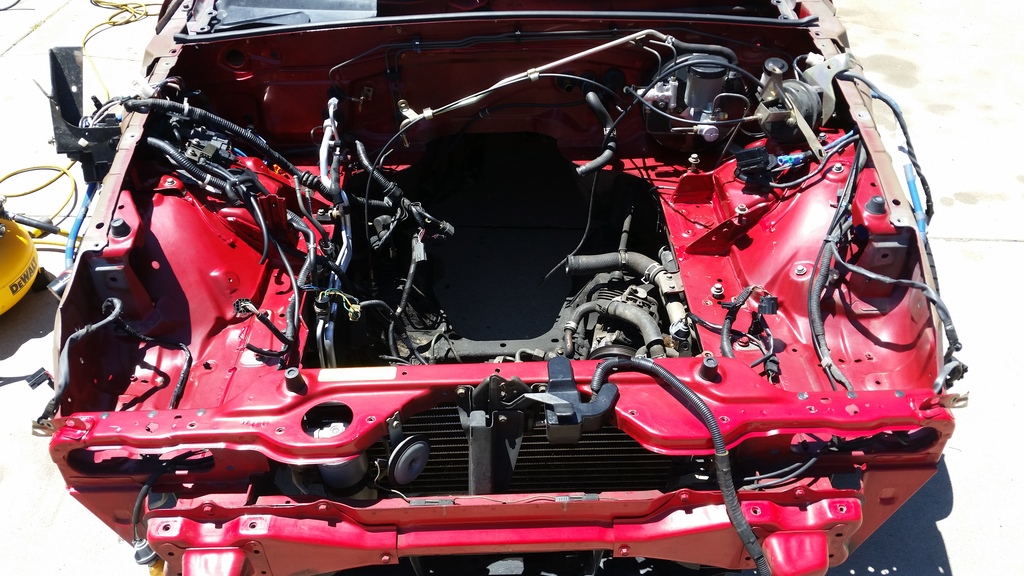
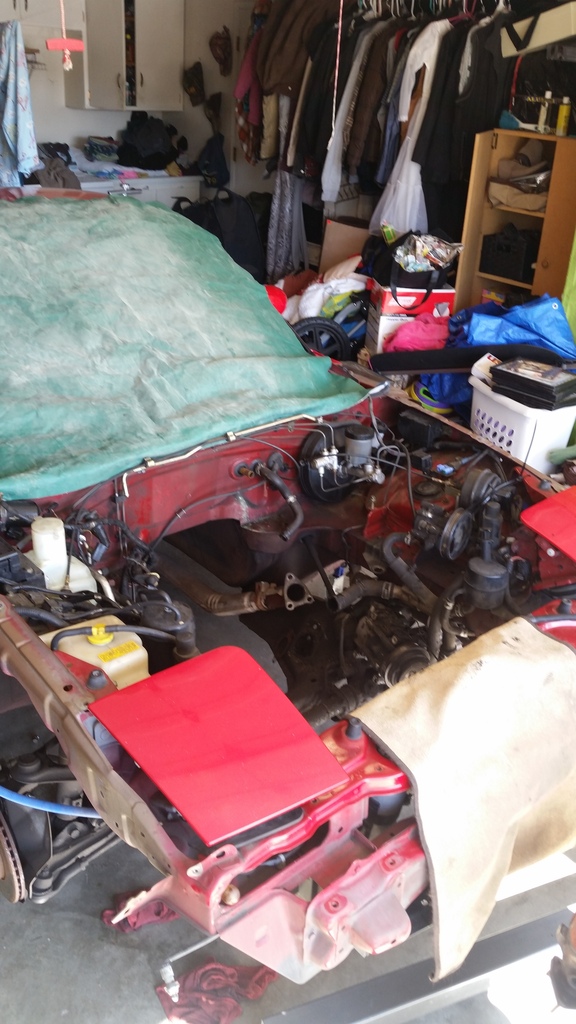
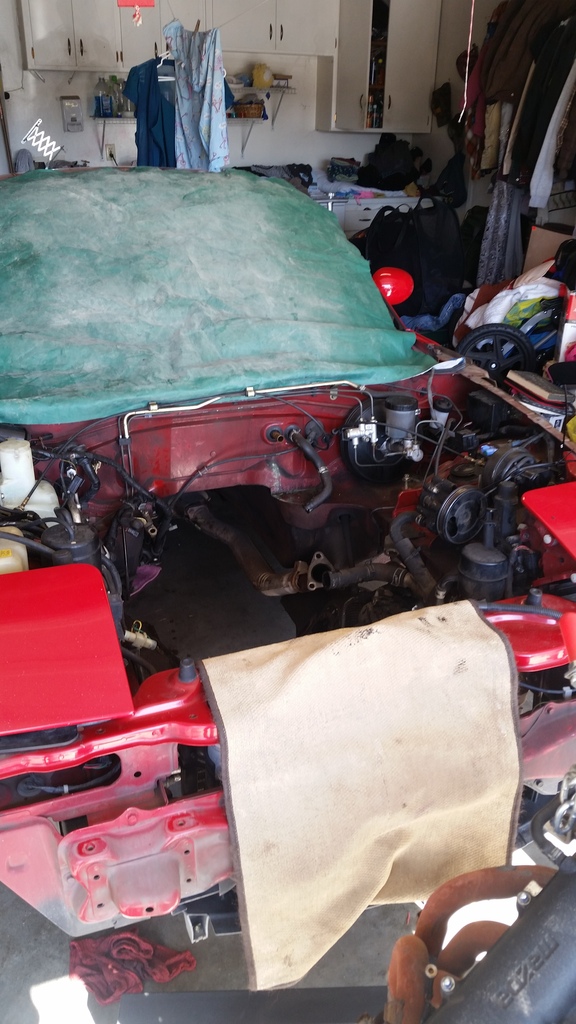
I put it in the garage soon after and I began pulling the stock 1.6 engine with the spun rod bearings.
Name:  20160719_094445.jpg
Views: 439
Size:  210.4 KB
Name:  20160719_094455.jpg
Views: 433
Size:  247.1 KB
Name:  20160719_094506.jpg
Views: 442
Size:  253.8 KB
Old 04-26-2017 | 08:32 PM
  #5  
konmo's Avatar
Thread Starter
Junior Member
iTrader: (2)
 
Joined: Dec 2014
Posts: 307
Total Cats: 23
From: Salinas, CA
Default

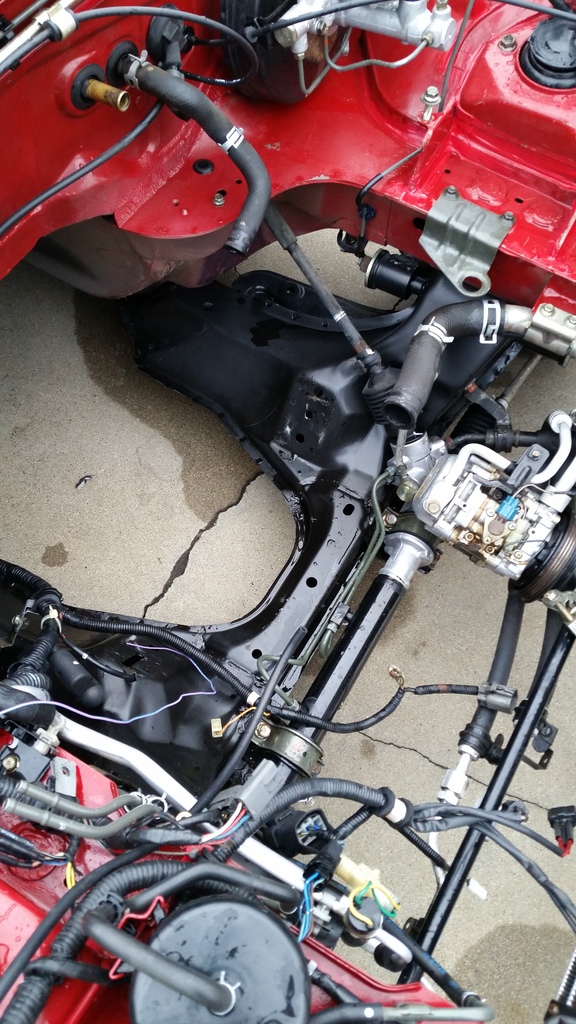
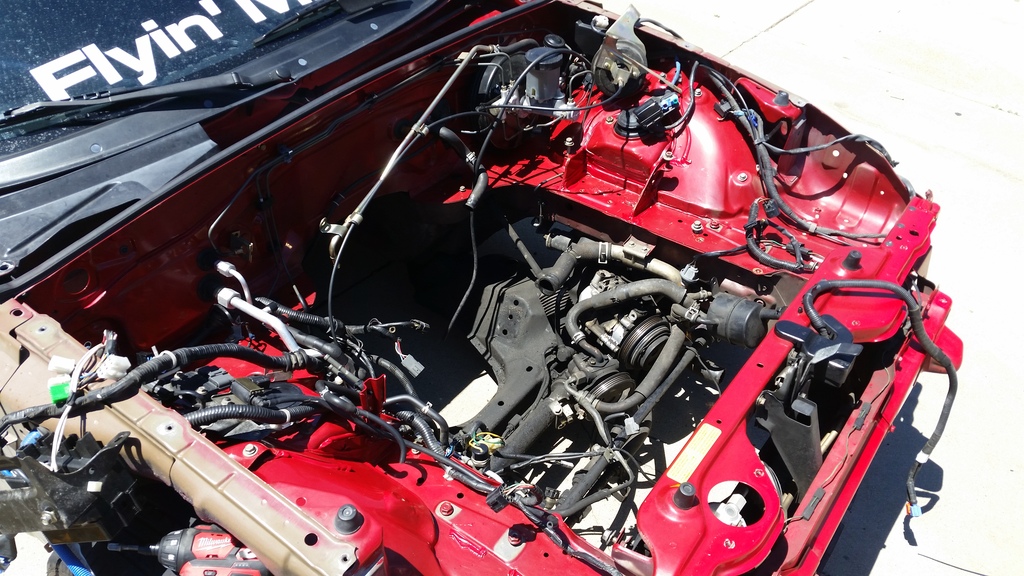
after that, I thought I might as well start cleaning the engine bay since the engine was out so I rolled it into the driveway and started removing headlights and other engine bay goodies. I pressured washed the subframe and controls arms to remove all the grime built up over the past 26 years of it's life.
Name:  20160719_134654.jpg
Views: 457
Size:  331.7 KB
Name:  20160719_134639.jpg
Views: 441
Size:  313.4 KB
Name:  20160724_193012.jpg
Views: 432
Size:  329.9 KB
Old 04-26-2017 | 08:32 PM
  #6  
konmo's Avatar
Thread Starter
Junior Member
iTrader: (2)
 
Joined: Dec 2014
Posts: 307
Total Cats: 23
From: Salinas, CA
Default

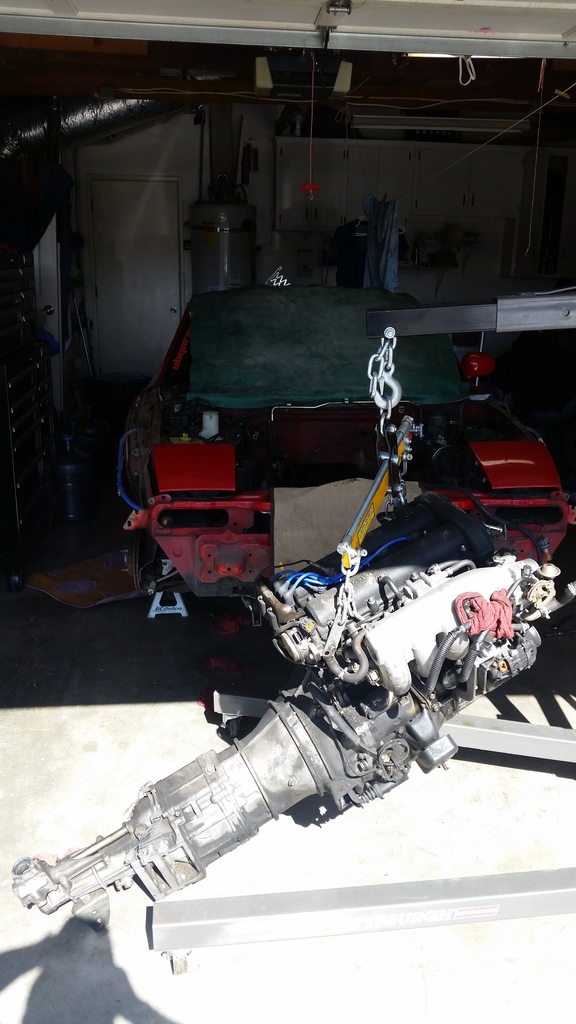
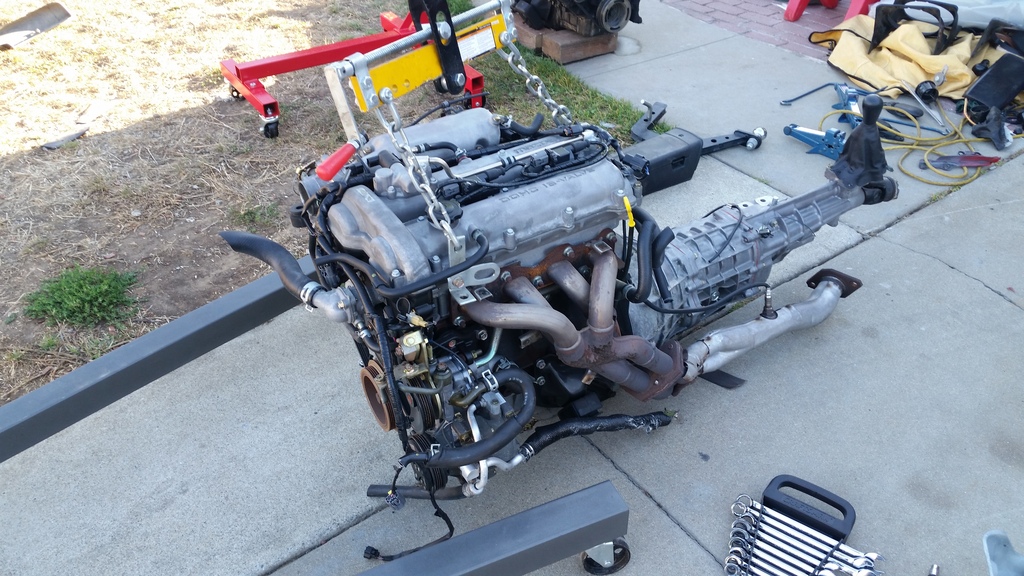
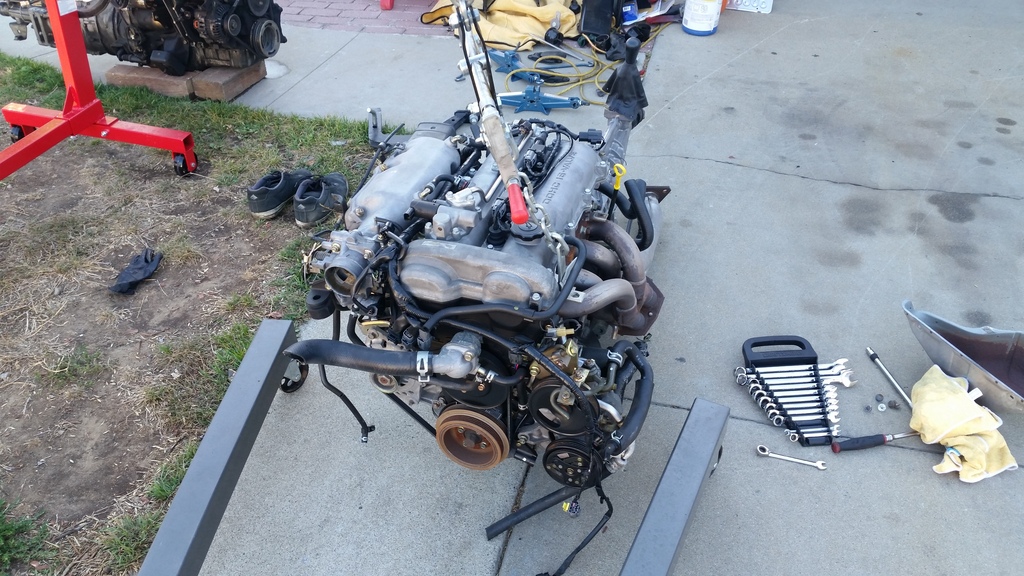
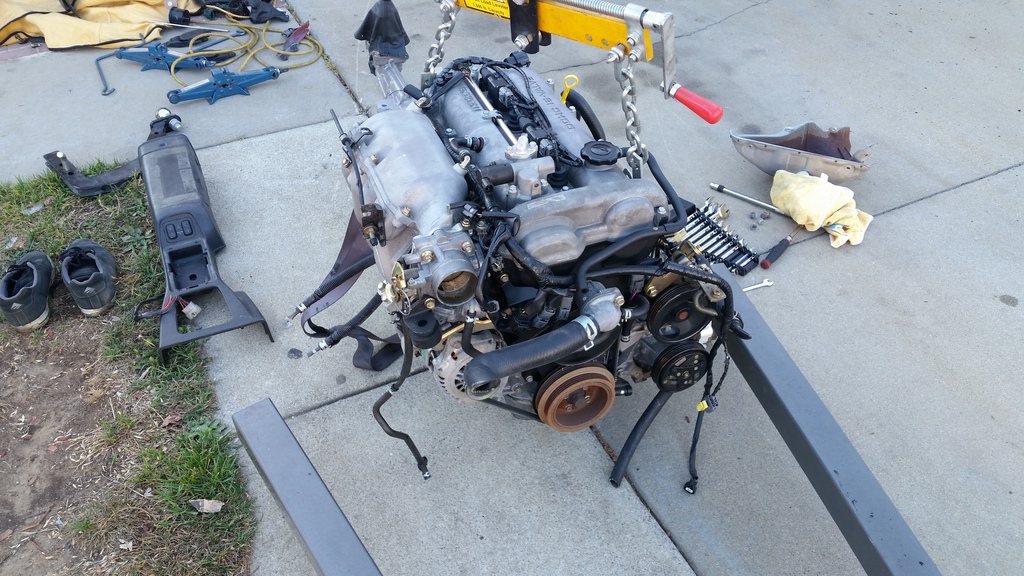
This is what is going in to the miata. It's a JDM 2003 VVT engine that I acquired last year and it had just been waiting for the right miata to get swapped. It included the JDM flat top manifold and the JDM 4-2-1 headers which I guess are somewhat rare here in the states? Also had a 6spd with it.
Name:  20160719_185007.jpg
Views: 452
Size:  338.9 KB
Name:  20160719_185022.jpg
Views: 451
Size:  329.9 KB
Name:  20160719_185033.jpg
Views: 459
Size:  332.3 KB
Old 04-26-2017 | 08:33 PM
  #7  
konmo's Avatar
Thread Starter
Junior Member
iTrader: (2)
 
Joined: Dec 2014
Posts: 307
Total Cats: 23
From: Salinas, CA
Default

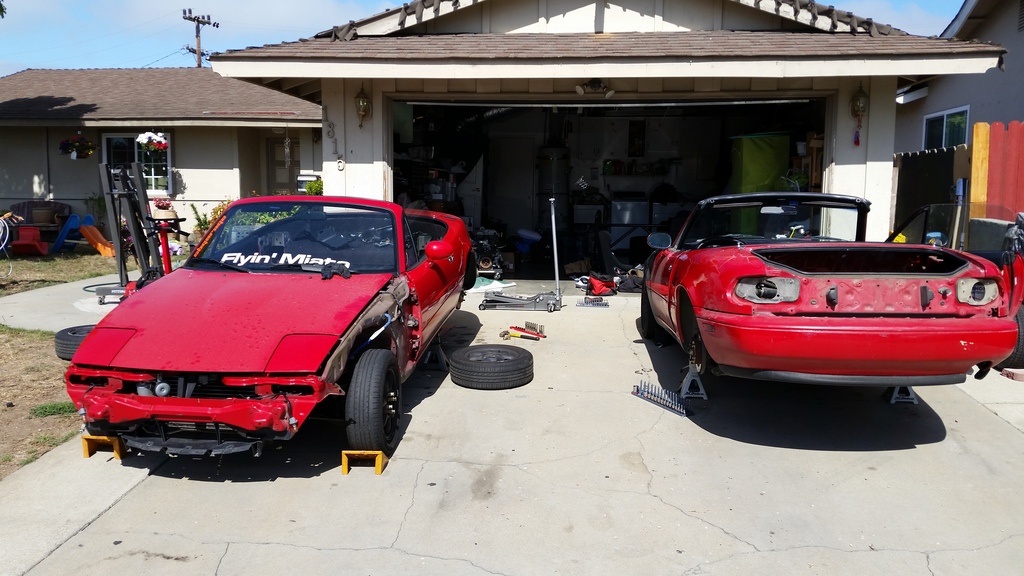
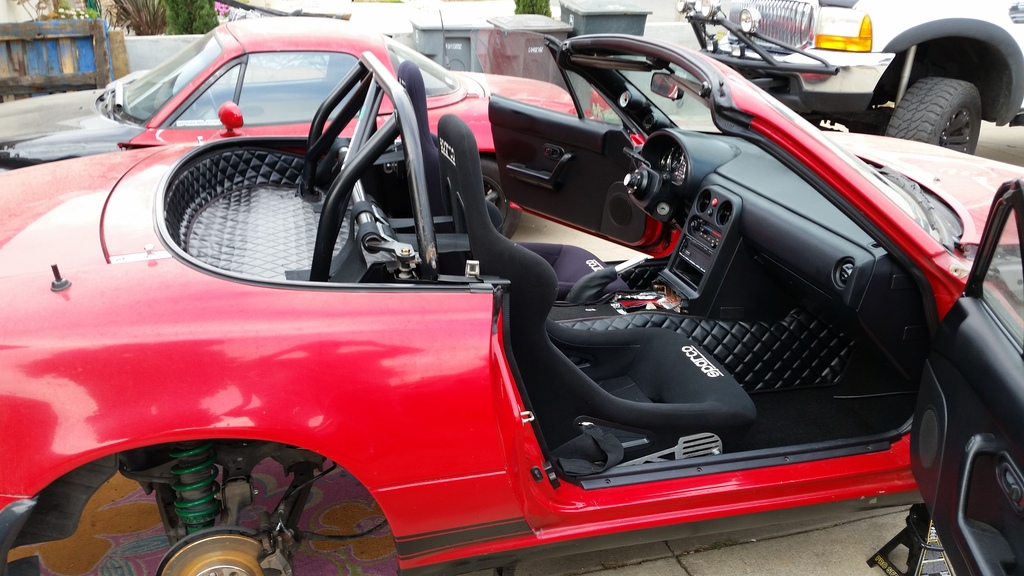
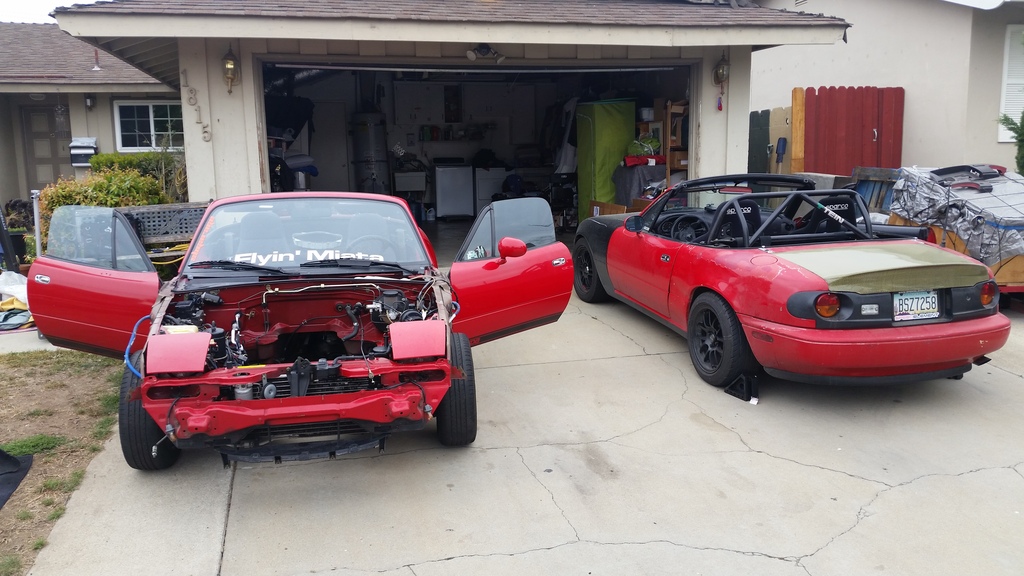
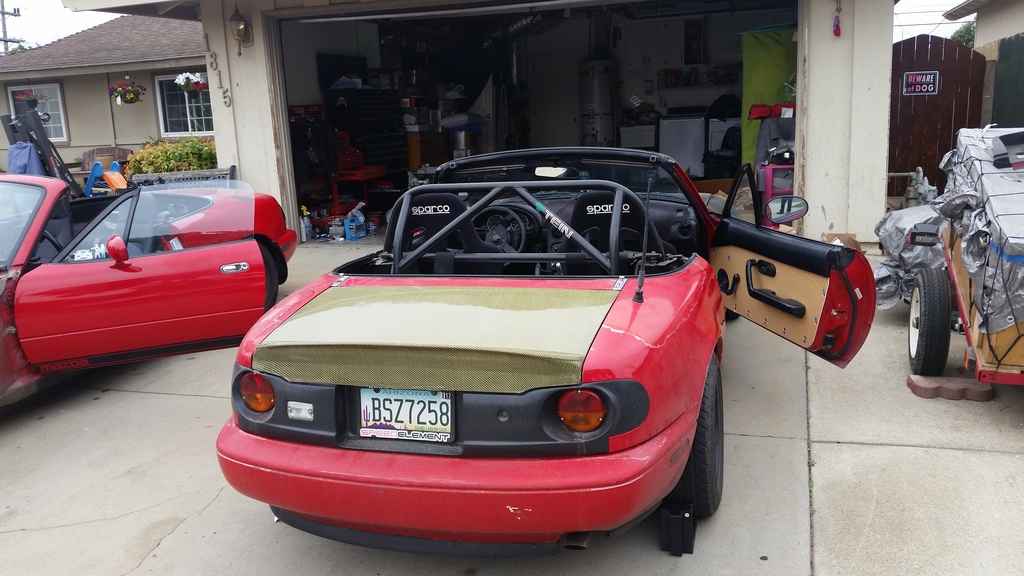
At the same time that I started dissasembling the new project, I also started to return my first miata back to stock. This is the one on the left with the black front end (long story for another time). I planned on reusing and swapping some of the parts onto this new project.
Name:  20160806_124541.jpg
Views: 459
Size:  260.8 KB
Name:  20160806_124605.jpg
Views: 440
Size:  268.5 KB
Name:  20160807_100457.jpg
Views: 430
Size:  267.4 KB

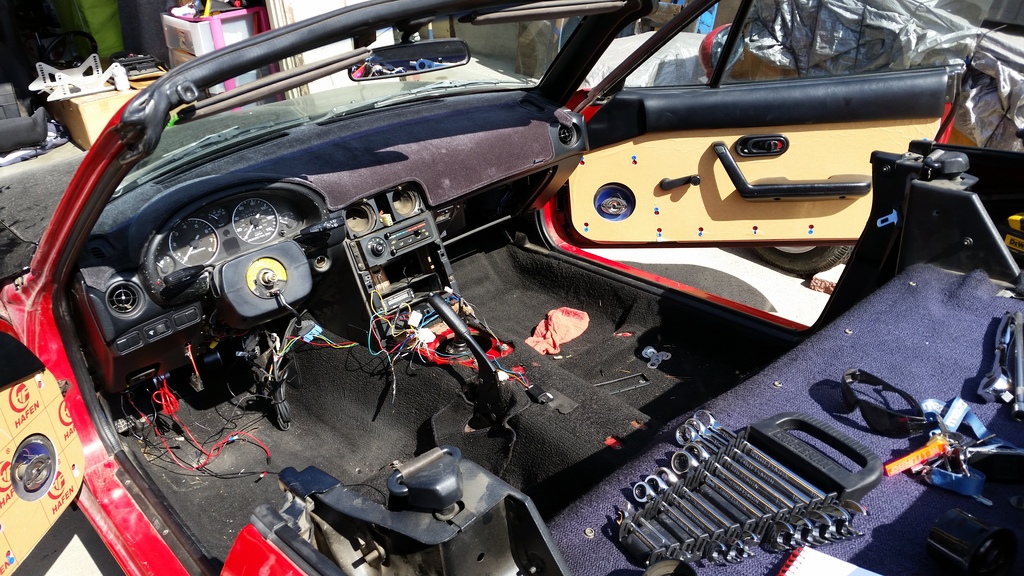
This is my previous miata with the sparcos pulled, rollbar removed, and also steering wheel/hub and starting on the megasquirt removal.
Name:  20160807_100509.jpg
Views: 441
Size:  362.7 KB
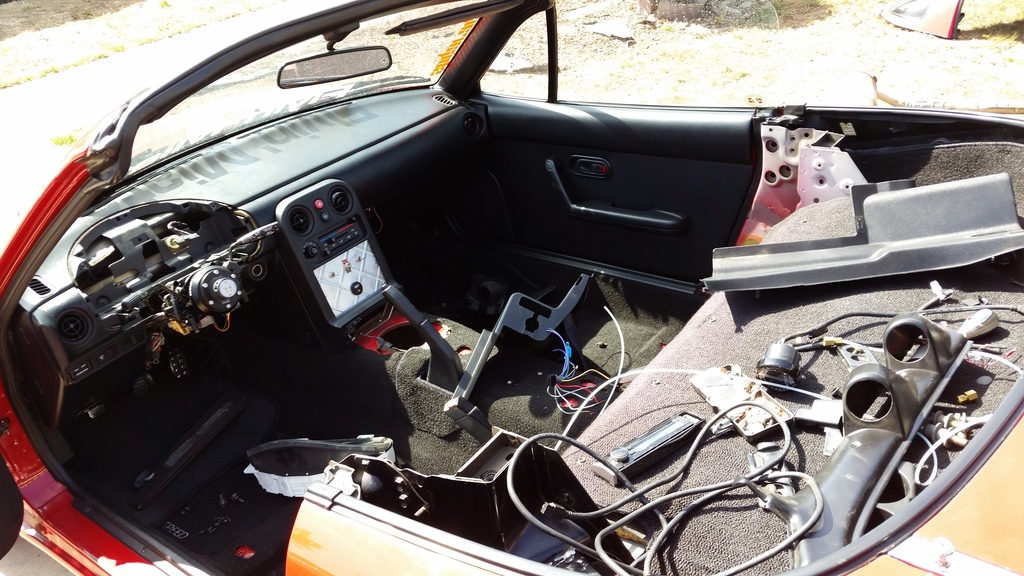
all of that going into this interior..
Name:  20160807_100520.jpg
Views: 445
Size:  304.1 KB
Old 04-26-2017 | 08:33 PM
  #8  
konmo's Avatar
Thread Starter
Junior Member
iTrader: (2)
 
Joined: Dec 2014
Posts: 307
Total Cats: 23
From: Salinas, CA
Default

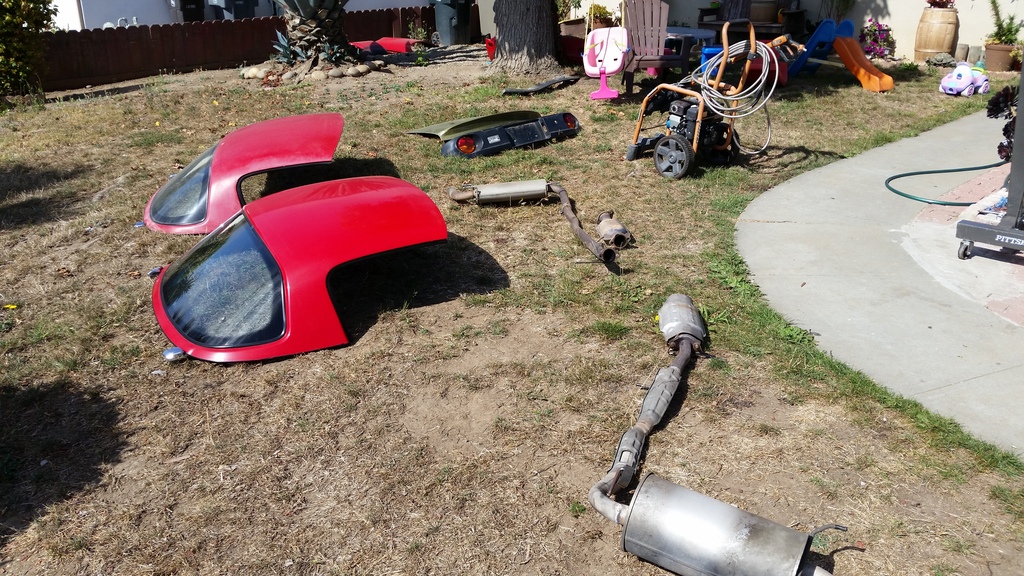
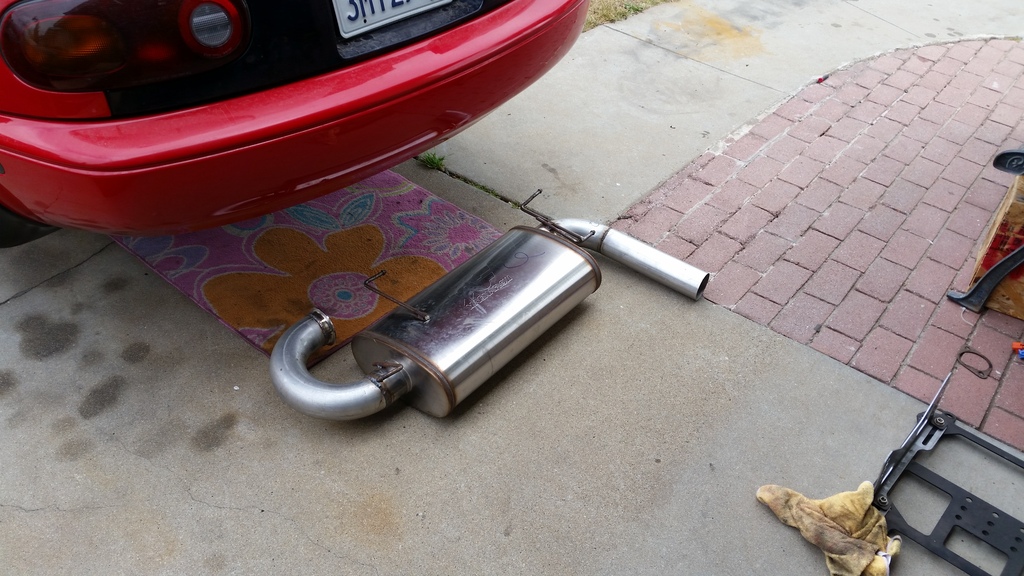
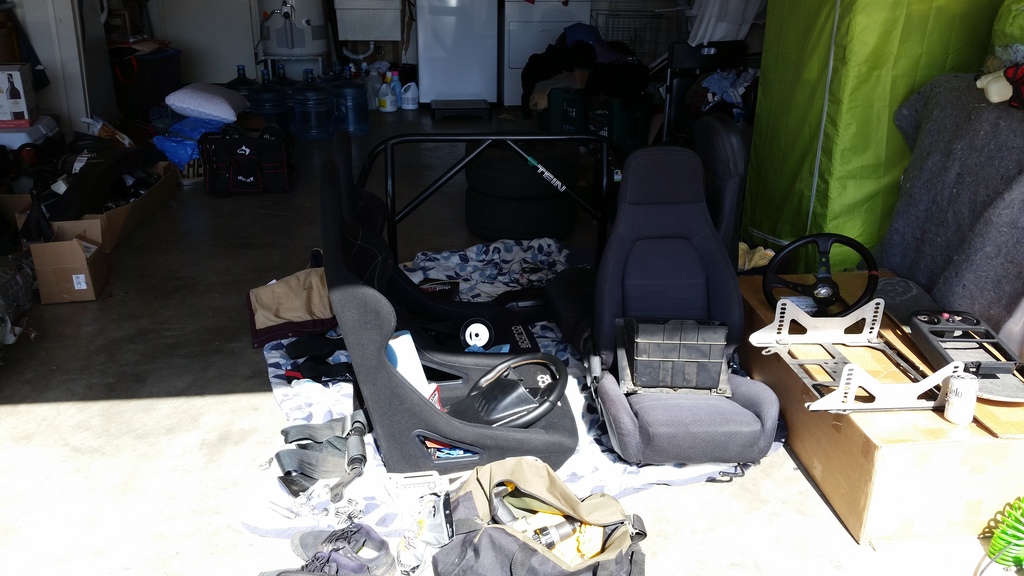
By this point I had removed the borla catback, GV rear panel, and Carbon miata carbon kevlar trunk from my first miata. Everything was just kind of scattered everywhere.
Name:  20160807_100532.jpg
Views: 514
Size:  228.3 KB
Name:  20160807_100544.jpg
Views: 463
Size:  398.8 KB
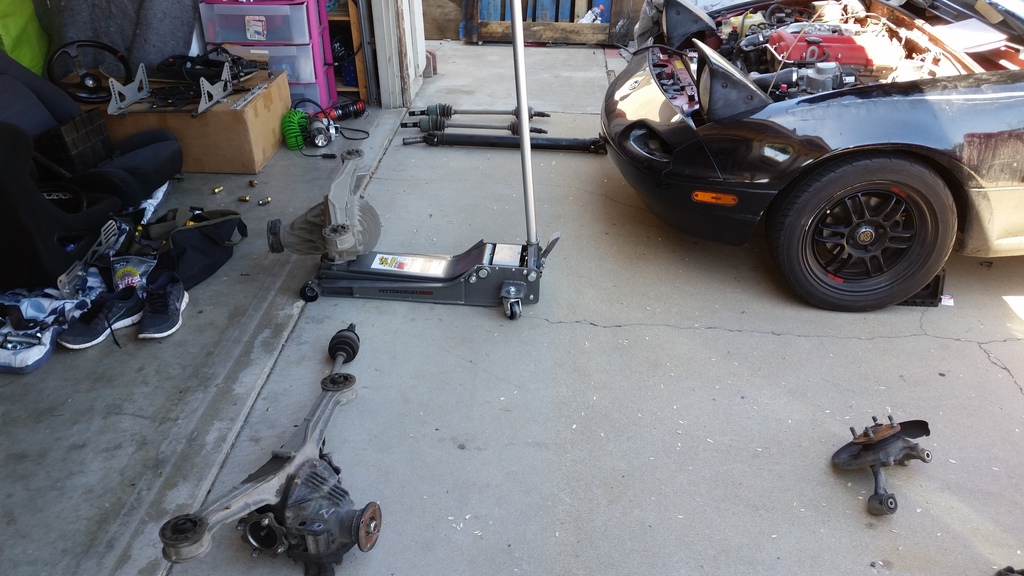
I pulled my 4.10 torsen from my first miata and swapped in the stock rear end from the newest addition to the family.
Name:  20160807_153855.jpg
Views: 450
Size:  262.0 KB

Last edited by konmo; 04-26-2017 at 08:44 PM.
Old 04-26-2017 | 08:33 PM
  #9  
konmo's Avatar
Thread Starter
Junior Member
iTrader: (2)
 
Joined: Dec 2014
Posts: 307
Total Cats: 23
From: Salinas, CA
Default

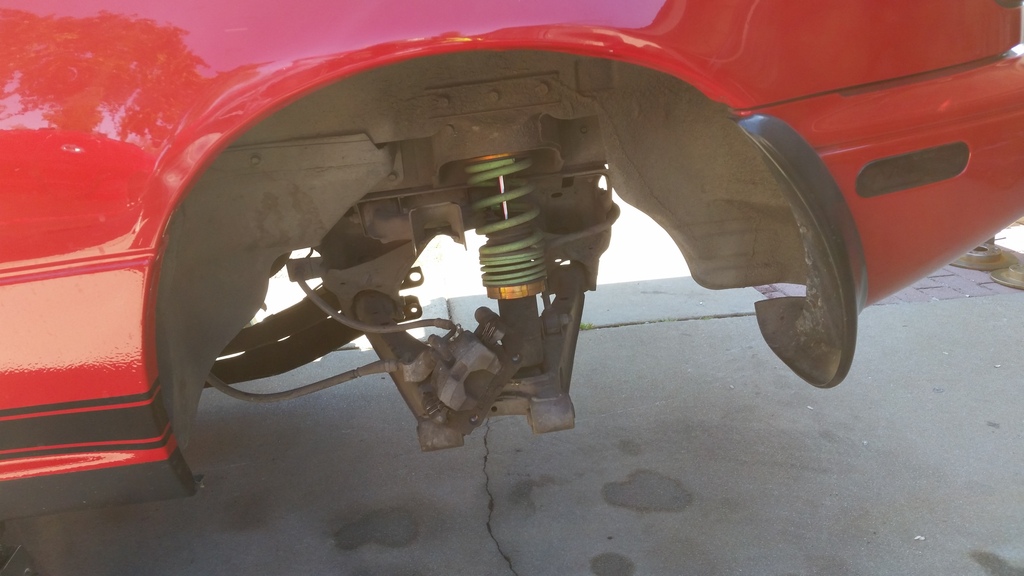
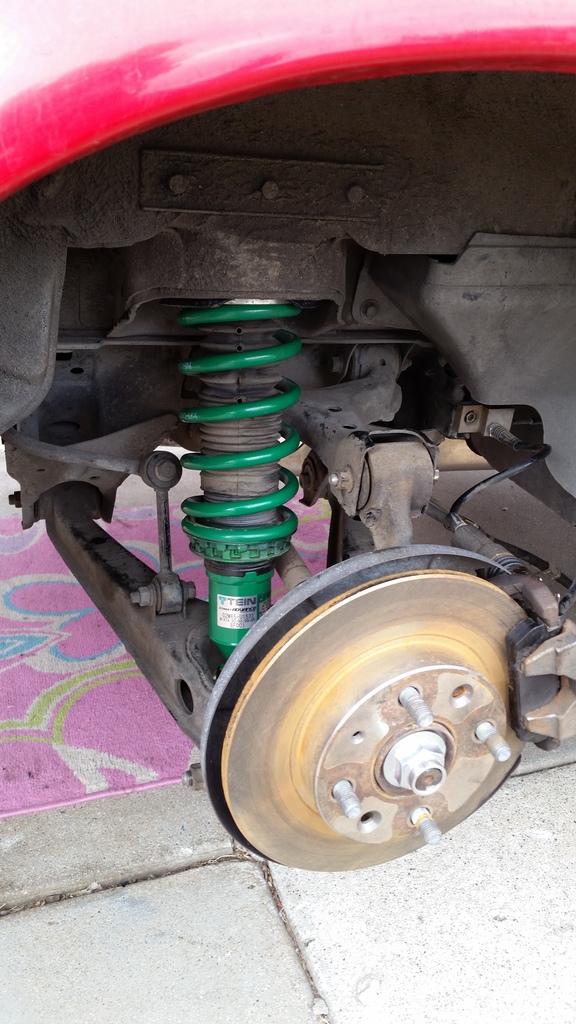
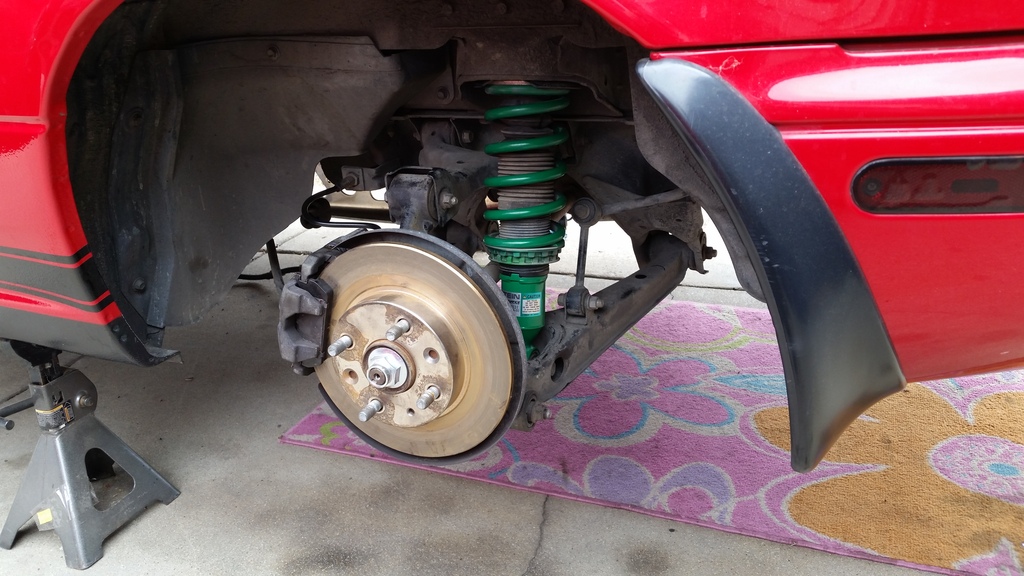
Next was removing my Tein coilovers from my first miata since those were also going to be swapped over to the newer one. The racelands on the newer miata were going to be traded in place for the Teins.
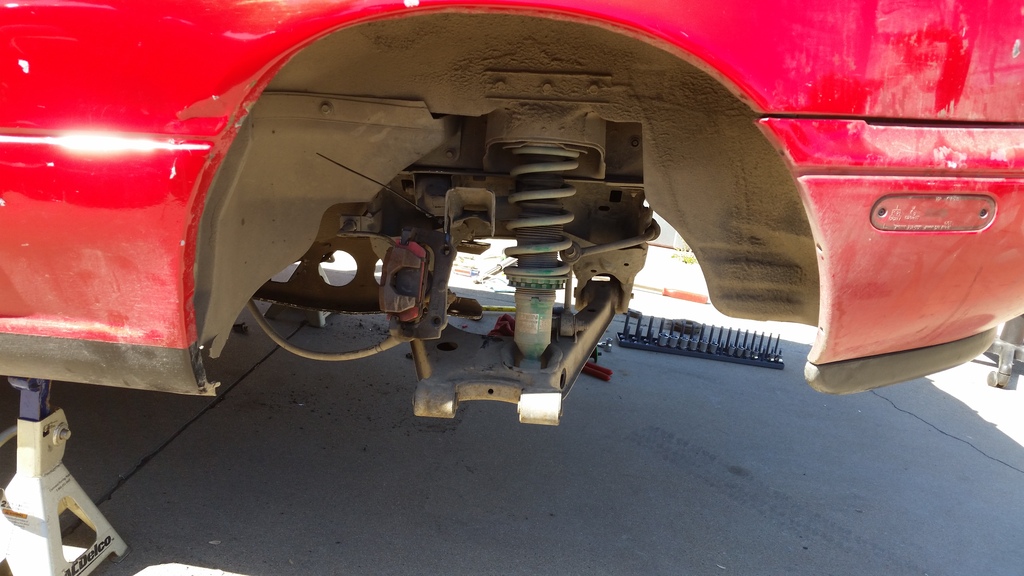
Name:  20160807_153923.jpg
Views: 459
Size:  234.8 KB
Name:  20160807_153932.jpg
Views: 438
Size:  185.4 KB
The rears were done first so I could put the wheels back on
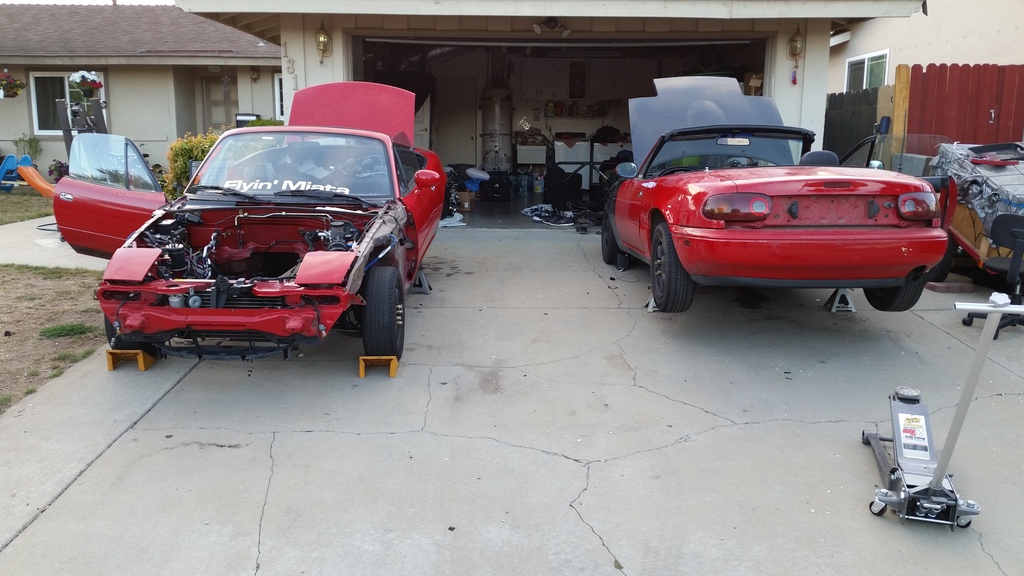
Name:  20160807_191657.jpg
Views: 437
Size:  245.5 KB

Last edited by konmo; 04-26-2017 at 08:46 PM.
Old 04-26-2017 | 08:33 PM
  #10  
konmo's Avatar
Thread Starter
Junior Member
iTrader: (2)
 
Joined: Dec 2014
Posts: 307
Total Cats: 23
From: Salinas, CA
Default

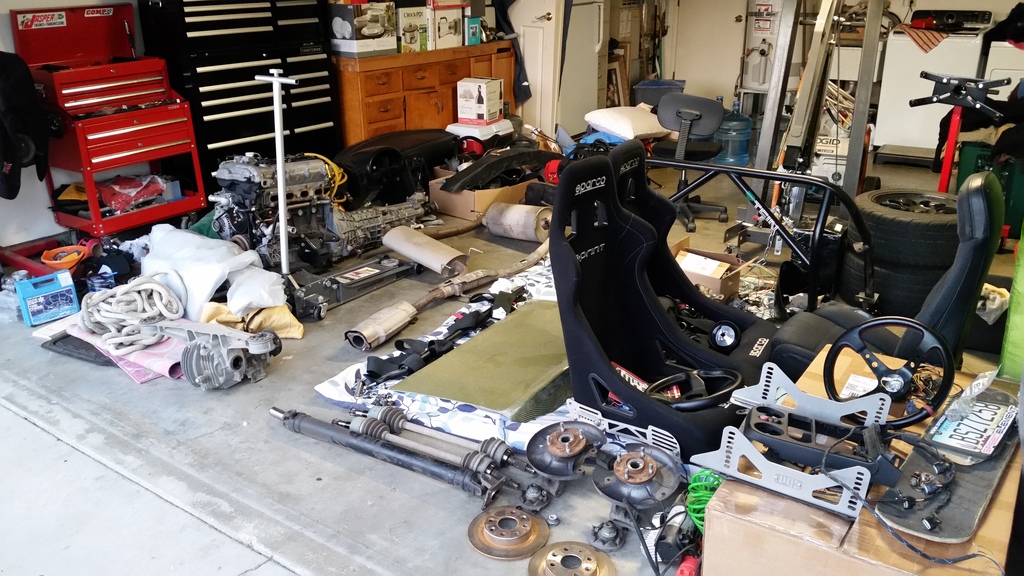
I had to start filling the garage with all my parts from both cars. It was almost like playing Tetris, but with car parts.
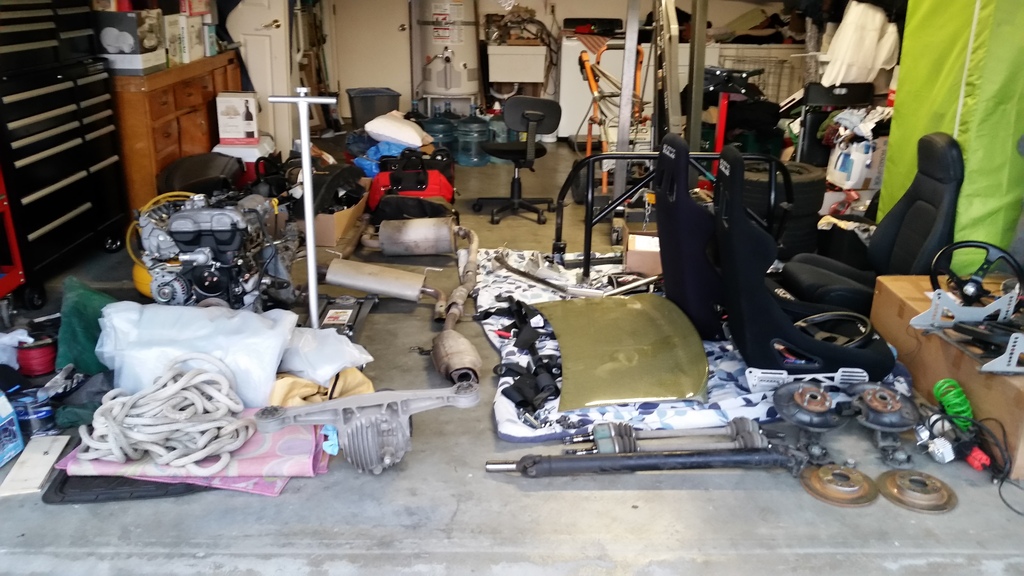
Name:  20160807_200540.jpg
Views: 431
Size:  246.7 KB
Name:  20160807_200601.jpg
Views: 475
Size:  298.8 KB

so at this point I was still working on getting one car restored to stock and the other upgraded/swapped
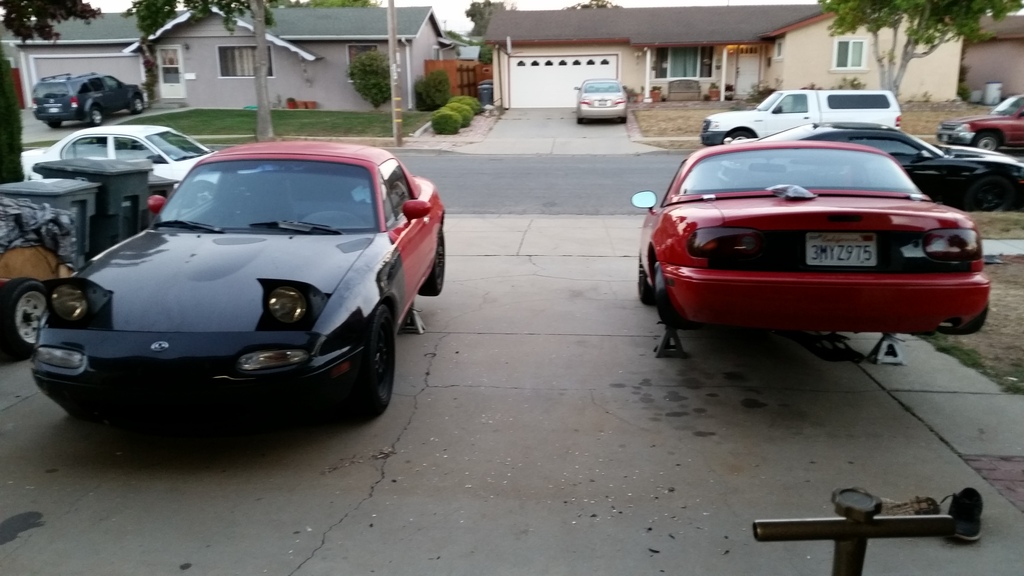
Name:  20160807_200615.jpg
Views: 430
Size:  209.1 KB
And here's one with all three of them
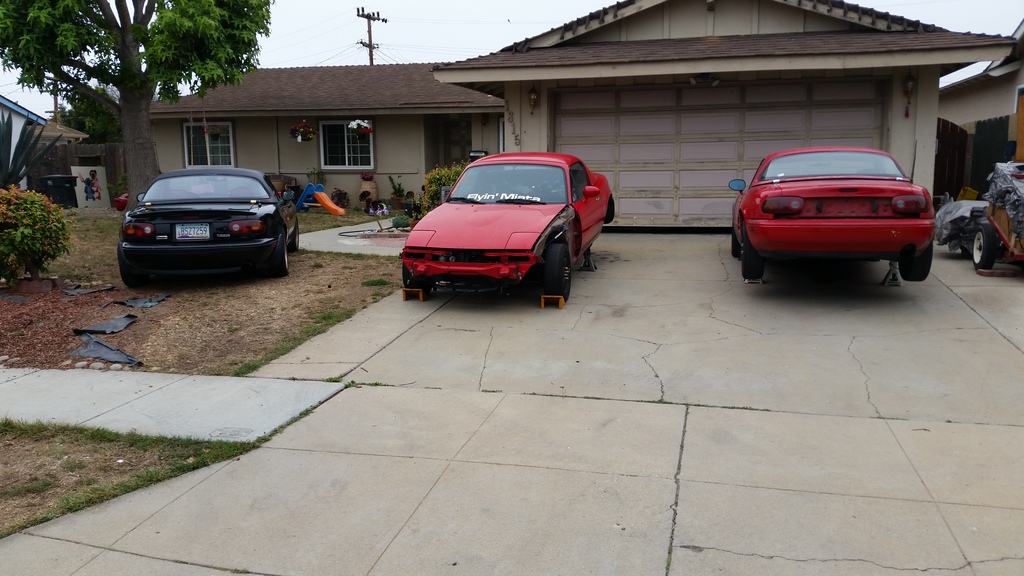
Name:  20160808_084538.jpg
Views: 432
Size:  252.3 KB

Last edited by konmo; 04-26-2017 at 08:47 PM.
Old 04-26-2017 | 08:34 PM
  #11  
konmo's Avatar
Thread Starter
Junior Member
iTrader: (2)
 
Joined: Dec 2014
Posts: 307
Total Cats: 23
From: Salinas, CA
Default

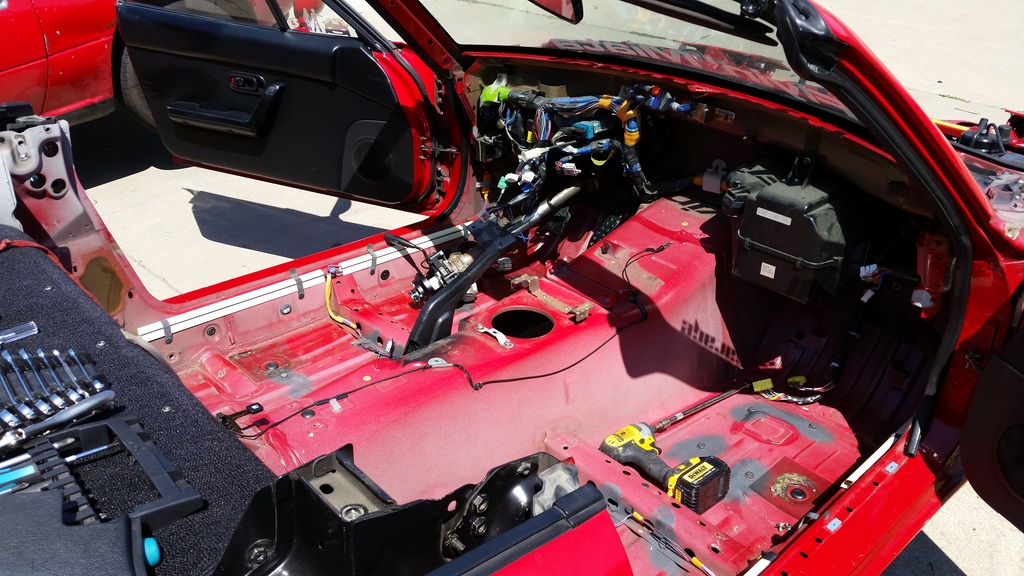
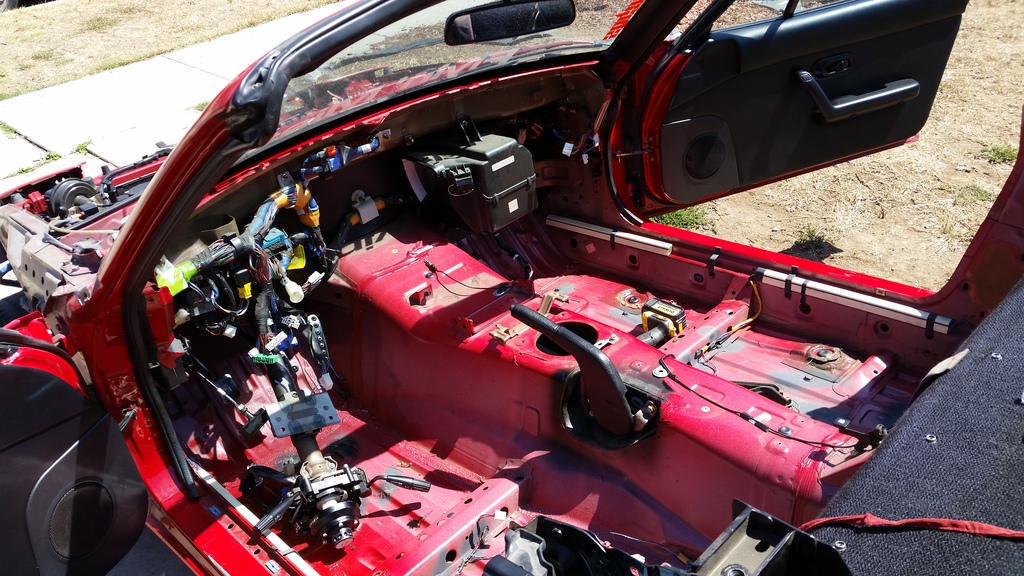
My first miata was mostly all stock now so it was time to focus my attention on the swap. I started pulling the interior to begin cleaning as well.
Name:  20160813_143025.jpg
Views: 441
Size:  315.2 KB
Name:  20160813_143039.jpg
Views: 436
Size:  344.4 KB

Last edited by konmo; 04-26-2017 at 08:47 PM.
Old 04-26-2017 | 08:39 PM
  #12  
konmo's Avatar
Thread Starter
Junior Member
iTrader: (2)
 
Joined: Dec 2014
Posts: 307
Total Cats: 23
From: Salinas, CA
Default

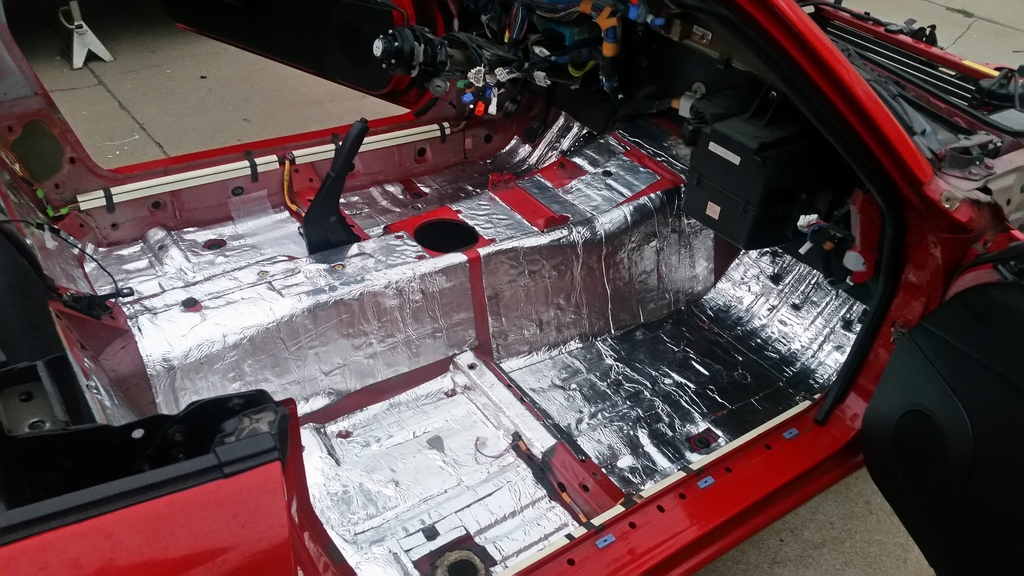
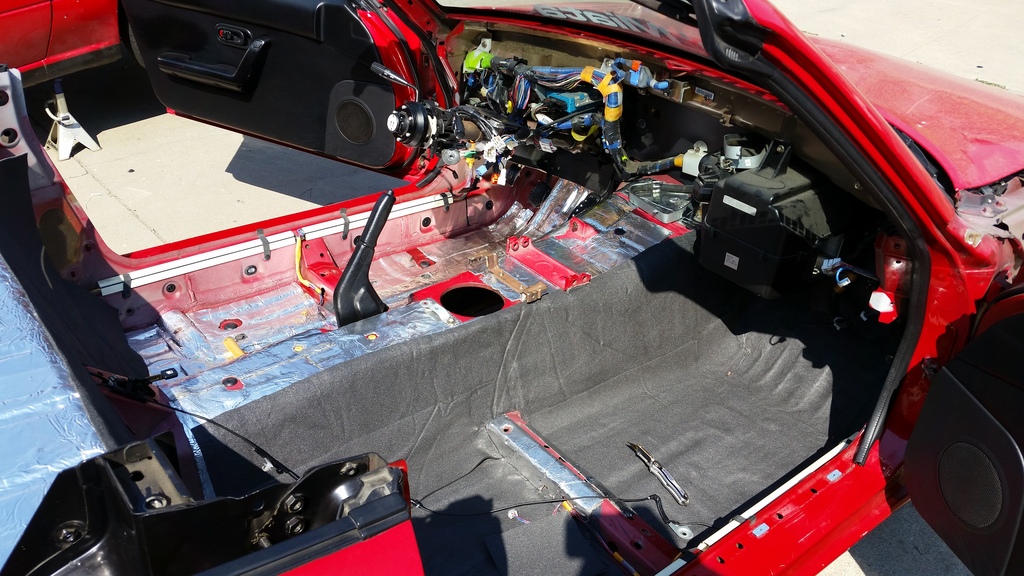
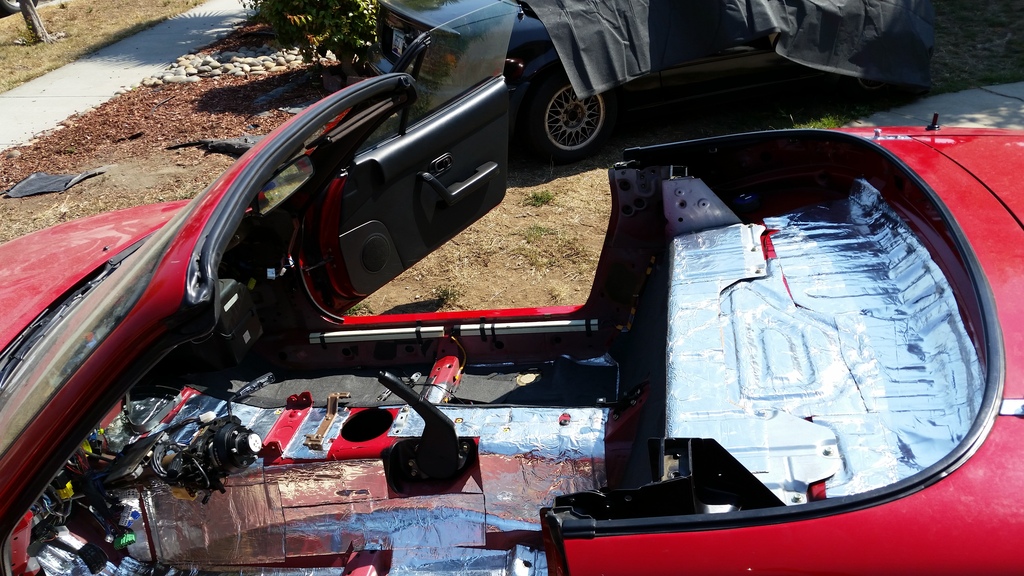
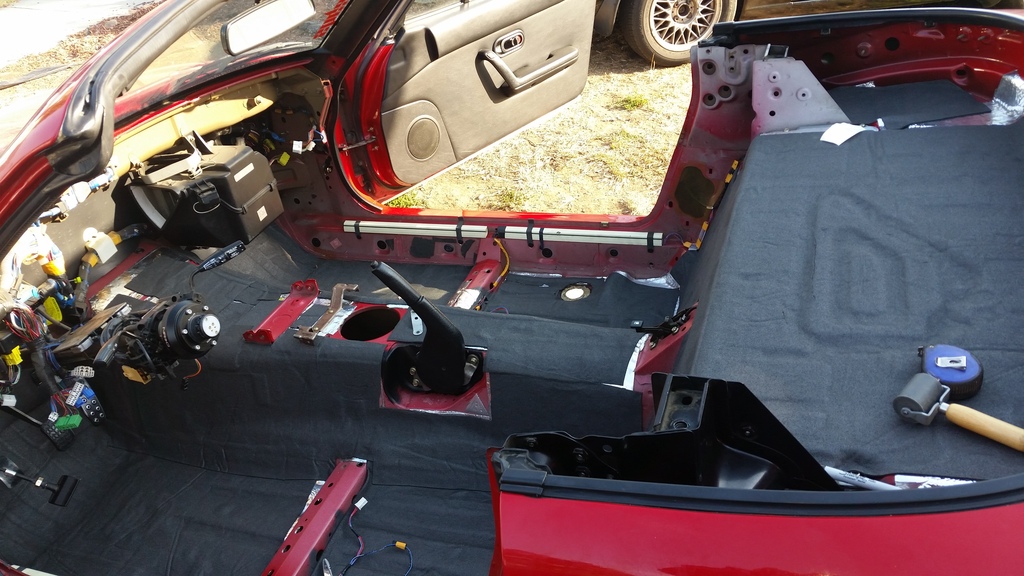
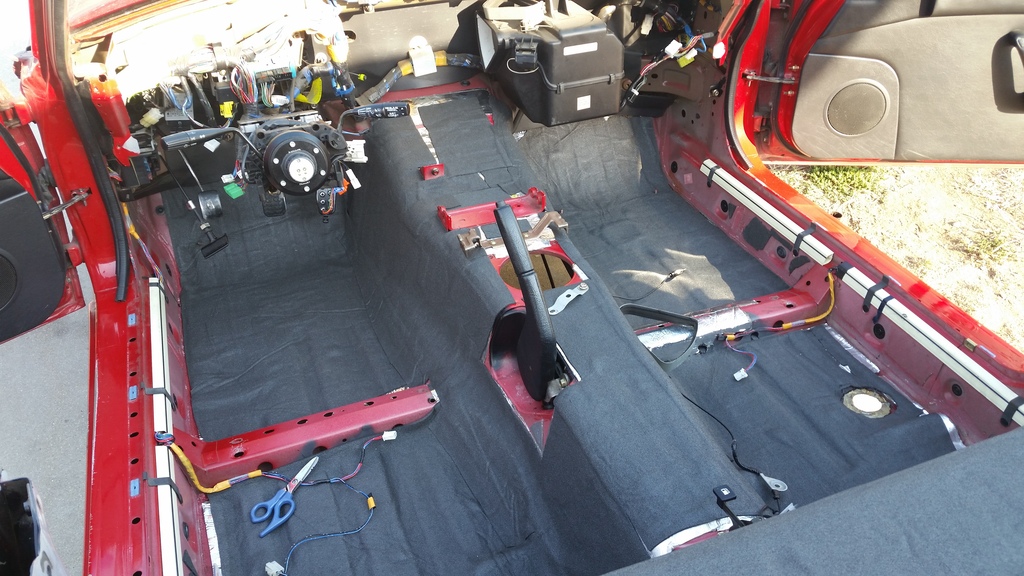
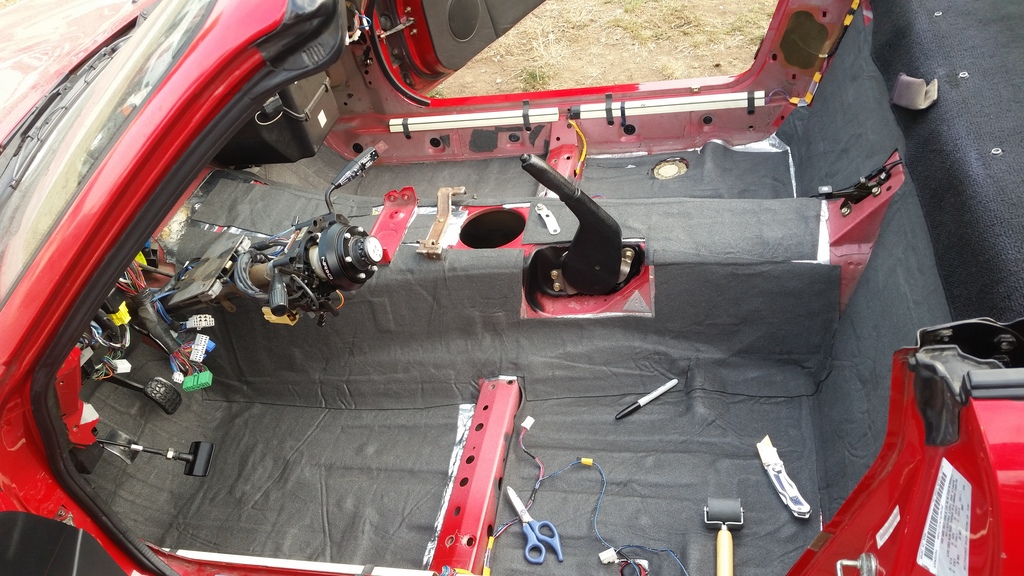
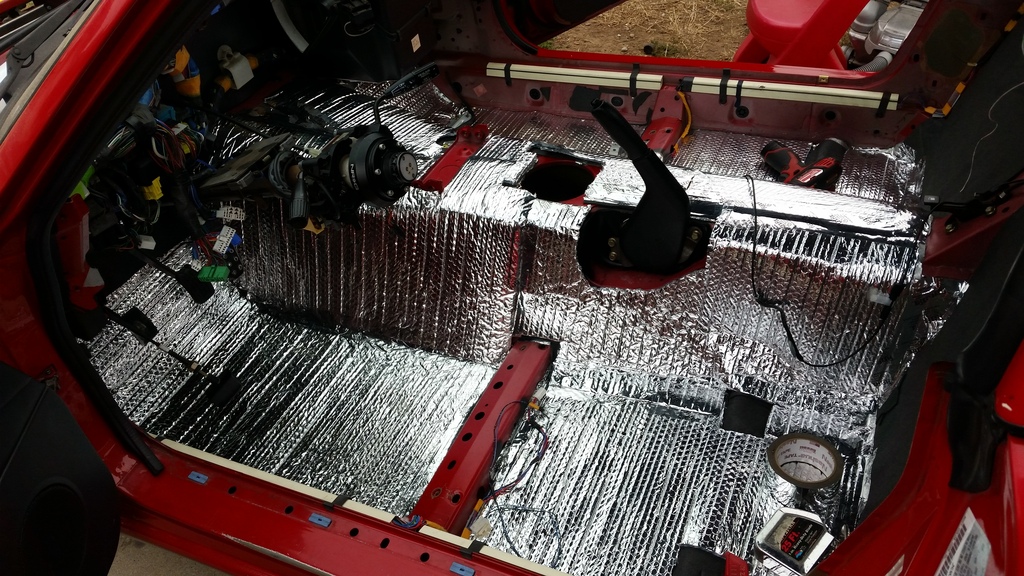
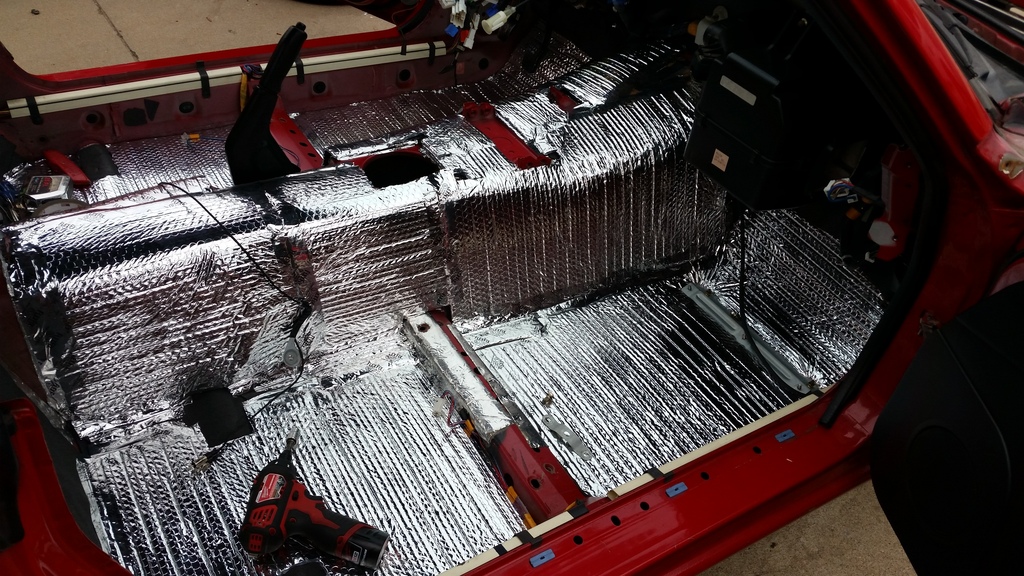
Since the interior was coming out for cleaning. I took that opportunity to put in some sound deadening and heat insulation. I purchased some Raam mat BXT II and also some their ensolite foam. It took a while to cover up the interior, but it was definitely worth it. The cabin is so much quieter and cooler with it.
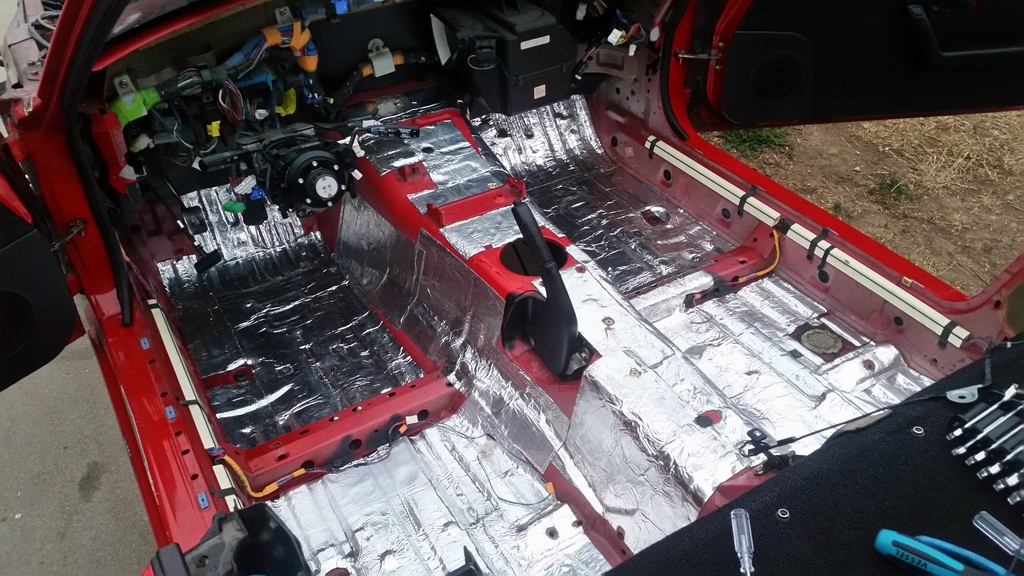
Name:  20160813_200705.jpg
Views: 430
Size:  297.2 KB
Name:  20160813_200724.jpg
Views: 438
Size:  267.6 KB
Name:  20160814_152440.jpg
Views: 470
Size:  312.8 KB
Name:  20160814_152453.jpg
Views: 489
Size:  328.8 KB
Name:  20160814_172701.jpg
Views: 432
Size:  278.5 KB
Name:  20160814_172708.jpg
Views: 437
Size:  307.9 KB
Name:  20160814_180111.jpg
Views: 432
Size:  313.9 KB
Name:  20160821_183414.jpg
Views: 429
Size:  356.4 KB
Name:  20160821_183433.jpg
Views: 442
Size:  356.8 KB
Old 04-26-2017 | 08:40 PM
  #13  
konmo's Avatar
Thread Starter
Junior Member
iTrader: (2)
 
Joined: Dec 2014
Posts: 307
Total Cats: 23
From: Salinas, CA
Default

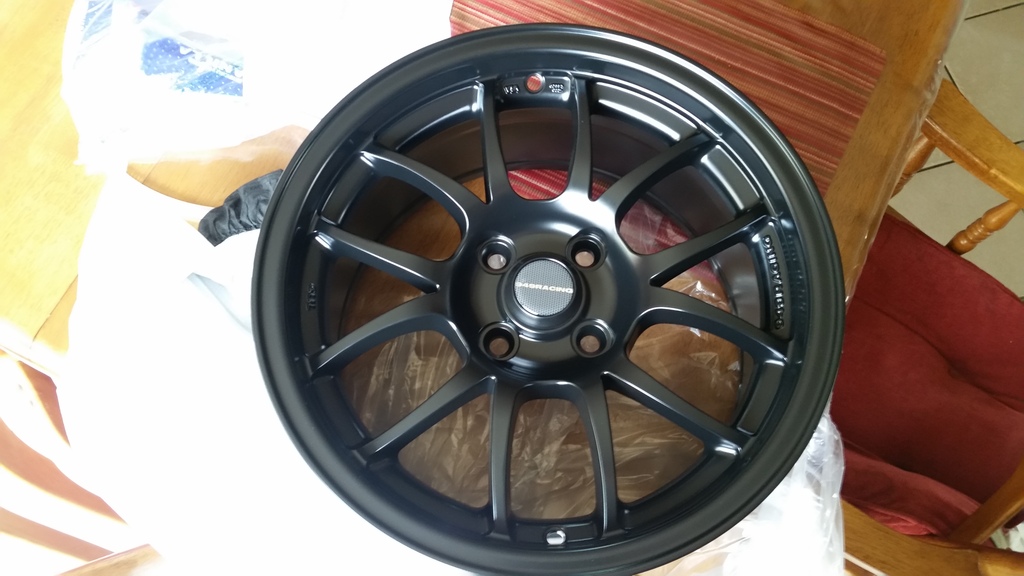
I bought a replacement 15x8 6UL wheel, because I had ruined my front driver side wheel on the first miata (this is also why the front end of it is black)
Name:  20160826_171302.jpg
Views: 445
Size:  172.6 KB
Old 04-26-2017 | 08:48 PM
  #14  
konmo's Avatar
Thread Starter
Junior Member
iTrader: (2)
 
Joined: Dec 2014
Posts: 307
Total Cats: 23
From: Salinas, CA
Default

I finished installing the Tein coilovers into the newer miata.
Name:  20160904_163700.jpg
Views: 434
Size:  272.6 KB
Name:  20160904_163805.jpg
Views: 431
Size:  259.8 KB
Old 04-26-2017 | 08:48 PM
  #15  
konmo's Avatar
Thread Starter
Junior Member
iTrader: (2)
 
Joined: Dec 2014
Posts: 307
Total Cats: 23
From: Salinas, CA
Default

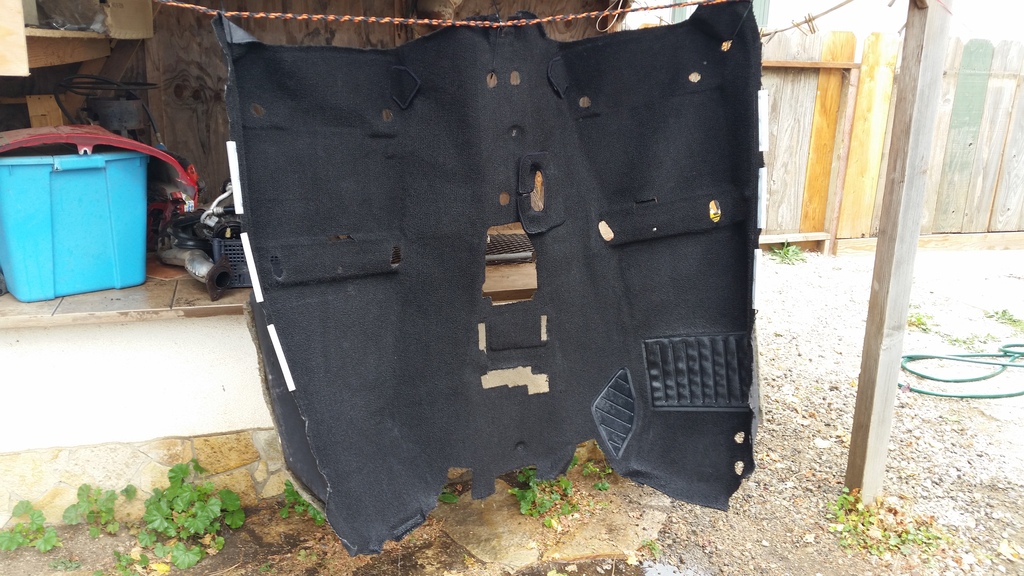
I wanted everything inside squeaky clean so I also pressure washed the carpet which turned out pretty good.
Name:  20160820_112910.jpg
Views: 443
Size:  303.1 KB

Last edited by konmo; 04-26-2017 at 09:00 PM.
Old 04-26-2017 | 08:49 PM
  #16  
konmo's Avatar
Thread Starter
Junior Member
iTrader: (2)
 
Joined: Dec 2014
Posts: 307
Total Cats: 23
From: Salinas, CA
Default

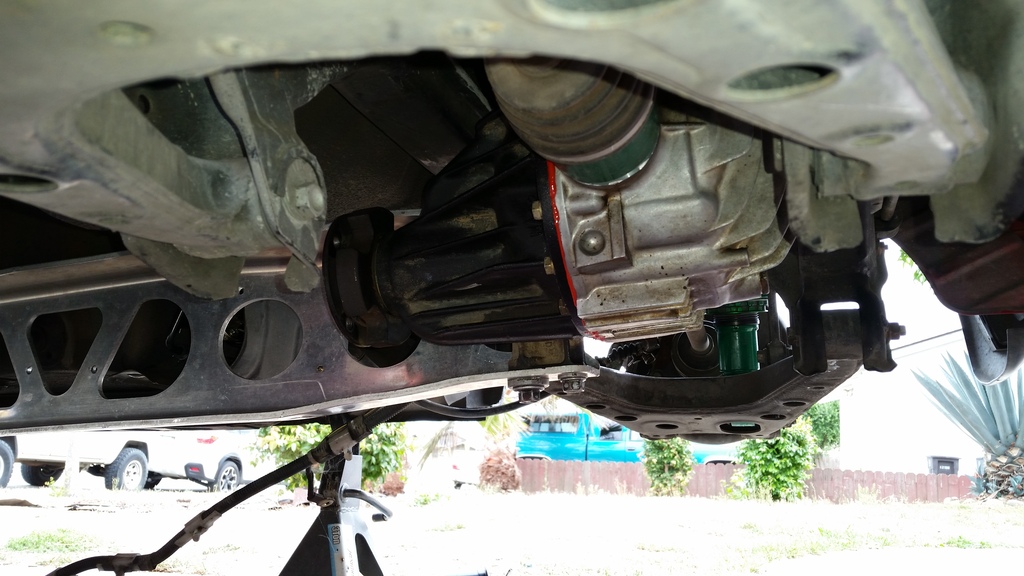
next up was the torsen differential. I got my hands on a 3.9 torsen last year, but I didn't have a carrier for it so I opened up the 4.10 diff and used the carrier on the 3.9. Gave it a quick cleaning and bolted it up. And in case you're wondering, yes that is a lug nut welded onto the fill plug(also a long story)
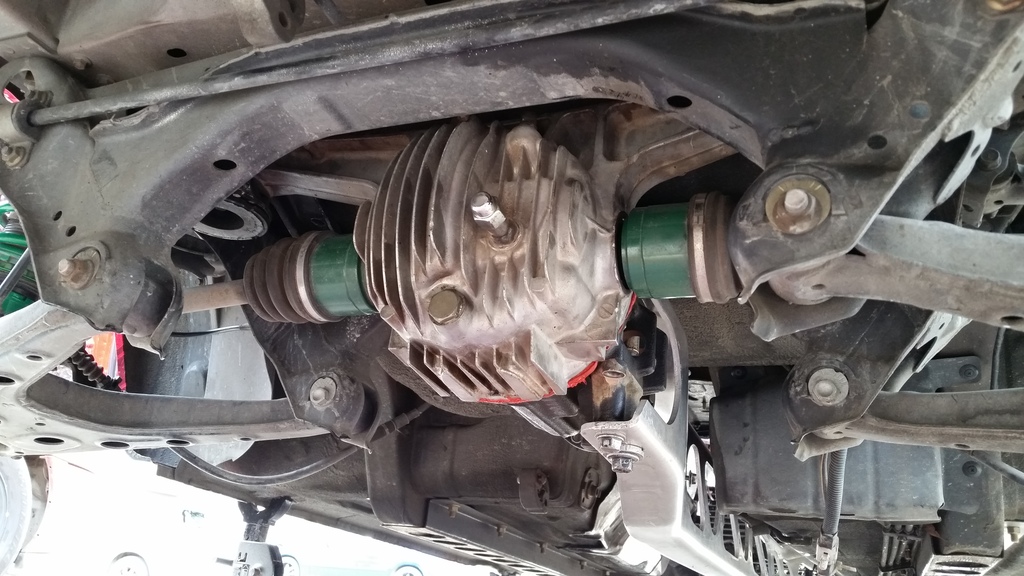
Name:  20160904_163723.jpg
Views: 455
Size:  266.0 KB
Name:  20160904_163750.jpg
Views: 436
Size:  228.8 KB

While I was down there I also decided to clean the PPF. My OCD wouldn't let me leave it dirty.
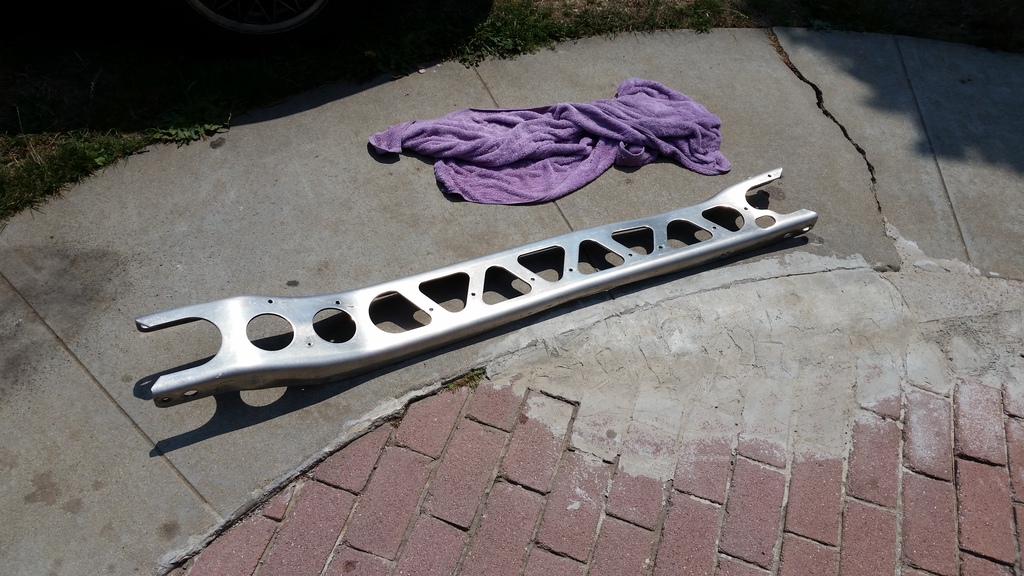
Name:  20160820_133118.jpg
Views: 448
Size:  305.4 KB
Old 04-26-2017 | 08:57 PM
  #17  
konmo's Avatar
Thread Starter
Junior Member
iTrader: (2)
 
Joined: Dec 2014
Posts: 307
Total Cats: 23
From: Salinas, CA
Default

Getting ready to install the magnaflow turbo exhaust.
Name:  20160904_164426.jpg
Views: 429
Size:  281.5 KB
Old 04-26-2017 | 08:58 PM
  #18  
konmo's Avatar
Thread Starter
Junior Member
iTrader: (2)
 
Joined: Dec 2014
Posts: 307
Total Cats: 23
From: Salinas, CA
Default

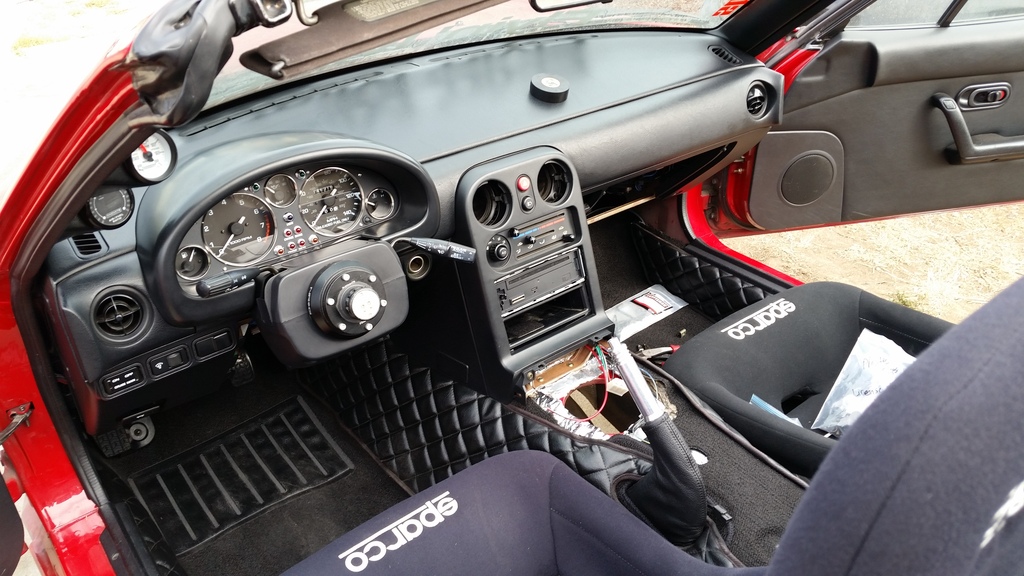
I got the carpet and dashboard back in. I also started installing the Nakamae interior.
Name:  20160904_163825.jpg
Views: 440
Size:  255.1 KB
Name:  20160904_163840.jpg
Views: 450
Size:  271.9 KB
Old 04-26-2017 | 08:58 PM
  #19  
konmo's Avatar
Thread Starter
Junior Member
iTrader: (2)
 
Joined: Dec 2014
Posts: 307
Total Cats: 23
From: Salinas, CA
Default

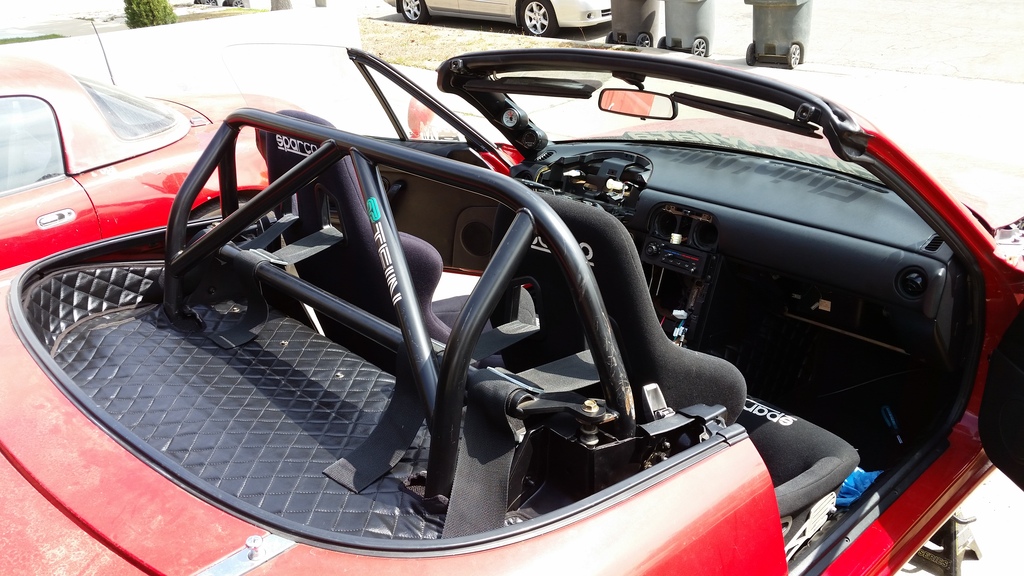
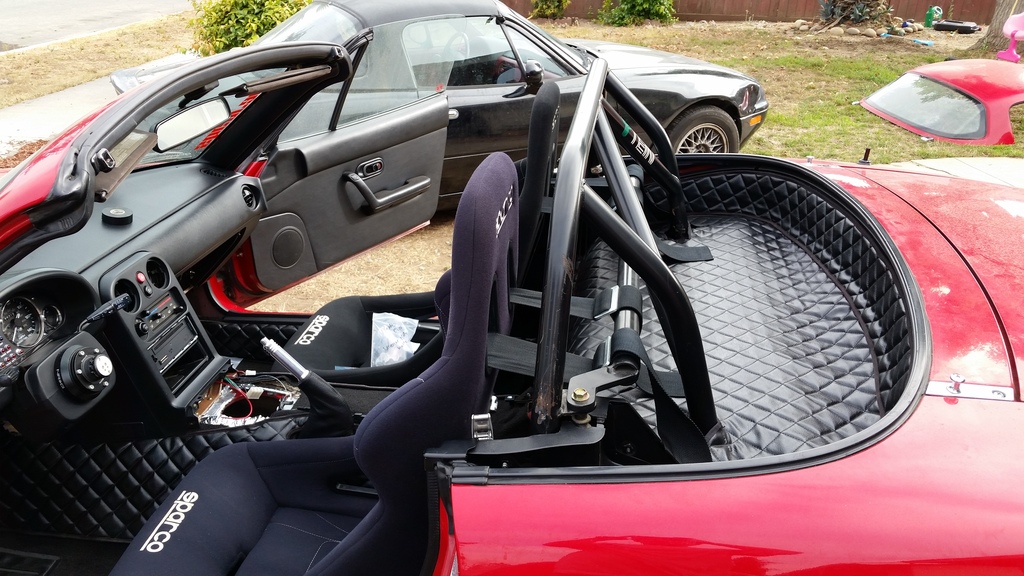
I got the sparco seats back in both on planted seat brackets. Driver side uses a PCI seat bracket and the passenger side uses a garage star seat bracket. Also installed more Nakamae on the rear package tray/deck and behind the seats.
Name:  20160909_112953.jpg
Views: 455
Size:  260.6 KB
Name:  20160909_115356.jpg
Views: 454
Size:  286.1 KB
Name:  20160909_115429.jpg
Views: 460
Size:  283.1 KB
Old 04-26-2017 | 09:00 PM
  #20  
konmo's Avatar
Thread Starter
Junior Member
iTrader: (2)
 
Joined: Dec 2014
Posts: 307
Total Cats: 23
From: Salinas, CA
Default

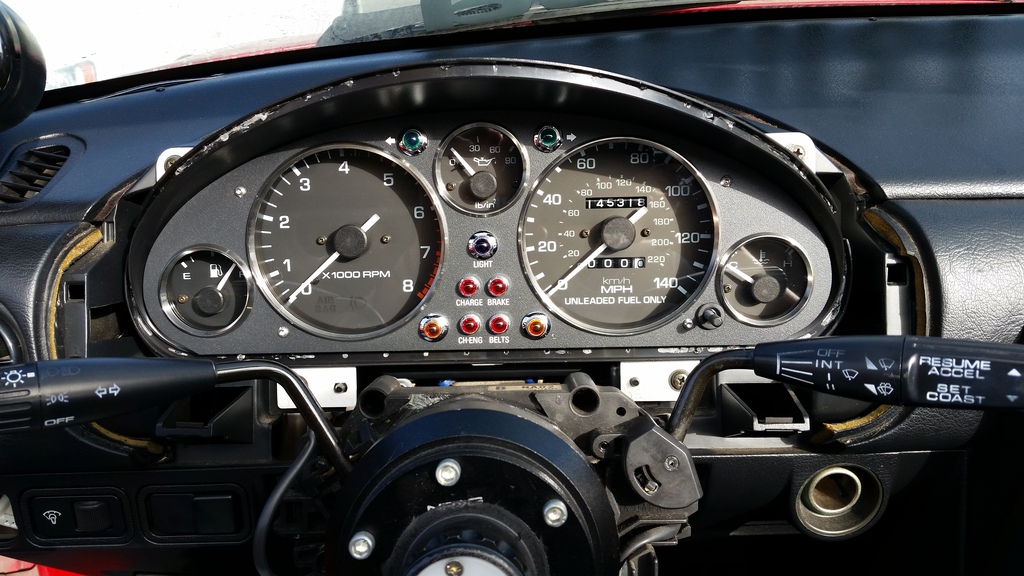
Next I installed the KG works instrument panel that I had been also saving for the right car.
Name:  20160909_163726.jpg
Views: 464
Size:  275.9 KB
I installed more of the interior plastic covers as well as my garage star E-brake handle and A pillar gauge pods with an MTX-L AFR guage and autometer boost/vac gauge.
Name:  20160909_171152.jpg
Views: 437
Size:  277.1 KB
Name:  20160909_171217.jpg
Views: 445
Size:  306.7 KB
Name:  20160909_173826.jpg
Views: 440
Size:  270.2 KB


All times are GMT -4. The time now is 08:15 AM.