Knock-Off Eliminator Build
 09-16-2019, 01:50 PM
#101
Junior Member
Thread Starter
iTrader: (3)

Join Date: Oct 2015
Location: Steamboat Springs, CO
Posts: 329
Total Cats: 22
I don't have hard numbers yet - easy to get - will update soon.
GOAL was 1,650lbs. Reality is probably between 1,750lbs-1,850lbs
There were some things I could do to 'add lightness' - but I also wanted a 'safe', daily driver option - not ALL speed - so the car is probably a bit heavier than it could have been.
GOAL was 1,650lbs. Reality is probably between 1,750lbs-1,850lbs
There were some things I could do to 'add lightness' - but I also wanted a 'safe', daily driver option - not ALL speed - so the car is probably a bit heavier than it could have been.

Reply
 0
0

0
01-03-2020, 12:51 PM
#102
Junior Member
Thread Starter
iTrader: (3)
Join Date: Oct 2015
Location: Steamboat Springs, CO
Posts: 329
Total Cats: 22
Well, new year is here, time for an update!
Driving the kart around for the last 6mo has been fun, gave me an opportunity to work out any kinks in the plumbing/wiring/etc. Had to cut and re-weld a couple brackets, add/remove, that kind of thing. This was intentional, so I wouldn't have to go back and make adjustments after paint.
Anyway, everything is happy, time for paint prep!
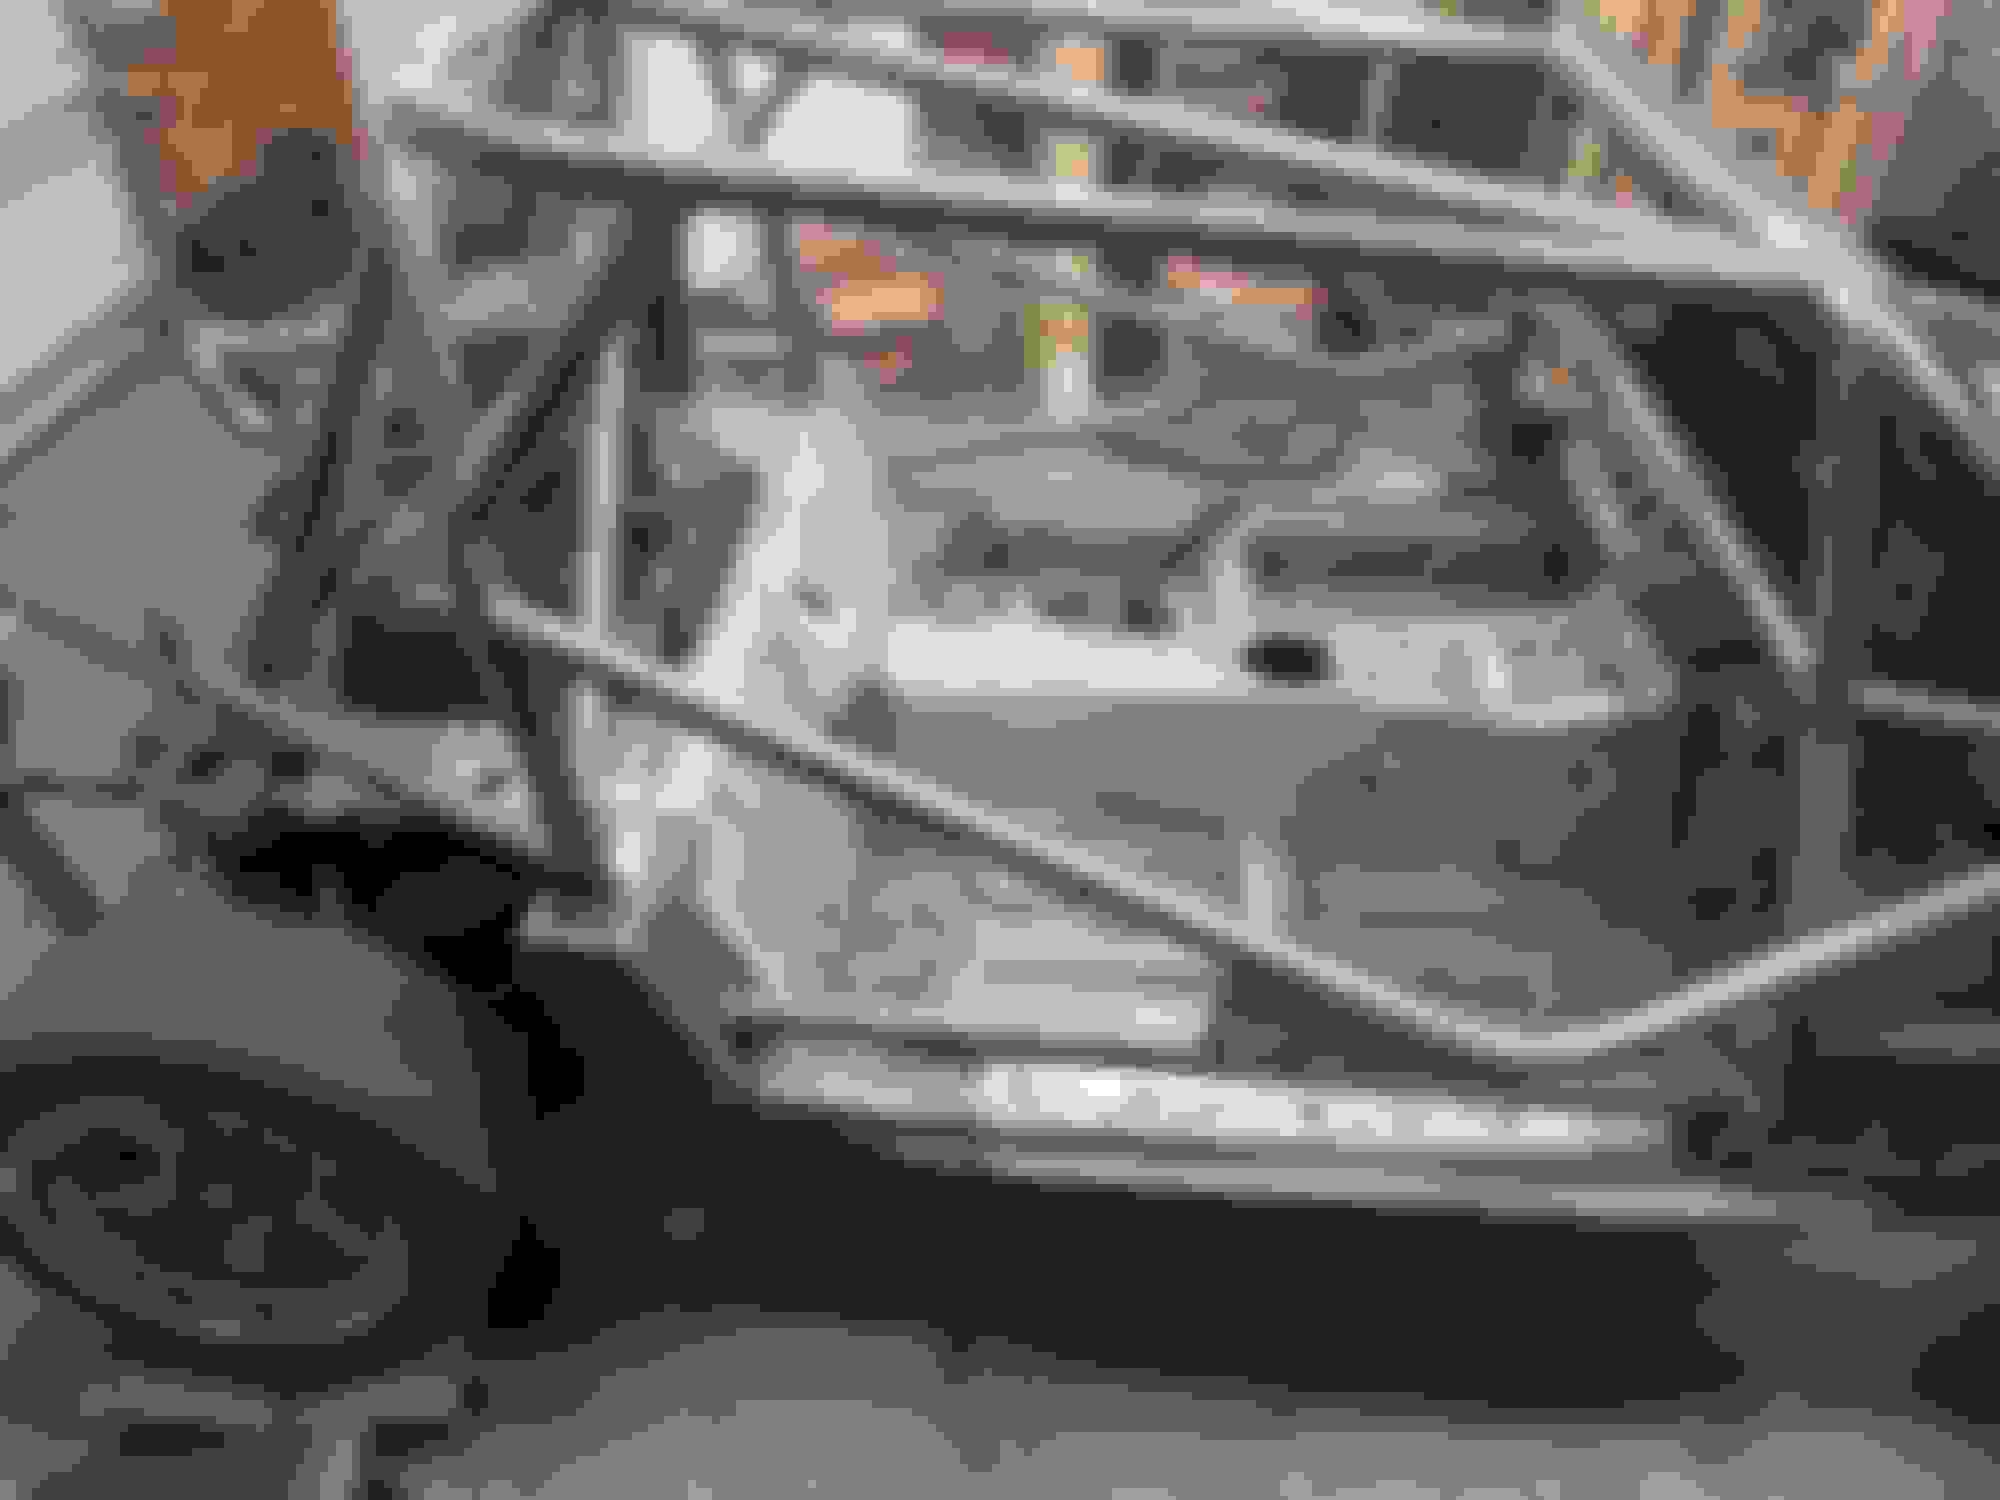
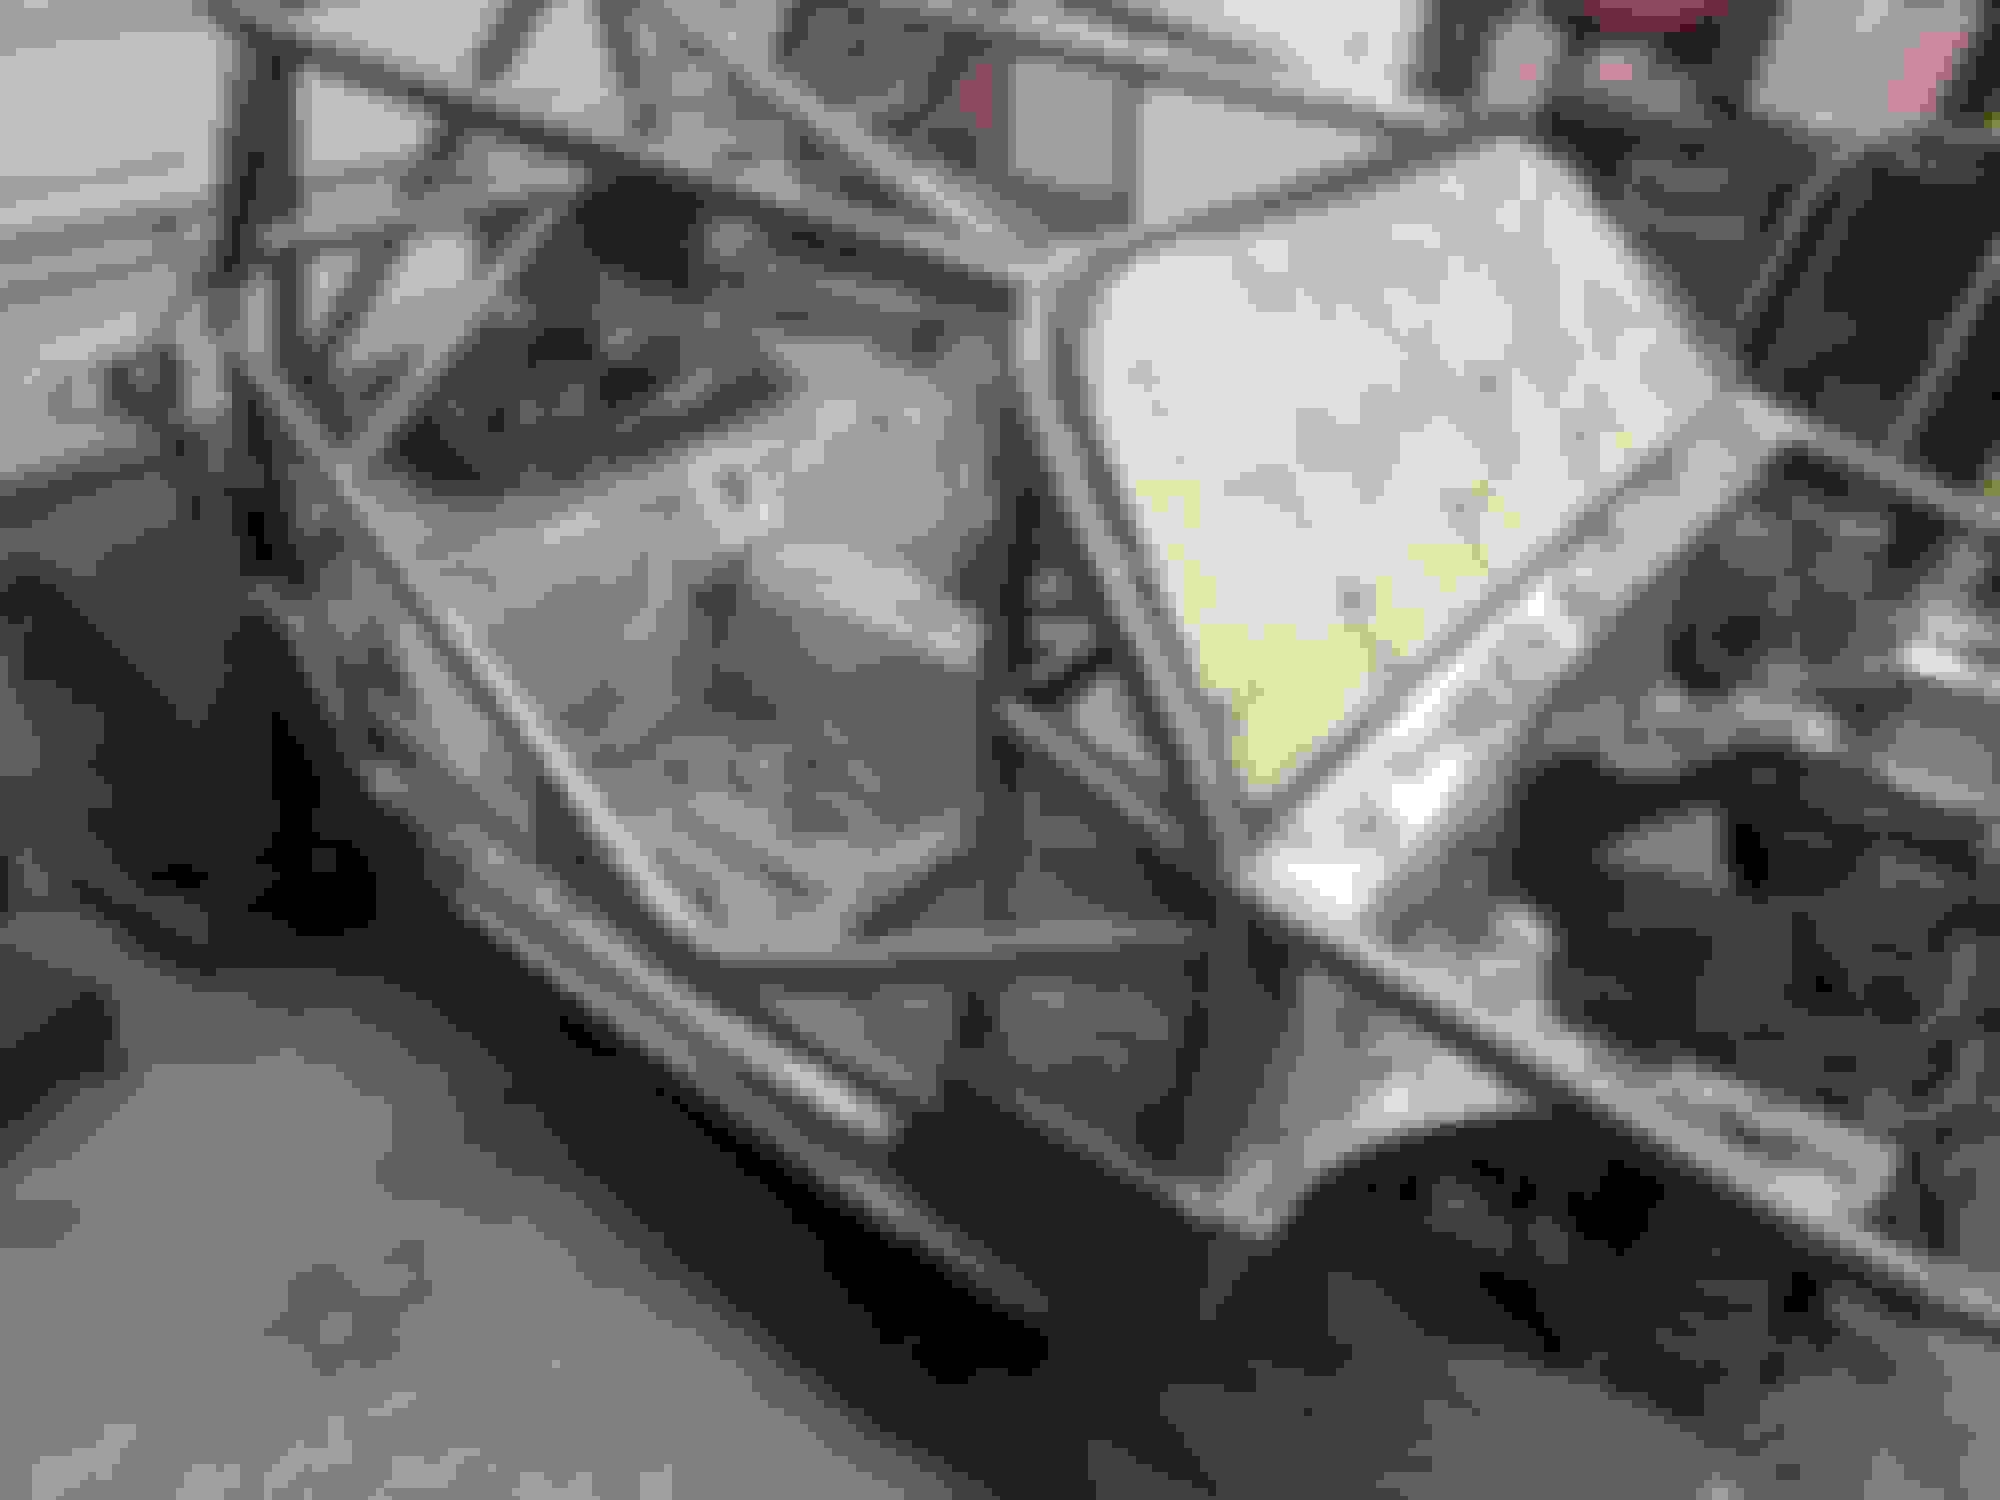
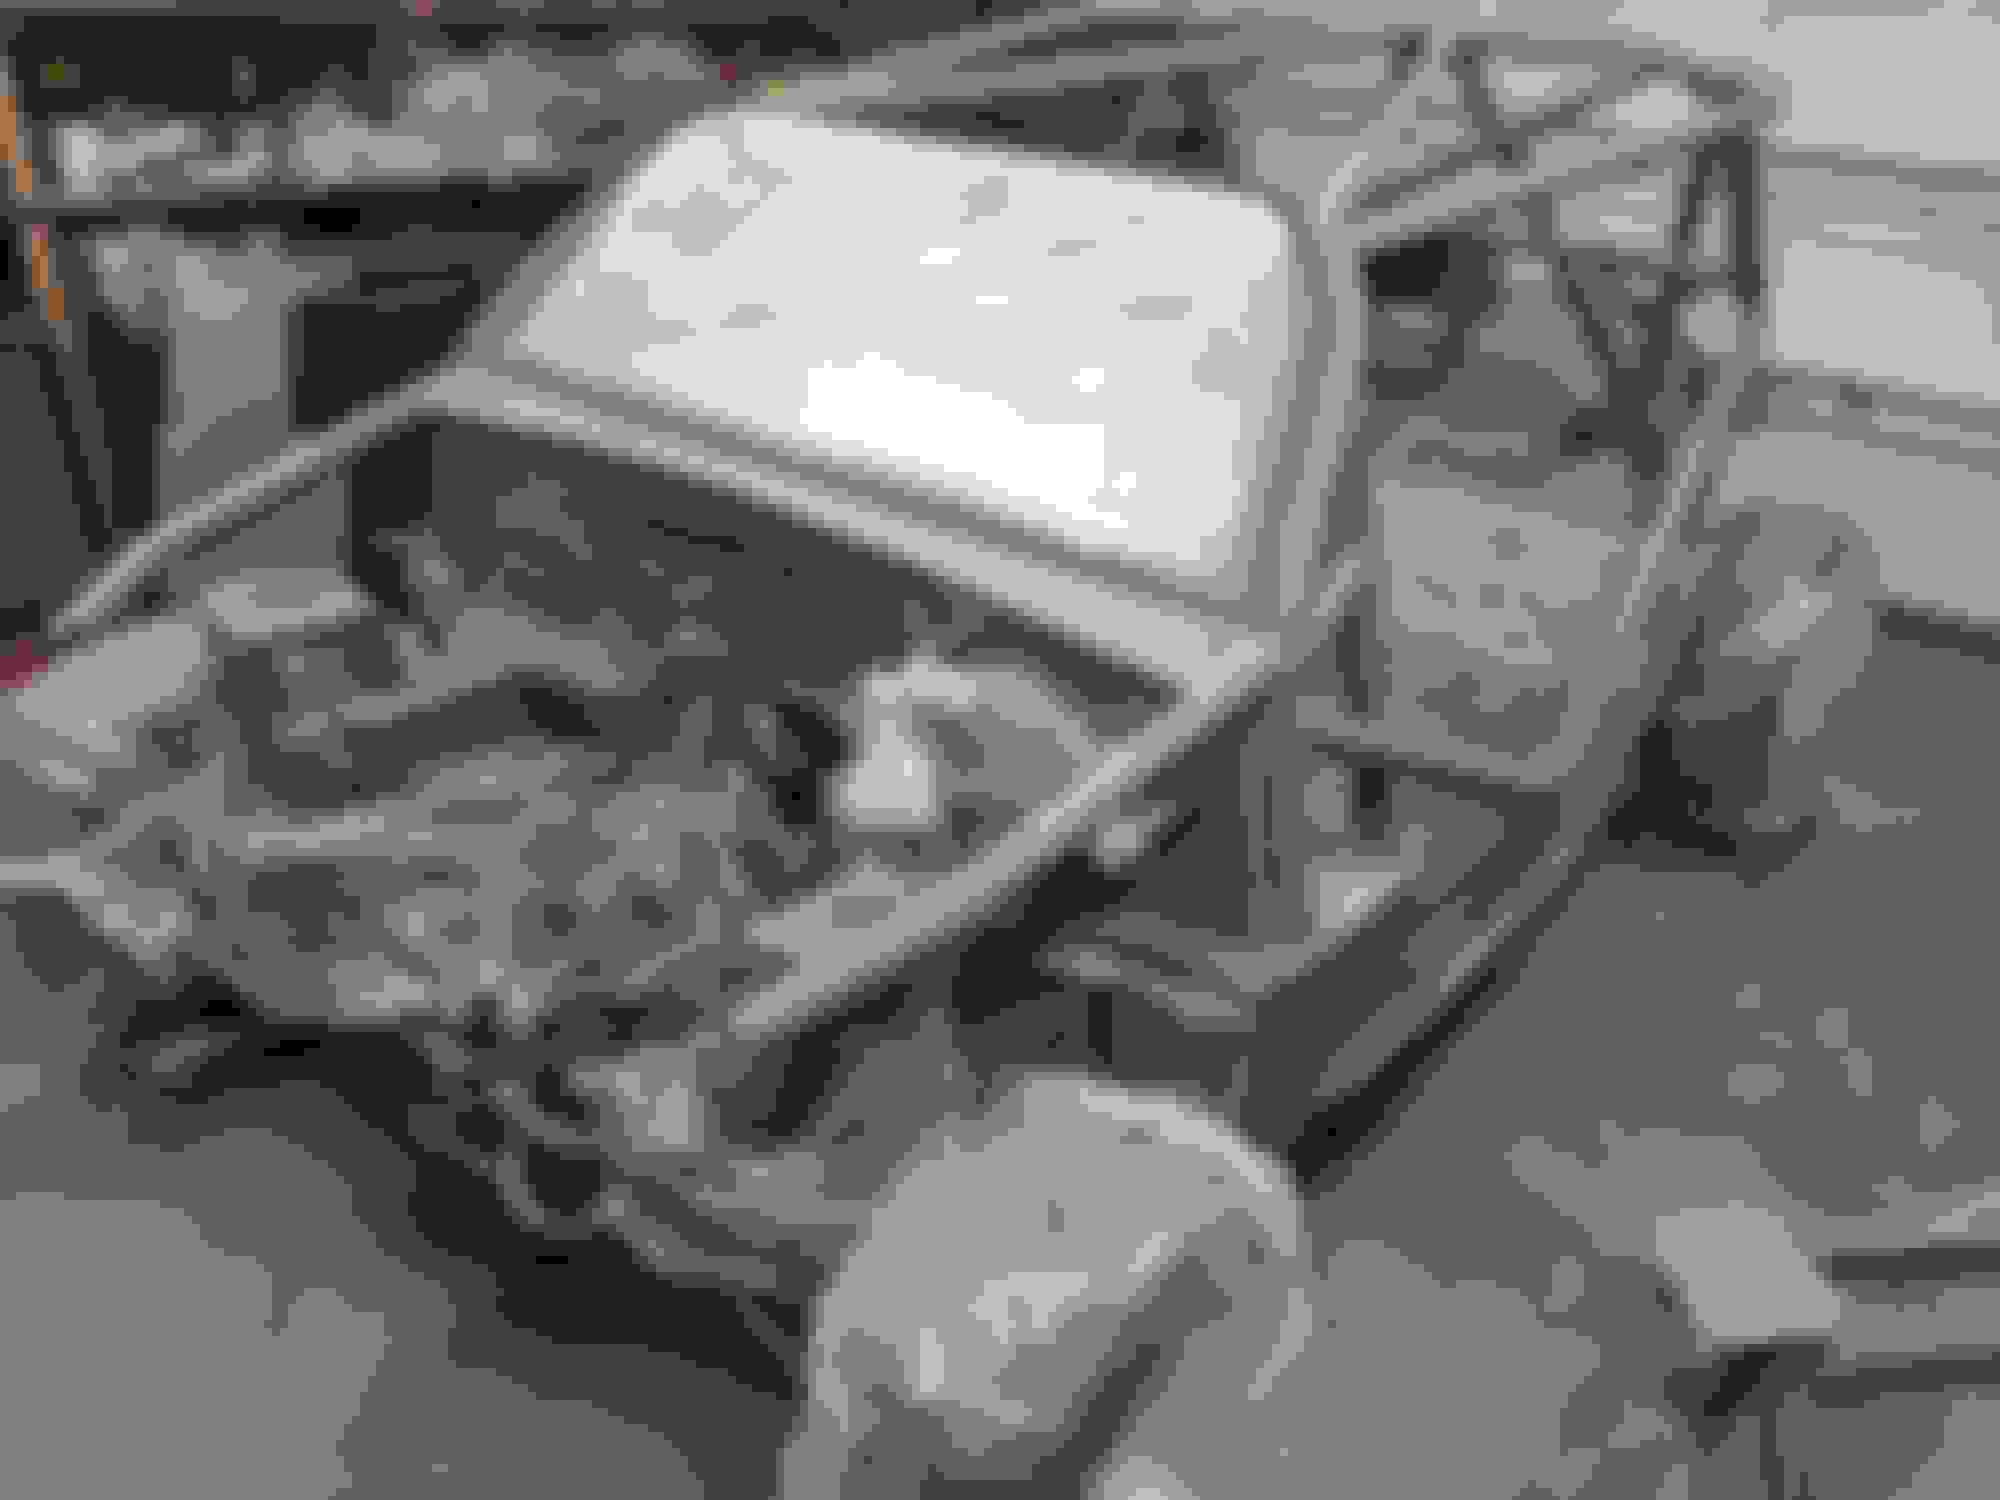
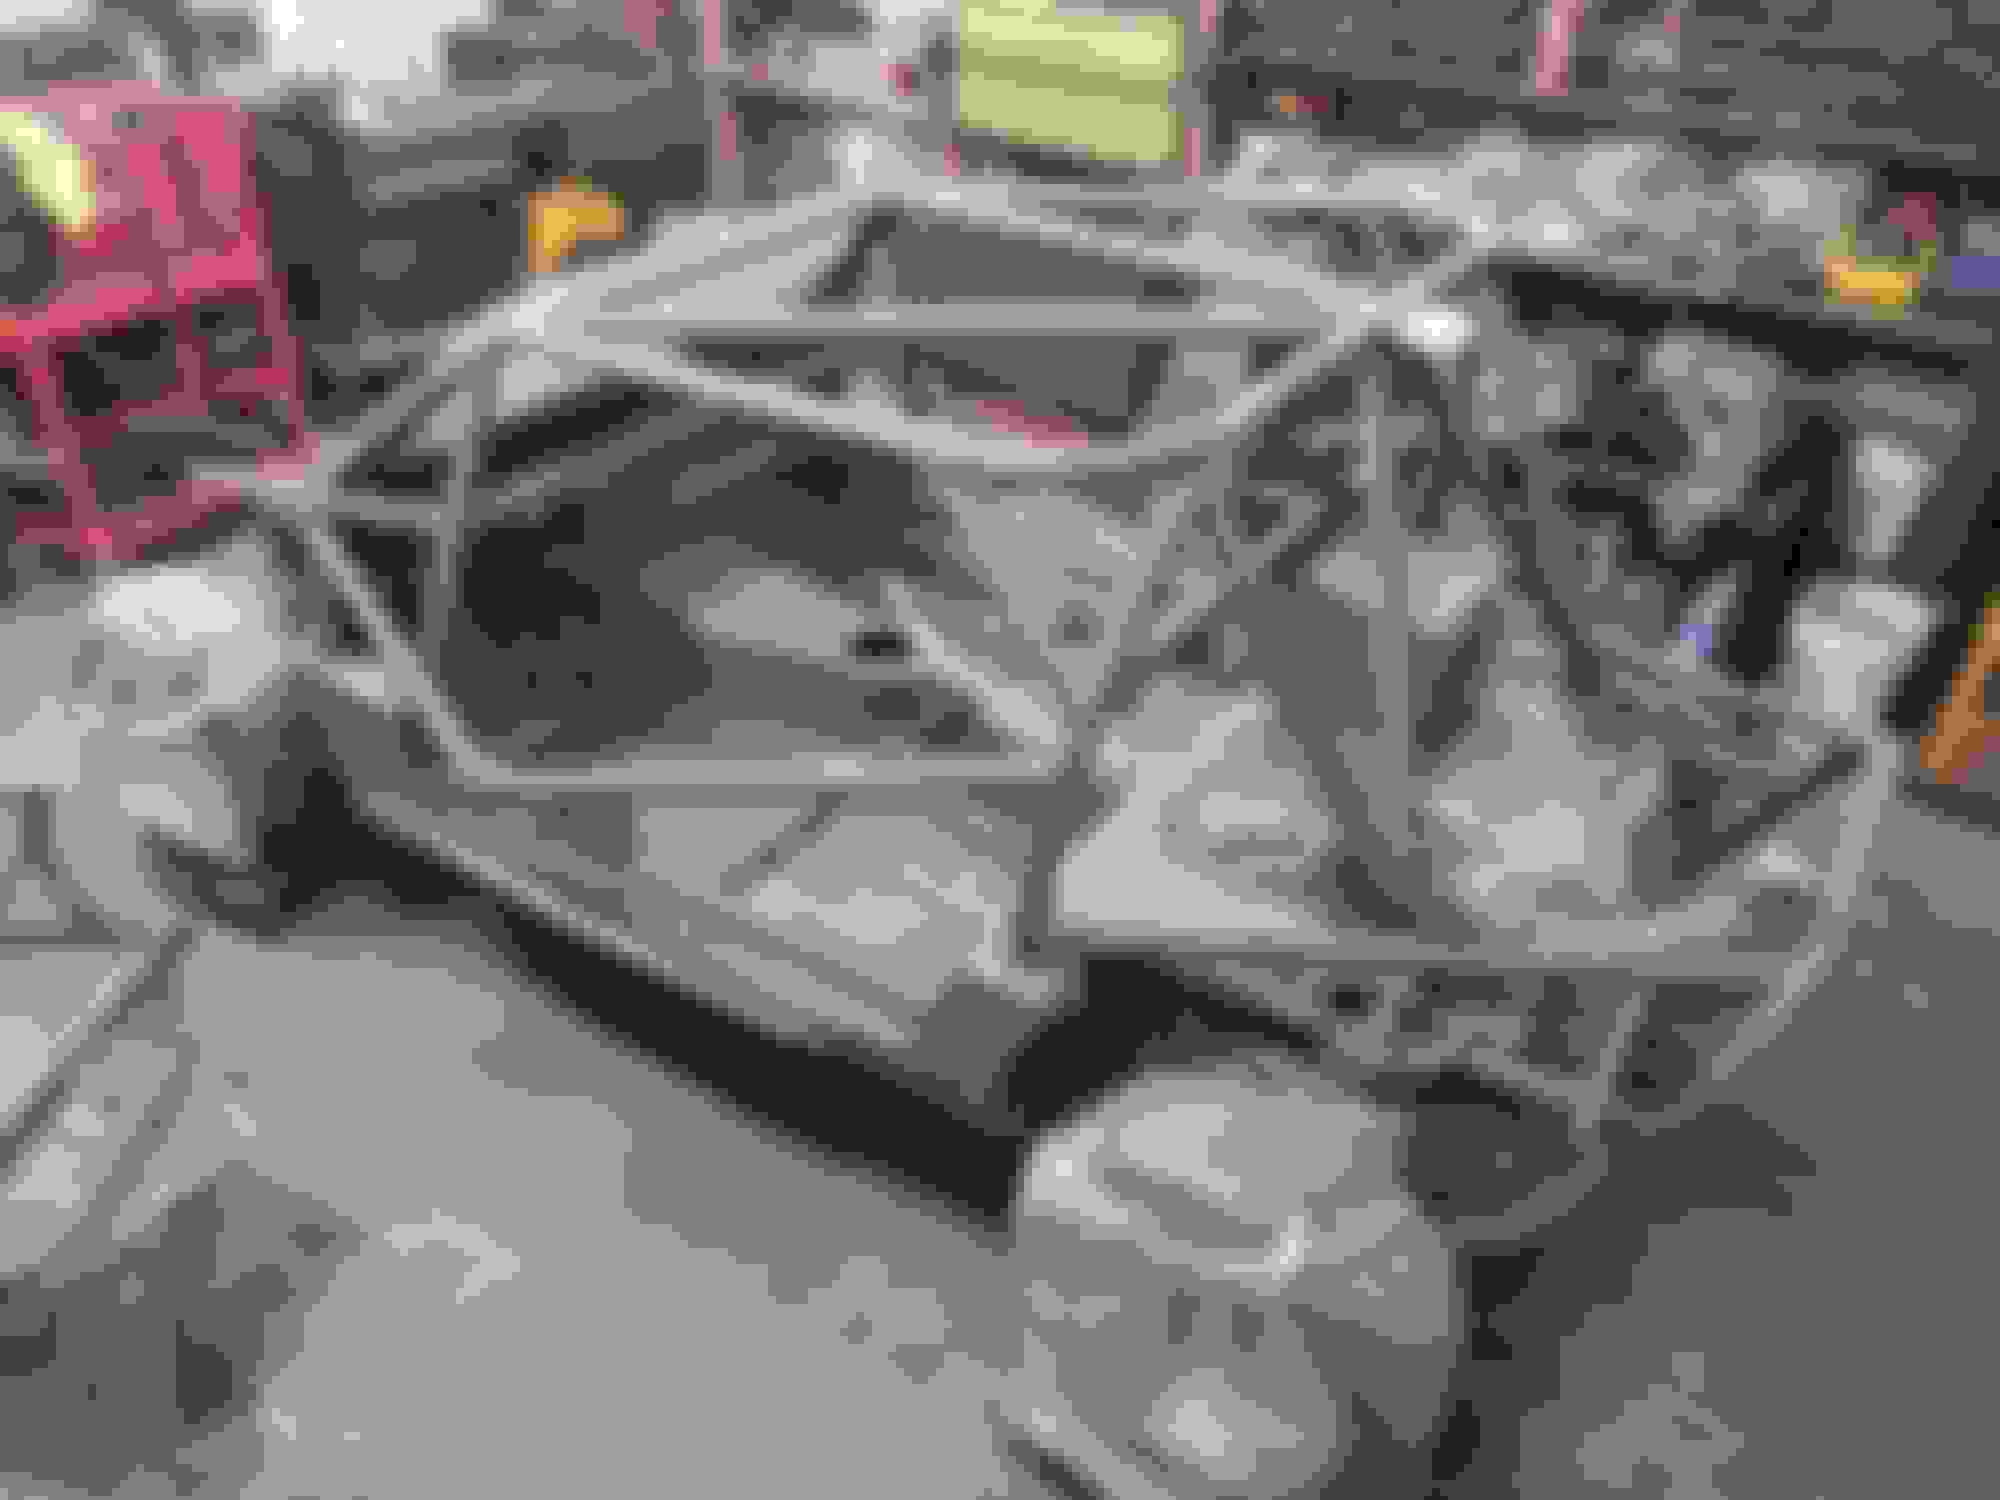
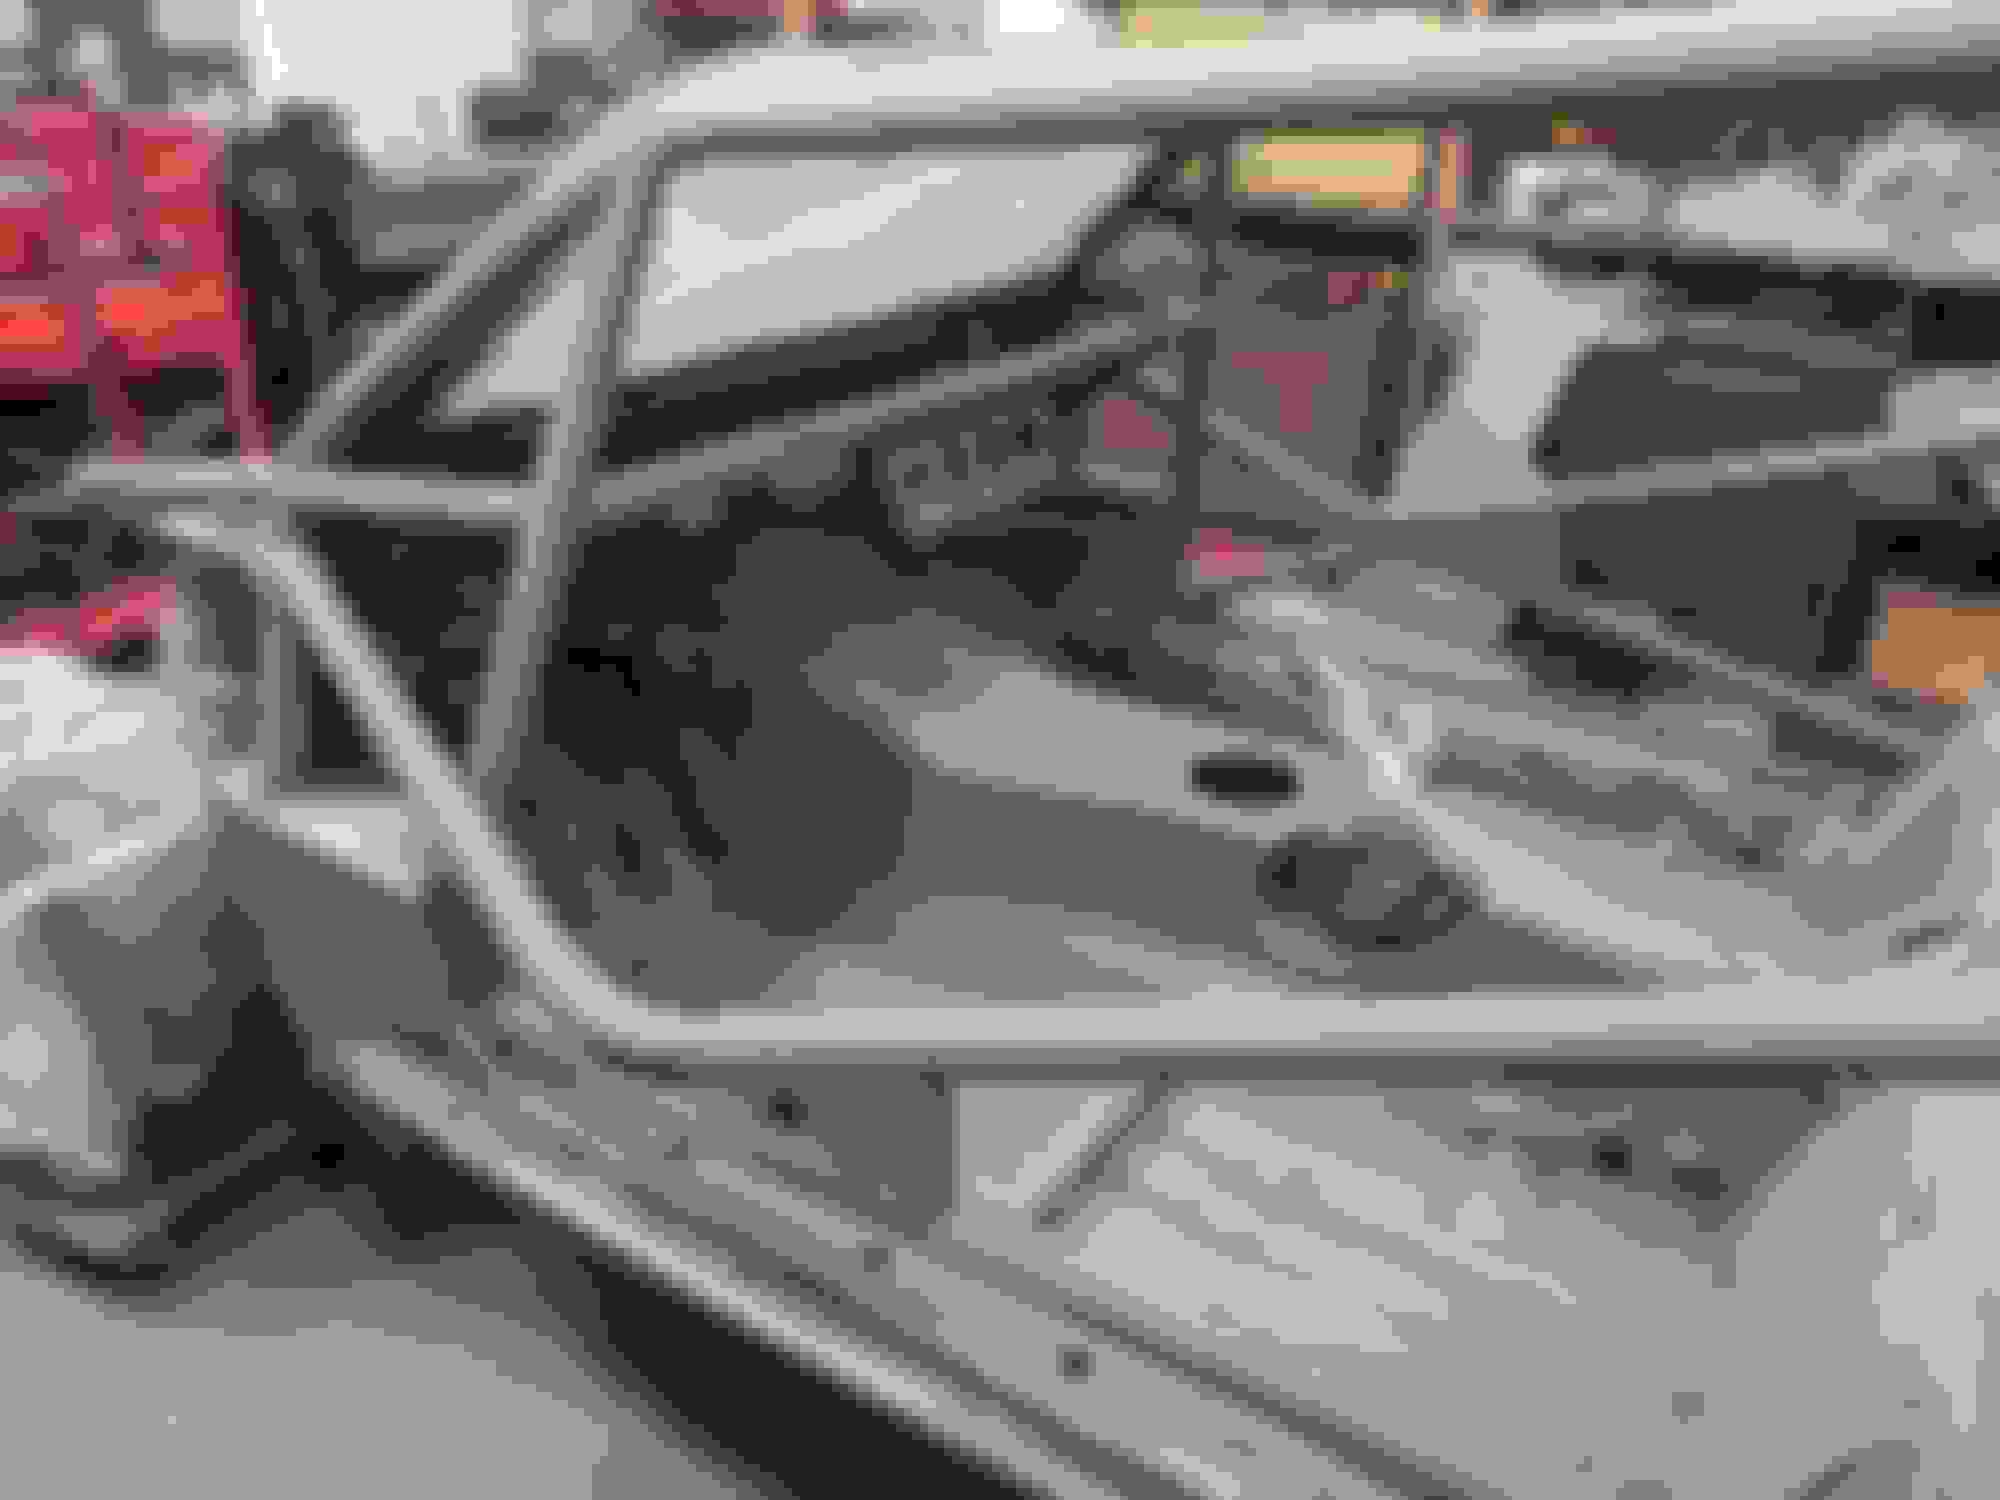
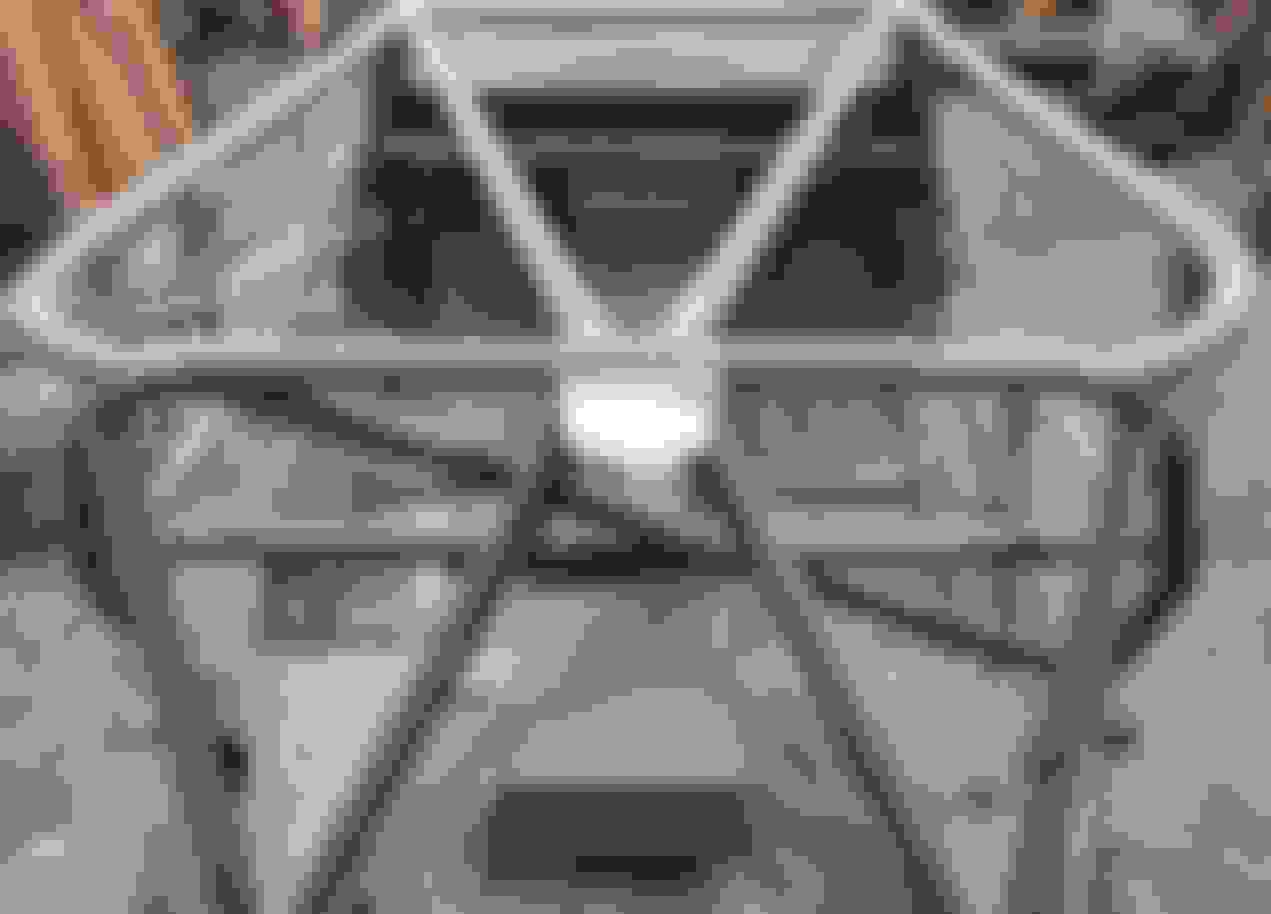
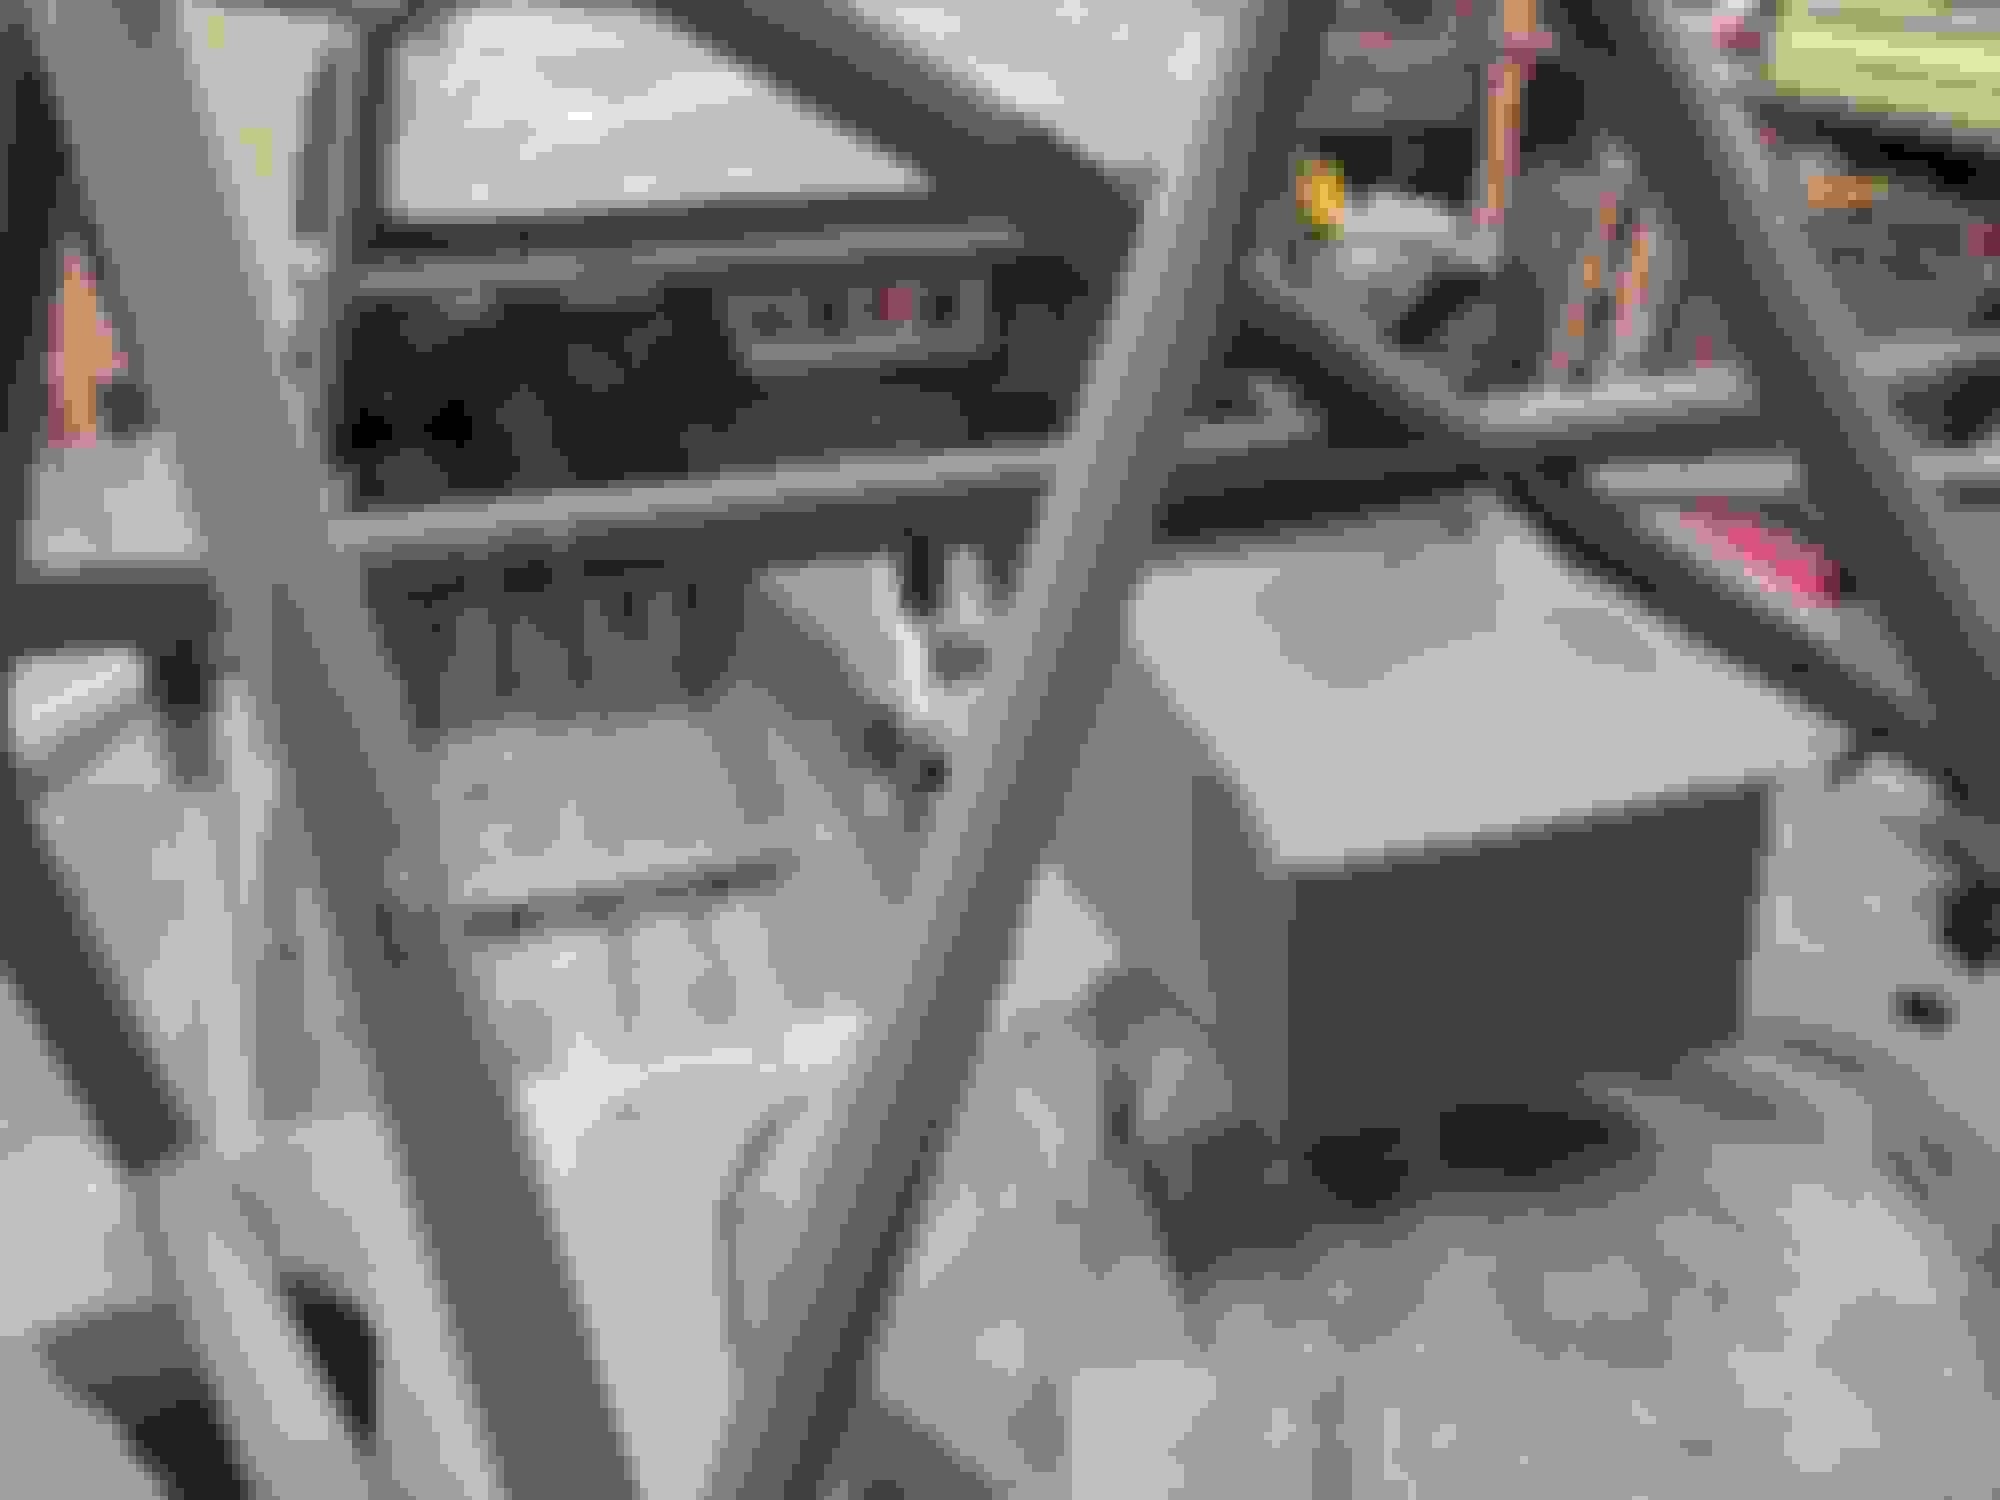
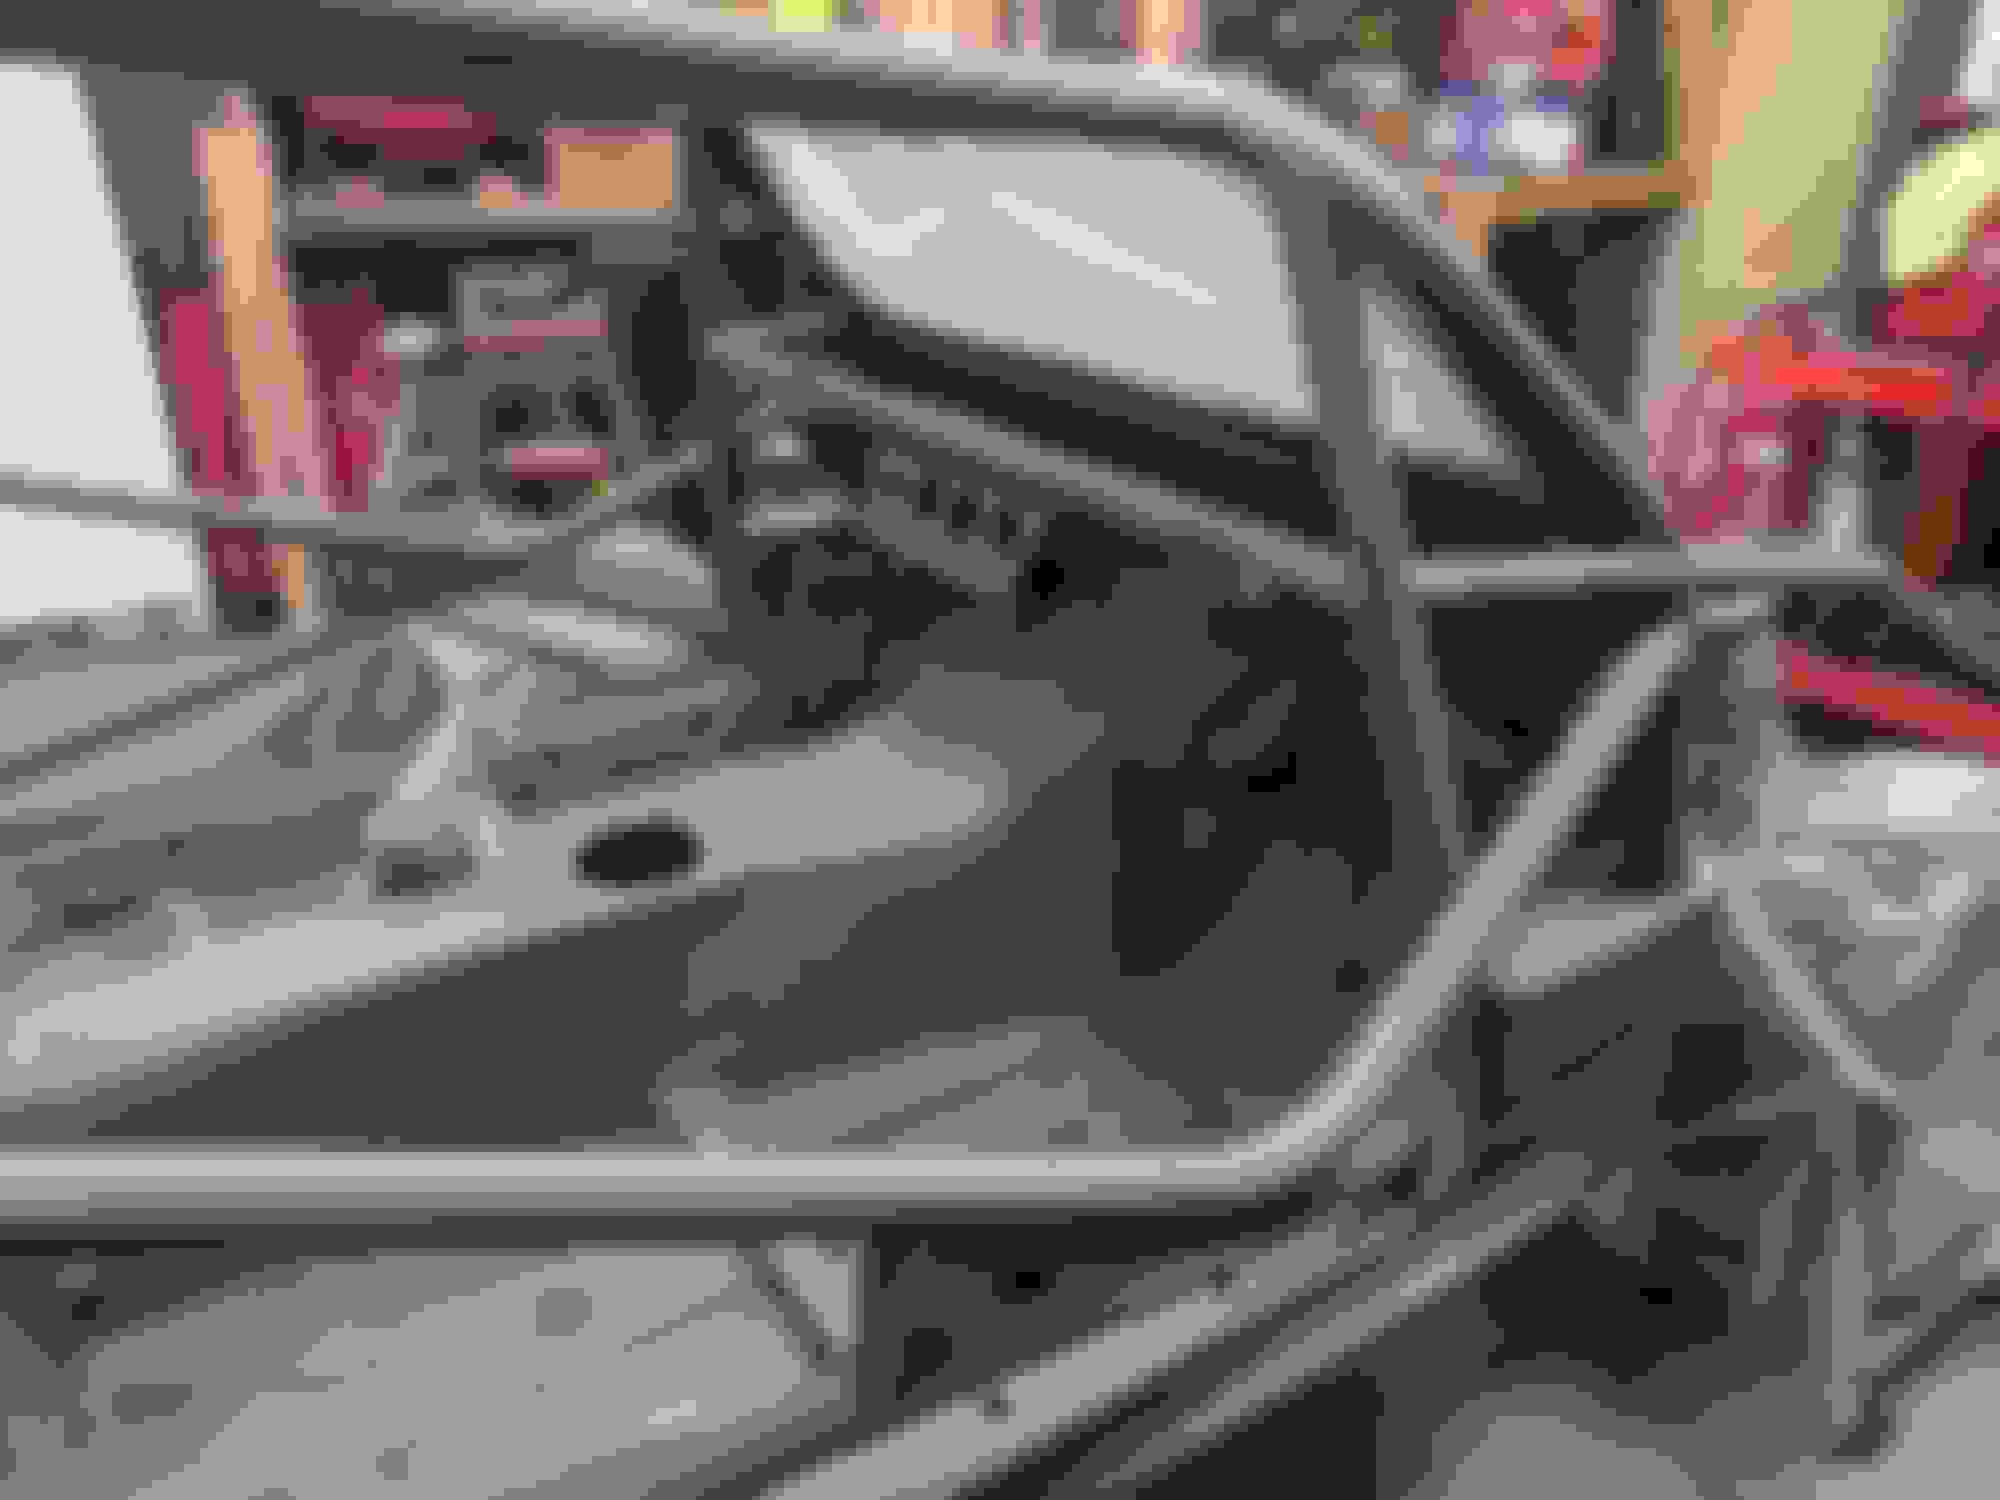
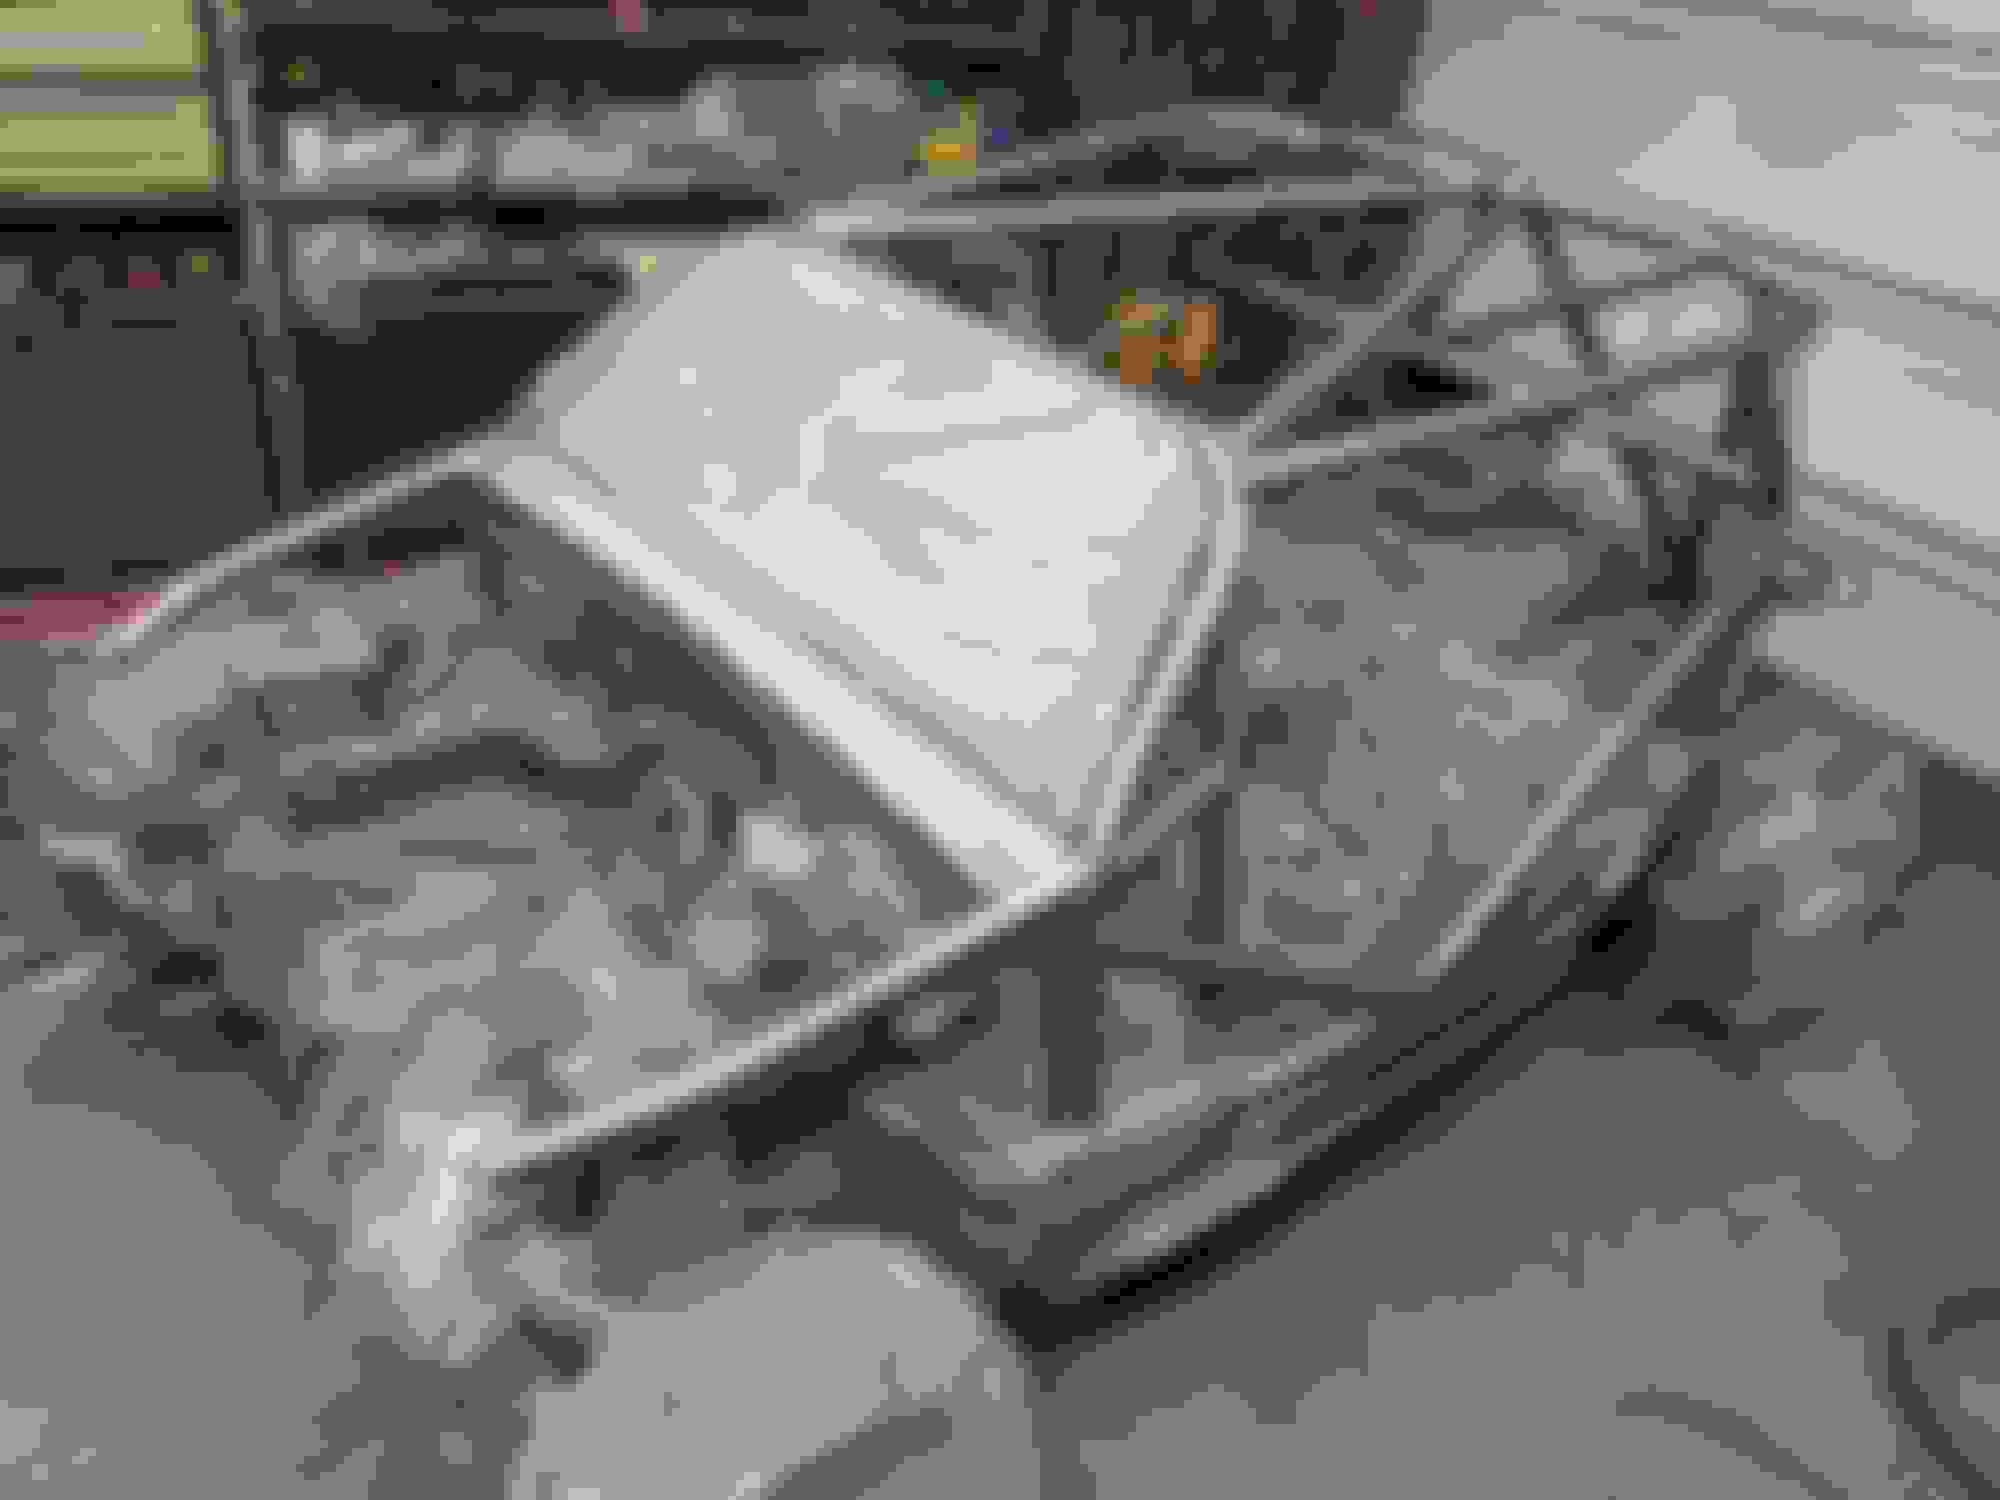
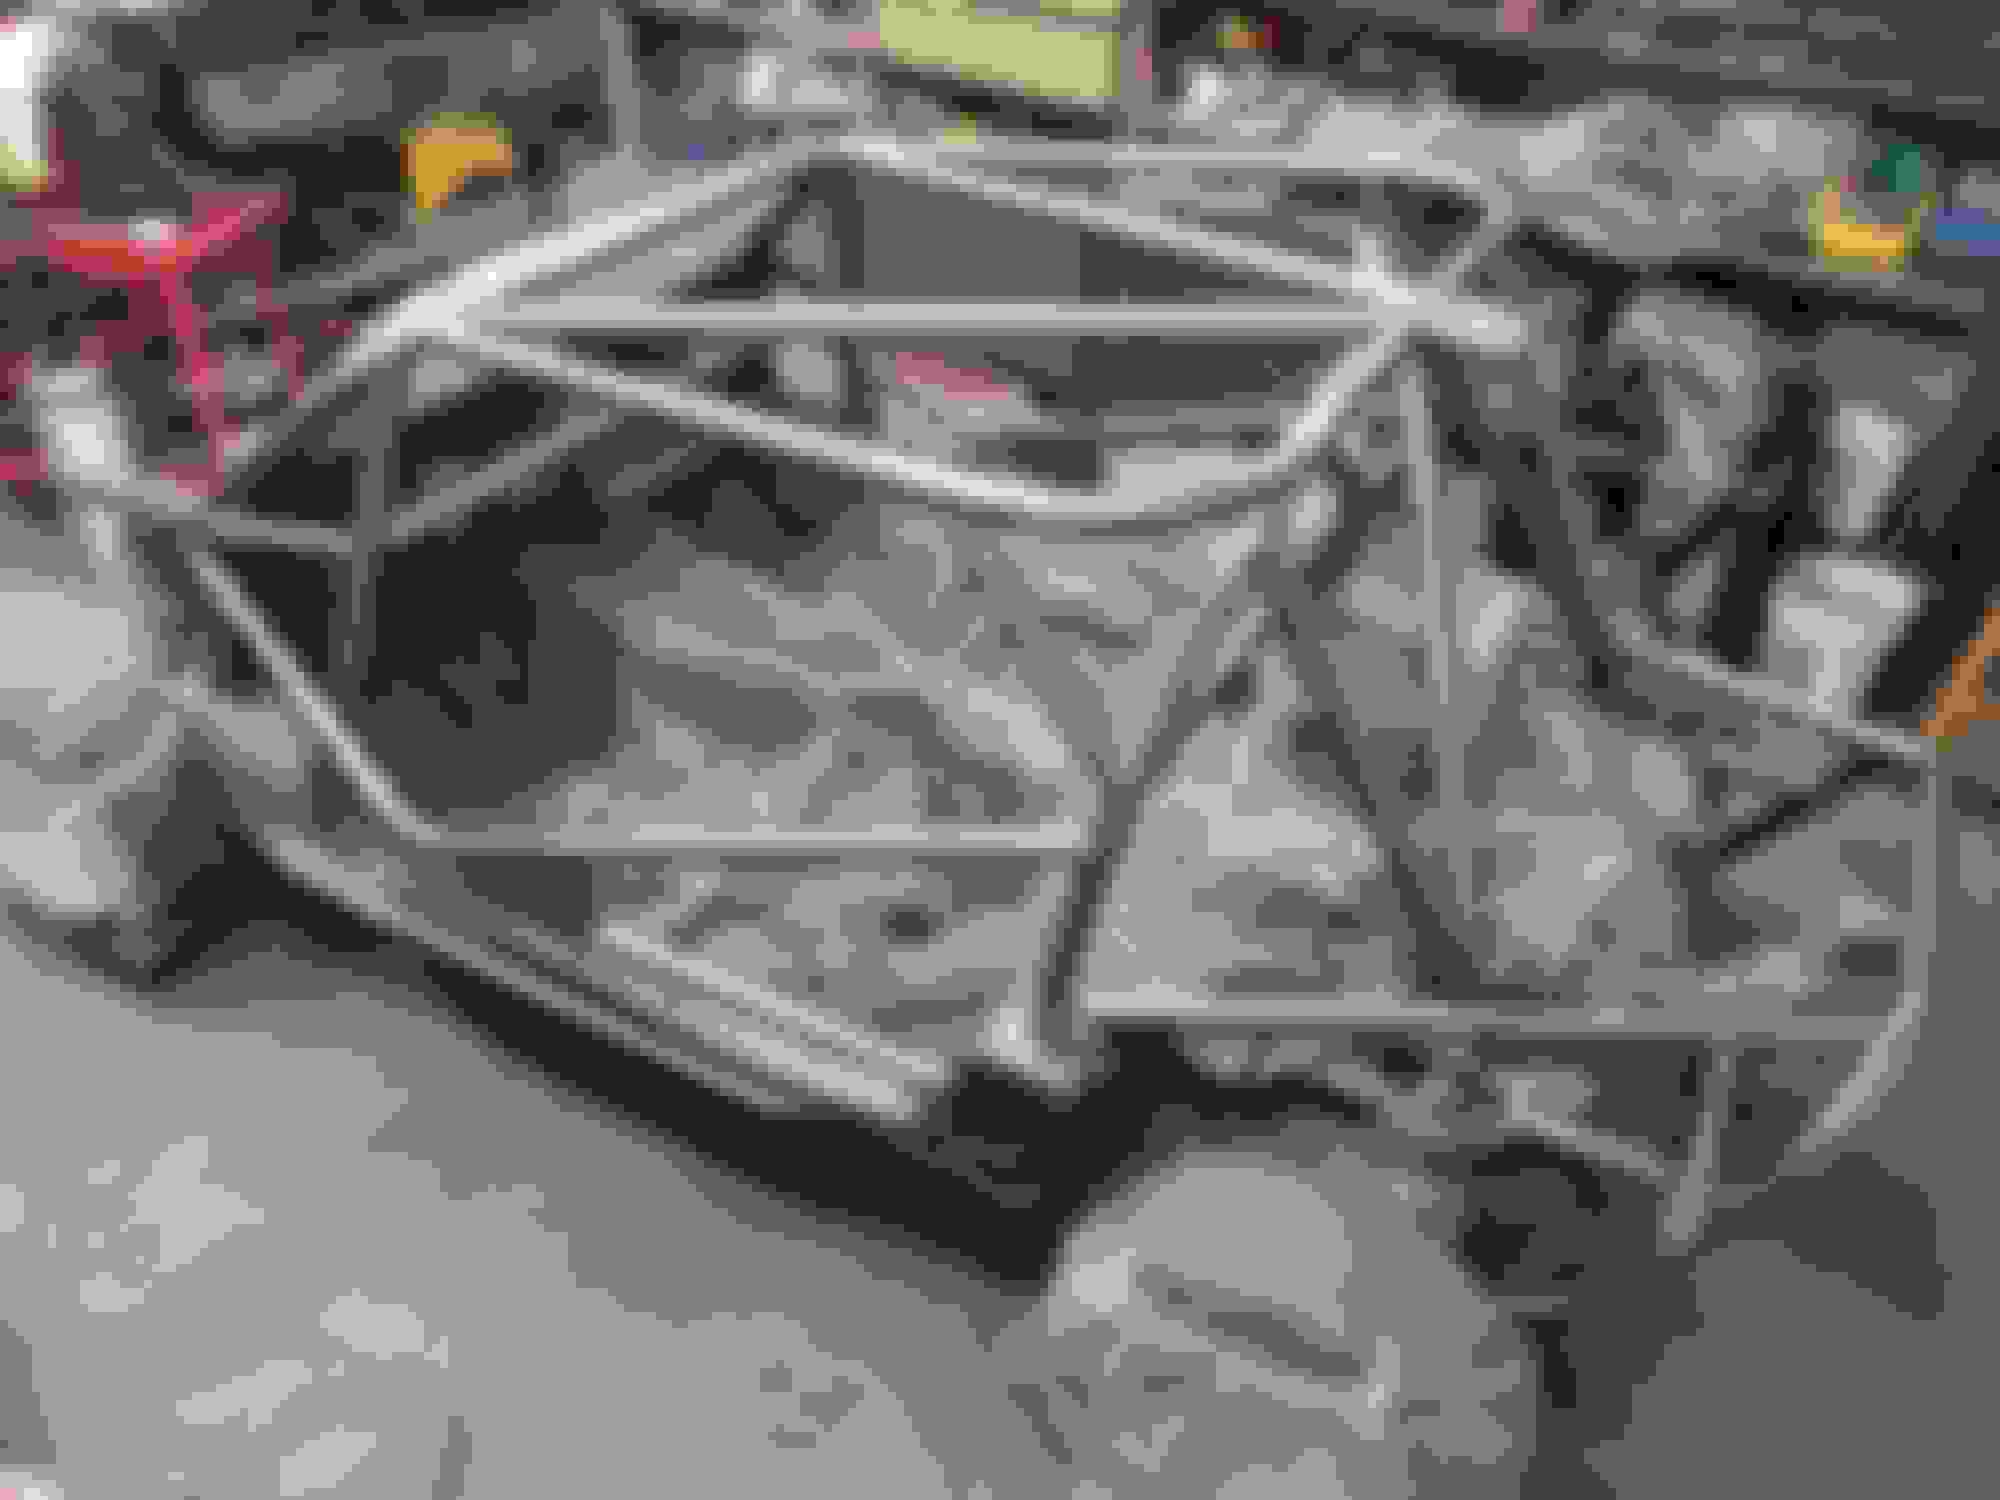
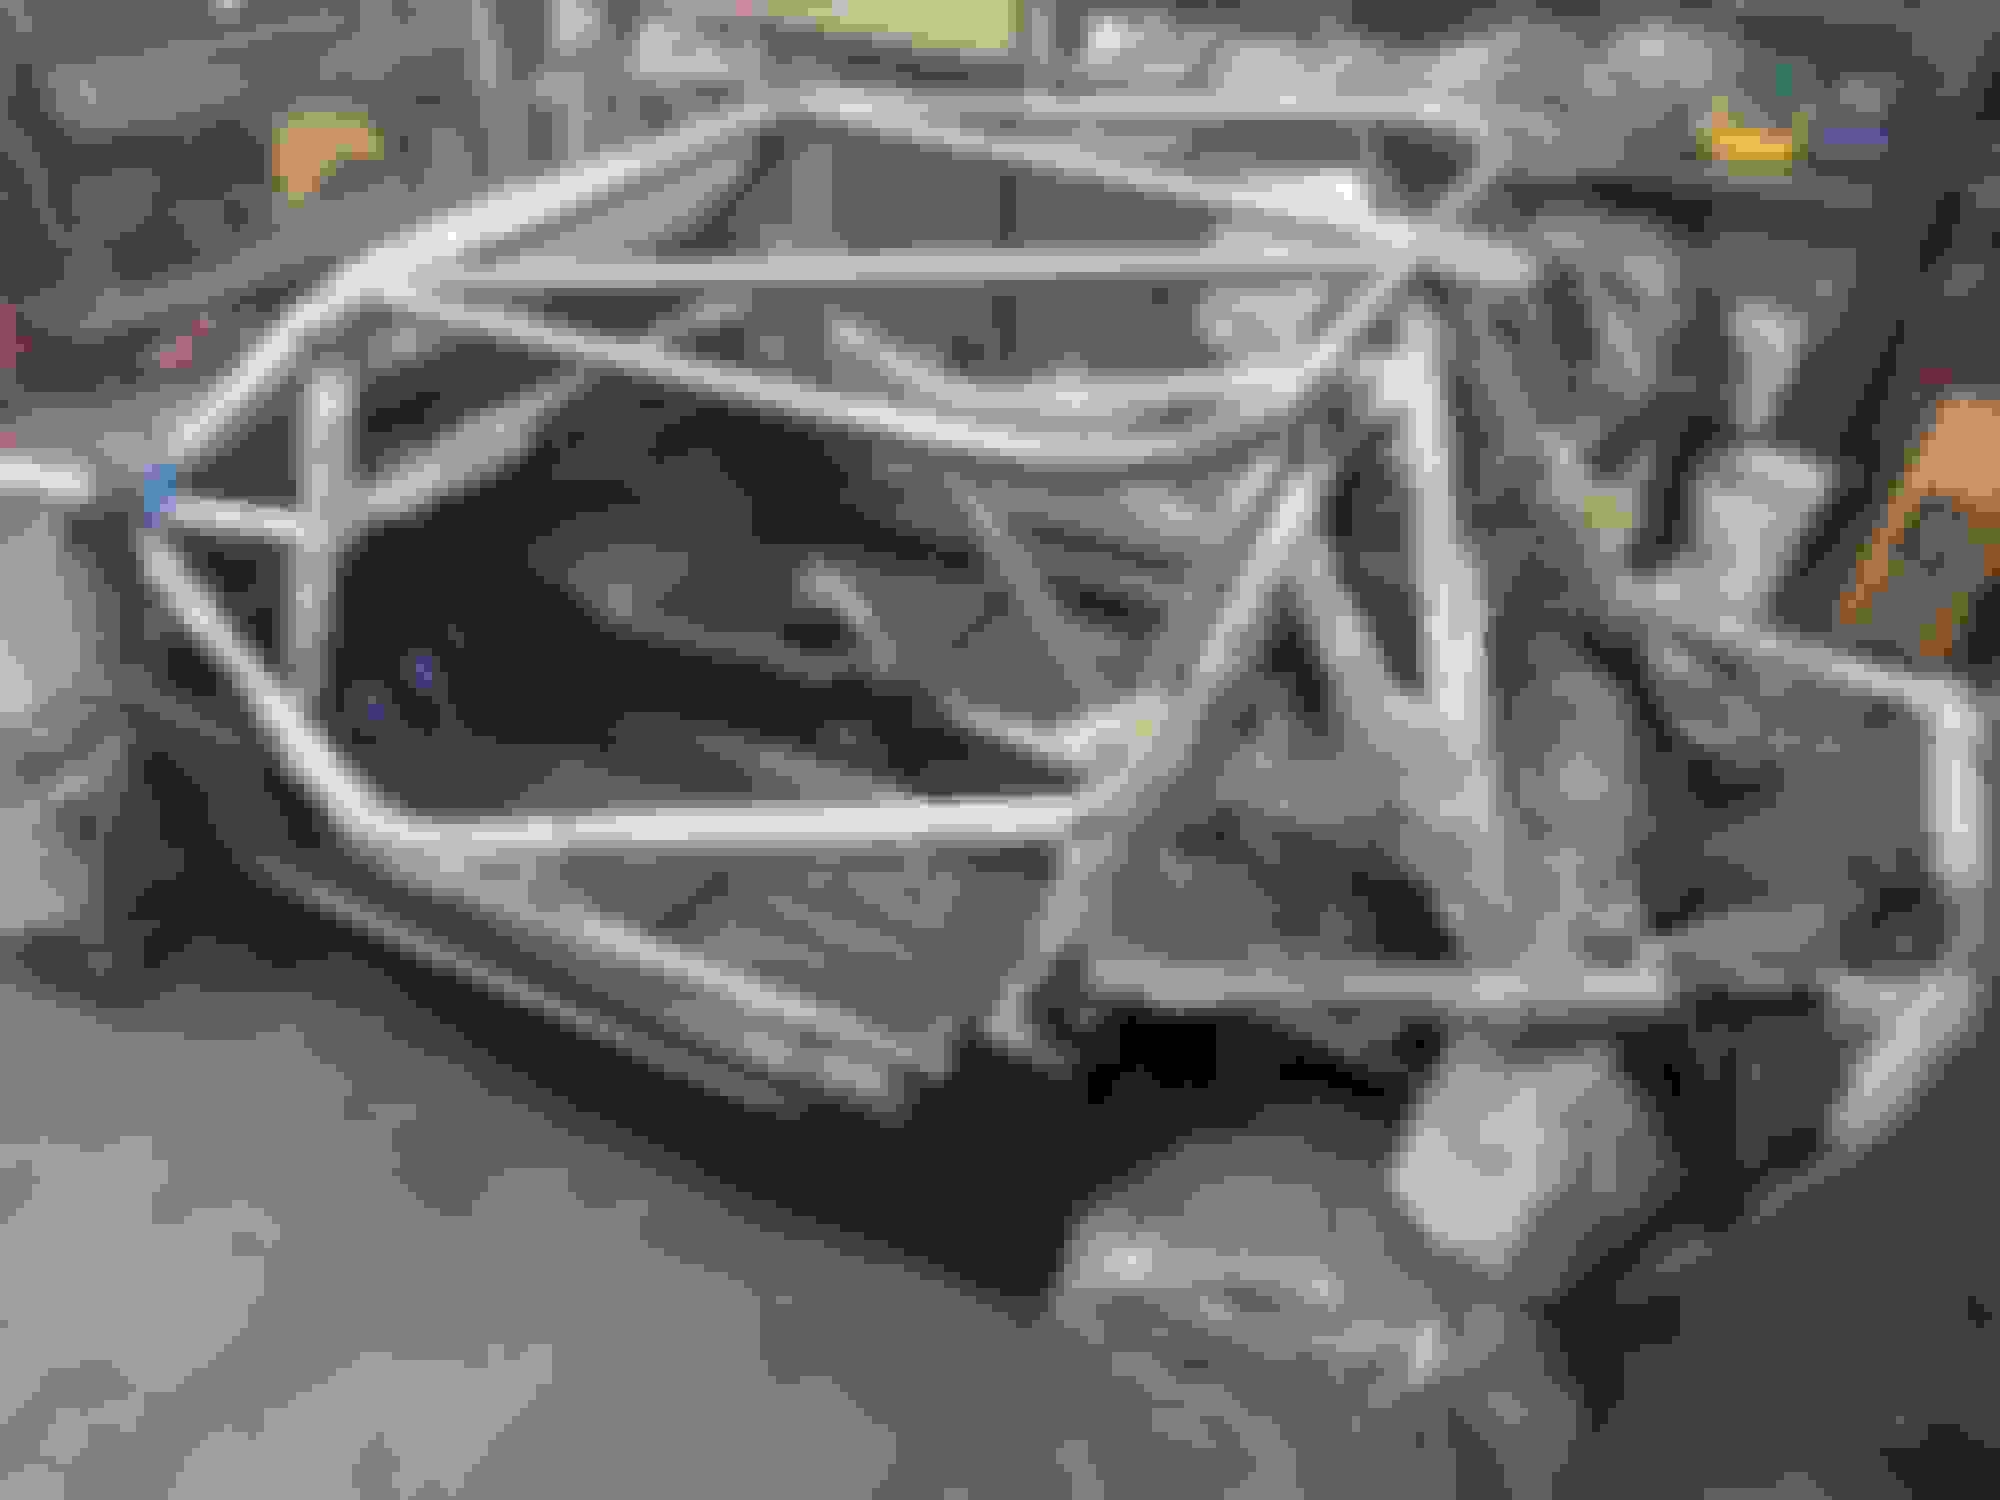
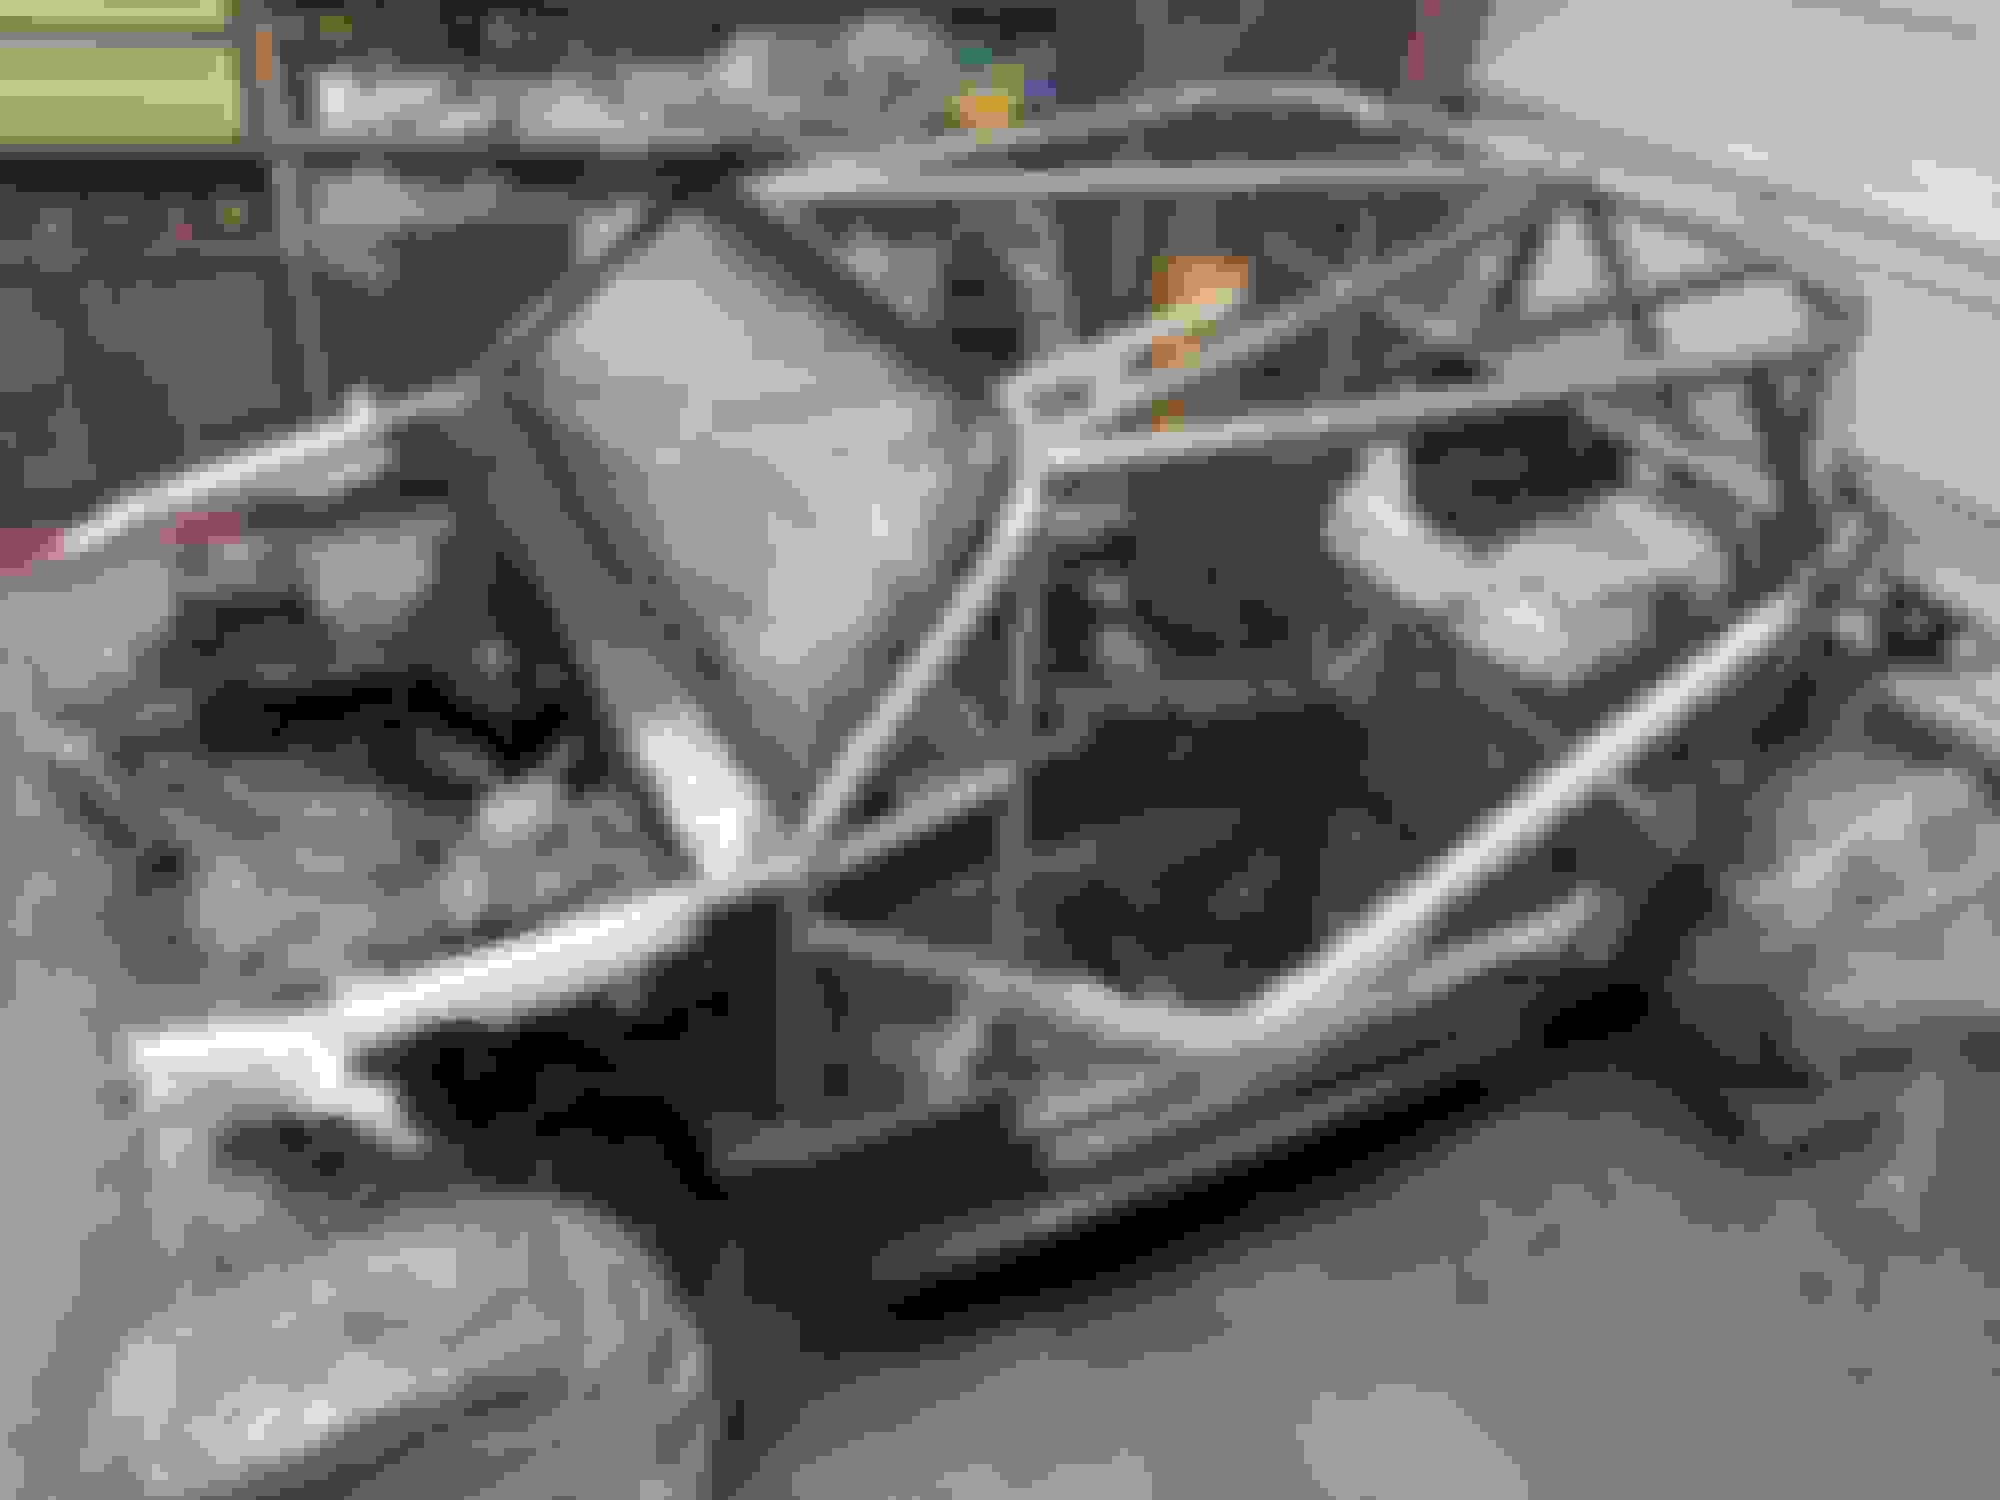
Stripping the car down:
Everything went WAY faster w/o the front bumper in the way:
Car ready for some light body work and paint prep, engine ready for a refresh:

Driving the kart around for the last 6mo has been fun, gave me an opportunity to work out any kinks in the plumbing/wiring/etc. Had to cut and re-weld a couple brackets, add/remove, that kind of thing. This was intentional, so I wouldn't have to go back and make adjustments after paint.
Anyway, everything is happy, time for paint prep!
Stripping the car down:


Everything went WAY faster w/o the front bumper in the way:


Car ready for some light body work and paint prep, engine ready for a refresh:

Last edited by bawward; 01-03-2020 at 01:07 PM. Reason: Photos uploaded
Reply
0
0
01-03-2020, 01:03 PM
#103
Junior Member
Thread Starter
iTrader: (3)
Join Date: Oct 2015
Location: Steamboat Springs, CO
Posts: 329
Total Cats: 22
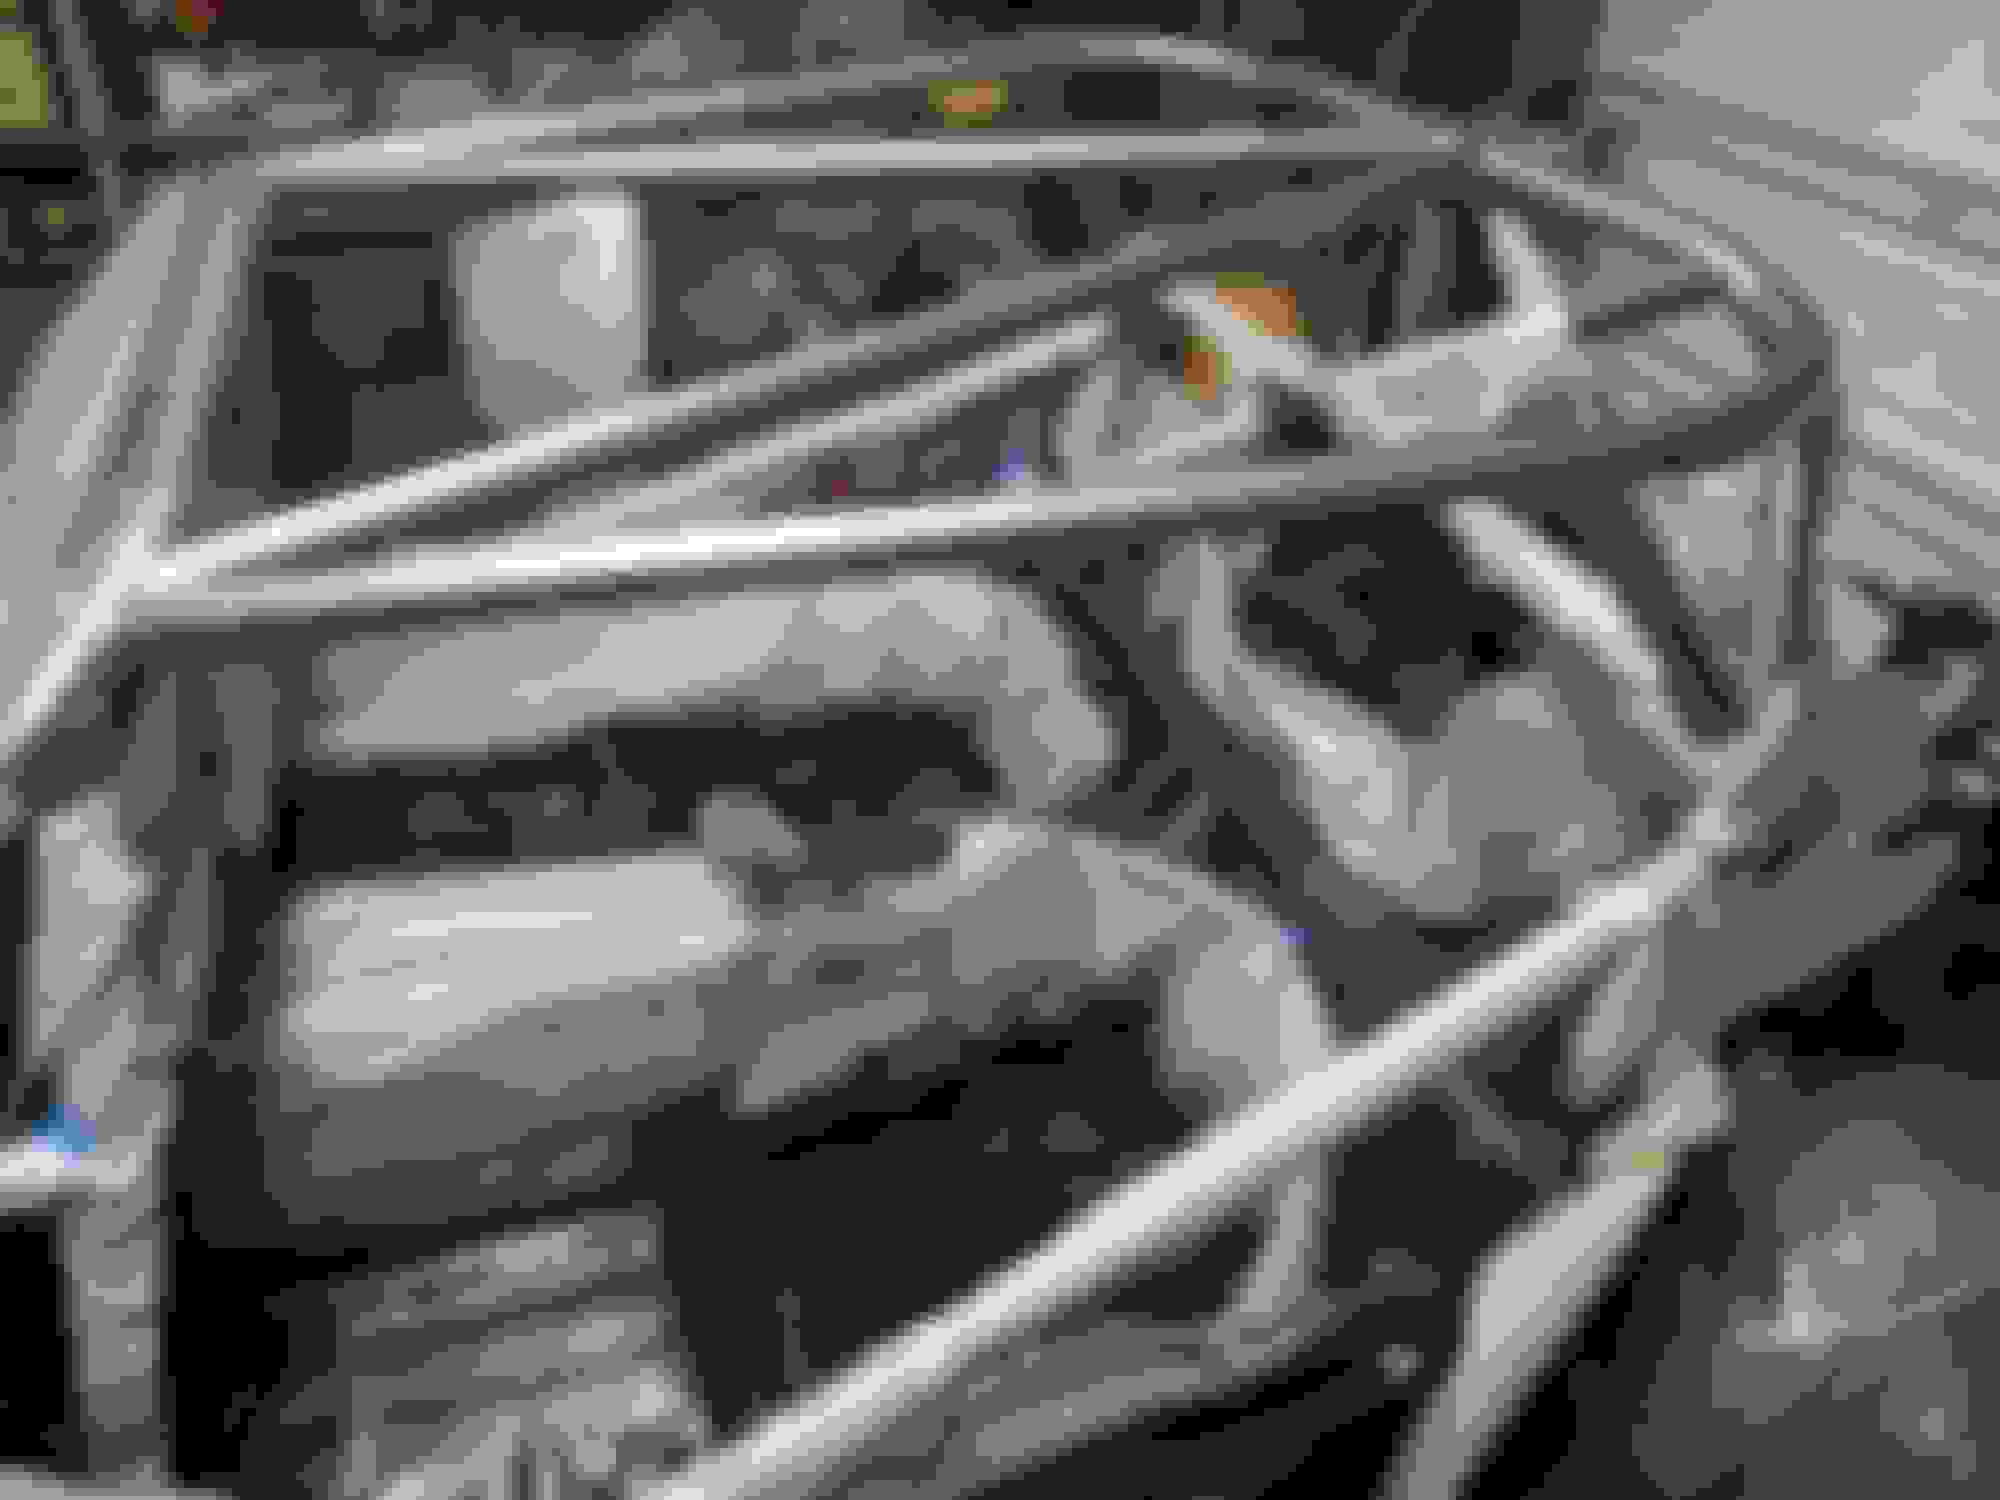
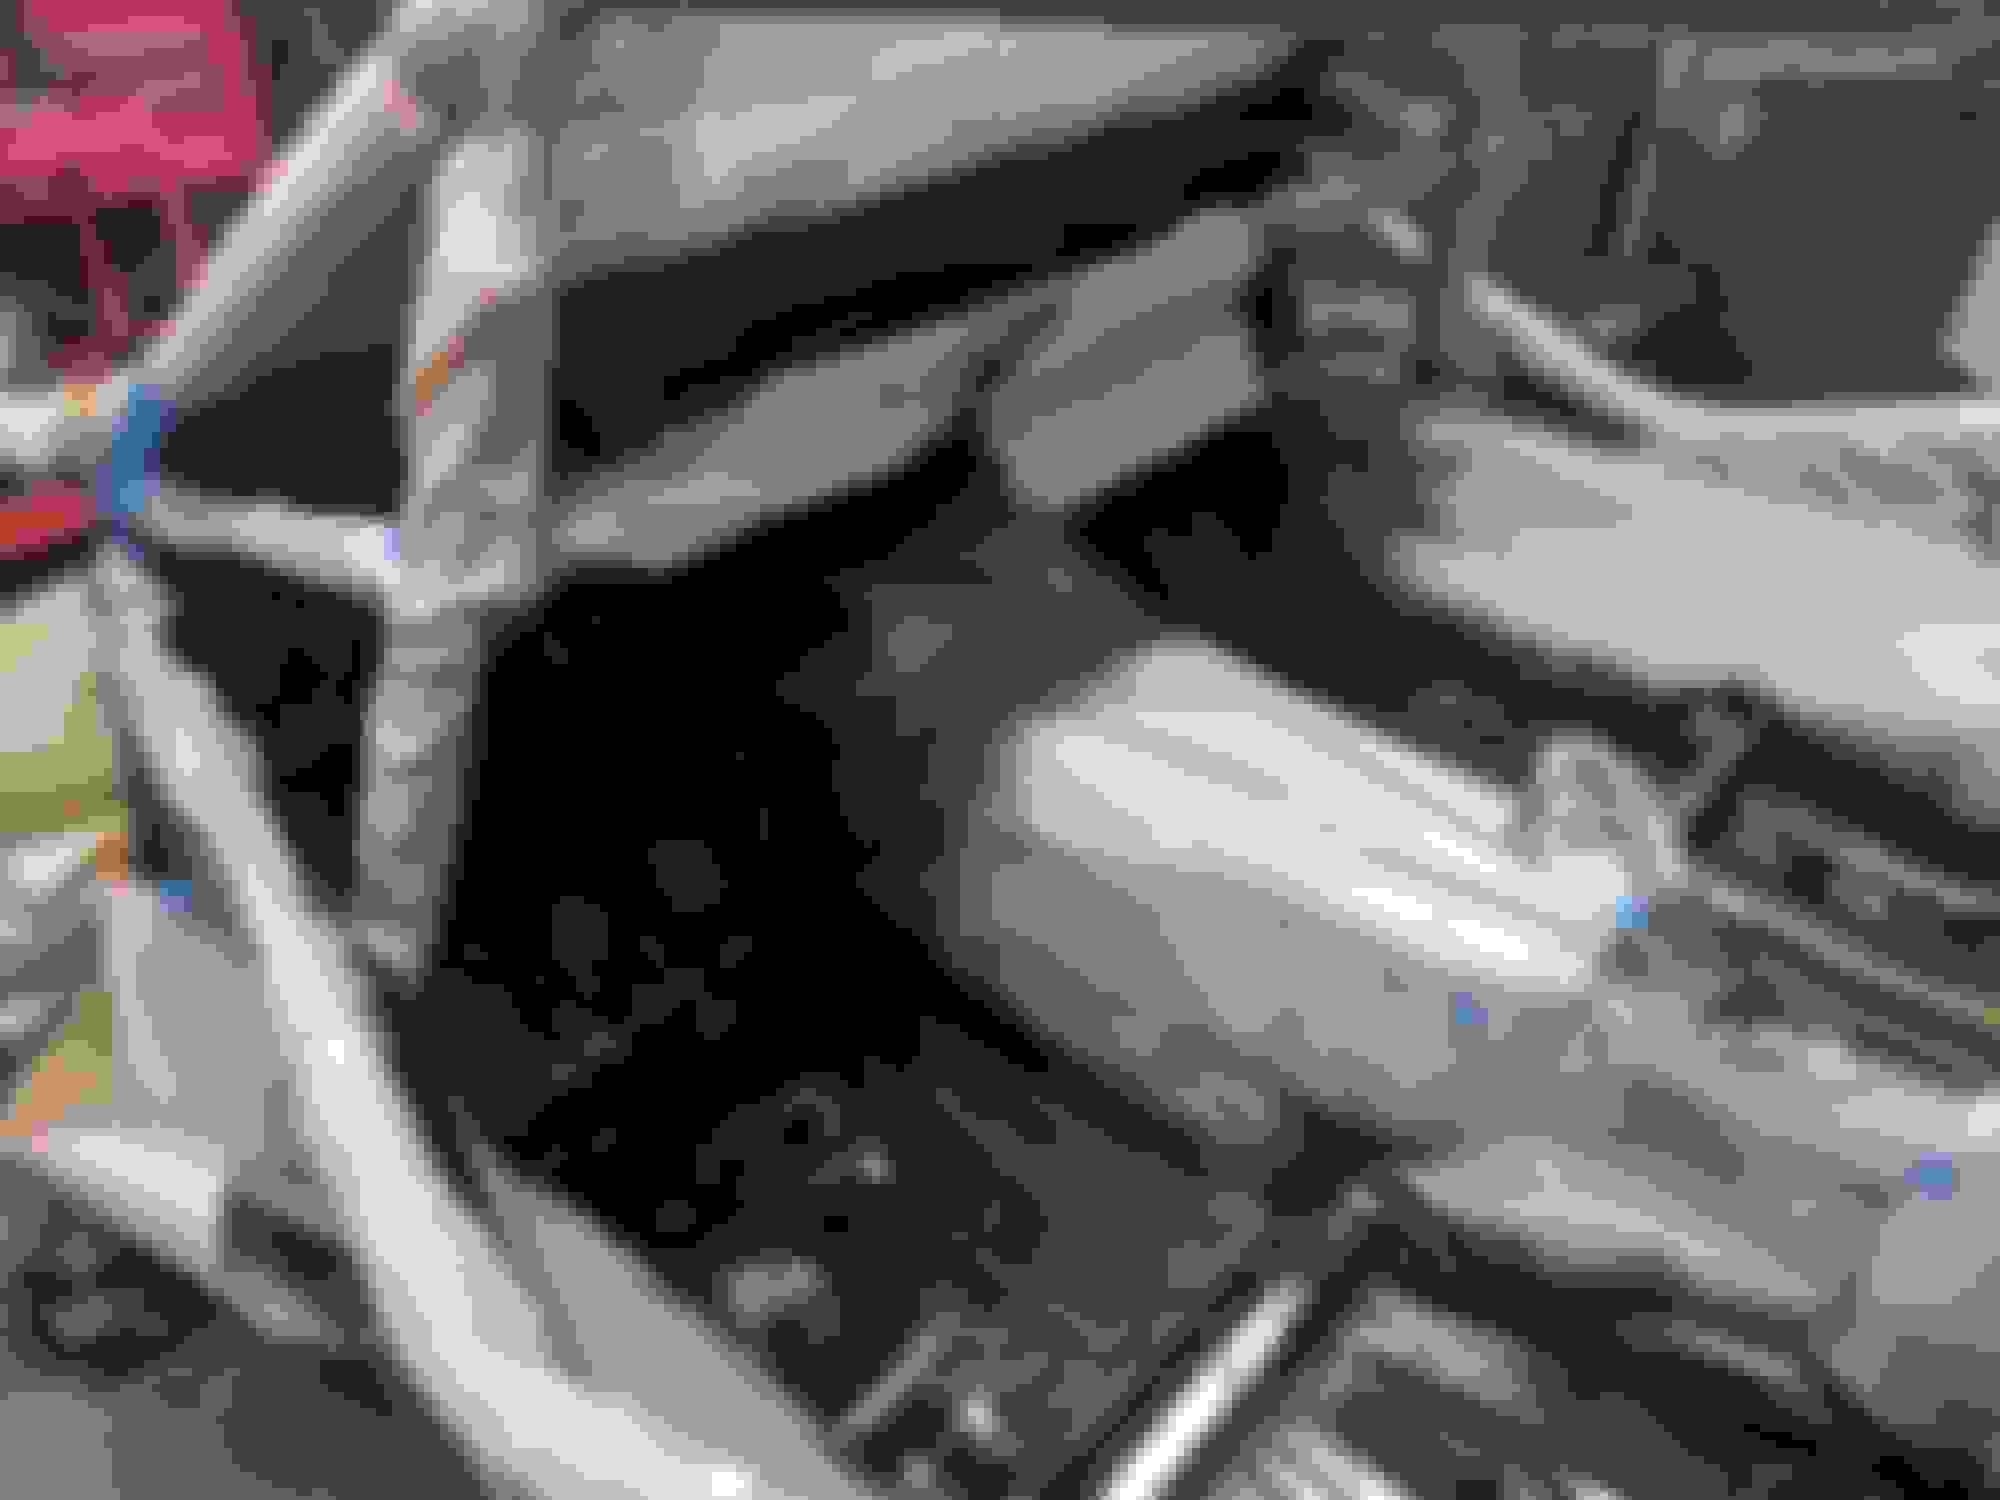
Christmas was great. Dog almost choked on his Kong, so time to upgrade!
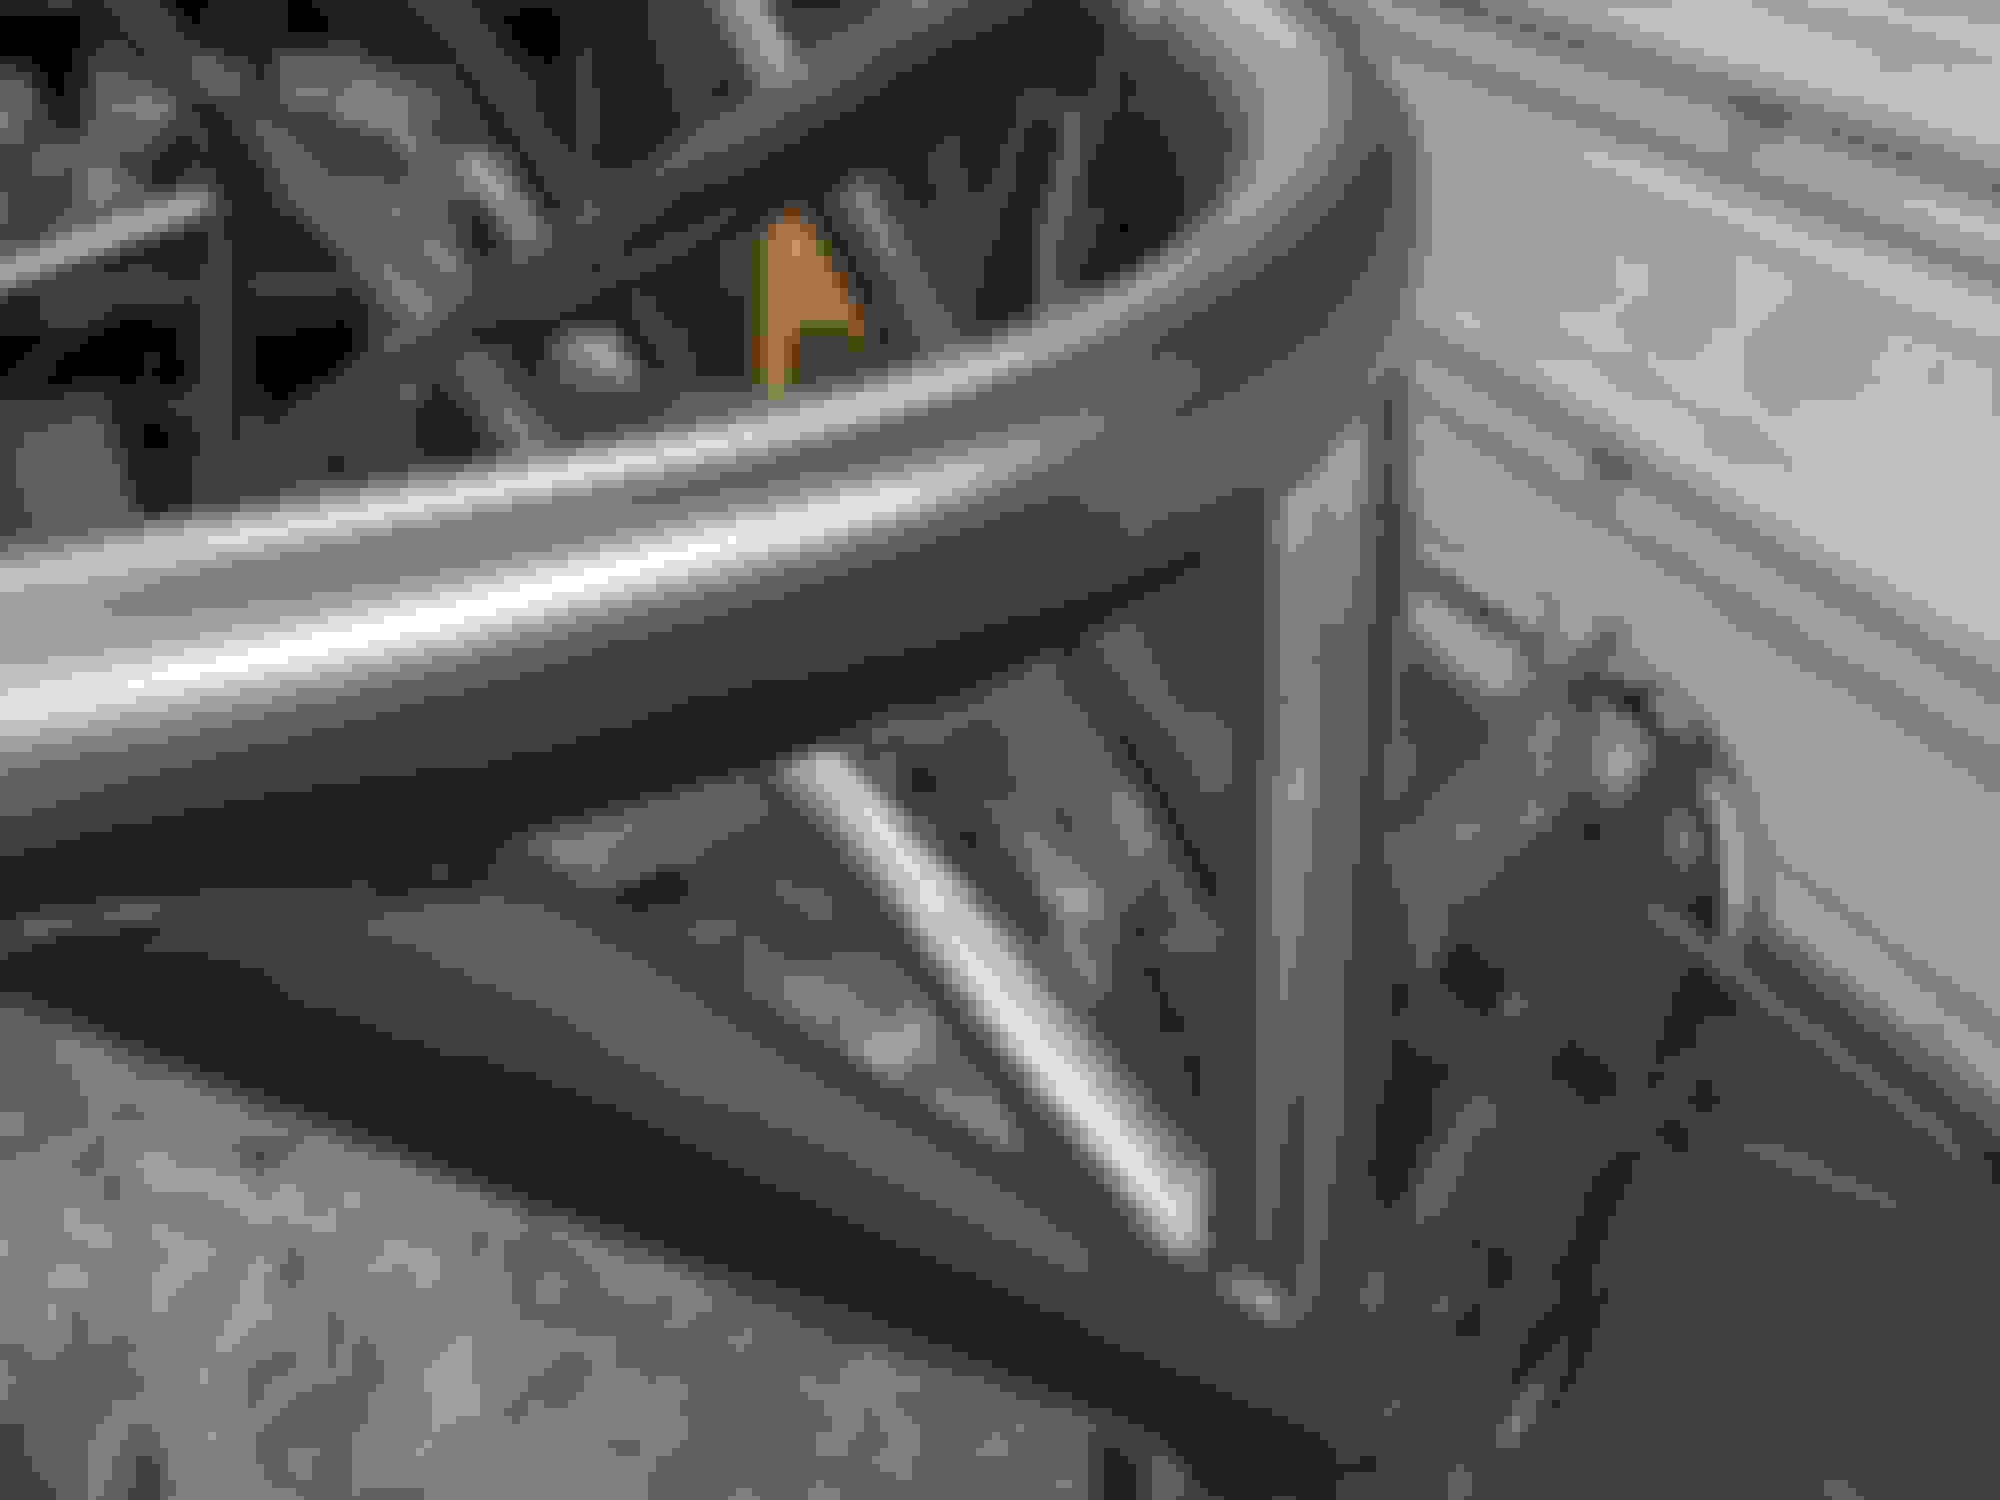
Kart had a LOT of millscale and surface rust - EVERYWHERE - so, time to start grinding! After about 10hrs of work (and 3 knotted wire wheel brushes) all the new metal is back to shiny, and most of the painted surface on the old tub are scuffed up. (Plywood glass protector worked great - probably should have waited to install windshield until after painted, but eh, that's how it goes)
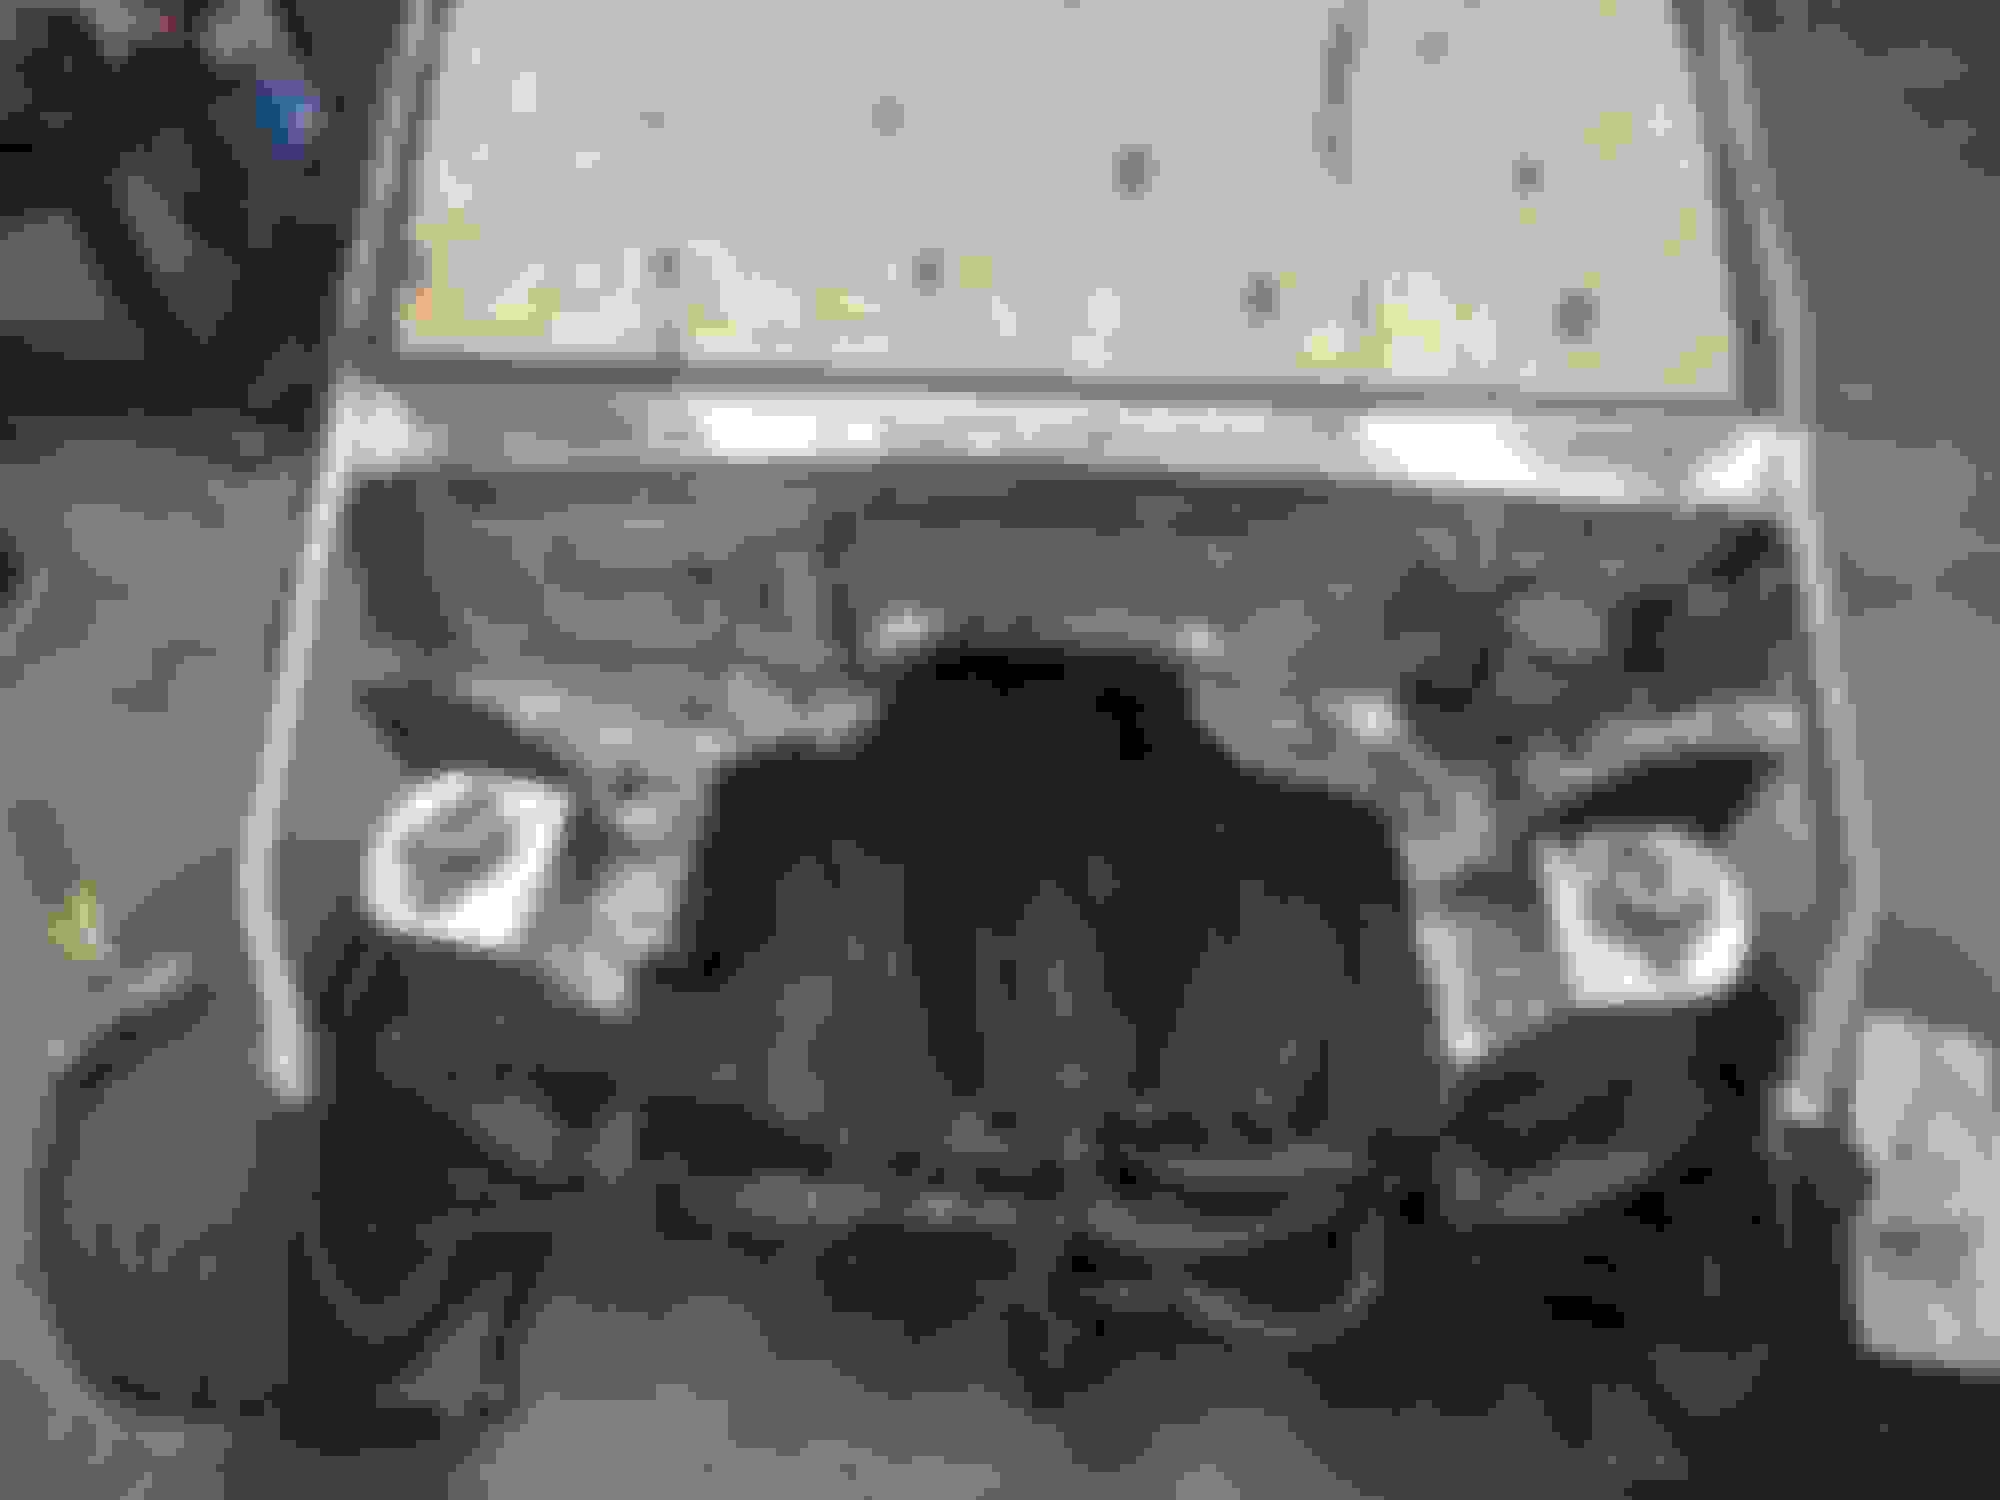
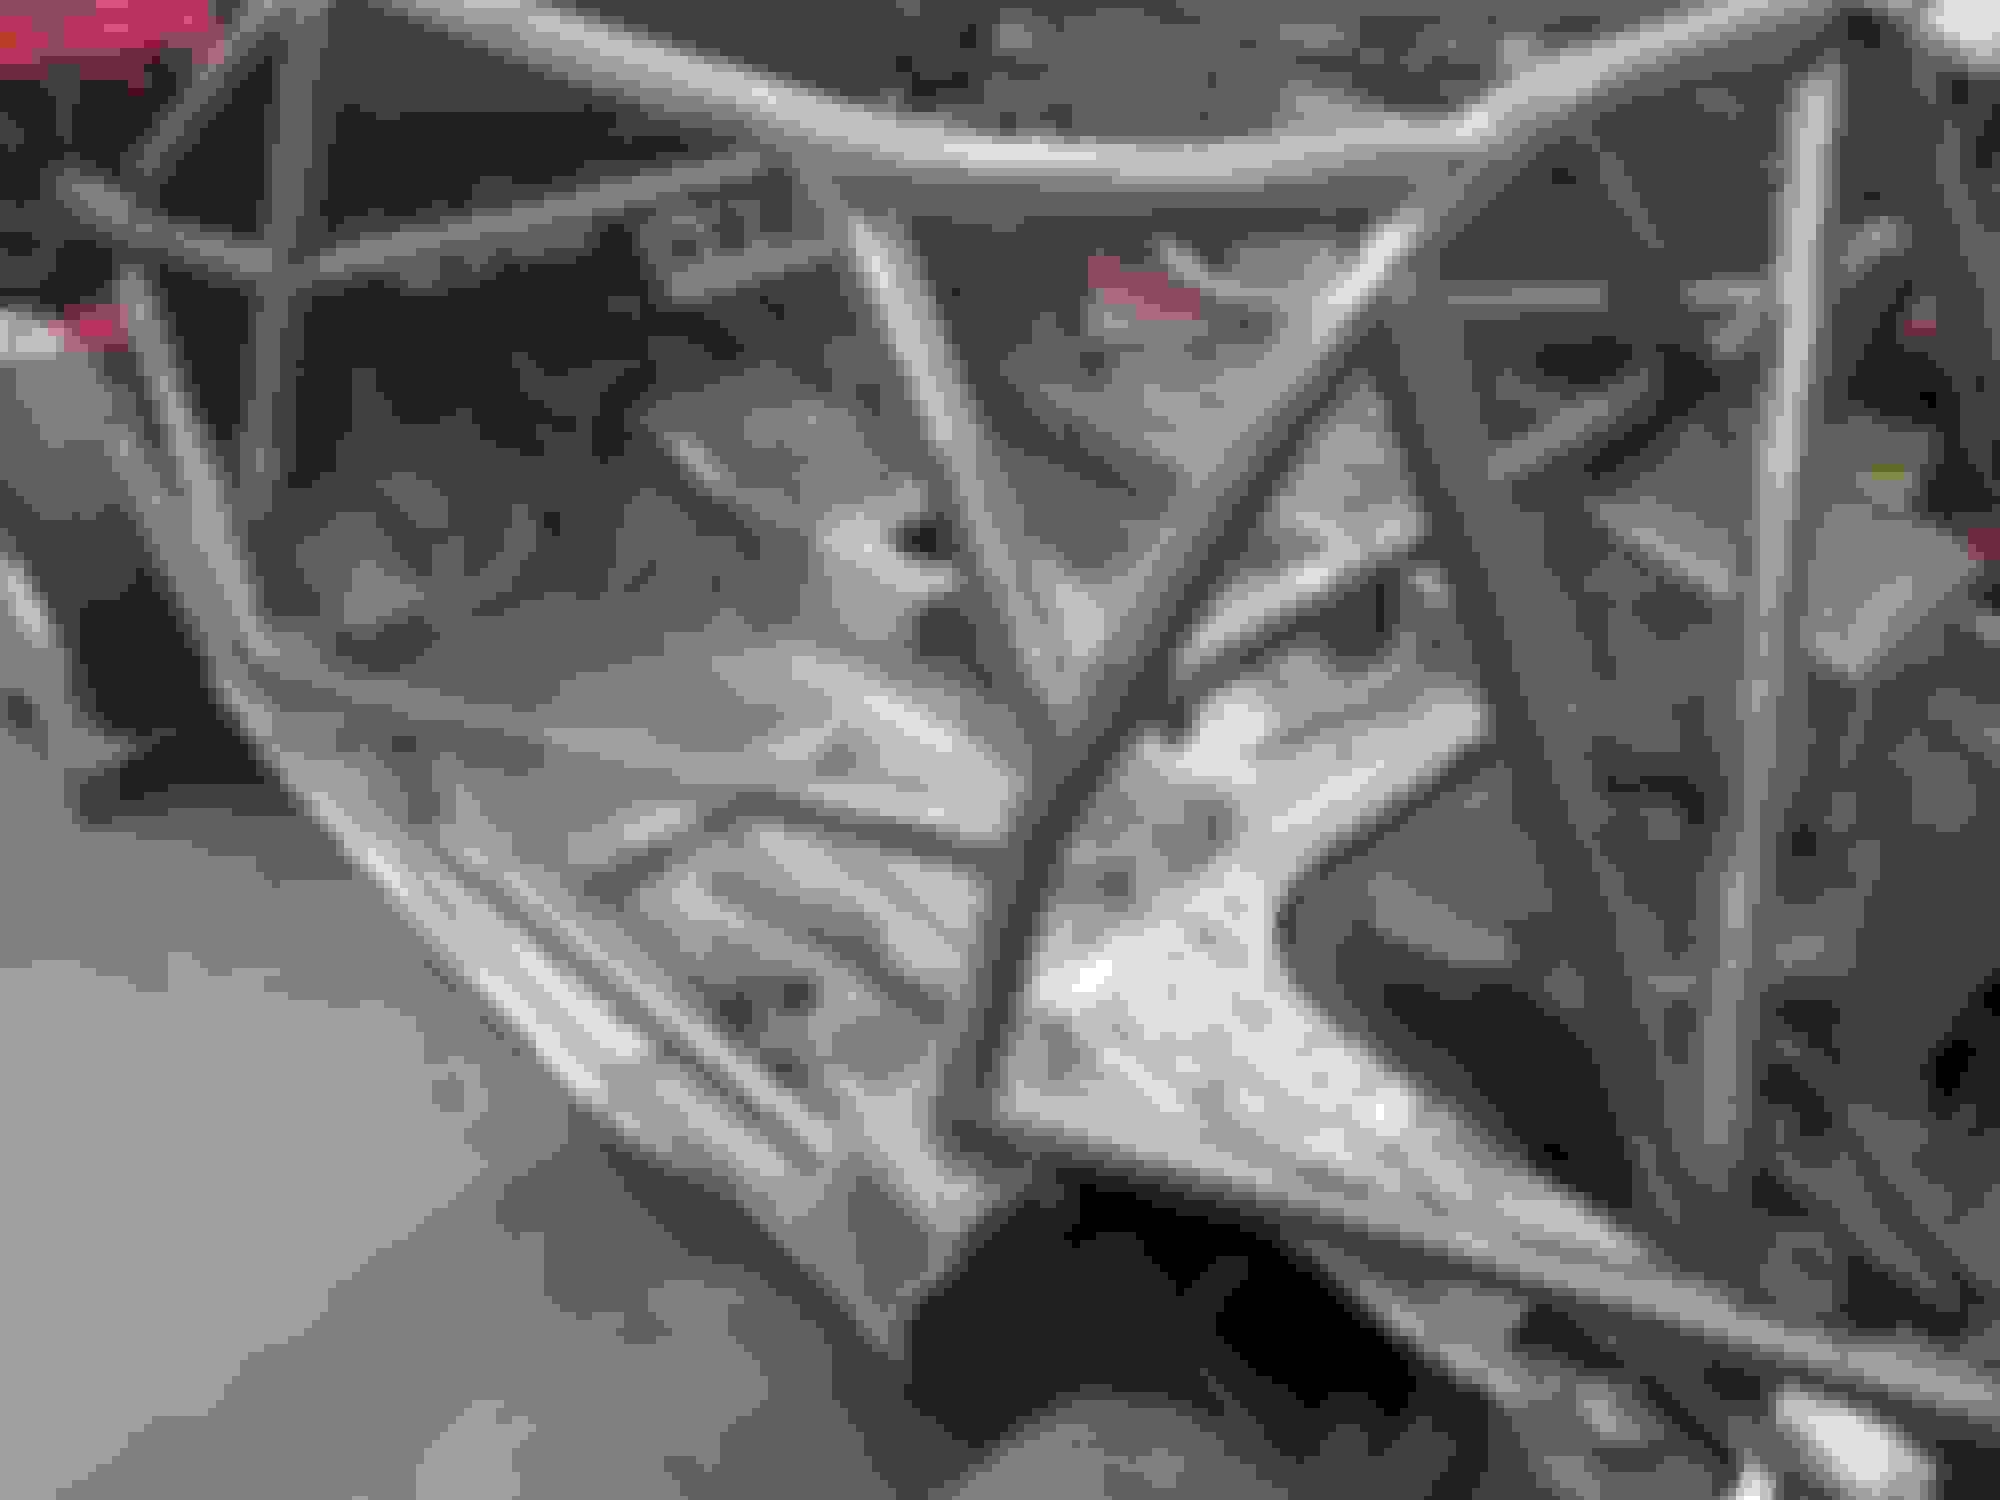


Kart had a LOT of millscale and surface rust - EVERYWHERE - so, time to start grinding! After about 10hrs of work (and 3 knotted wire wheel brushes) all the new metal is back to shiny, and most of the painted surface on the old tub are scuffed up. (Plywood glass protector worked great - probably should have waited to install windshield until after painted, but eh, that's how it goes)


Reply
1
1
01-20-2020, 04:00 PM
#104
Junior Member
Thread Starter
iTrader: (3)
Join Date: Oct 2015
Location: Steamboat Springs, CO
Posts: 329
Total Cats: 22
More paint prep -
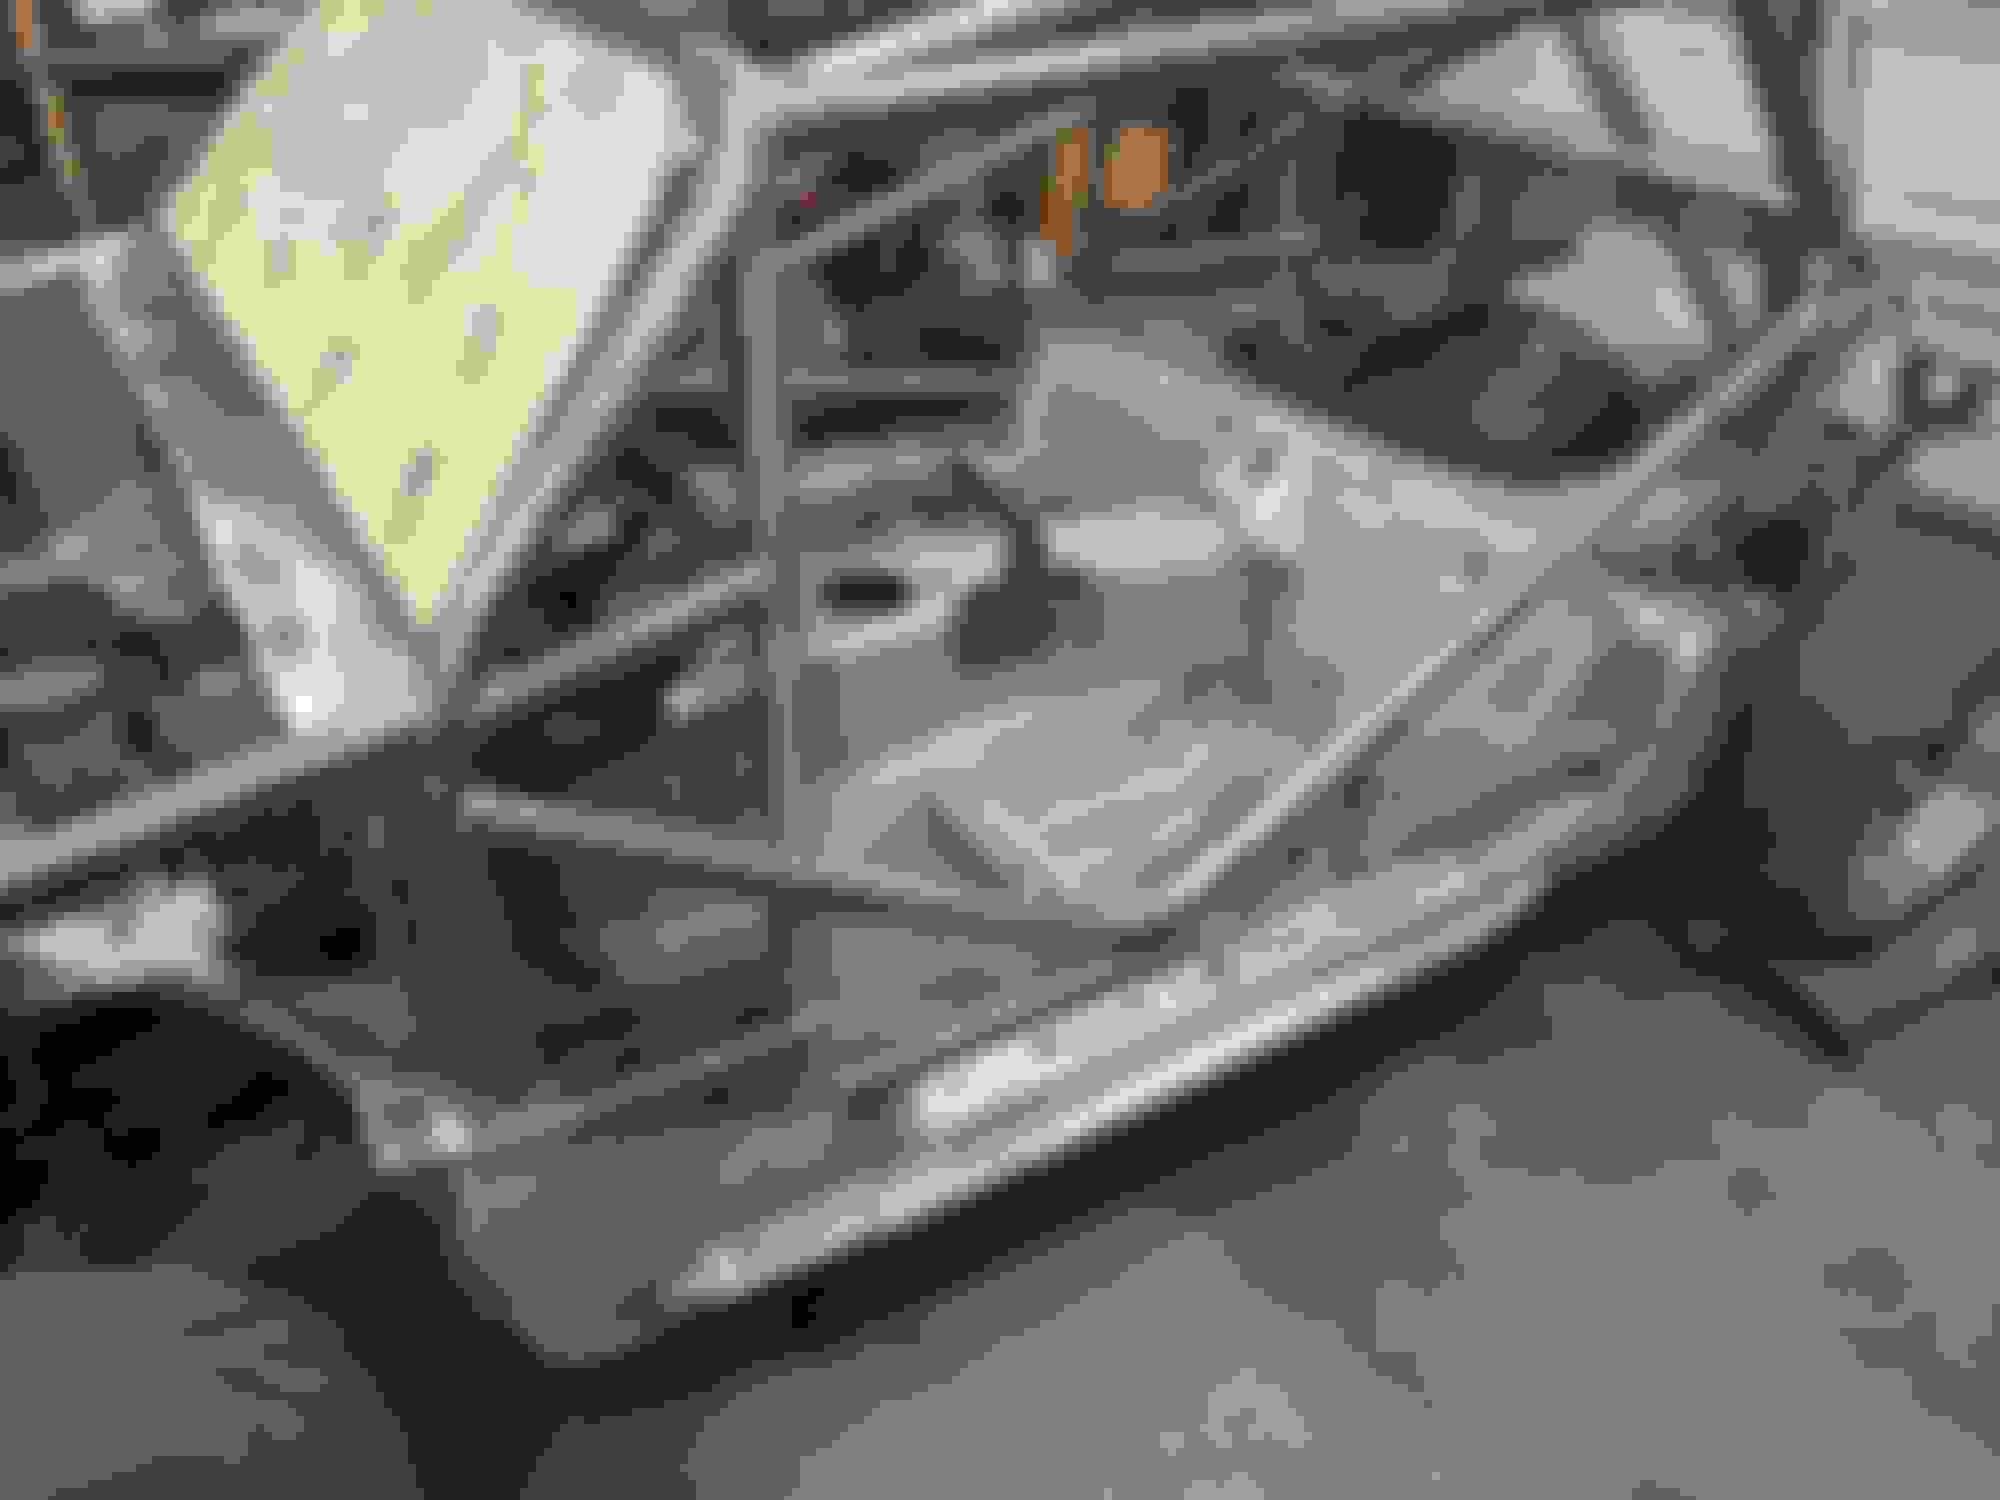
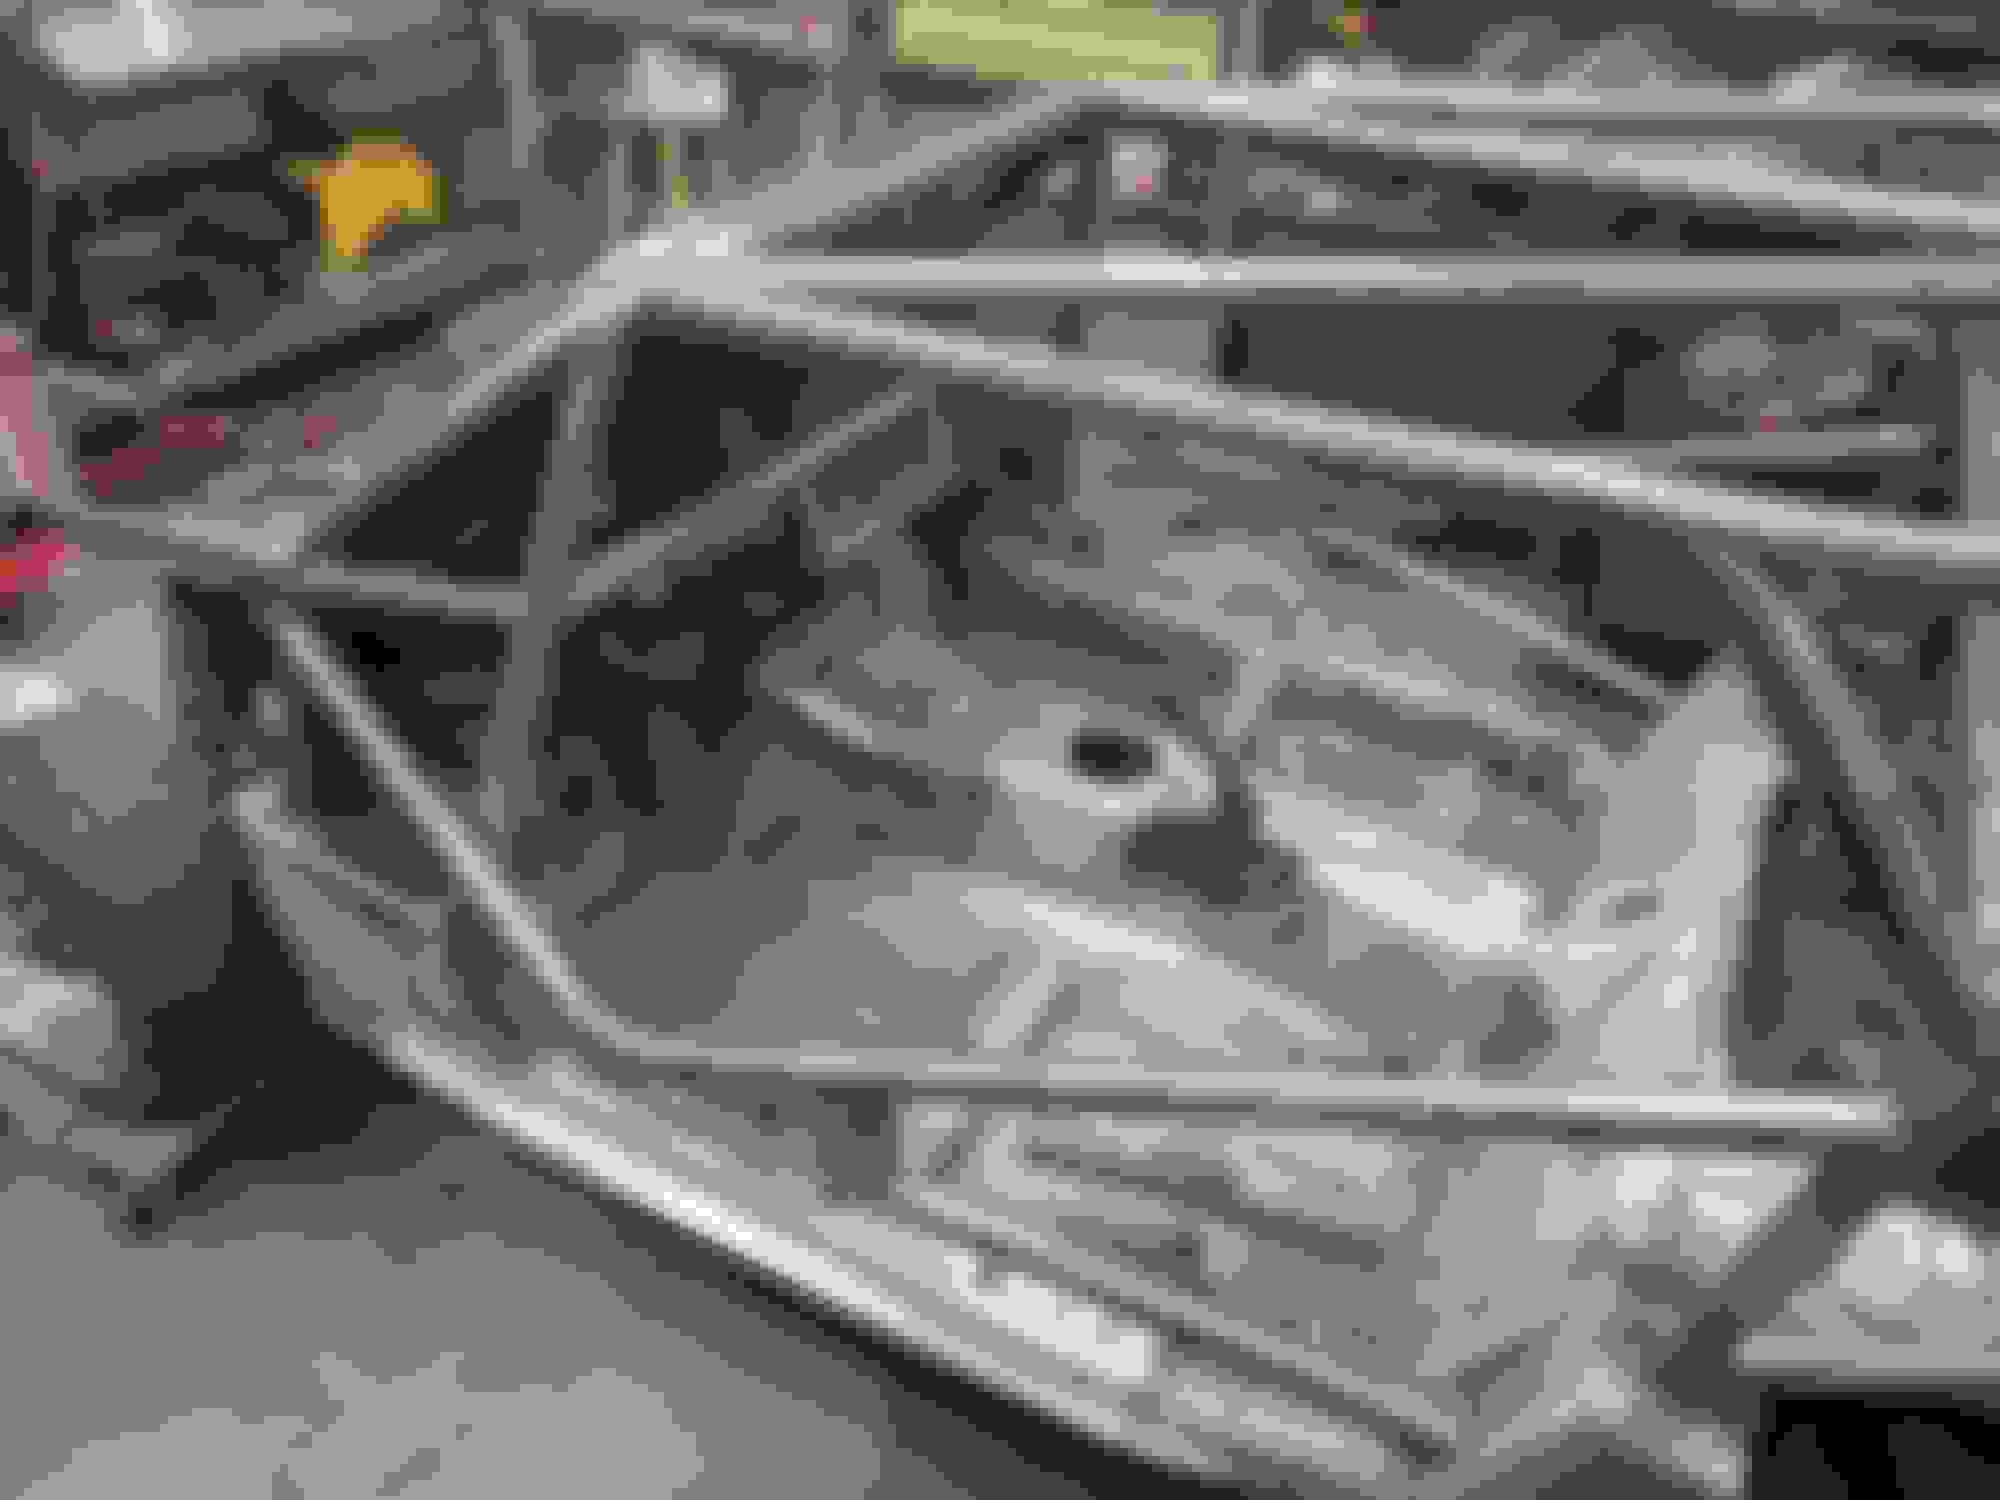
After all that sanding and body work (post and pics above), vacuumed everything, wiped it down with a moist rag, then a tac-cloth. Next was spray all the body work with filler primer.
After filler primer dried, it was even more sanding, eventually down to 400 grit. Vacuumed again, went over everything again with a moist rag, wiped all the bare metal with mineral spirits.
THEN came self-etching primer for all the bare metal, standard 2K auto primer for everything that already had paint.


Reply
1
1
01-29-2020, 12:32 PM
#105
Junior Member
Thread Starter
iTrader: (3)
Join Date: Oct 2015
Location: Steamboat Springs, CO
Posts: 329
Total Cats: 22
Welp, after the last coat of primer, I double checked for no drips, then hit everything with some 800 grit to give the primer some 'tooth'
The bronze took three coats to get a good, deep color. Turned out well.
Next step is the footwells, then new undercoating on the tub underside and fender areas. After that will be a good marine-grade clear coat over everything.
The bronze took three coats to get a good, deep color. Turned out well.


Next step is the footwells, then new undercoating on the tub underside and fender areas. After that will be a good marine-grade clear coat over everything.
Reply
2
2
 02-11-2020, 02:11 PM
#108
Junior Member
Thread Starter
iTrader: (3)
Join Date: Oct 2015
Location: Steamboat Springs, CO
Posts: 329
Total Cats: 22
More progress.
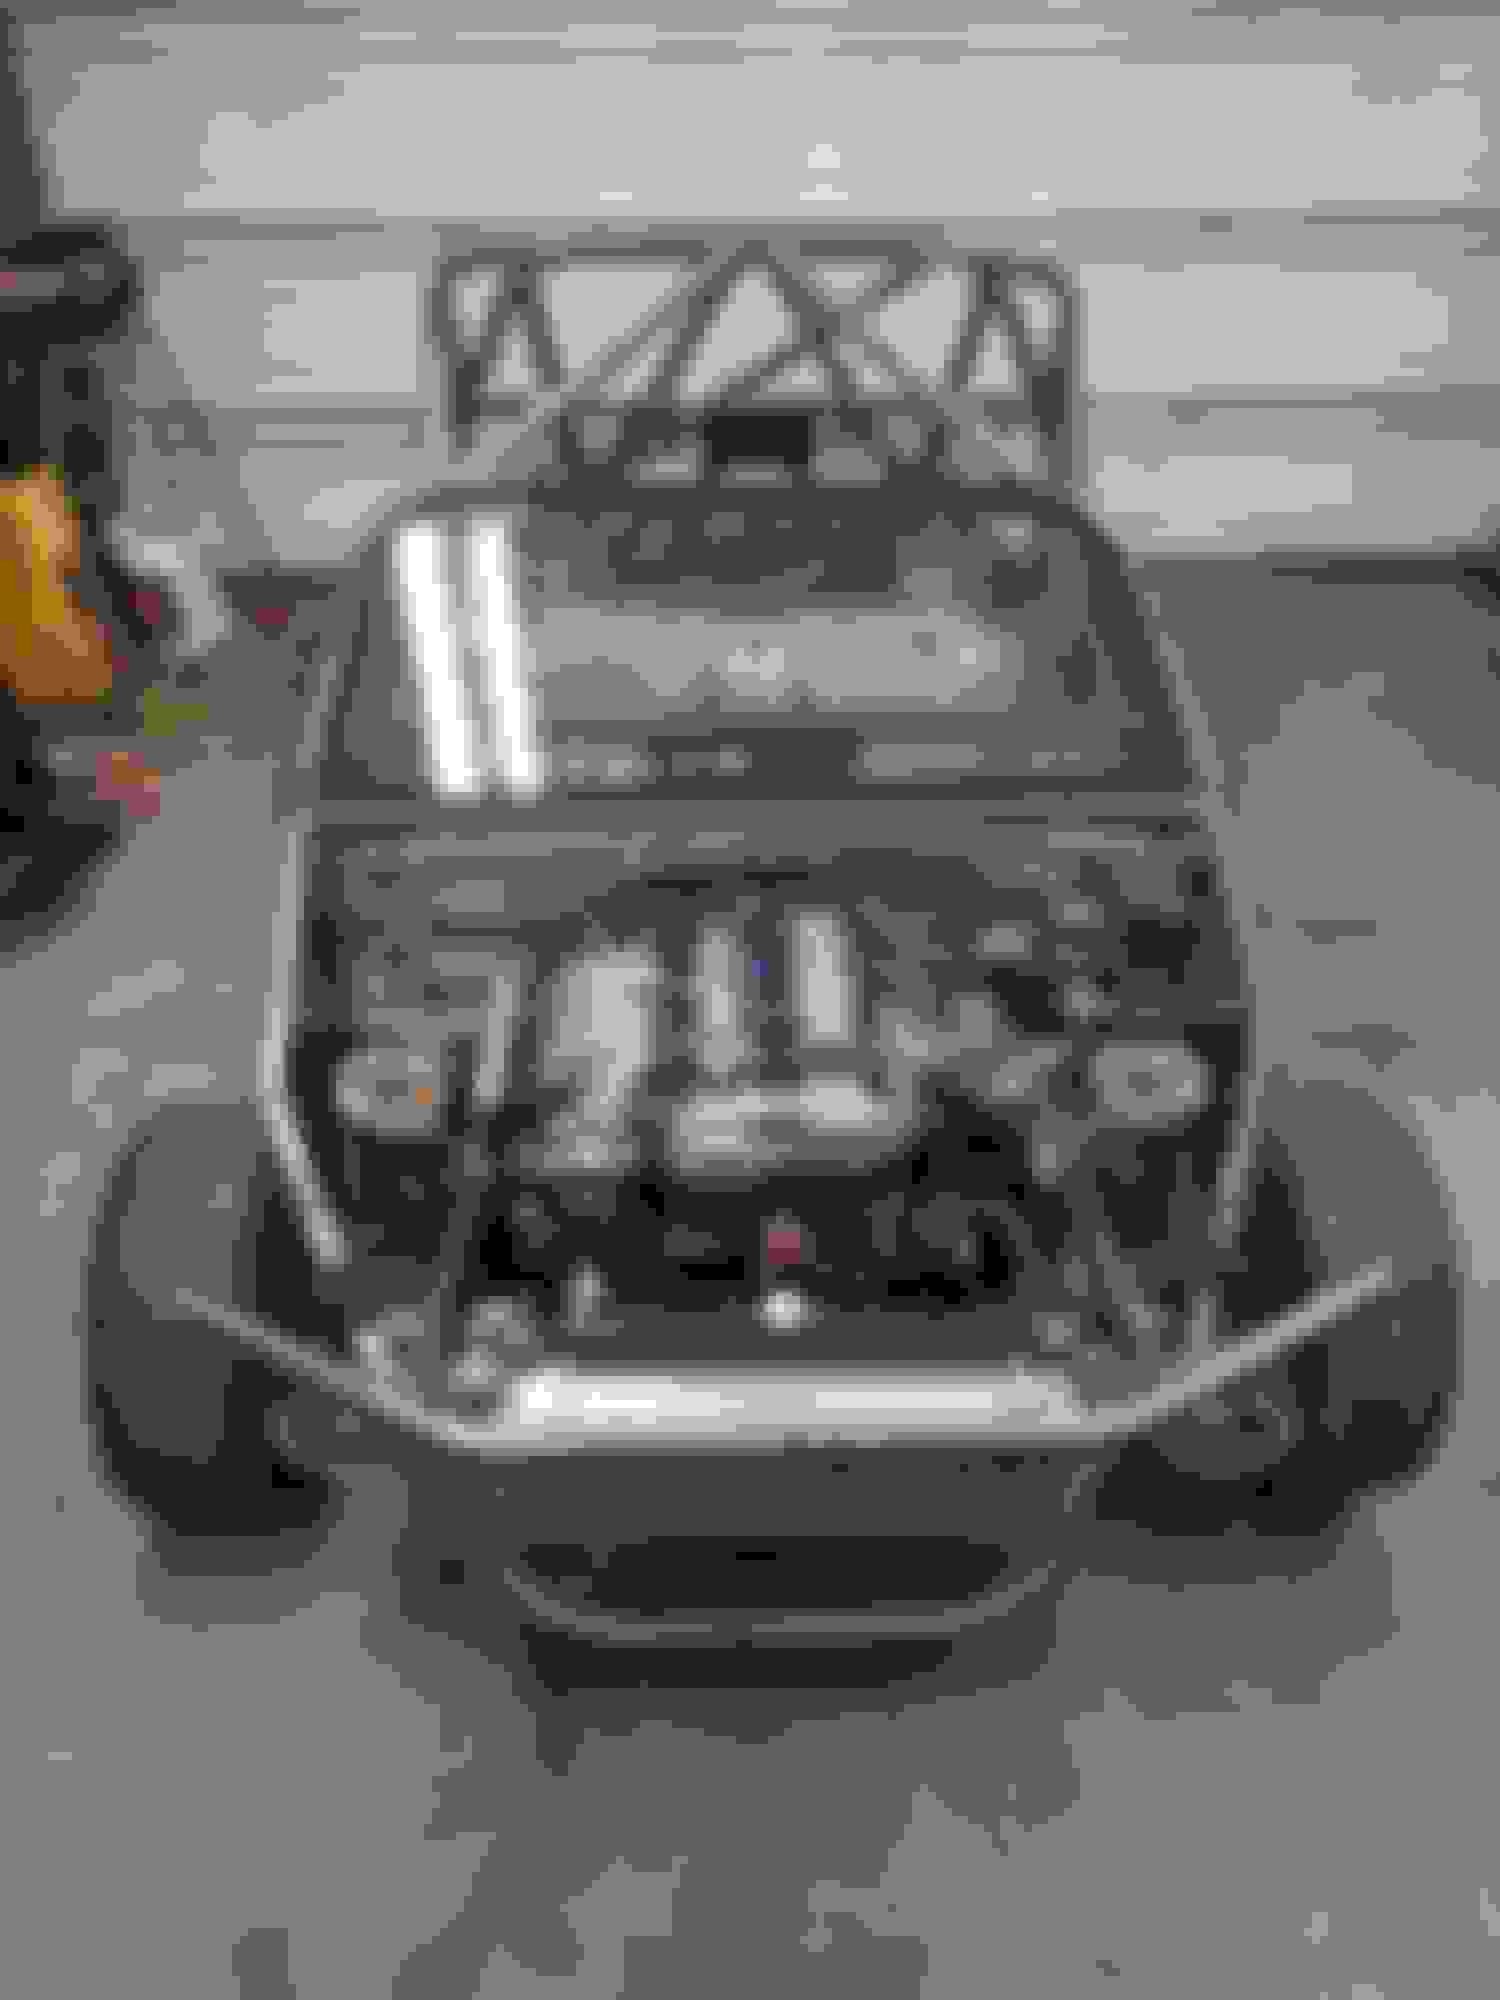
Bronze looks great so moved on to painting the tub. Tub is a metallic graphite gray - not easy to see in my shop lighting:
After the gray had time to cure (48 hrs or so), I moved on to painting the footwells, firewall, engine bay underside, fuel tank frame with black enamel.
Bronze looks great so moved on to painting the tub. Tub is a metallic graphite gray - not easy to see in my shop lighting:

After the gray had time to cure (48 hrs or so), I moved on to painting the footwells, firewall, engine bay underside, fuel tank frame with black enamel.


Reply
1
1

 02-11-2020, 02:14 PM
#110
Junior Member
Thread Starter
iTrader: (3)
Join Date: Oct 2015
Location: Steamboat Springs, CO
Posts: 329
Total Cats: 22
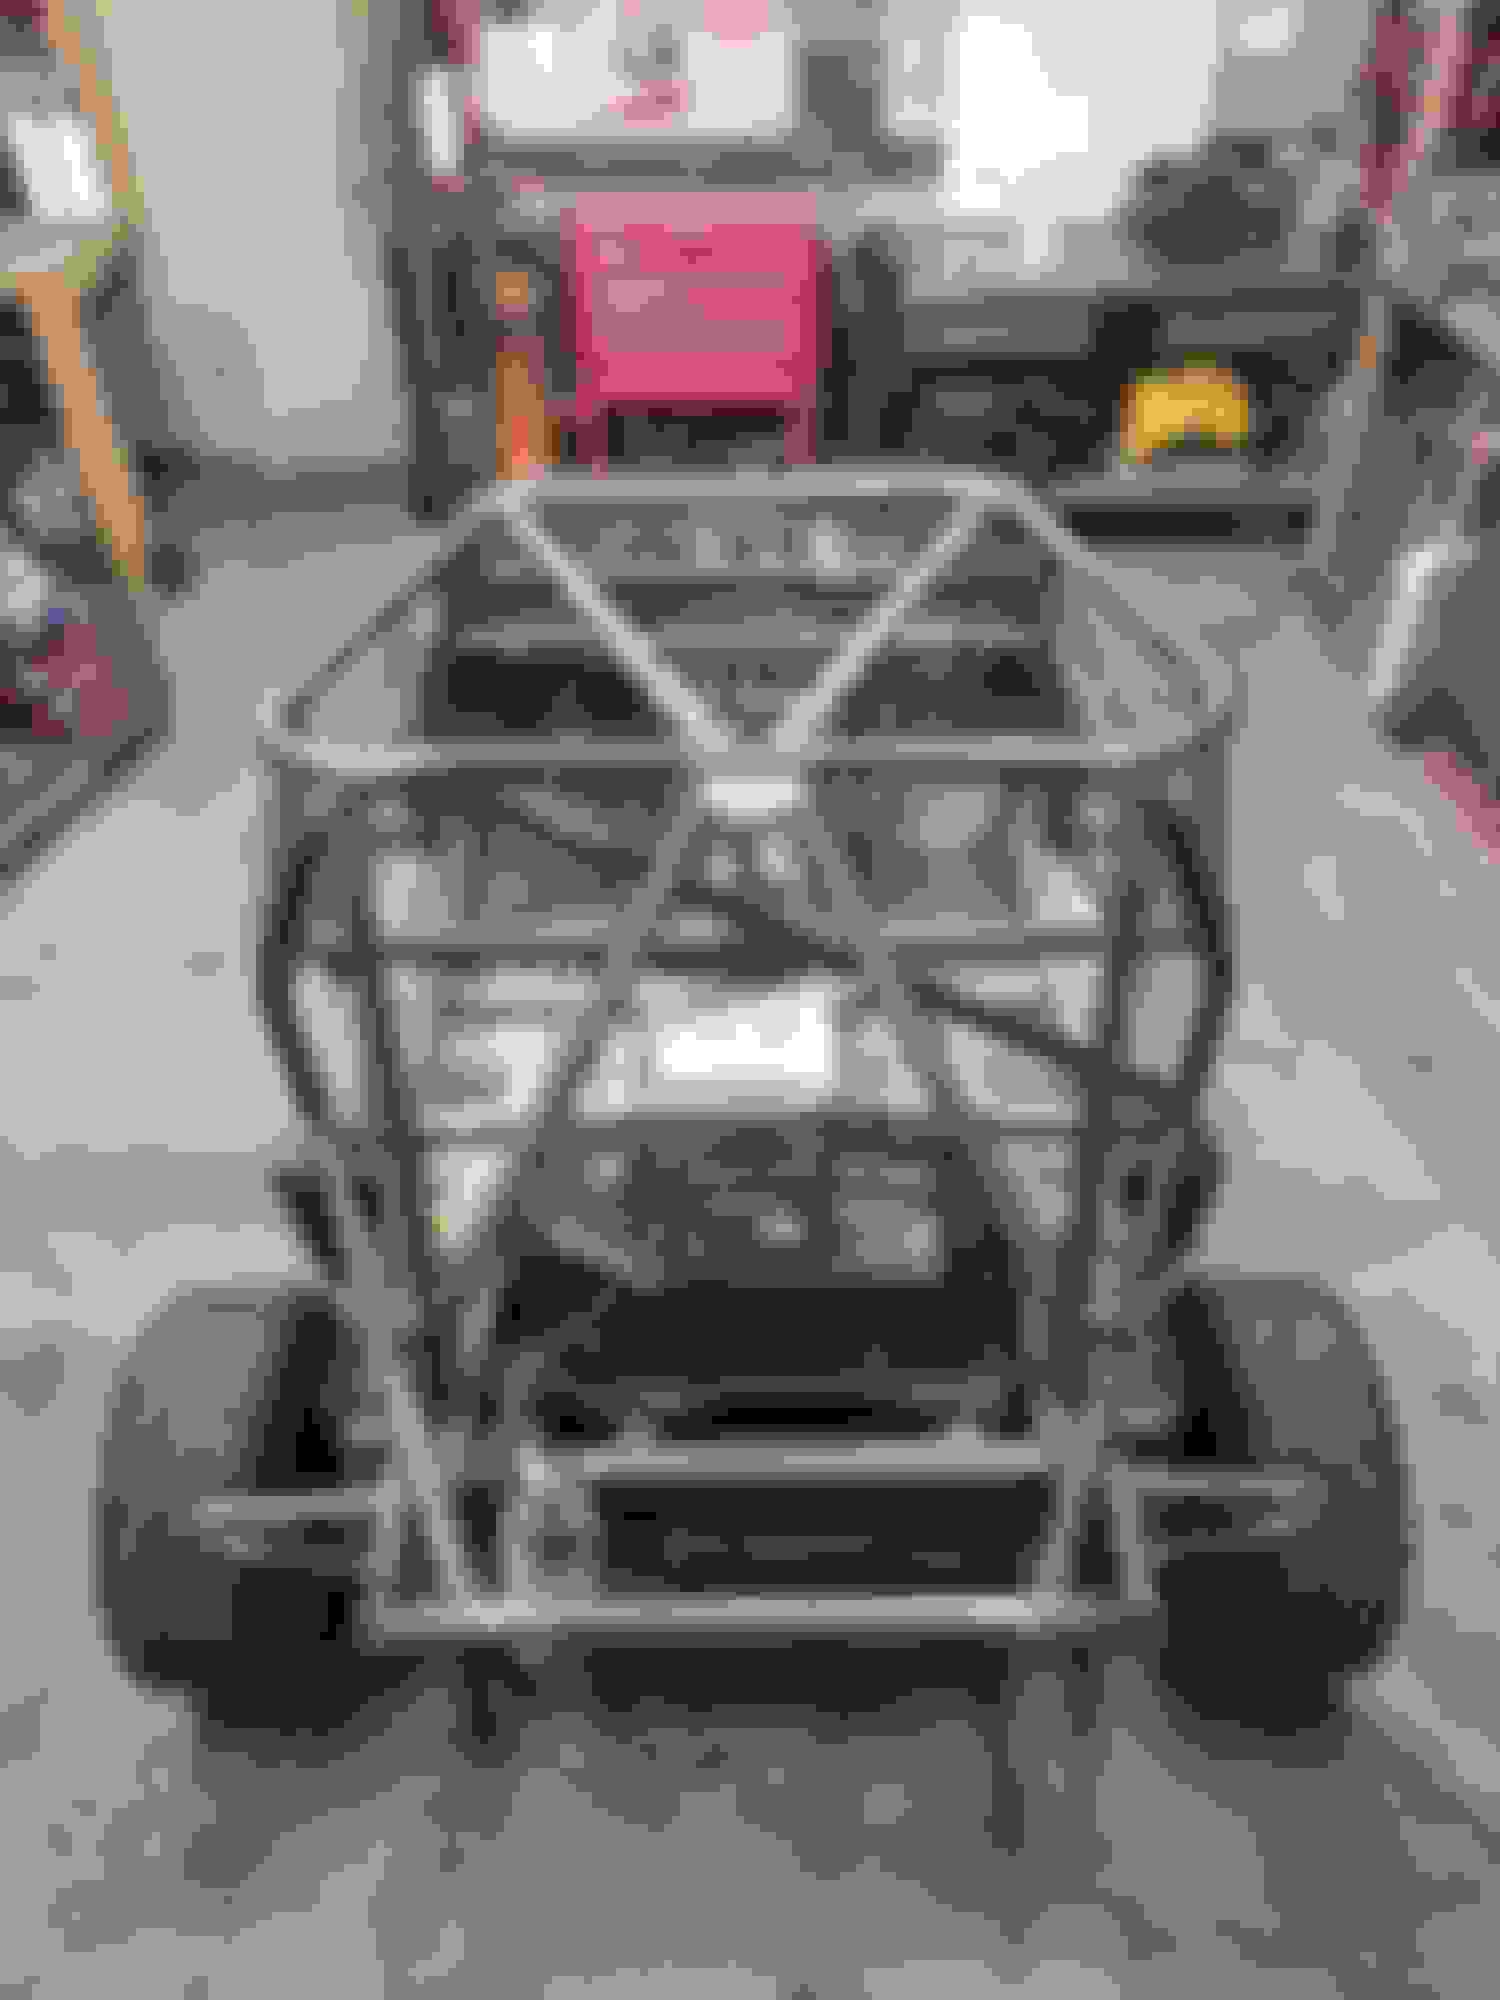
After finishing up the paint work I pulled all the masking / tape and took a couple shots - overall pleased with the outcome!
Clear coating will be the last piece for the paint work.


Clear coating will be the last piece for the paint work.


Reply
1
1
02-11-2020, 02:21 PM
#111
Junior Member
Thread Starter
iTrader: (3)
Join Date: Oct 2015
Location: Steamboat Springs, CO
Posts: 329
Total Cats: 22
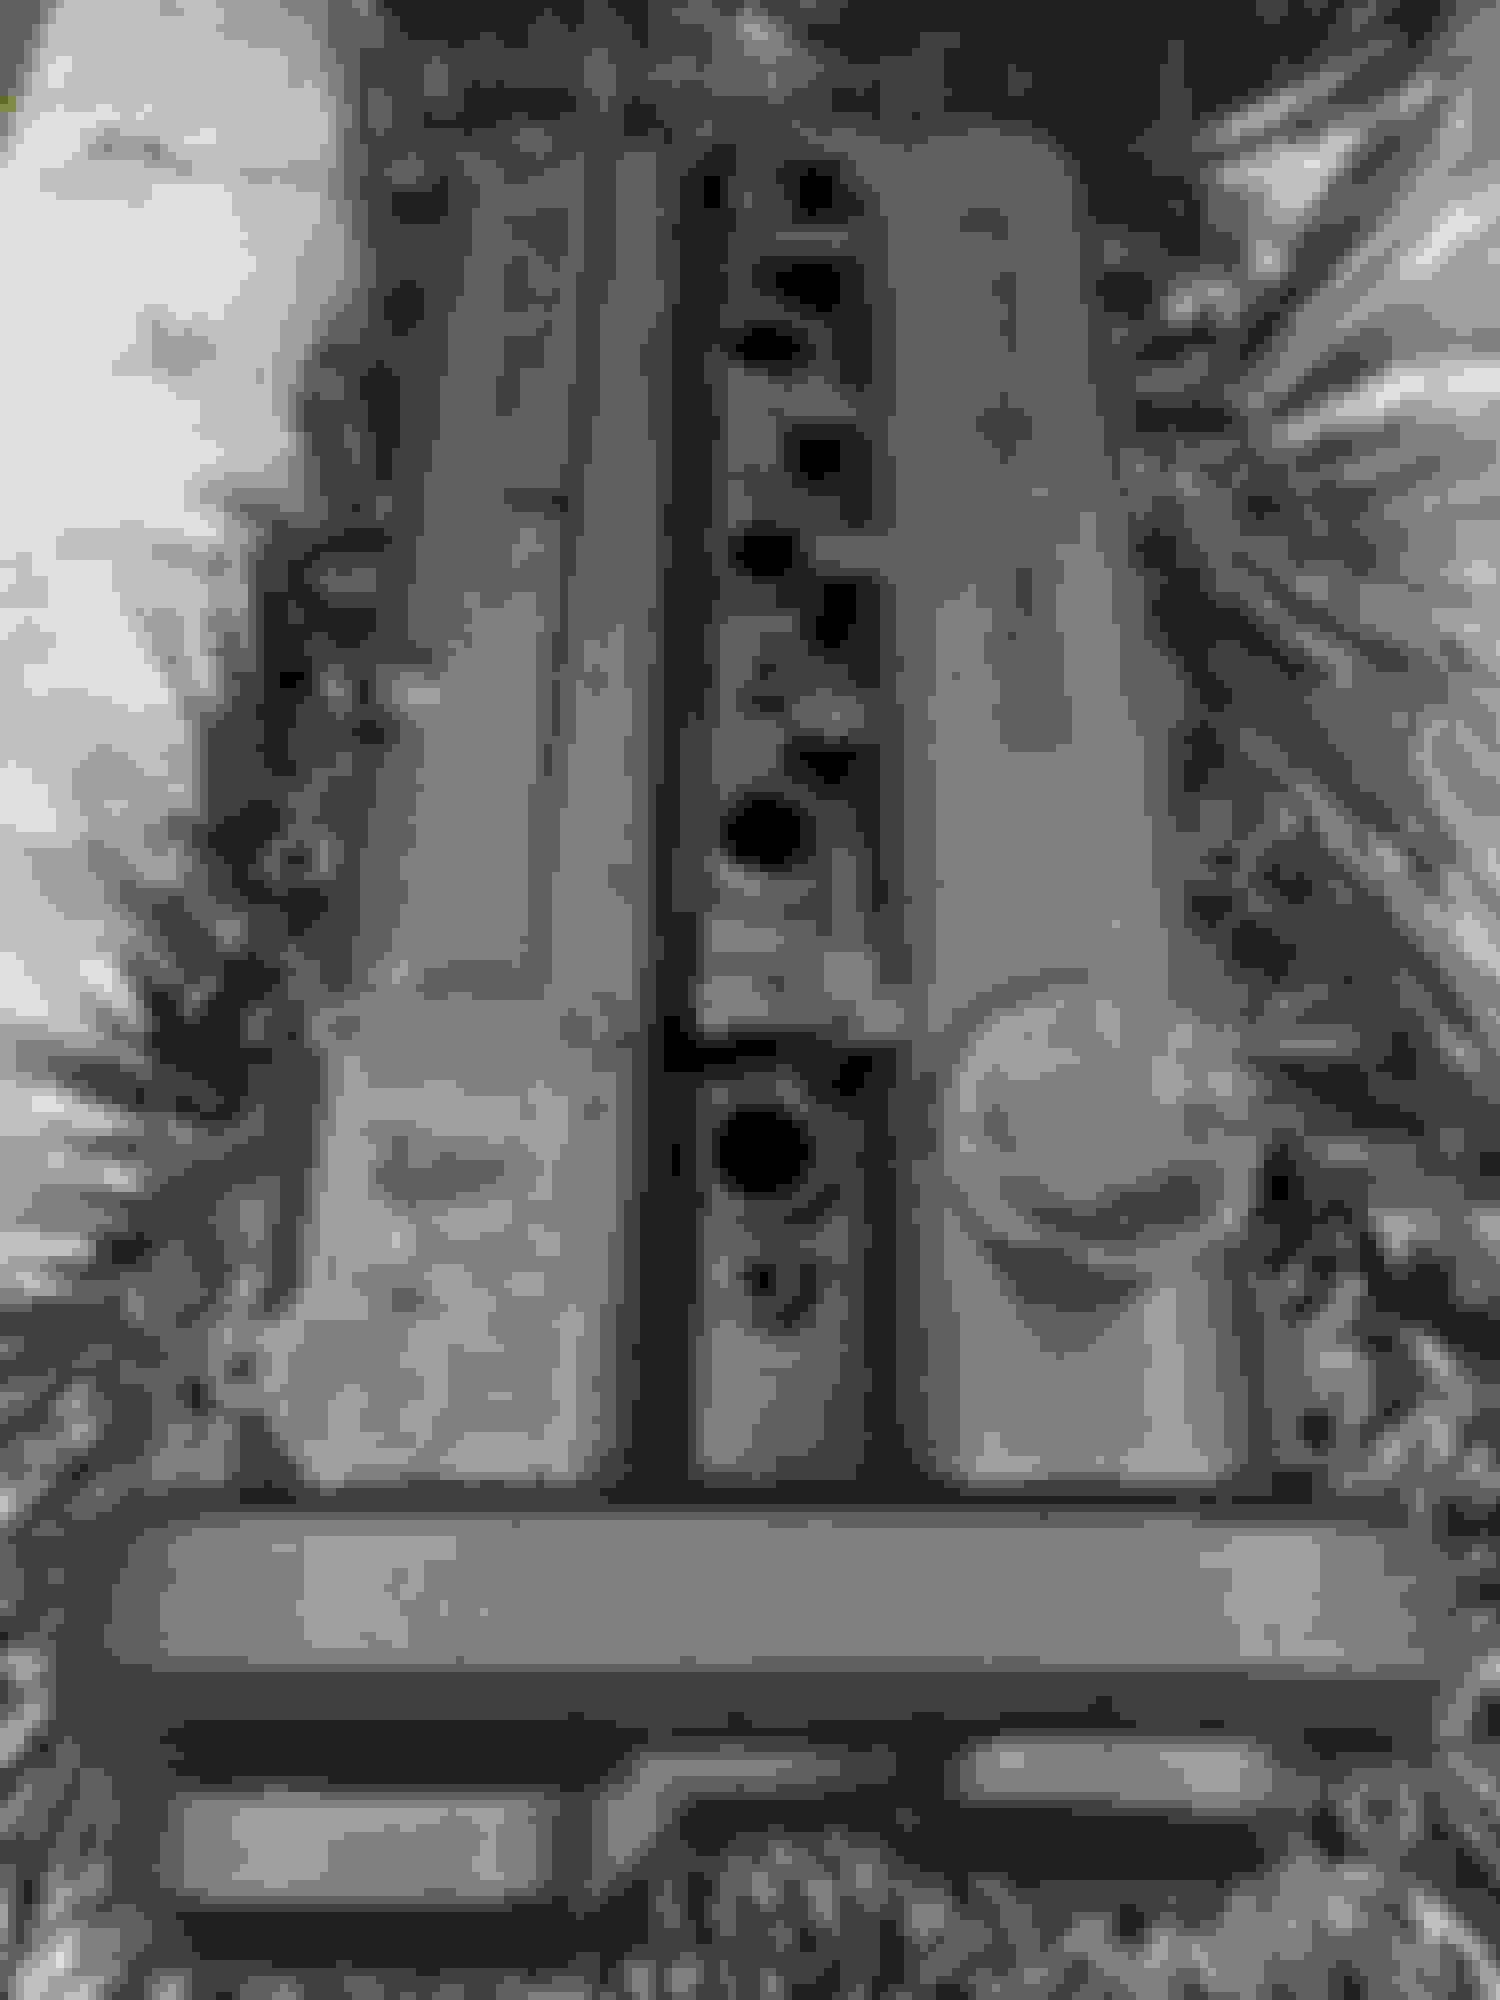
Between waiting for the Kart paint to dry and re-masking / painting the next color, did some work on the Intake and Valve Cover.
First, laying them out to get cleaned up / scuffed up.
I've read differing opinions about Wrinkle Paint - prime it or don't, clear coat it or don't, etc. Decided not to prime, but yes to clear coat (sheen to match the kart paint).
SO
Got everything wiped down and cleaned up, next was paint:
One coat down, second coat going on:
How it cured up, looks pretty good:

First, laying them out to get cleaned up / scuffed up.

I've read differing opinions about Wrinkle Paint - prime it or don't, clear coat it or don't, etc. Decided not to prime, but yes to clear coat (sheen to match the kart paint).
SO
Got everything wiped down and cleaned up, next was paint:

One coat down, second coat going on:

How it cured up, looks pretty good:


Reply
0
0
02-11-2020, 02:31 PM
#112
Junior Member
Thread Starter
iTrader: (3)
Join Date: Oct 2015
Location: Steamboat Springs, CO
Posts: 329
Total Cats: 22
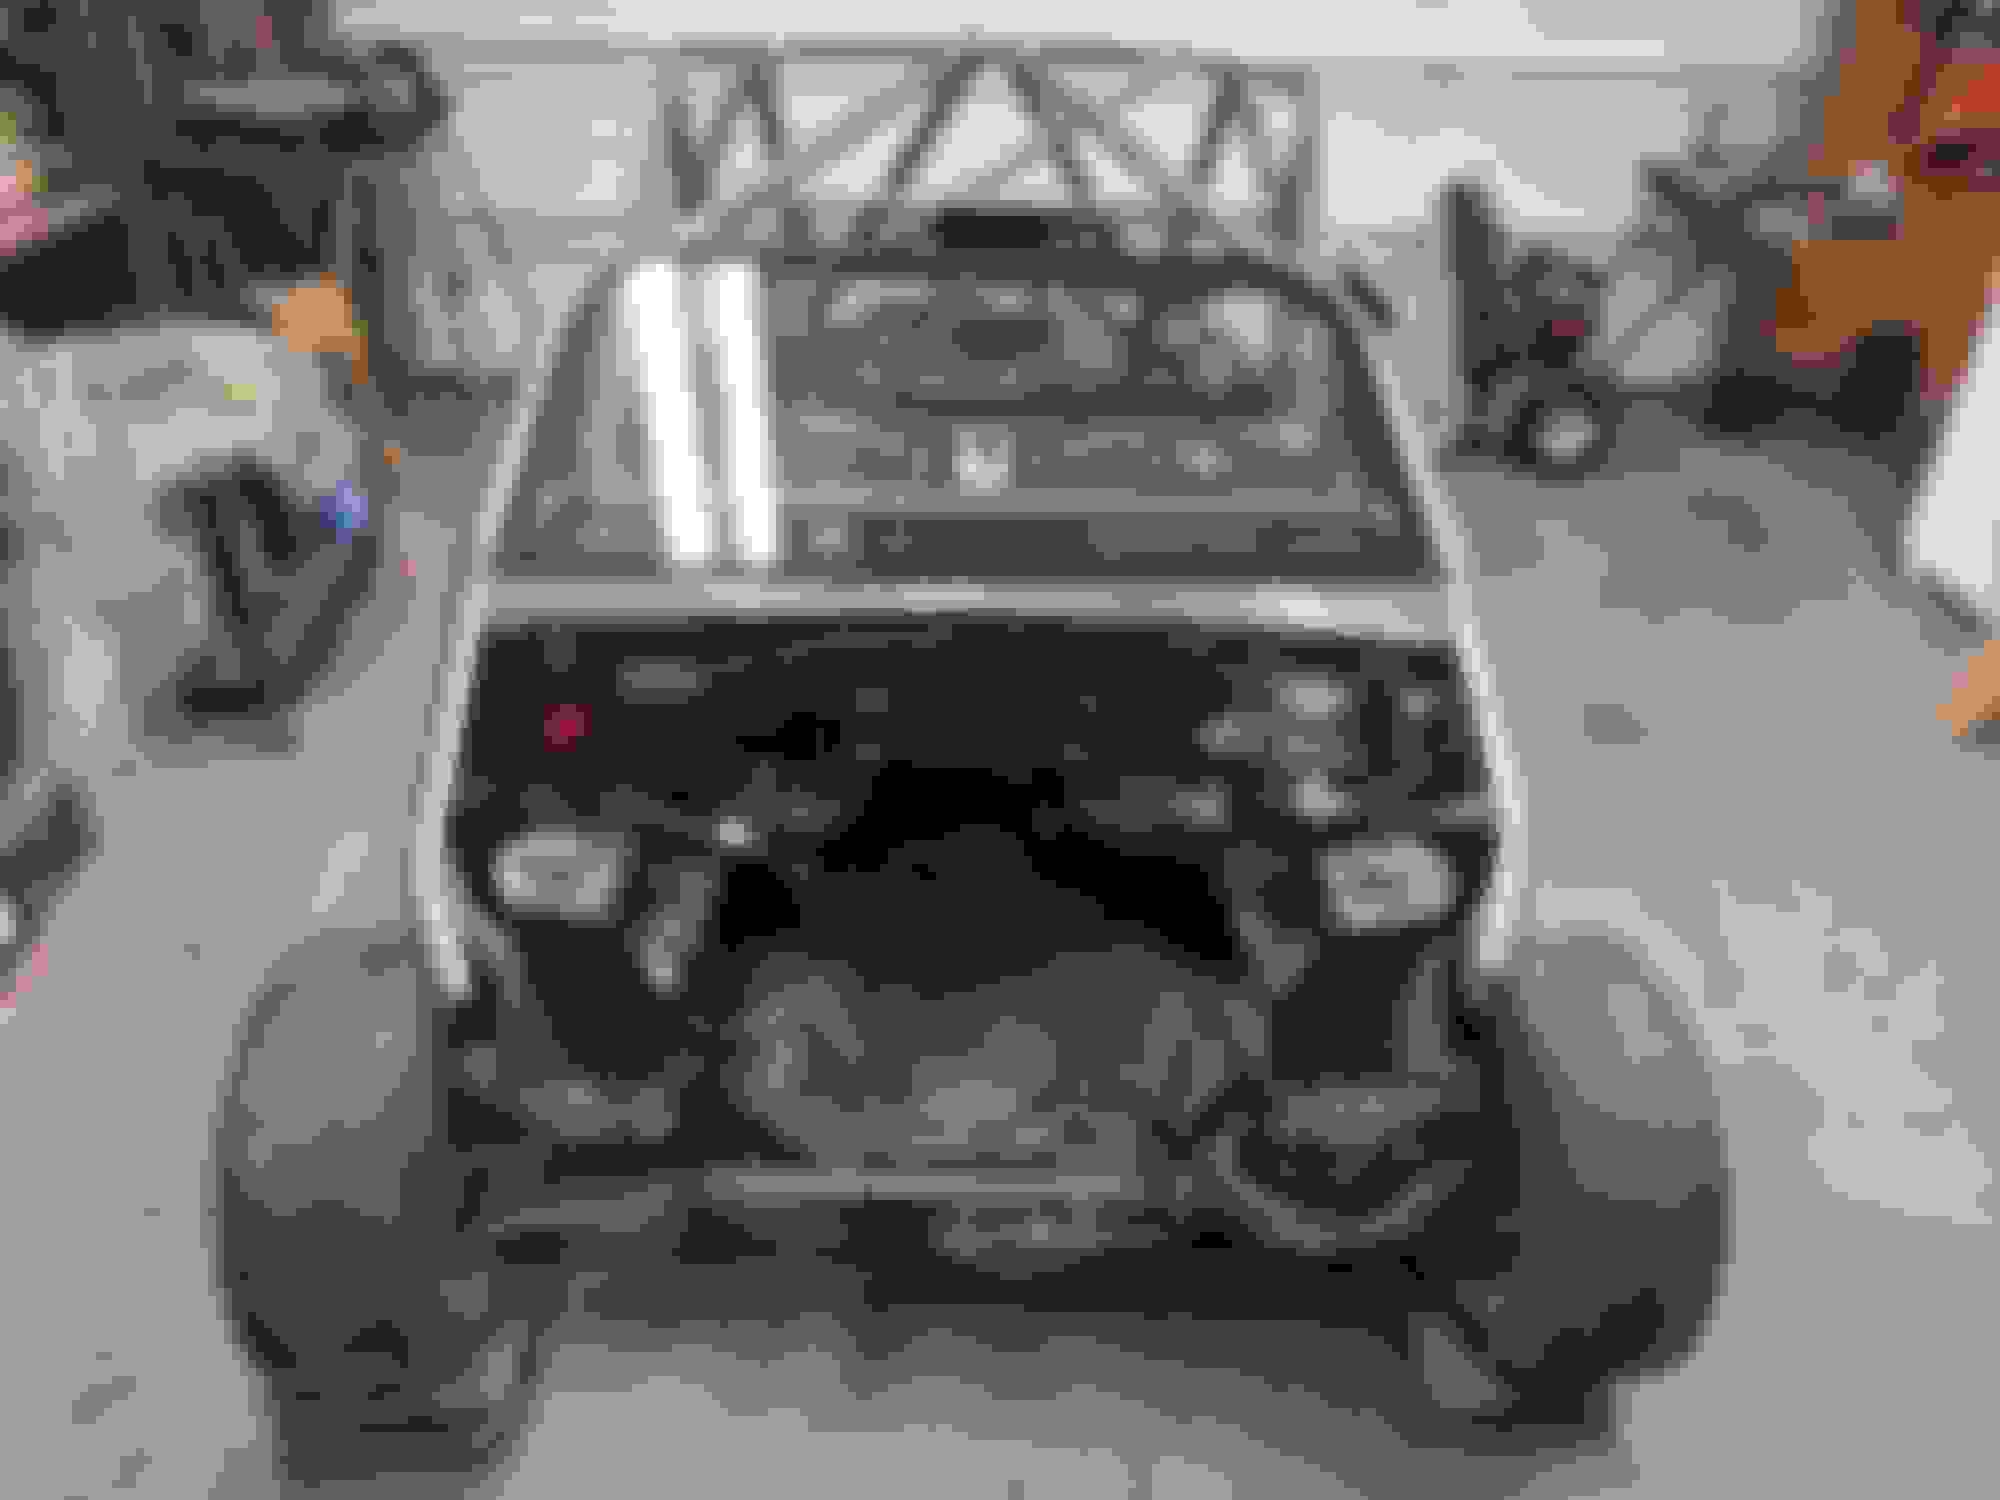
Most of the paint work got finished up except the Clear Coat - delayed due to materials.
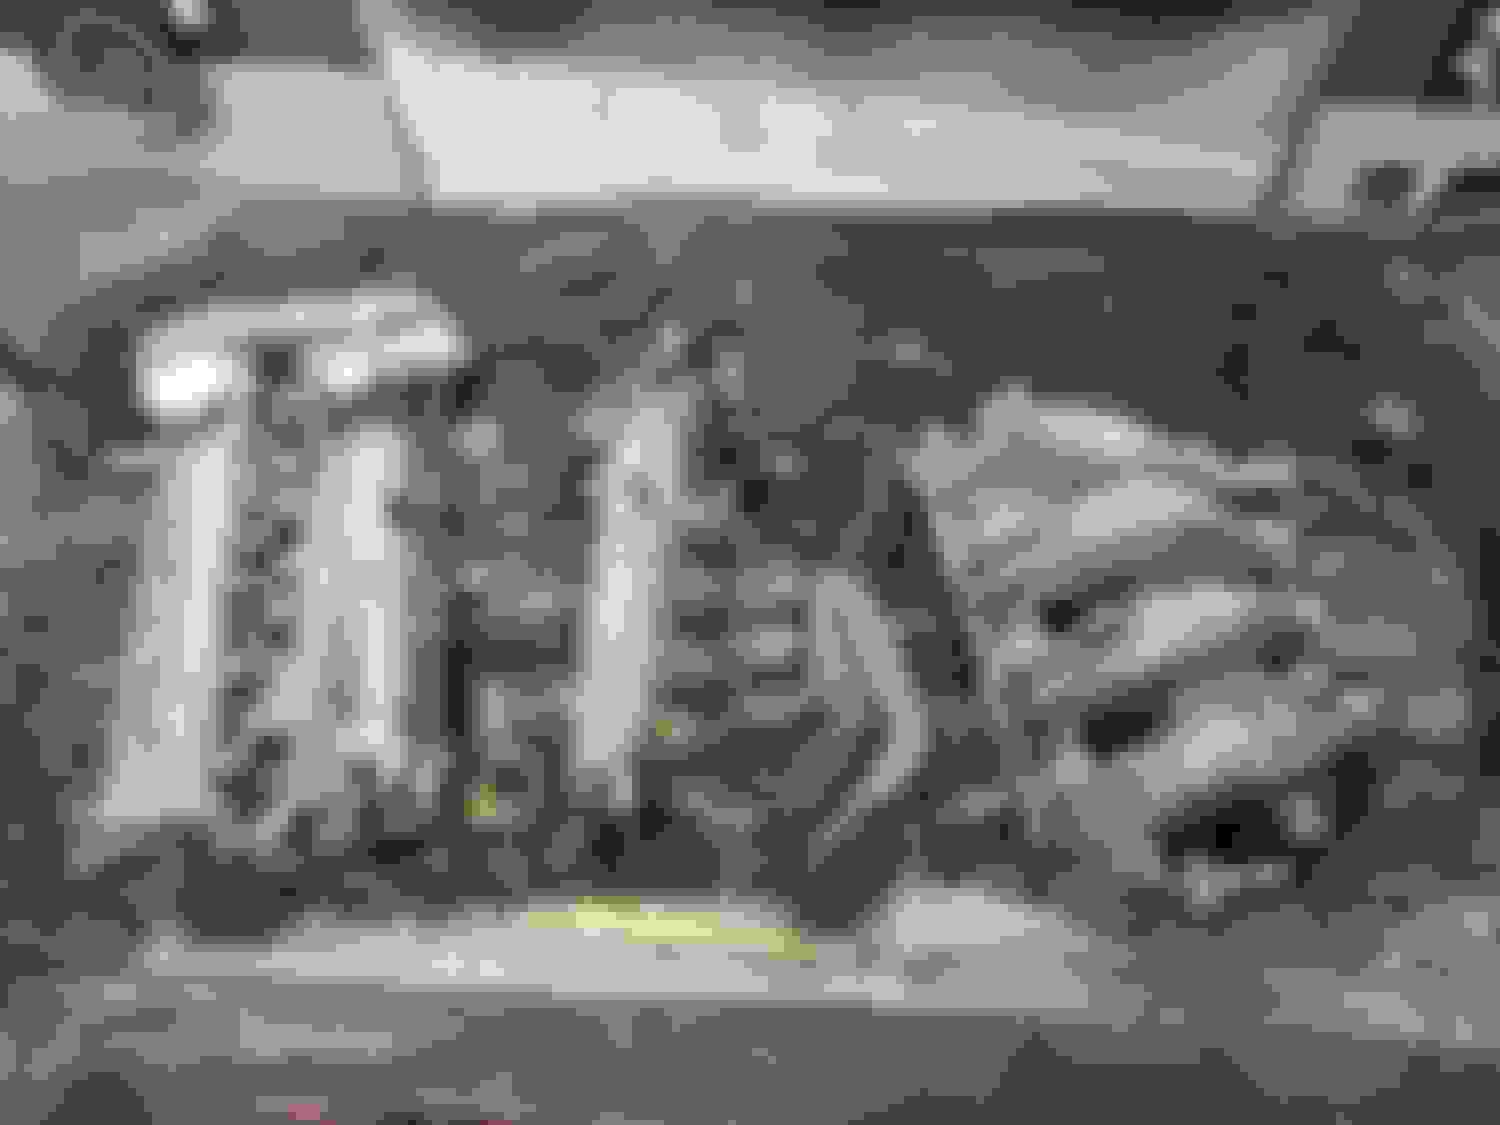
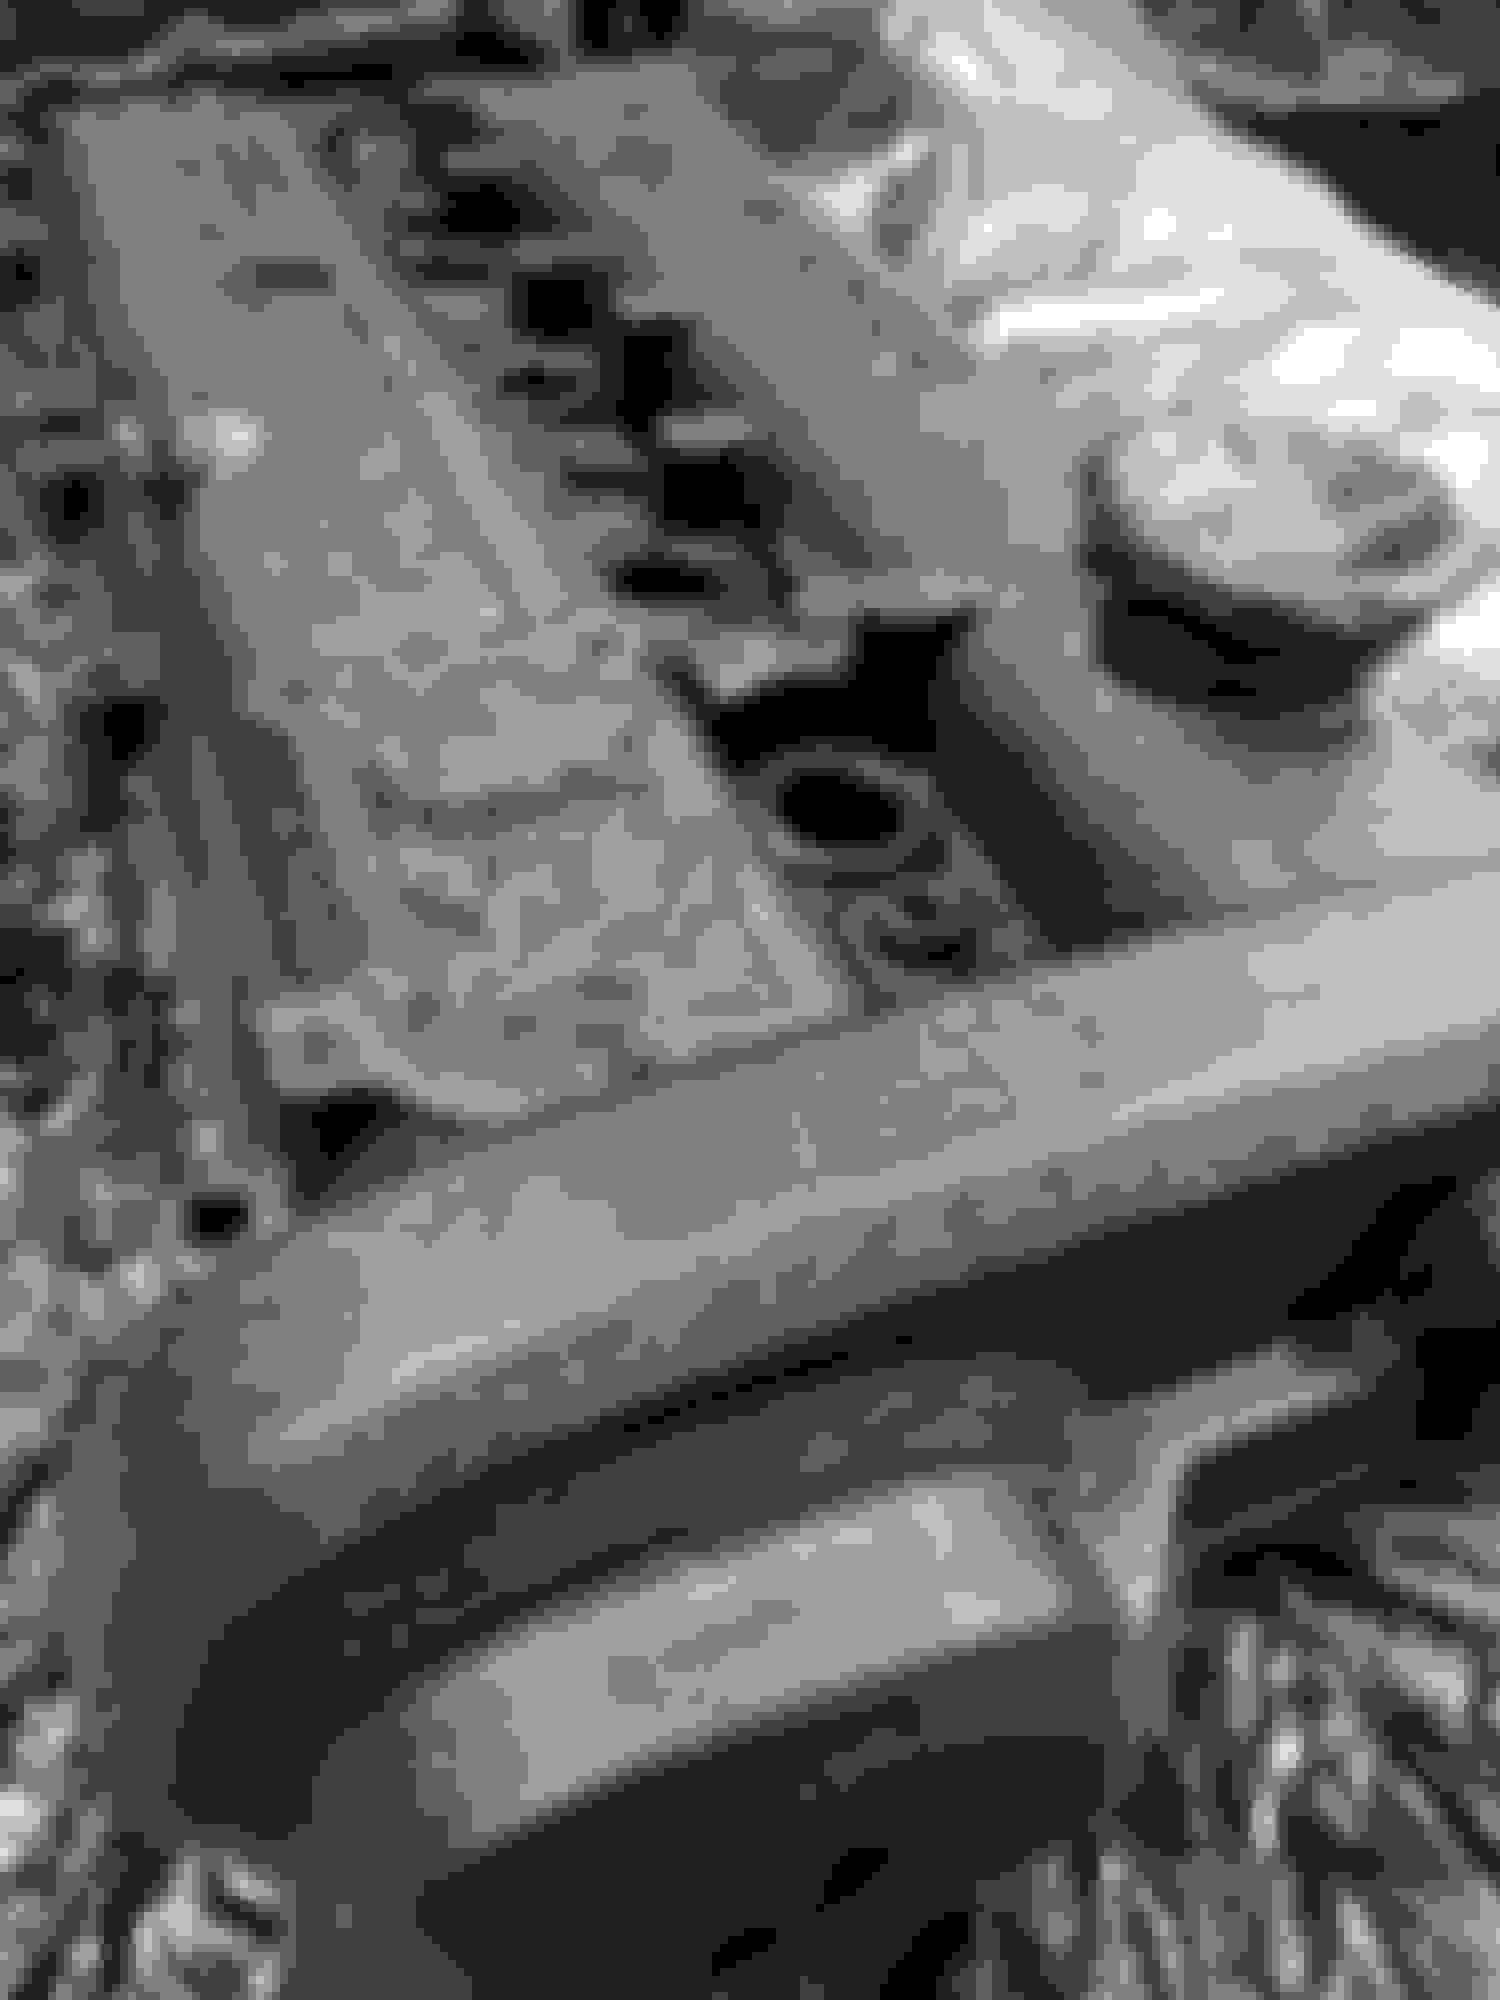
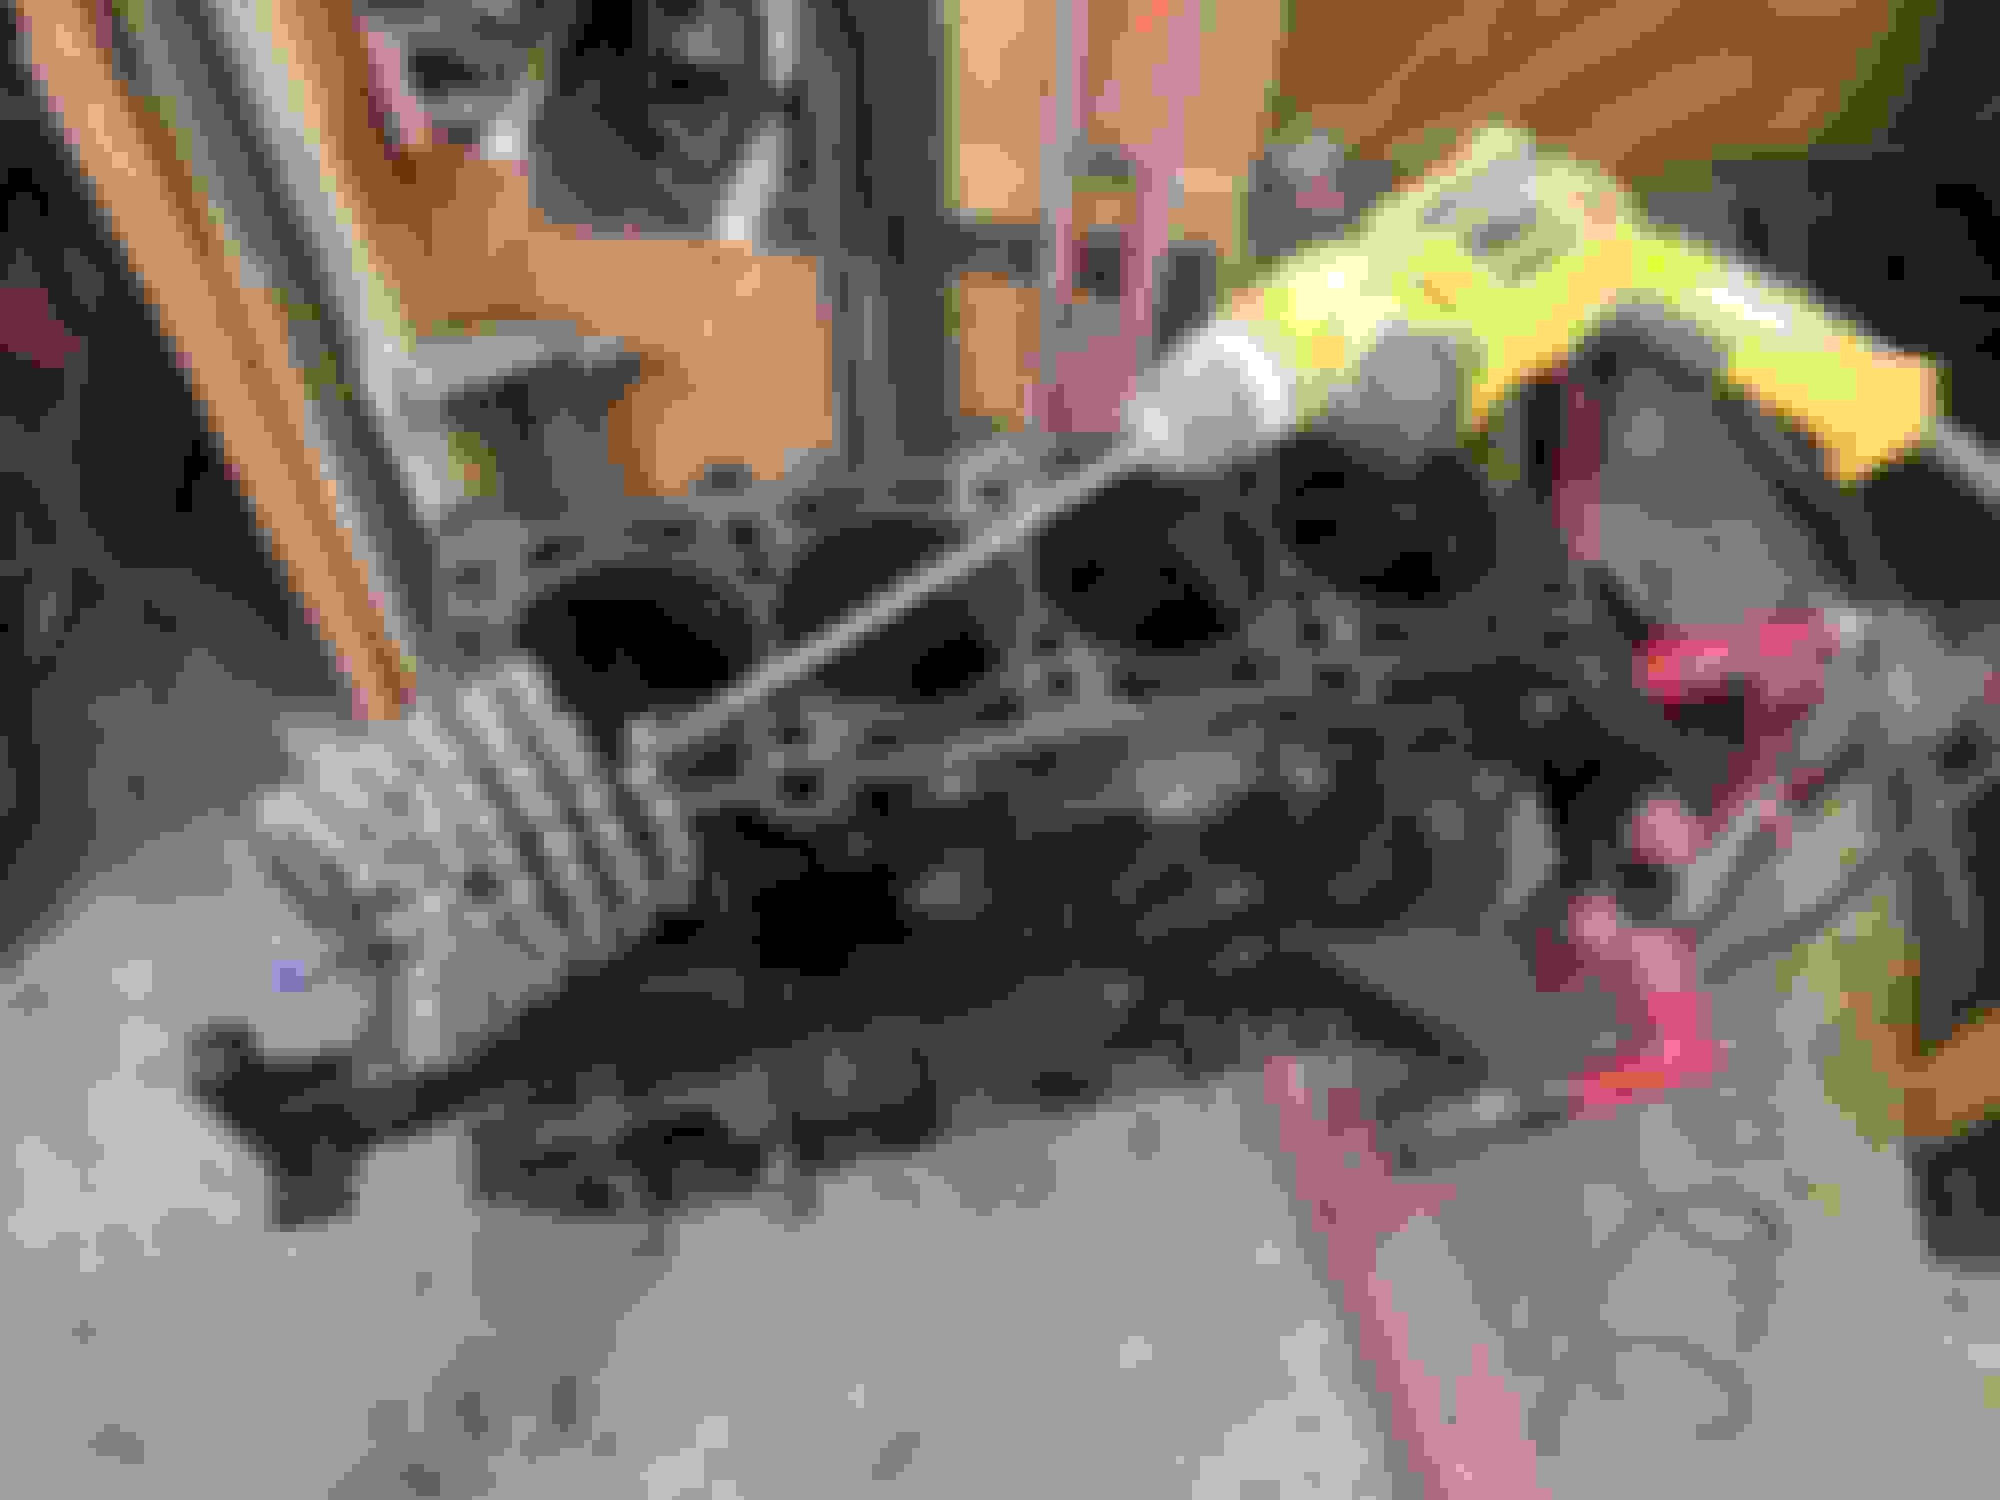
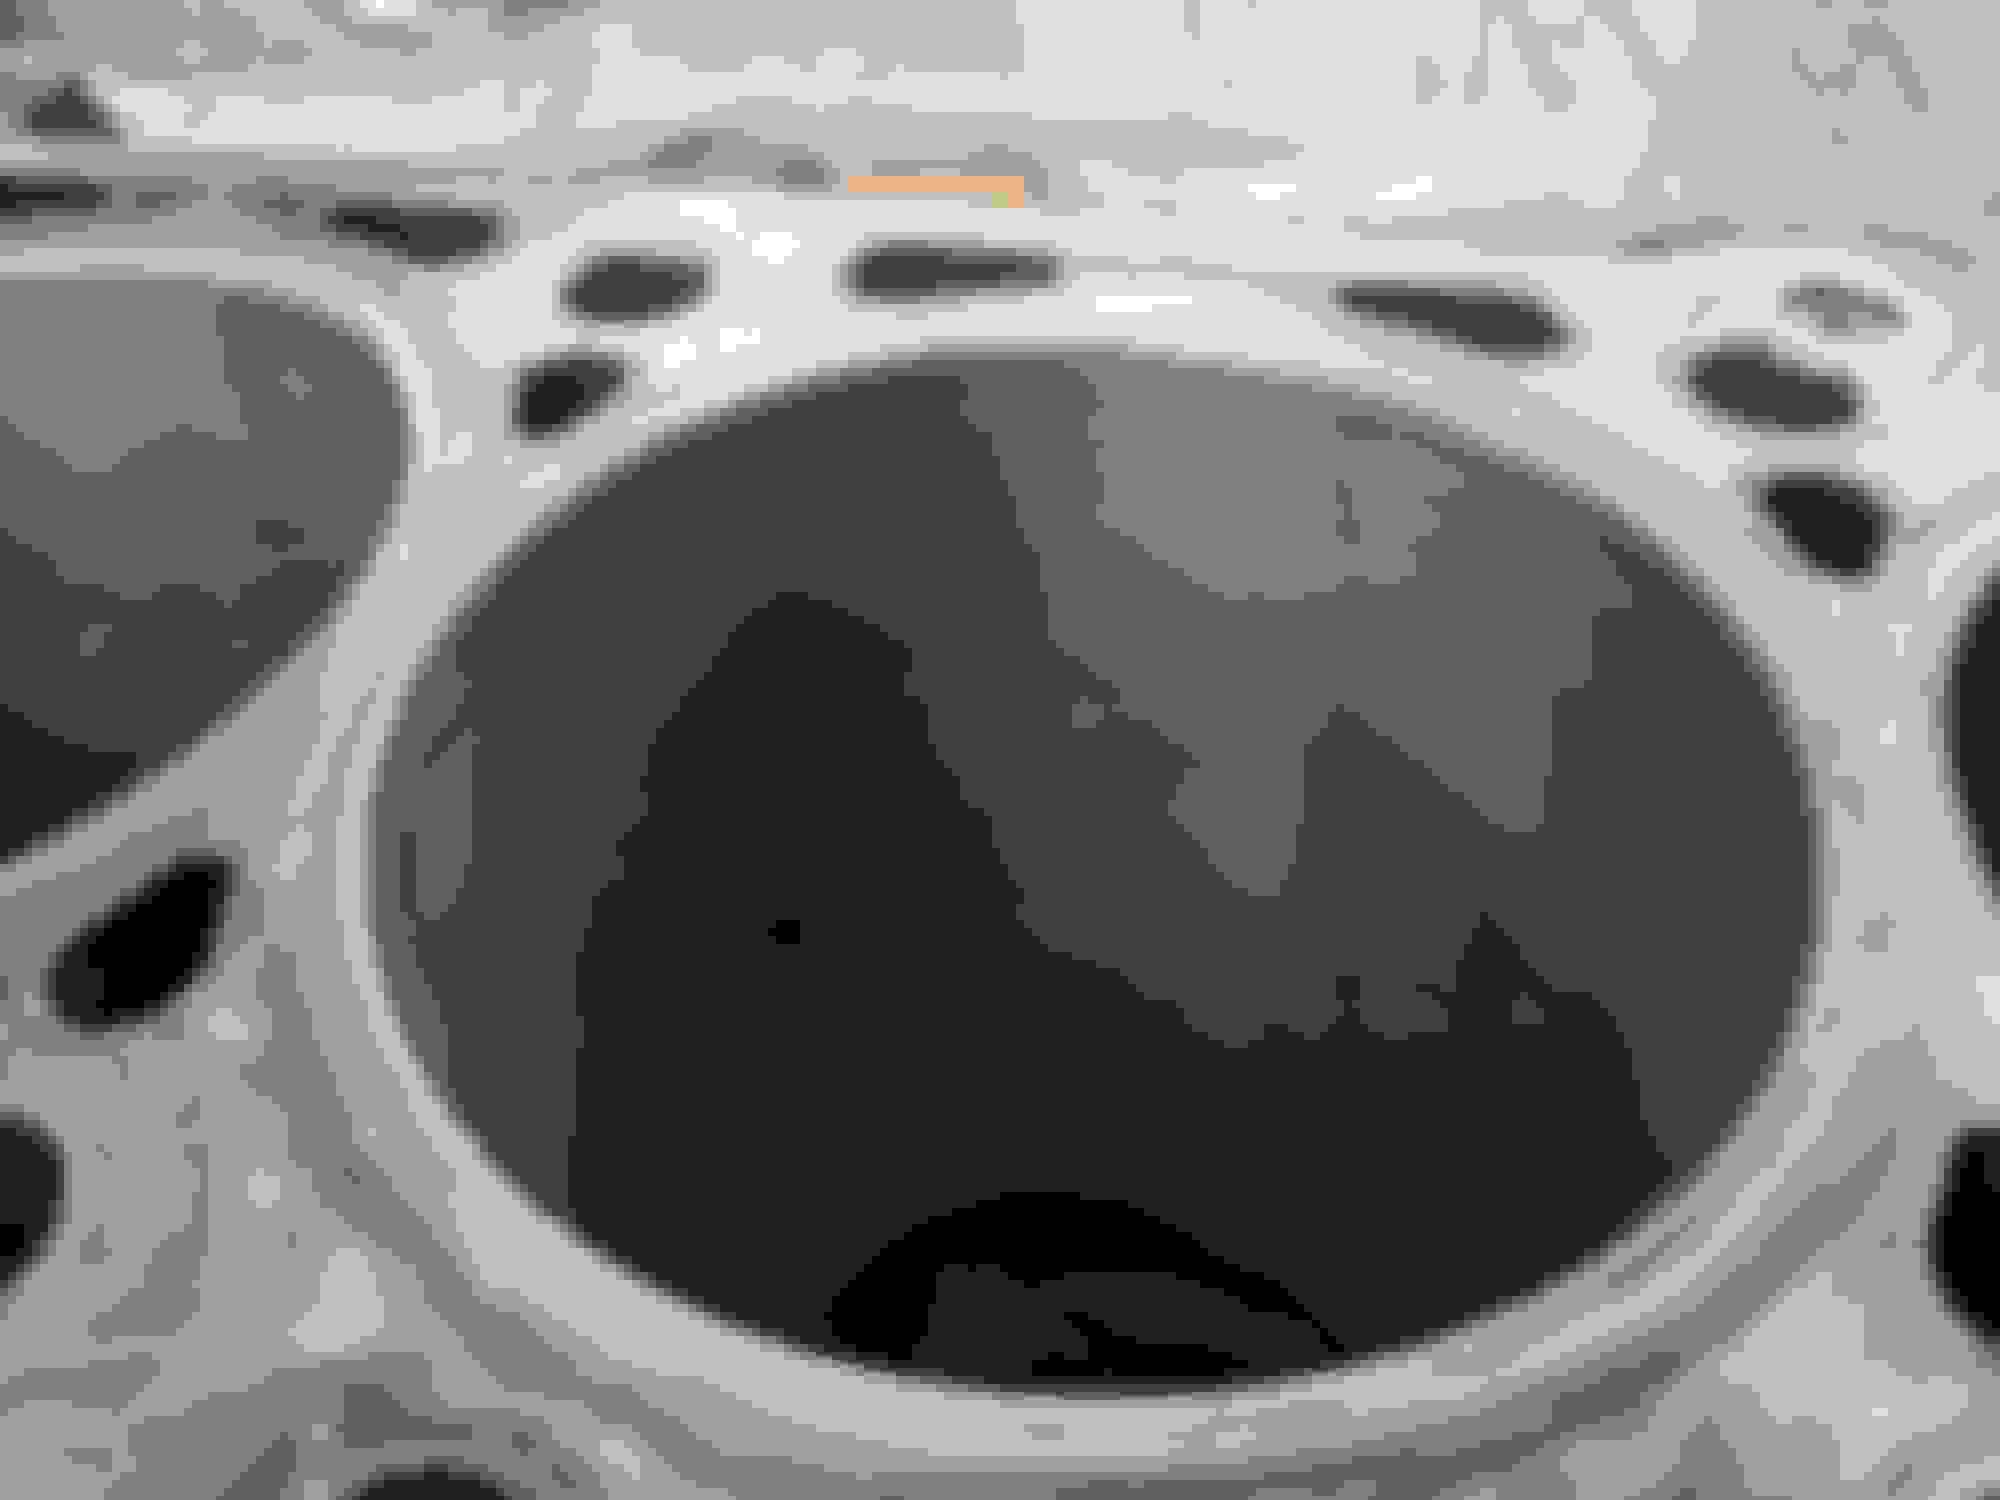
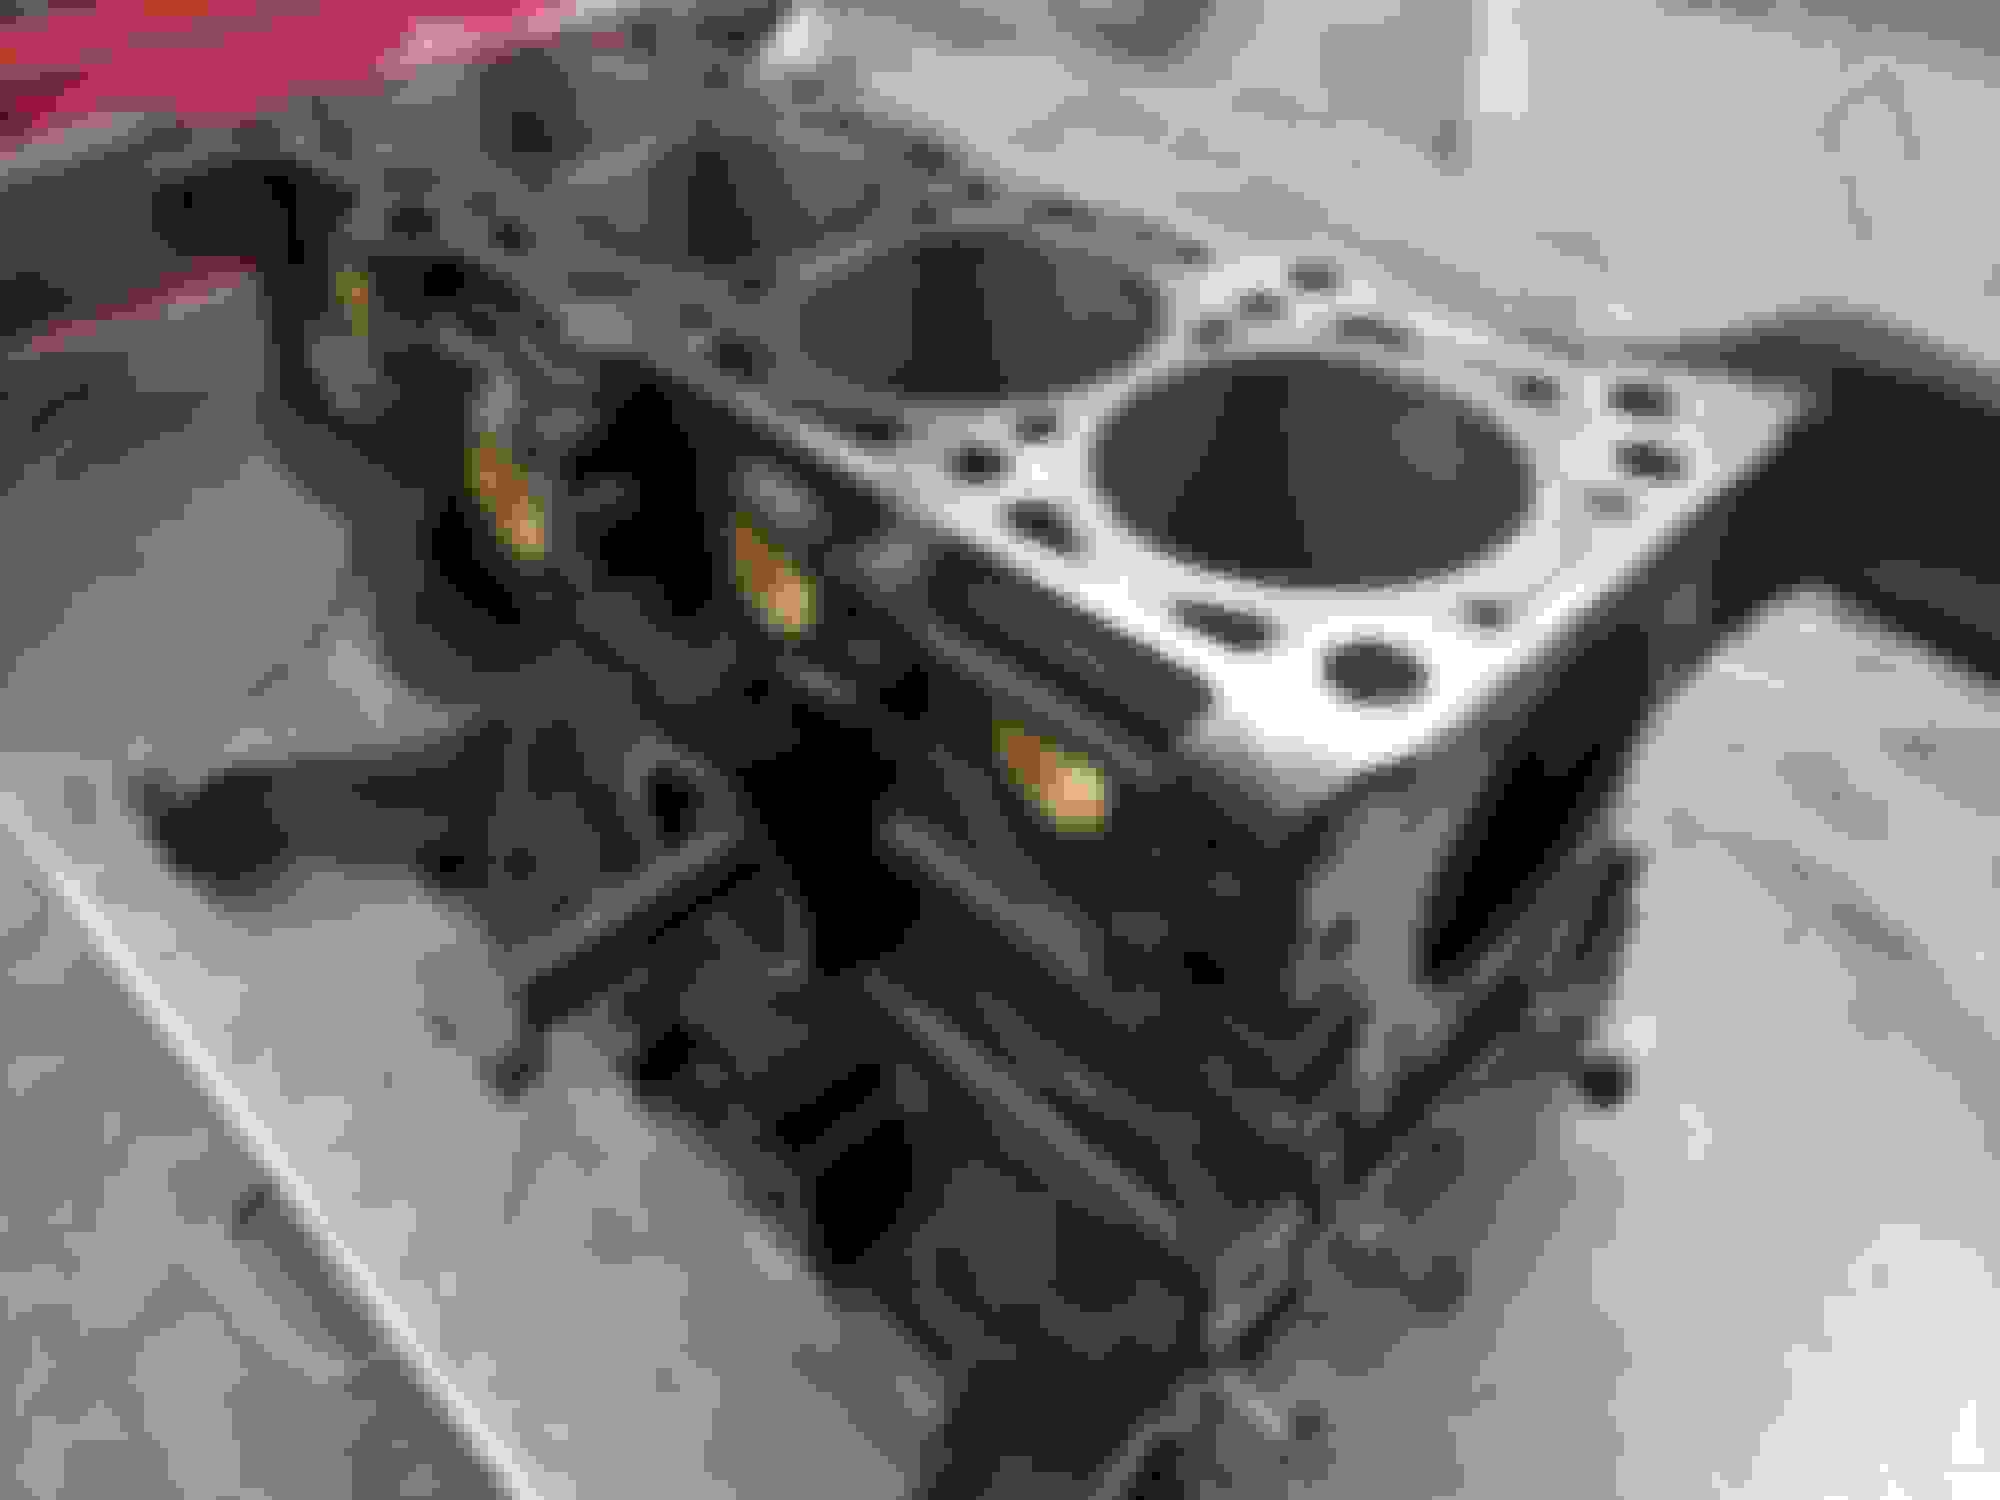
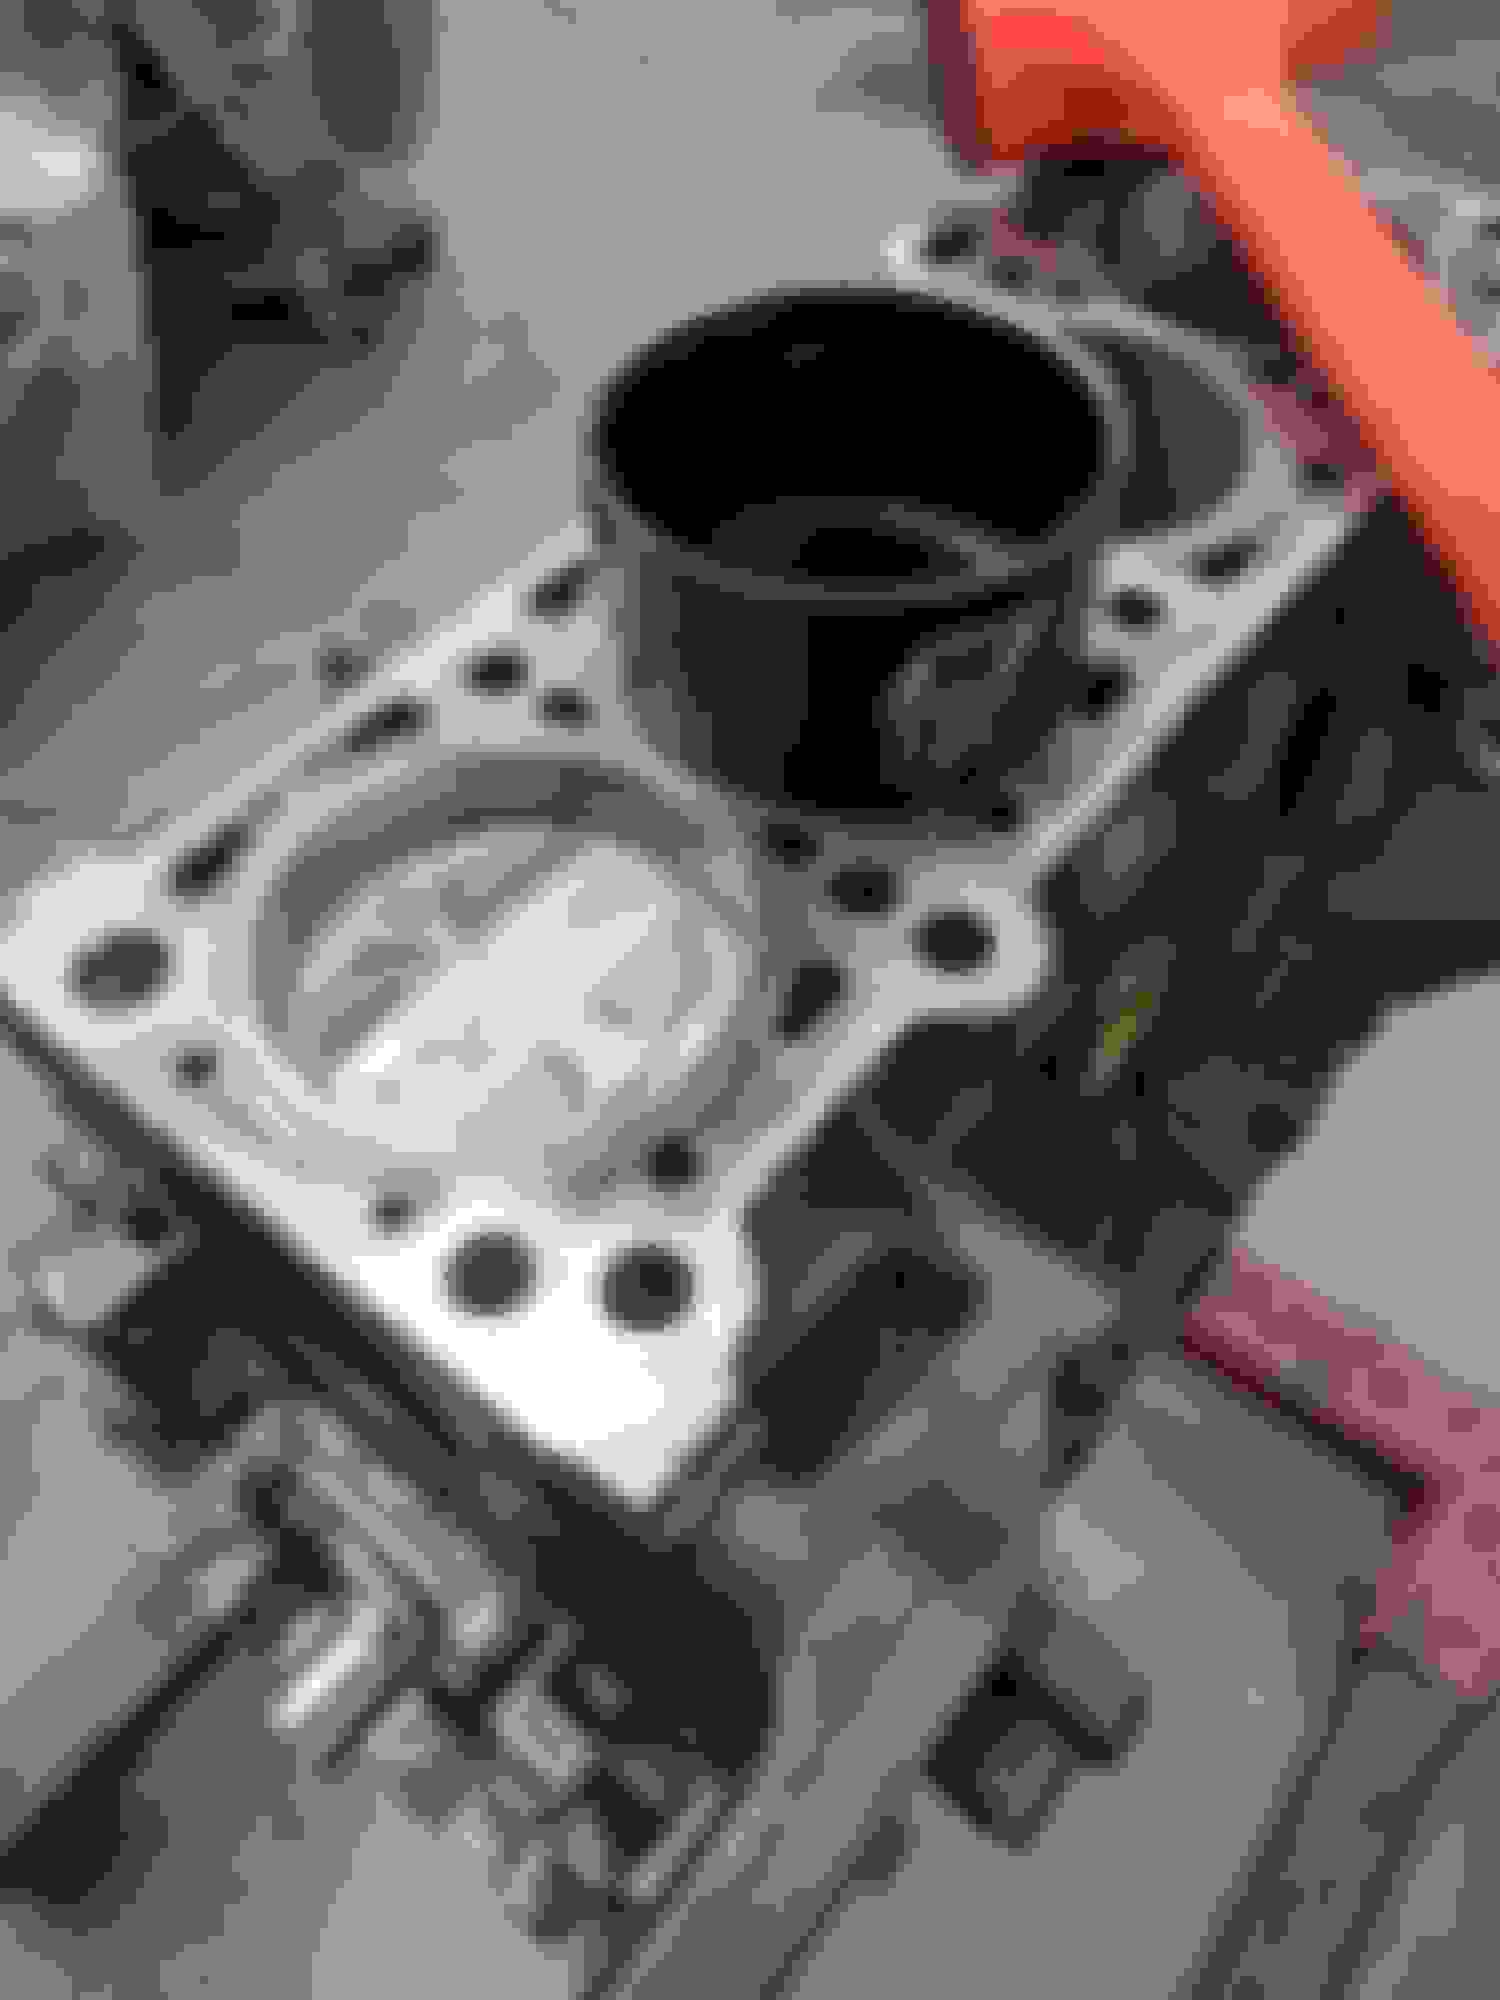
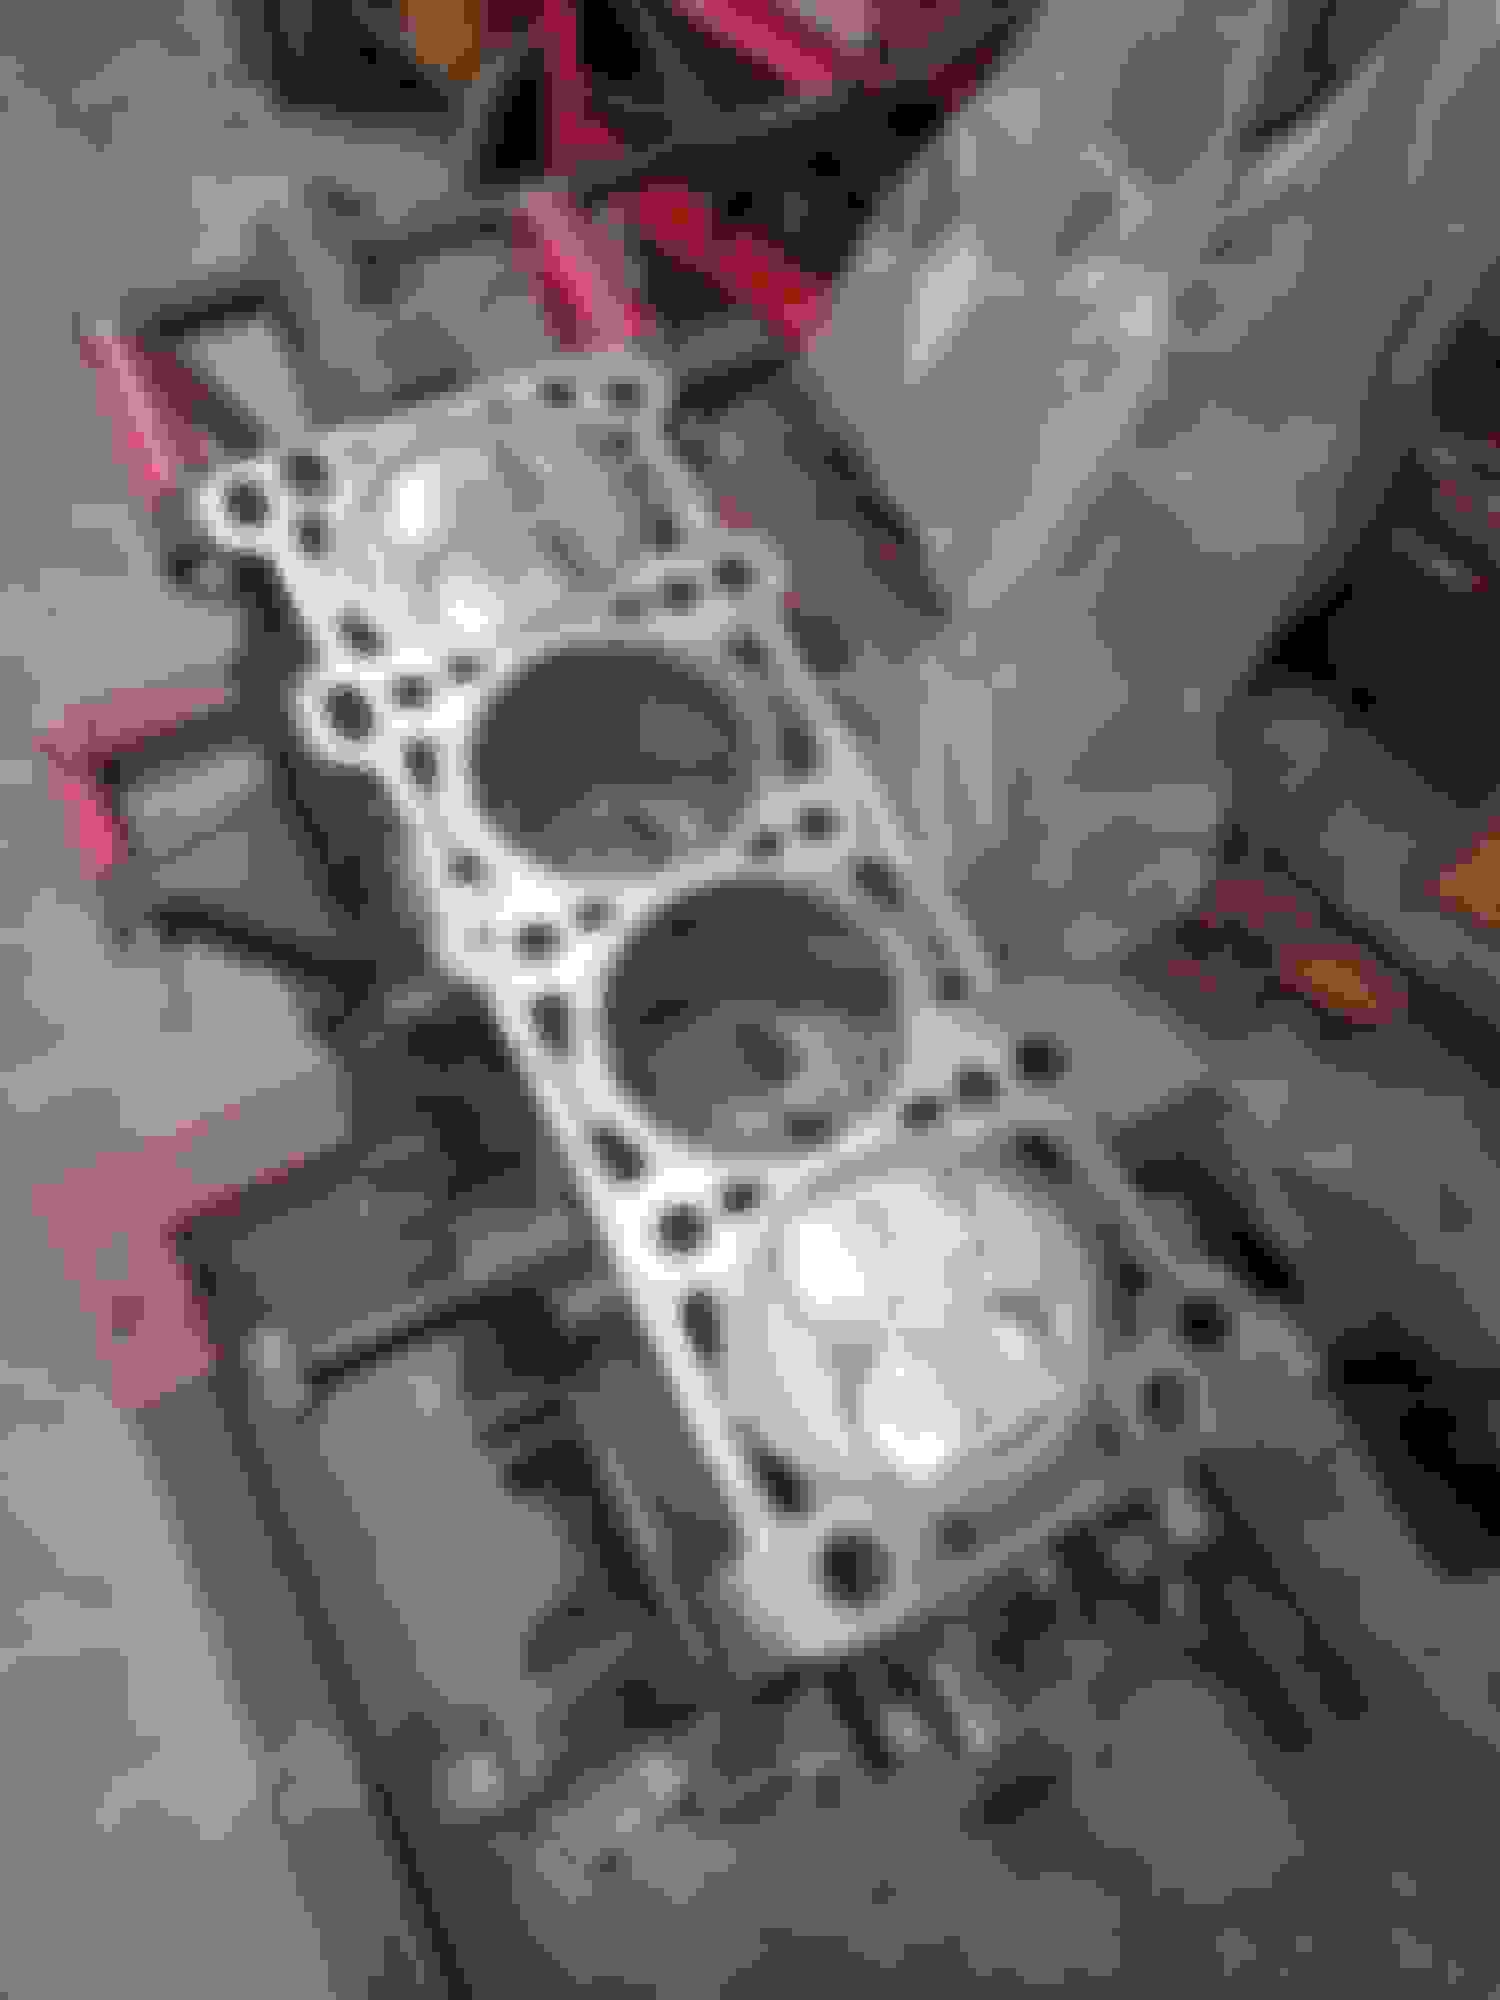
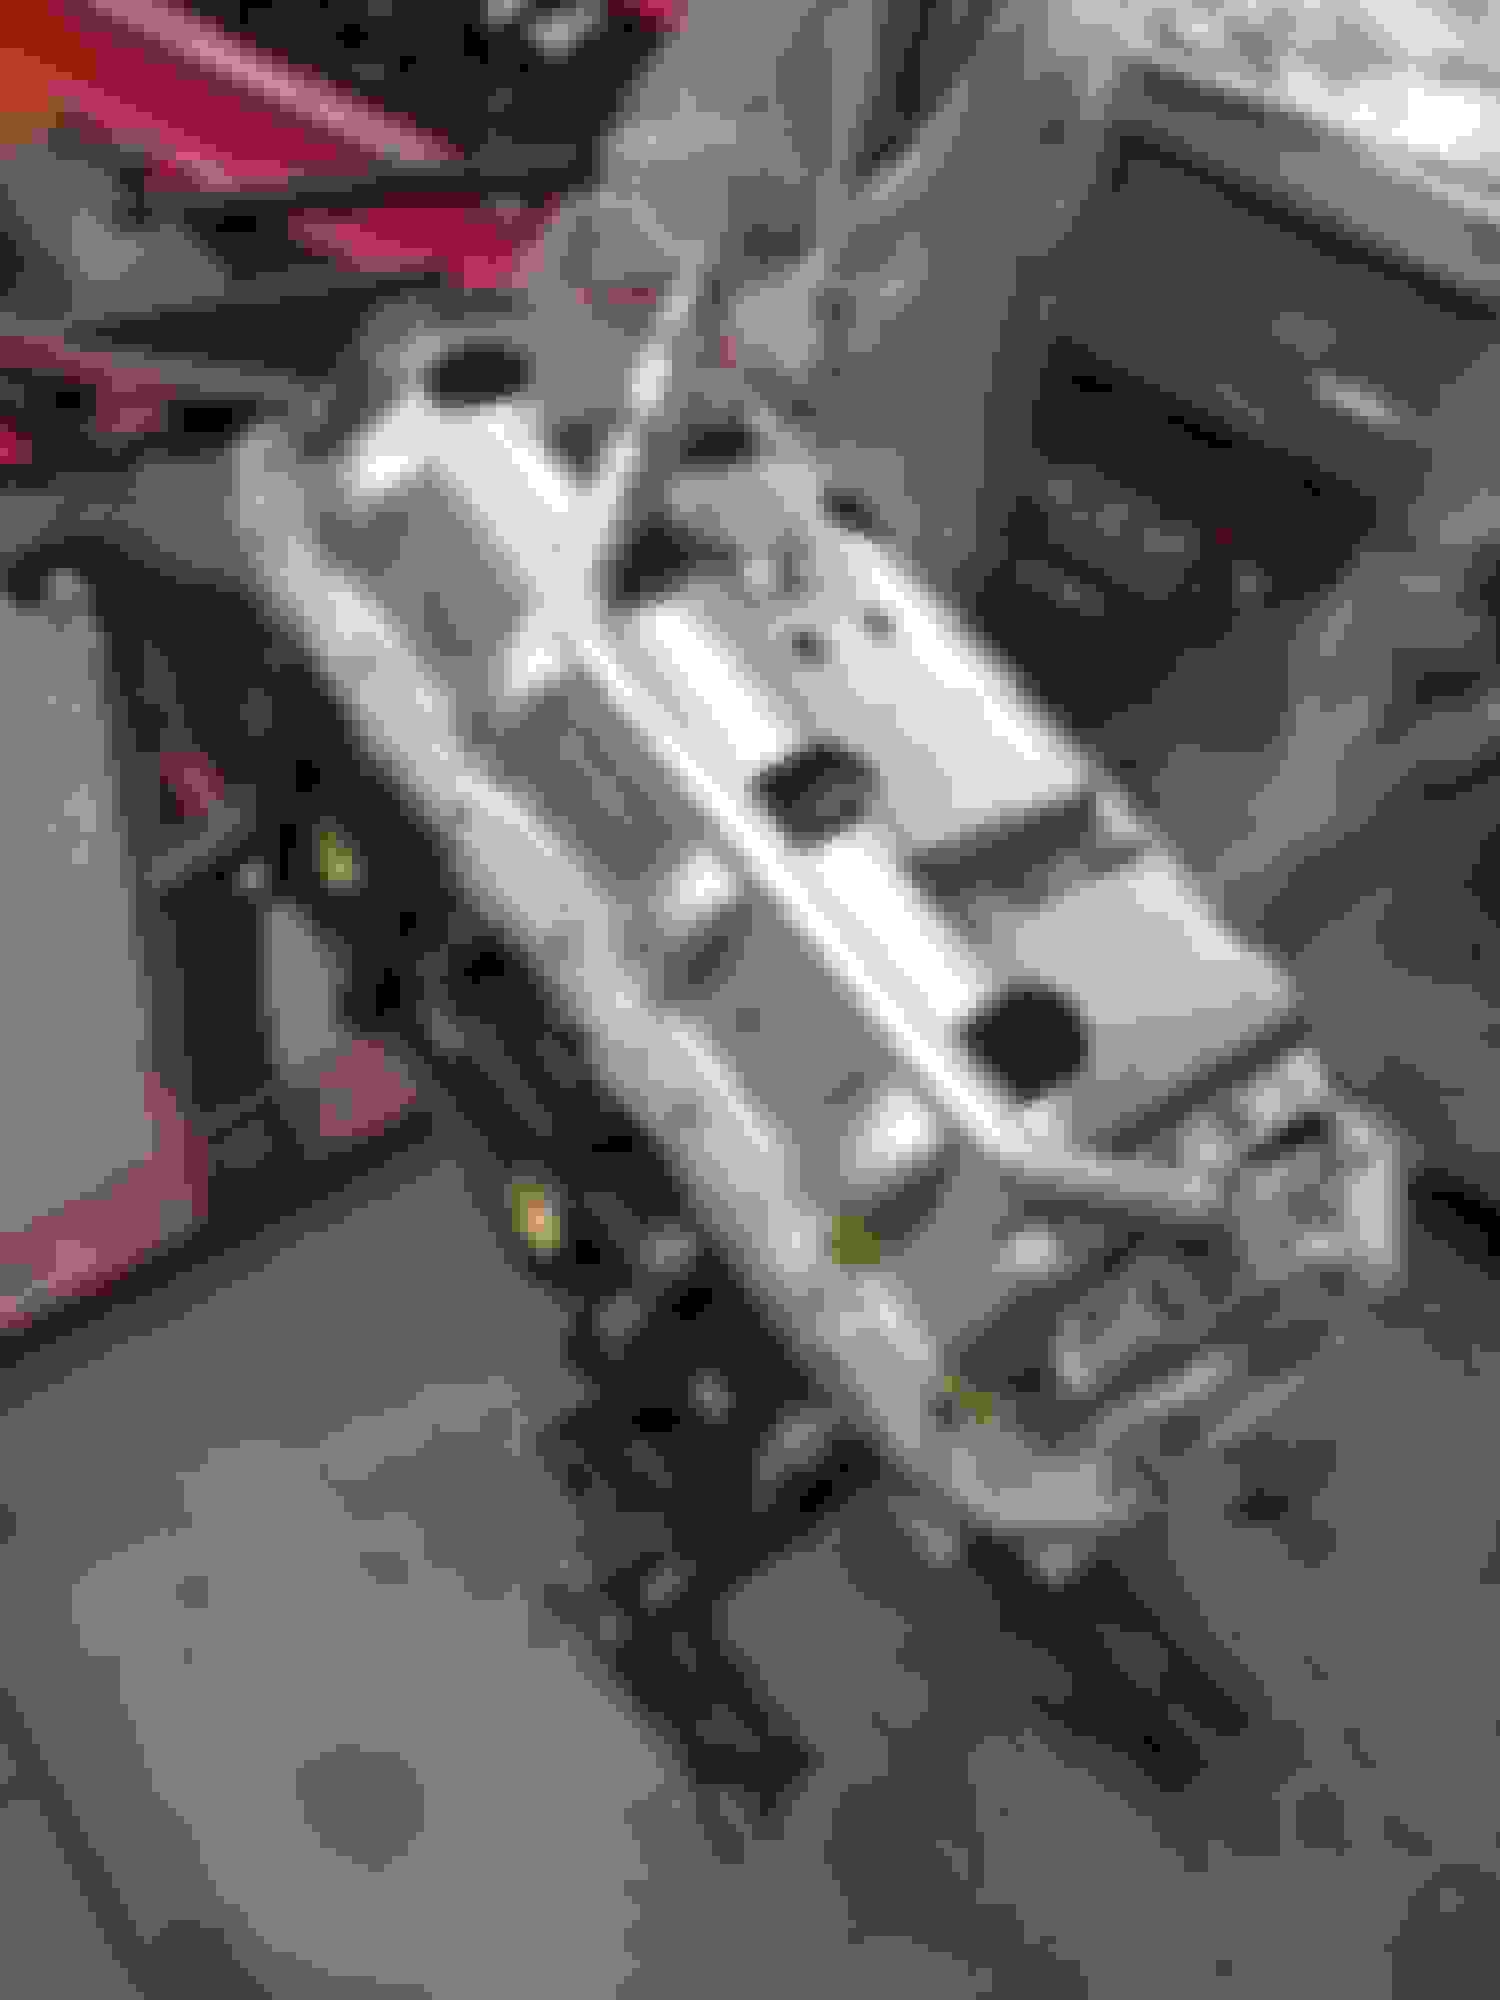
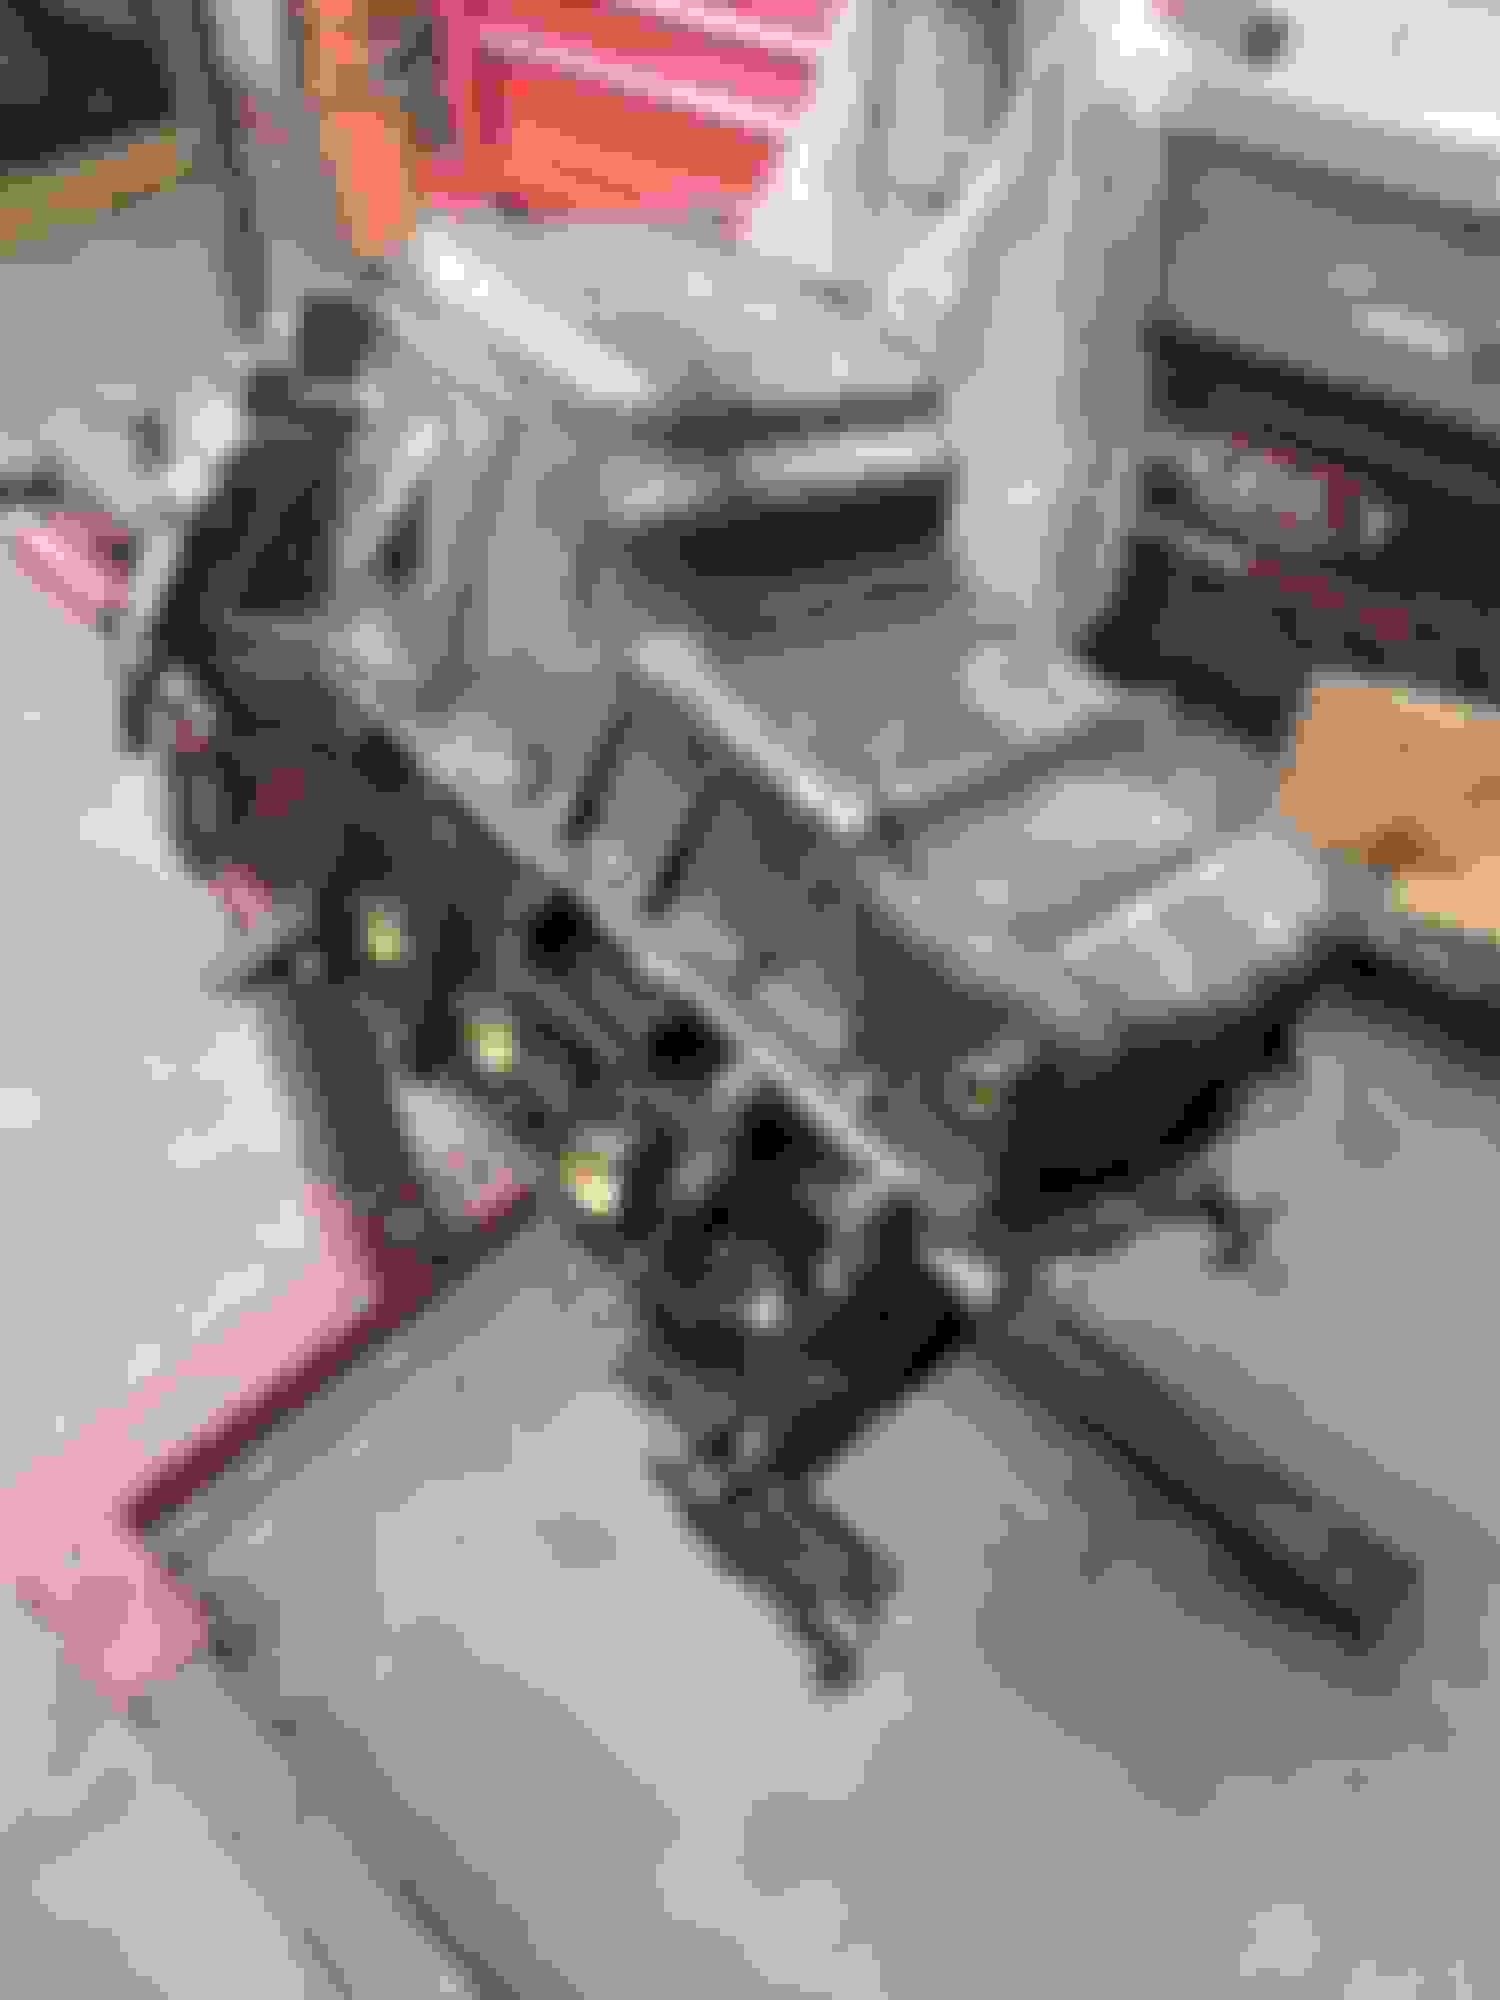
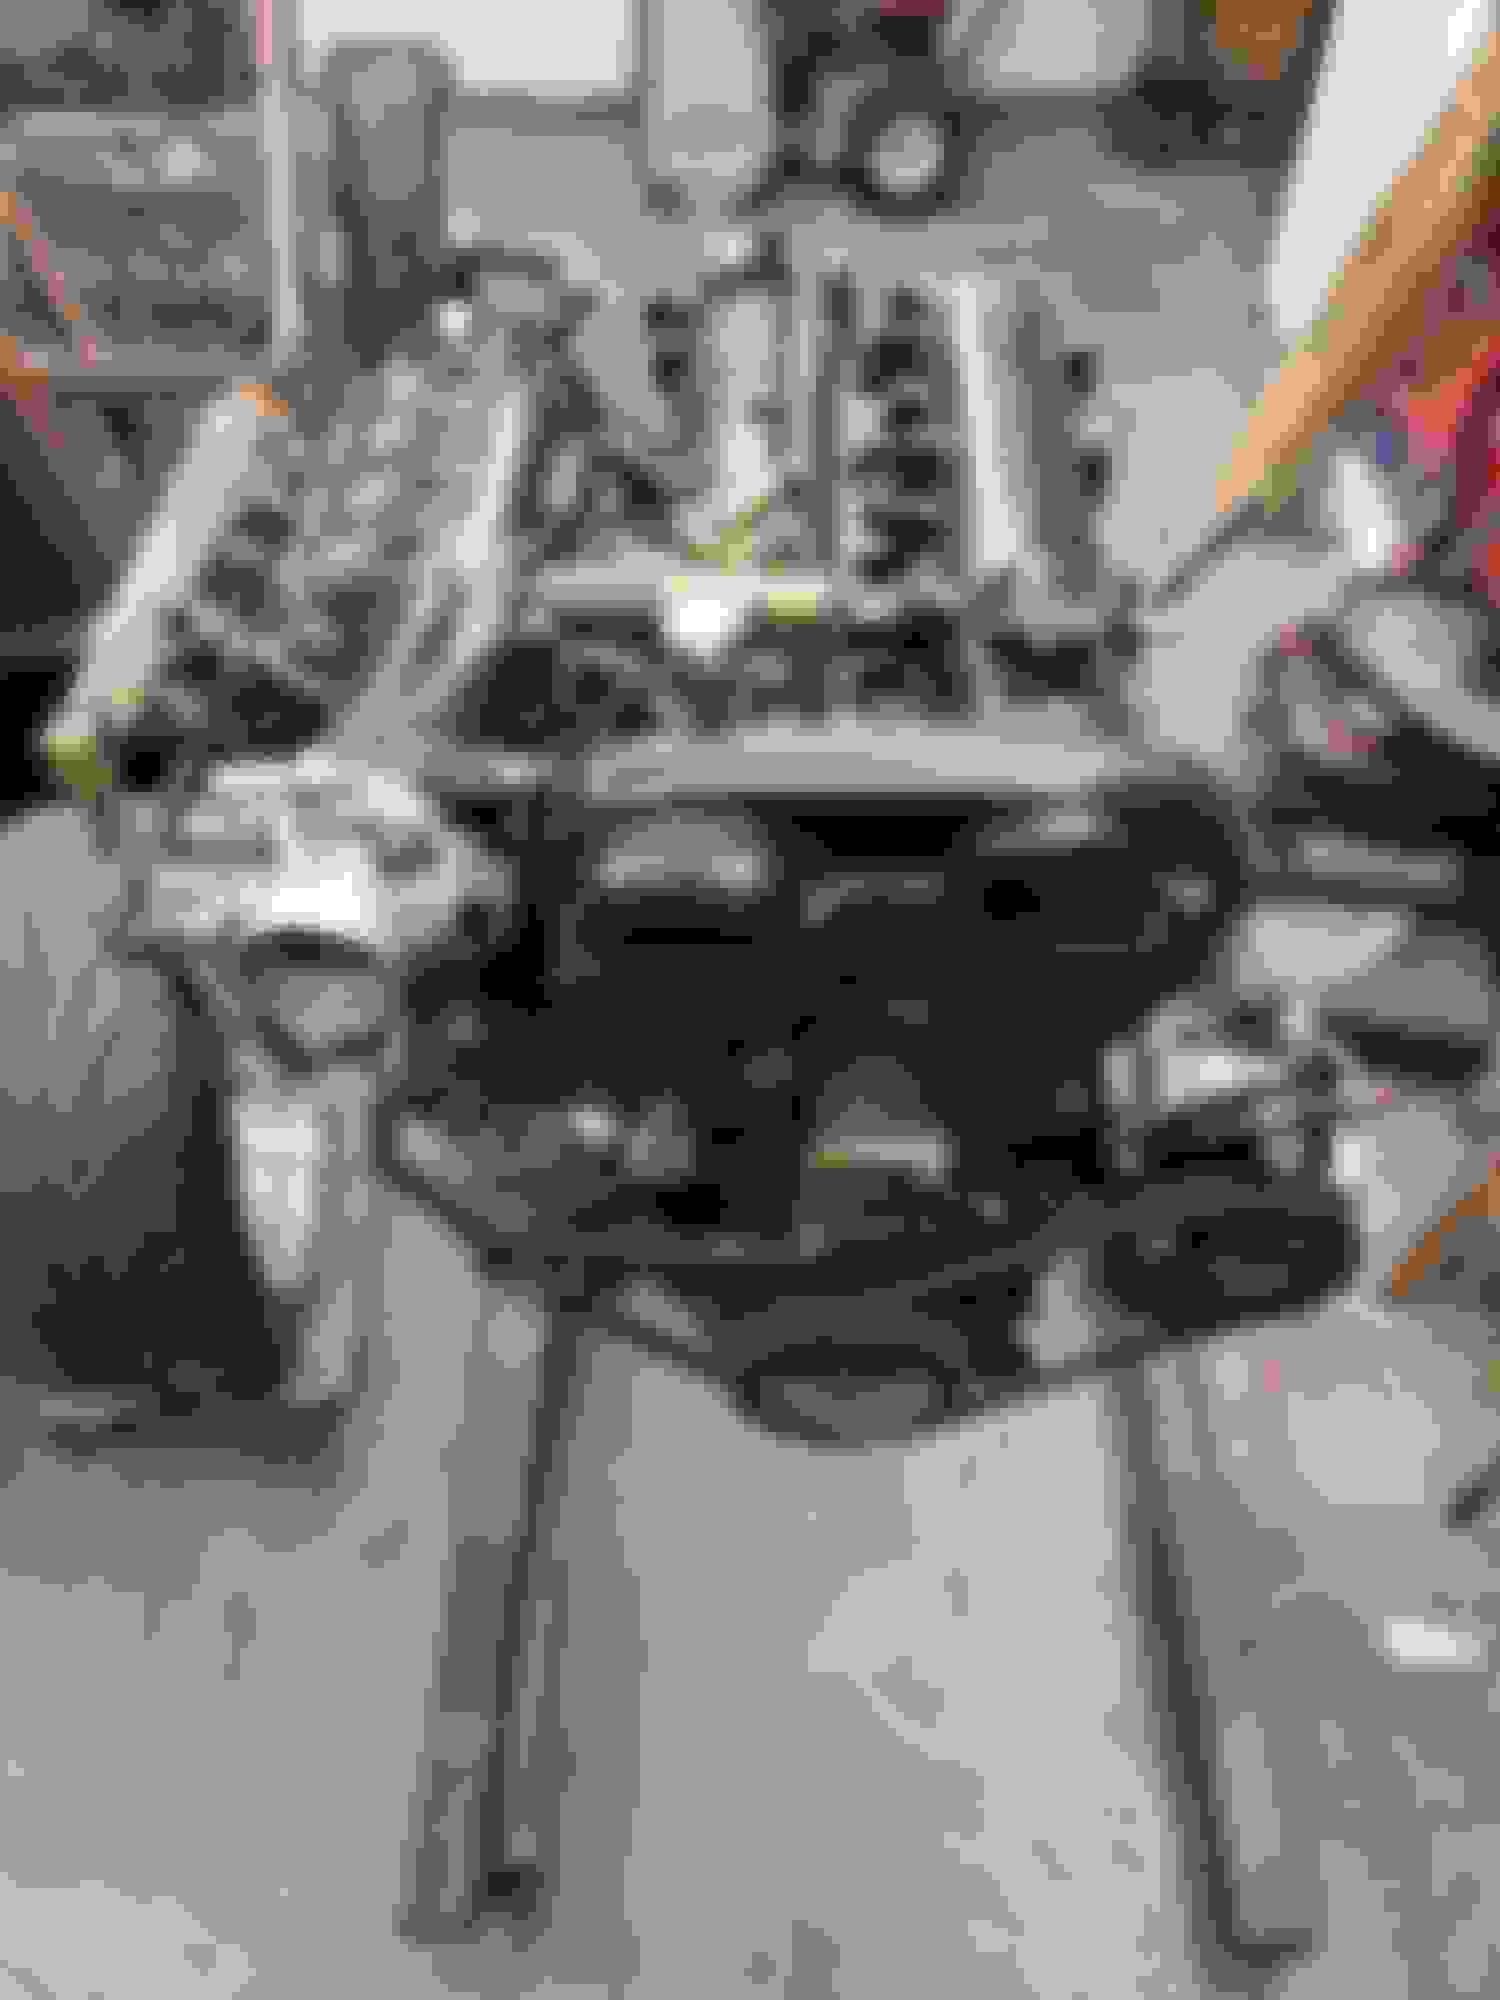
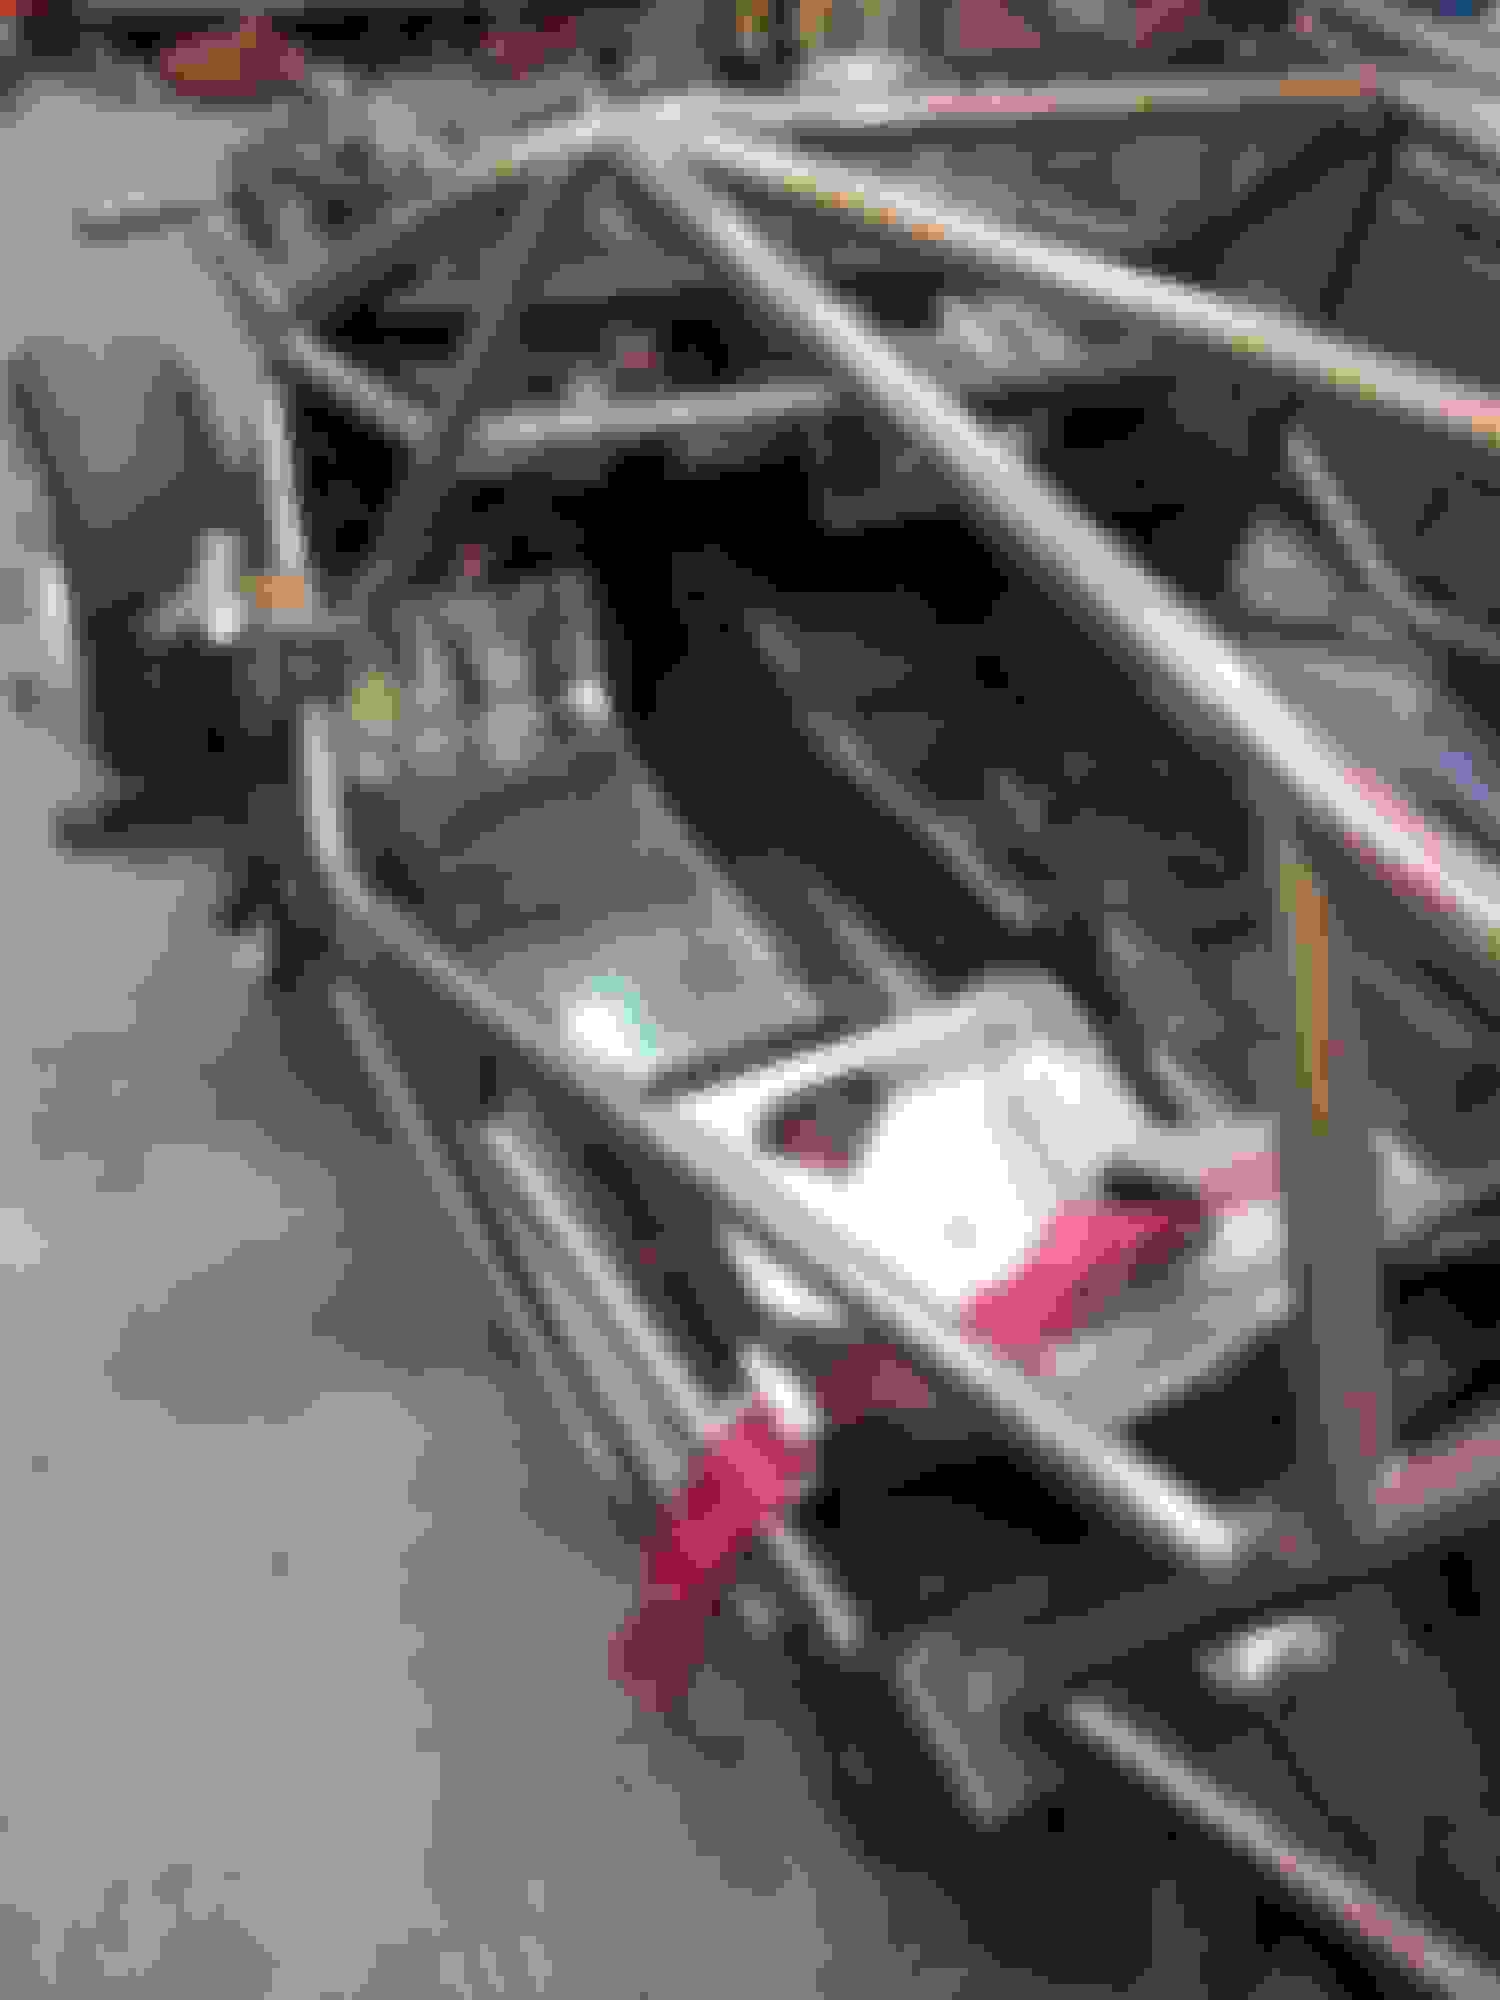
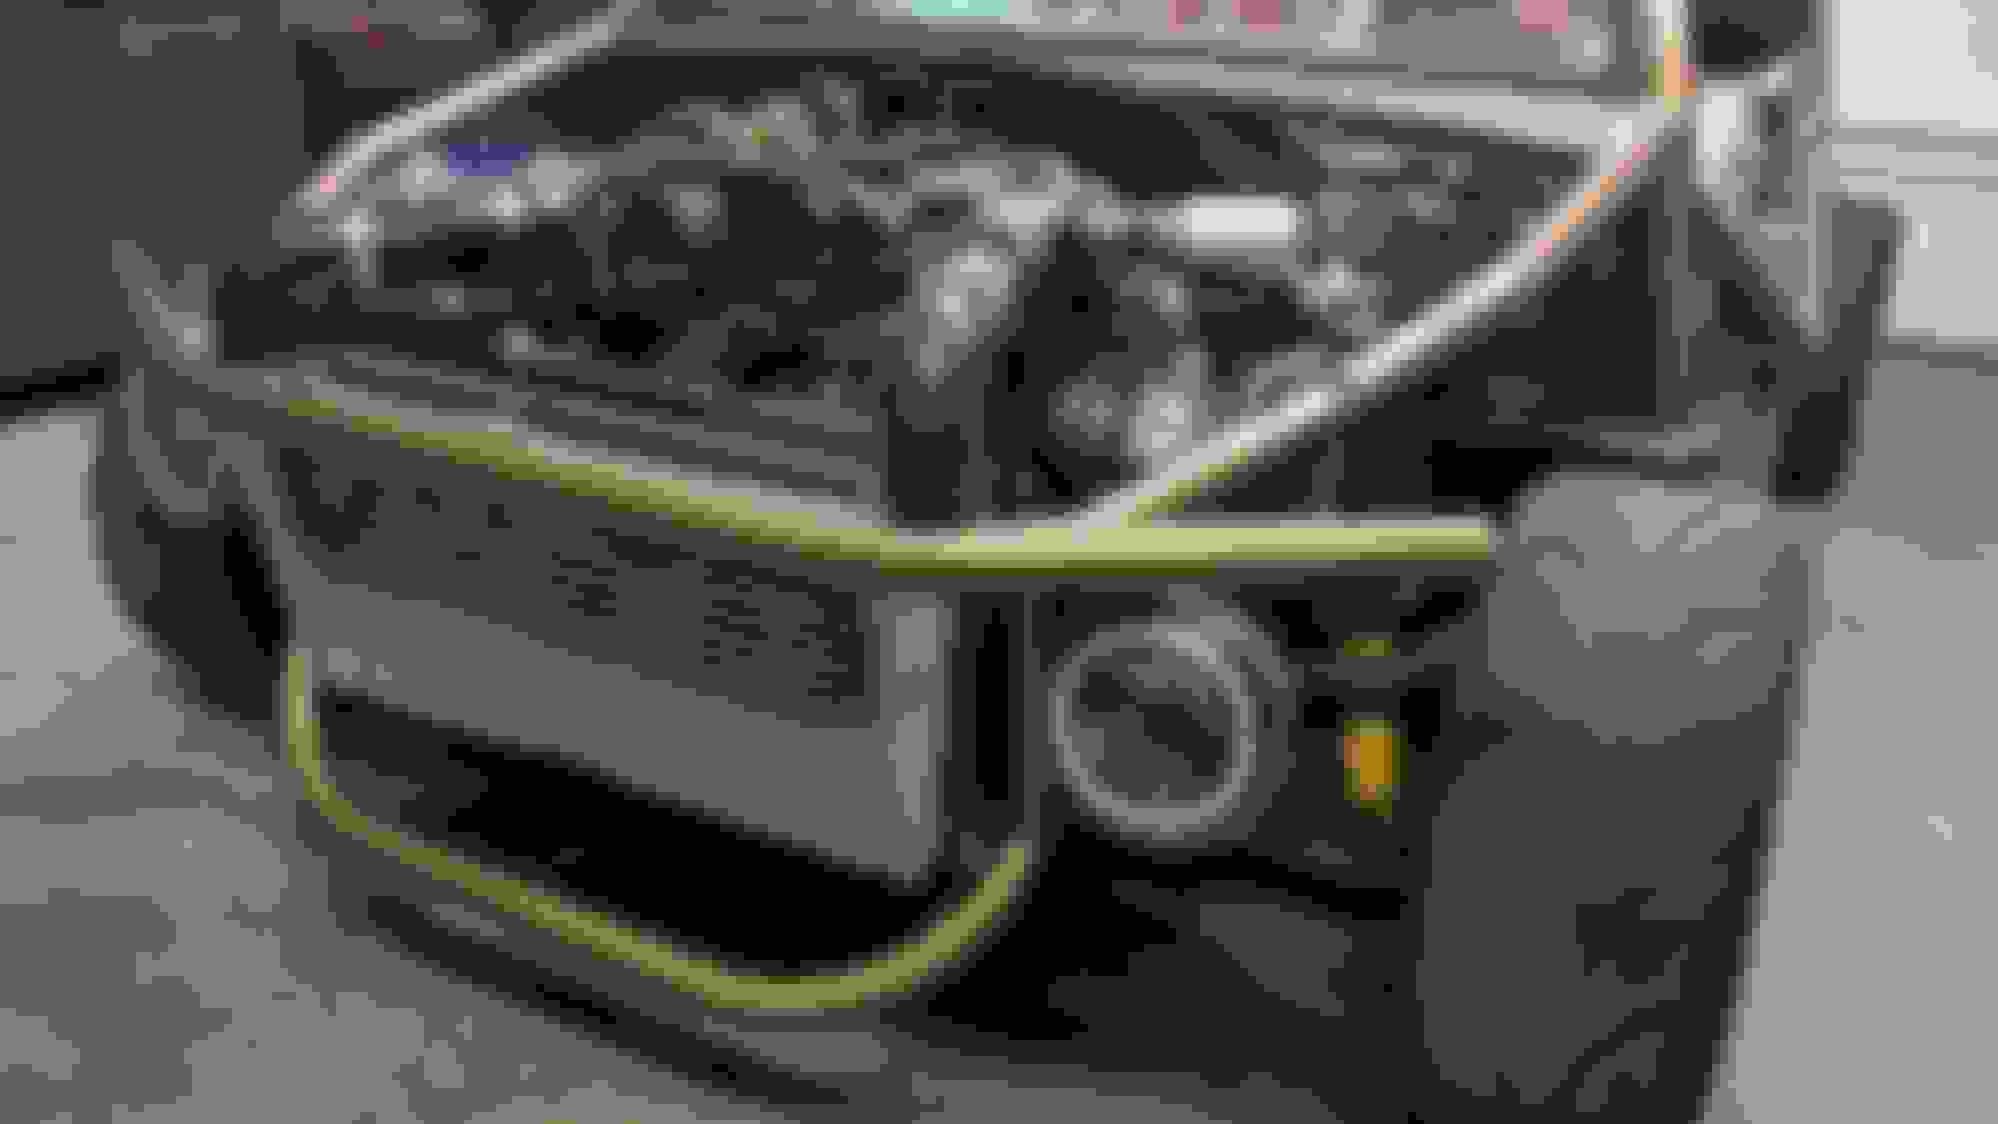
SO now the fun started - engine refresh. Tore everything down, first step was a good honing:
Then a good cleaning
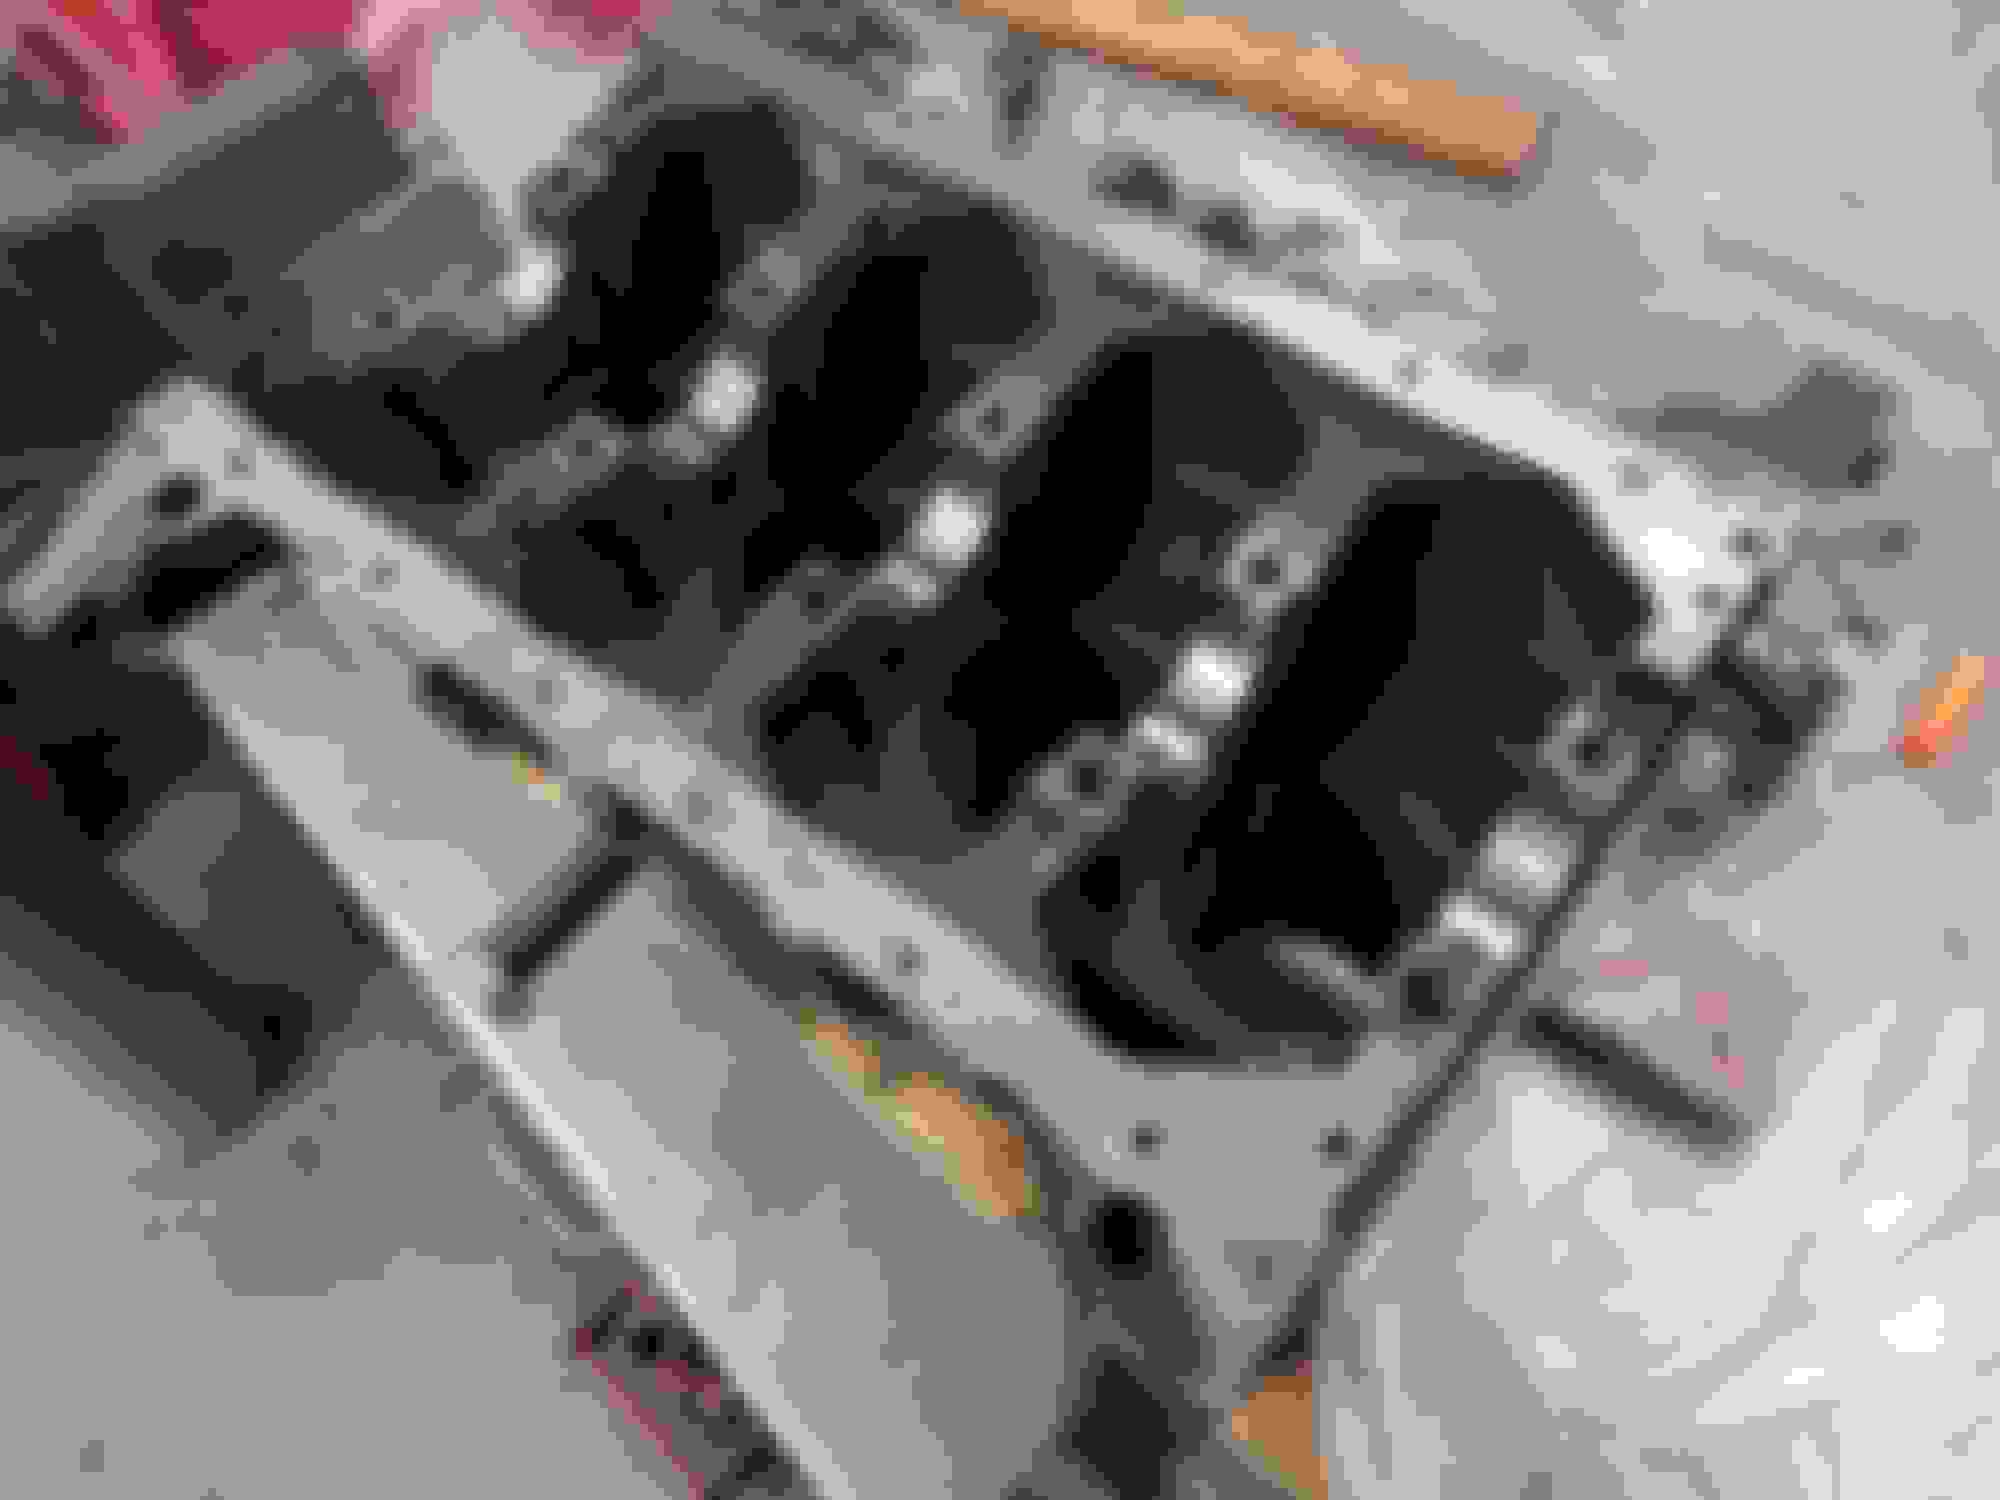
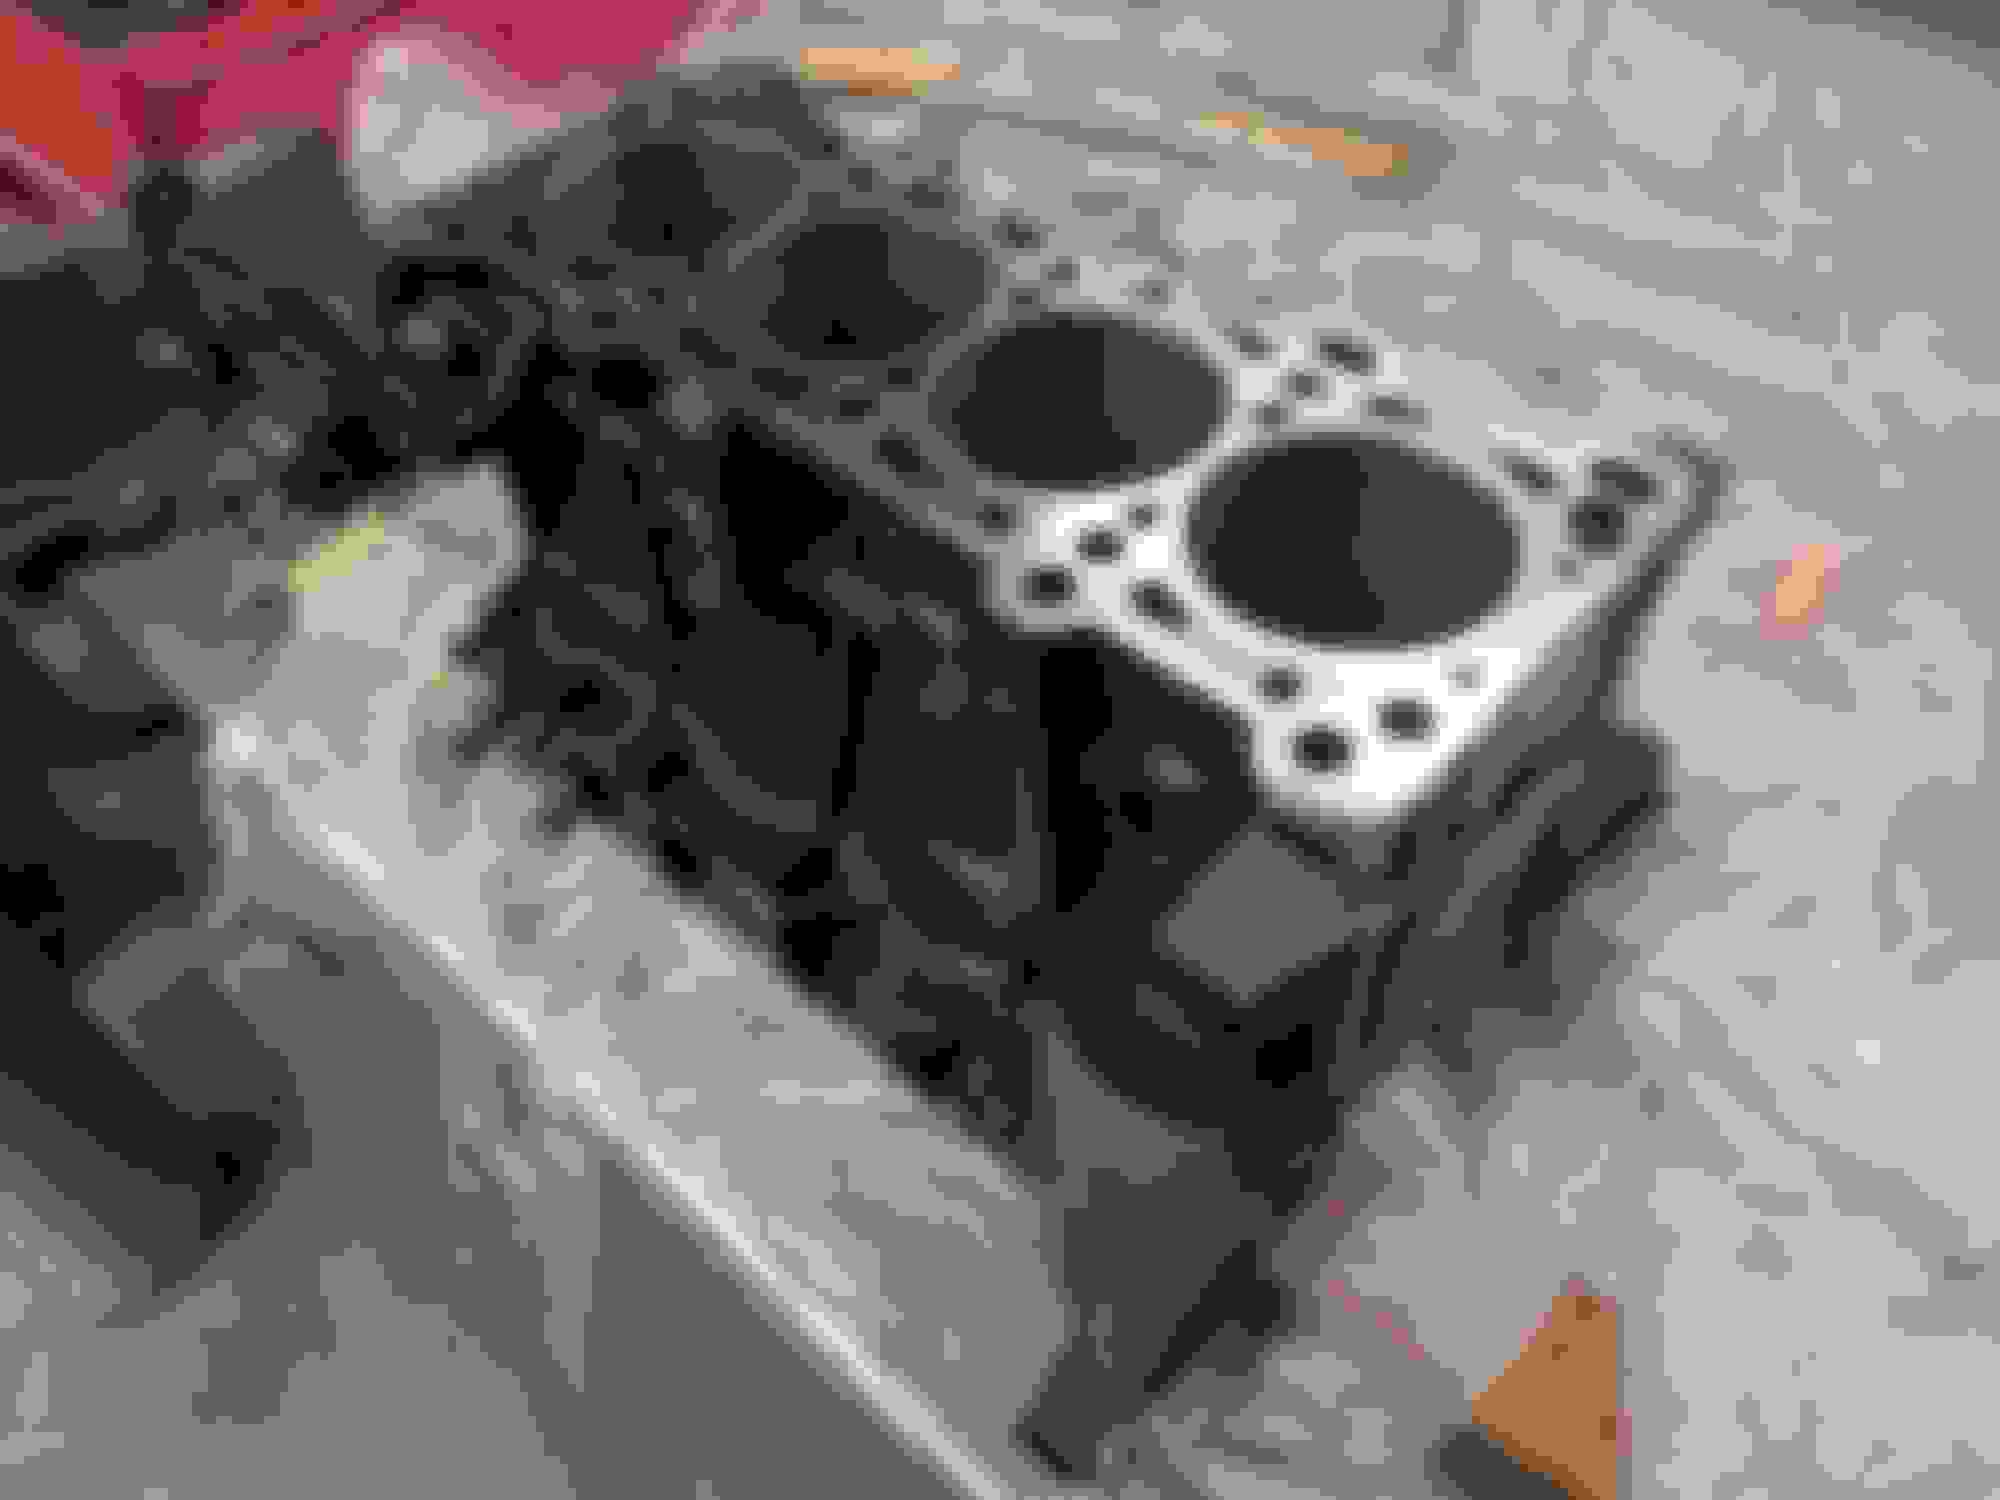
SO now the fun started - engine refresh. Tore everything down, first step was a good honing:


Then a good cleaning


Reply
0
0
02-11-2020, 02:35 PM
#113
Junior Member
Thread Starter
iTrader: (3)
Join Date: Oct 2015
Location: Steamboat Springs, CO
Posts: 329
Total Cats: 22
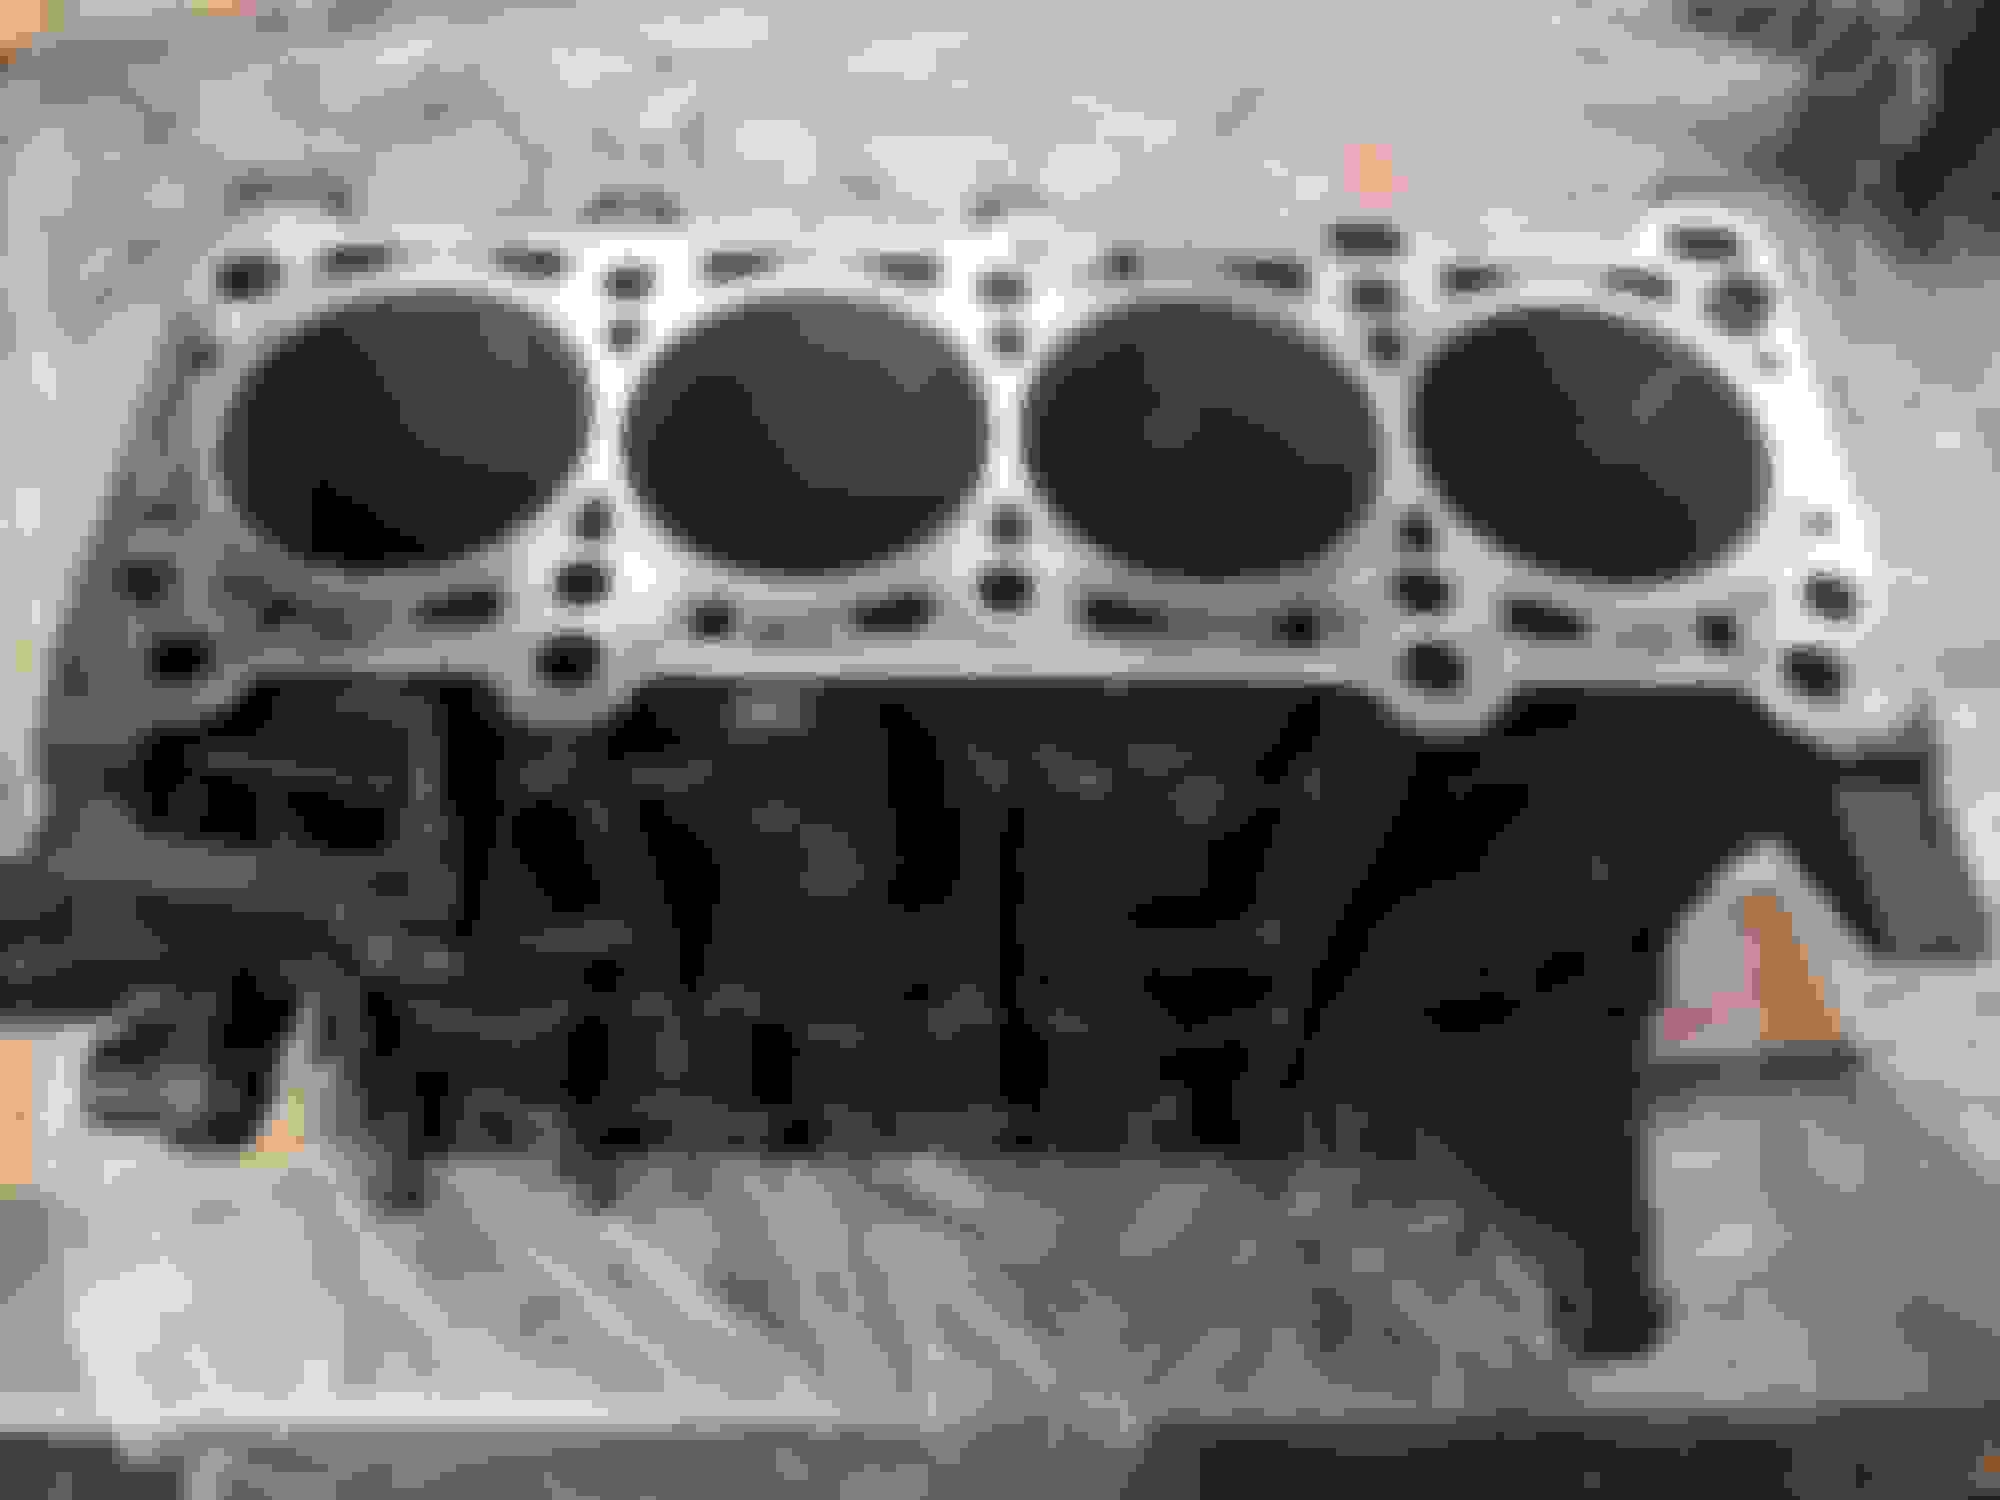
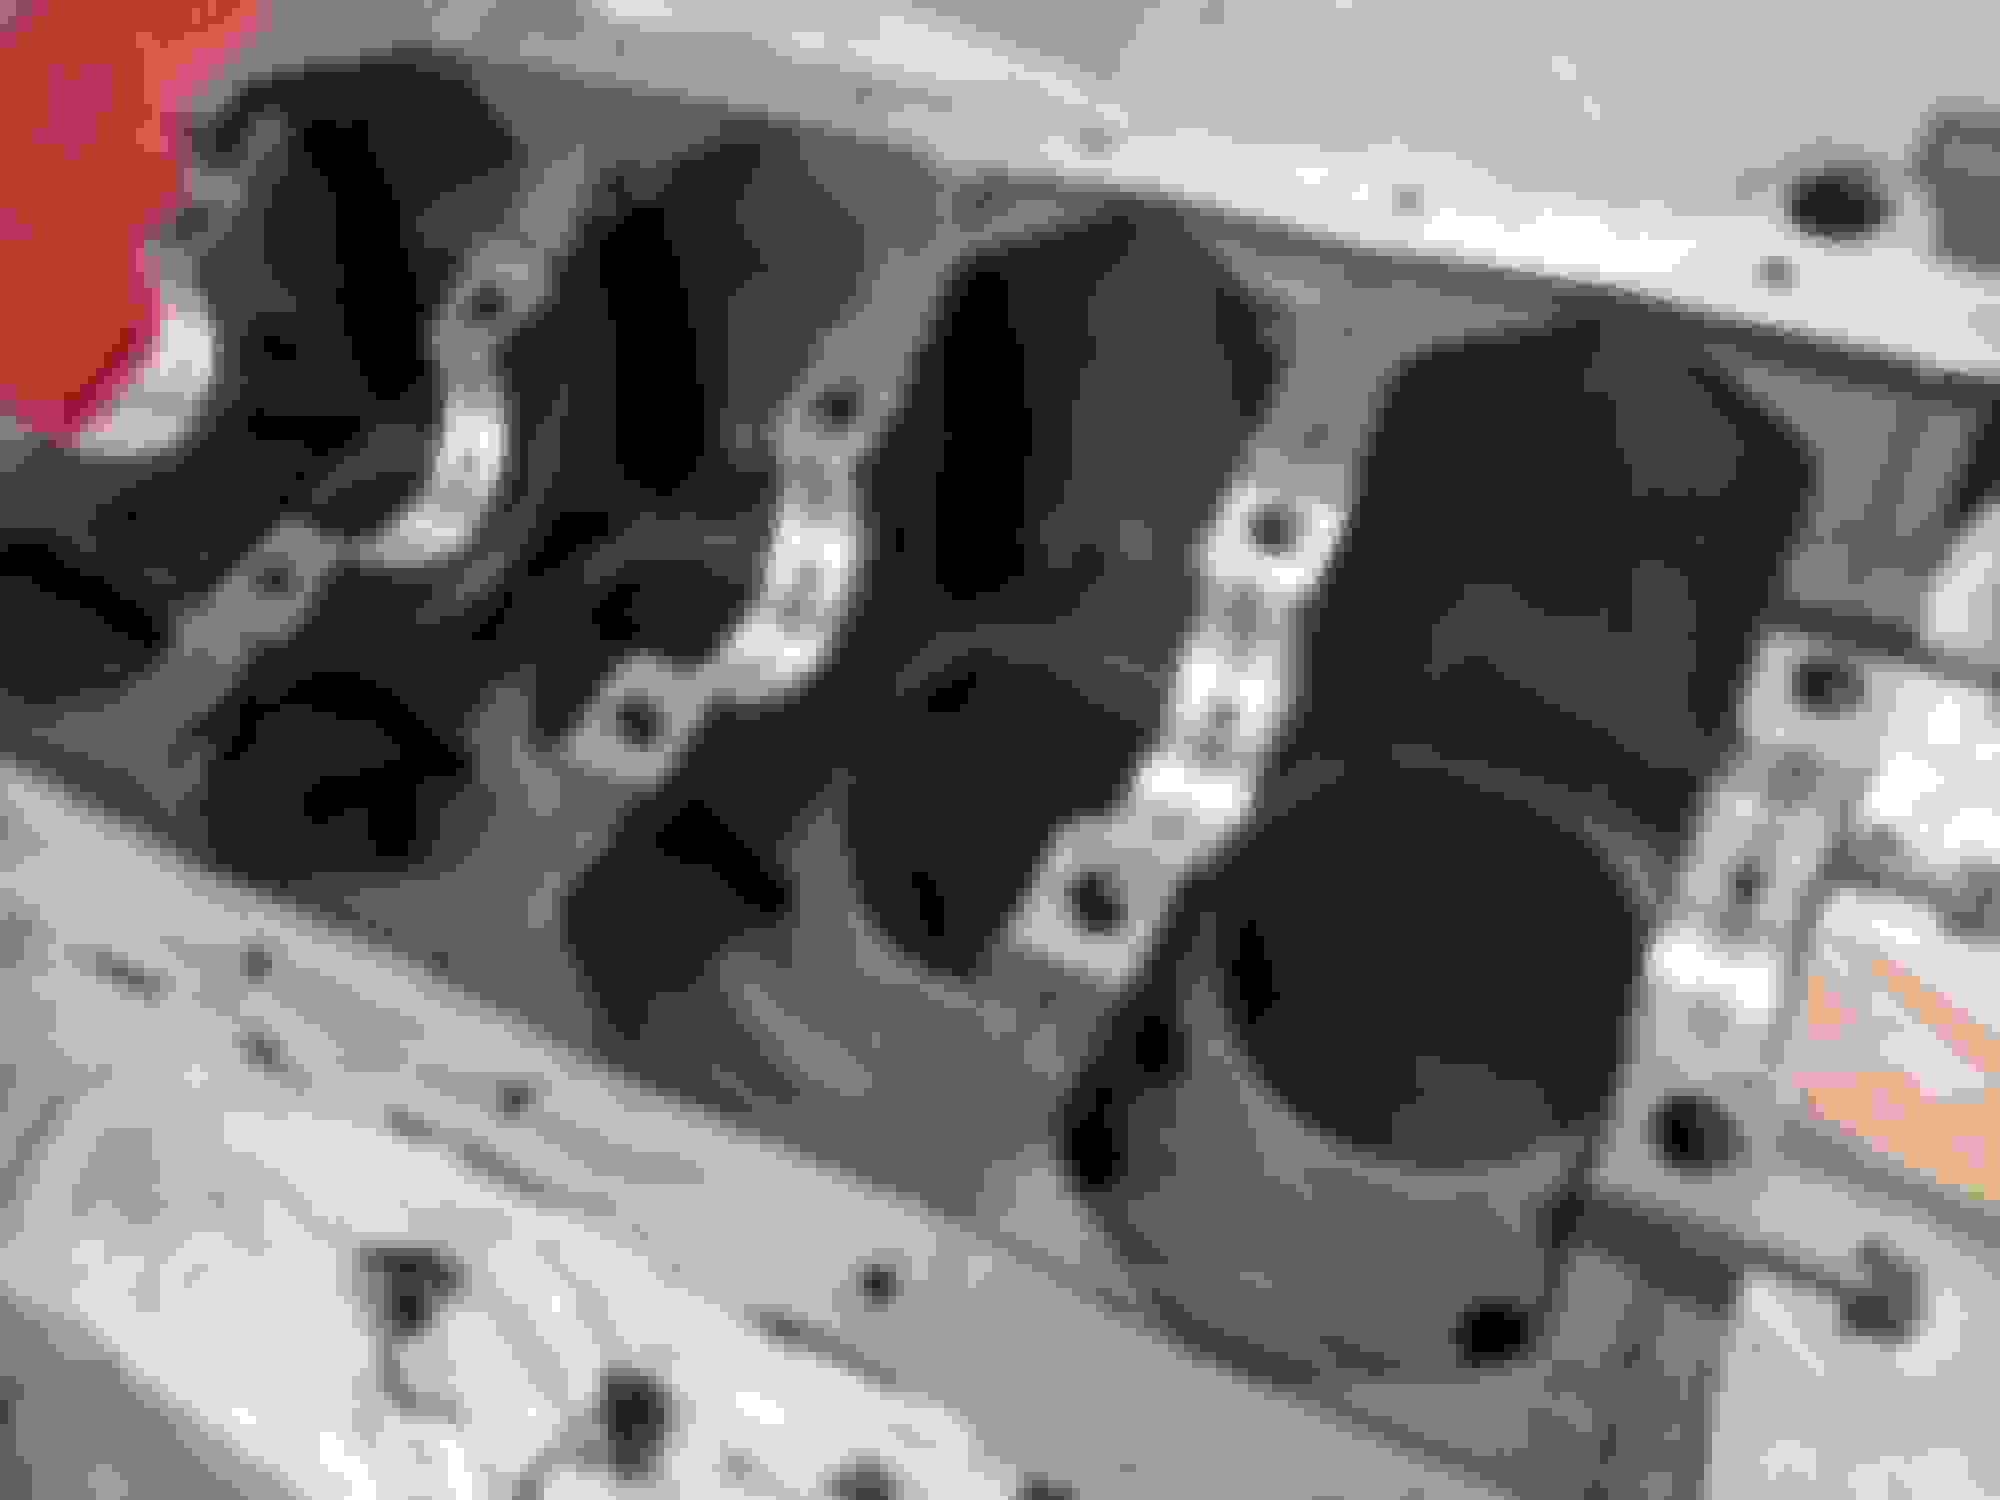
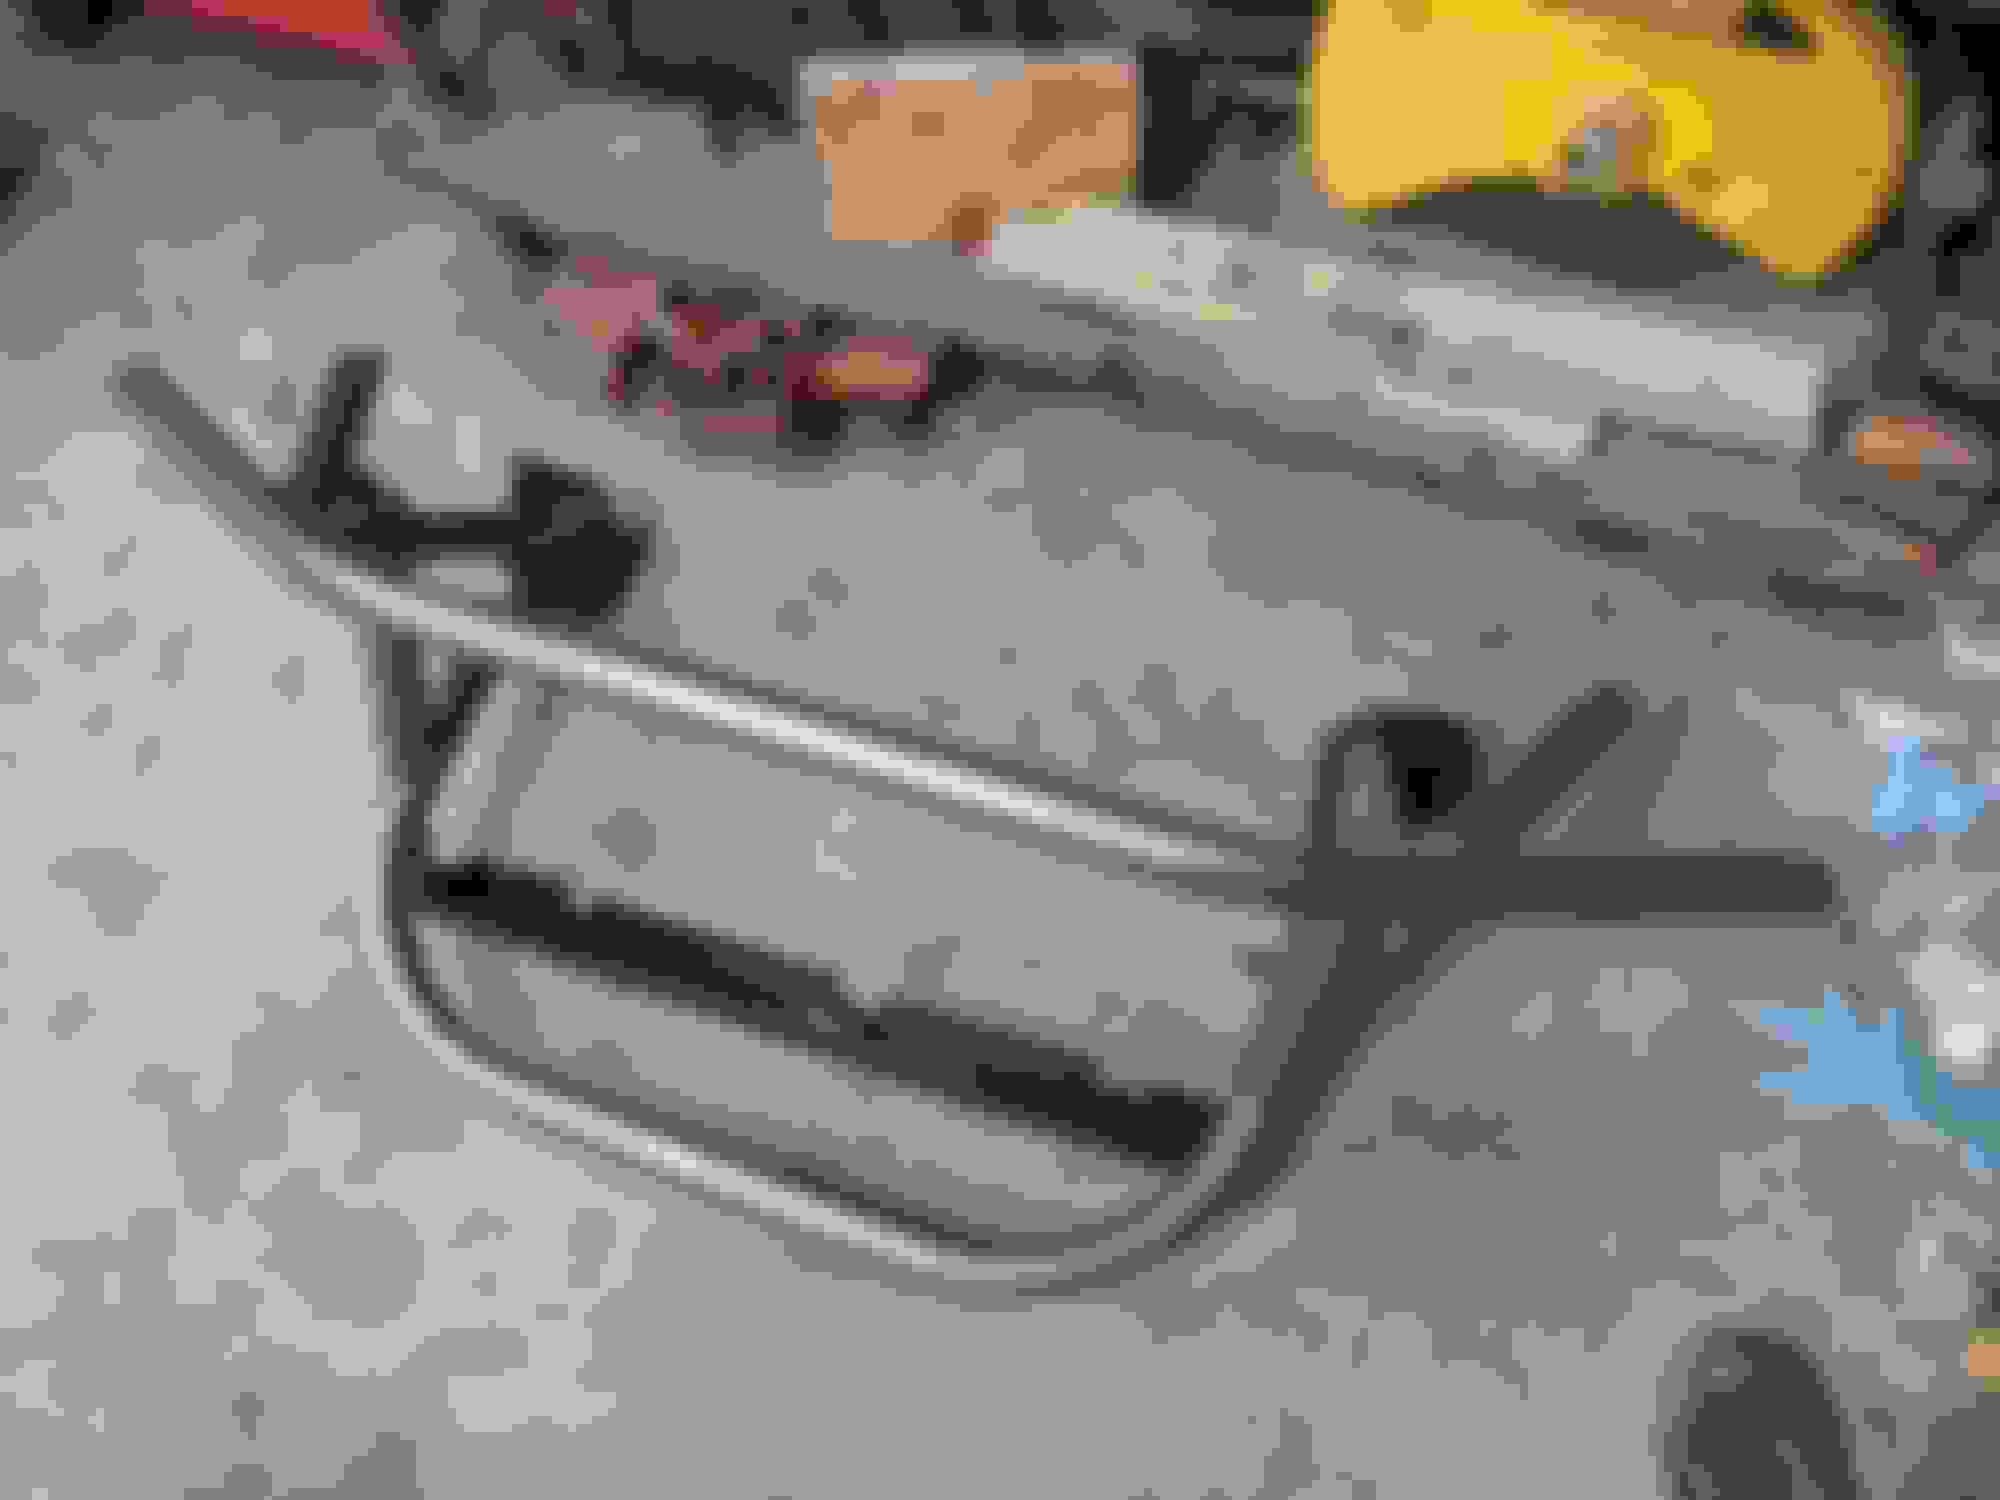
After honed and cleaned, next came freeze plugs:
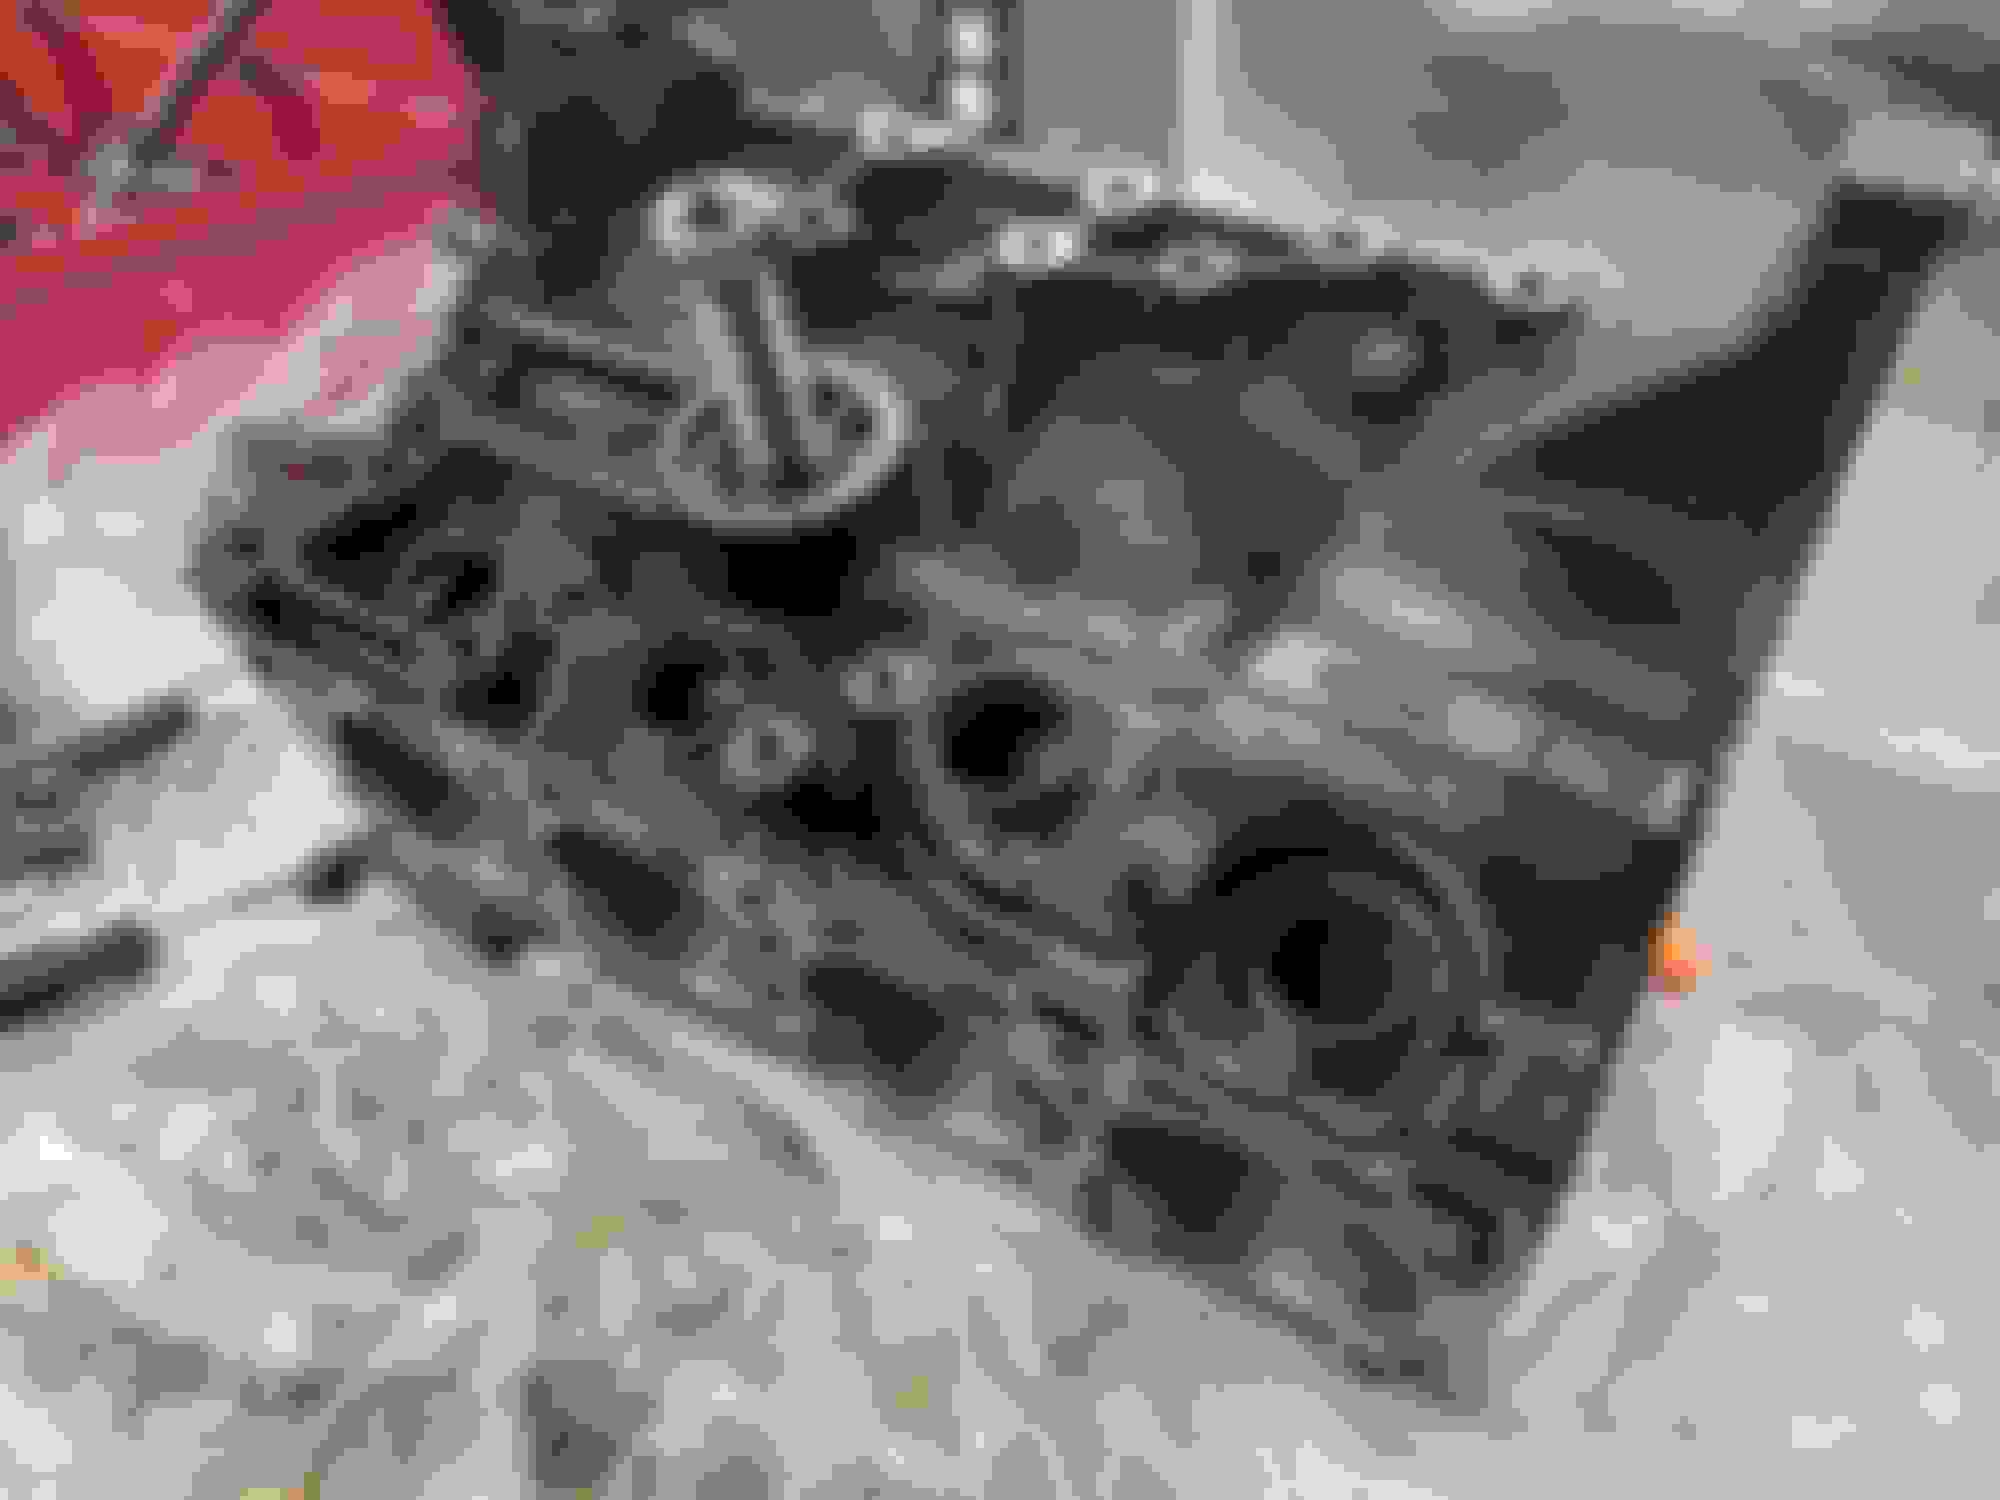
After Freeze Plugs I installed the fresh bearings:
After bearings came the Crankshaft and Oil Squirters - followed by the Caps


After Freeze Plugs I installed the fresh bearings:

After bearings came the Crankshaft and Oil Squirters - followed by the Caps


Reply
0
0

 02-28-2020, 04:24 PM
#115
Junior Member
Thread Starter
iTrader: (3)
Join Date: Oct 2015
Location: Steamboat Springs, CO
Posts: 329
Total Cats: 22
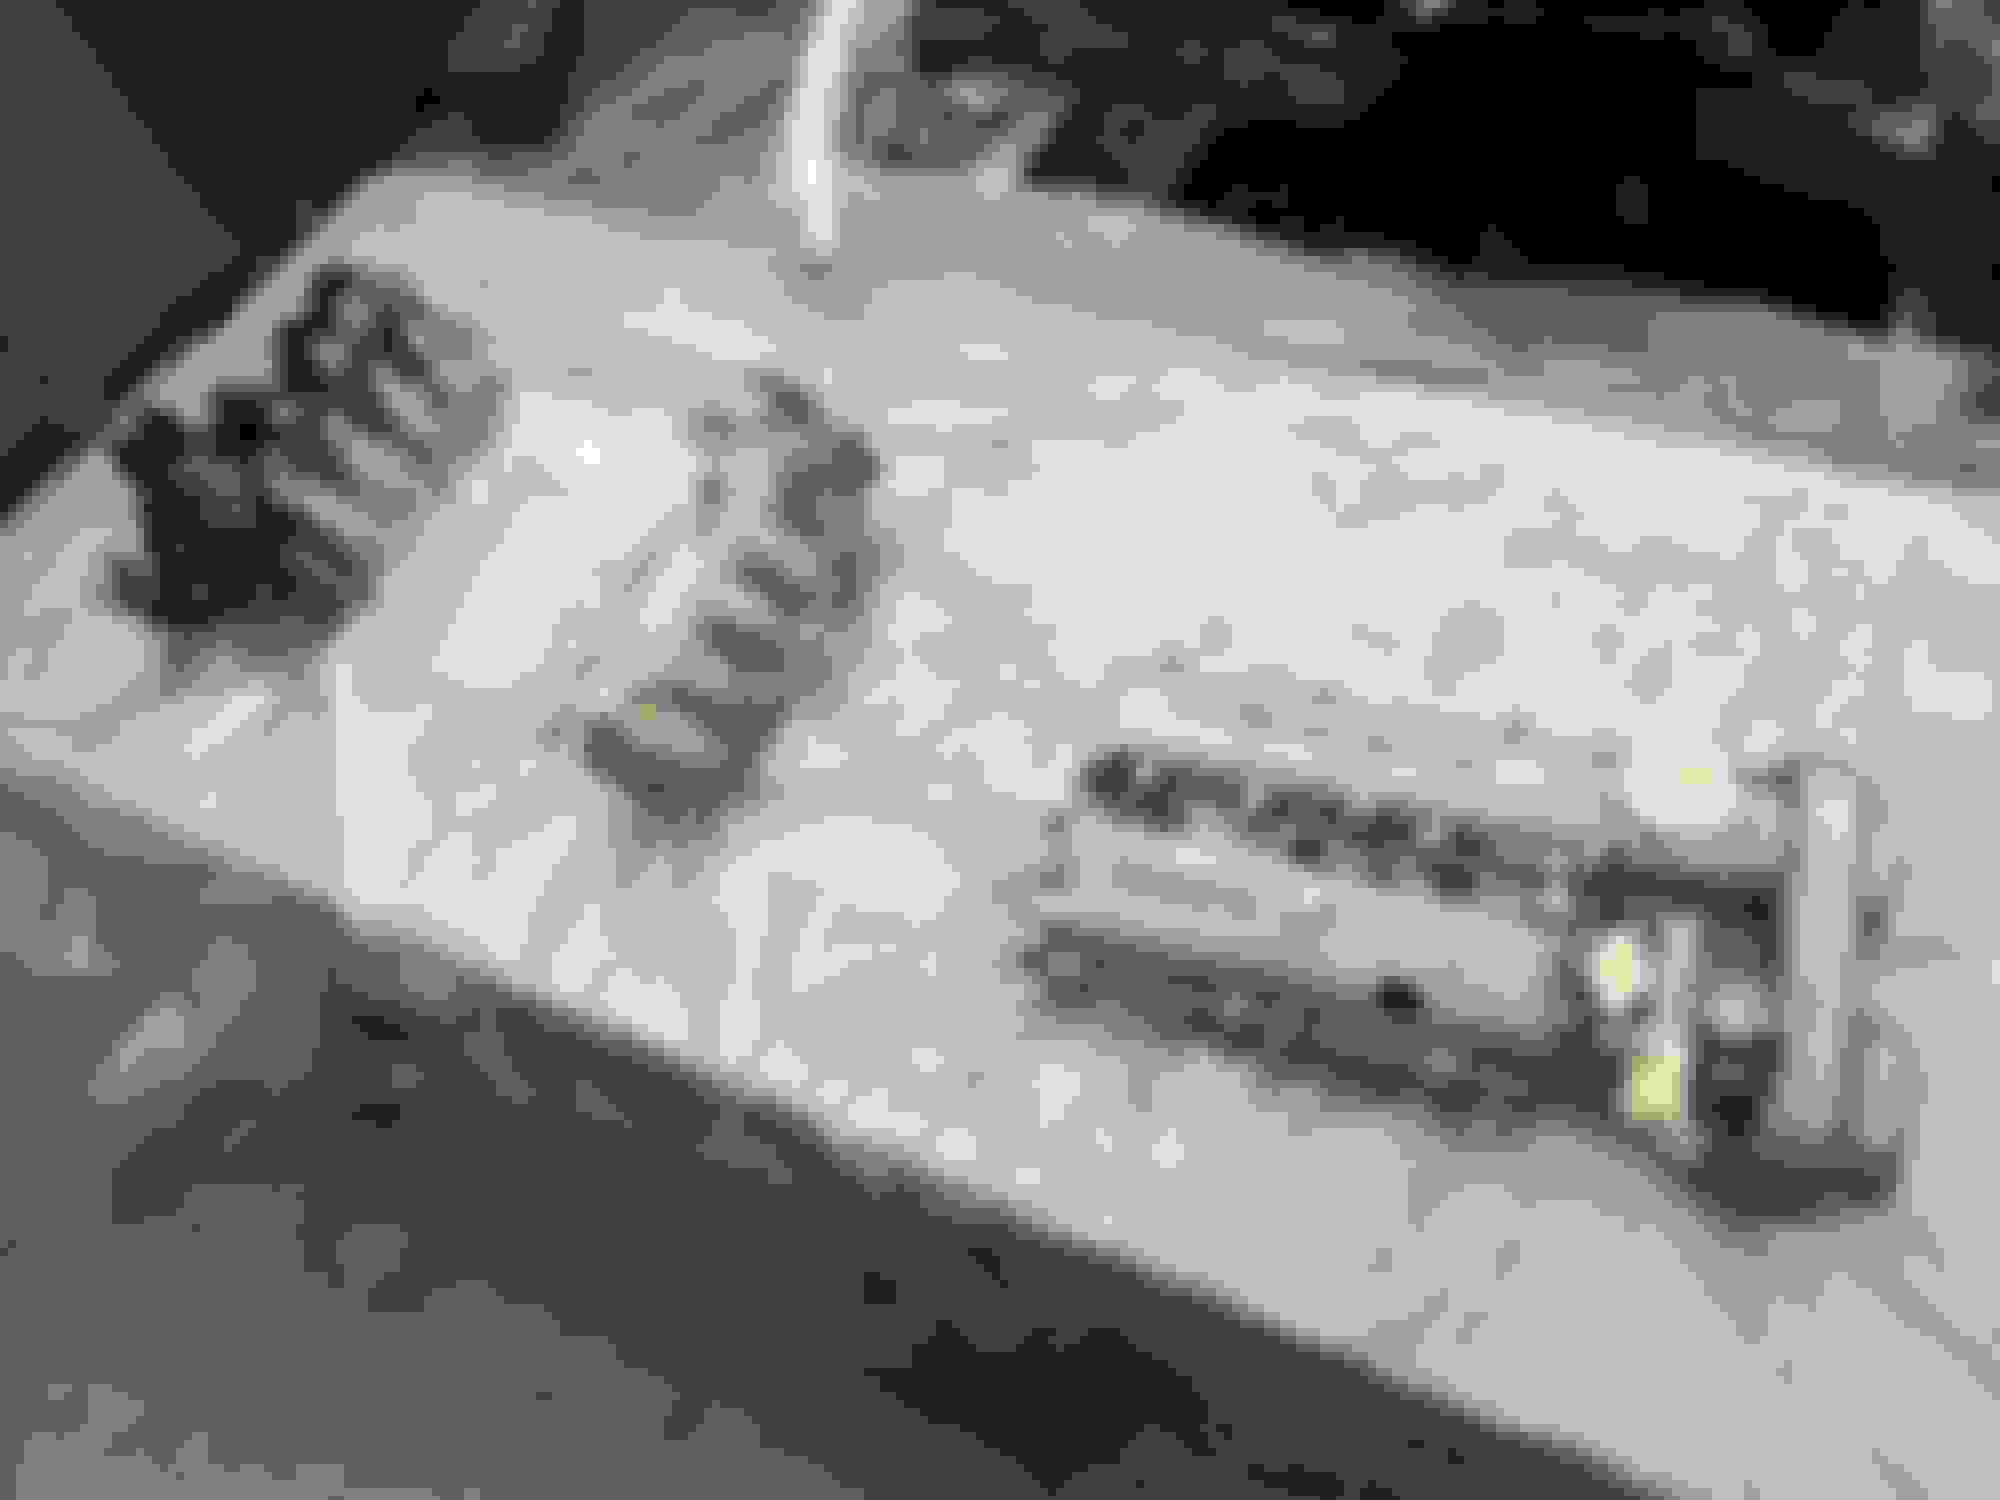
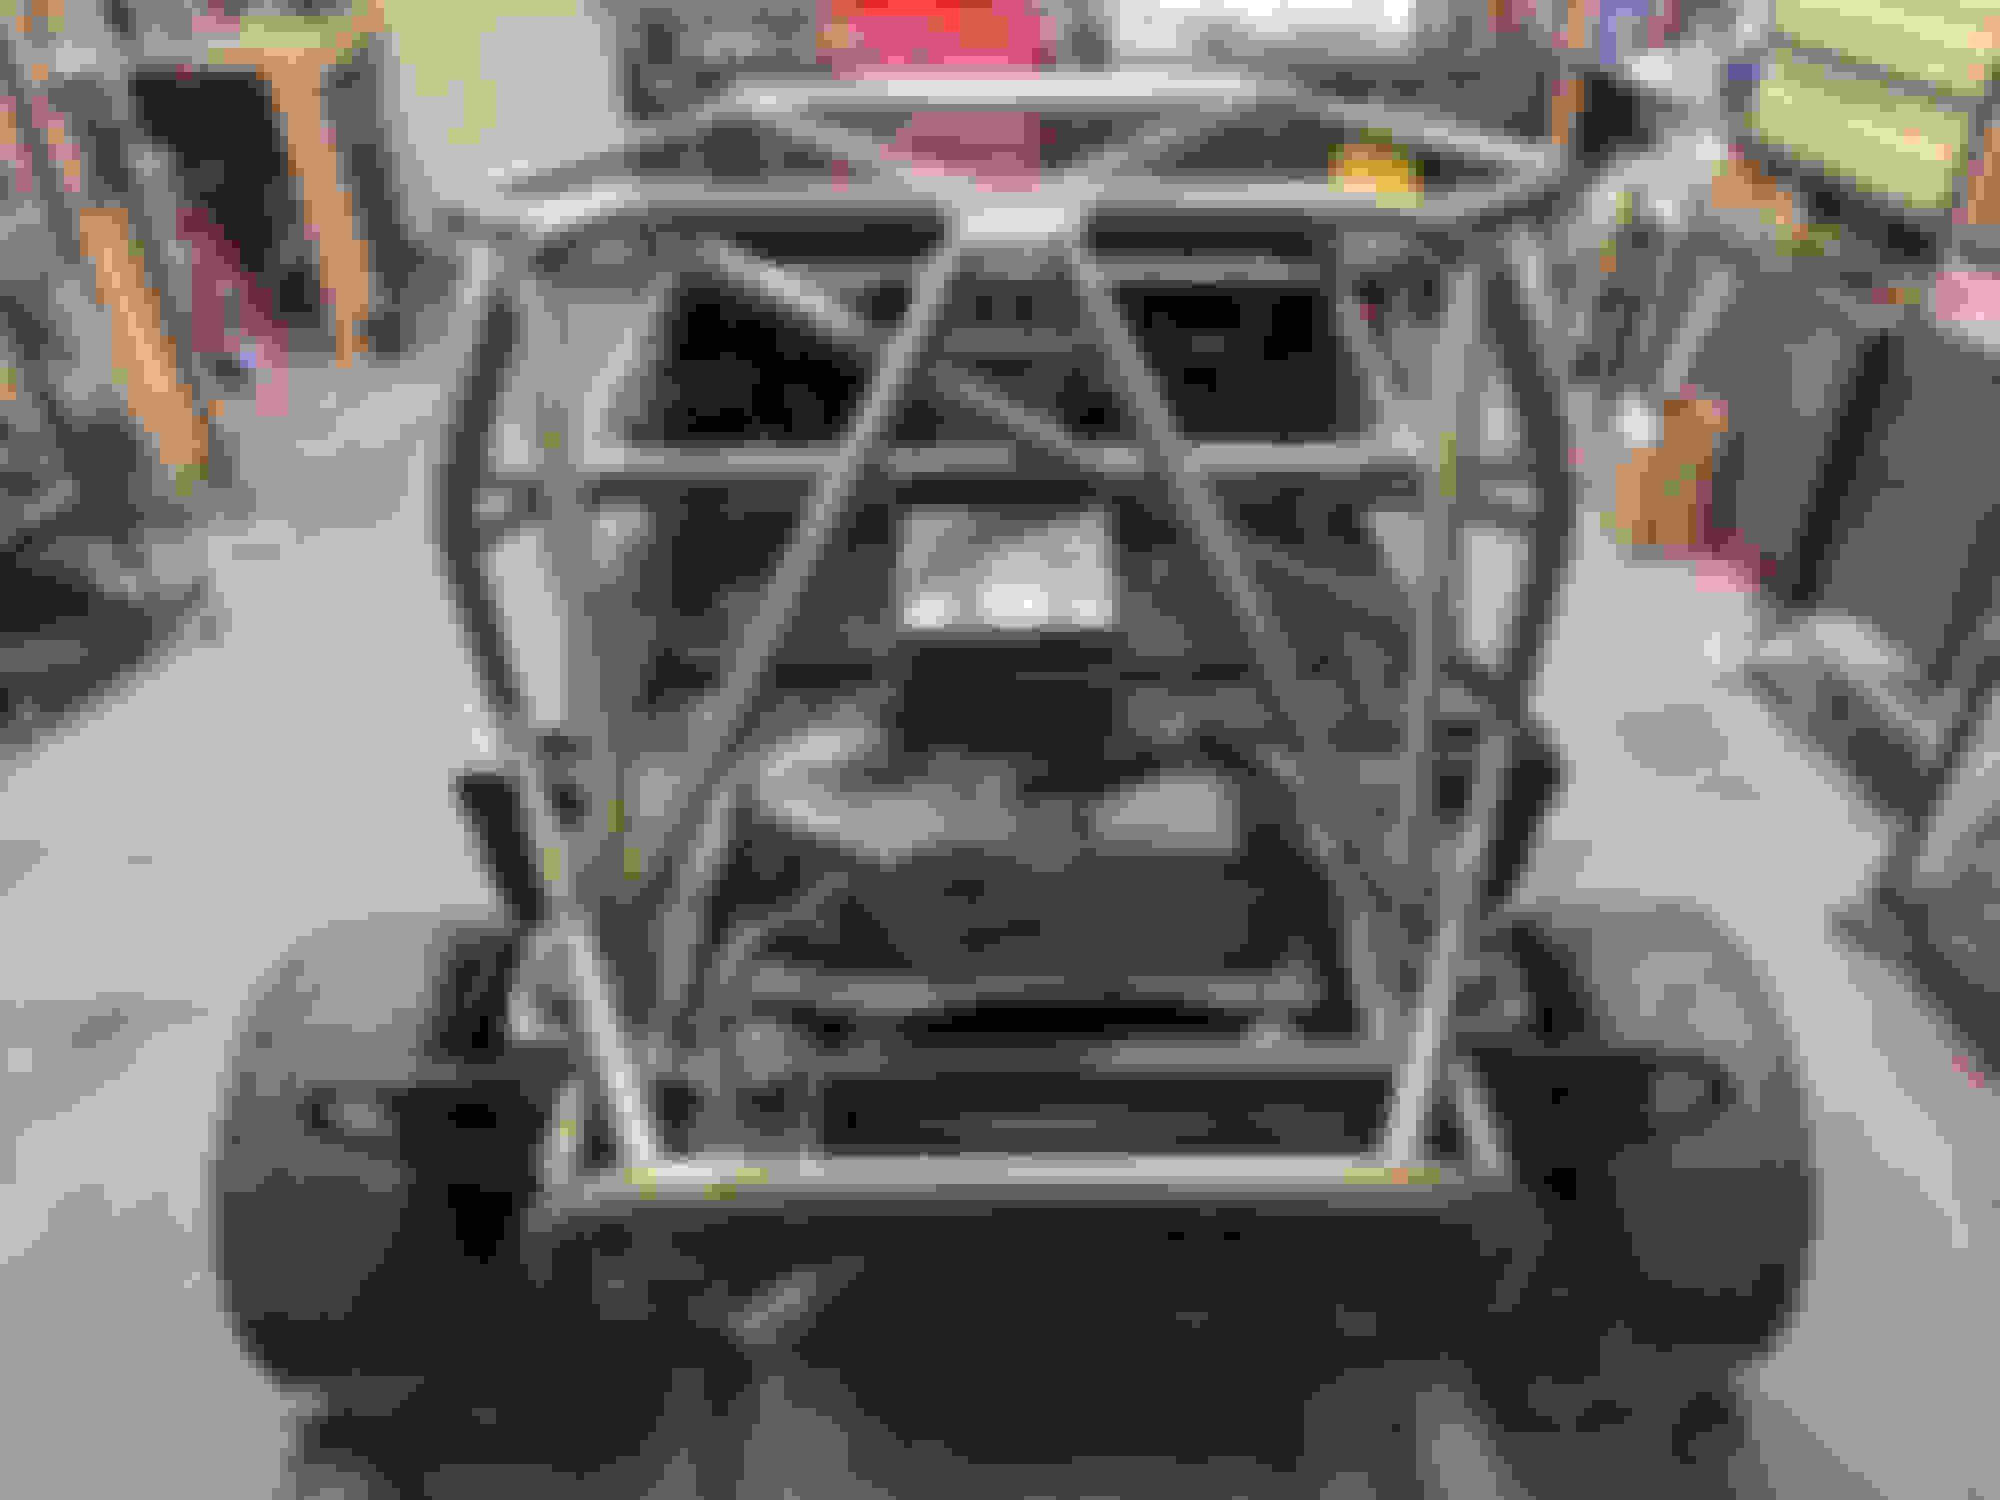
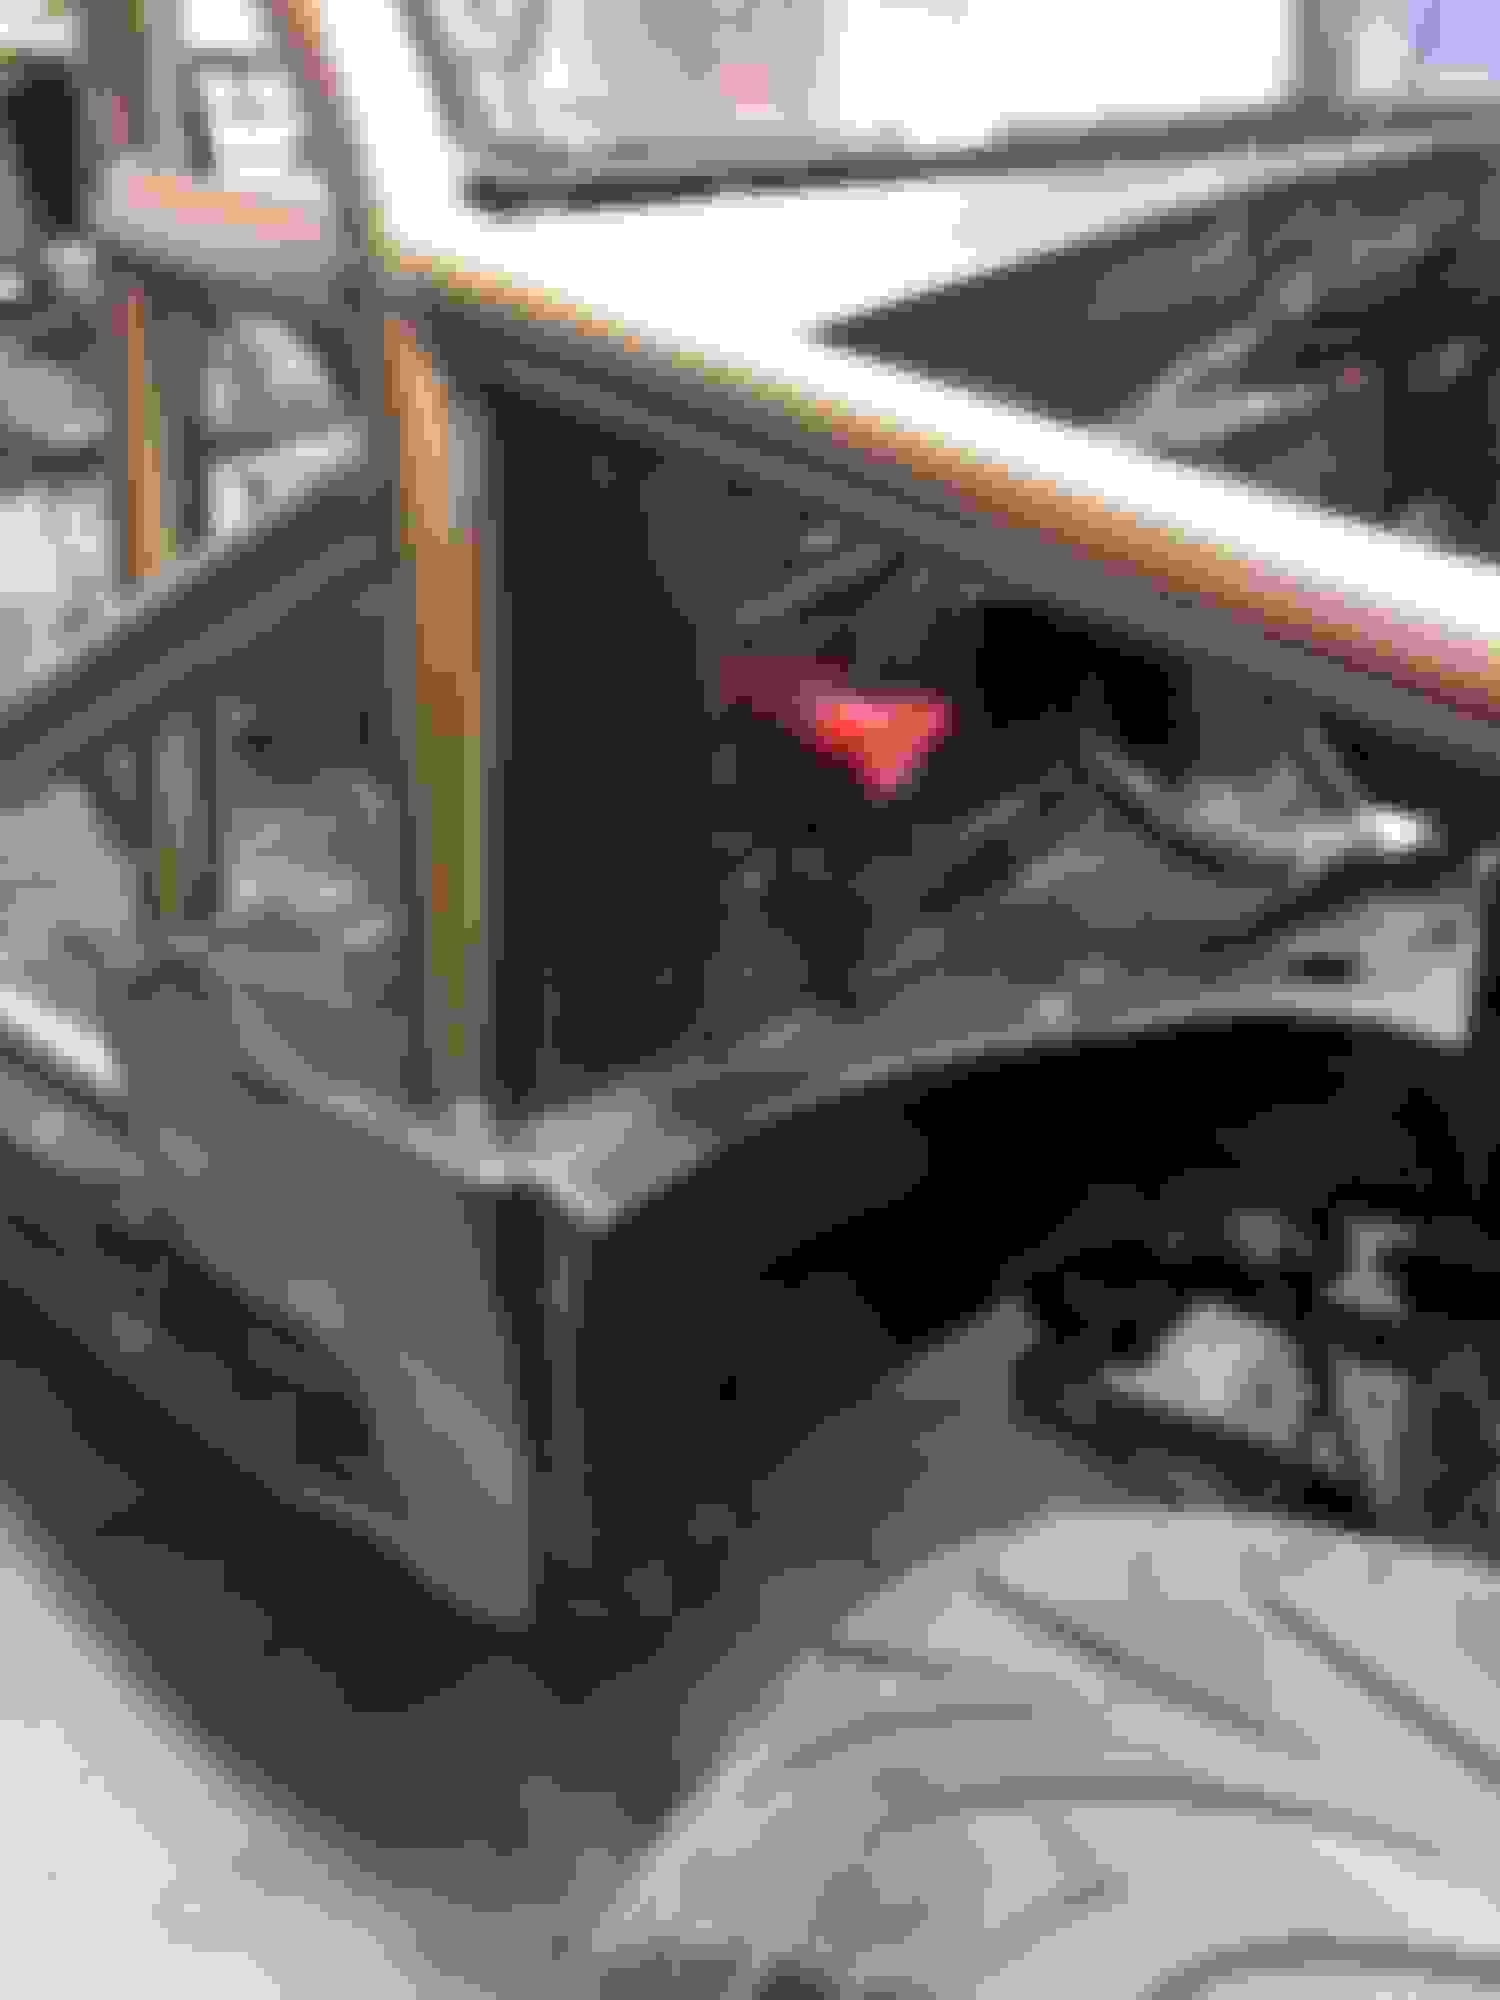
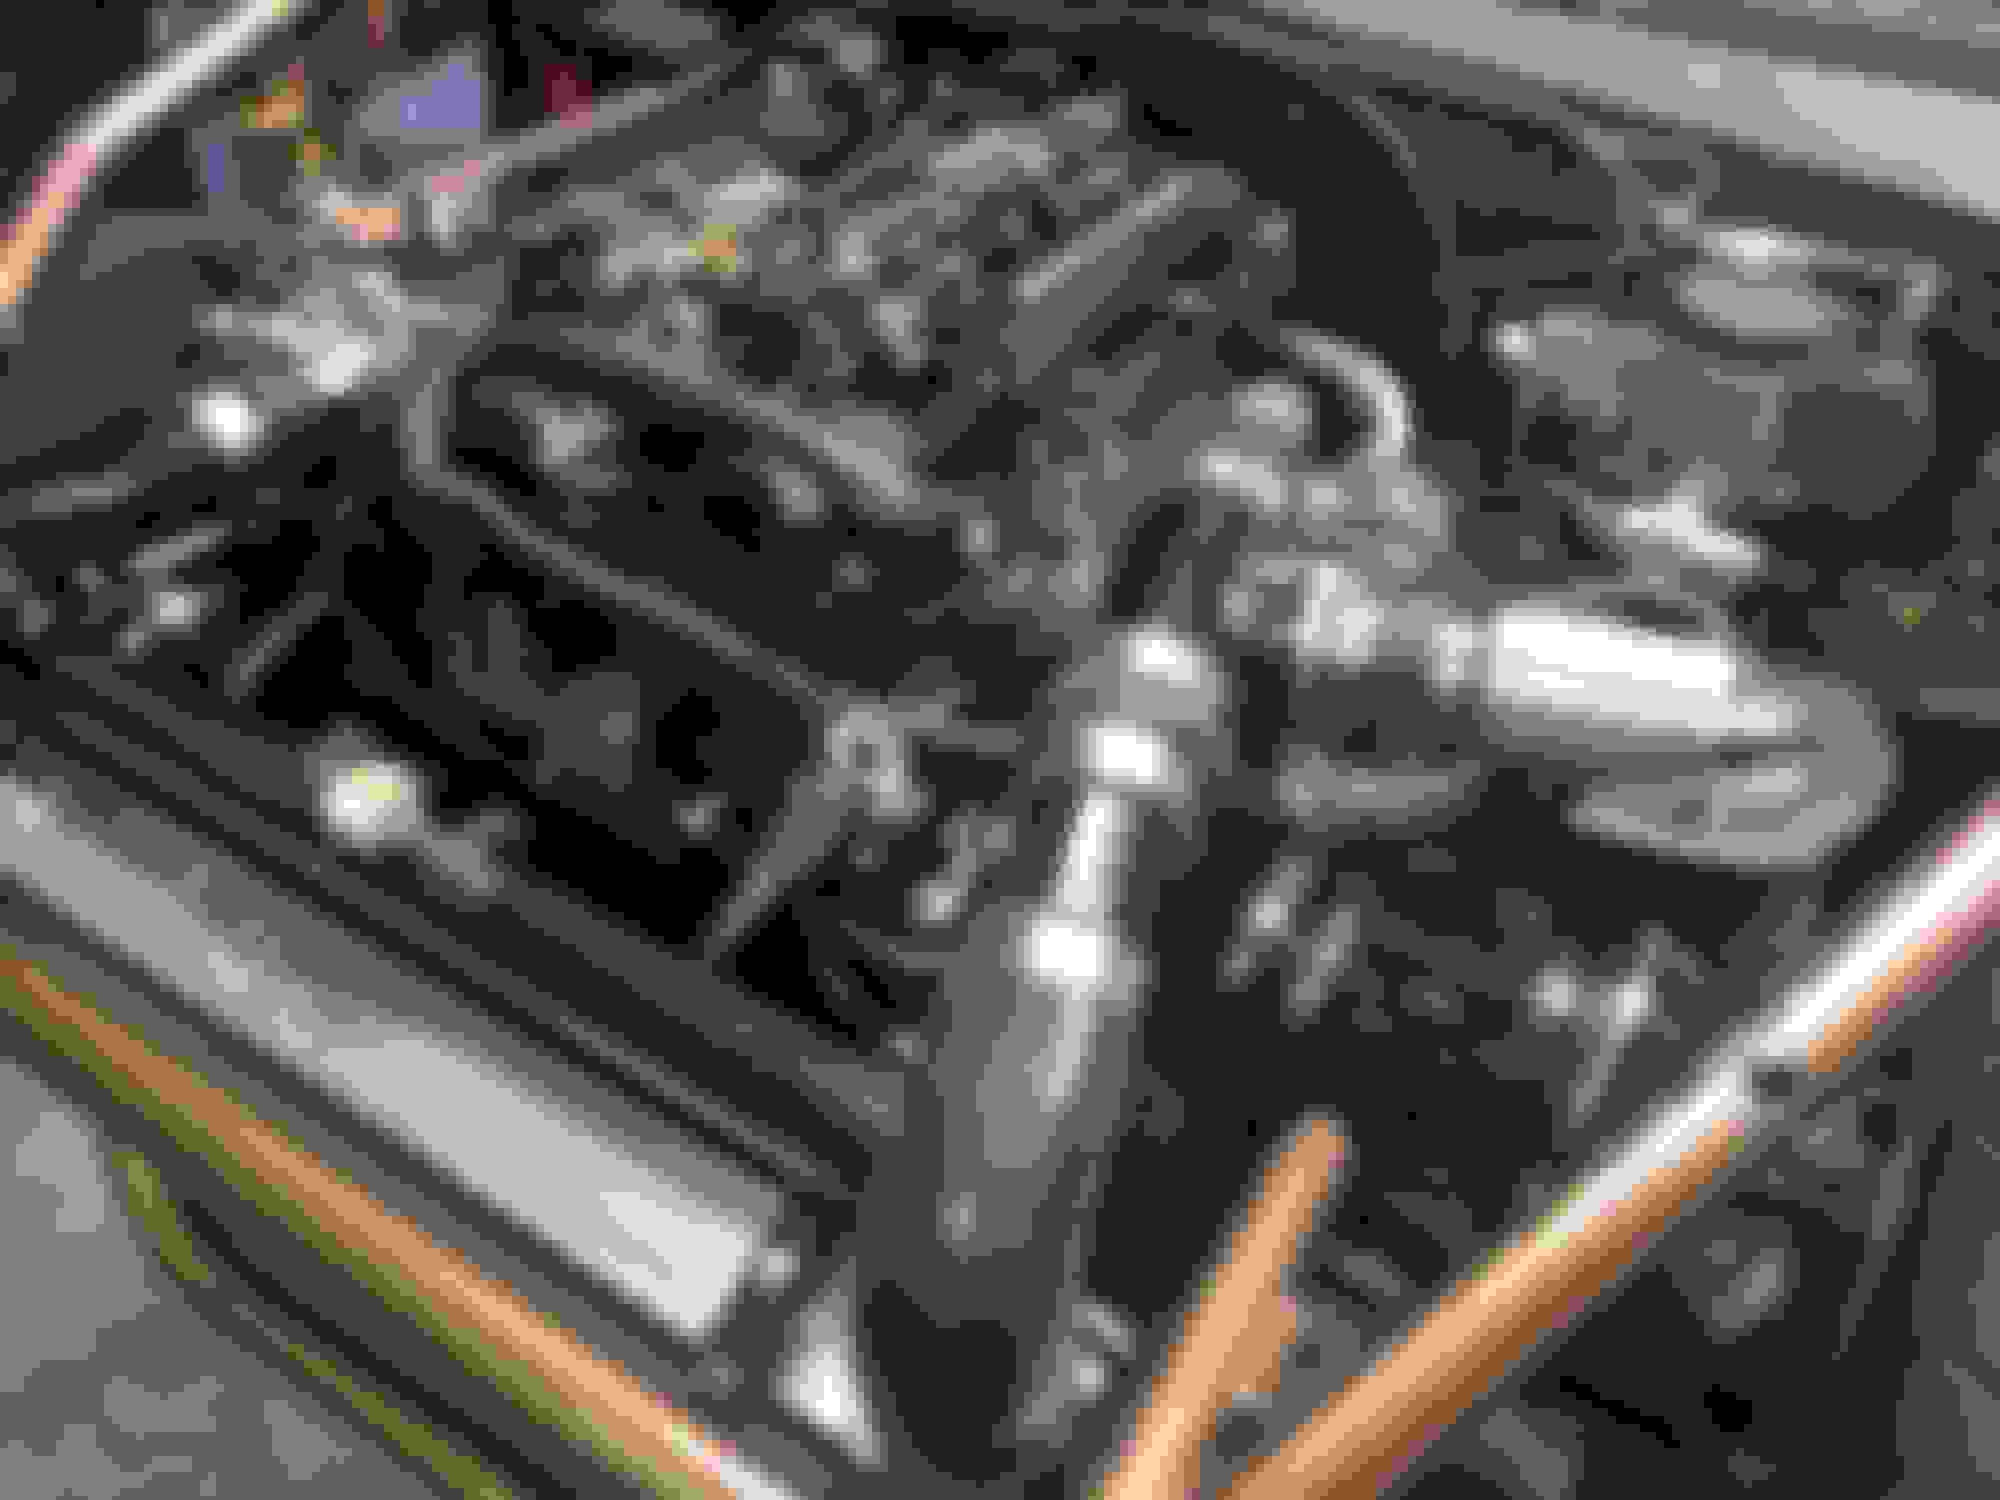
After the Crank and bearings got installed, time to move to the pistons.
Pretty simple with this Weisco tapered installer, 100% worth the money - work first try on all (4), no problems.
Everything in - rotated to check for any issues - all good.
Oil baffle and pickup back in, good to go
Oil pan on, all set... looks like it needs (needed?) a good cleaning - oh well.
Alrighty, bottom-end tidied up, time to move to the top-en.
Pretty simple with this Weisco tapered installer, 100% worth the money - work first try on all (4), no problems.

Everything in - rotated to check for any issues - all good.

Oil baffle and pickup back in, good to go

Oil pan on, all set... looks like it needs (needed?) a good cleaning - oh well.

Alrighty, bottom-end tidied up, time to move to the top-en.
Reply
0
0
02-28-2020, 04:29 PM
#116
Junior Member
Thread Starter
iTrader: (3)
Join Date: Oct 2015
Location: Steamboat Springs, CO
Posts: 329
Total Cats: 22
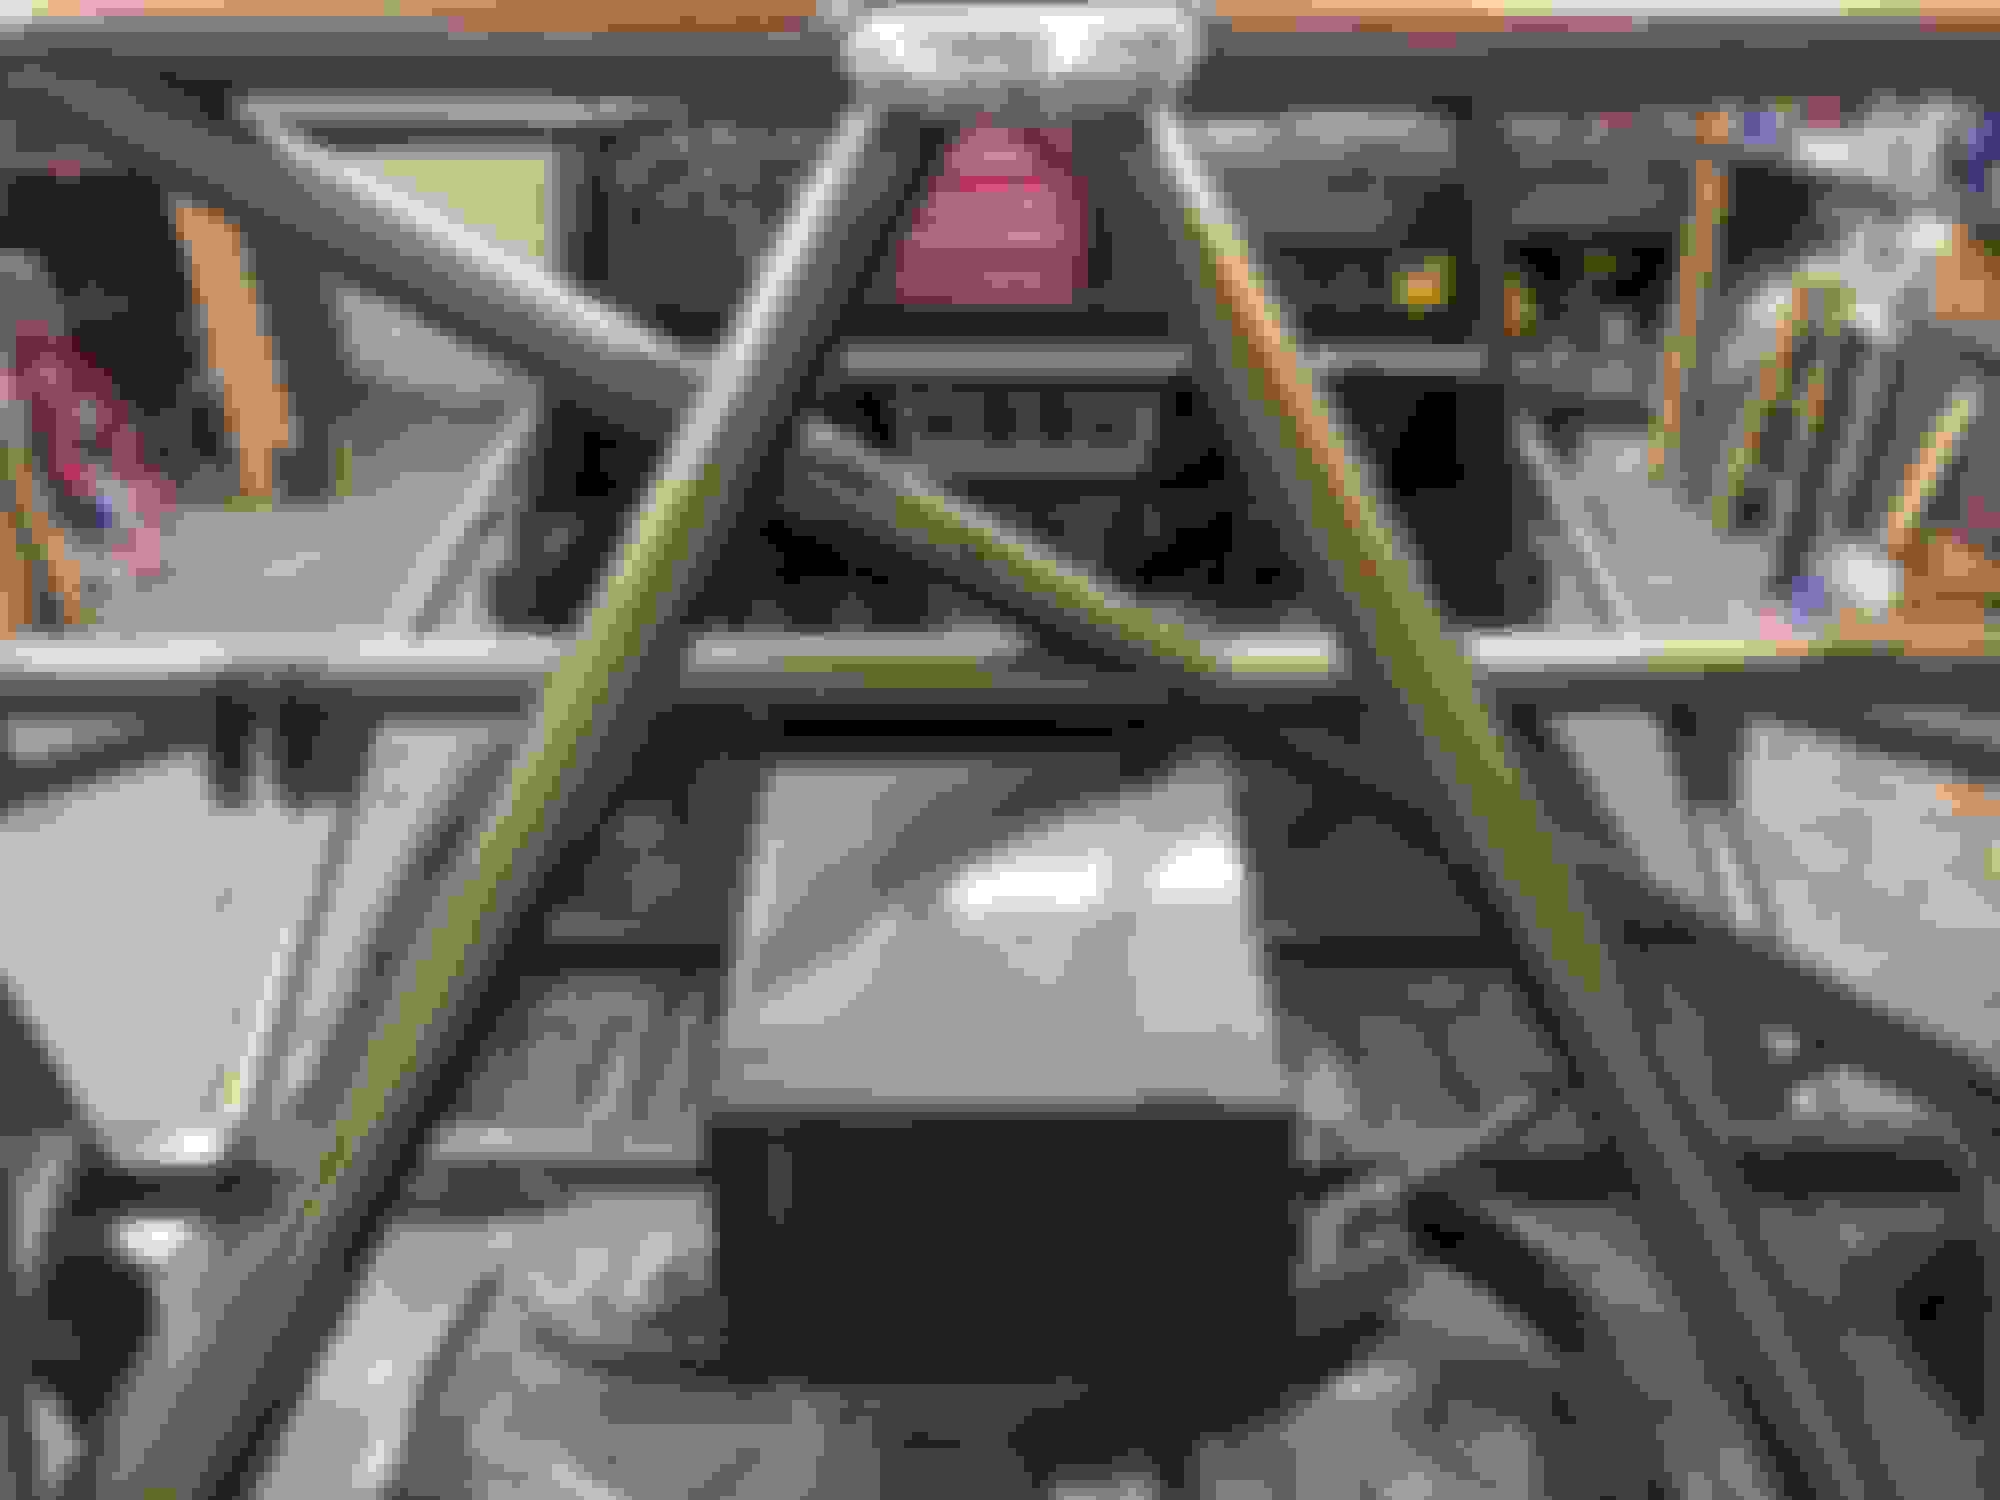
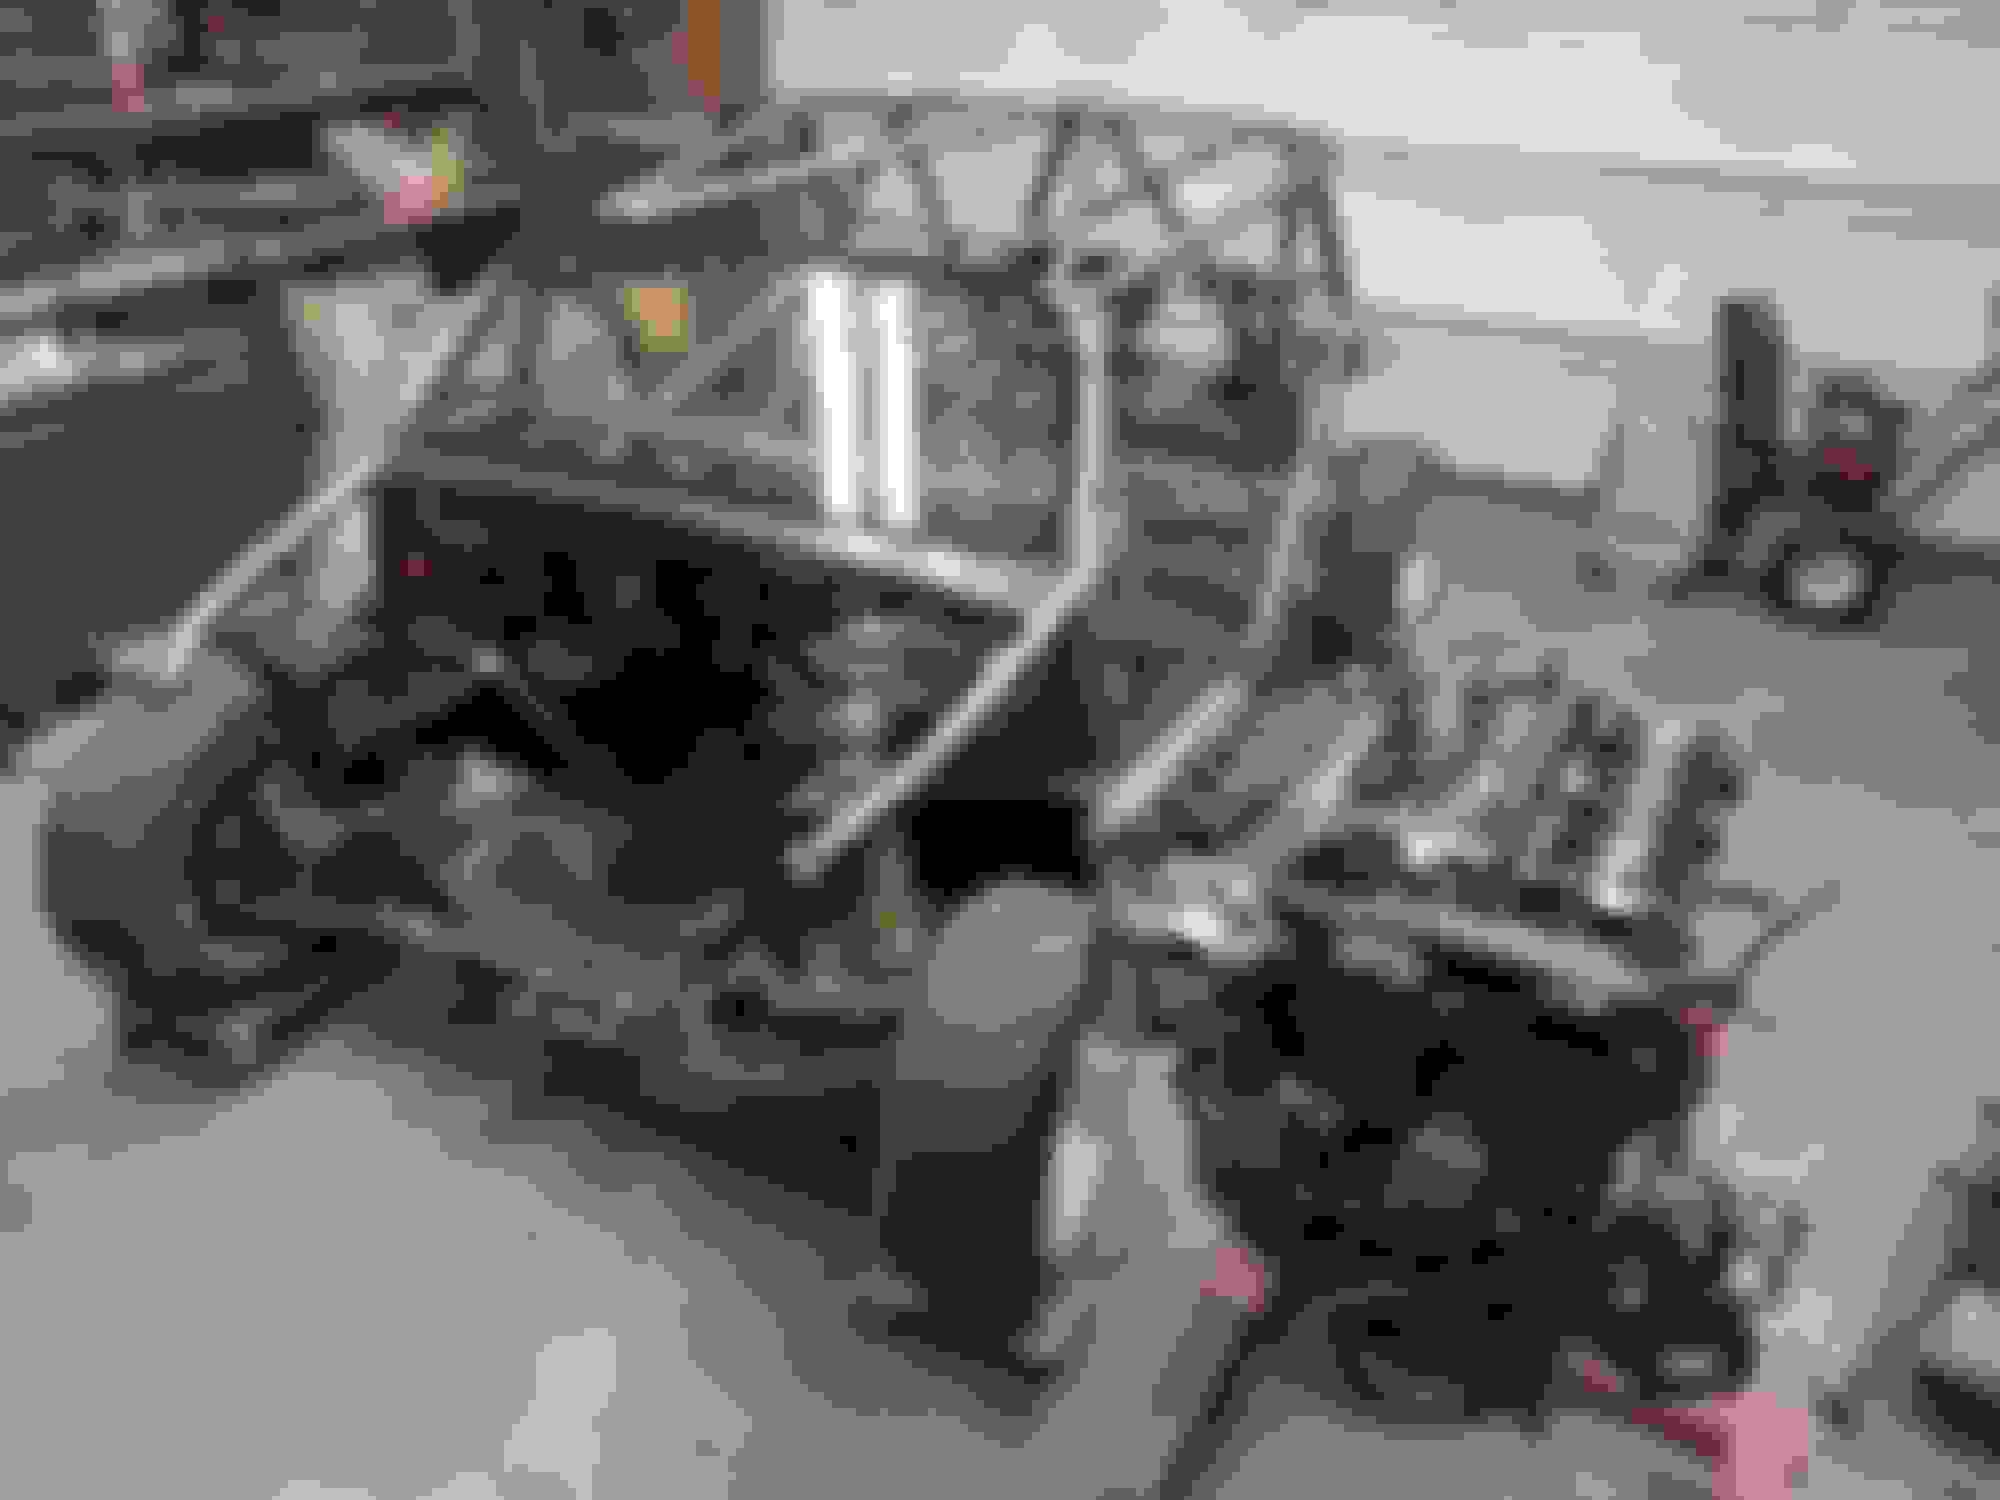
While I was working on the rebuild I had another table setup on the other side of the garage. No one does a rebuild without throwing a little paint, right?
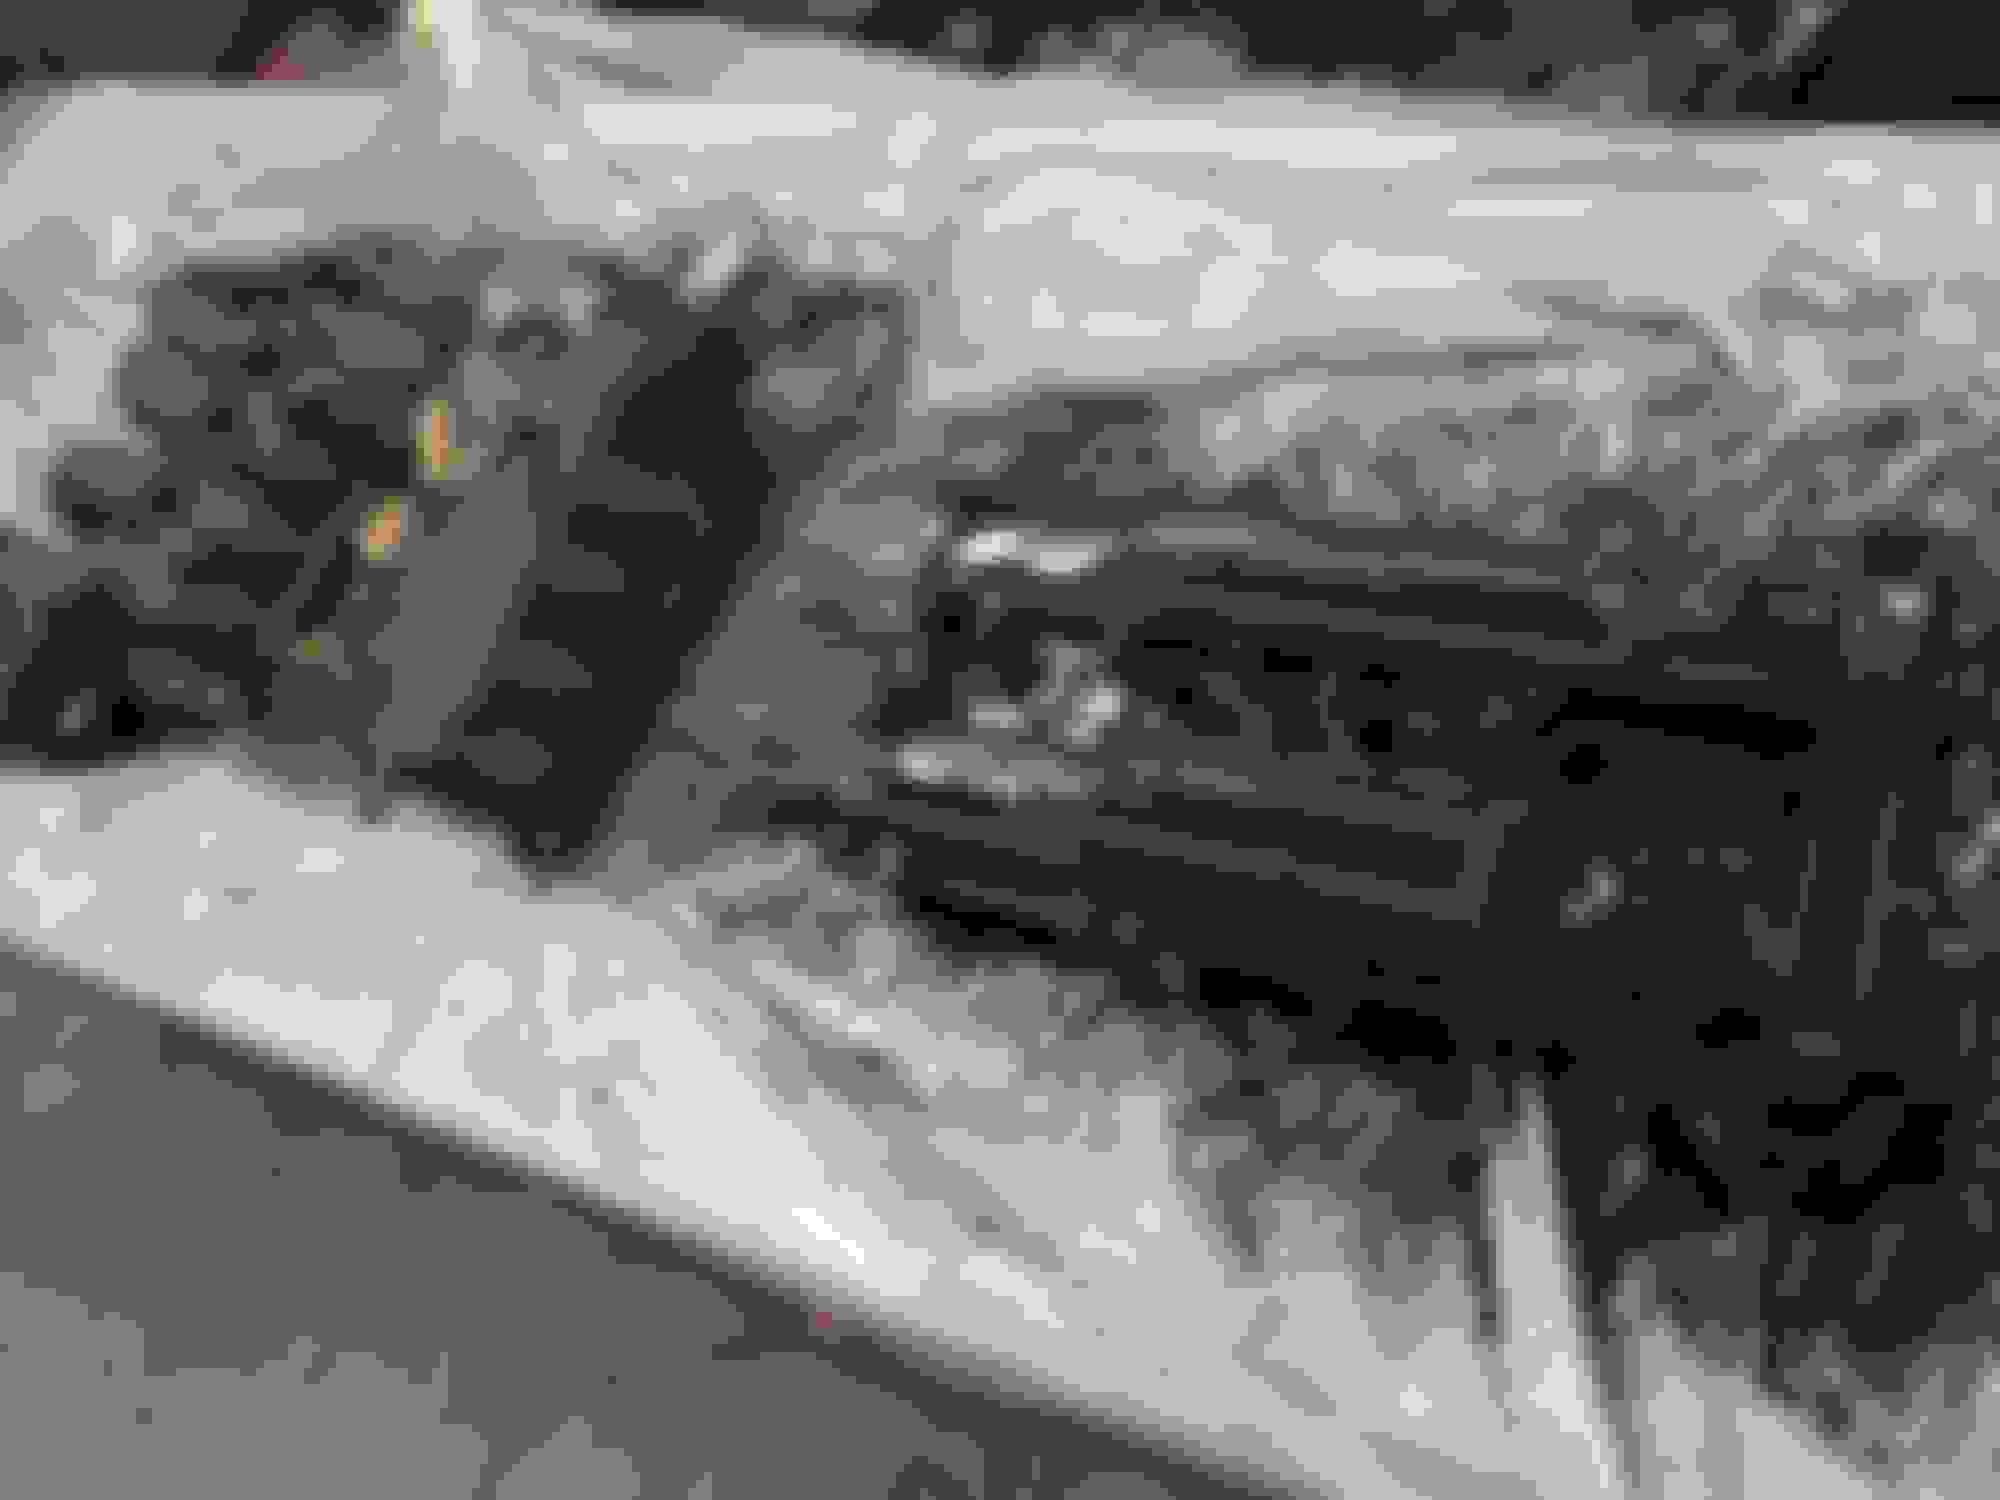
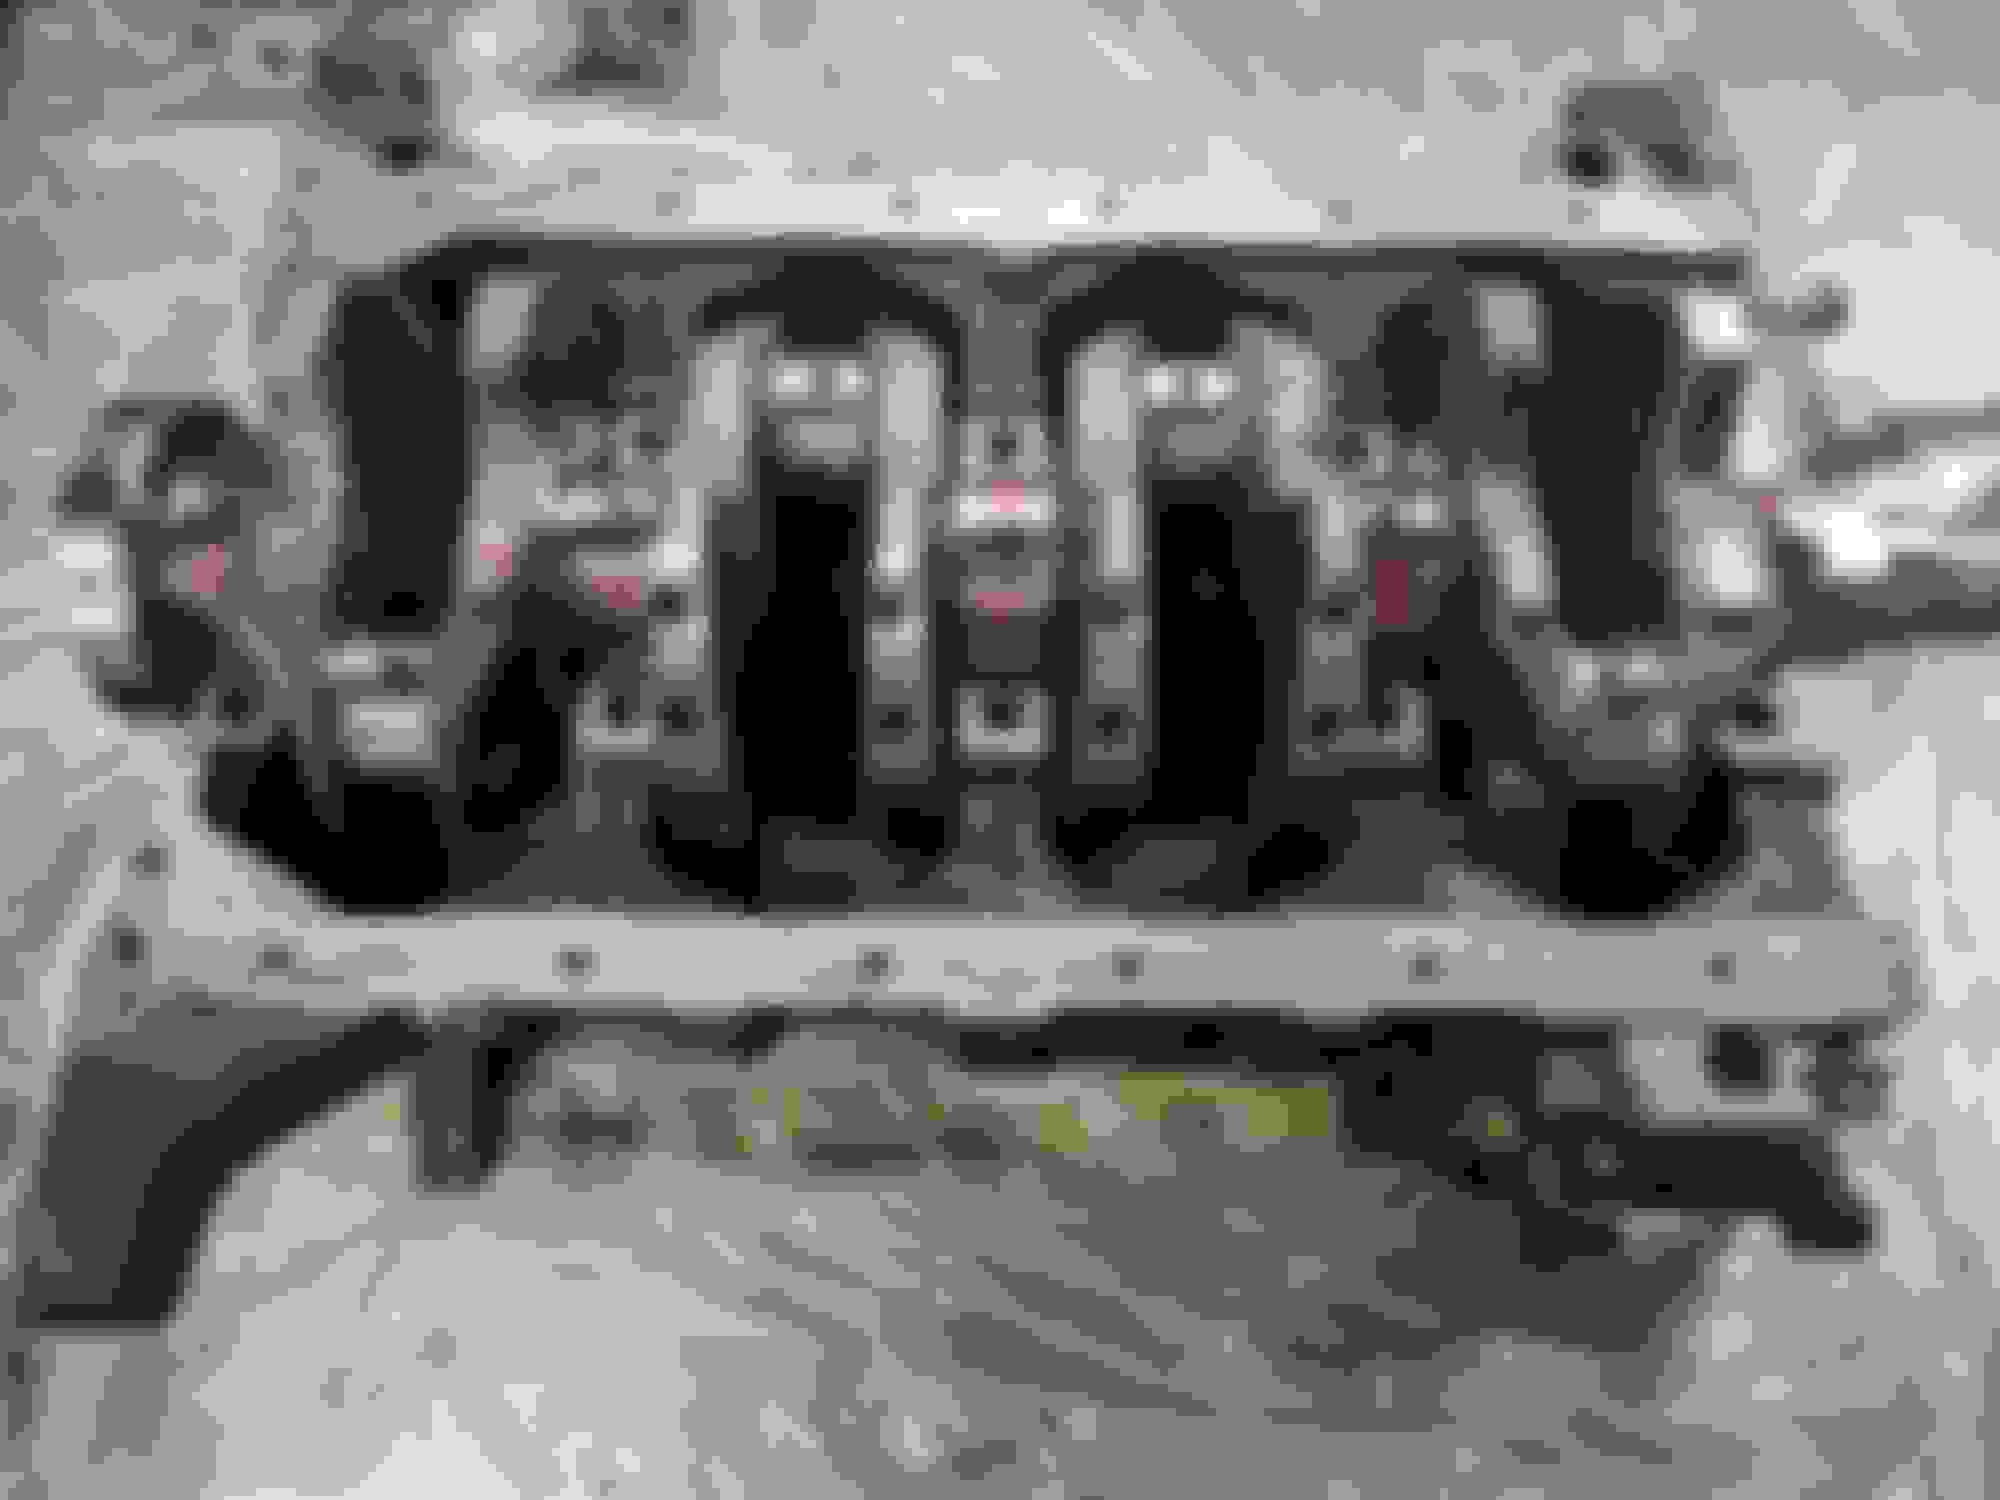
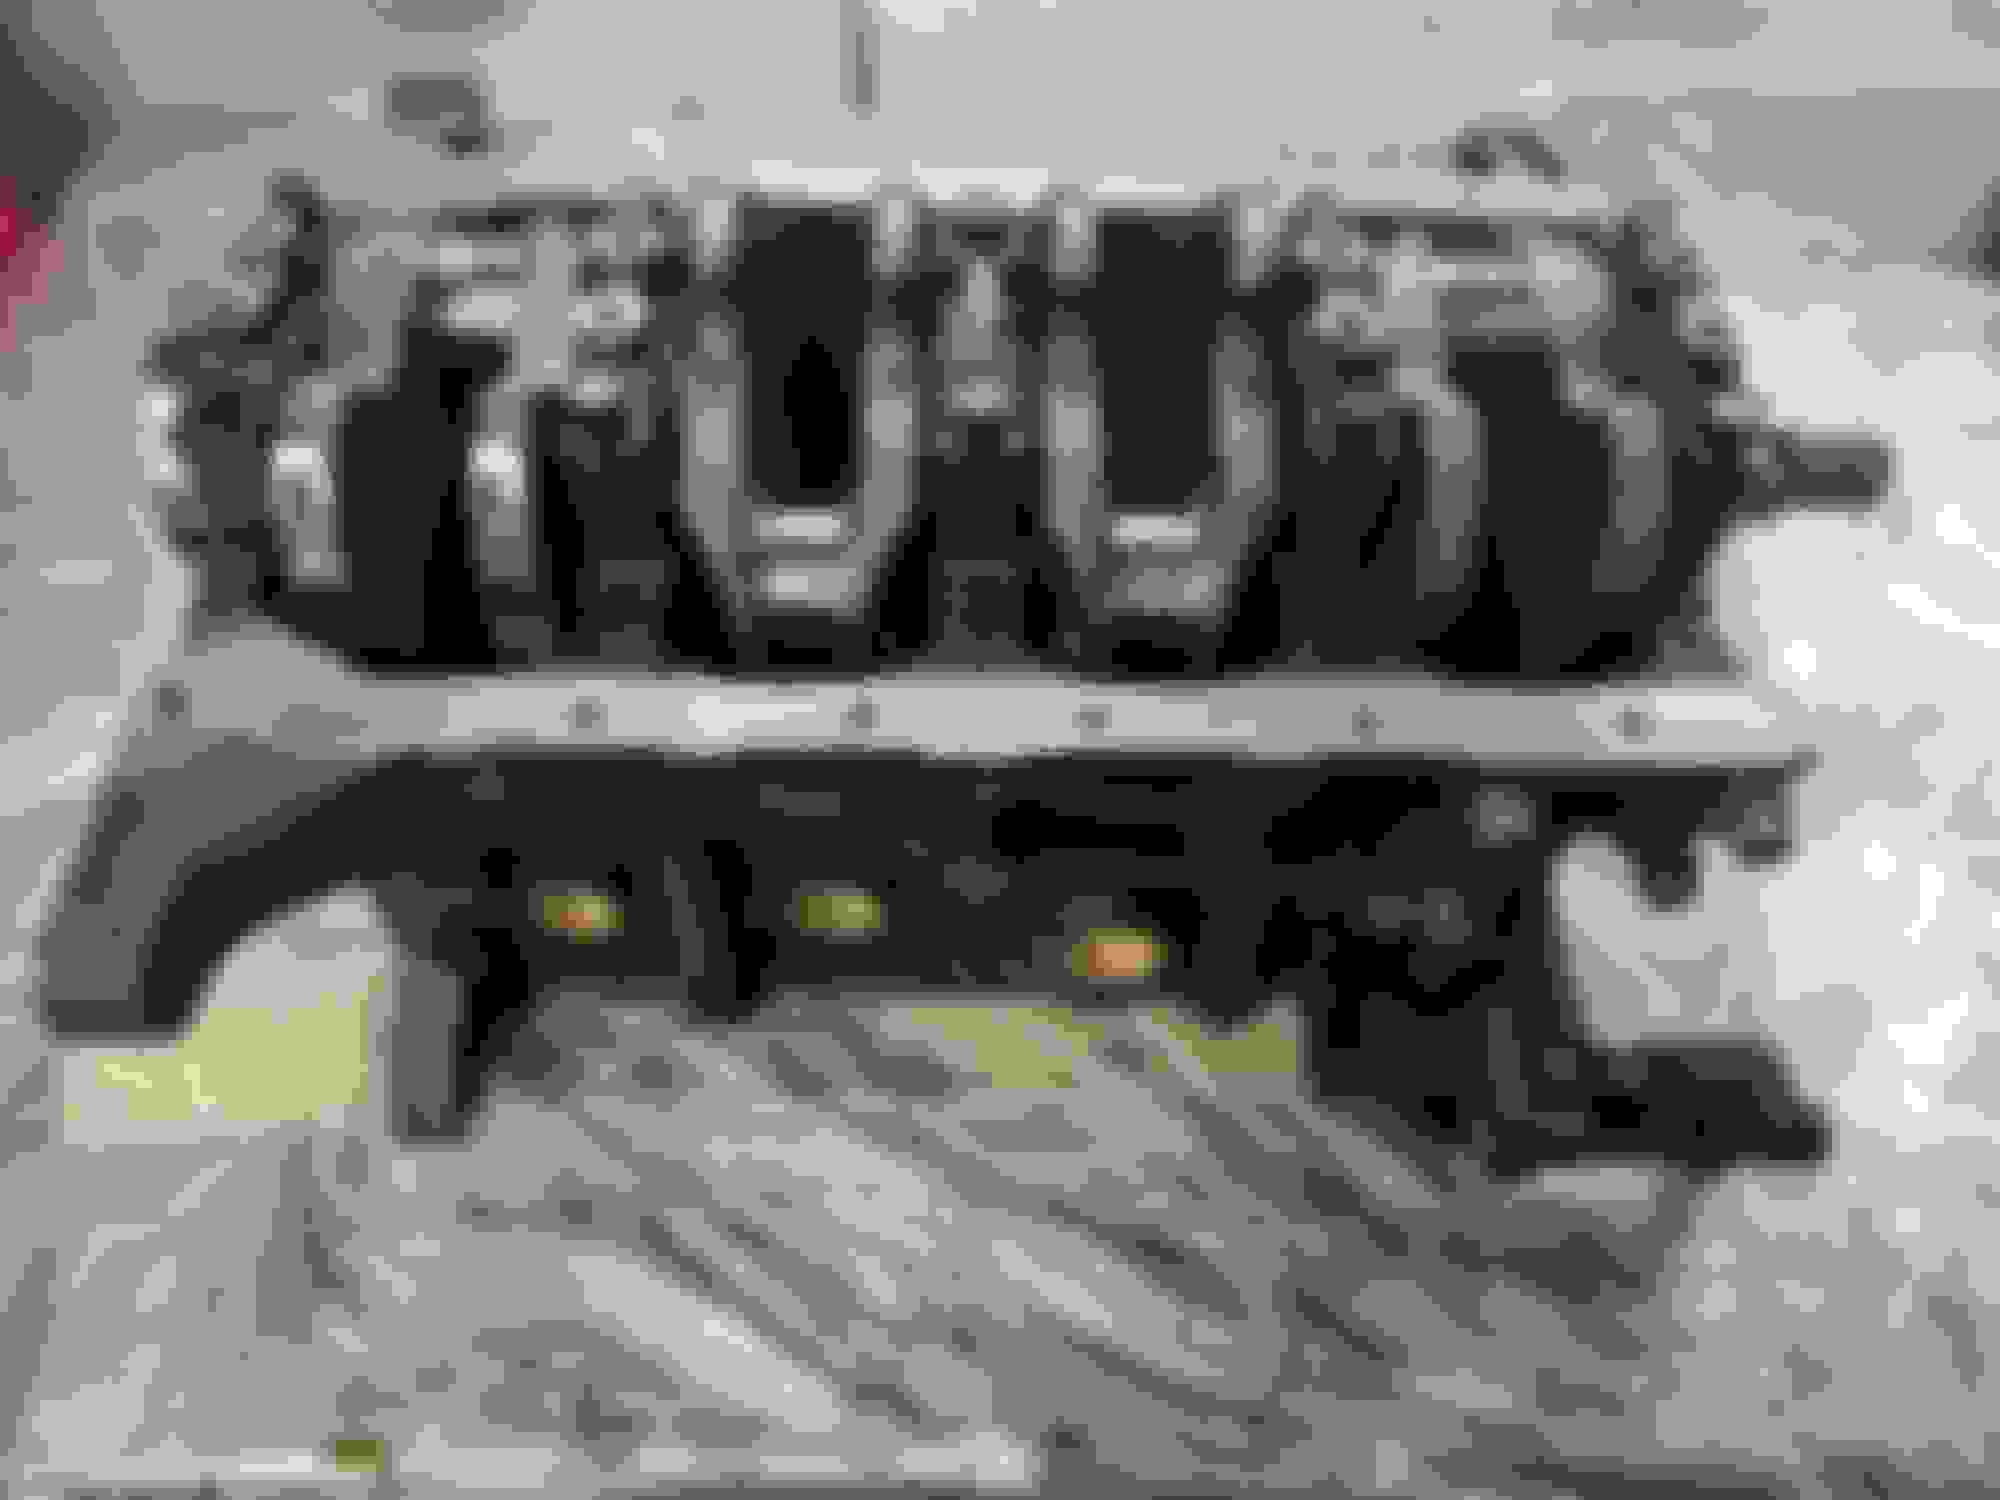
Engine block got a simple black enamel. Intake Upper / Lower and Valve Cover will all get VHT wrinkle.
First coat was pretty simple - this is the second coat:

Setting up nicely

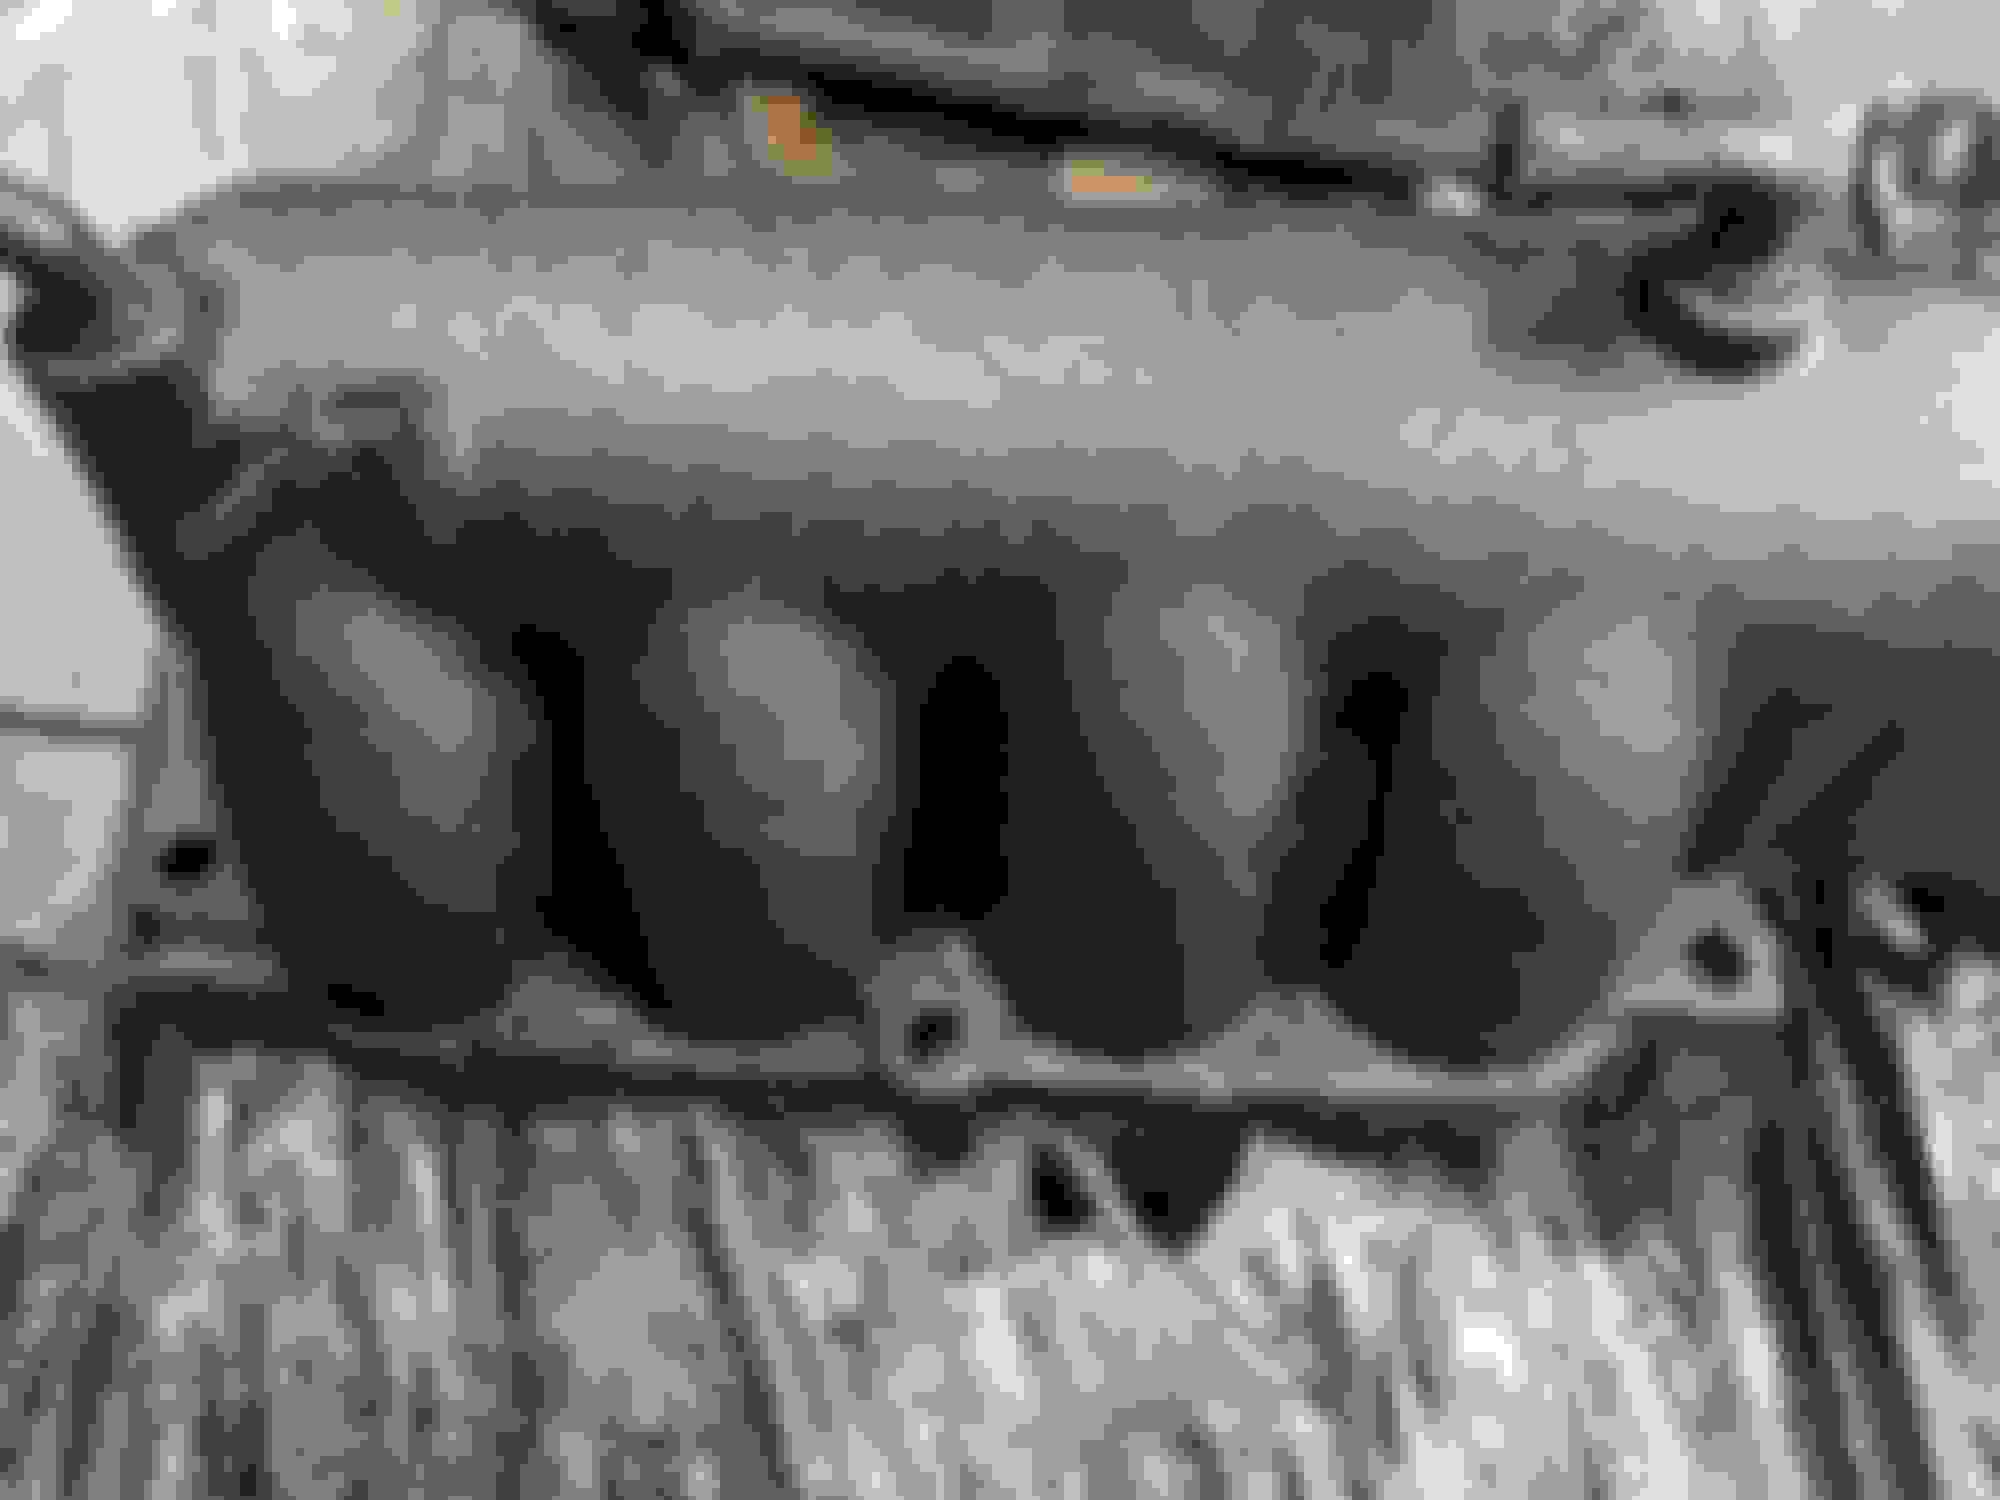
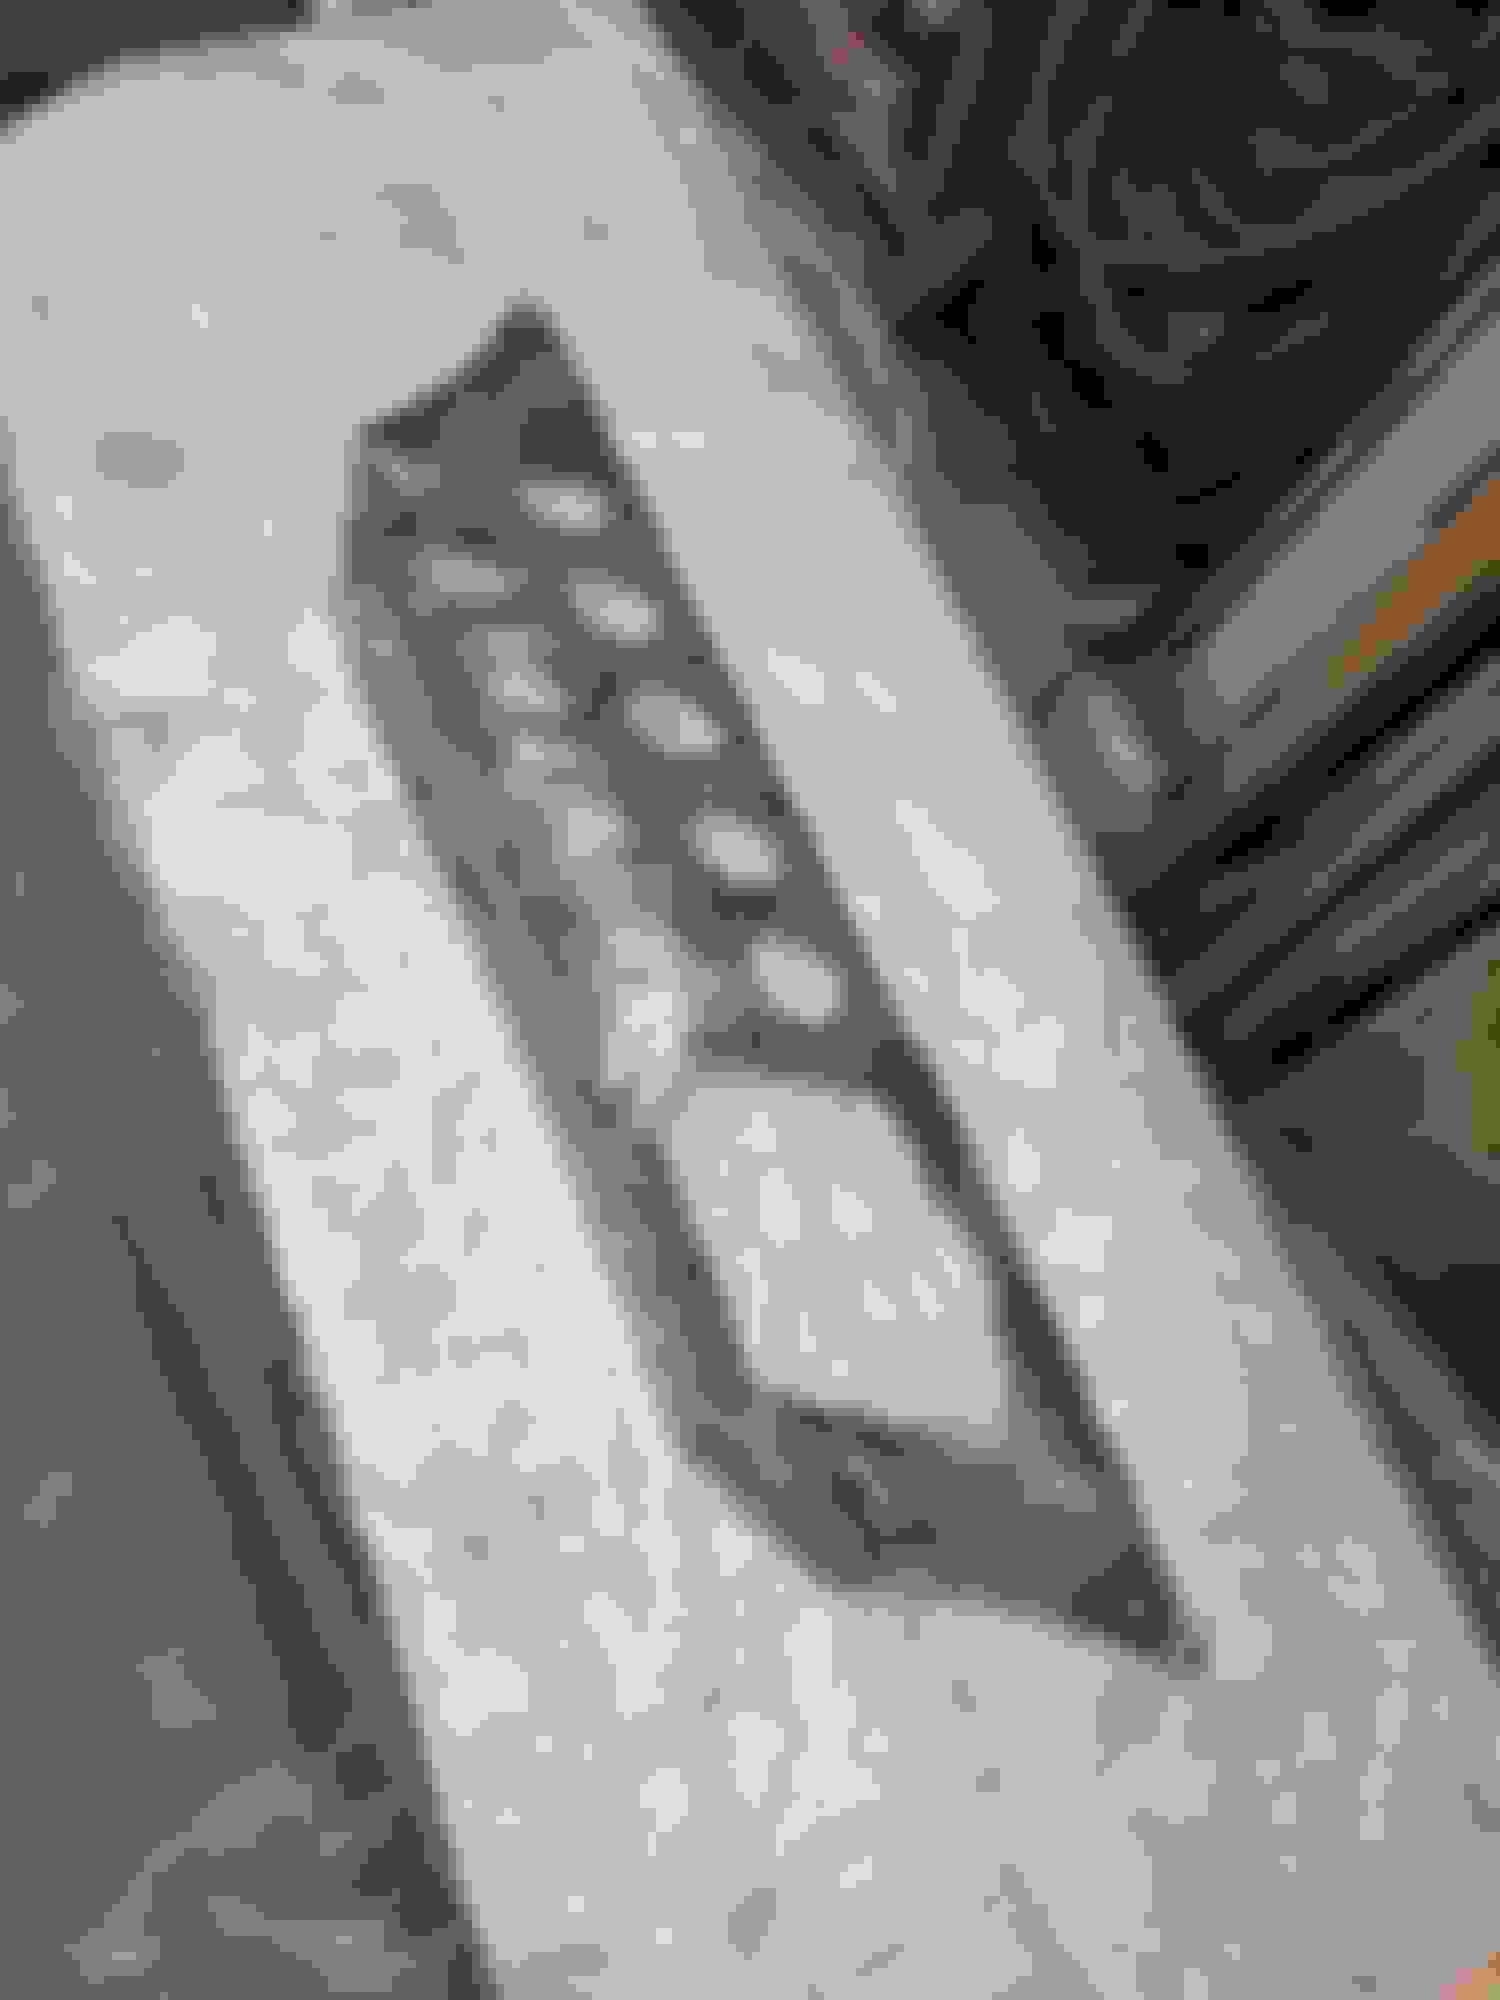
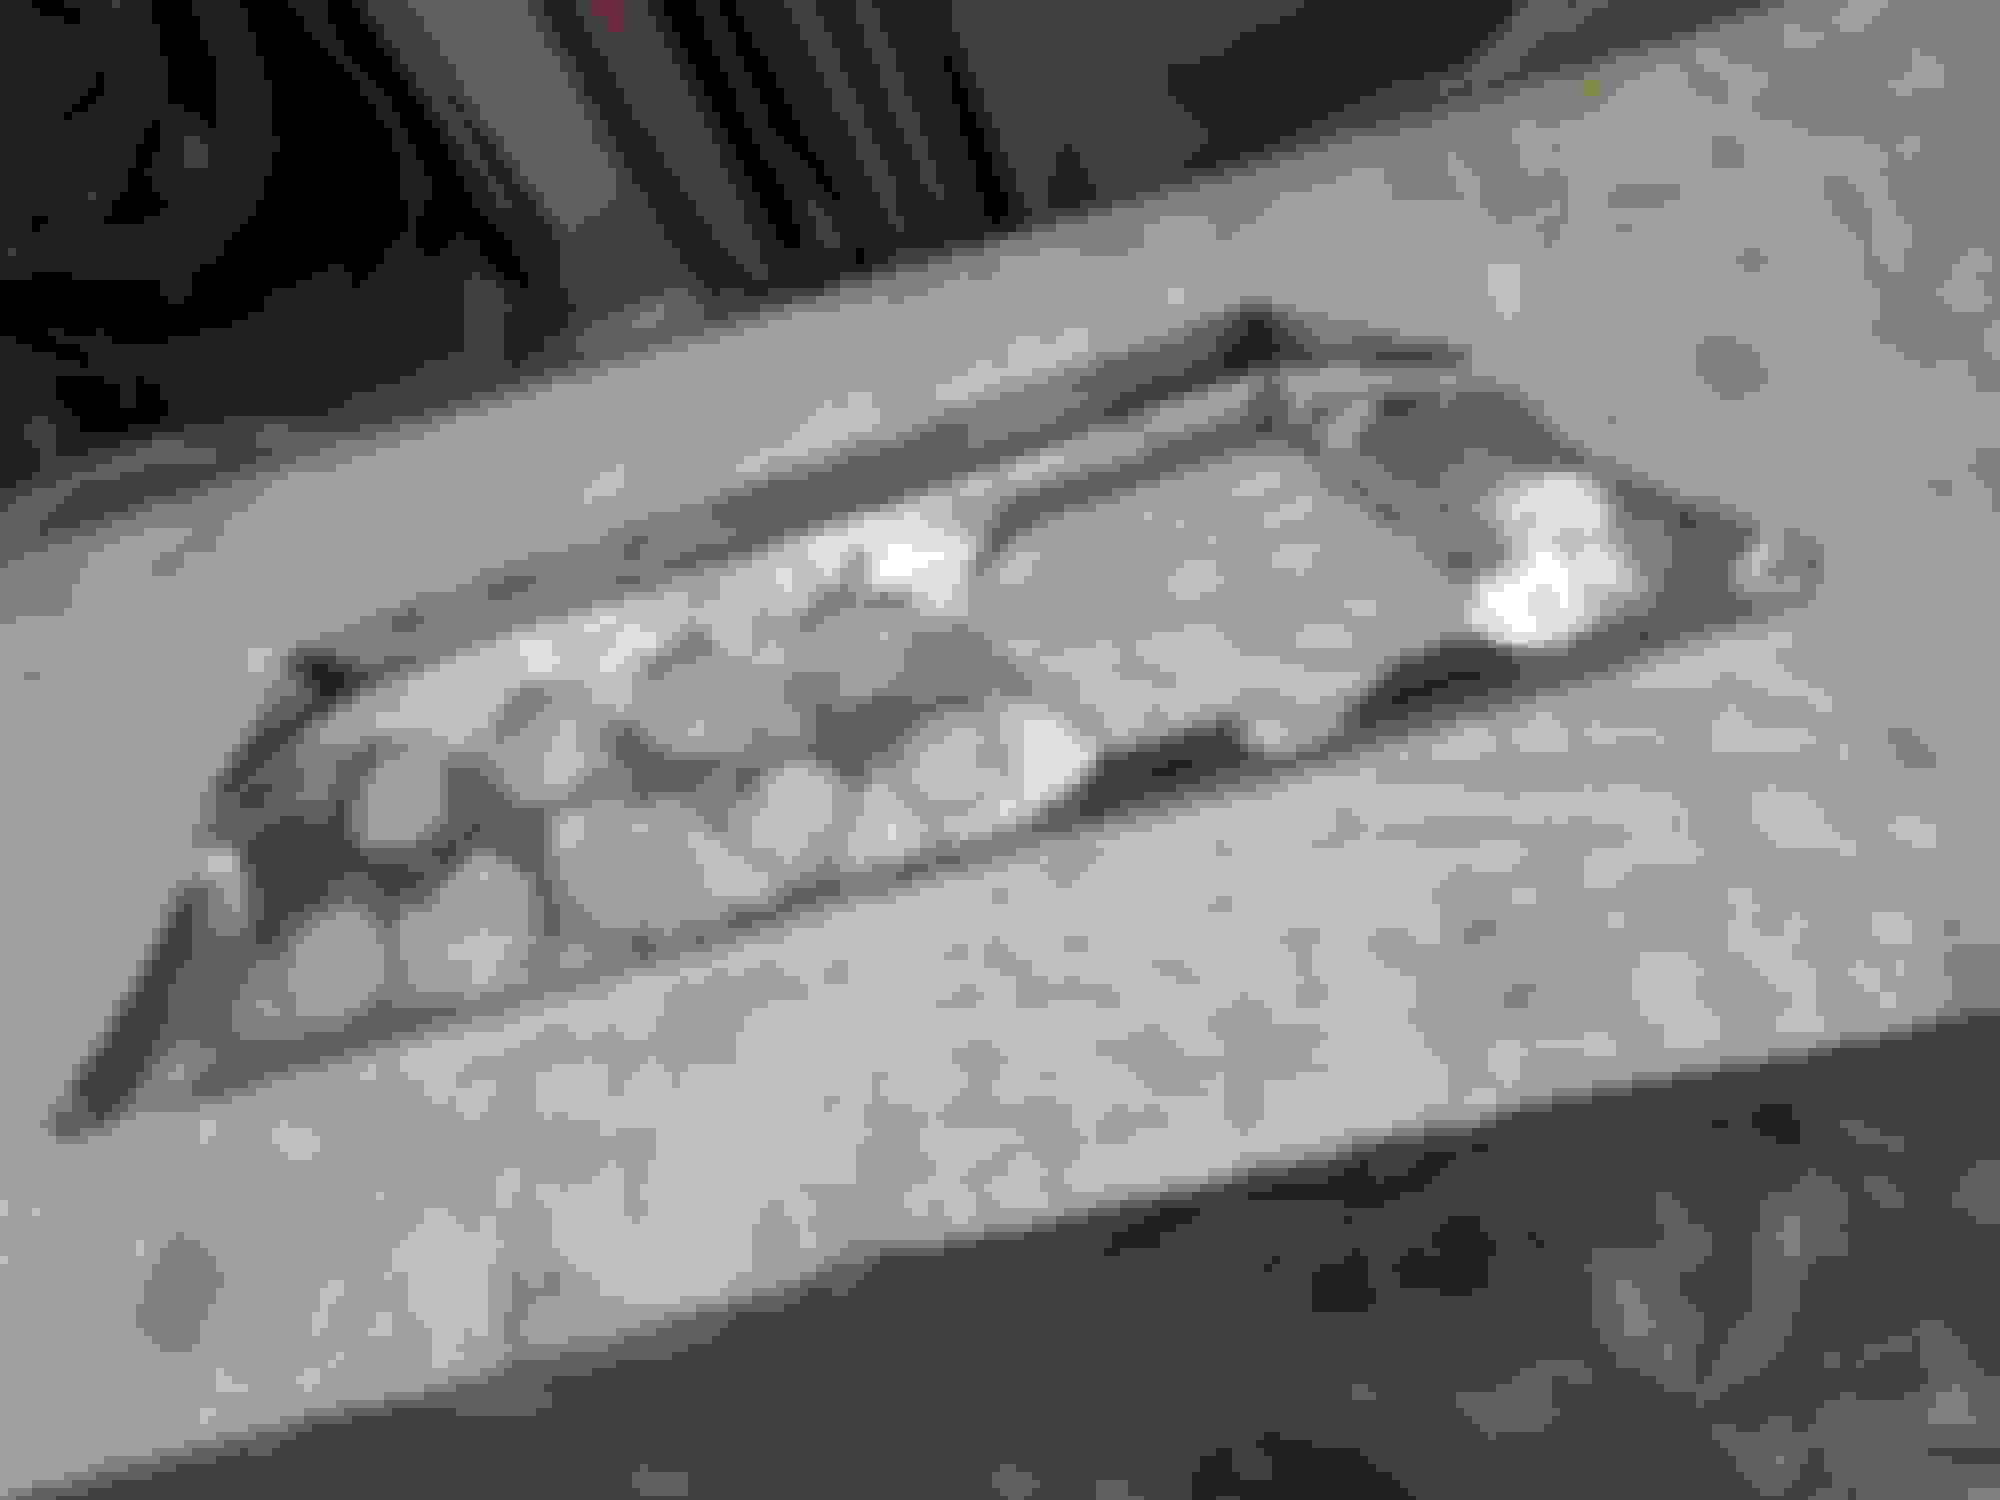
Intake Manifold

Engine block got a simple black enamel. Intake Upper / Lower and Valve Cover will all get VHT wrinkle.
First coat was pretty simple - this is the second coat:

Setting up nicely


Intake Manifold

Reply
0
0
02-28-2020, 04:46 PM
#117
Junior Member
Thread Starter
iTrader: (3)
Join Date: Oct 2015
Location: Steamboat Springs, CO
Posts: 329
Total Cats: 22
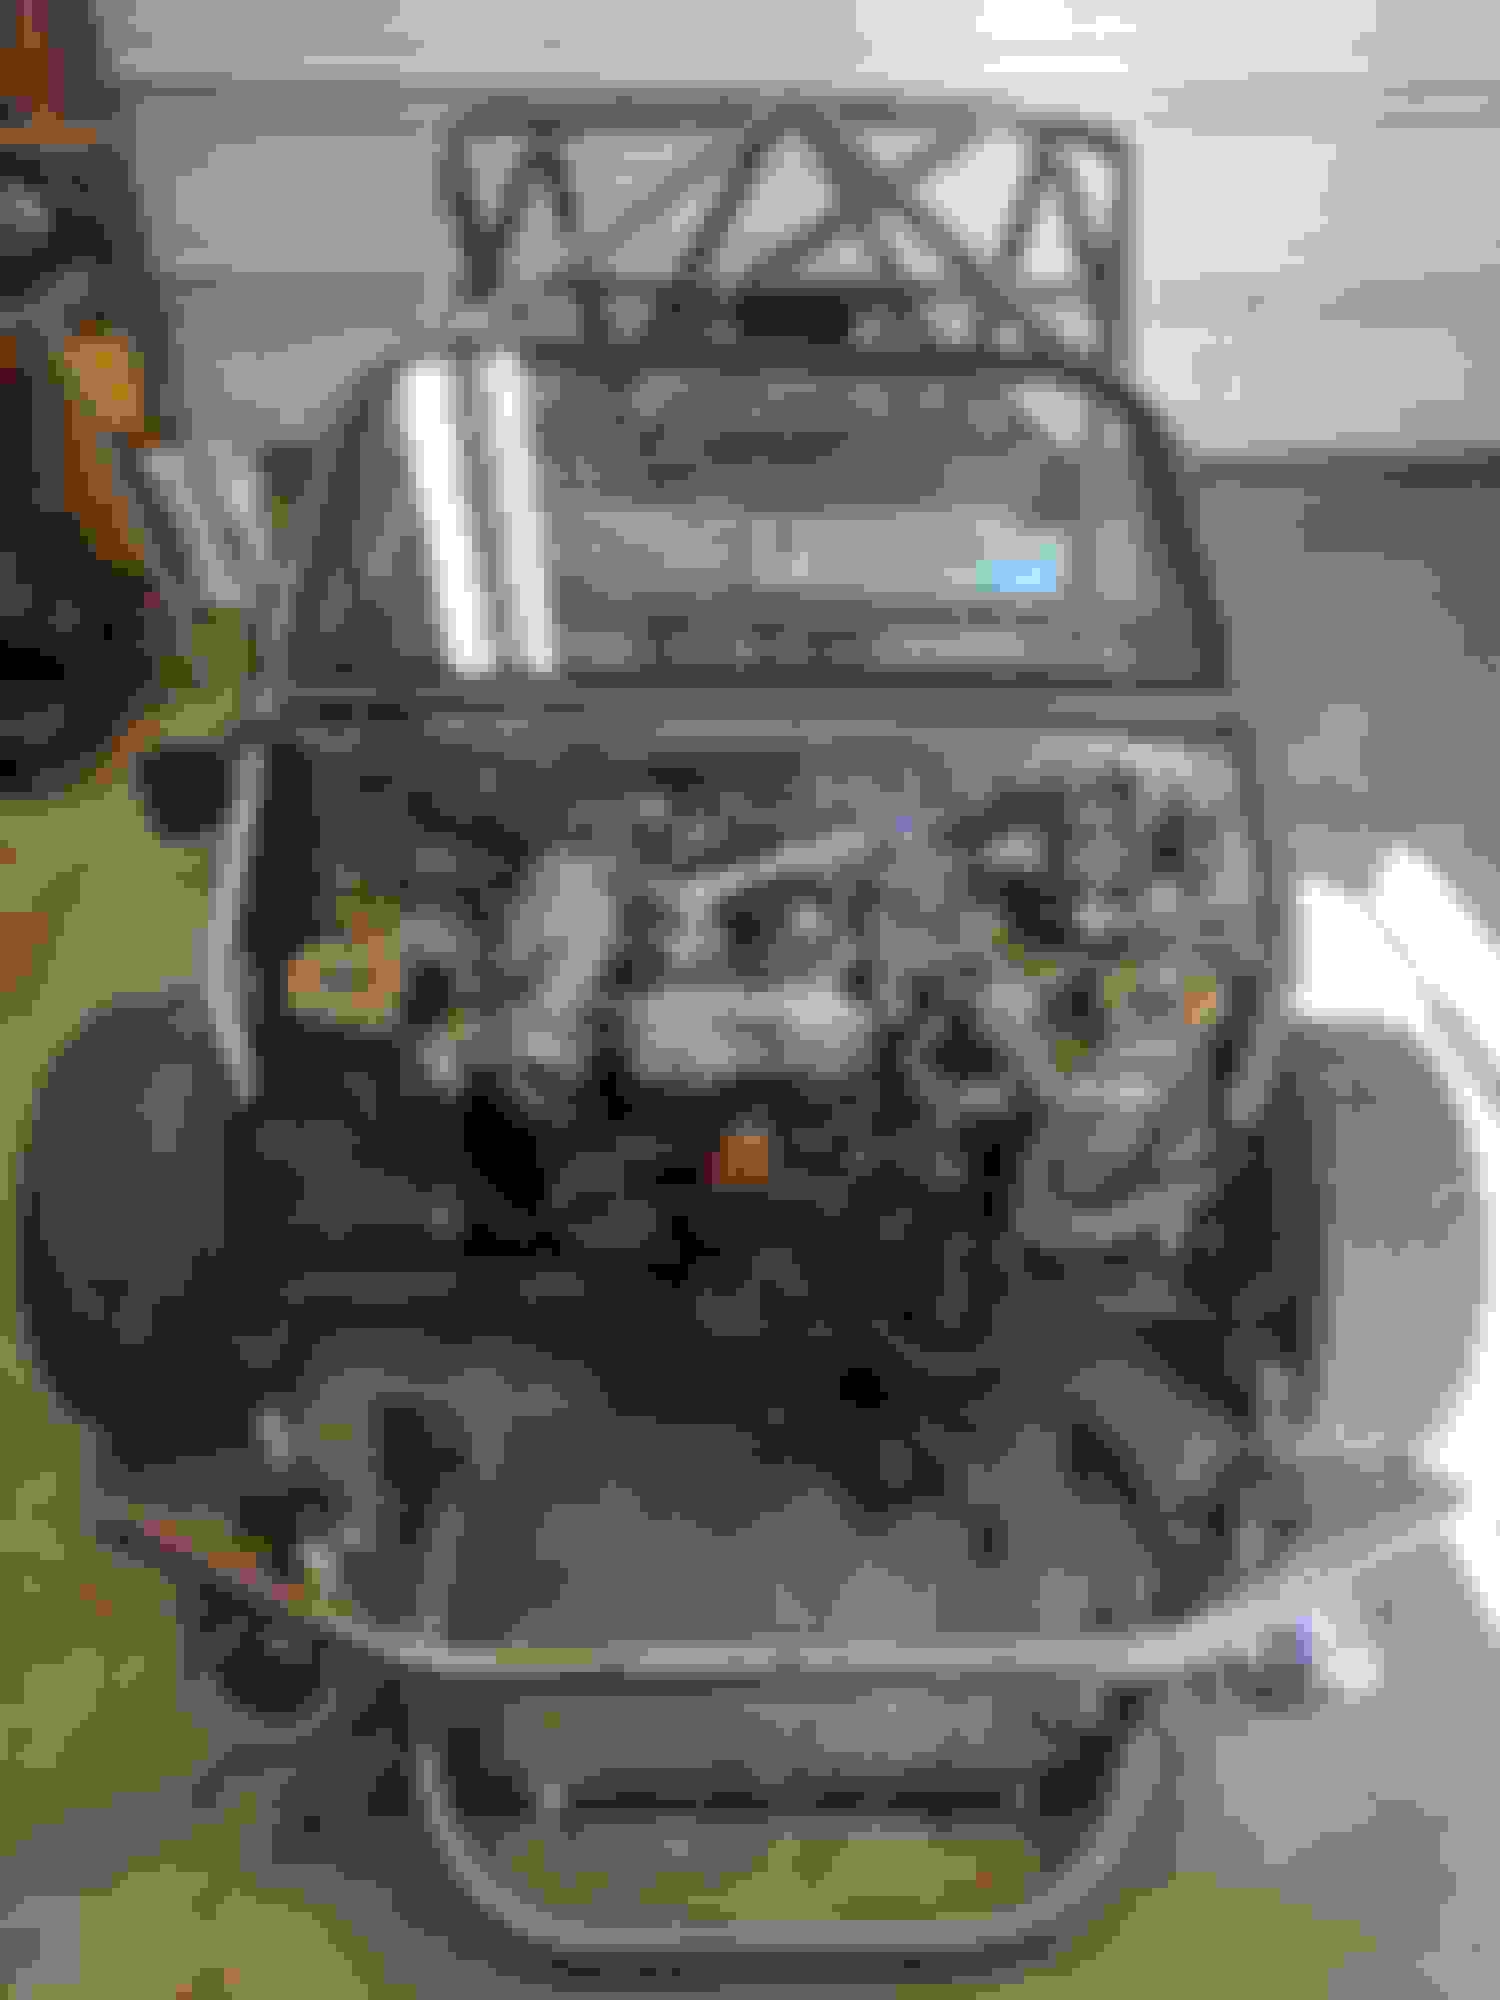
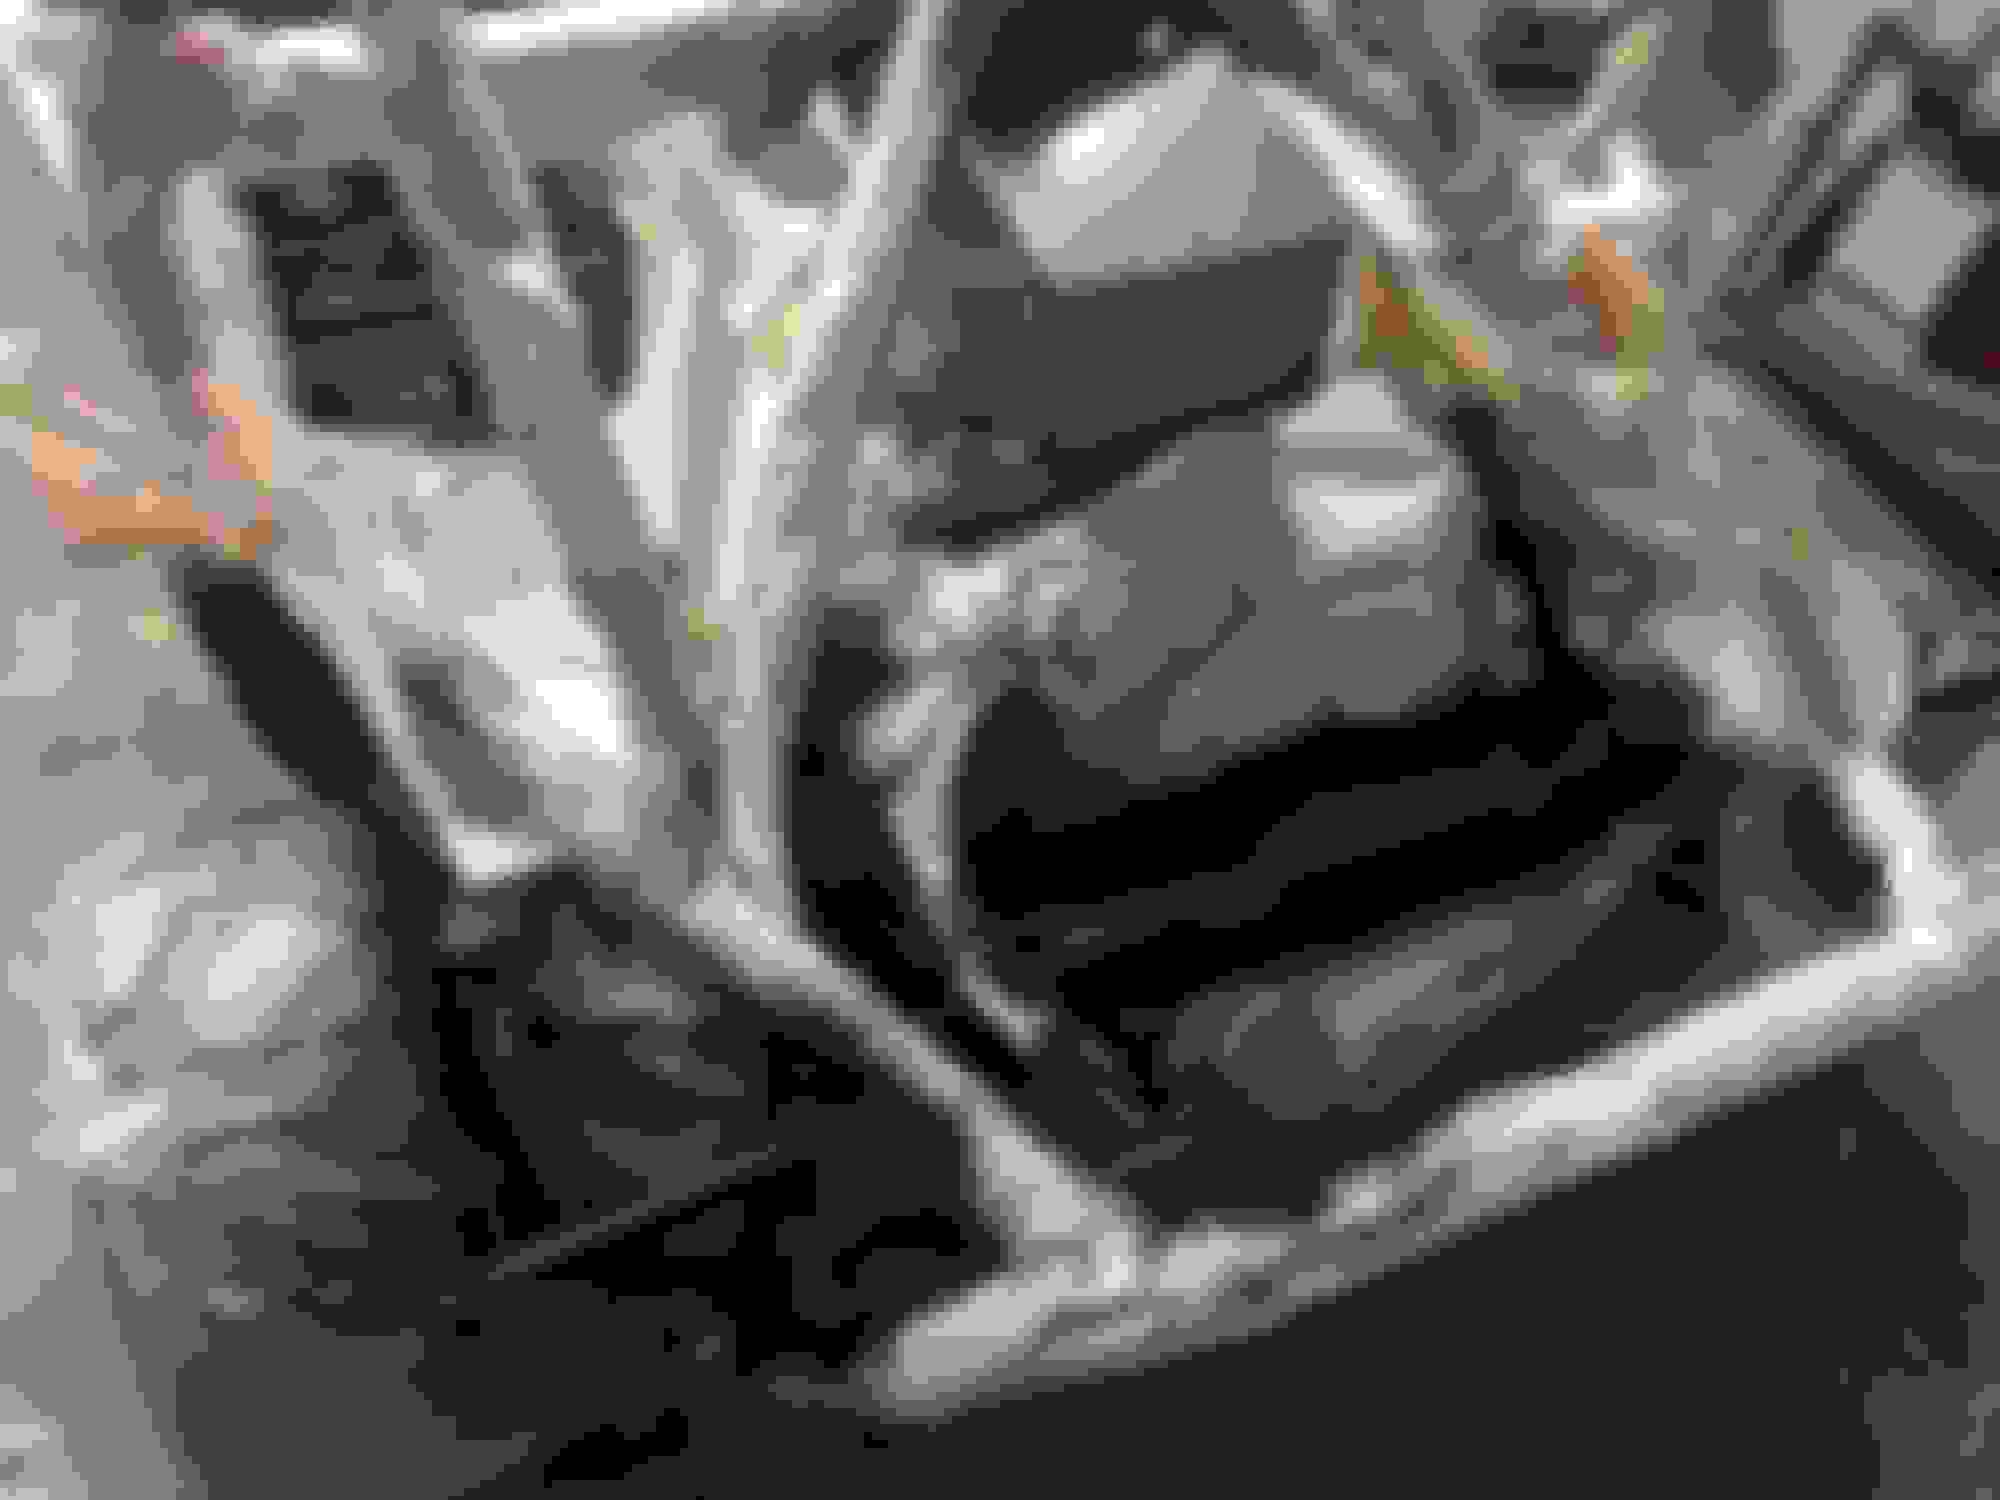
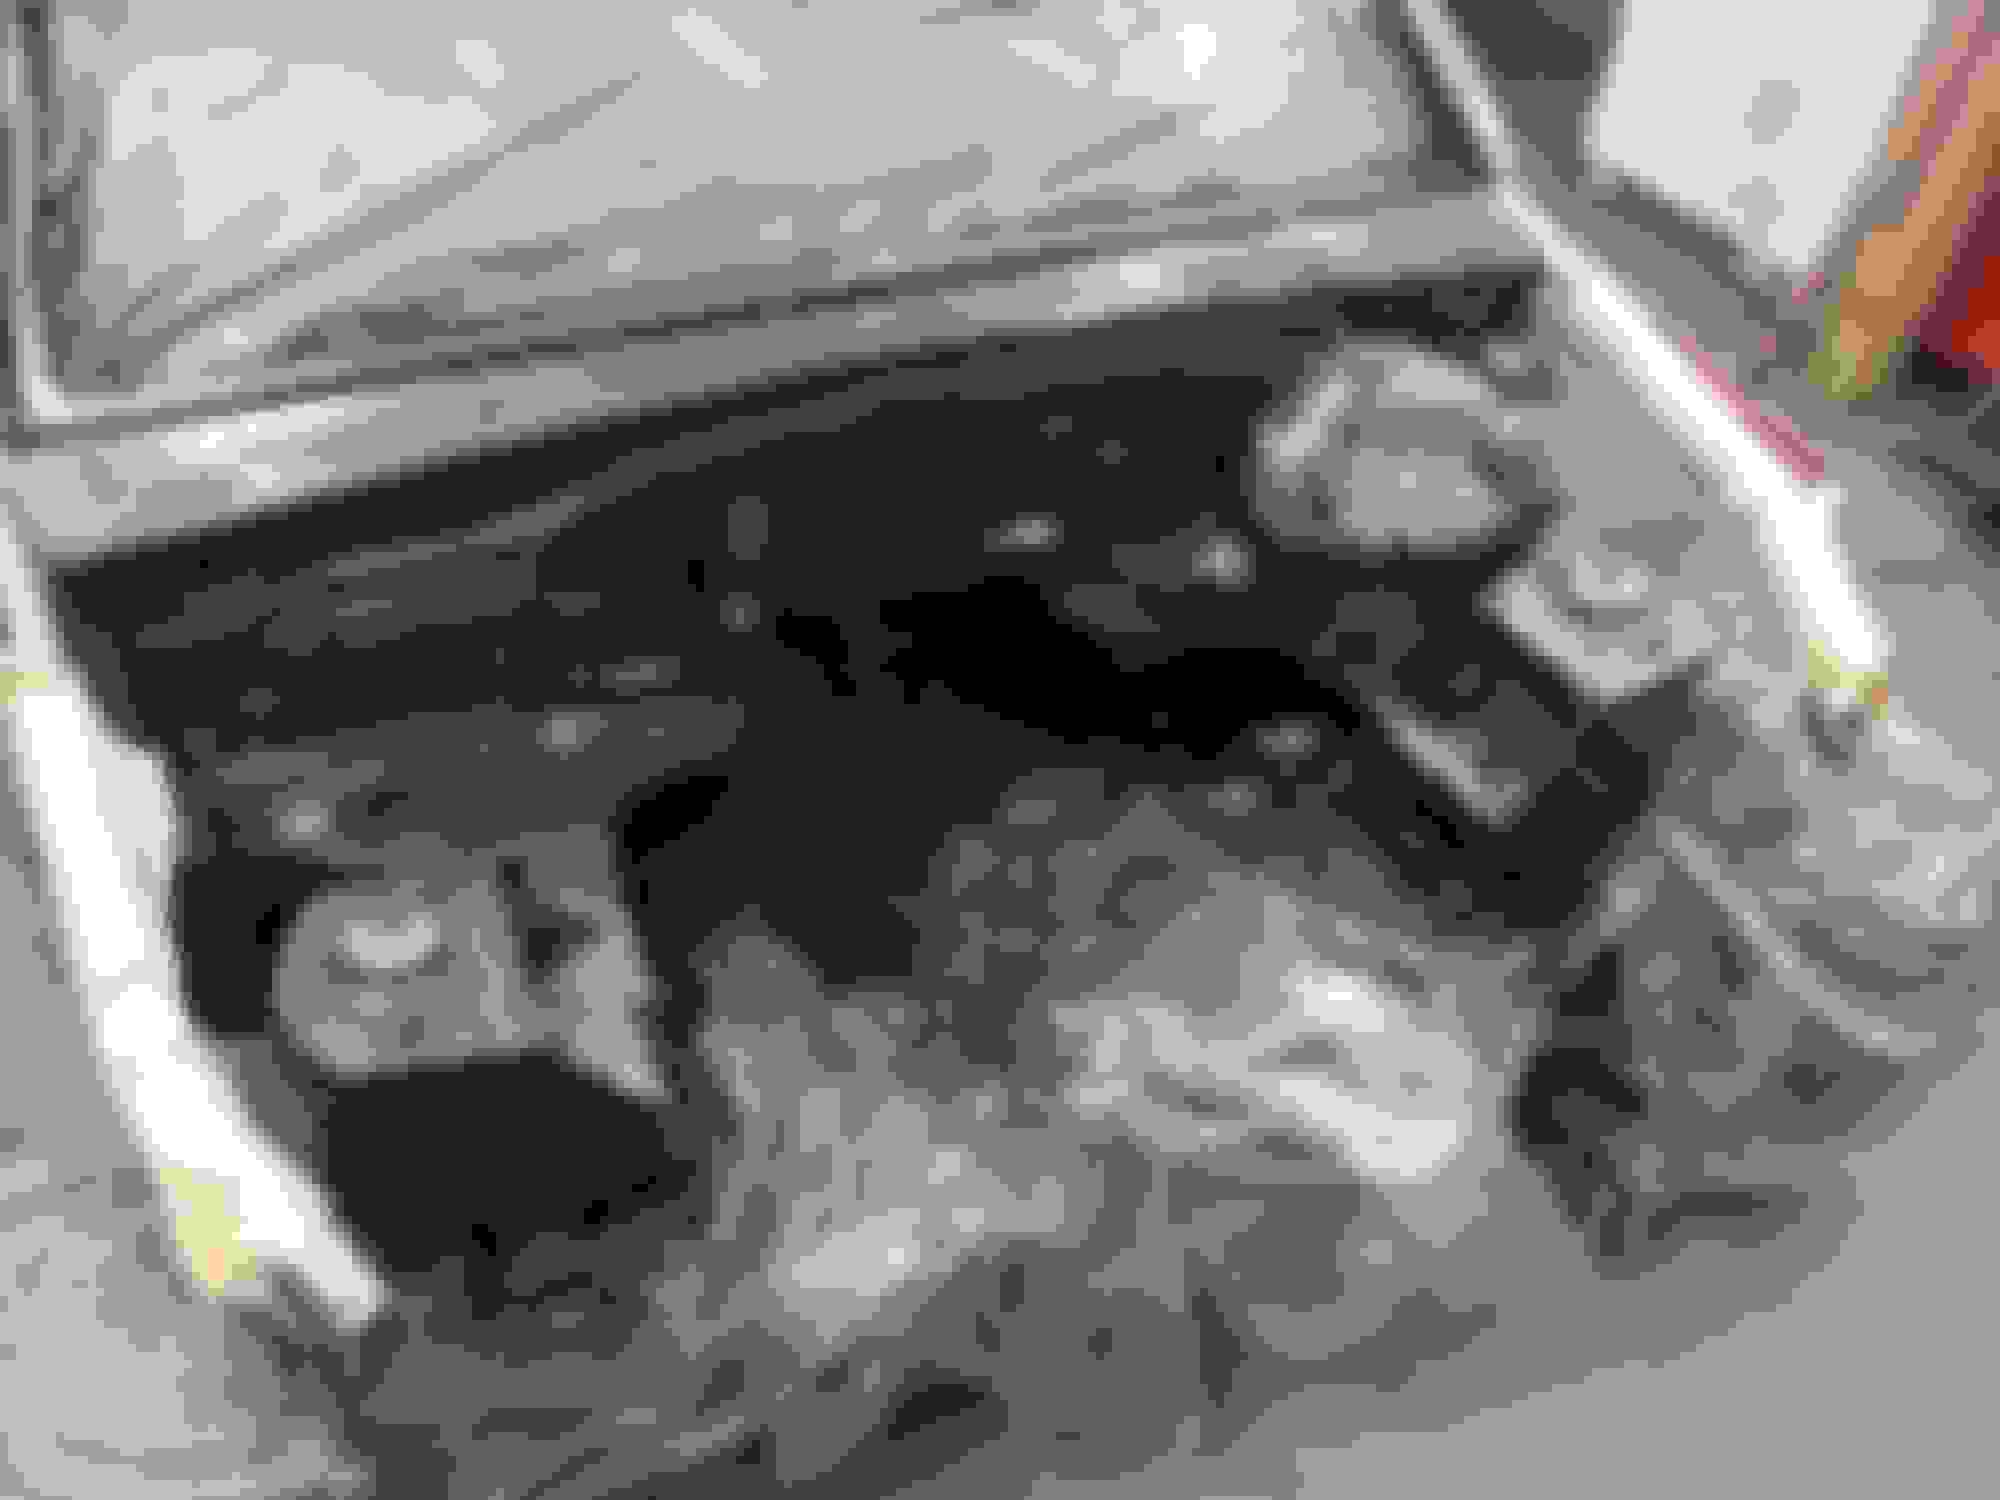
After getting everything painted (roll bars, tub, foot wells, Valve Cover, engine bits, etc) moved on to clear coat.
Everything was wiped down and cleaned up - shot everything with 'KBS Coatings DiamondFinish Clear Coat' - used about 3/4 gallon. Should have been closer to 1/2 gallon, but there was a TON of wasted product due to overspray when trying to coat the roll cage. Product sprayed nicely, leaves a super smooth / glossy finish (visual and feel) - very pleased.
After doing all this painting it looks like the subframes need a good scrub!
All the engine components that got paint also got the clear coat. It looks SUPER shiny in this pic, but that's due to ALL the shop florescent lights being on. In reality, all the wrinkle-paint parts are probably only half as glossy as shown here. I did some research - seems like half the people out there clear coat their wrinkle, half don't recommend it.
This engine will be exposed to UV / dirt and grime 24/7, so I decided to clear it with the automotive stuff sprayed on the rest of the car - time will tell.
Rad support got the same black enamel. Overall pleased with the bronze paint and the clear coat application.
With all the paint finished up, time to move on to wiring!
Everything was wiped down and cleaned up - shot everything with 'KBS Coatings DiamondFinish Clear Coat' - used about 3/4 gallon. Should have been closer to 1/2 gallon, but there was a TON of wasted product due to overspray when trying to coat the roll cage. Product sprayed nicely, leaves a super smooth / glossy finish (visual and feel) - very pleased.
After doing all this painting it looks like the subframes need a good scrub!


All the engine components that got paint also got the clear coat. It looks SUPER shiny in this pic, but that's due to ALL the shop florescent lights being on. In reality, all the wrinkle-paint parts are probably only half as glossy as shown here. I did some research - seems like half the people out there clear coat their wrinkle, half don't recommend it.
This engine will be exposed to UV / dirt and grime 24/7, so I decided to clear it with the automotive stuff sprayed on the rest of the car - time will tell.


Rad support got the same black enamel. Overall pleased with the bronze paint and the clear coat application.

With all the paint finished up, time to move on to wiring!
Reply
0
0
02-28-2020, 04:55 PM
#118
Junior Member
Thread Starter
iTrader: (3)
Join Date: Oct 2015
Location: Steamboat Springs, CO
Posts: 329
Total Cats: 22
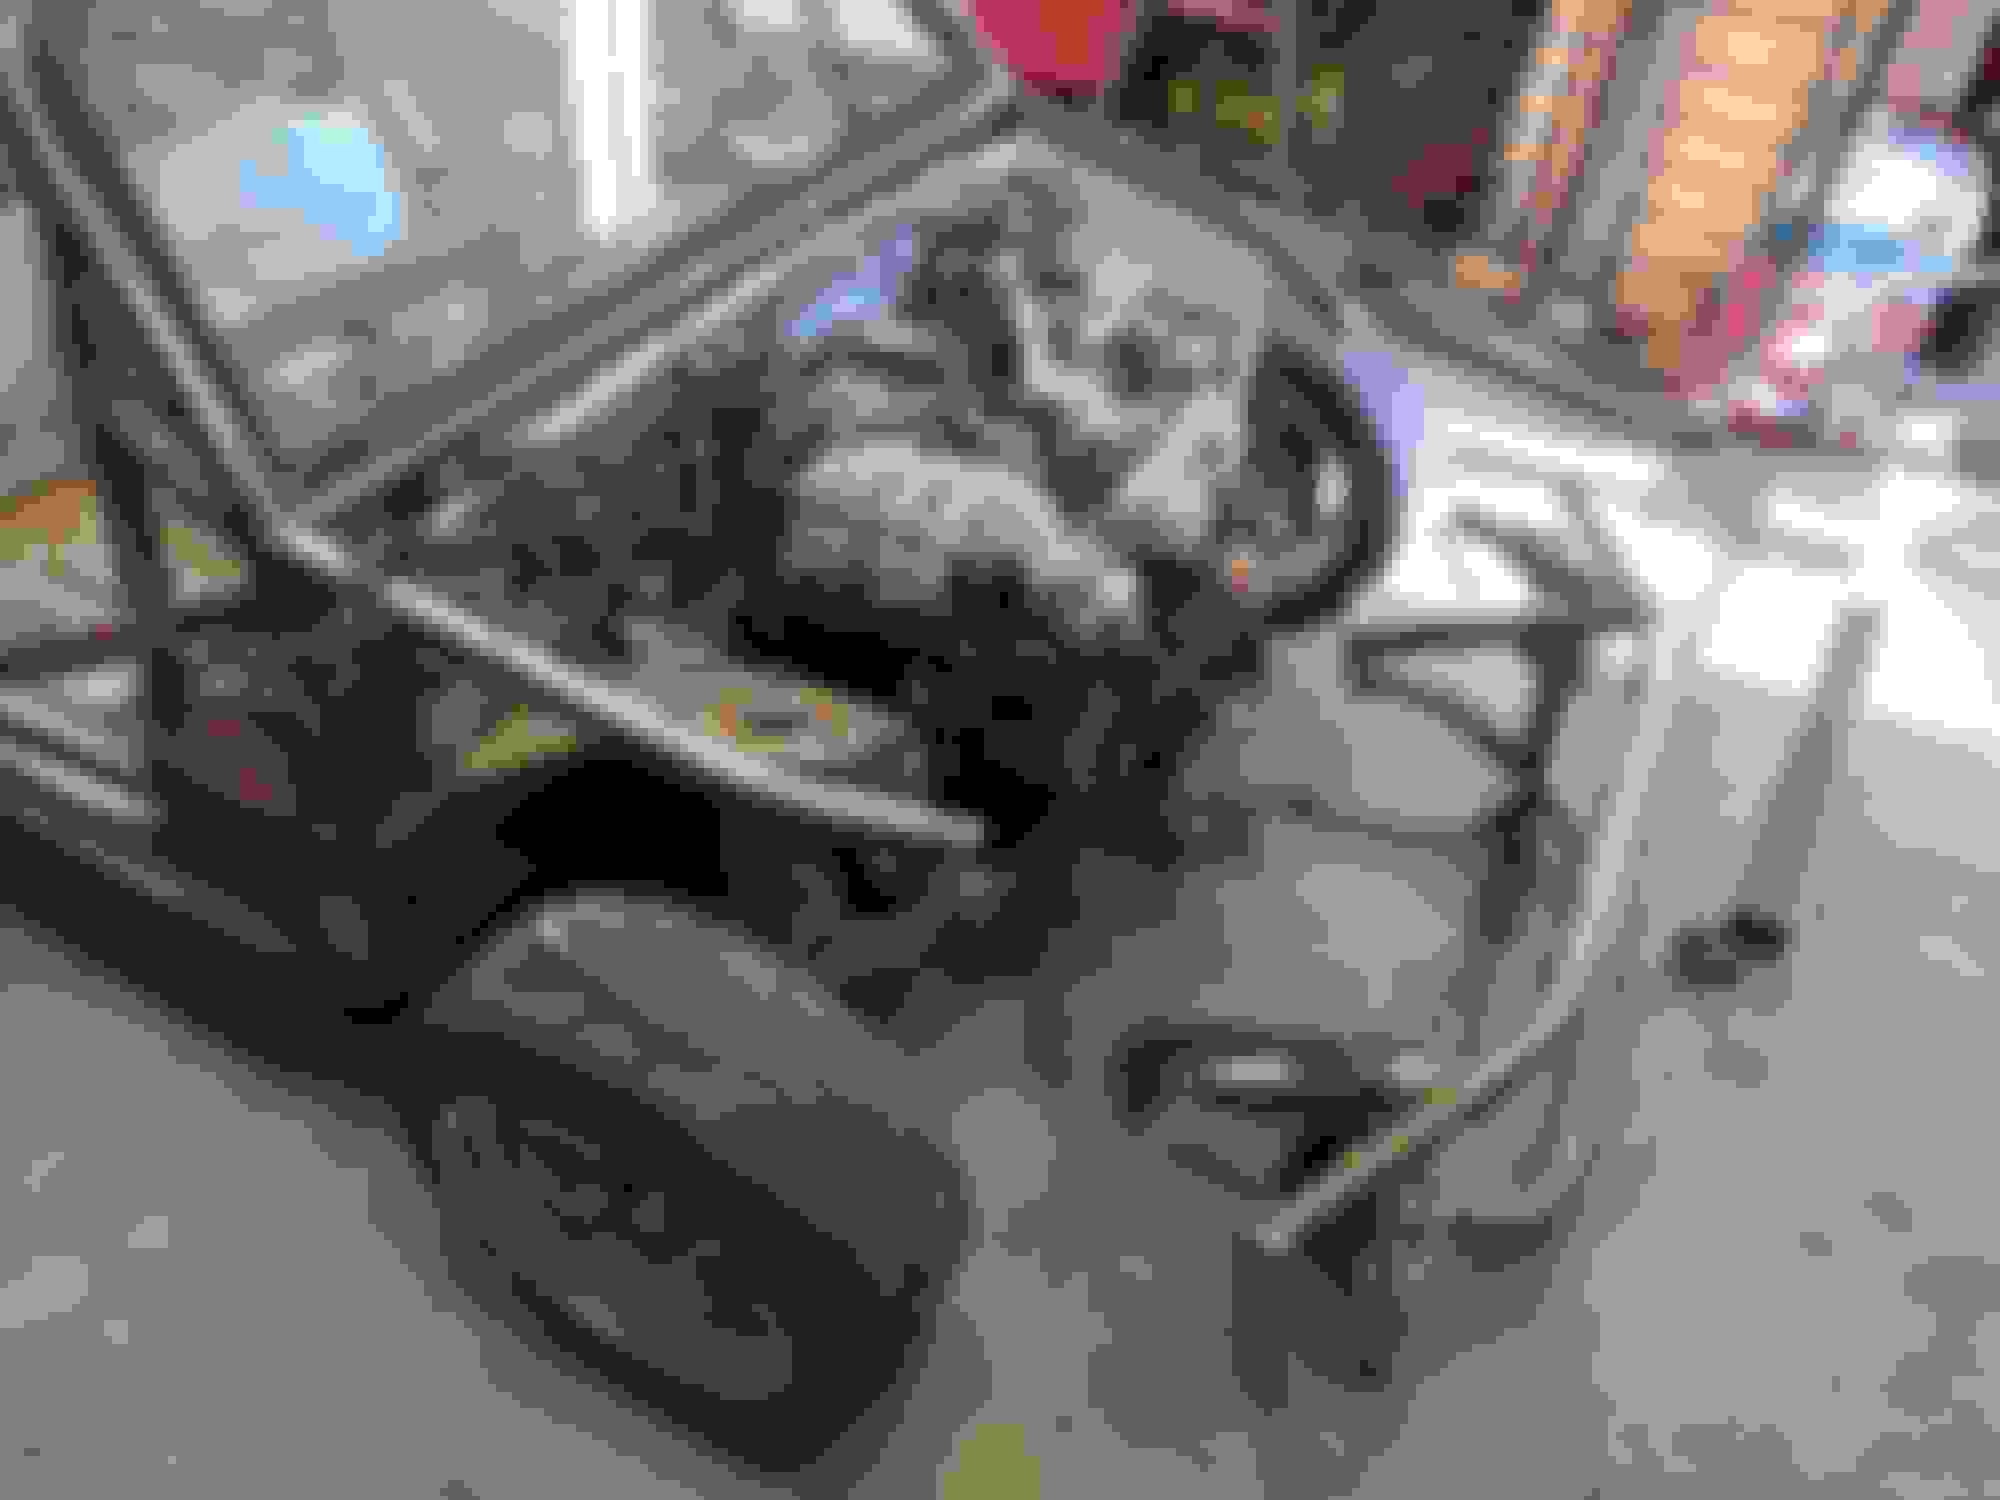
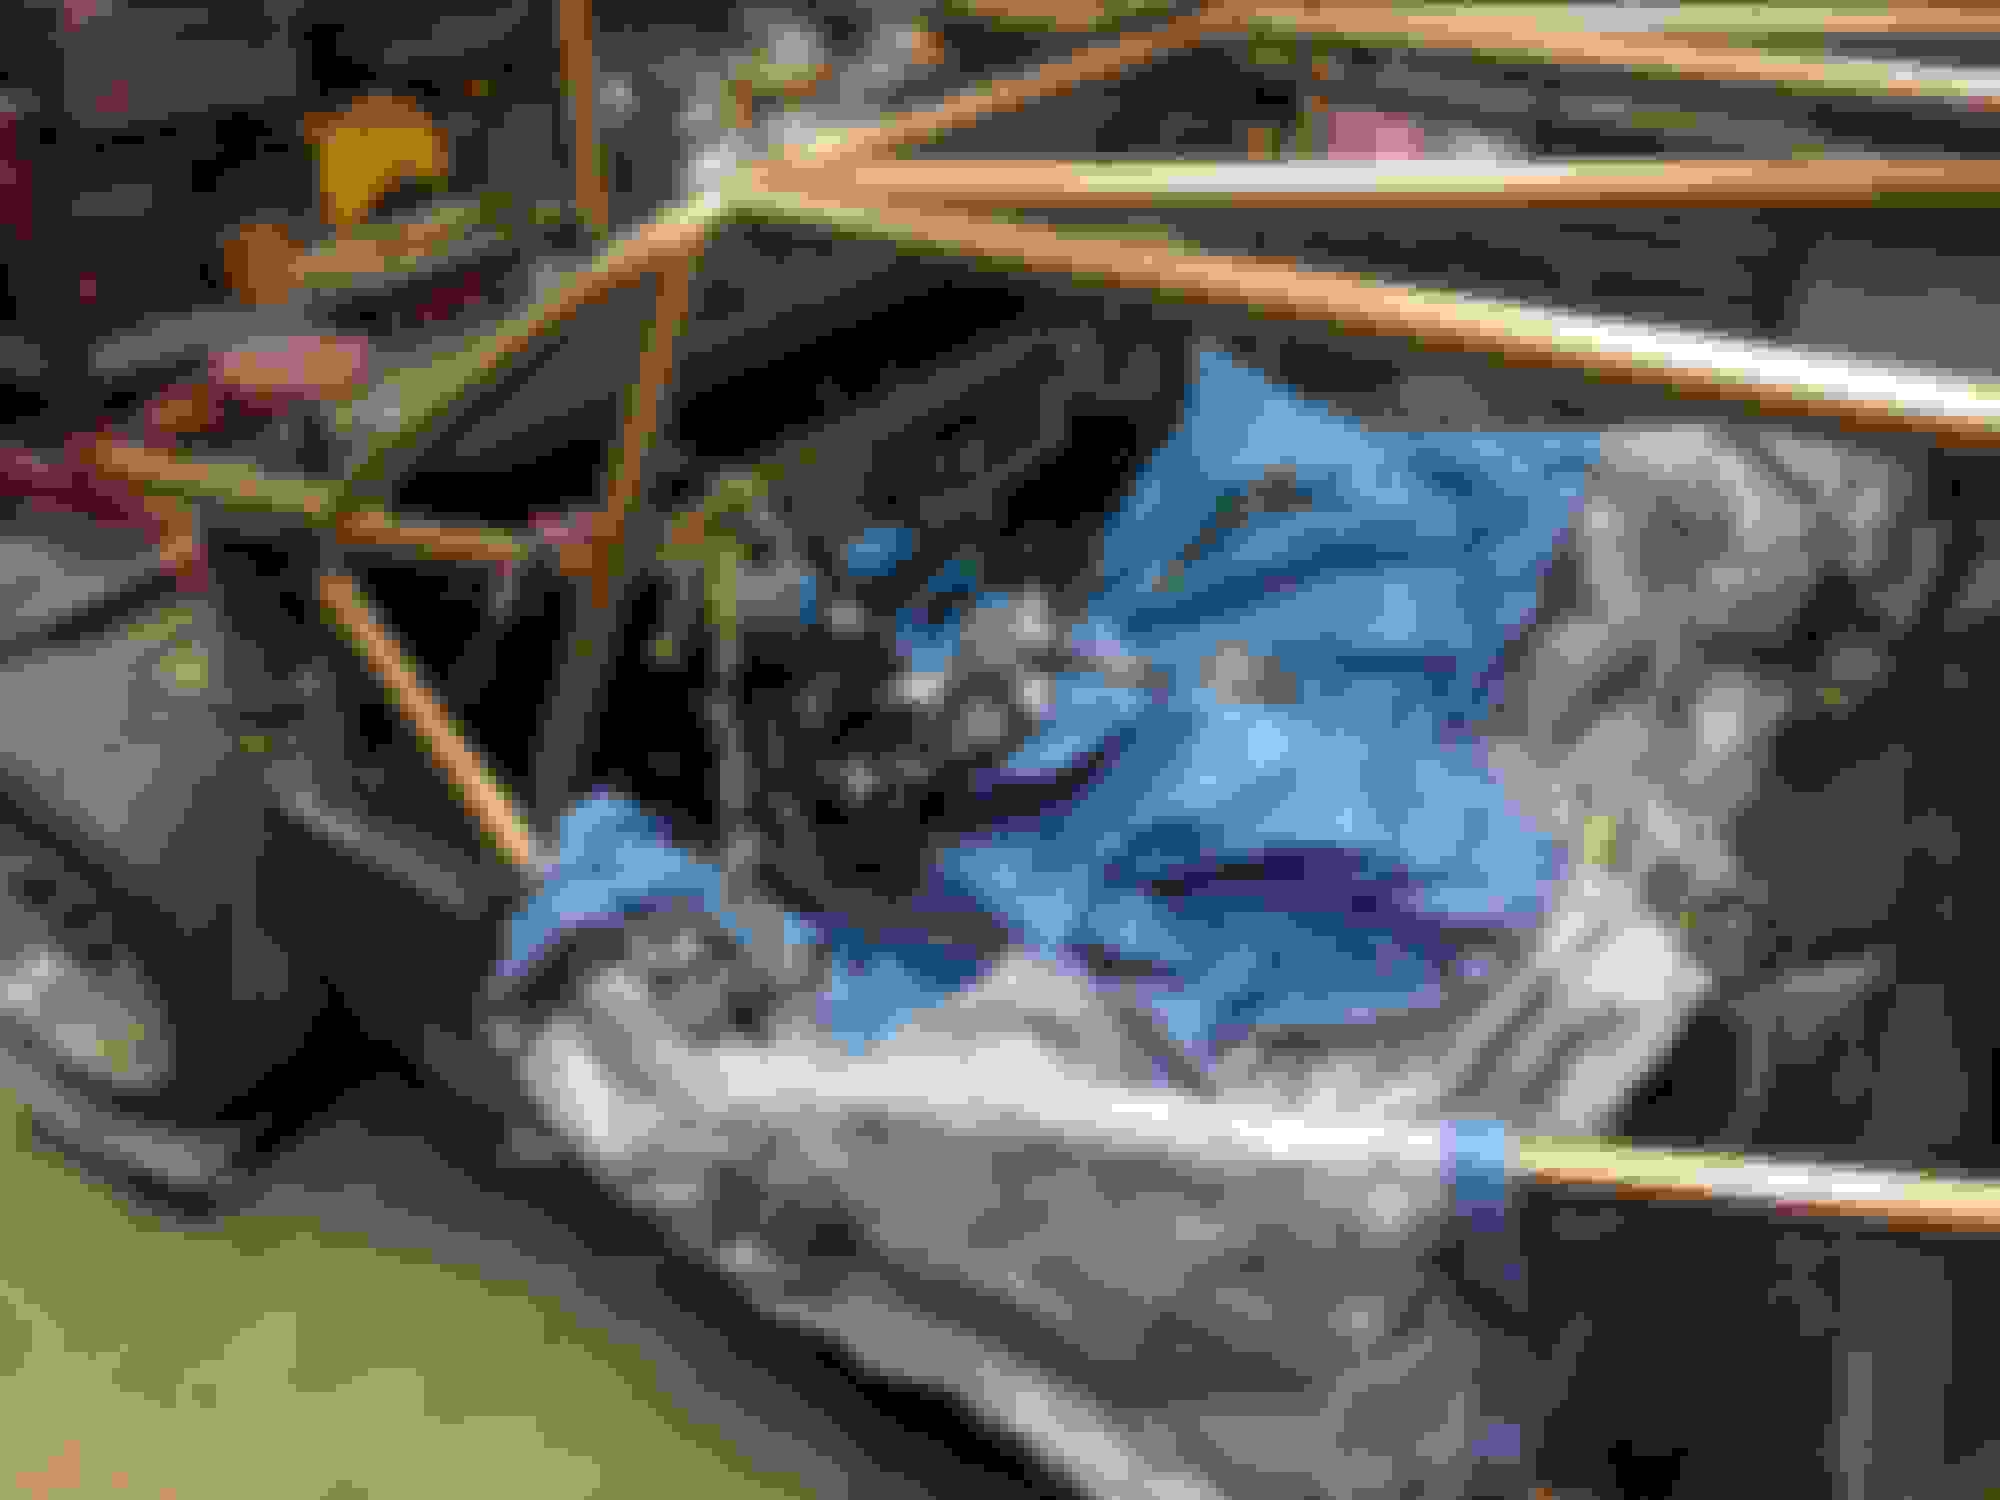
Working through the wiring. It's simple enough, but I don't love it.
Wired the horn to the windshield-washer pull - far simpler than all the oddities involved with the quick release wiring.
Wired in remote battery terminals. The batter is tiny, secured in a bracket under the dash panels - these remote terminals will make battery tending and and jump starts far easier.
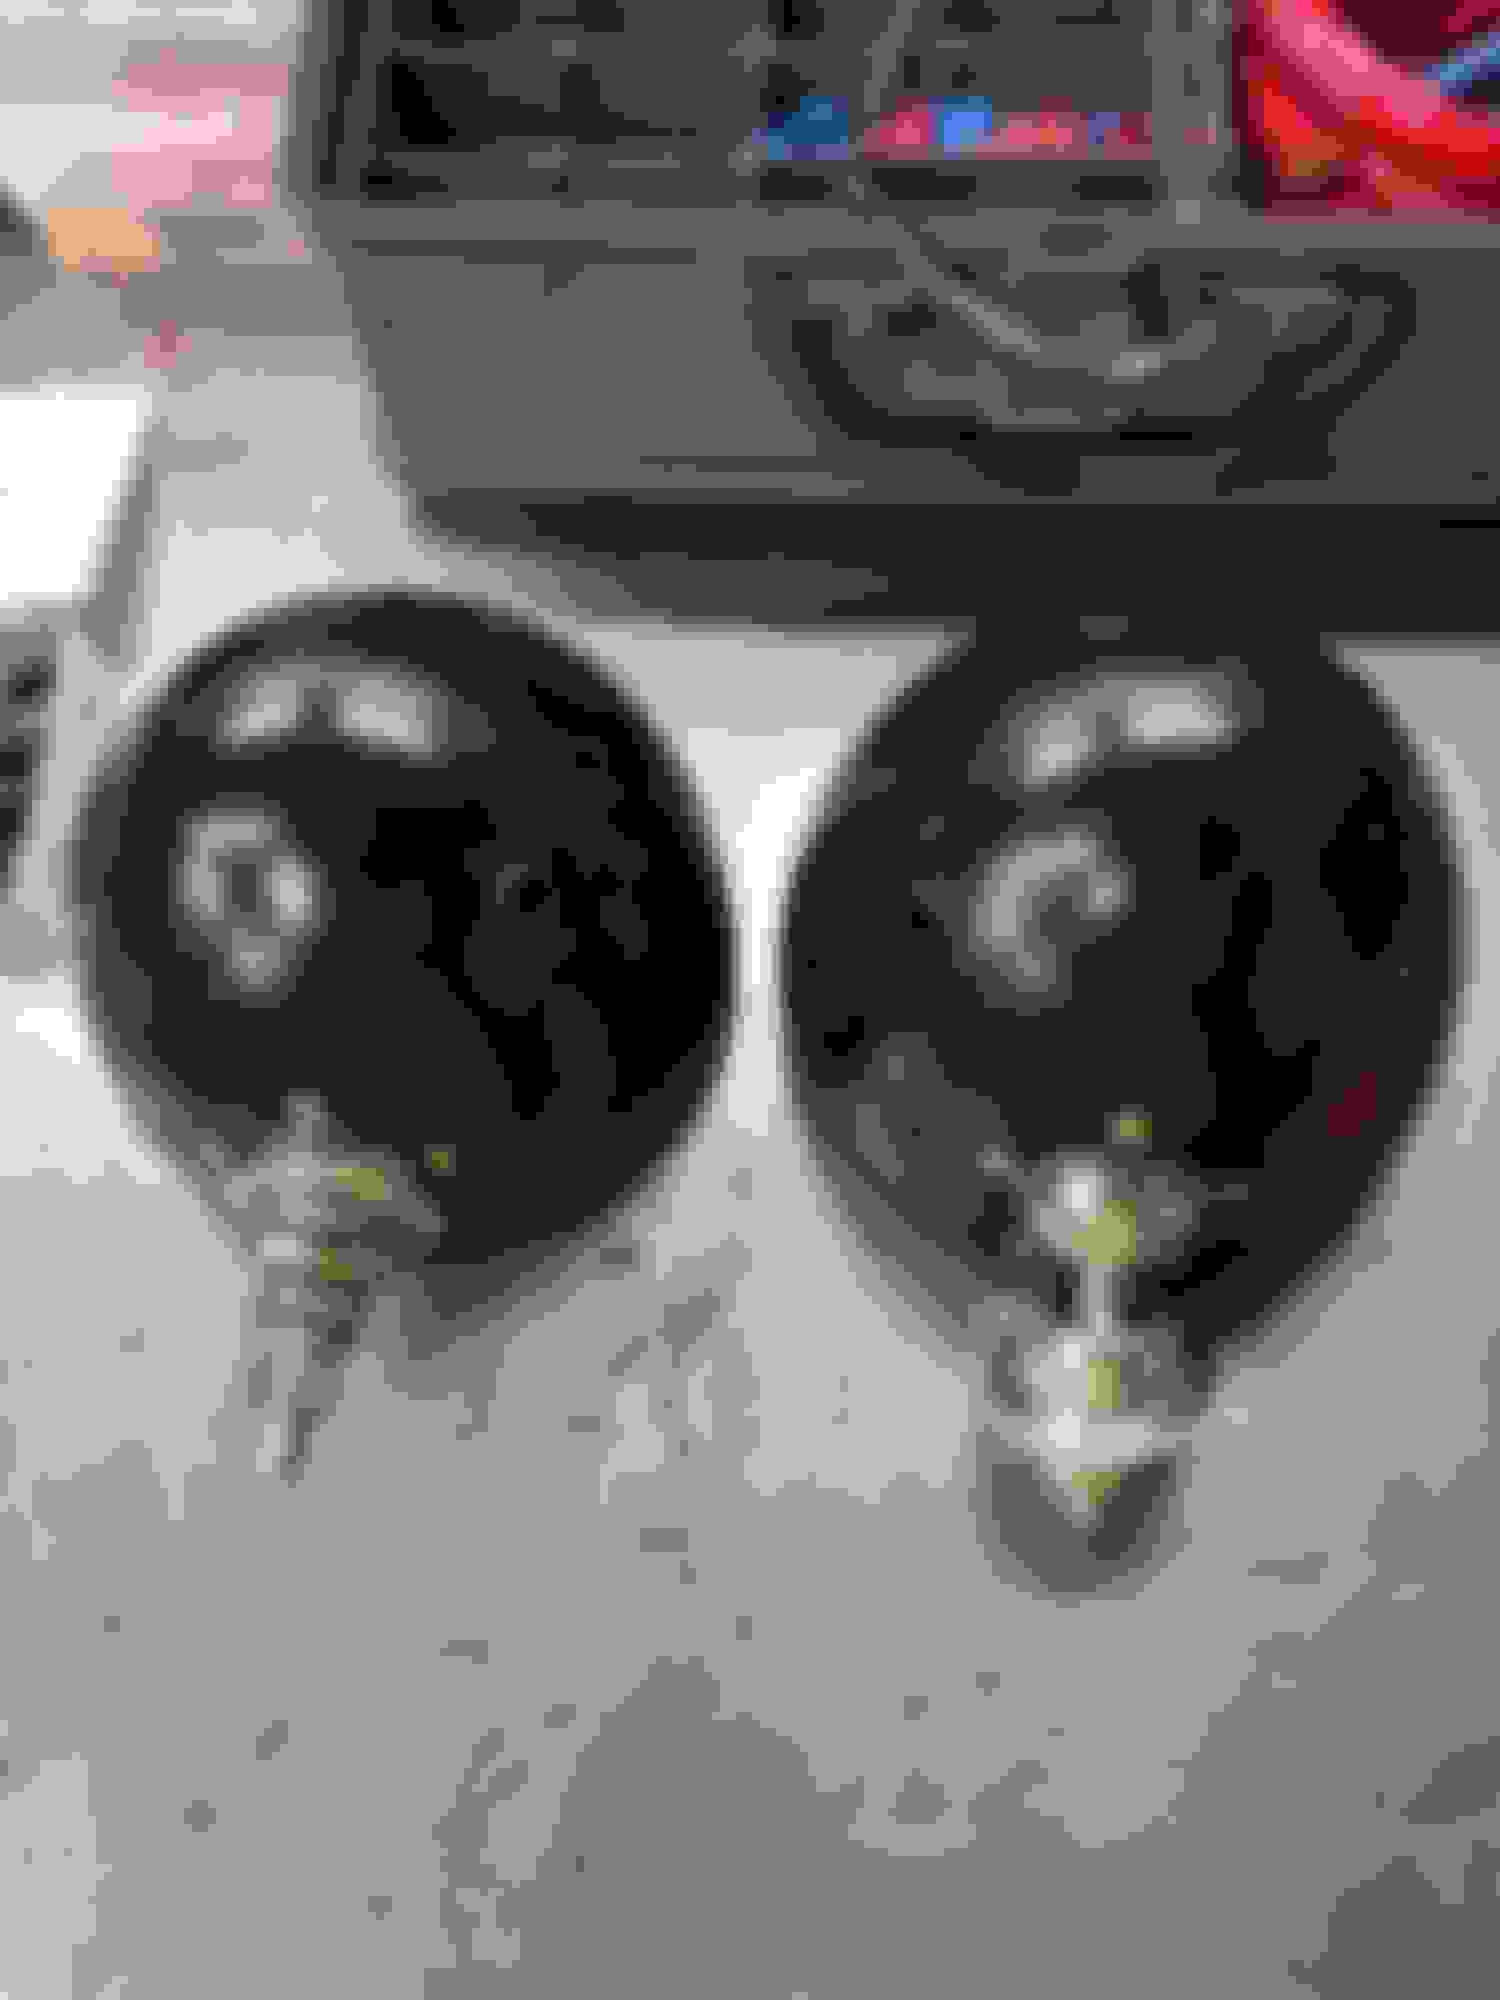
Also wasn't a fan of the wiring setup used for the headlights - so, simply drilled a couple holes, used a couple grommets, voil'a
Yup. It's a rats nest - going to take some time to clean up, strip out or re-wire as needed. Ultimately I'd like to keep the loom close to original, despite the couple pounds of weight savings I *could* get due to cutting down the harness. Eh, project for next Winter maybe.
Wired the horn to the windshield-washer pull - far simpler than all the oddities involved with the quick release wiring.
Wired in remote battery terminals. The batter is tiny, secured in a bracket under the dash panels - these remote terminals will make battery tending and and jump starts far easier.

Also wasn't a fan of the wiring setup used for the headlights - so, simply drilled a couple holes, used a couple grommets, voil'a

Yup. It's a rats nest - going to take some time to clean up, strip out or re-wire as needed. Ultimately I'd like to keep the loom close to original, despite the couple pounds of weight savings I *could* get due to cutting down the harness. Eh, project for next Winter maybe.

Reply
0
0
04-13-2020, 12:19 PM
#119
Junior Member
Thread Starter
iTrader: (3)
Join Date: Oct 2015
Location: Steamboat Springs, CO
Posts: 329
Total Cats: 22
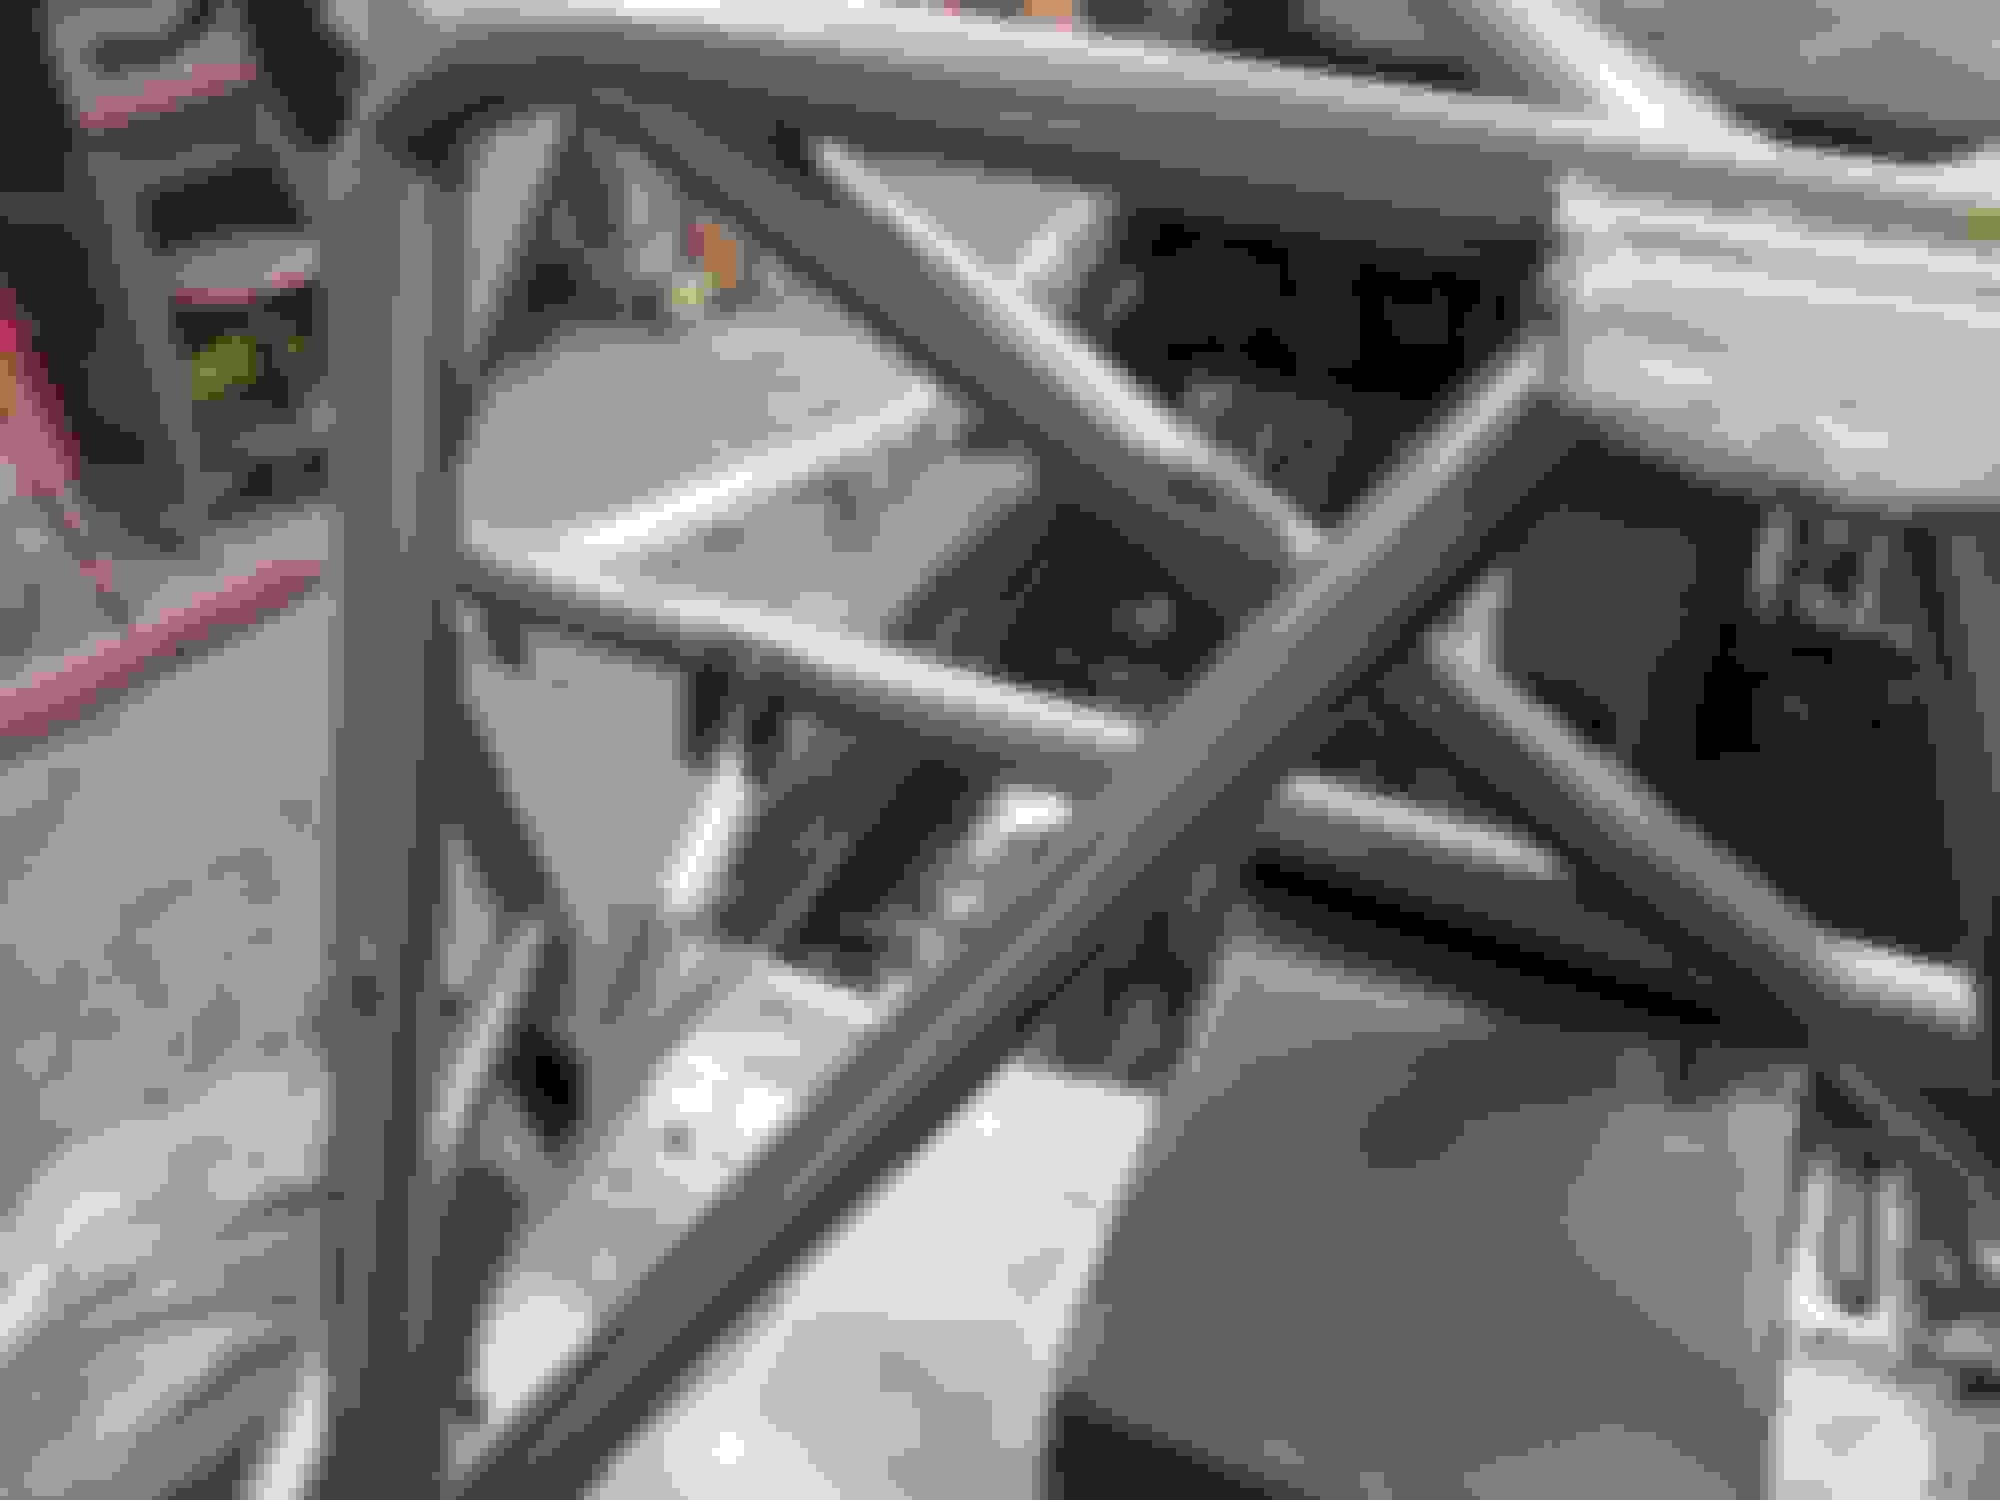
ALSO decided to work on another 'aesthetic' project - the rear subframe stiffener.
Hit it with a flap disk, everything down to clean metal. Followed up with some self-etching primer, then the same bronze paint used on the roll cage - pic to follow soon.
After getting (most) of the wiring back into the car, I decided to work on a 'fun' project (wiring can get annoying!) - The floor mats.
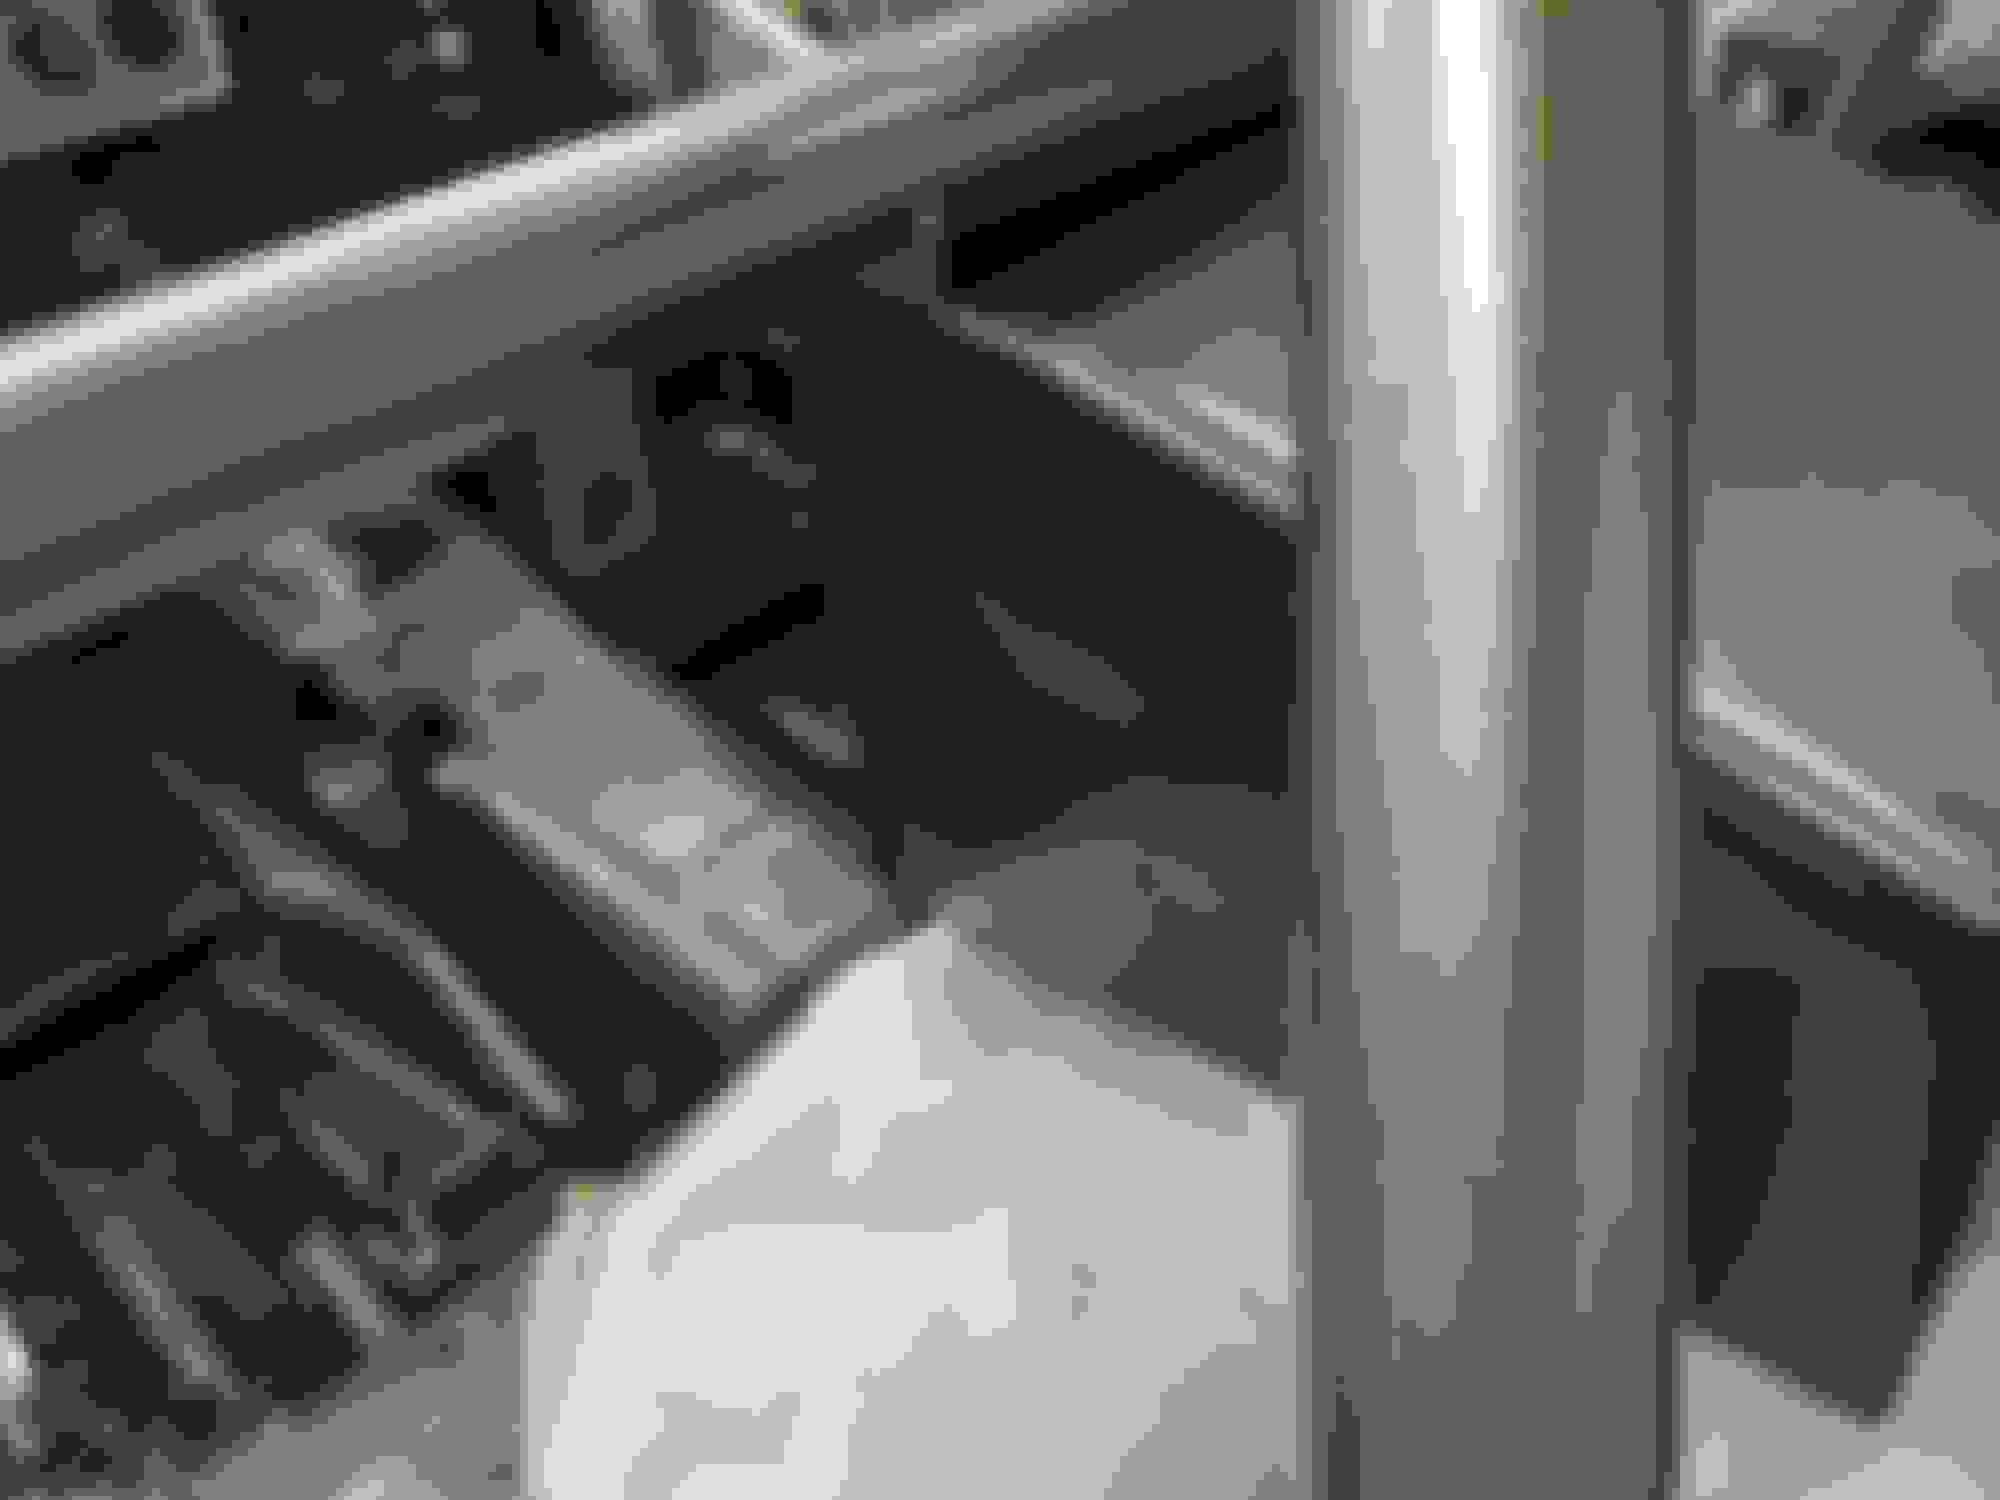
Cardboard Templates:
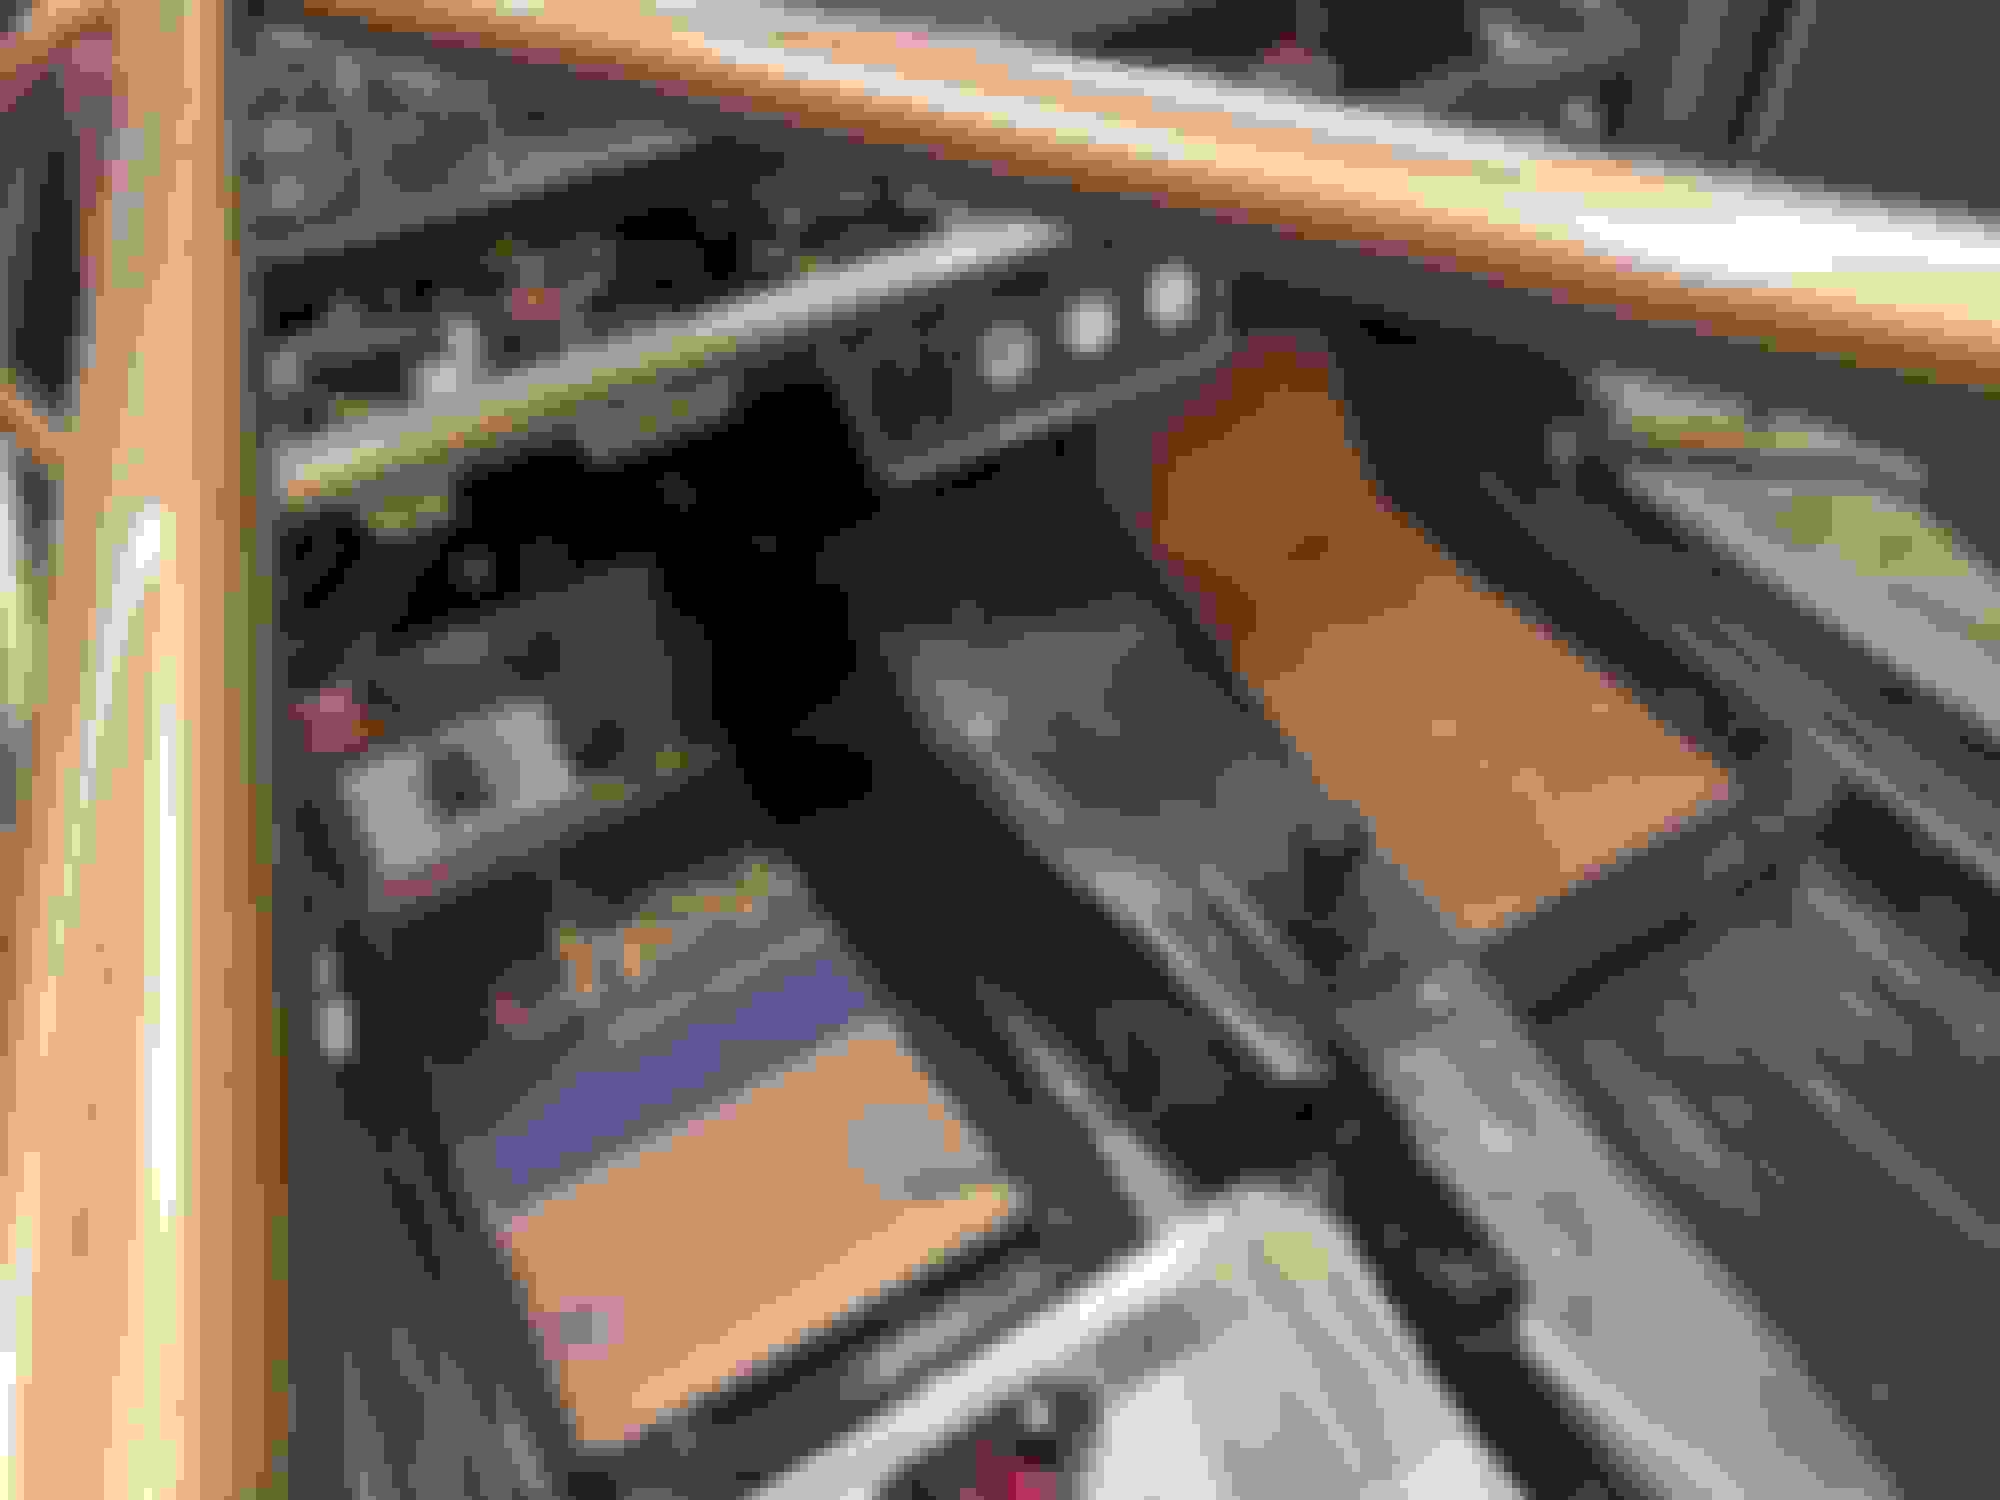
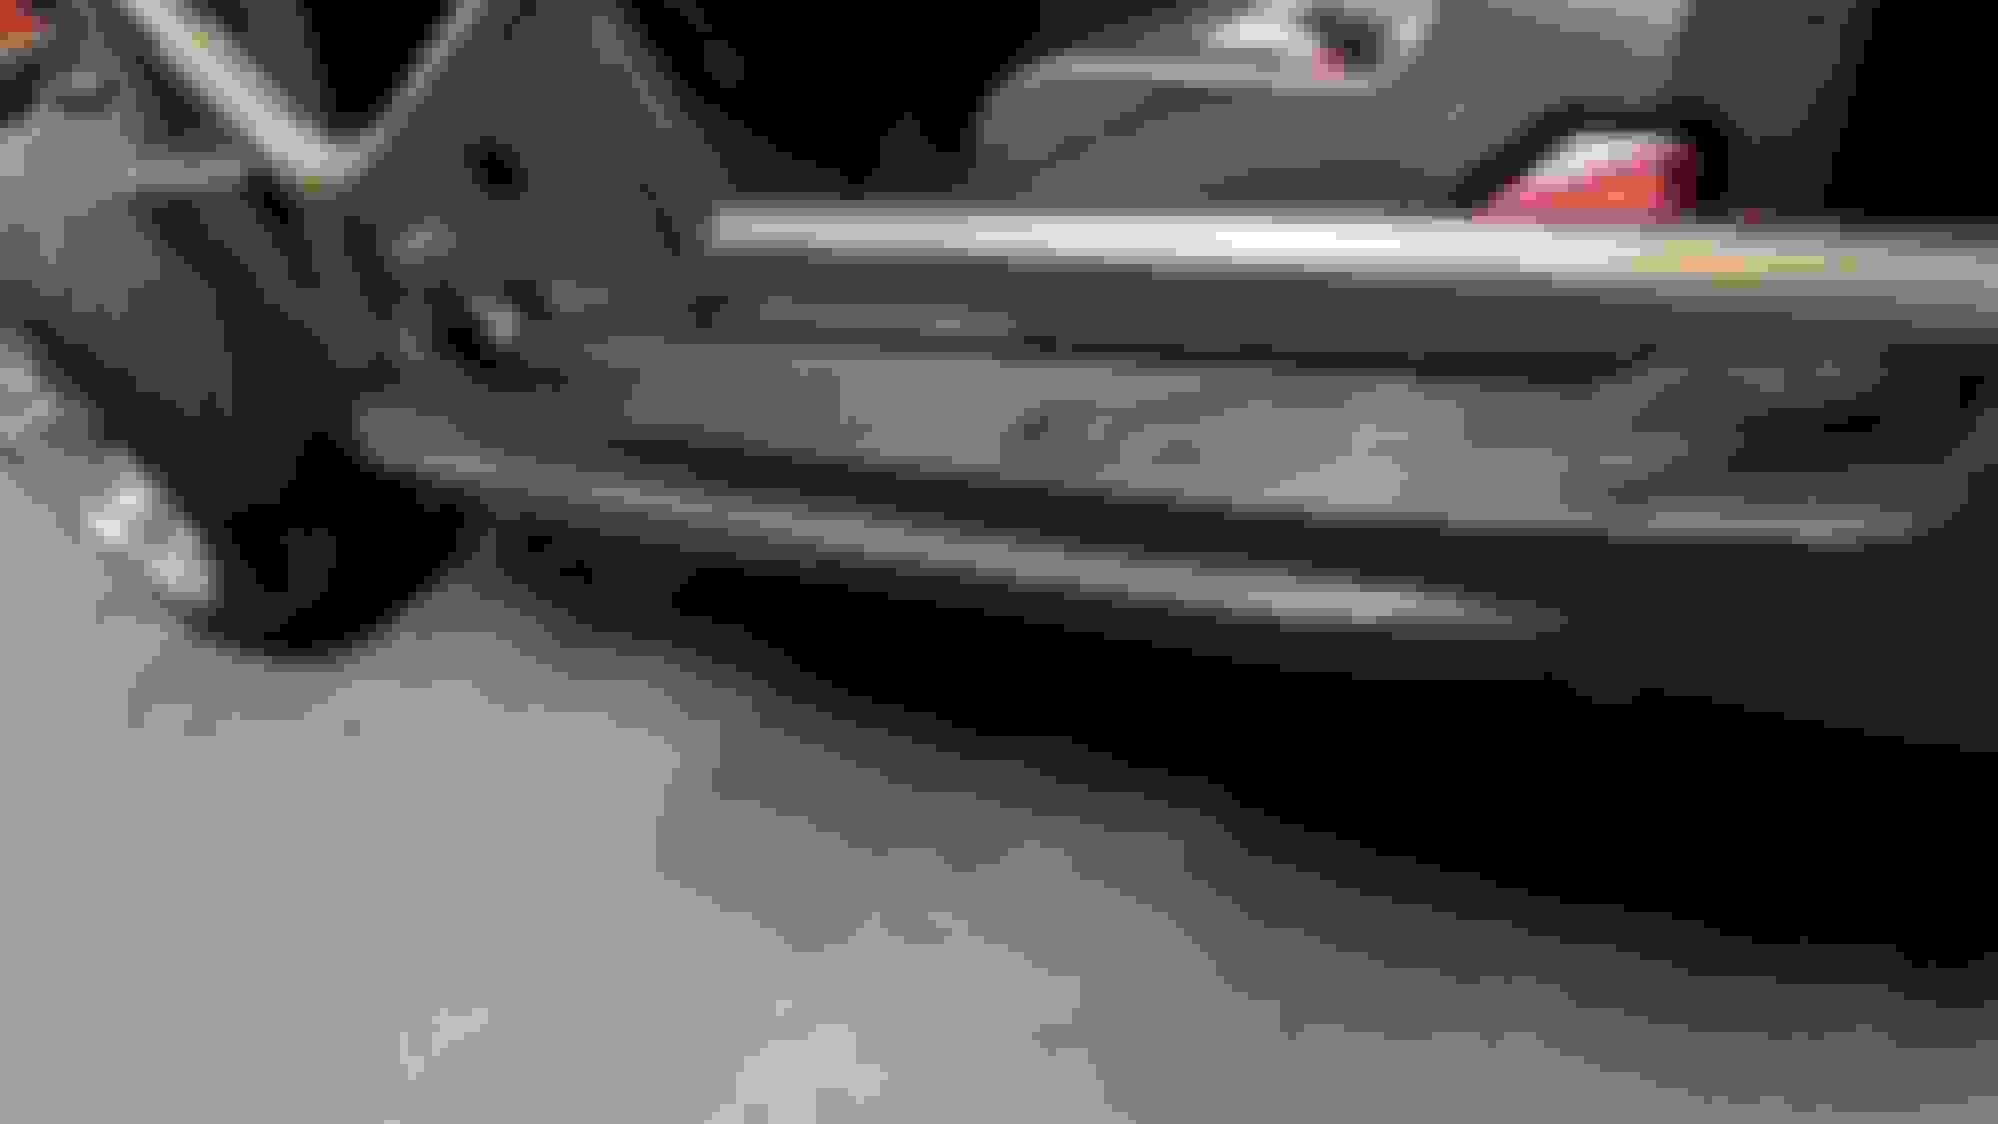
A horribly out of focus pic of mid-process (taped edges for easy marking / trimming, also minimized any scratches when bring the plate in / out of the car):
Another out of focus pic of continued progress:
Hit it with a flap disk, everything down to clean metal. Followed up with some self-etching primer, then the same bronze paint used on the roll cage - pic to follow soon.


After getting (most) of the wiring back into the car, I decided to work on a 'fun' project (wiring can get annoying!) - The floor mats.
Cardboard Templates:

A horribly out of focus pic of mid-process (taped edges for easy marking / trimming, also minimized any scratches when bring the plate in / out of the car):

Another out of focus pic of continued progress:

Reply
2
2
07-17-2020, 03:16 PM
#120
Junior Member
Thread Starter
iTrader: (3)
Join Date: Oct 2015
Location: Steamboat Springs, CO
Posts: 329
Total Cats: 22
Been having fun with the car but did a little side project -
Miata tub has a bunch of 'holes' in it, from factory, decided to clean things up a bit - nothing fancy, just a plastic plug kit from Amazon:
Miata tub has a bunch of 'holes' in it, from factory, decided to clean things up a bit - nothing fancy, just a plastic plug kit from Amazon:


Reply
0
0


