When you click on links to various merchants on this site and make a purchase, this can result in this site earning a commission. Affiliate programs and affiliations include, but are not limited to, the eBay Partner Network.
It's probably time for an introduction and build thread 90 NA VVT
I feel like I've been reading this forum for hundreds of hours learning all the good stuff from the OG's. Then I realized I joined this board a long time ago, when I lived in Minnesota. Not a knowledgeable OG on the miata platform but this is my second miata (I had a 99 PEP I autocrossed for a season).
Background: Making bad decisions, stupid power, and tuning cars since 2001. Primarly drag racing and *cough* street stuff. I did a stint road racing motorcycles in 2015 for a season and got hooked on wheel to wheel. Crashed that bike hard, hung up the leathers, bought my black miata. Autocrossed that, go bored of the lack of power and didn't want to go "big track" so bought a C5 FRC. Raced that a few years and transformed it from a bolt on C5 FRC to a heads/cam/intake 463WHP street/strip car. Added nitrous. Wasn't enough. Drag raced it, got bored, sold that car. Bought an old drag car I had (dodge stealth turbo ~800hp back in 2006), ditched that project. Brings us to the NOW, the "near spec ready 1990" miata. Original plan was to get back into W2W "in the best platform ever".
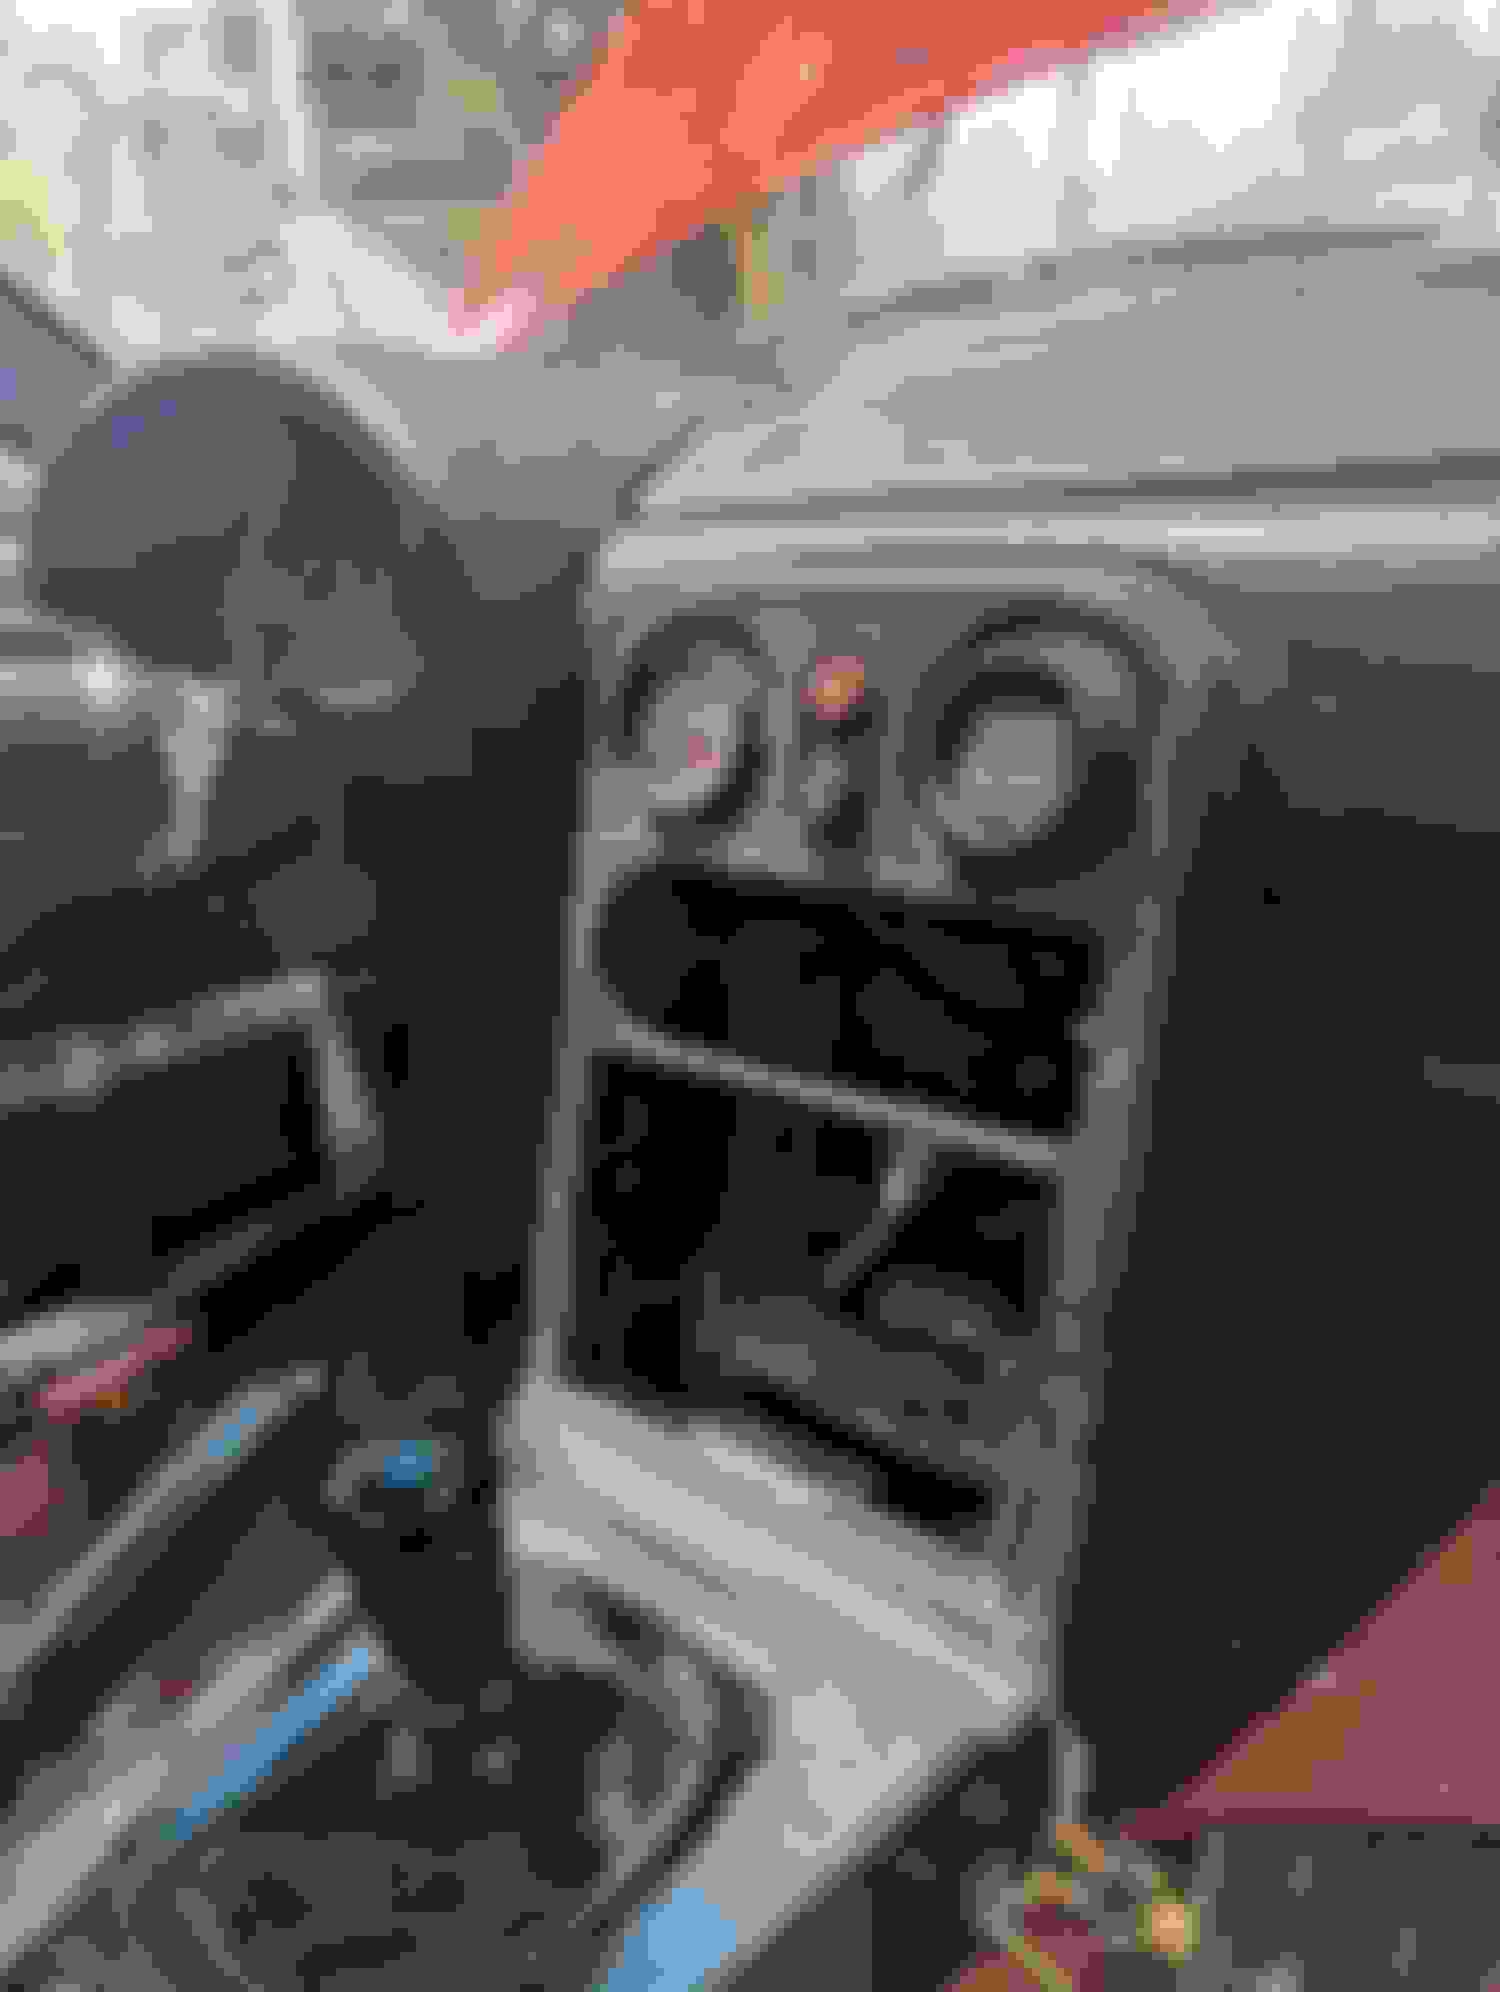
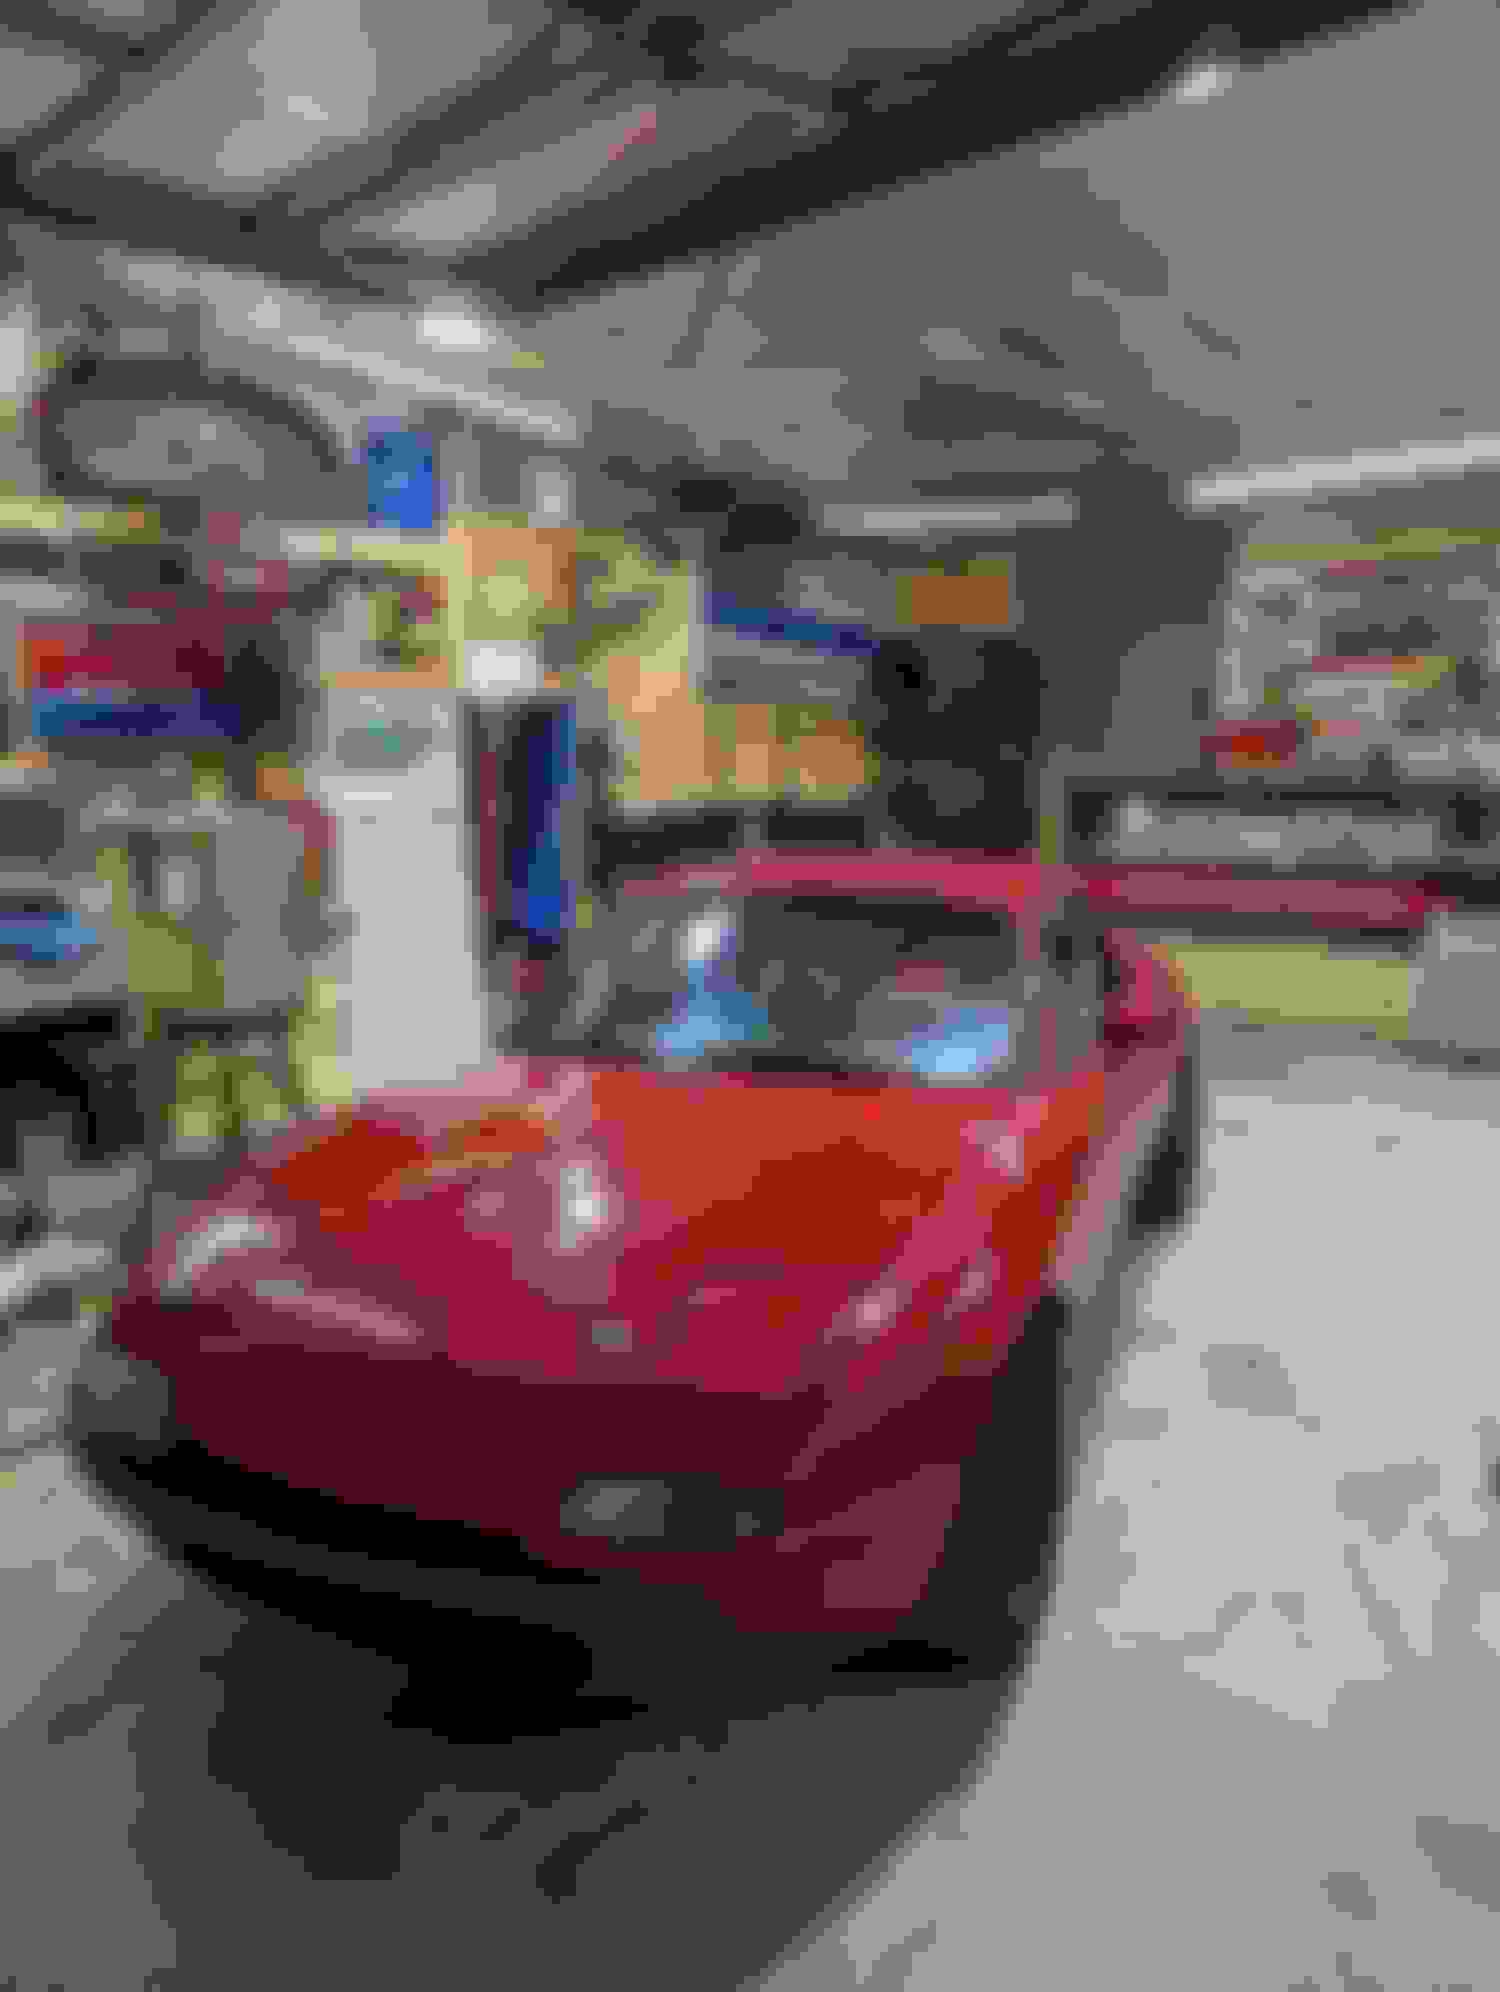
Here is when I got it: Picking it up in Cresson Original Interior Photo Cleaning up interior Back home
Originally I was full throttle for spec miata. I spent a good chunk of last year turning this "near spec ready" car into spec miata legal. Adding stuff back like the required HVAC, updating safety equipment, etc. I'm one to follow the rules. Finally got it to a track day spec legal in August....yeah that won't do. Hindsight being 20/20, I should have done a bit more research on the purchase or done some more research on other W2W opportunities as I ended up spending effort on stuff I didn't need to do.
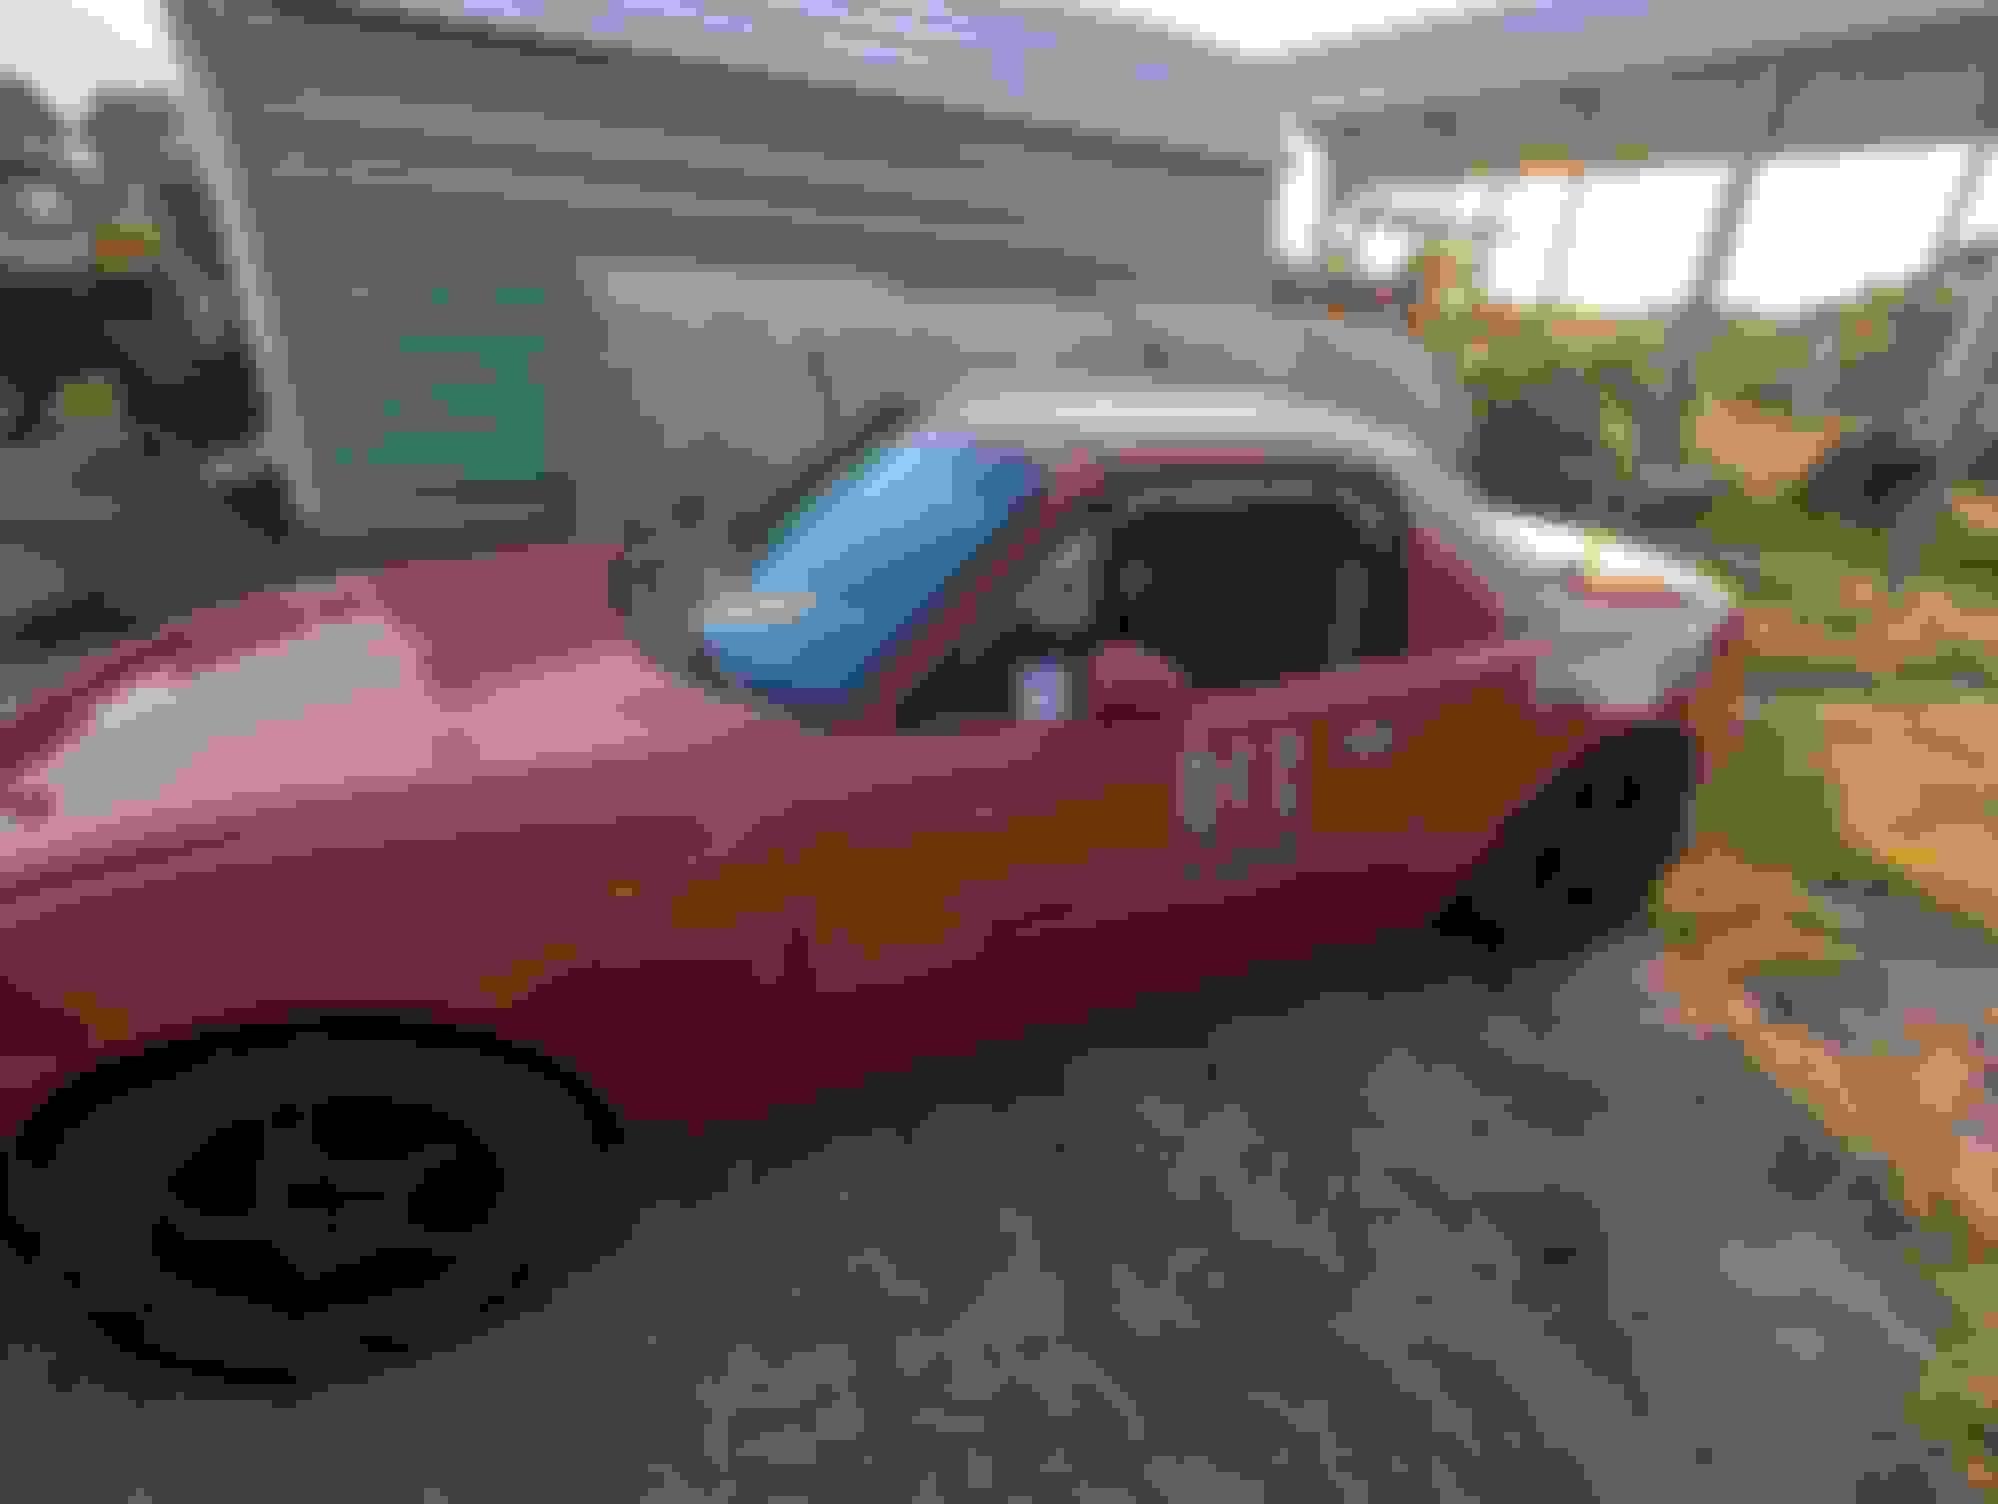
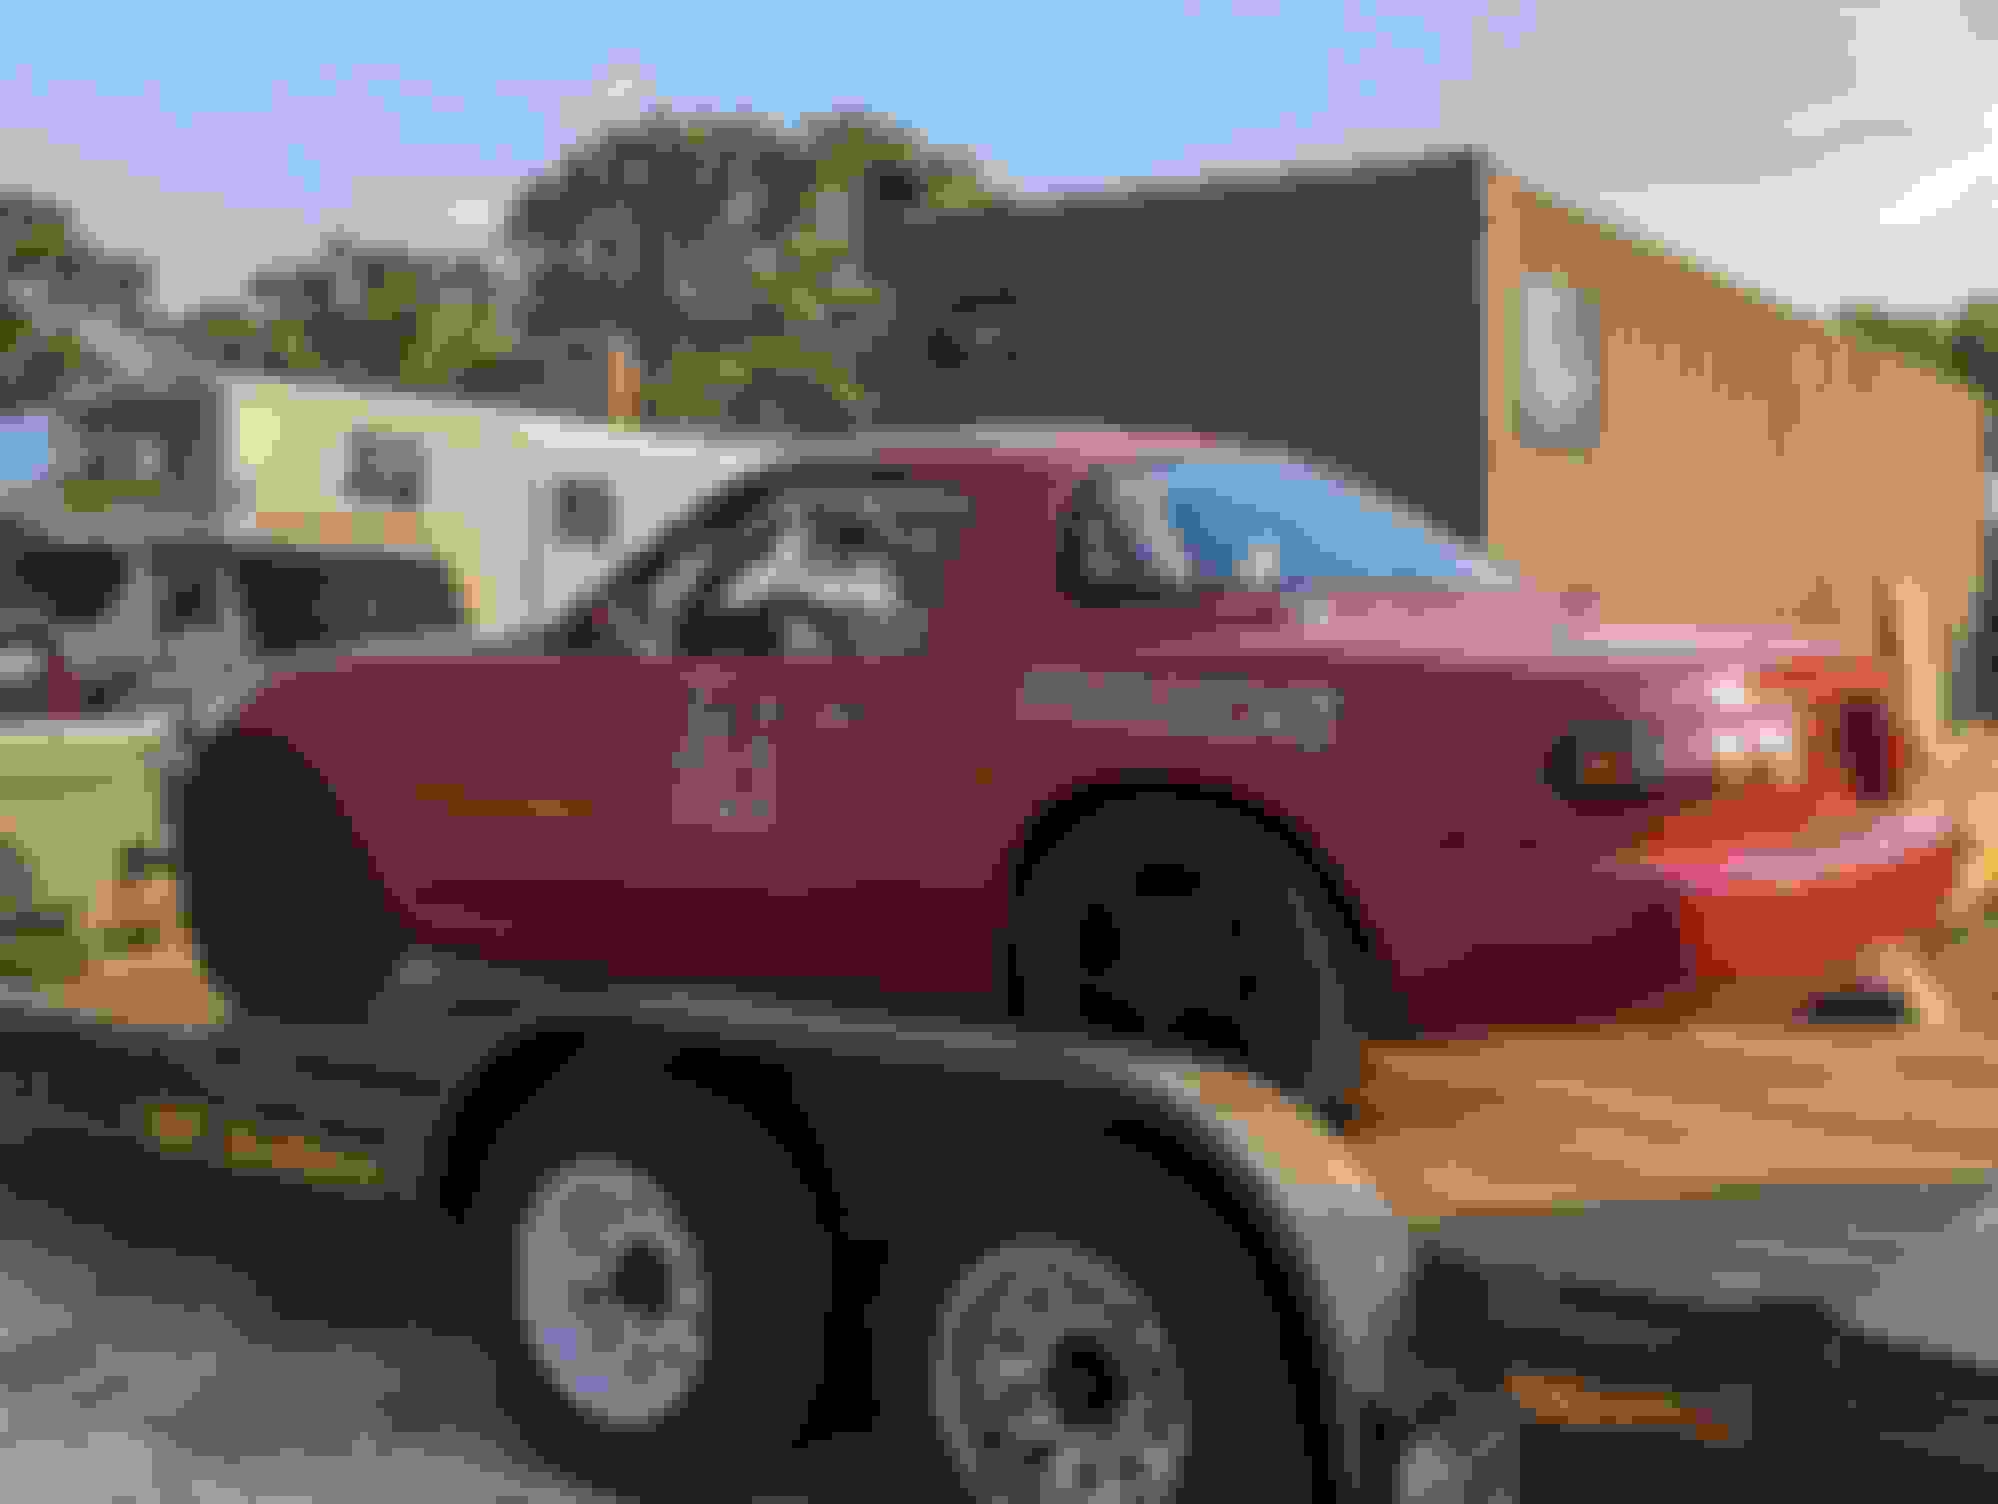
After the track day, yes I live on a ranch and have cattle Home from a day at Eagle Canyon Raceway where I played HPDE - Intermediate
The car has been a resident of Cresson Motorsports Ranch for quite a few years. I had assumed it was good to go. However I weigh more than the previous owner. At Eagle Canyon I had fuel pouring out of the fuel cap on left handers (yay), lr was bottoming out. Upon finishing the track day I figured I'll give it a good shake down and adjust the suspension. Uncovered that the rear upright bushings were toast and I could pull them out by hand.
Did some soul searching. I wasn't happy with the power. I enjoyed the handling (even with the issues) and potential. It has an "okayish" cage in it. I fit reasonably well with full safety equipment (better now that I'm down weight)...and I like to tinker. So decided spec wasn't for me, I'm going to play with this car and eventually go up the HPDE to time trial/ w2w ranks using the NASA platform. I also want to do a gridlife event some day so am following both rule sets.
Now that the gloves are off here is where we are at with the build:
Swapping in a 4.3 Torsen in a RX7 housing. Got a deal on that combo so in it went.
Energy suspension bushings in all bushing areas.
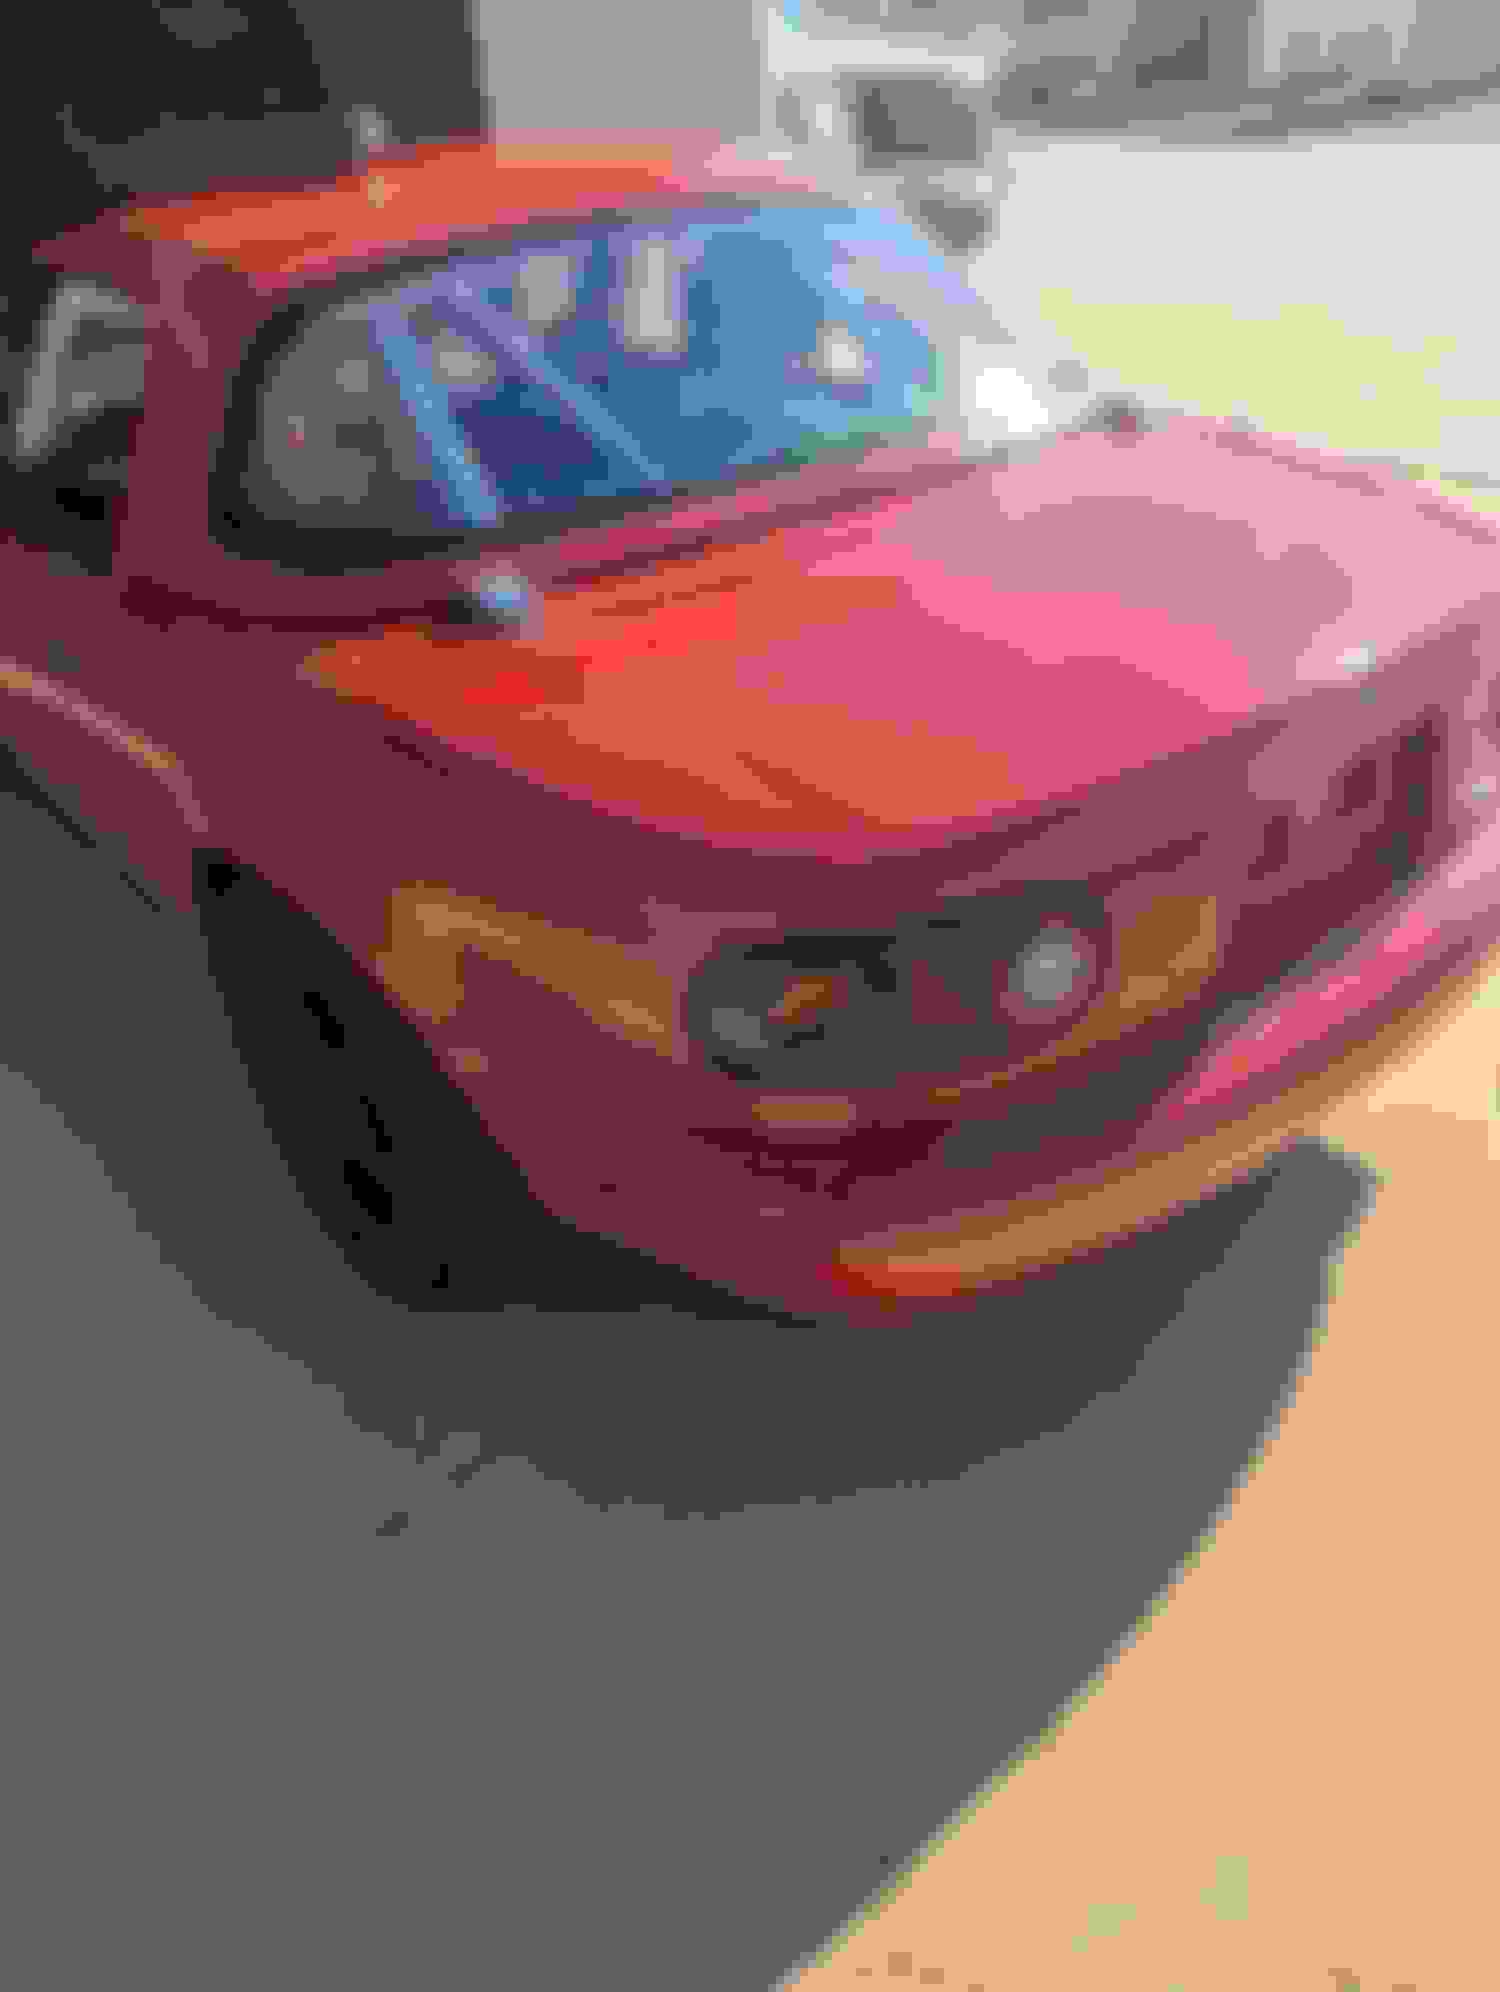
Ditched the pop ups, added projectors through the turn signals. This keeps me legal for some events. Added singular motorsports vents. Yay crappy paint job = paint peeled when I pulled the cut decal. Guess I get to paint or wrap this car.
Gloc pads, 1.8 caliper upgrades. Kept the SS lines. Motul 600 for fluids and adding a prop valve.
Singular brake ducts "while I am there"
Converted the 1.6 to speed density with an intake in the fender area. Megasquirt MS3 ecu + flex fuel as I tossed in my NB2 flowed injectors already. Going to be going with a pi dash as well. DIY intake
MS3 PNP wiring + preparing for the future
Adding goodwin racing extended rear travel rear shock mounts, 36mm bump stops (car didn't have any on it), and torrington thrust bearings as I'm pulling stuff apart. Going to retain the 700/325 spec springs for now and go back for some more seat time. I'm also on Spec swaybars. Shocks are the B8 NB shocks. It'll work for now, I know there are better solutions.
I'd like to swap out the 15x7 wheels for some 15x9 as it has 225 RS4's on it. That'll probably be it for 2024.
I need to buy some scales and weigh the car and see how I like it before I start to swap springs. 1 track event isn't enough but the rear "feels soft" for me. Time will tell. Need to finish off the front suspension + brakes.
What else could happen in 2024?
I do have a "low mileage" 02 vvt motor on an engine stand + RB header + mounts + everything to drop it in (VICS manifold for intake). I didn't like the leakdown numbers on it appears to be exhaust valve related after trying some valve cleaning solutions. Motor sat in a garage for years so there is that. Need to tear that down and rebuild. I just picked up a second VVT head that should be G2G in-case I find issues on that first one.
Why the crazy mods?
I'm a bit of an odd duck. I, like everyone else, get a case of "while I am here". While I do have a budget I also like to tinker, experiment, and learn. Tuning is NOT foreign to me so tossing in the "mac daddy" MS3 setup was a no brainer as I want full control (and more importantly logging capabilities). I know aero and suspension are important so those aren't far behind, probably 2025. End game is looking like the standard nine lives **** + splitter + air dam, 1.8 VVT "ST5" miata build. I'm trying to not go completely down the crazy path of K swap or a "safe turbo vvt track setup" which I know will end up just being more $$ that sense spent. But I've done dumber things in life and tend to change my mind.
Oh and my wife and I have 7 indoor cats and 4 outdoor cats. Photos below.
This is Miss Sweet Pea. She came with the house we bought in Texas. She had kittens so got promoted to indoor cat. This is a blurry photo of Tutu. She runs the show, all ~6lbs of her. Born outside by one of the outside cats, she came inside when she was ditched and now goes to work daily with mom as a clinic mascot (wife is a veterinarian) This is Snickers being snickers. Usually awkward and trying to negotiate for food. We used to have a "no cats on the counter" rule...that was when we had 2. This is Walter, angling for food. He is my original cat and moved down from MN in 2018 with us. Tony Stark. Asking for food. You see a theme don't you? Scat Cat in a perfect cat trap. He is Miss Sweet Pea's biological son. Finally this is William. Best friend to Walter (he thinks so). Was found outside in Minnesota in February, so he is an og. This is Terry. One of the shop cats/Oliver's best friend. This is Oliver, my outdoor/shop cat. Currently here hanging out on the boat working me for probably snacks. He sleeps in the Miata most nights and ensures nothing gets inside. Earns his keep and shows his work by constantly leaving "offerings".
So there we are. Tons of cats, crazy miata stuff, and a started build thread. As I make progress and such I'll post here for the archives. Tons more pictures to share if people are interested and can't thank the board members enough in sharing the knowledge. Well supported platform and happy to contribute something useful someday.
This is gonna be a good build thread, I can feel it. Solid history, dude. Can't wait to see what you do and how you do at events with the car!
Our NASA HPDE leader here in SoCal races TT5 in a naturally aspirated NB2 Miata on e85 and regularly lays down times faster than the guys in TT4, and sometimes even TT3. If I were smarter, I would've built my car to TT5 class rather than TT4/3 as well haha.
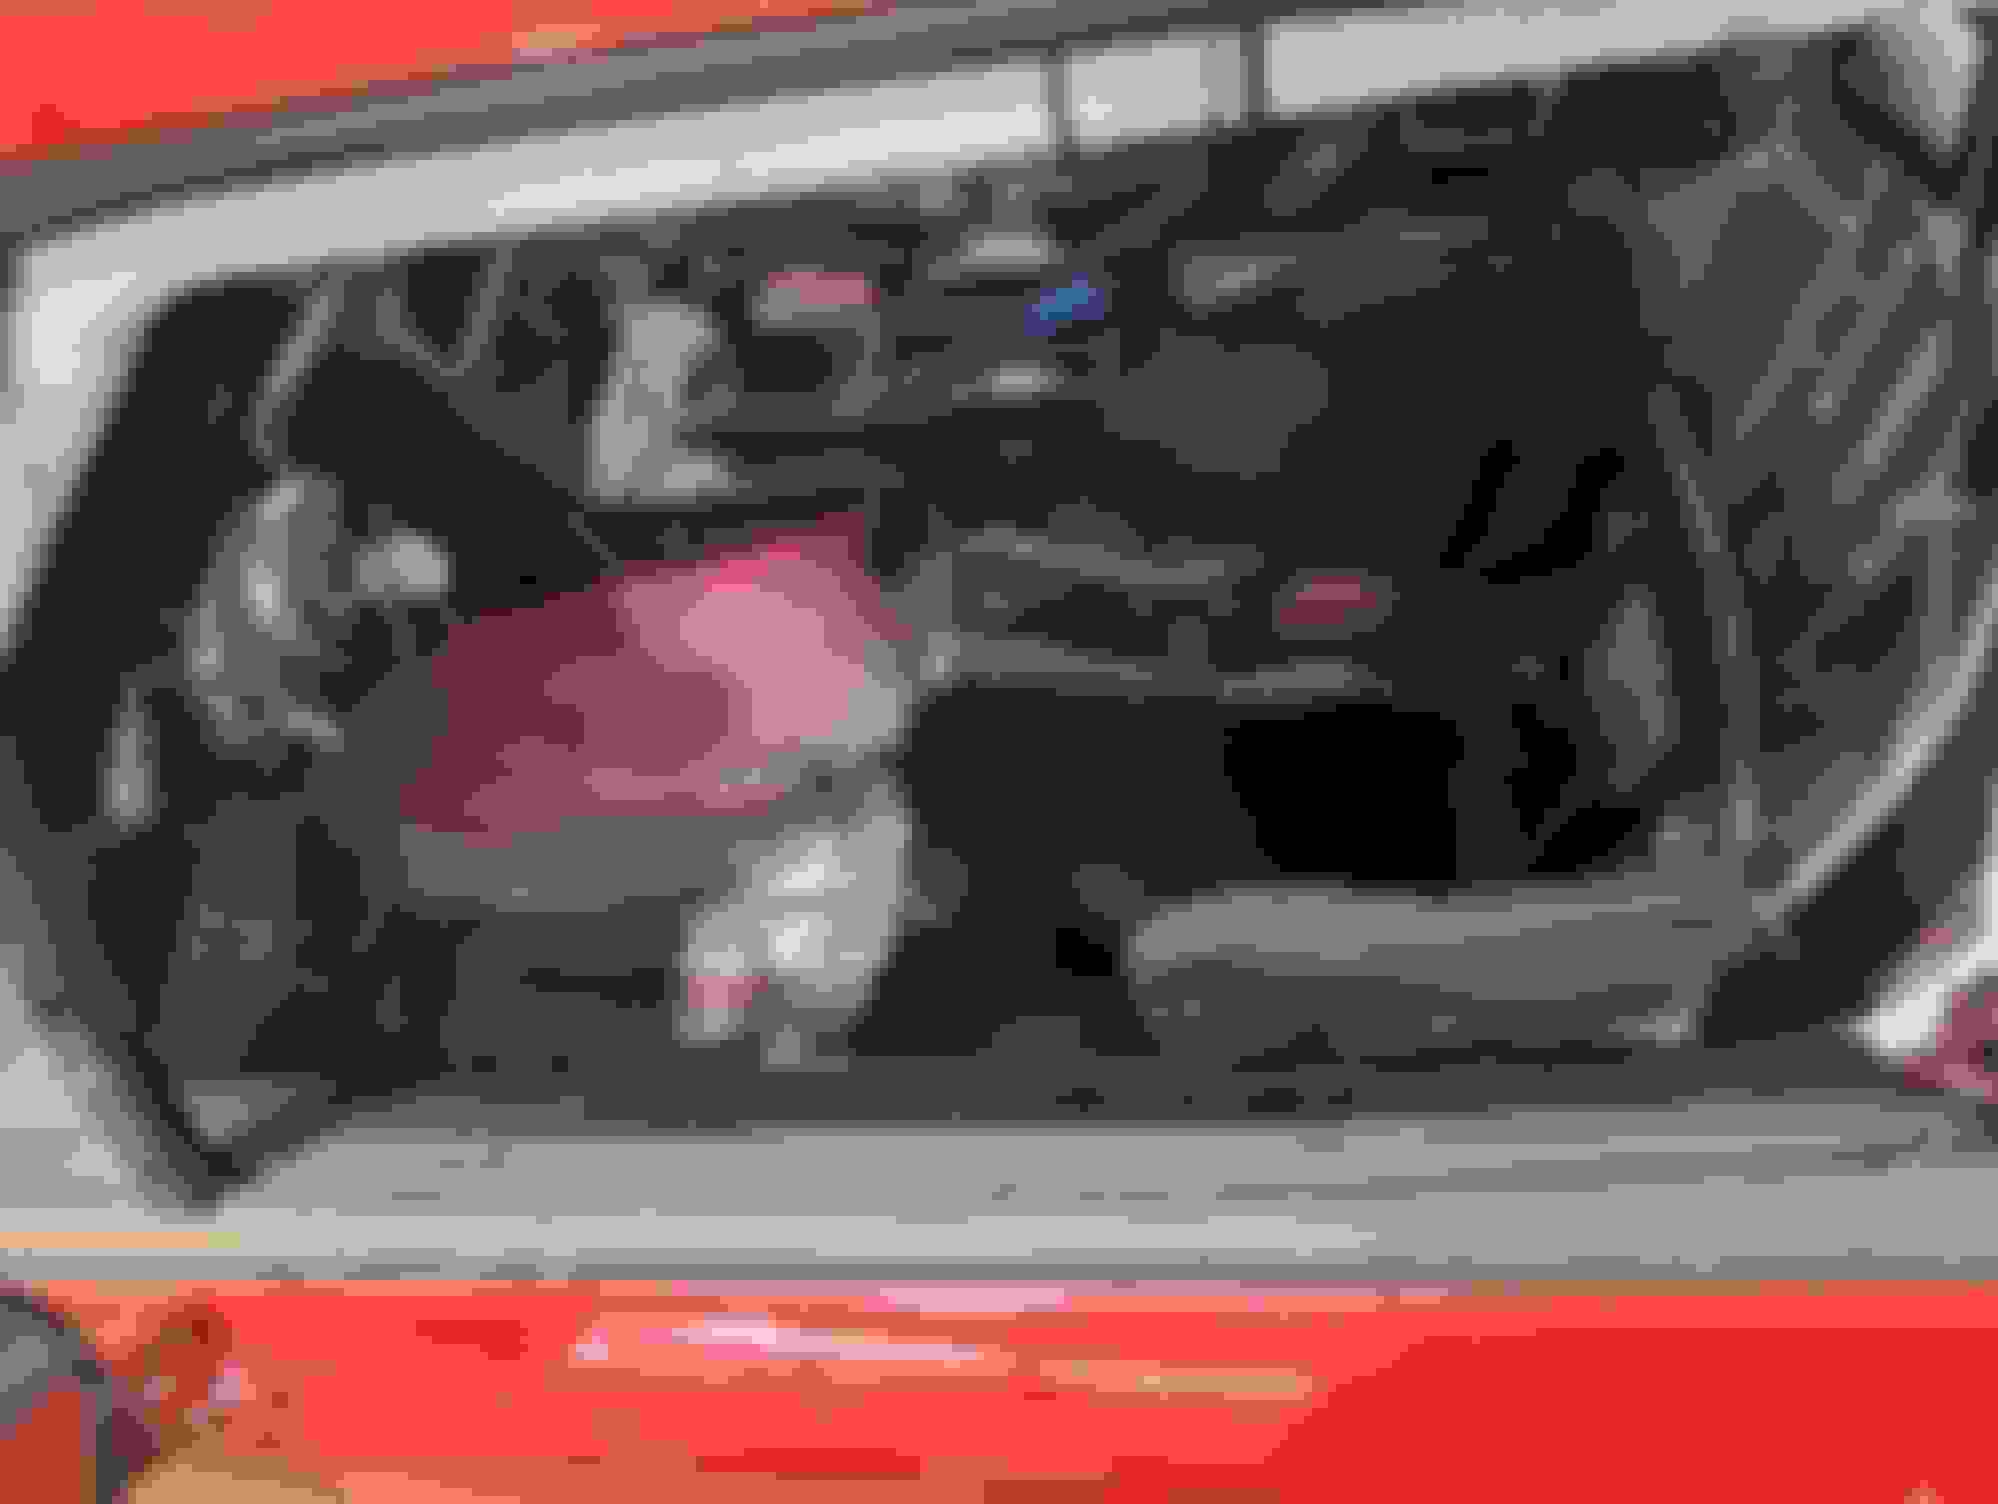
Didn't get much done this weekend as I was working on the house. Finally finished the fuel system and moved my FPR and mounted sensors. Also picked up items for rear hub rebuild. Just a couple of wires left to button up Needed upgrades, it's all OEM and kinda noisy.
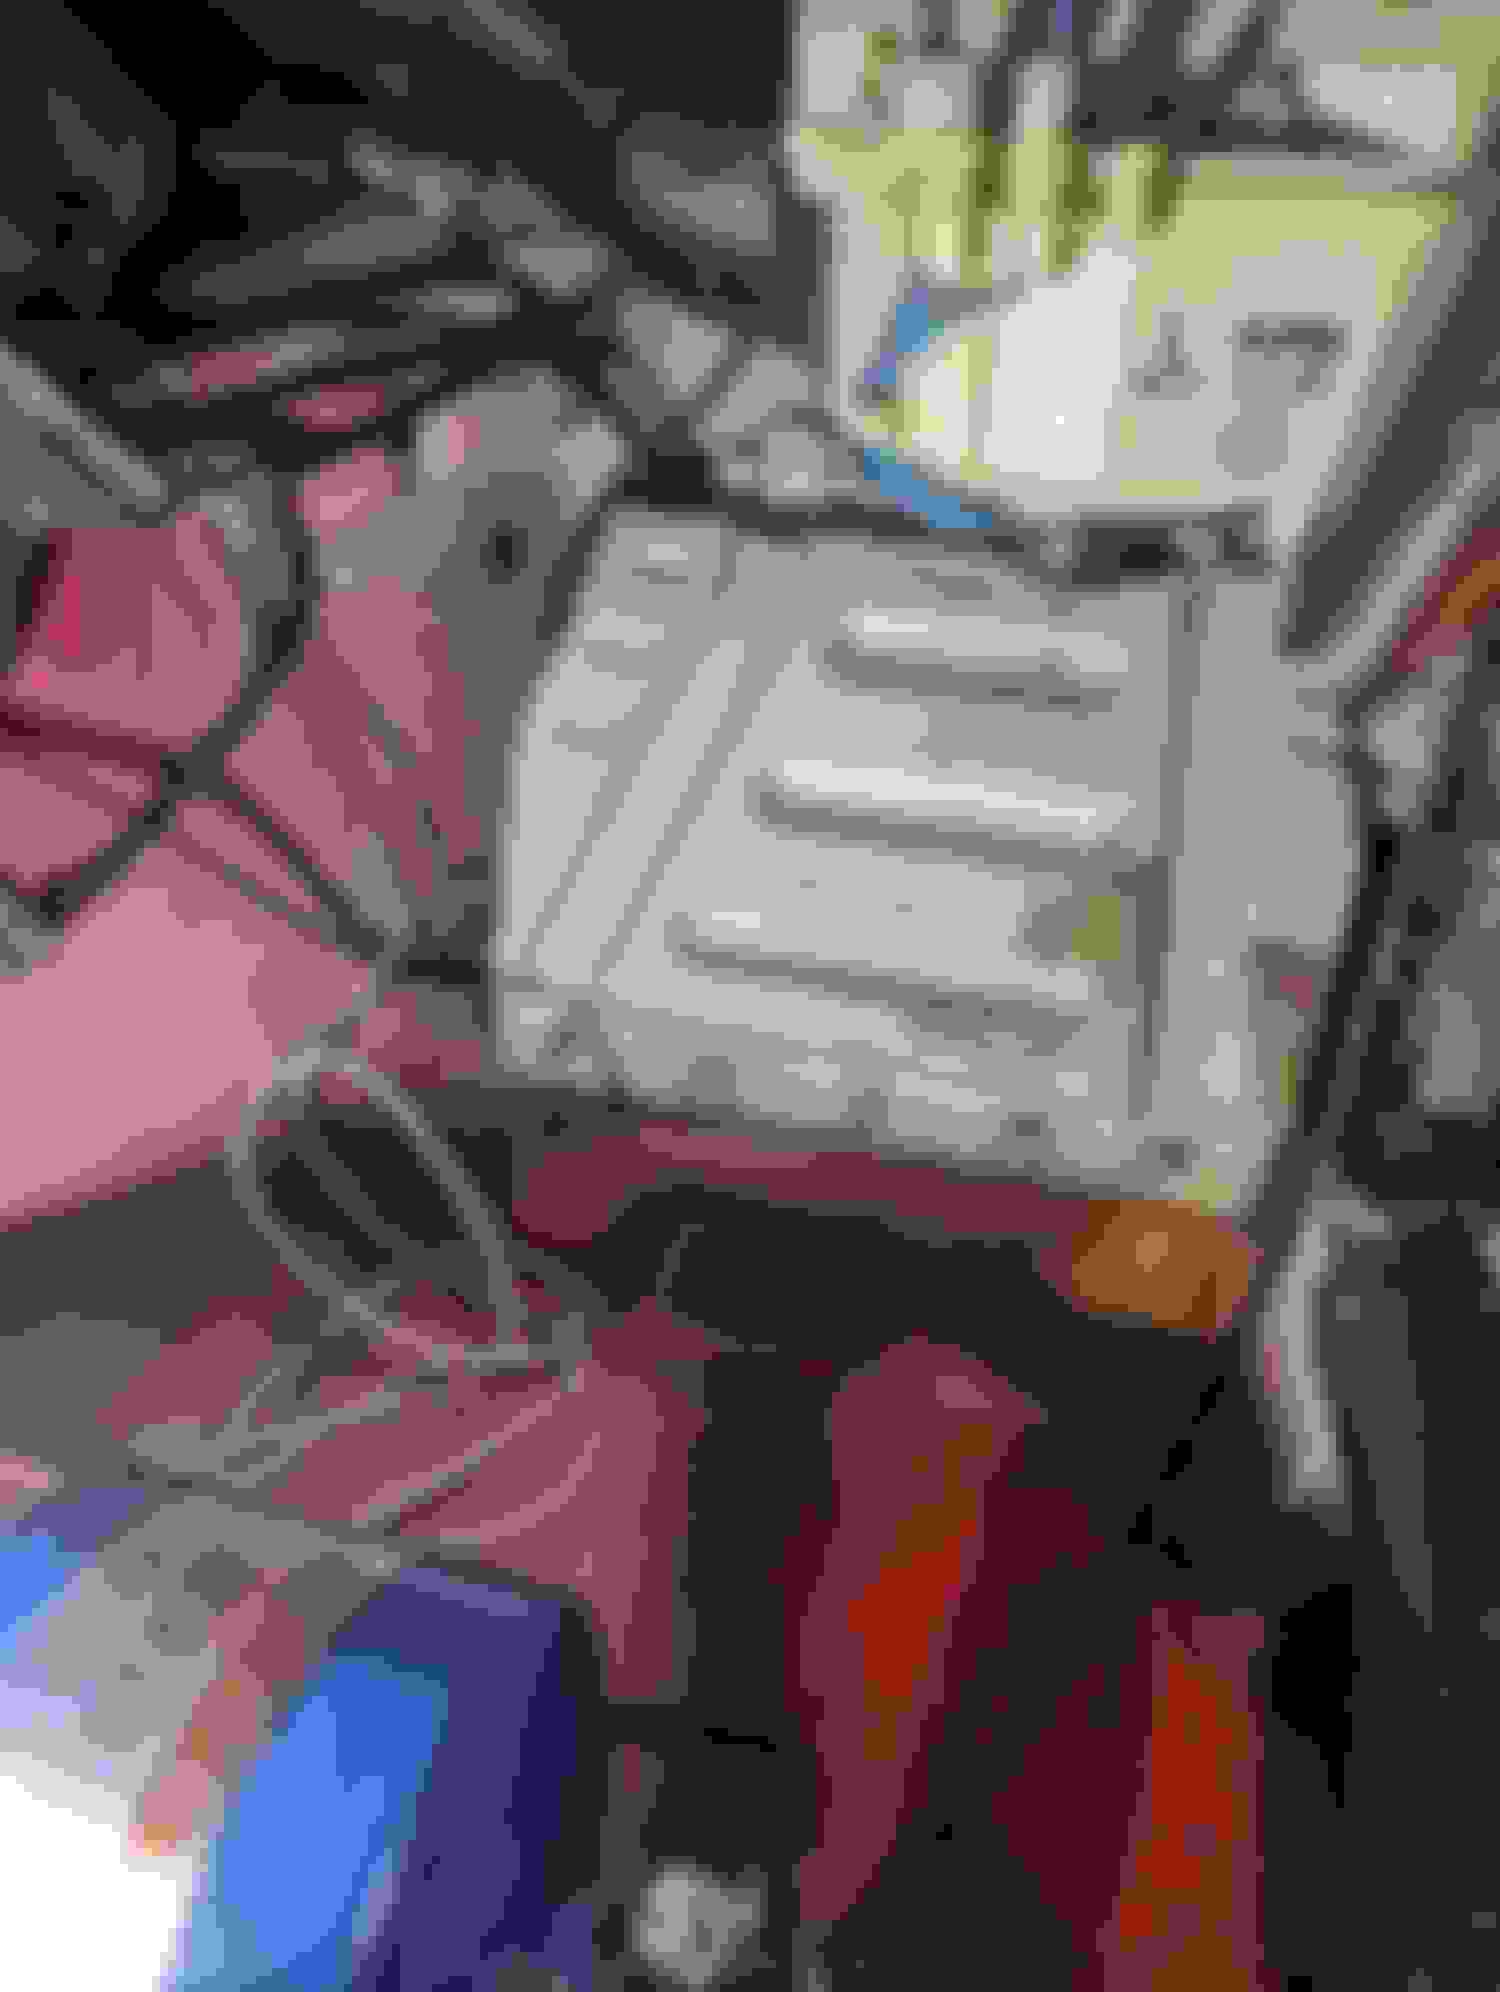
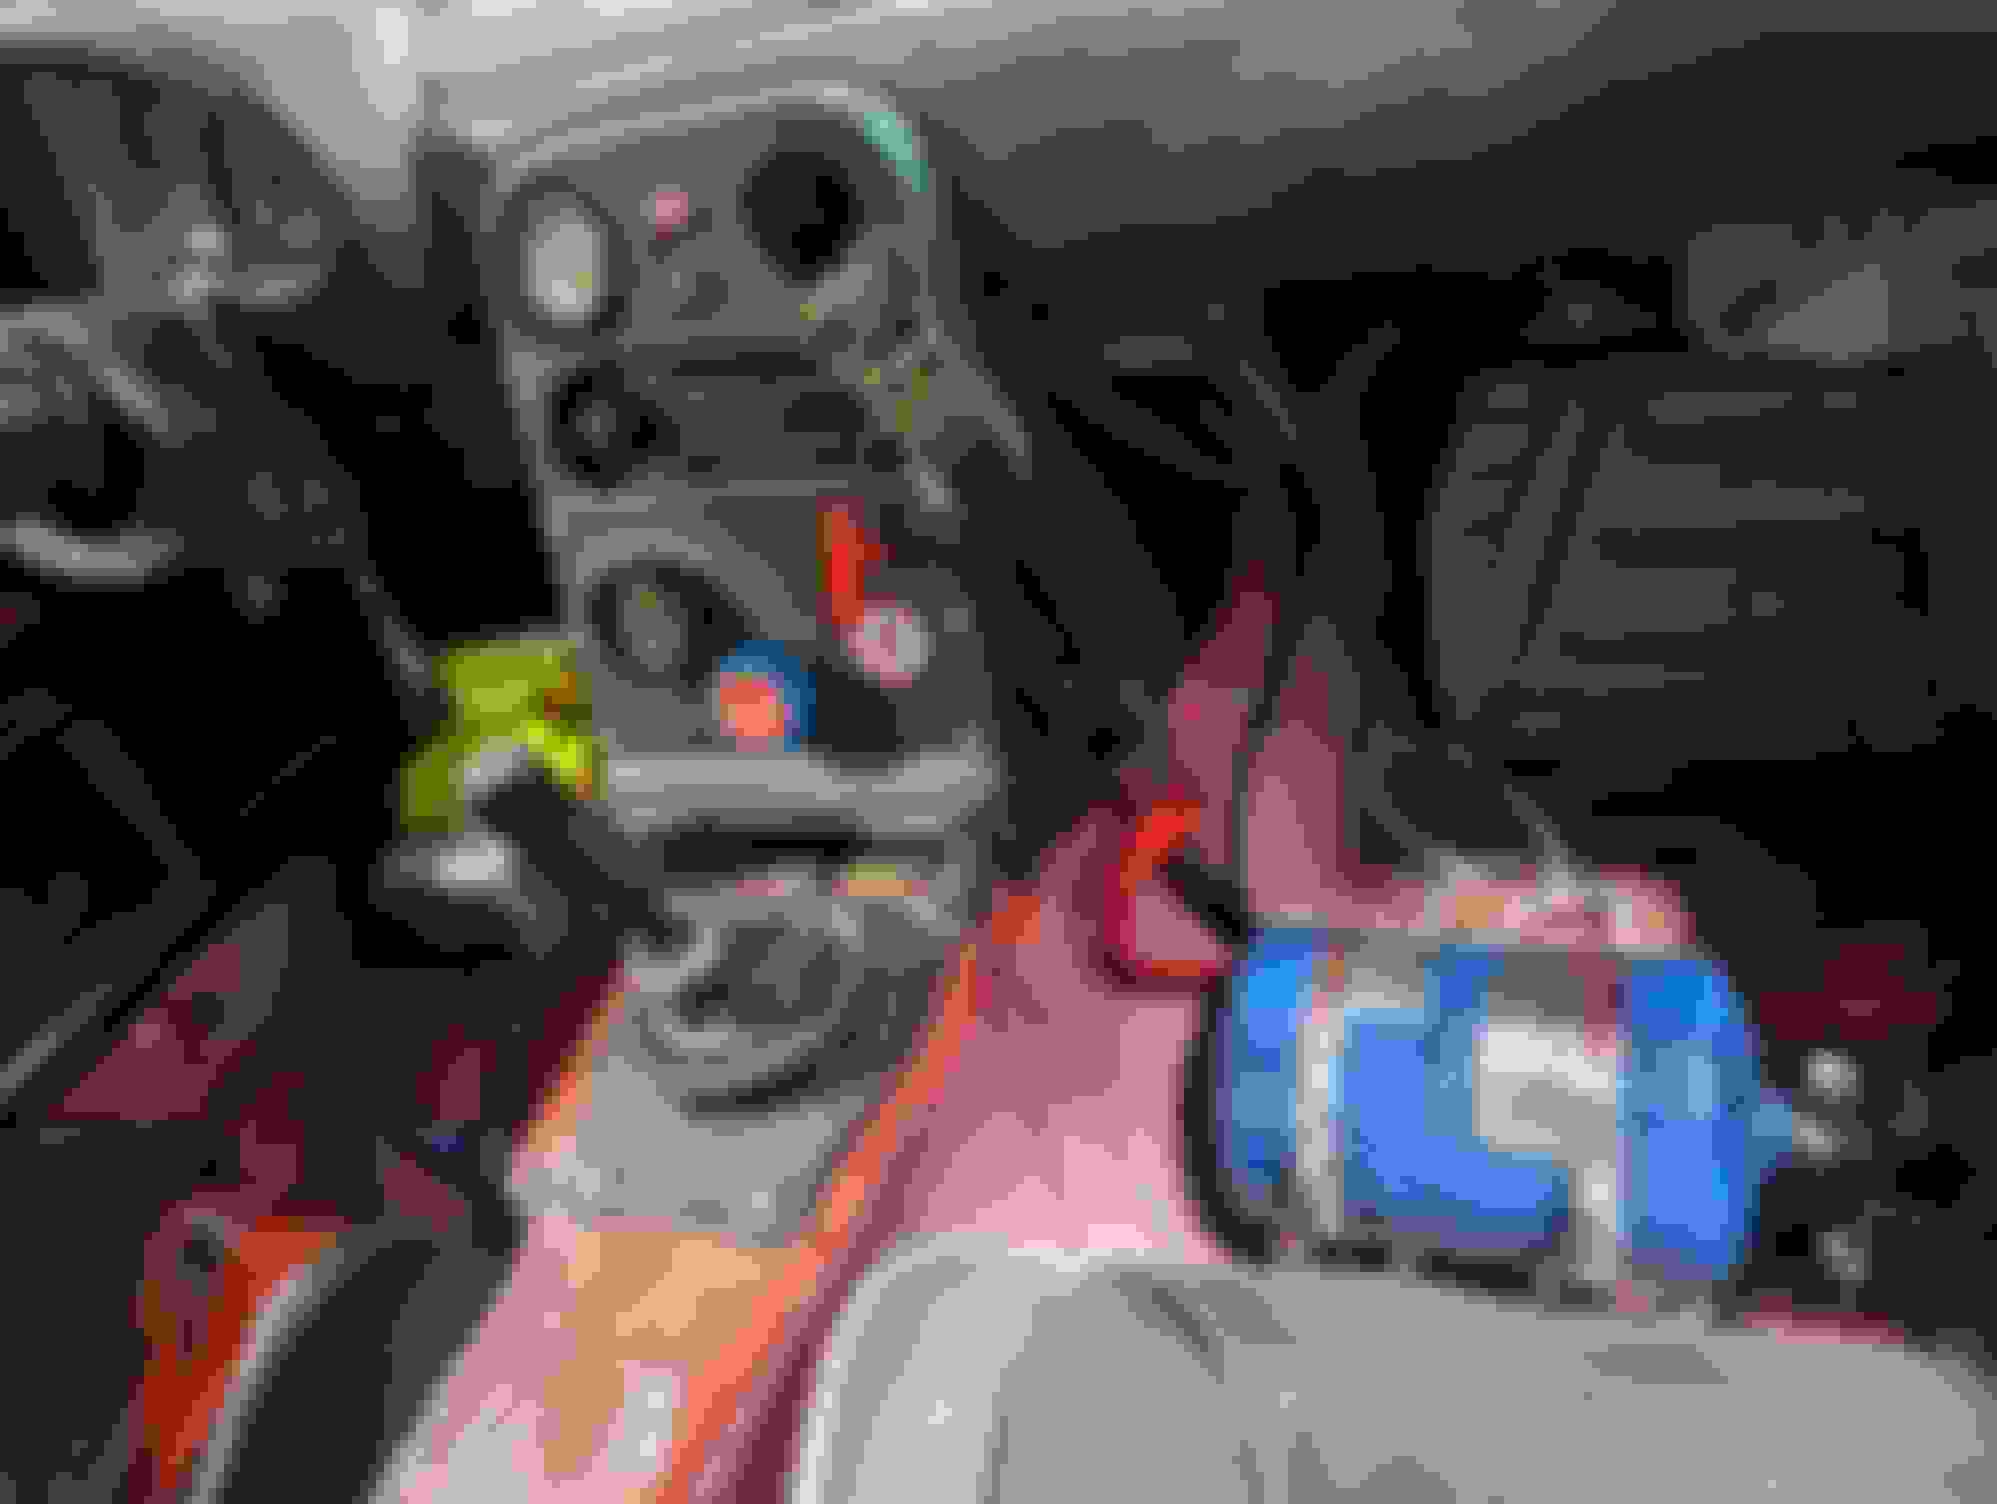
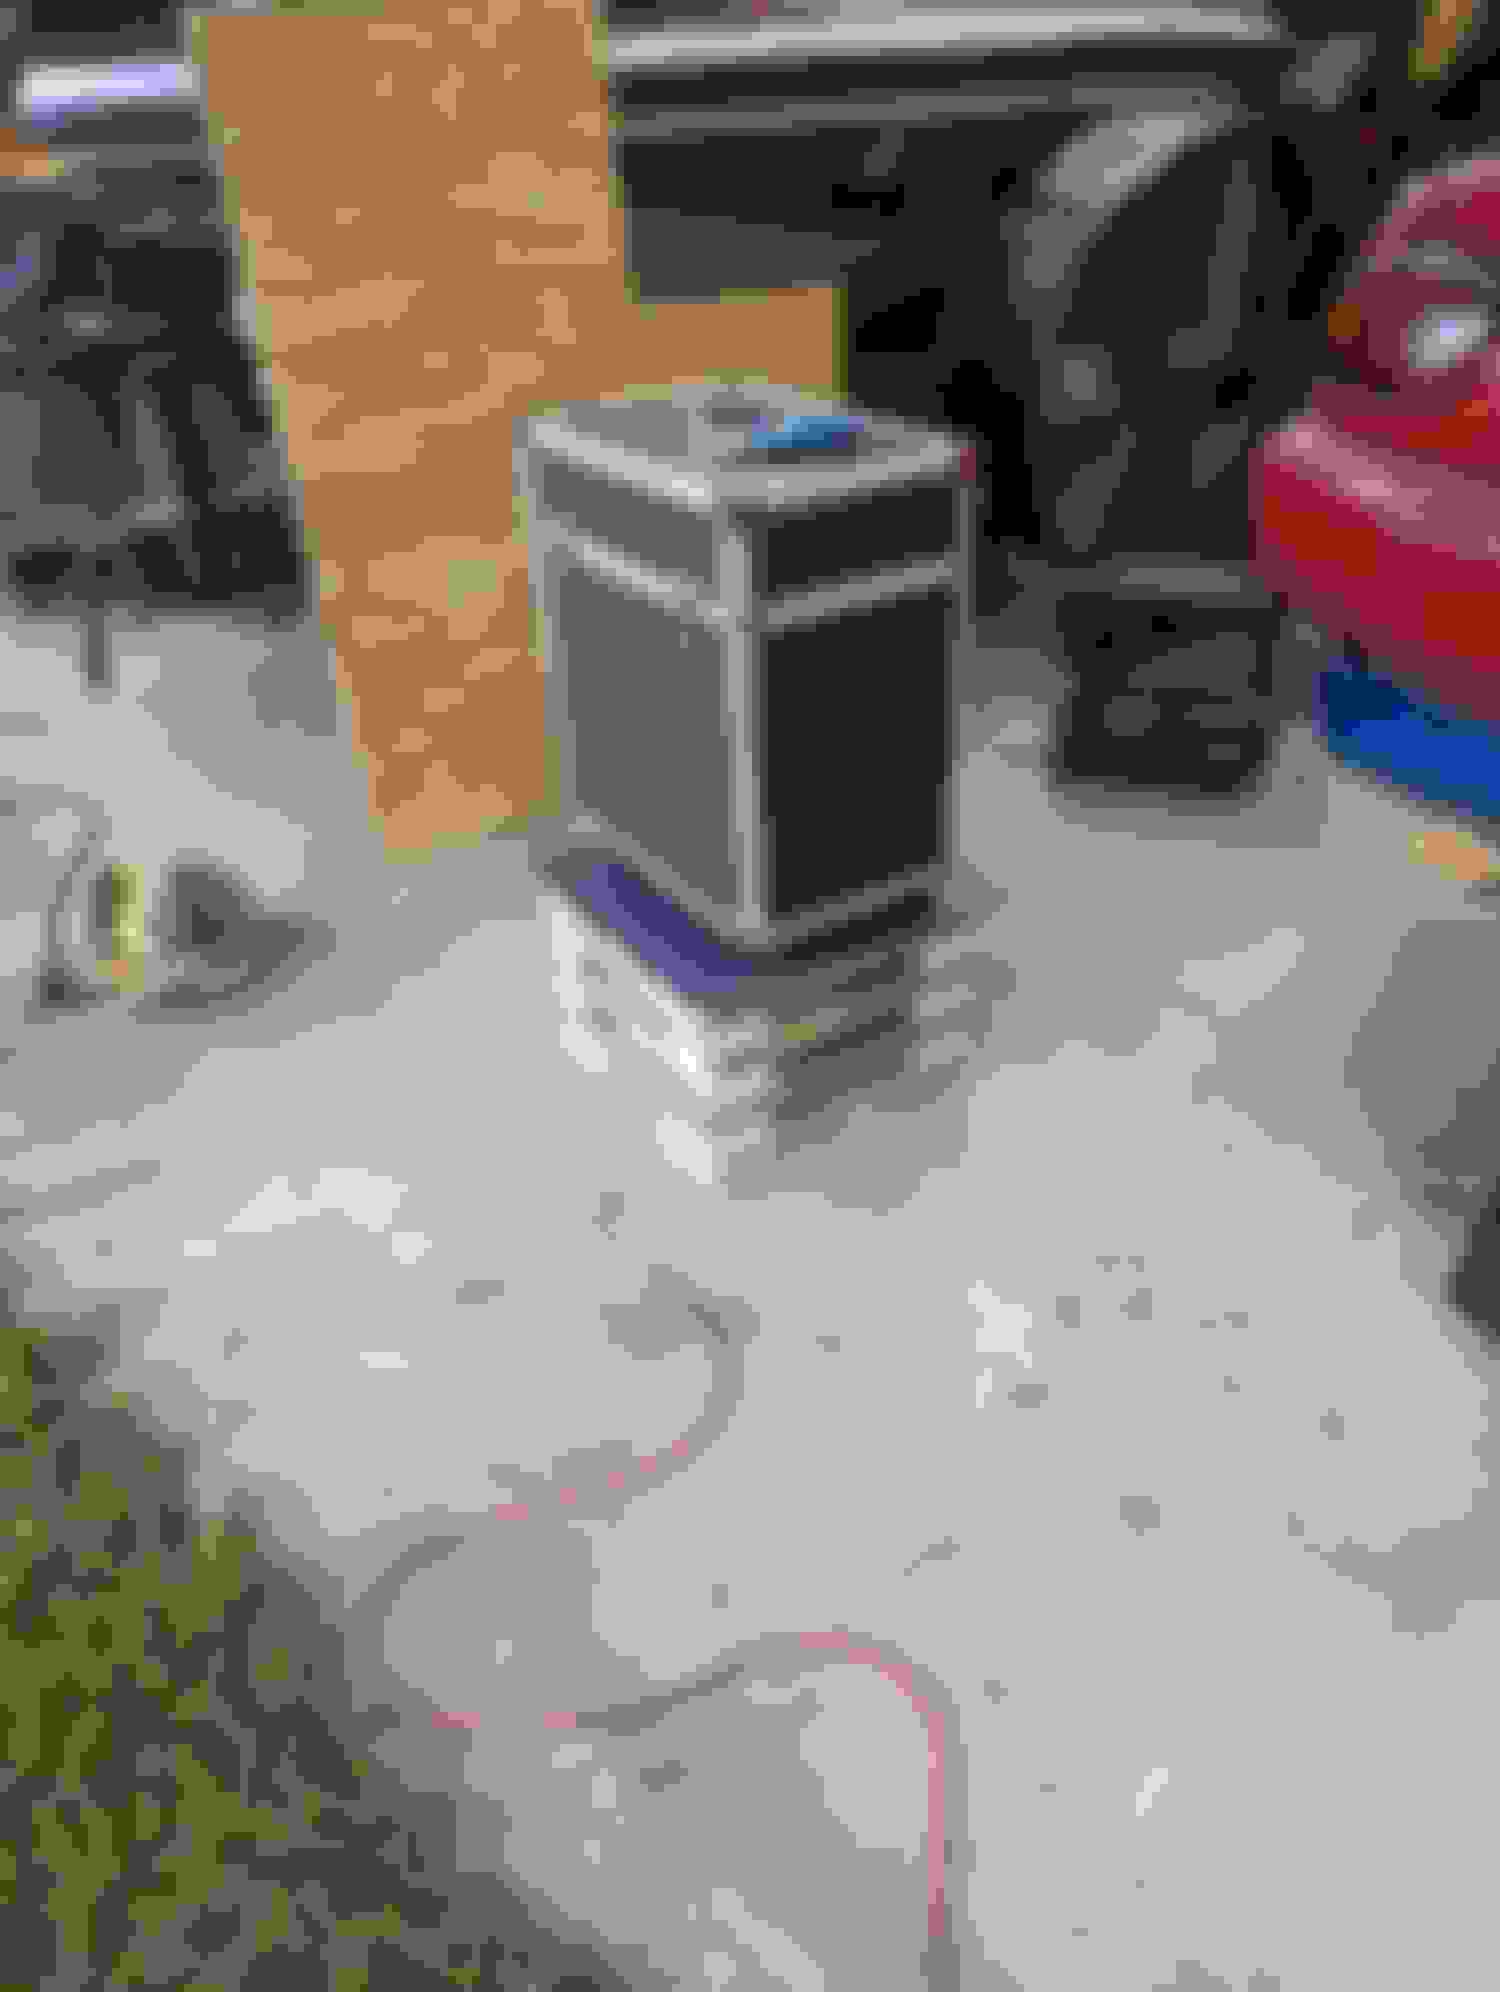
Finally finished the megasquirt install with the singular bracket. Like how it turned out. Wired up for wideband, fuel pressure monitoring, sequential fuel injection, speed density, variable throttle position, and future VVT/VICS control. Tucks nicely behind the foot plate Ready for instructors.
Another weekend in the garage that was mostly successful....
Got the rear all back together...
Rear suspension together. Energy suspension poly bushings all throughout, Rebuilt hubs with ARP extended studs and new bearings, 1.8 brakes now with GLOC R8 pads, 400lb 7" Hypercoil springs on Bilsteins with Torrington bearings and 36mm Bumpstops as well as Goodwin Racing extended tophats. Axle nuts not torqued down yet in-case I need to pull anything apart 1 more time.
And now to start on the front....
The before picture. 1.6 brakes in all their glory with hawk hps pads, Eibach 325 on Bilsteins. Stock crusty rubber bushings. This side had an extended lower ball joint.
Little MAP torch action makes crusty rubber bushing removal a breeze. Front UCA with bushings removed (torch) Mid bushing removal progress pic, LCA Front.
Utoh, we've hit a problem. Back together and now waiting on hubs from Brofab. Singular Motorsports 3" brake duct kit (I added the 3rd heatshield bolt after the picture). 700lb 7" hypercoils on the NB Bilsteins. Torrington Bearings, 36mm bump stops (didn't have bump stops before), NB top hats. Enough to get the cobwebs off before I upgrade suspension further. Poly bushings throughout, 949 racing ELBJ, 949 racing alignment bolts. Still need to make ducts and install the 1.8 front brakes (GLOC R10 pads)
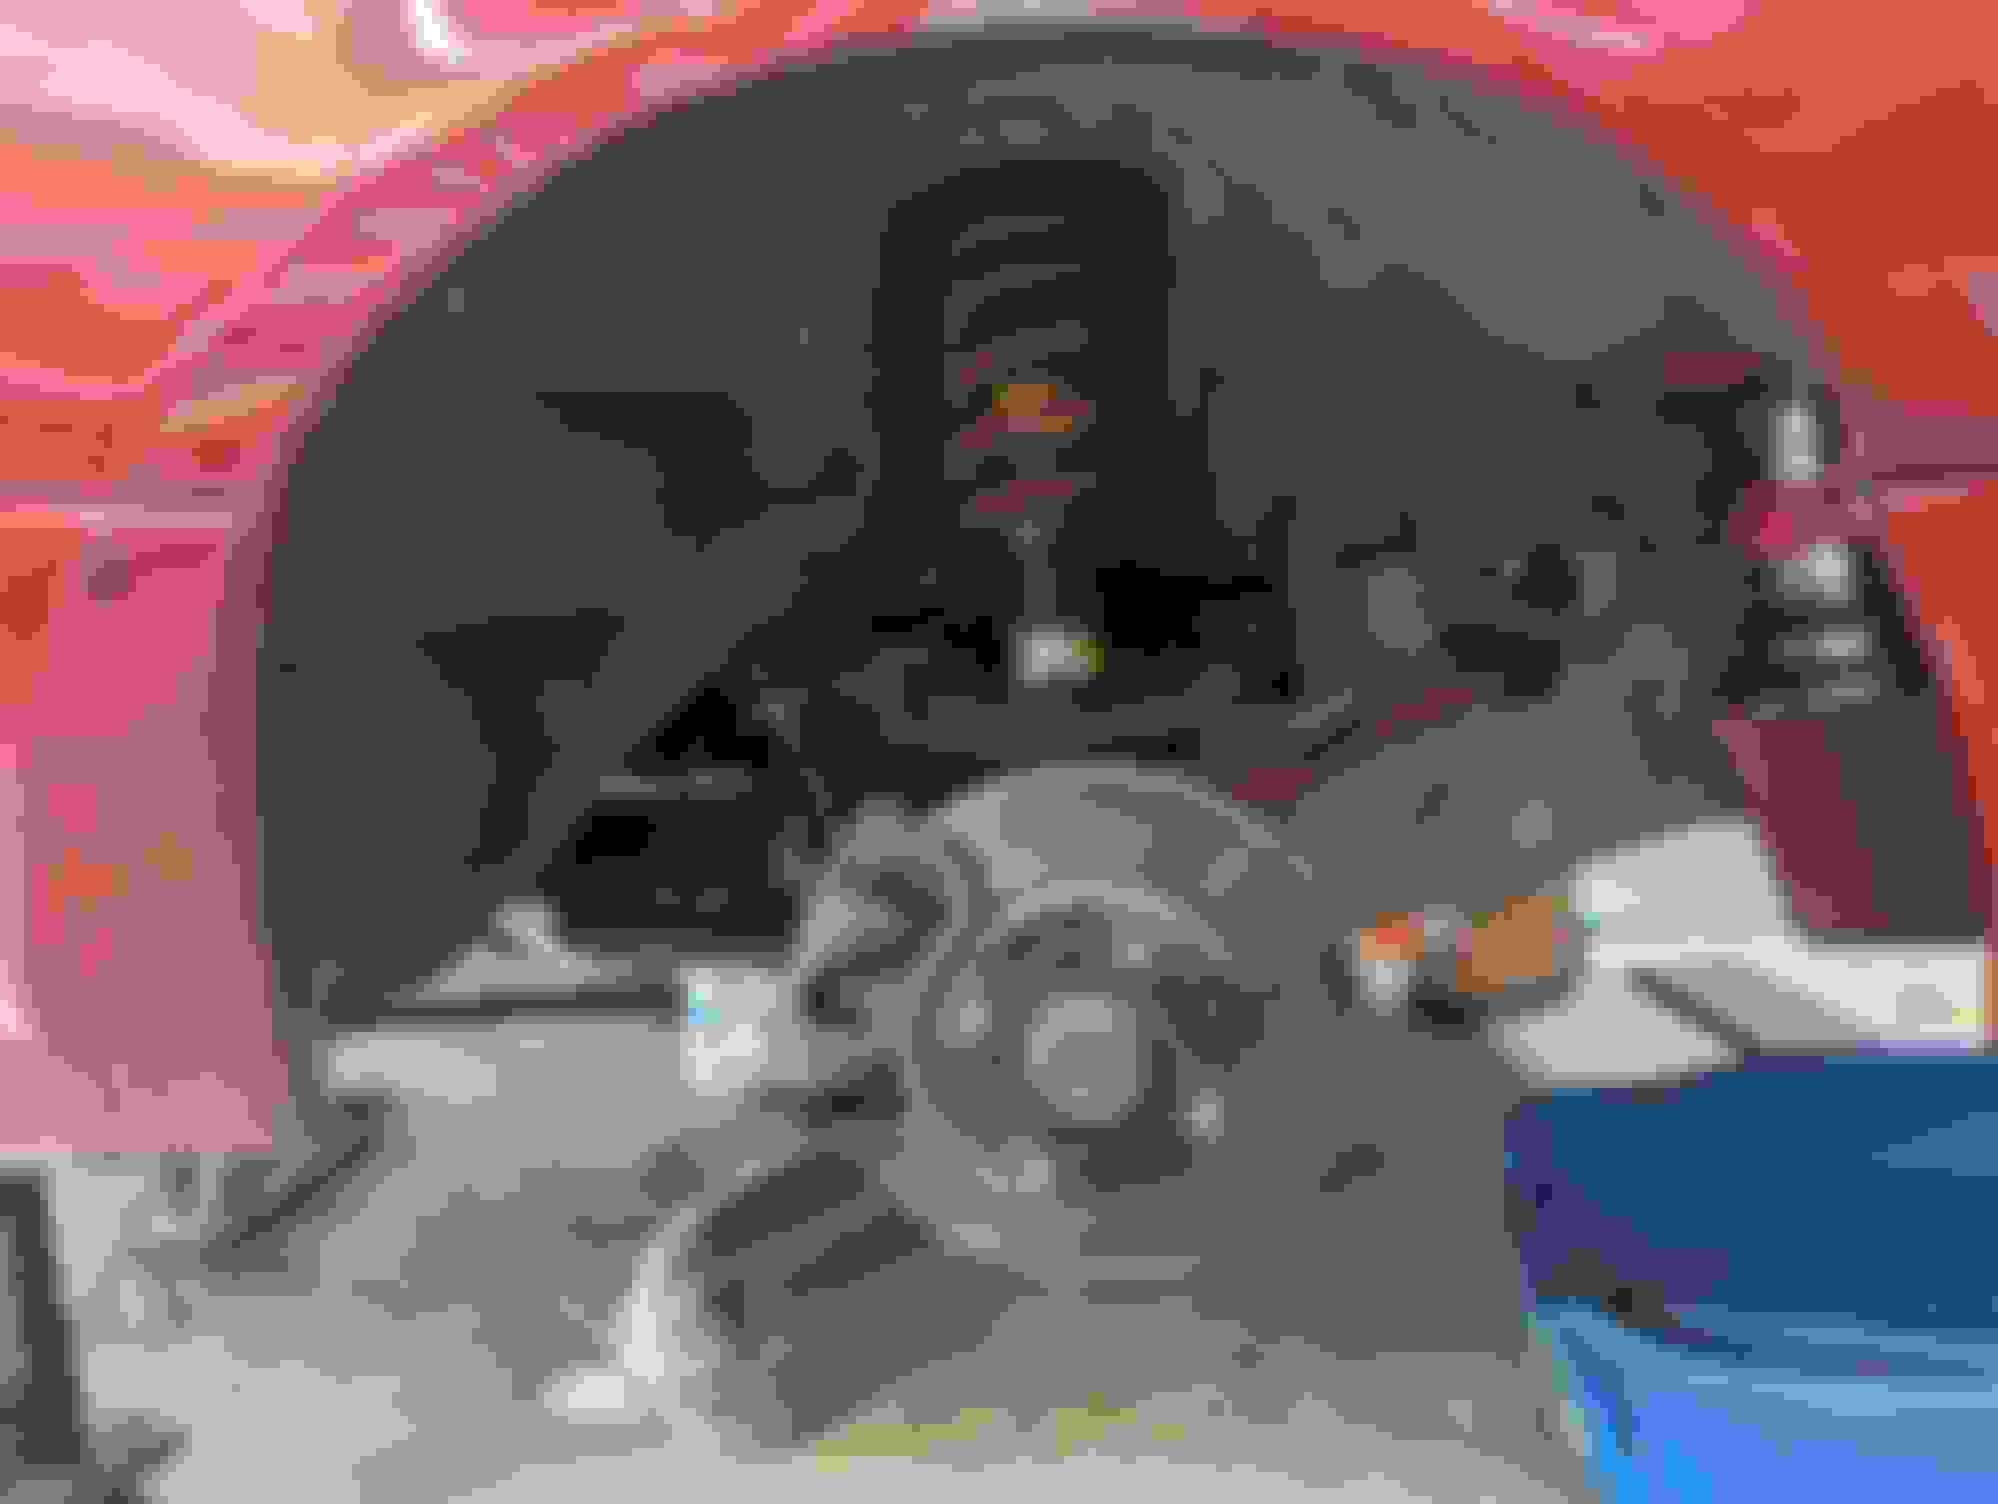
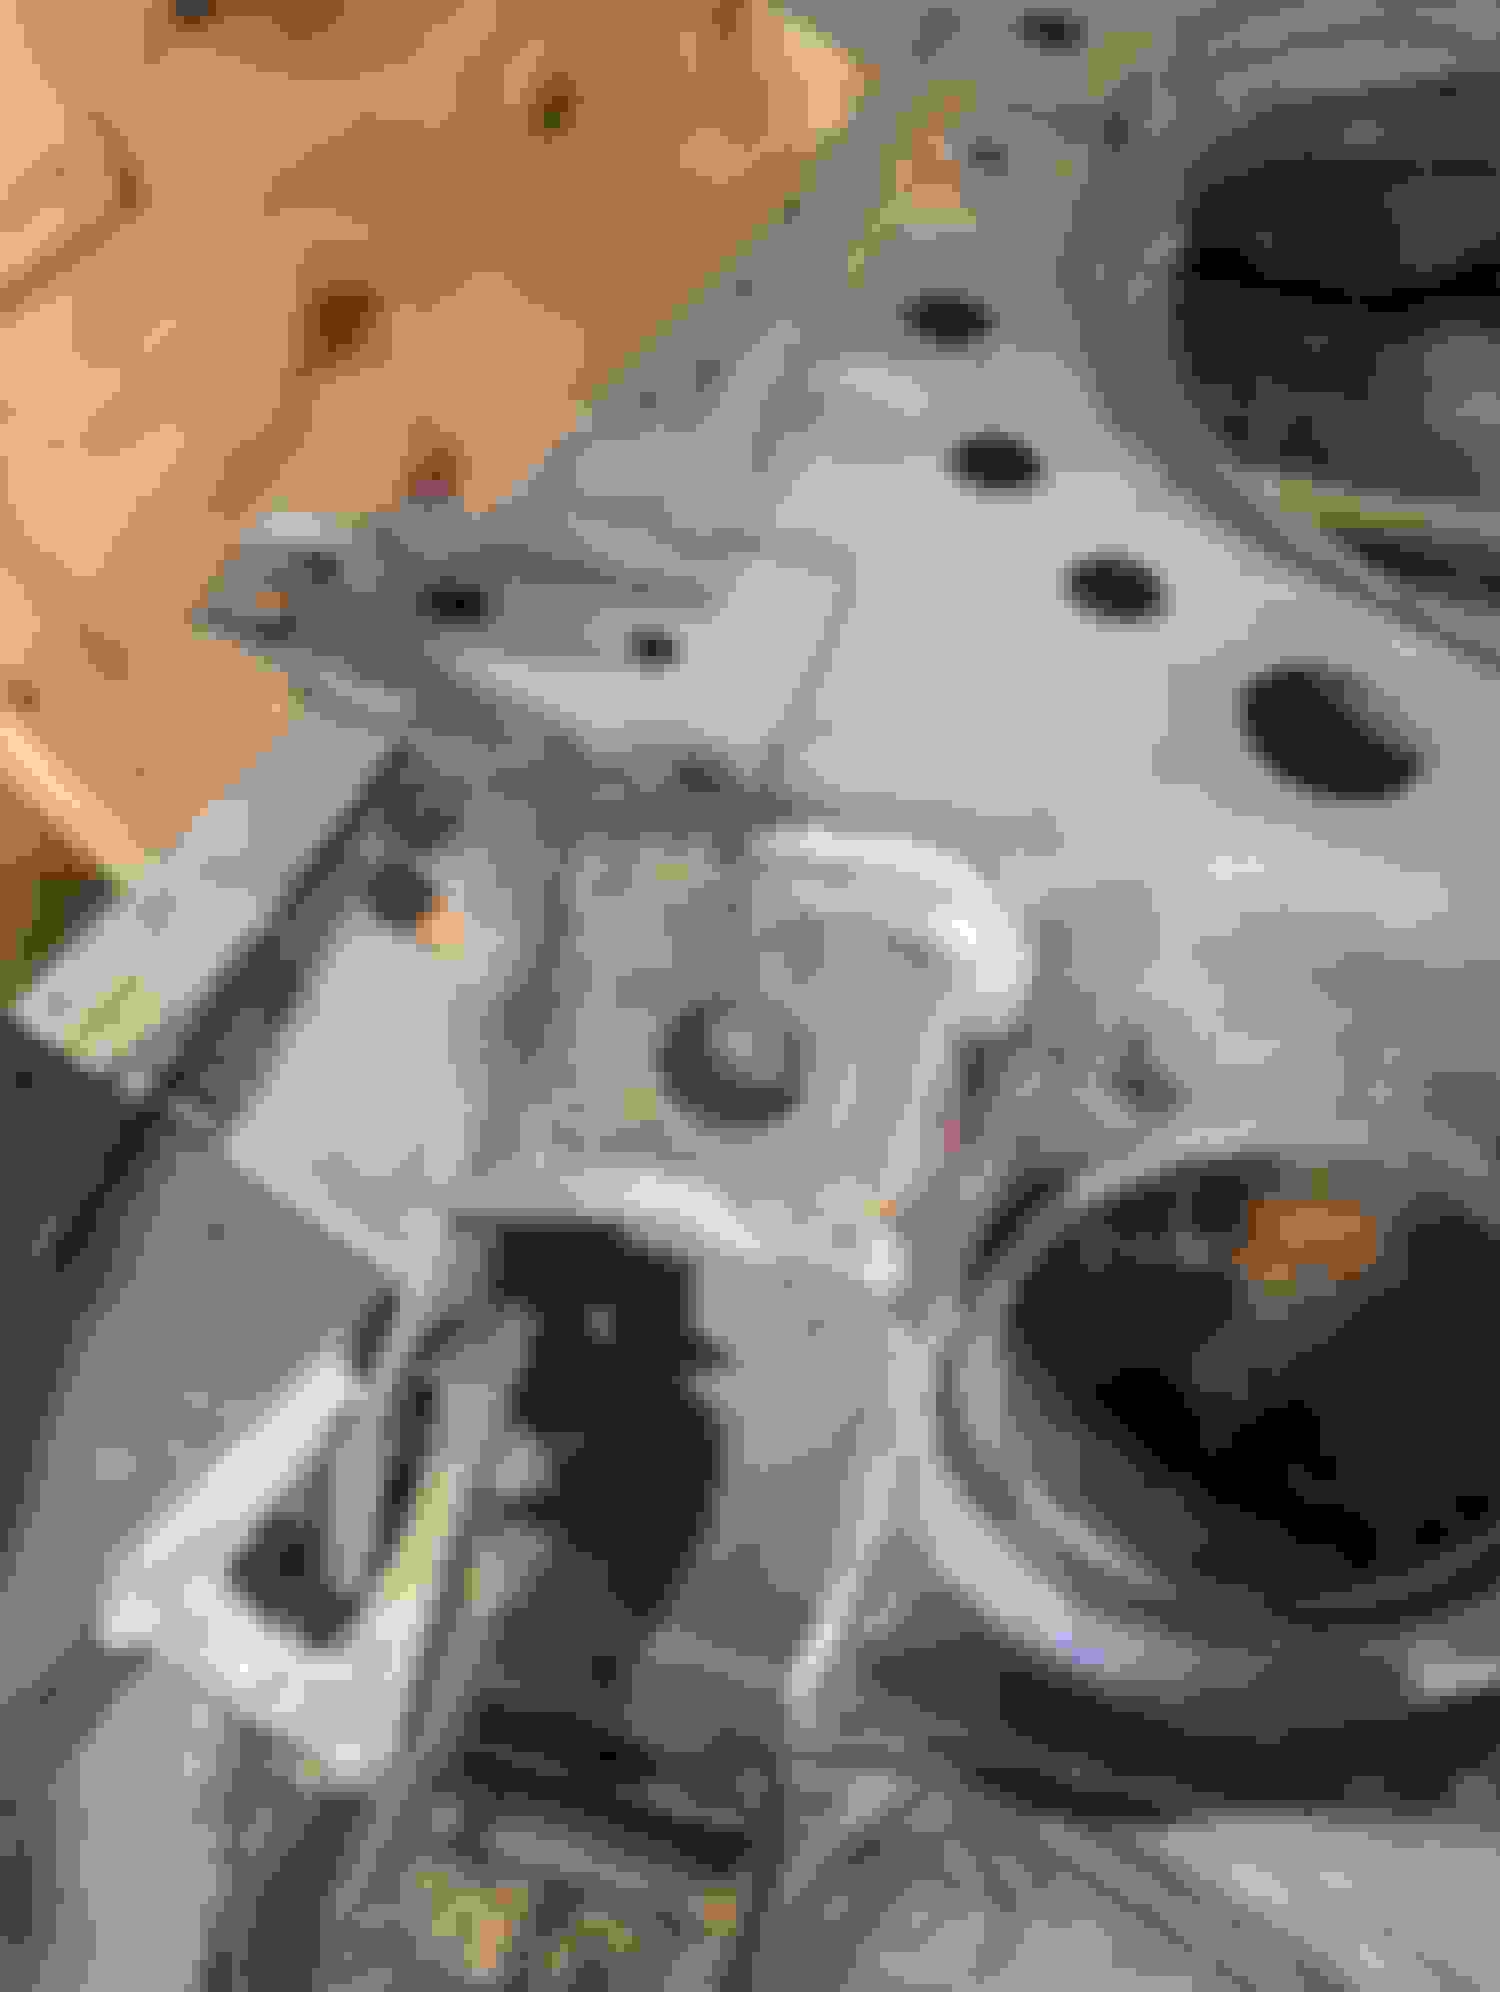
The problem. Other side was the same story. Stock front hub. Has been repacked before as it came with 3 types of grease. Red, Crusty hard gray, and Yellow. I was able to pull this bearing apart by hand...so out it goes.
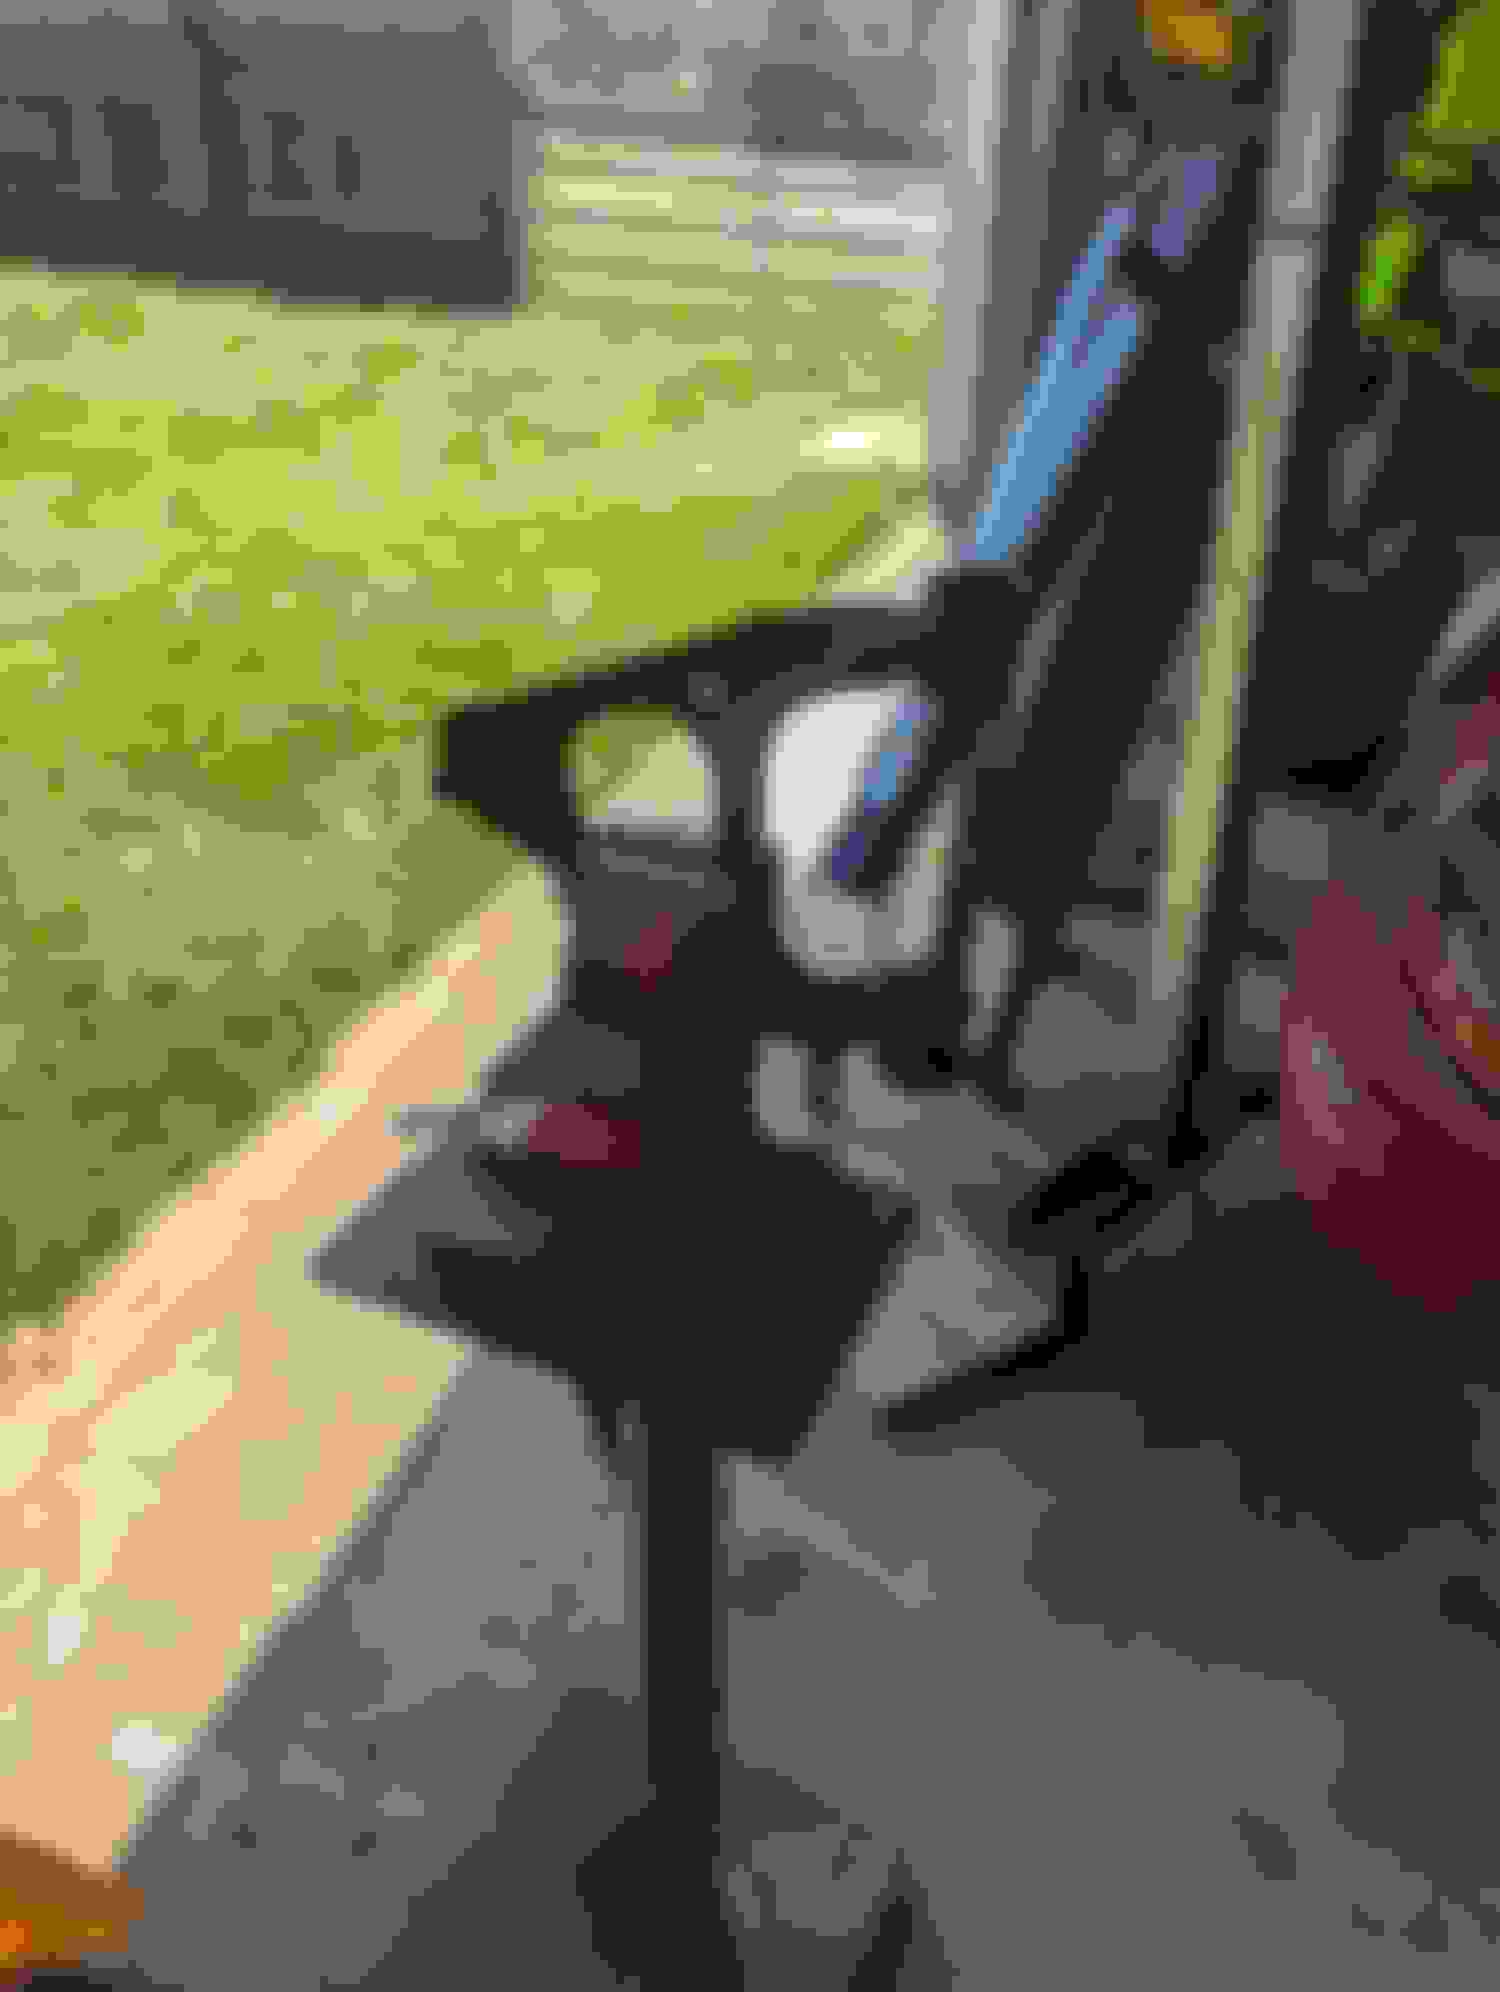
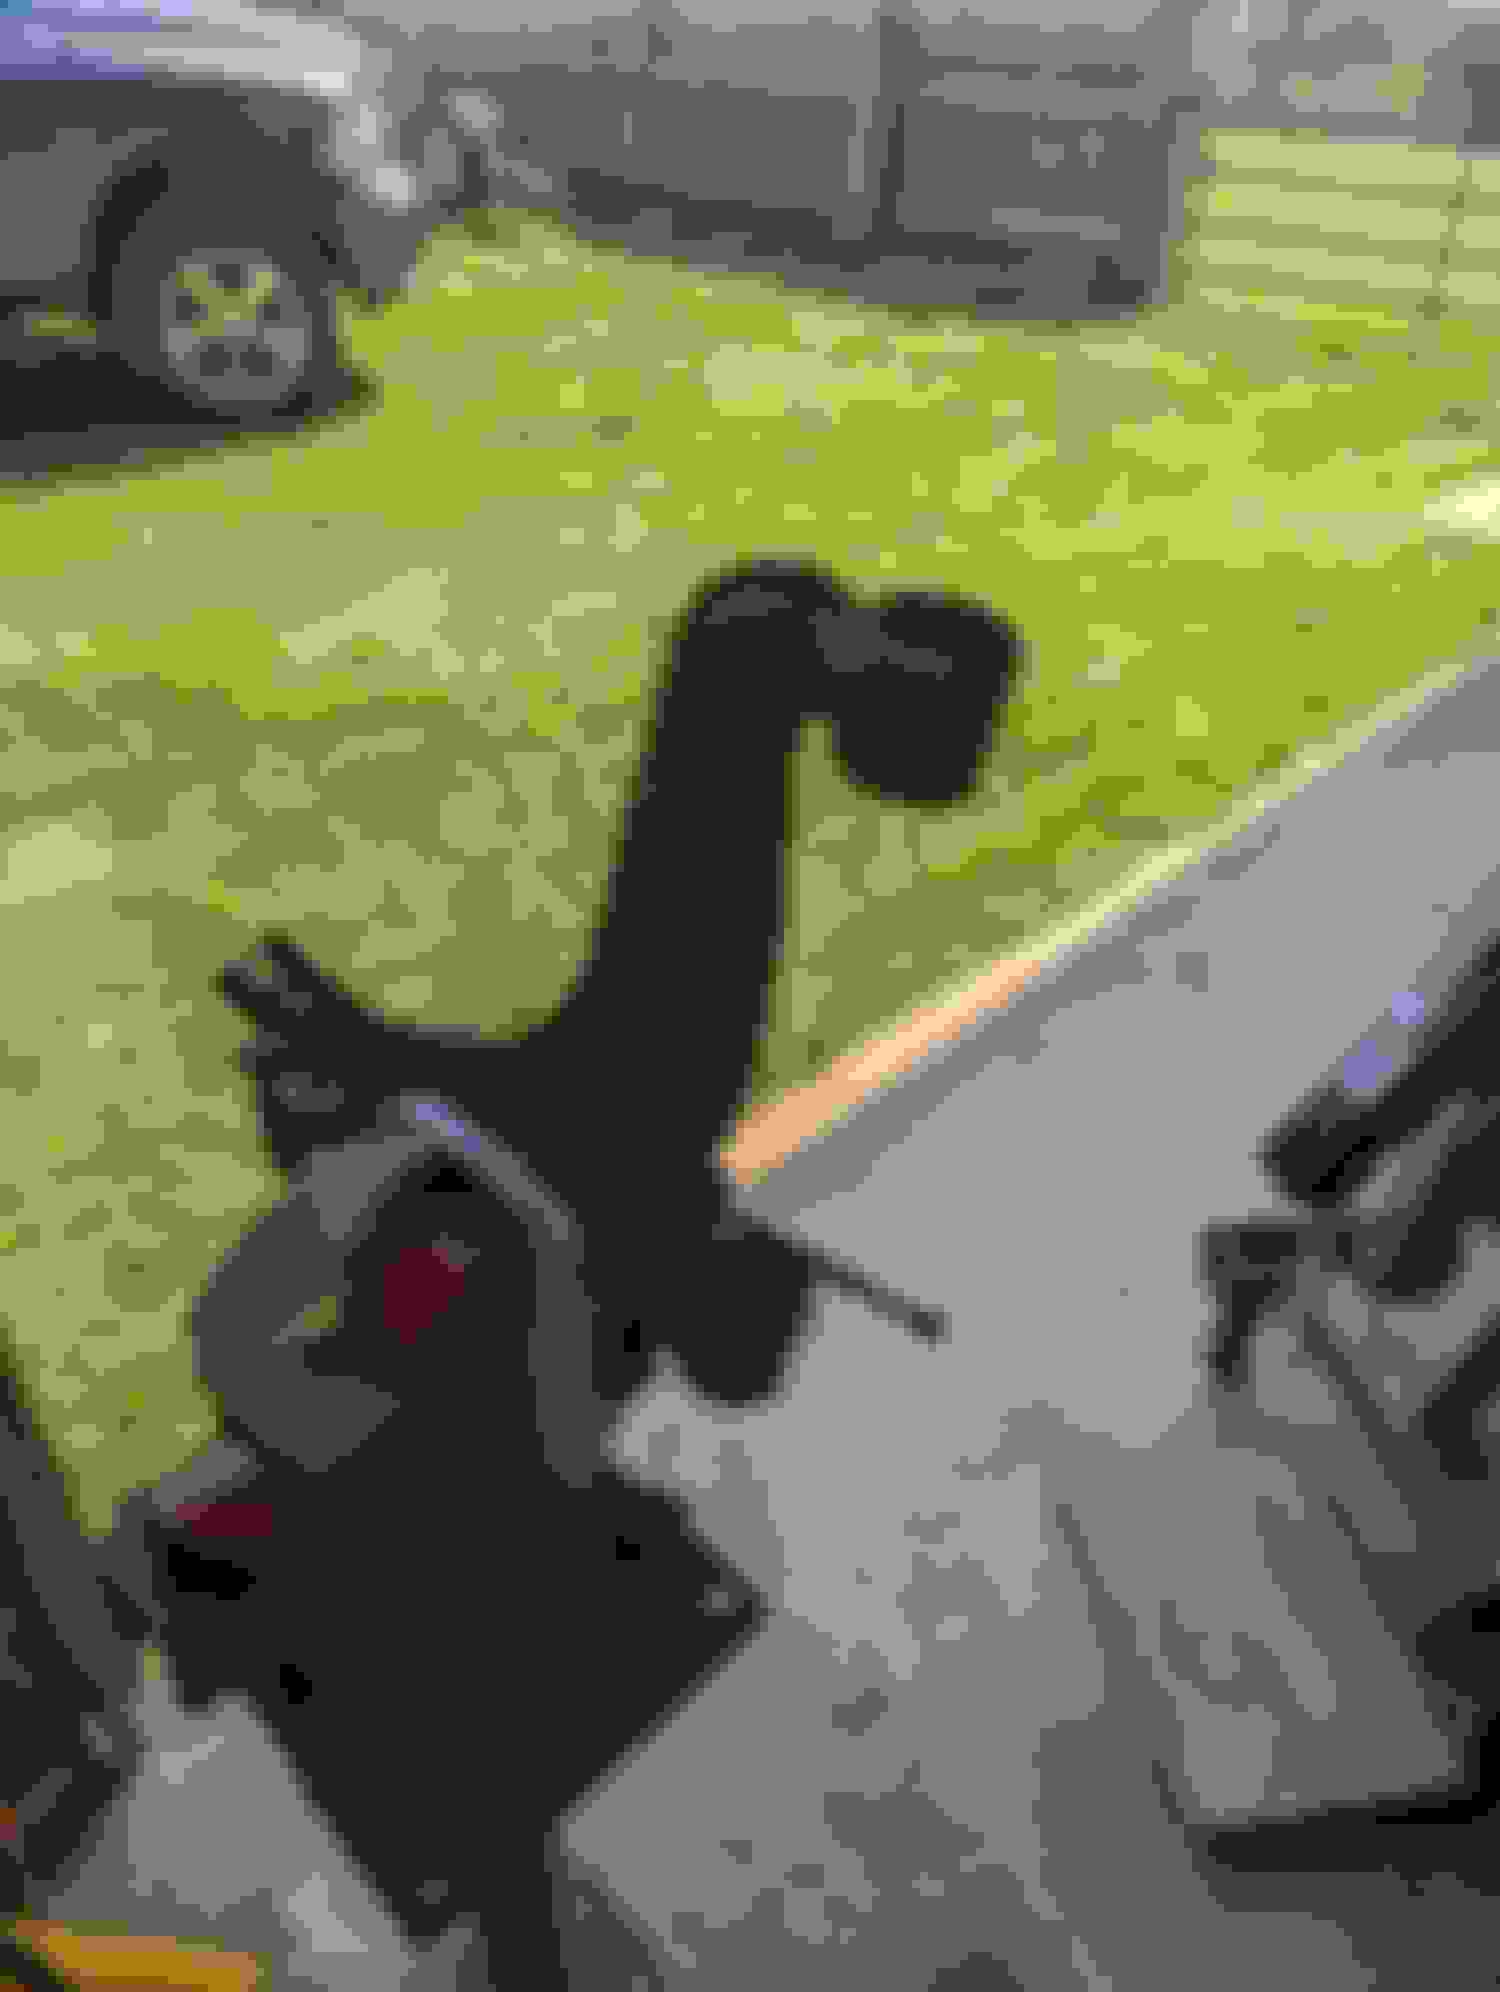
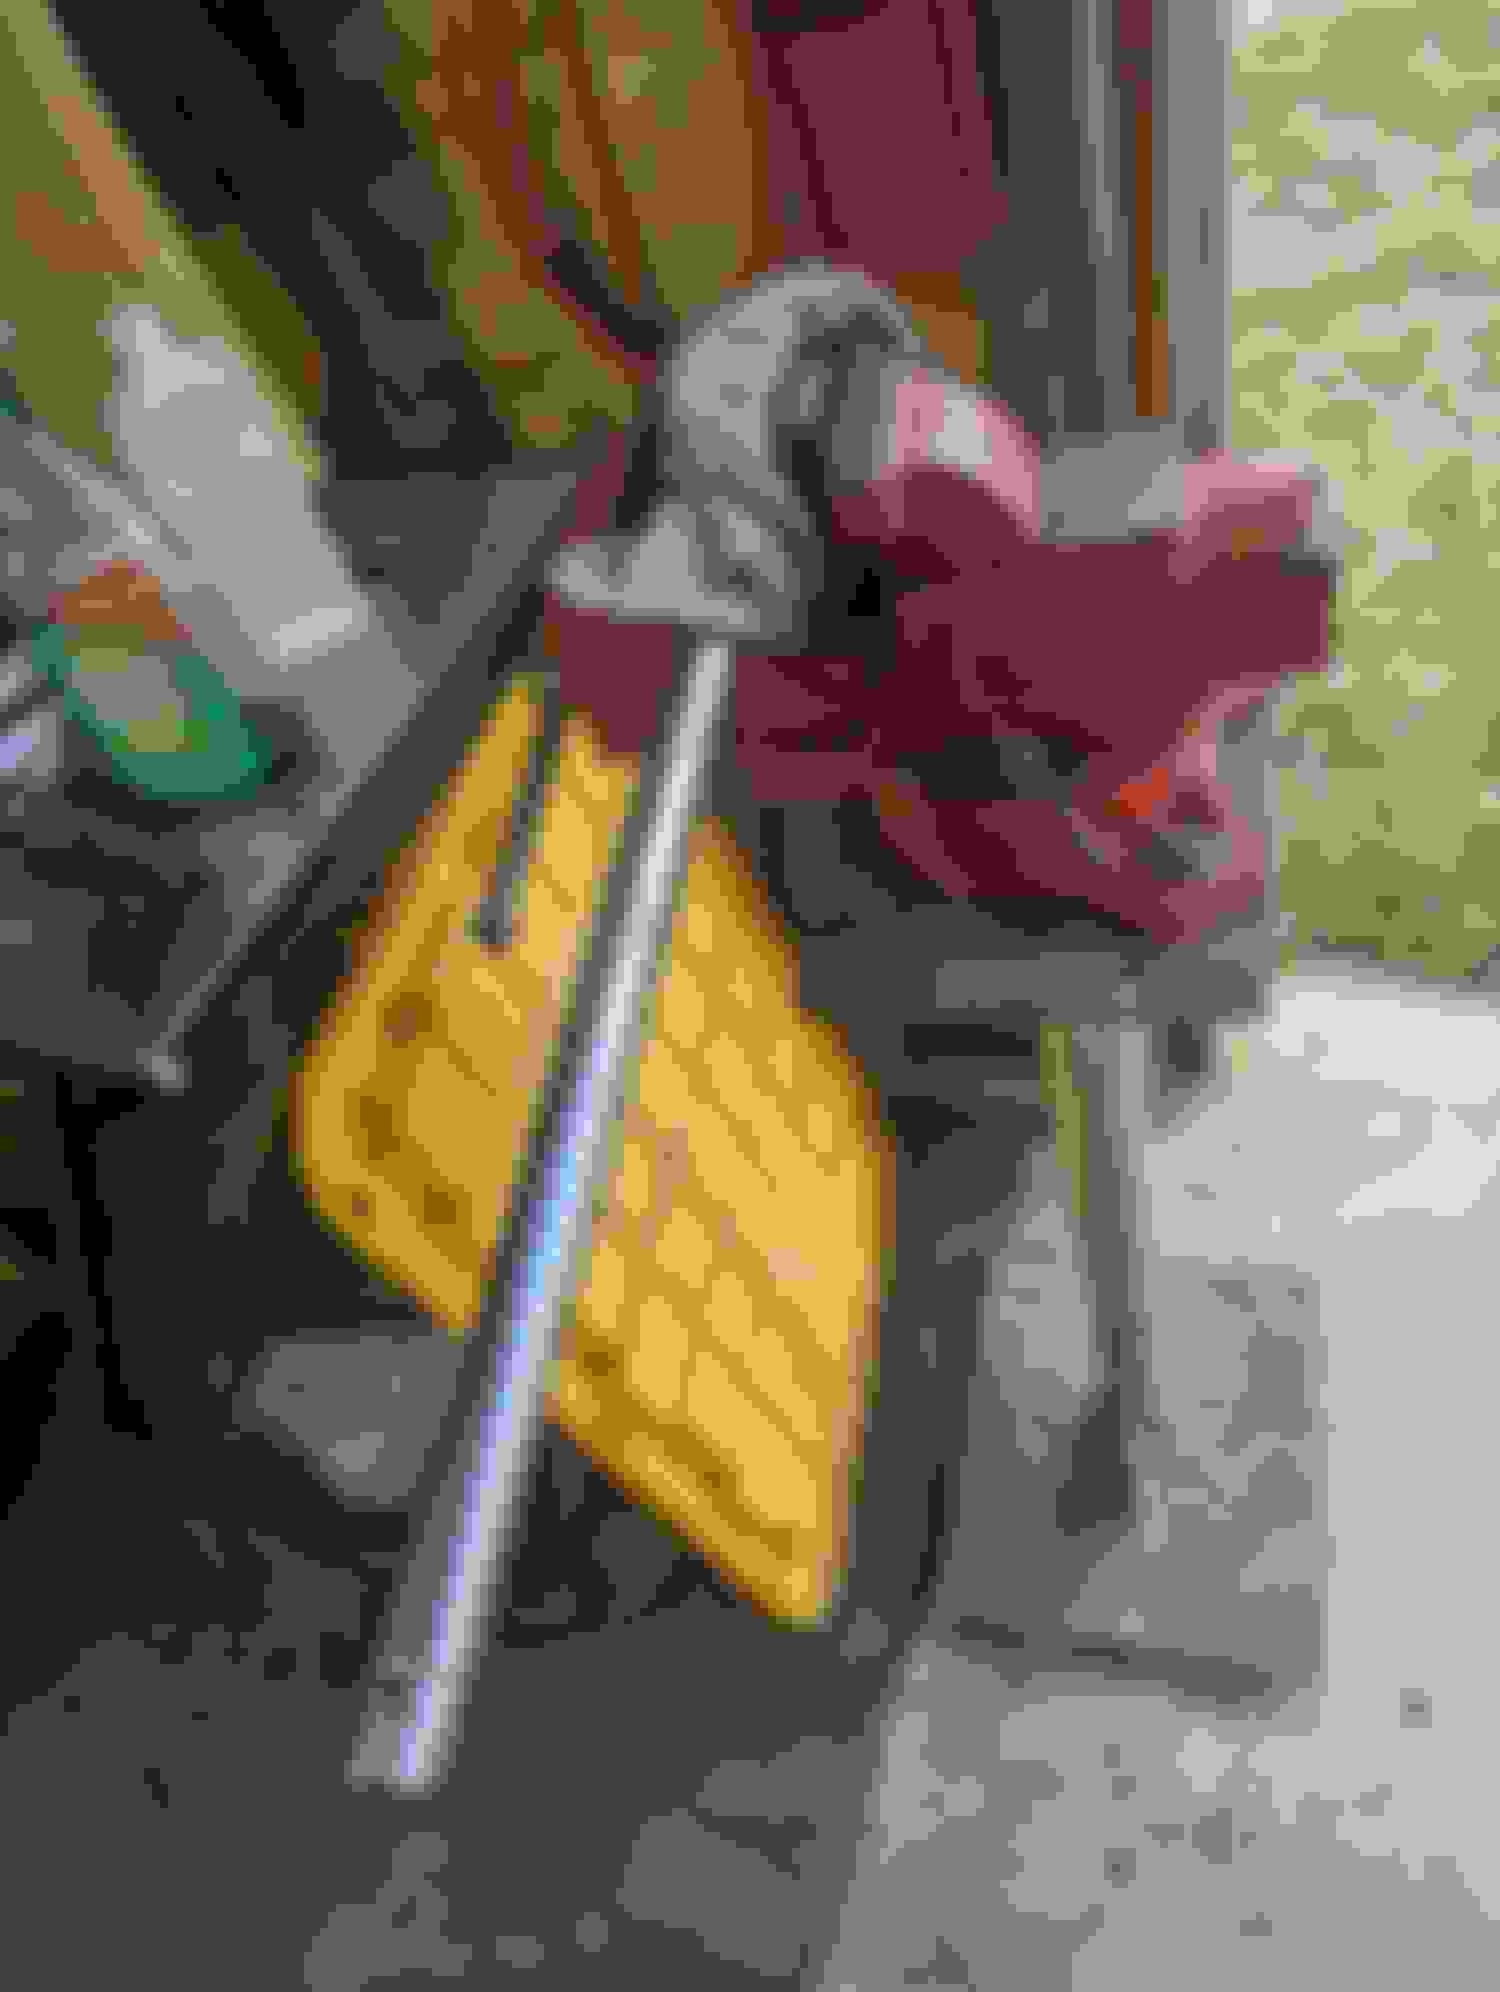
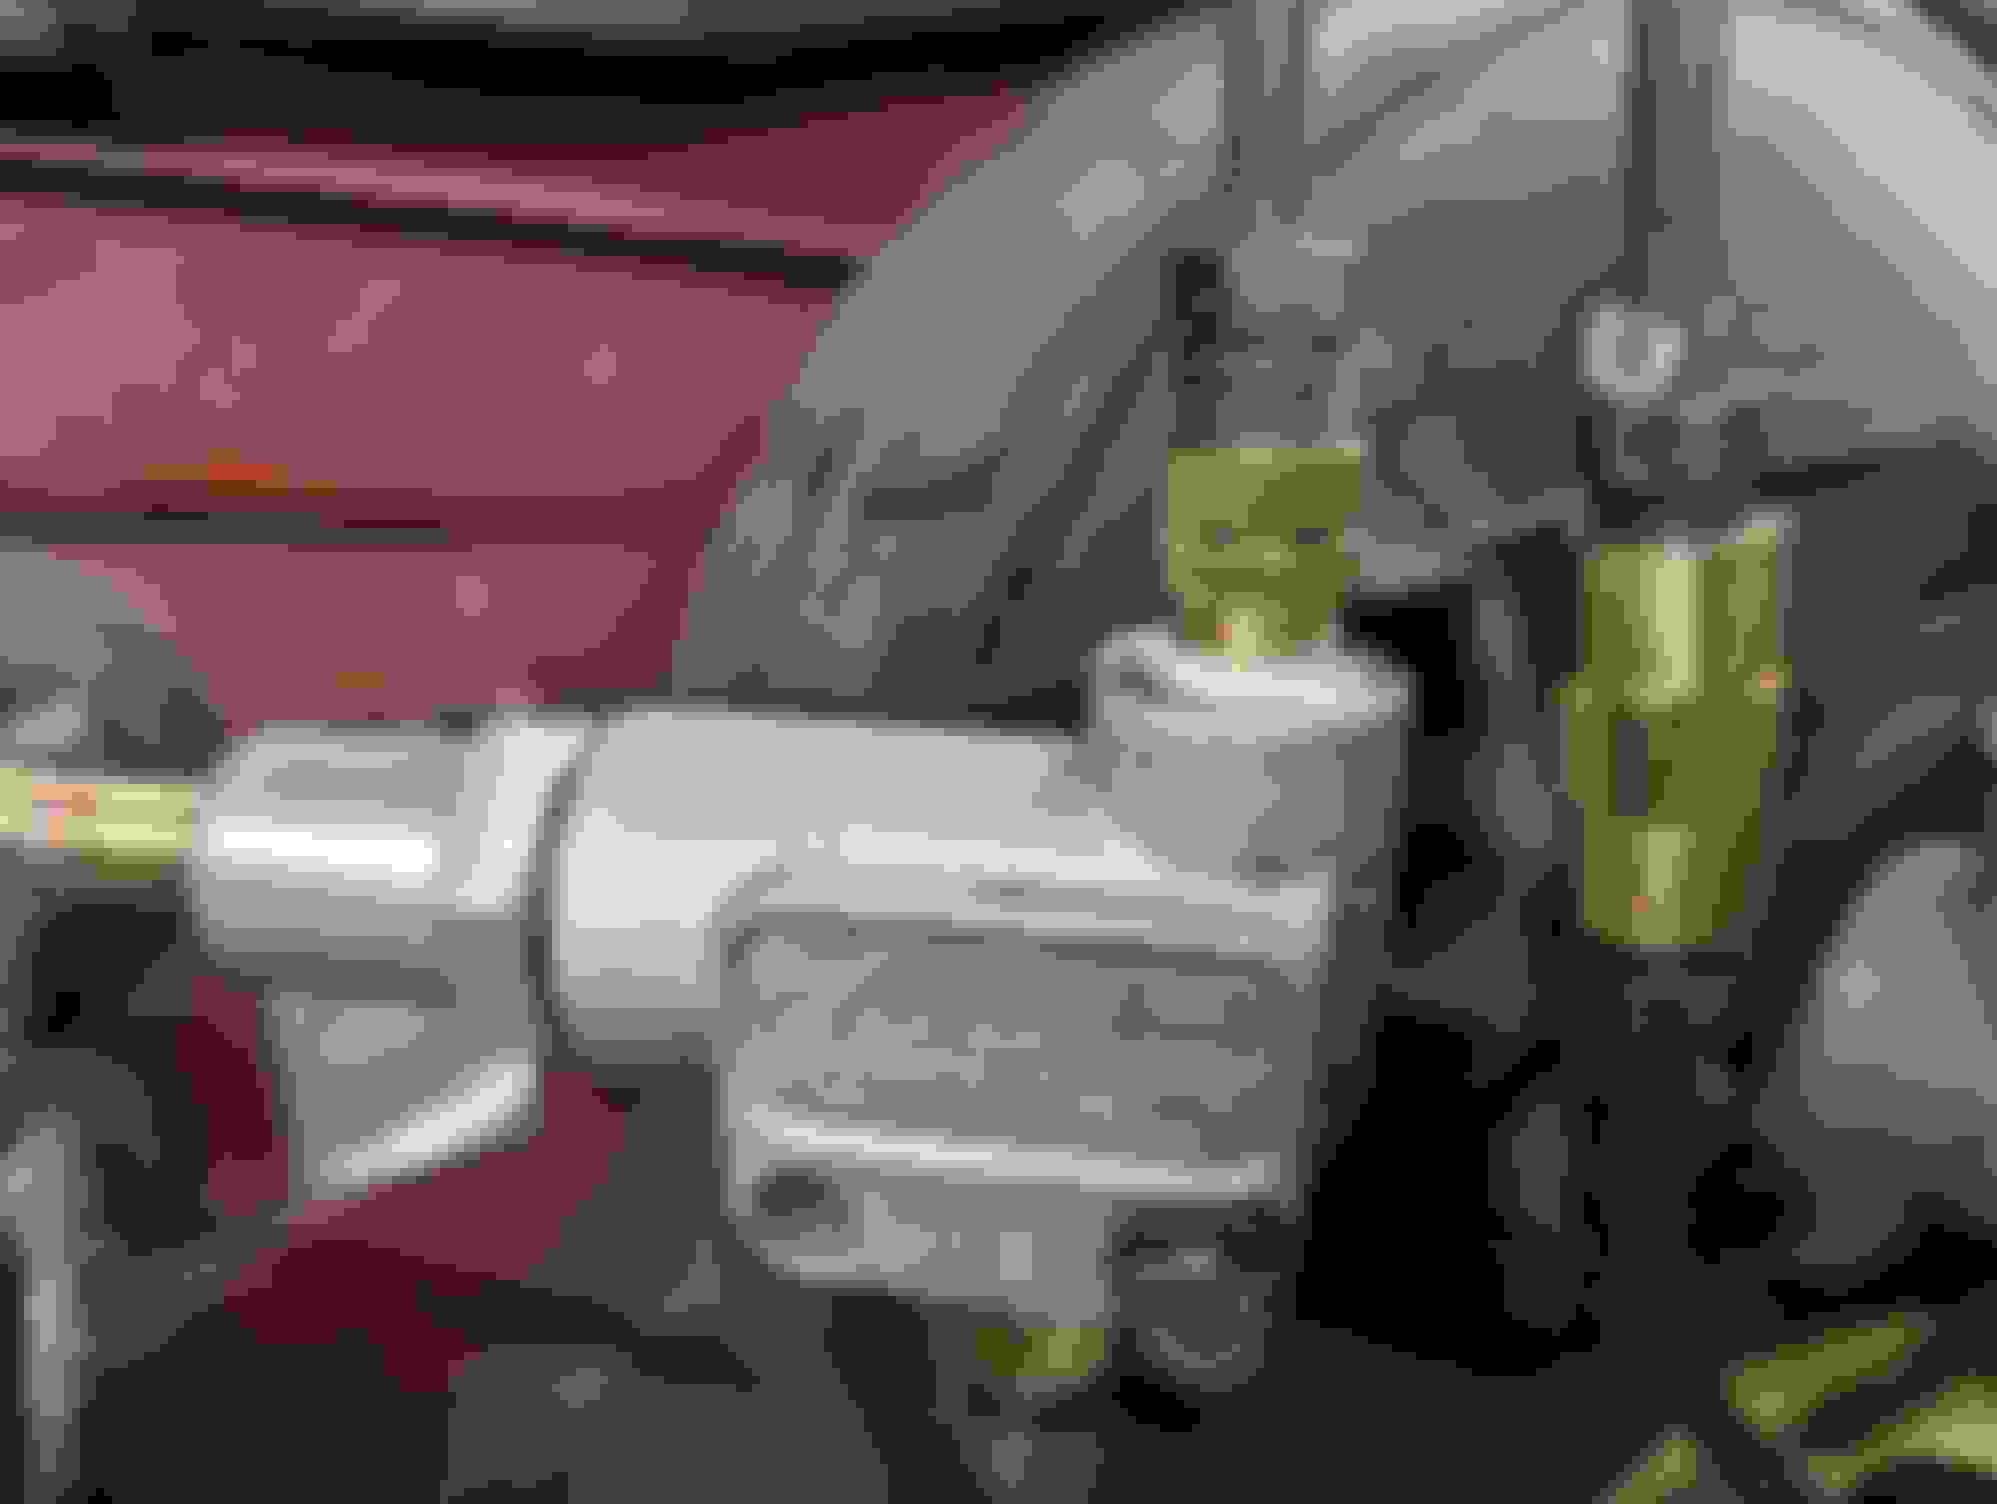
Well I still have a laundry list of things to do, so let's depower a rack. This is a NA afterall, should be a light as a feather, remove ALL THE THINGS! Budget friendly PS delete. Time to pull and do it right. Good before picture.
This wasn't to bad to pull, 15 minutes tops.
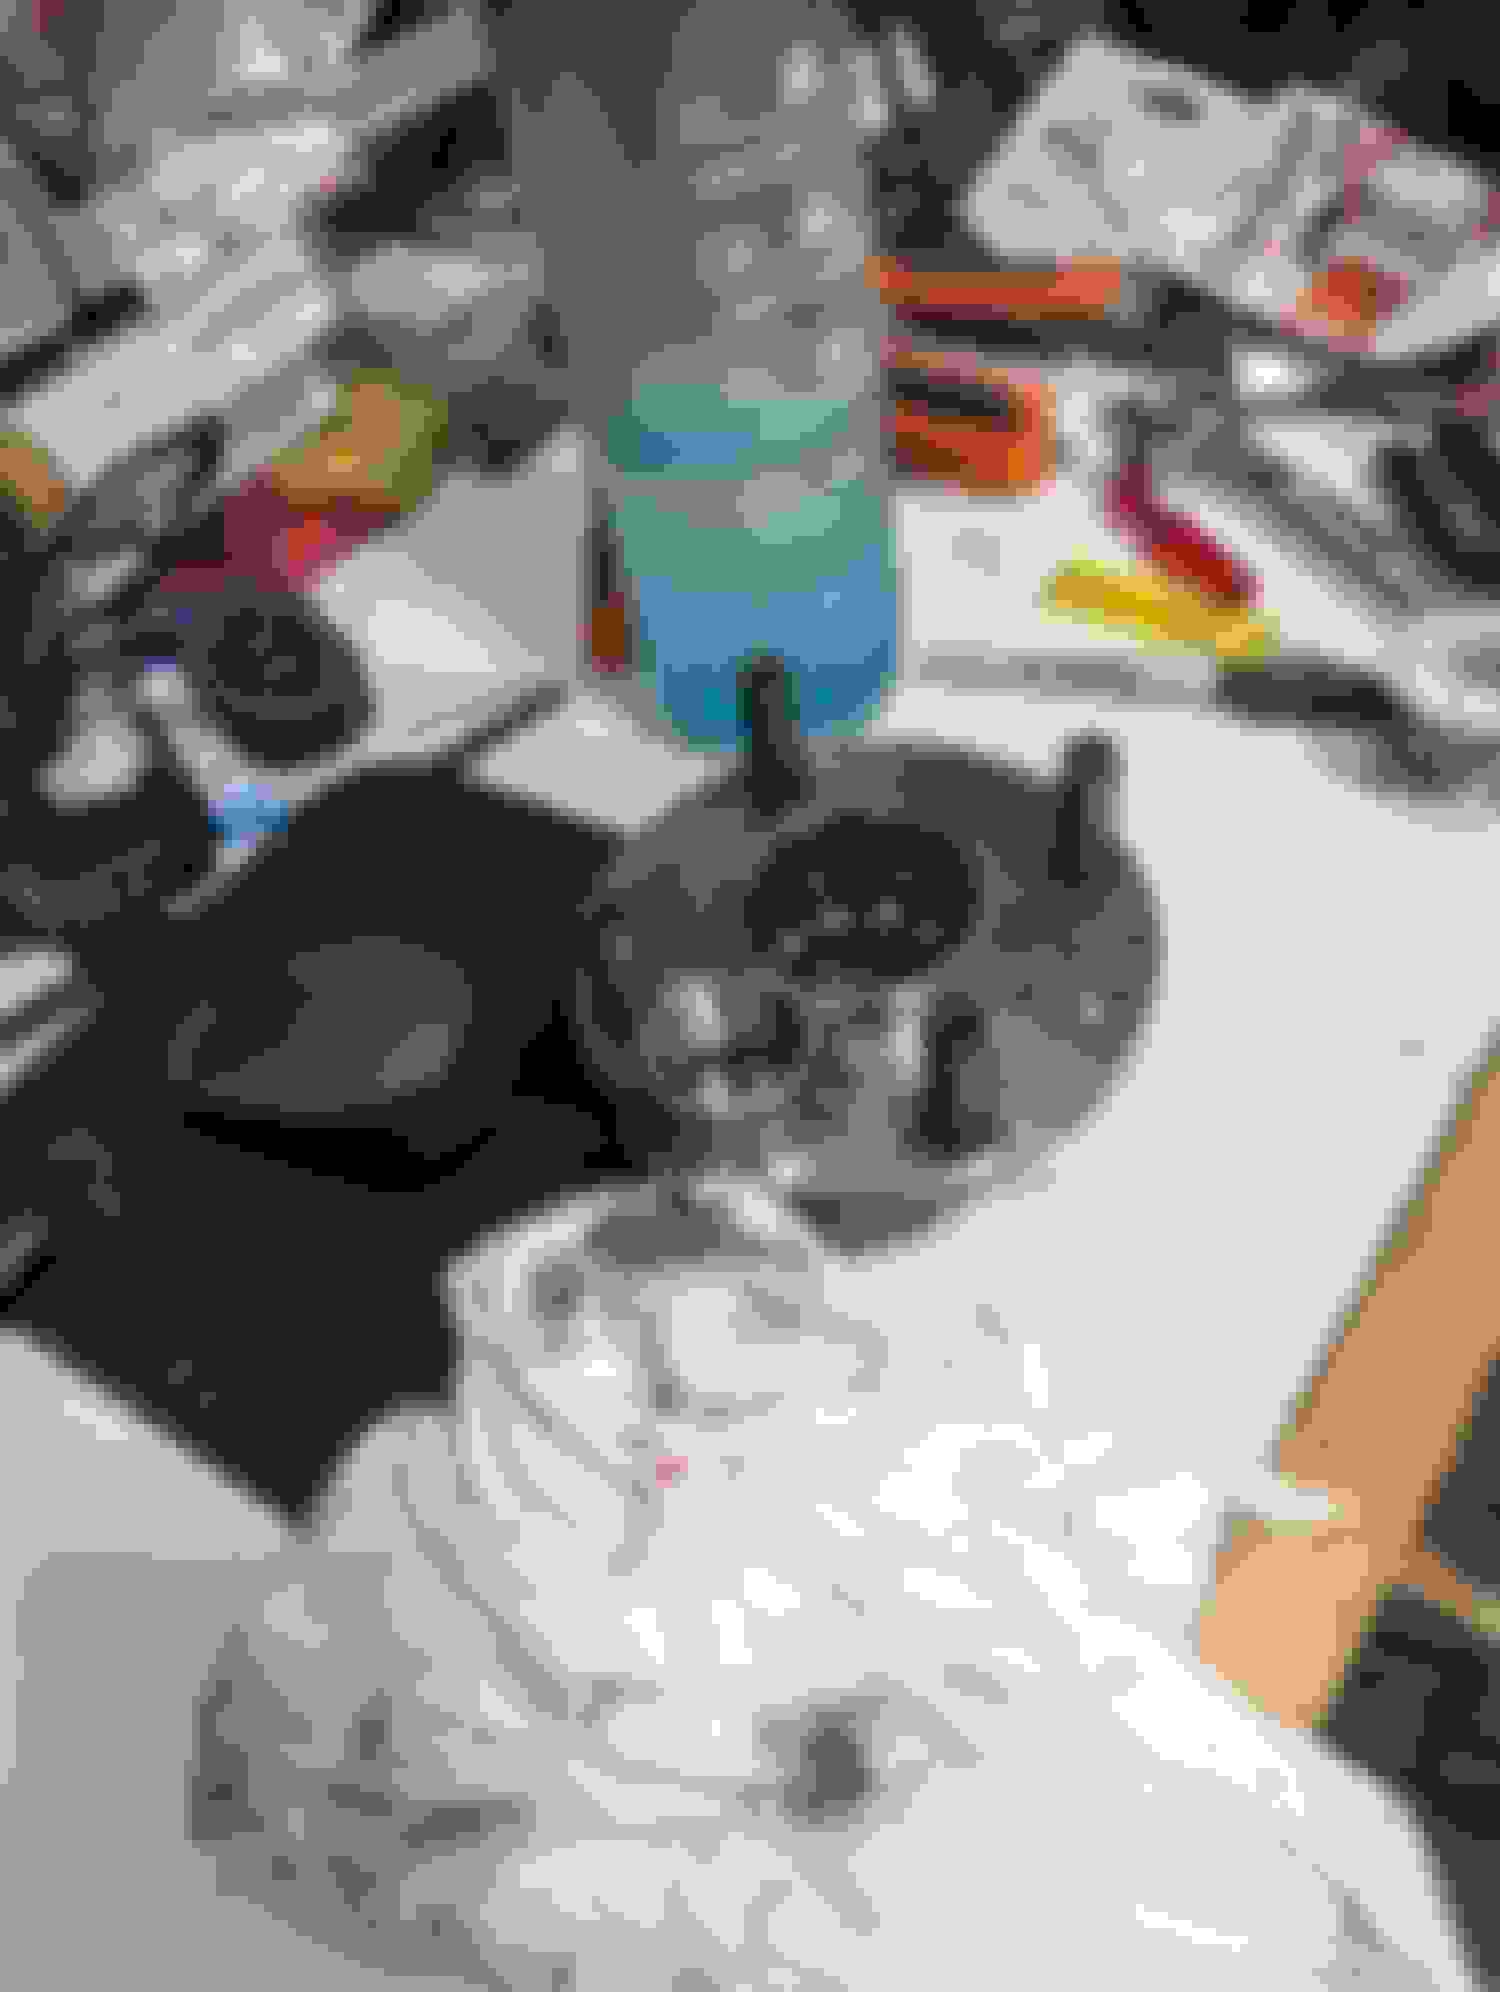
So crusty! Took a good 30 minutes to pull apart as I had to work some crusty gray grease out of this thing that was preventing it from being pulled apart.
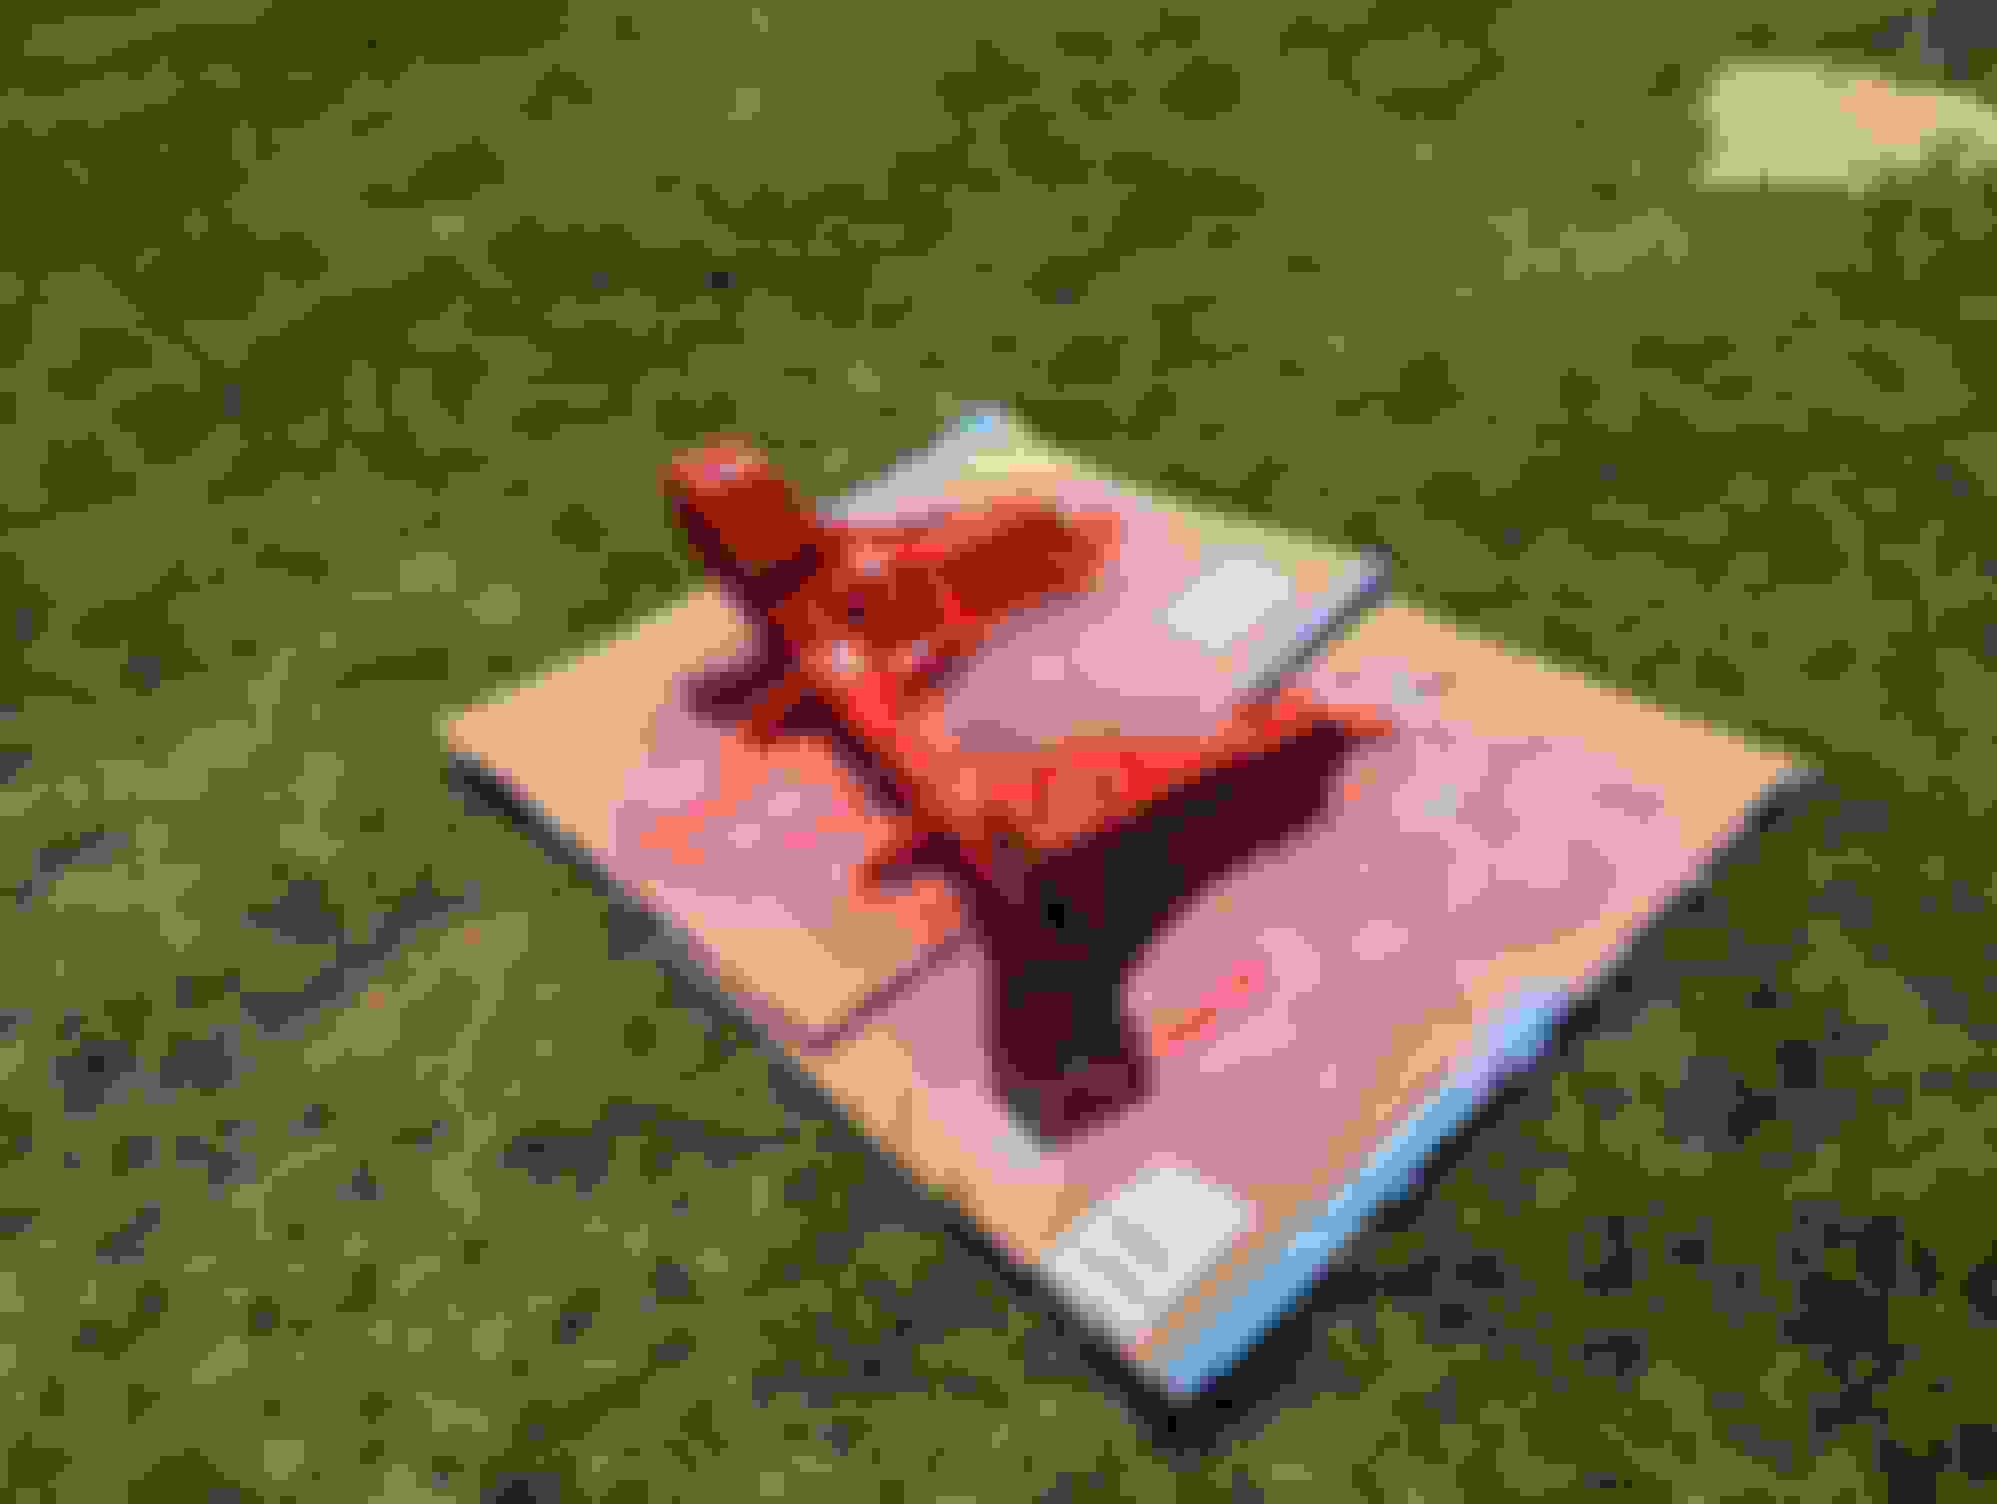
More crusty parts removed One last part to modify.... ....1 minute later and done. Now featuring 100% less crust and ready to be put together.
And that's a wrap for the weekend. Suspension back together with poly all the things and now featuring 100% more bumpstop. ELBJ's on both sides (versus just the pass side). Rack is next to be assembled with new boots, new inner and outer tie rod ends (circuit racing R package), and poly bushings. I'm also tossing in 949 racing swaybar brace blocks and that'll be it.
After that, willwood prop valve and cabin adjuster and that'll probably be it for the week. If I'm really cooking I'll have the Brofab hubs here (mmm the first of a few planned BMW parts on the miata) and toss those on with the brakes being finished. Bonus points if I finish the rear fuse block + fuel pump rewire (has a DW200 pump installed in it now).
Solid progress all around! Thing's gonna handle like a different car once it's back together haha.
ELBJ on one side only is incredible
Yeah I was like "really?" . Almost as good as the front swaybar was missing a mounting bolt on the lf, I think it fell out as I would have seen that on a pre-inspection. Locktite go-forward.
Pretty excited to get back on track and knock off some cobwebs. It's close! Hoping early April, but might be May as I'm gearing up for lasik in the beginning of May and can't be in contacts for the last 2 weeks of April (and really don't want to drive with glasses on).
If it hasn't already been mentioned, be careful with that intake in wet weather.
Yes sir and thanks for commenting! I plan to move the air filter into the engine bay in the rain conditions, why I have a split in that location. That does remind me that I need to make a "block off" plate and pack it in my "track box" so it isn't a scramble to seal that area off for wet racing.
Slow going this weekend as I had competing priorities.
Got the prop valve and remote adjuster installed. That should work nicely there. Installed complete with split fitting
Reconditioned, repaired, and swapped my front subframe. Now I can add the NA8 front subframe brace and have the control arm reinforcements installed. Still learning to weld but not to bad. Ready for paint. Note the reinforced subframe components and the replaced captive washer for the brace. This subframe was cheap as the captive nut broke inside. Drilled it out, welded a nut to a washer and welded it to subframe. Painted and ready for install
Install complete.
Shameless plug:
I make youtube videos for most of this as well if you want to follow along. Made this a 2 part video:
Currently just filming with my potato phone and editing on there, I'll eventually setup some real cameras and get some editing software if the channel gets some more traction.
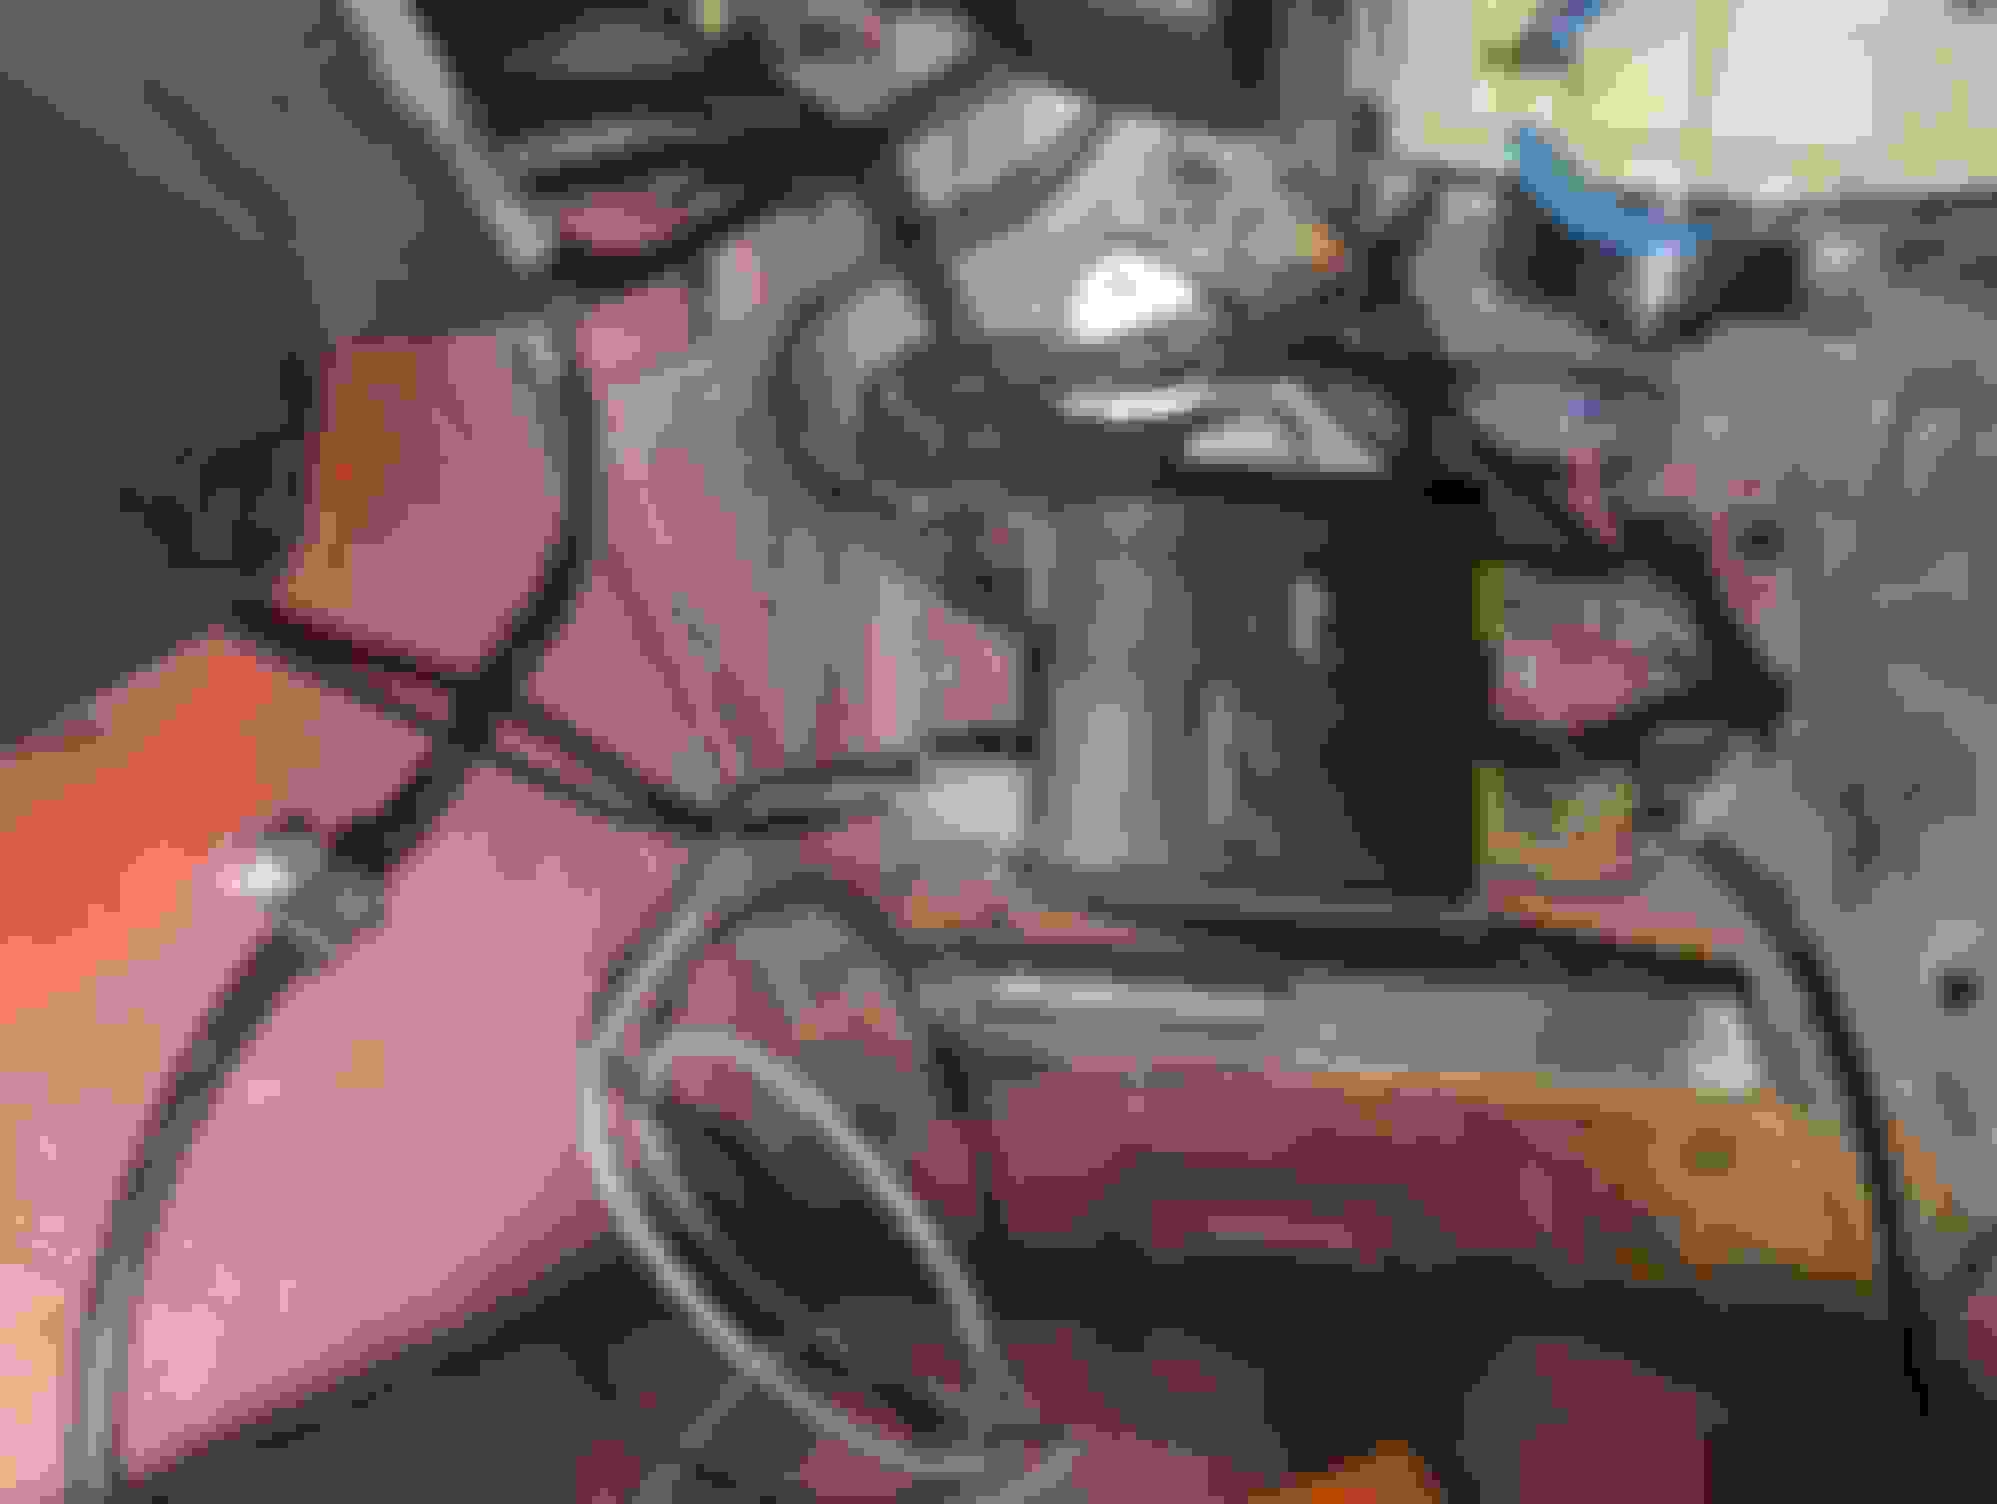
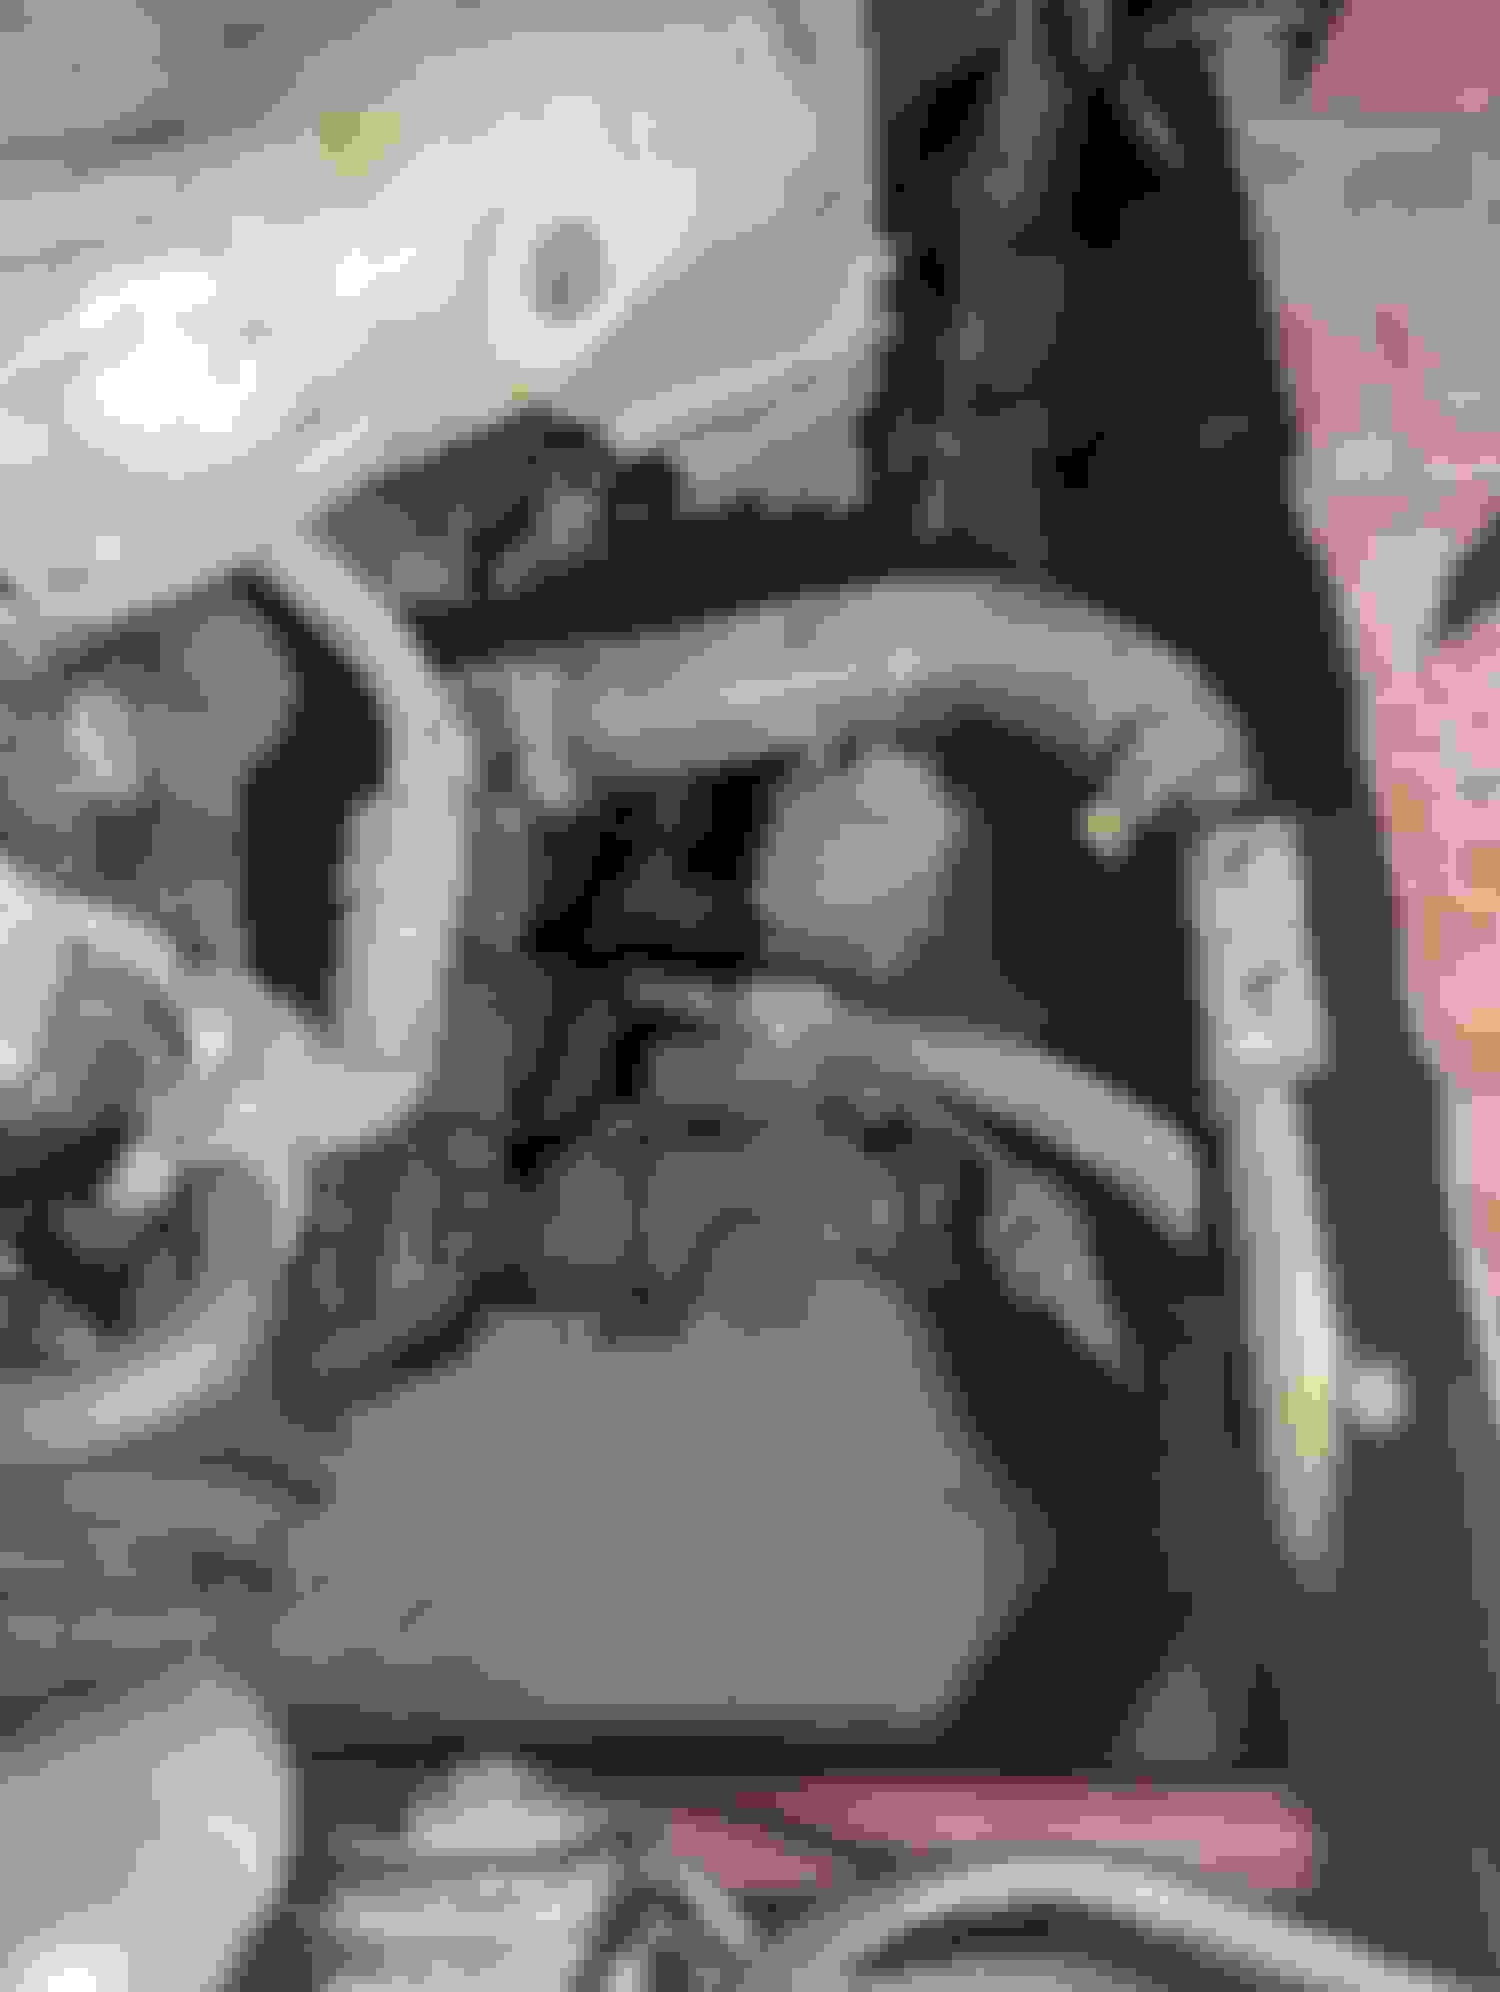
Just noticed the big brass T fitting off the AFPR. Our experience has been that brass fittings should be as short as possible and vertically oriented or braced. Brass doesn't do fatigue life in a high vibration environment. Big cantilevered assemblies like that are a failure waiting to happen. OK on a stationary machine, not on a track car.
Just noticed the big brass T fitting off the AFPR. Our experience has been that brass fittings should be as short as possible and vertically oriented or braced. Brass doesn't do fatigue life in a high vibration environment. Big cantilevered assemblies like that are a failure waiting to happen. OK on a stationary machine, not on a track car.
my.02
Good feedback, I'll look for a different option to get the fuel pressure logging as well as the drain port capabilities; thanks!
Bled the brakes, installed the ducts, buttoned up everything mechanically. Alignment next. Then tune/bed brakes/track time.
Right side done less tightening suspension and steering. Building some cribbing with platforms this weekend to align, corner balance, and get this car finished. First one is done (less trimming vinyl top). Top plate is removable so I can also just use the wood cribbing as normal as well.

 02-15-2024 | 02:55 PM


 5
5