Intro turned build - Humming's '05 Lava Orange
#142
Thread Starter
Junior Member
iTrader: (2)
Joined: Sep 2014
Posts: 227
Total Cats: 13
From: PHX, Arizona
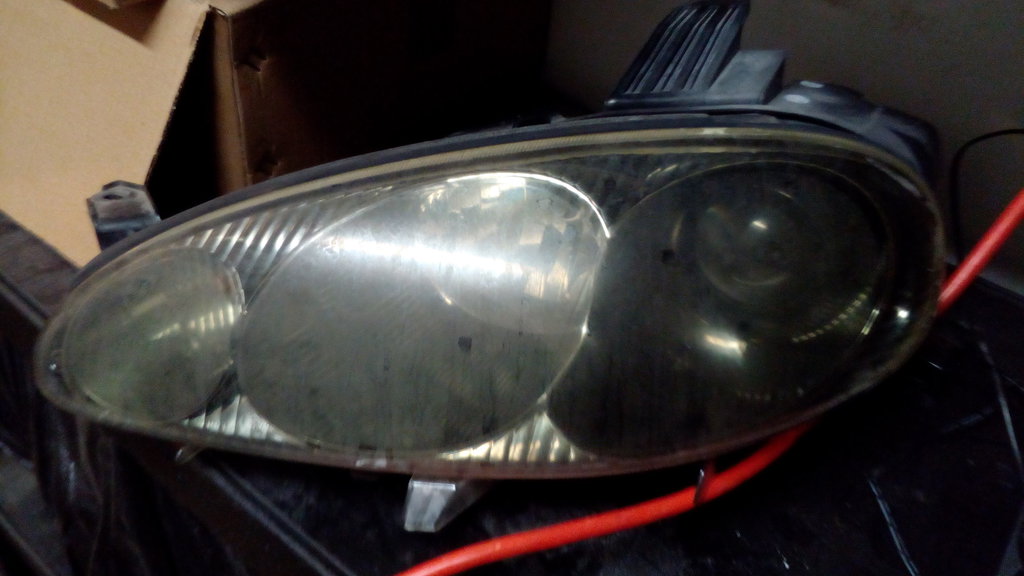
Decided to just bite the bullet and get a vacuum pump and freon sniffer. Just bought cheap ones from amazon, but the reviews were decent, hopefully they are serviceable for my occasional use. I have some gauges on loan from a friend. I can borrow my parents spare vehicle, so I'll get my car on ramps, get the bumper off and intercooler out, etc. I'm also going to refinish the headlights while I have the bumper off.
#143
Thread Starter
Junior Member
iTrader: (2)
Joined: Sep 2014
Posts: 227
Total Cats: 13
From: PHX, Arizona
so while I wait for the freon sniffer to get here I took off the bumper cover and I'm working on a few projects I've wanted to do for a while.
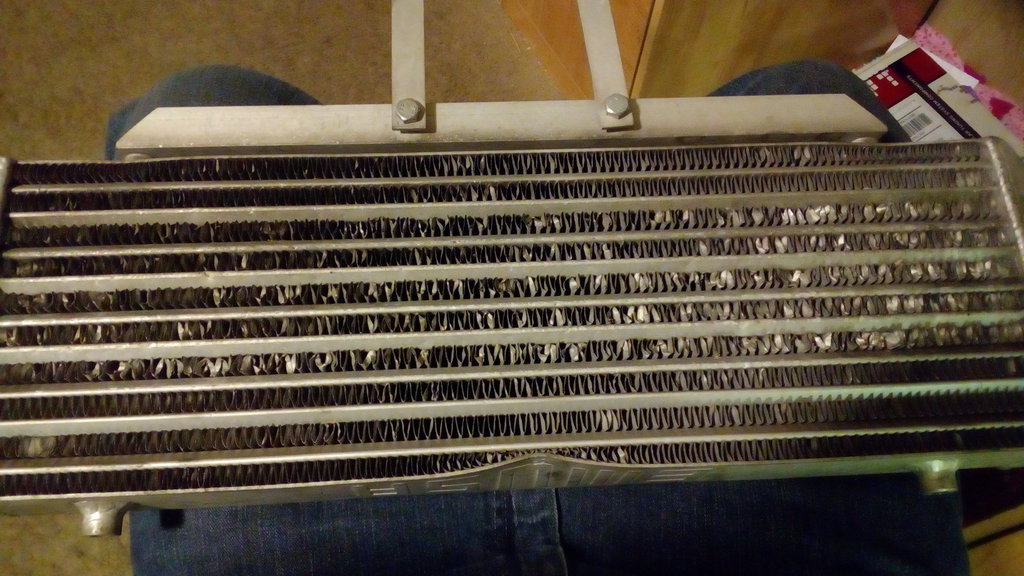
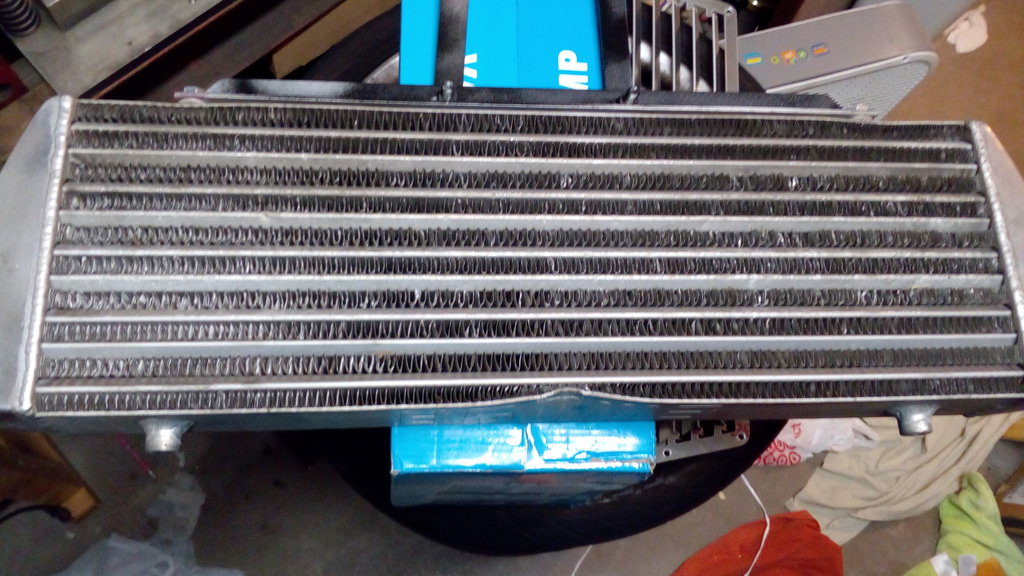
I don't use a grill so the intercooler gets a little beat up. I decided to give straightening the fins my best shot.
Before:

after:

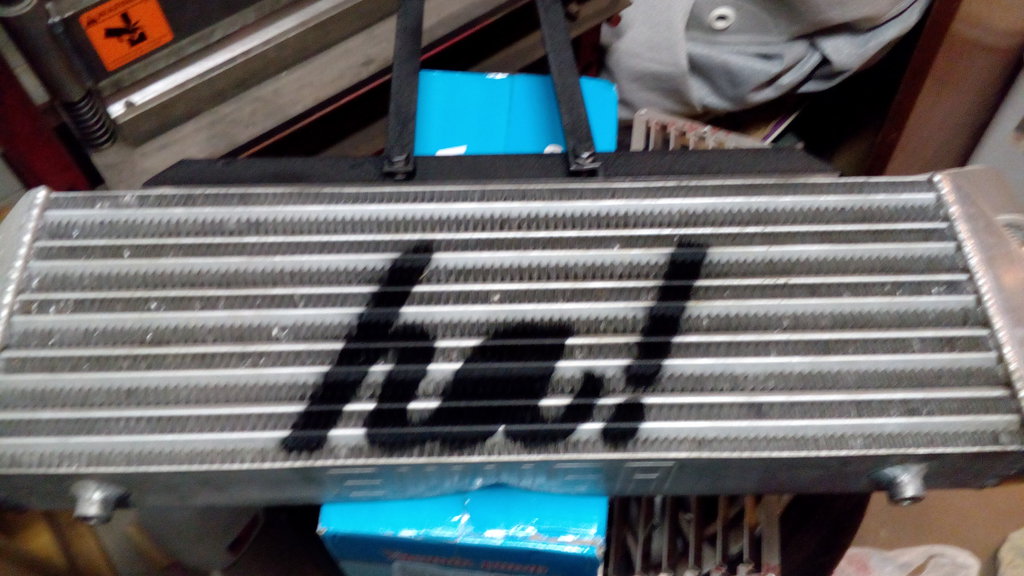
But the back side was in better shape still, so that is now the front. I also wanted to do letters for humming aero:

Anybody have a link to a good NB turbo build that has good ducting that also accommodates the AC condenser?
I don't use a grill so the intercooler gets a little beat up. I decided to give straightening the fins my best shot.
Before:

after:

But the back side was in better shape still, so that is now the front. I also wanted to do letters for humming aero:

Anybody have a link to a good NB turbo build that has good ducting that also accommodates the AC condenser?
#147
Thread Starter
Junior Member
iTrader: (2)
Joined: Sep 2014
Posts: 227
Total Cats: 13
From: PHX, Arizona
Got a link? Searched all threads started by mobius, found nothing, searched mobius ducting, and a bunch of variants and didn't see anything...
most of the good ones are NA, though I suppose it's not that different. At any rate I have my dad's pickup truck on loan for a few weeks so I'm going to do the ducting at the same time.
most of the good ones are NA, though I suppose it's not that different. At any rate I have my dad's pickup truck on loan for a few weeks so I'm going to do the ducting at the same time.
#148
Thread Starter
Junior Member
iTrader: (2)
Joined: Sep 2014
Posts: 227
Total Cats: 13
From: PHX, Arizona
Radiator / Intercooler ducting
Thats a pretty good thread on mazda-speed. Millsj retains the AC. Looks like there's no elegant solution though, just a bunch of sheets cobbled together.
Thats a pretty good thread on mazda-speed. Millsj retains the AC. Looks like there's no elegant solution though, just a bunch of sheets cobbled together.
#150
Thread Starter
Junior Member
iTrader: (2)
Joined: Sep 2014
Posts: 227
Total Cats: 13
From: PHX, Arizona
Well, I've located the AC leak. It's at a hose to metal tube joint under the radiator on the drivers side. The sniffer was pretty easy to use, and I'm glad I got it because the UV dye didn't show anything, even in the spot where the leak was. Hopefully this is the only leak and I'm able to get my AC back!
#151
Thread Starter
Junior Member
iTrader: (2)
Joined: Sep 2014
Posts: 227
Total Cats: 13
From: PHX, Arizona
Okay, time for an update here. The sniffer worked fantastically, I was very surprised for how well a $45 sniffer could work.
https://amzn.com/B00FYO8UL8
turned up the sensitivity, found the general area, and then turned down the sensitivity and was able to find a leak at one of the high pressure hose crimp joints.
Did some searching for replacement hoses but the only place I could find them new was OEM for a LOT of money, like more than the compressor, and you had to buy the whole set if I remember. So I decided to go ghetto on it. I put some JB weld on the joint and let it cure overnight. I added a bit of r134a and the system held pressure for a few days.
Fast forward to this morning. I had an old gauge set a friend gave me forever ago, but the fitting on the charge hose didn't fit with my vacuum pump, and the gauges had the wrong pushlock connectors. I bought a new harbor freight gage set,
A/C R134A Manifold Gauge Set
but it still didn't mate to the vacuum pump. my friends gauge had a barb hose connector in the middle so he could attach a different valve when filling the freon. So I bought a 3/8 male pipe to 1/4" barbed adapter, swapped it with the 3/8 pipe to 1/4 flare that came in the pump, and used the charge hose off my friends set up with my new gages.
I discharged the pressure in the system, hooked up the vacuum pump, opened the high and low pressure sides, and turned on the pump. In about 10 minutes it had pulled the system down to 30 inHg, which was the spec on the instructions I was following here(see page 10):
http://www.mellens.net/mazda/Mazda-M...005/hvac_2.pdf
It held pressure for 5 minutes no problem.
I put in enough r134a to get it up to 14 PSI per the instructions, and let it sit. The pressure stayed steady, and the sniffer on the problem joint didn't make a fuss.
I added the required 14.1 oz, the AC was blowing cold, and a few days later it's still nice and frosty.
#152
Thread Starter
Junior Member
iTrader: (2)
Joined: Sep 2014
Posts: 227
Total Cats: 13
From: PHX, Arizona
Used a 3M headlight lens restoration kit today with great results. I used the heavy duty version.
Before:

After:

It took about an hour and a half to do both lenses and came out looking great. There was some stuff around the edges that was under the plastic, so I couldn't get that, but they are 100X better than they were before.
Before:

After:

It took about an hour and a half to do both lenses and came out looking great. There was some stuff around the edges that was under the plastic, so I couldn't get that, but they are 100X better than they were before.
Thread
Thread Starter
Forum
Replies
Last Post


