When you click on links to various merchants on this site and make a purchase, this can result in this site earning a commission. Affiliate programs and affiliations include, but are not limited to, the eBay Partner Network.
Well this is a little out of date. Made a bunch of progress on the little things.
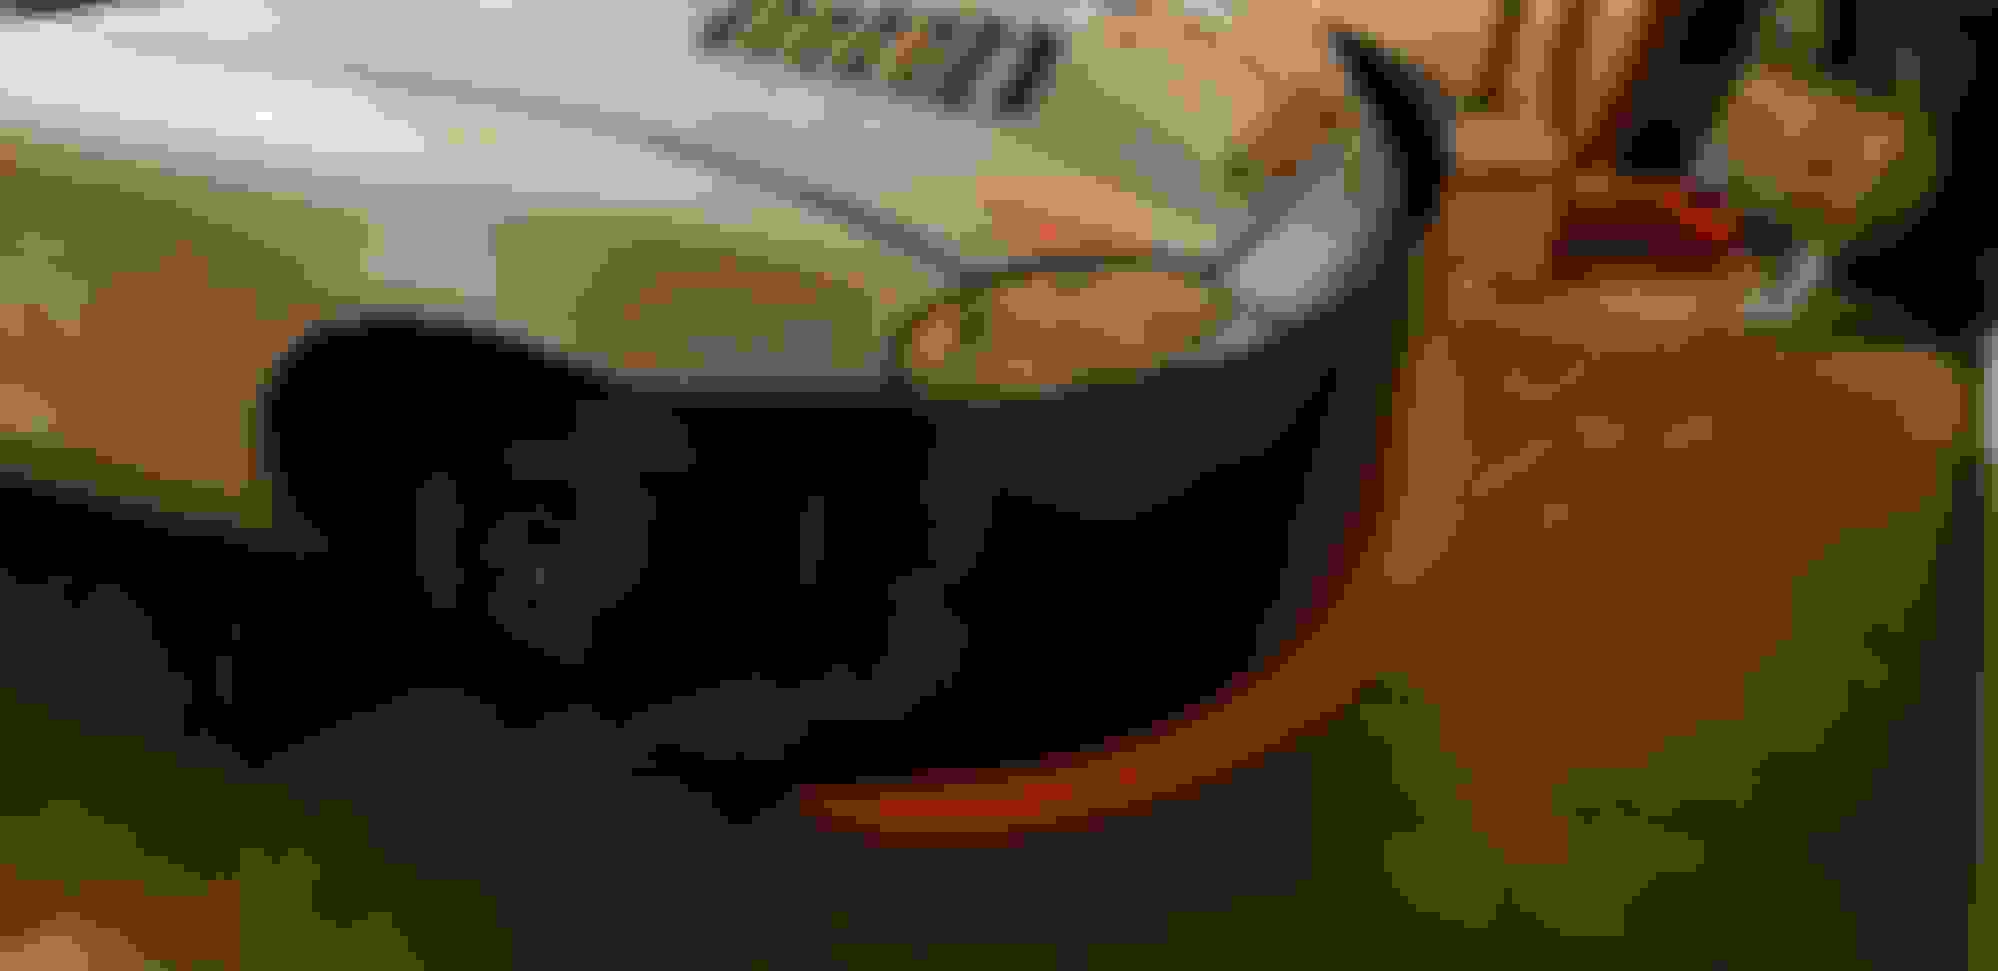
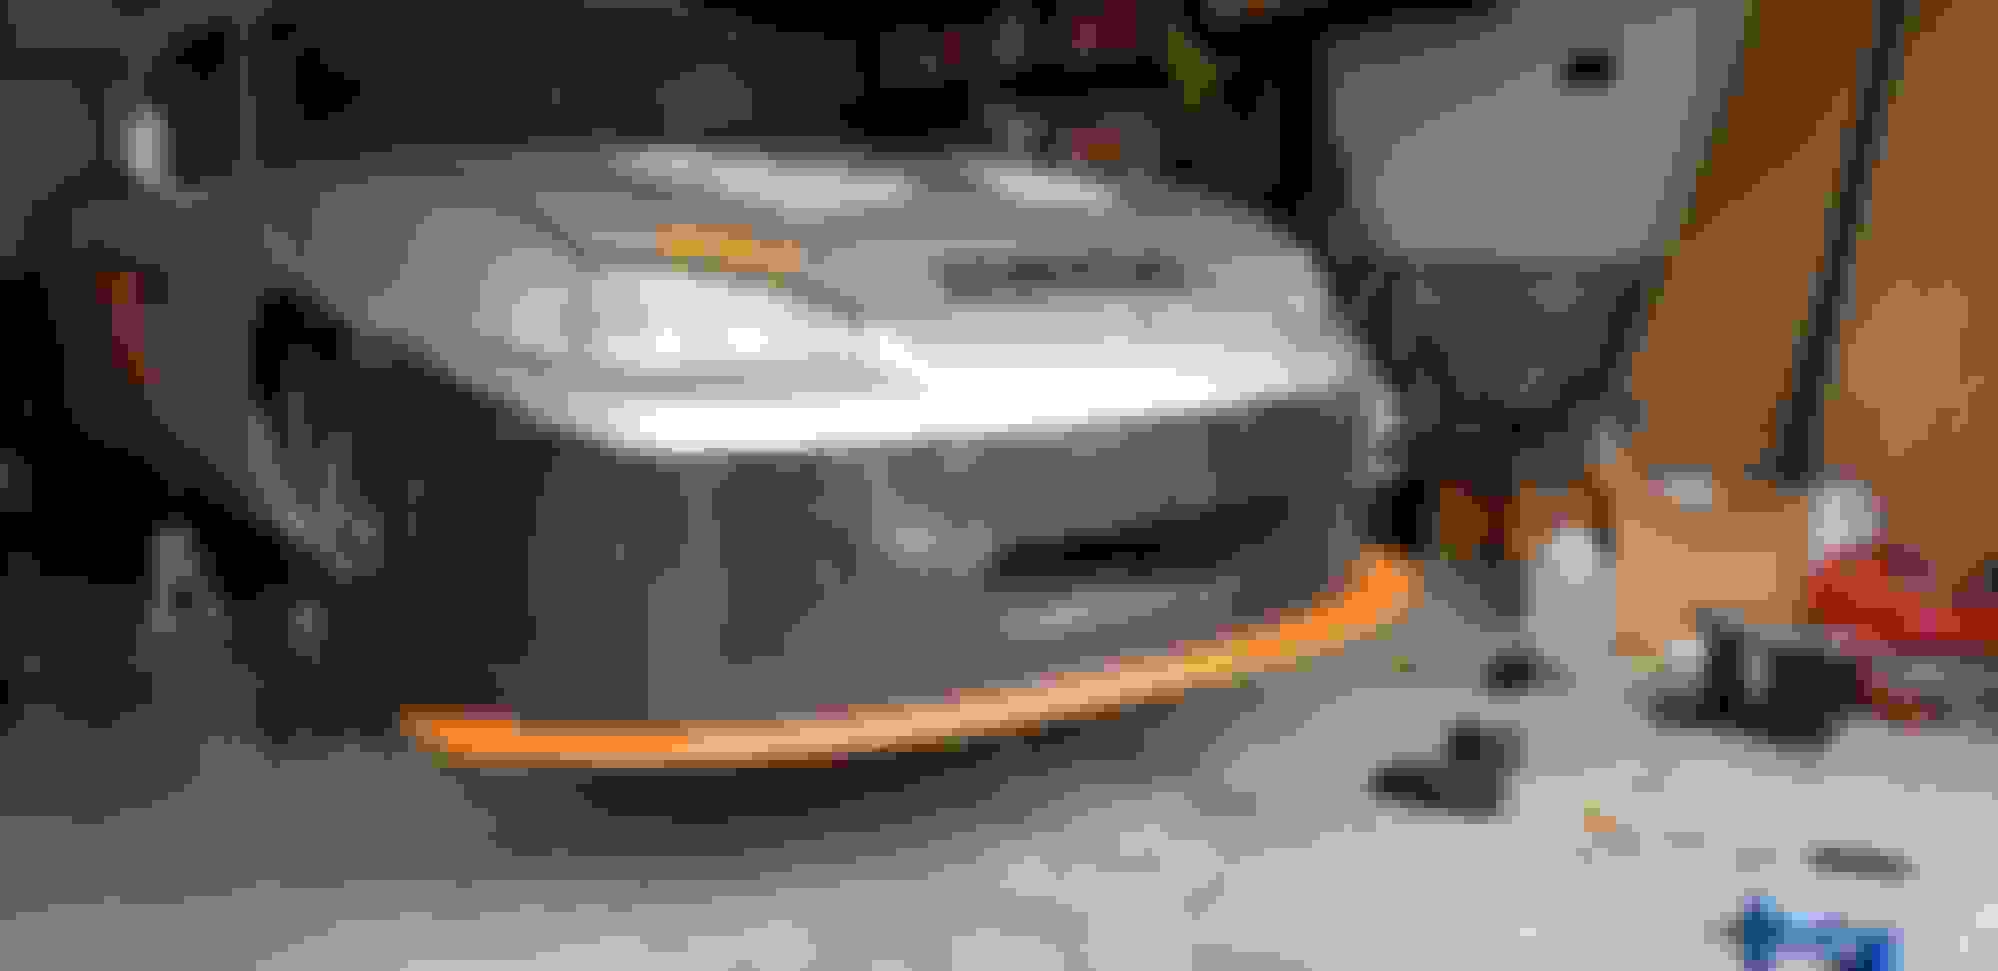
Got my hood shut. Turned the bumpers all the way up. Have about 1/16" clearance.
You will need to reduce throttle travel if you're using the kmiata throttle body. This screw adjusts the stop.
Clutch master installed.
Fuel line. This is Earl's ultra pro hose. This is the easiest AN line I've ever put together.
Short, easy intake for now
I absolutely hate the heater hoses, but it's the best I can do for now. I need to dig around and find some molded hoses that fit.
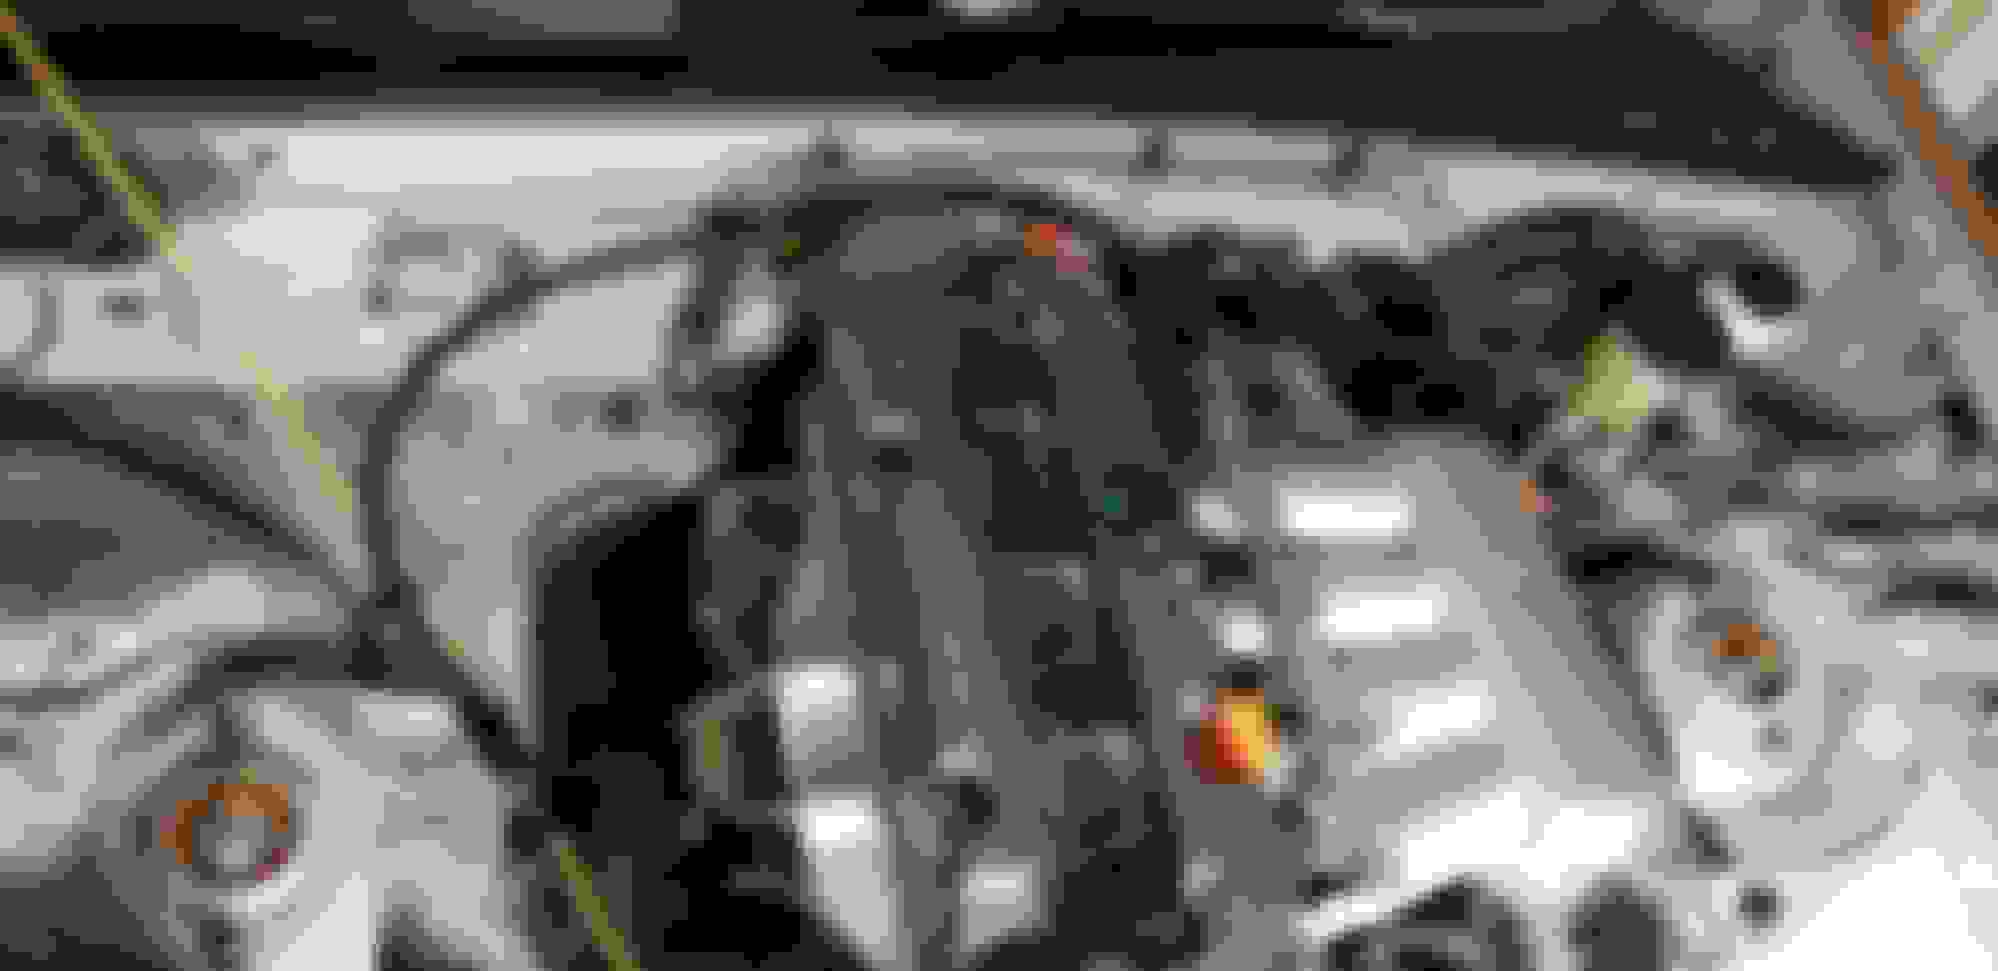
Much happier with the radiator hoses. Both fit like they were made for it. Upper is the normal Tahoe reroute hose for the BP. 2008 Tahoe 5.3L. Lower hose is the suggested one from Kmiata. It's for a 1995 S10 2.2L.
Put my filler plate in the dash with my window switches and the thing for the transponder. This will get a CAN switch with the rest of my switches too.
Plan to finish up a few little things today and load it on the trailer tomorrow to go get a harness made. Got an update from Kmiata and I should have the downpipe in 3-4 weeks.
Are you concerned about the upper rad hose being so close to the exhaust? Are you going to add some heat shielding in that area or heat wrap the exhaust/ upper rad hose?
Are you concerned about the upper rad hose being so close to the exhaust? Are you going to add some heat shielding in that area or heat wrap the exhaust/ upper rad hose?
I am a little concerned. It looks like the downpipe runs really close to the block, but we'll see once it is here. I was already thinking about aabout shield for it though. I'm not sure how effective any wrap will actually be.
Awesome. I'm excited to see the progress with wiring and everything. I've decided to use a Power Distribution Module as well, going to be ordering that new AiM PDM32 kit that has the PDM along with a dash display and GPS unit for lap data and everything bundled together.
Awesome. I'm excited to see the progress with wiring and everything. I've decided to use a Power Distribution Module as well, going to be ordering that new AiM PDM32 kit that has the PDM along with a dash display and GPS unit for lap data and everything bundled together.
This is a full logging dash too. I never thought I needed logging, but now we're trying to tie in every sensor possible. With how much standalone gauges cost new, I wish I had done a race dash years ago...
For electronics, we decided to do a full suite of ECUMaster products. EMU Black, Power Management Unit, ADU5 logging dash. Also had a CAN switch panel for most of my switches, but he did repurpose a couple stock switches for the dash screens and datalogging. Then he built a full motorsports harness to tie everything together.
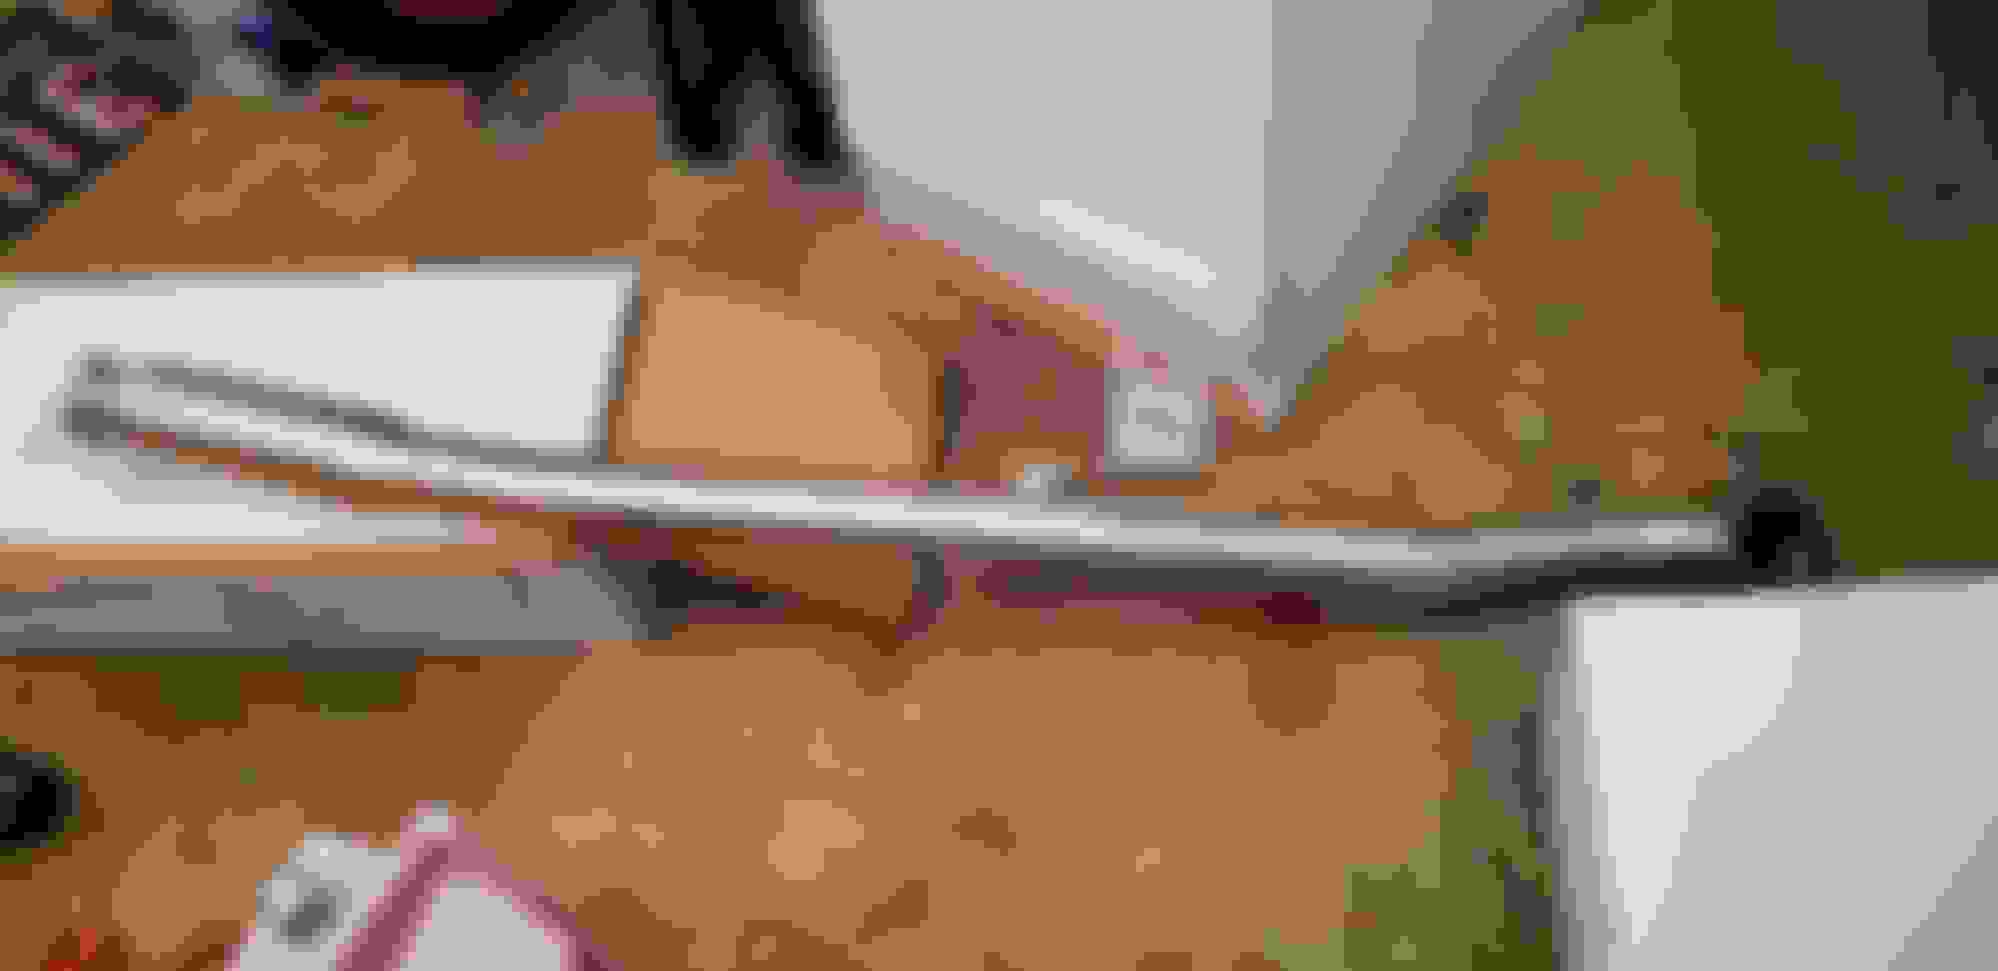
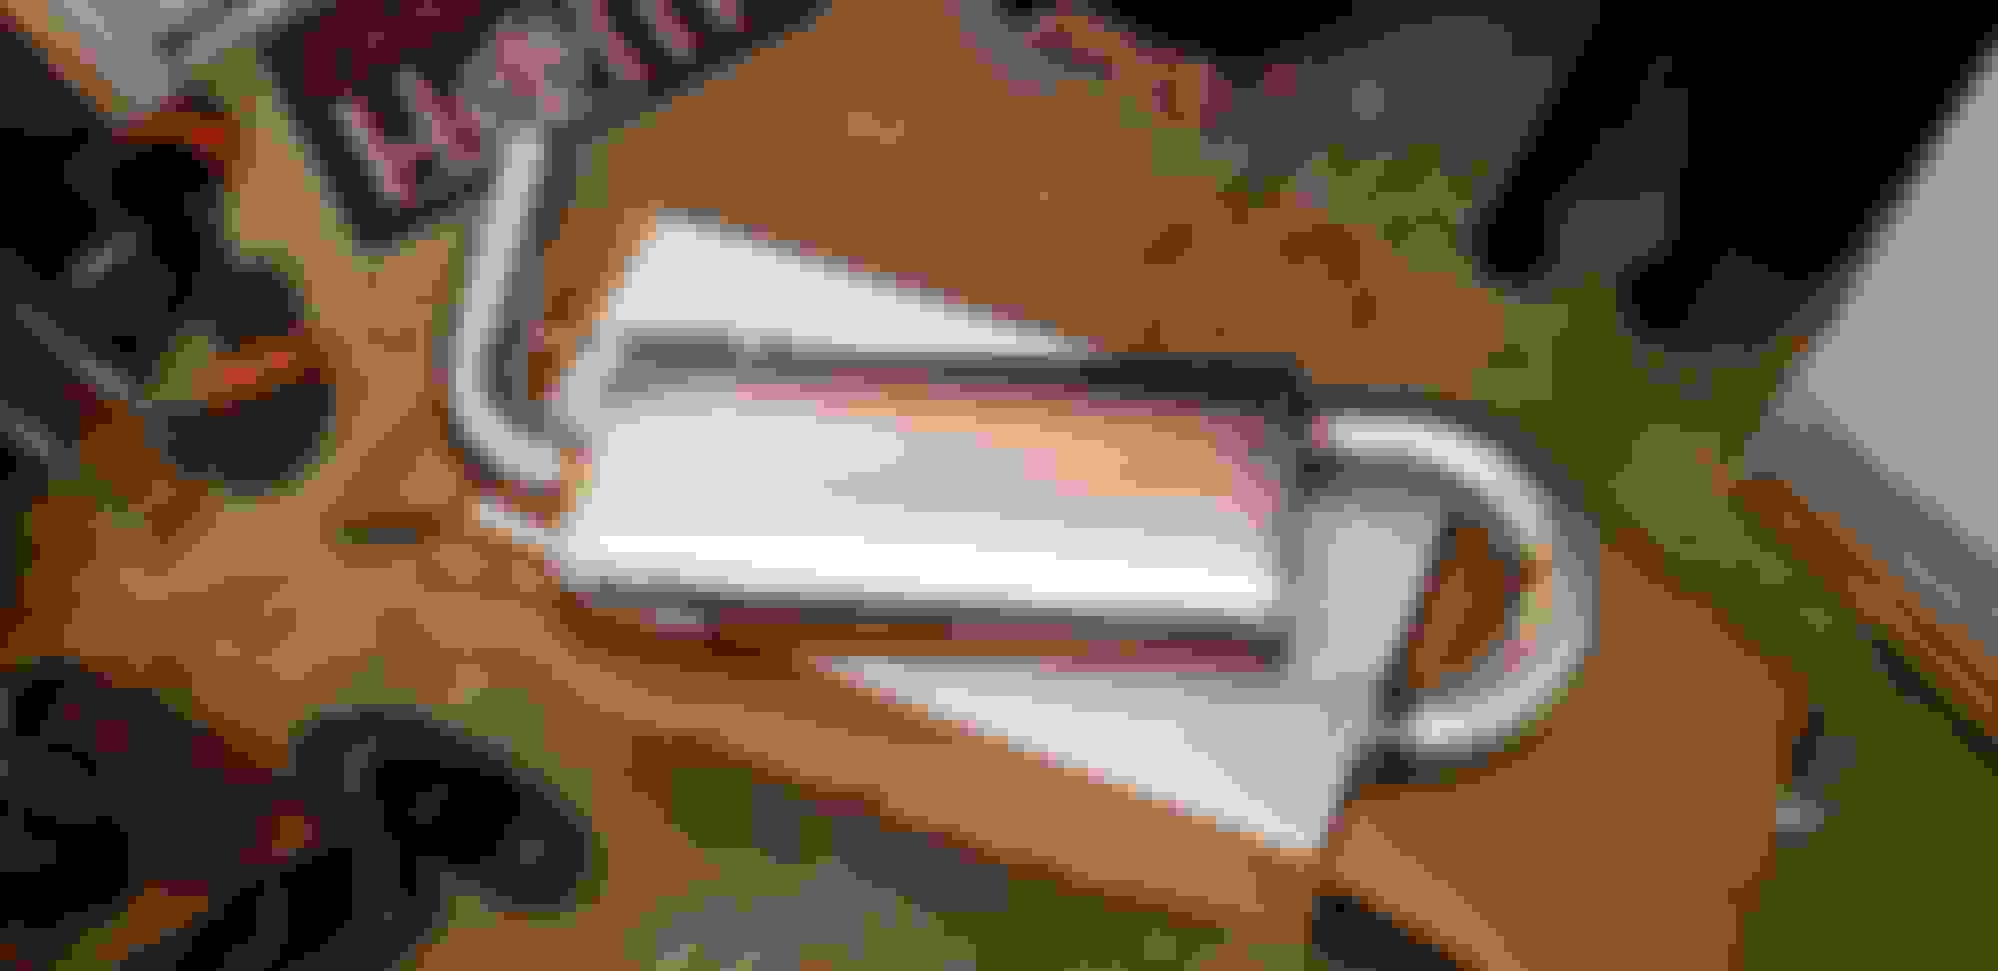
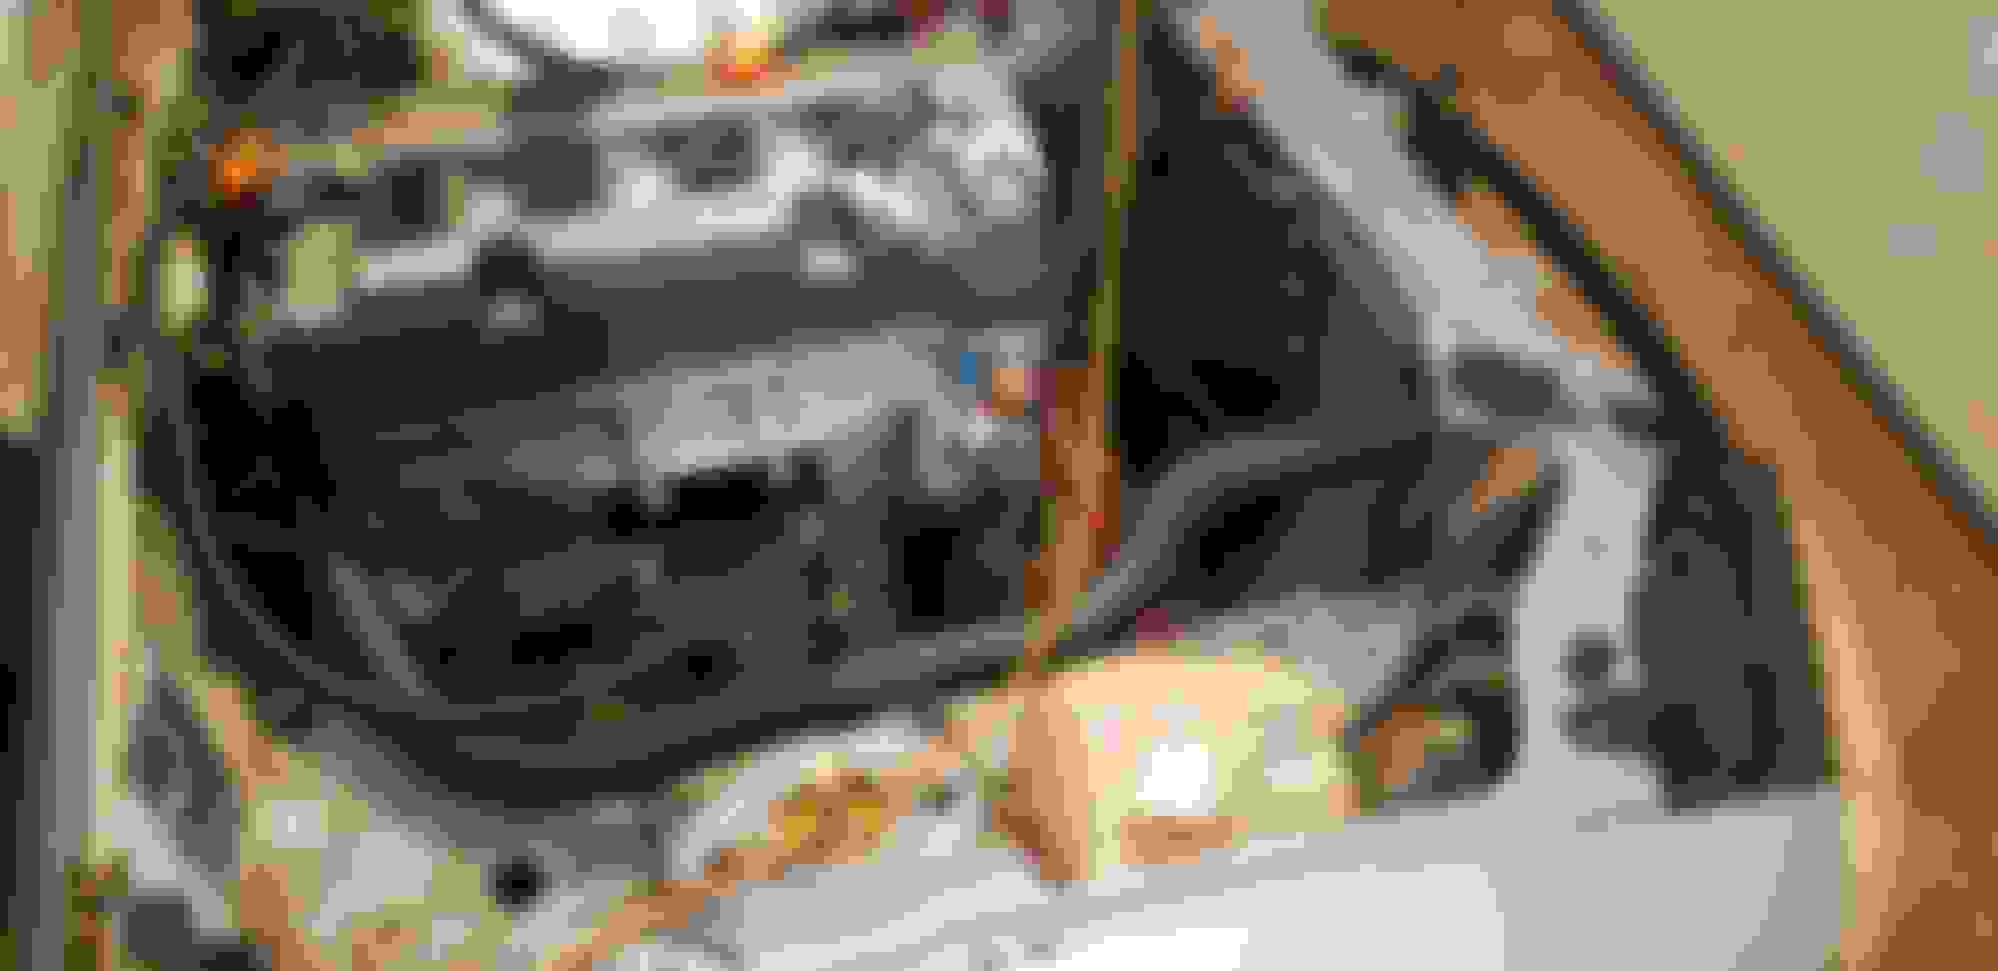
Got my downpipe yesterday! Although something happened and they shipped the exhaust back to Kmiata for some reason. This thing is a bit of a pain to install, real tight. Also, bent the passenger frame rail shelf a little bit for clearance (very similar to turbo clearancing). Got it half installed, need to grind the transmission for final clearance. I did decide to relocate my fuel line, waiting on a new AN adapter to finish.
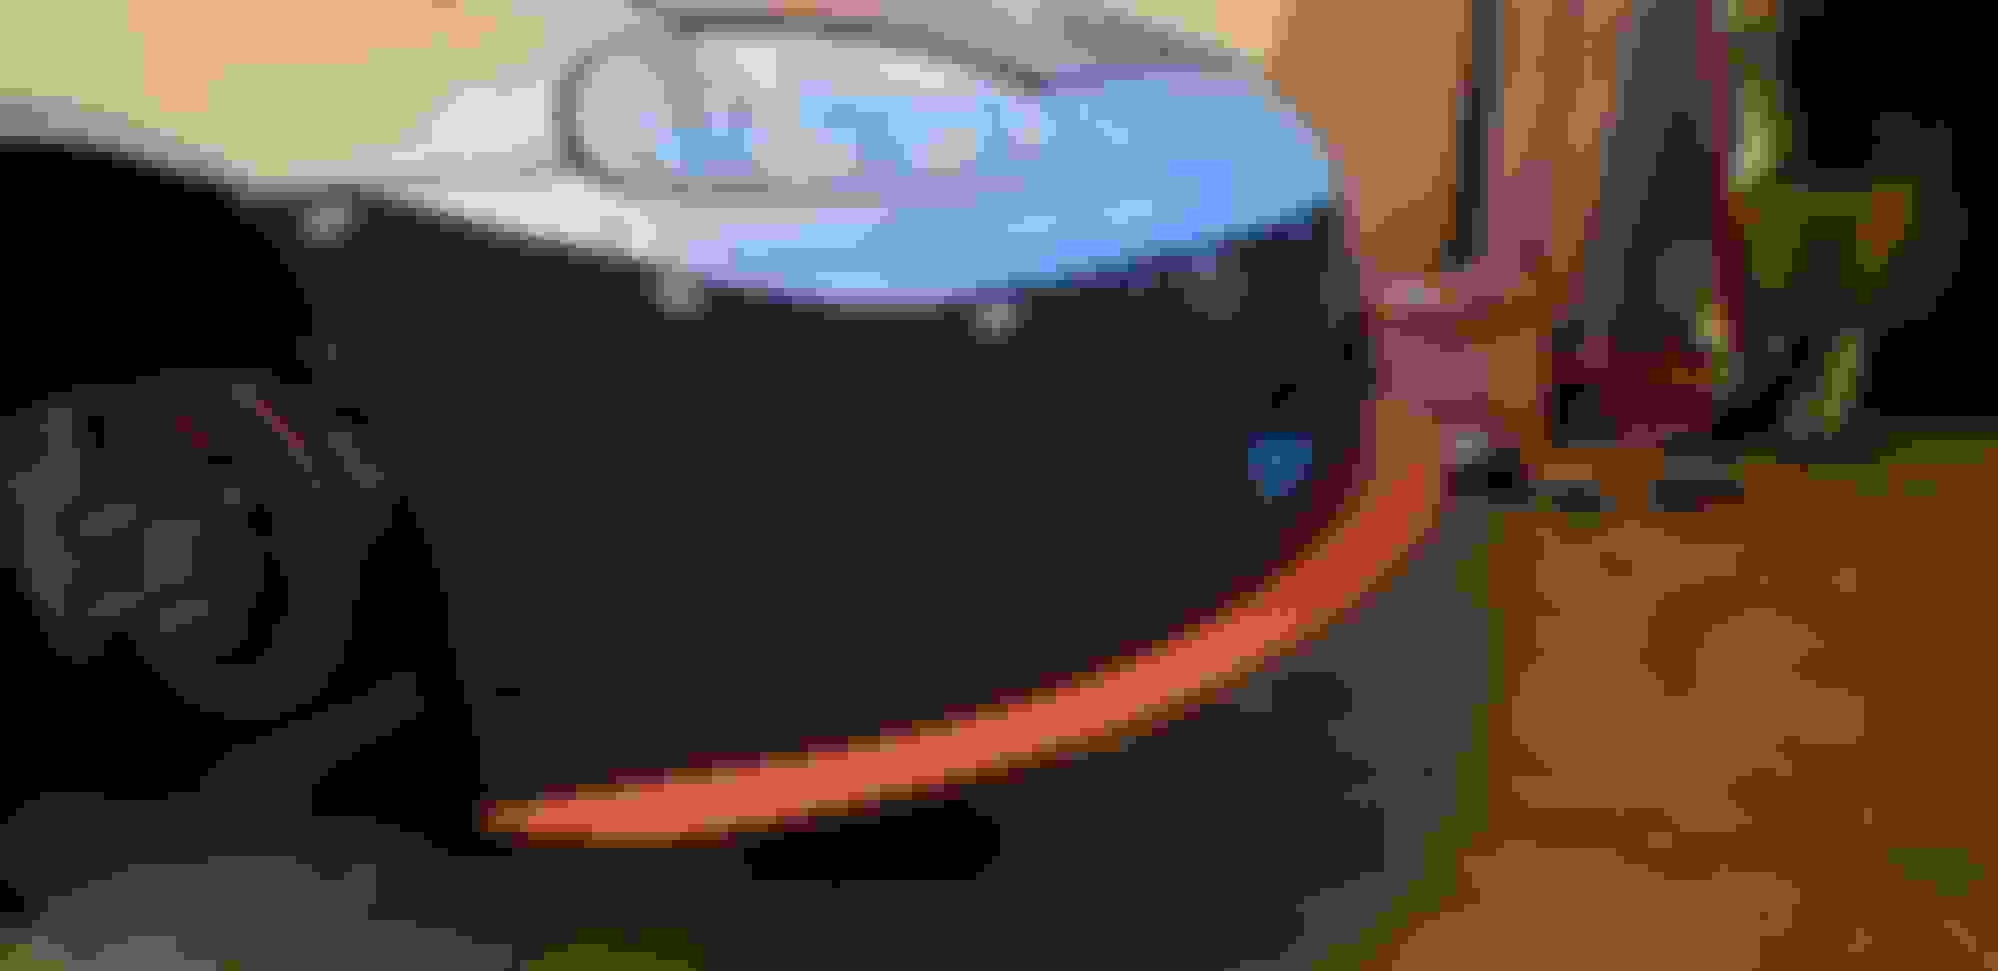
I also modified my 9 Lives splitter for the K. I expected the cutting I had to do to clear the oil pan. I was very disappointed in how much I had to cut to fit the subframe. This did not remotely fit my NB subframe and was almost 1" too long. Saves time having to create from scratch, but don't expect a bolt on part.
Got the downpipe finish installed today. Not the easiest thing, reminded me of the first time I put in the FM downpipe honestly.
This nub is the area you have to grind on a 6 speed. Was totally going to take an after photo and forgot. But basically ground down back to where the belhousing drainhole is.
Some installed pictures. I did end up grinding the subframe slightly to ease installation. I also had to cut the hanger bushing in half for the pipe to mount to the trans.
Painted the splitter while I played with the kids too.
Gave in and put an AL pipe for the straight section of the cooling hose. This was also a little longer and helped support the head side hose off of my clutch bleed port. Shamelessly stole the mounting bracket idea from Emile at Winning Formula. You can also see my relocated fuel line with the compression adapter on it.
Mounted splitter and laid the air dam across to start mounting it.
Tried to start the car and it cranked, but wouldn't fire. Chris tweaked it remotely for a bit, but the battery is dead now. Letting it charge, then we'll try again.
Trimmed and temporarily attached the air dam to my bumper.

 01-31-2020, 07:24 AM


 0
0