When you click on links to various merchants on this site and make a purchase, this can result in this site earning a commission. Affiliate programs and affiliations include, but are not limited to, the eBay Partner Network.
I smile and the crowds smile. That's what my business is all about.
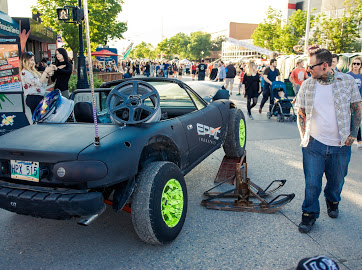
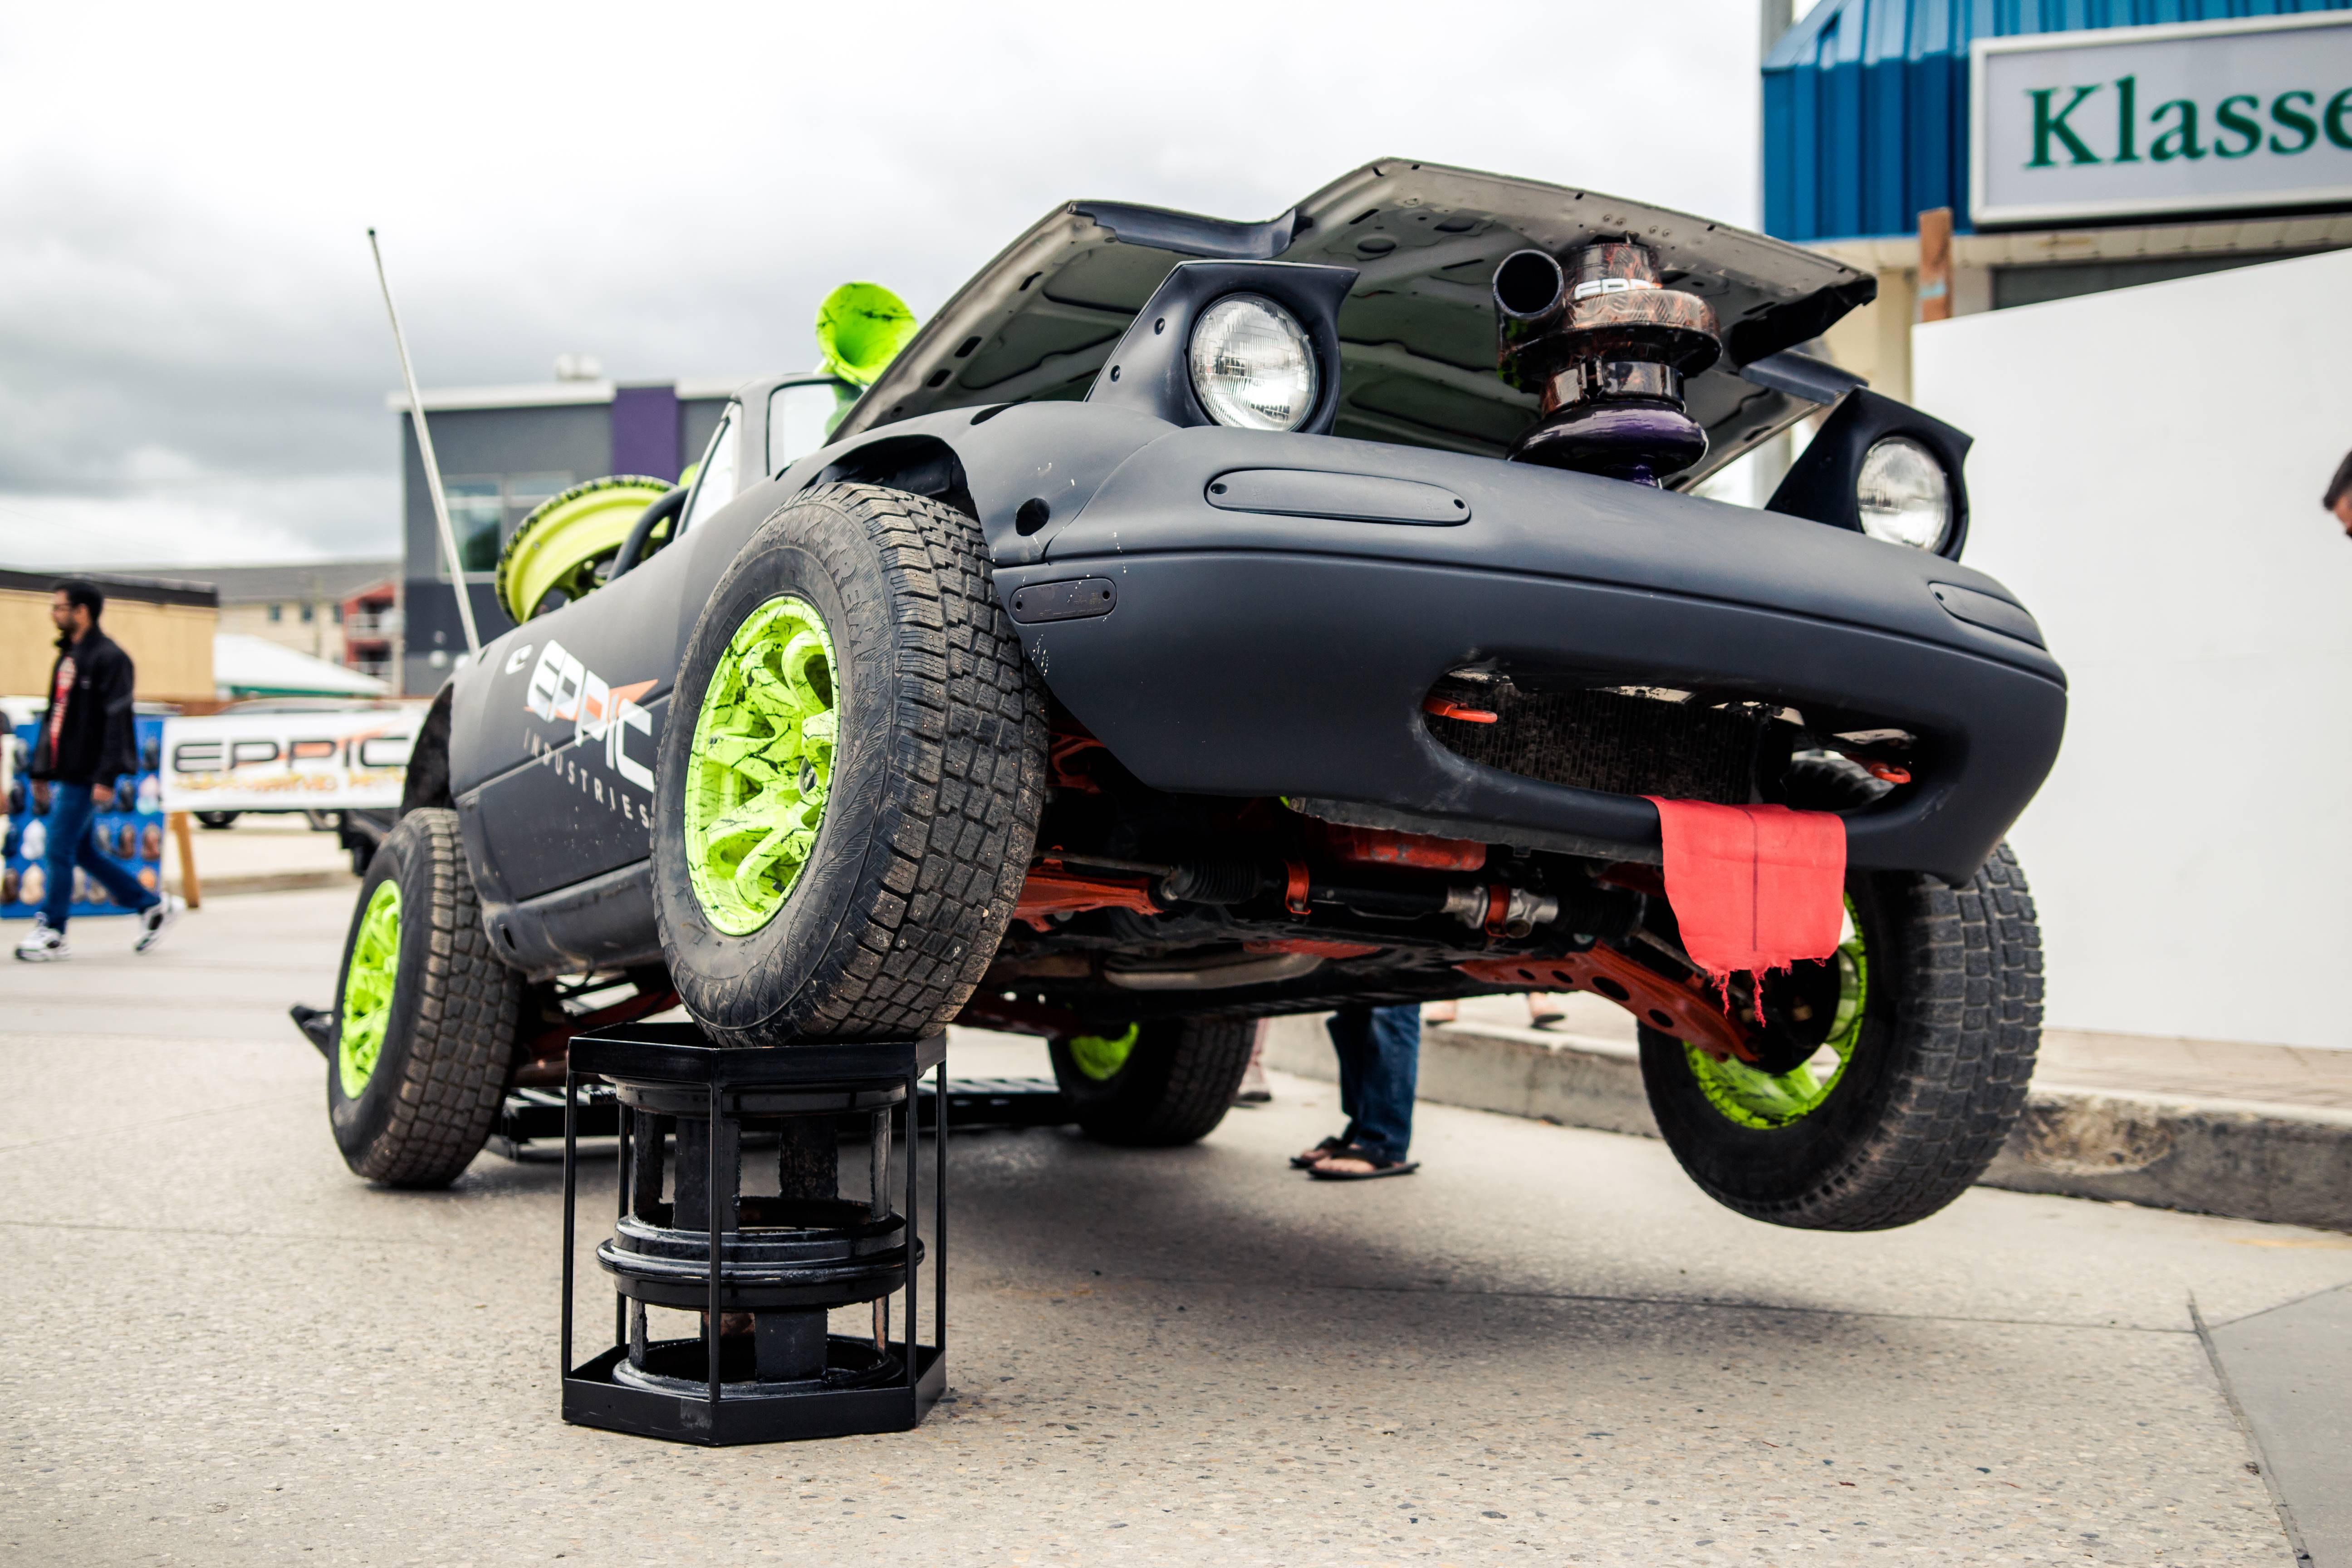
On display let kids sit in your cars at car shows. It's like the highlight of their childhood when you're 8 and get to sit in a cool car. Smiles galore on this little guy and his parents.
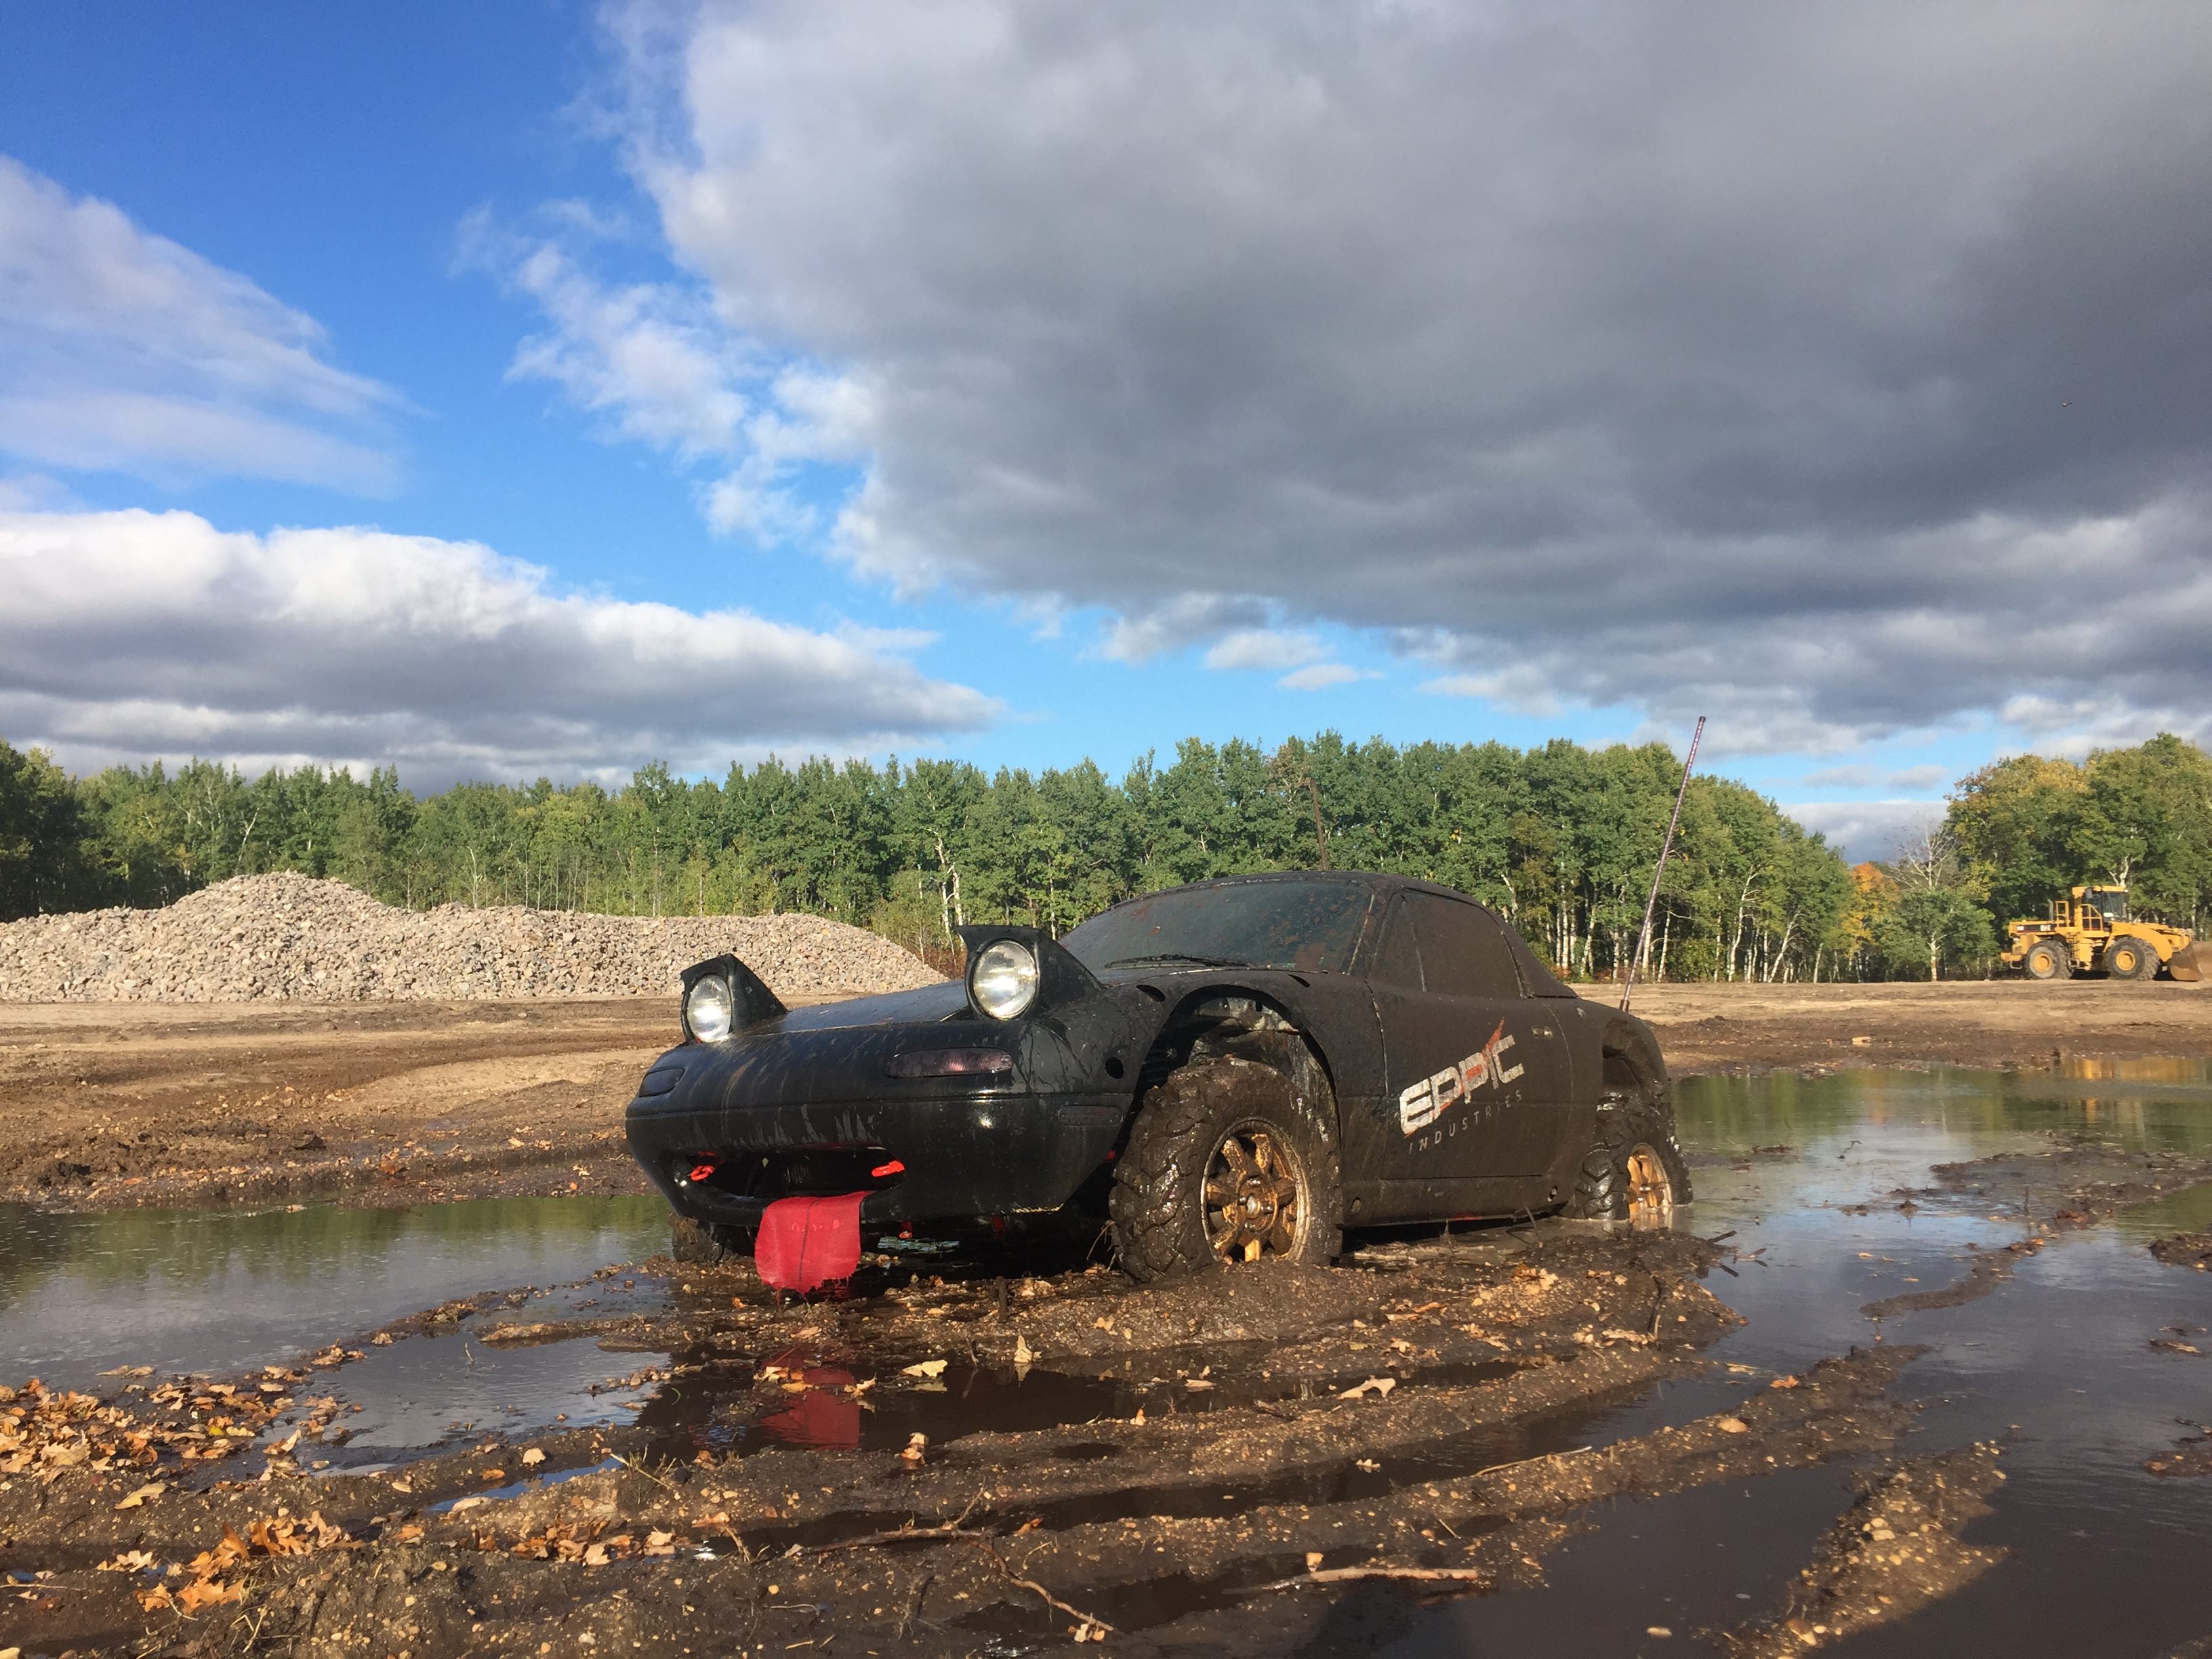
Well it's been a crazy summer. Had some major life changes. Doing lots of other stuff. Trying to have a life again and not spend 20 hours a day building cool stuff. It's not all that fun when you do that for 6 months in a row. Here's what you haven't seen of the Eppic Offroadster from this summer if you're not following this thing on instagram or facebook.
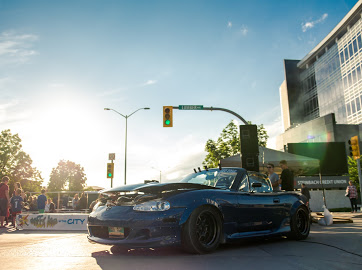
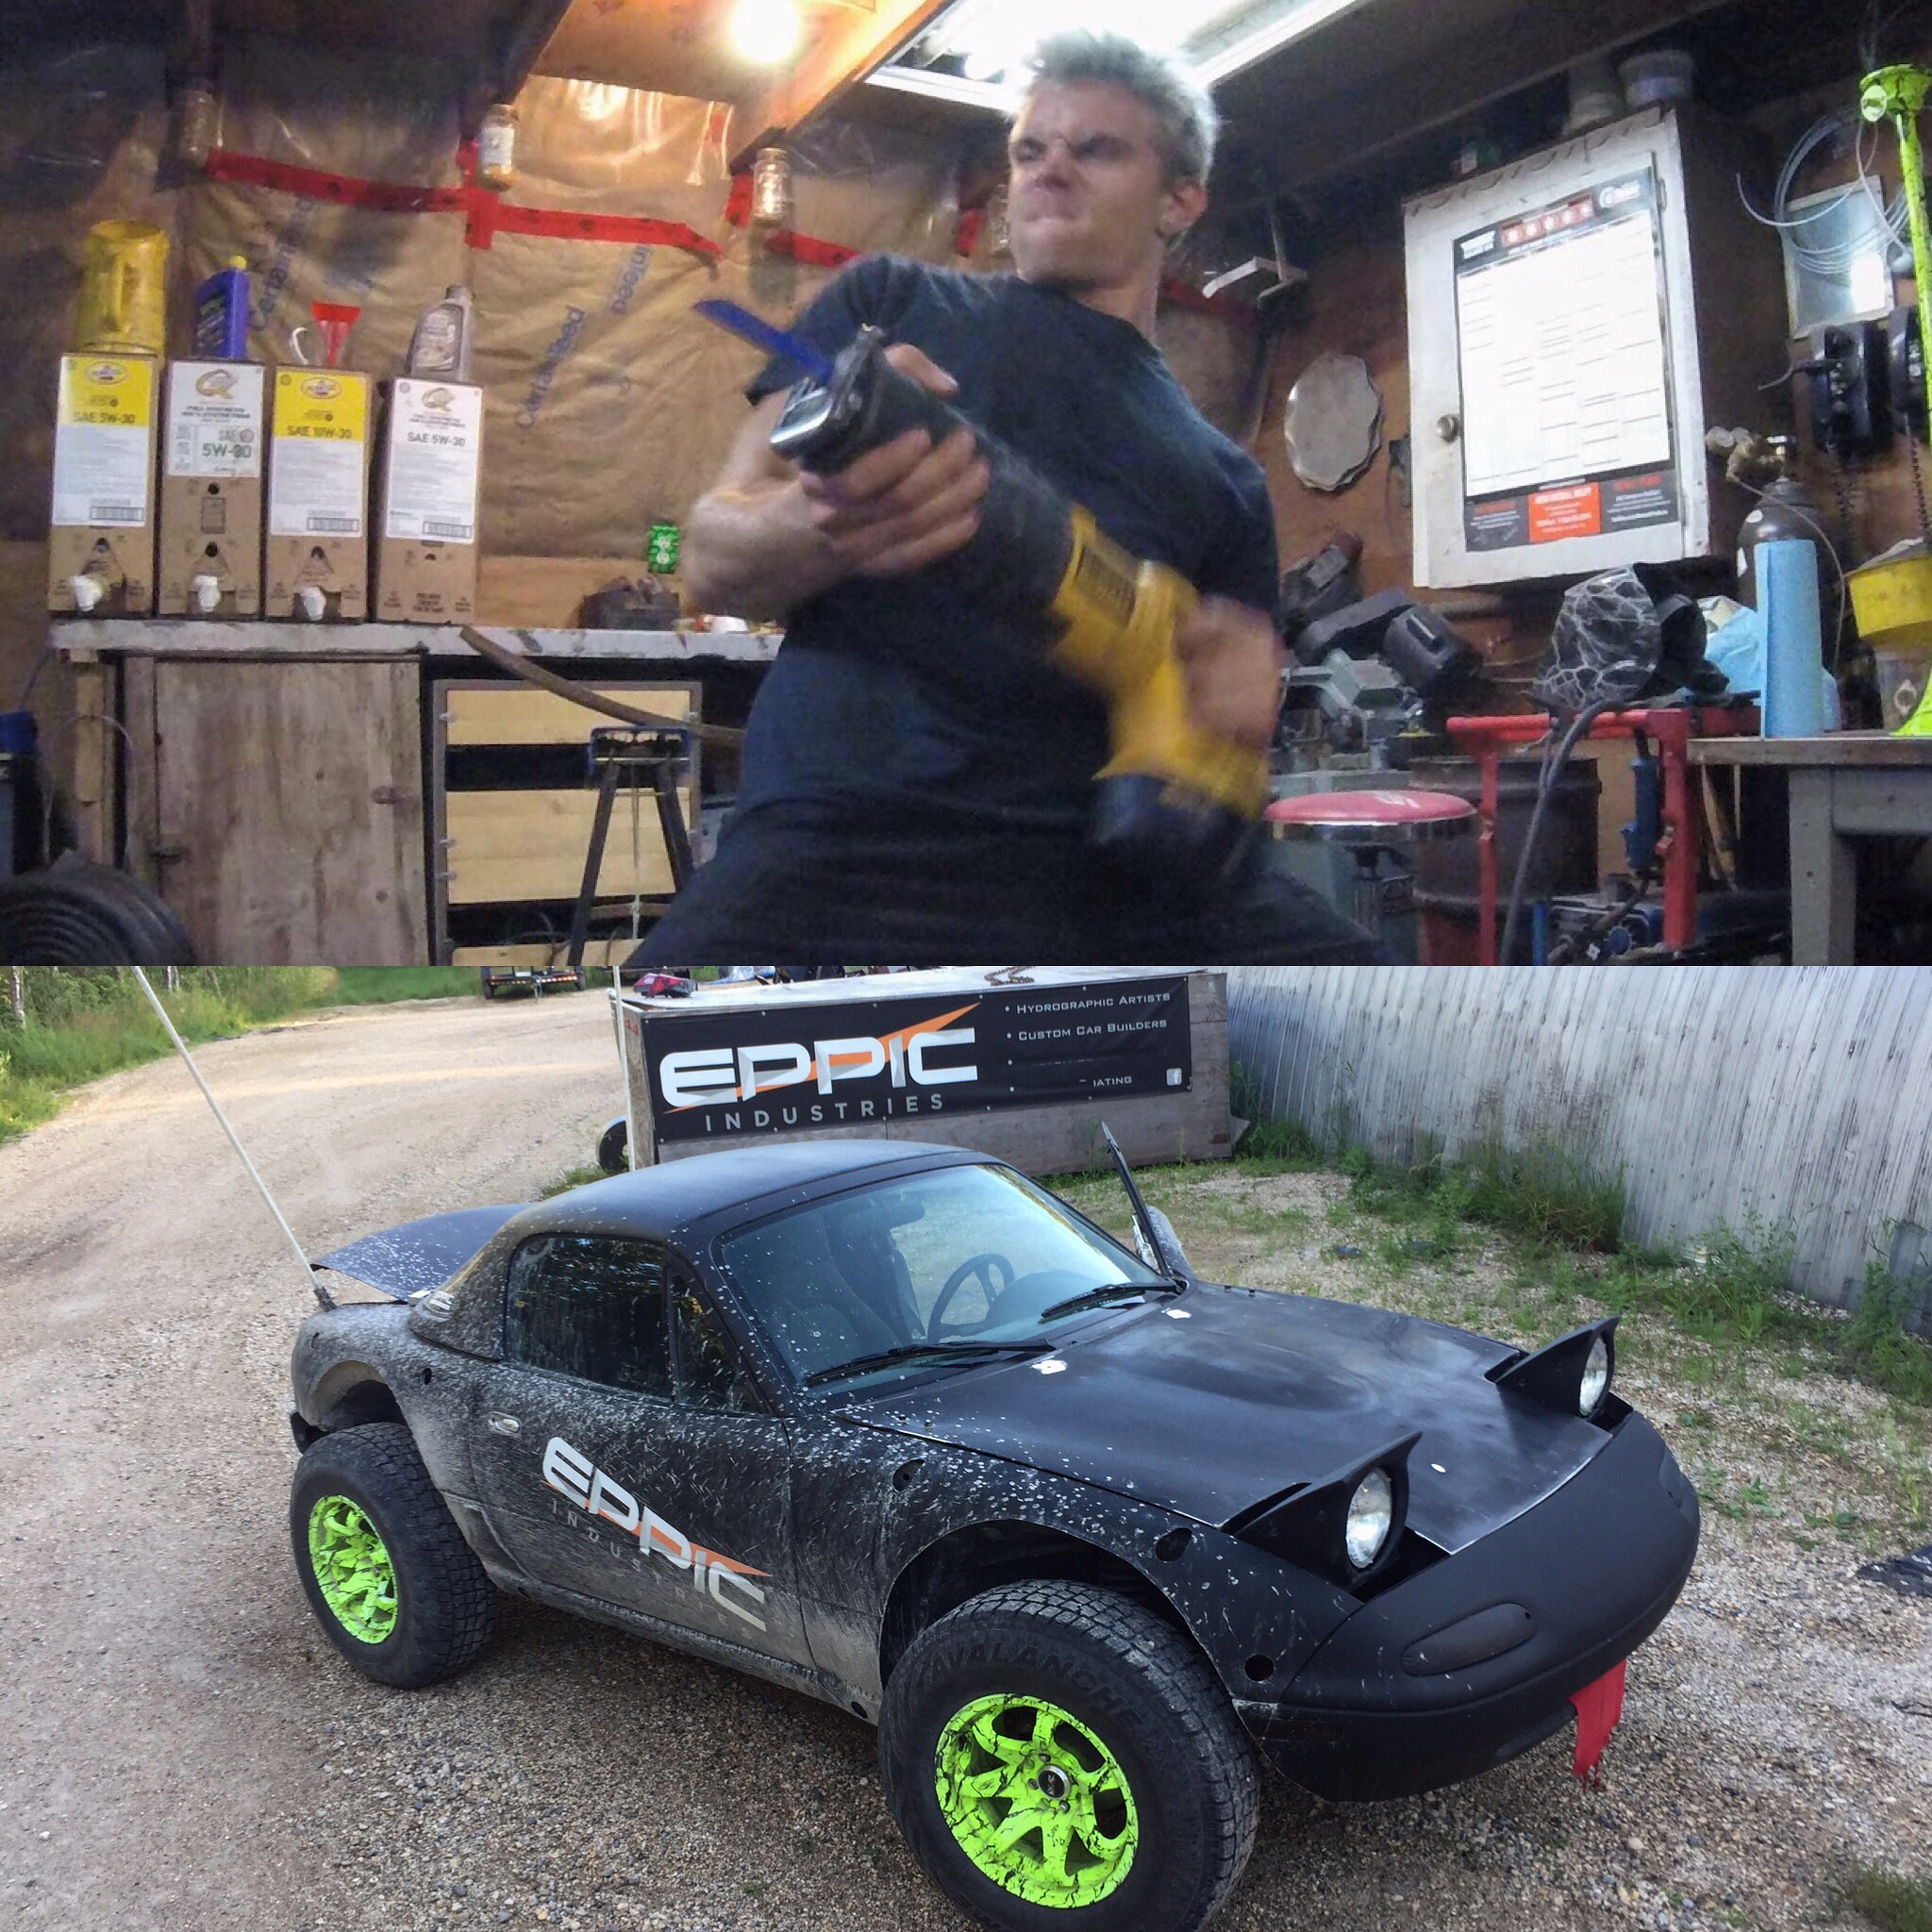
Starting things off with my biggest event of the year. We were the #1 thing to see at Steinbach's Summer In The City. Here's a wee bit of what went down at that!
Ya it's been a pretty busy day on my social media. I'll shoot you guys some updates soon. Photobuckets rule change kinda deters me from getting back into the forums. That's a lot of pictures to upload into another server.
Ya it's been a pretty busy day on my social media. I'll shoot you guys some updates soon. Photobuckets rule change kinda deters me from getting back into the forums. That's a lot of pictures to upload into another server.
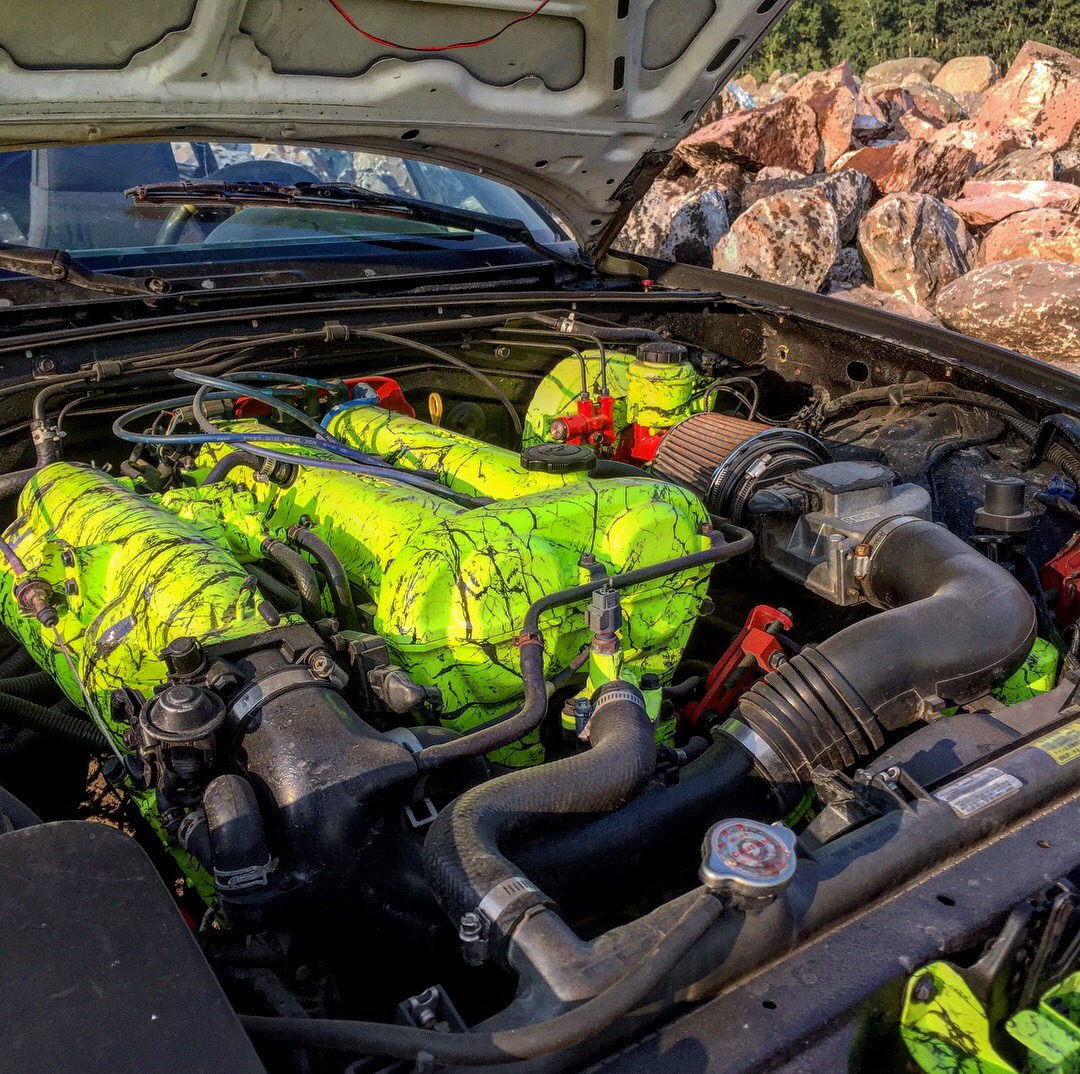
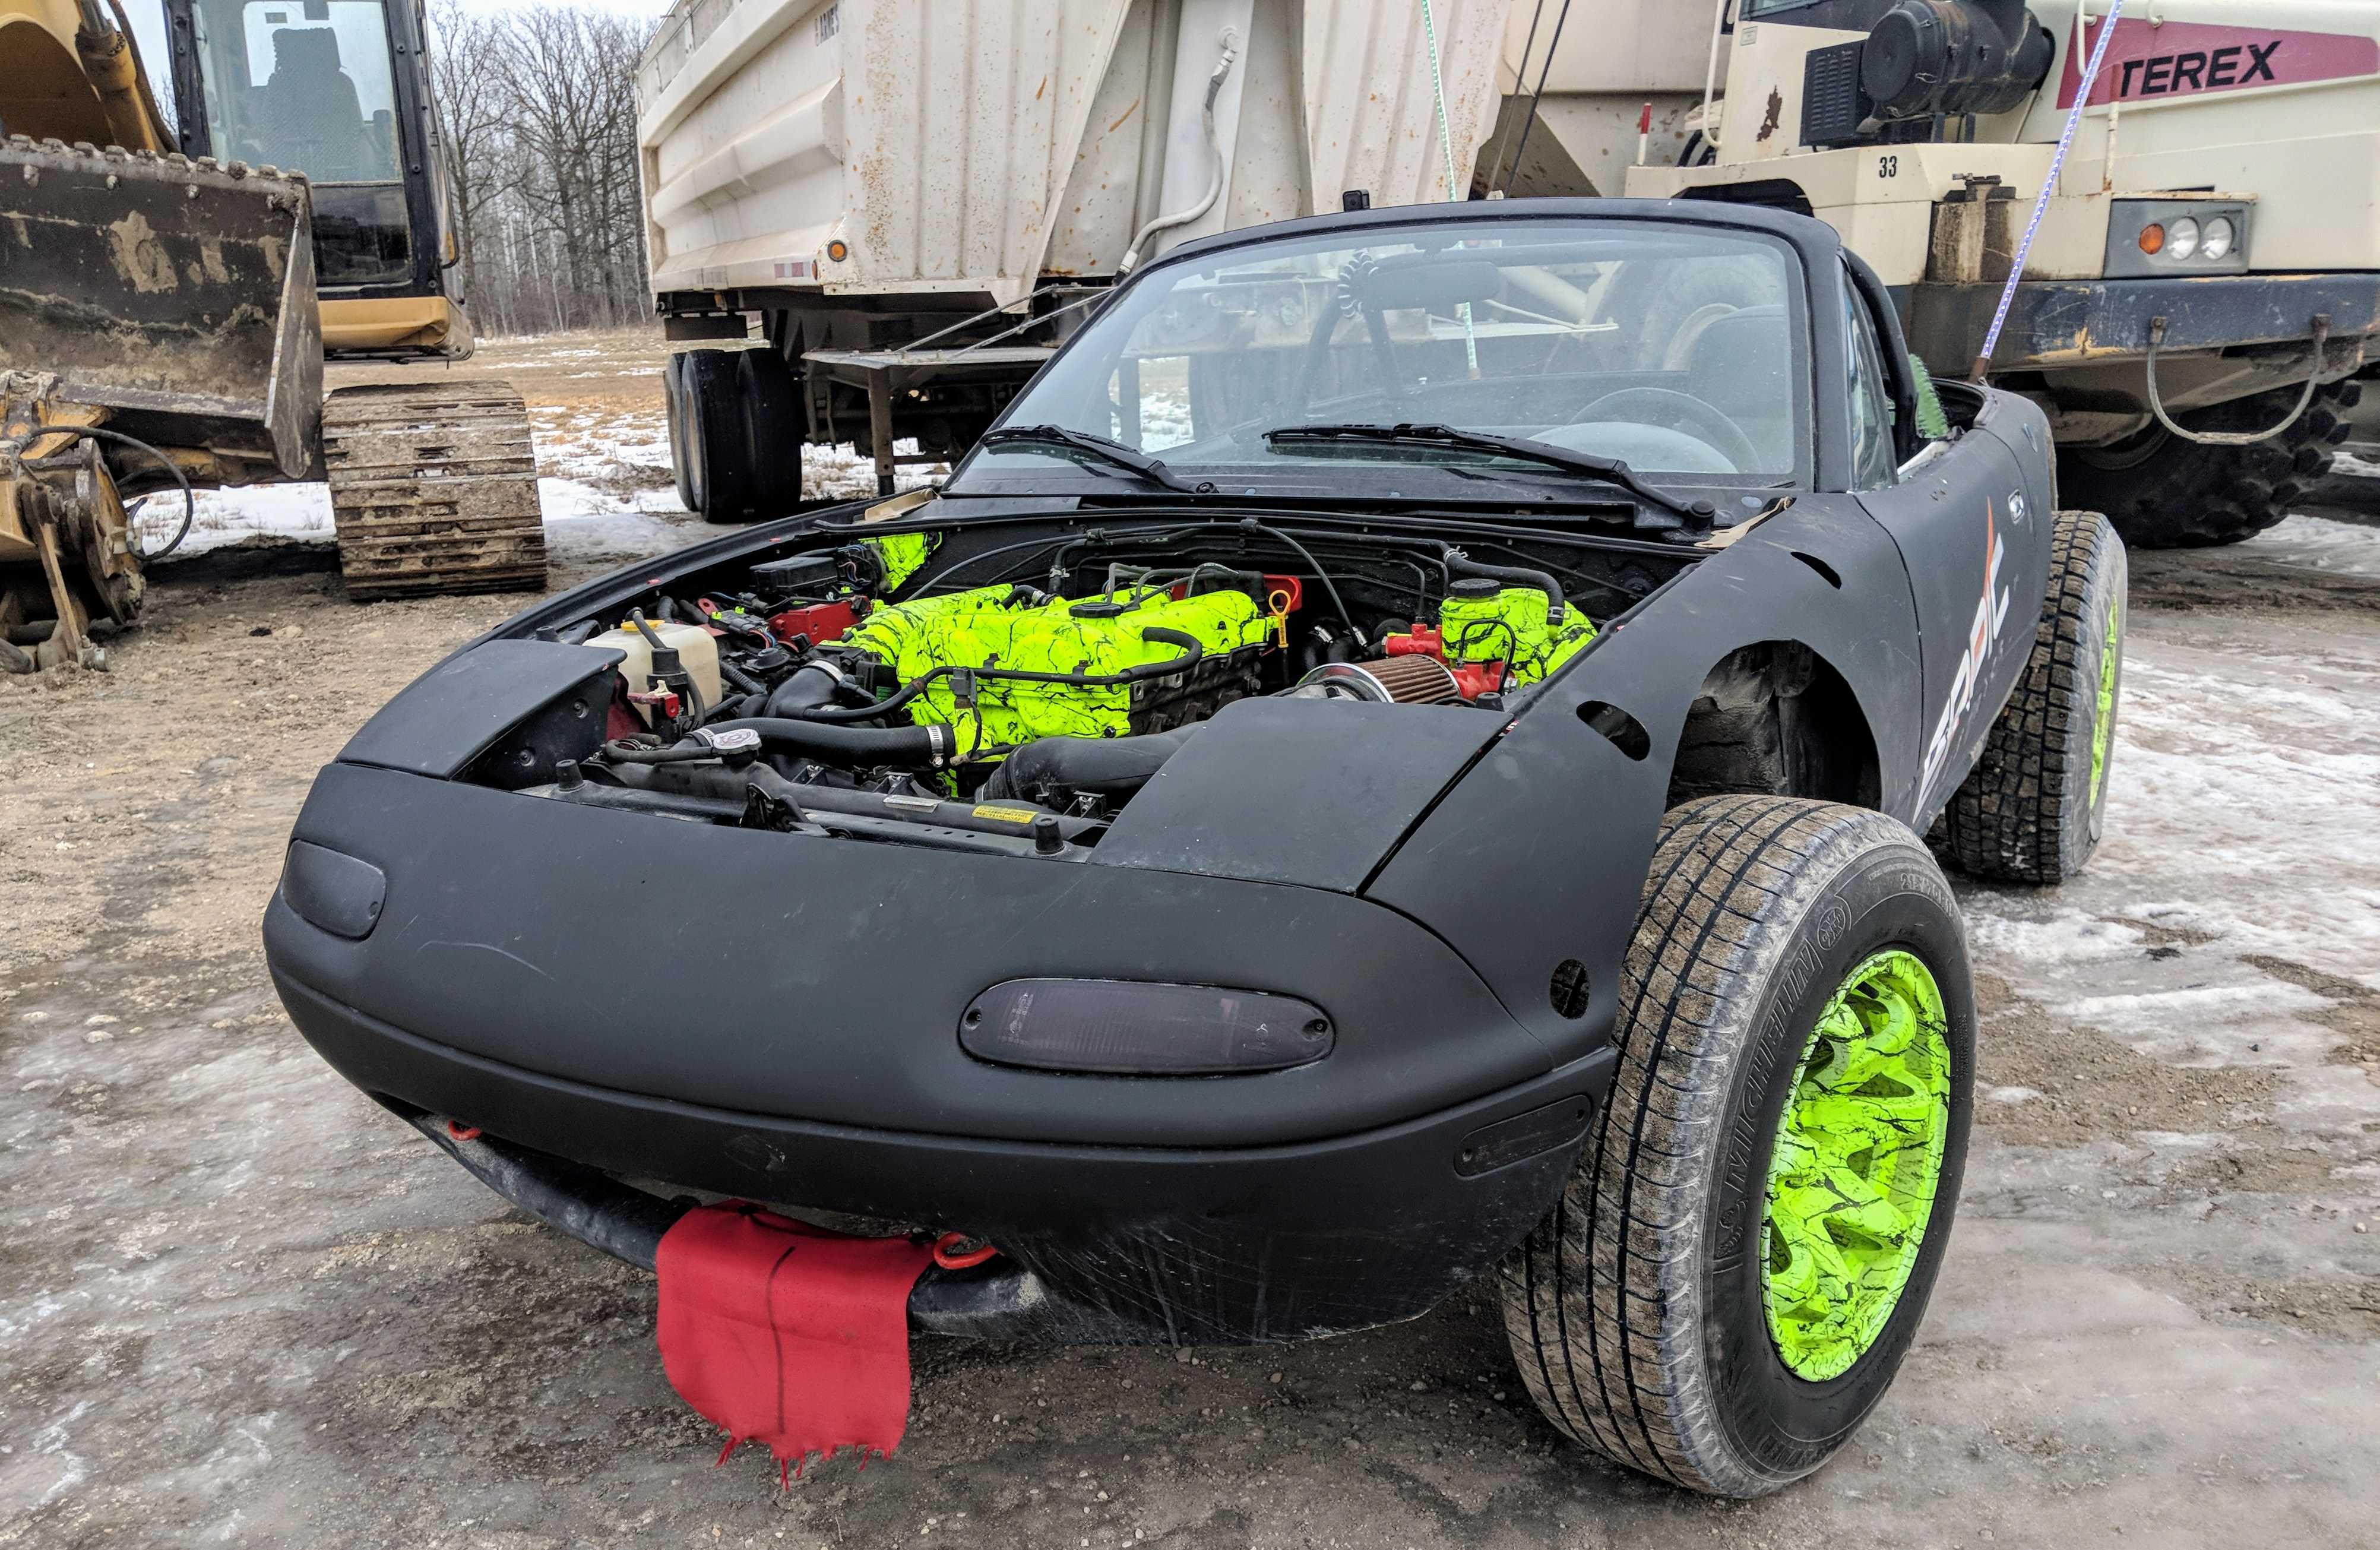
Didn't end up putting my 1uz in the car. That's going in a different project. Rebuilt the 1.6L as it felt wrong to just throw away all that hard work I did making it look pretty.
Sure more power would be nice but, power costs money and we all like to put our money in different places. One day this thing will get some more power. Until then... here we go.
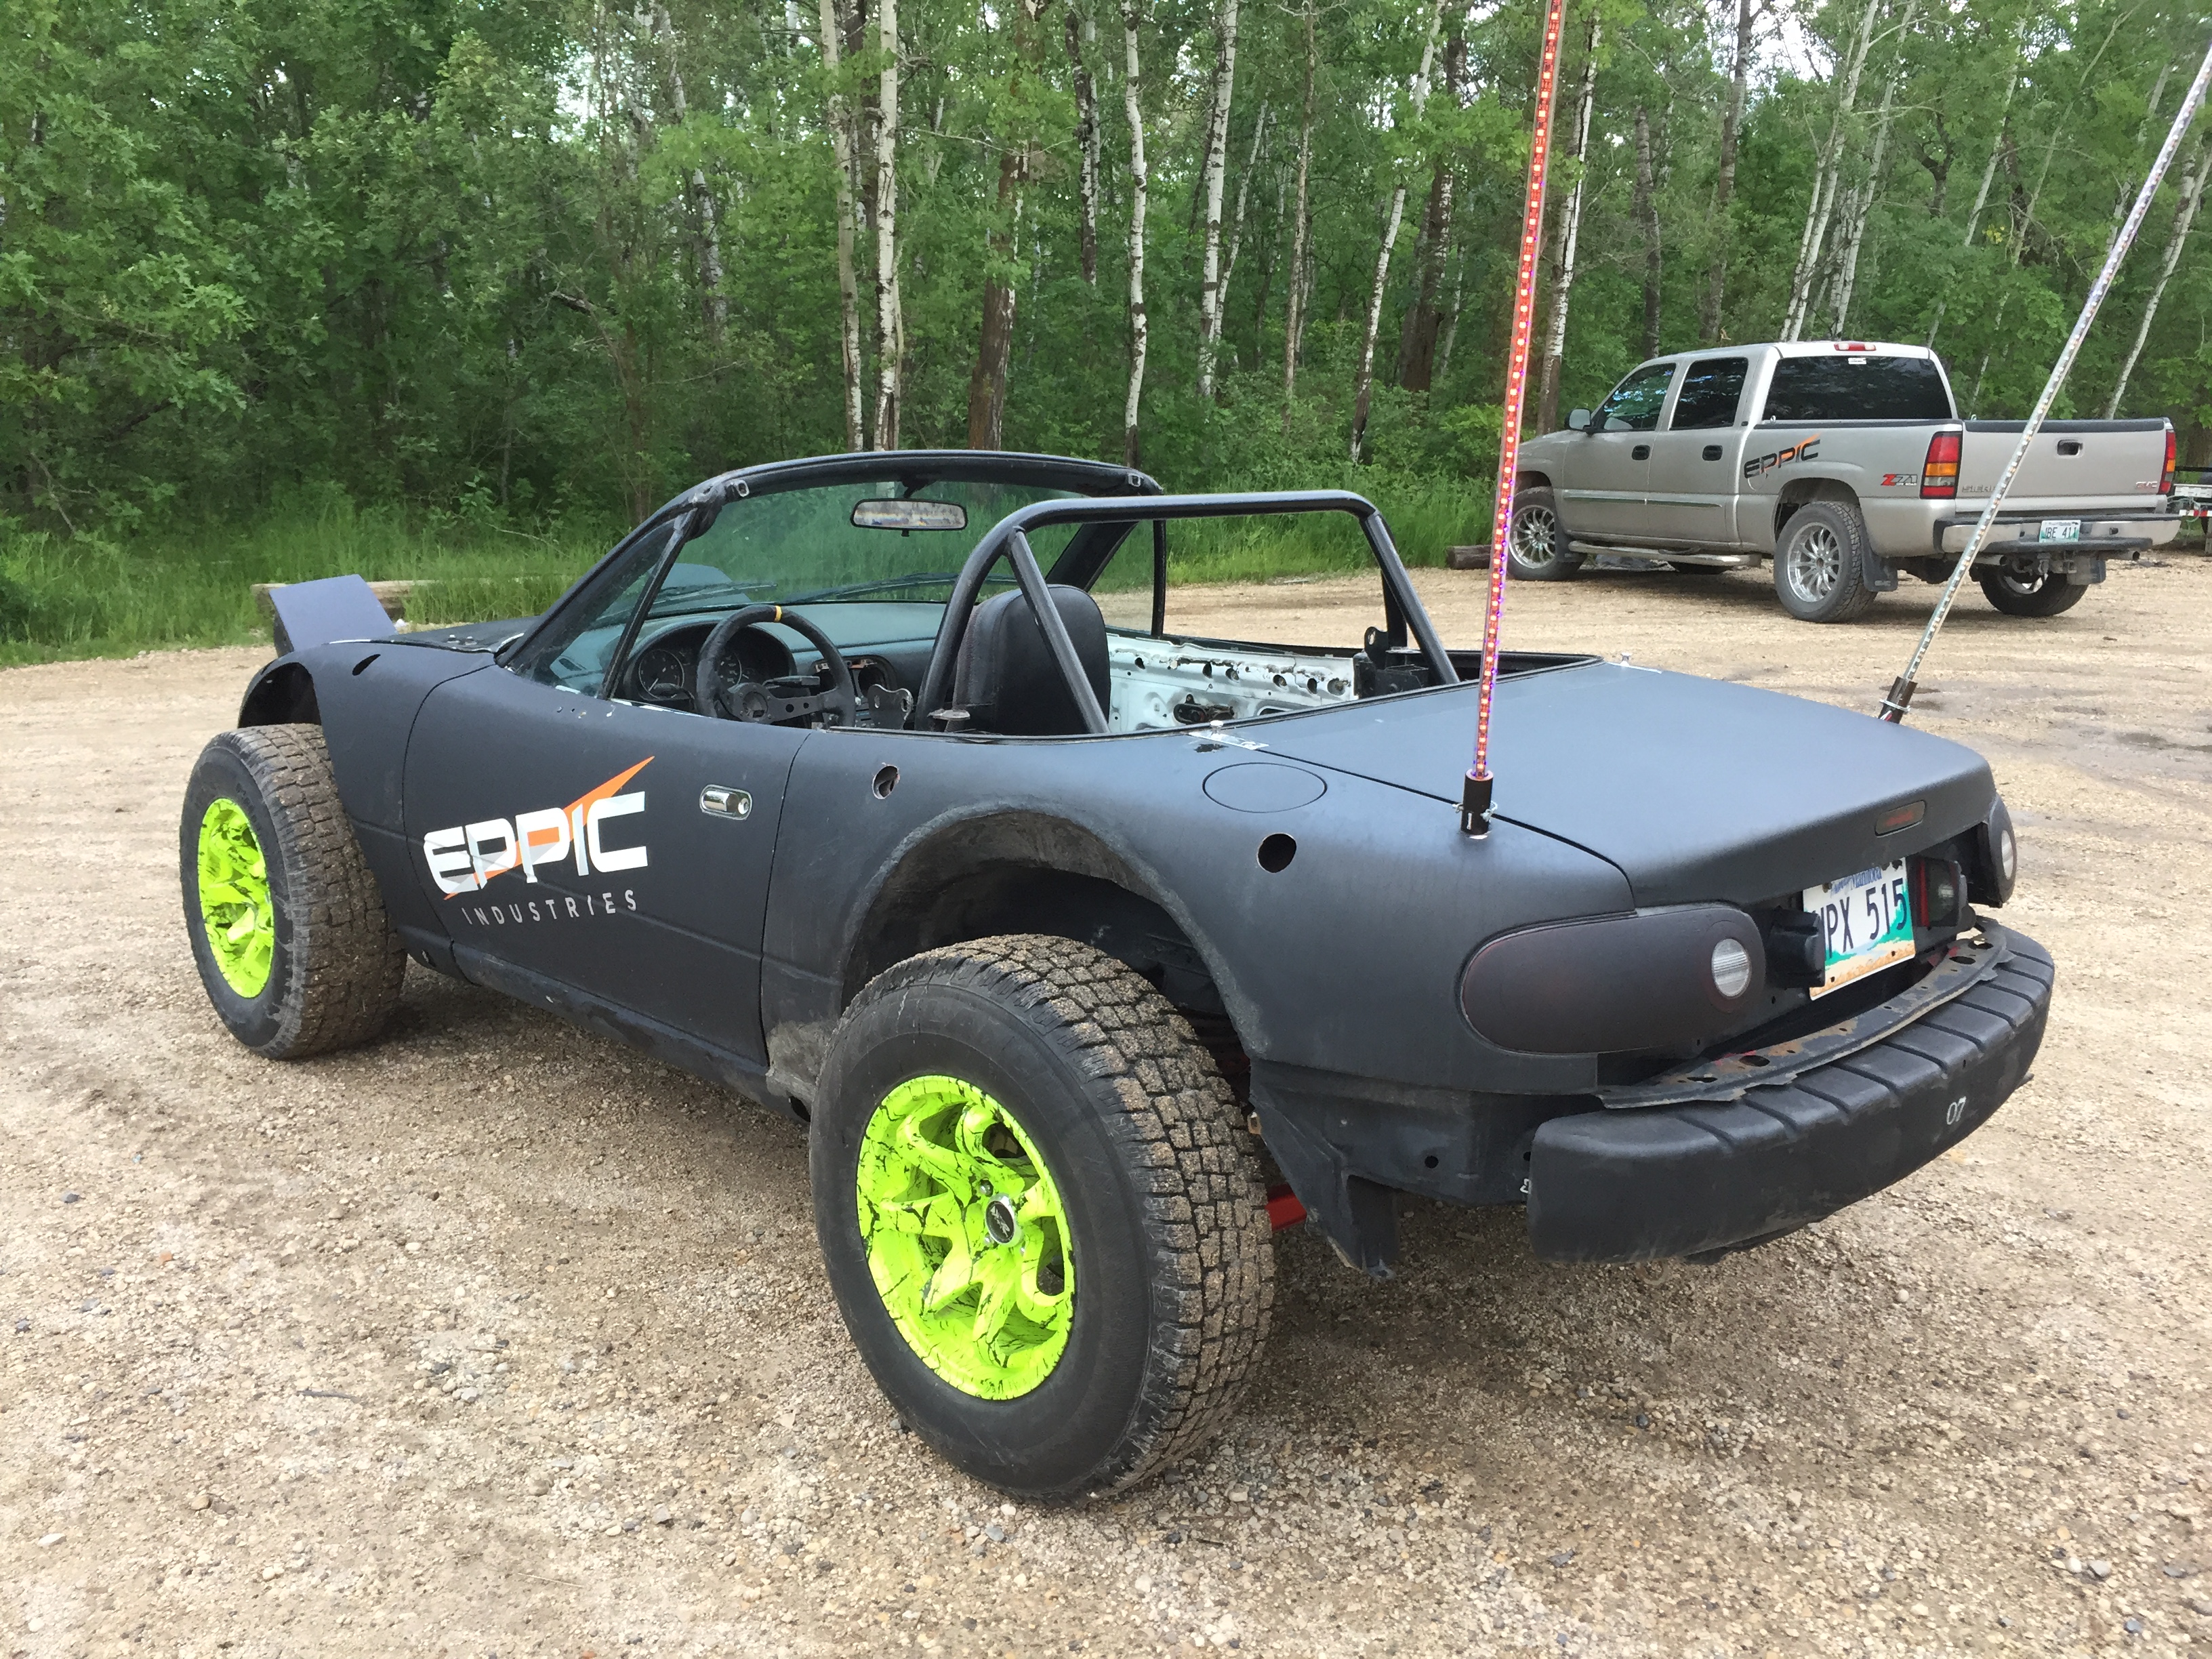
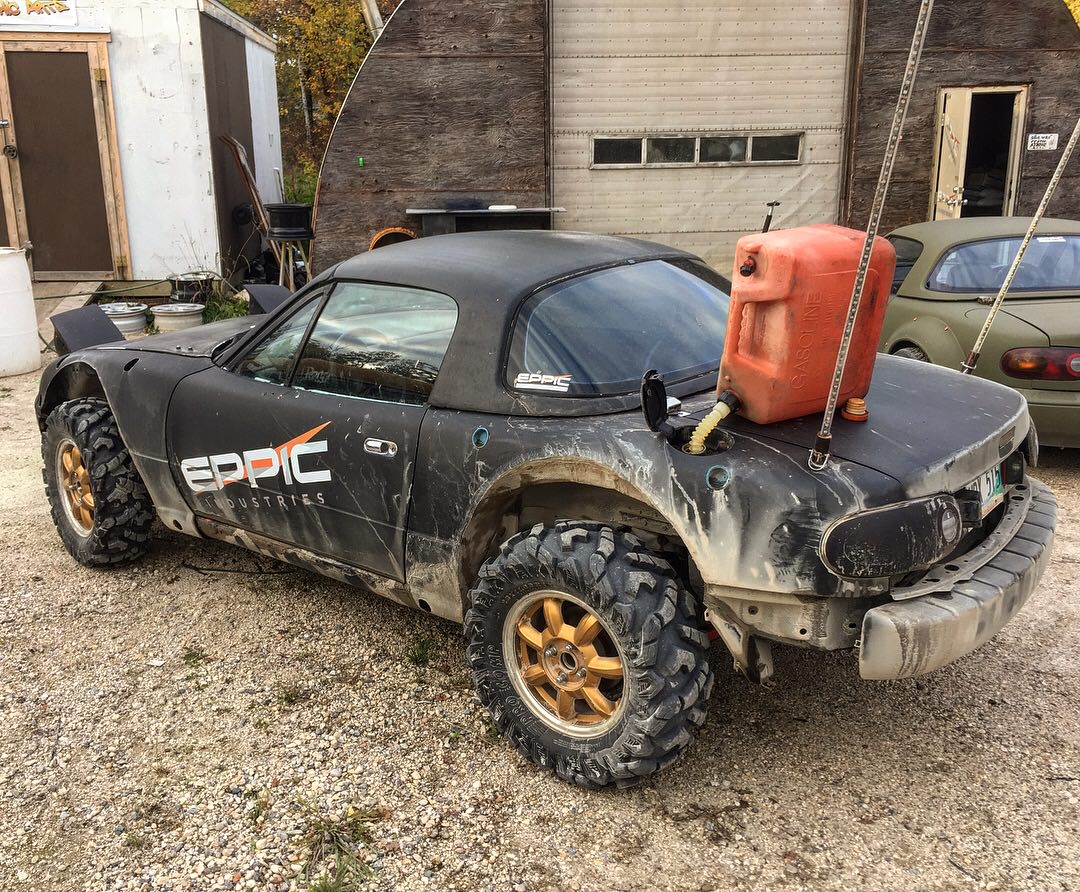
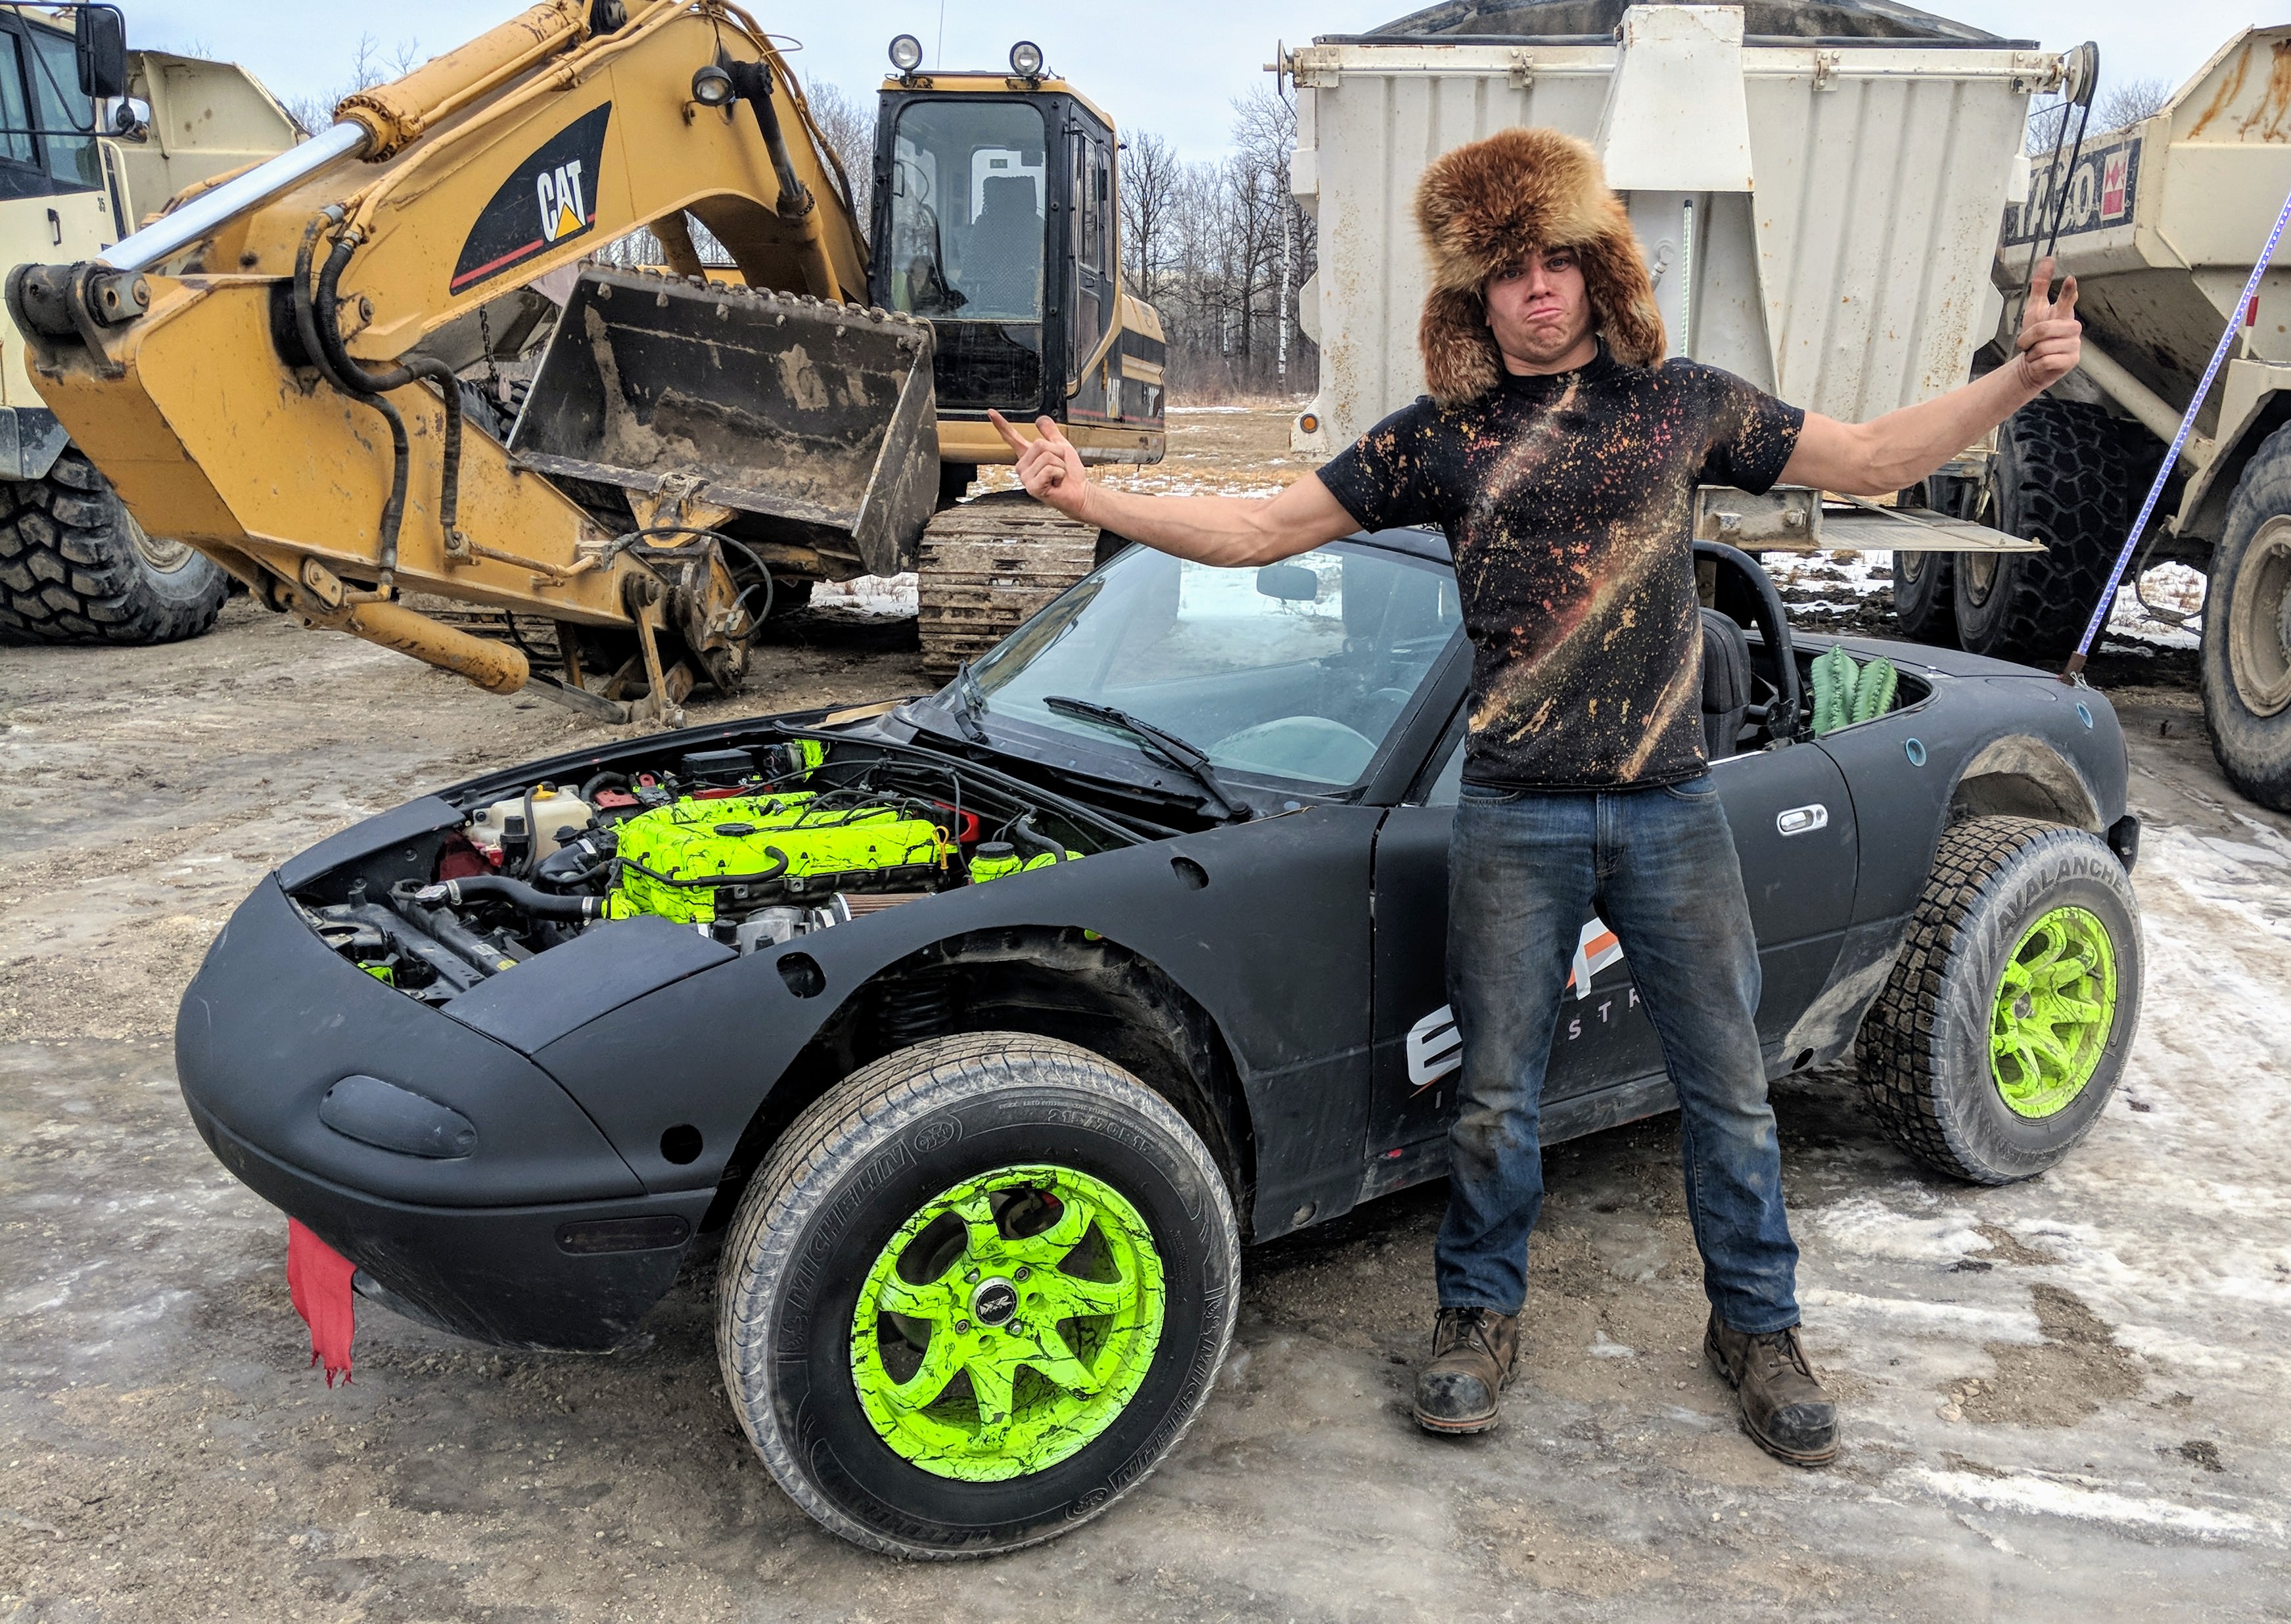
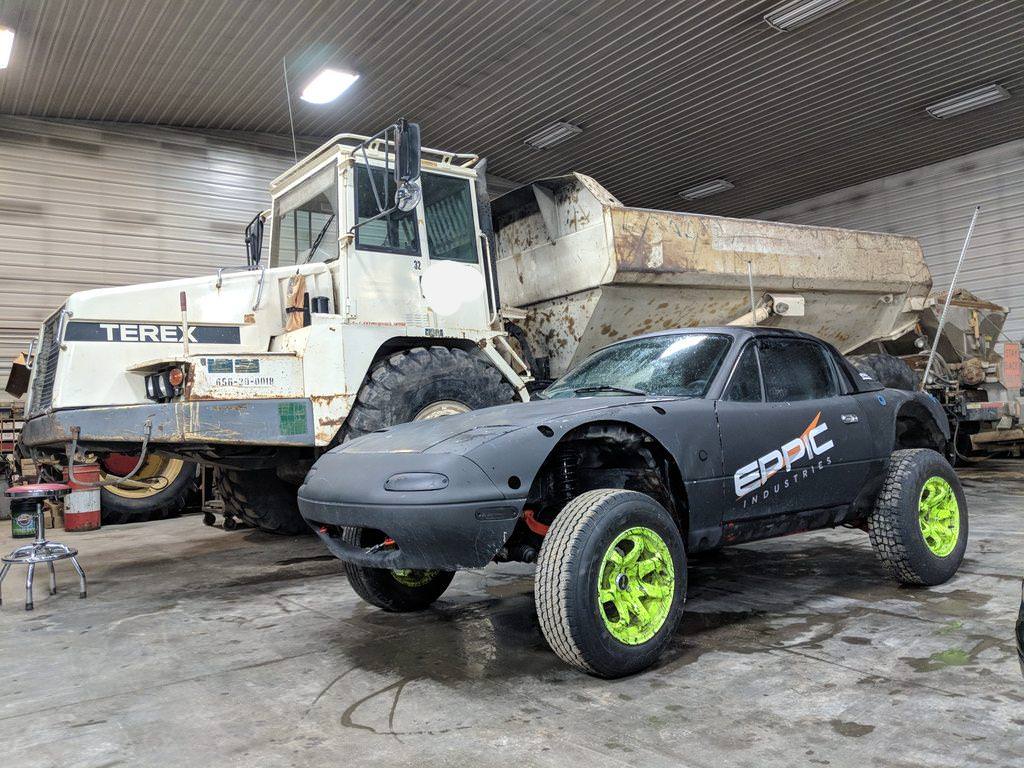
Bought myself some 14" tires of a rzr. Traction is a win now!
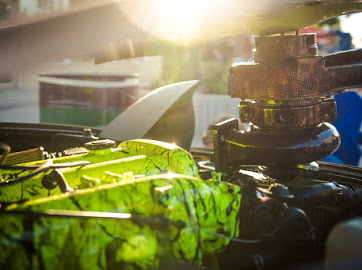
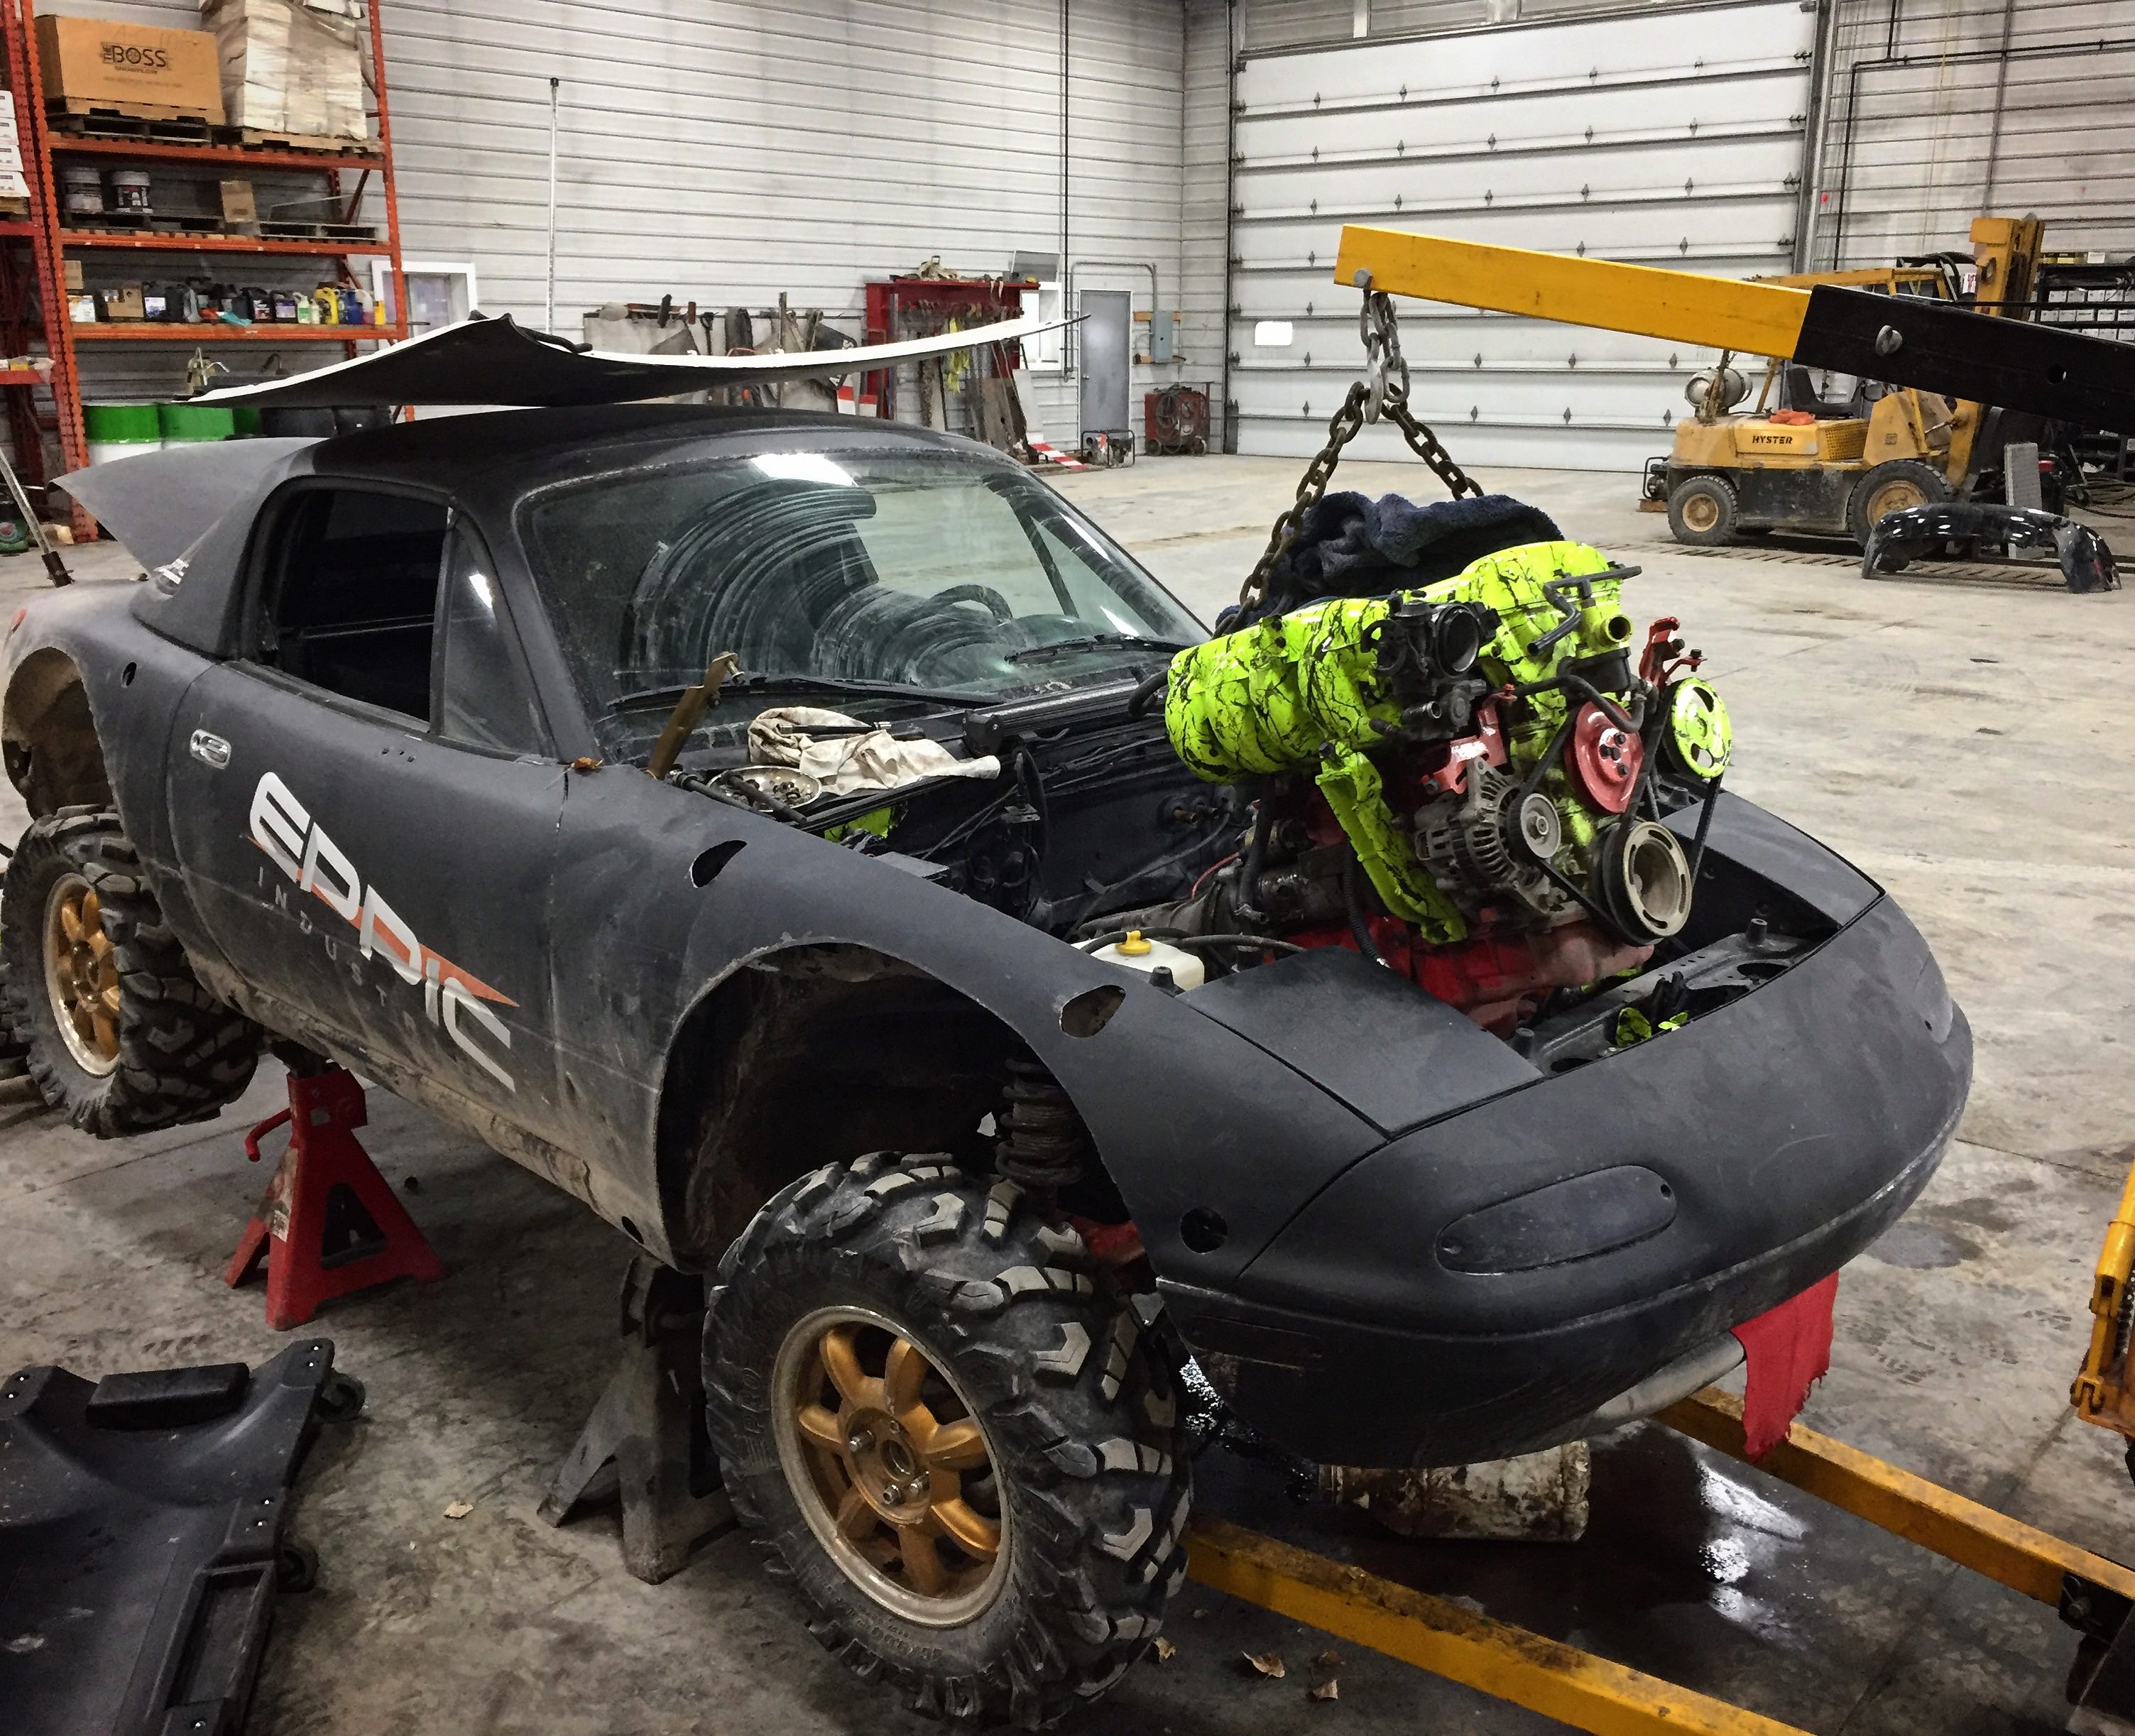
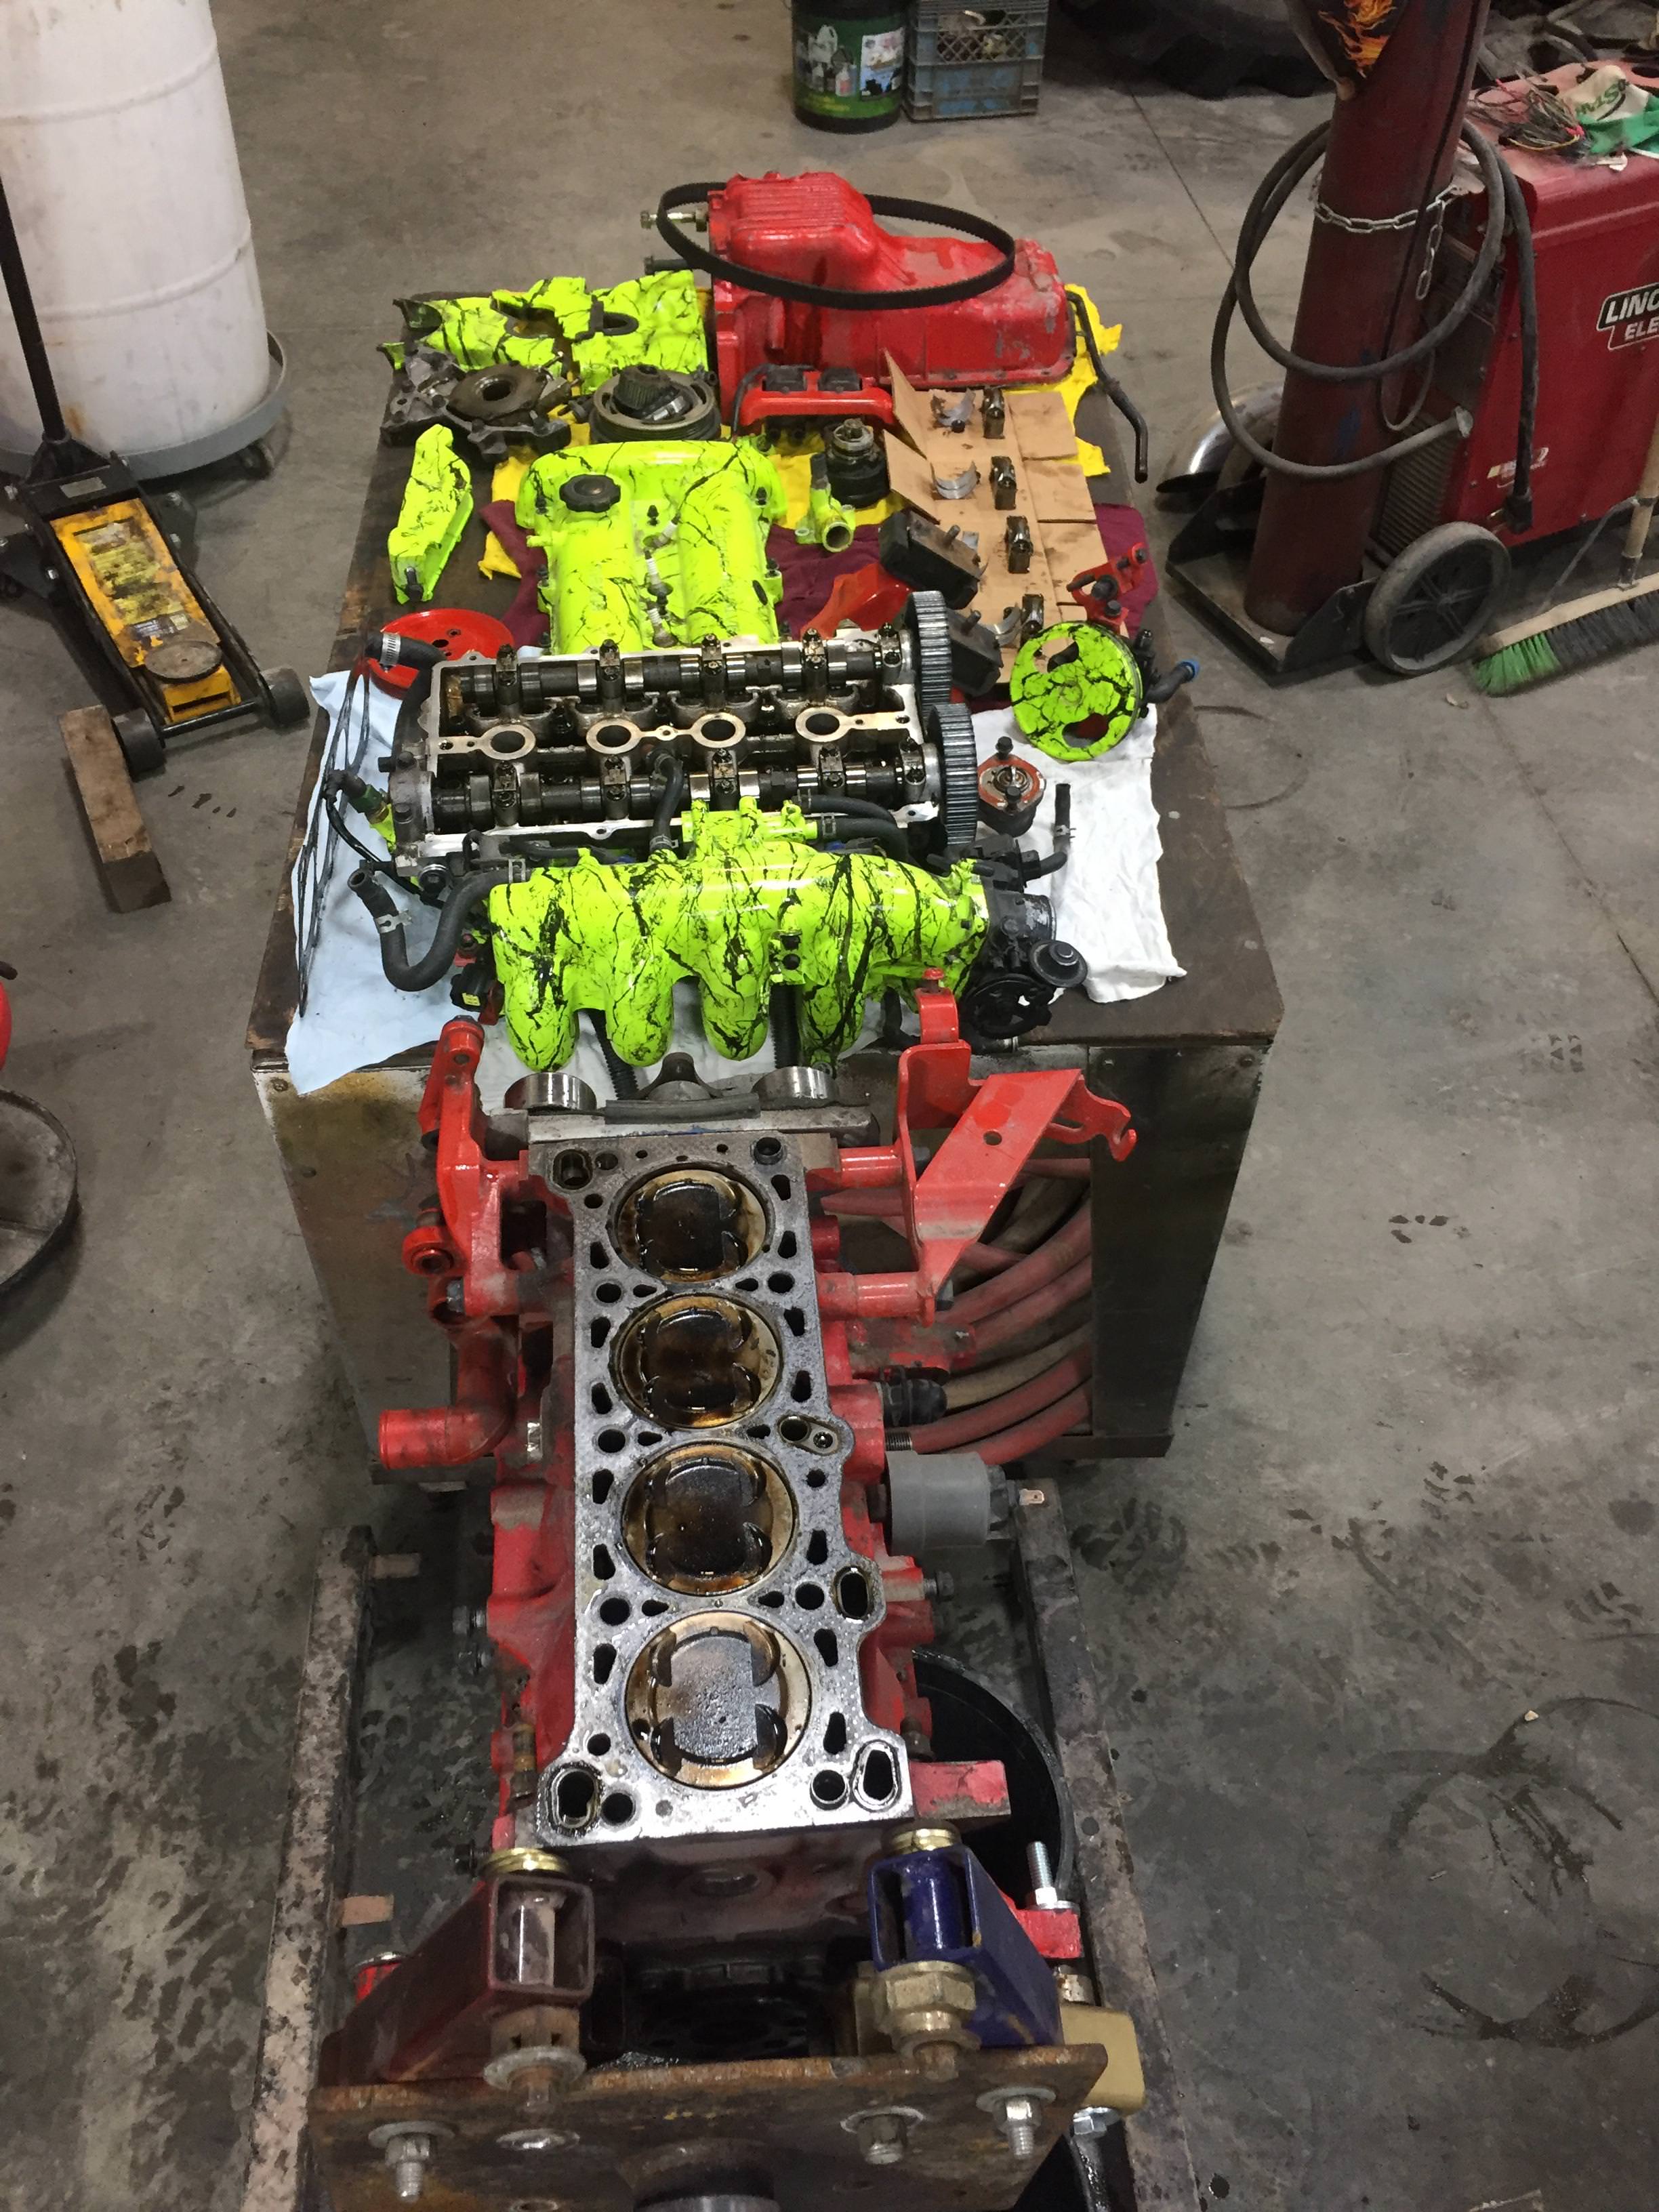
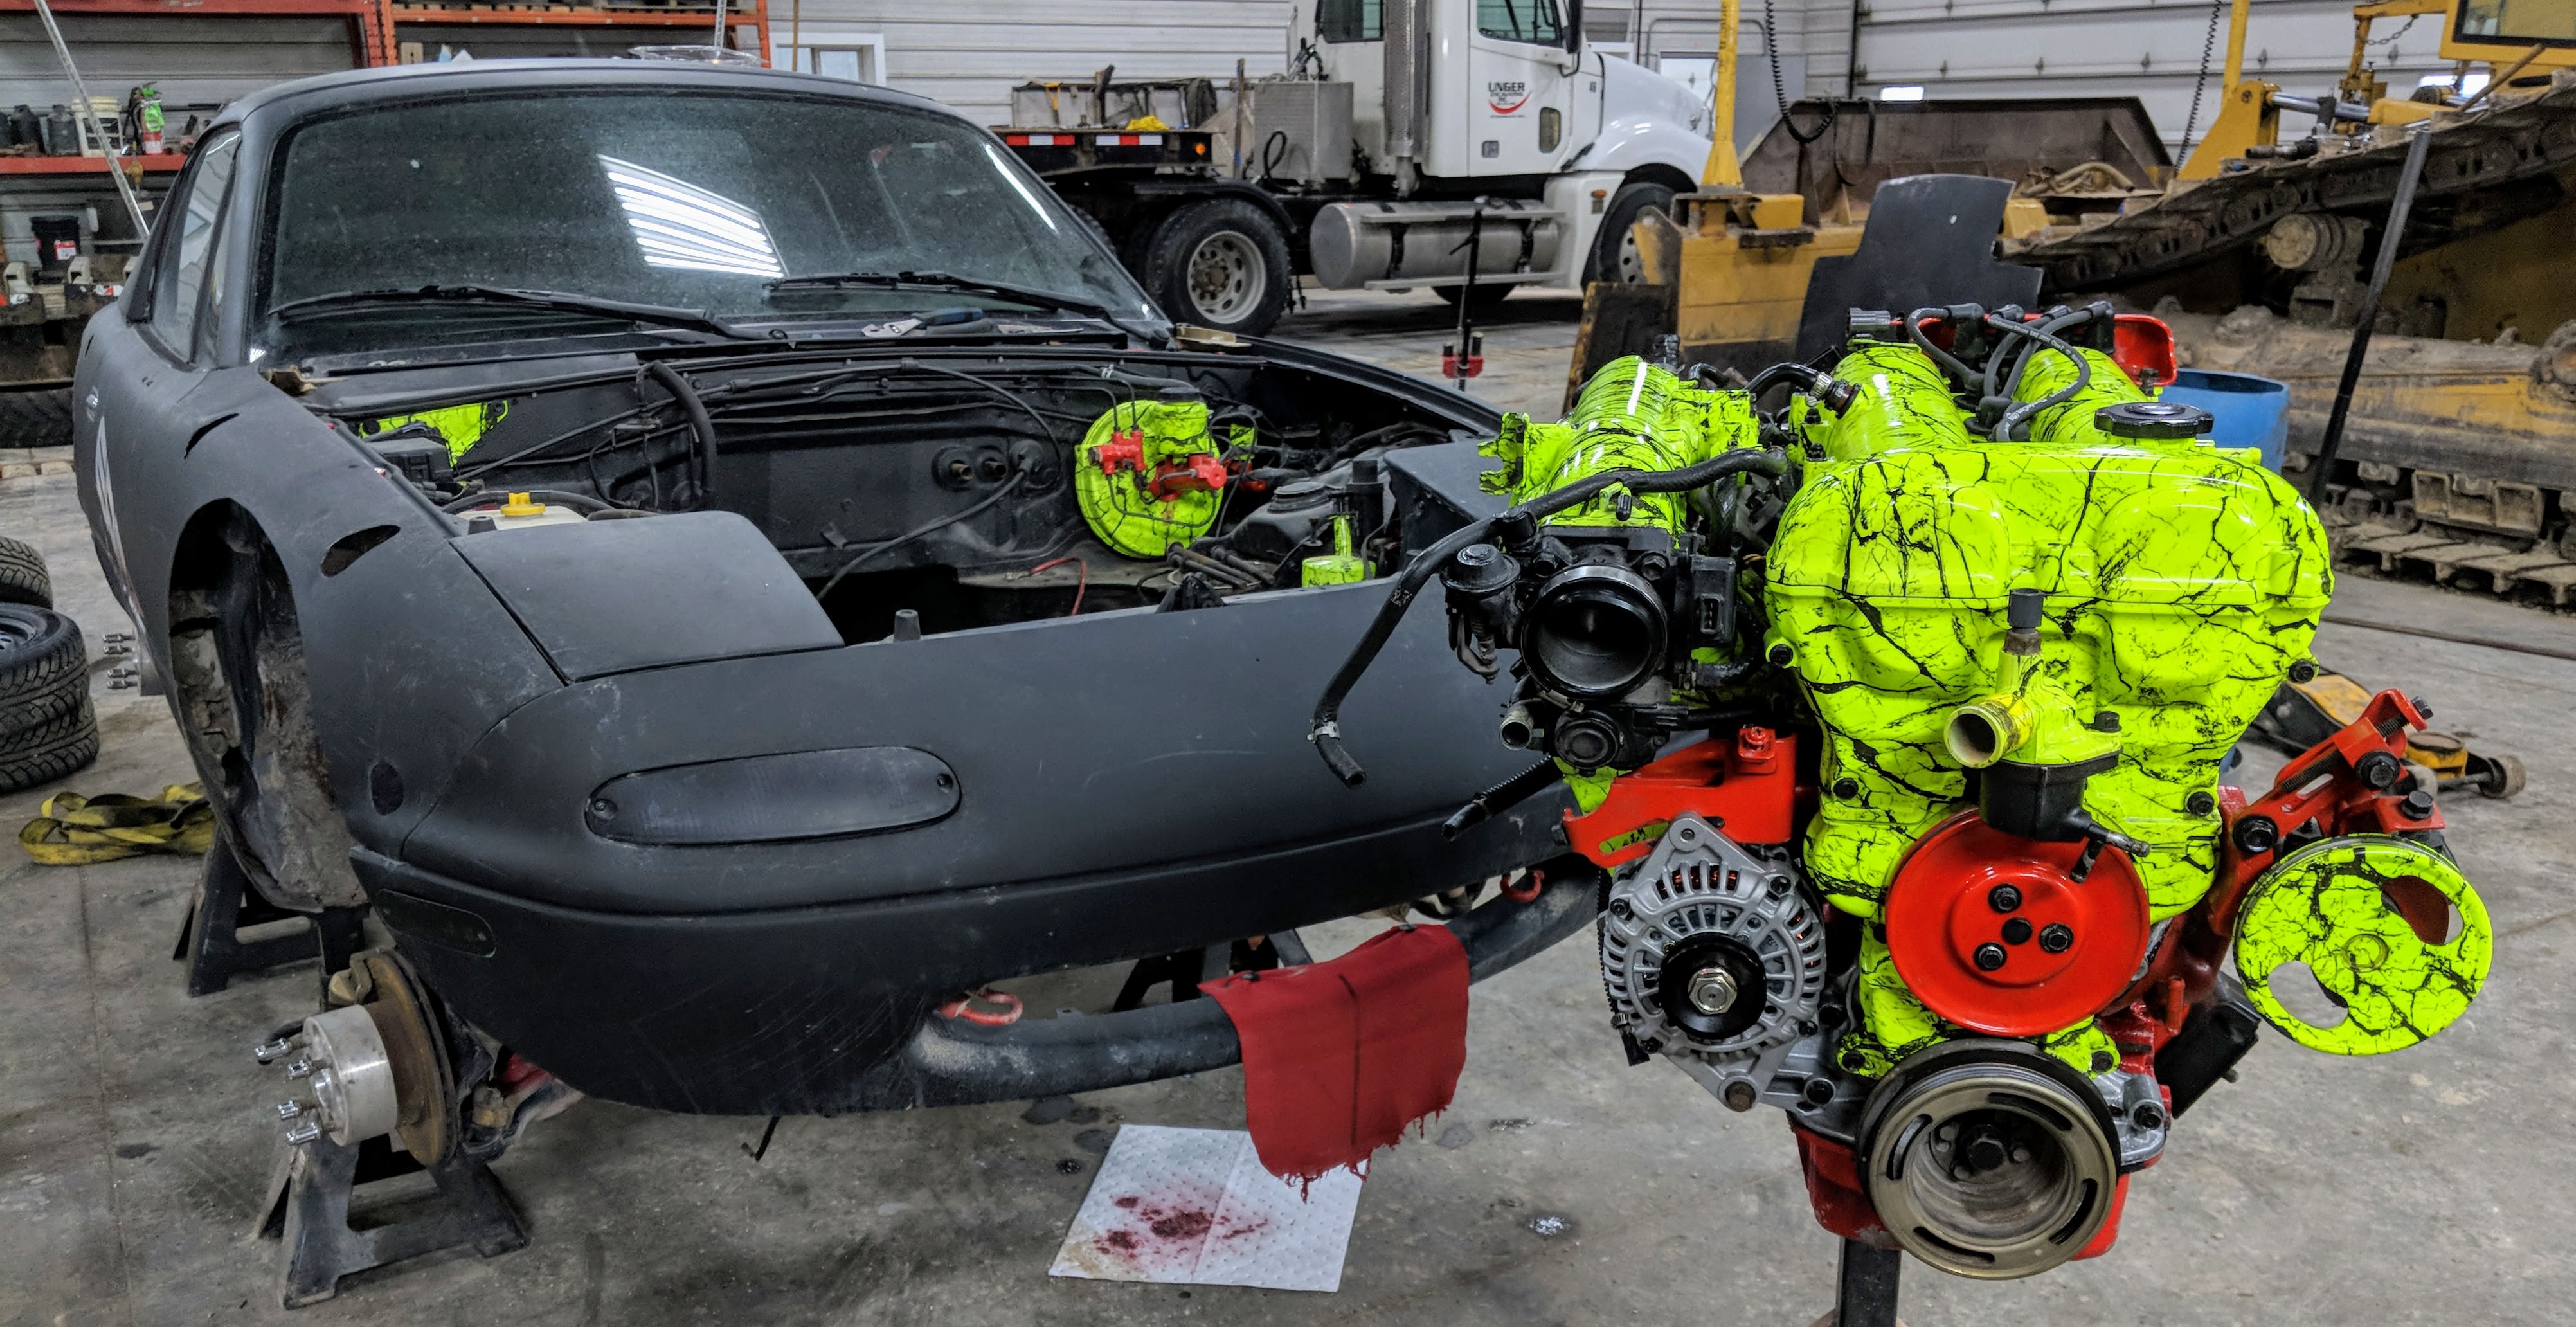
That burning oil issue however was no longer something I was willing to put up with. The time came to pull that fancy painted engine out of there.
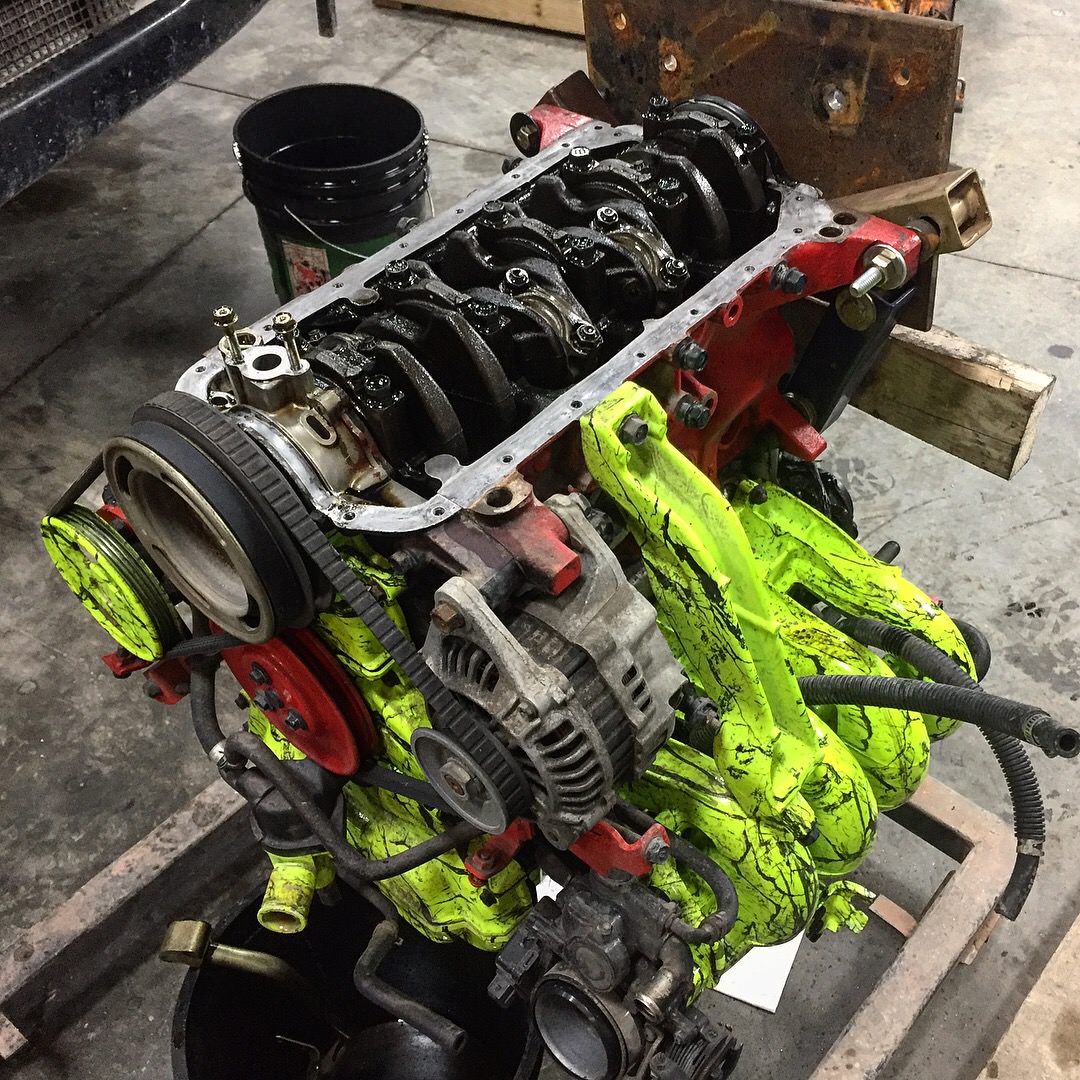
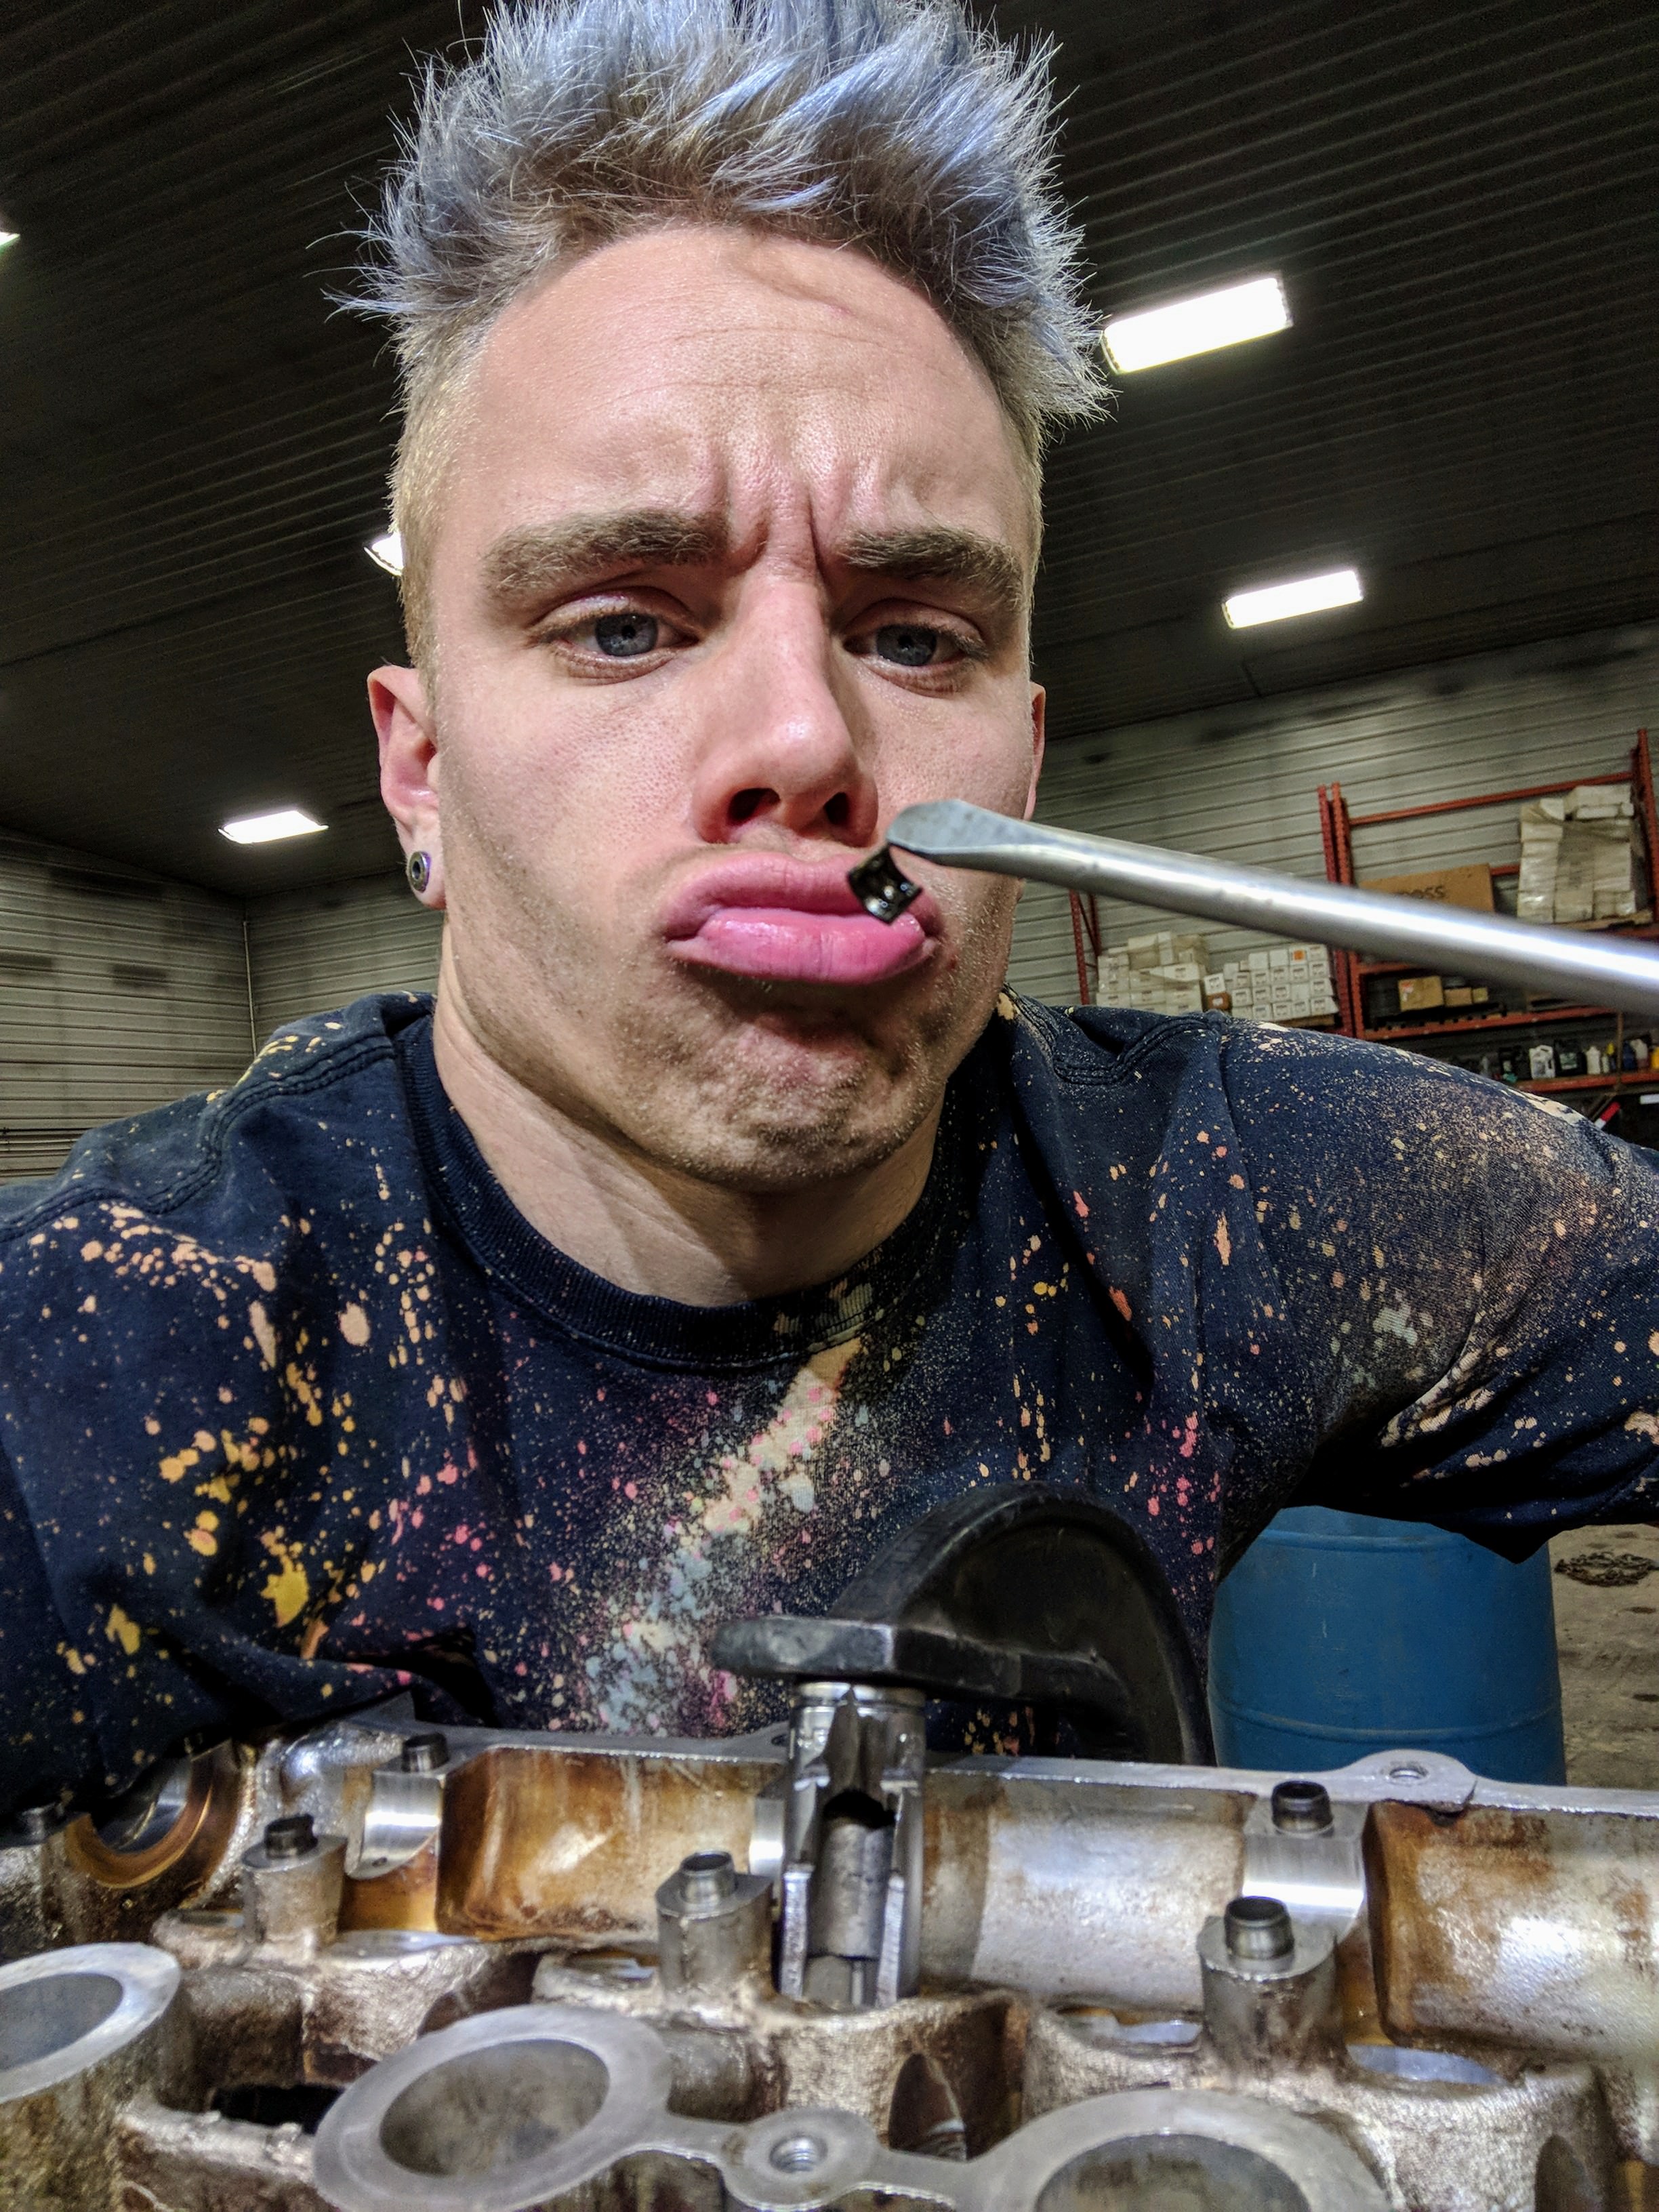
First things first is to check those bearings.
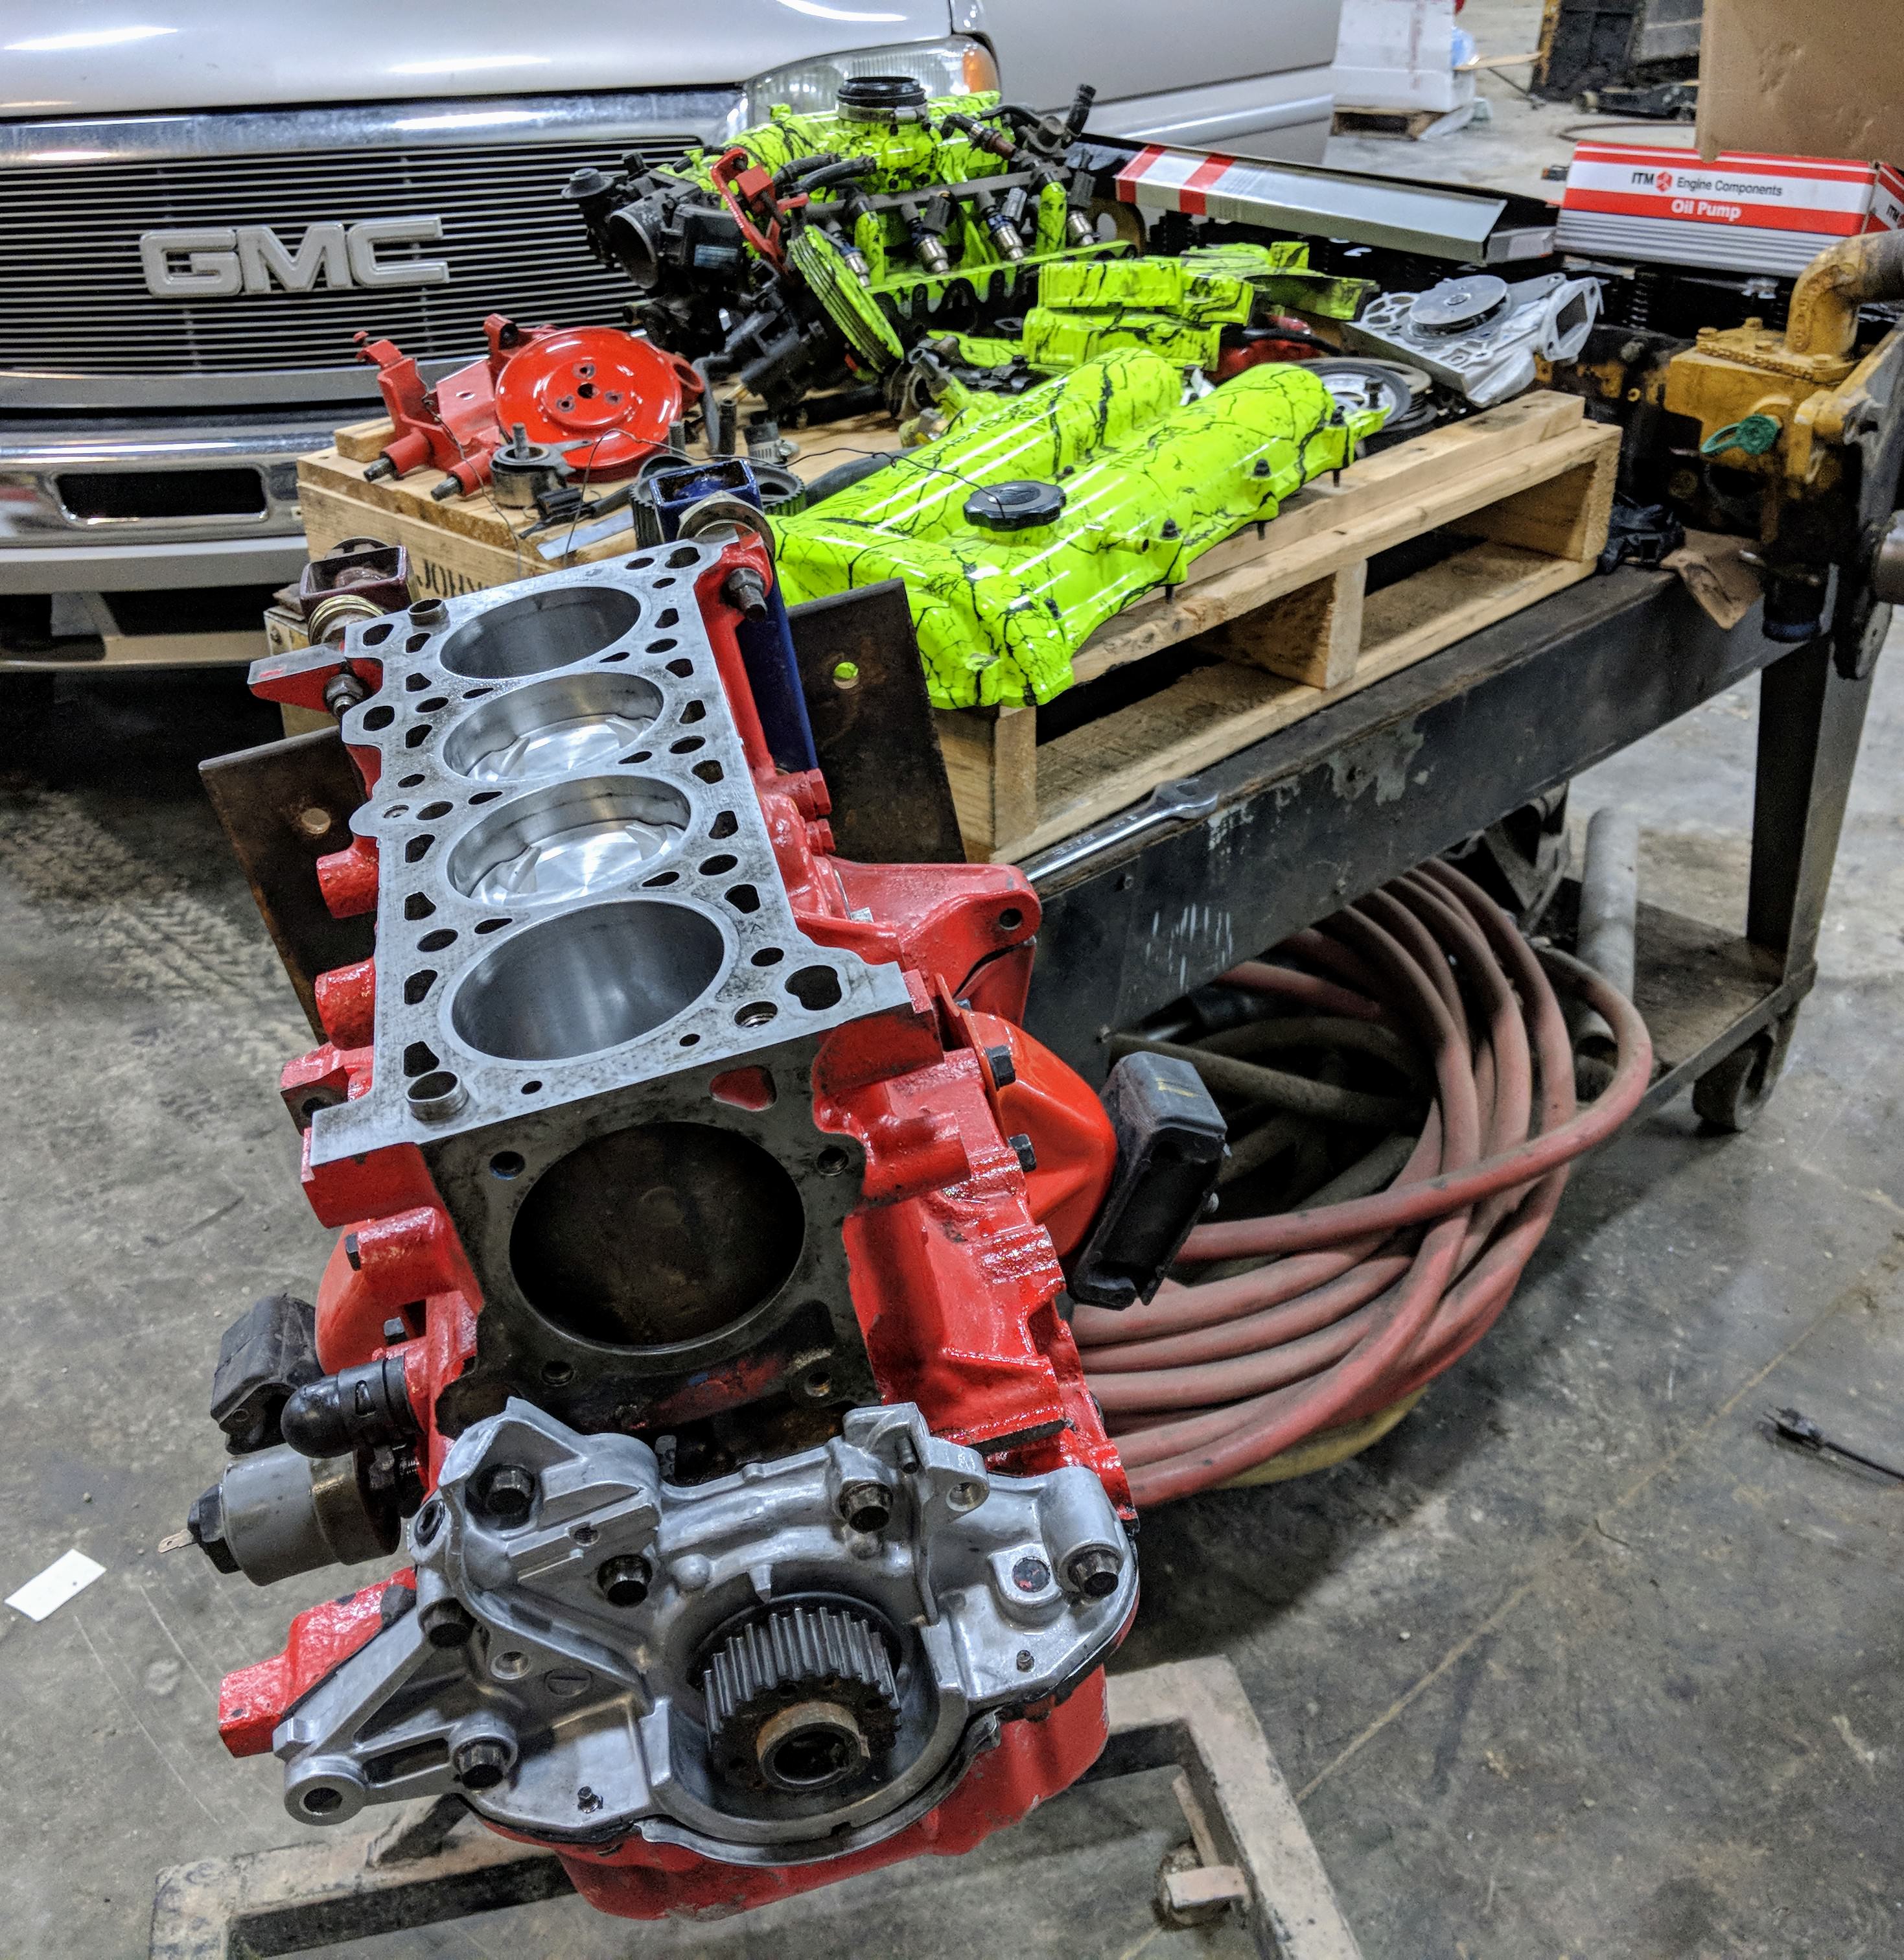
Disassembled on the bench
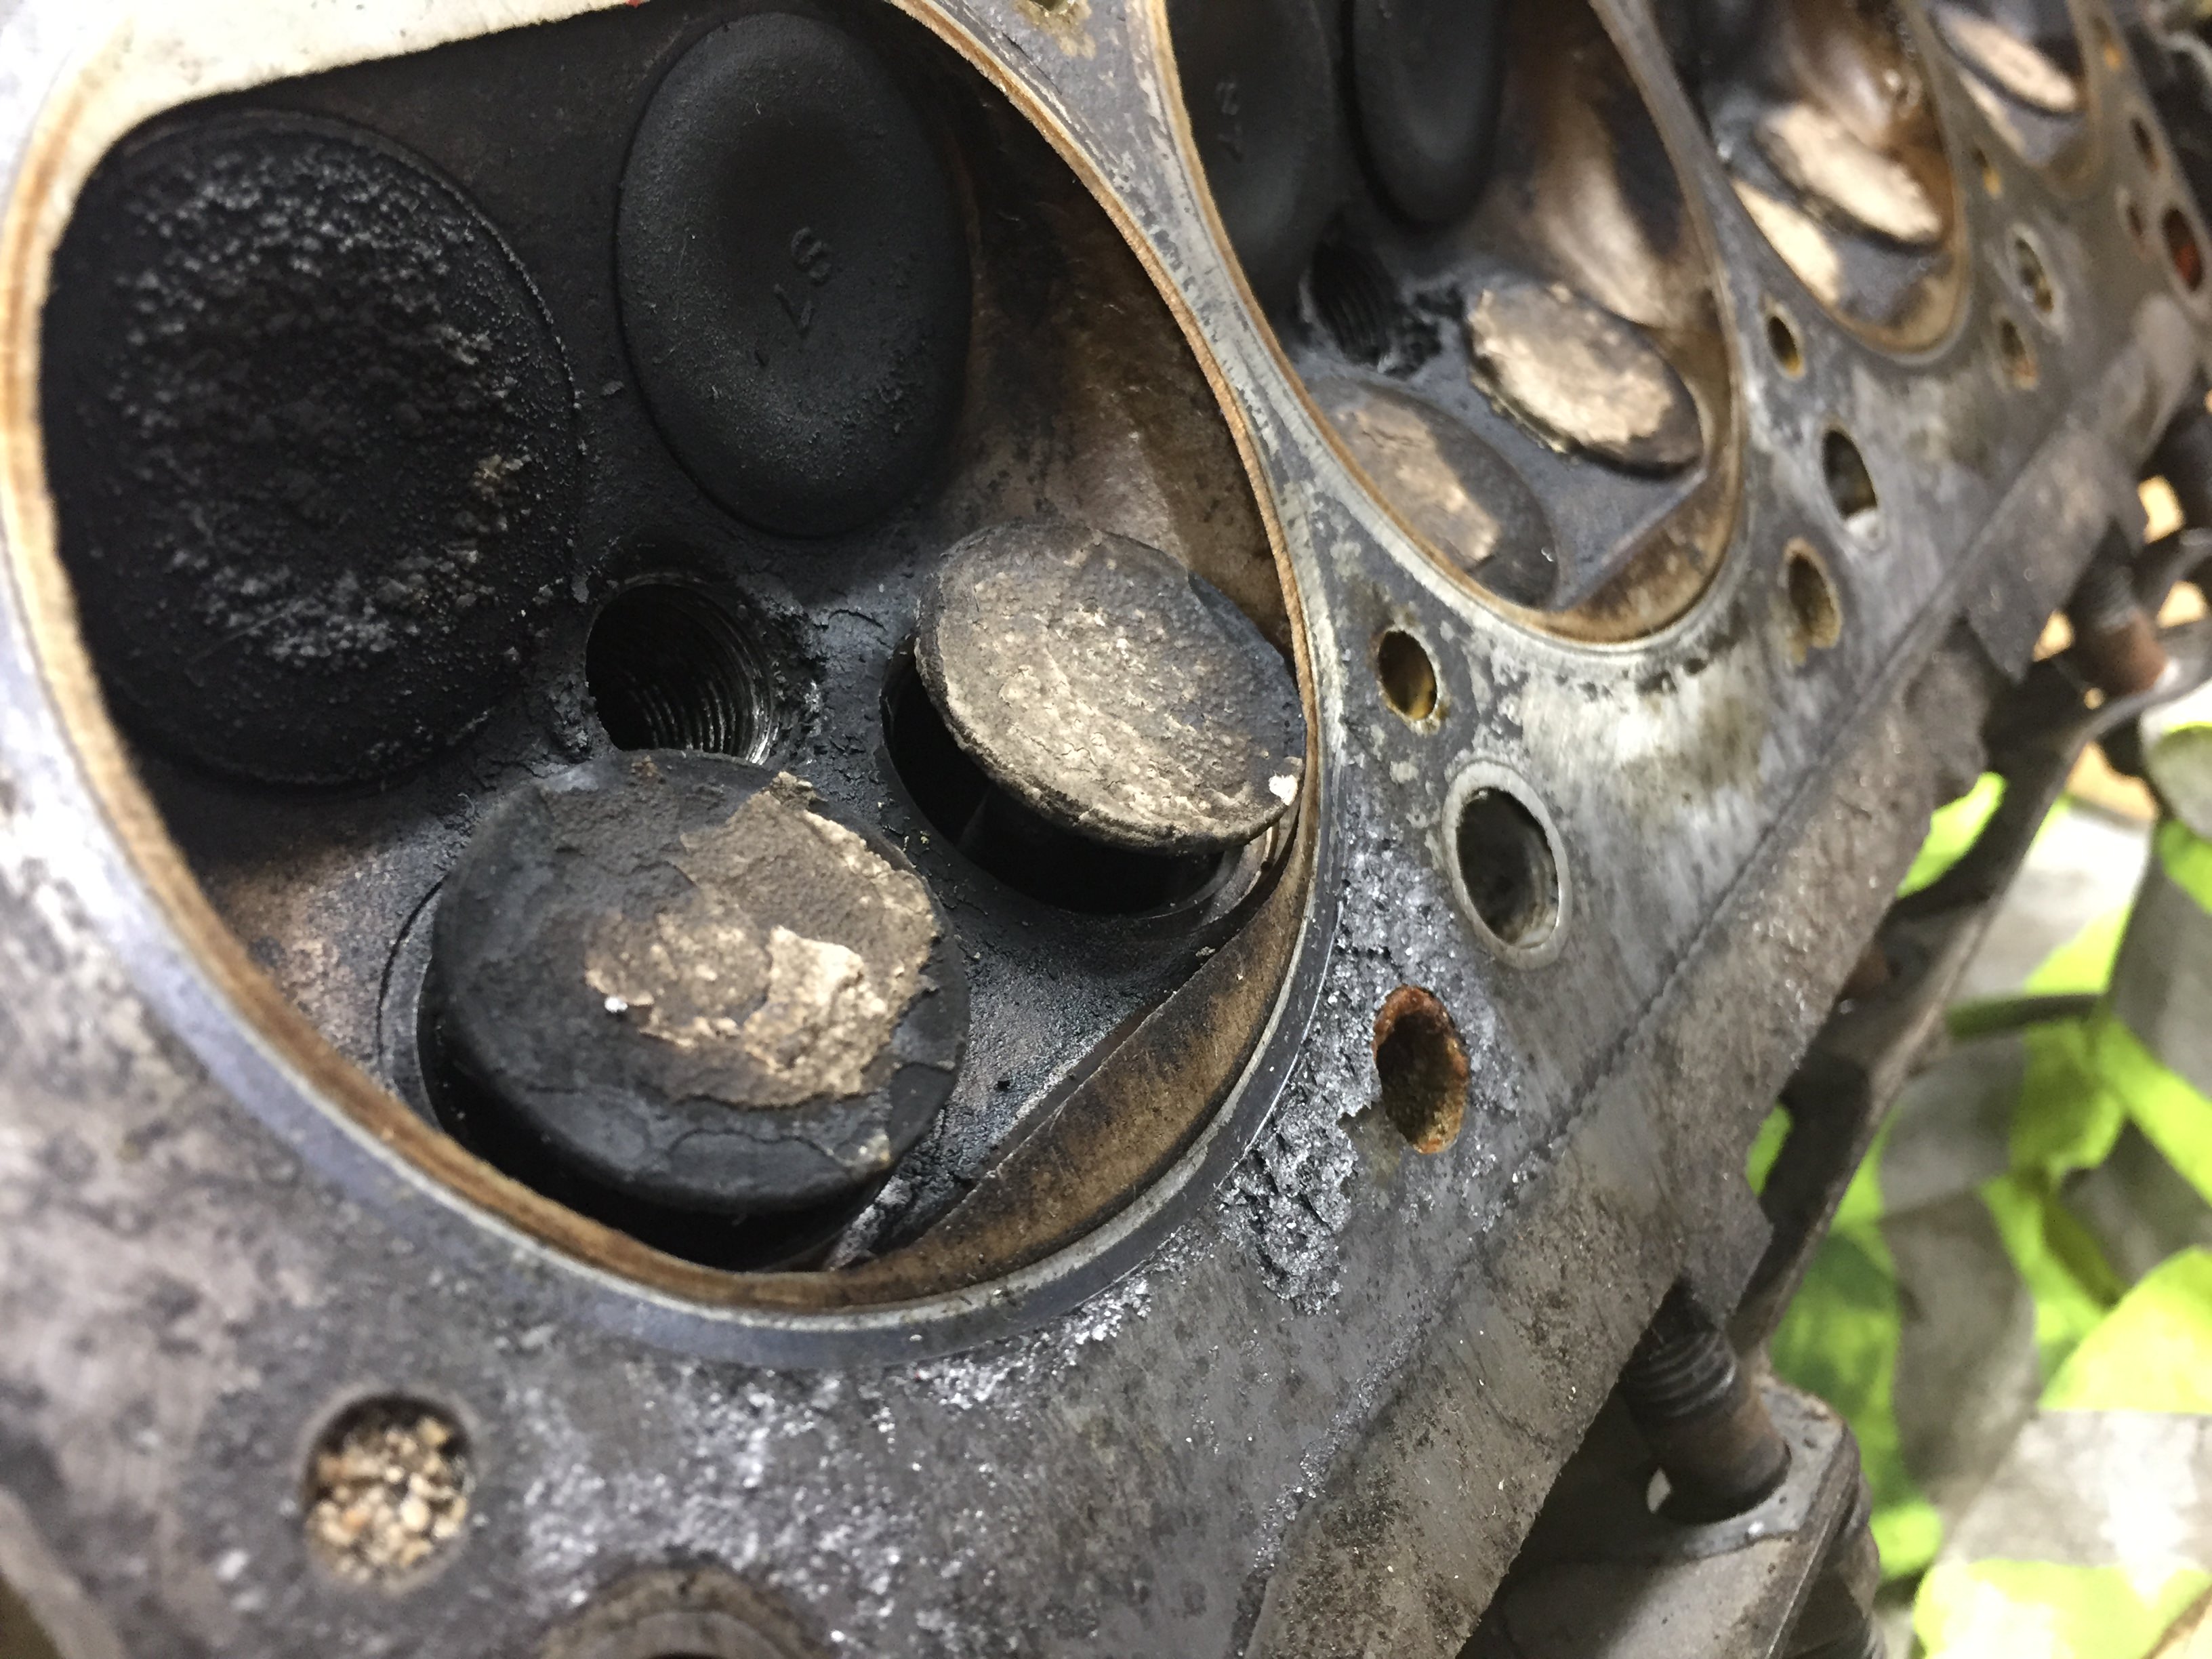
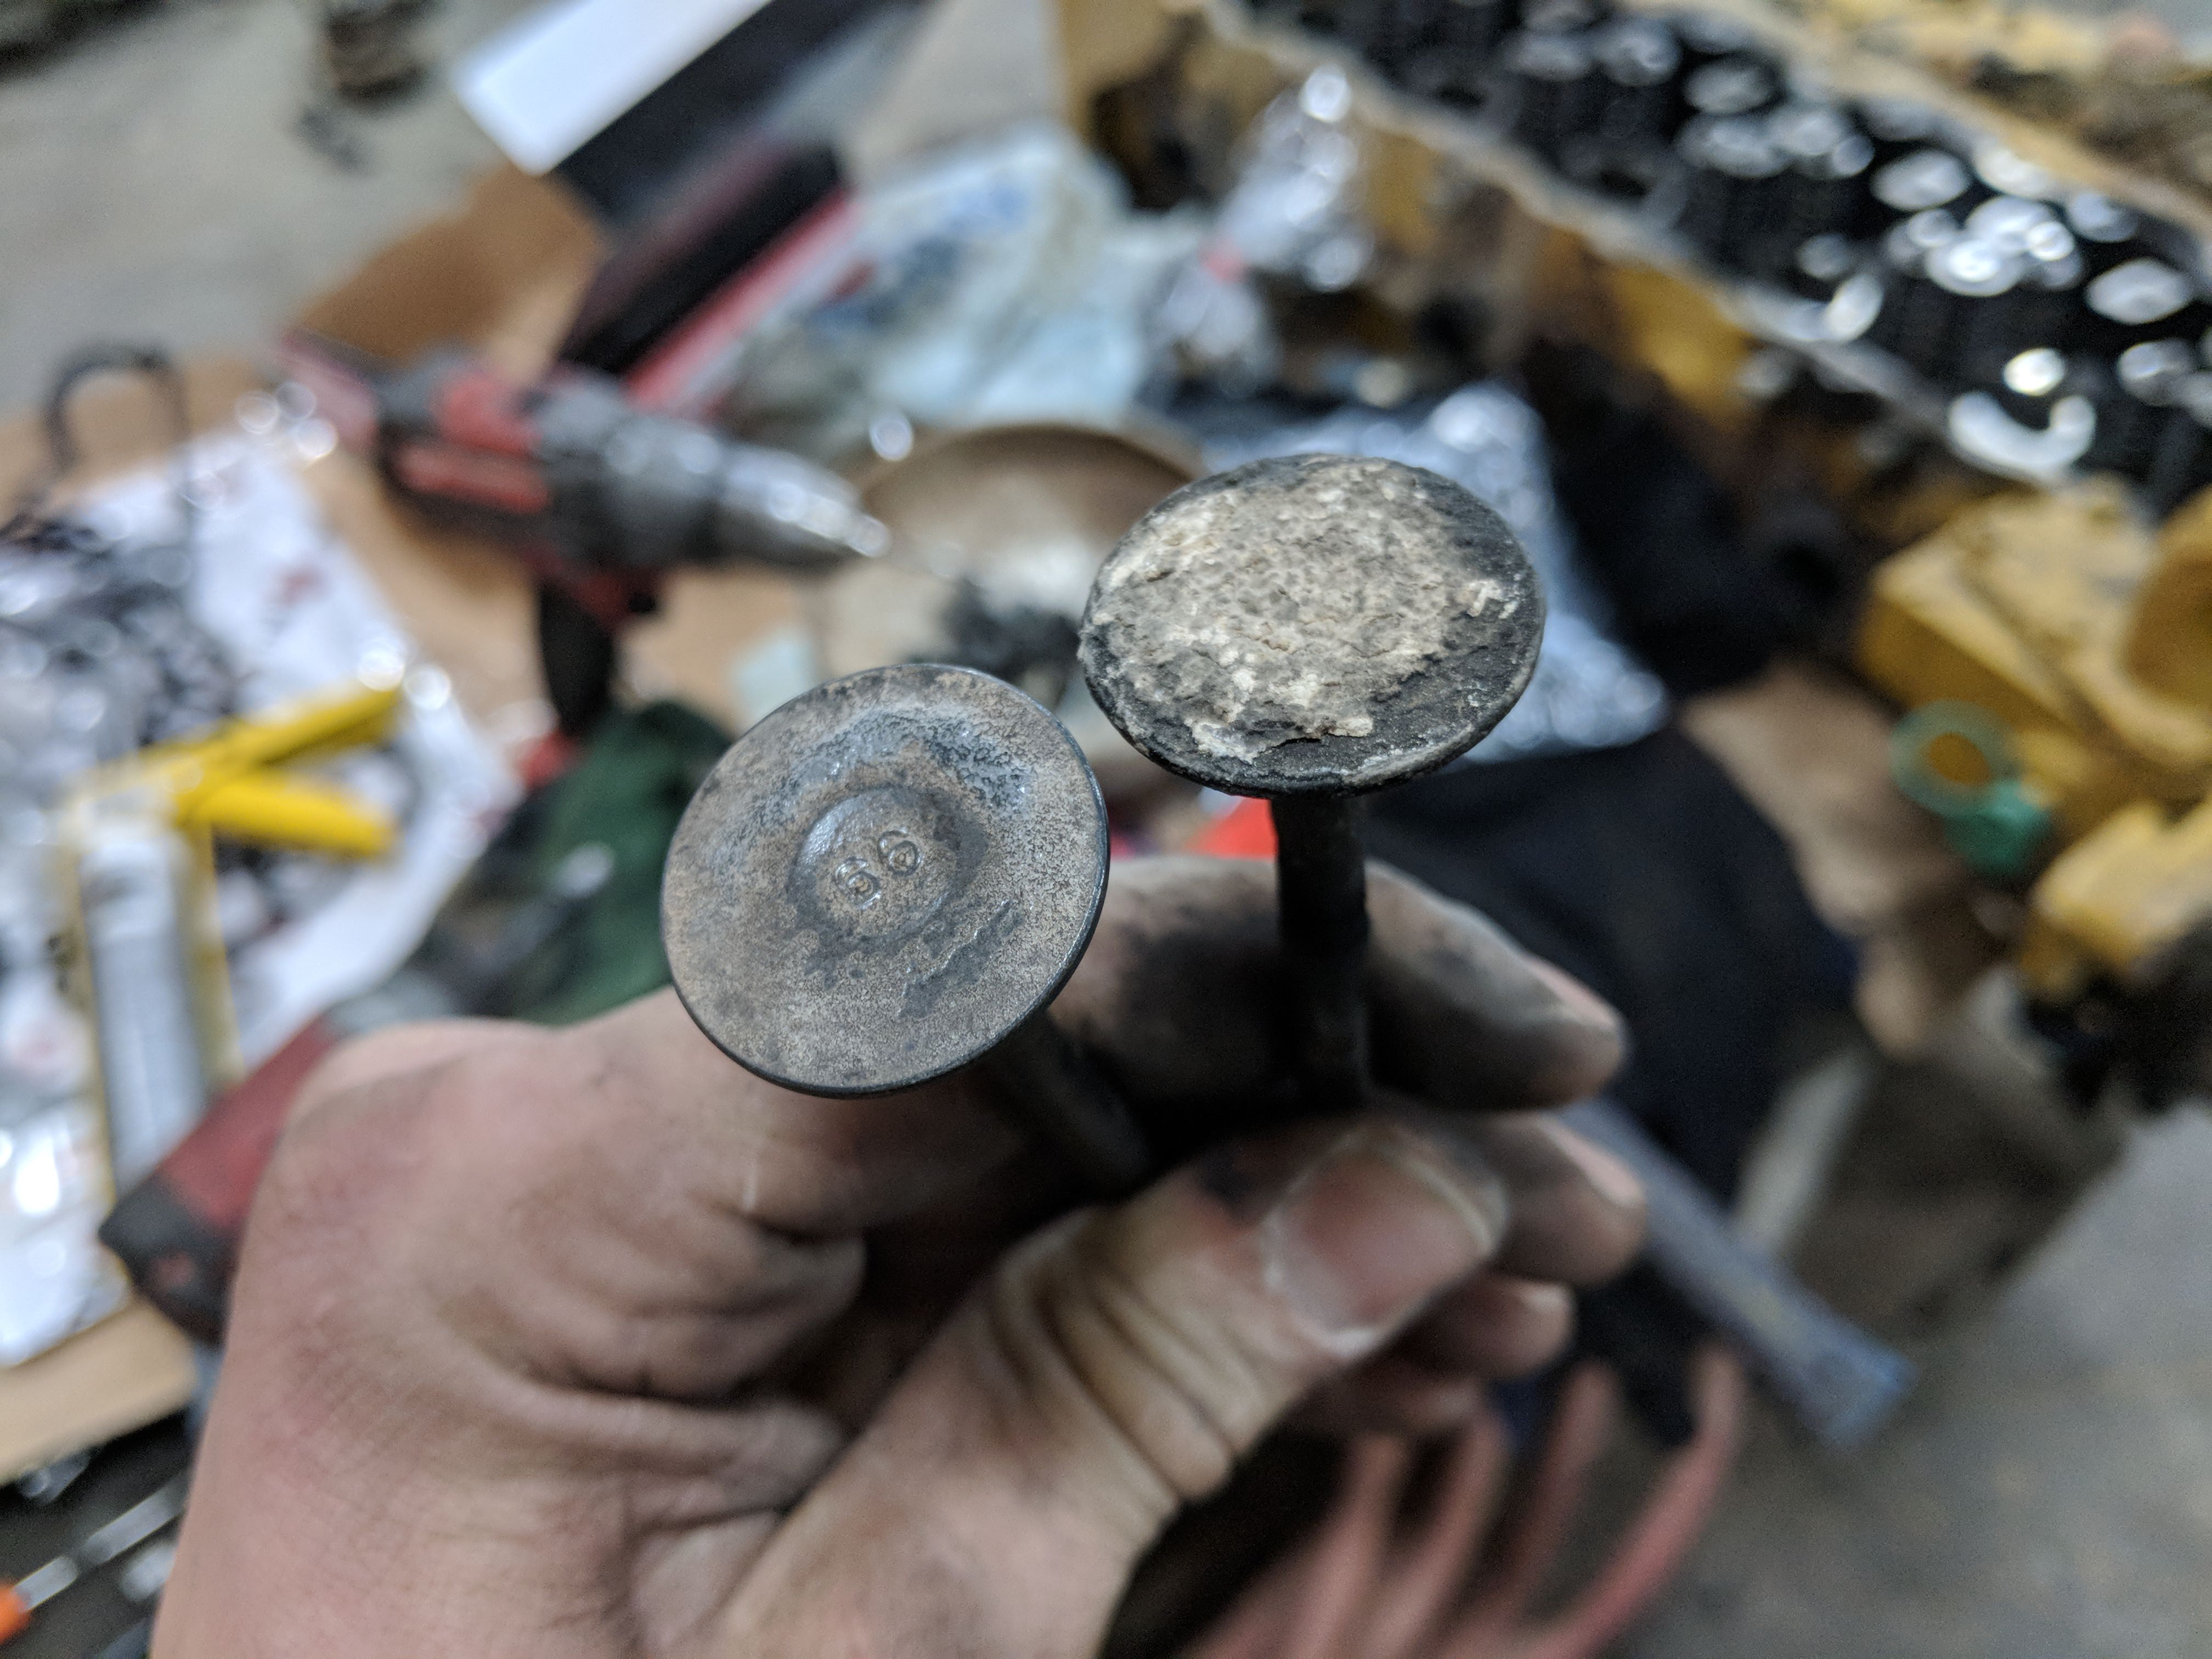
A fair amount of build up eh? That might be enough to increase compression.
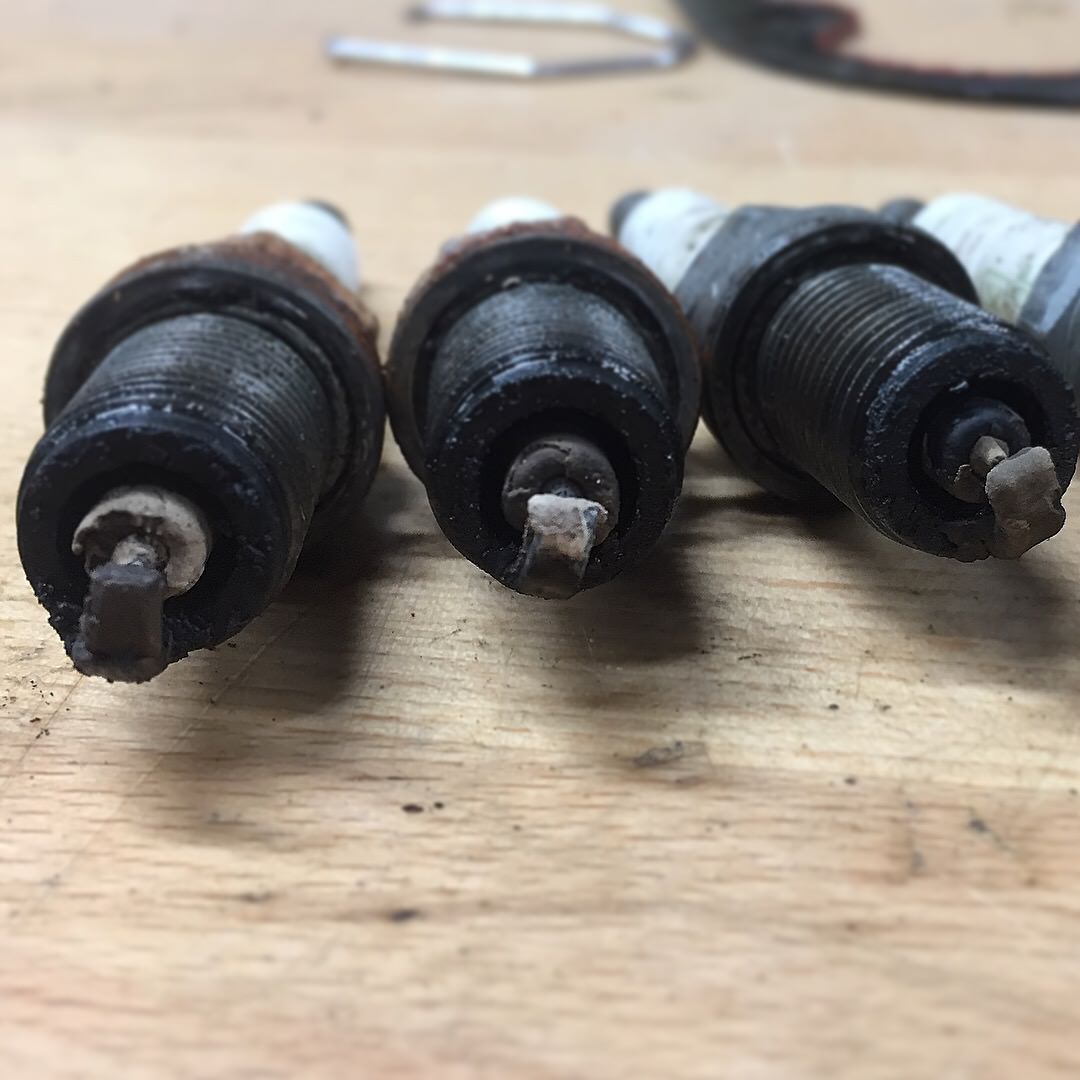
The cost of burning equal amounts of fuel and oil are clearly visible.
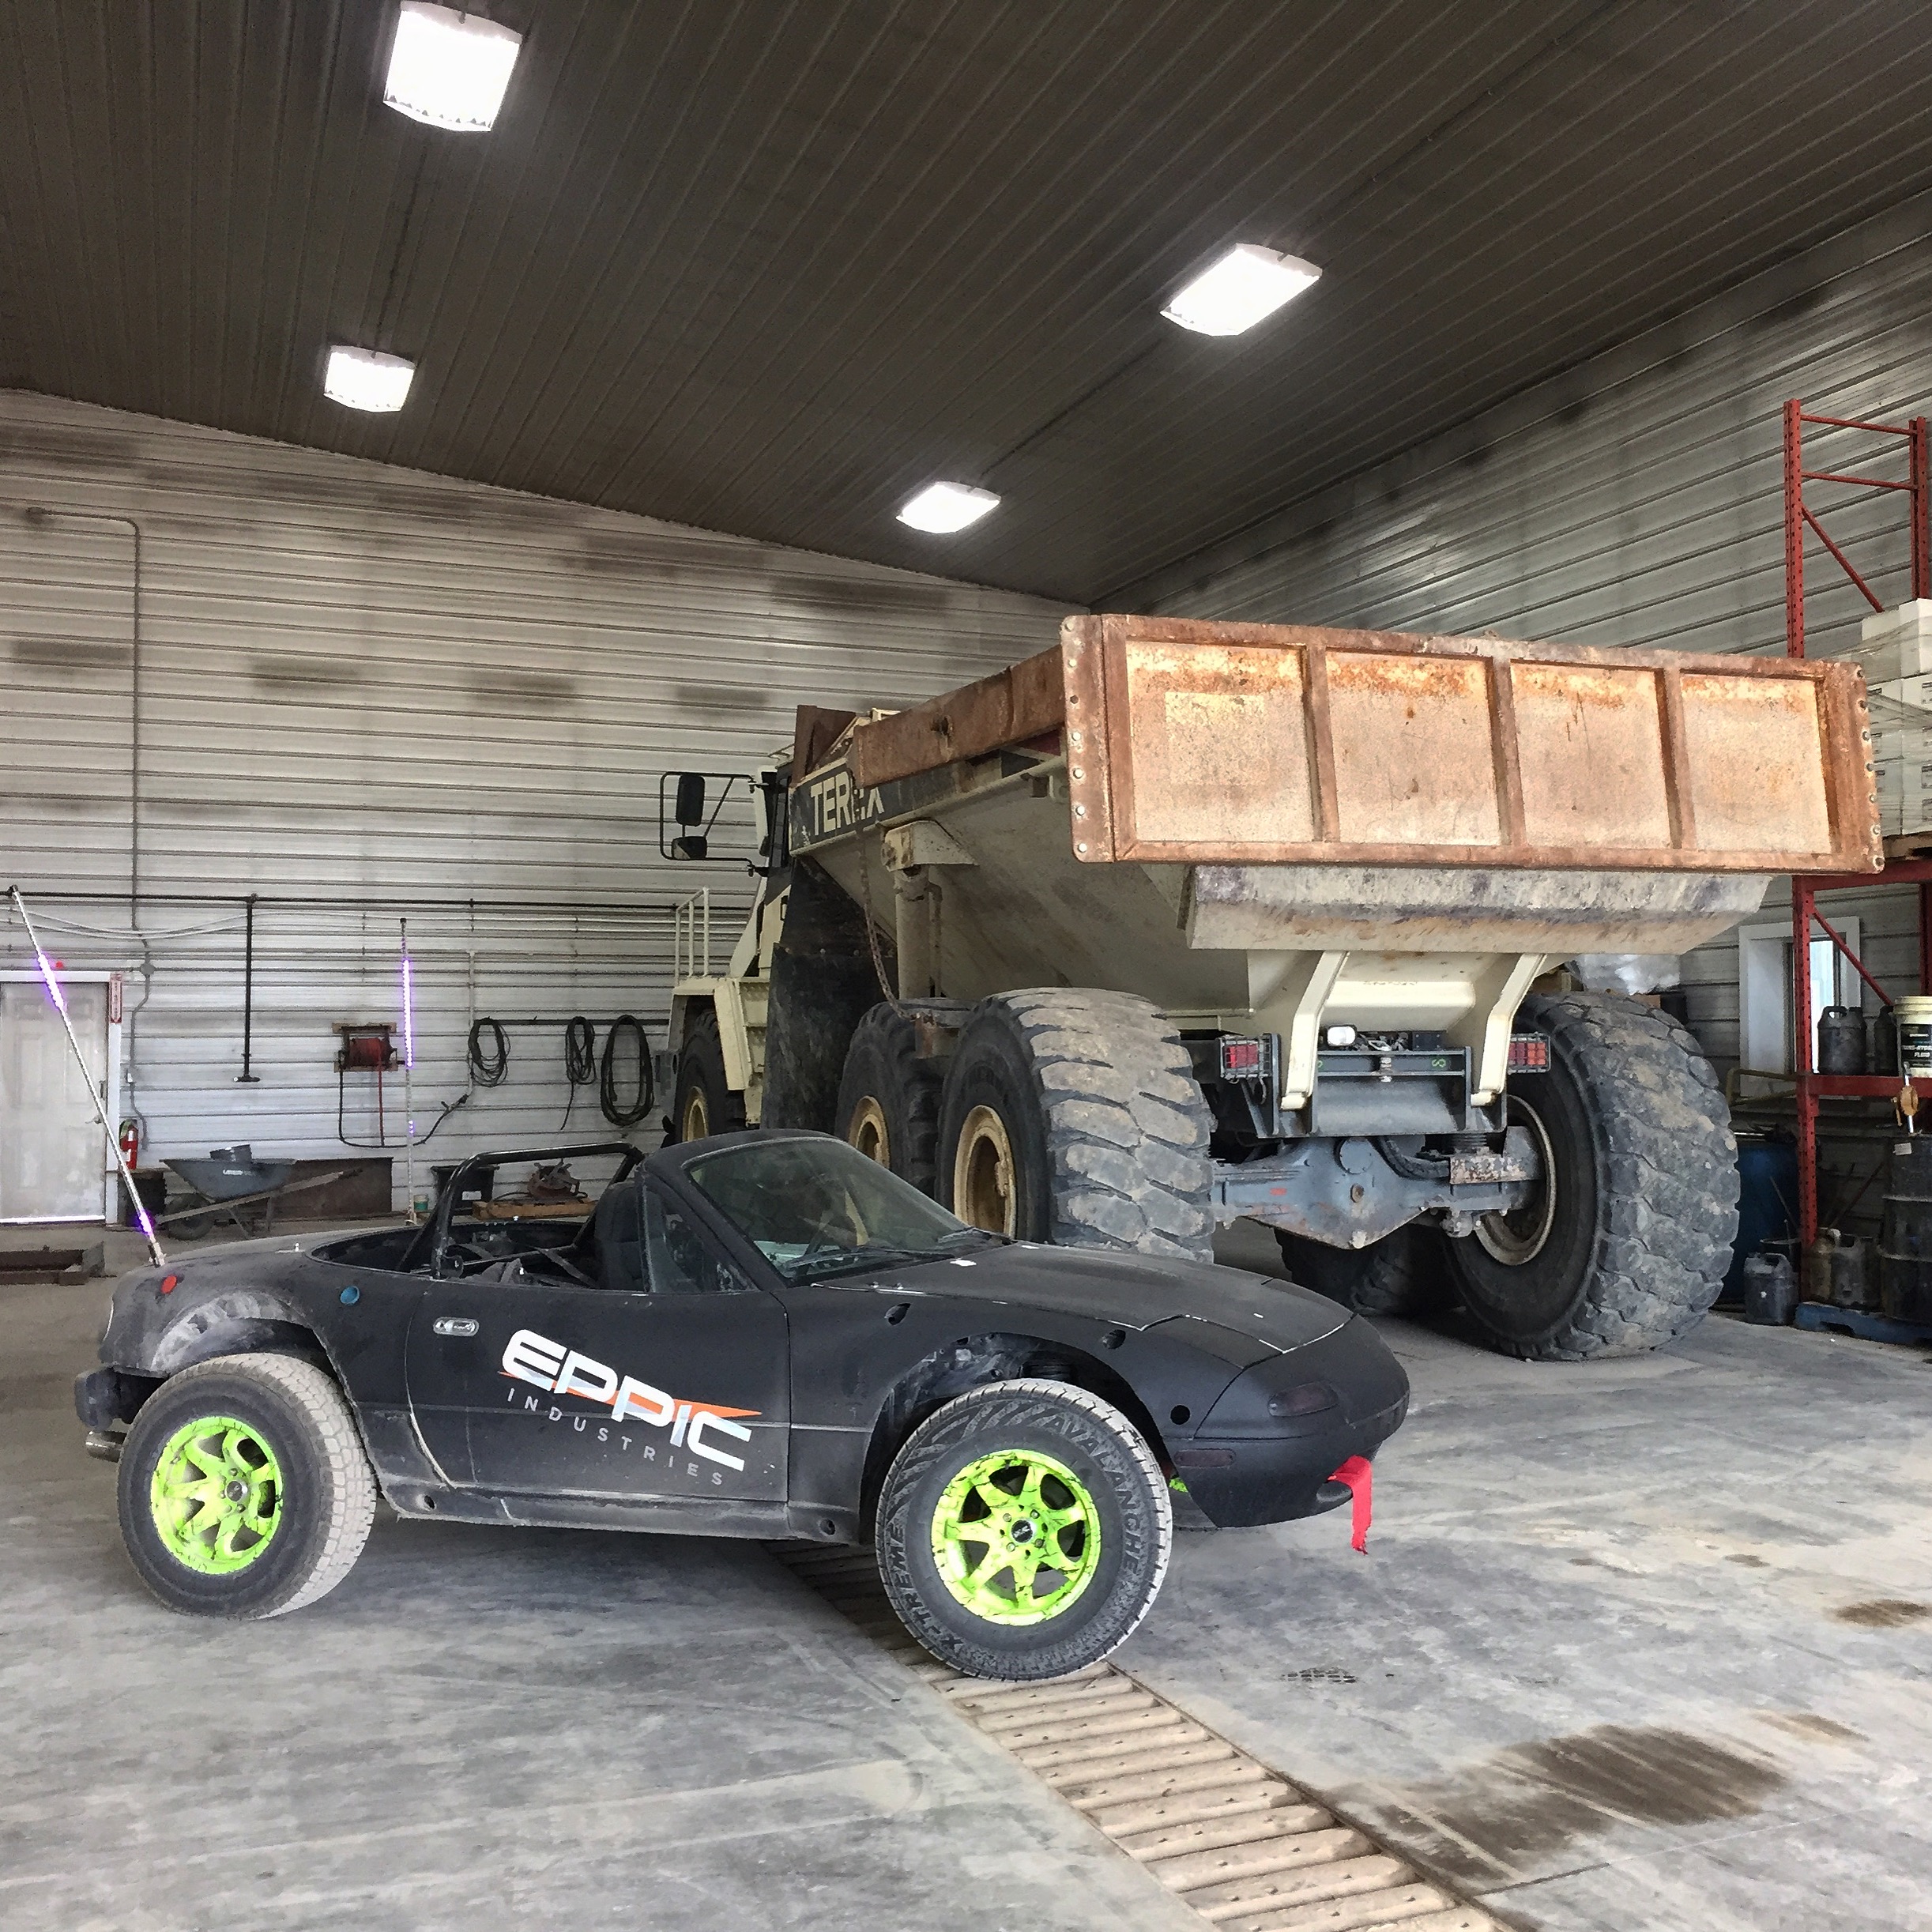
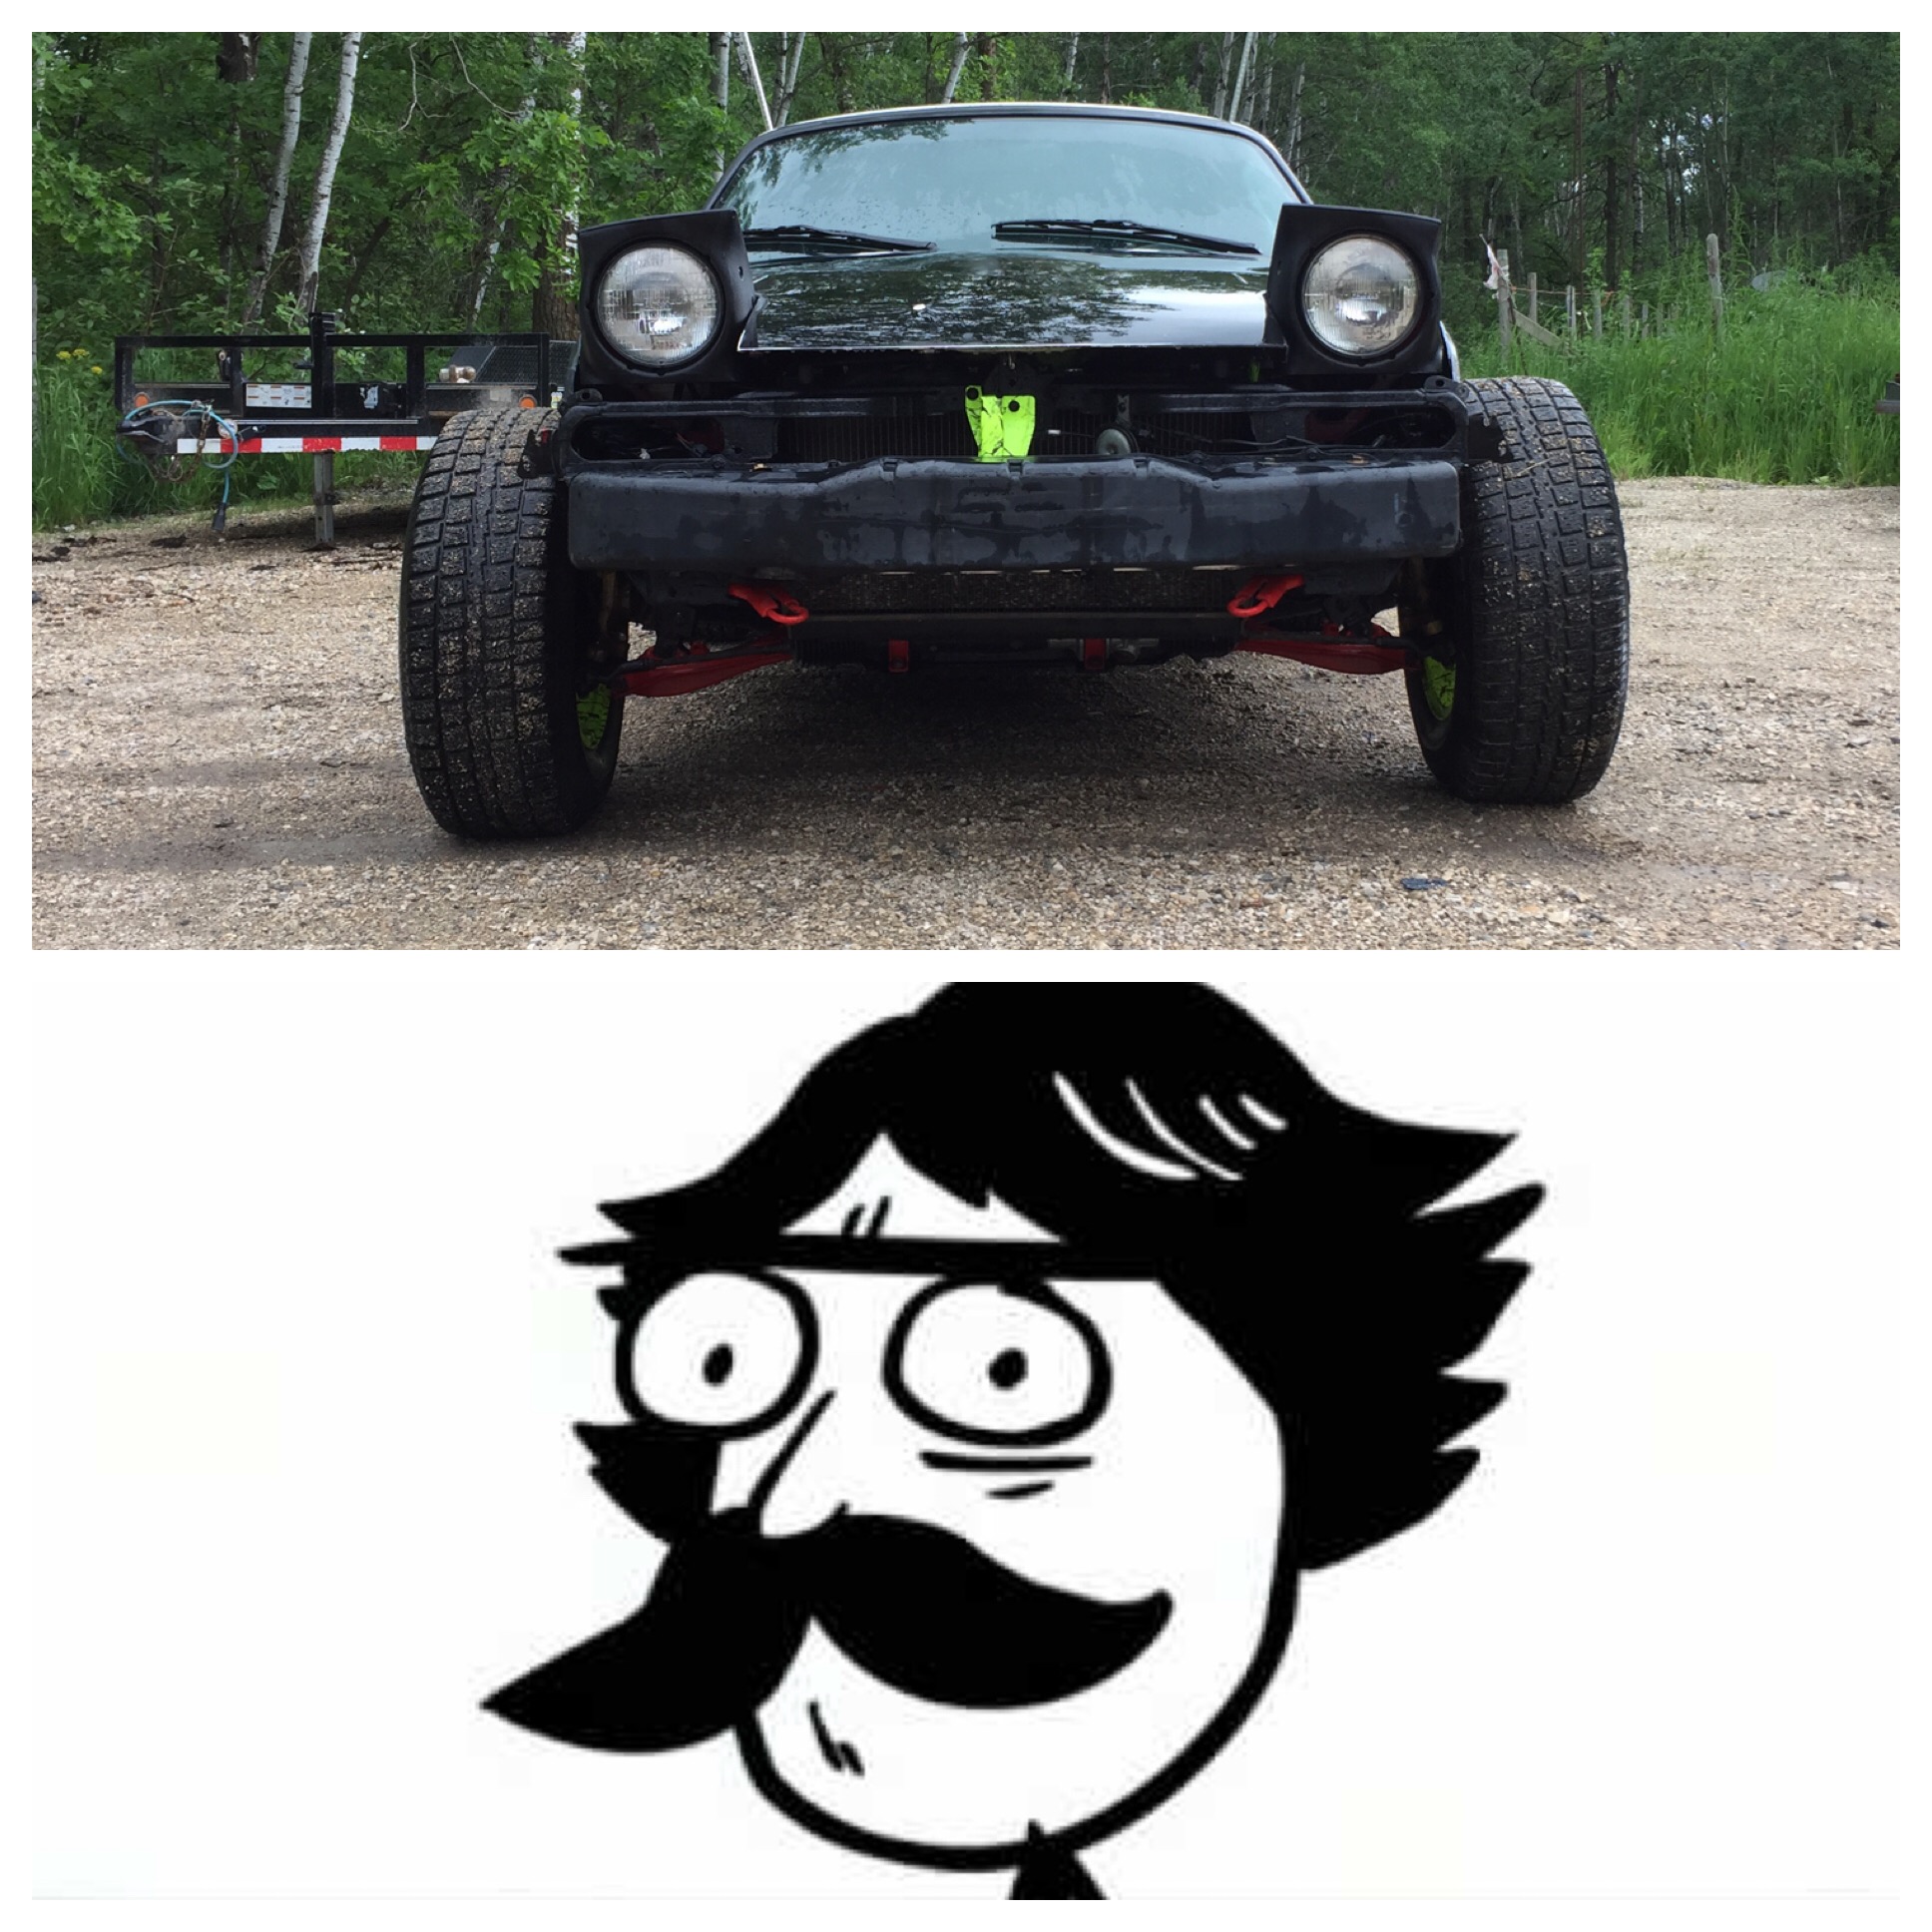
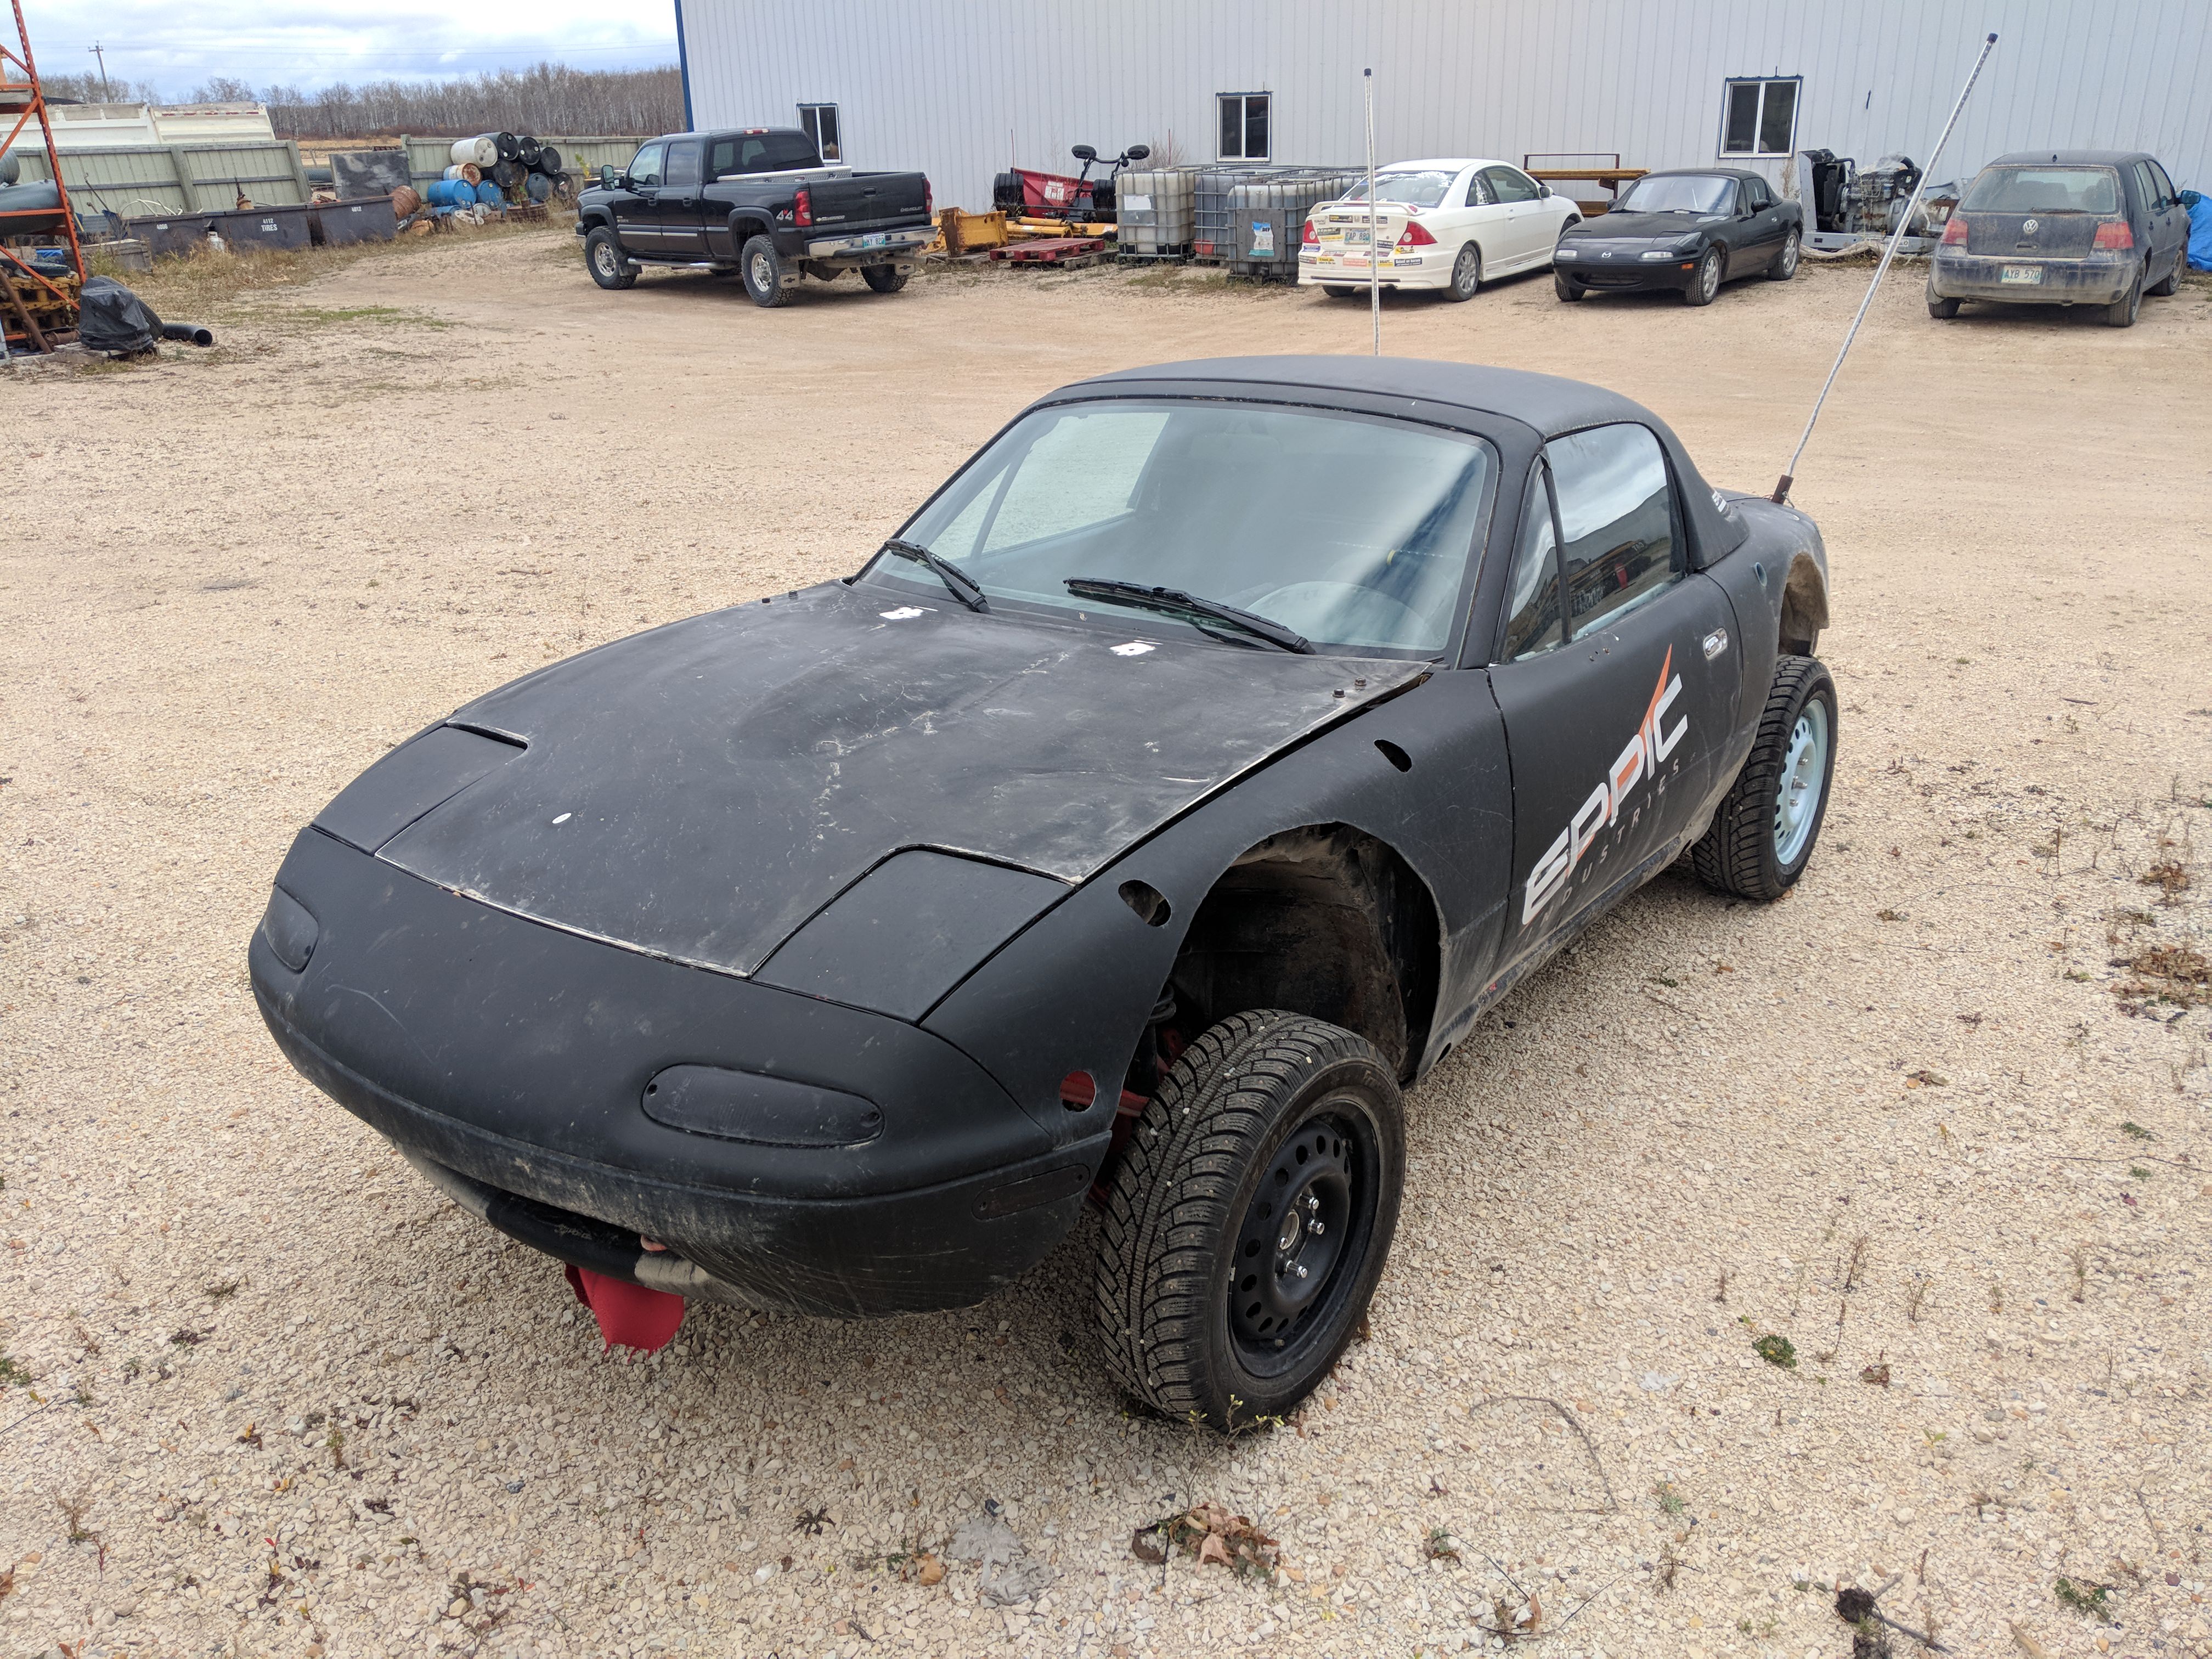
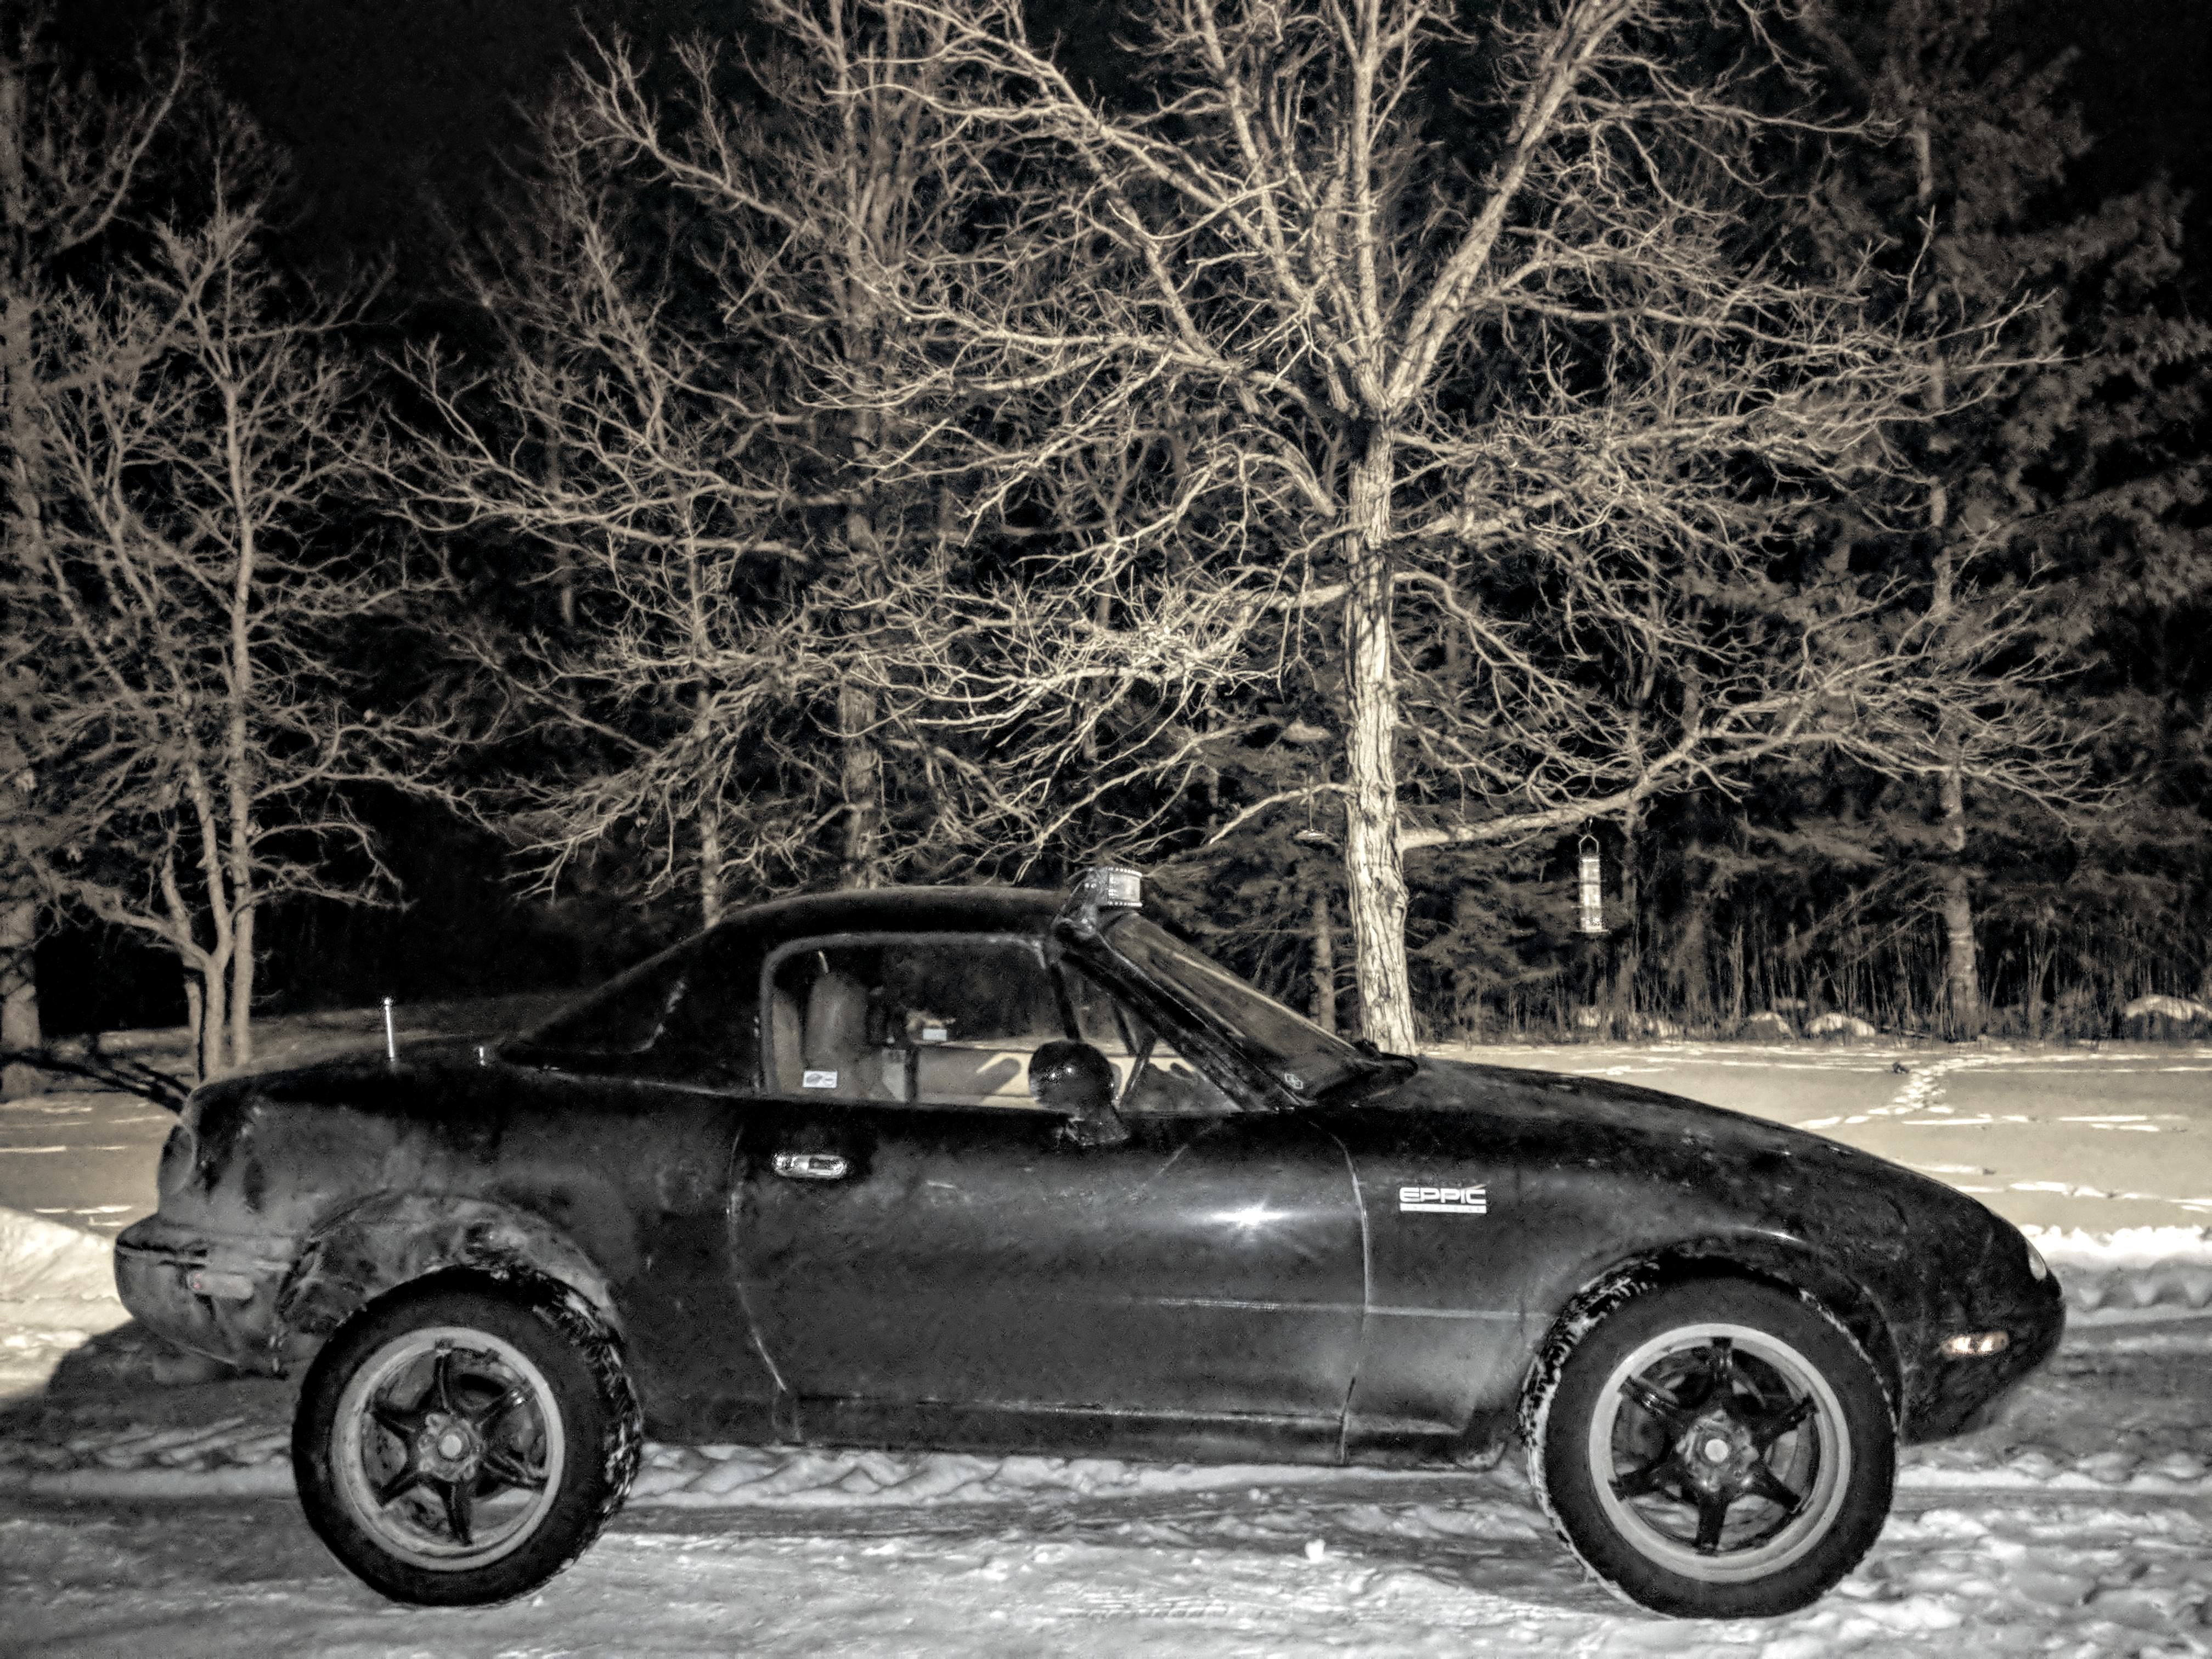
Dinky tires and out he door she goes while I rebuild the engine. Reminds me of a monster truck with regular truck tires on it.
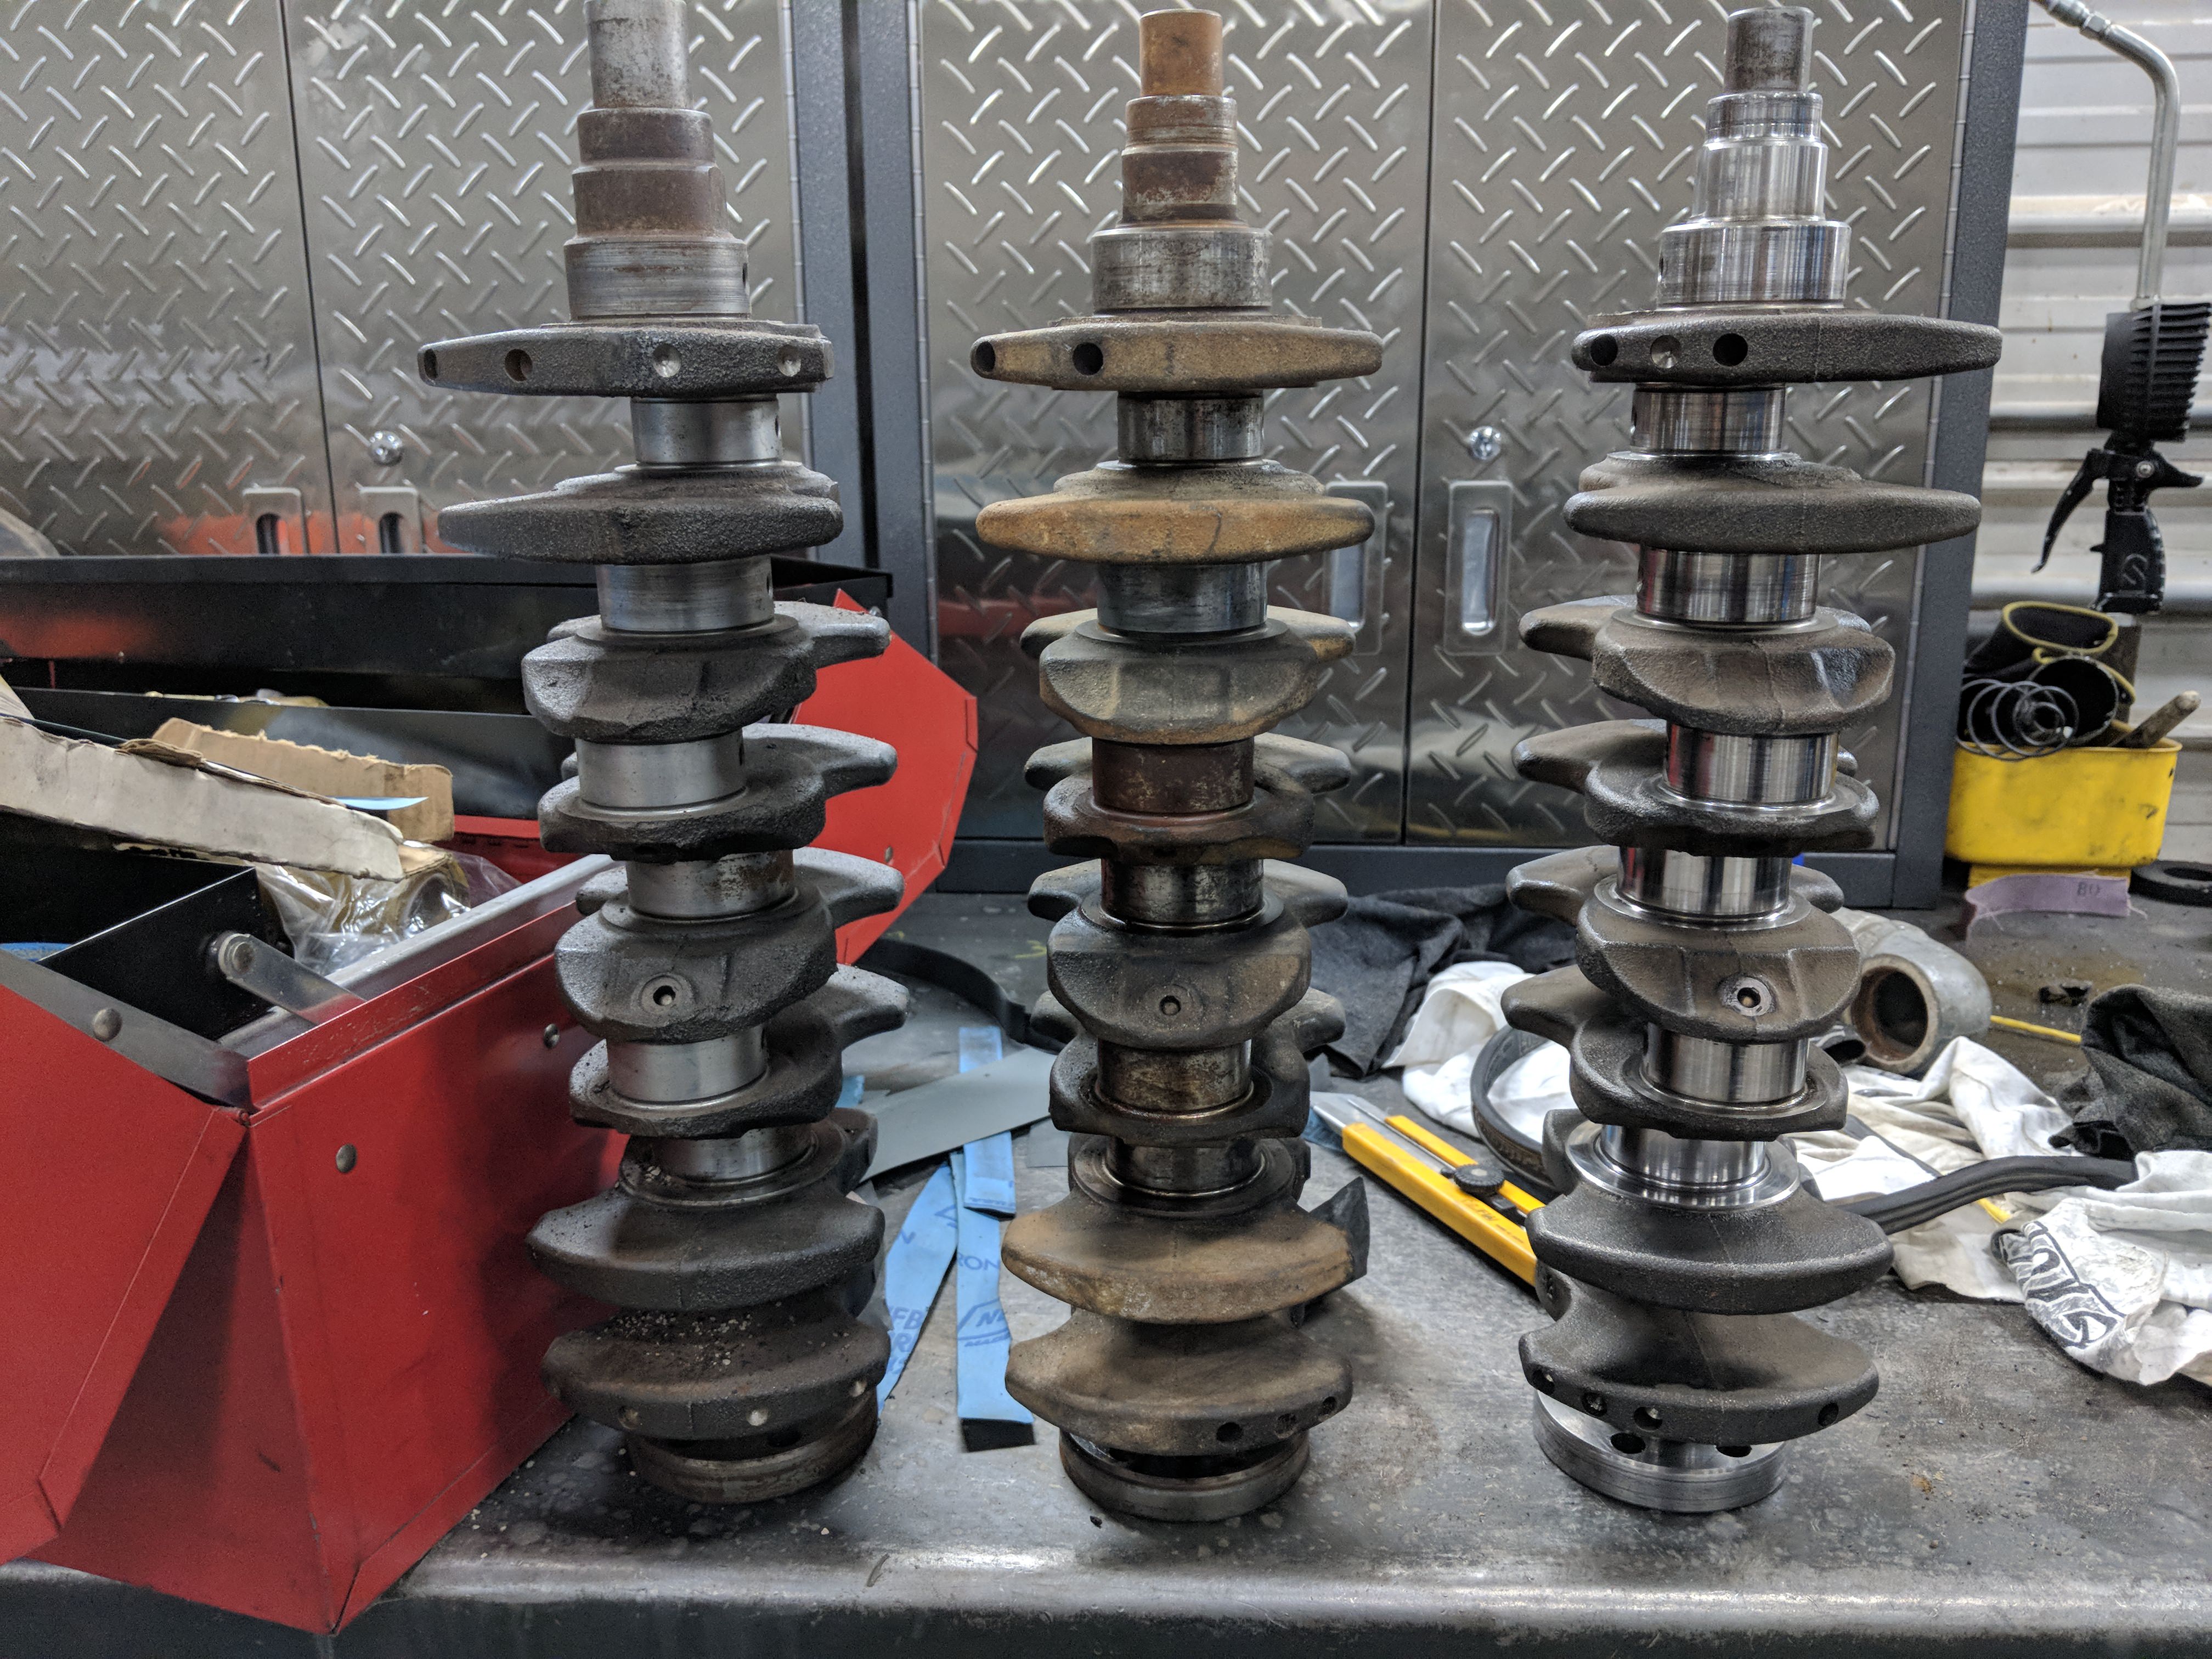
Good thing I have a bunch of these engines laying around. Pull the best crank out and polish that one up.
New pistons. .030 over
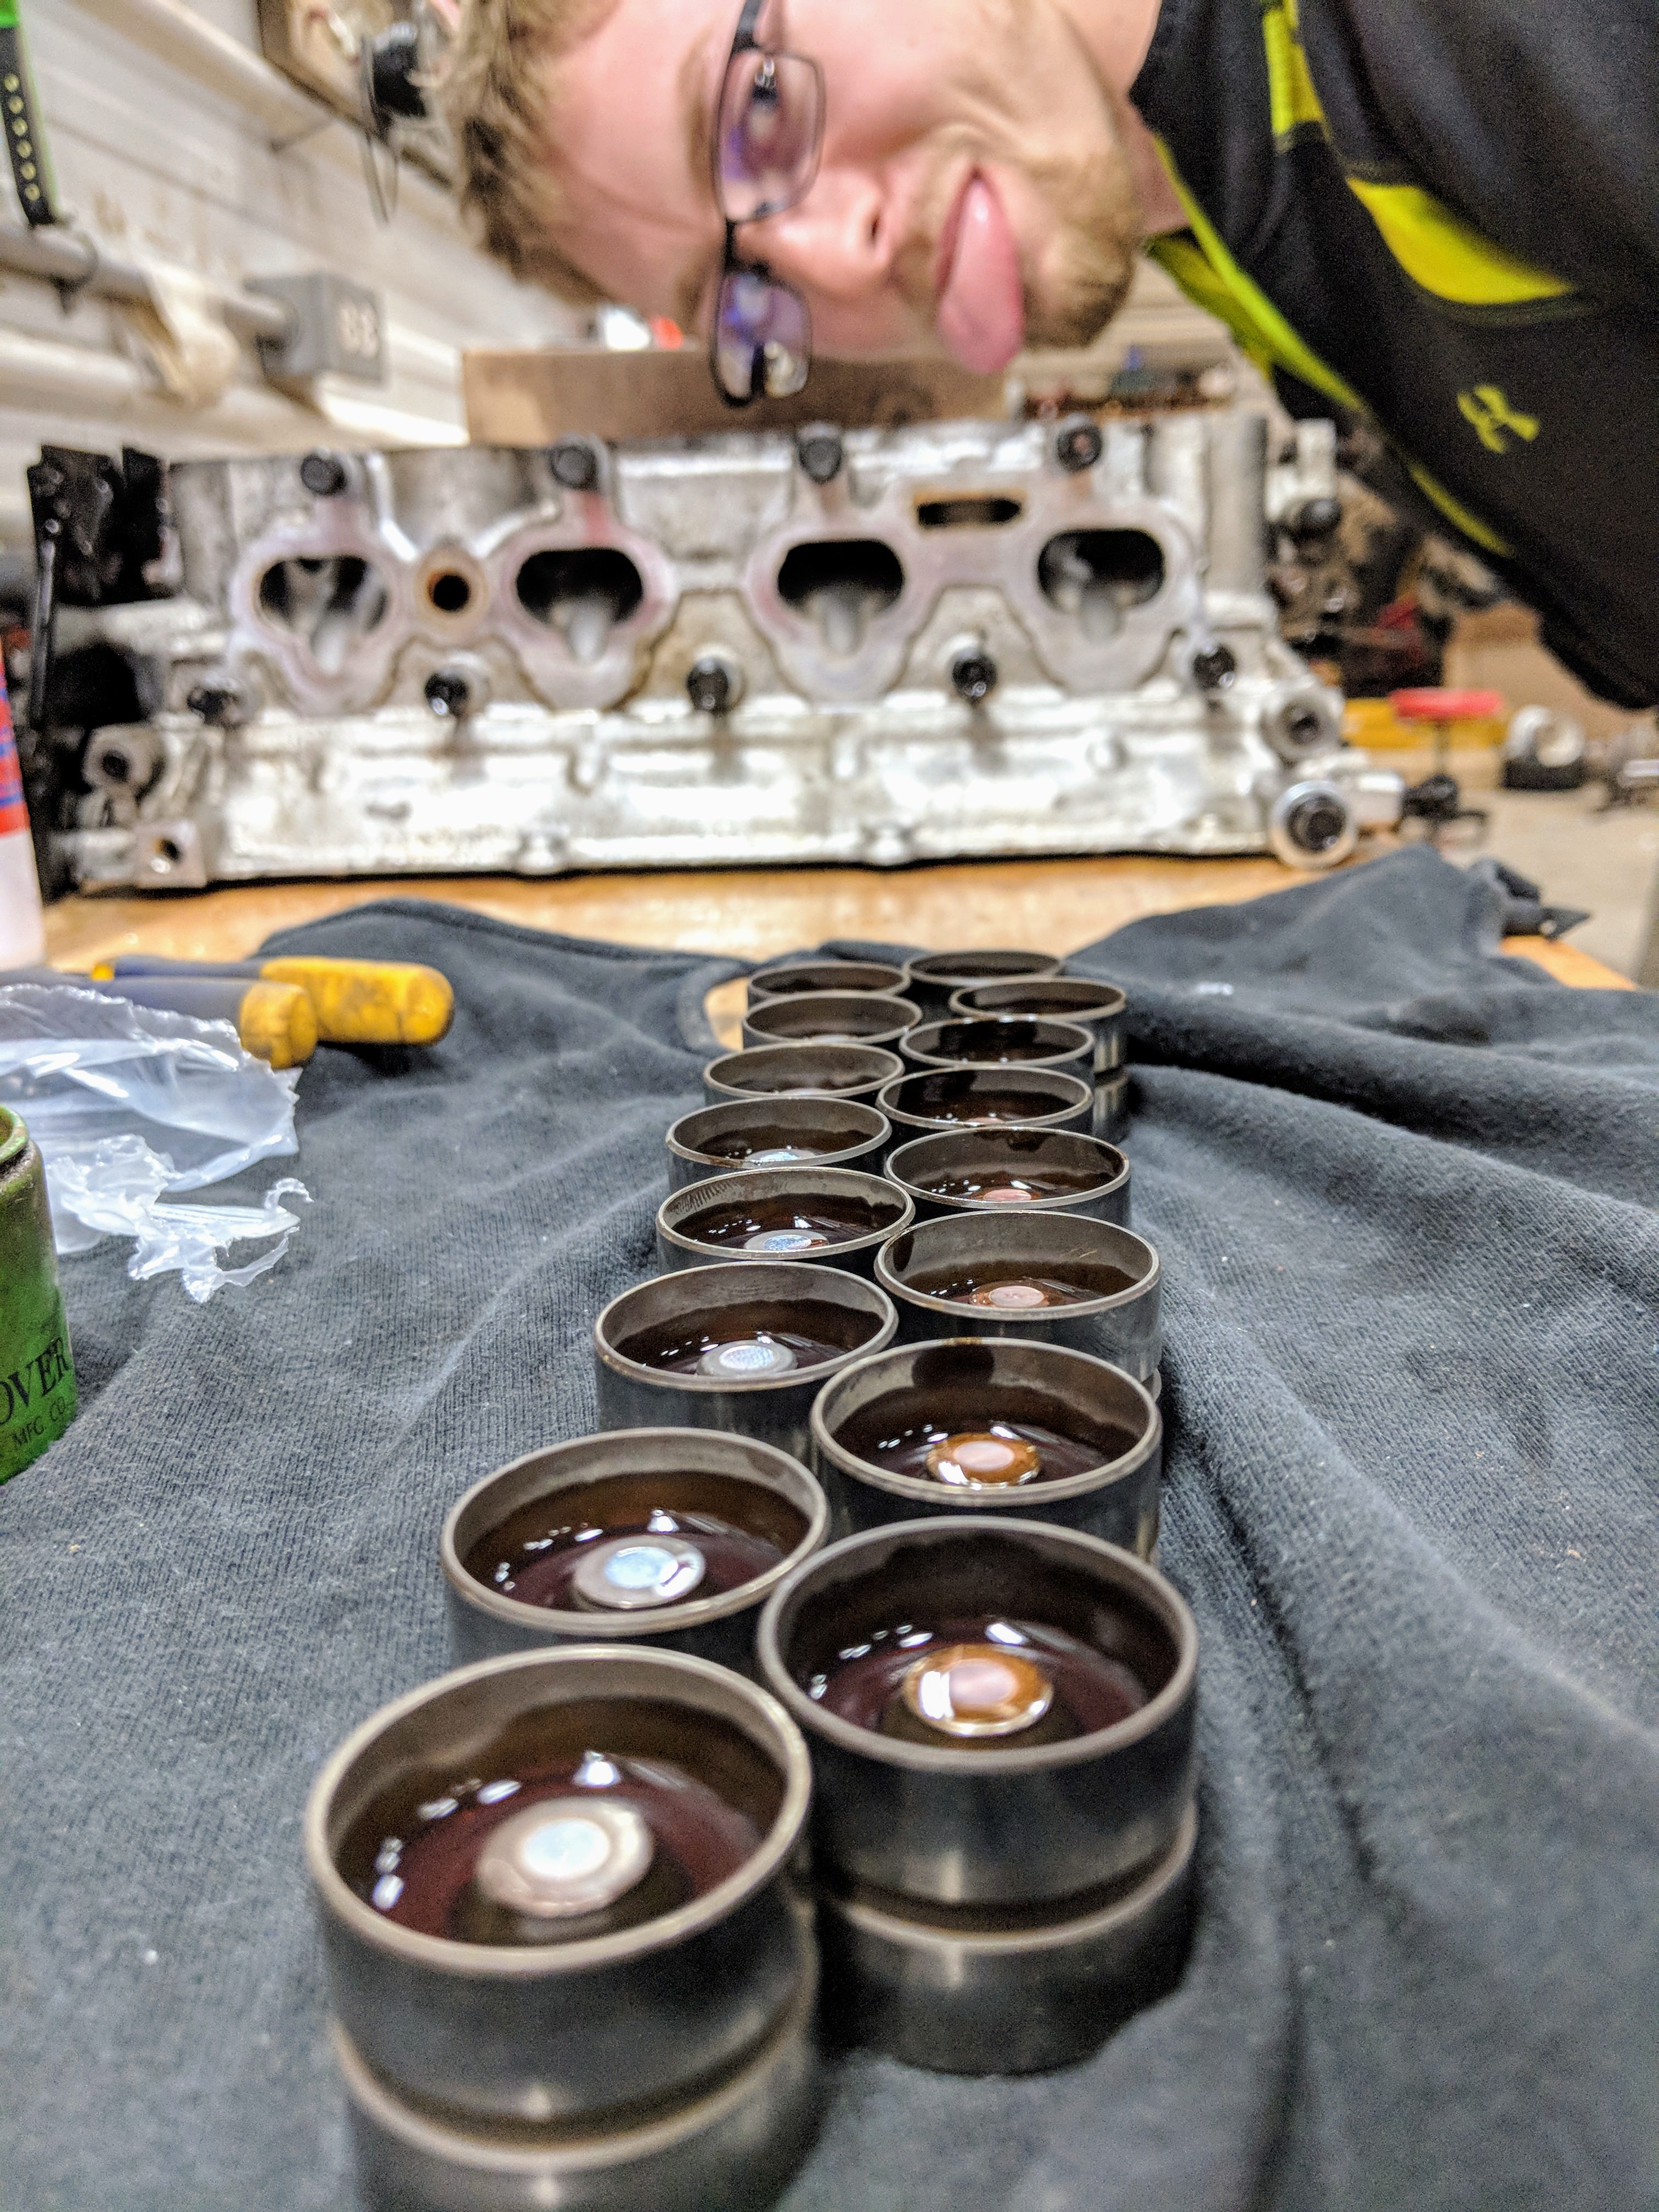
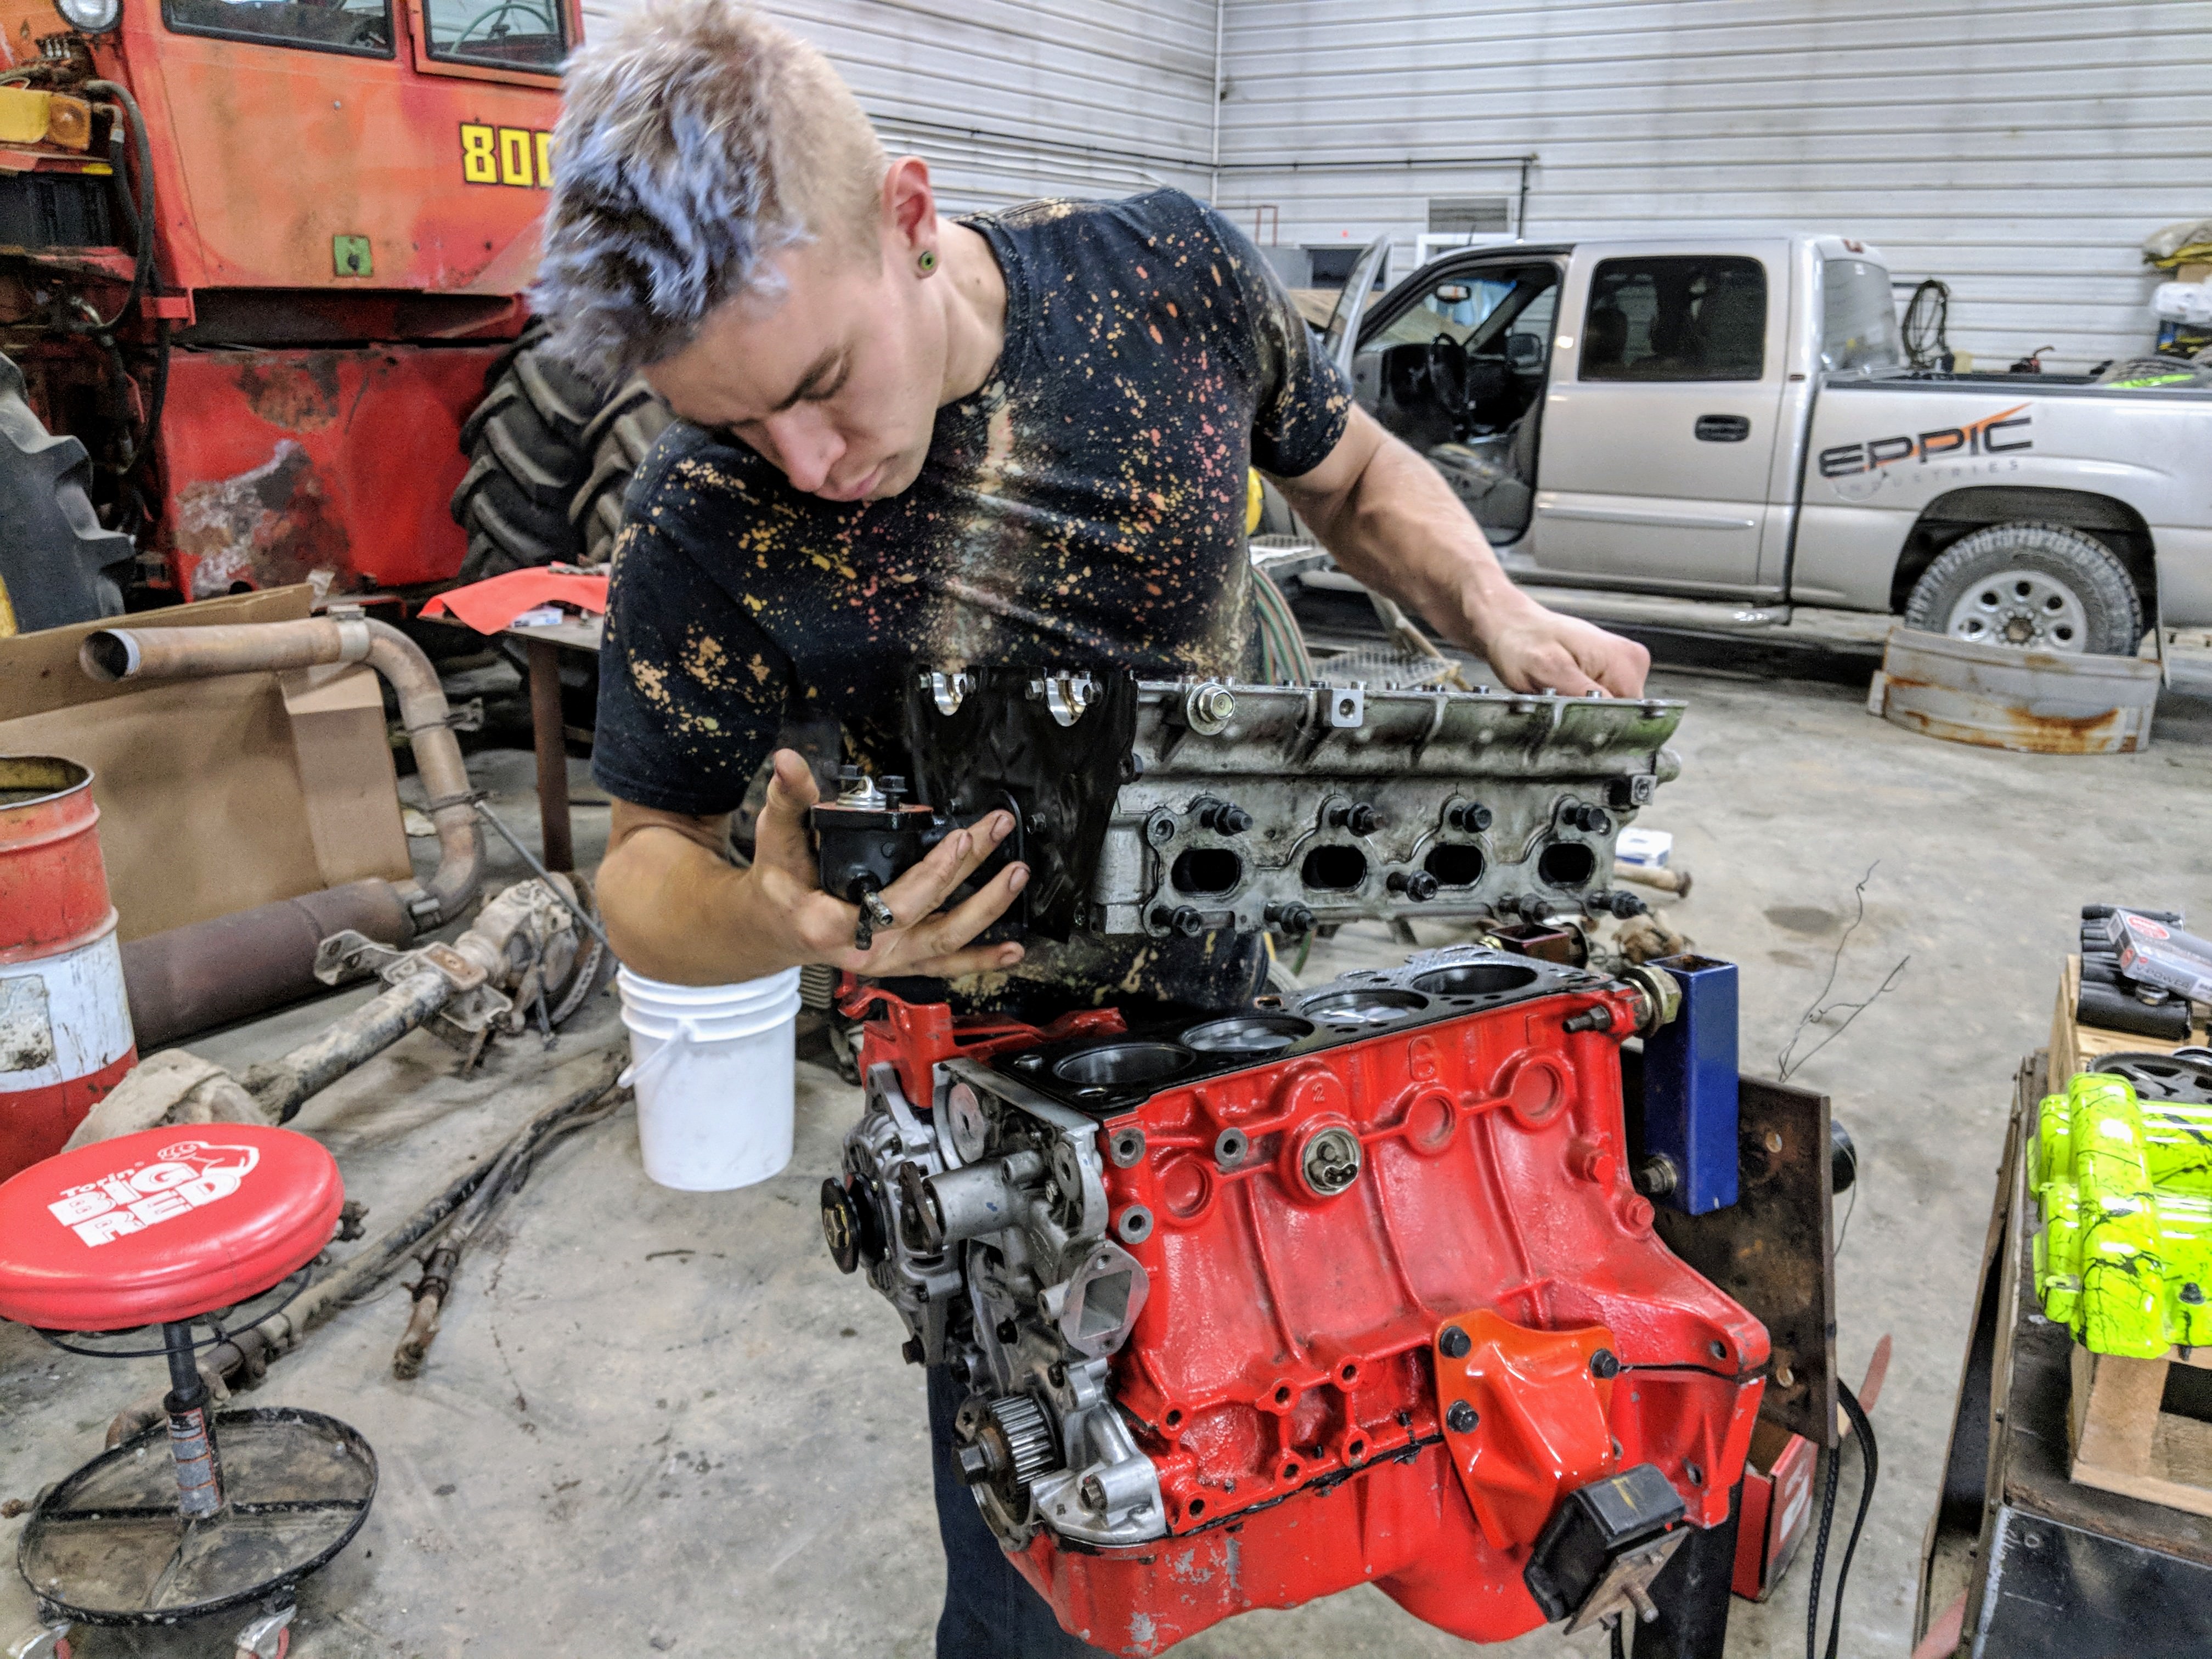
Serviced my lifters with the help of my redneck apprentice.
Valve retainers are a real patience testing practice. Pesky buggers sure are annoying to get in place.
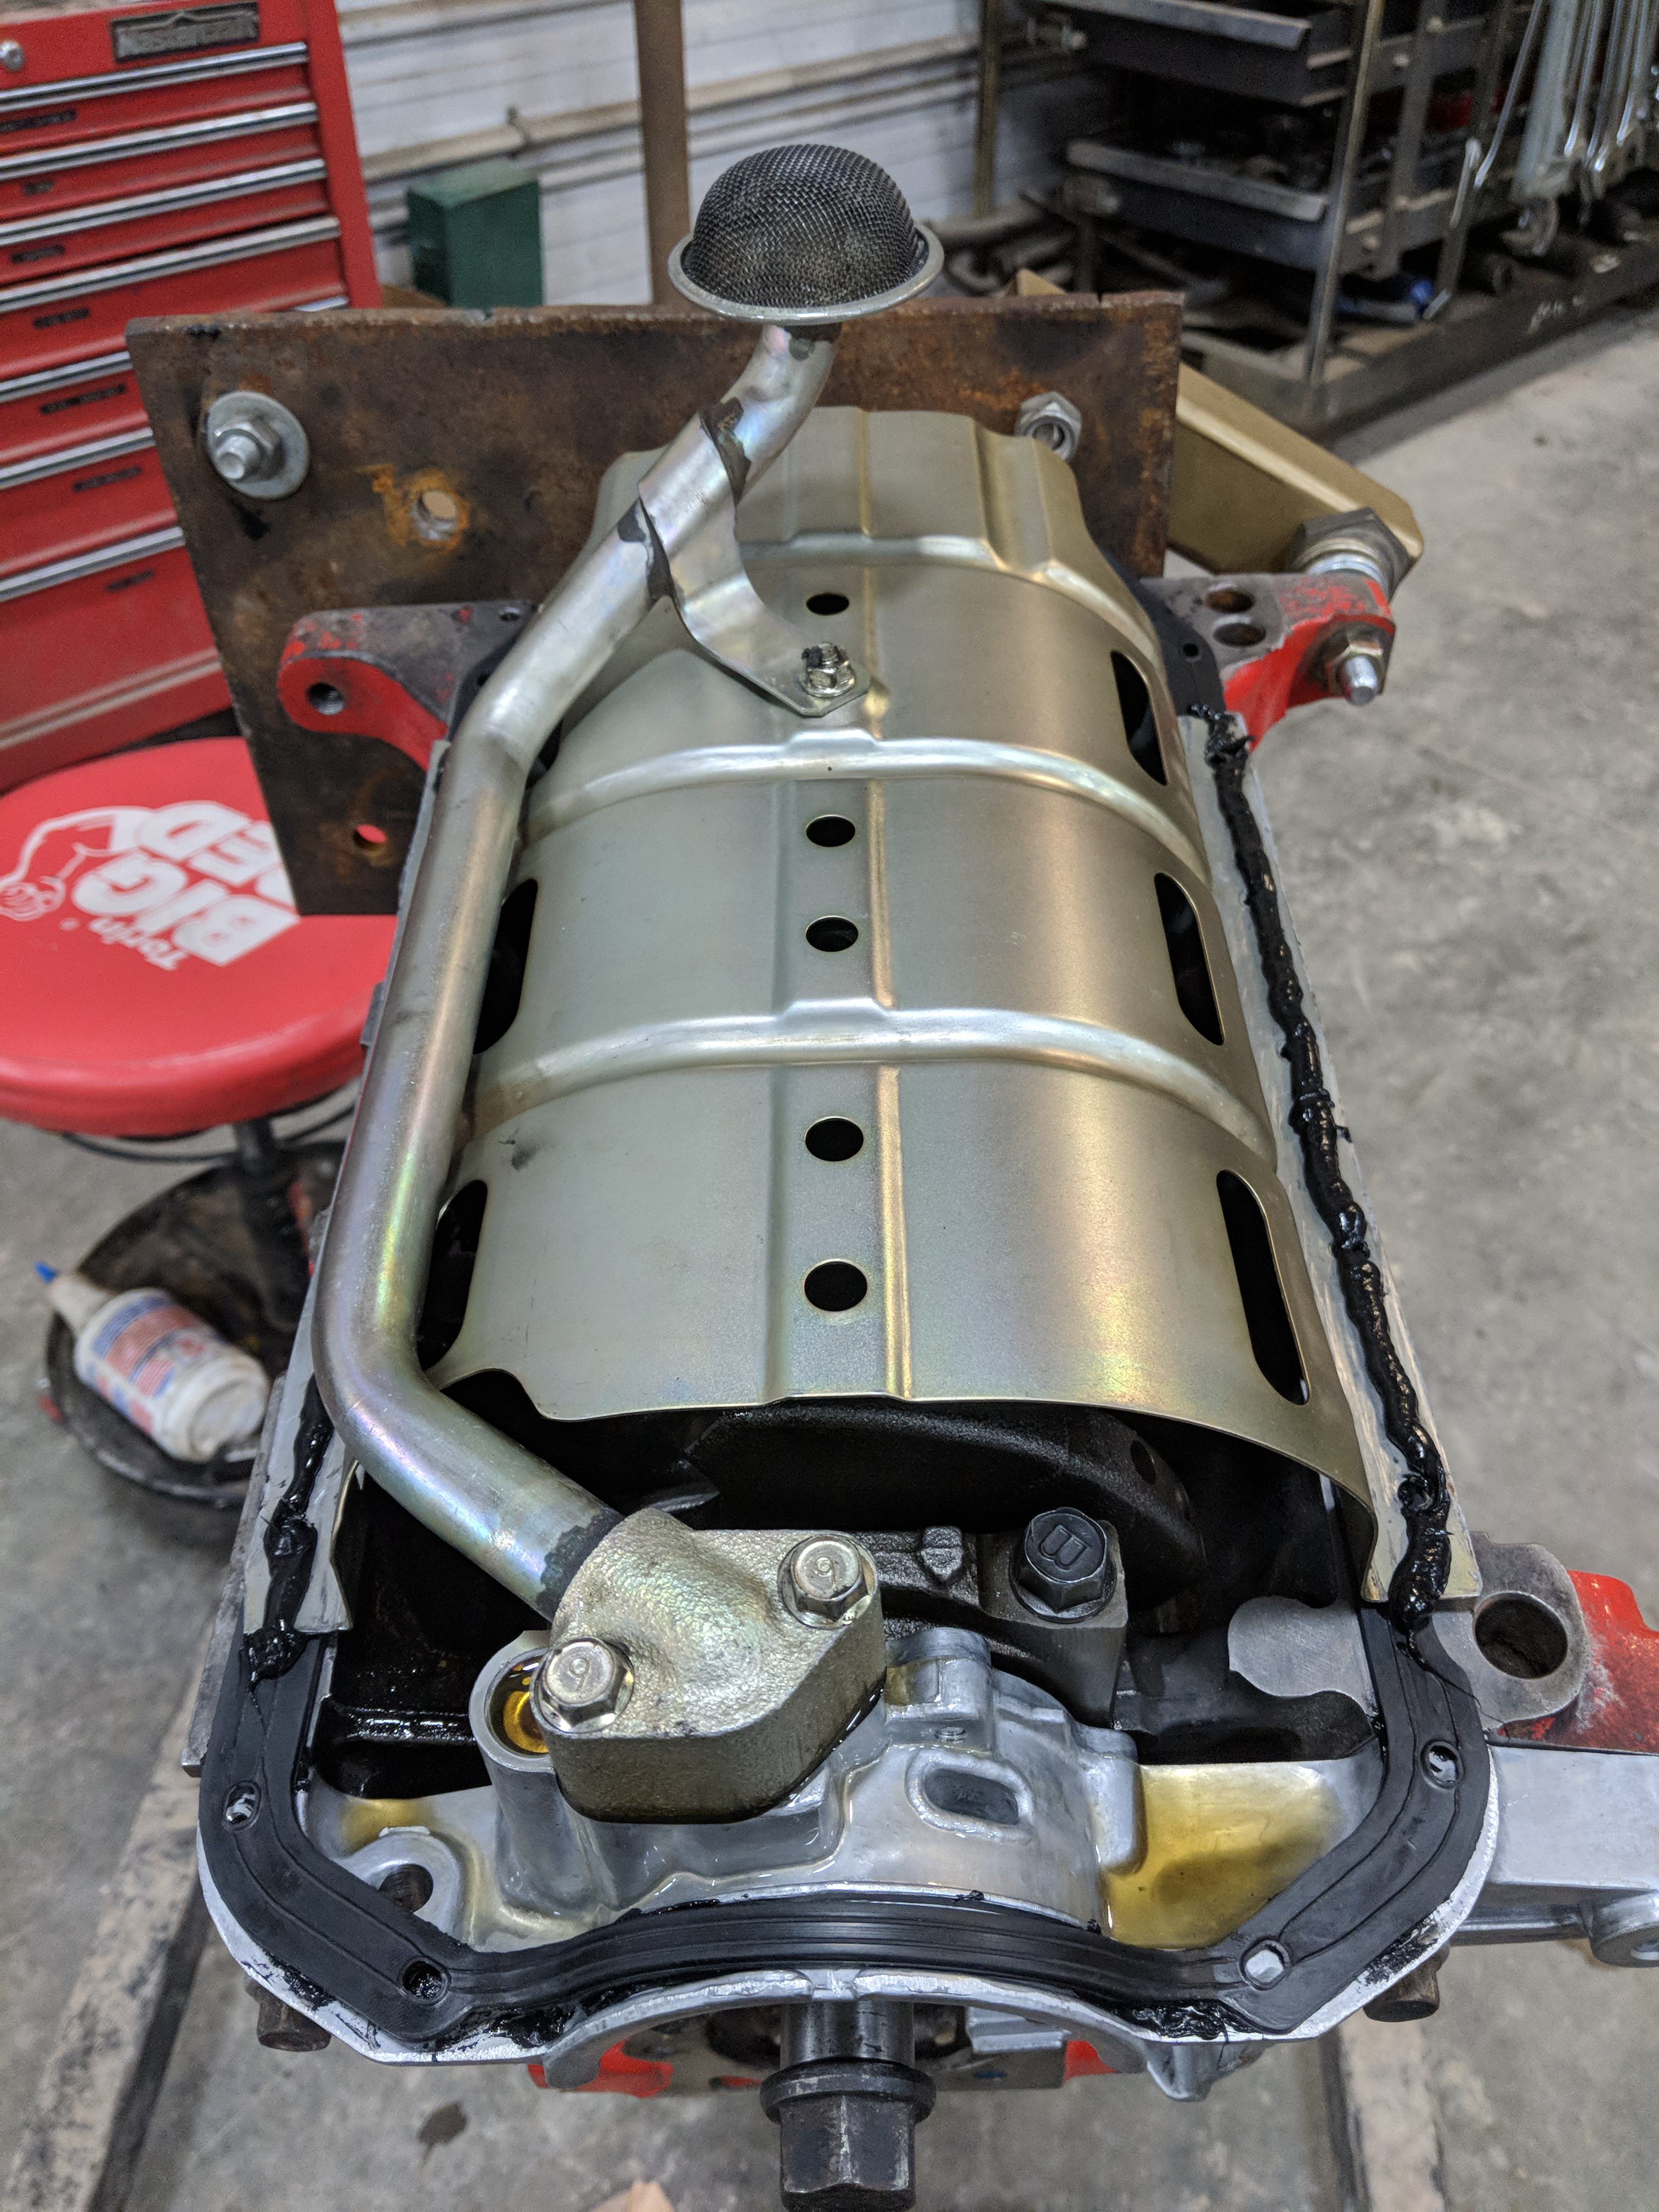
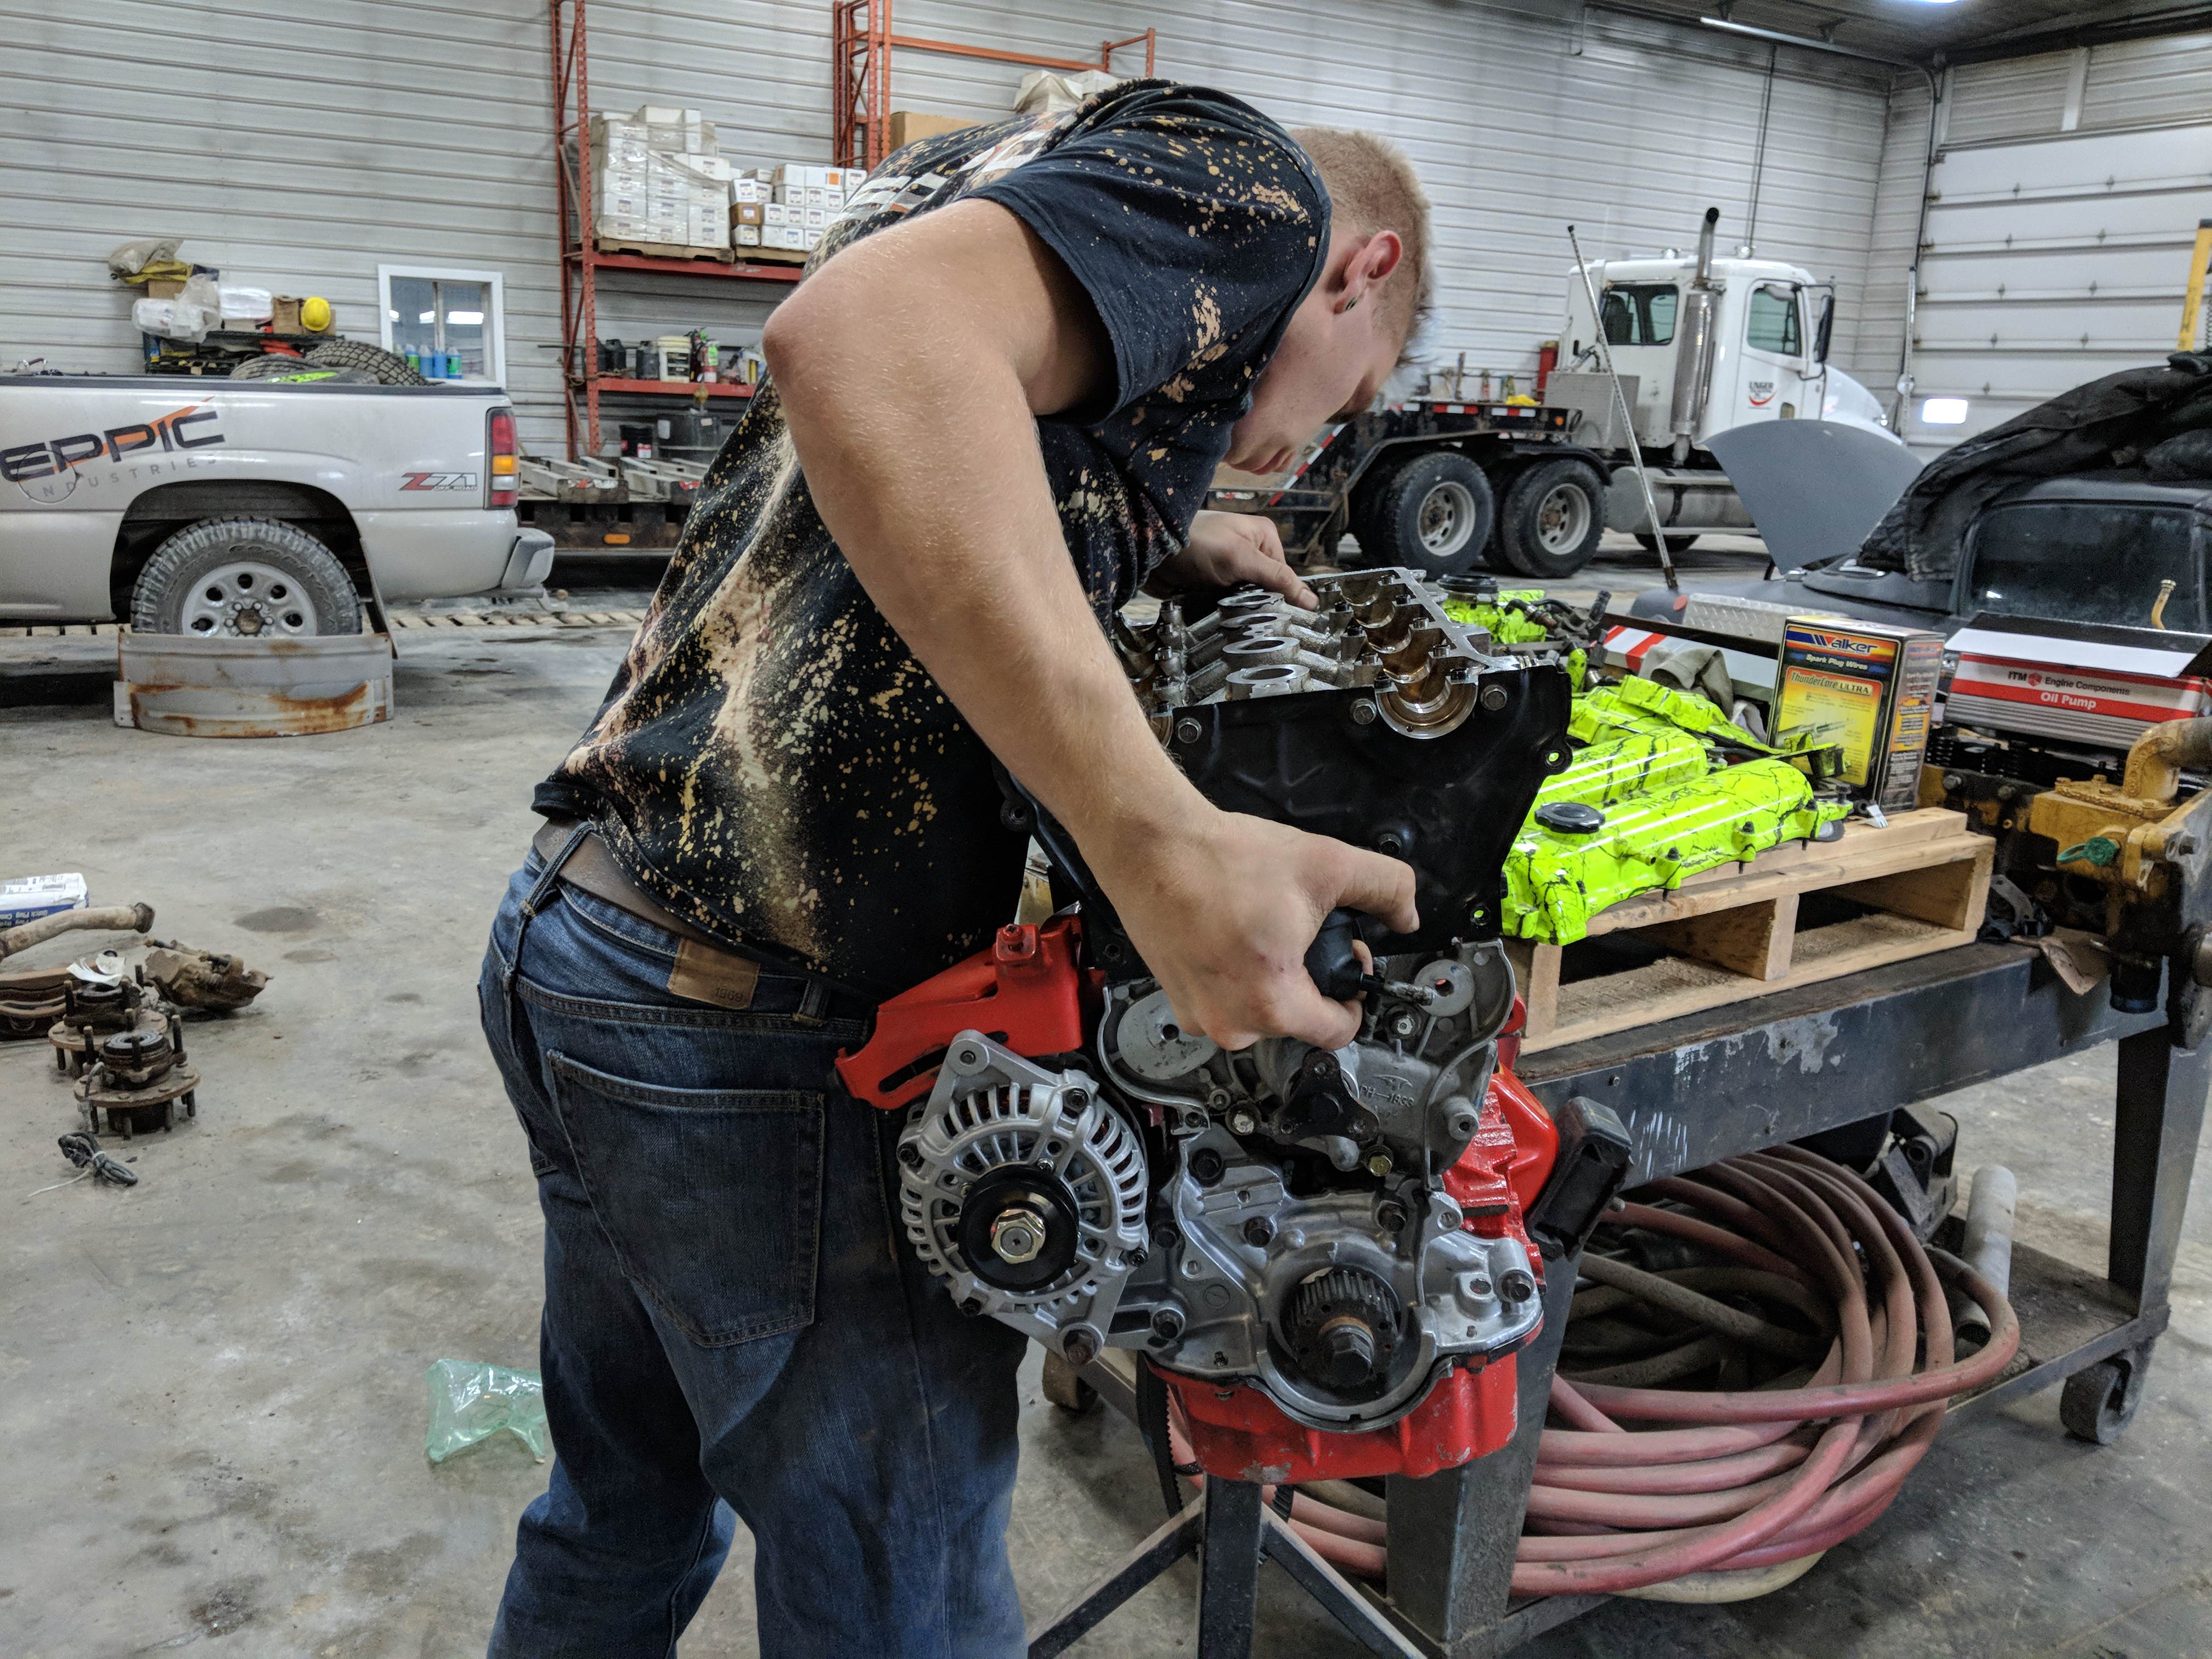
Slap that head back on there and lets get her back together.
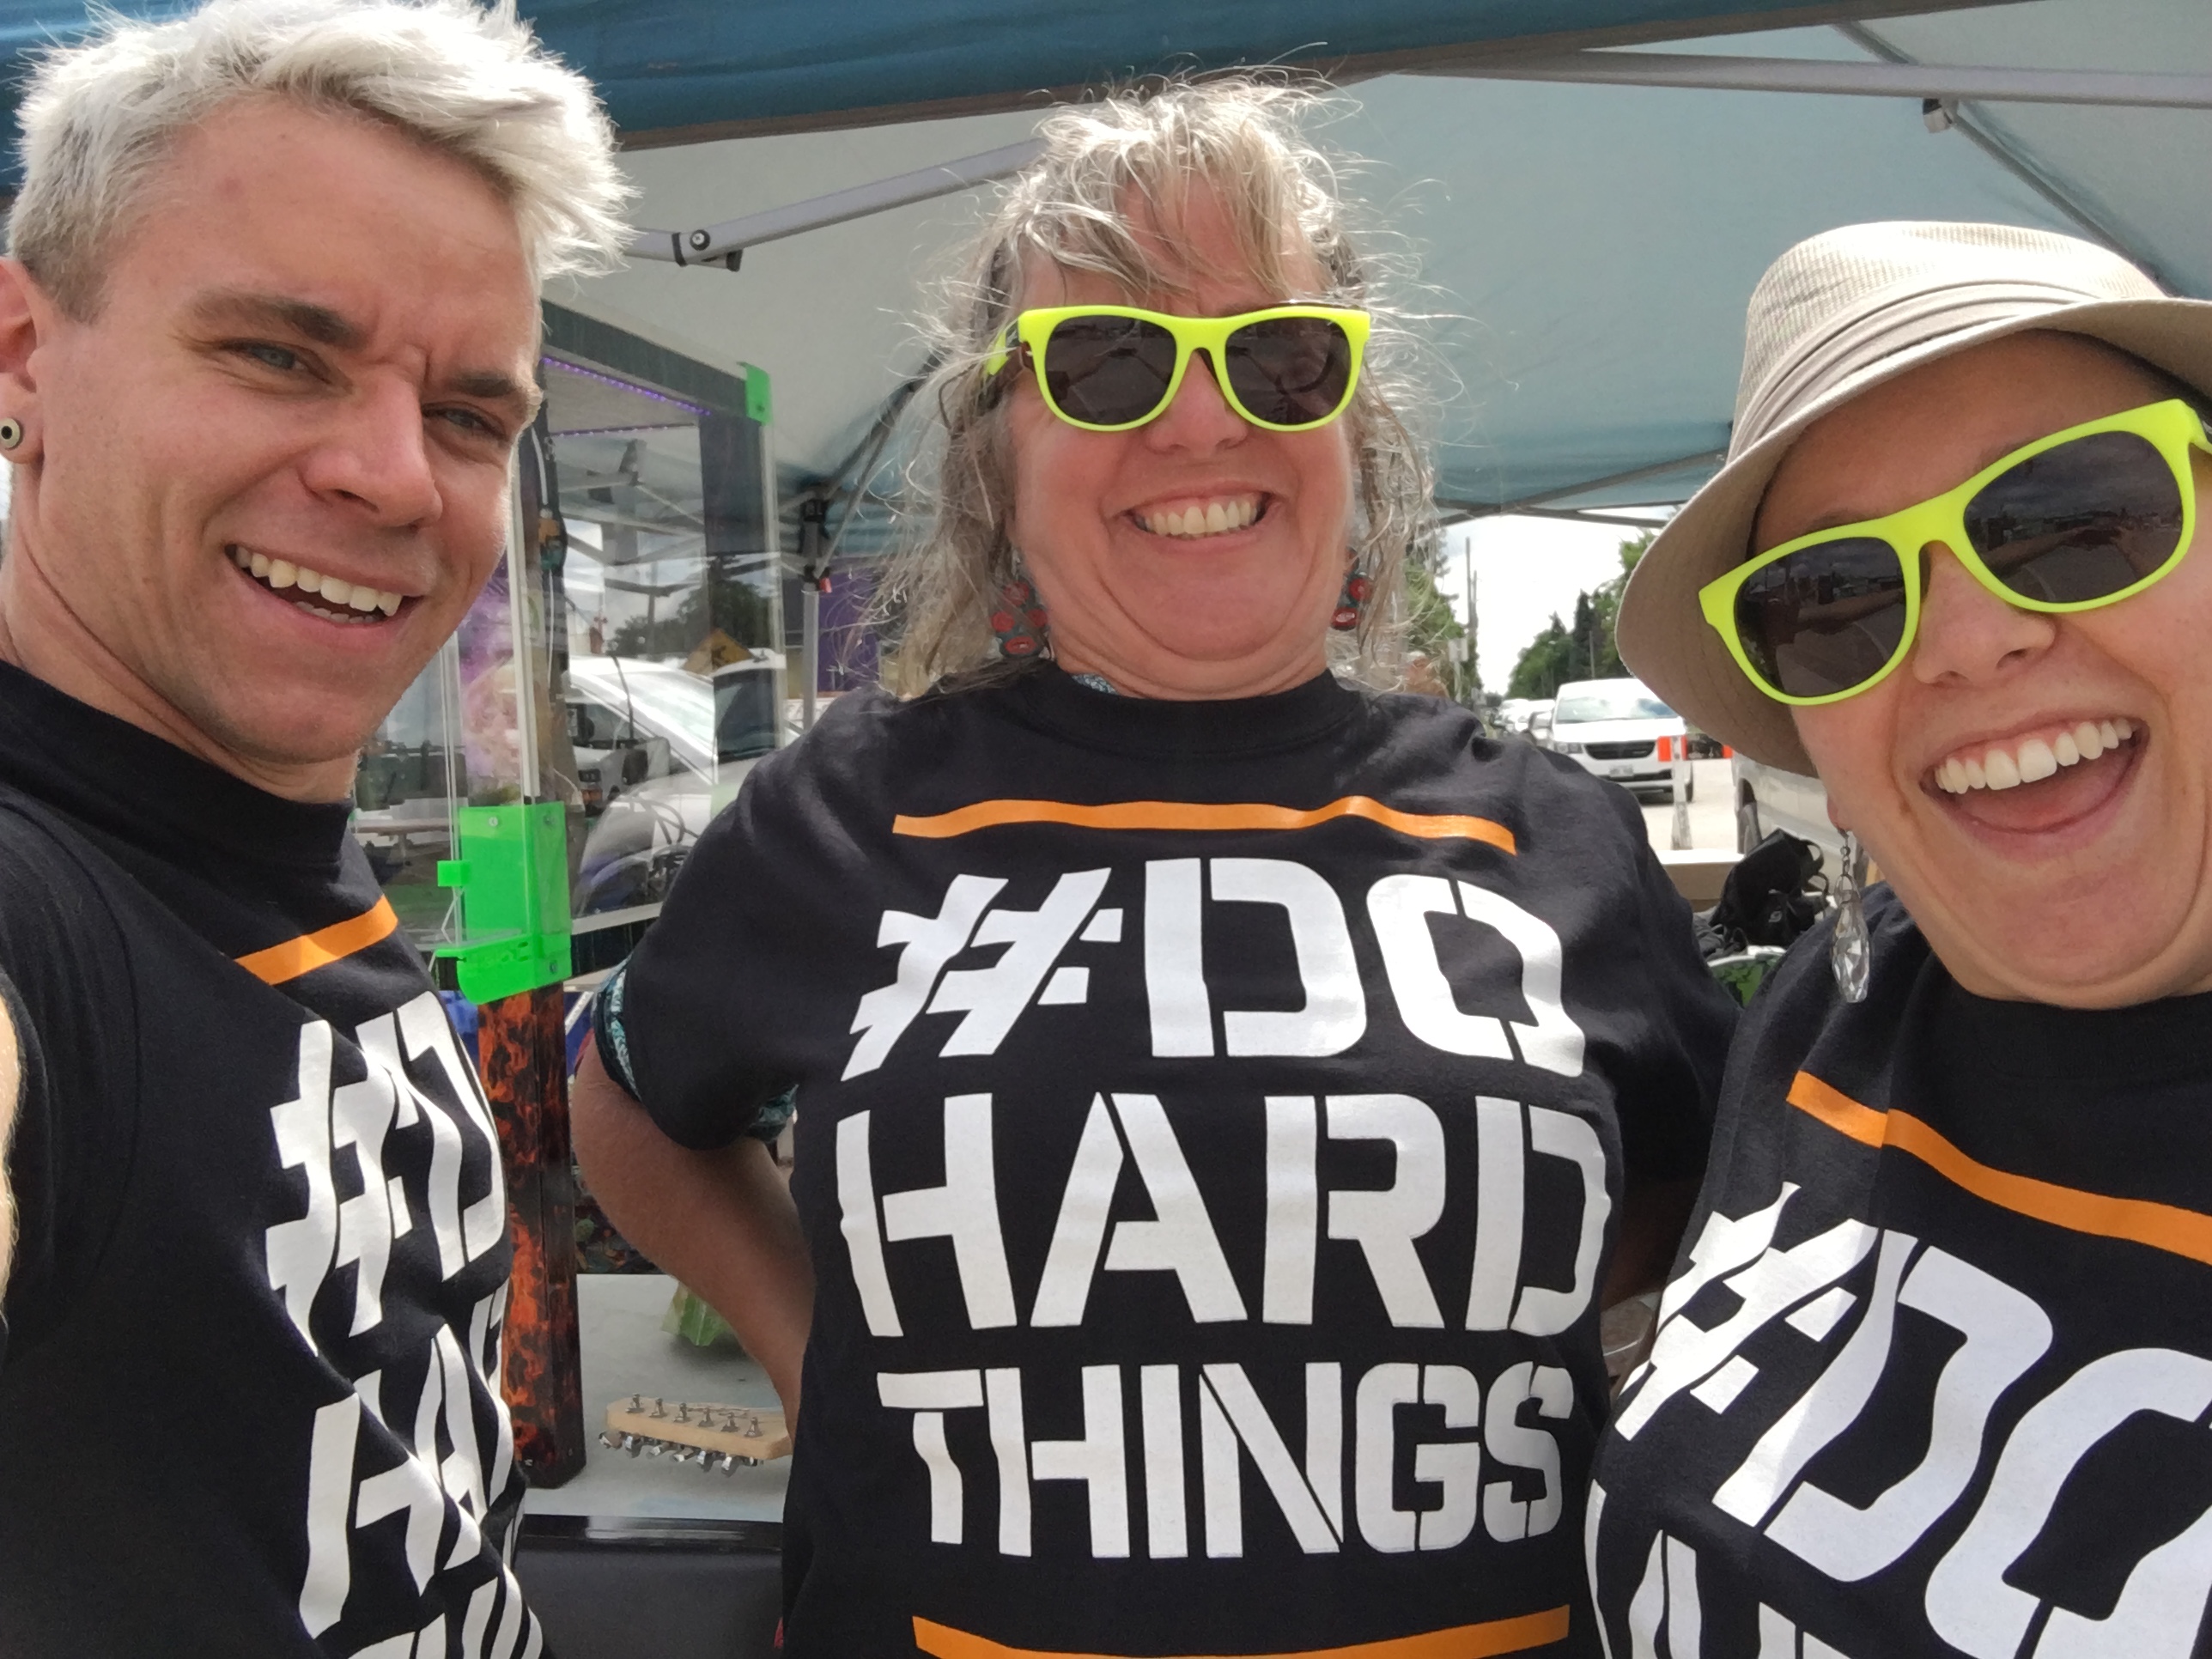
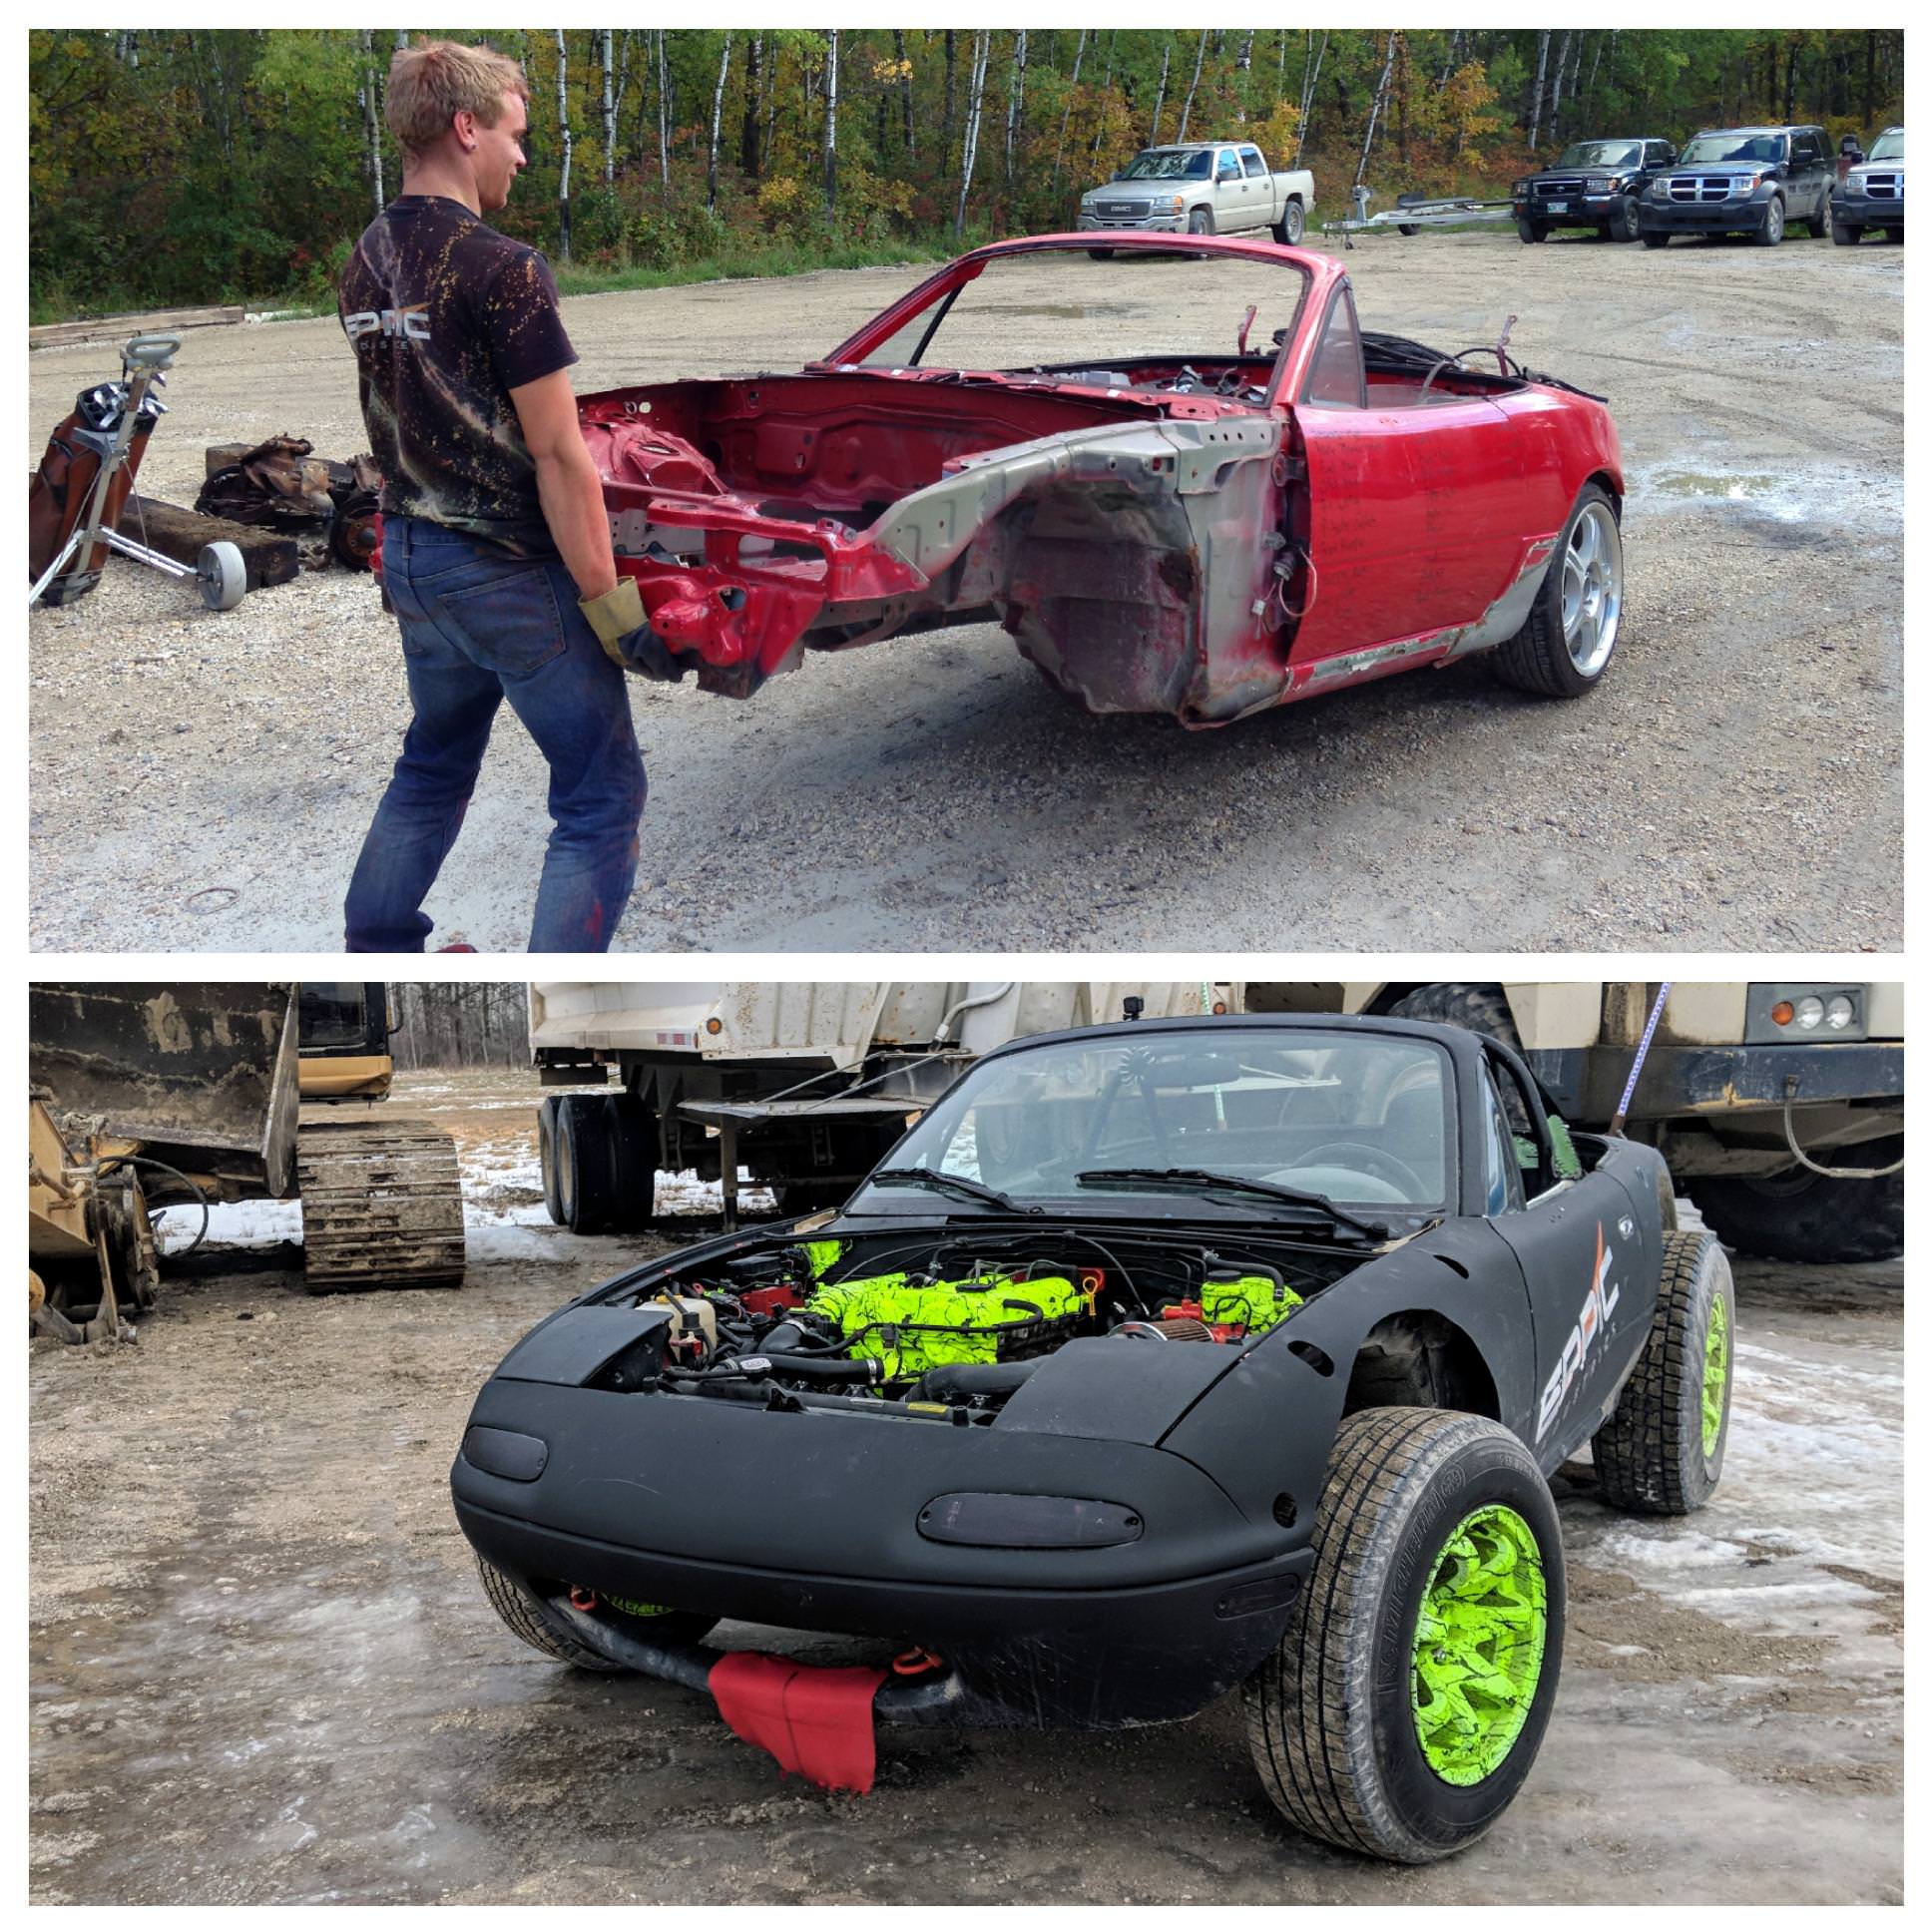
No need for a transmission jack. I stay fit for a reason. (I have 8 miata's. I'm just helping reinforce the hair dresser stereotype with that shirt choice apparently. Don't judge me!)
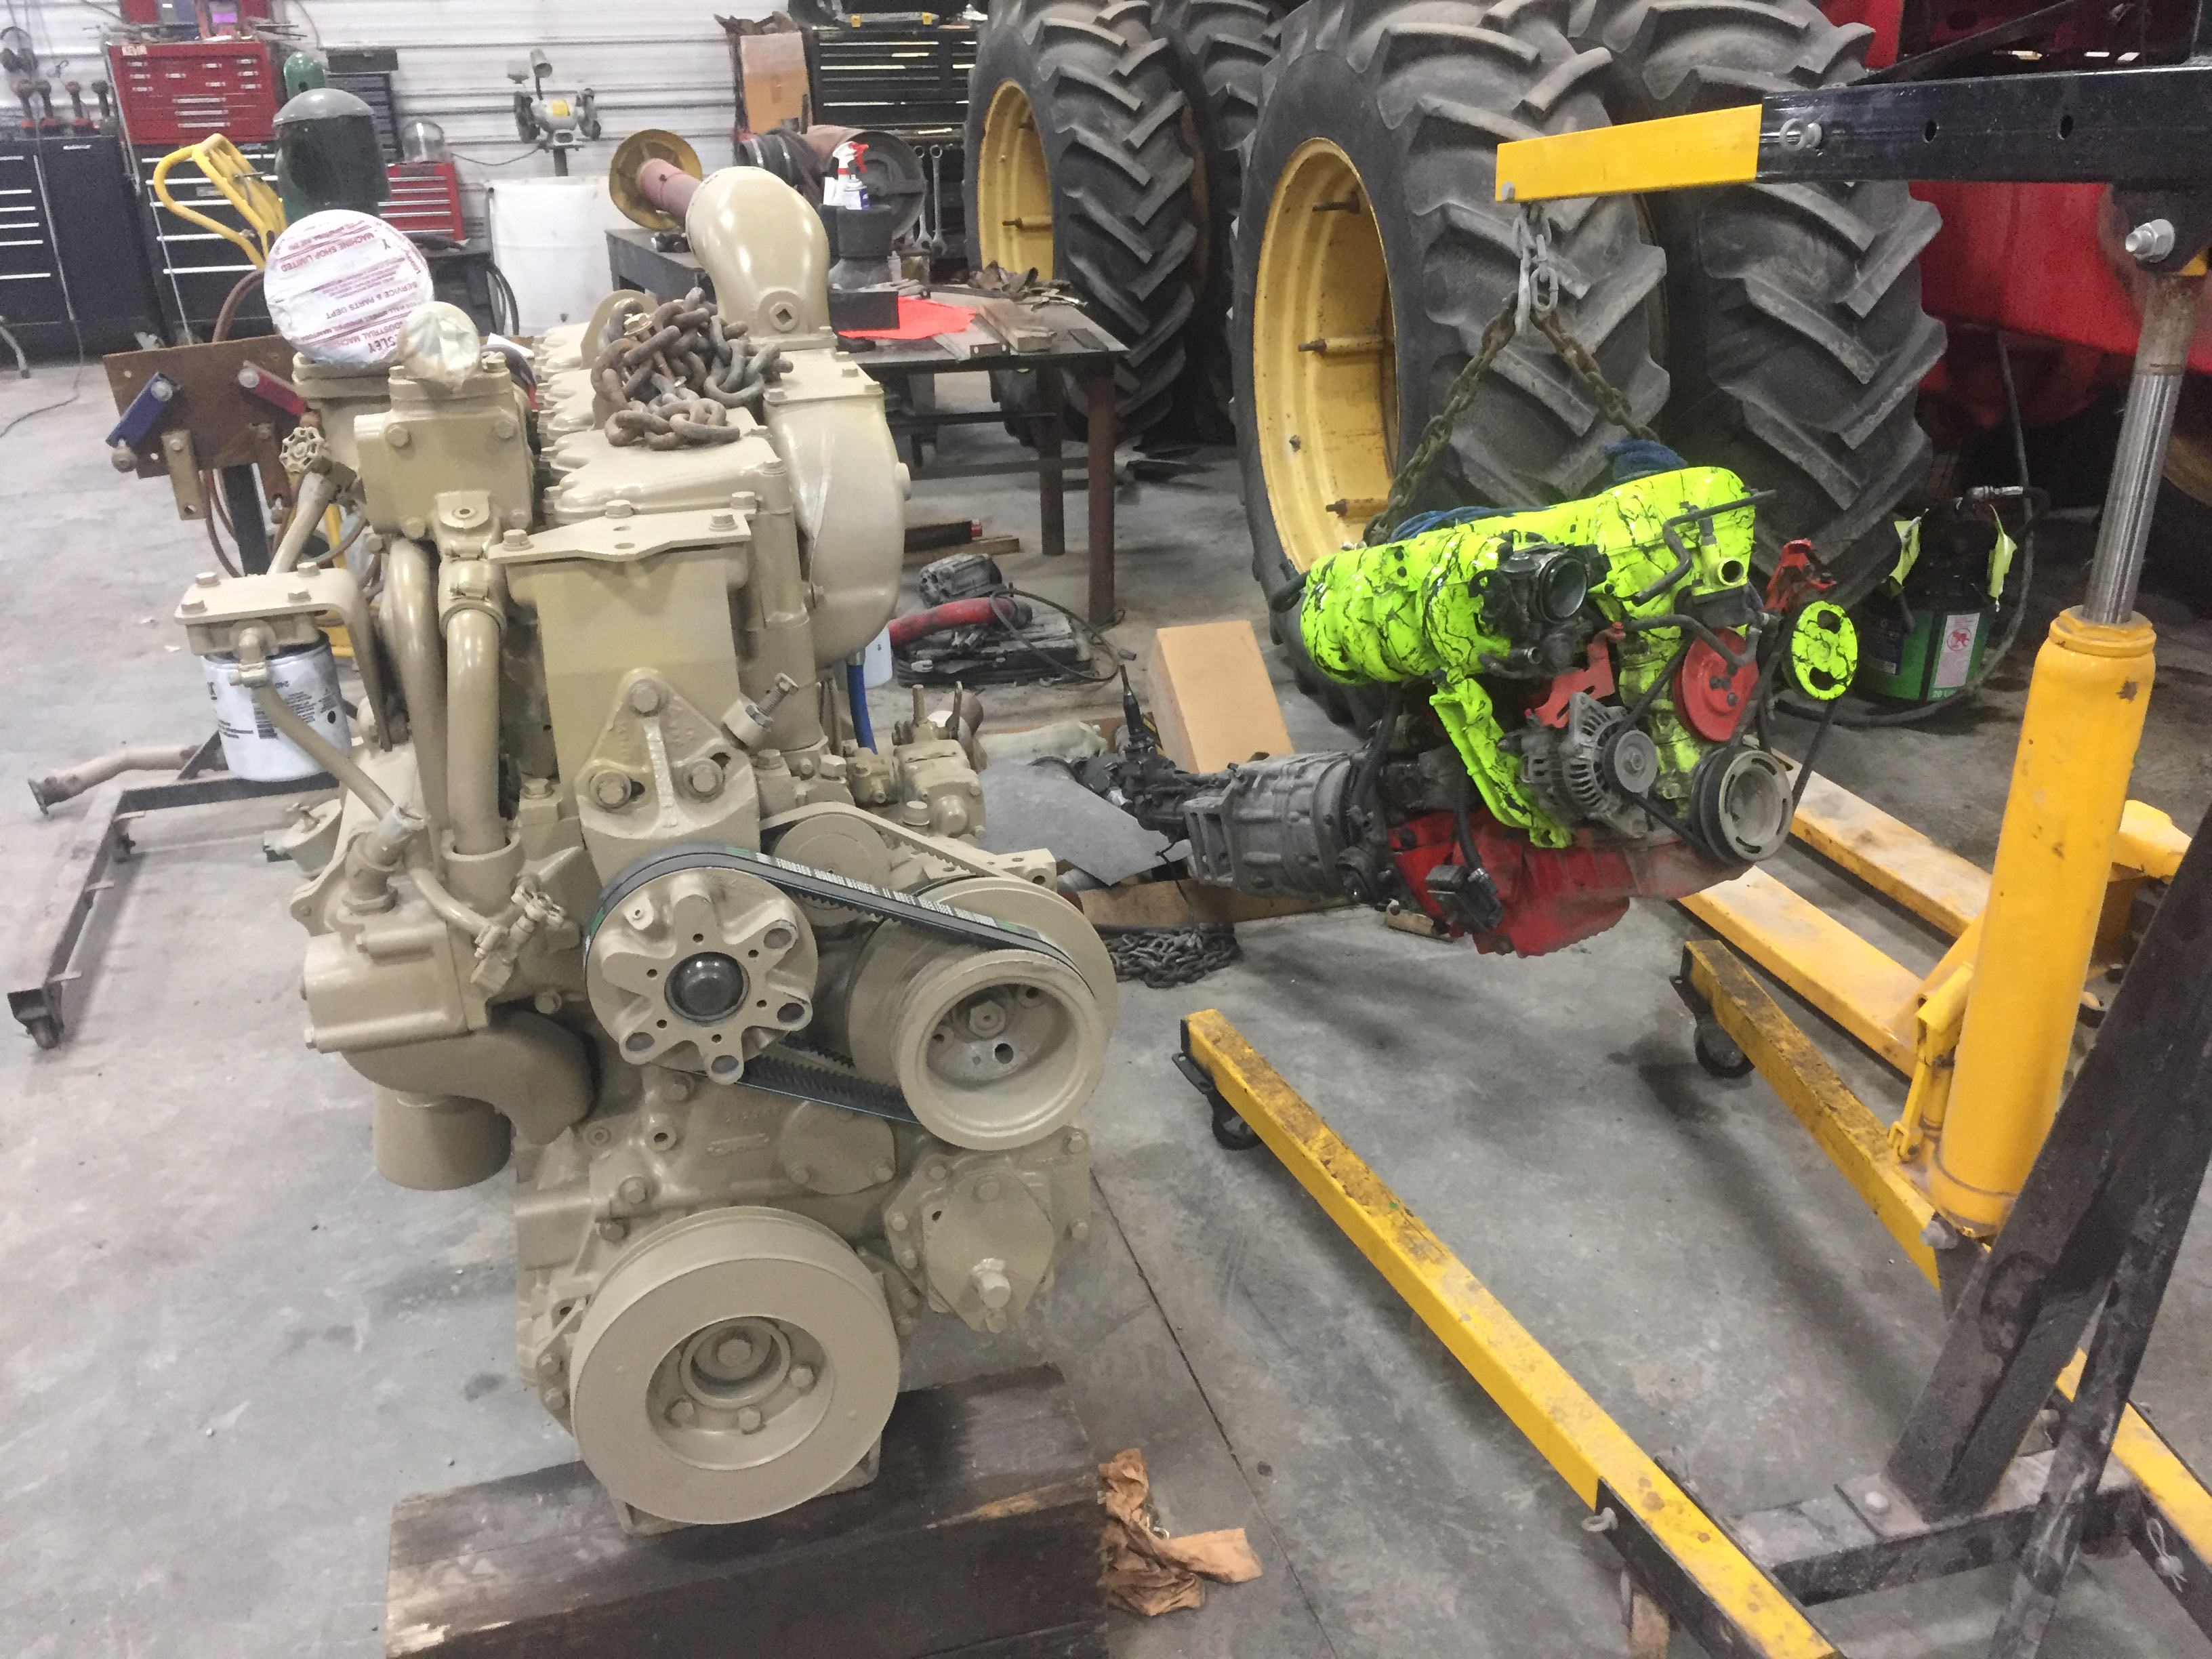
Had to compare it to the Cummins sitting right beside it. That engine is almost the size of the whole car.
And it's sittin pretty ready to go back in.
Celebration time now that it's in and runs!
Working on doing more video stuff these days. Go subscribe to the youtube channel if you like.
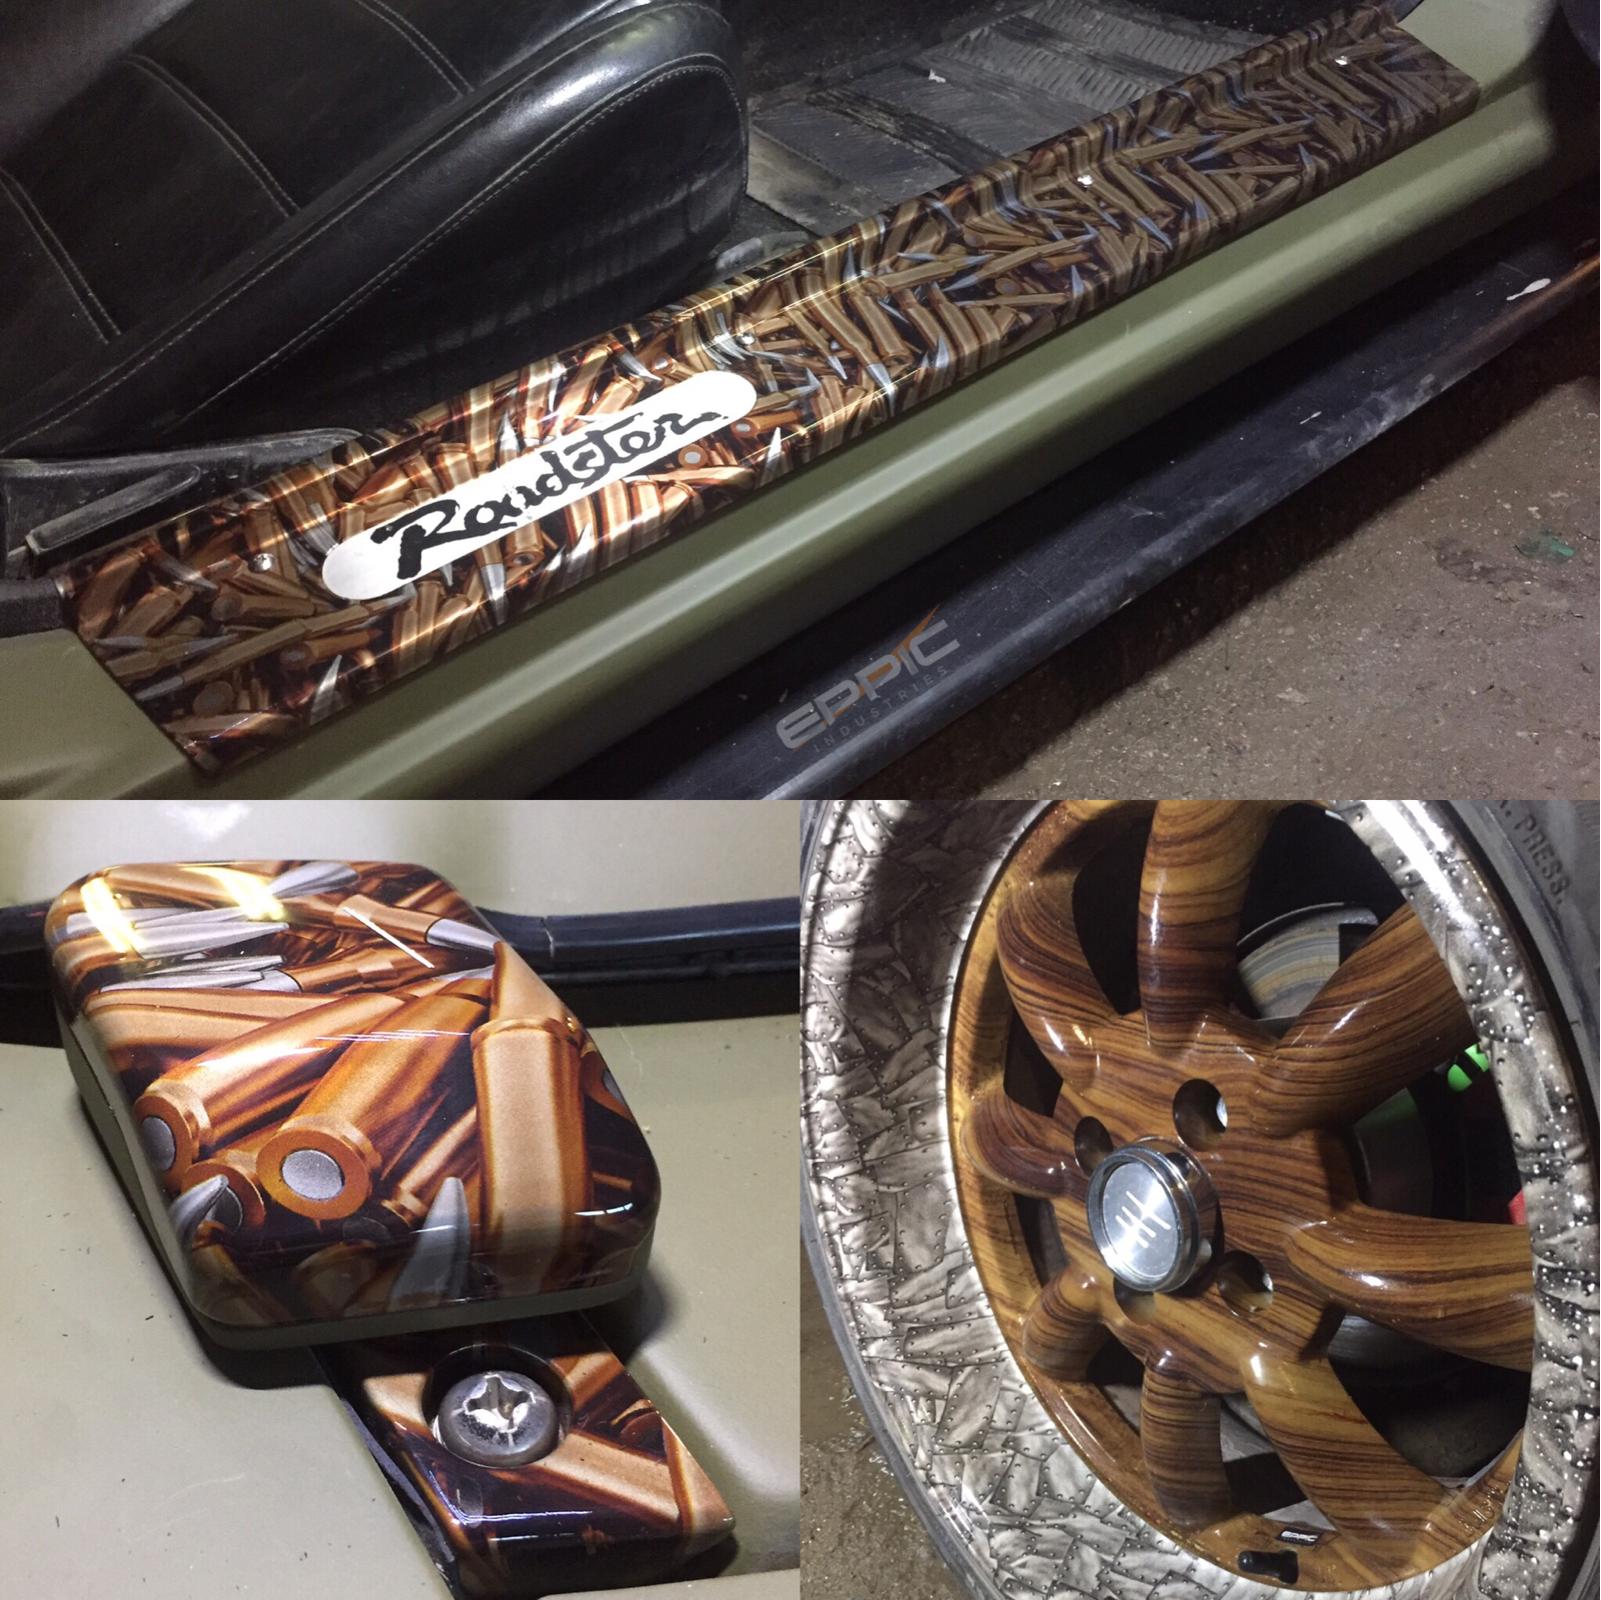
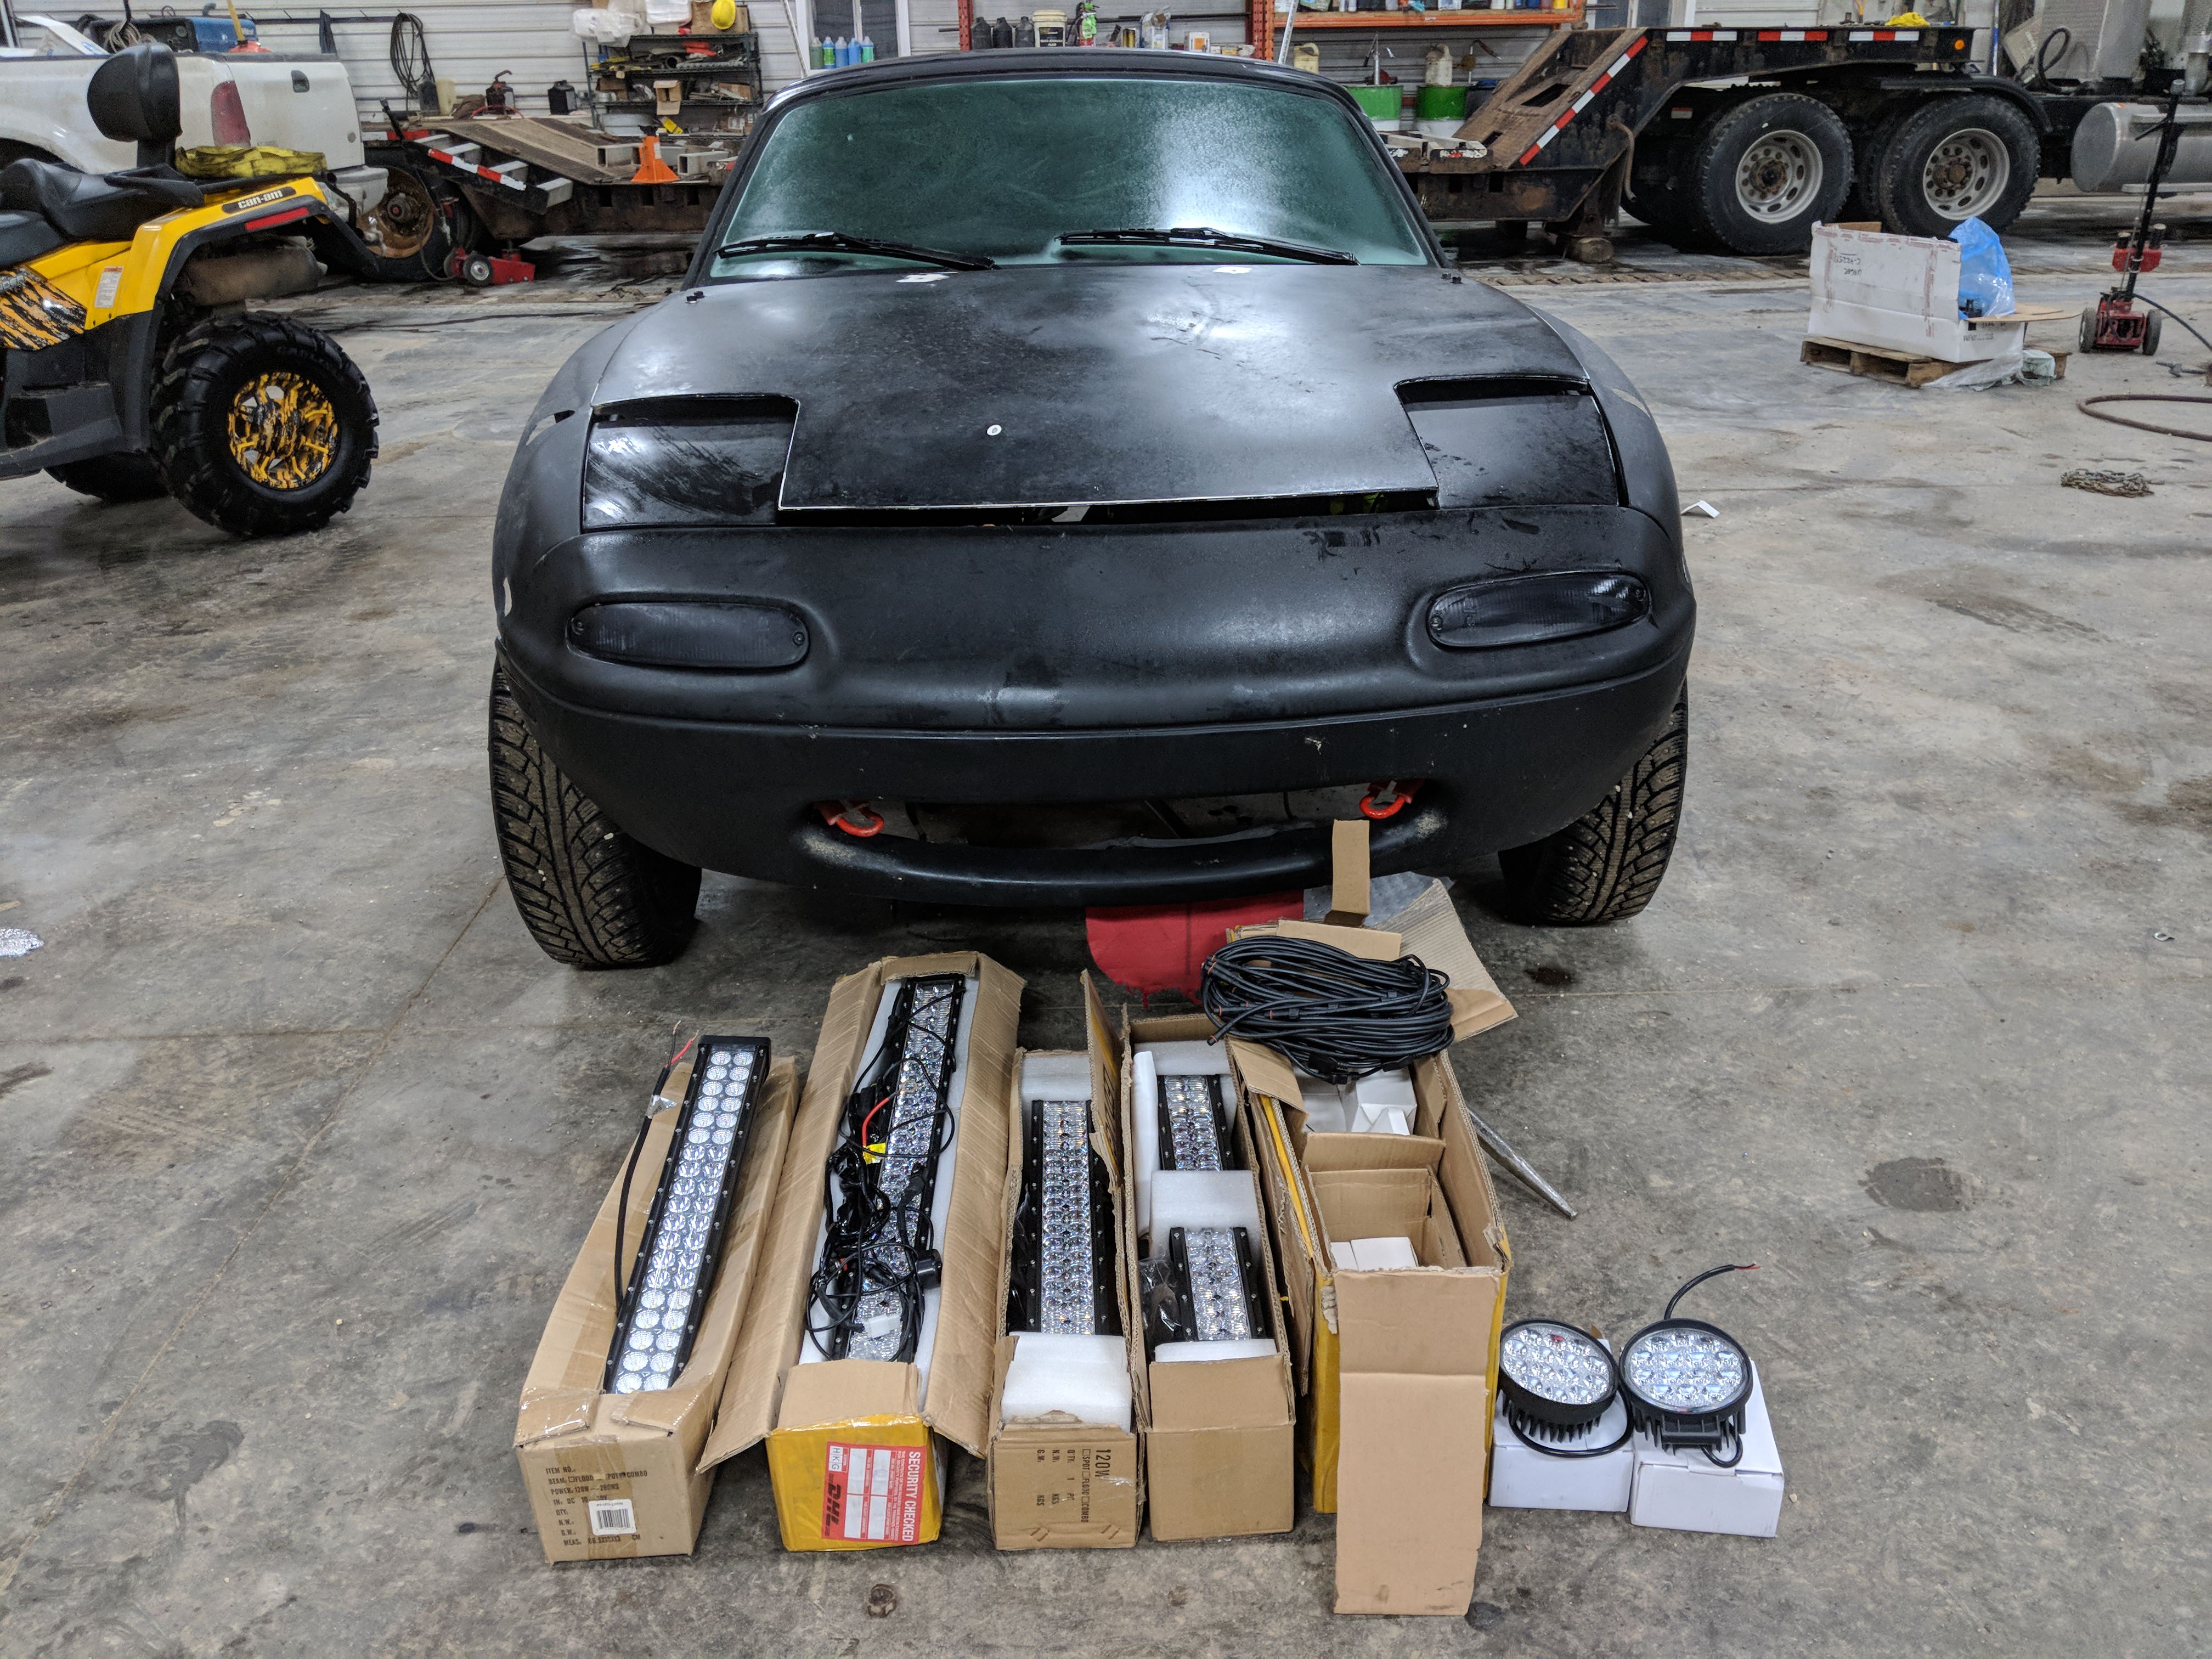
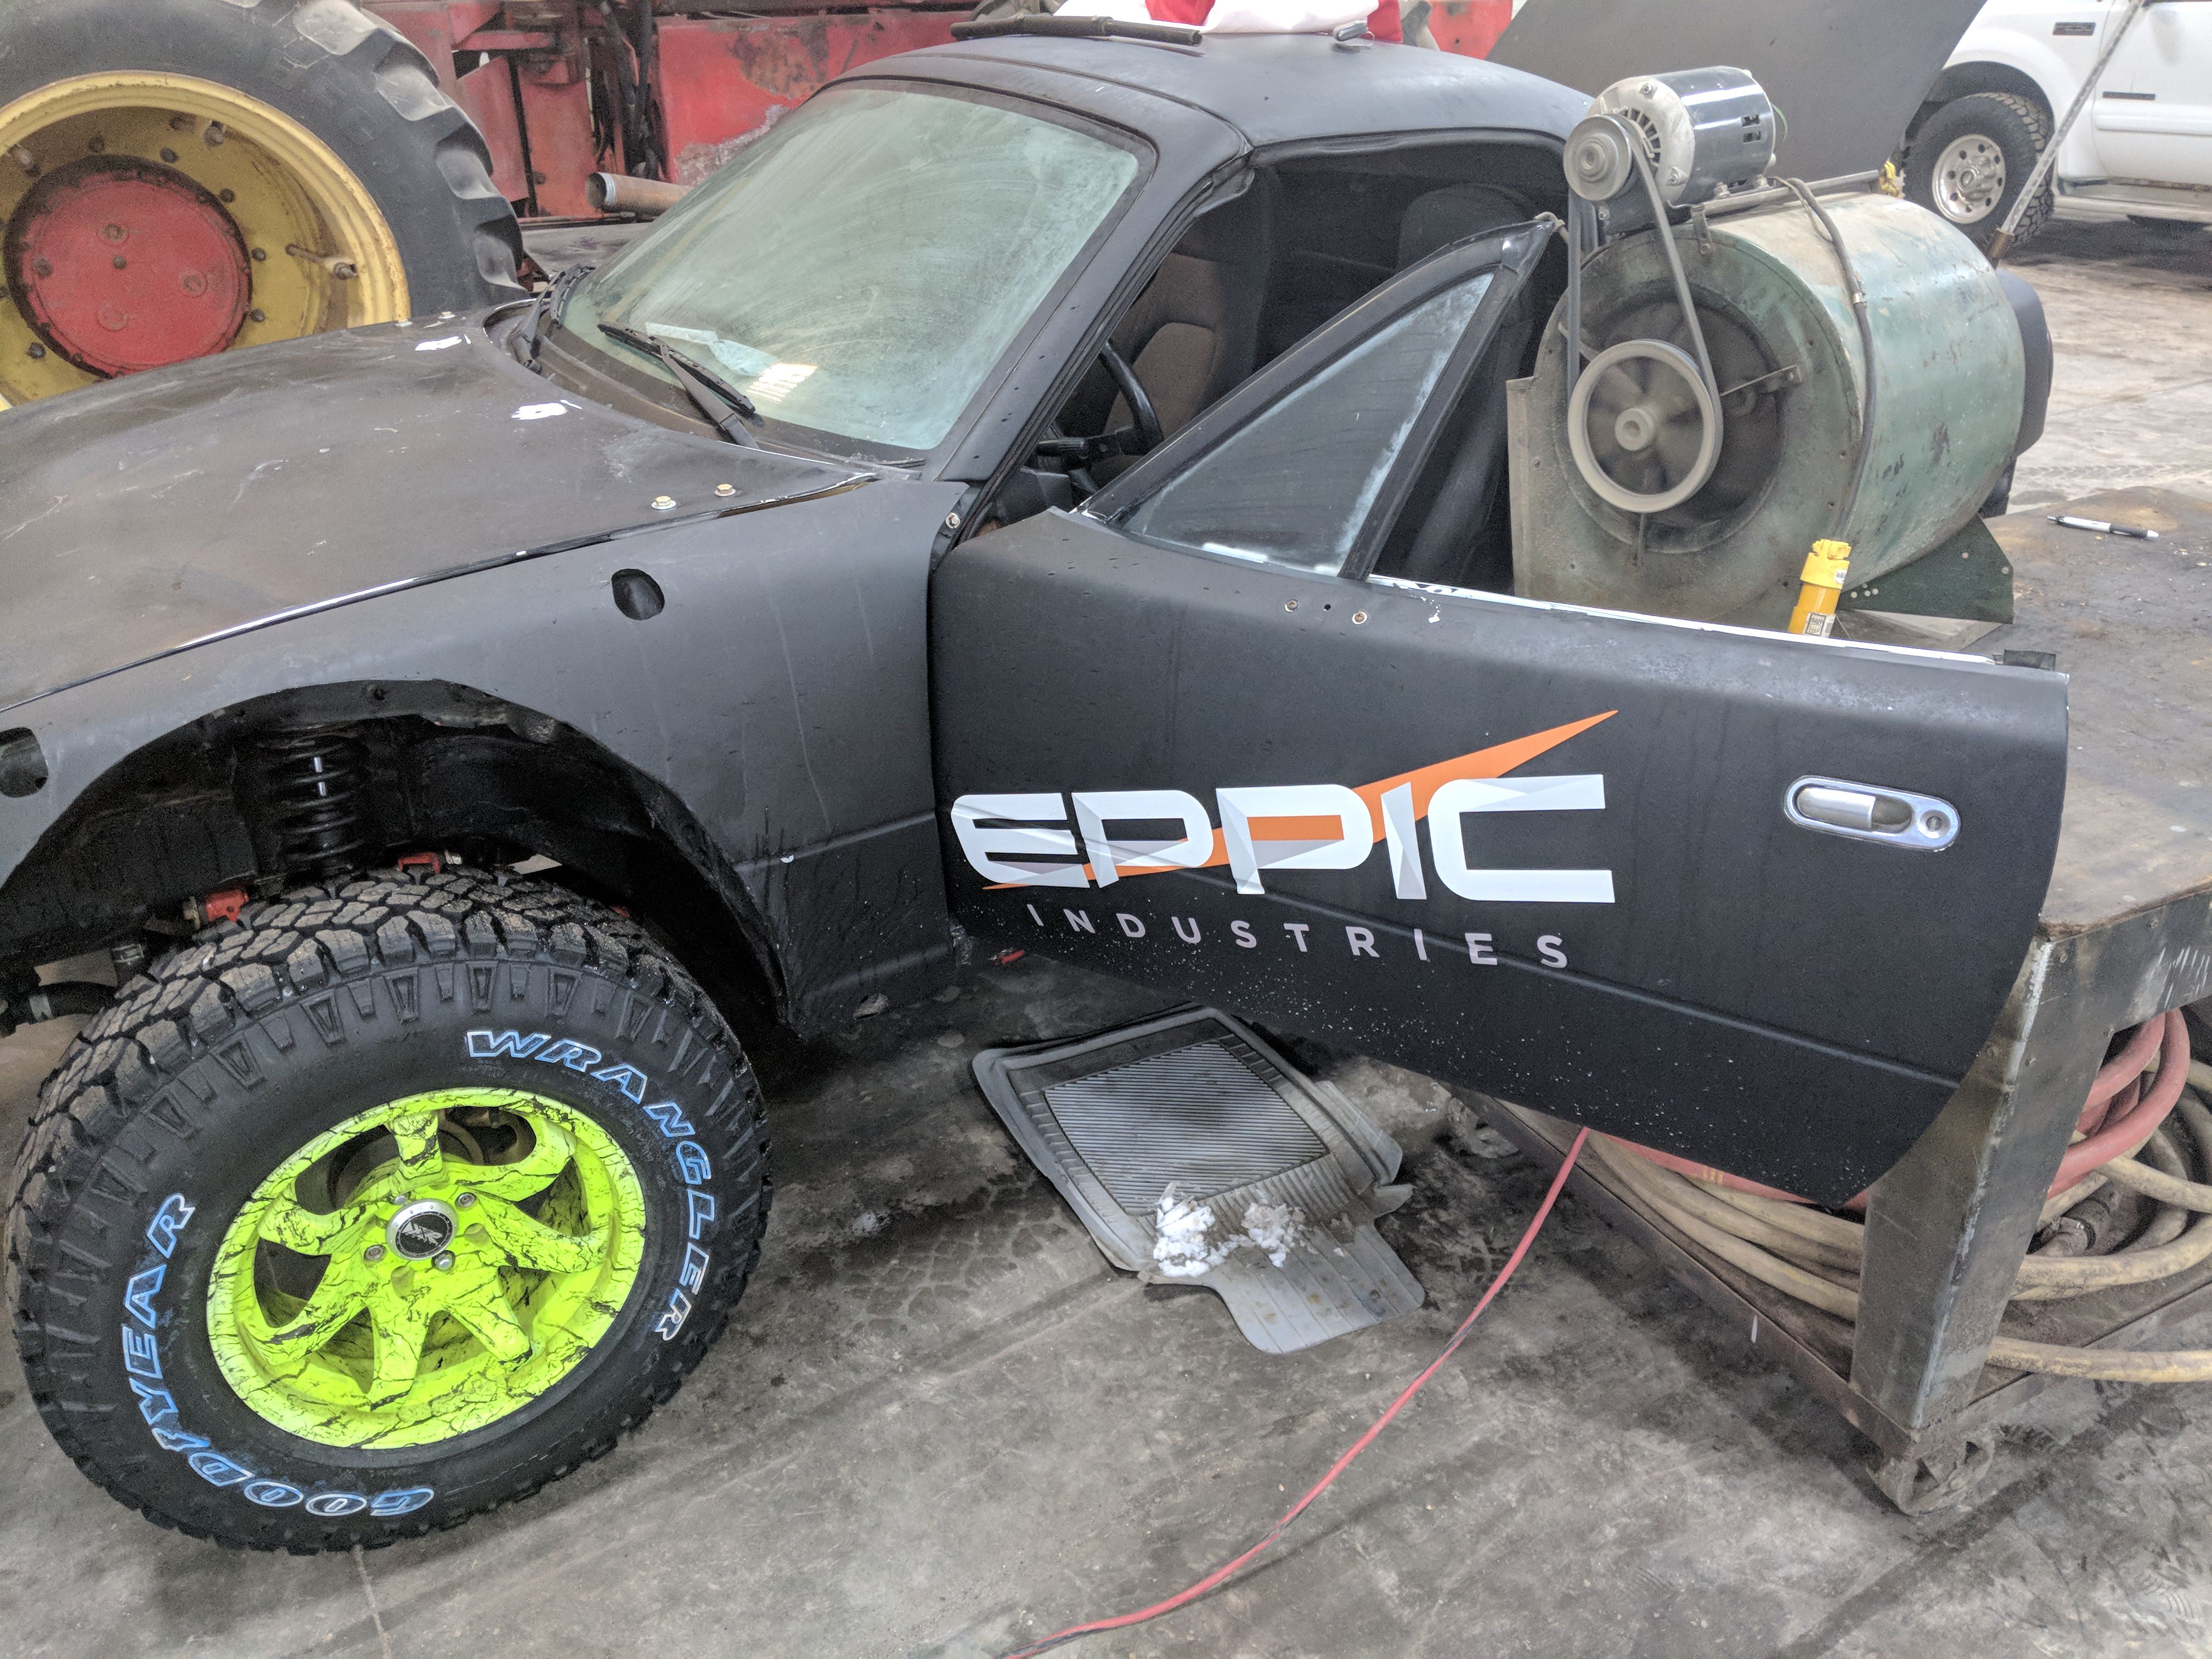
Up next on the picture list is some anticipation for the future. I sell lights. An Eppic right needs to represent!
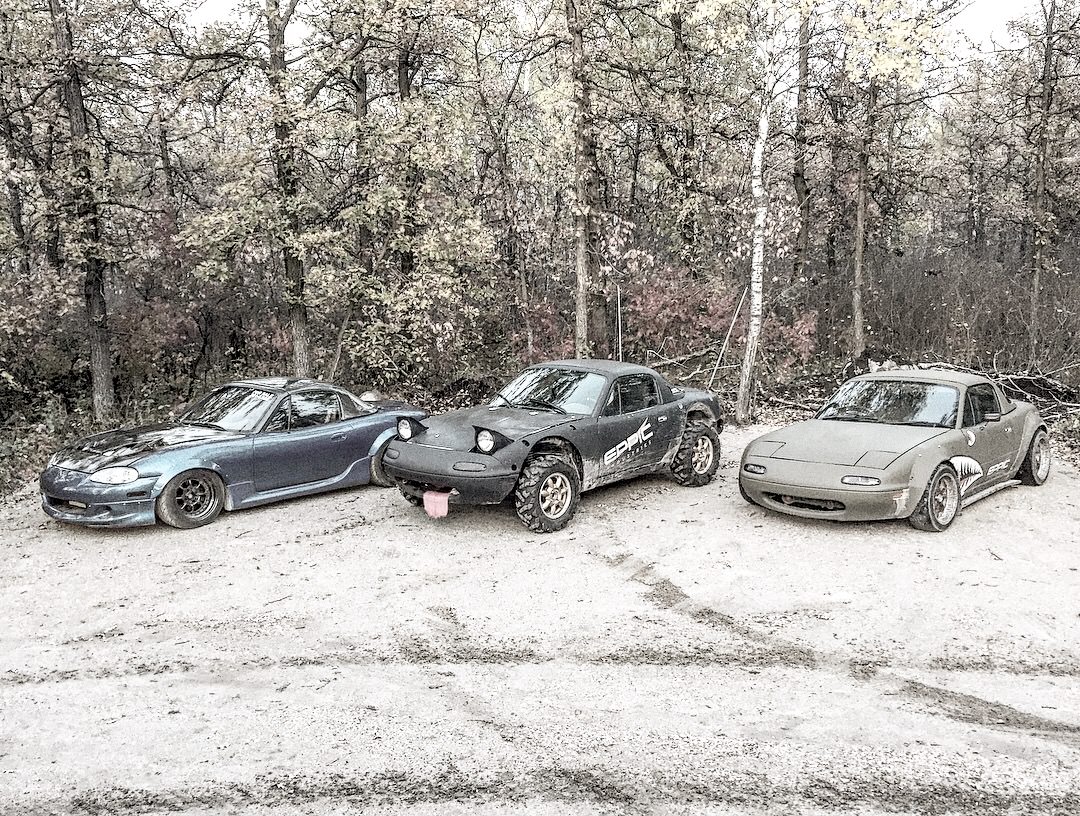
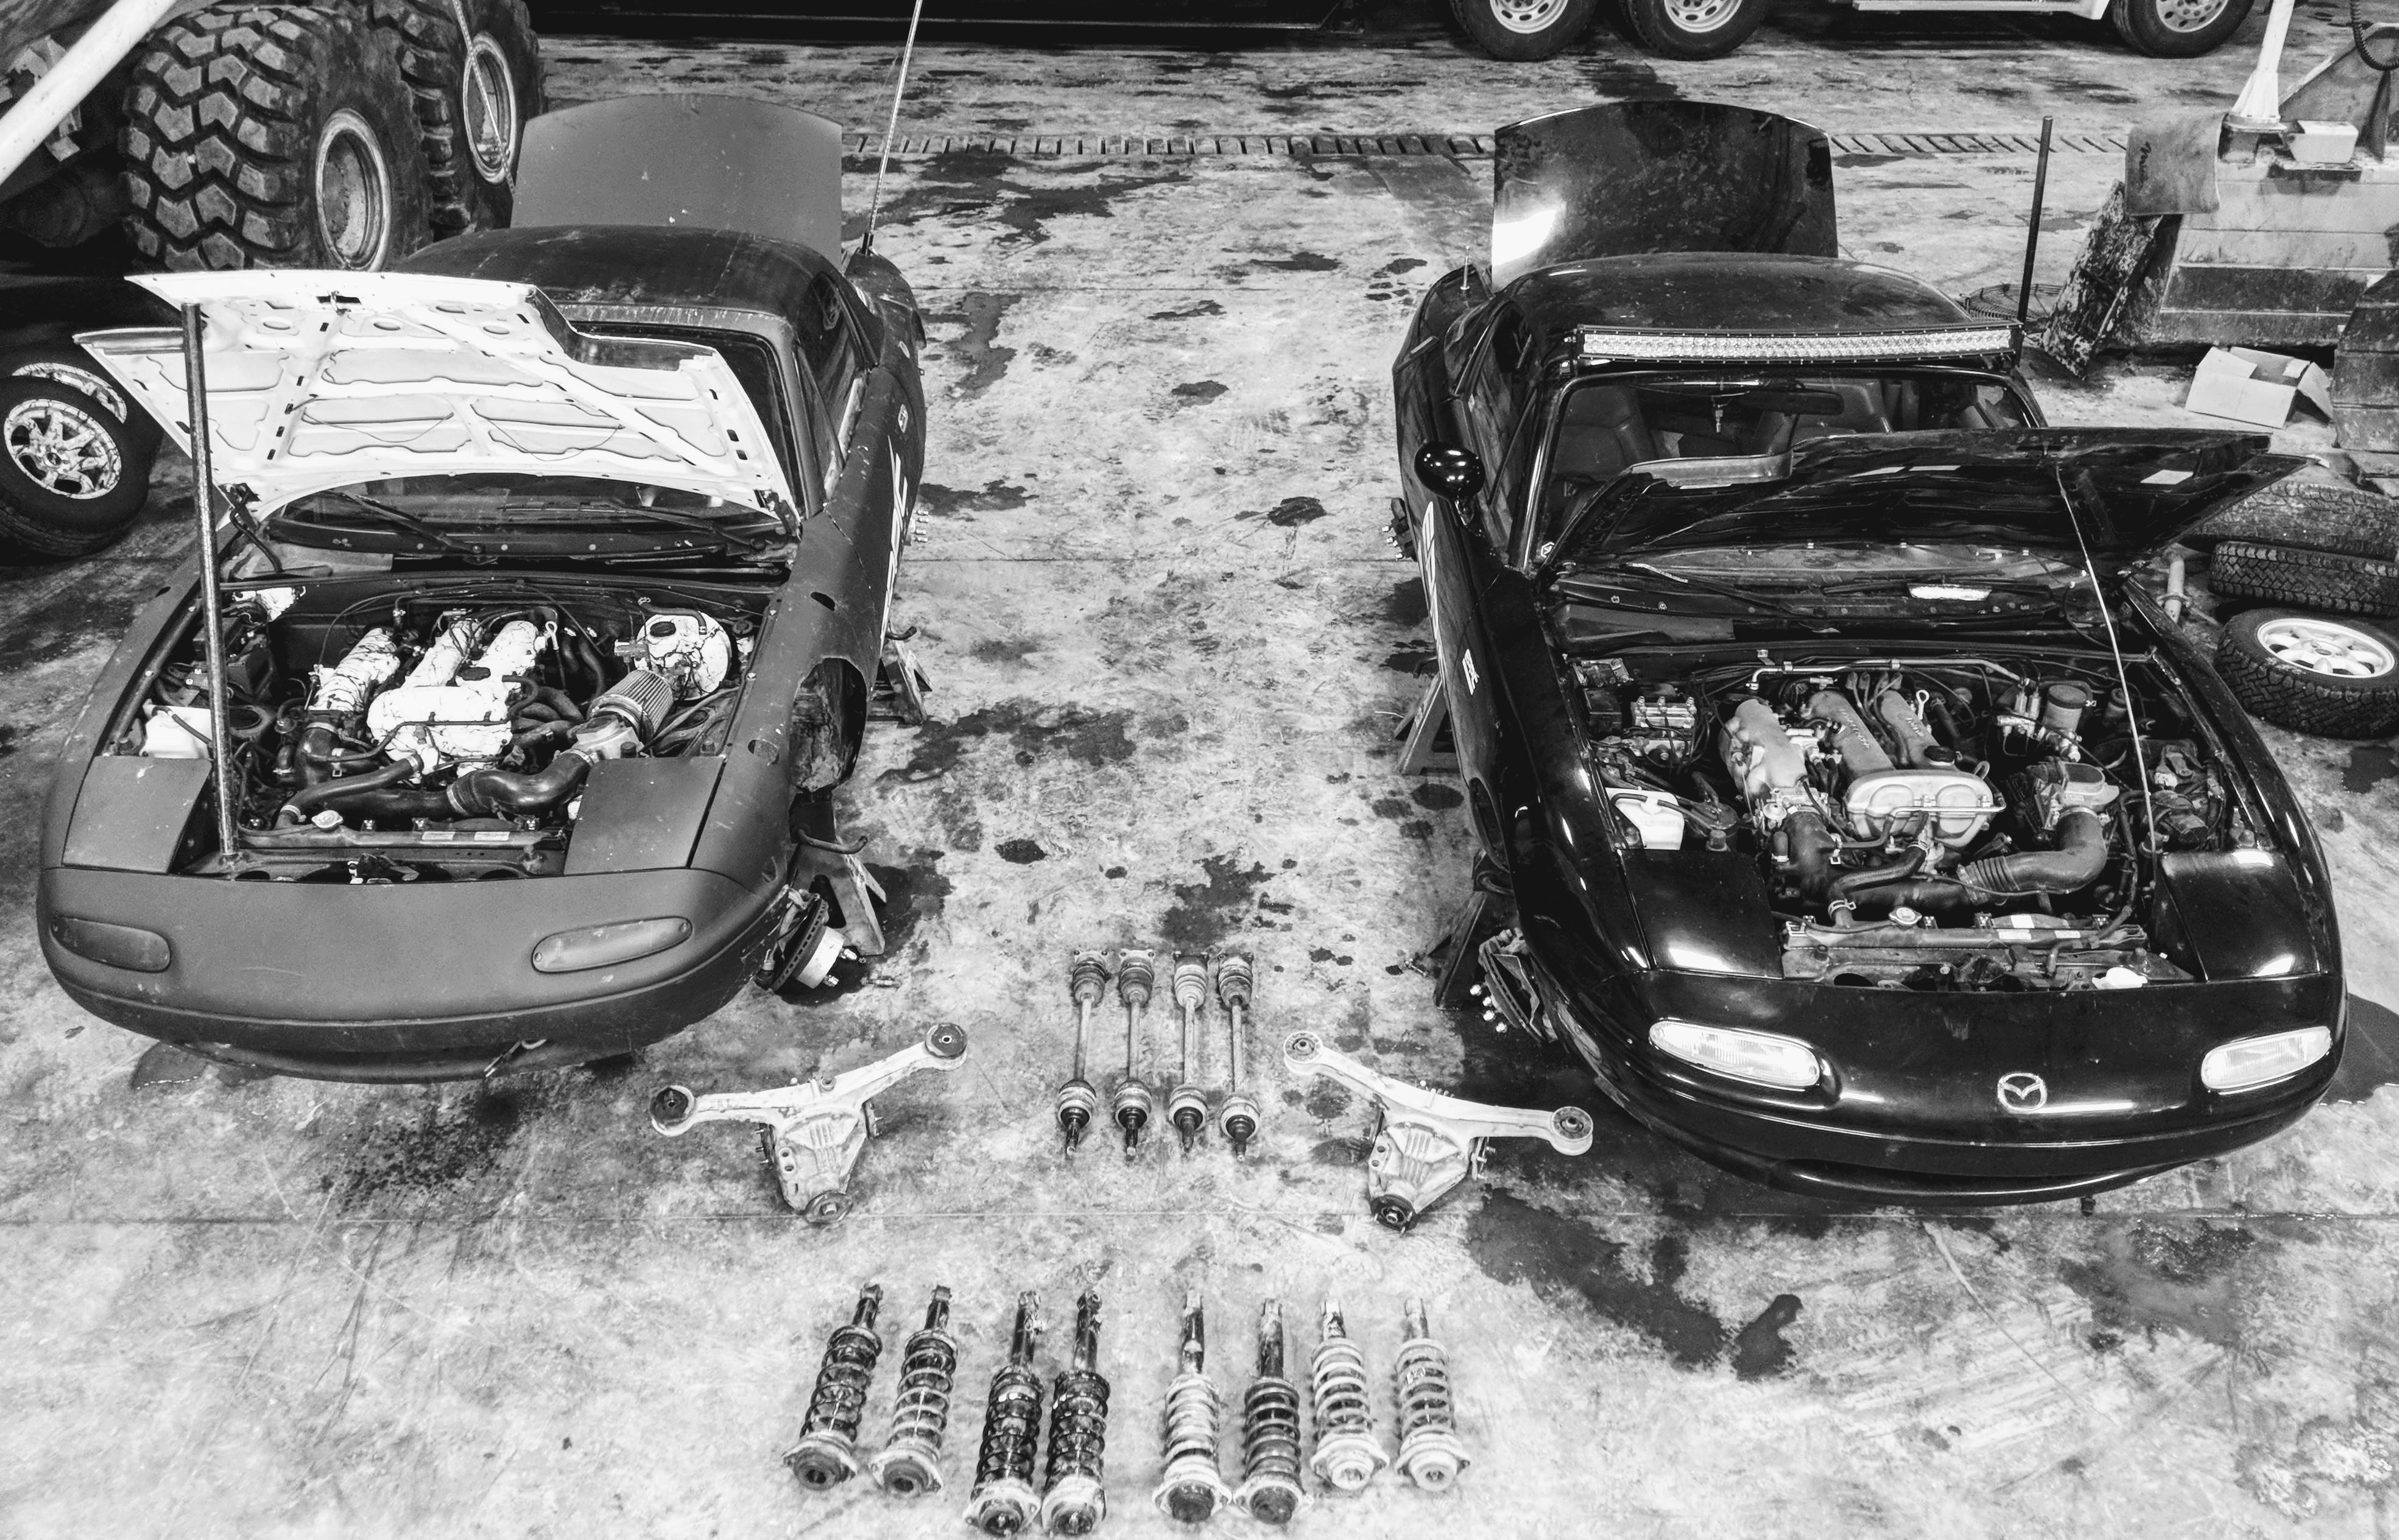
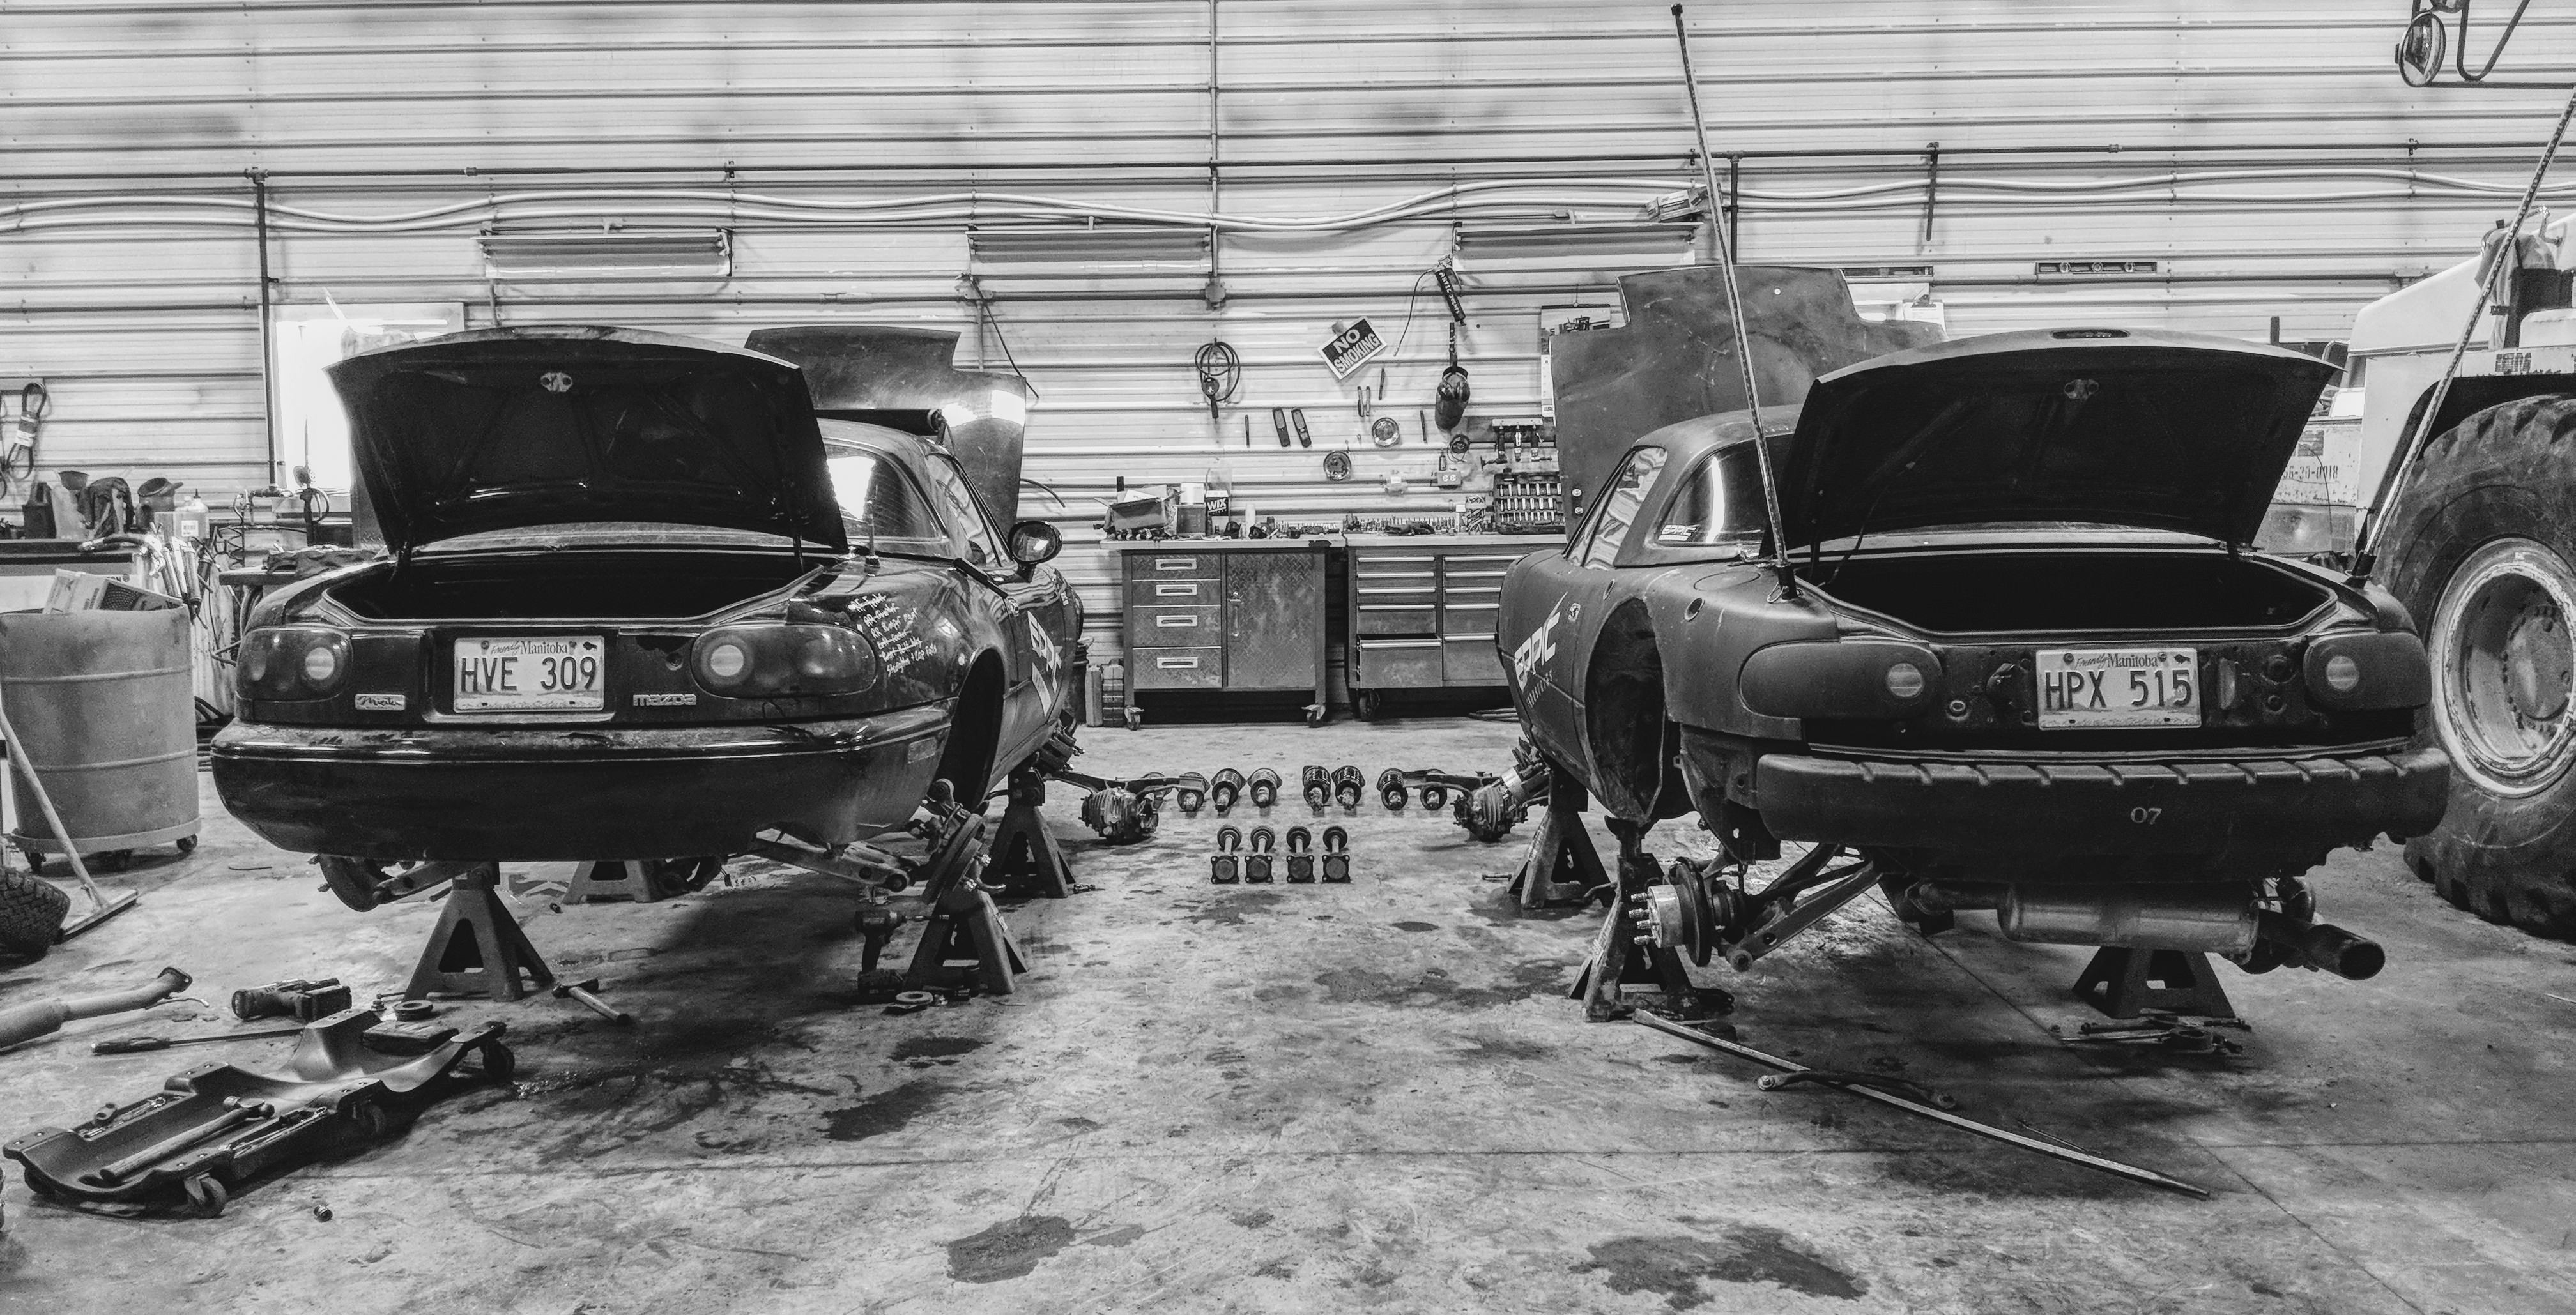
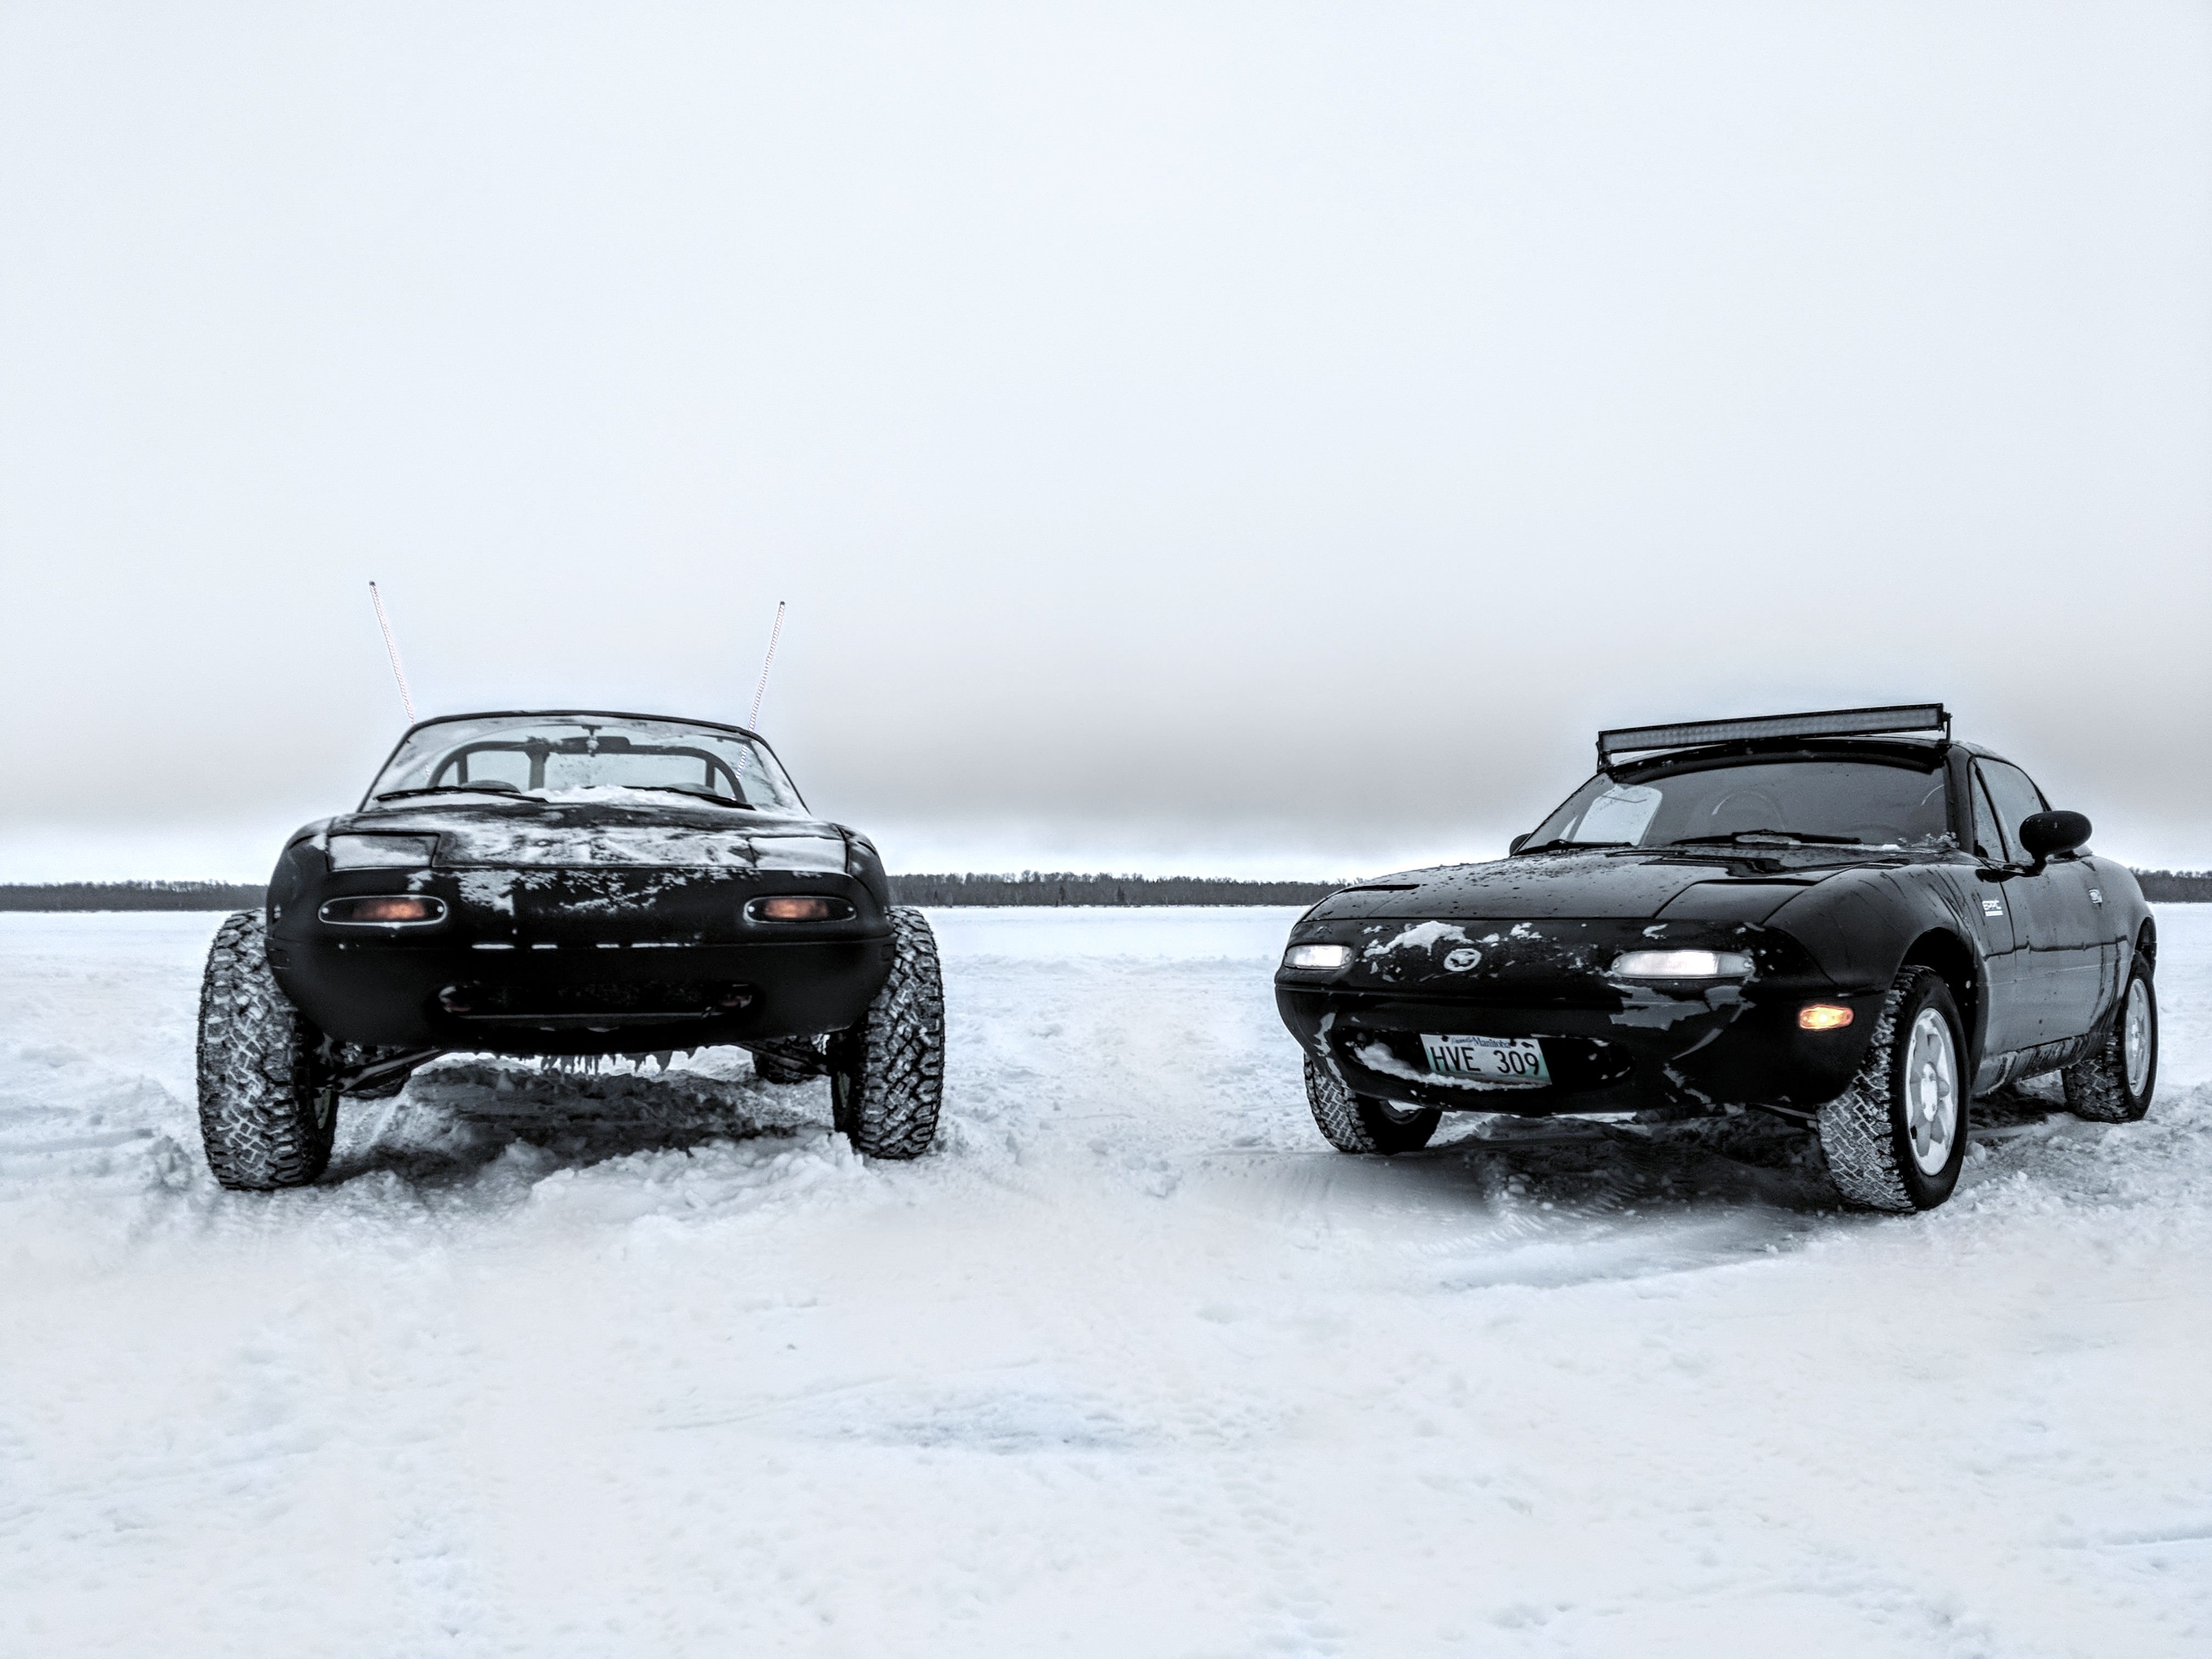
Whilst the Offroadster is getting it's new engine, I acquired another Miata to drive.
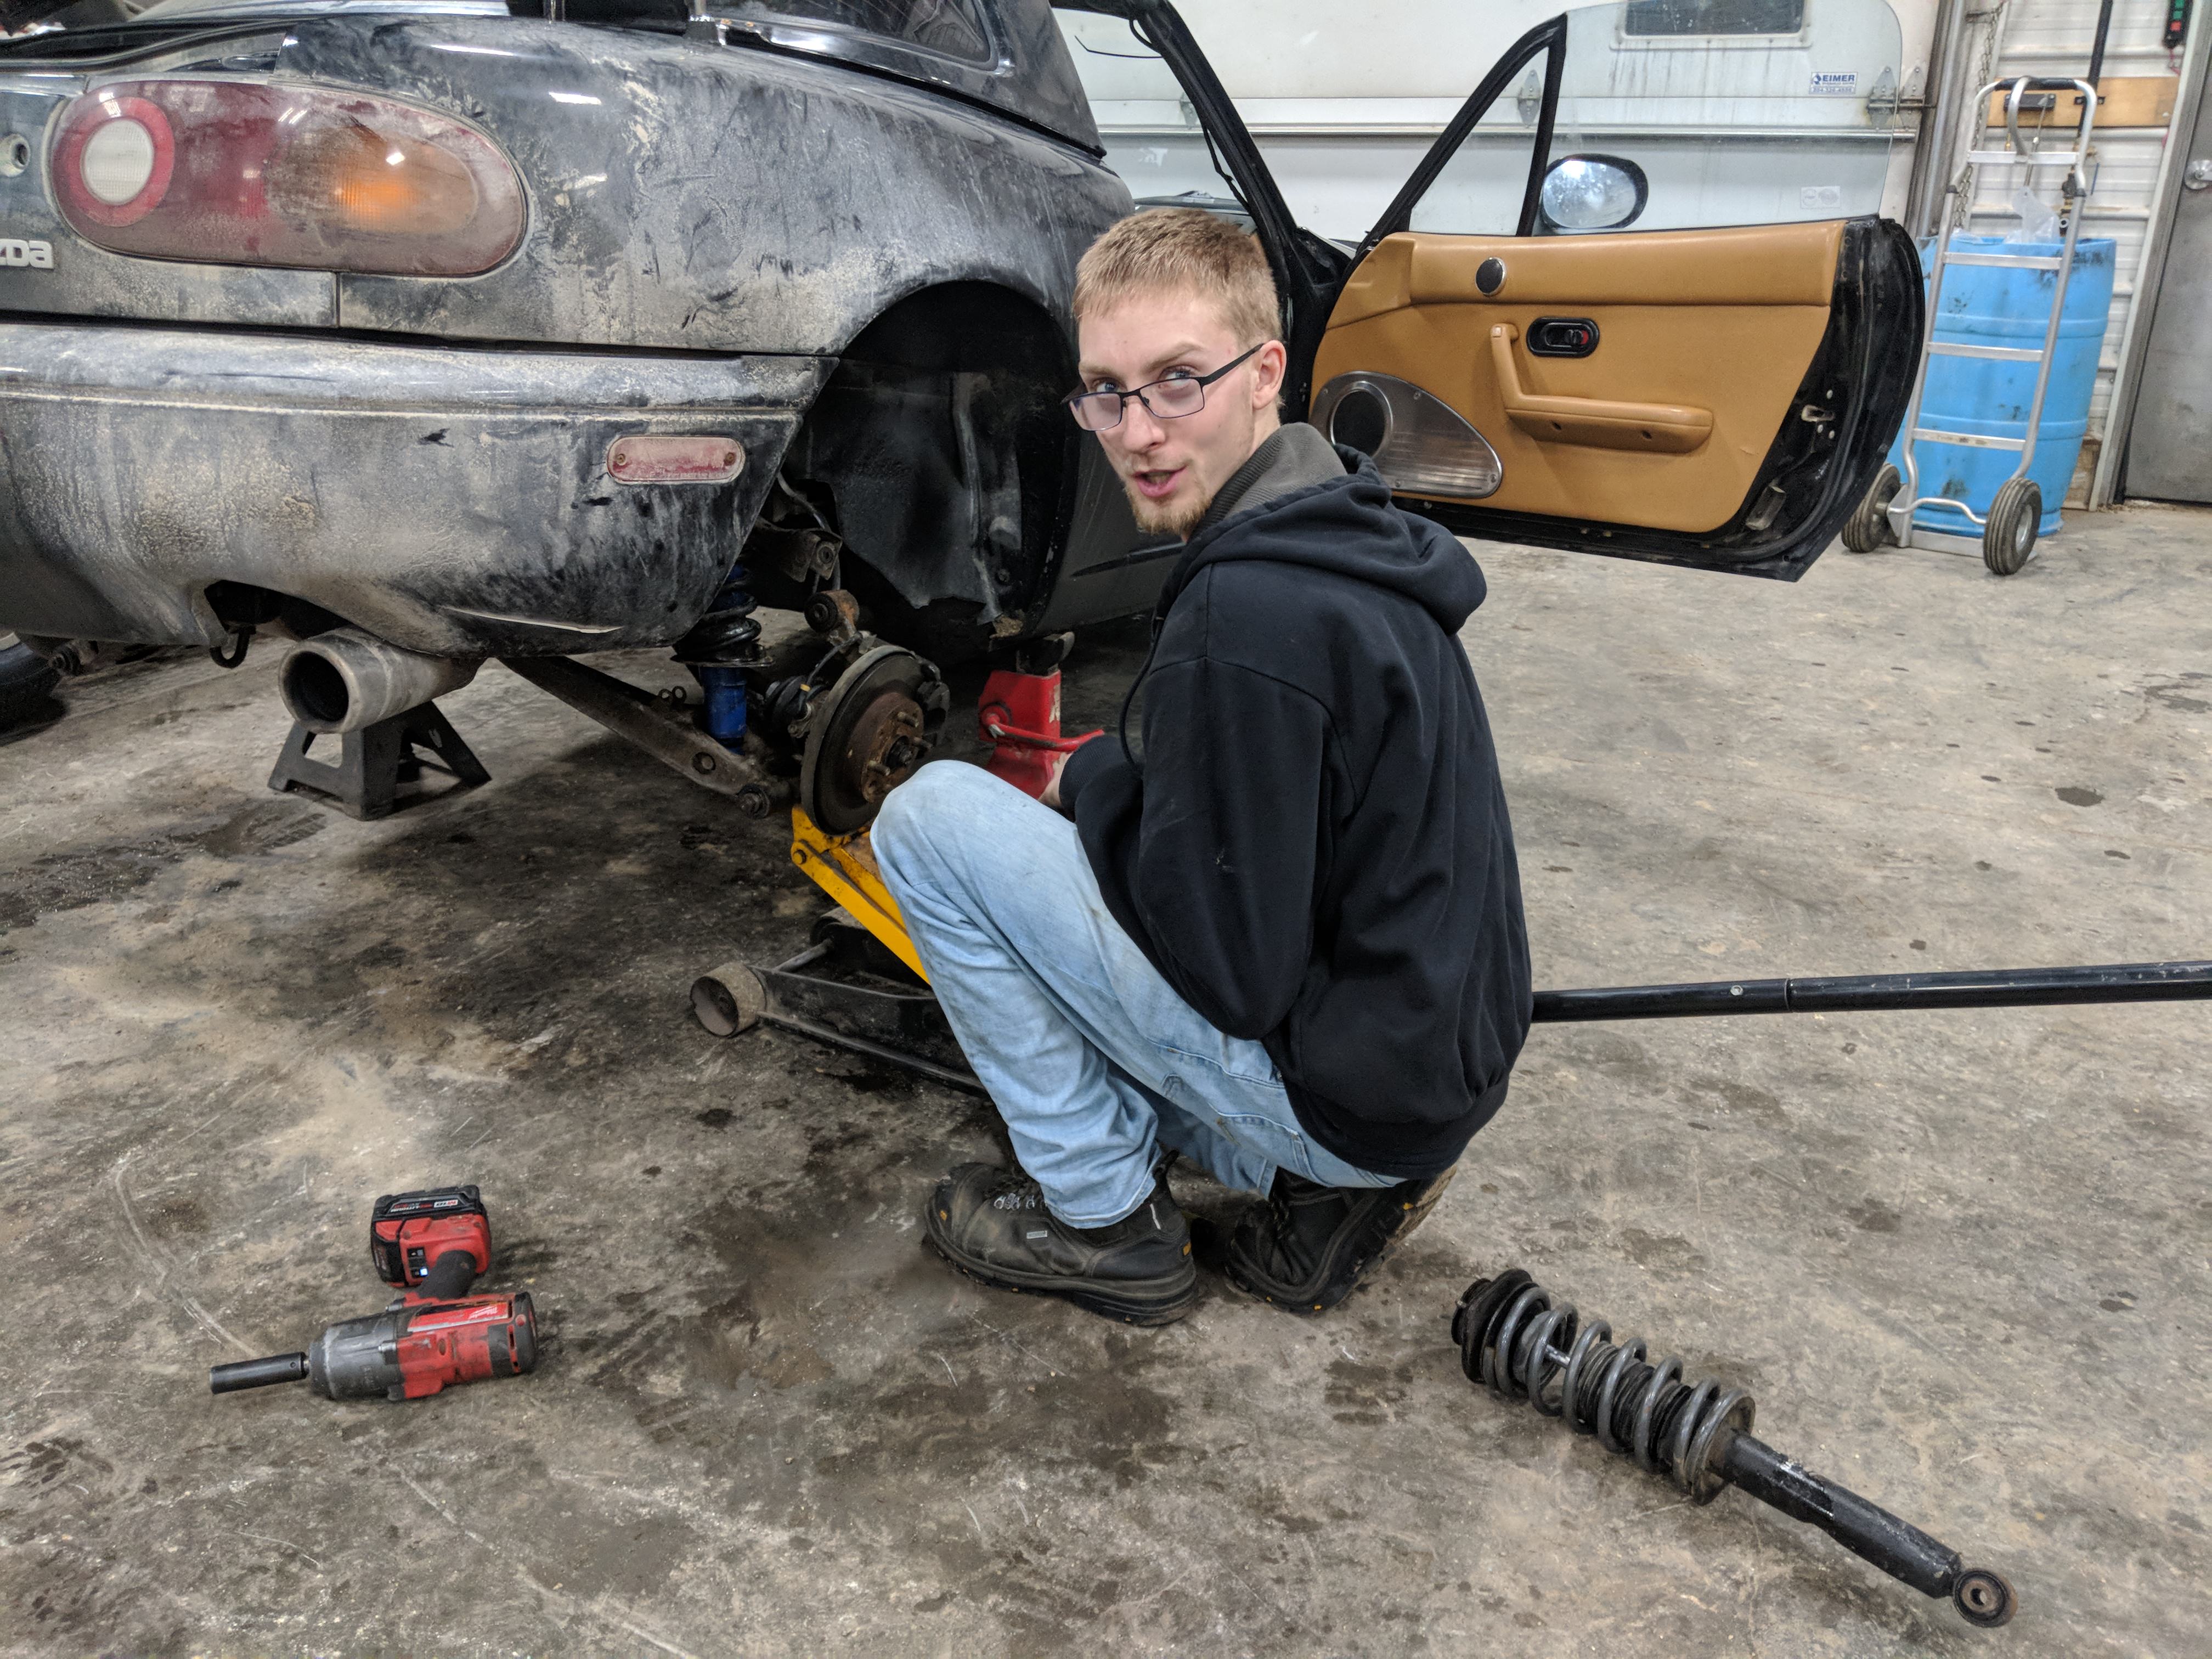
We call it the Minilift Miata. It's turned into an experimental vehicle on different ways to lift a miata. Like throwing front suspension in the rear. Free 50% lift kit.
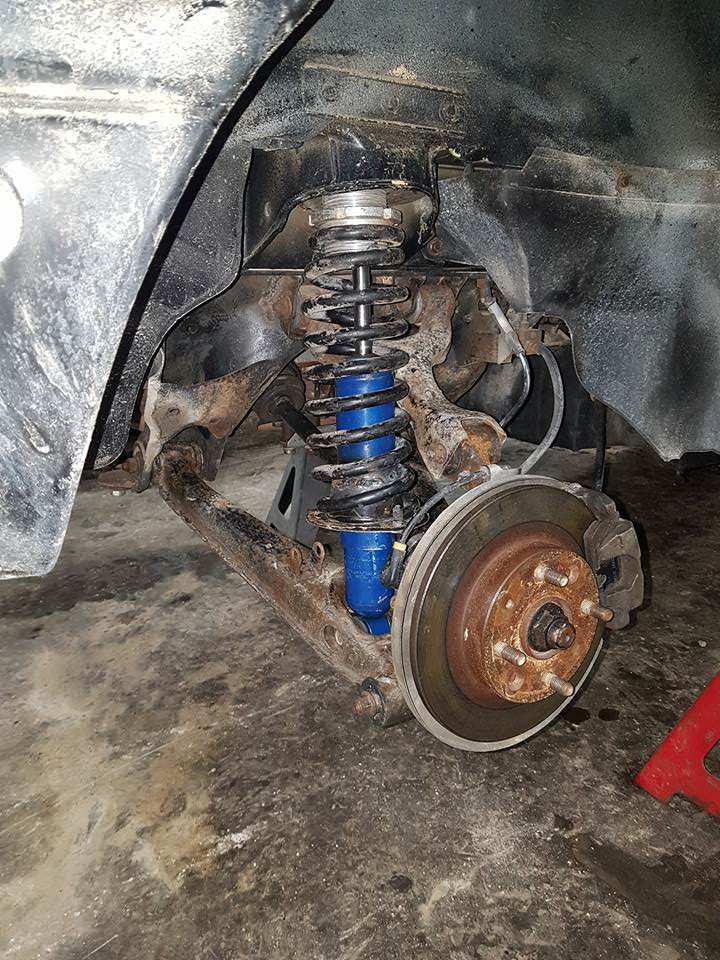
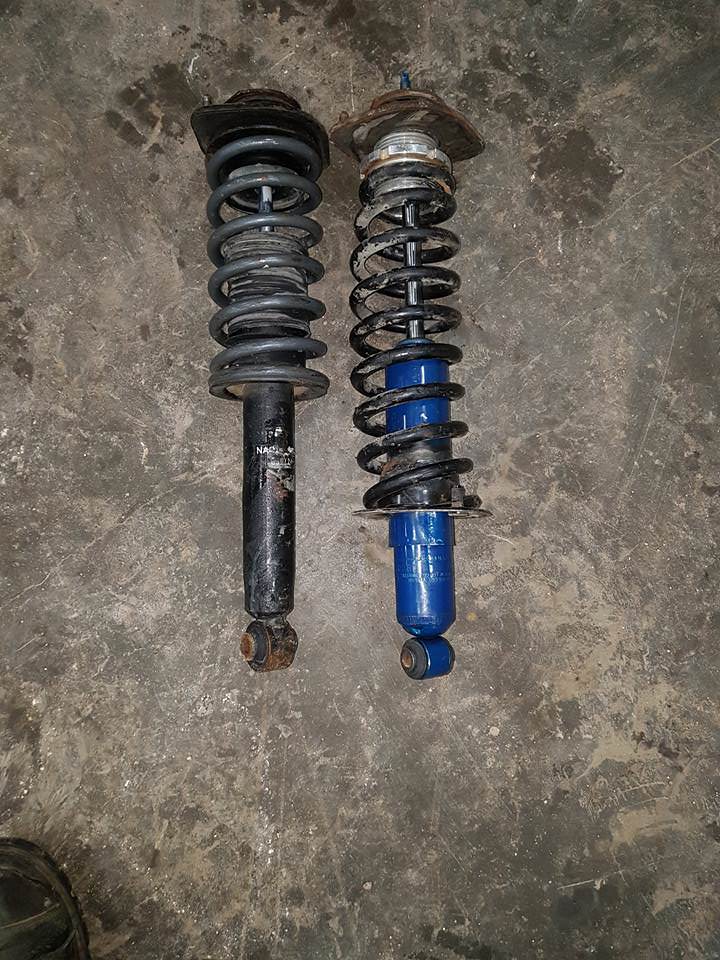
It had a diff with a better gear ratio for my big tires so that all got swapped along with the suspension setup I was running on it. NB miata shocks and springs with NA top hats. Also another variant of lifting a miata. Gives about 1.5"-2" of lift. More on that car later.
Black friday came around and I bought myself a Paco kit to see how that compared to my home built lift. There's is better built. I just used scraps from around the shop. Not high quality water jet cut pieces welded together. So here we have a Paco 3" lift and NB suspension.
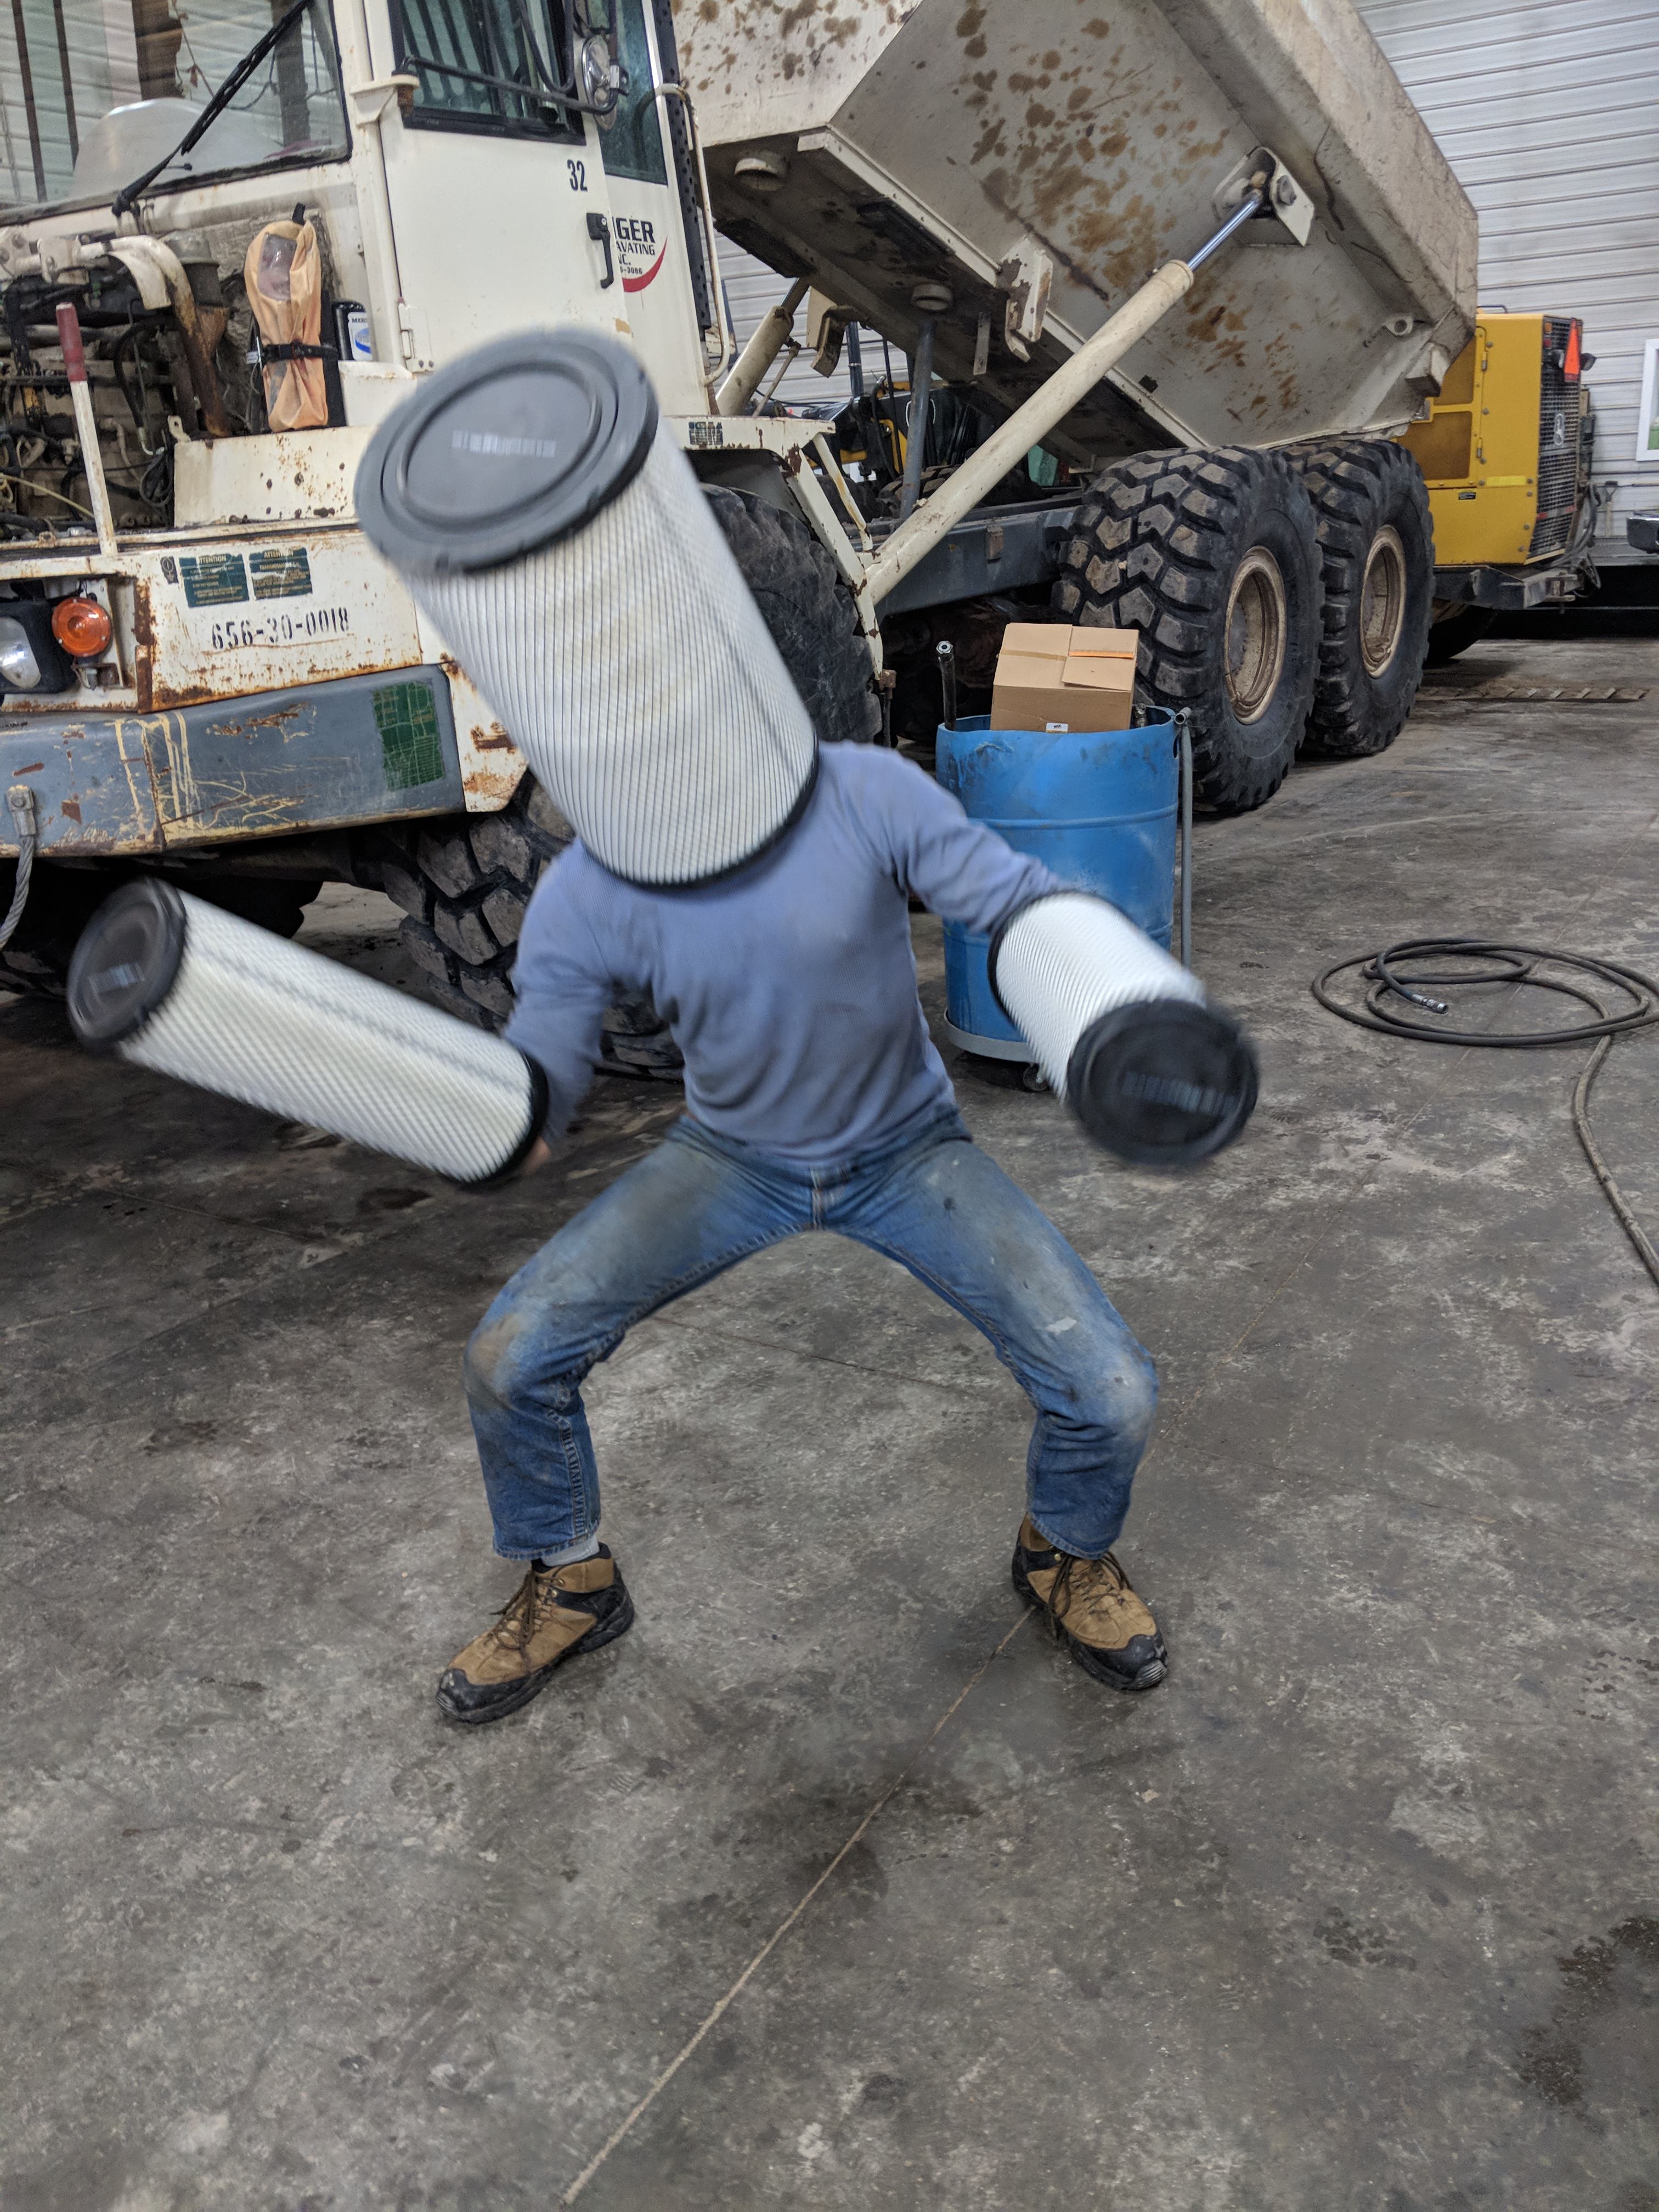
Random moment in the shop when I had to filter out all the BS around me...
Previous picture was placed for the intent of at least making you smirk if not giggle. It's ok to laugh. Just let it out. You'll feel better.
Still have no idea what to do with these things.
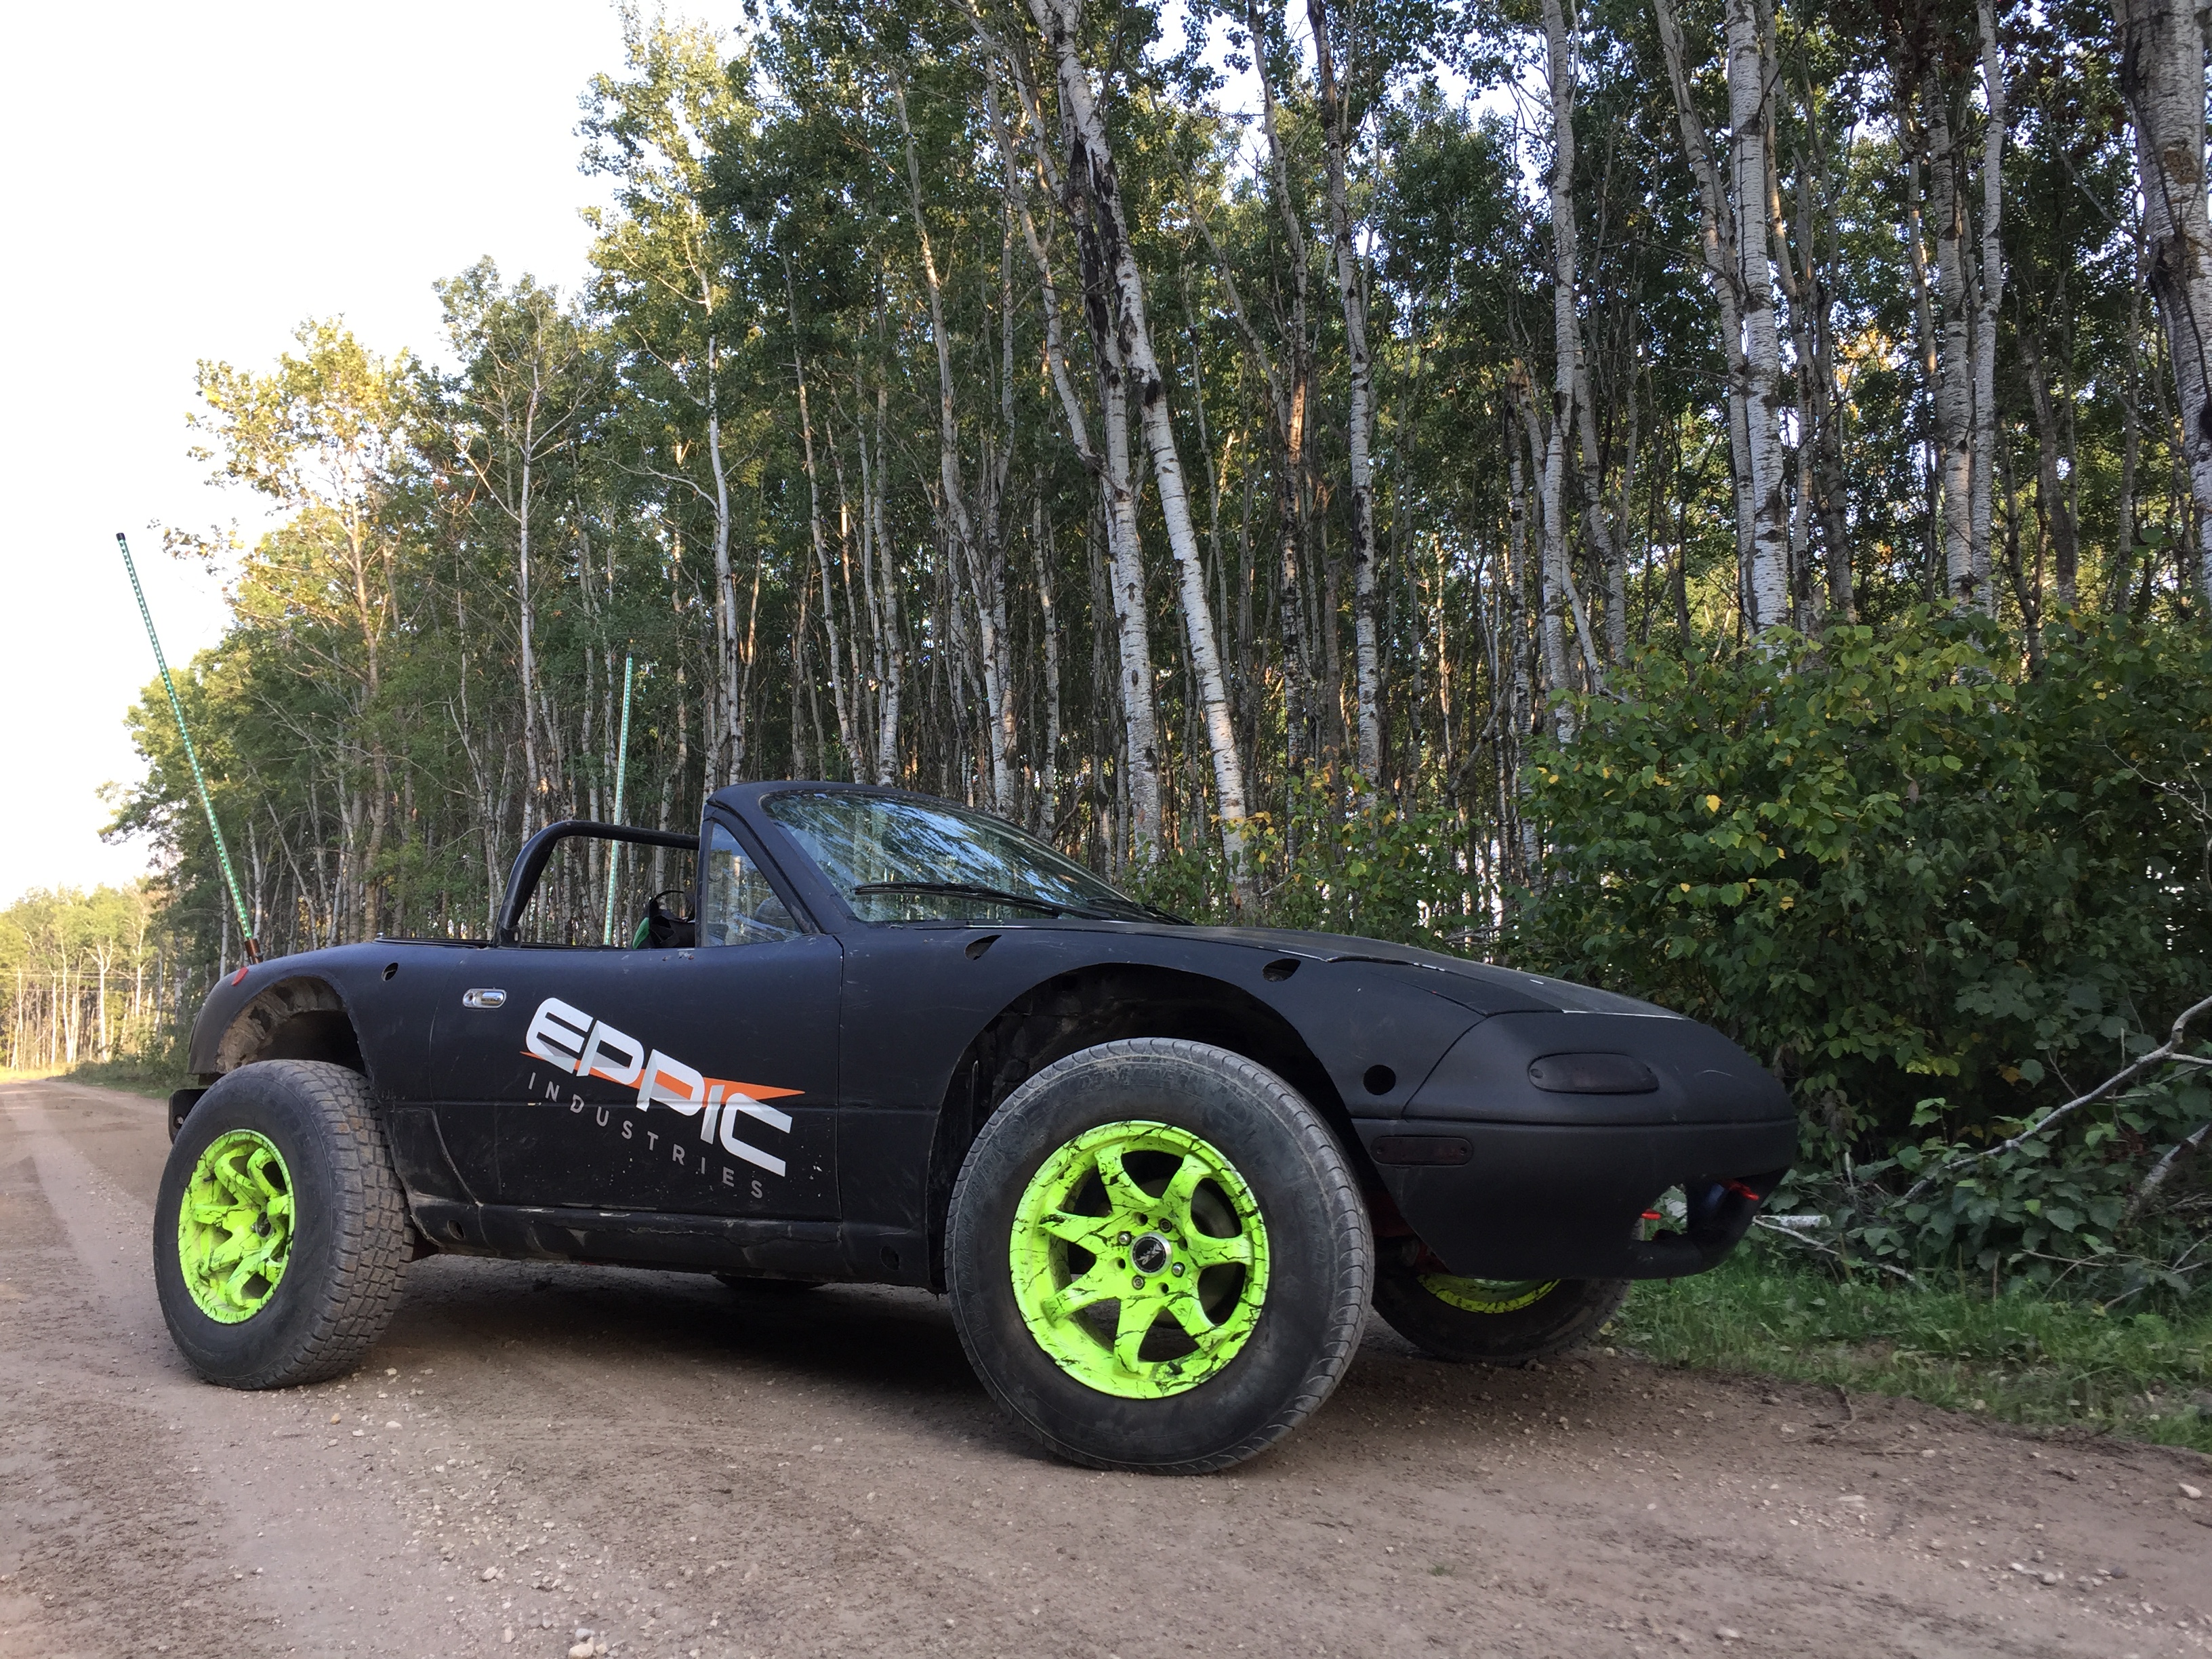
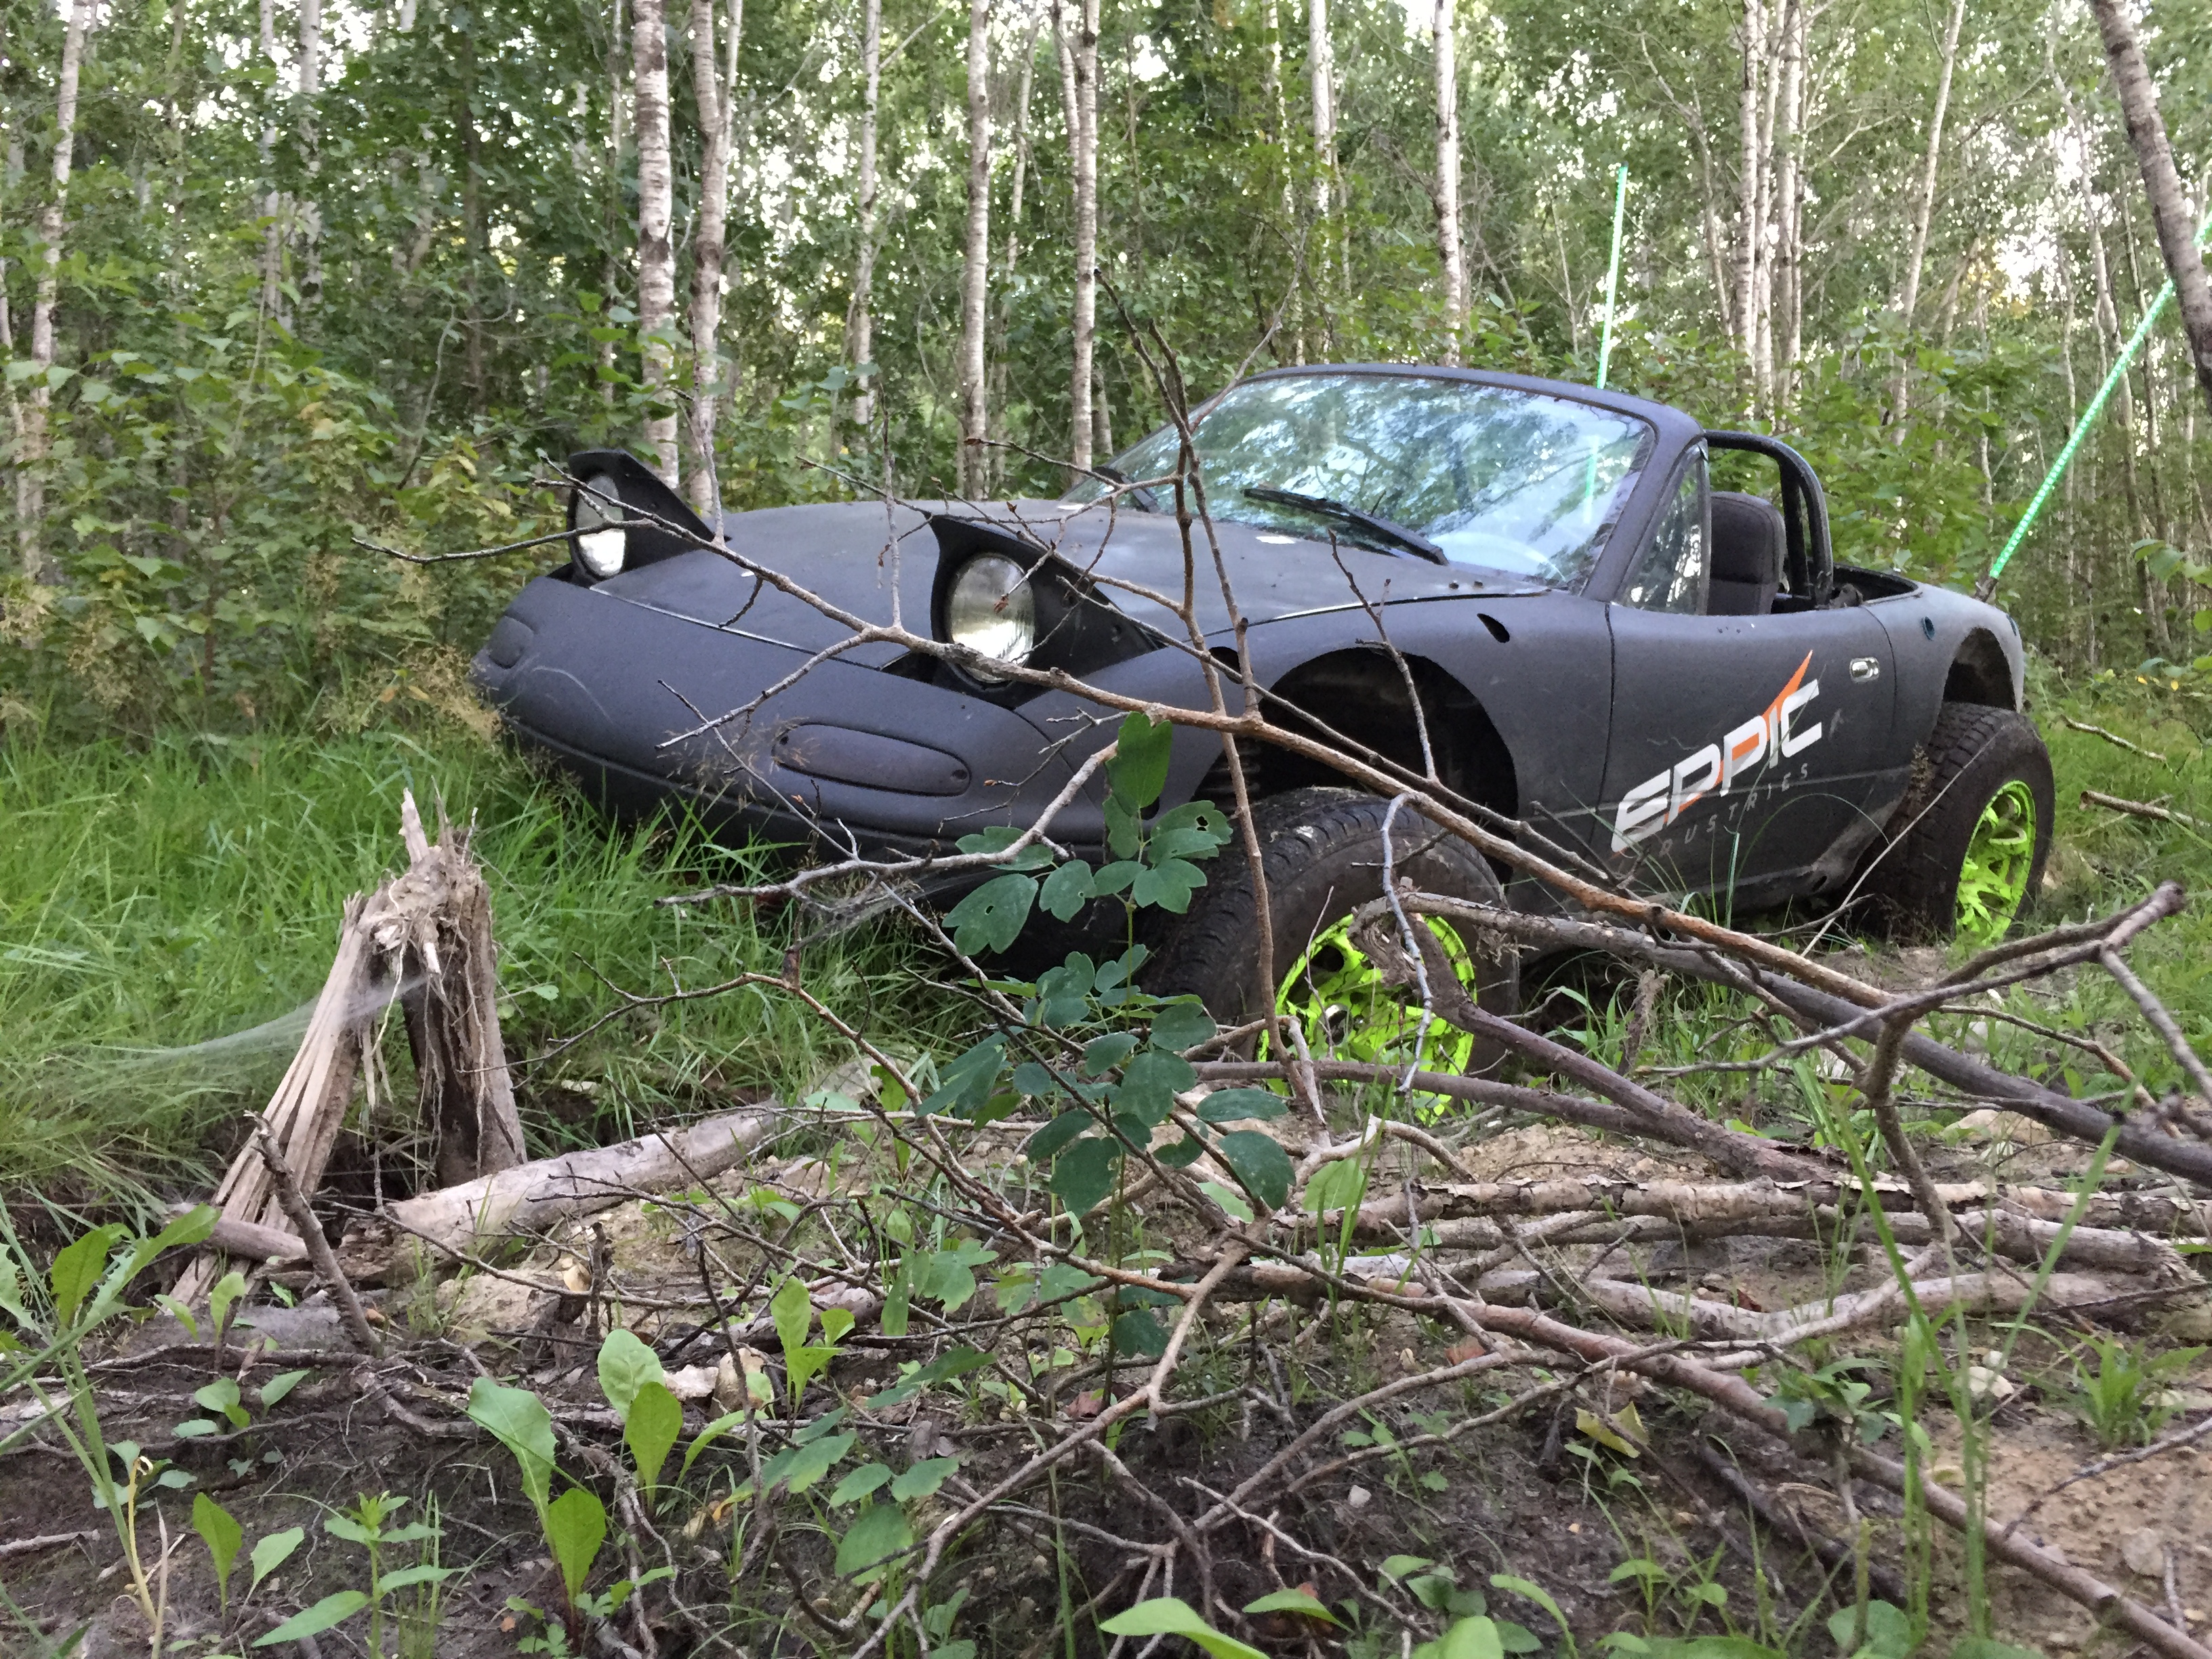
This car has come a long way.
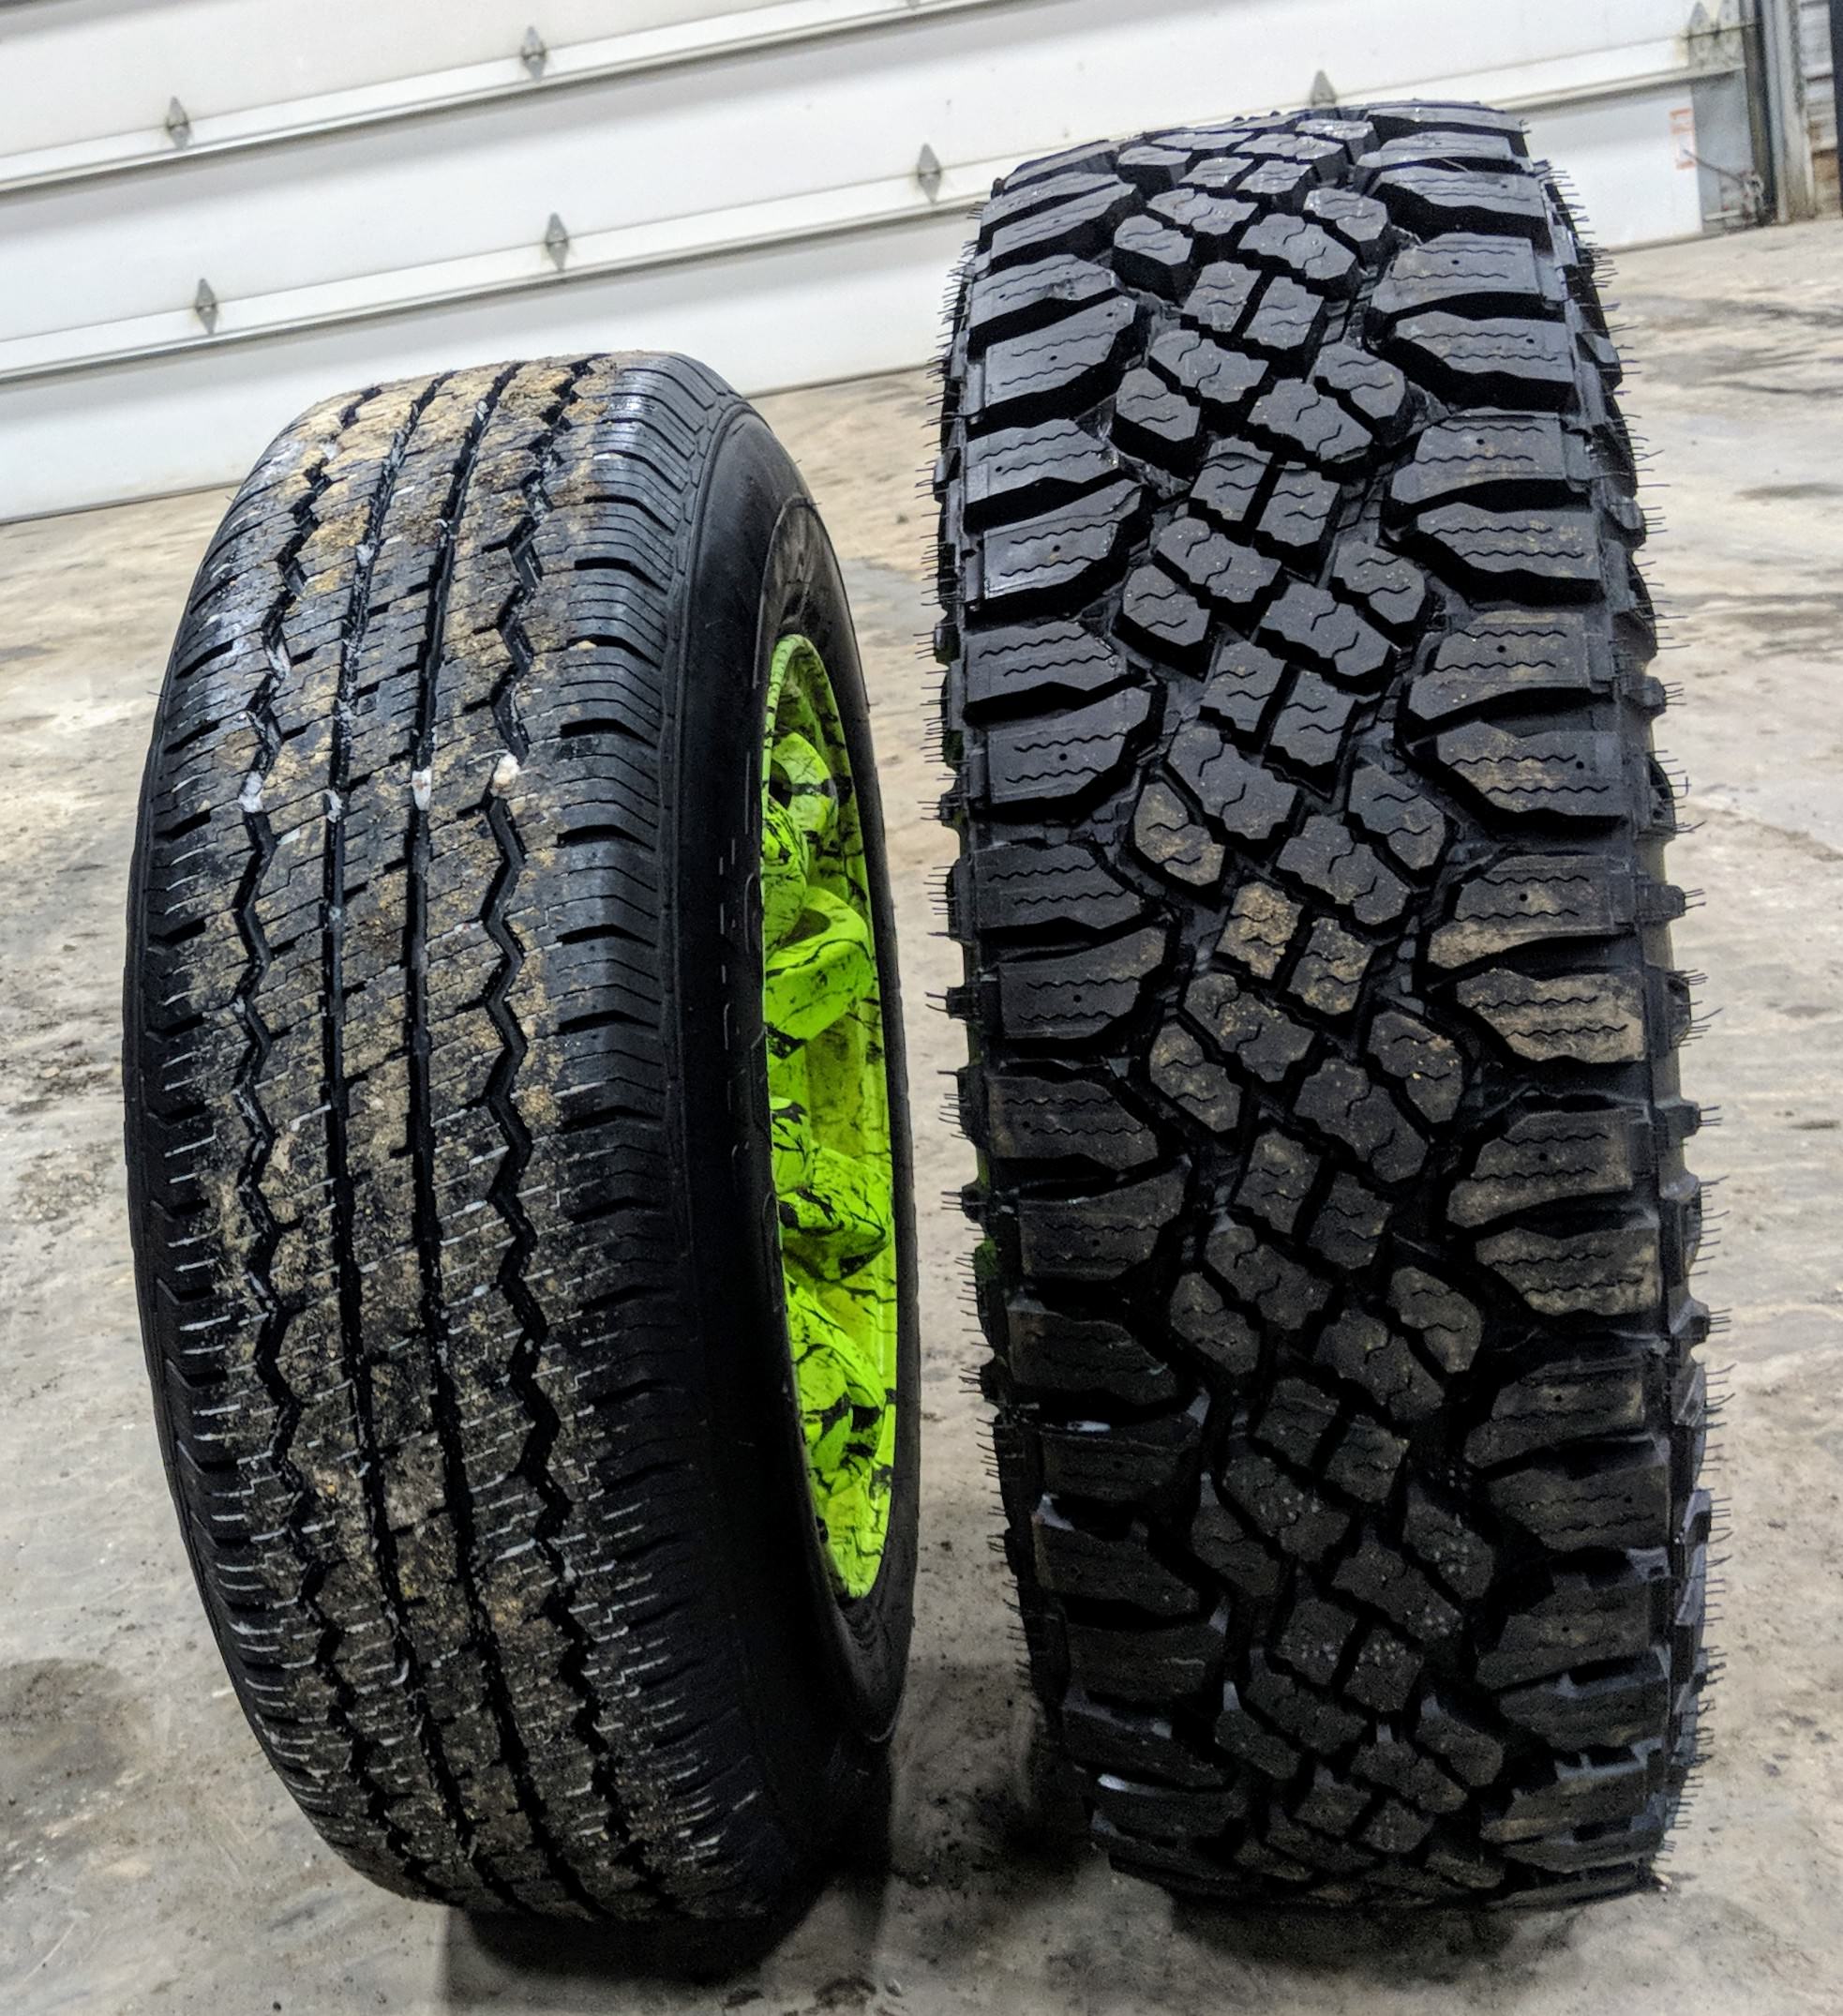
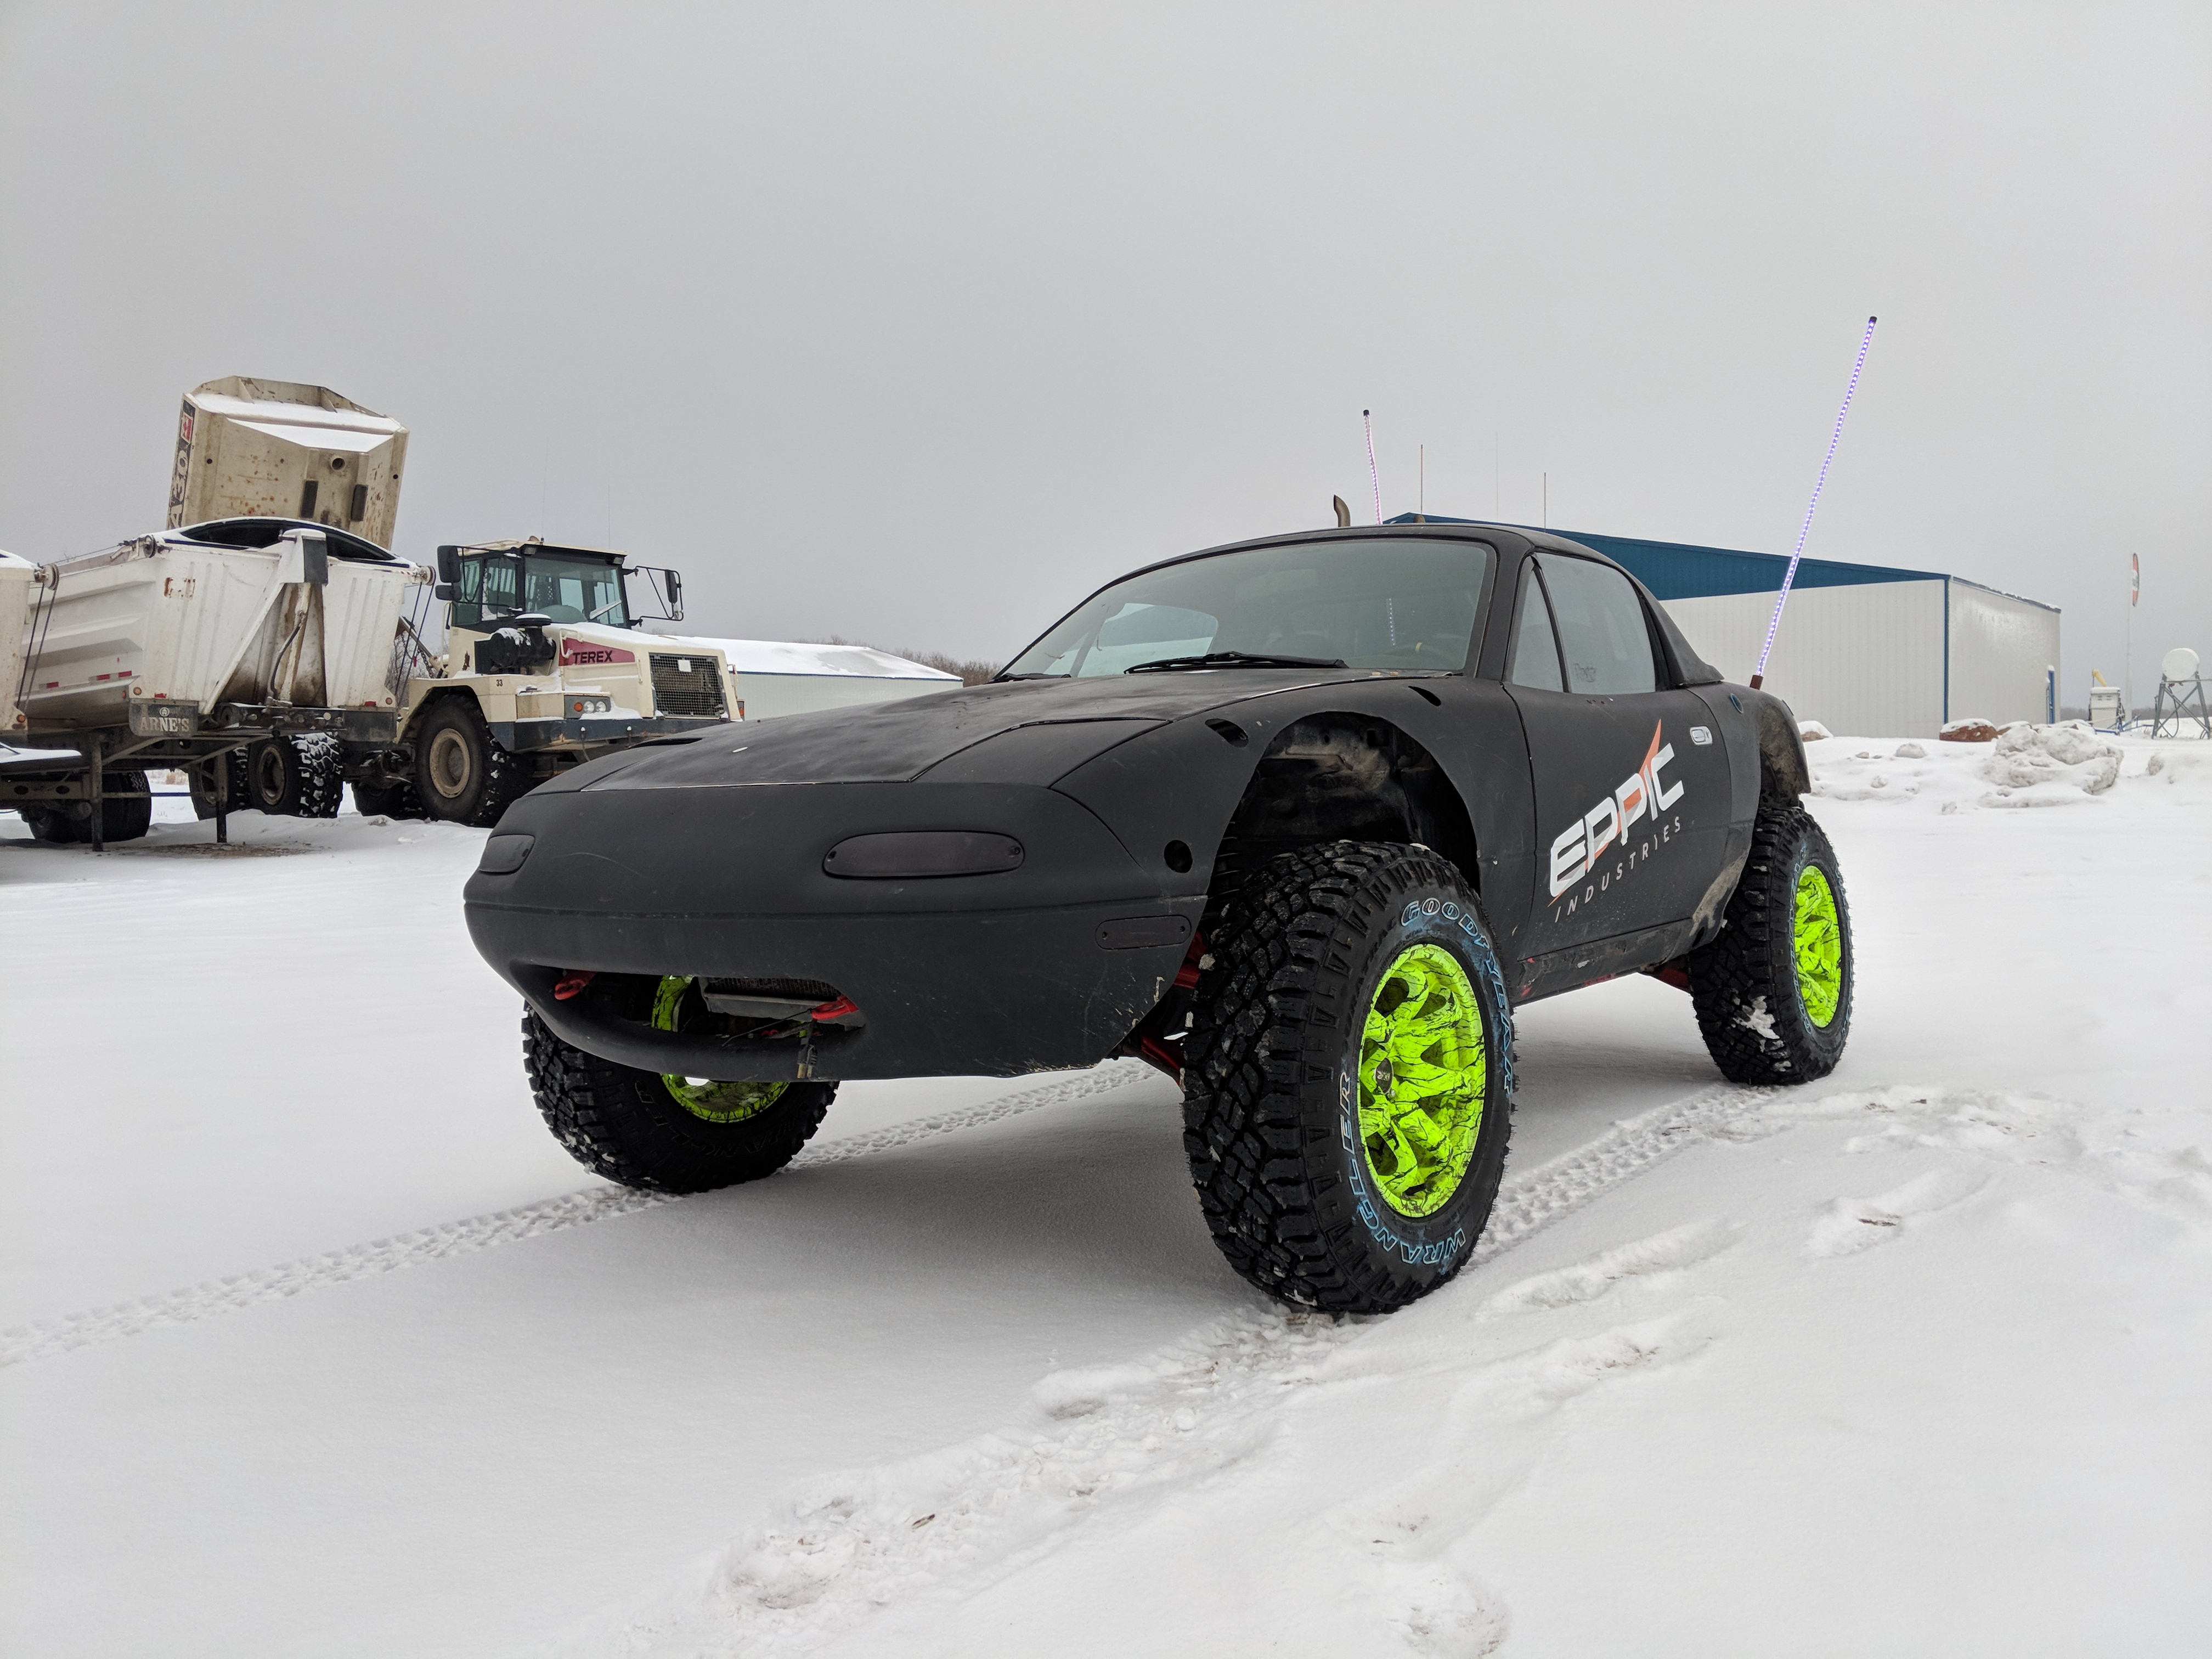
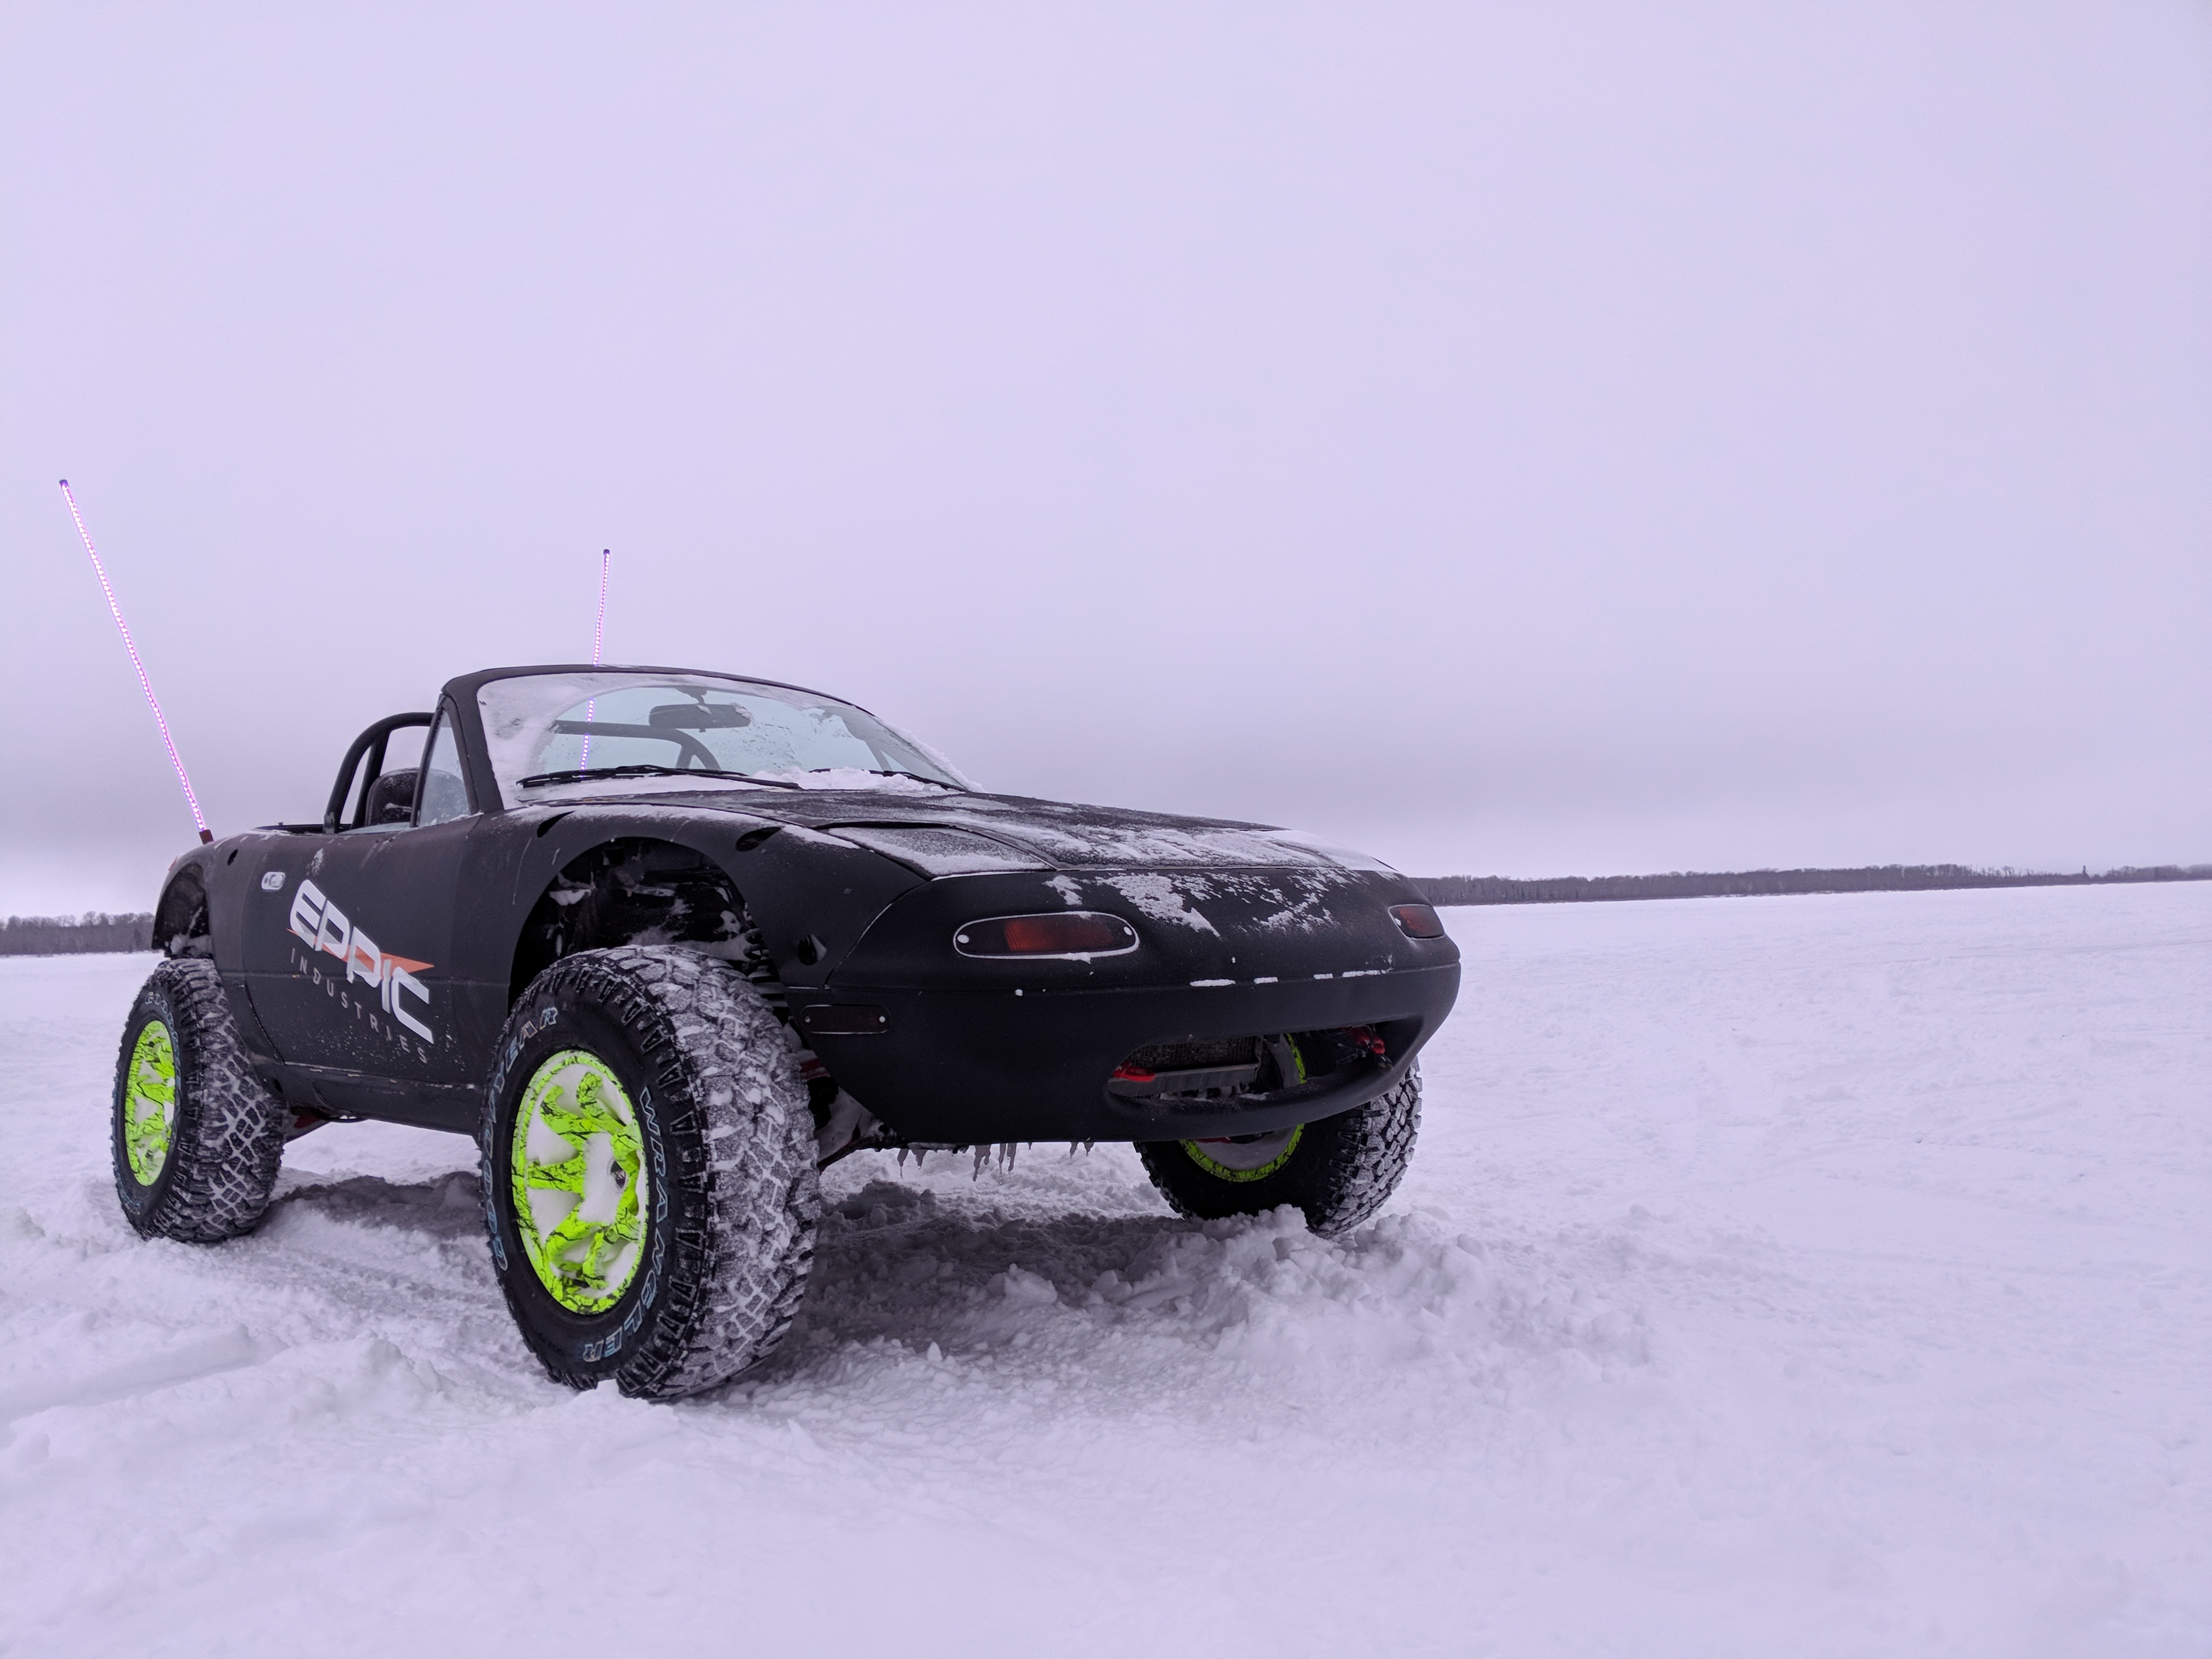
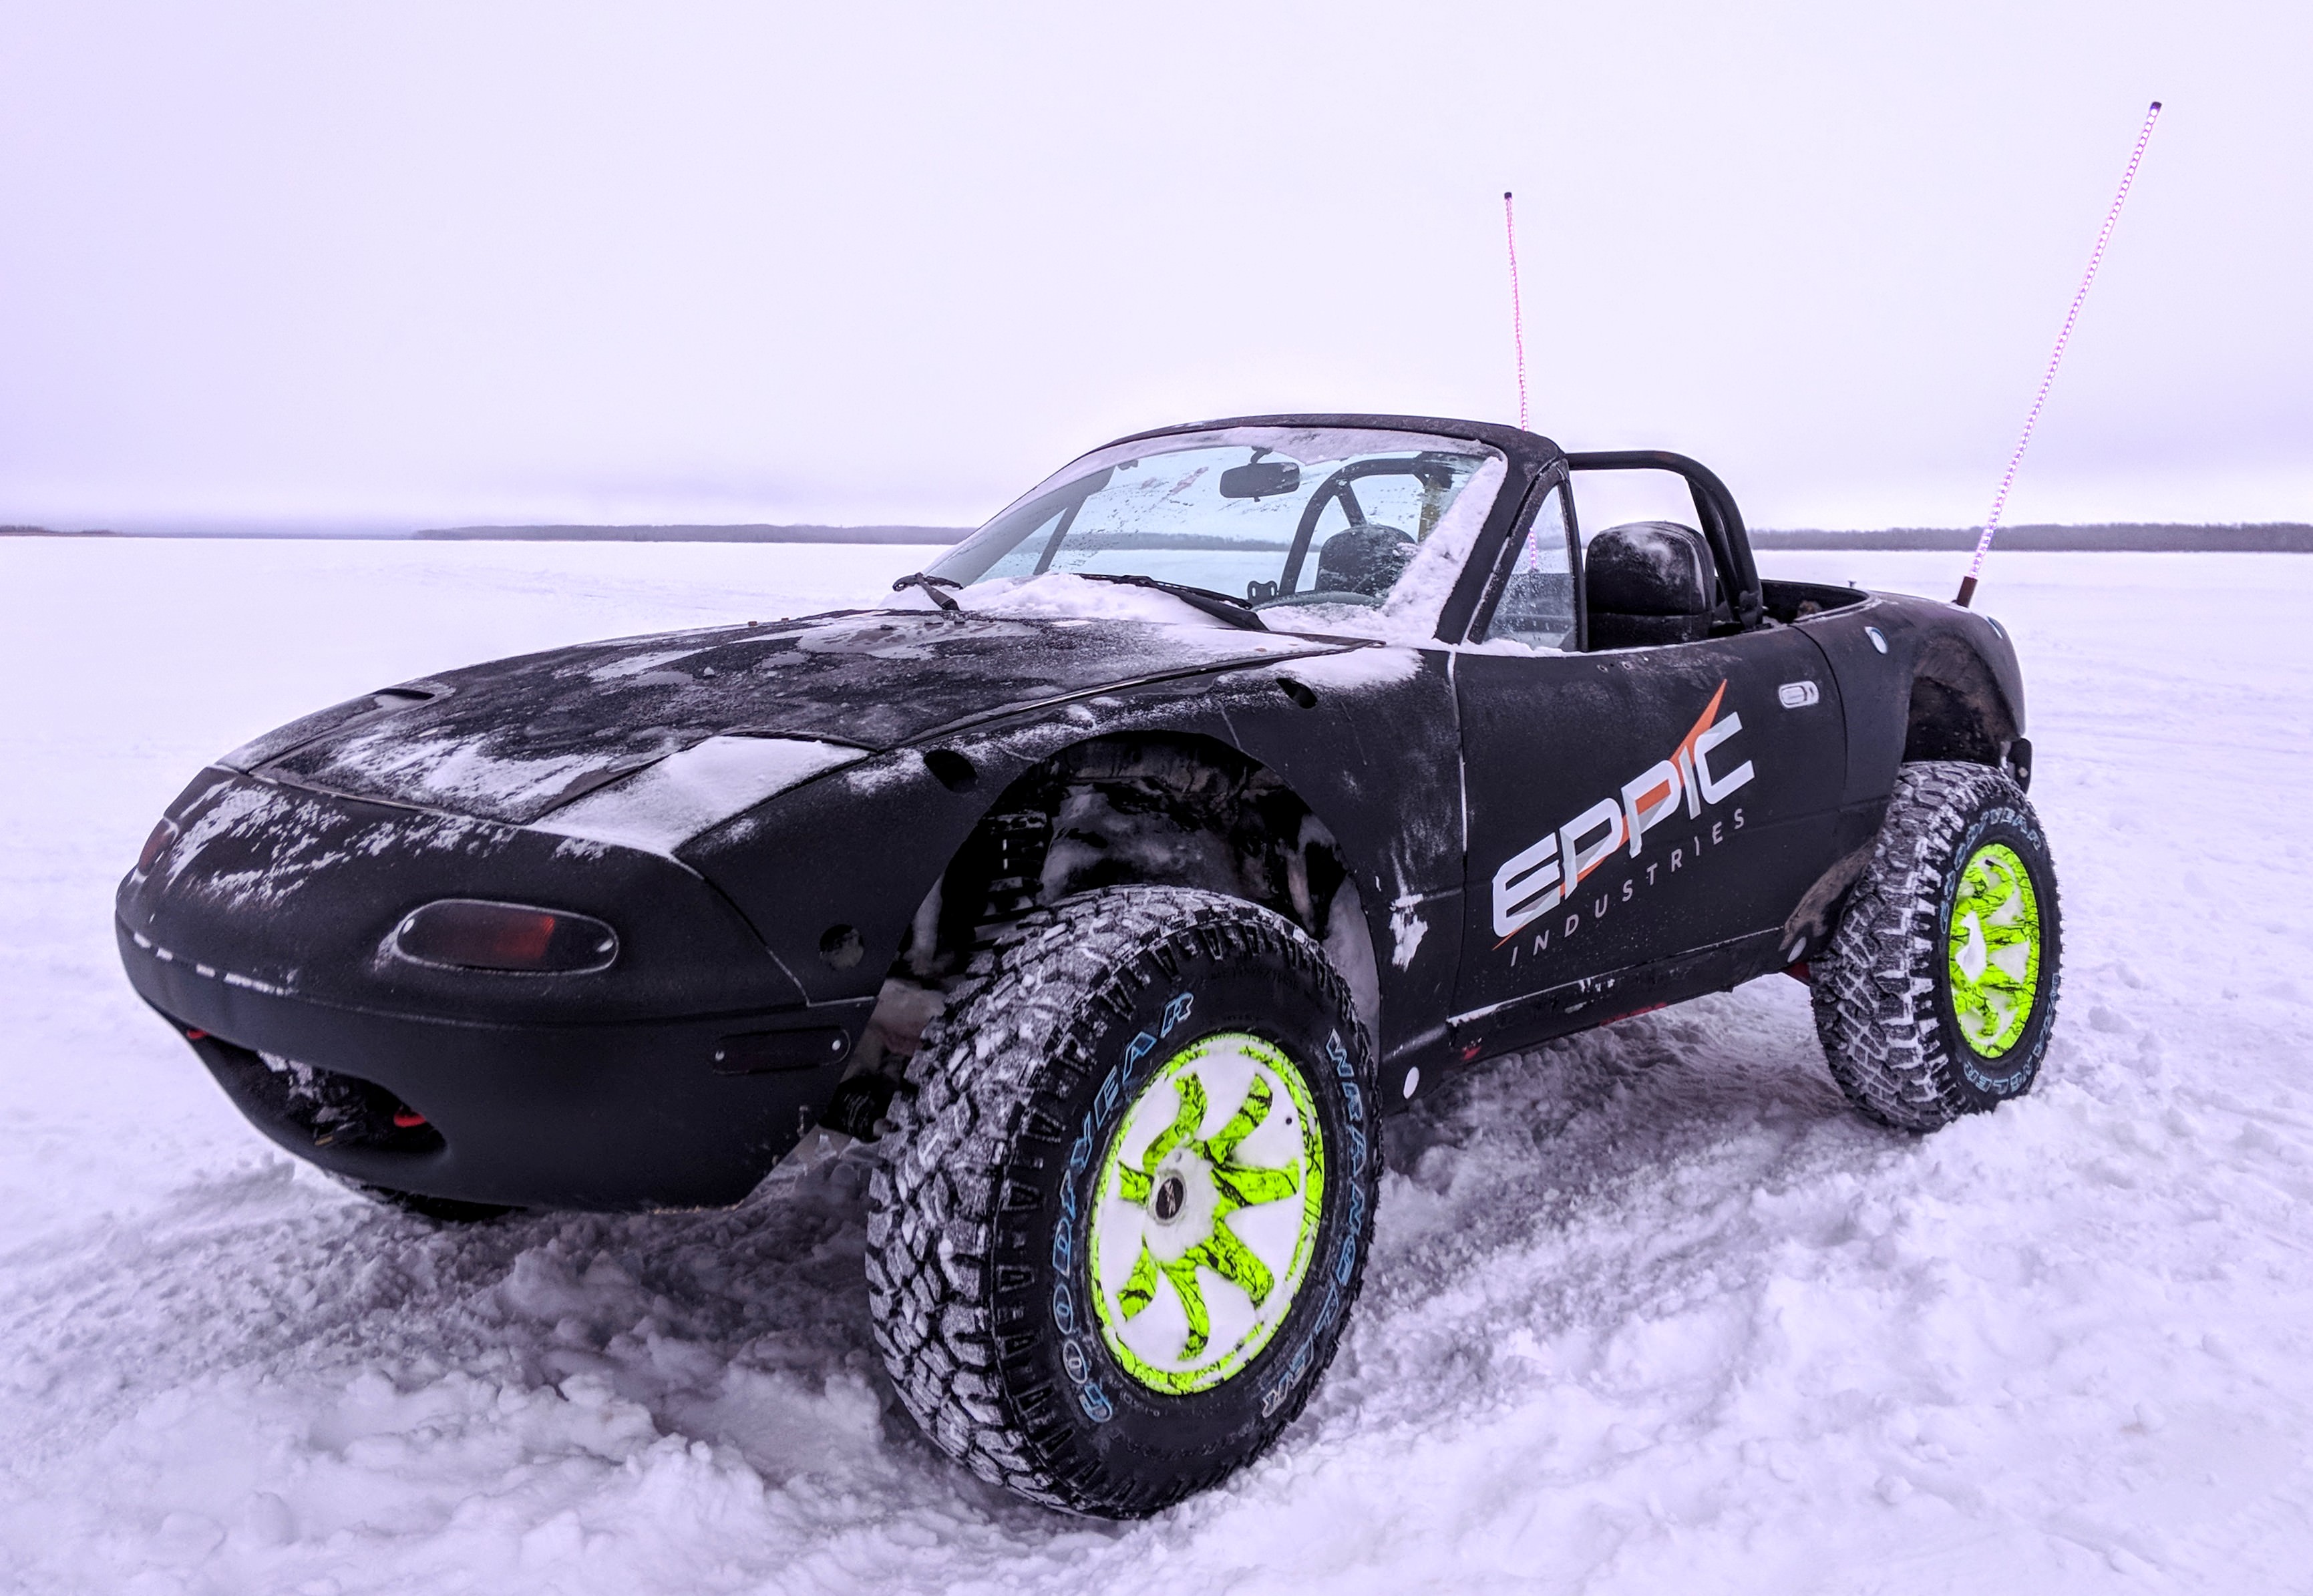
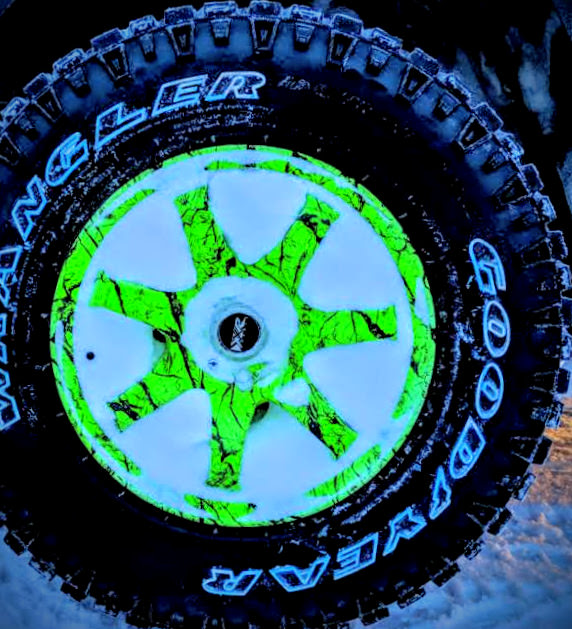
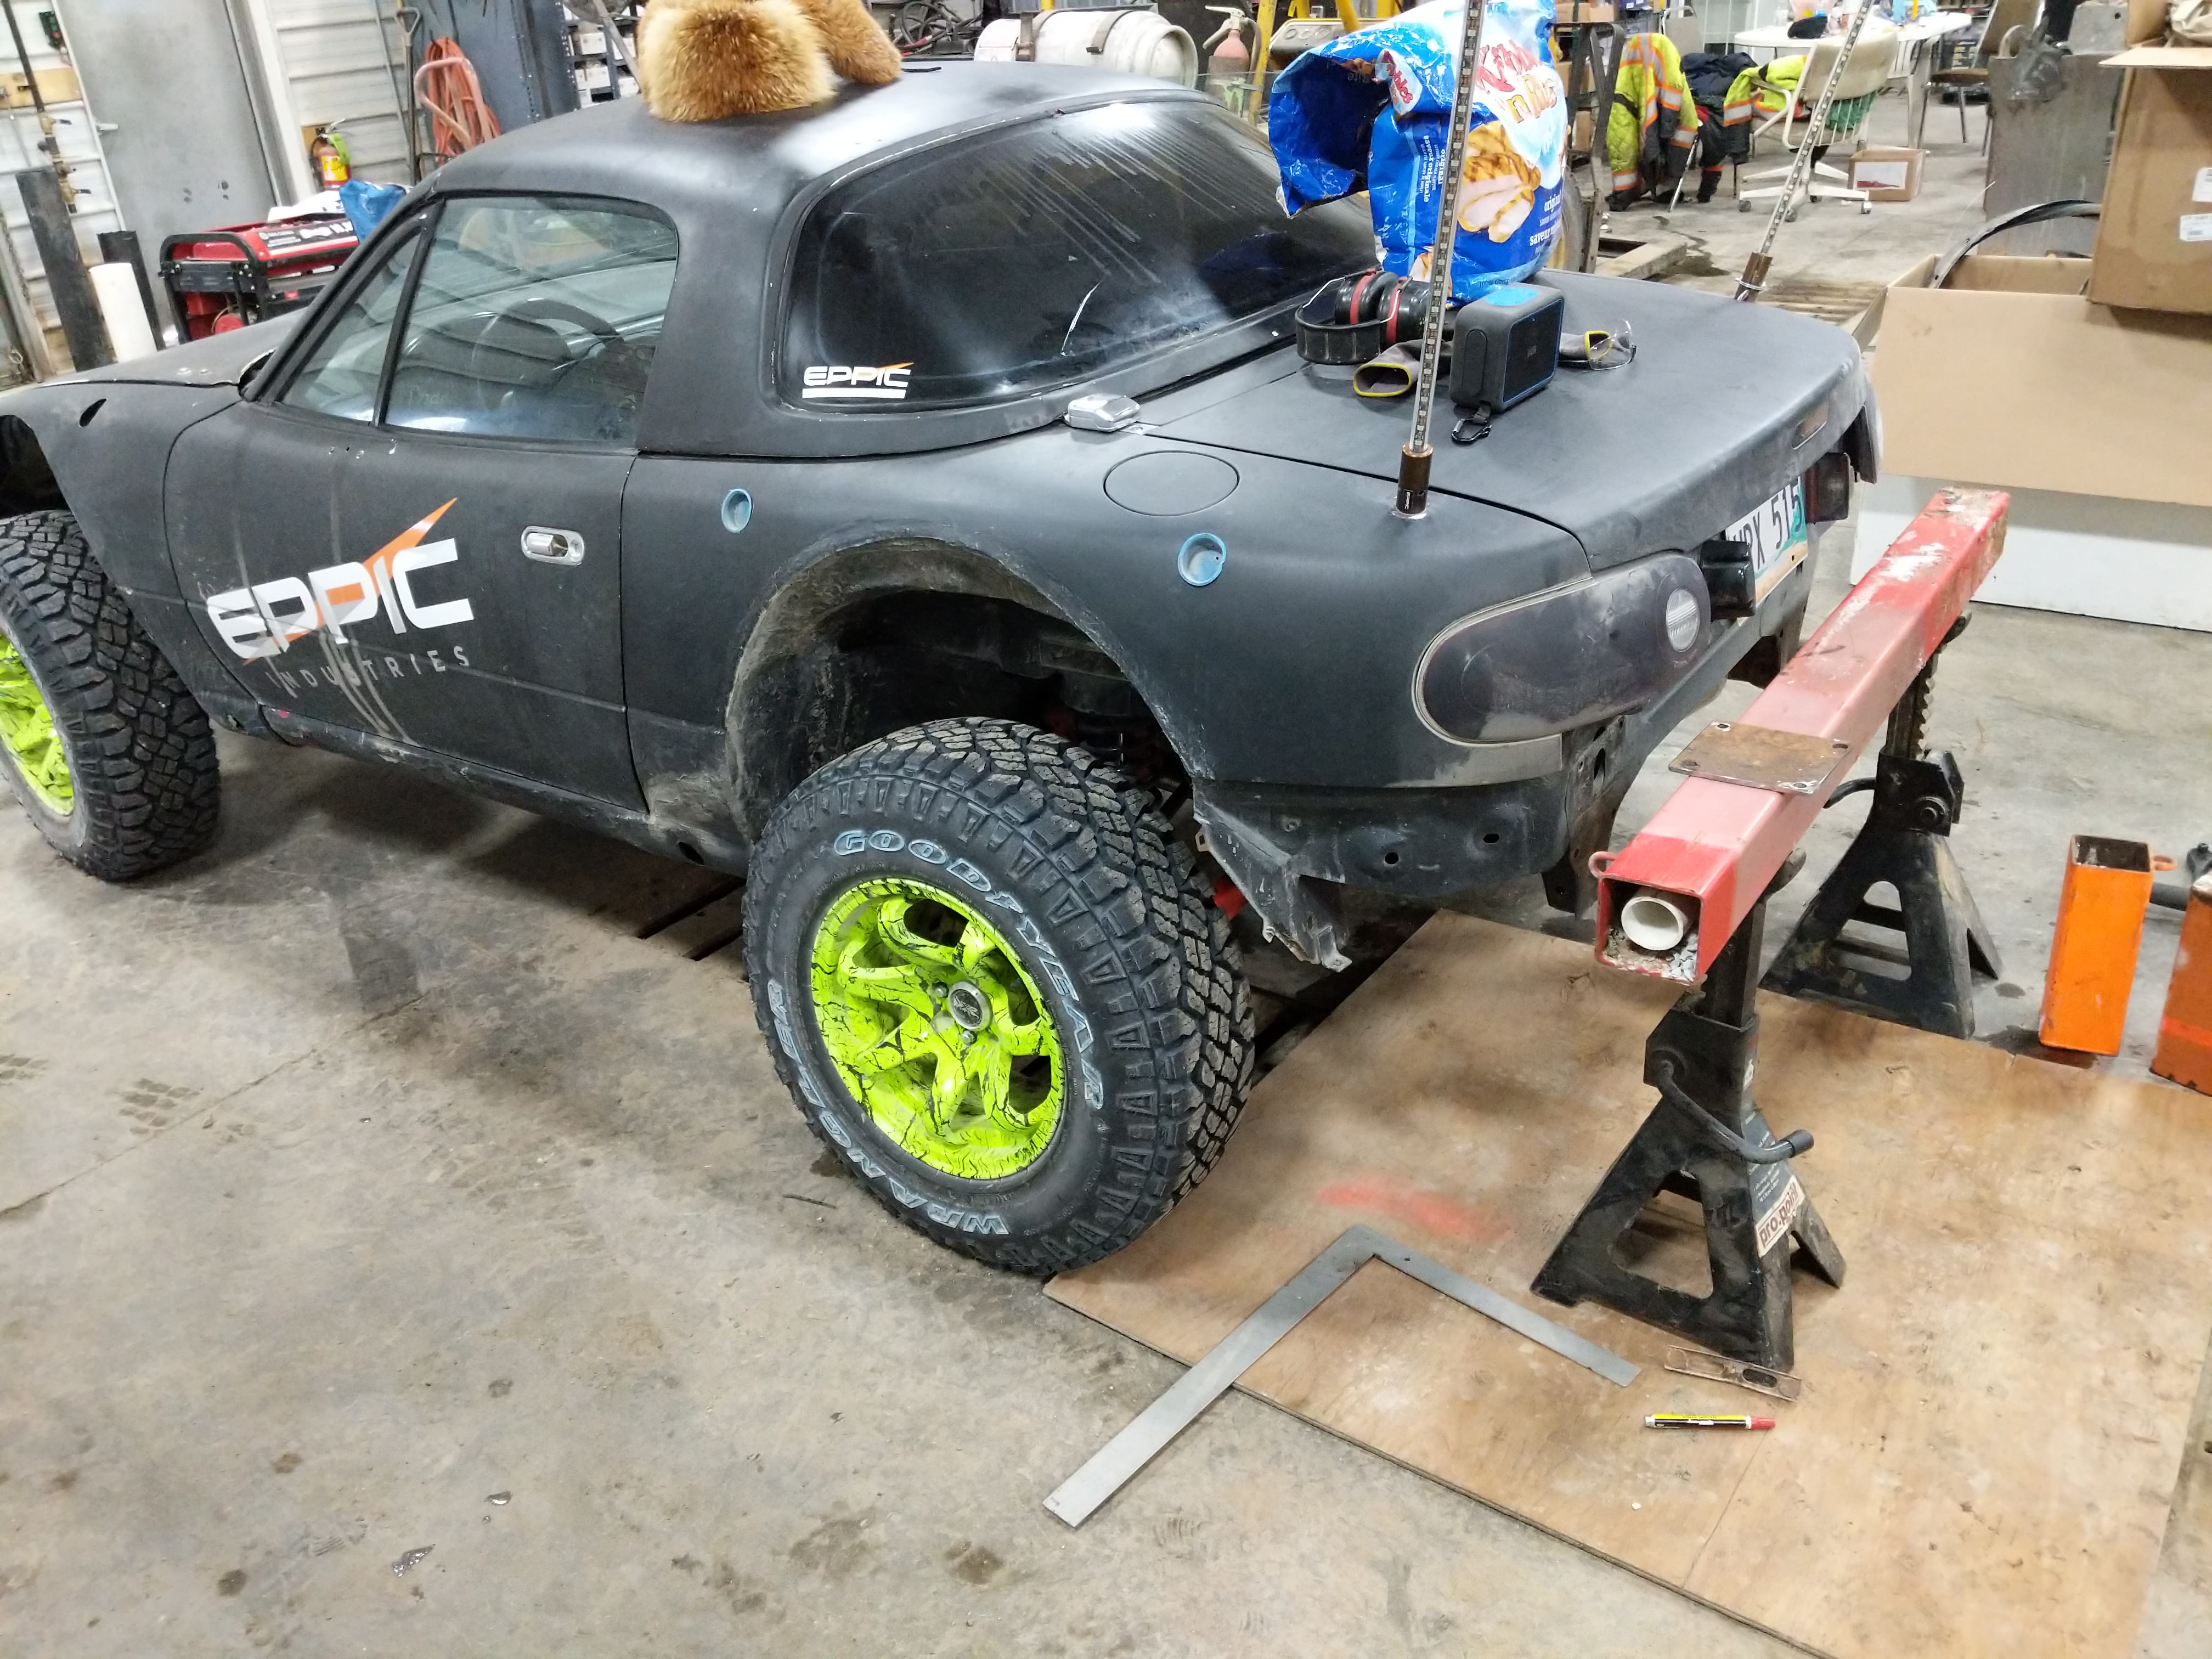
Also Black Friday yielded an awesome dealio on Goodyear Wrangler Duratrac's! Probably Canada's 4x4 communities favorite tire. A healthy upgrade for this beast. 235/75r15
With tires mounted and the badassery turned up... Made another youtube video.
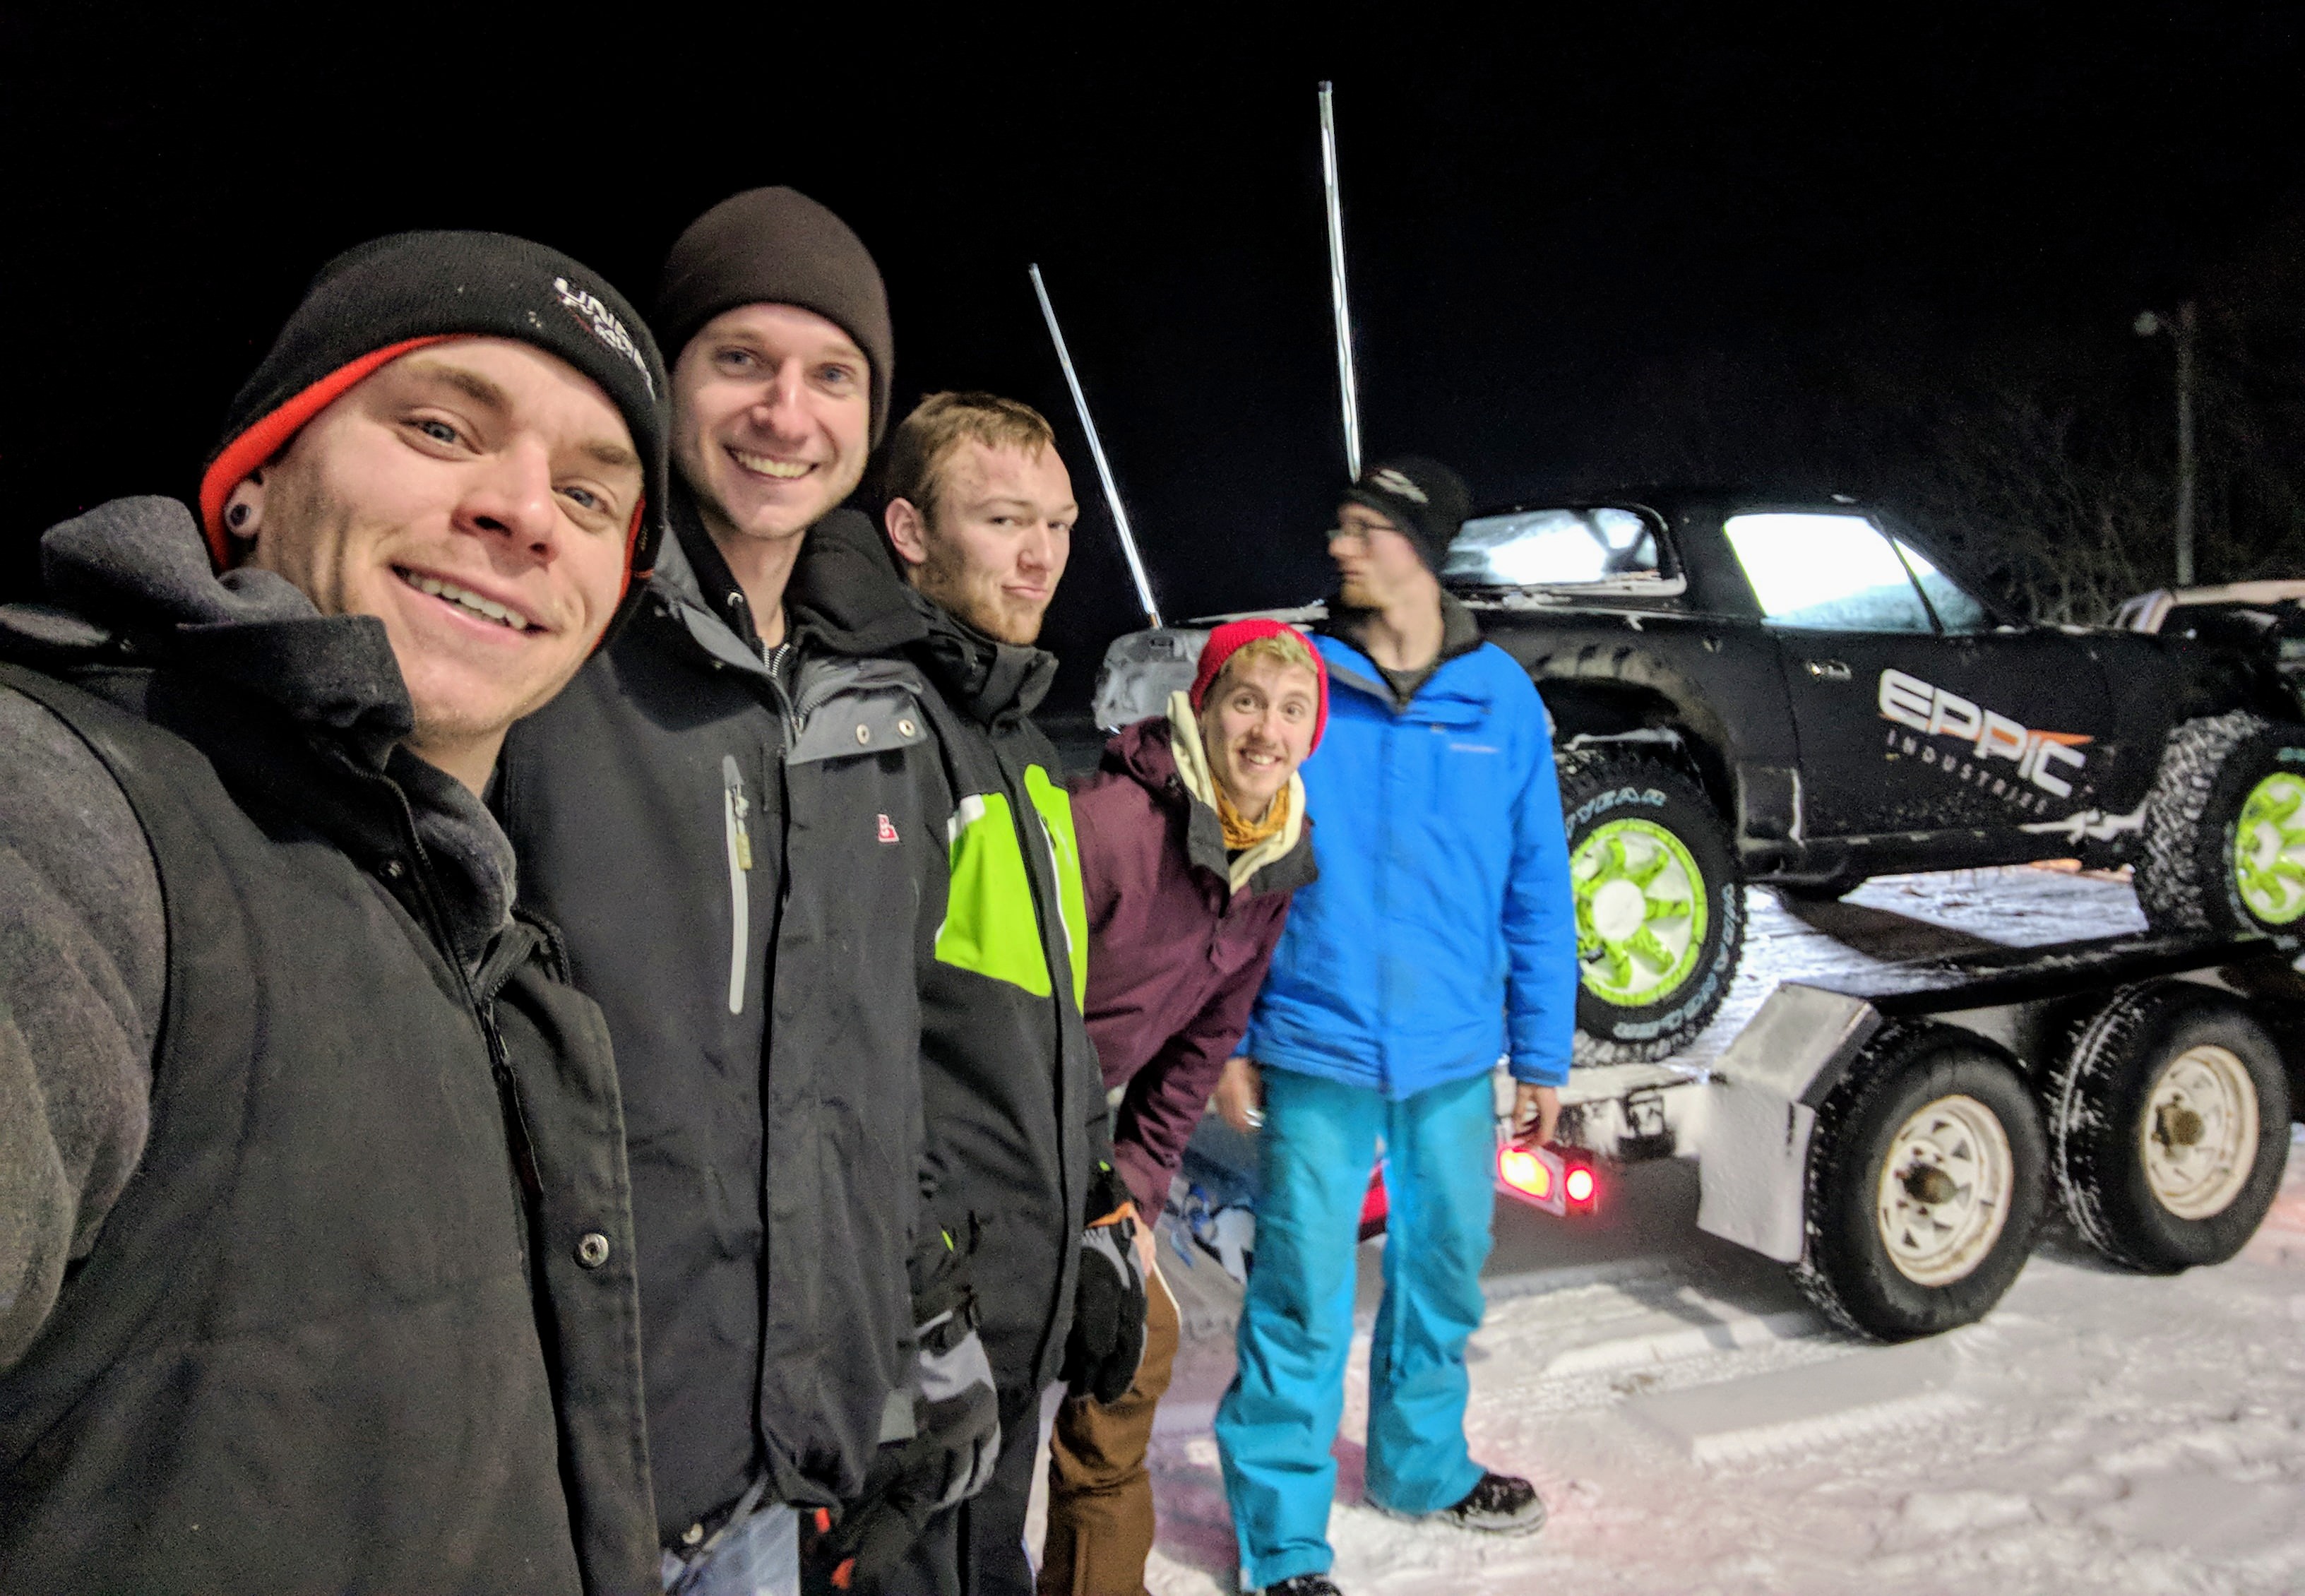
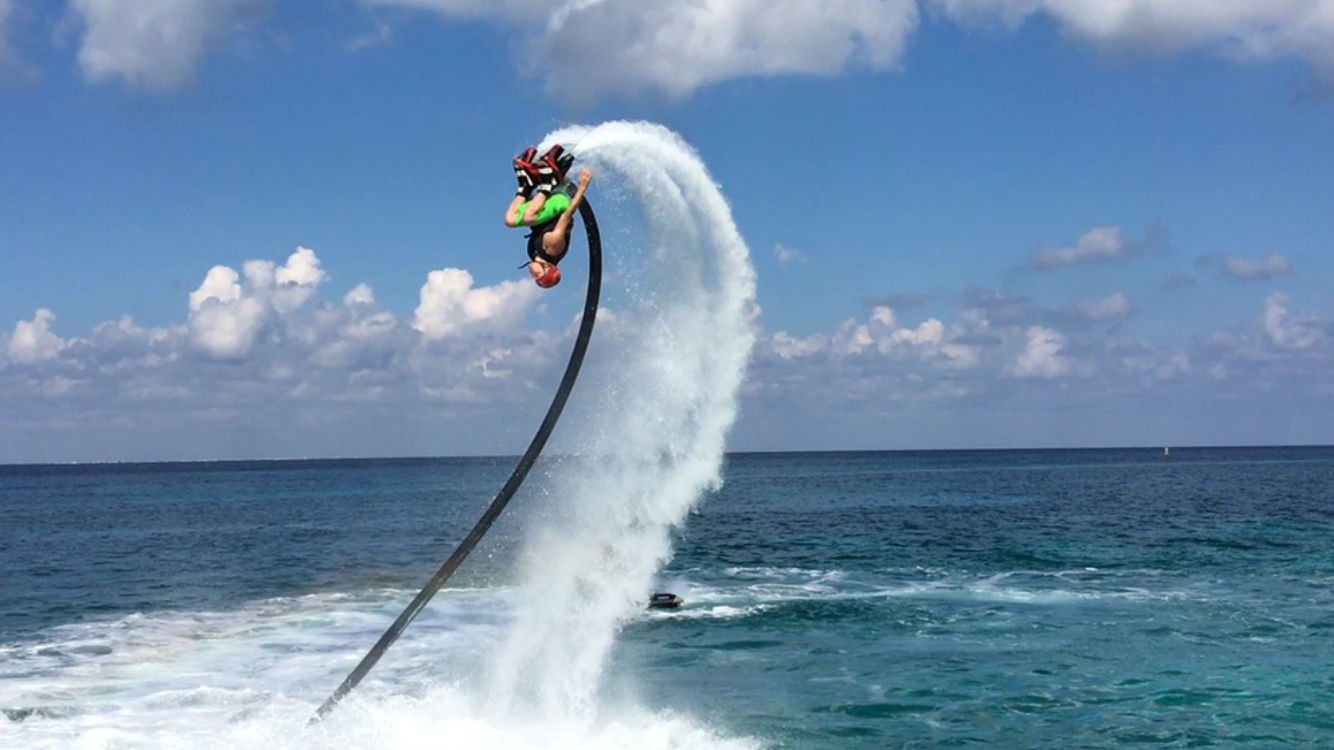
With that stage of the build completed. I finished off the year in Mexico on this thing! SO MUCH AWESOMENESS!
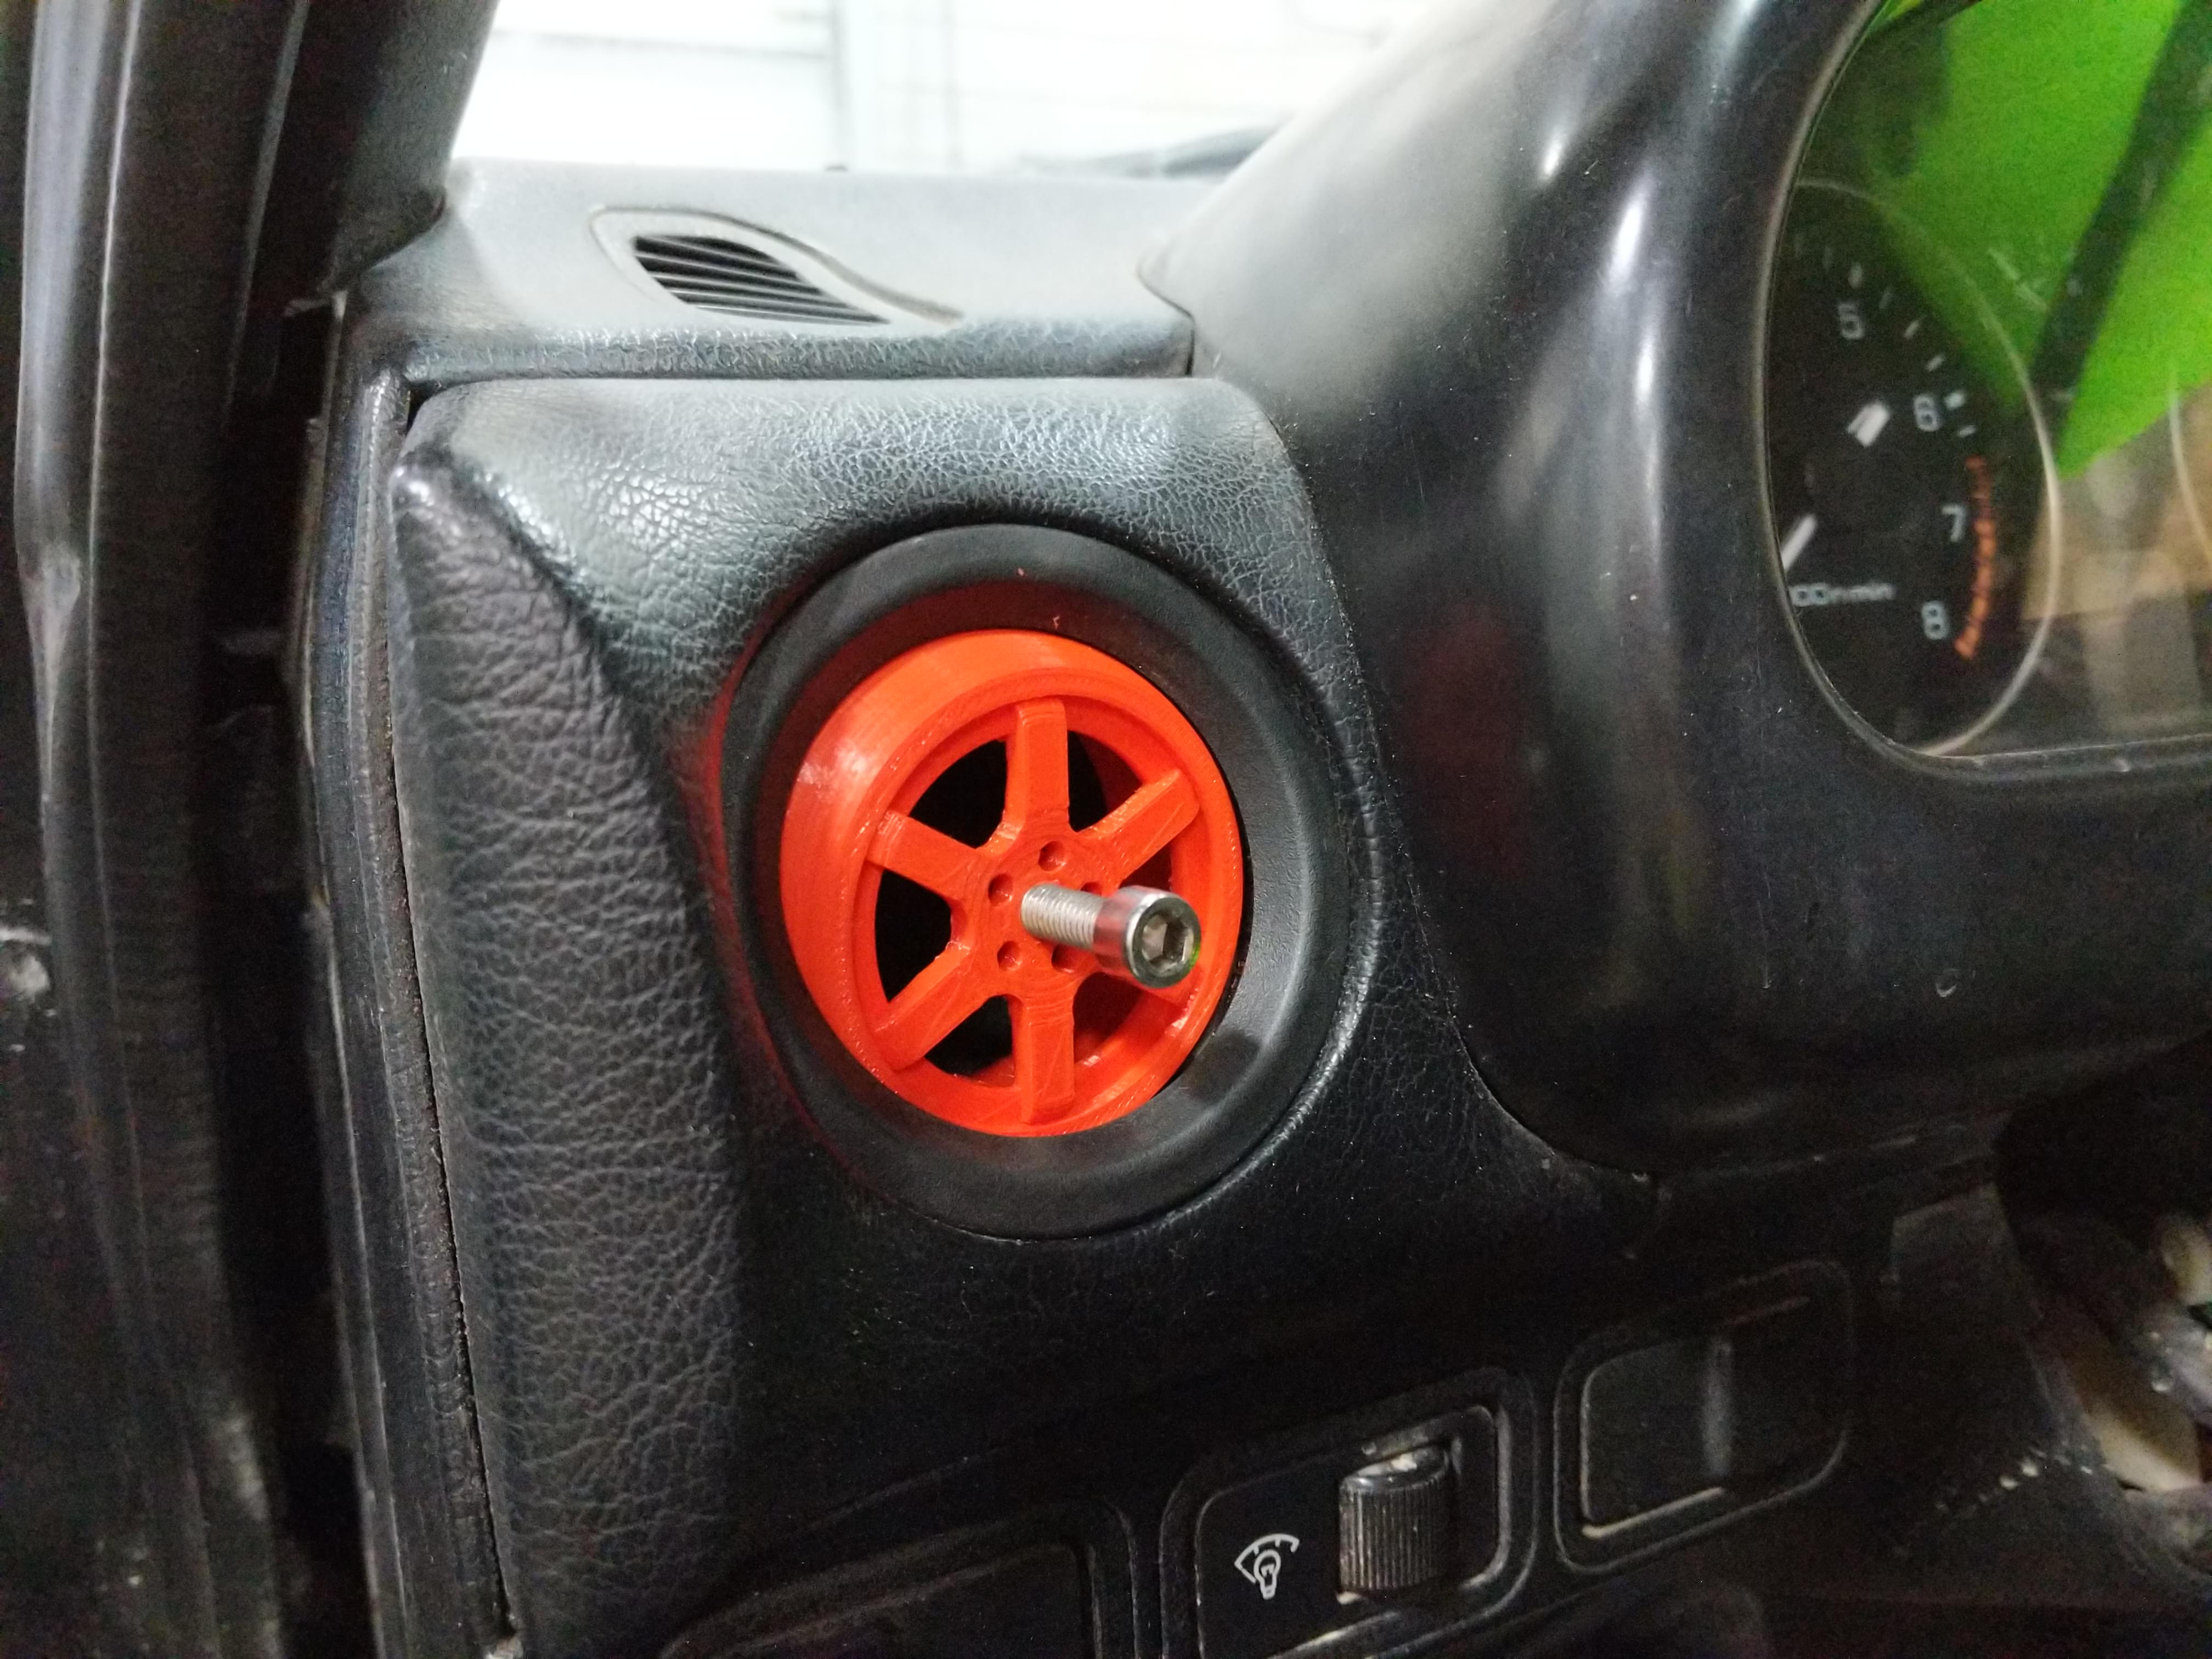
Came home and got on the 3d printer to make some new air vents. Turned out pretty neat actually.
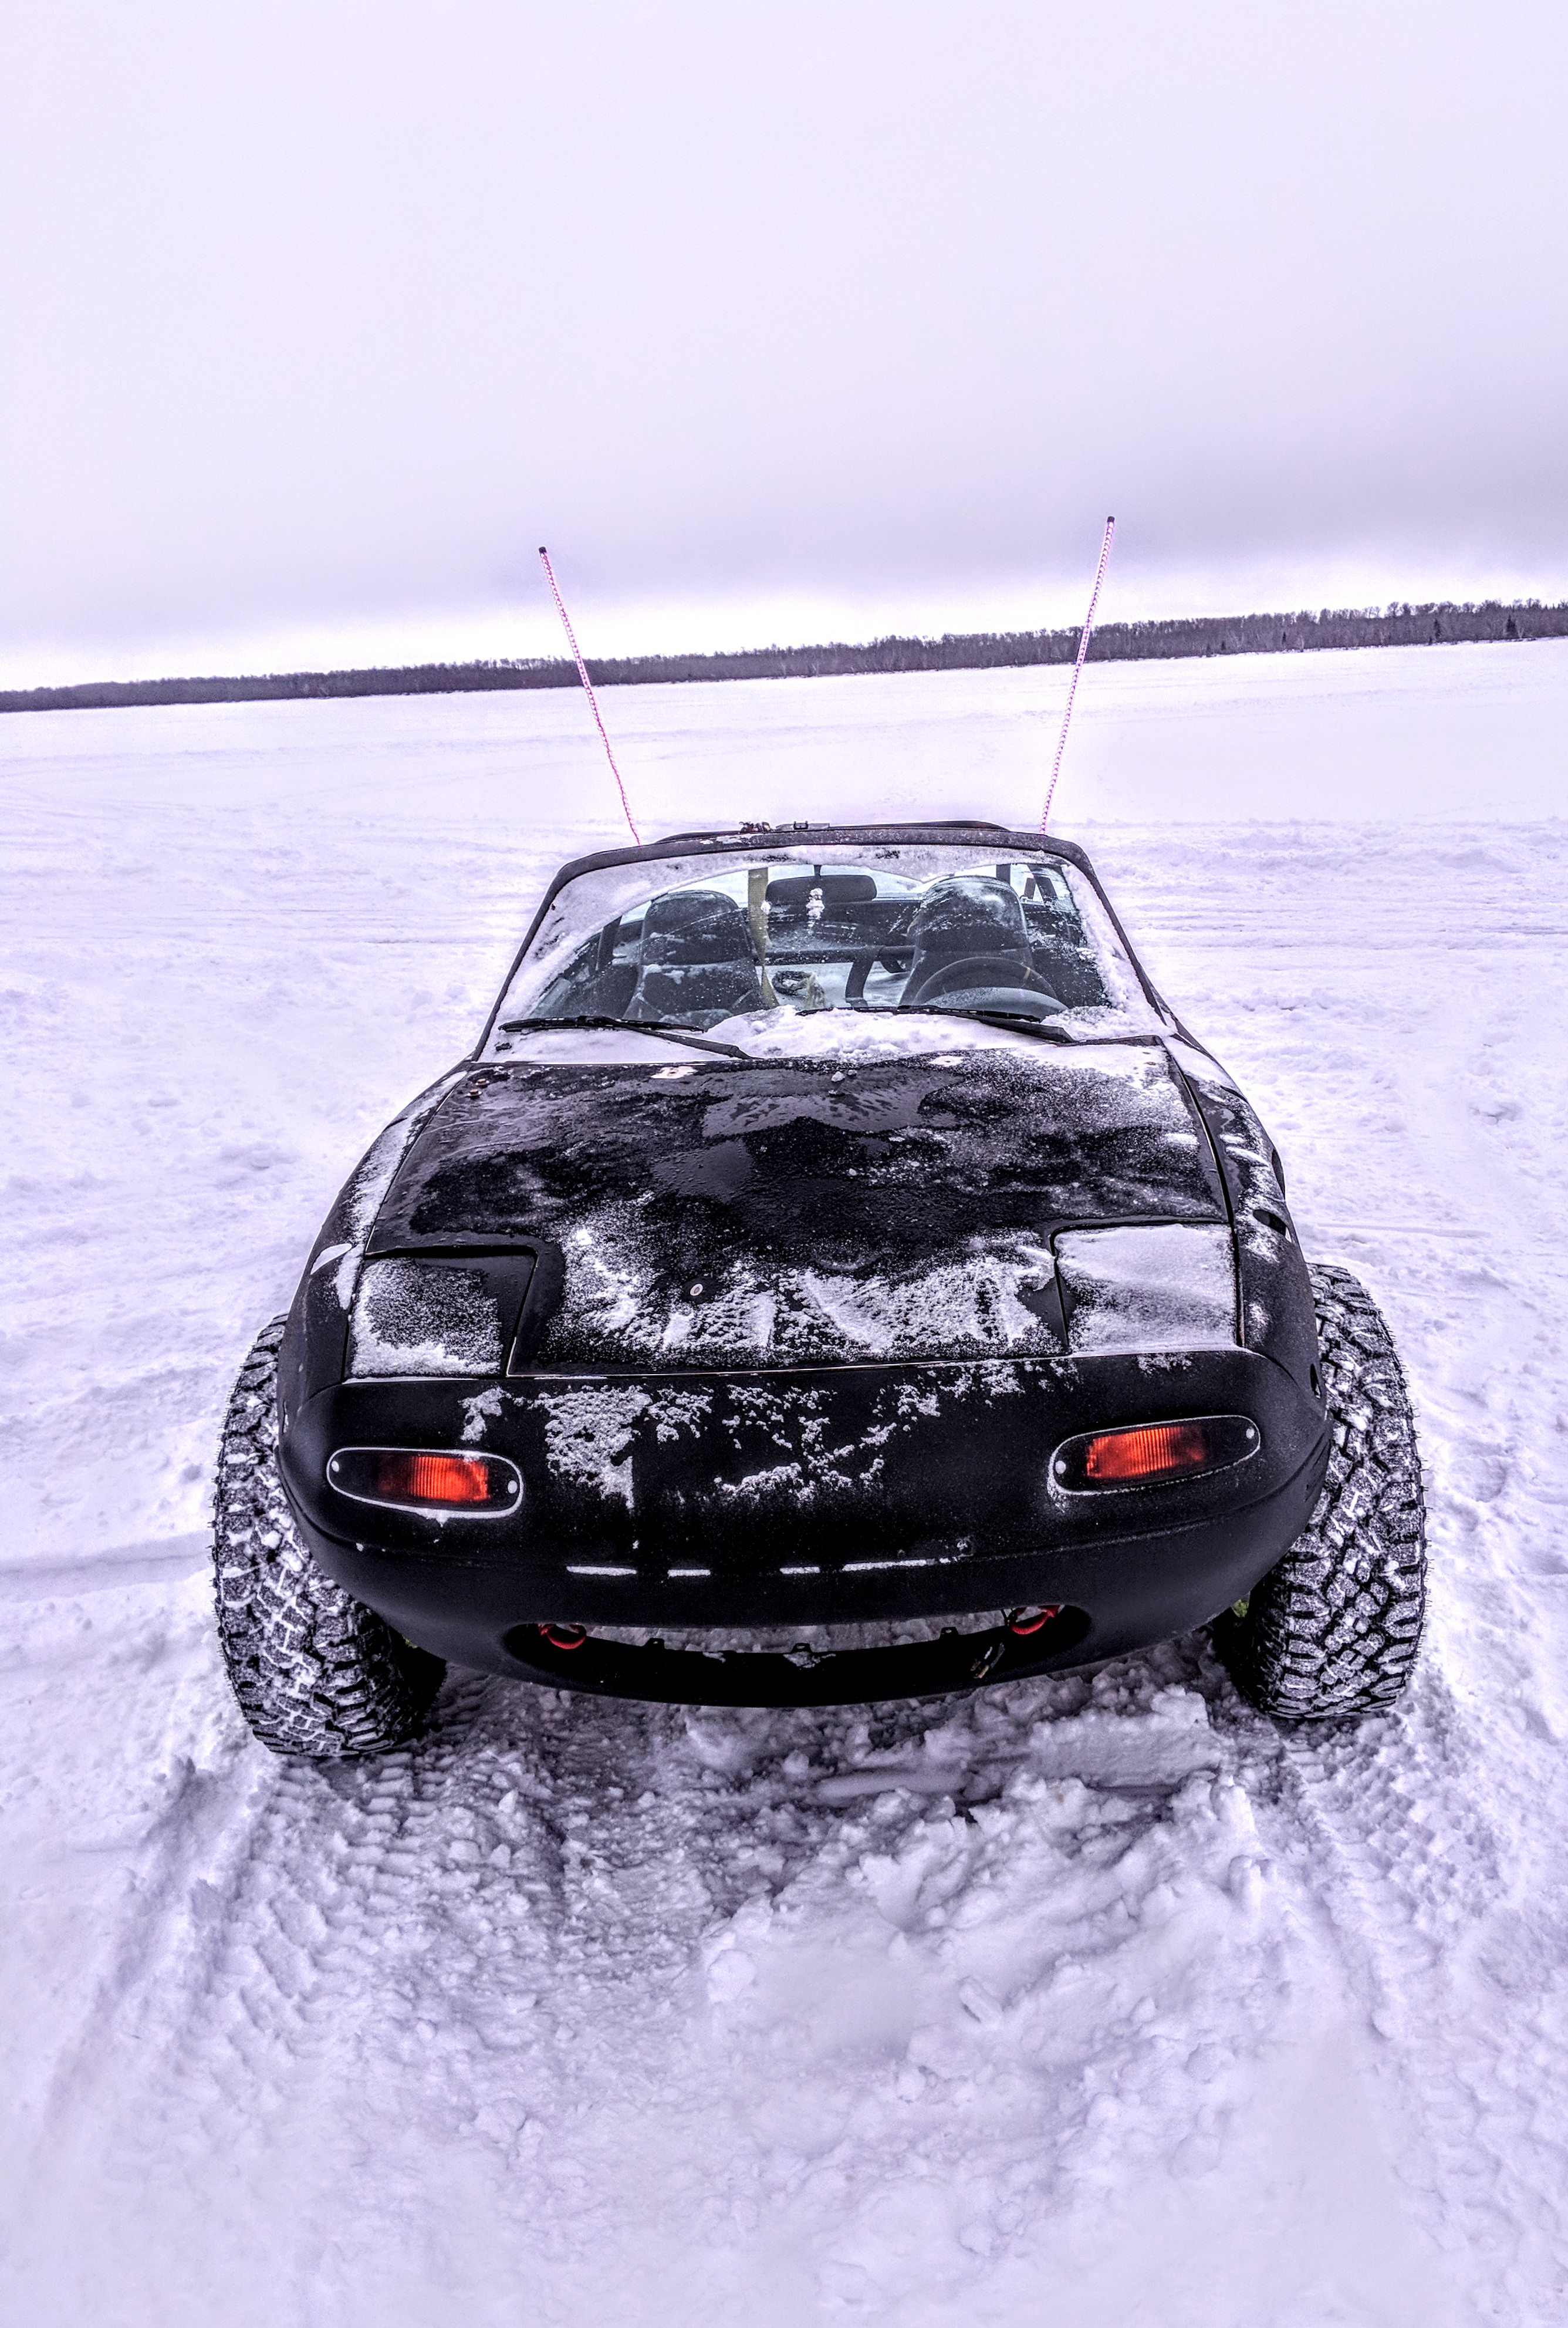
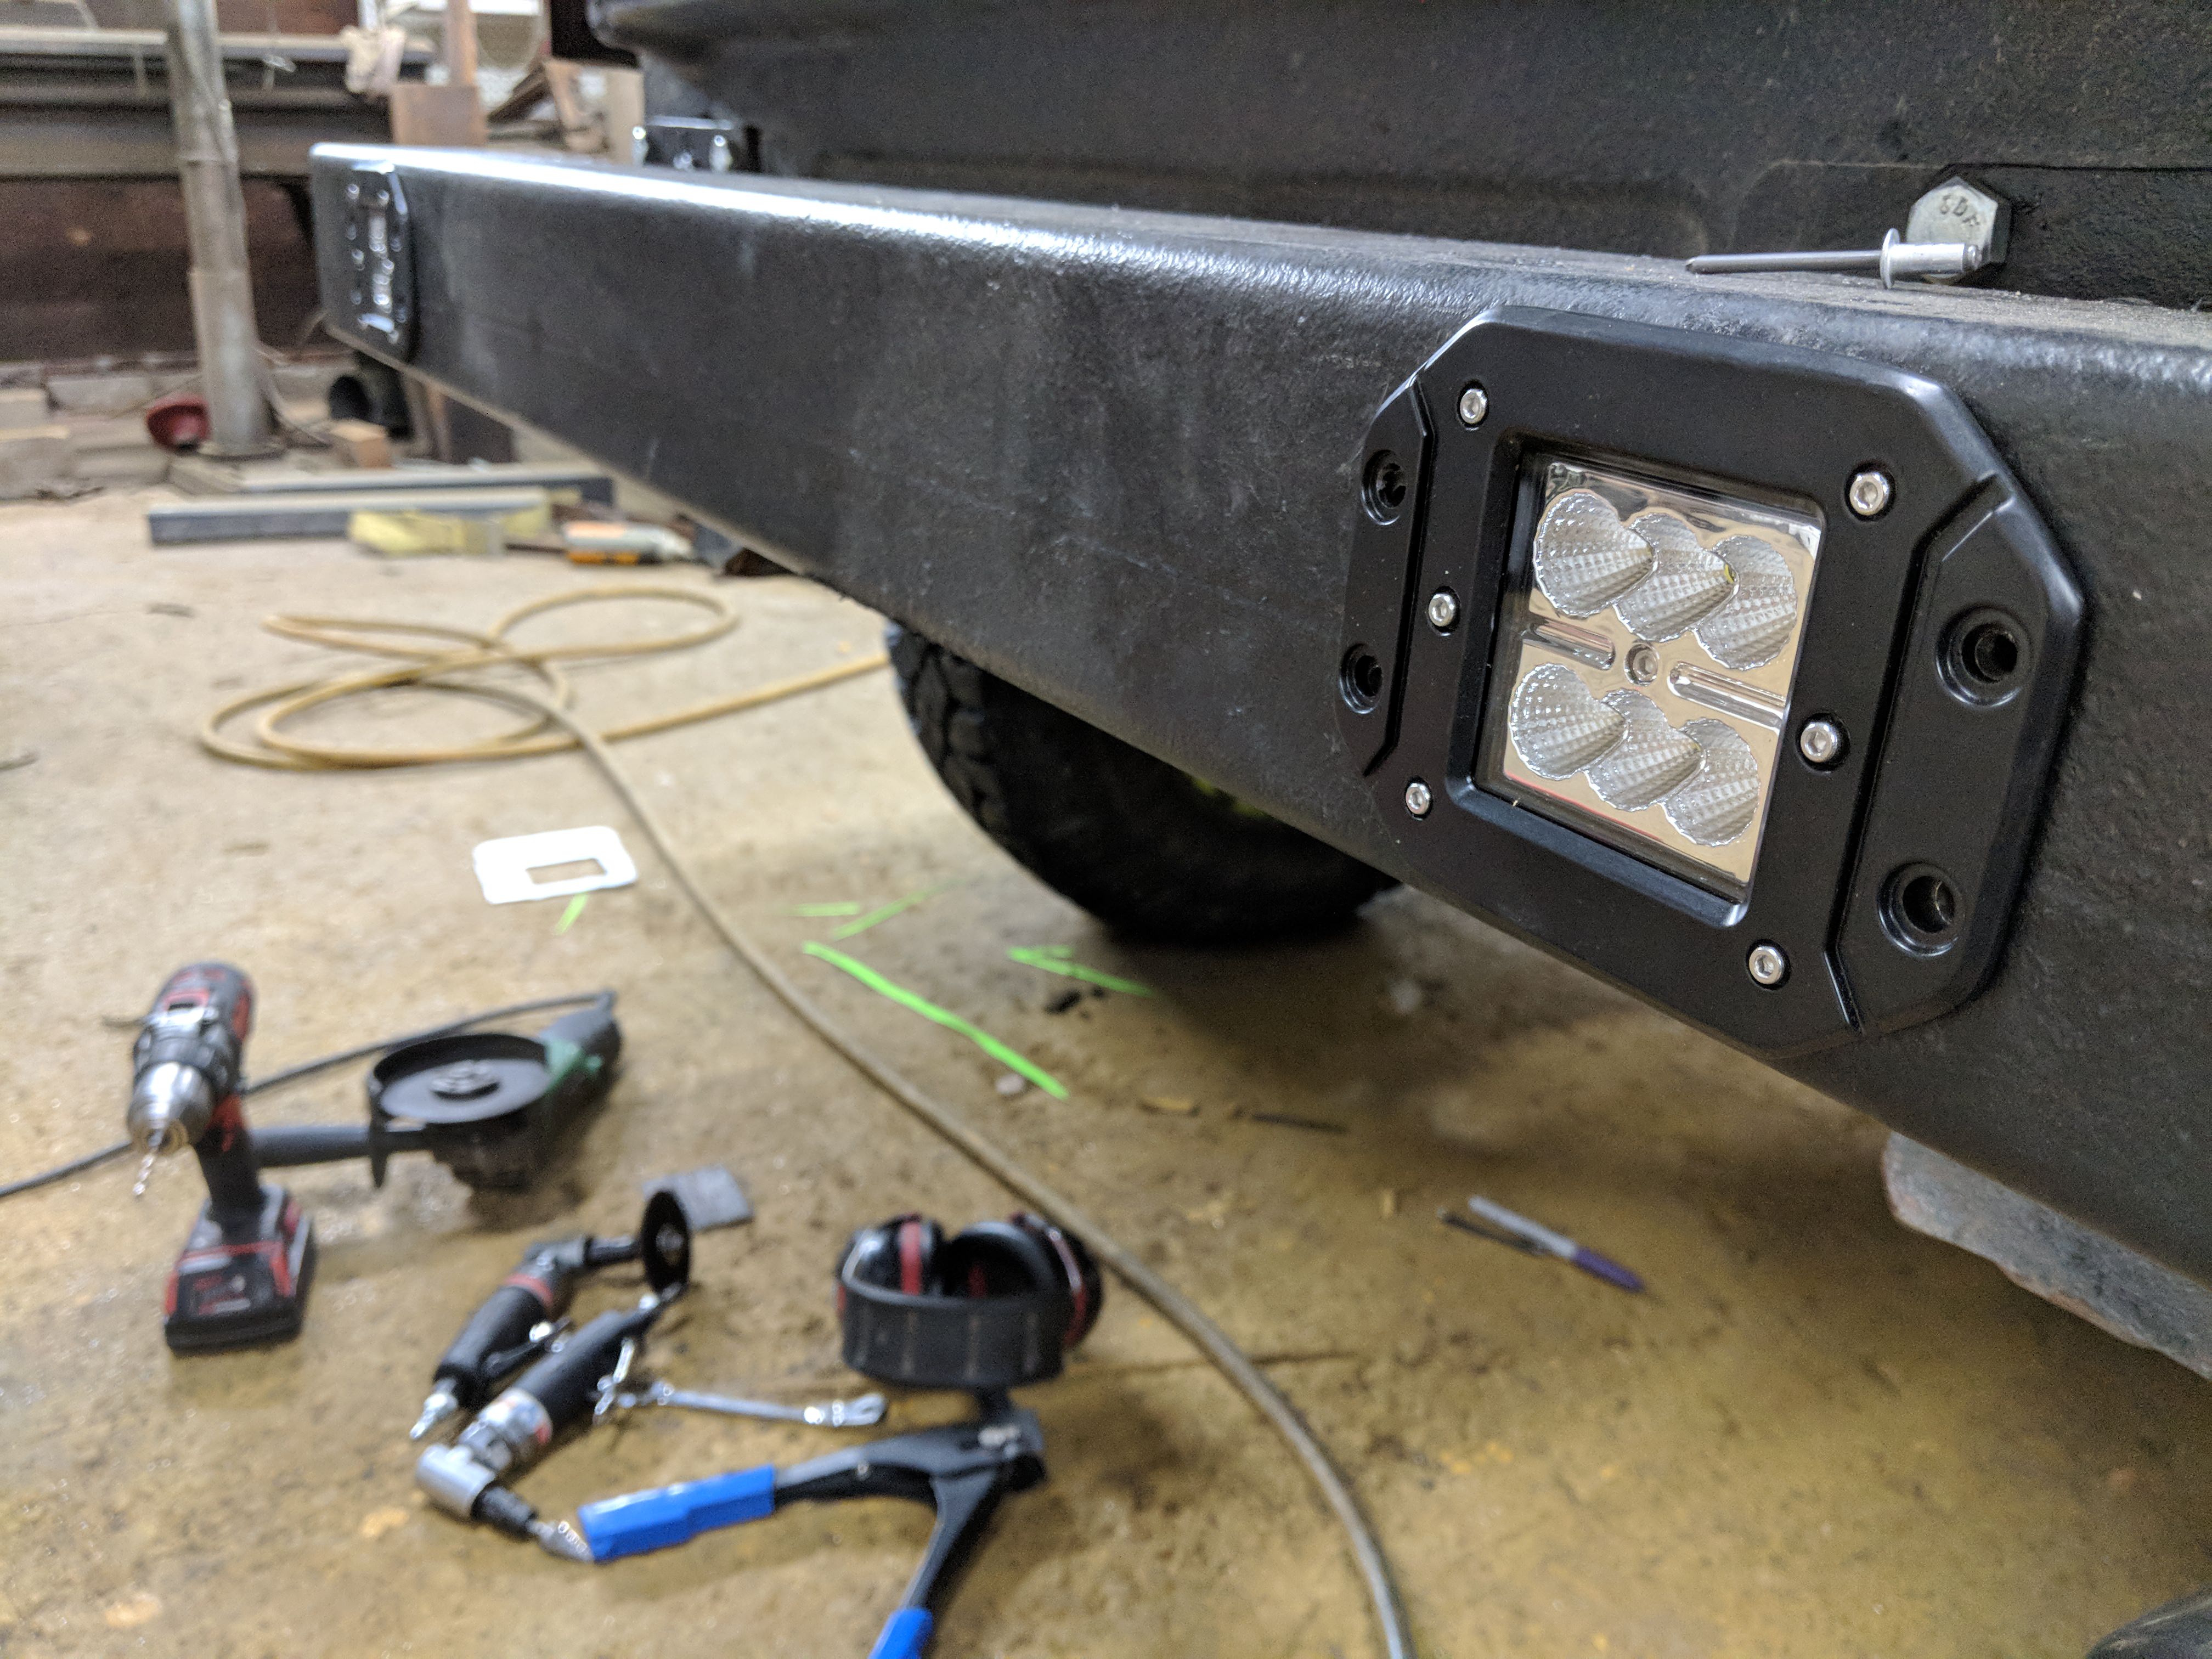
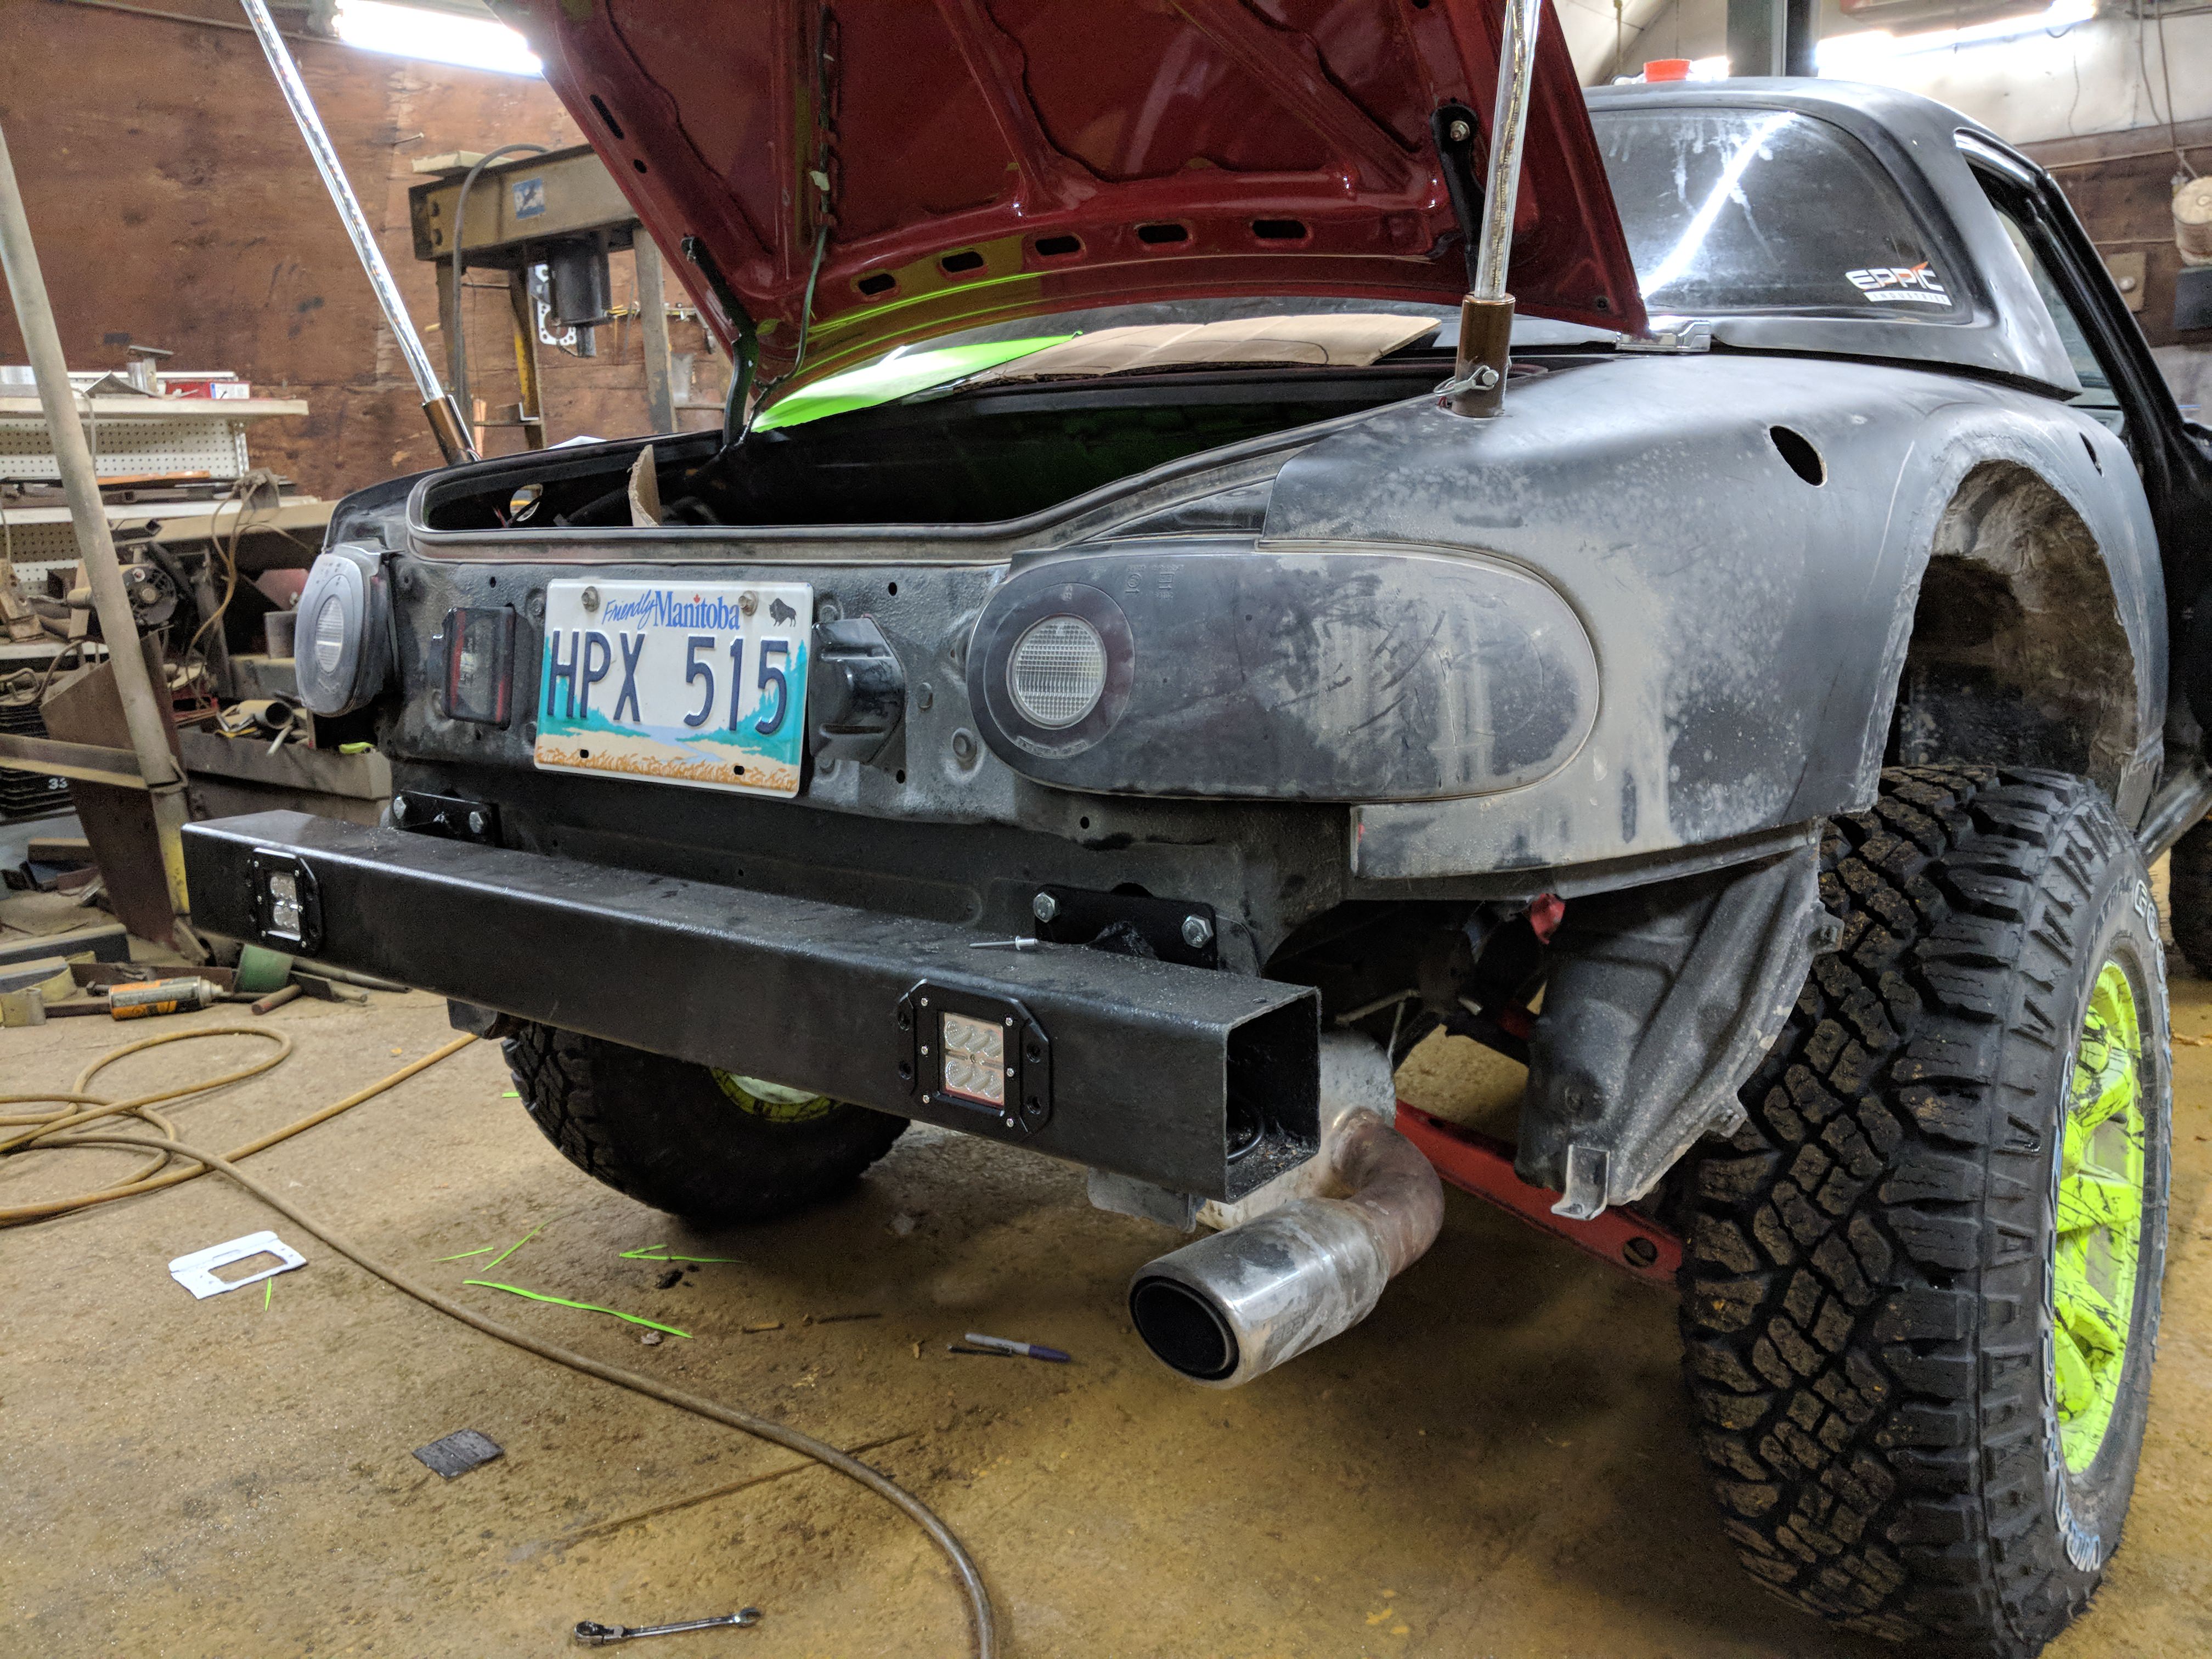
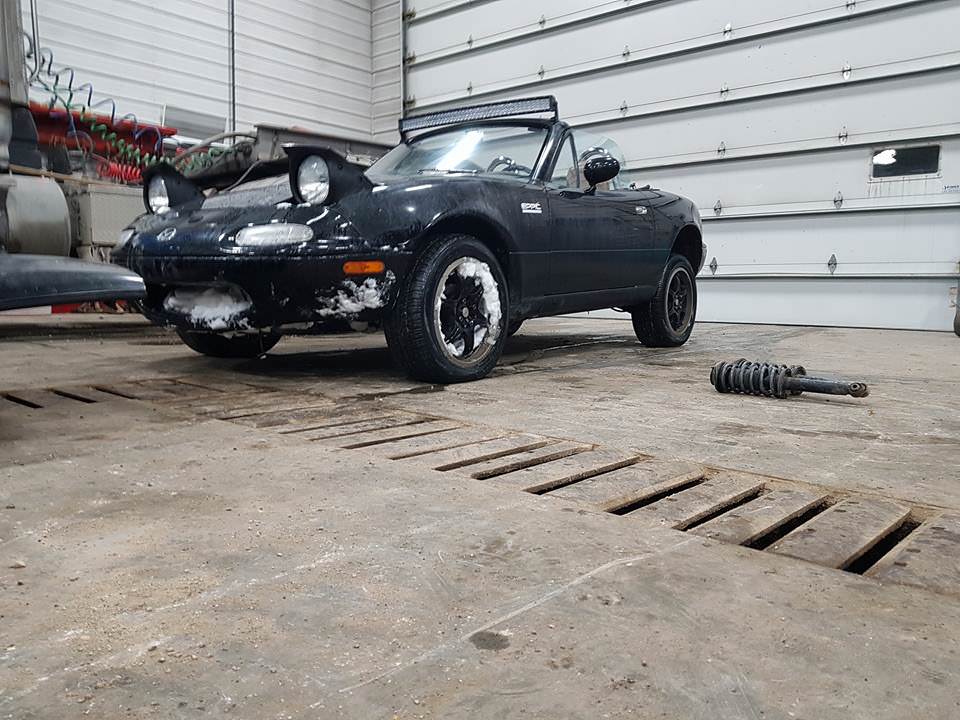
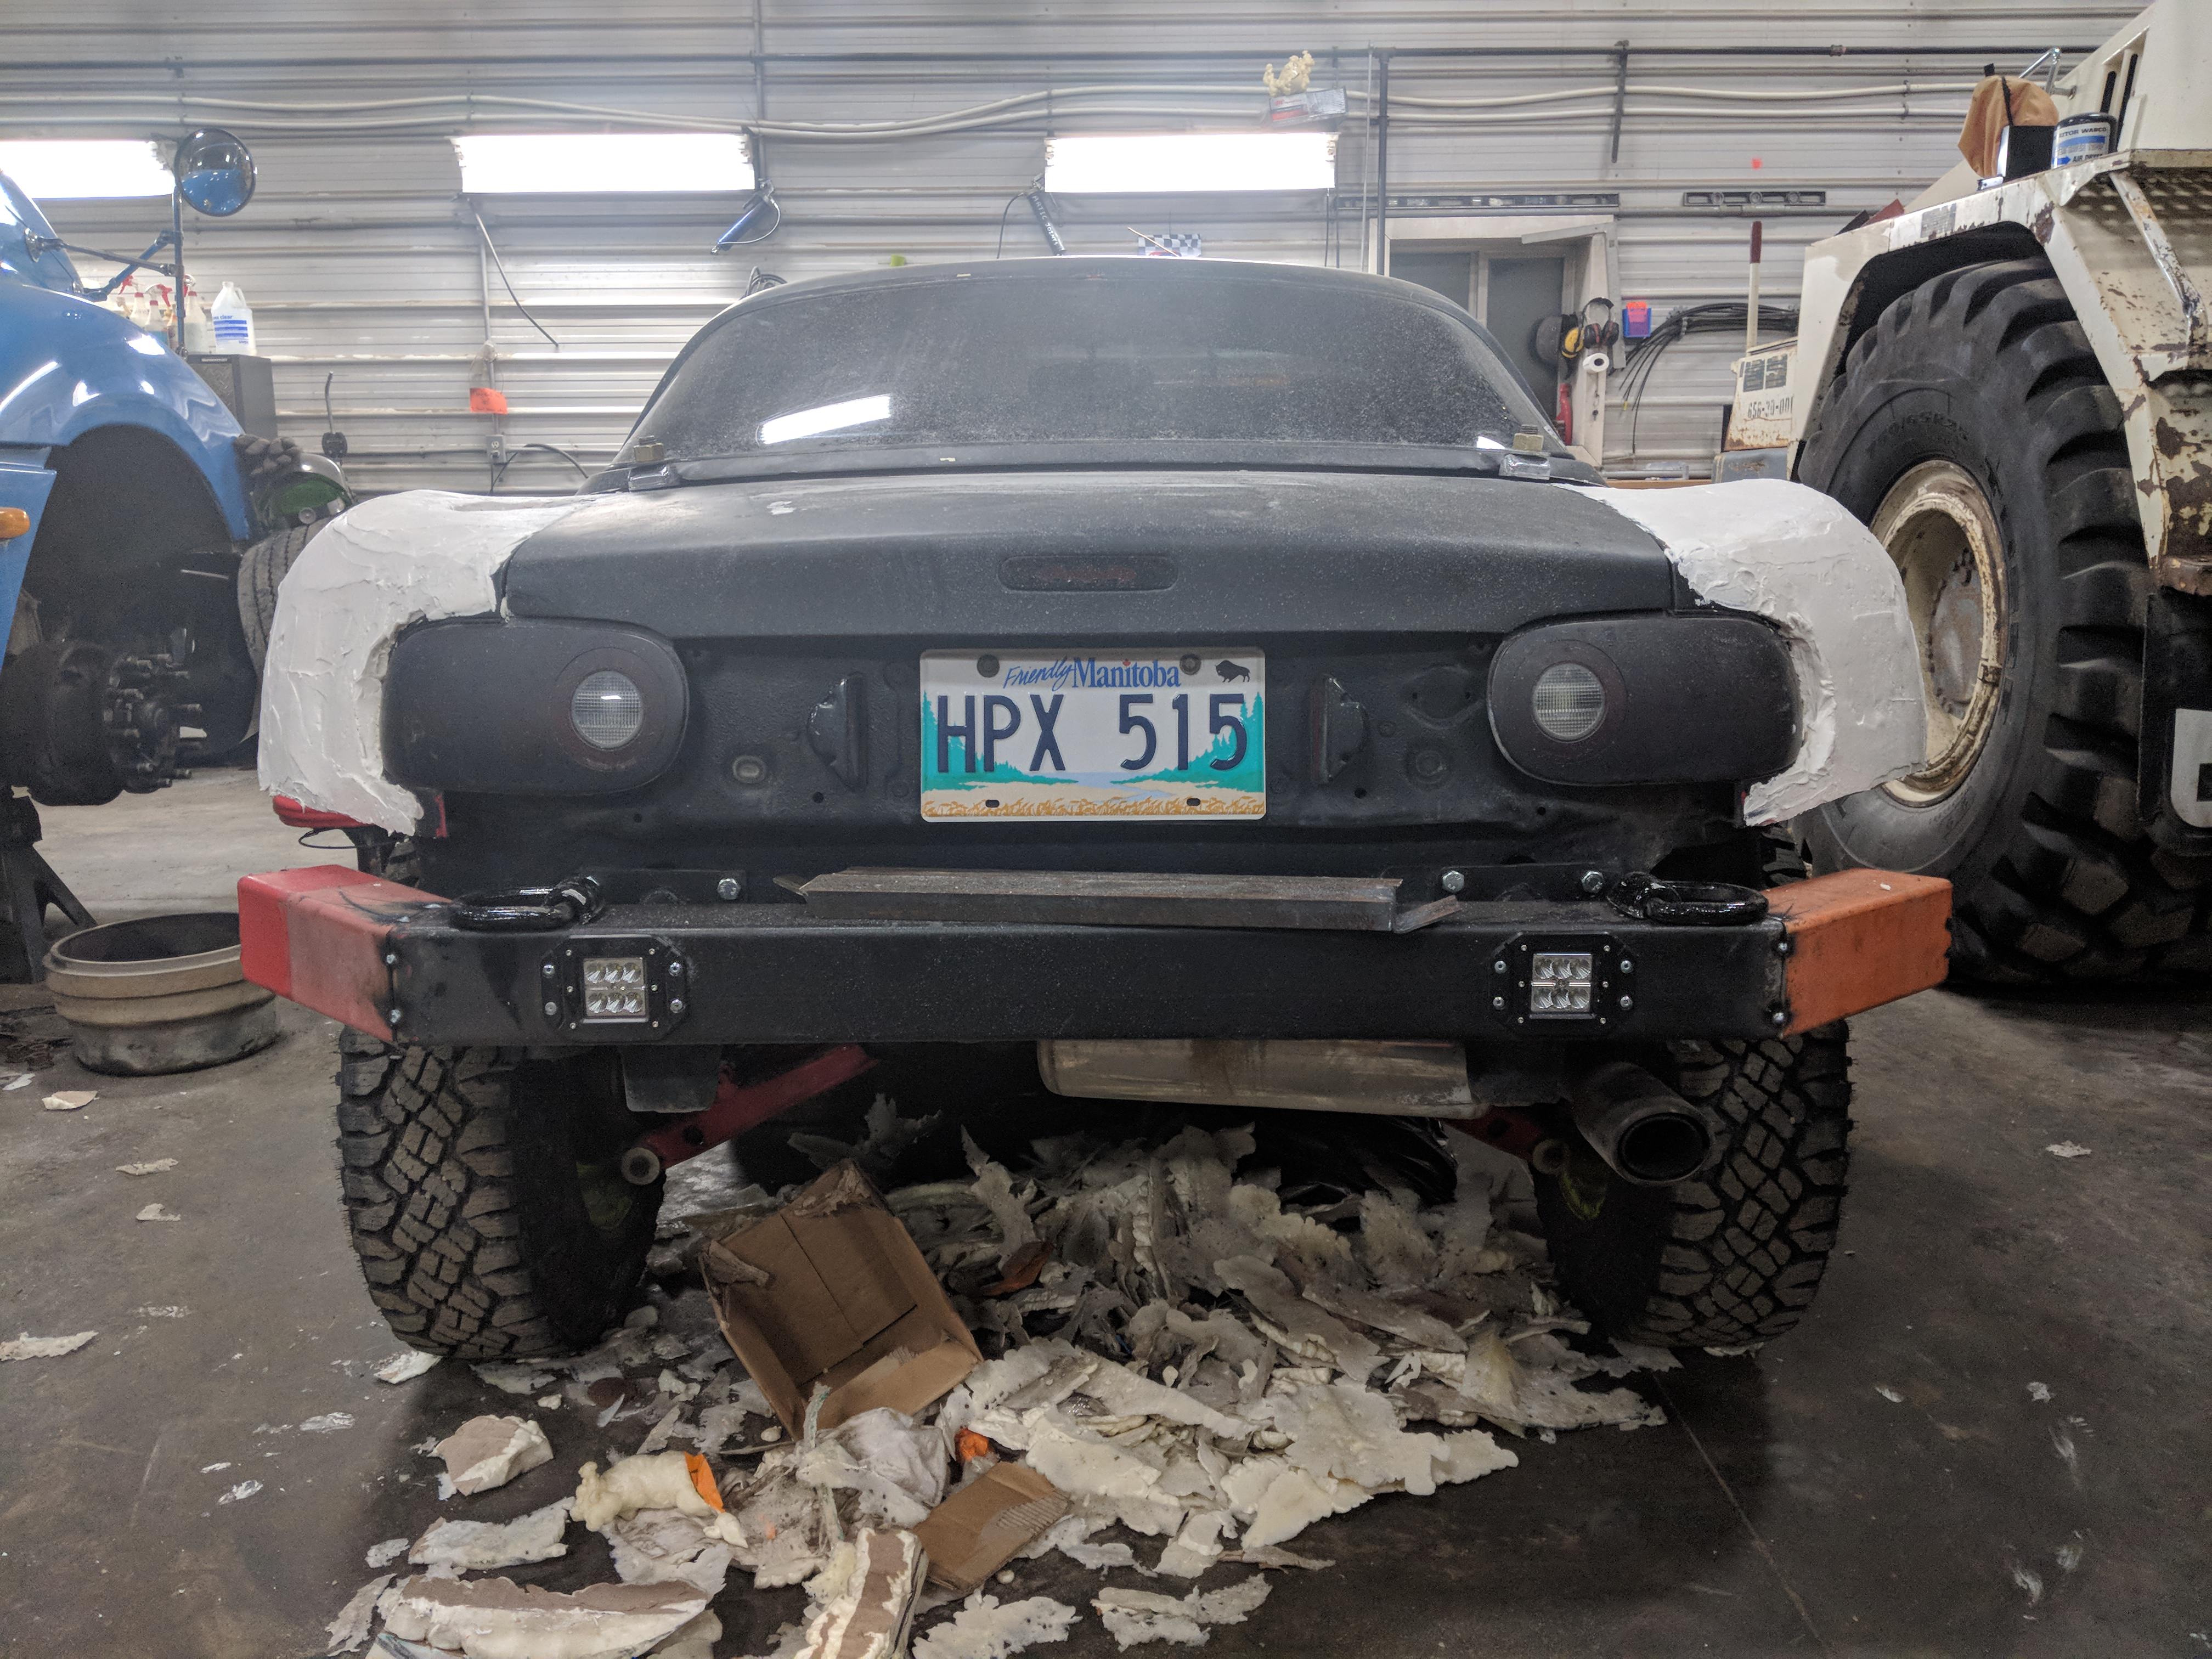
Bumper ripped off on the way home from that day in the snow... So I needed to make a new one. The scrap bin was kind to me.
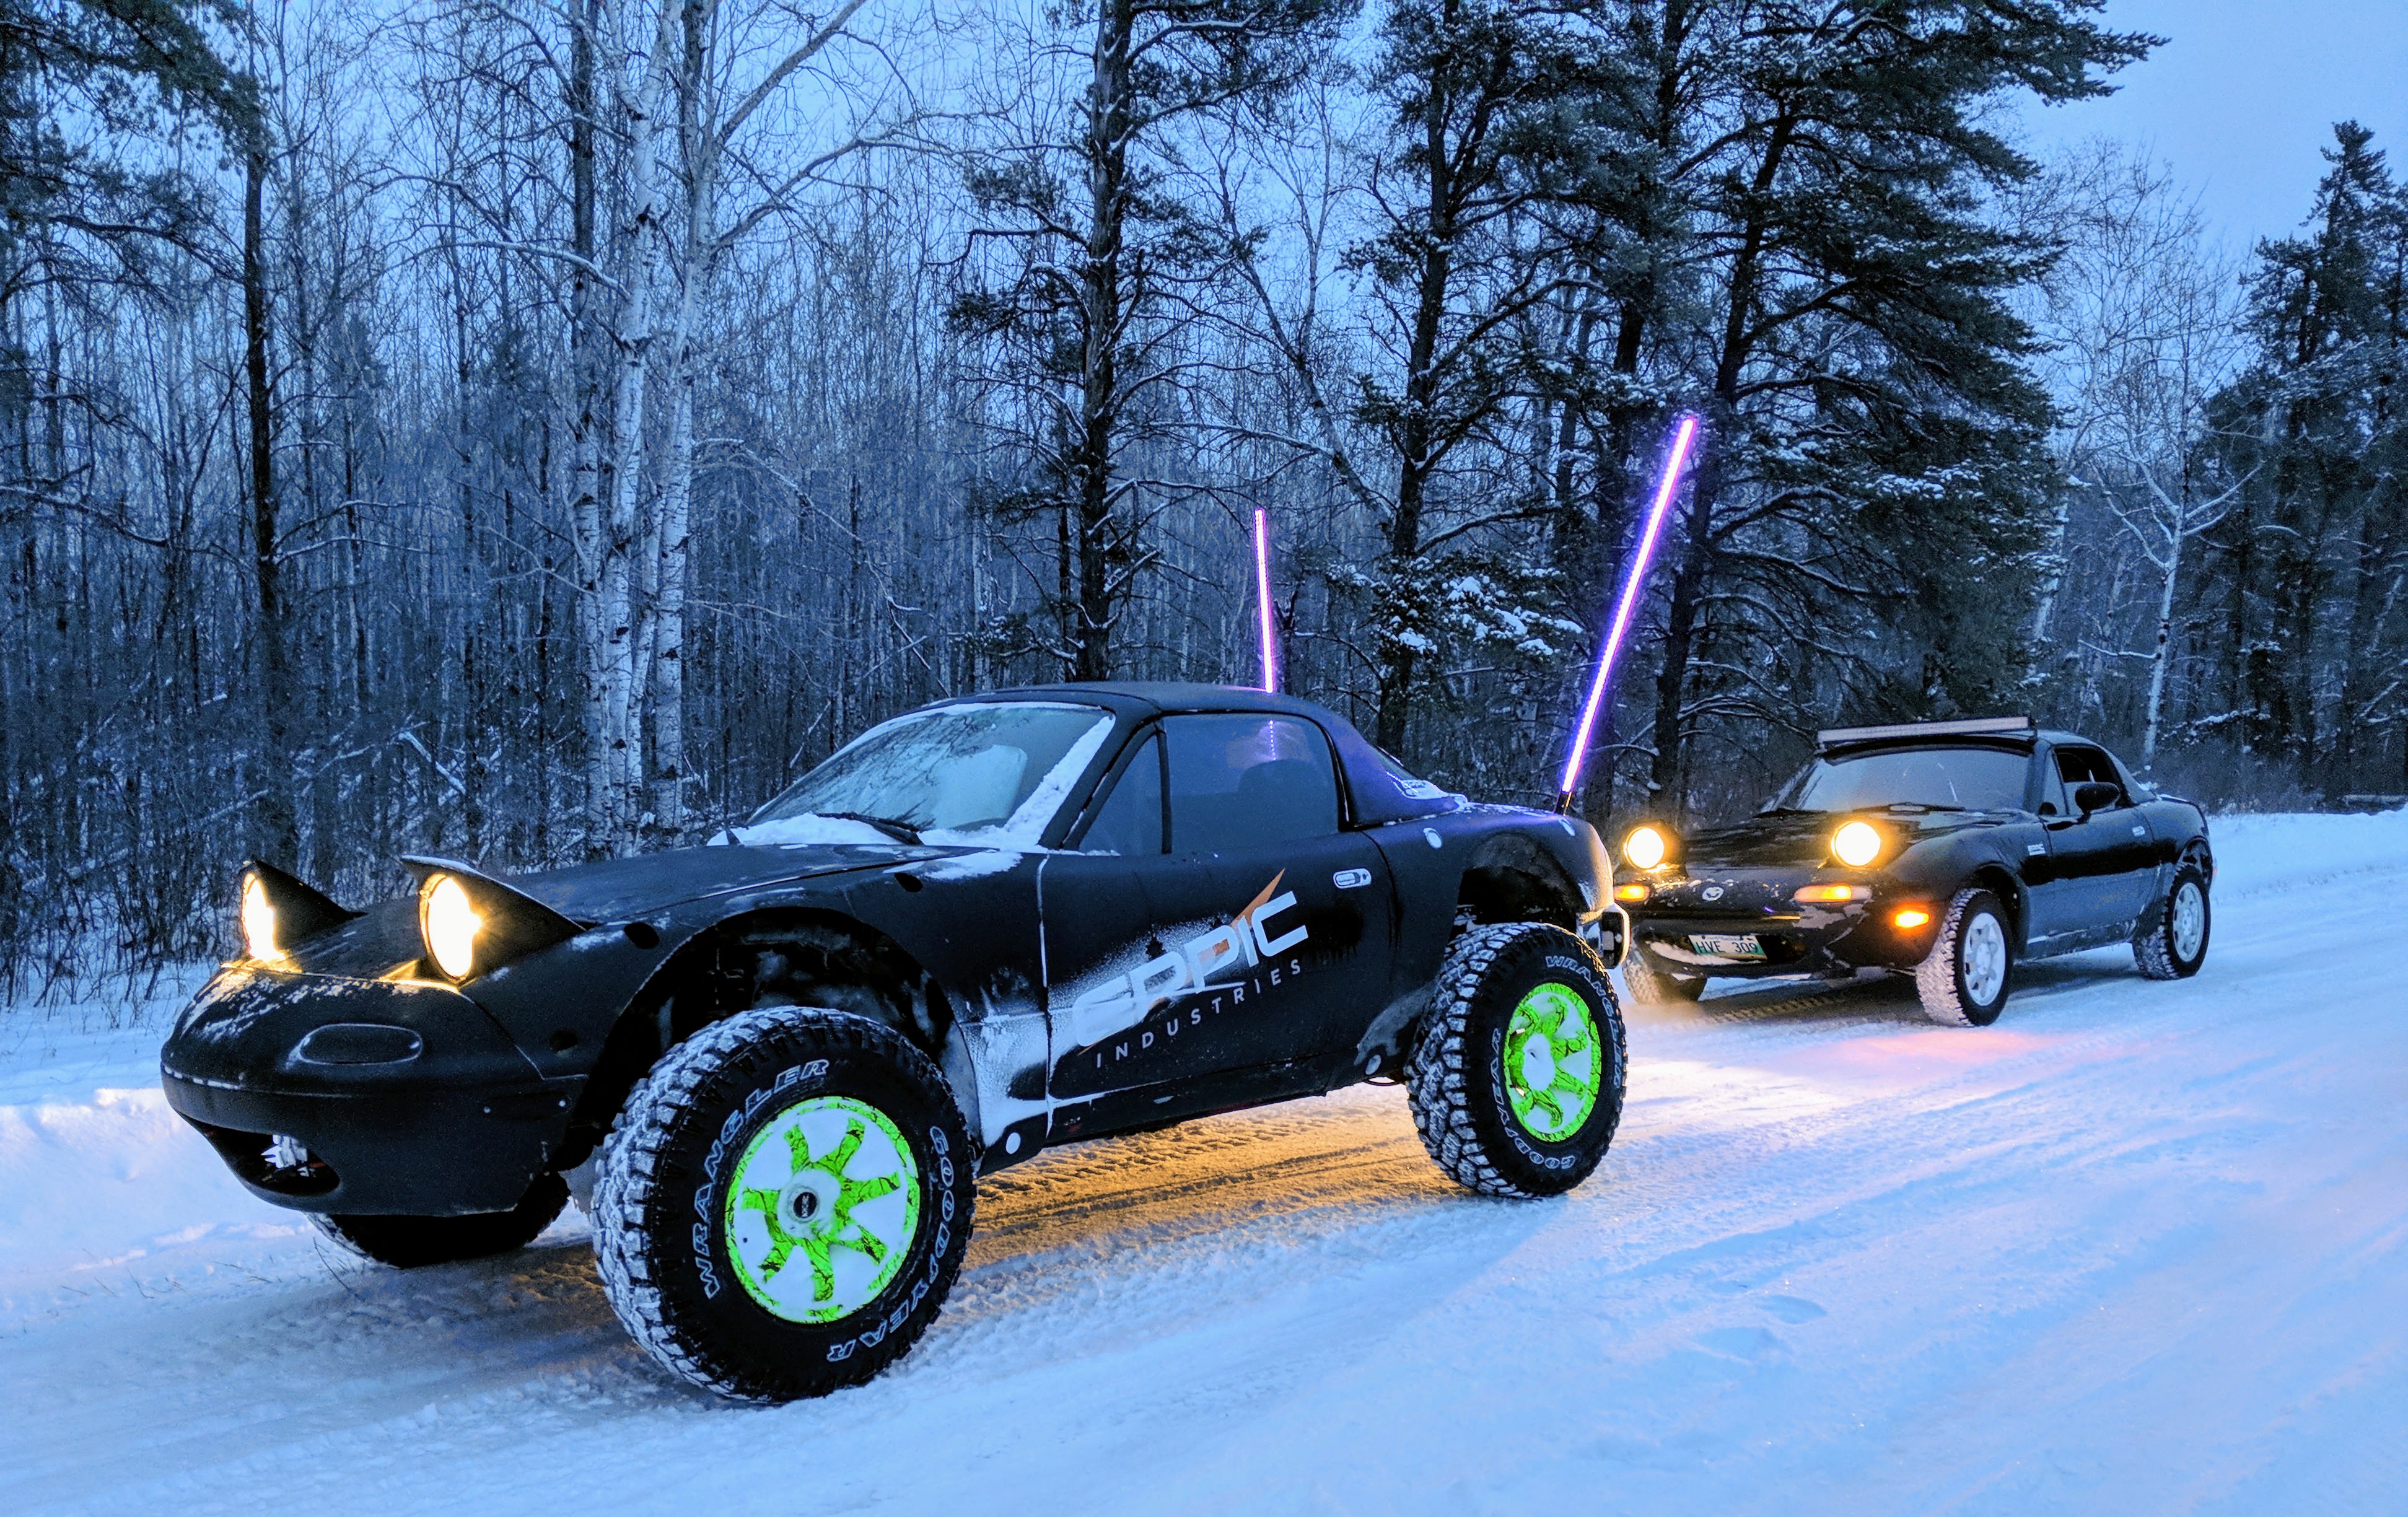
Some of my light pile is starting to get used.
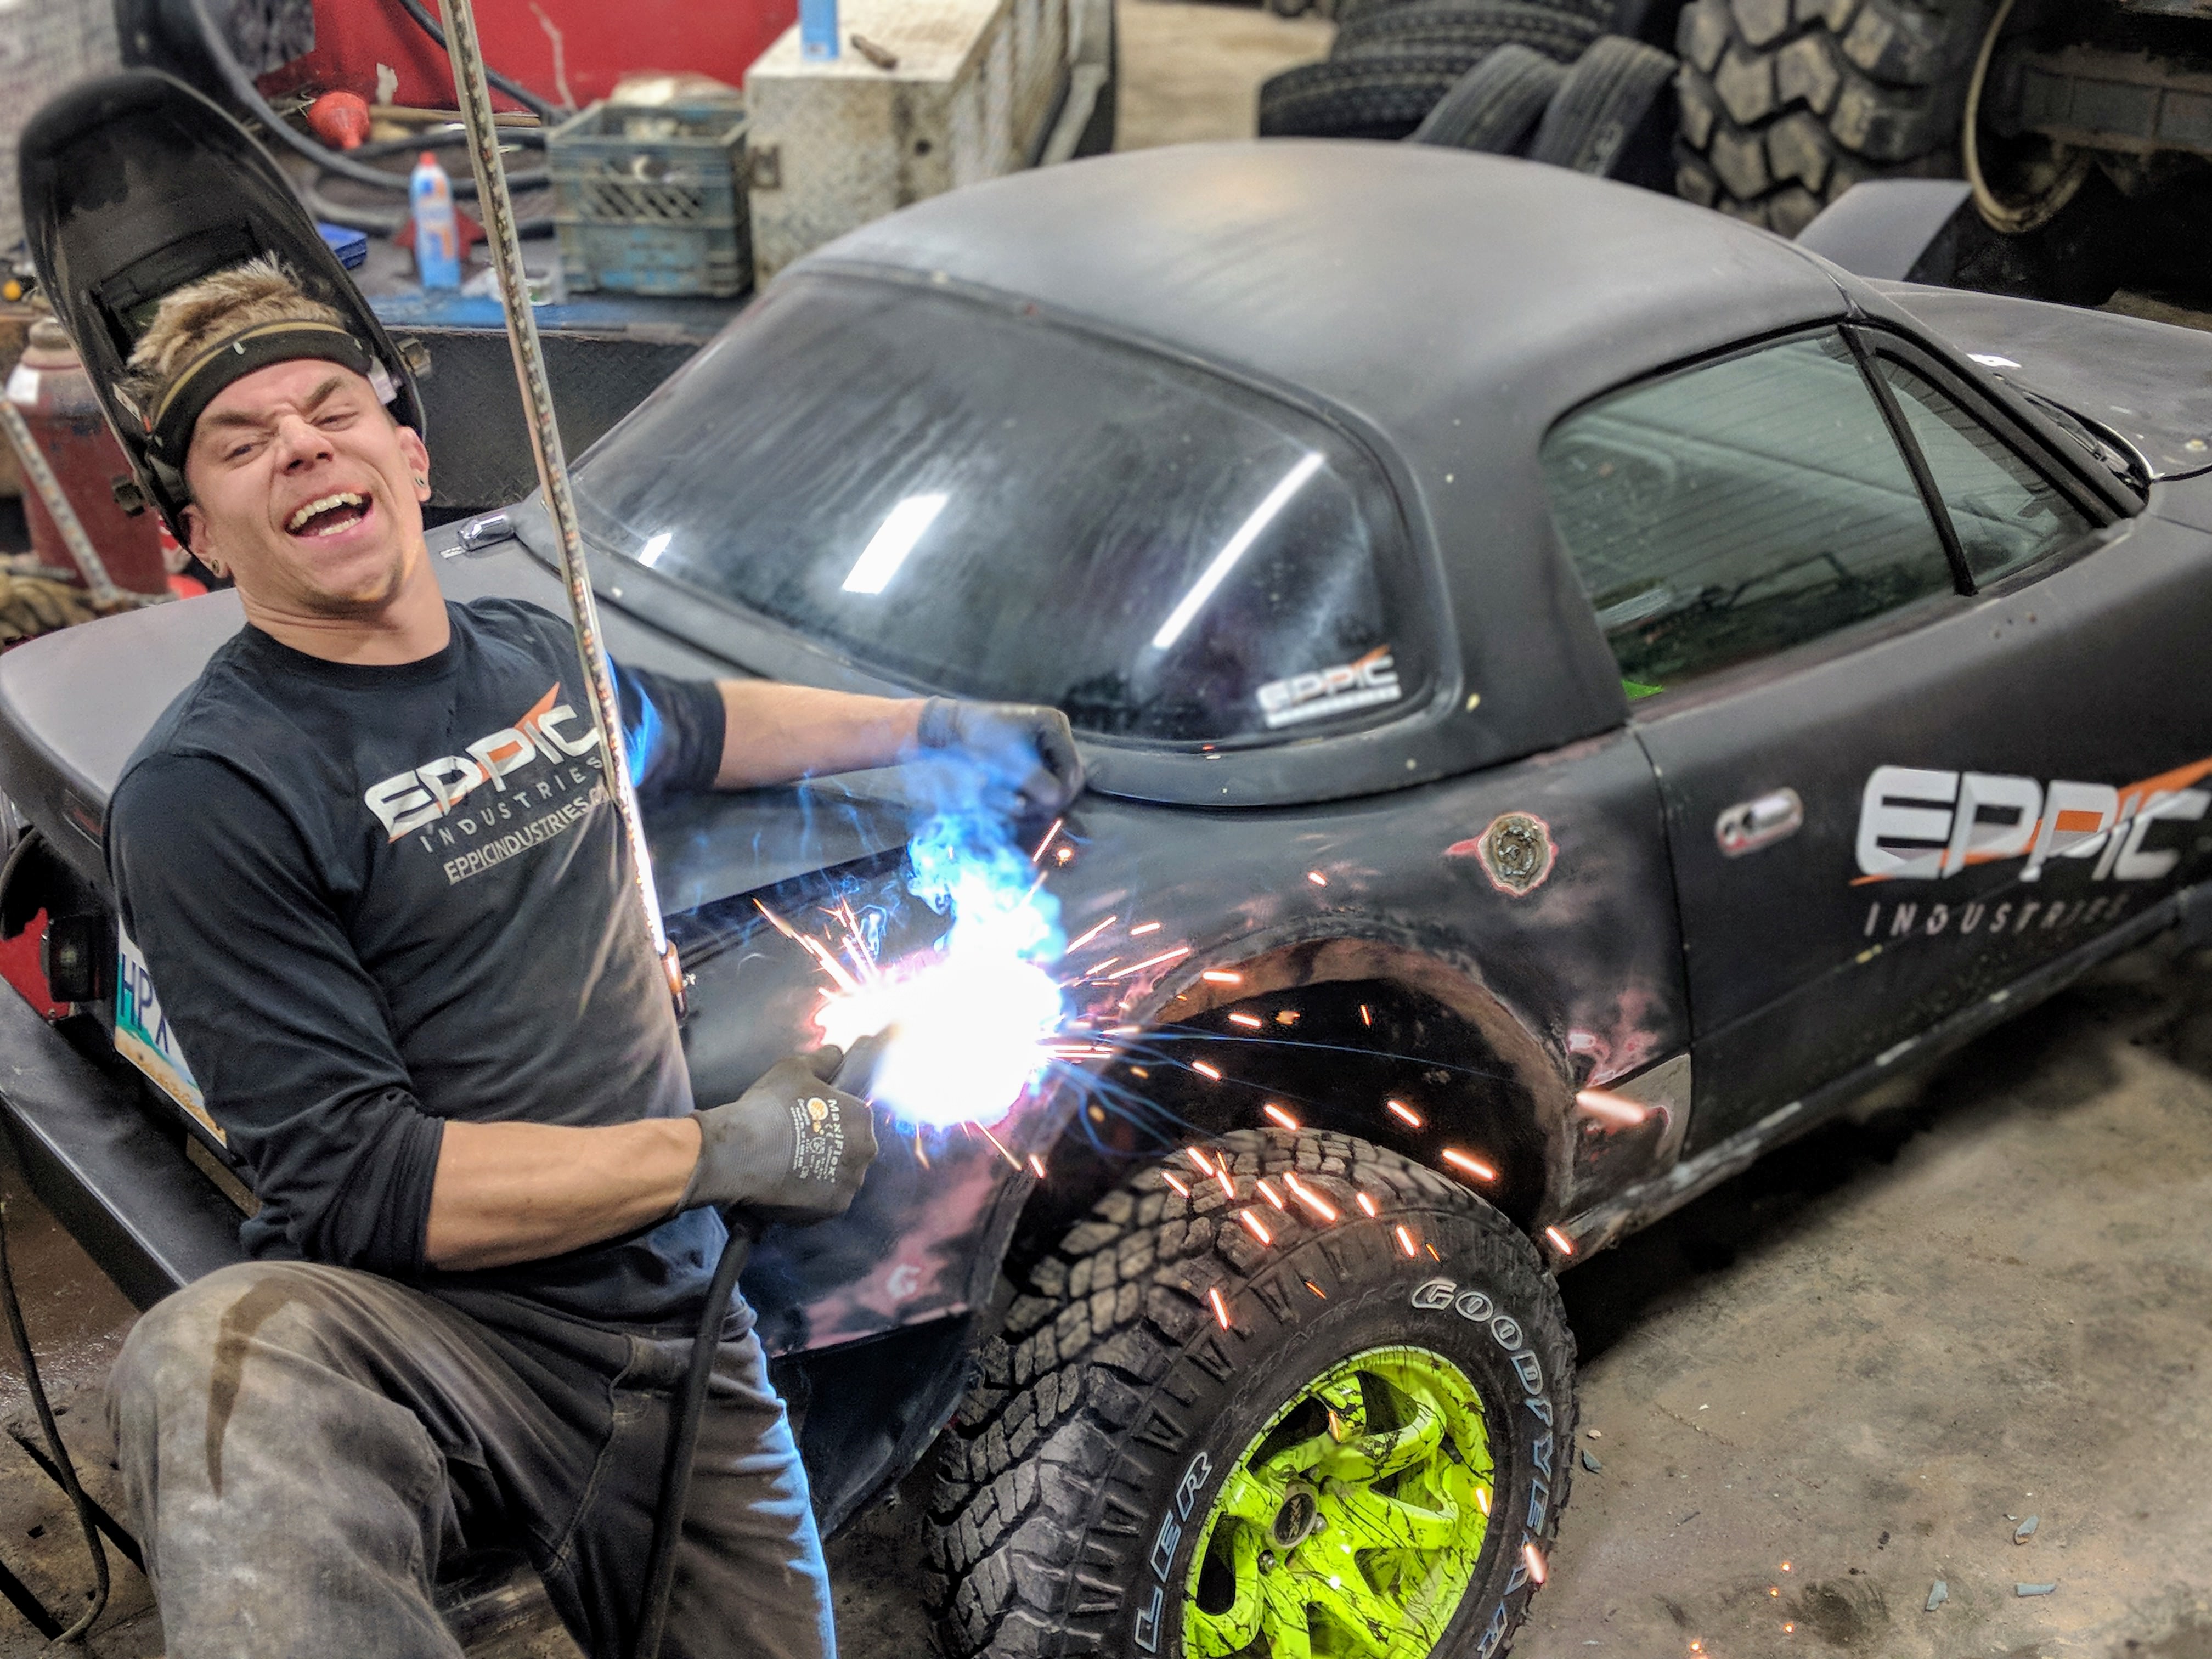
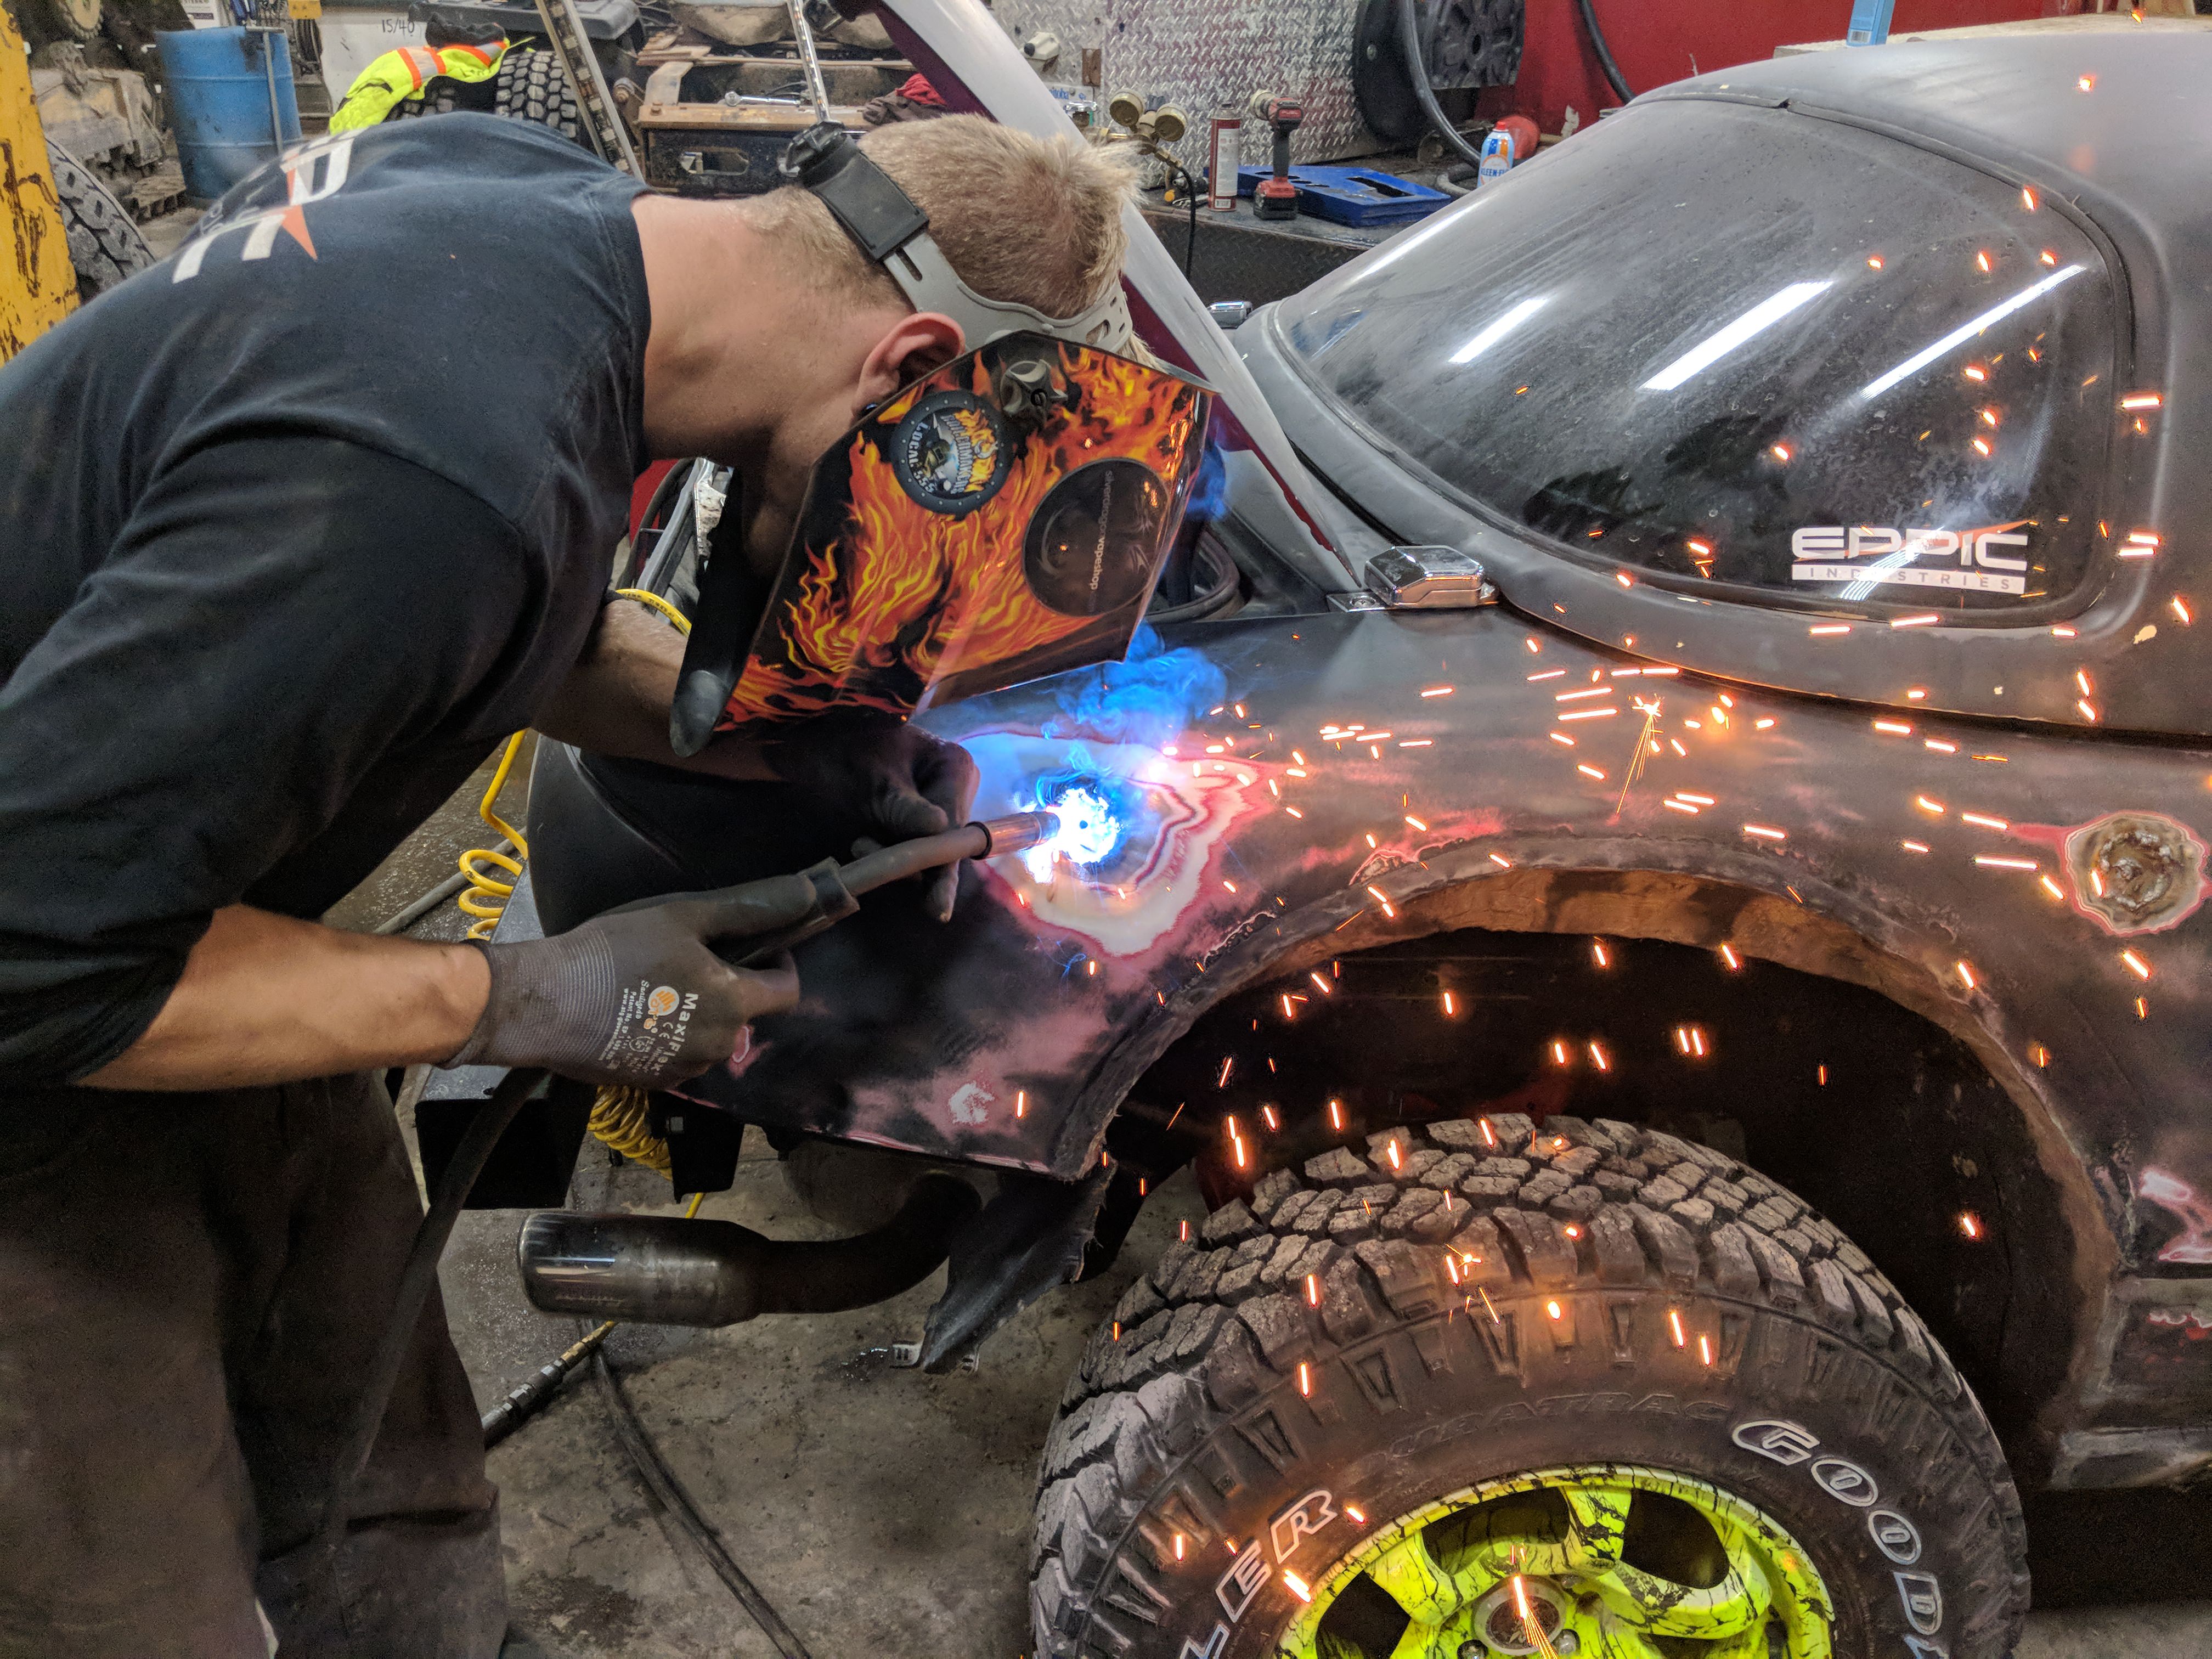
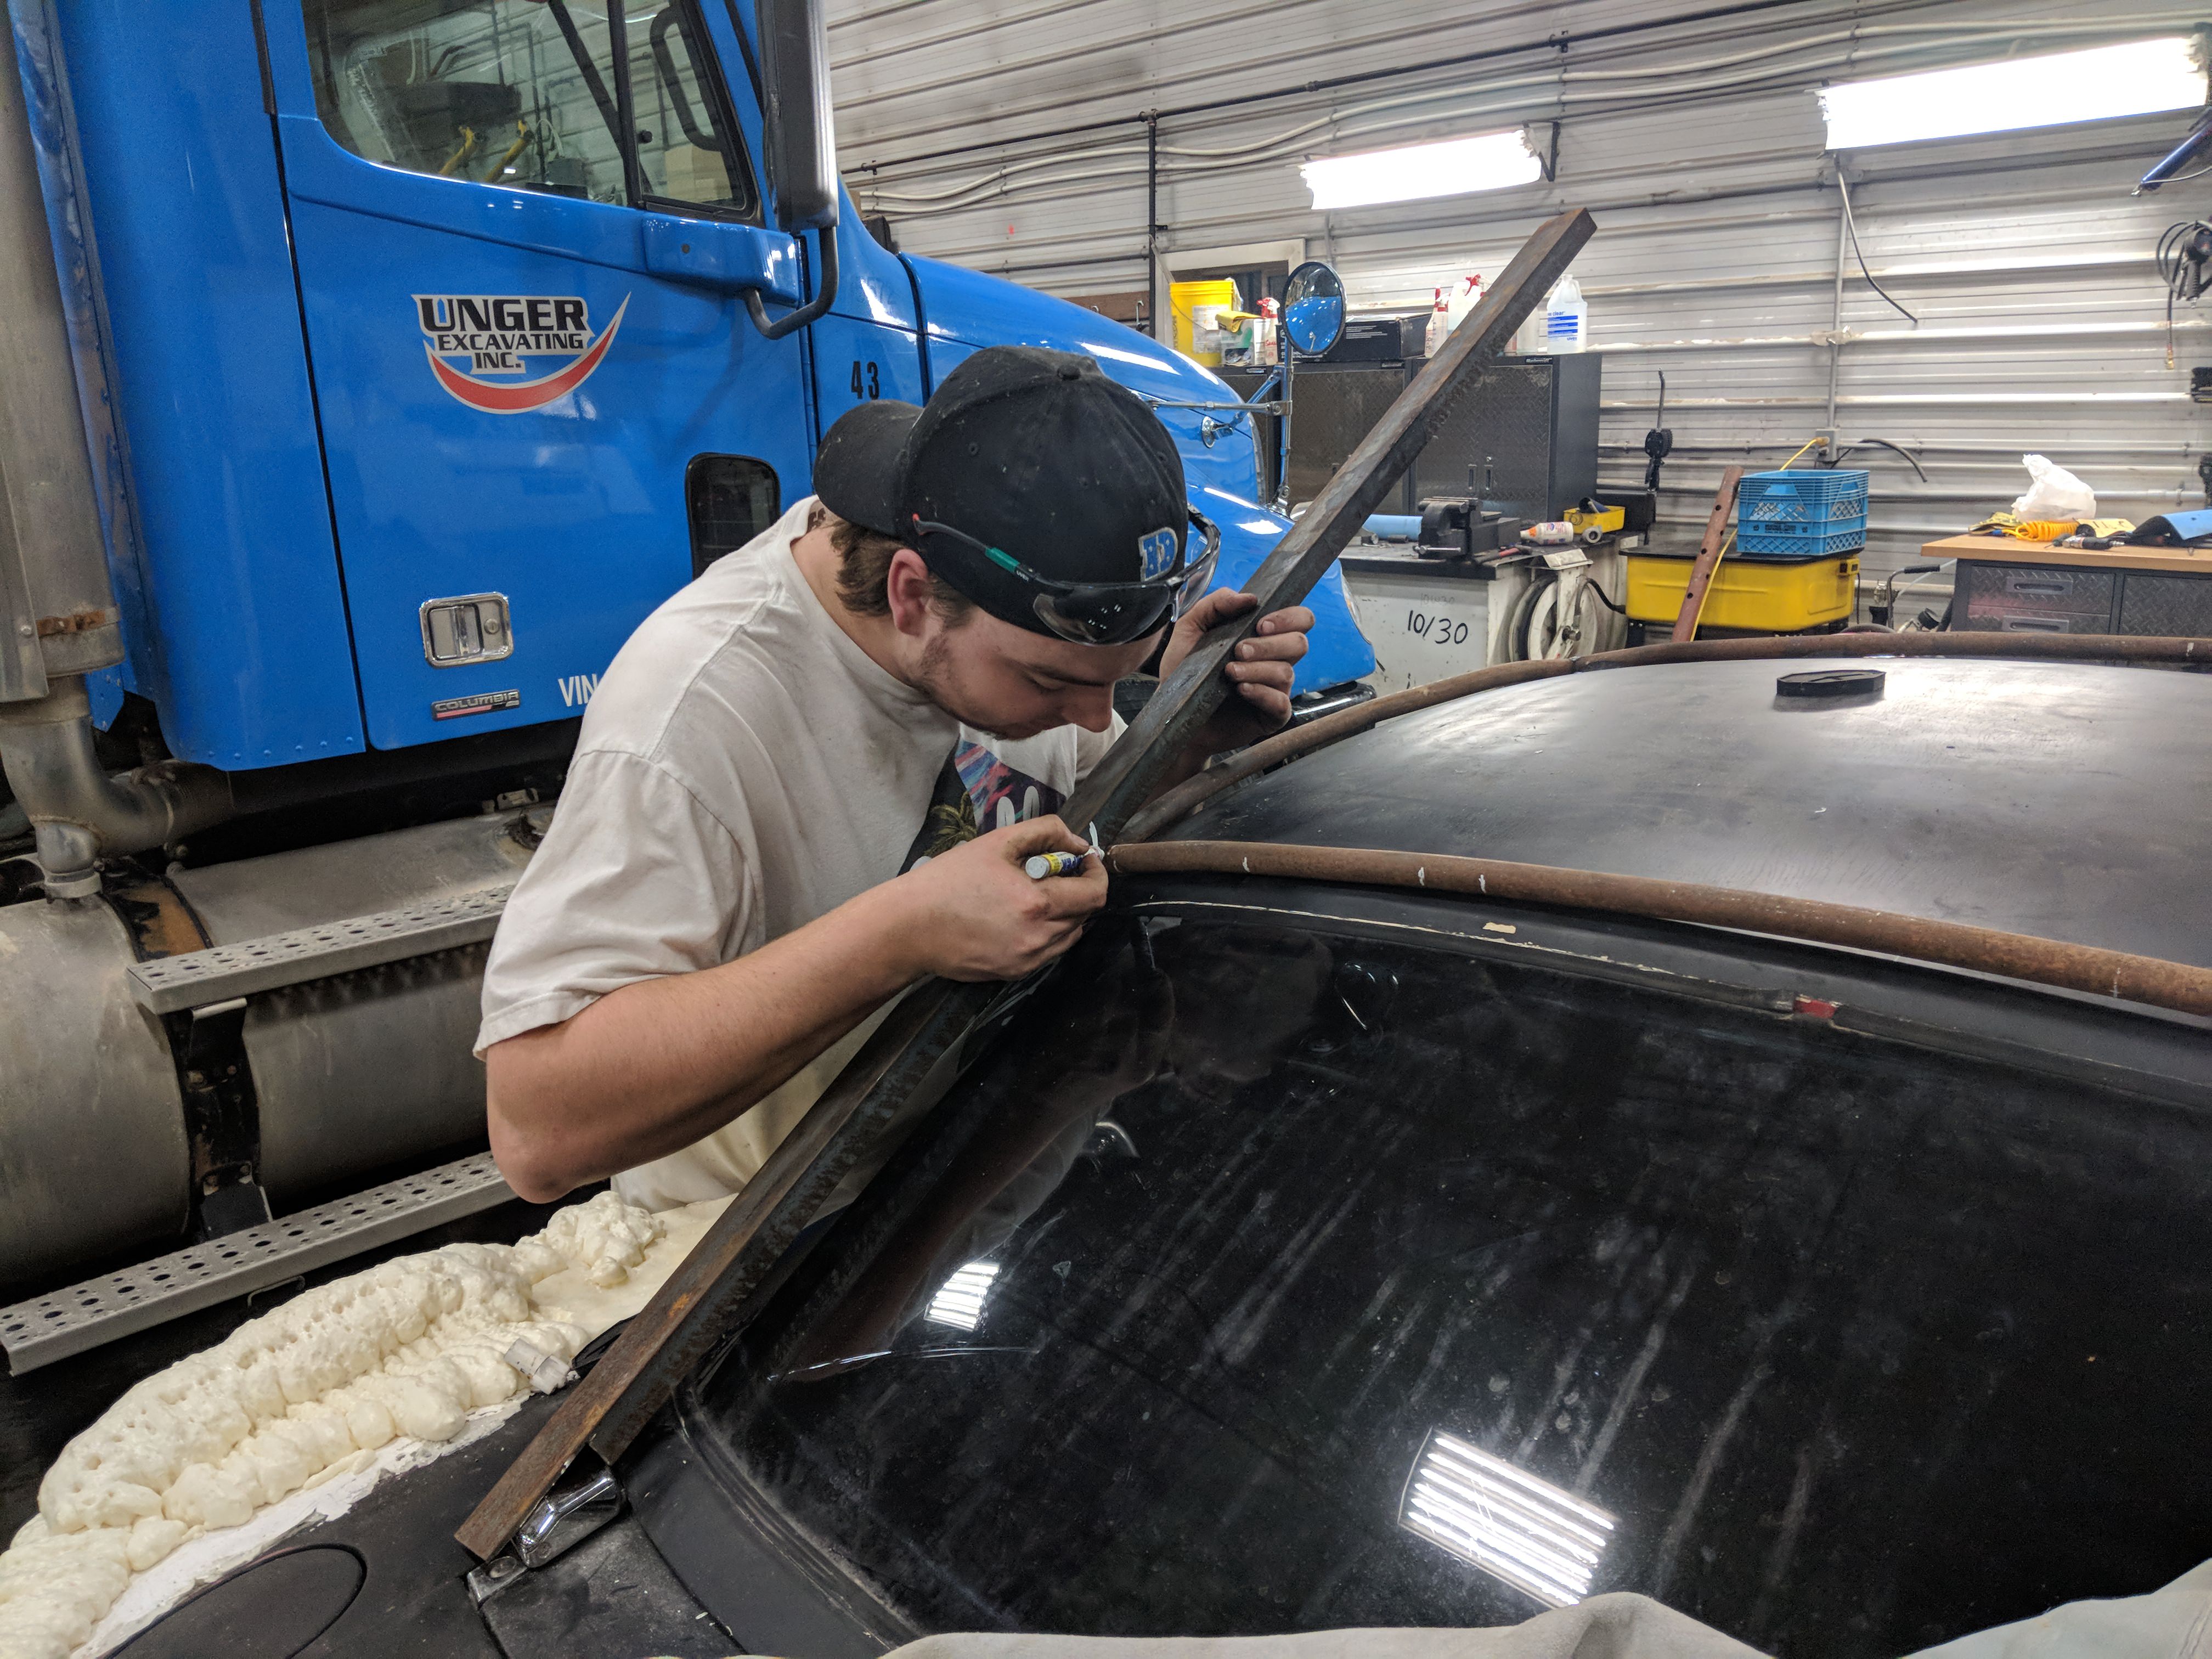
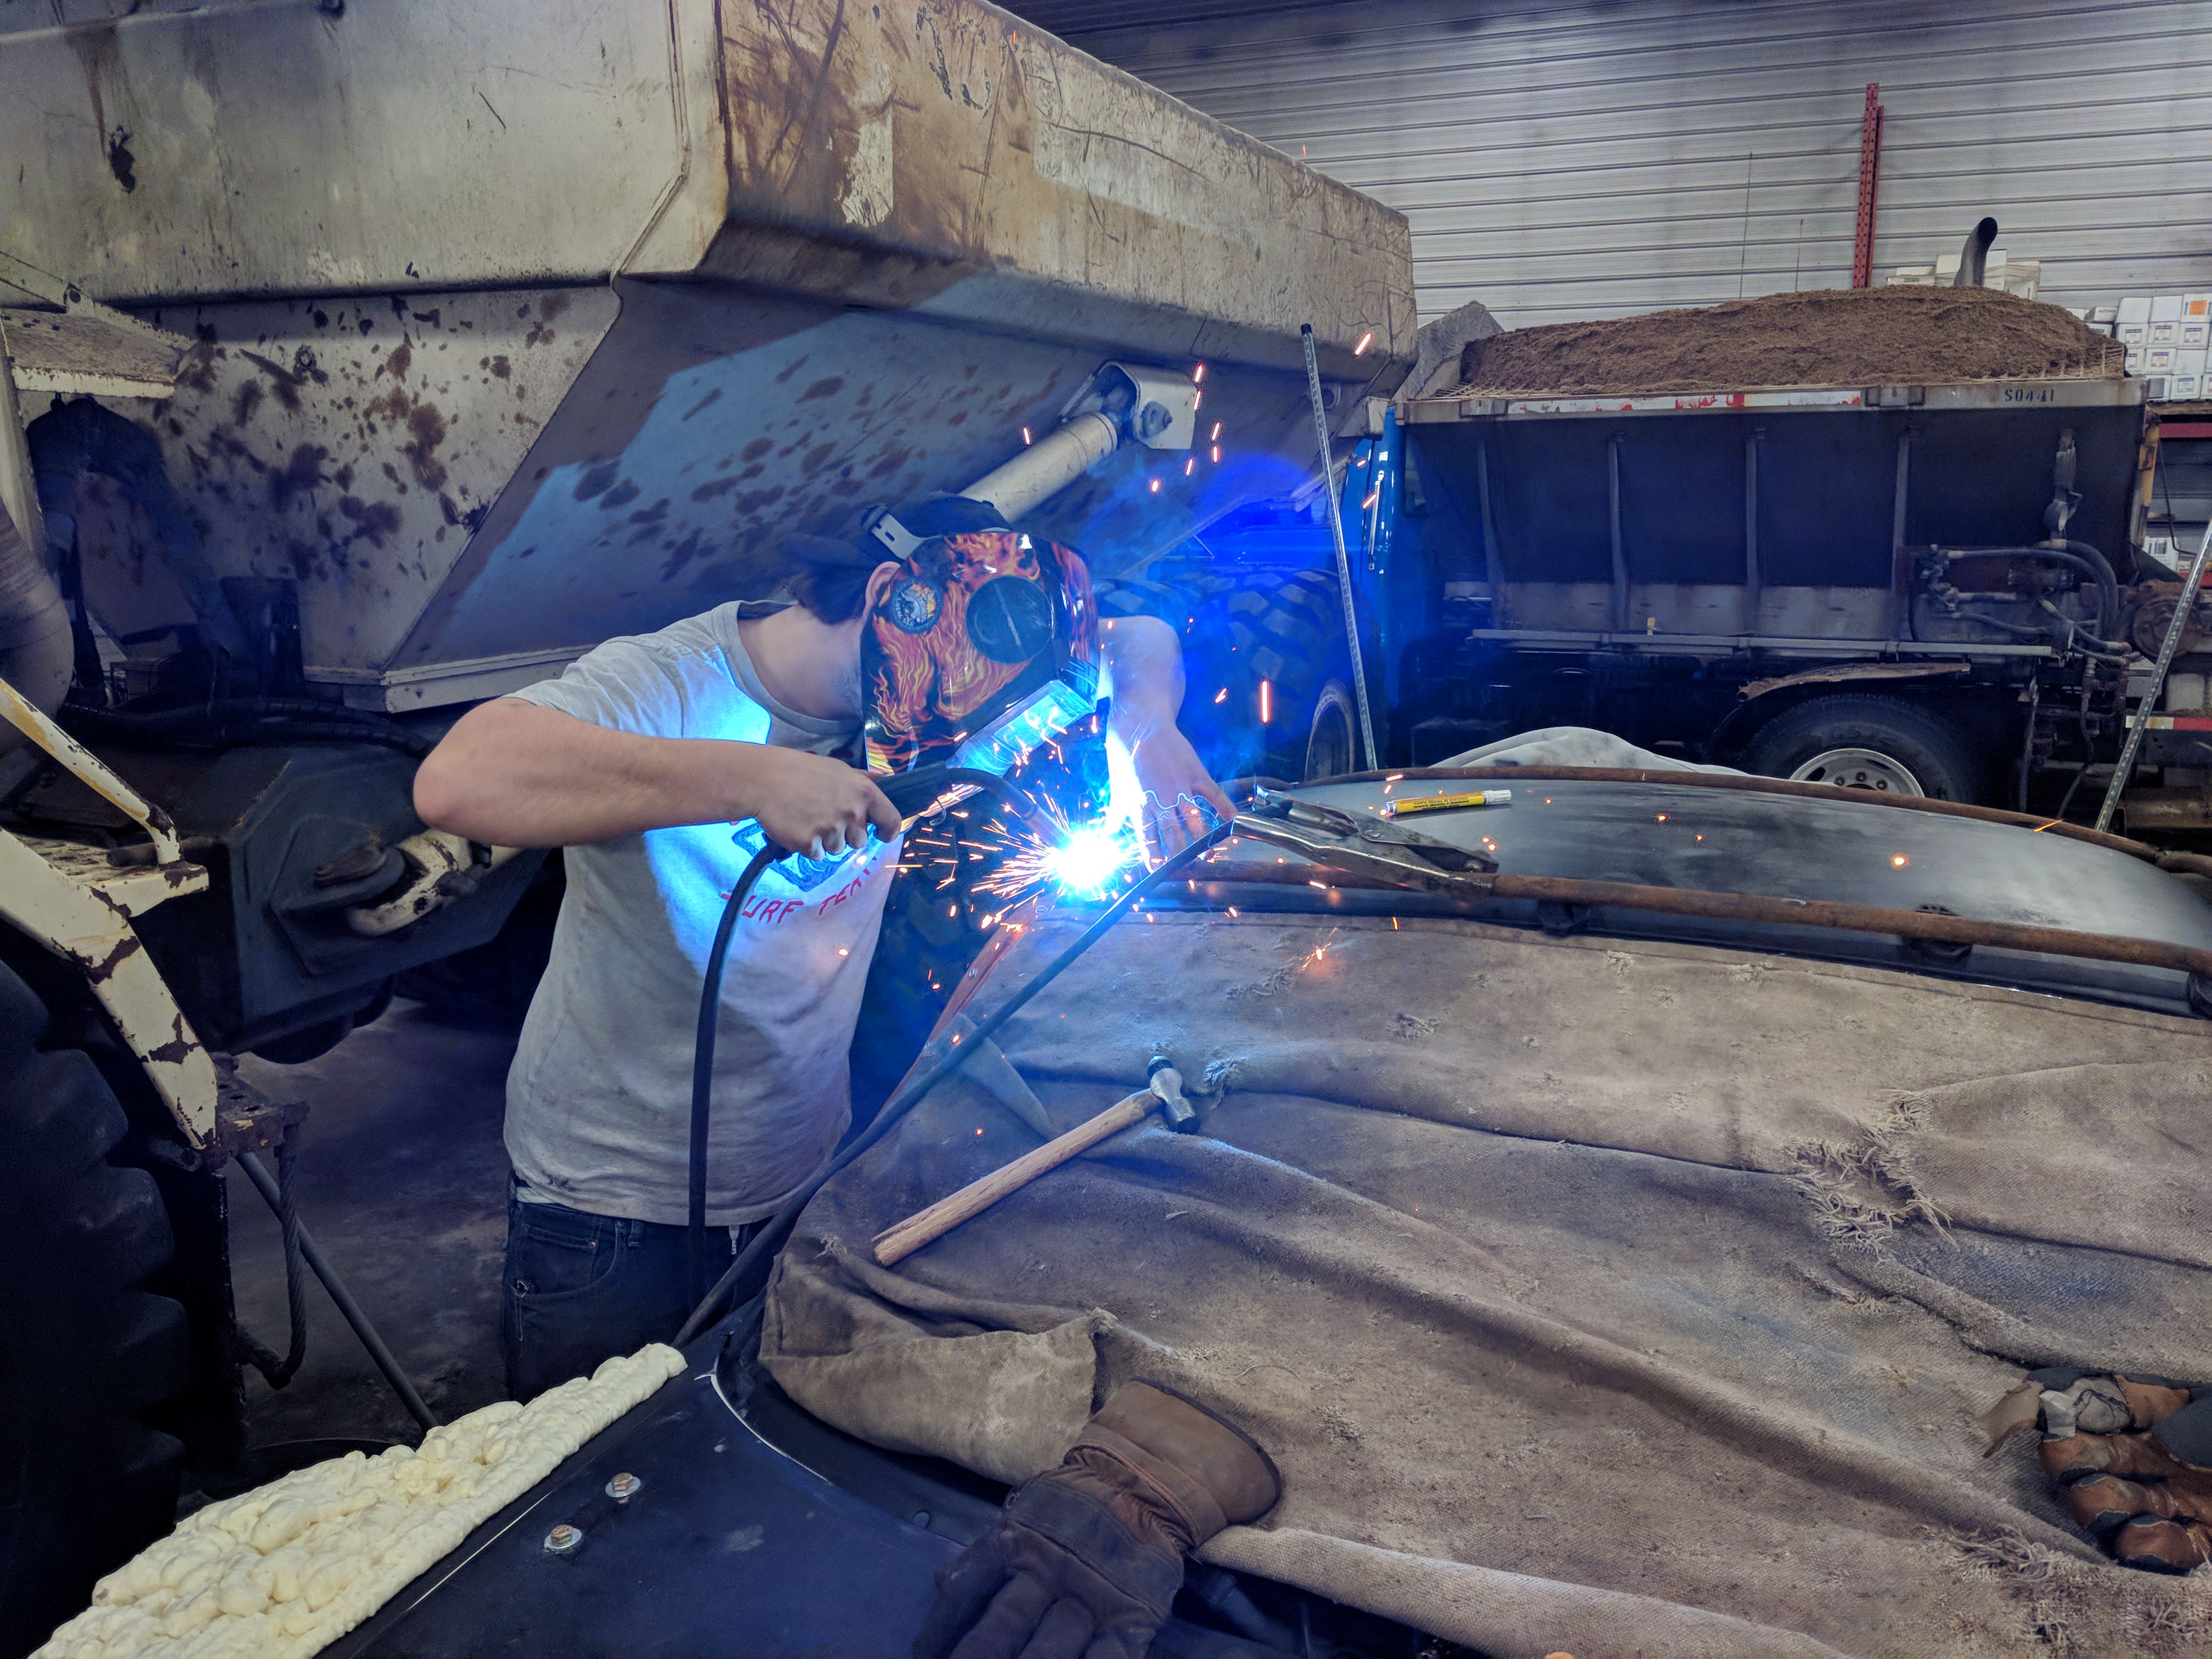
Then it was time to get back to work! Here in Canadia we are not allowed to have cool uncovered wheels. First step is to WELD UP THEM UGLY HOLES FINALLY!
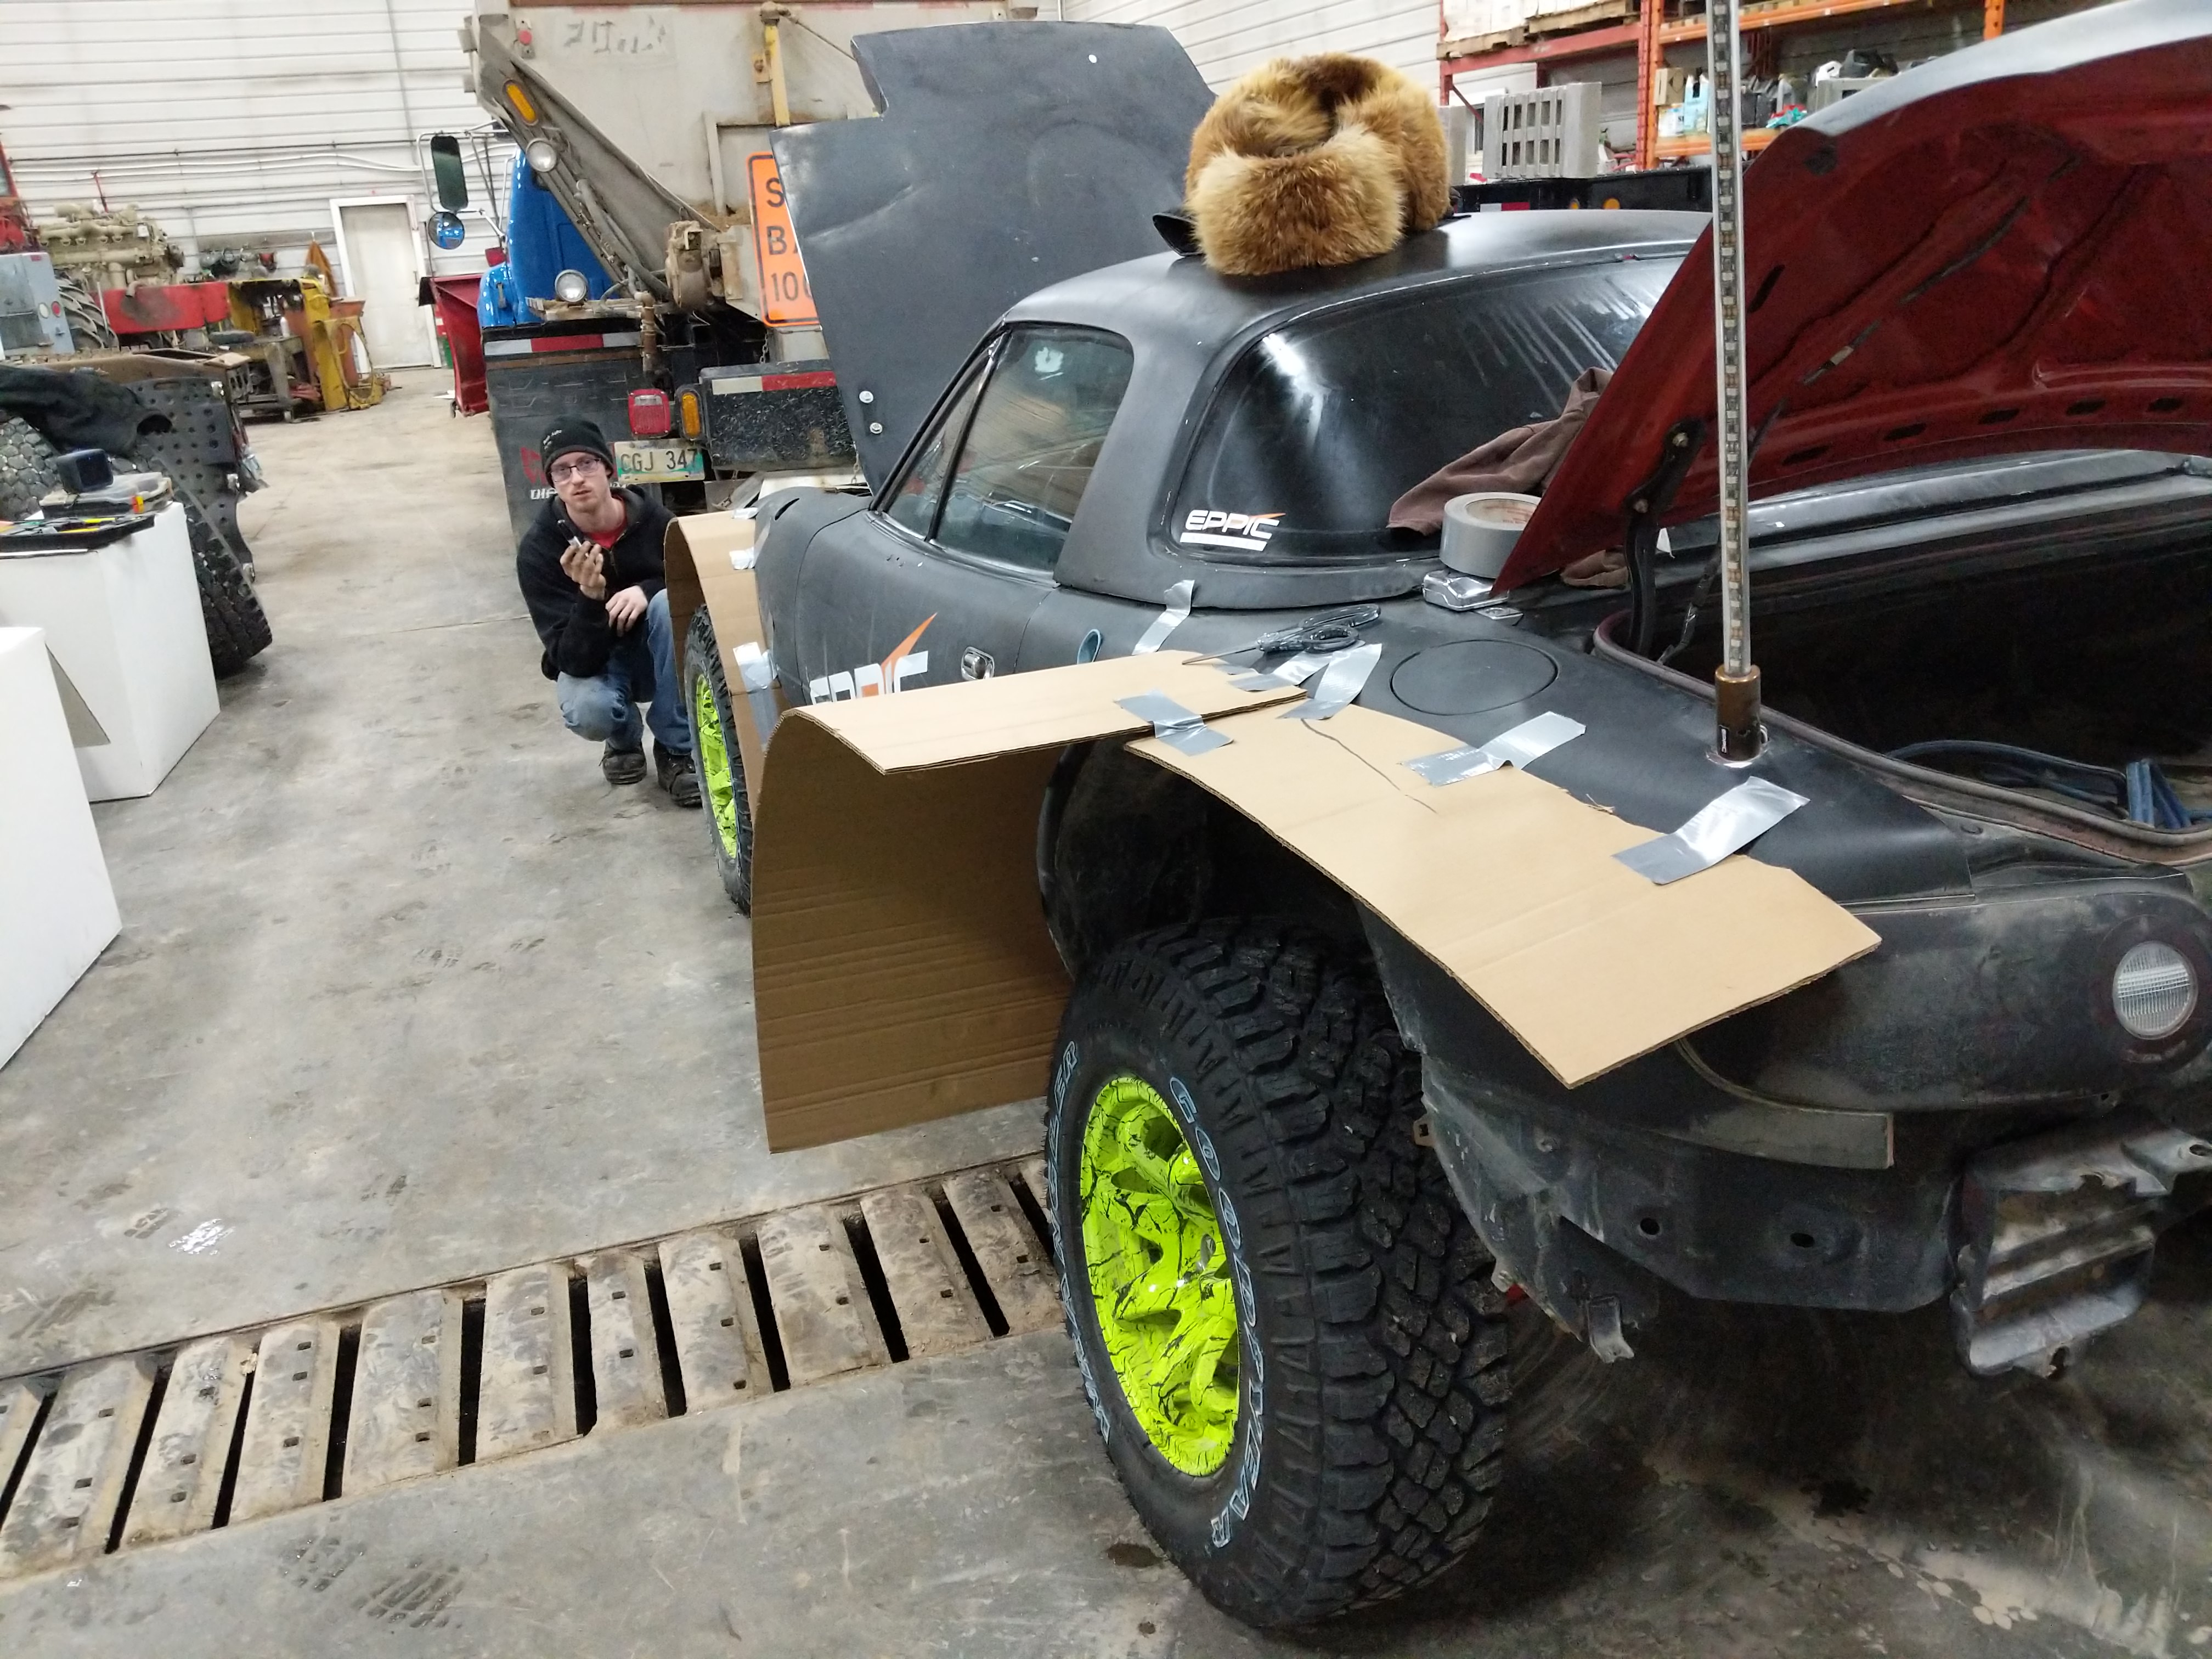
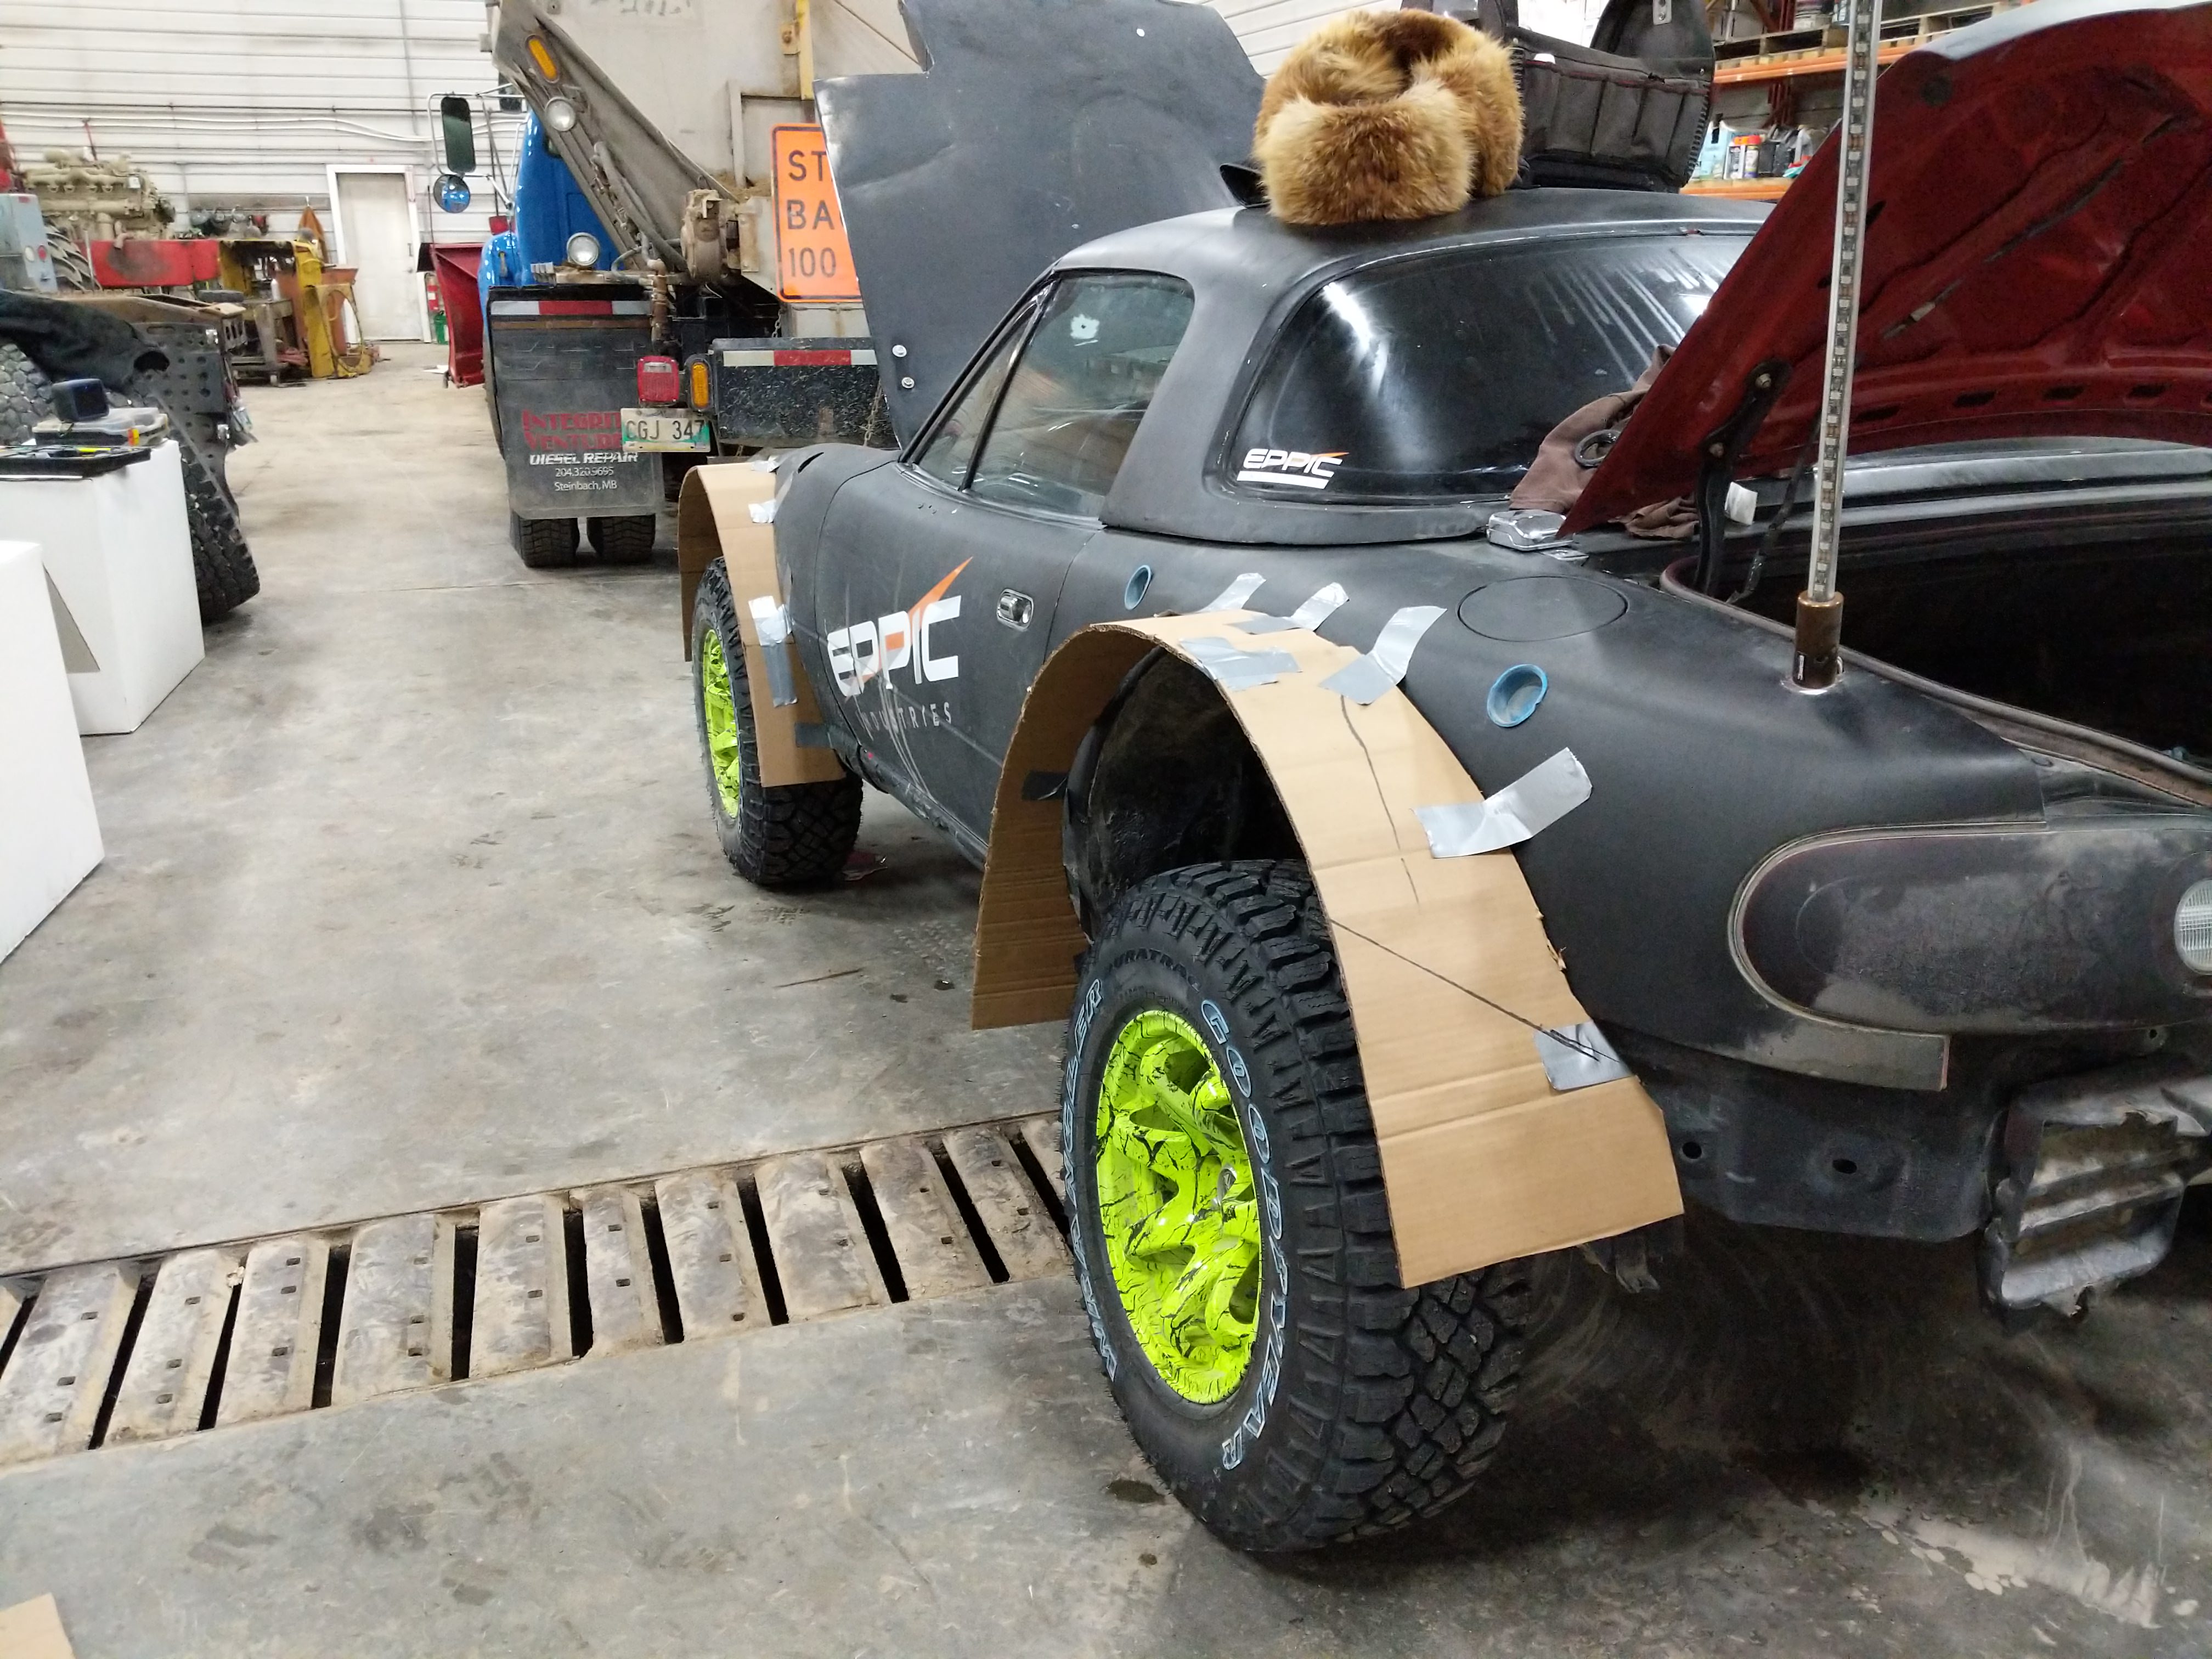
Then came another attempt to come up with a fender flare that looks half decent began. No more awful tubes!
But gave that idea up as I didn't like it much more then the tubes.
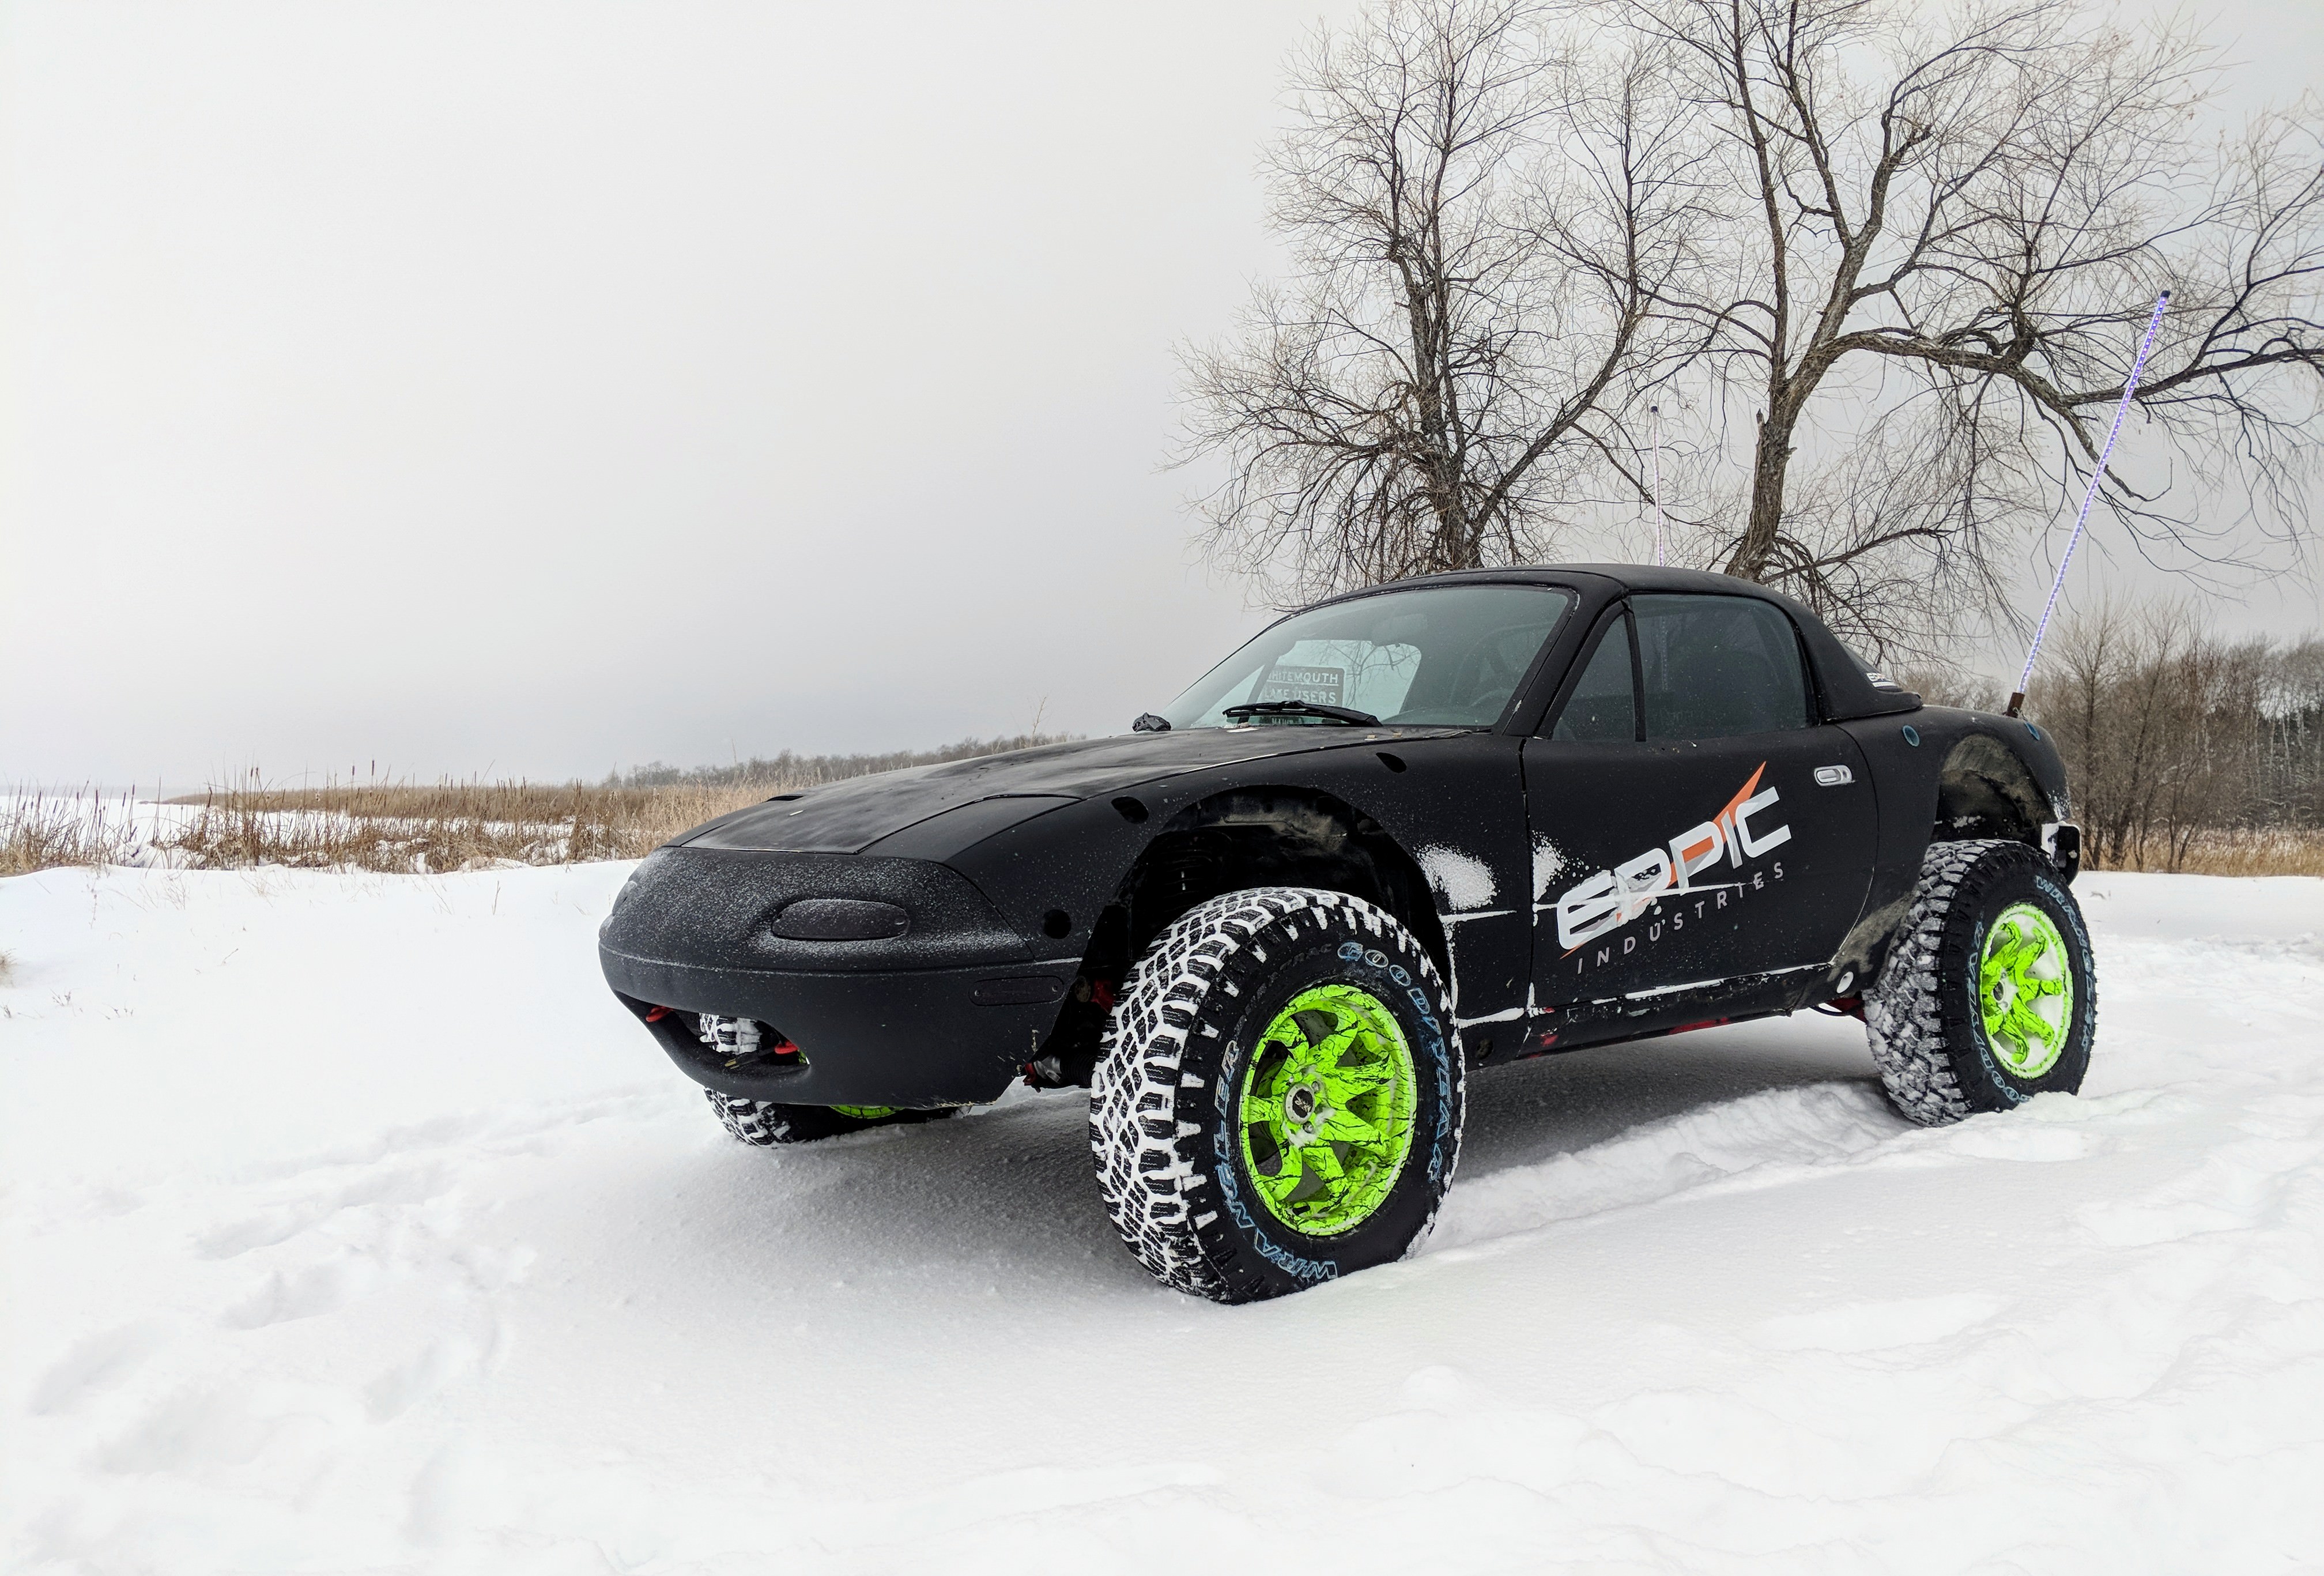
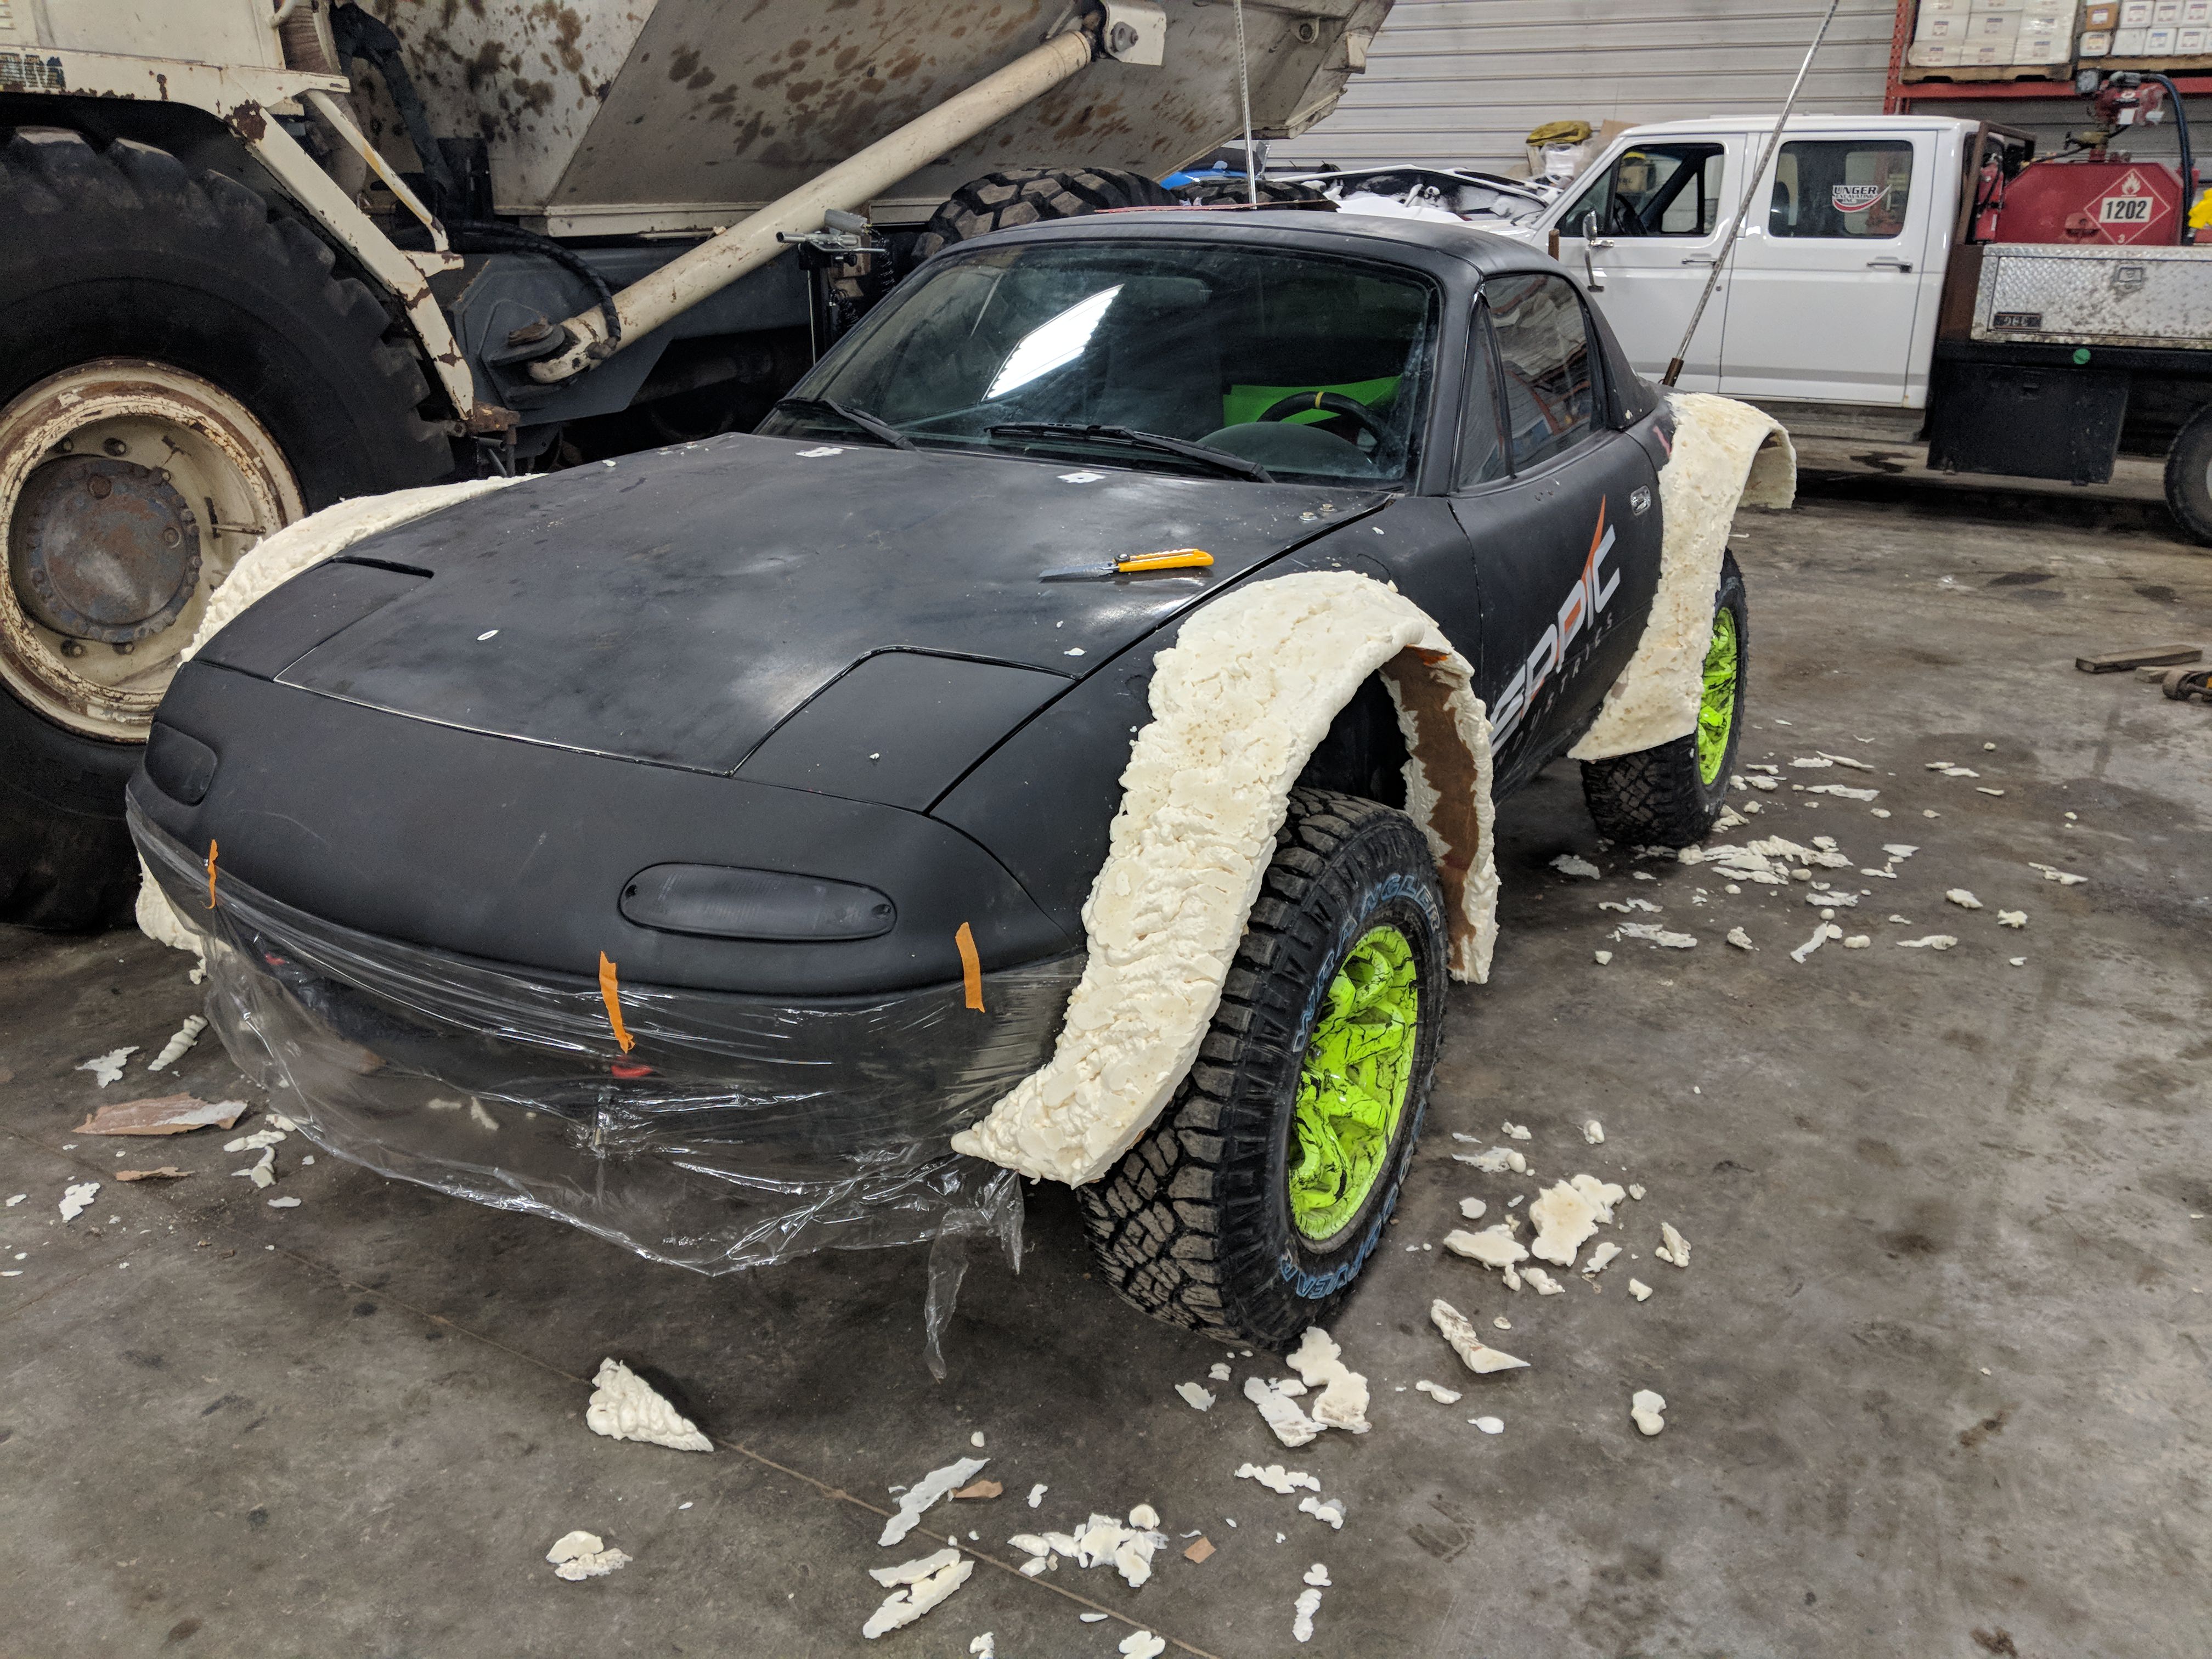
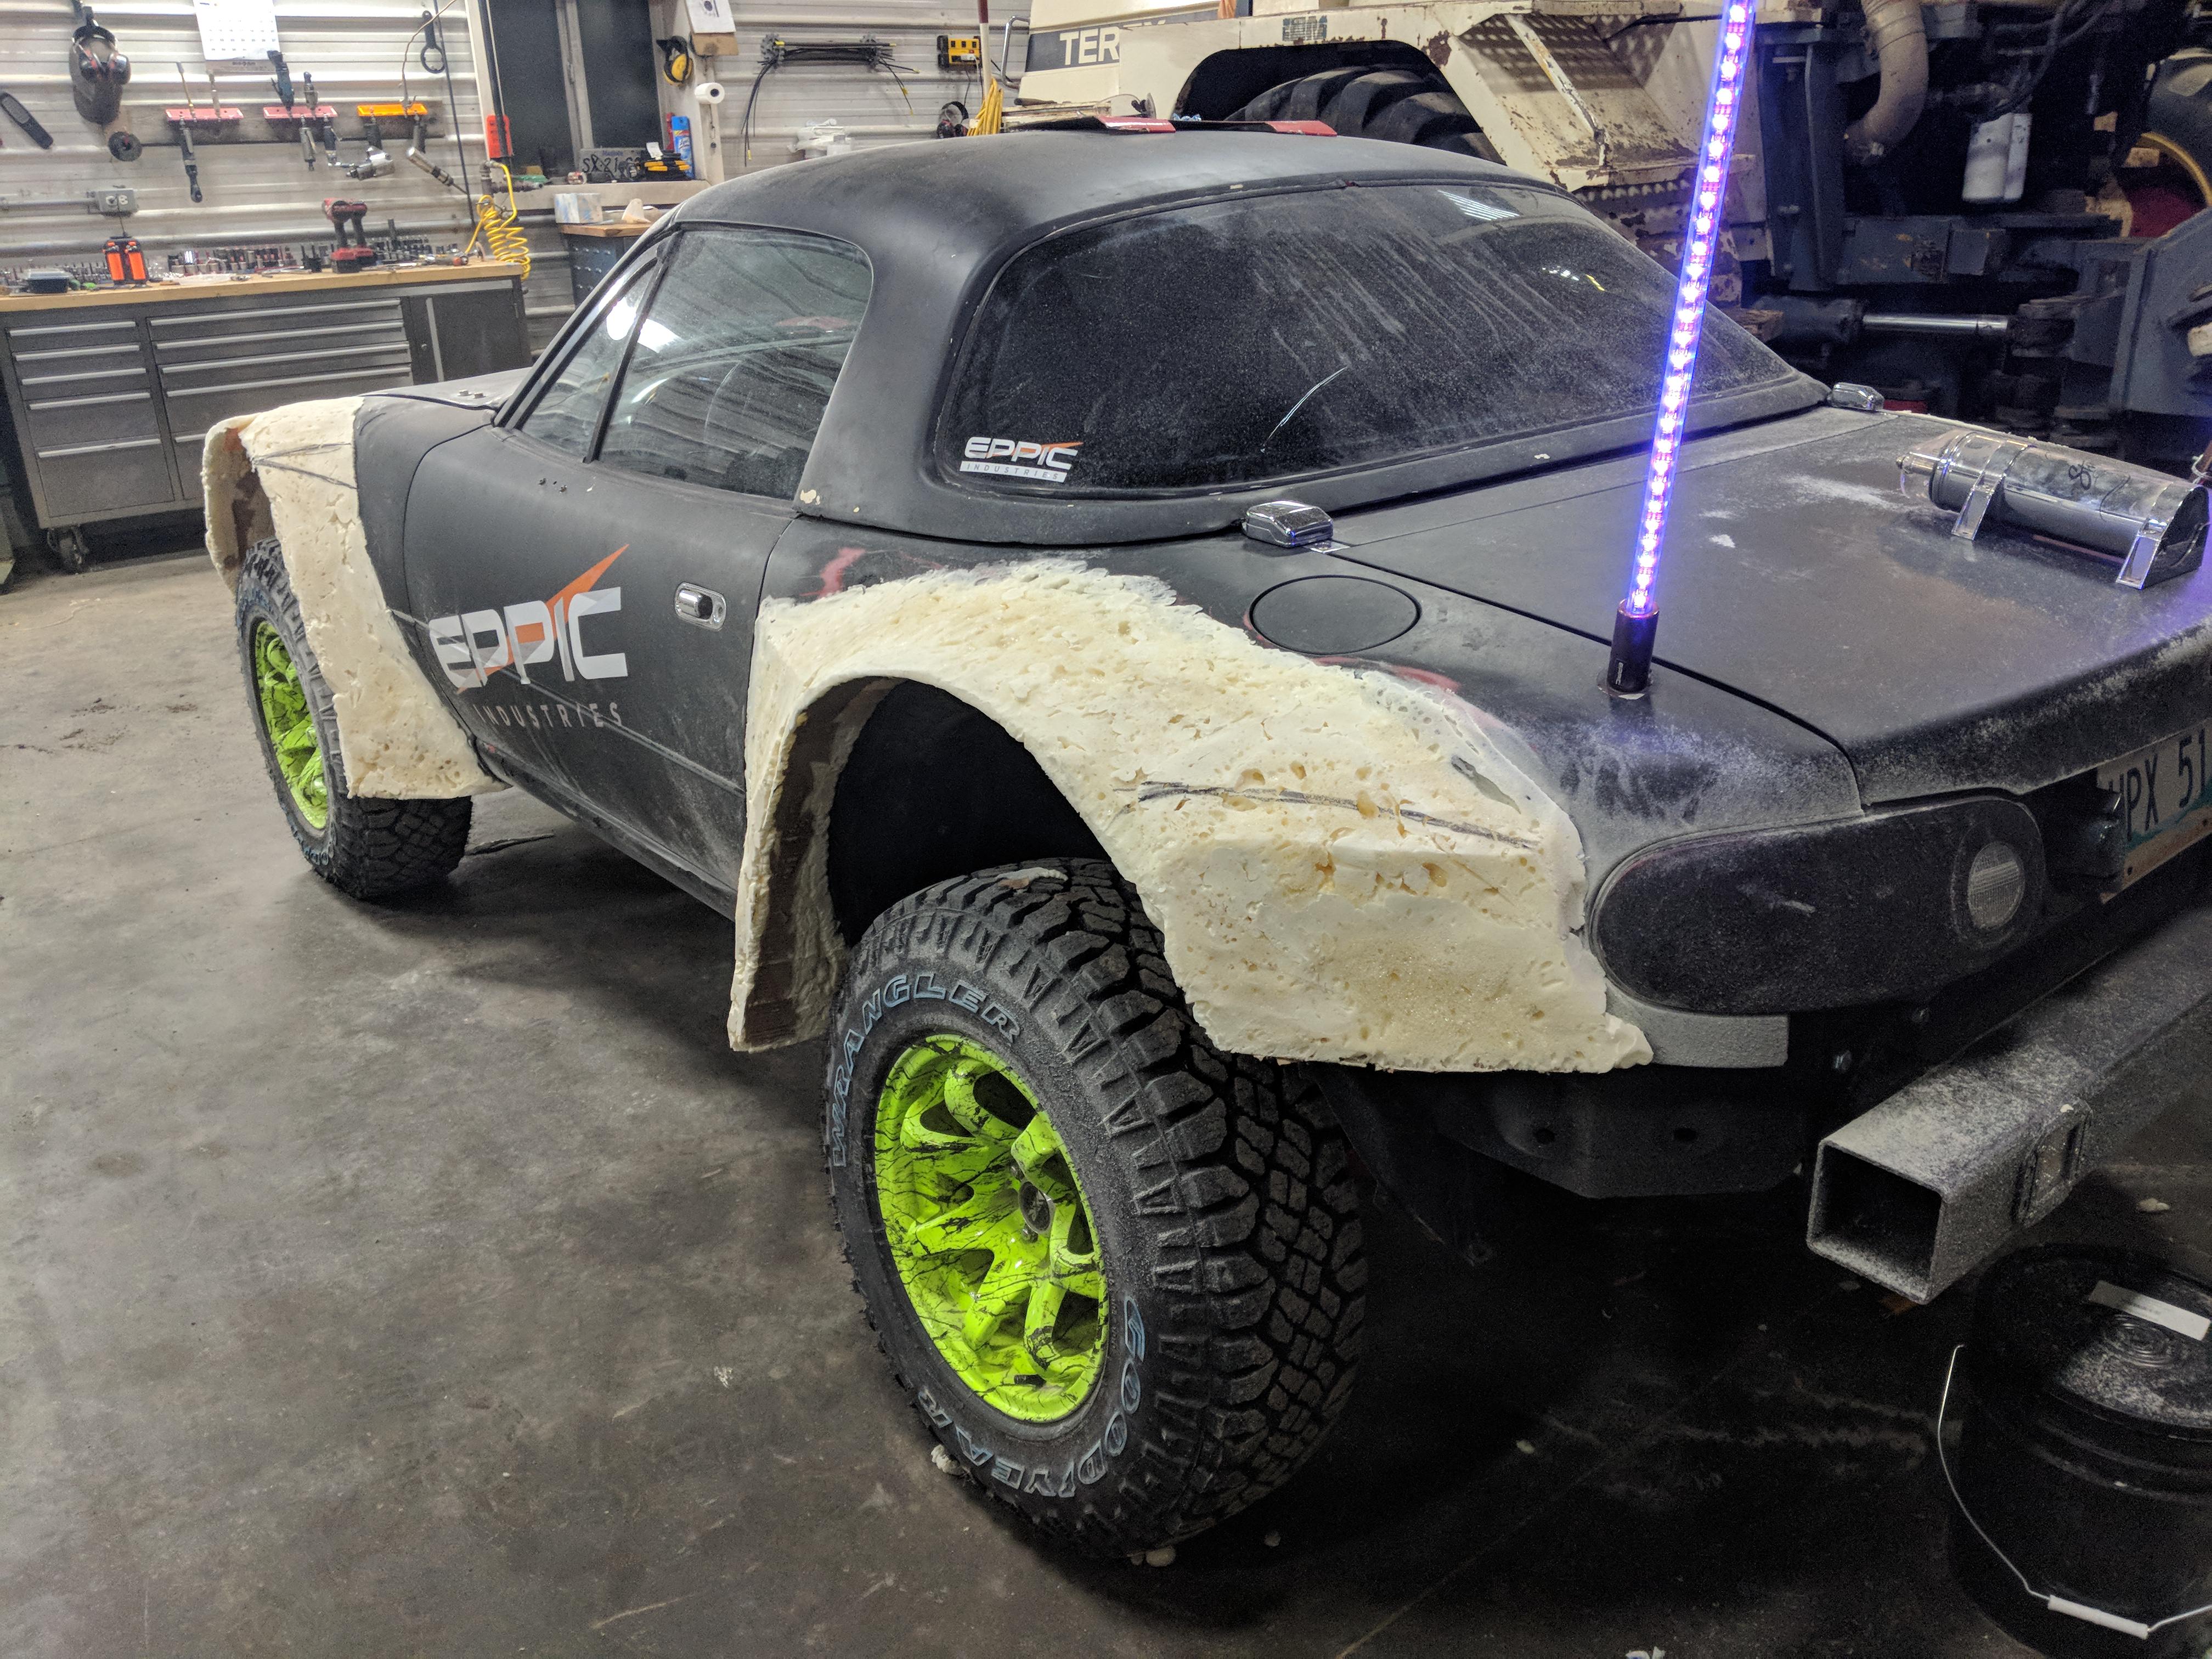
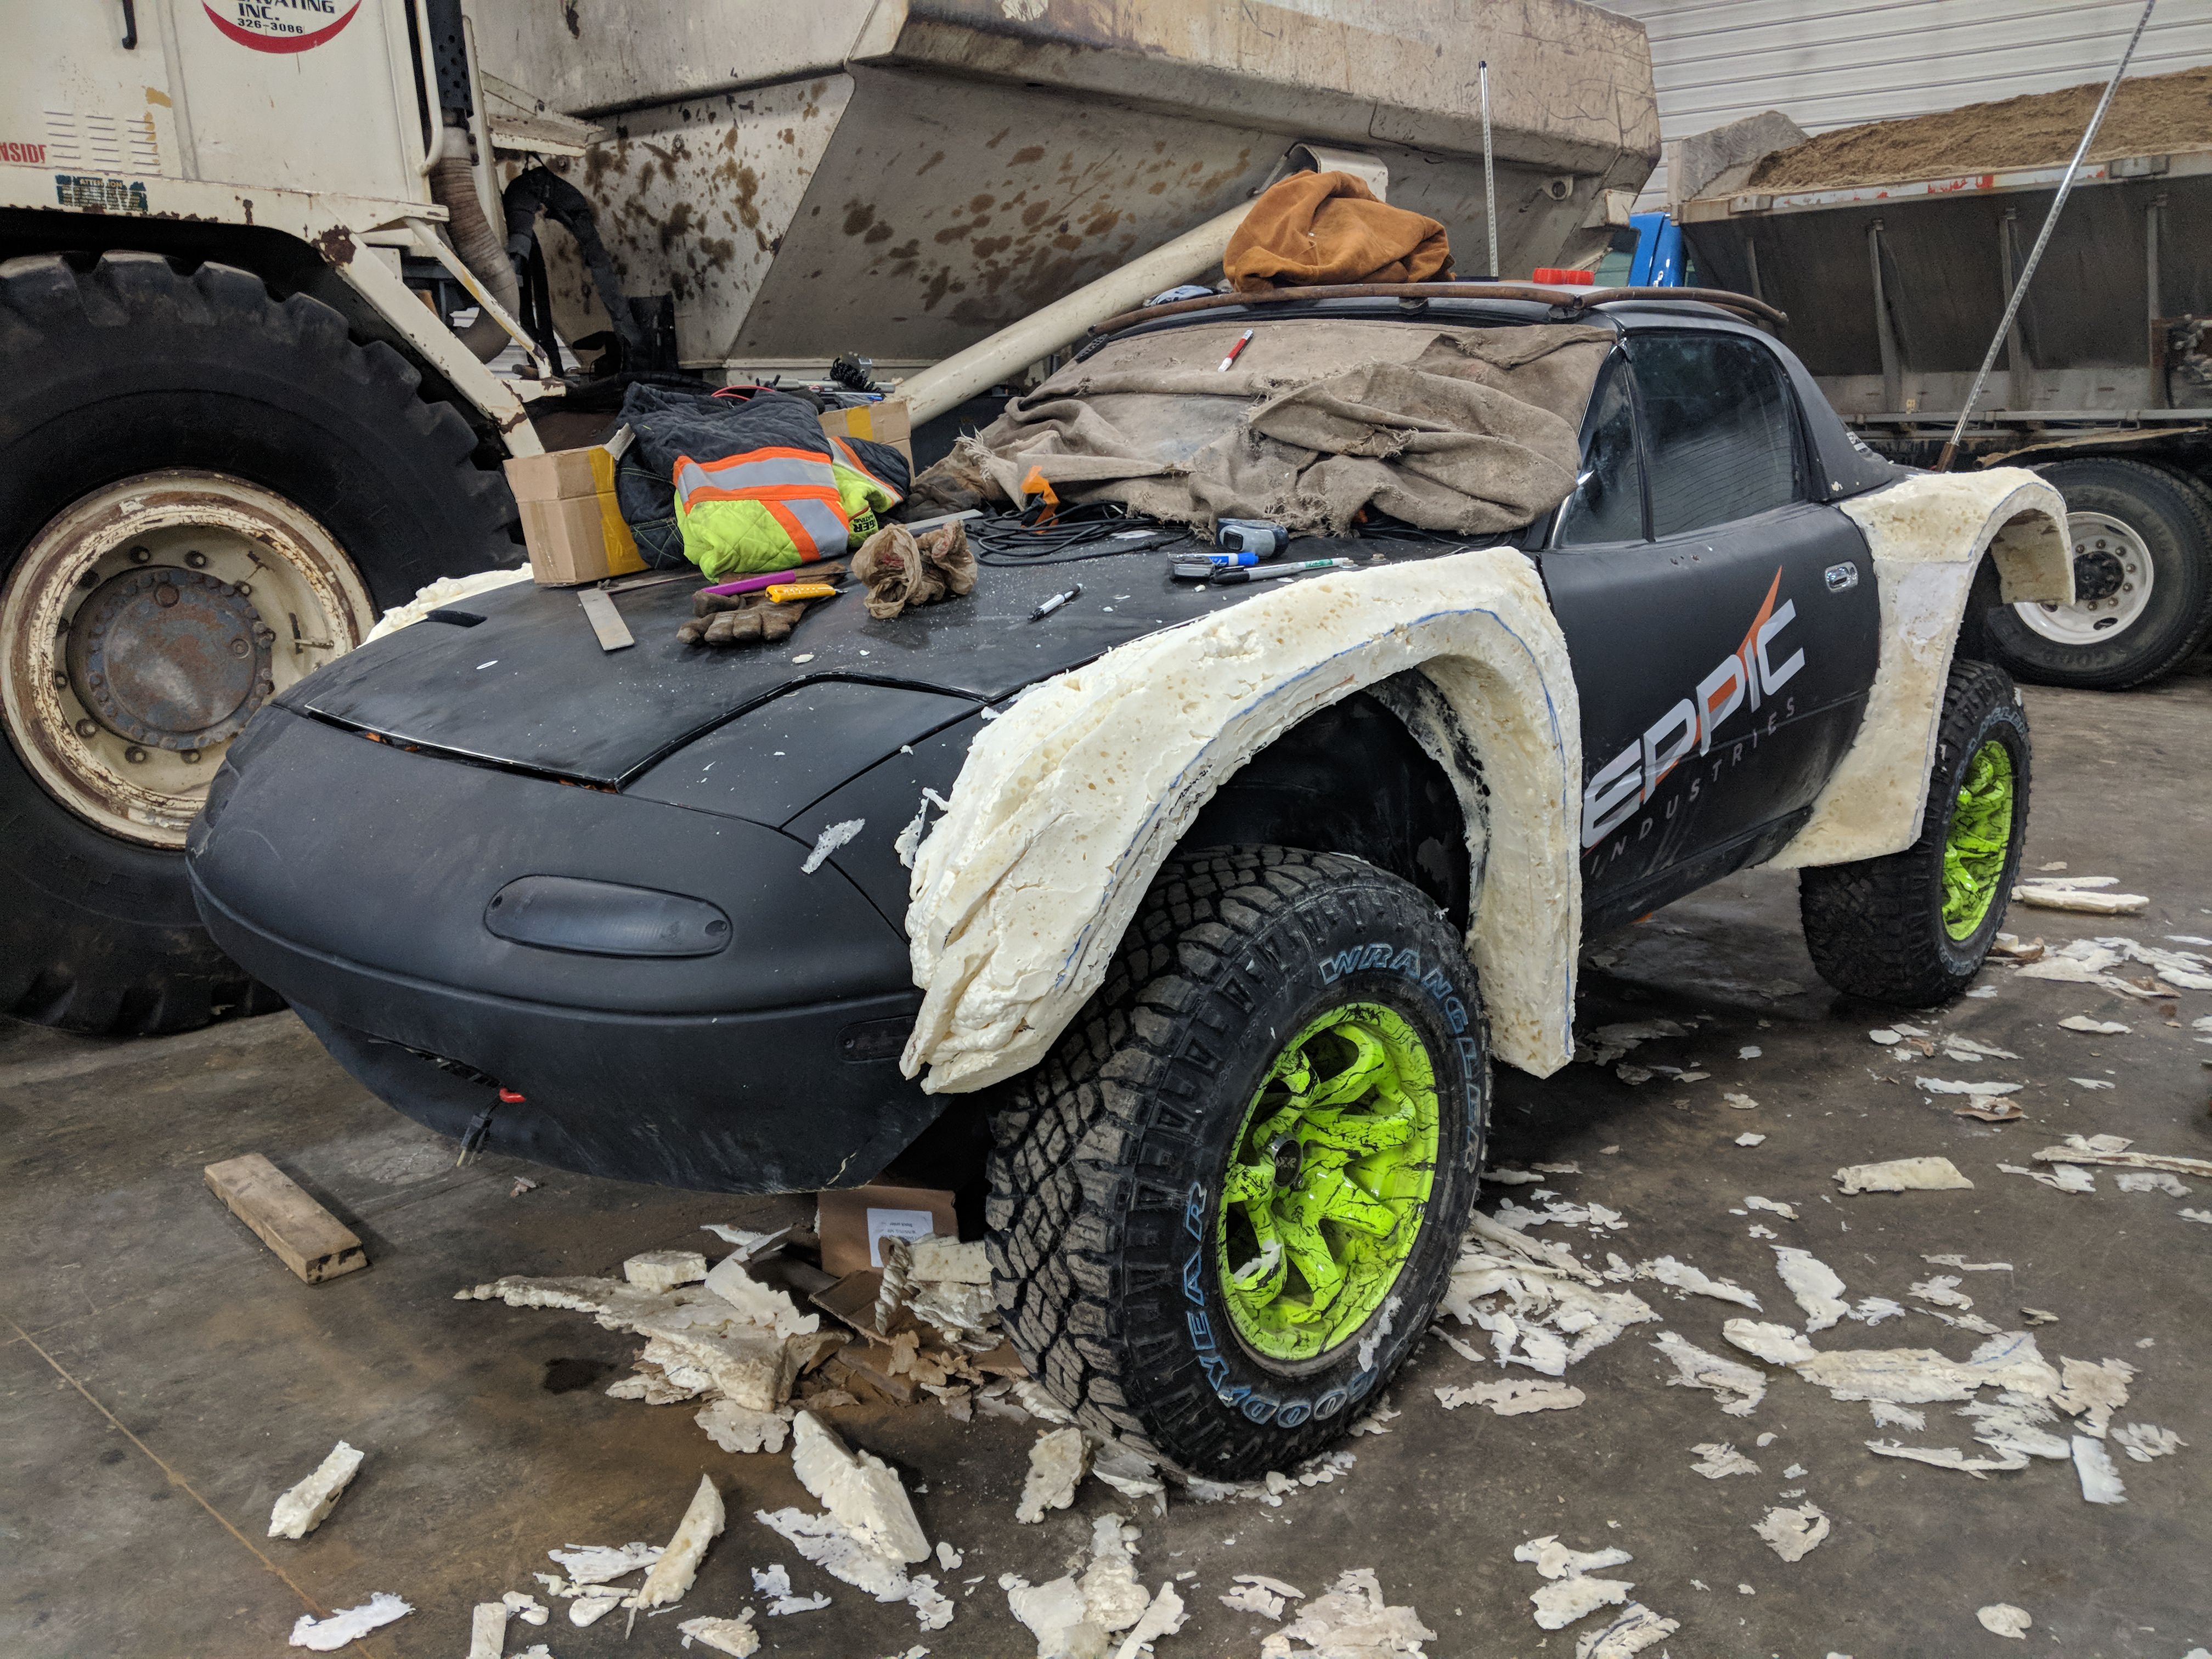
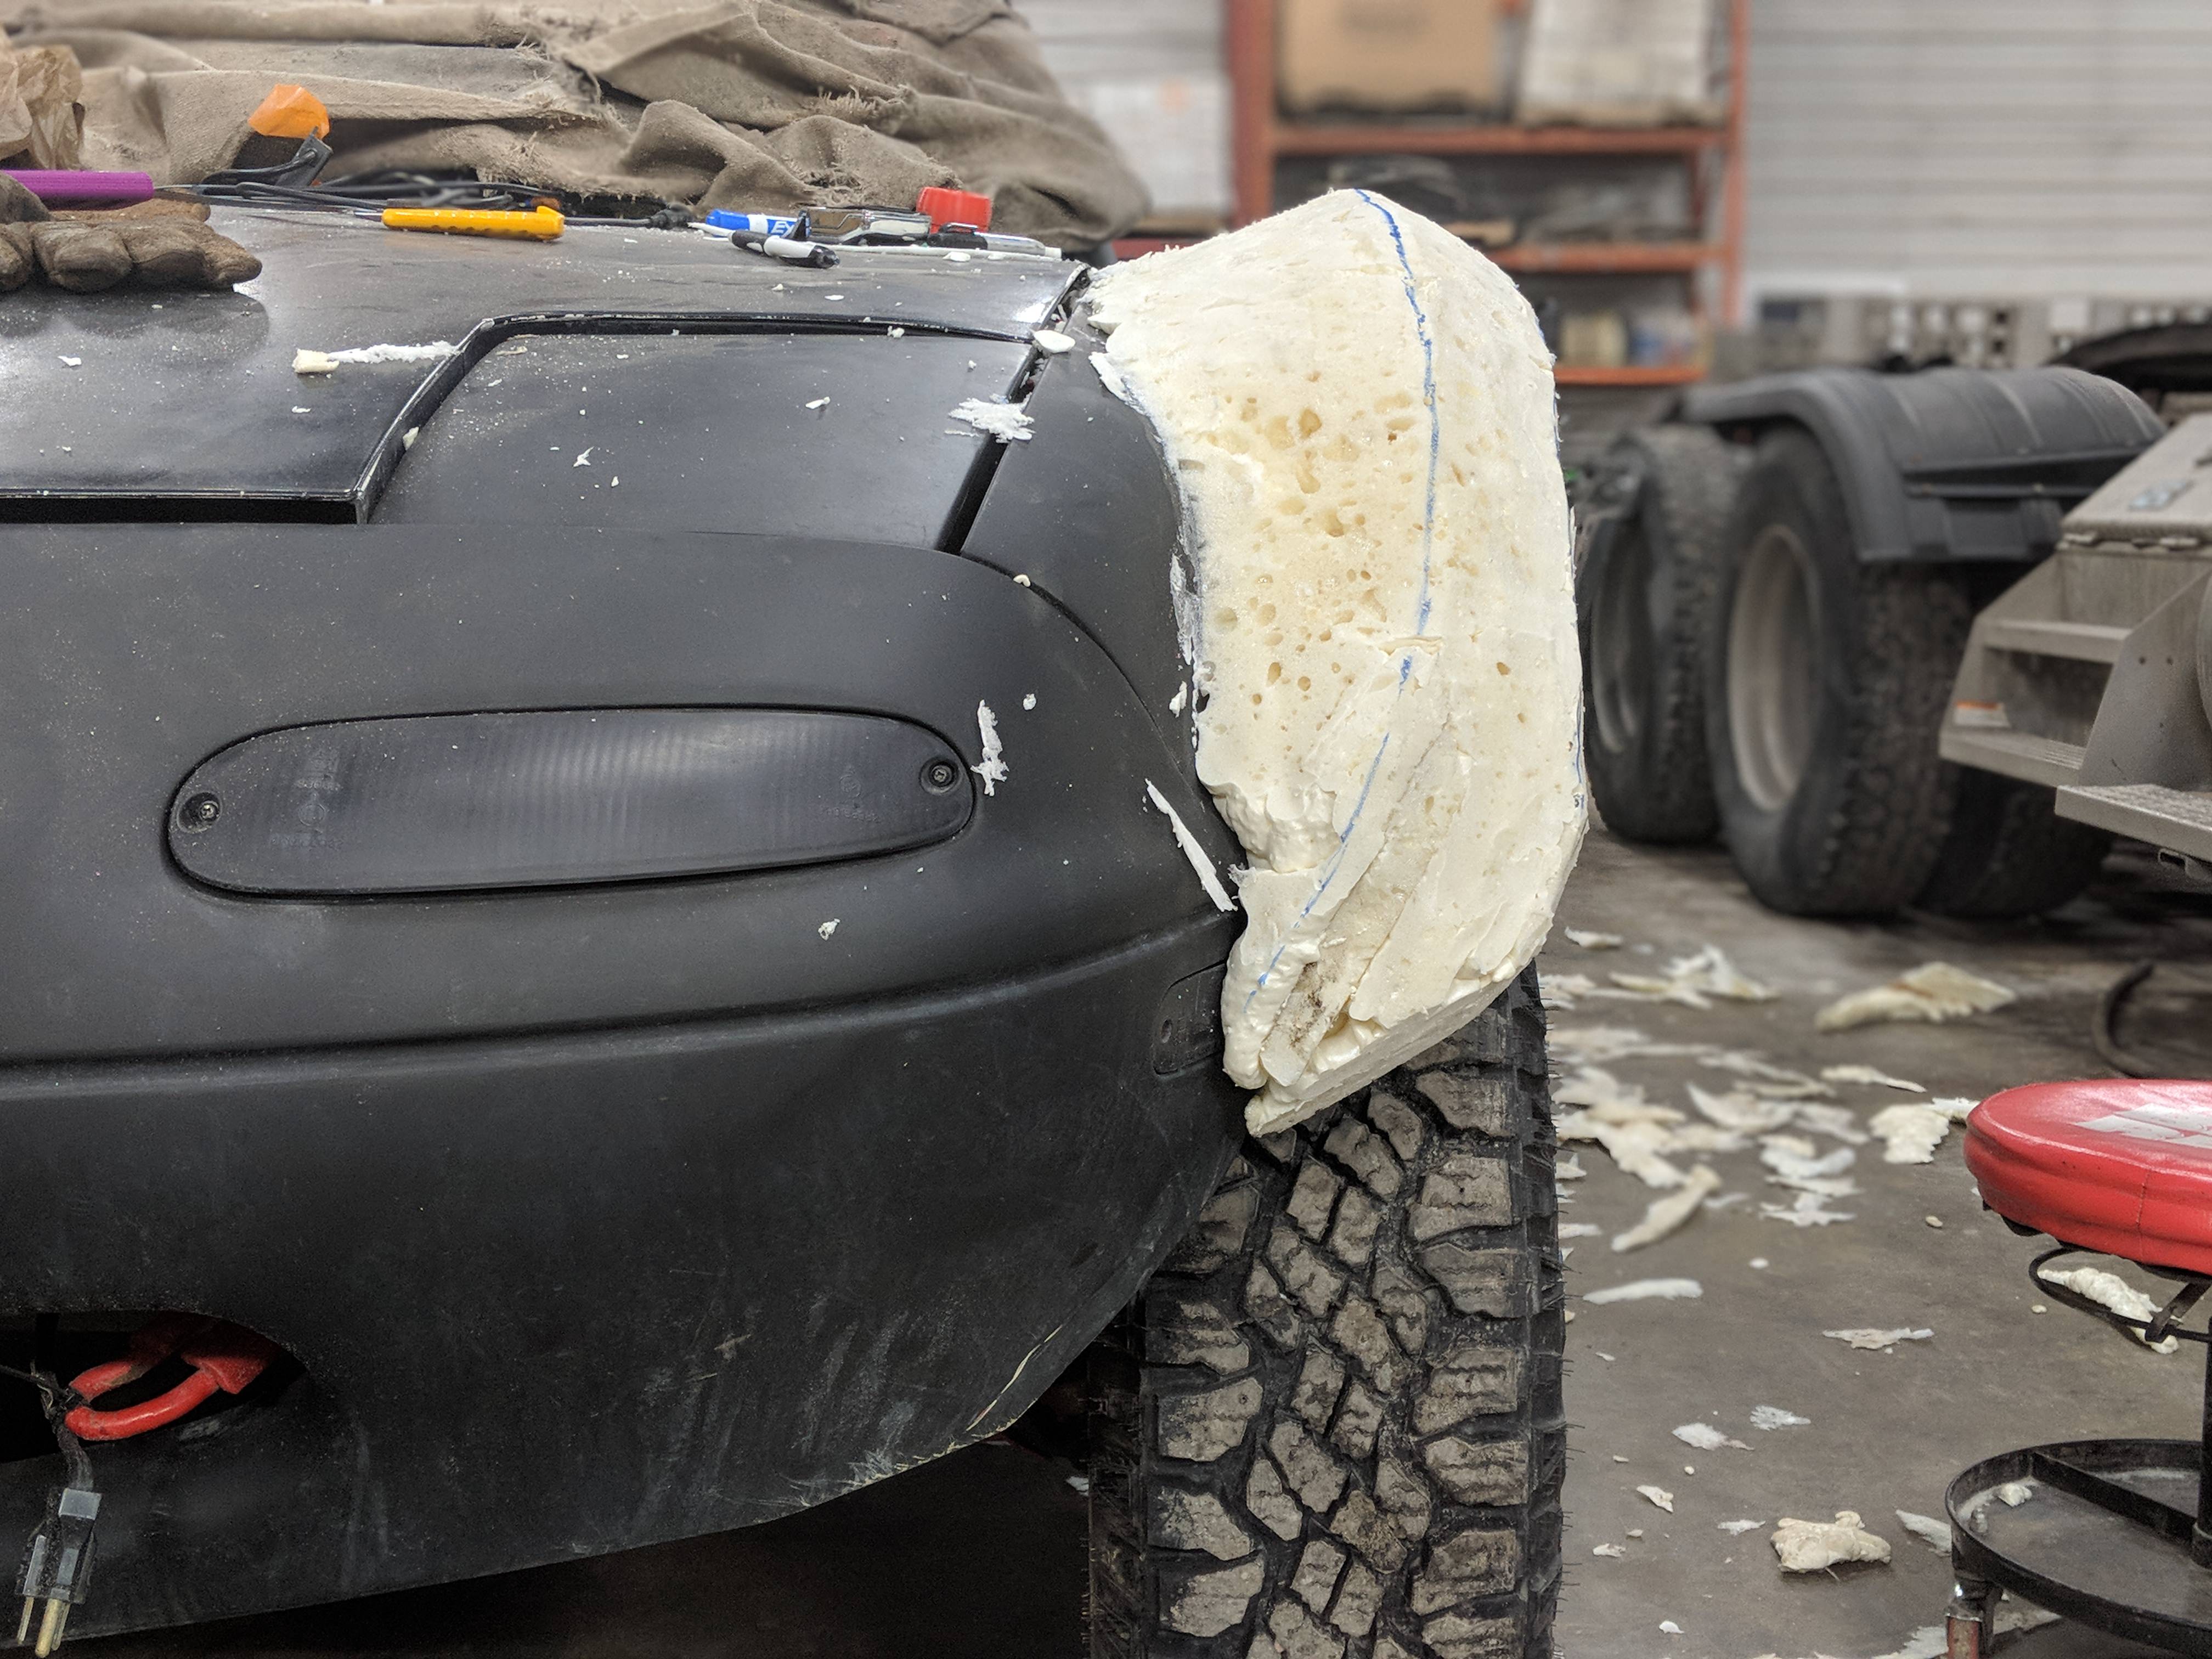
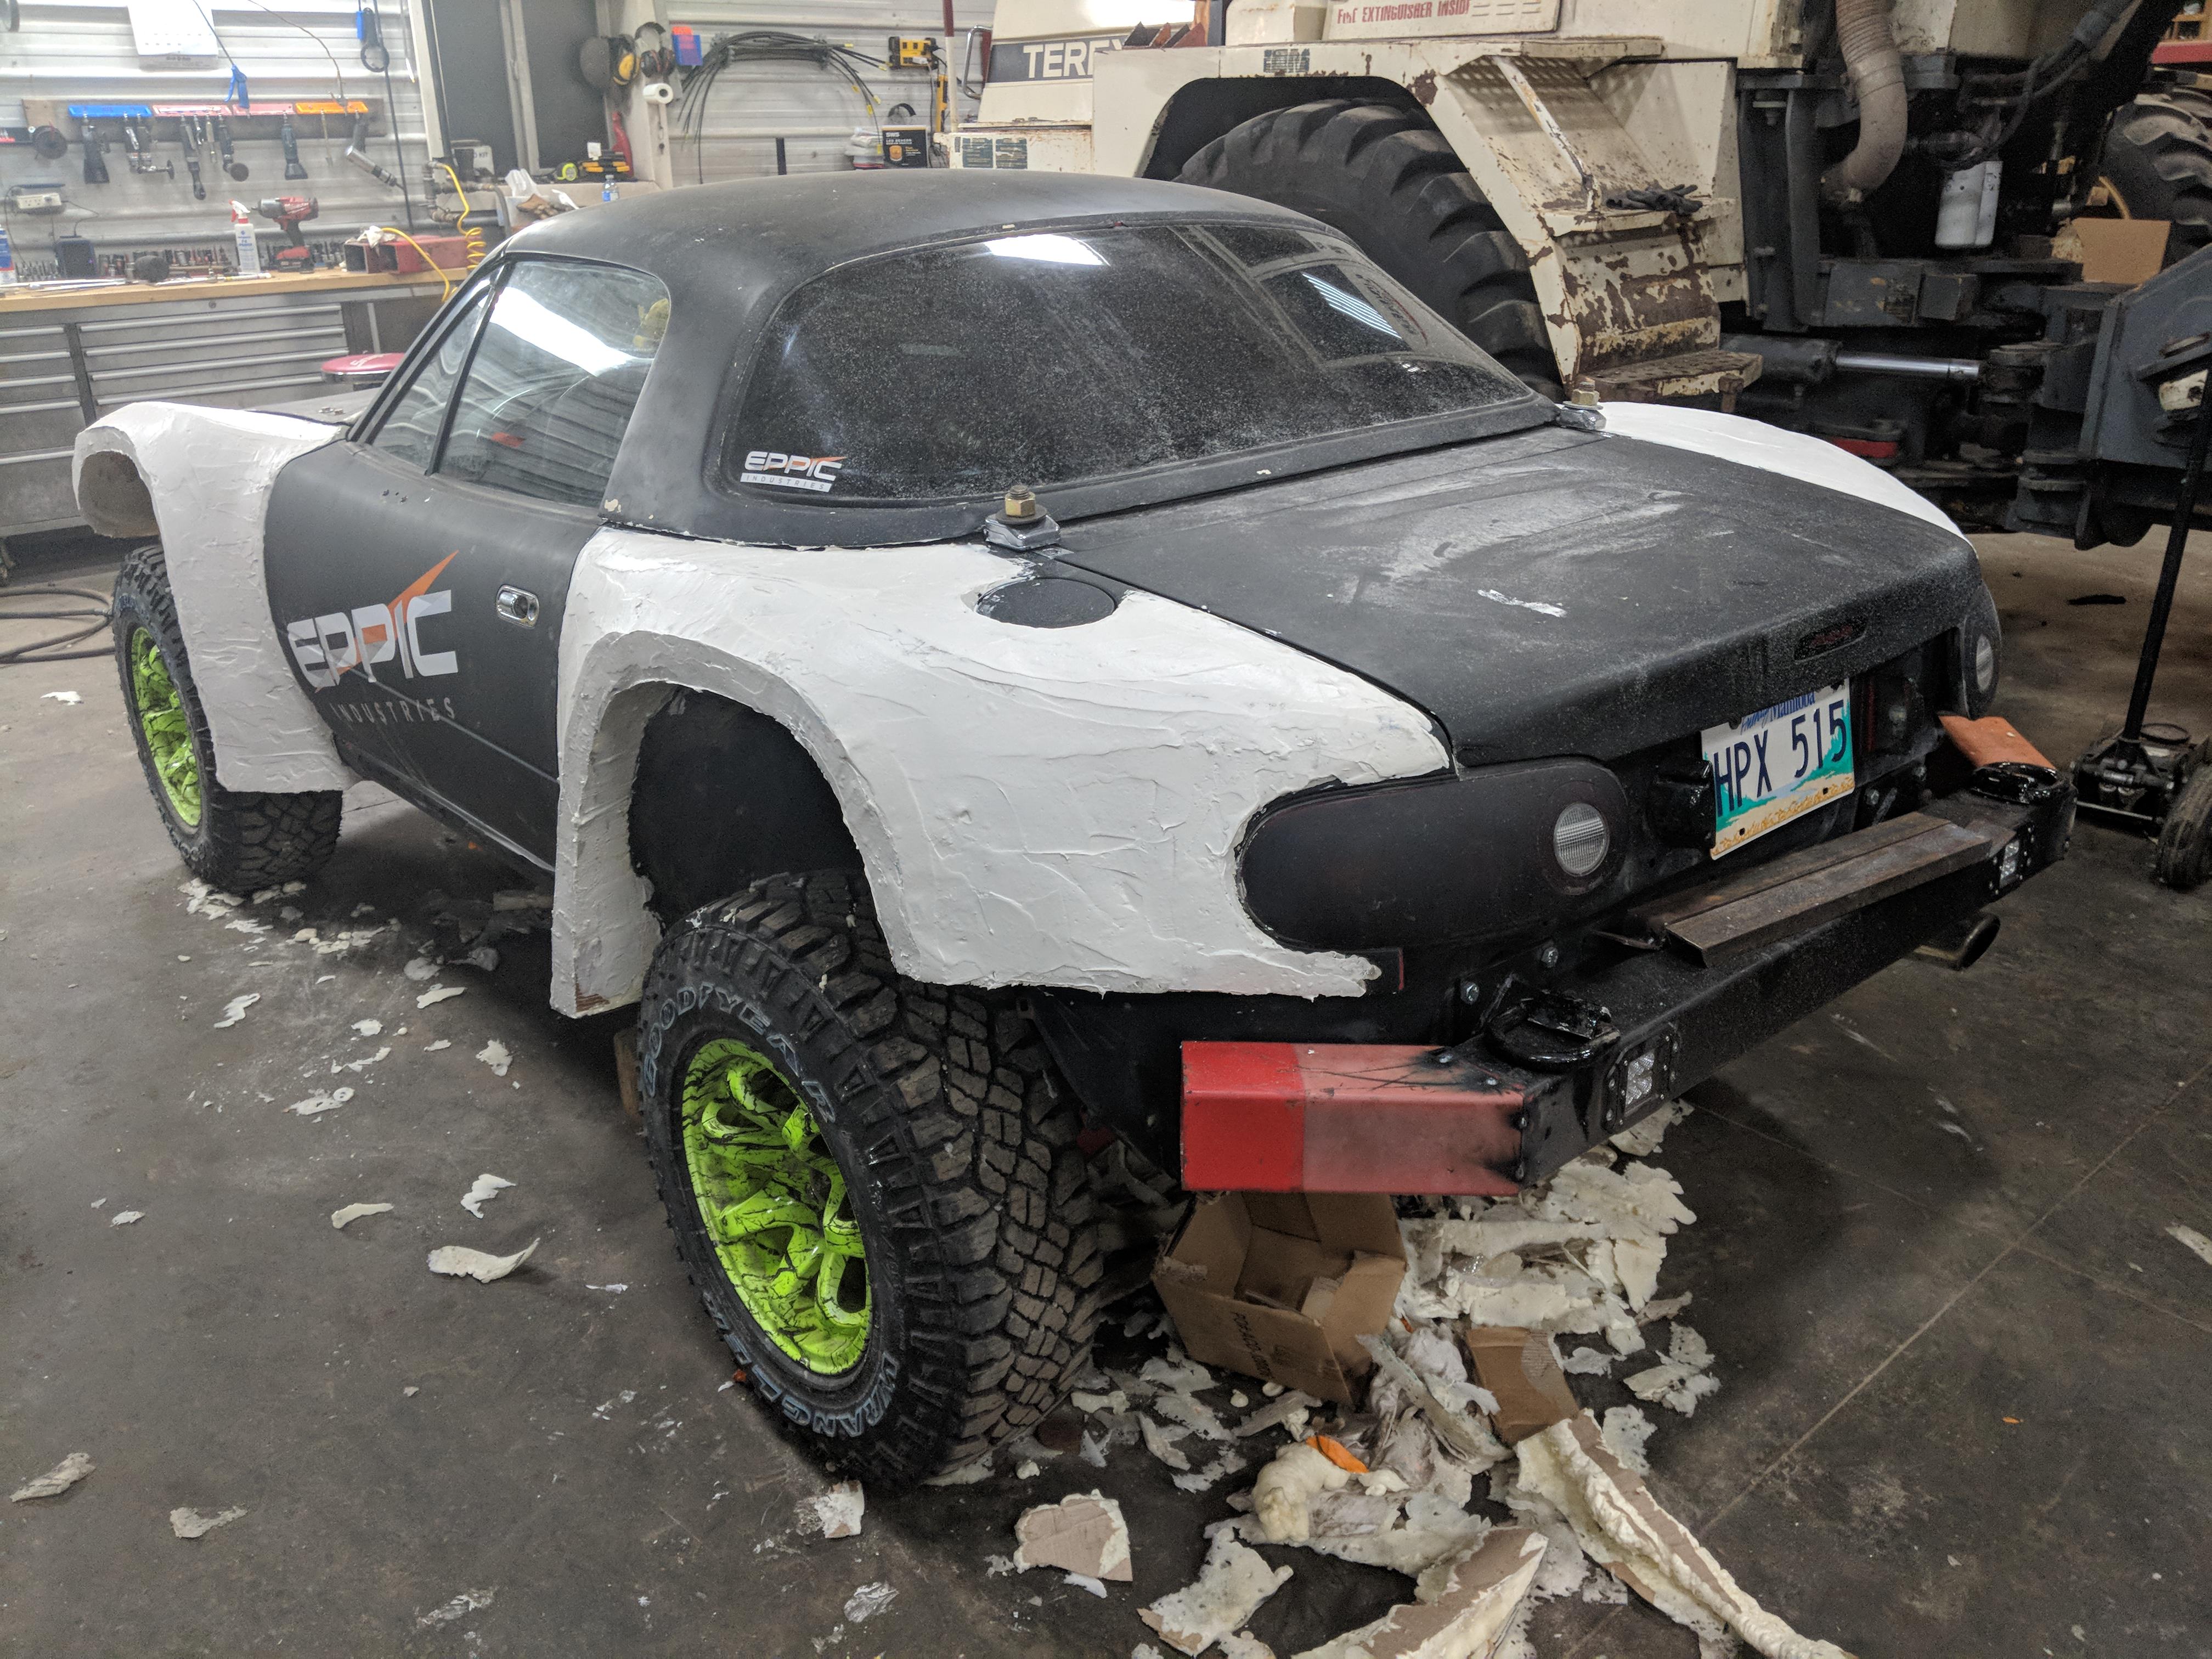
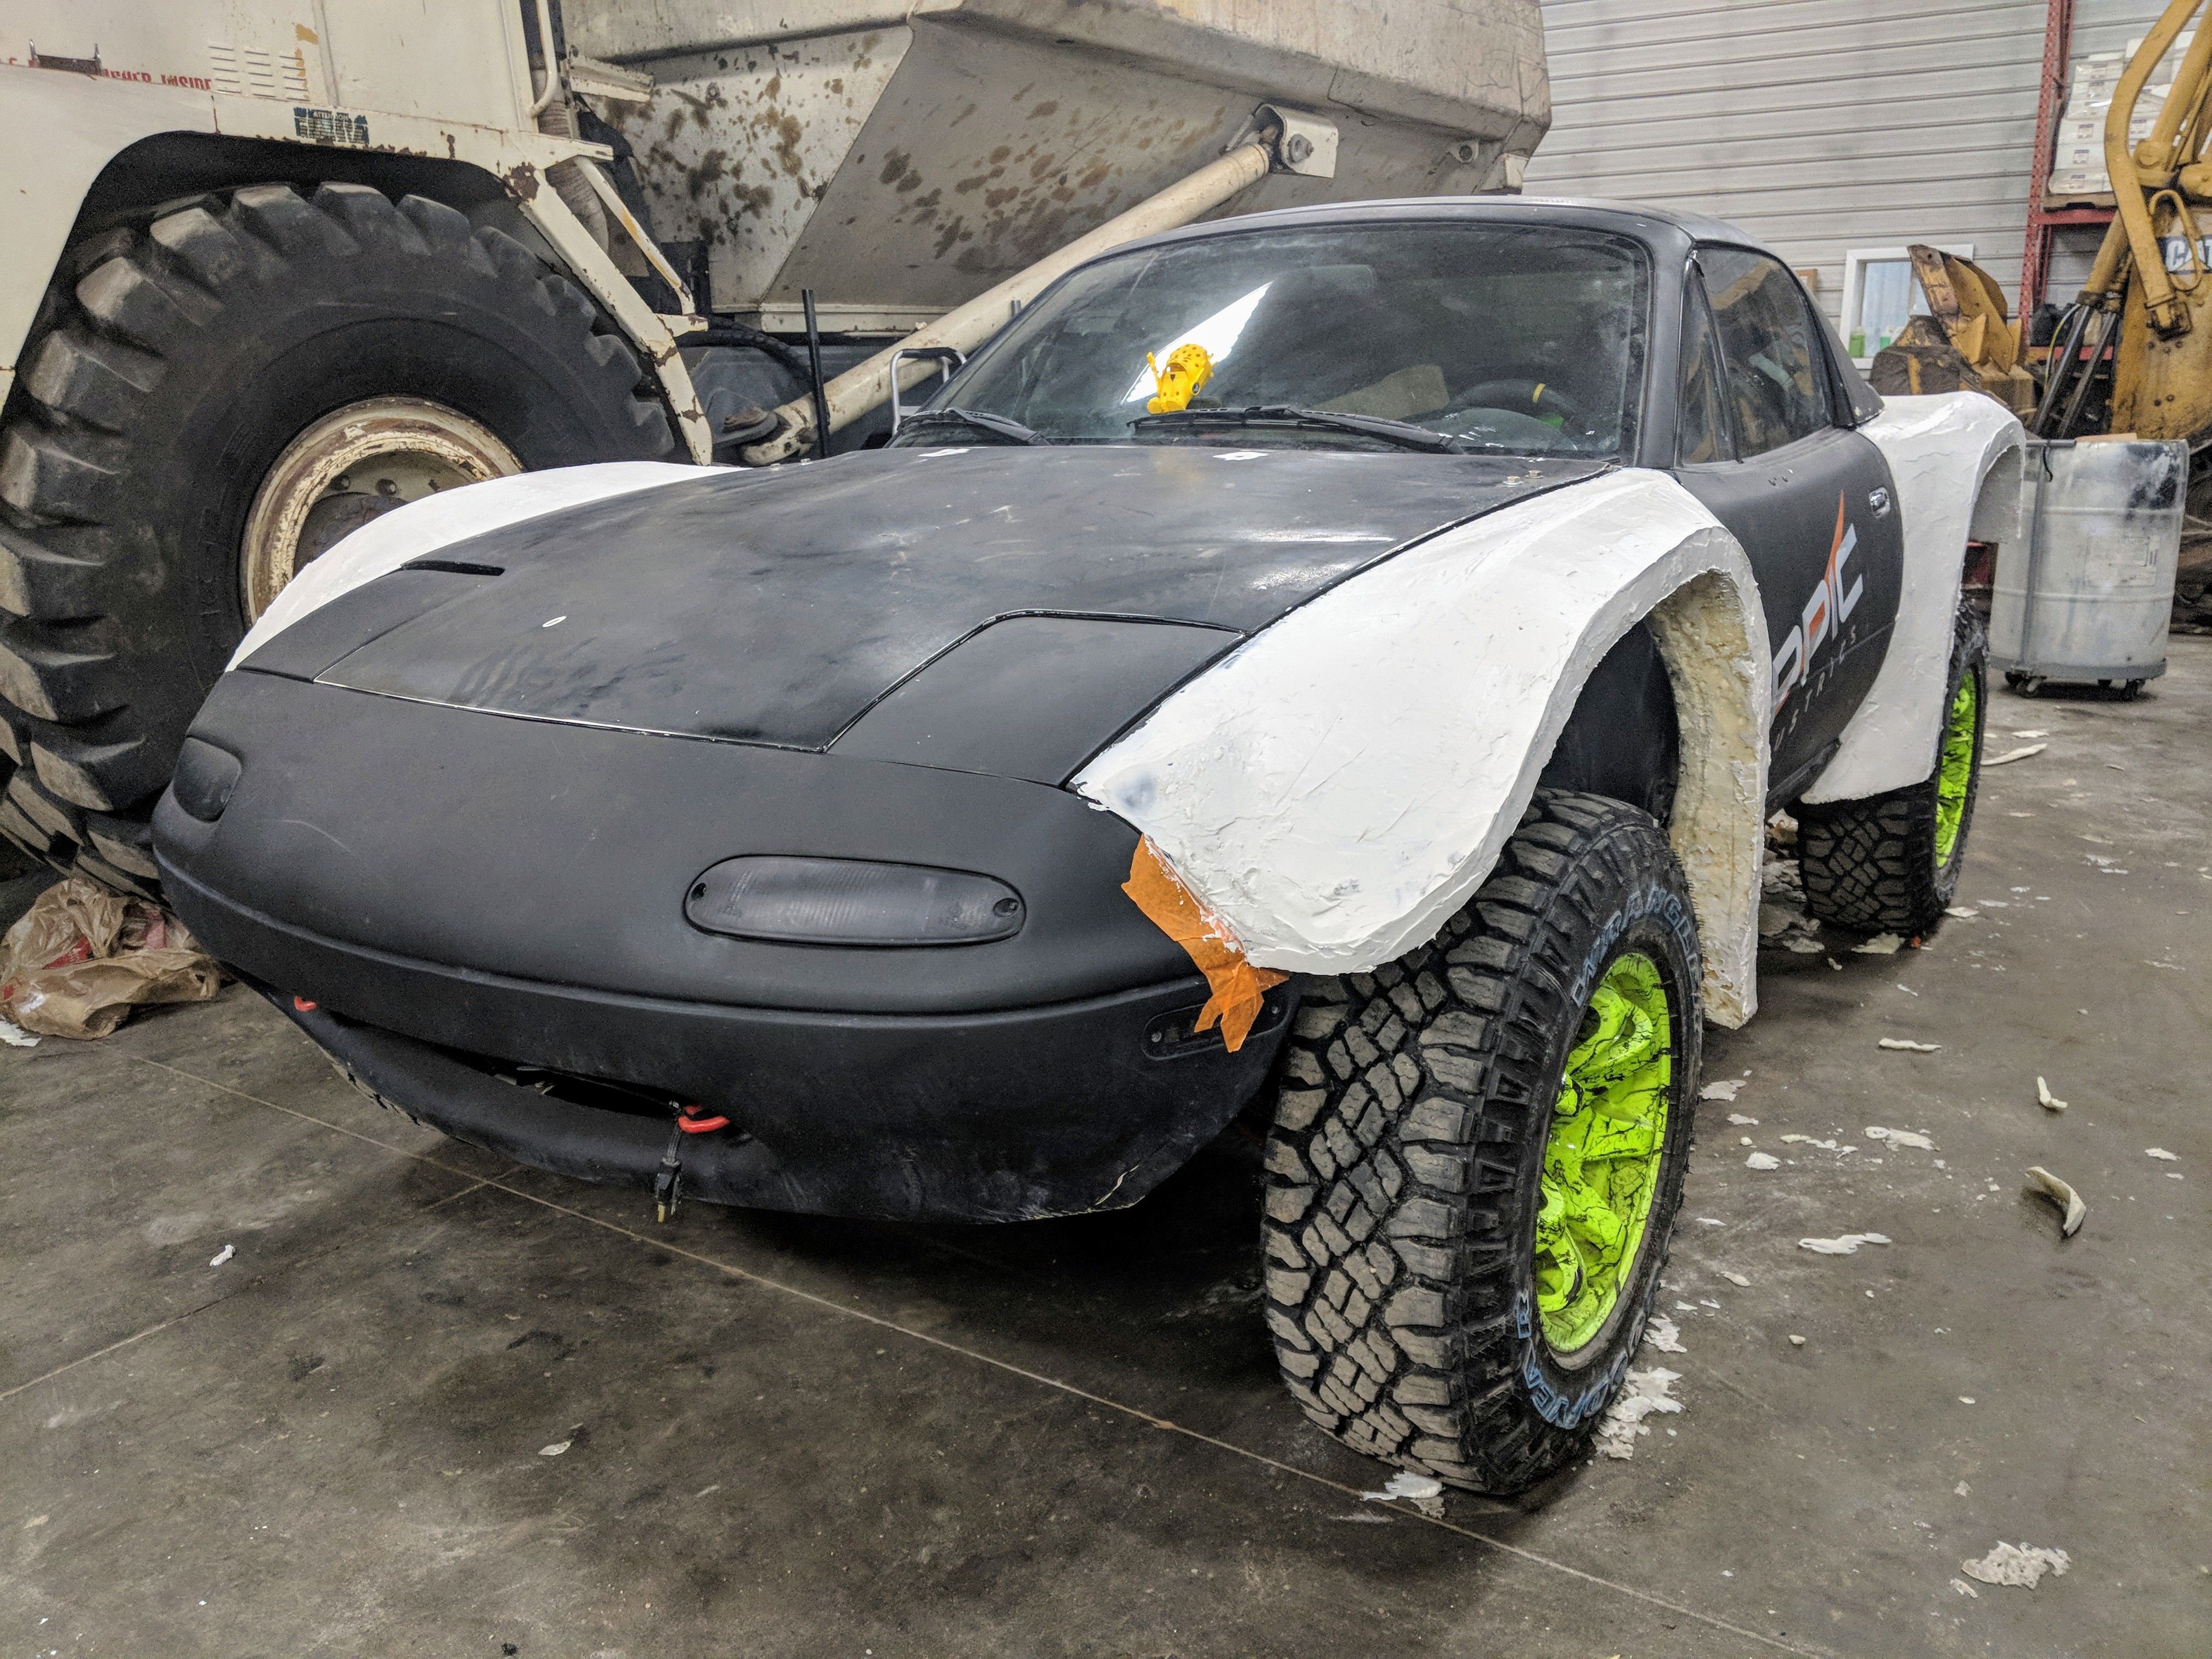
Now... as per the build, go big or go home. Lets sculpt some custom wide body madness onto this guy and make us an Eppic offroadster-prerunner!
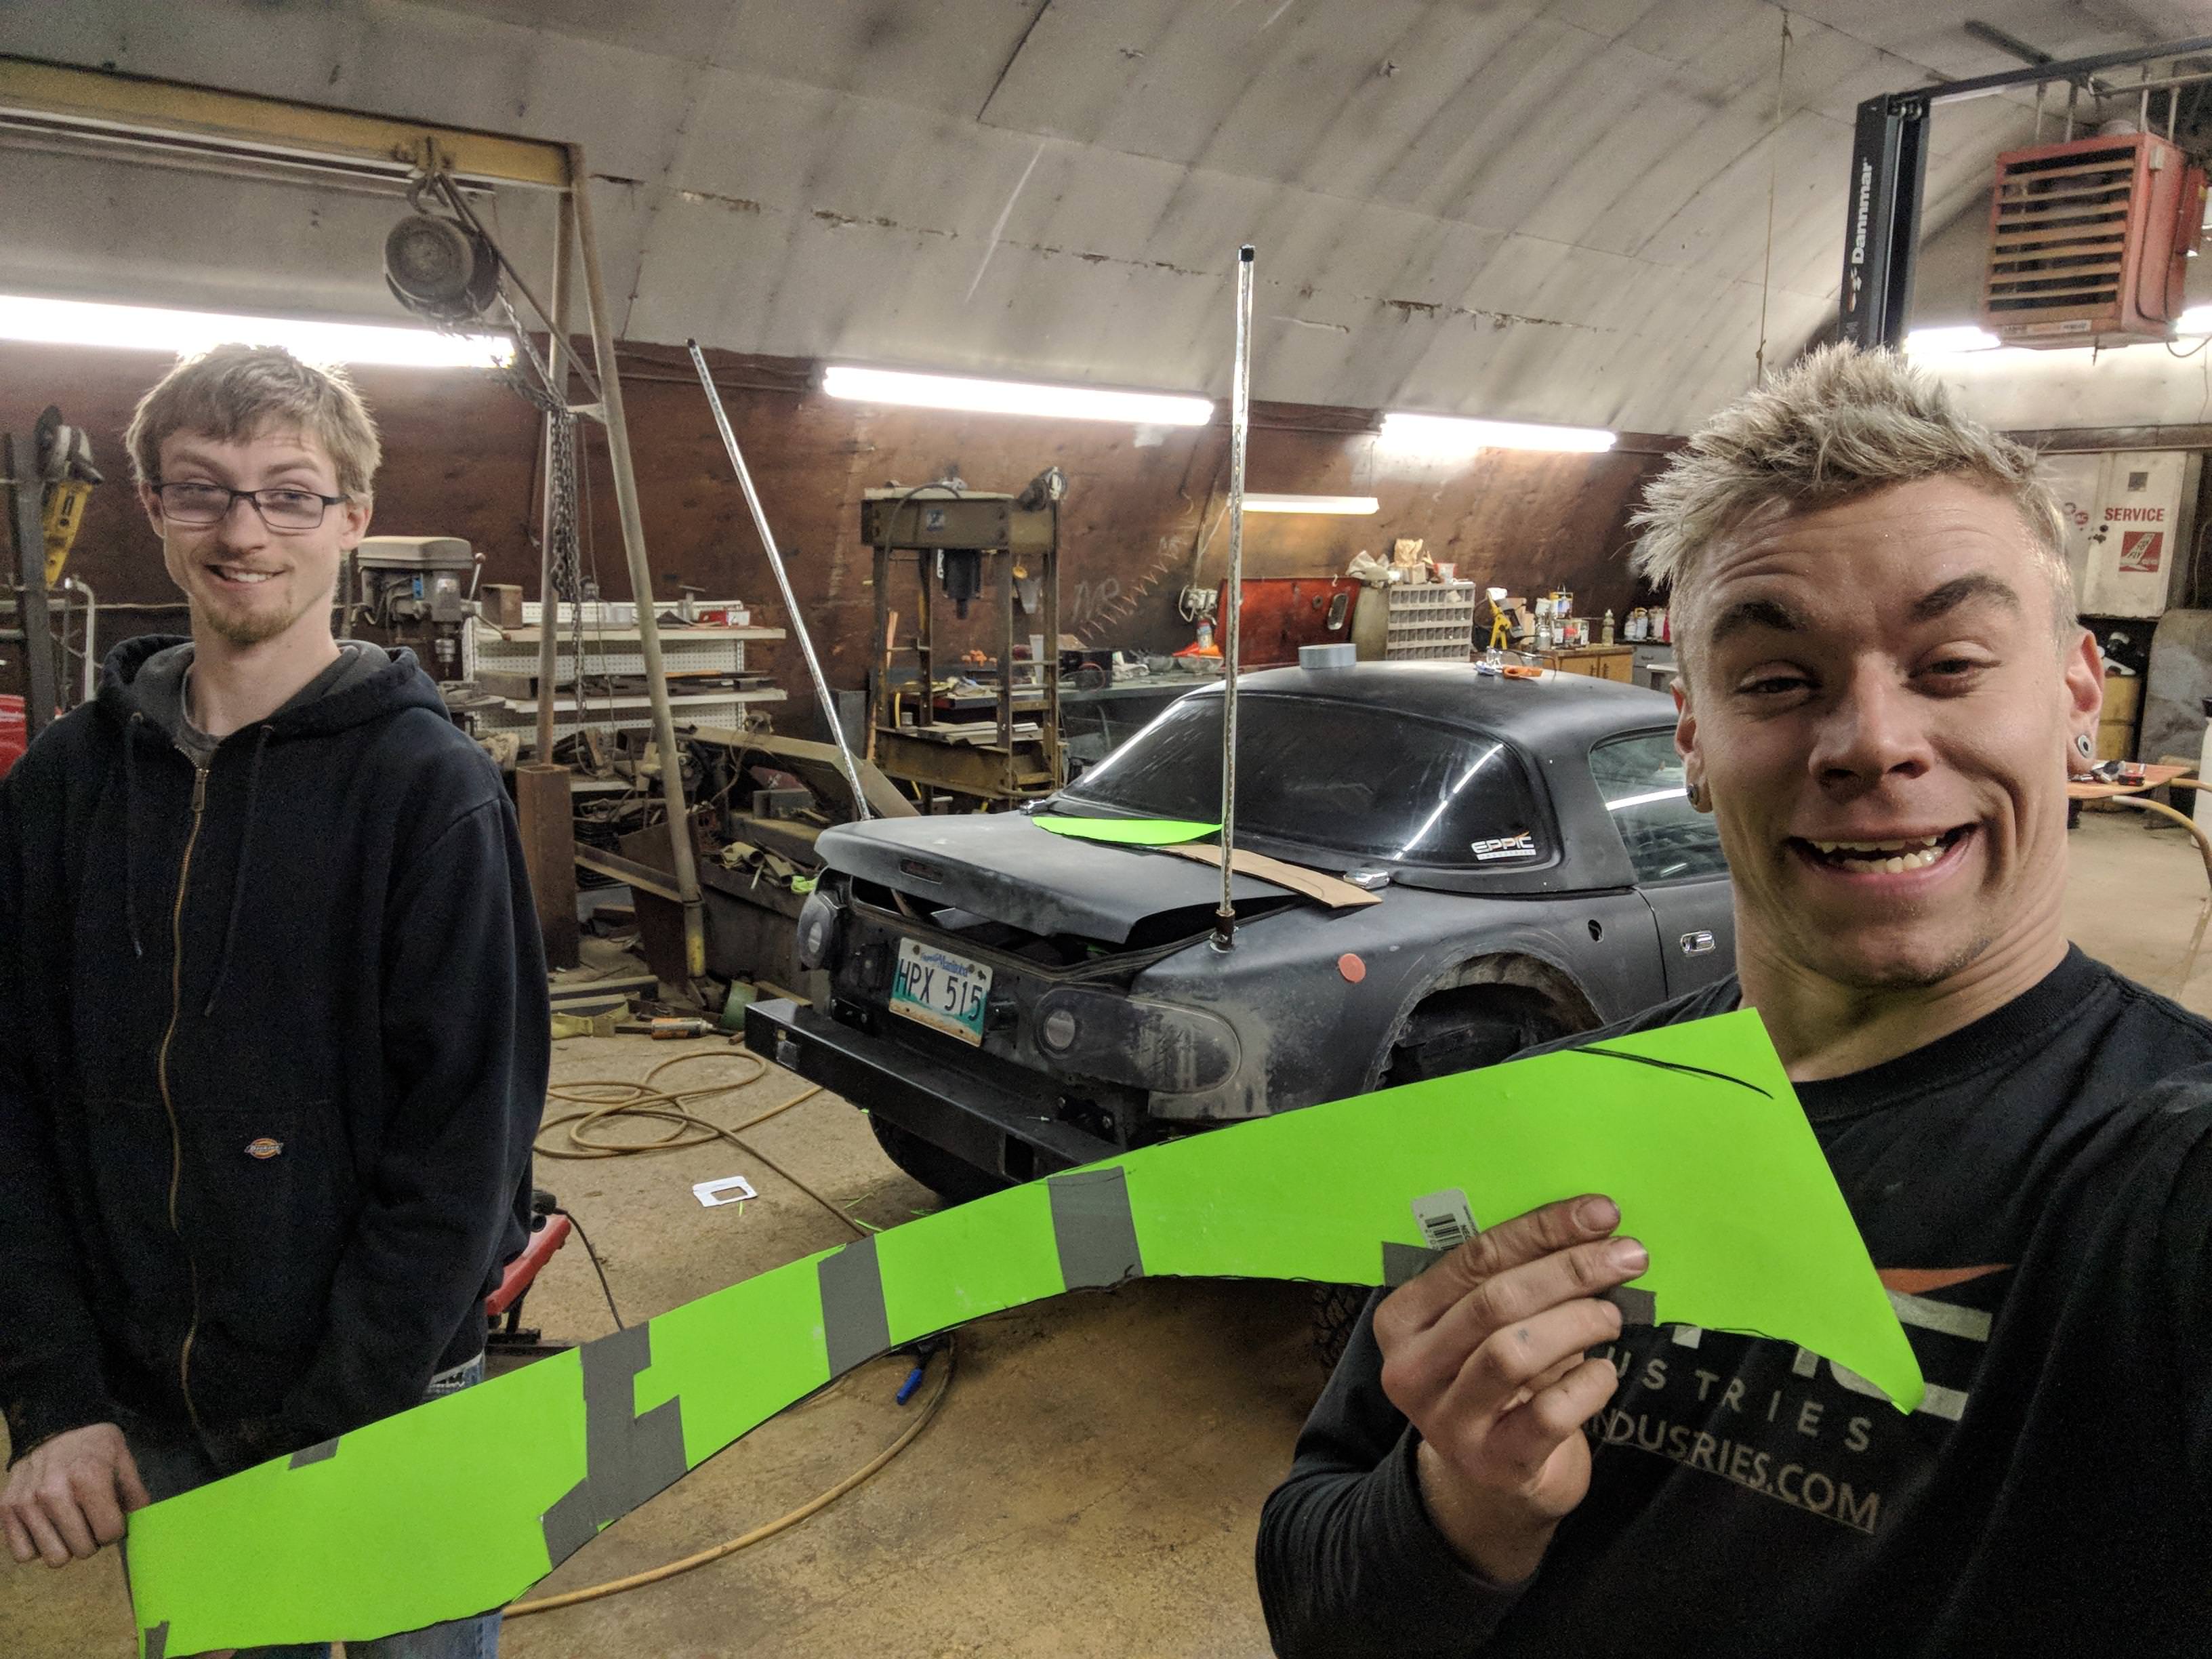
Not knowing what I'm doing, with just an idea in my head of what could work, I set off to work.
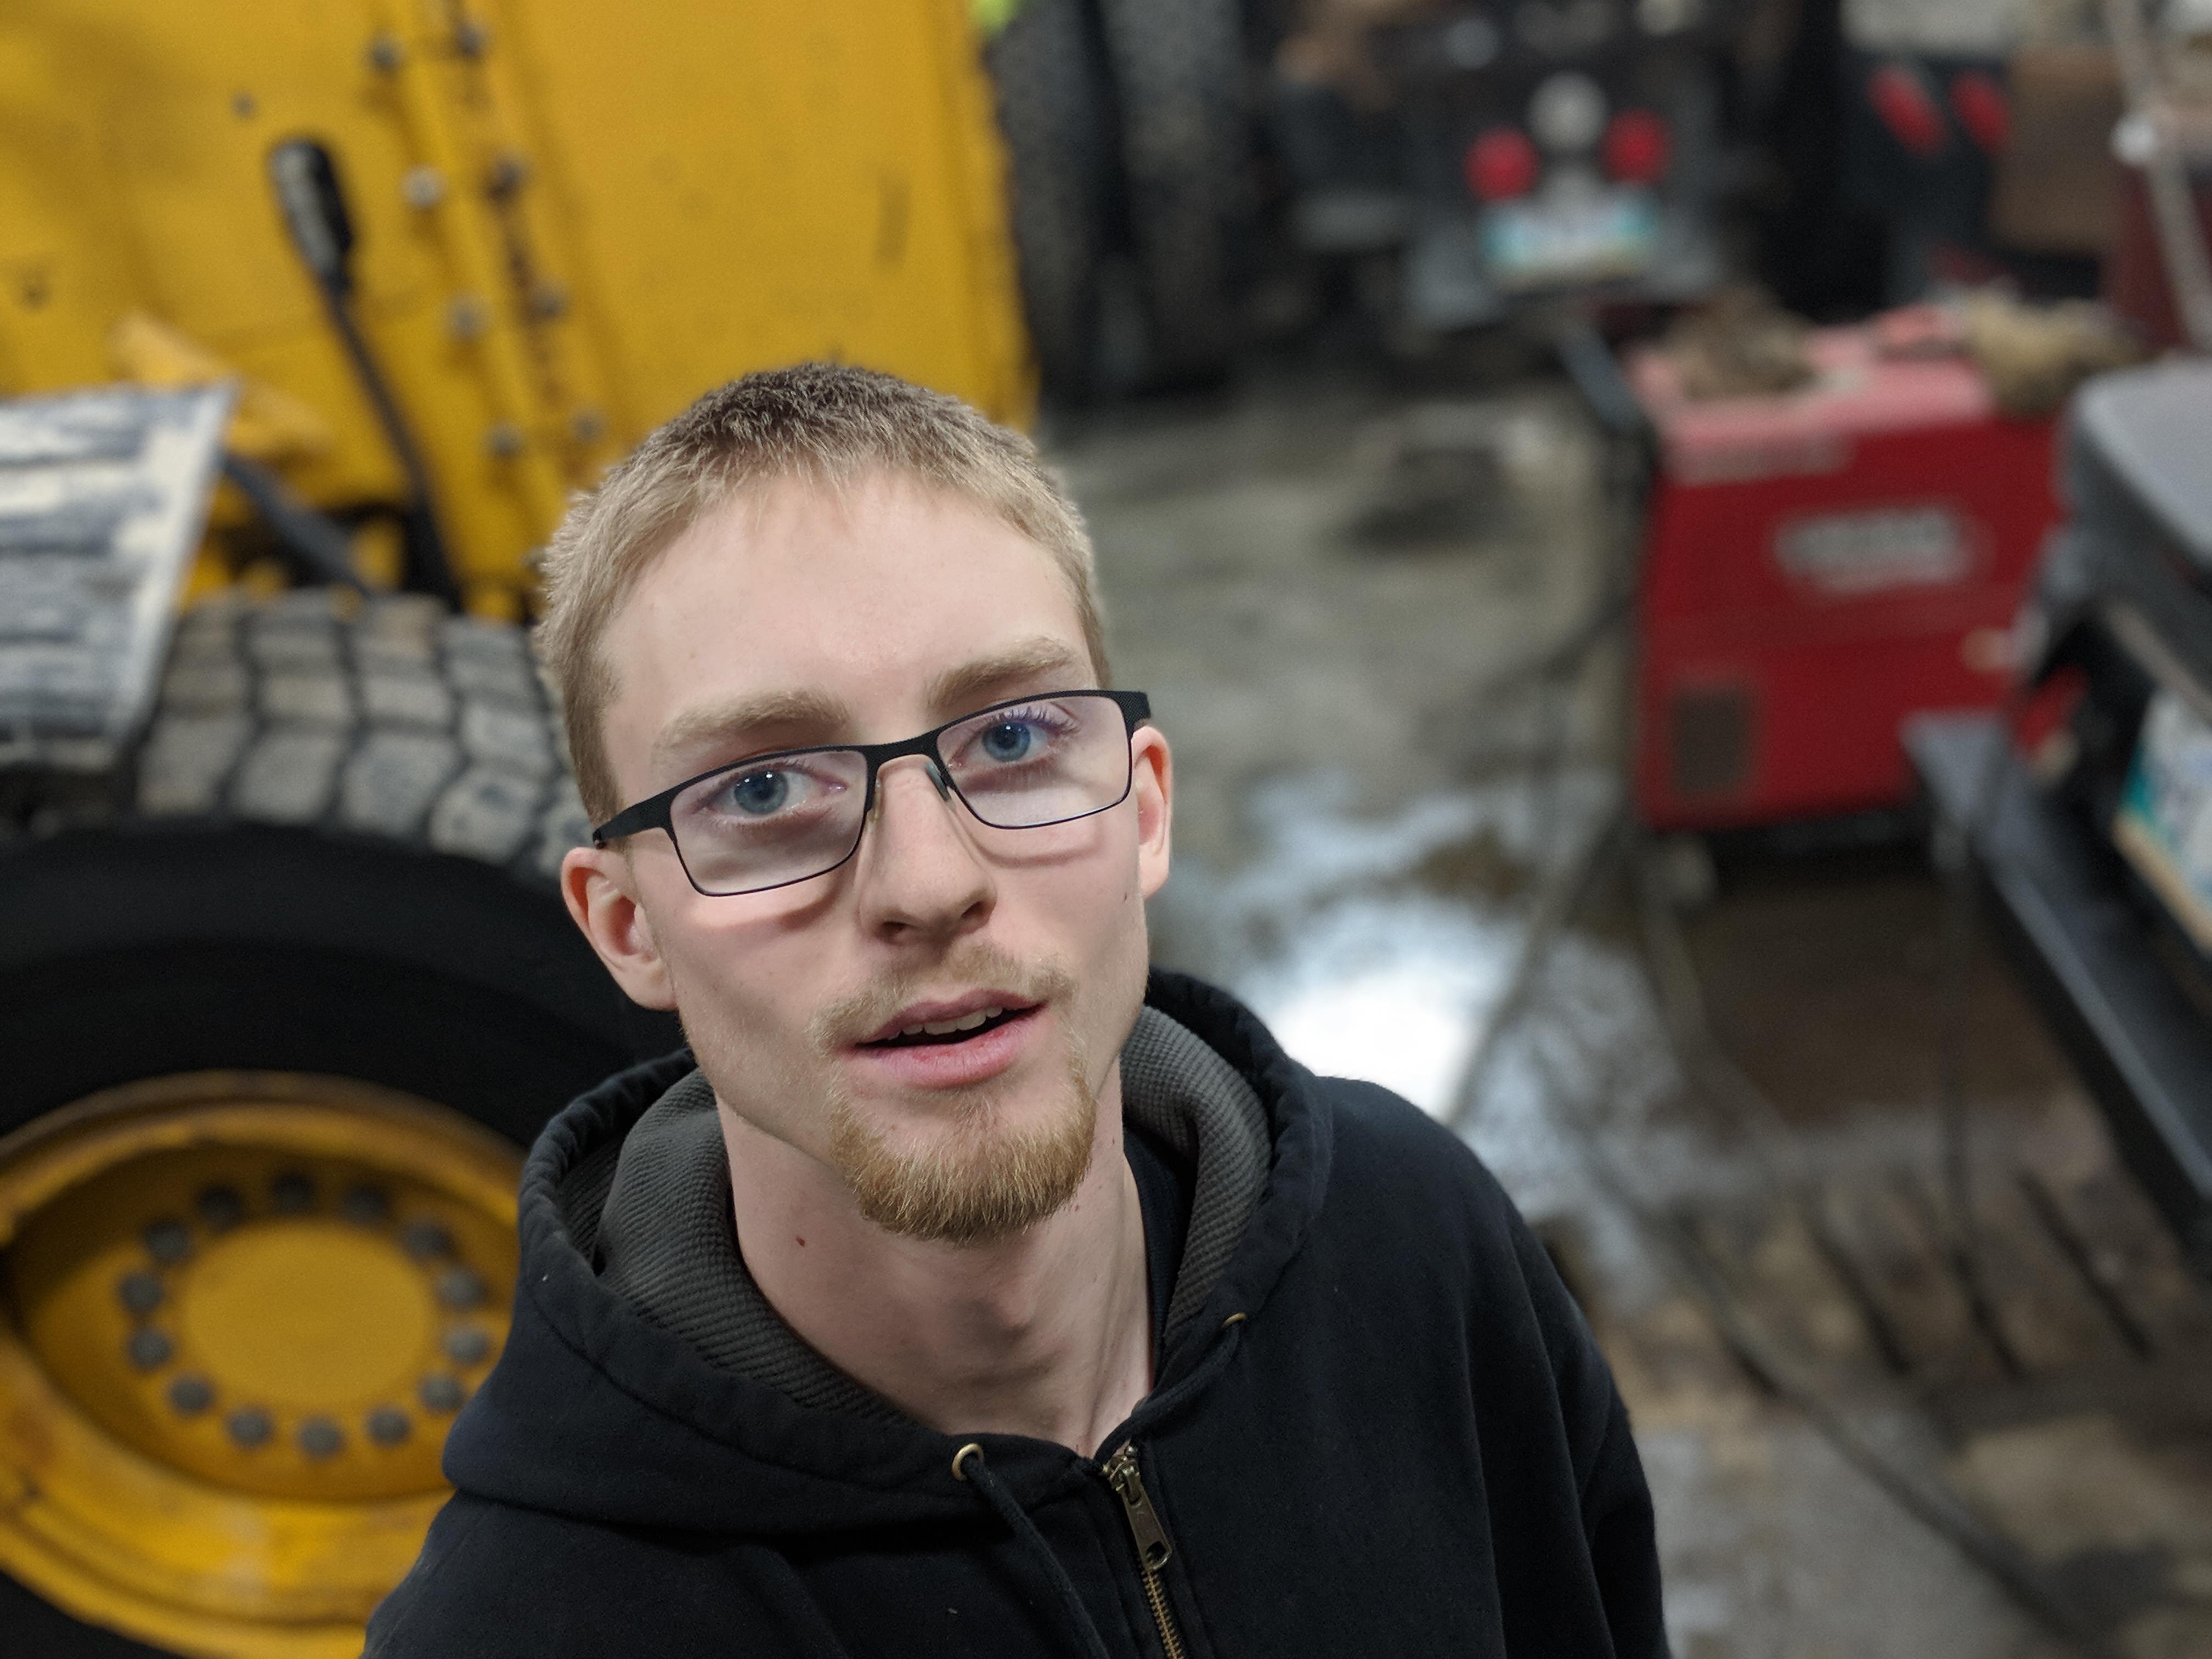
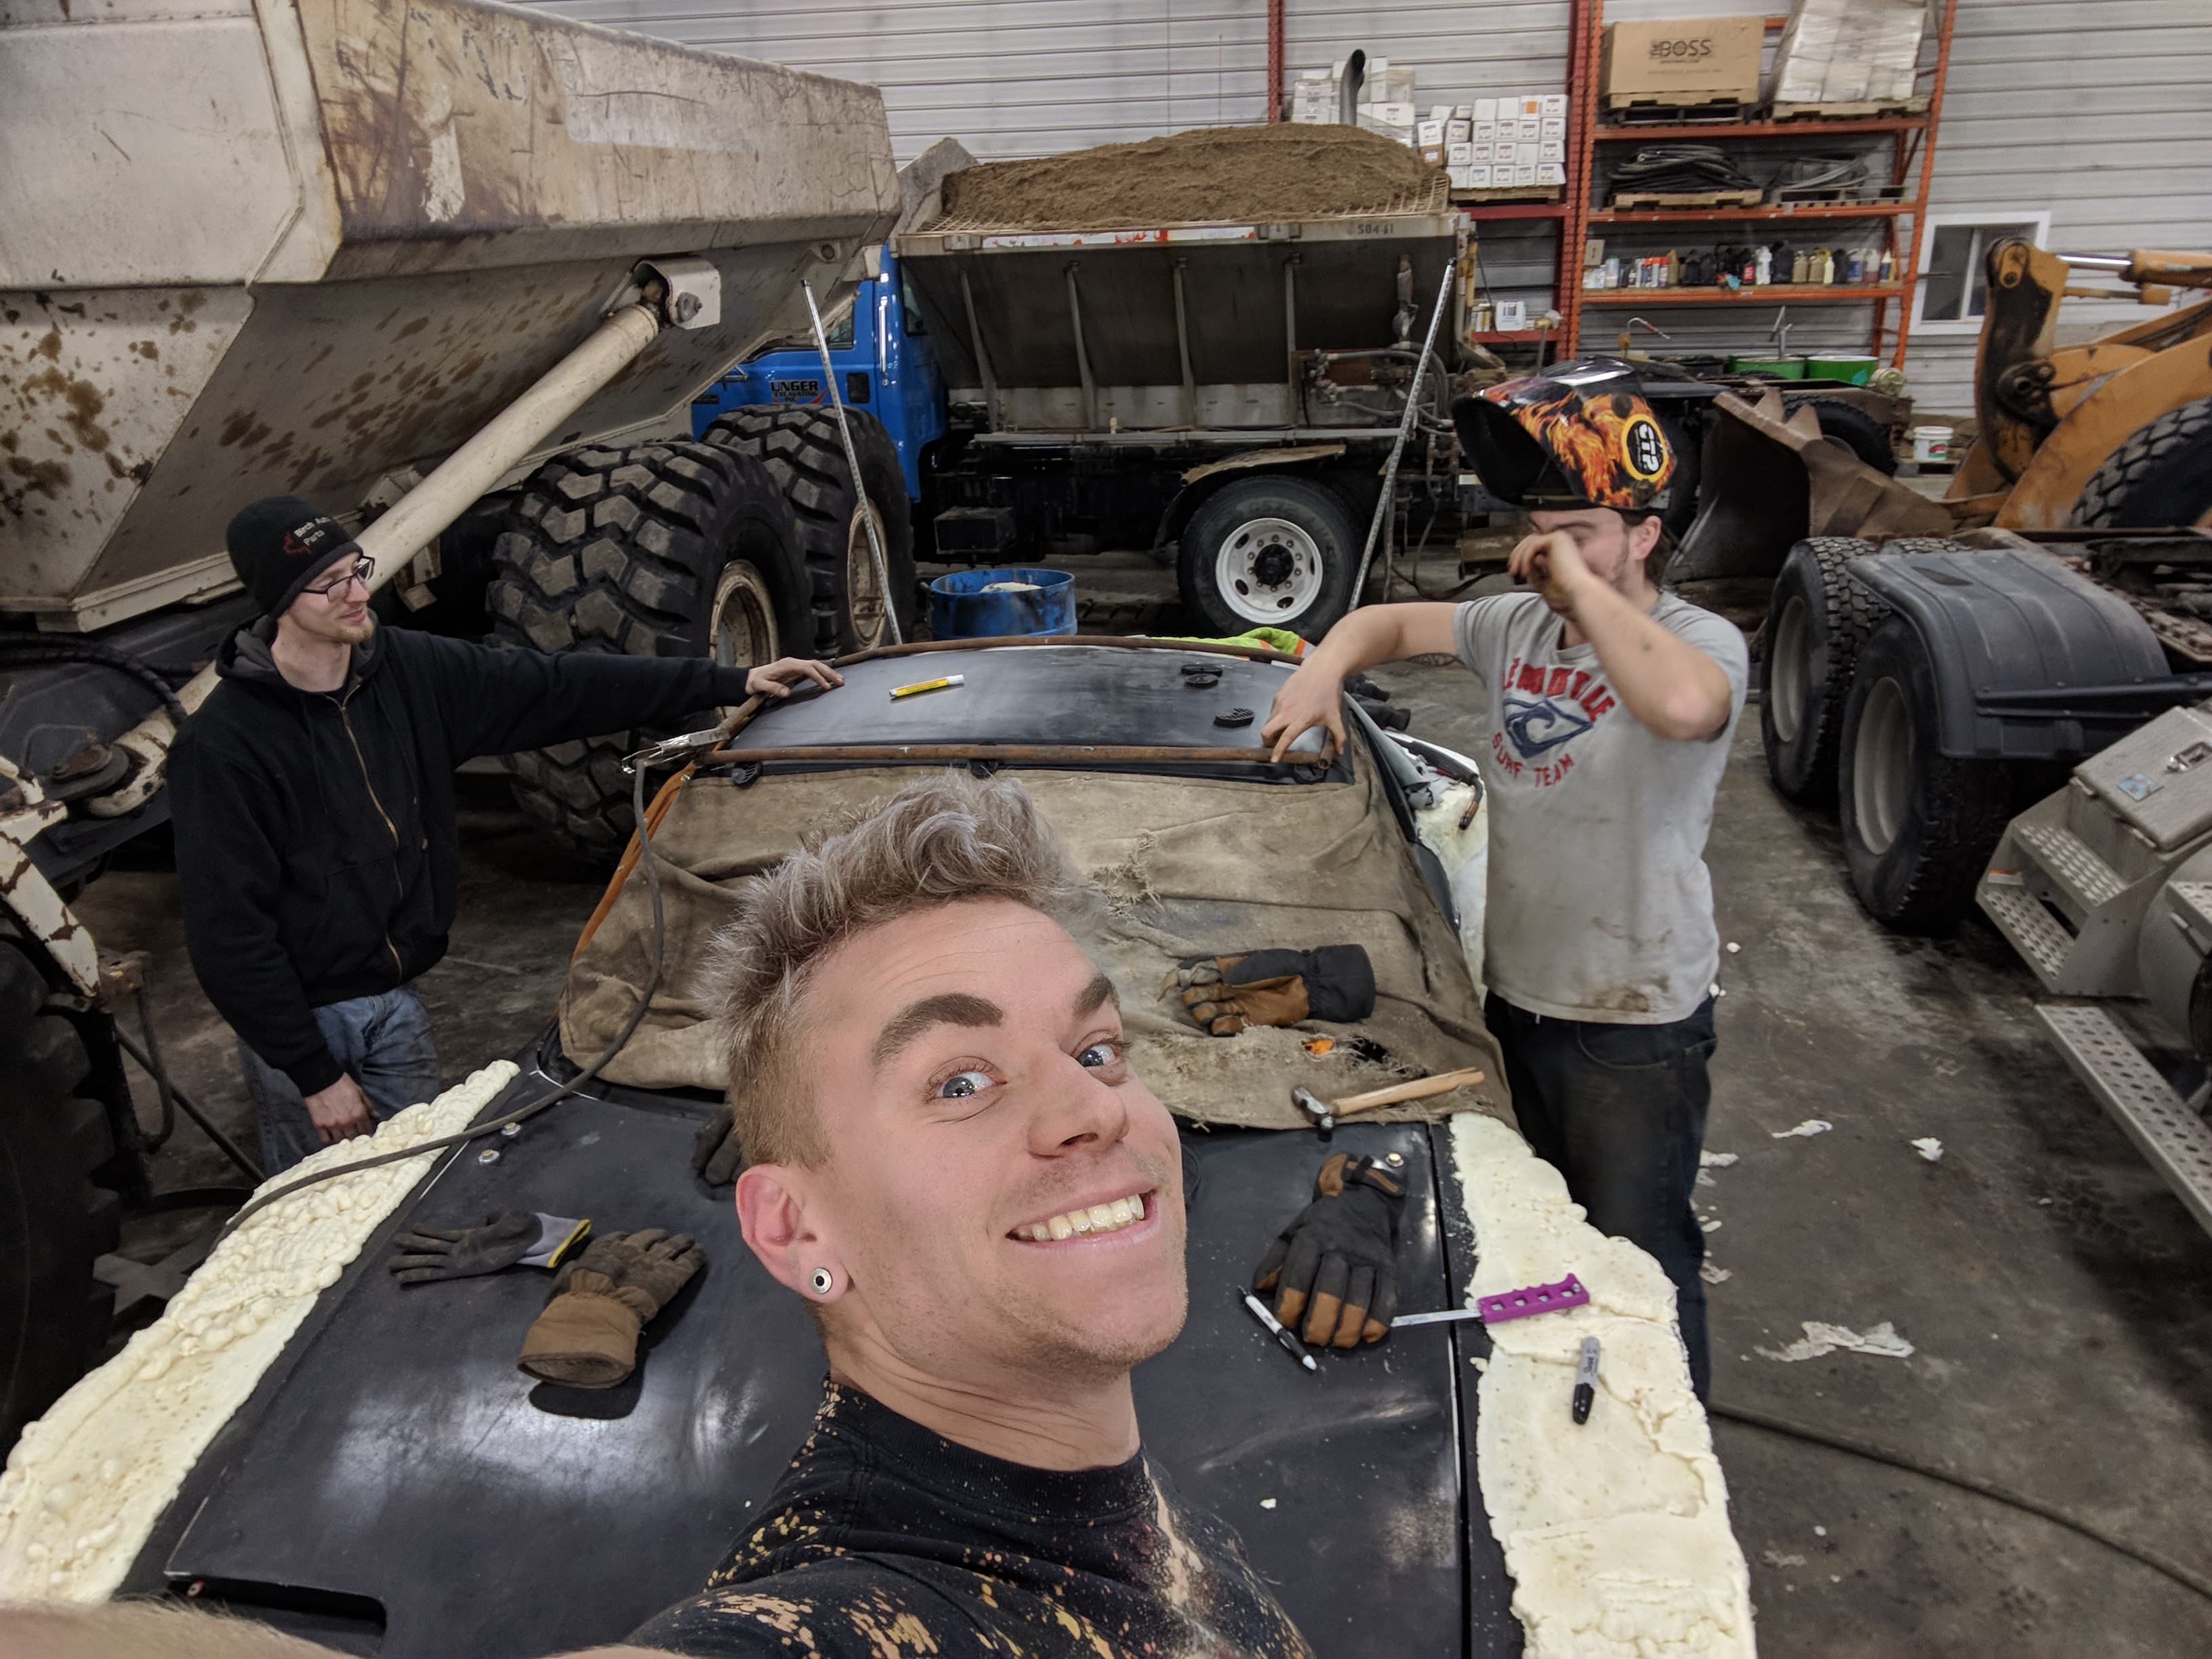
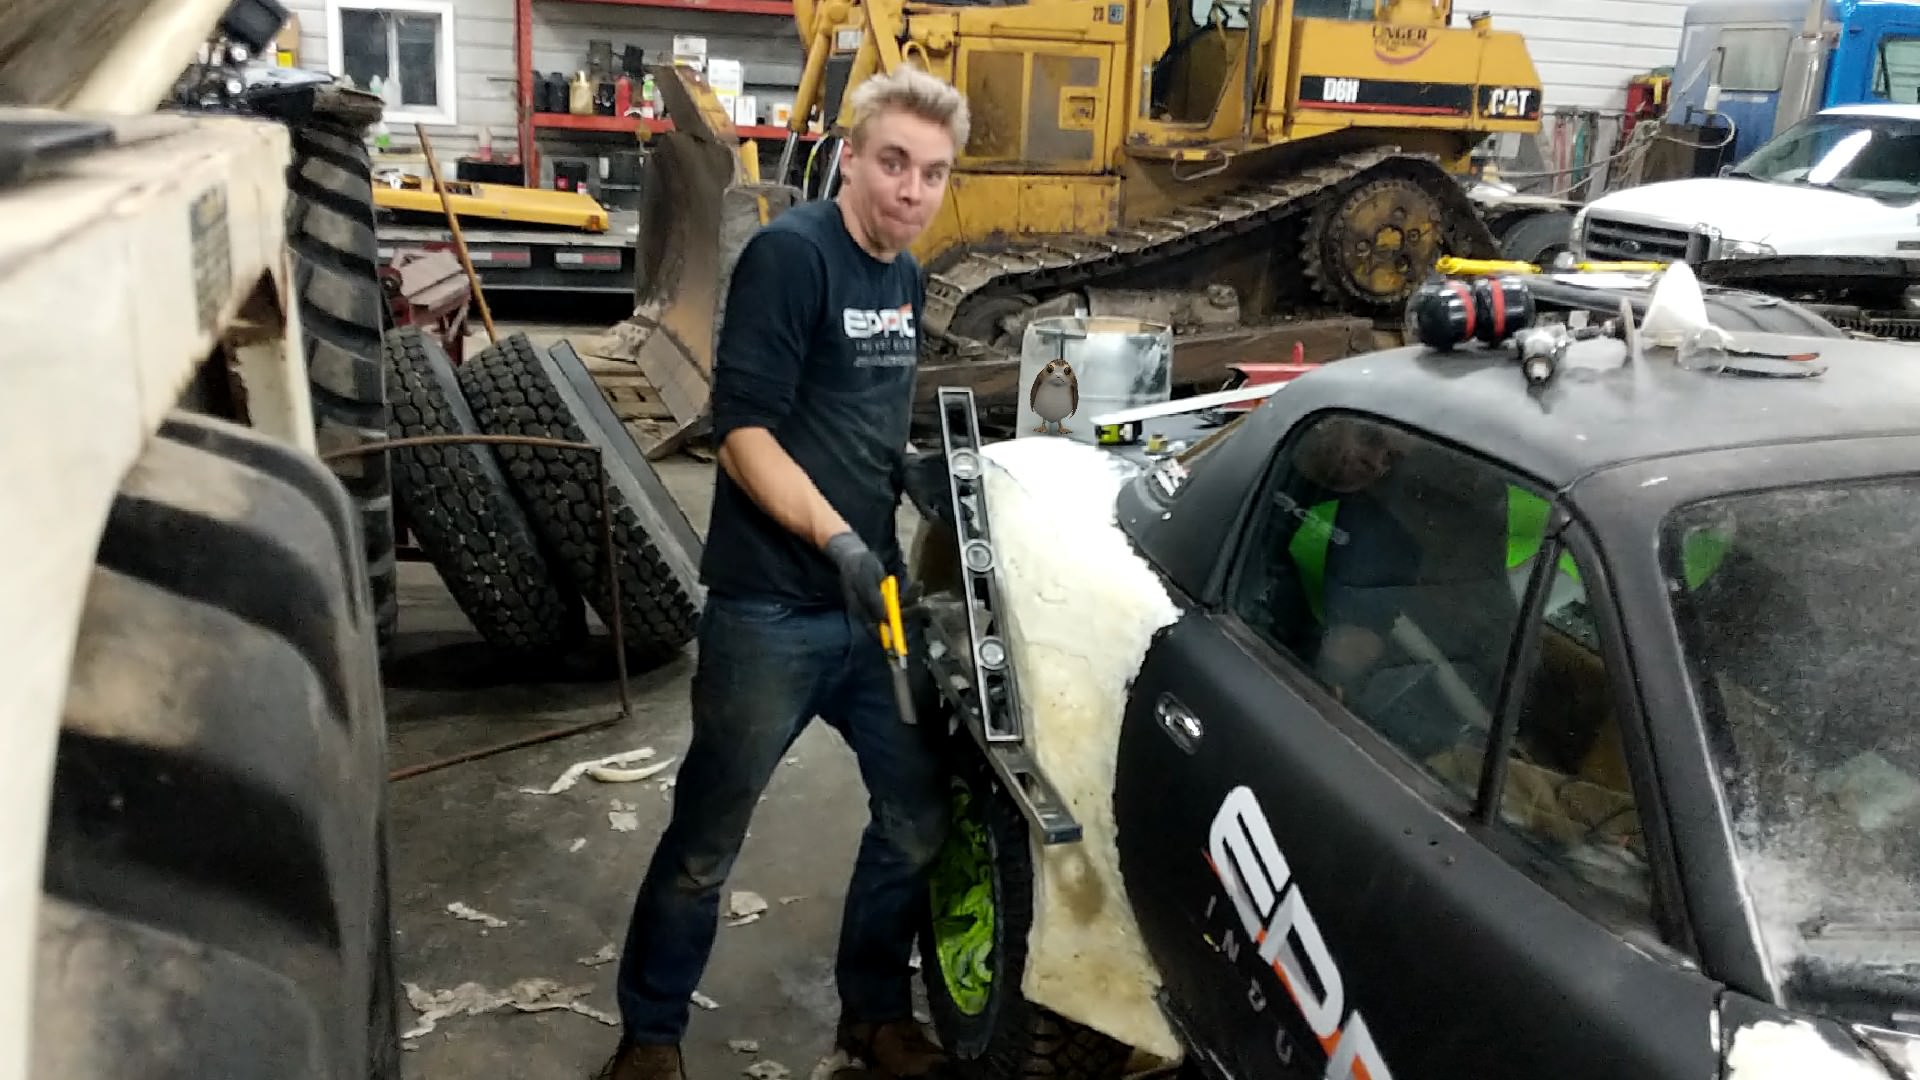
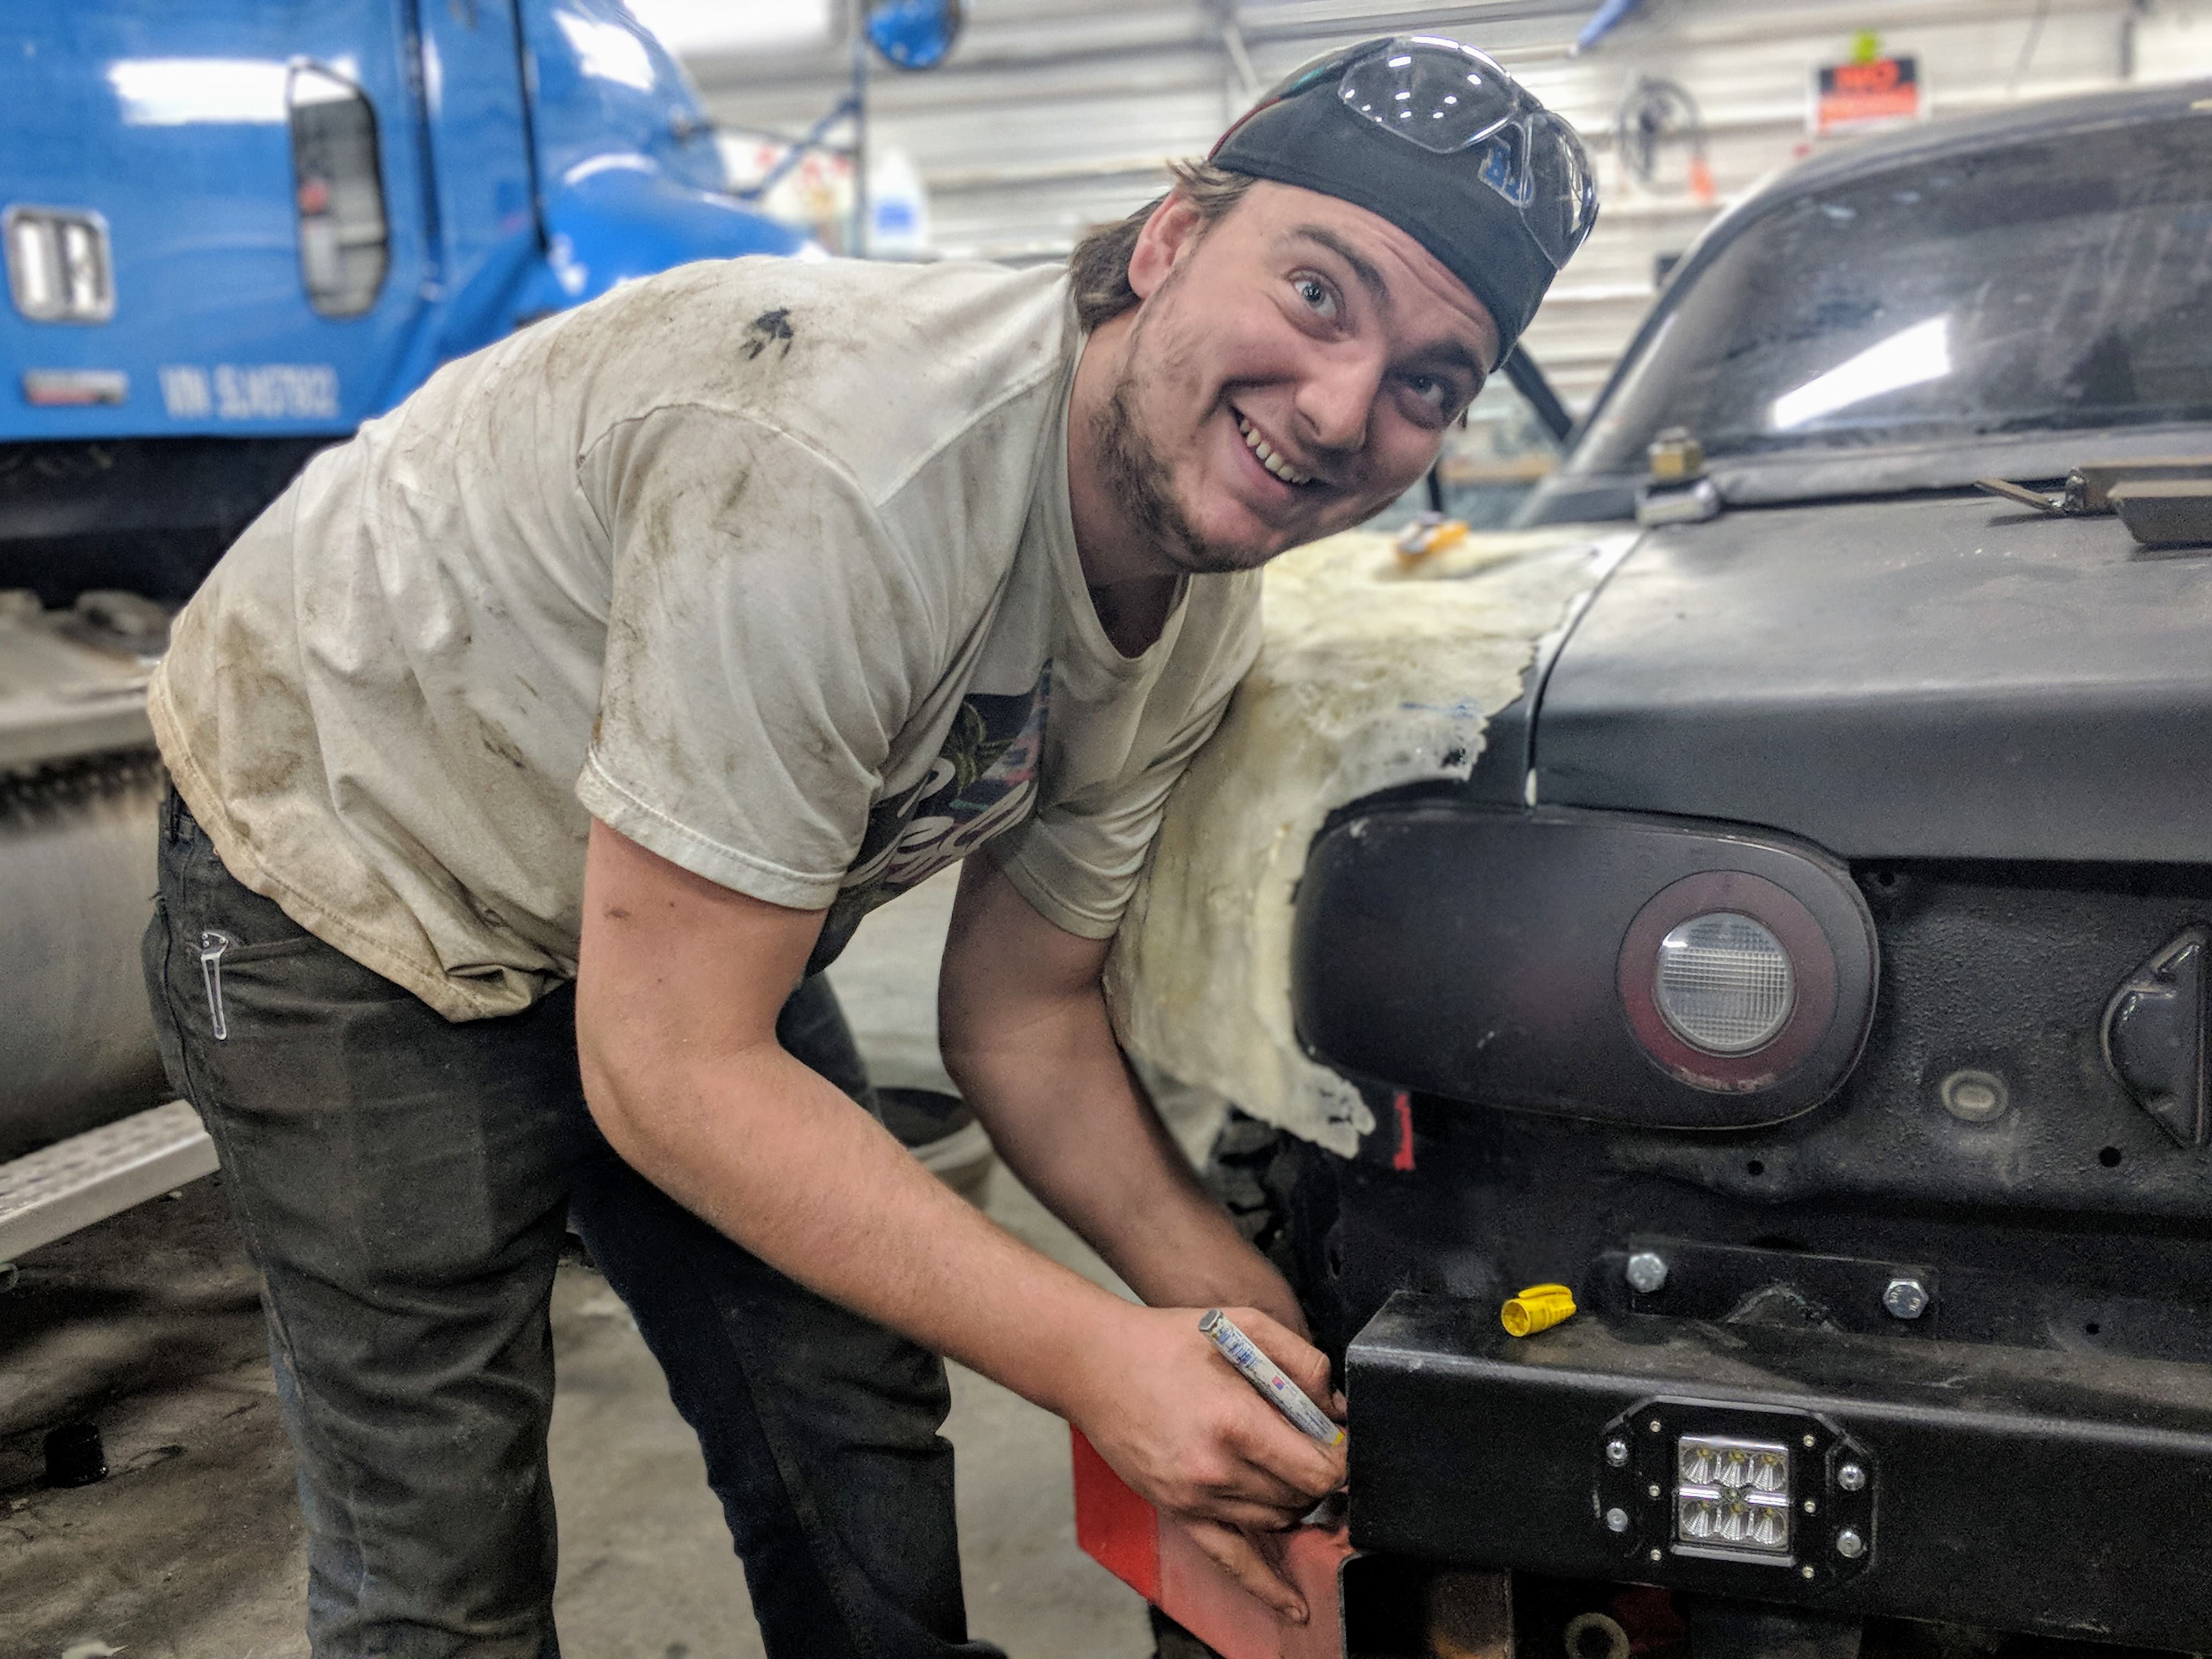
Simply because I have to power to do so... Mr. Redneck apprentice in training dude guy buddy pal makes for some entertaining pictures. His name is Denzel by the way.
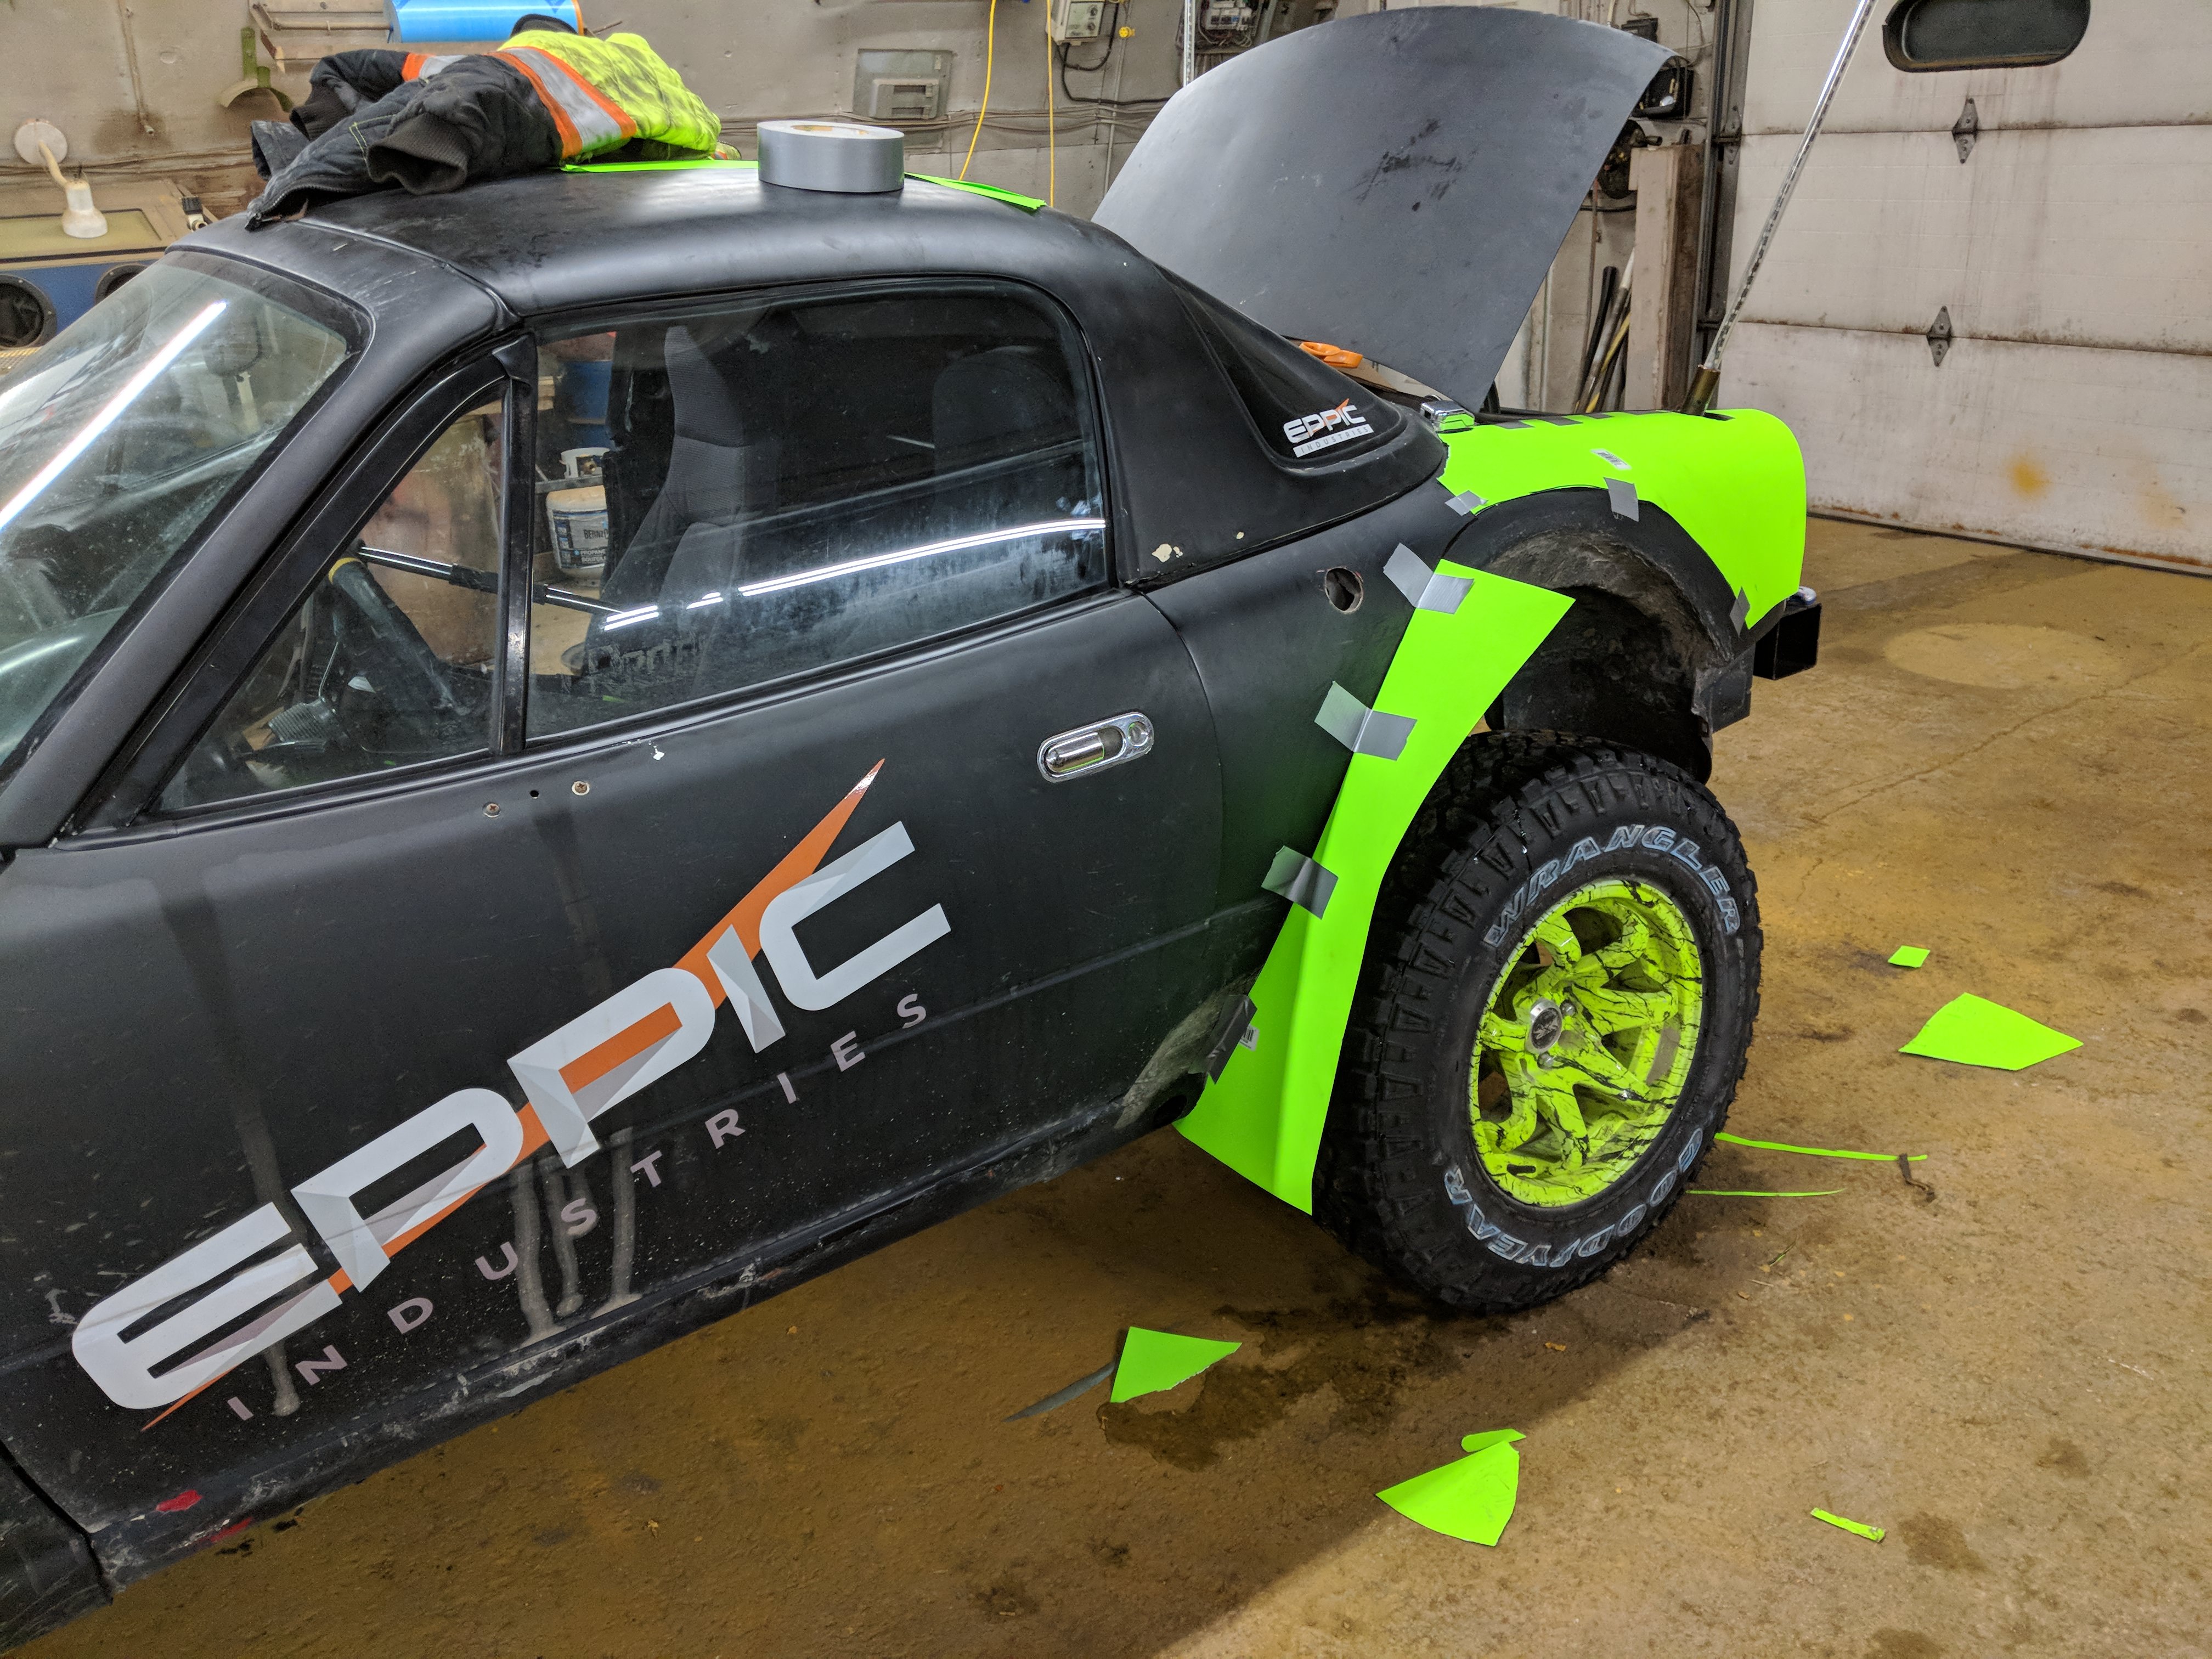
I'm finally liking the trajectory these flares are headed.
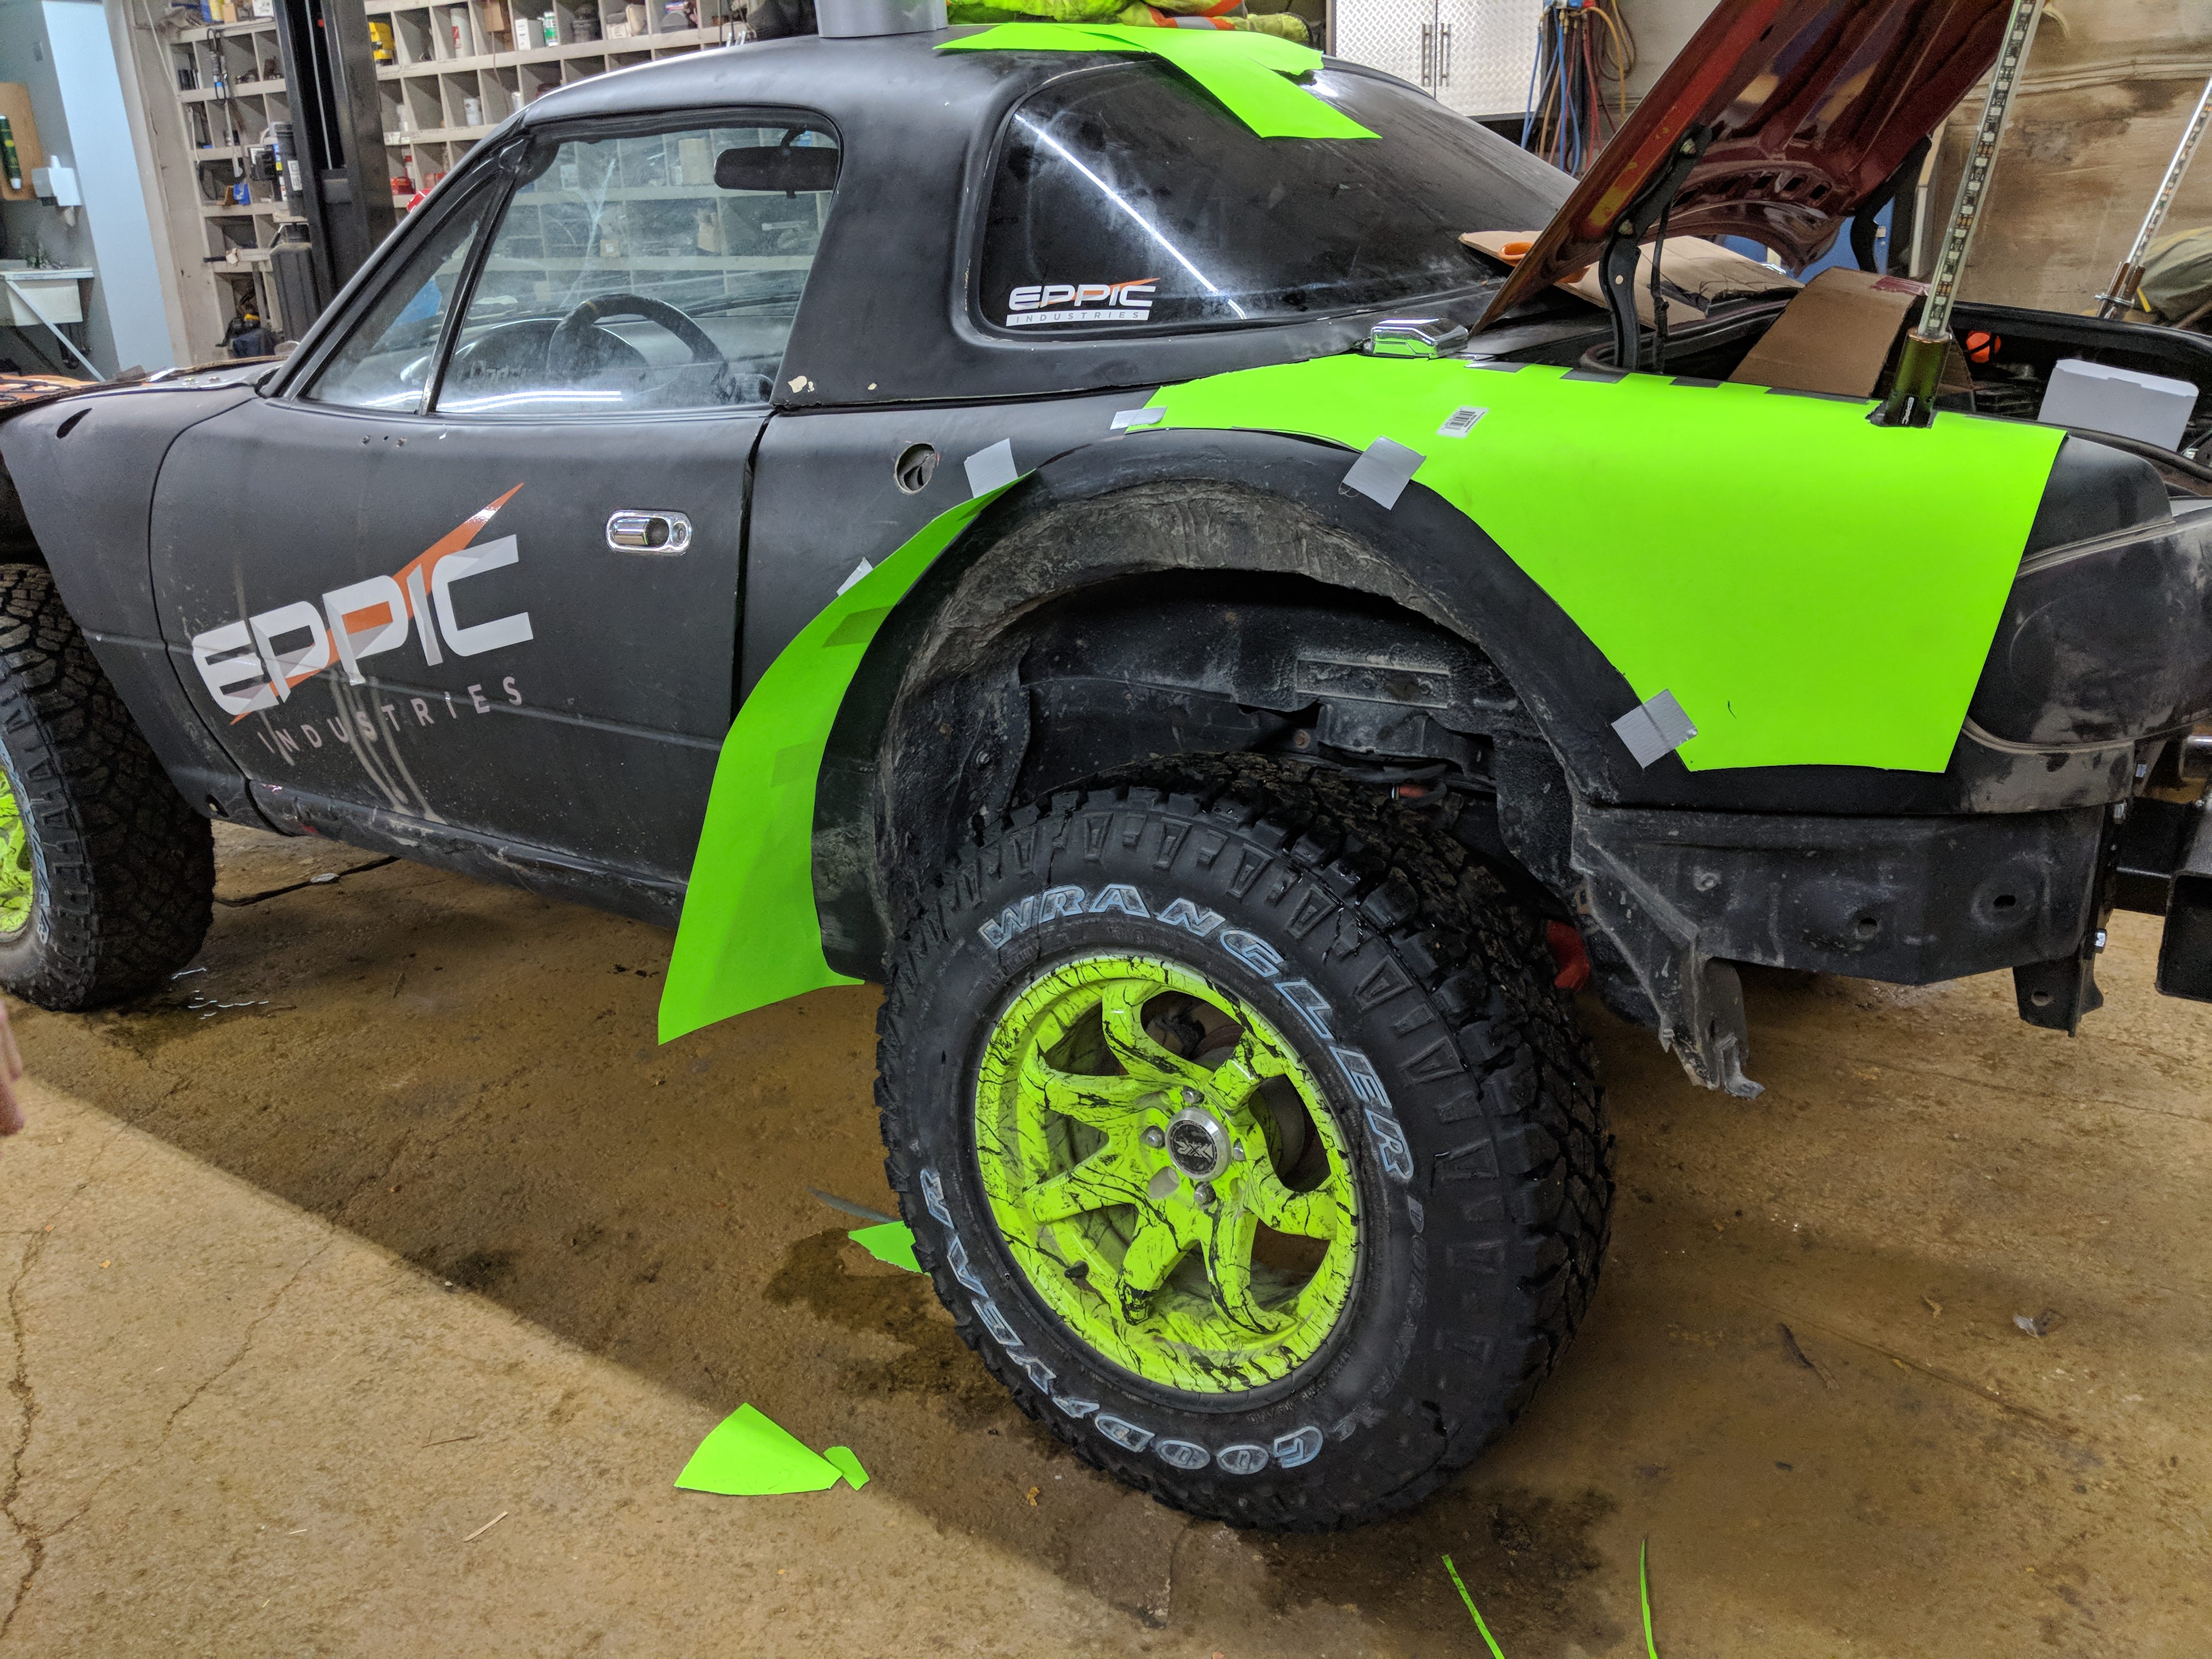
From here things seemed to escalade... go big or go home right? No wussy fenders here. Lets go with a full wide body big wheeled bad assed pre-running trophy truck style Miata! Because street cred is more valuable than all these new cryptocoin's.
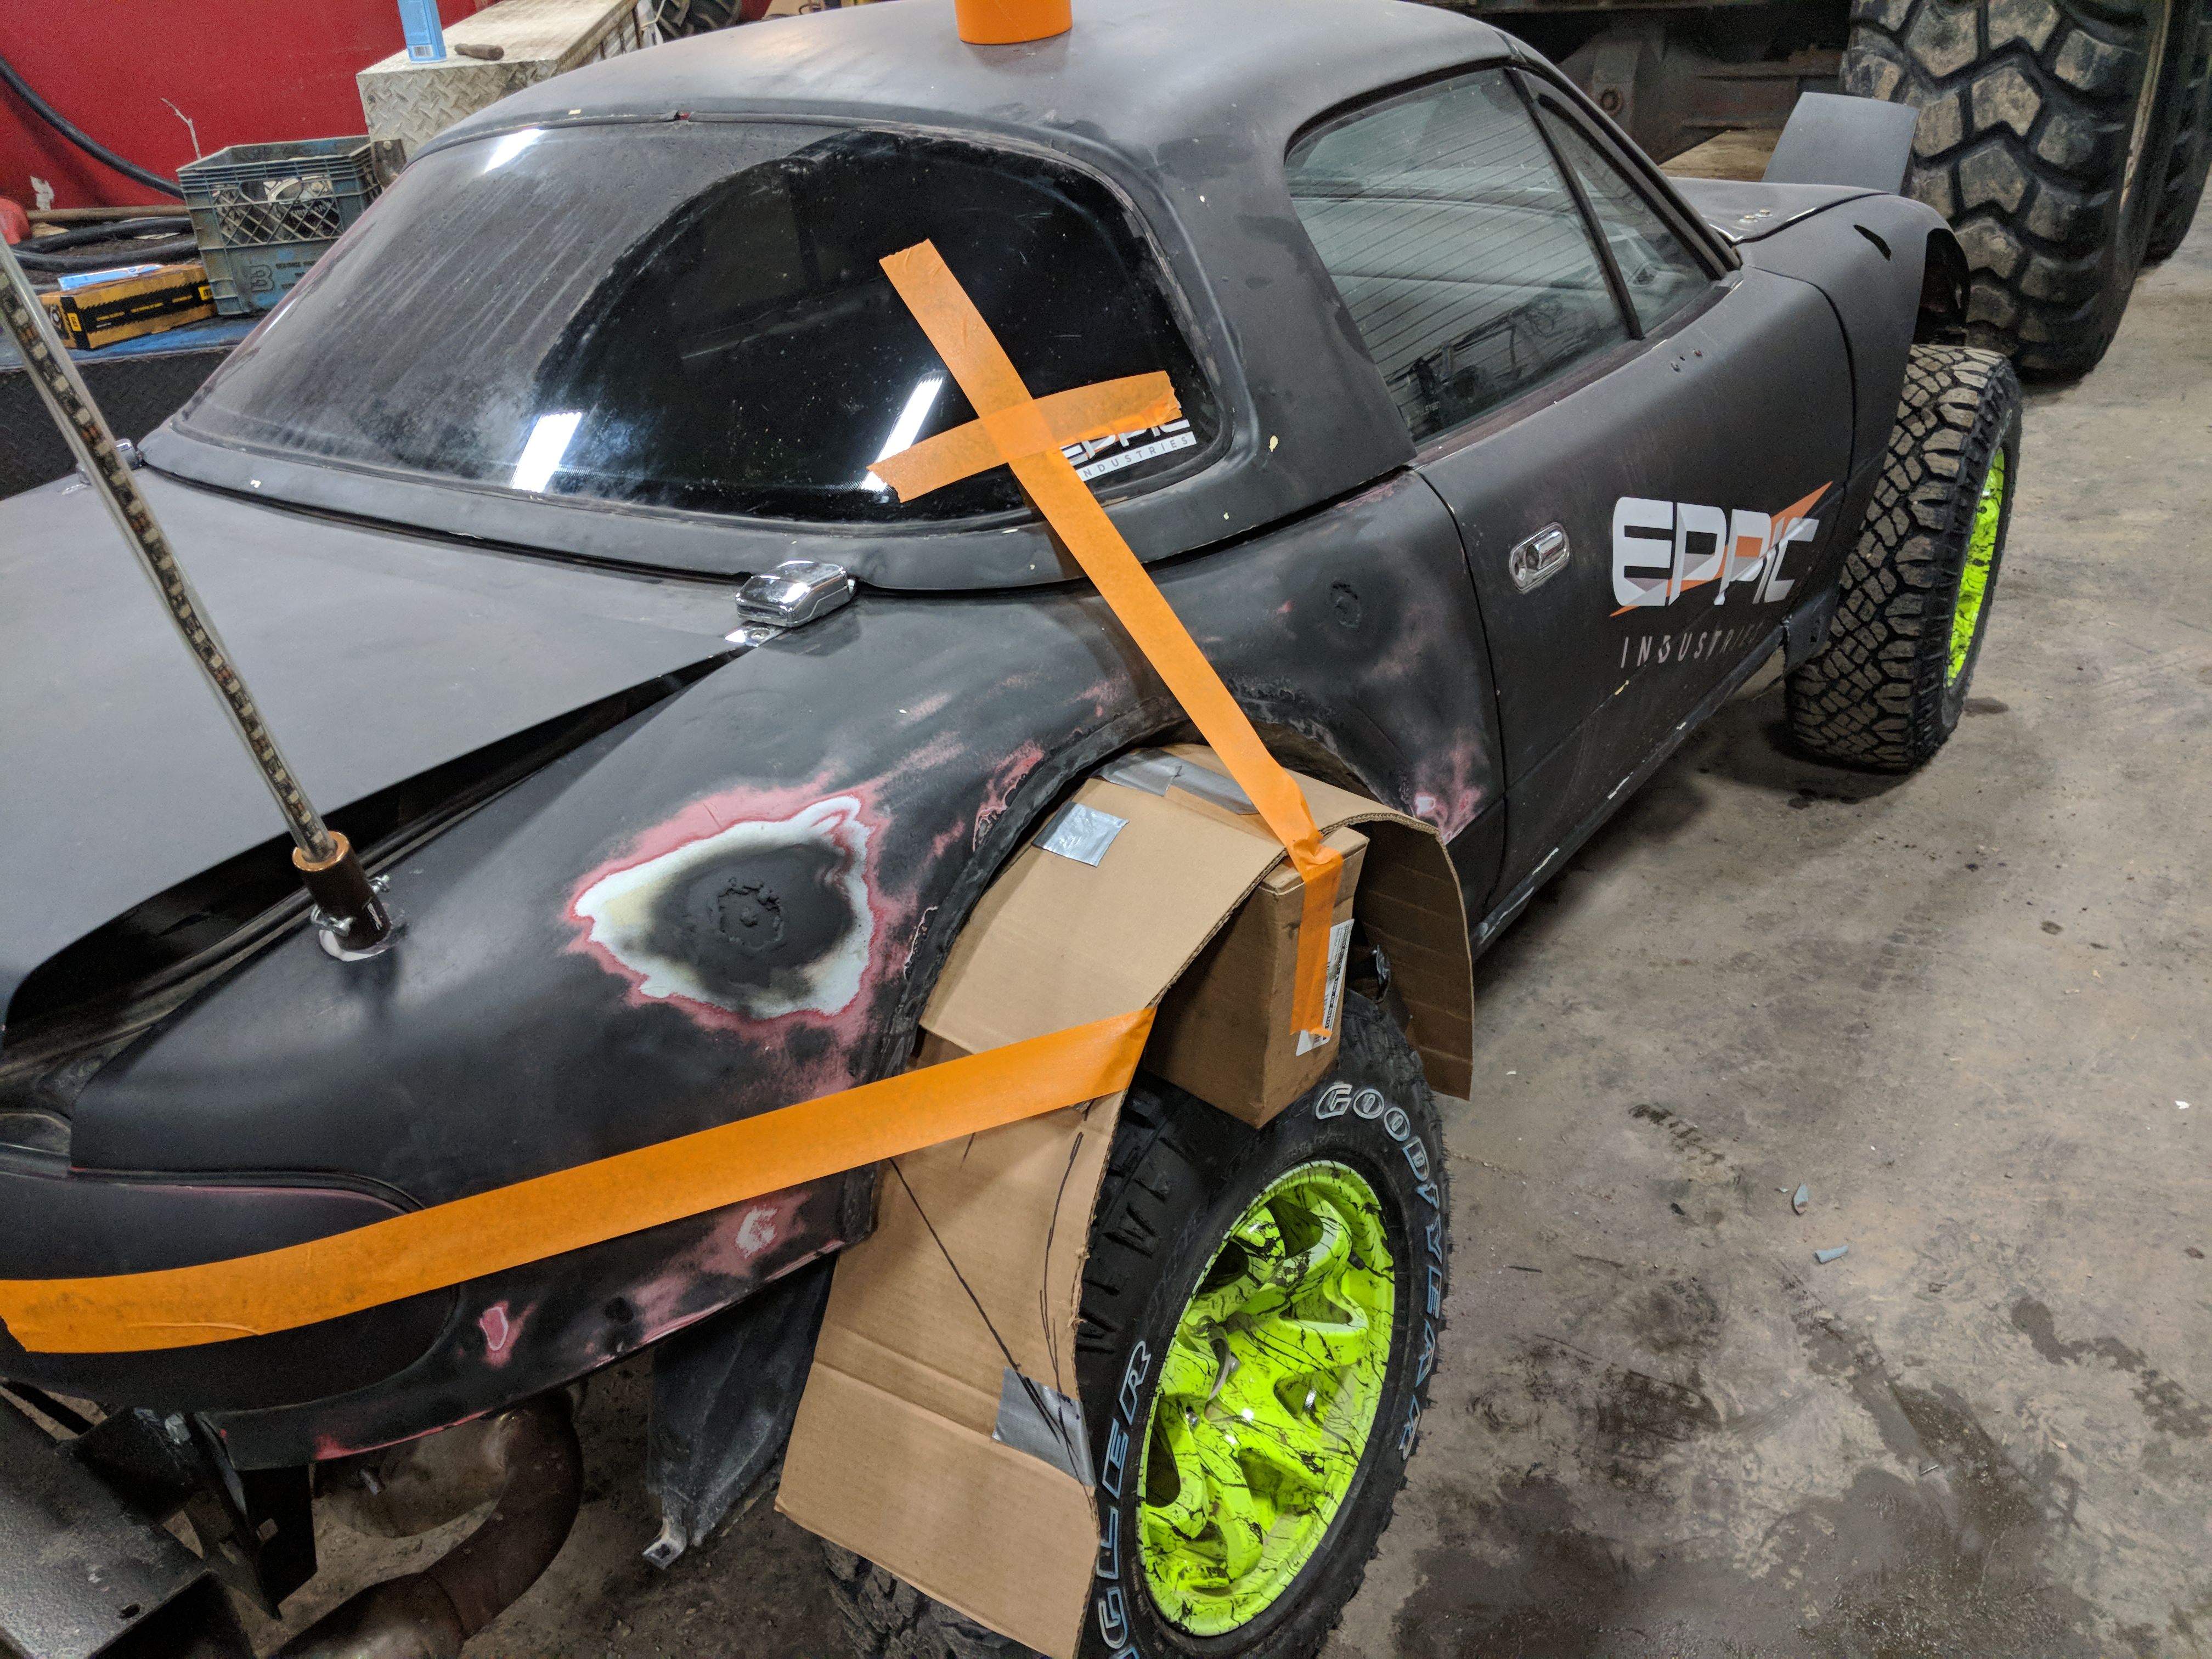
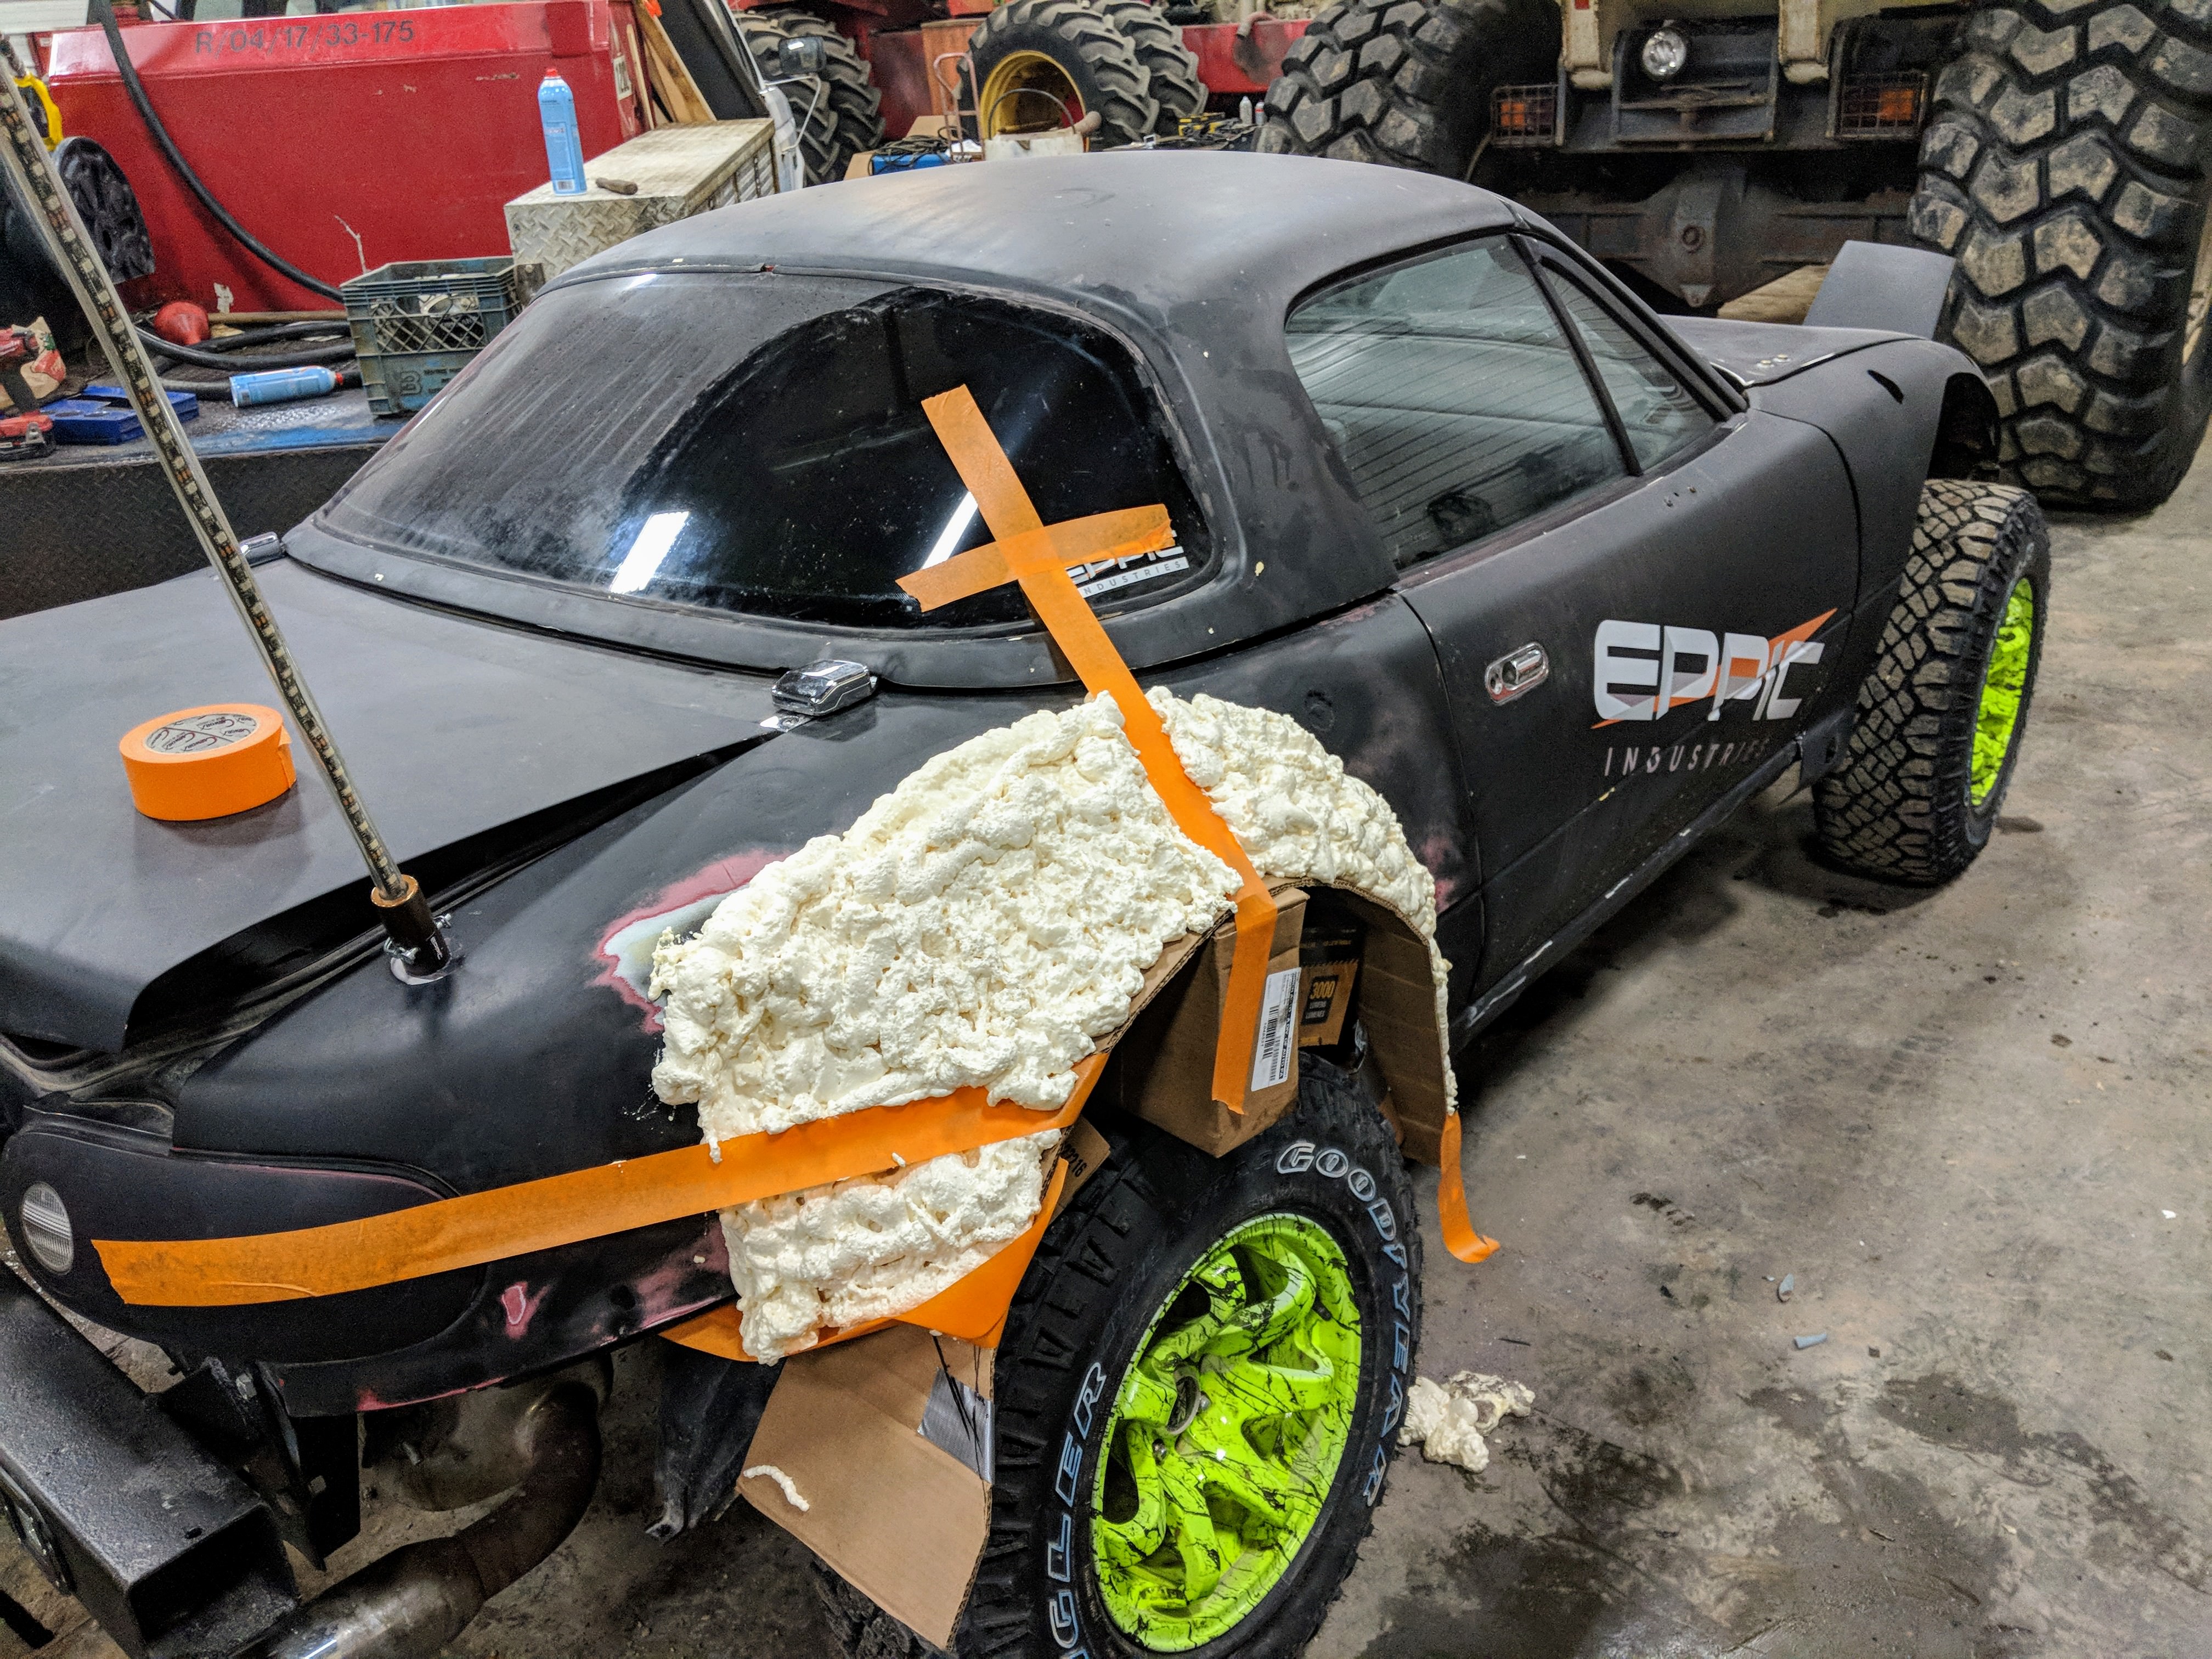
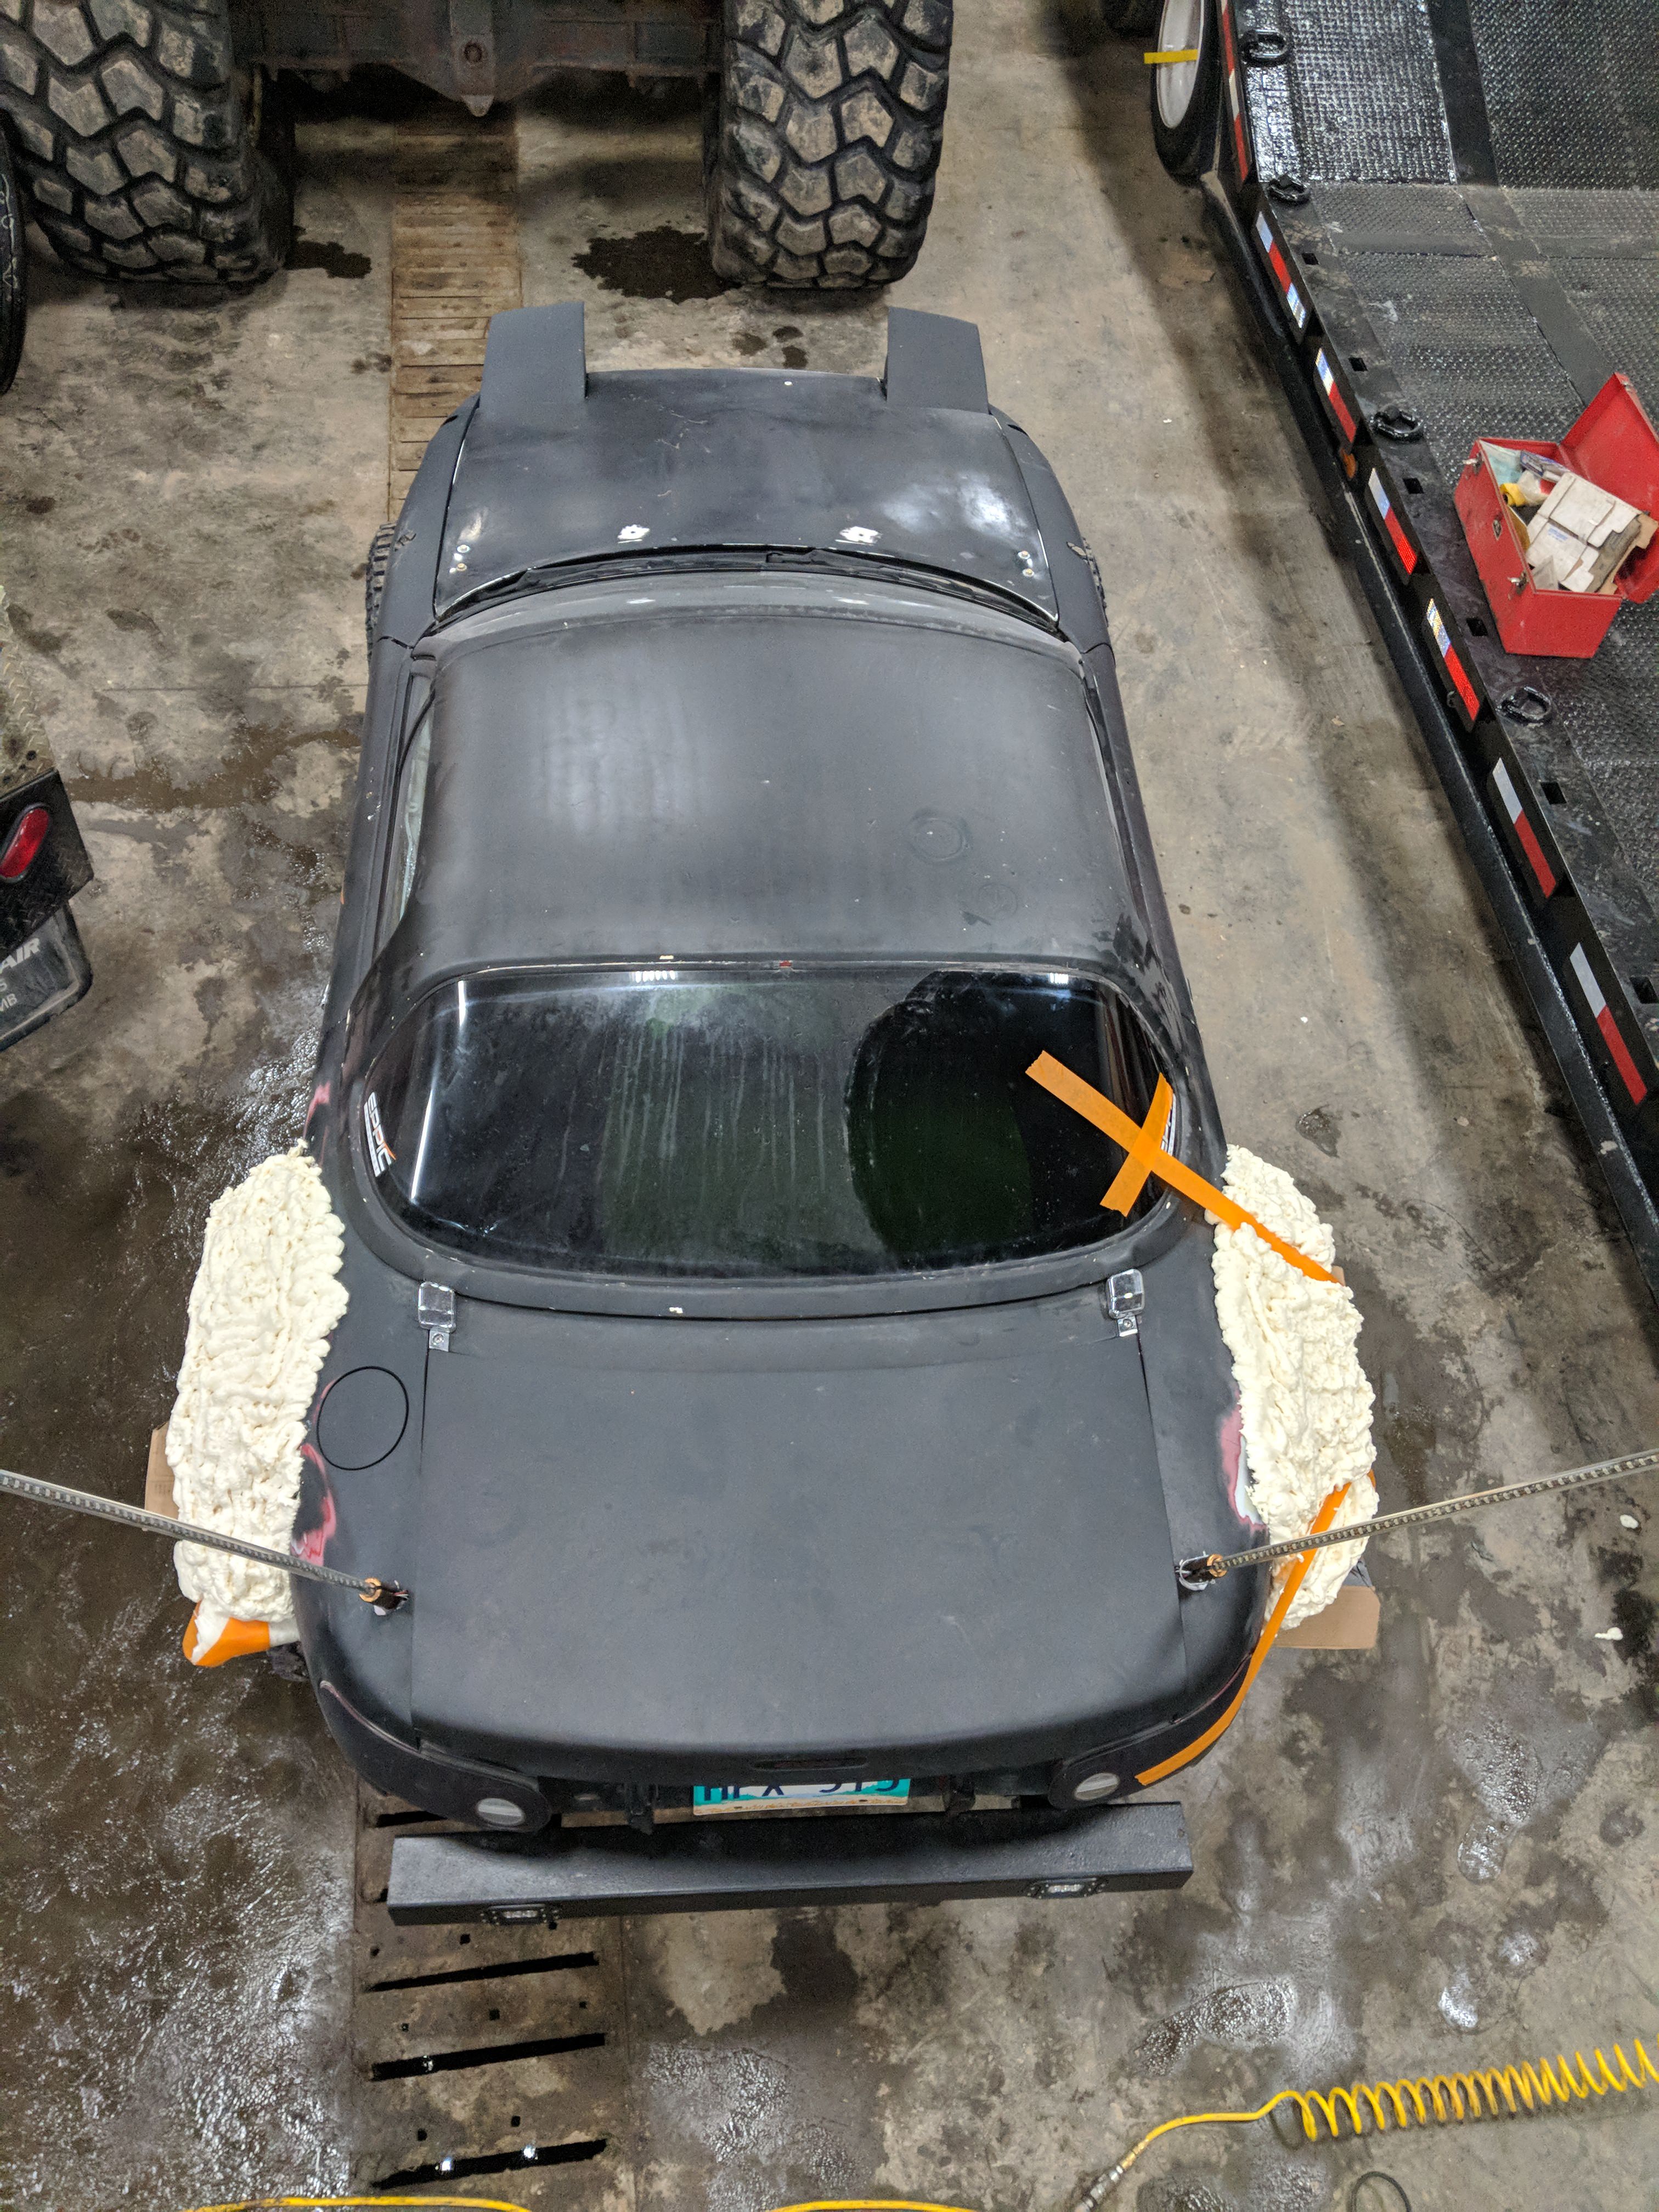
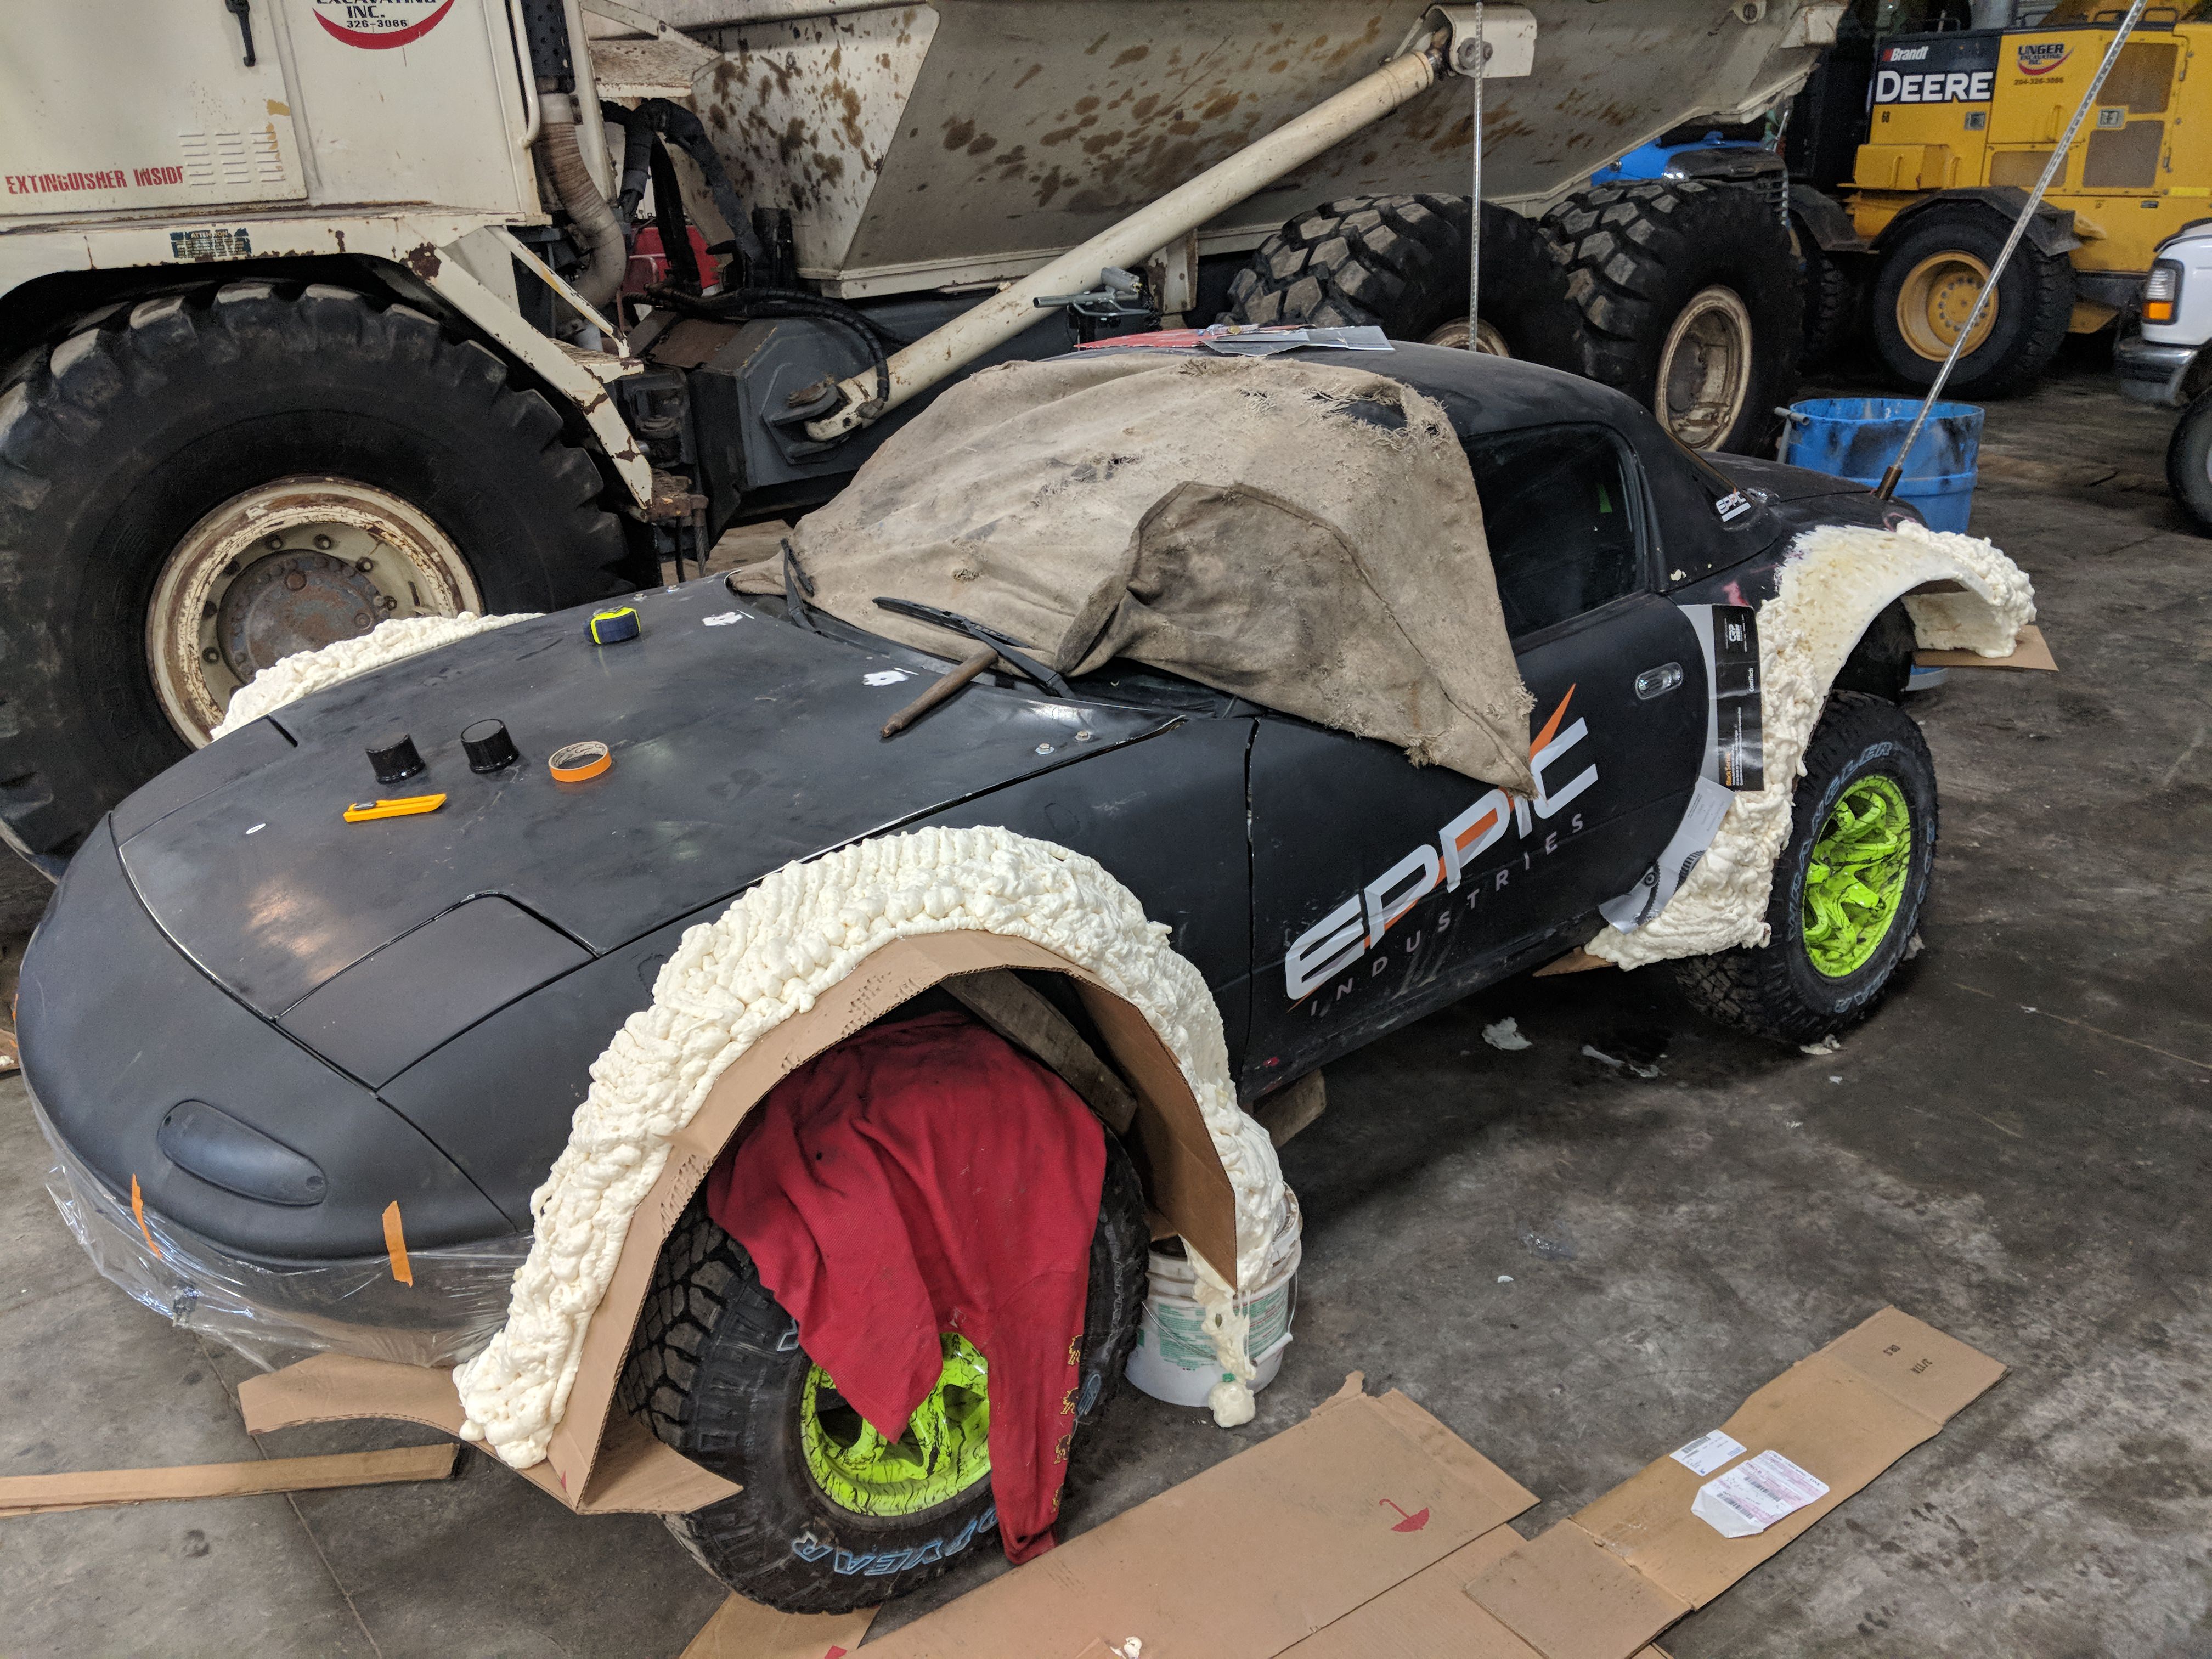
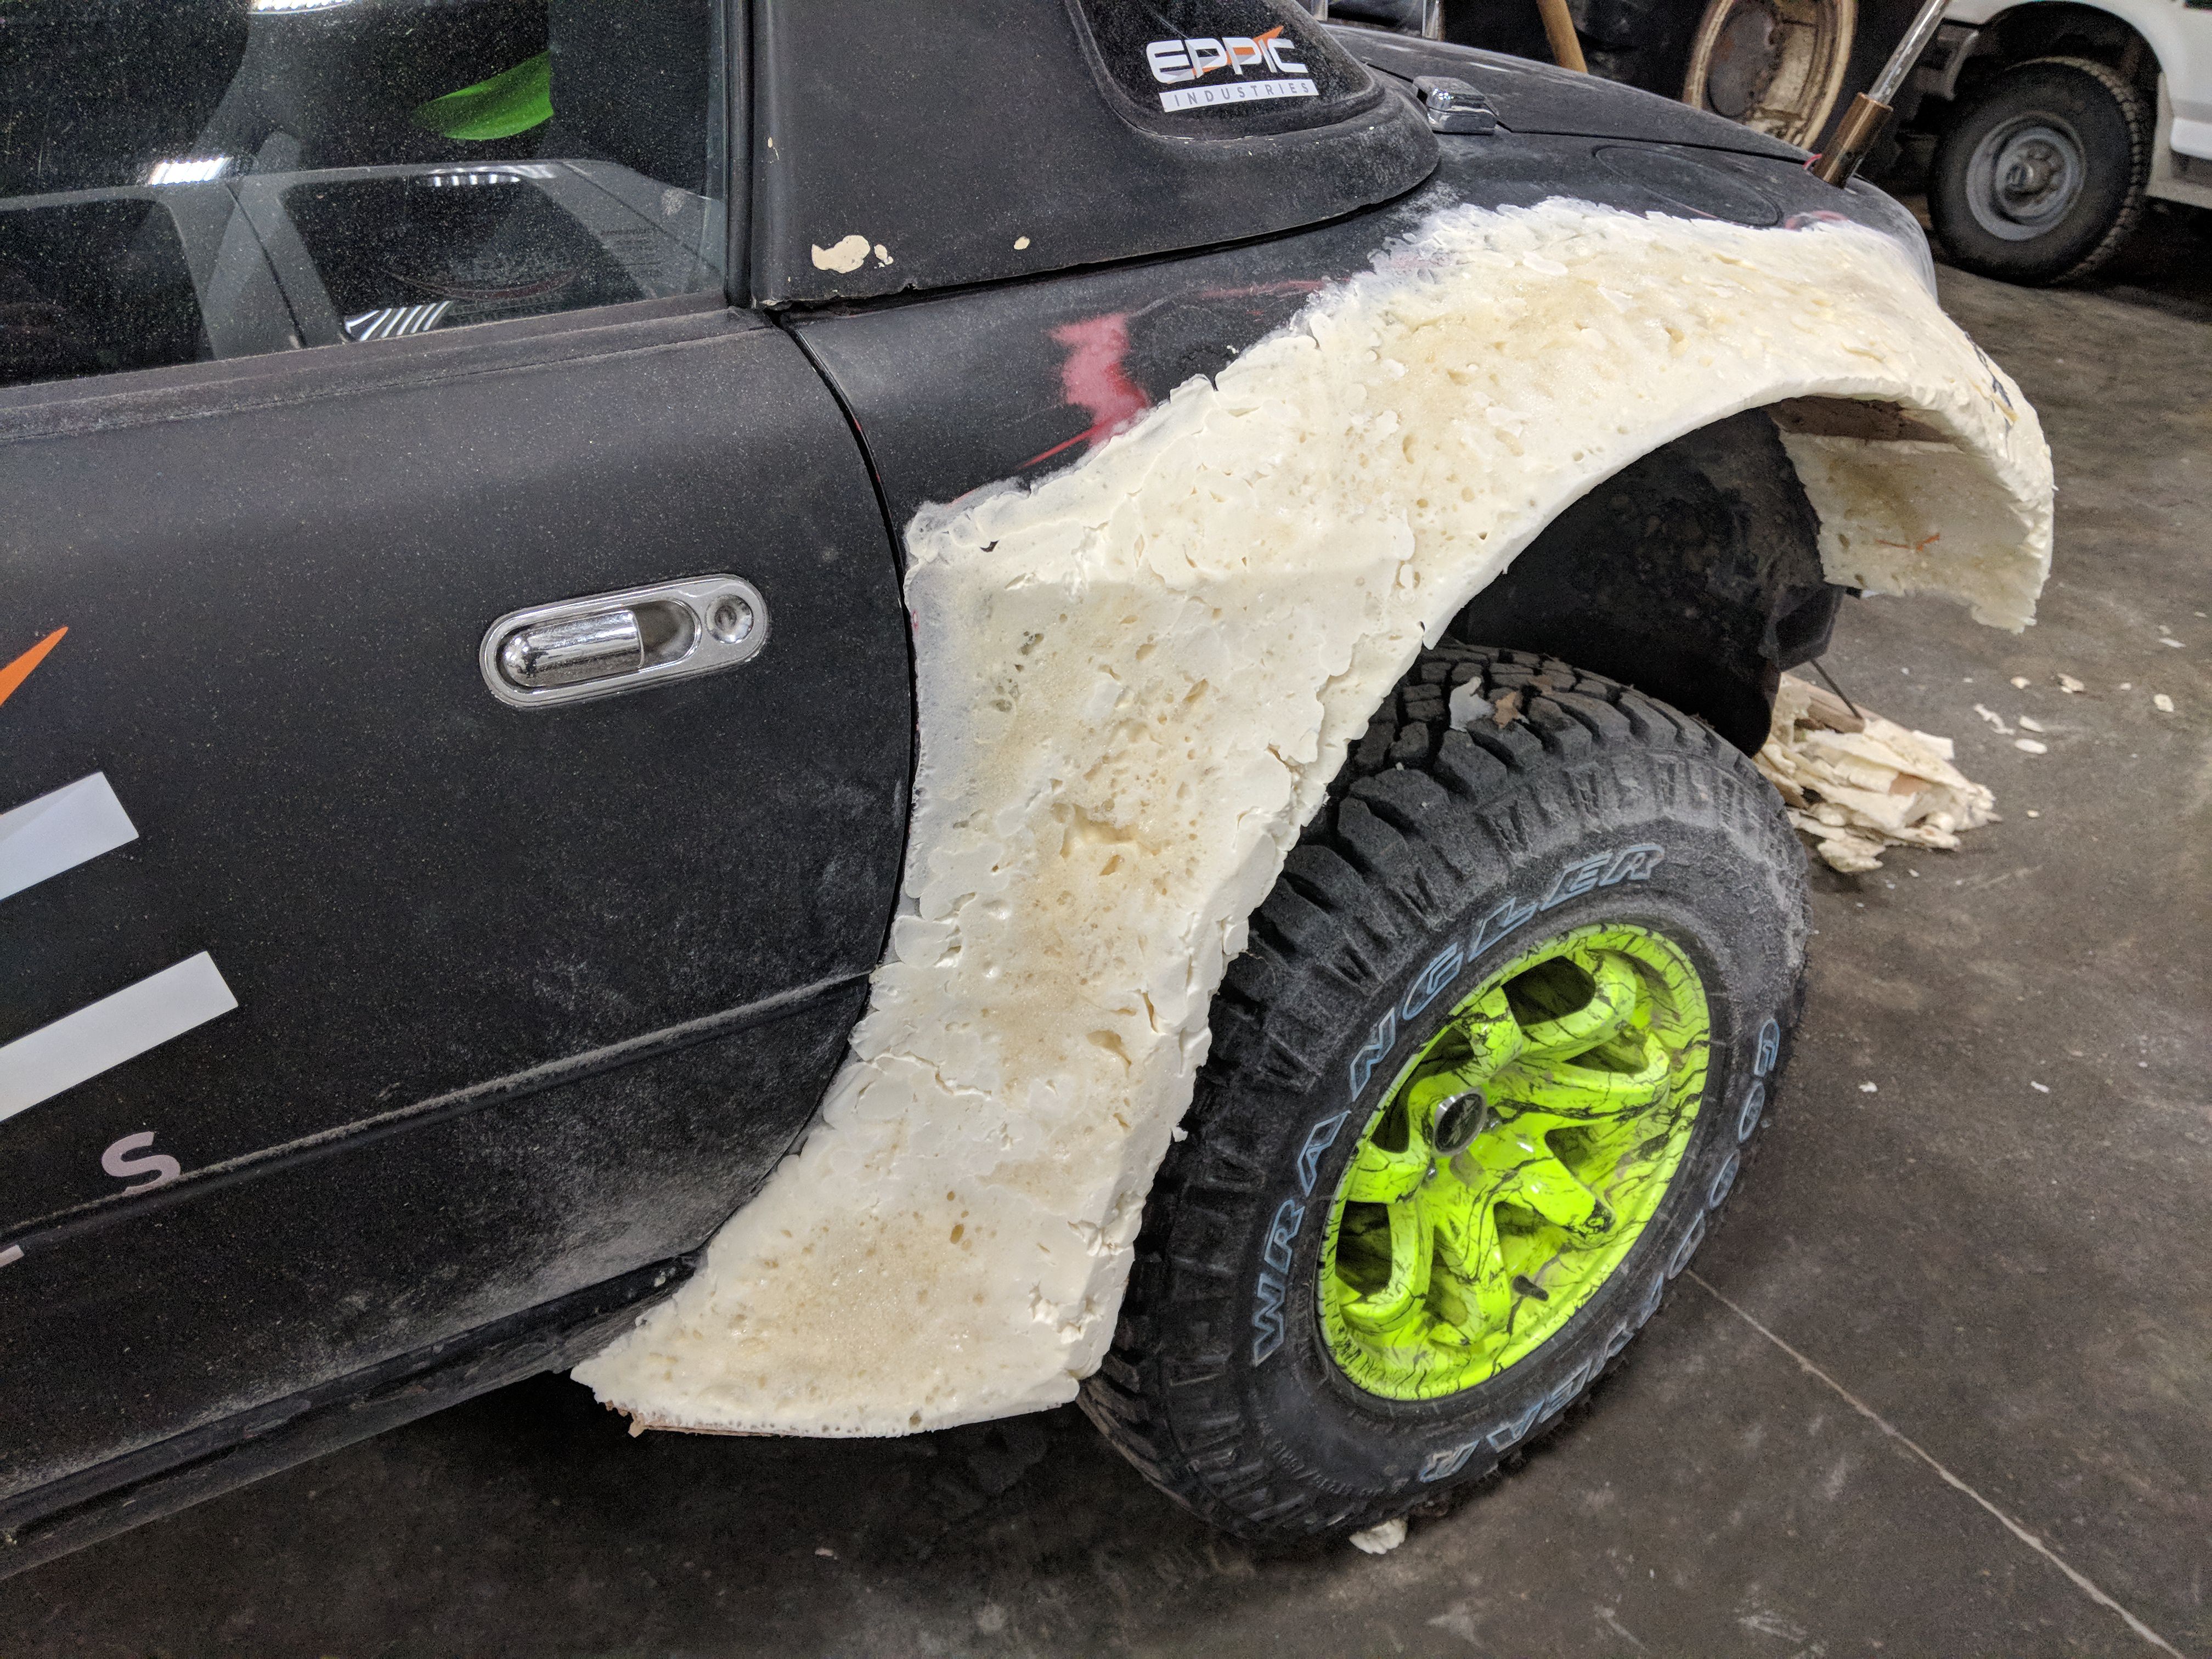
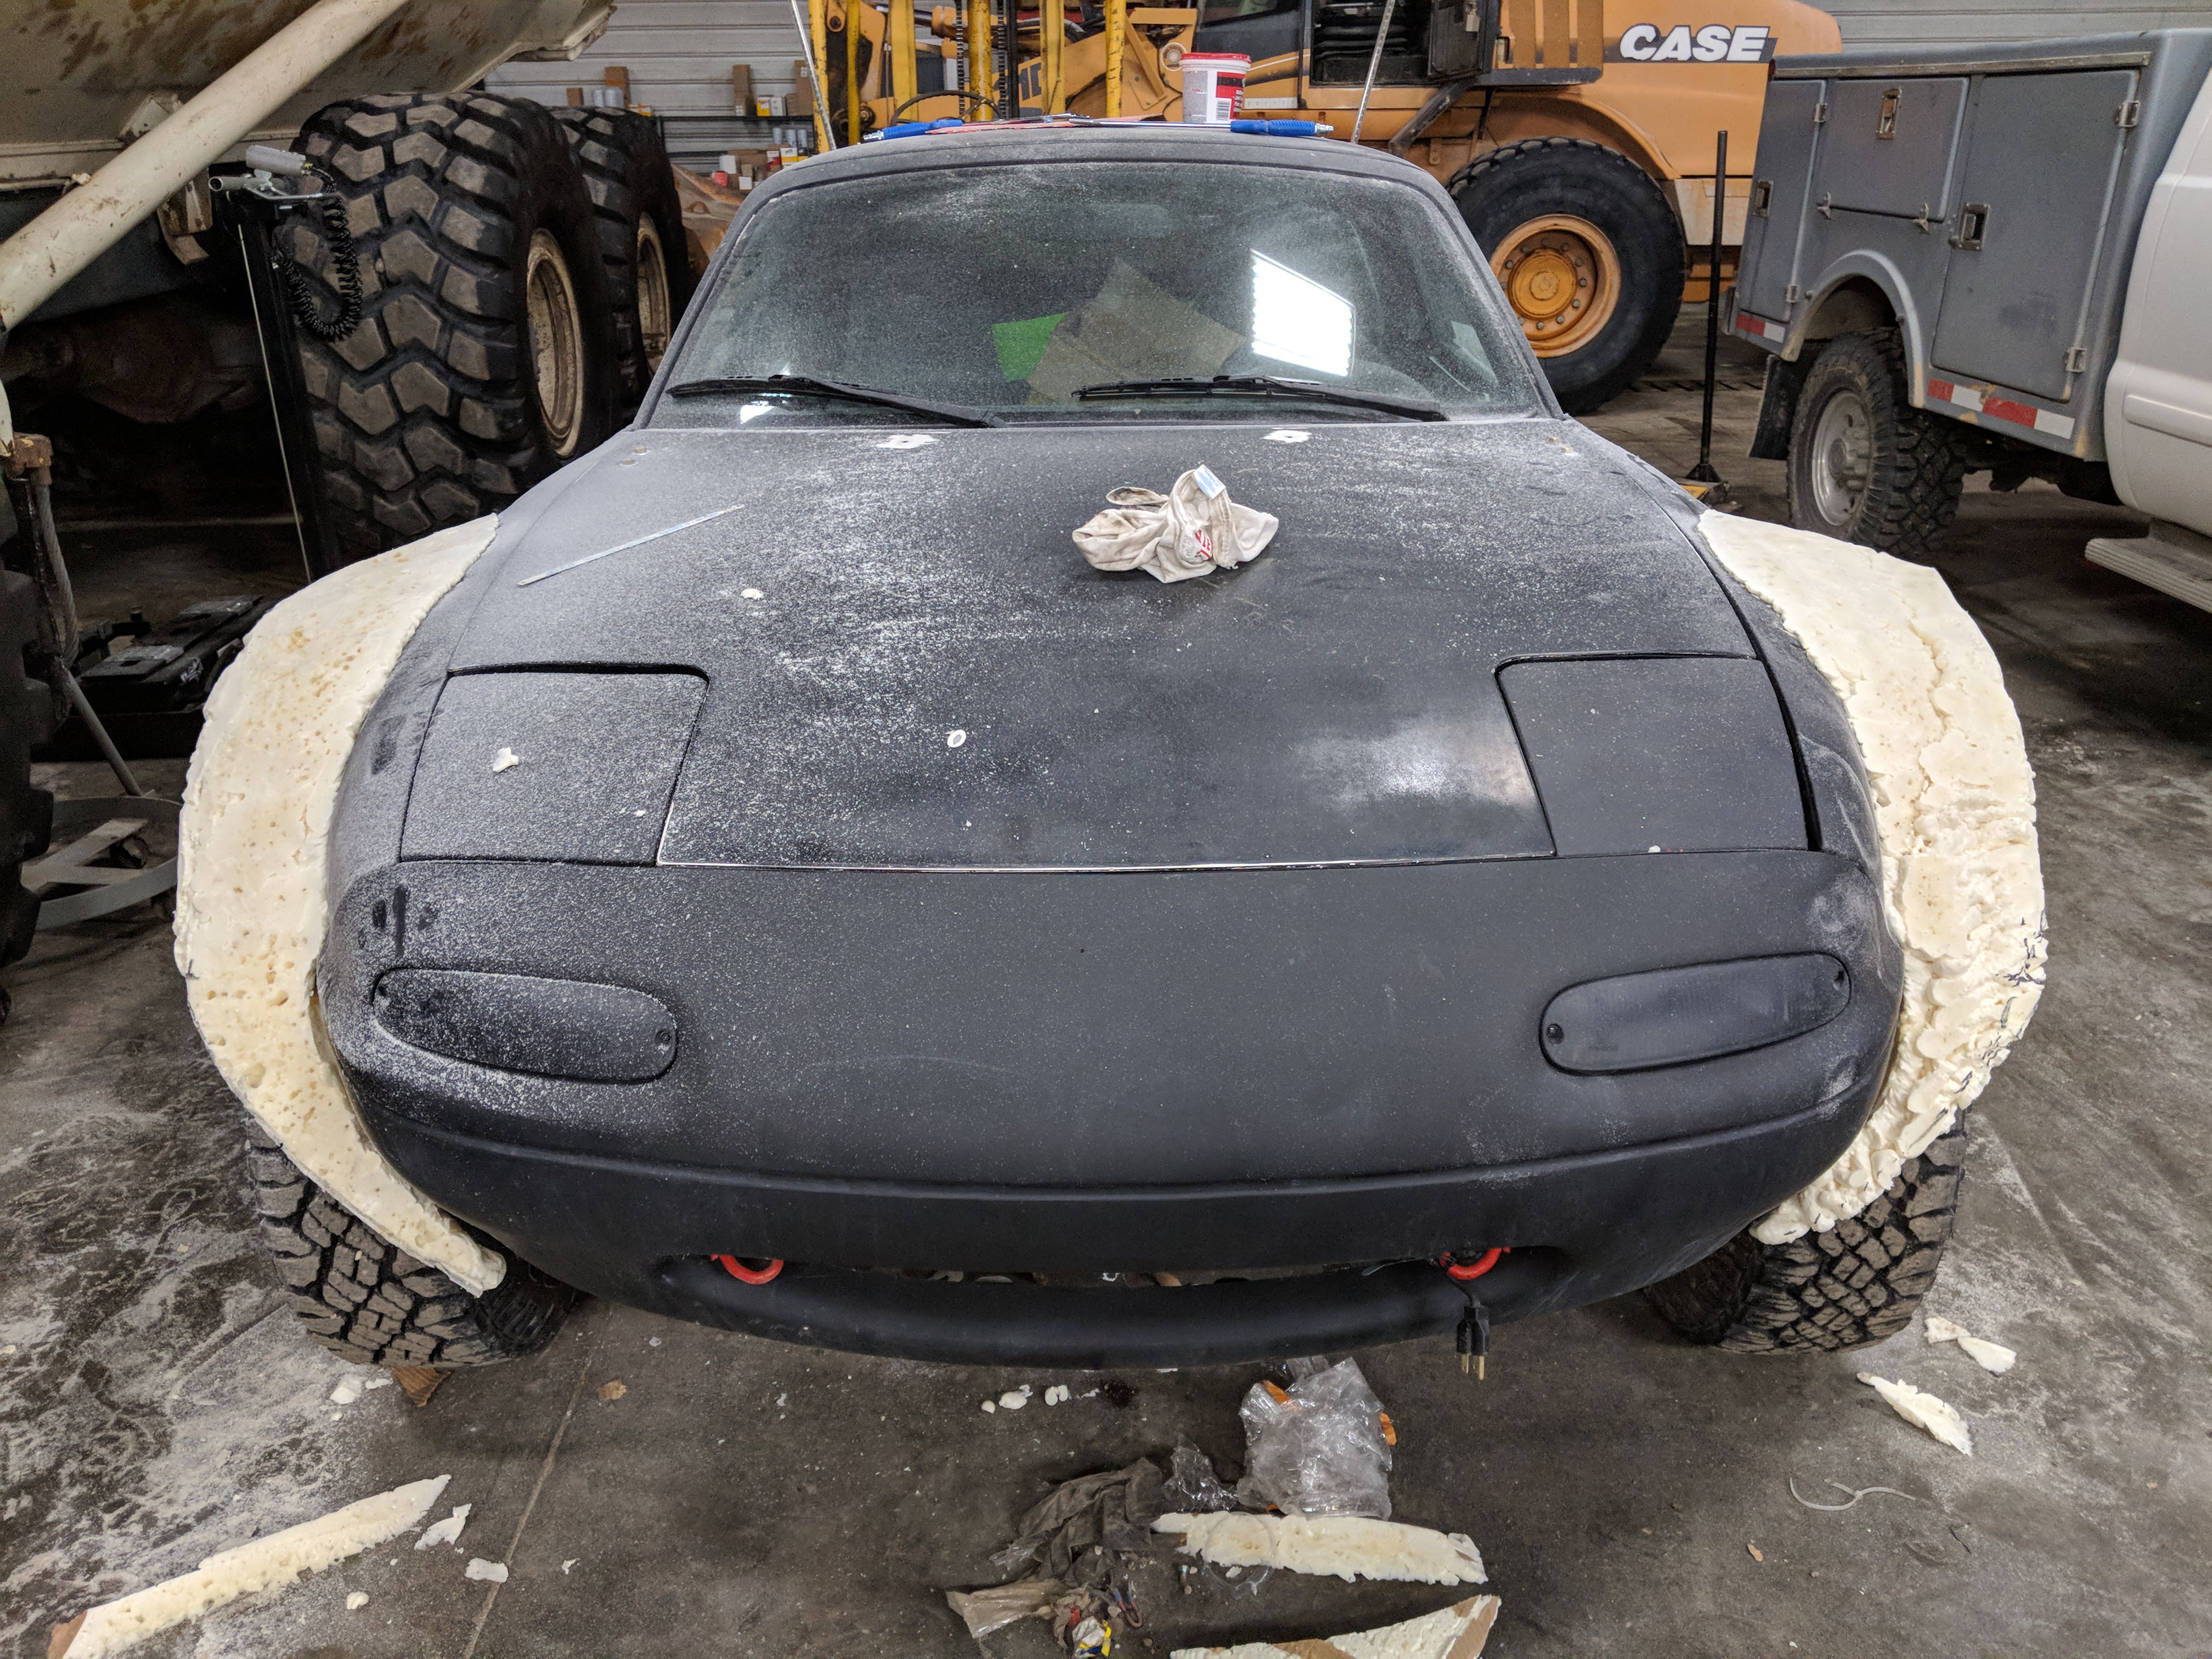
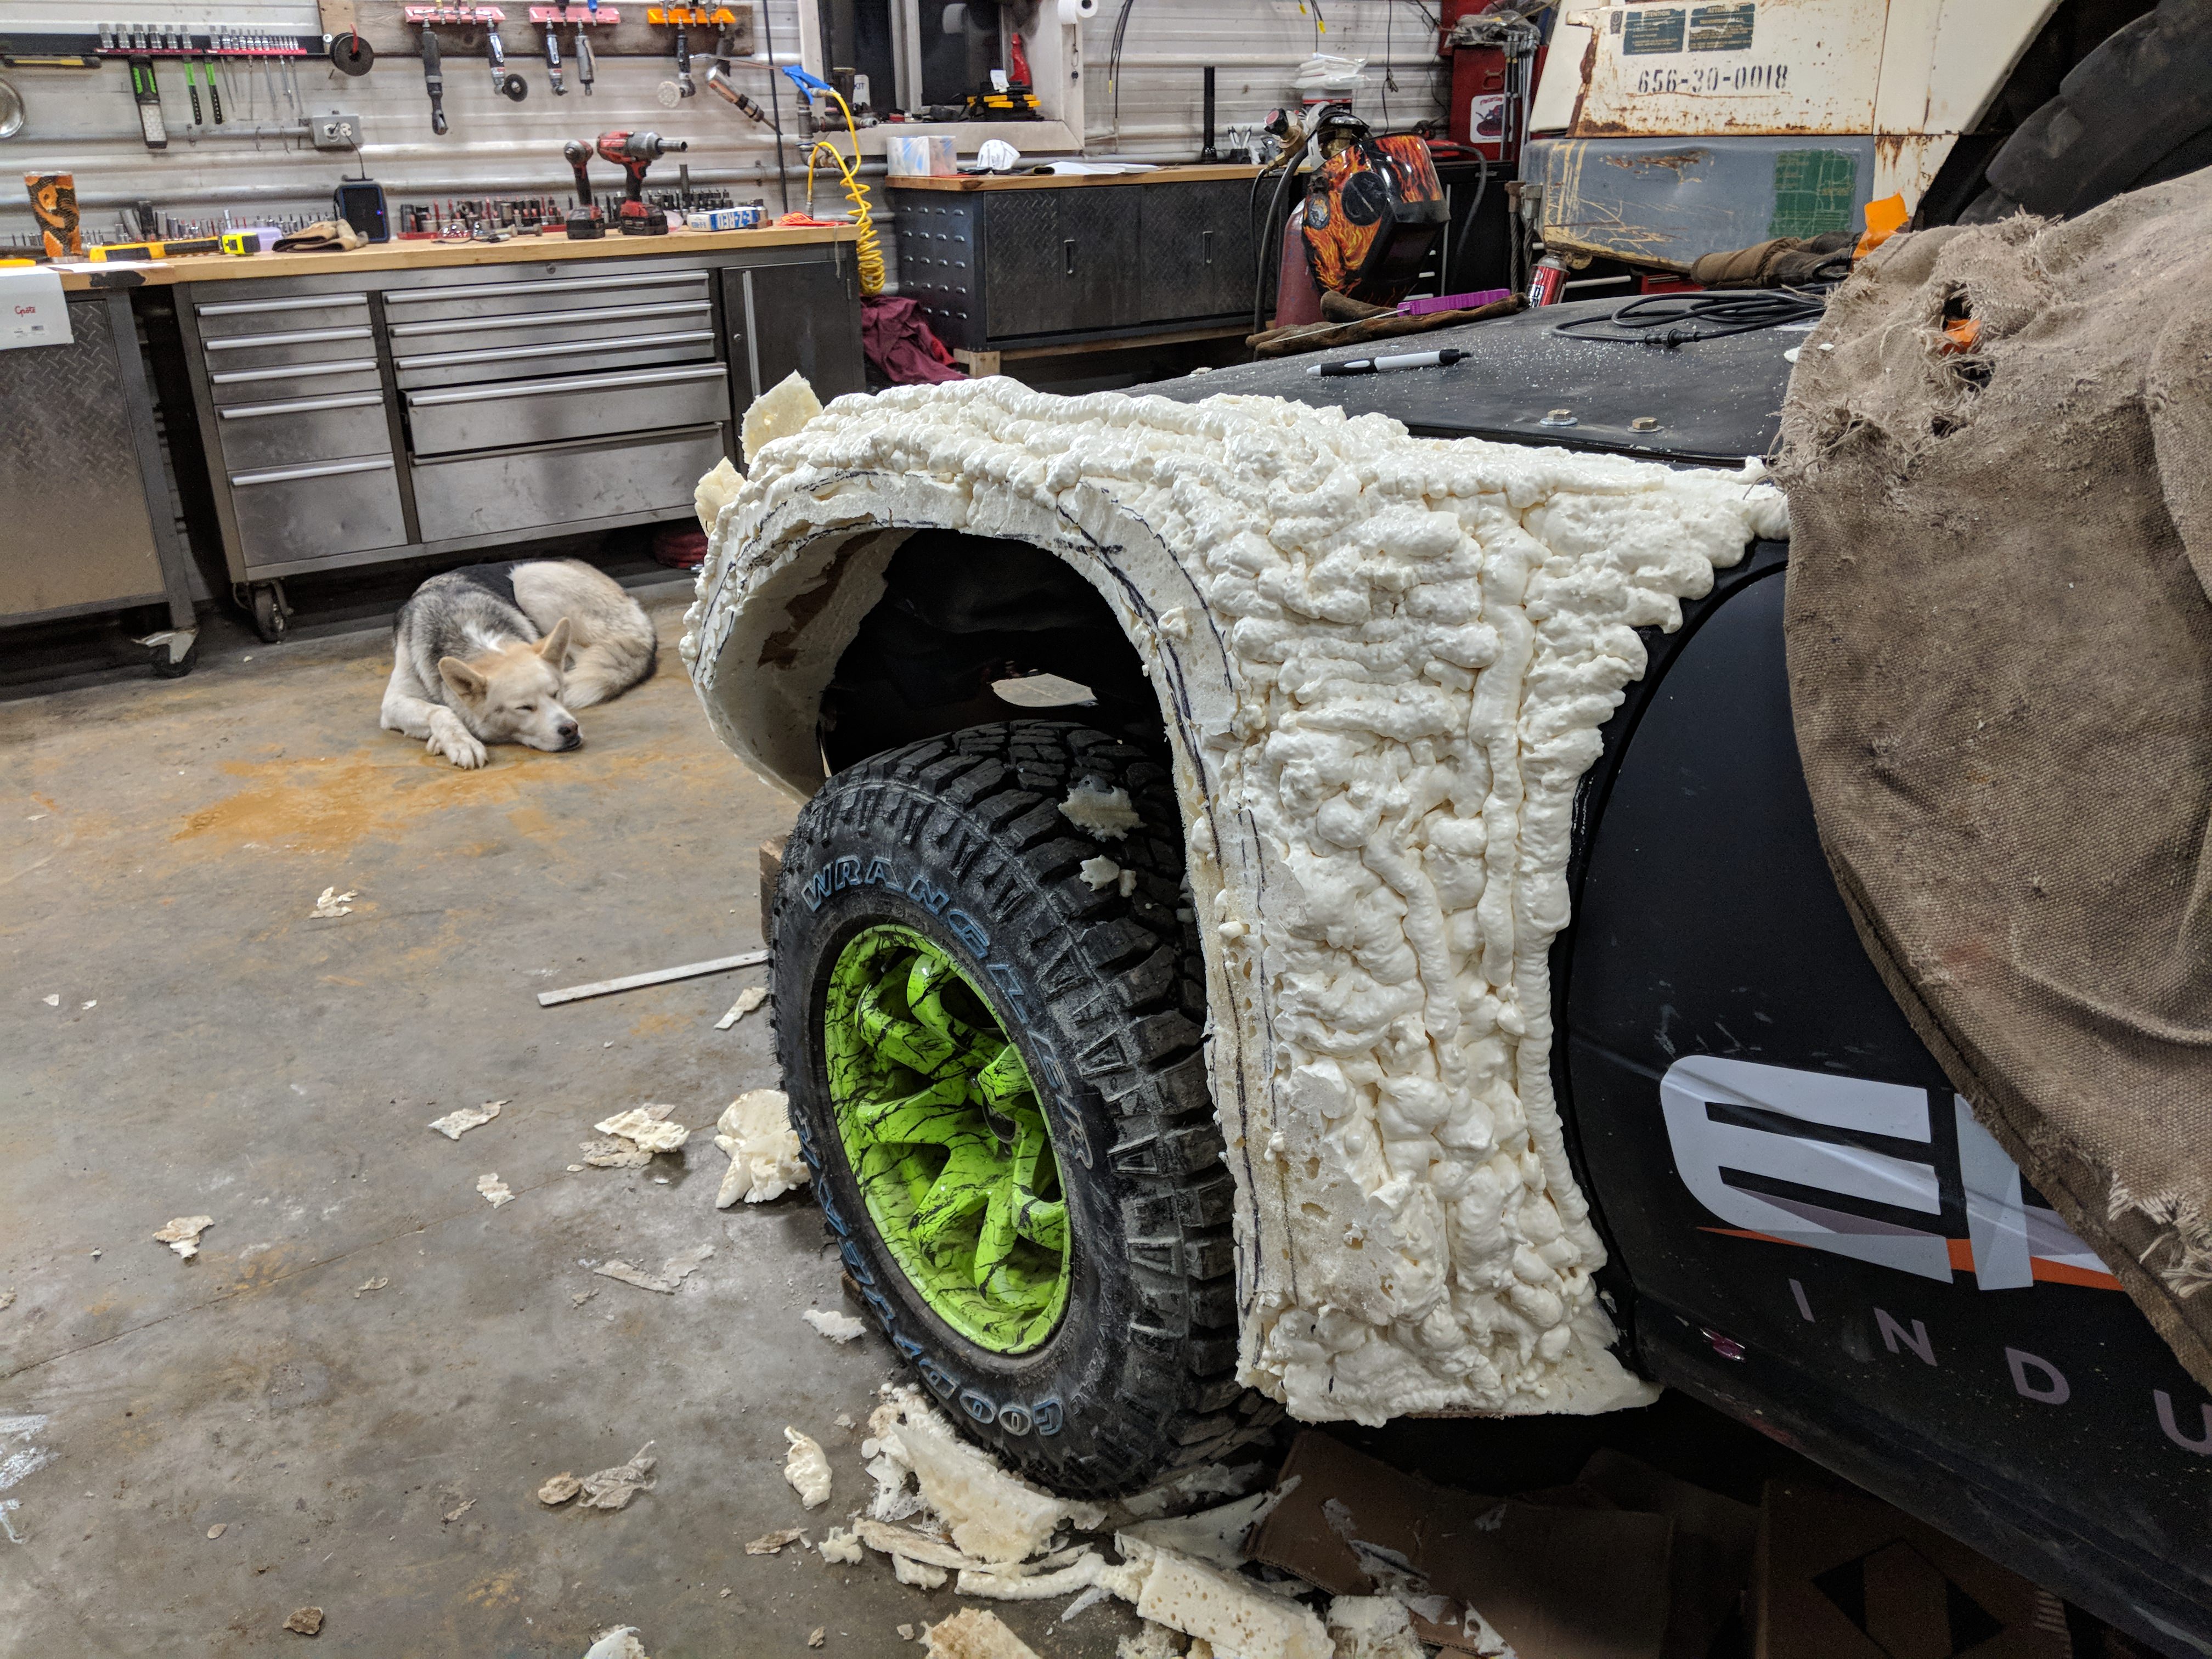
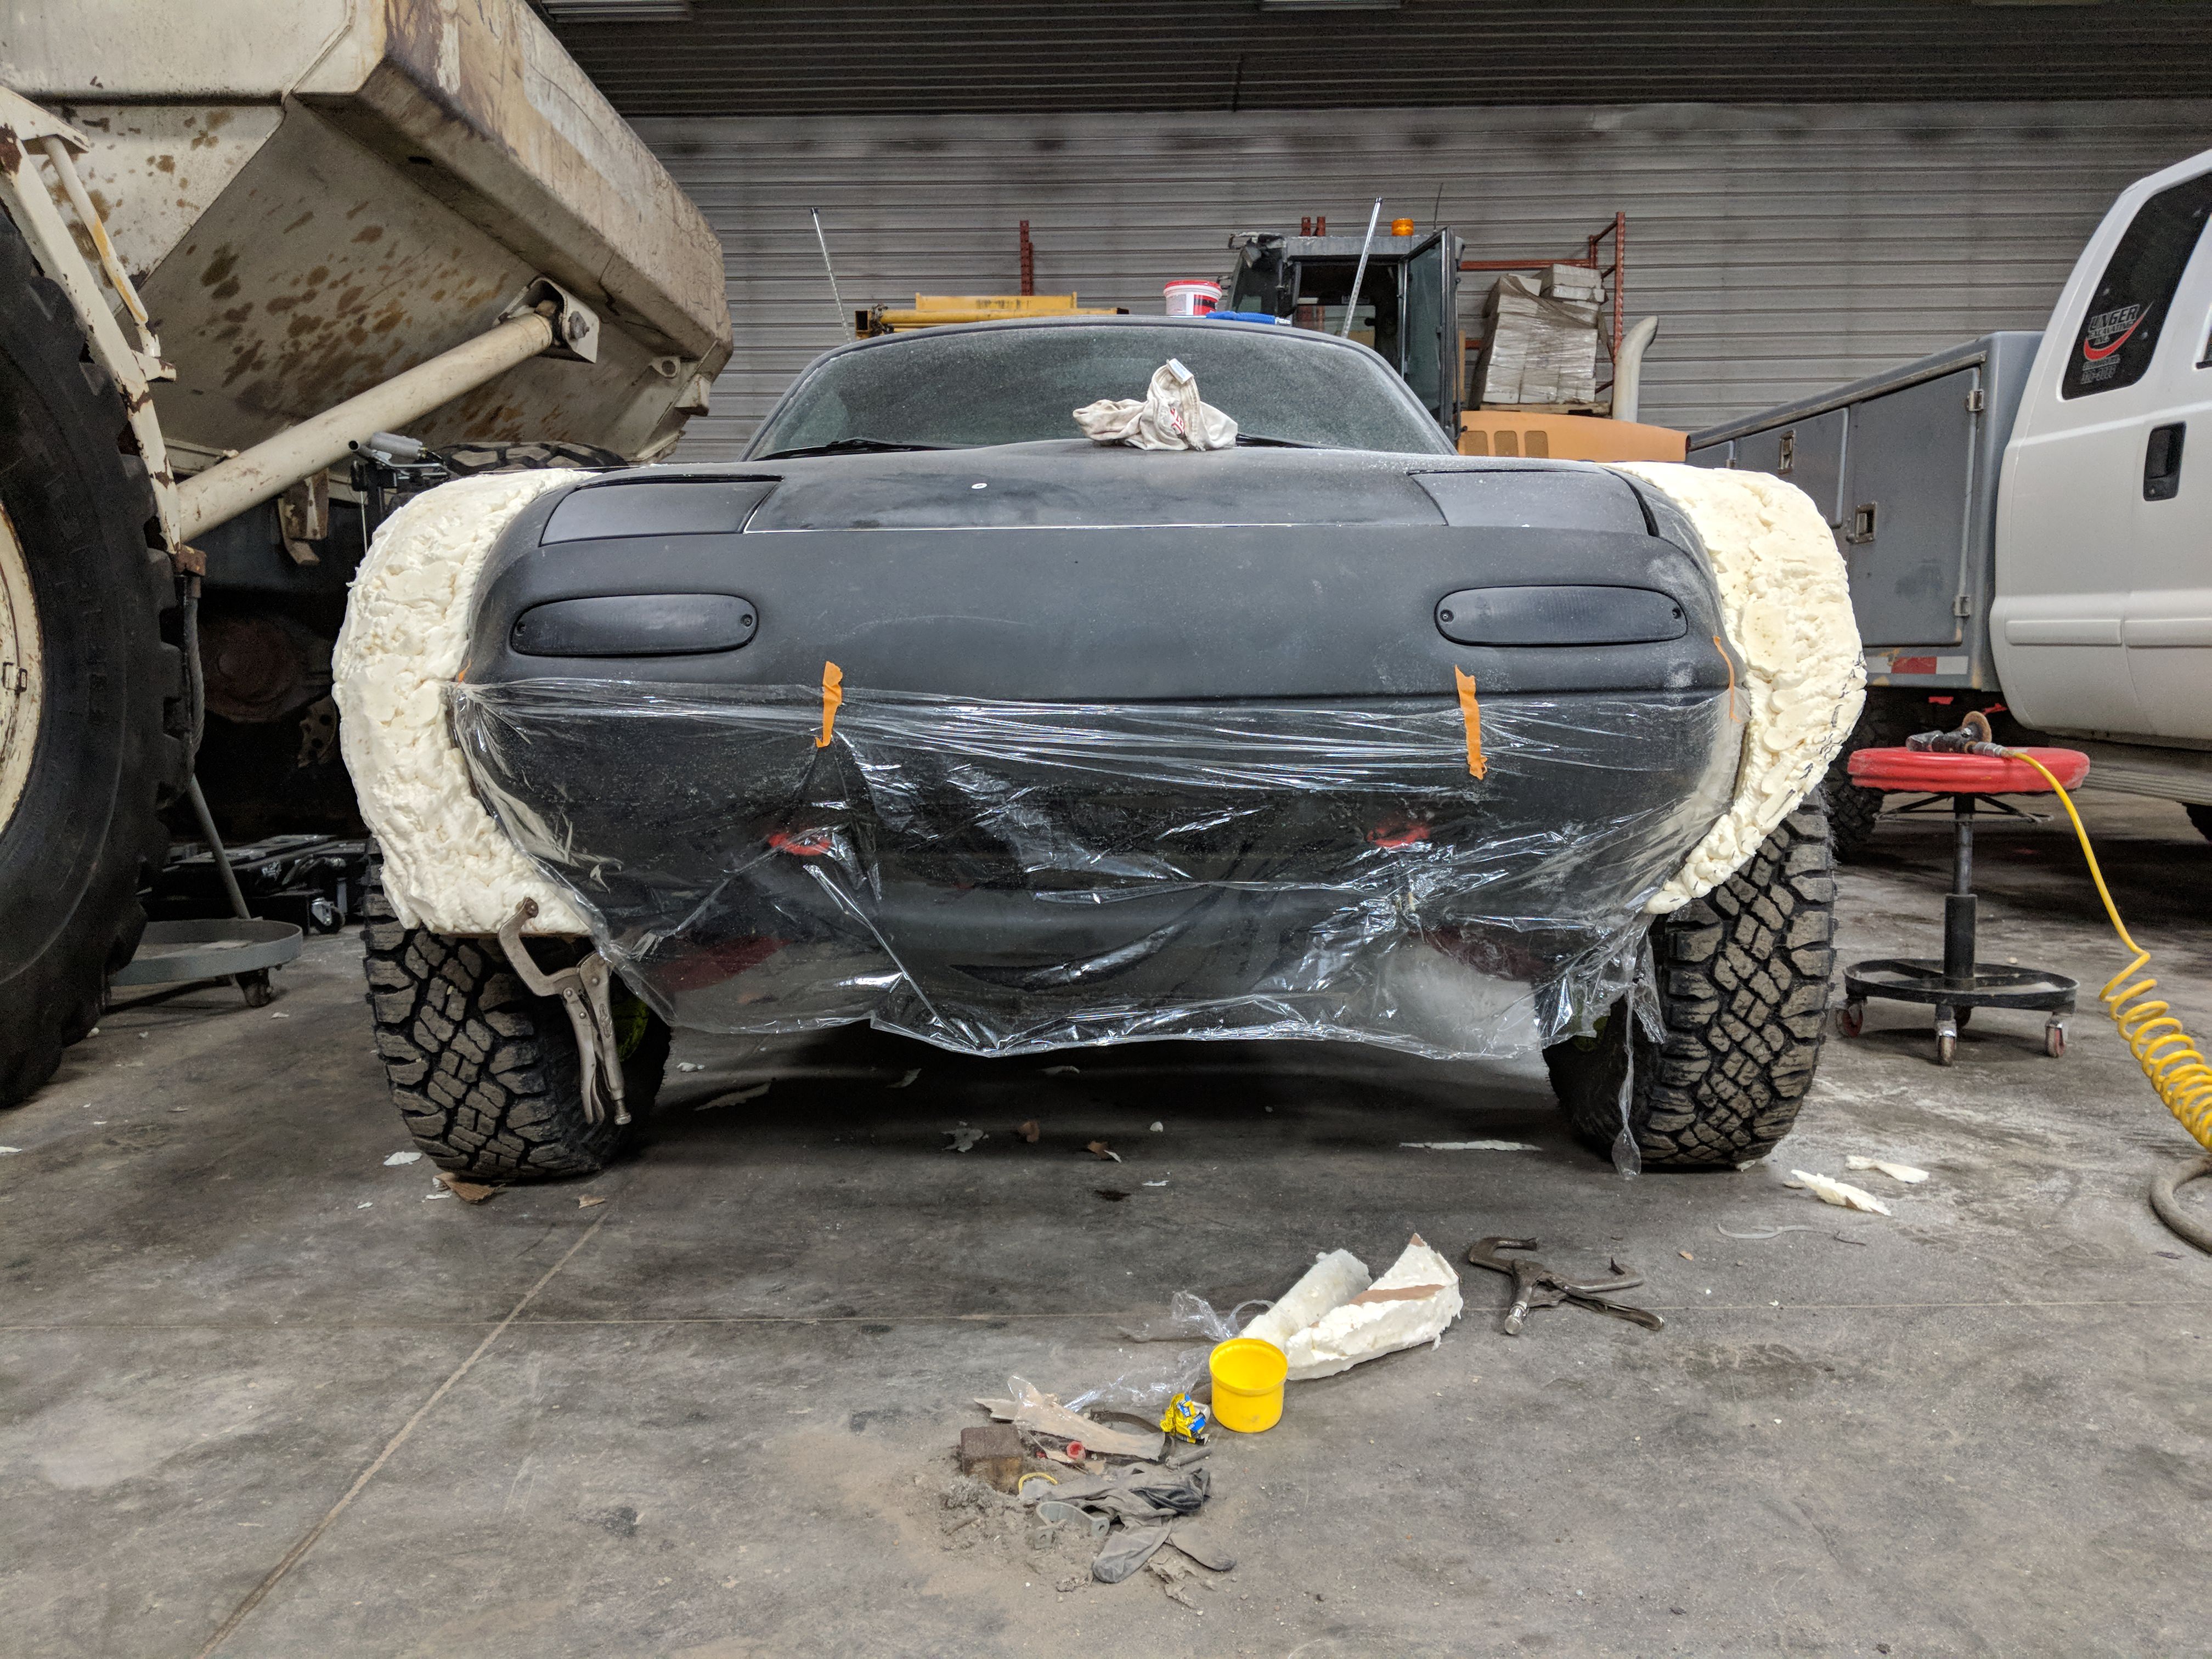
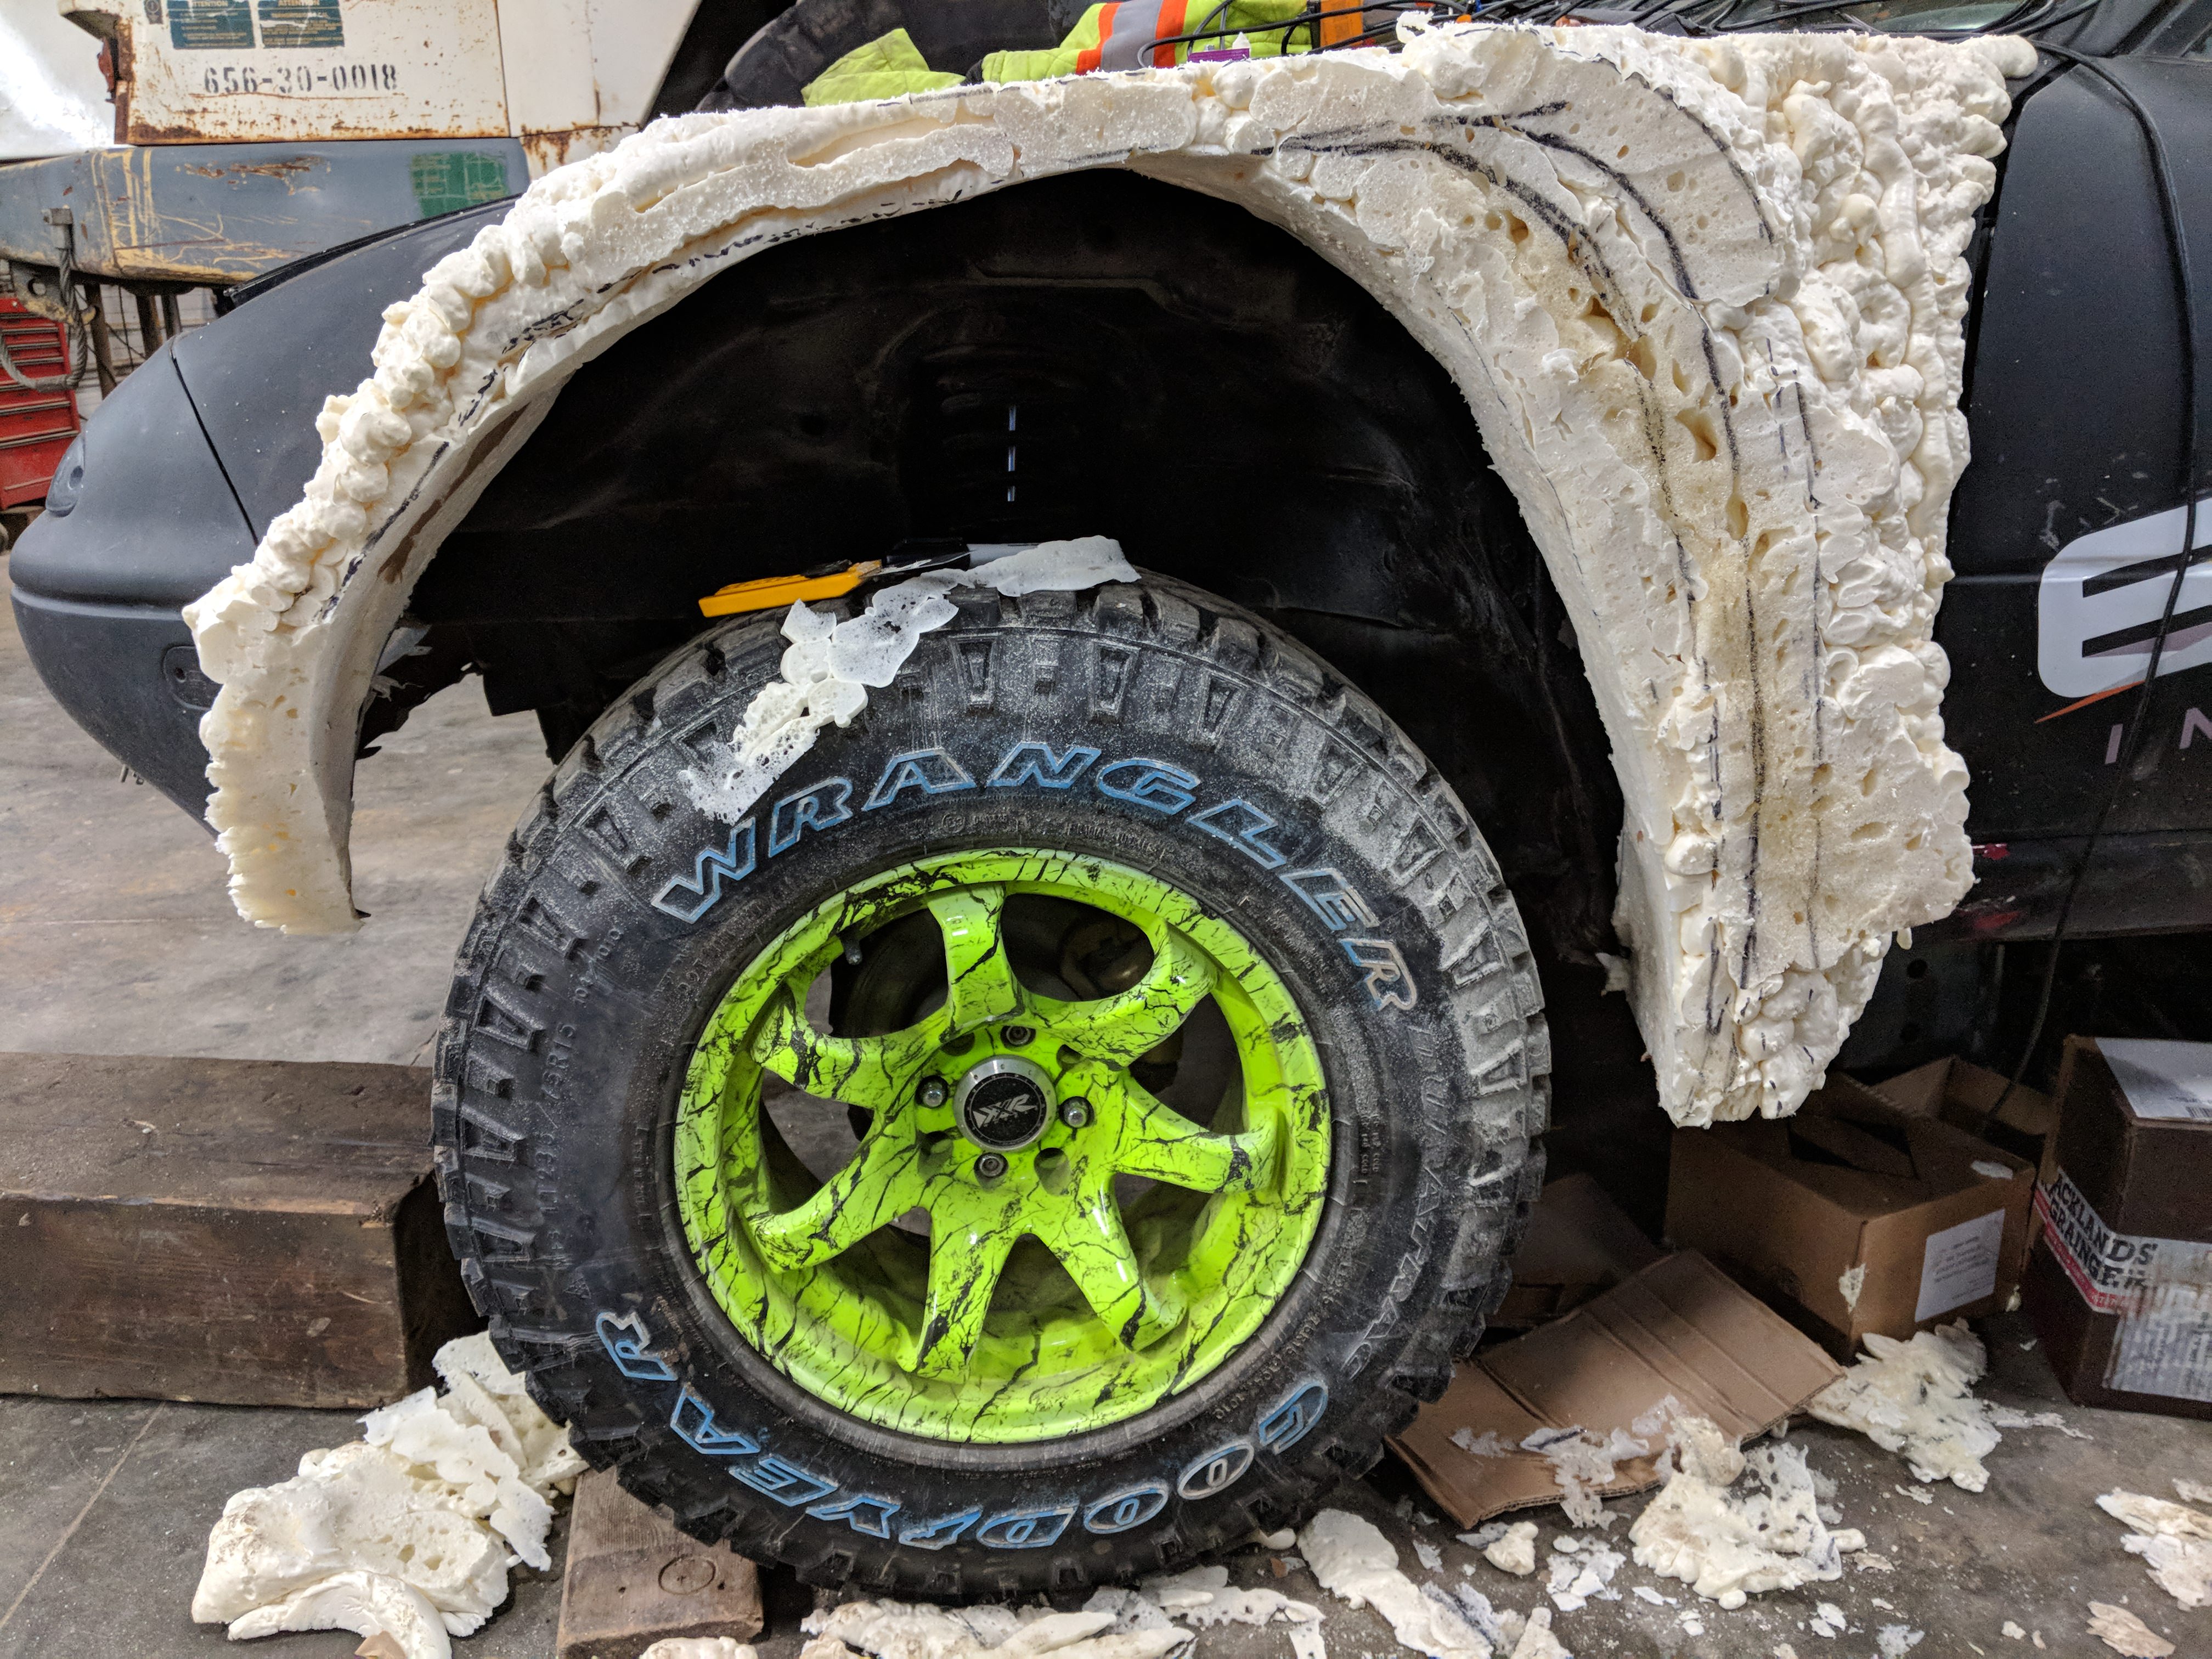
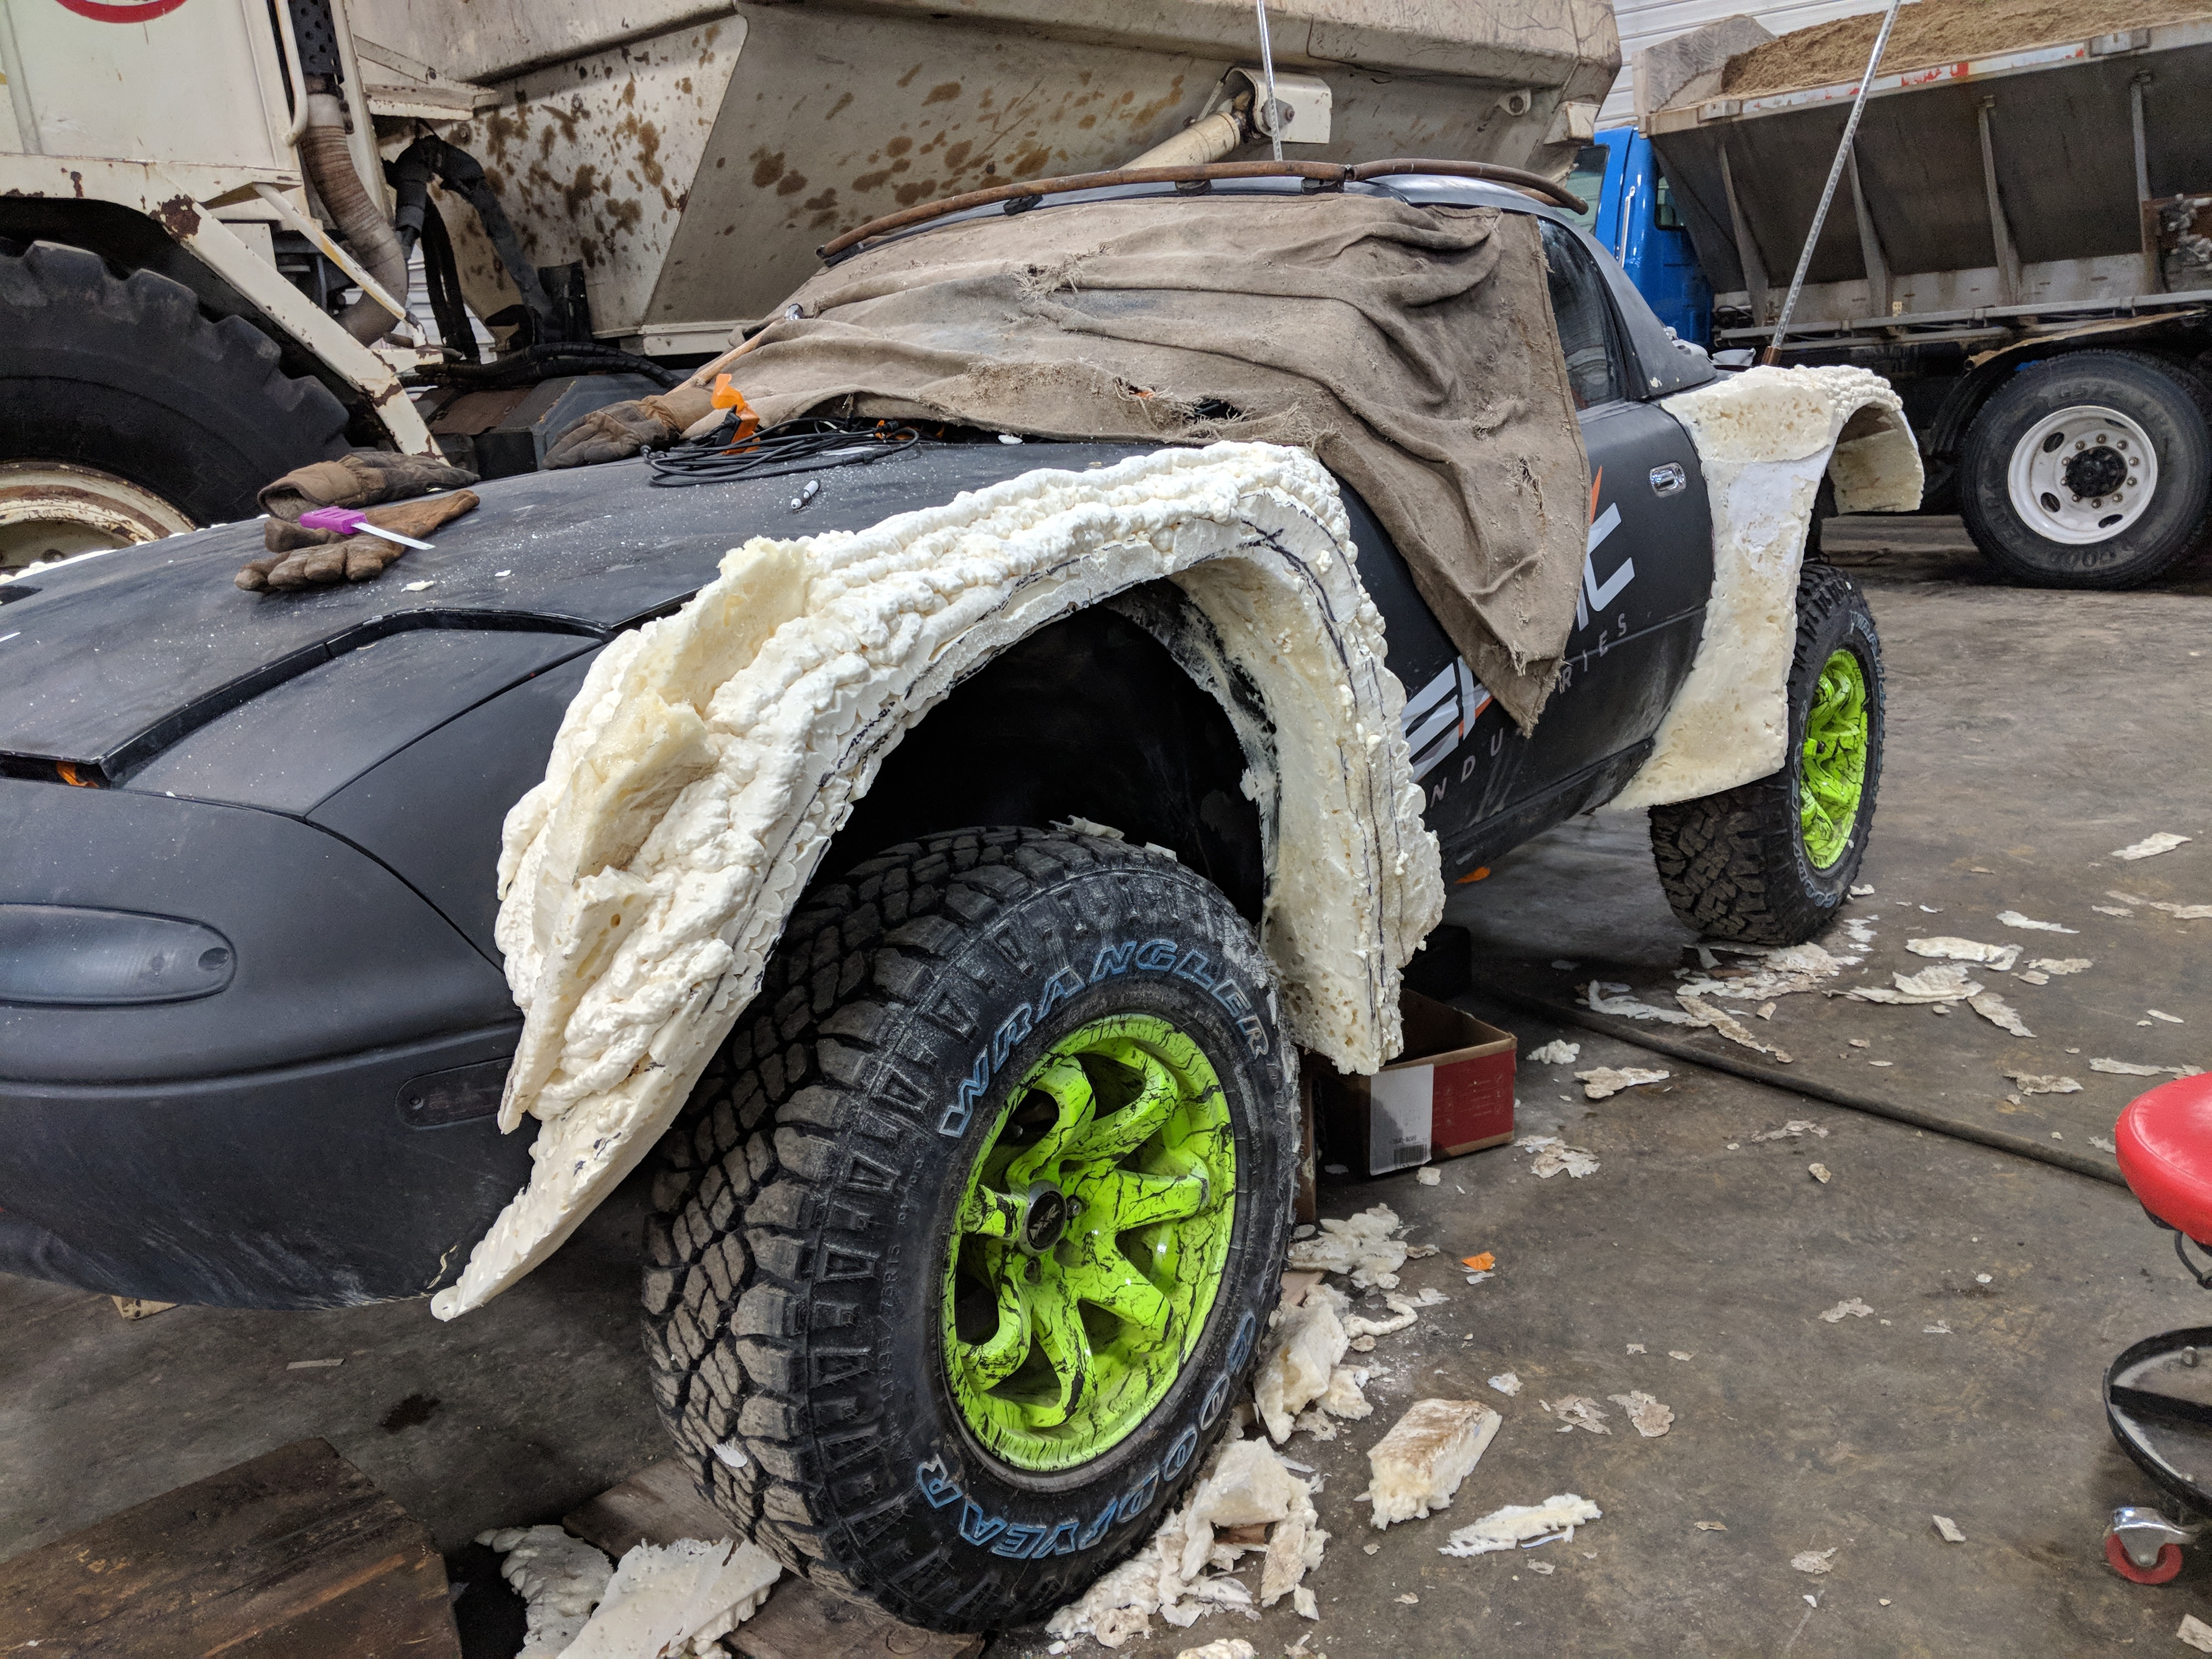
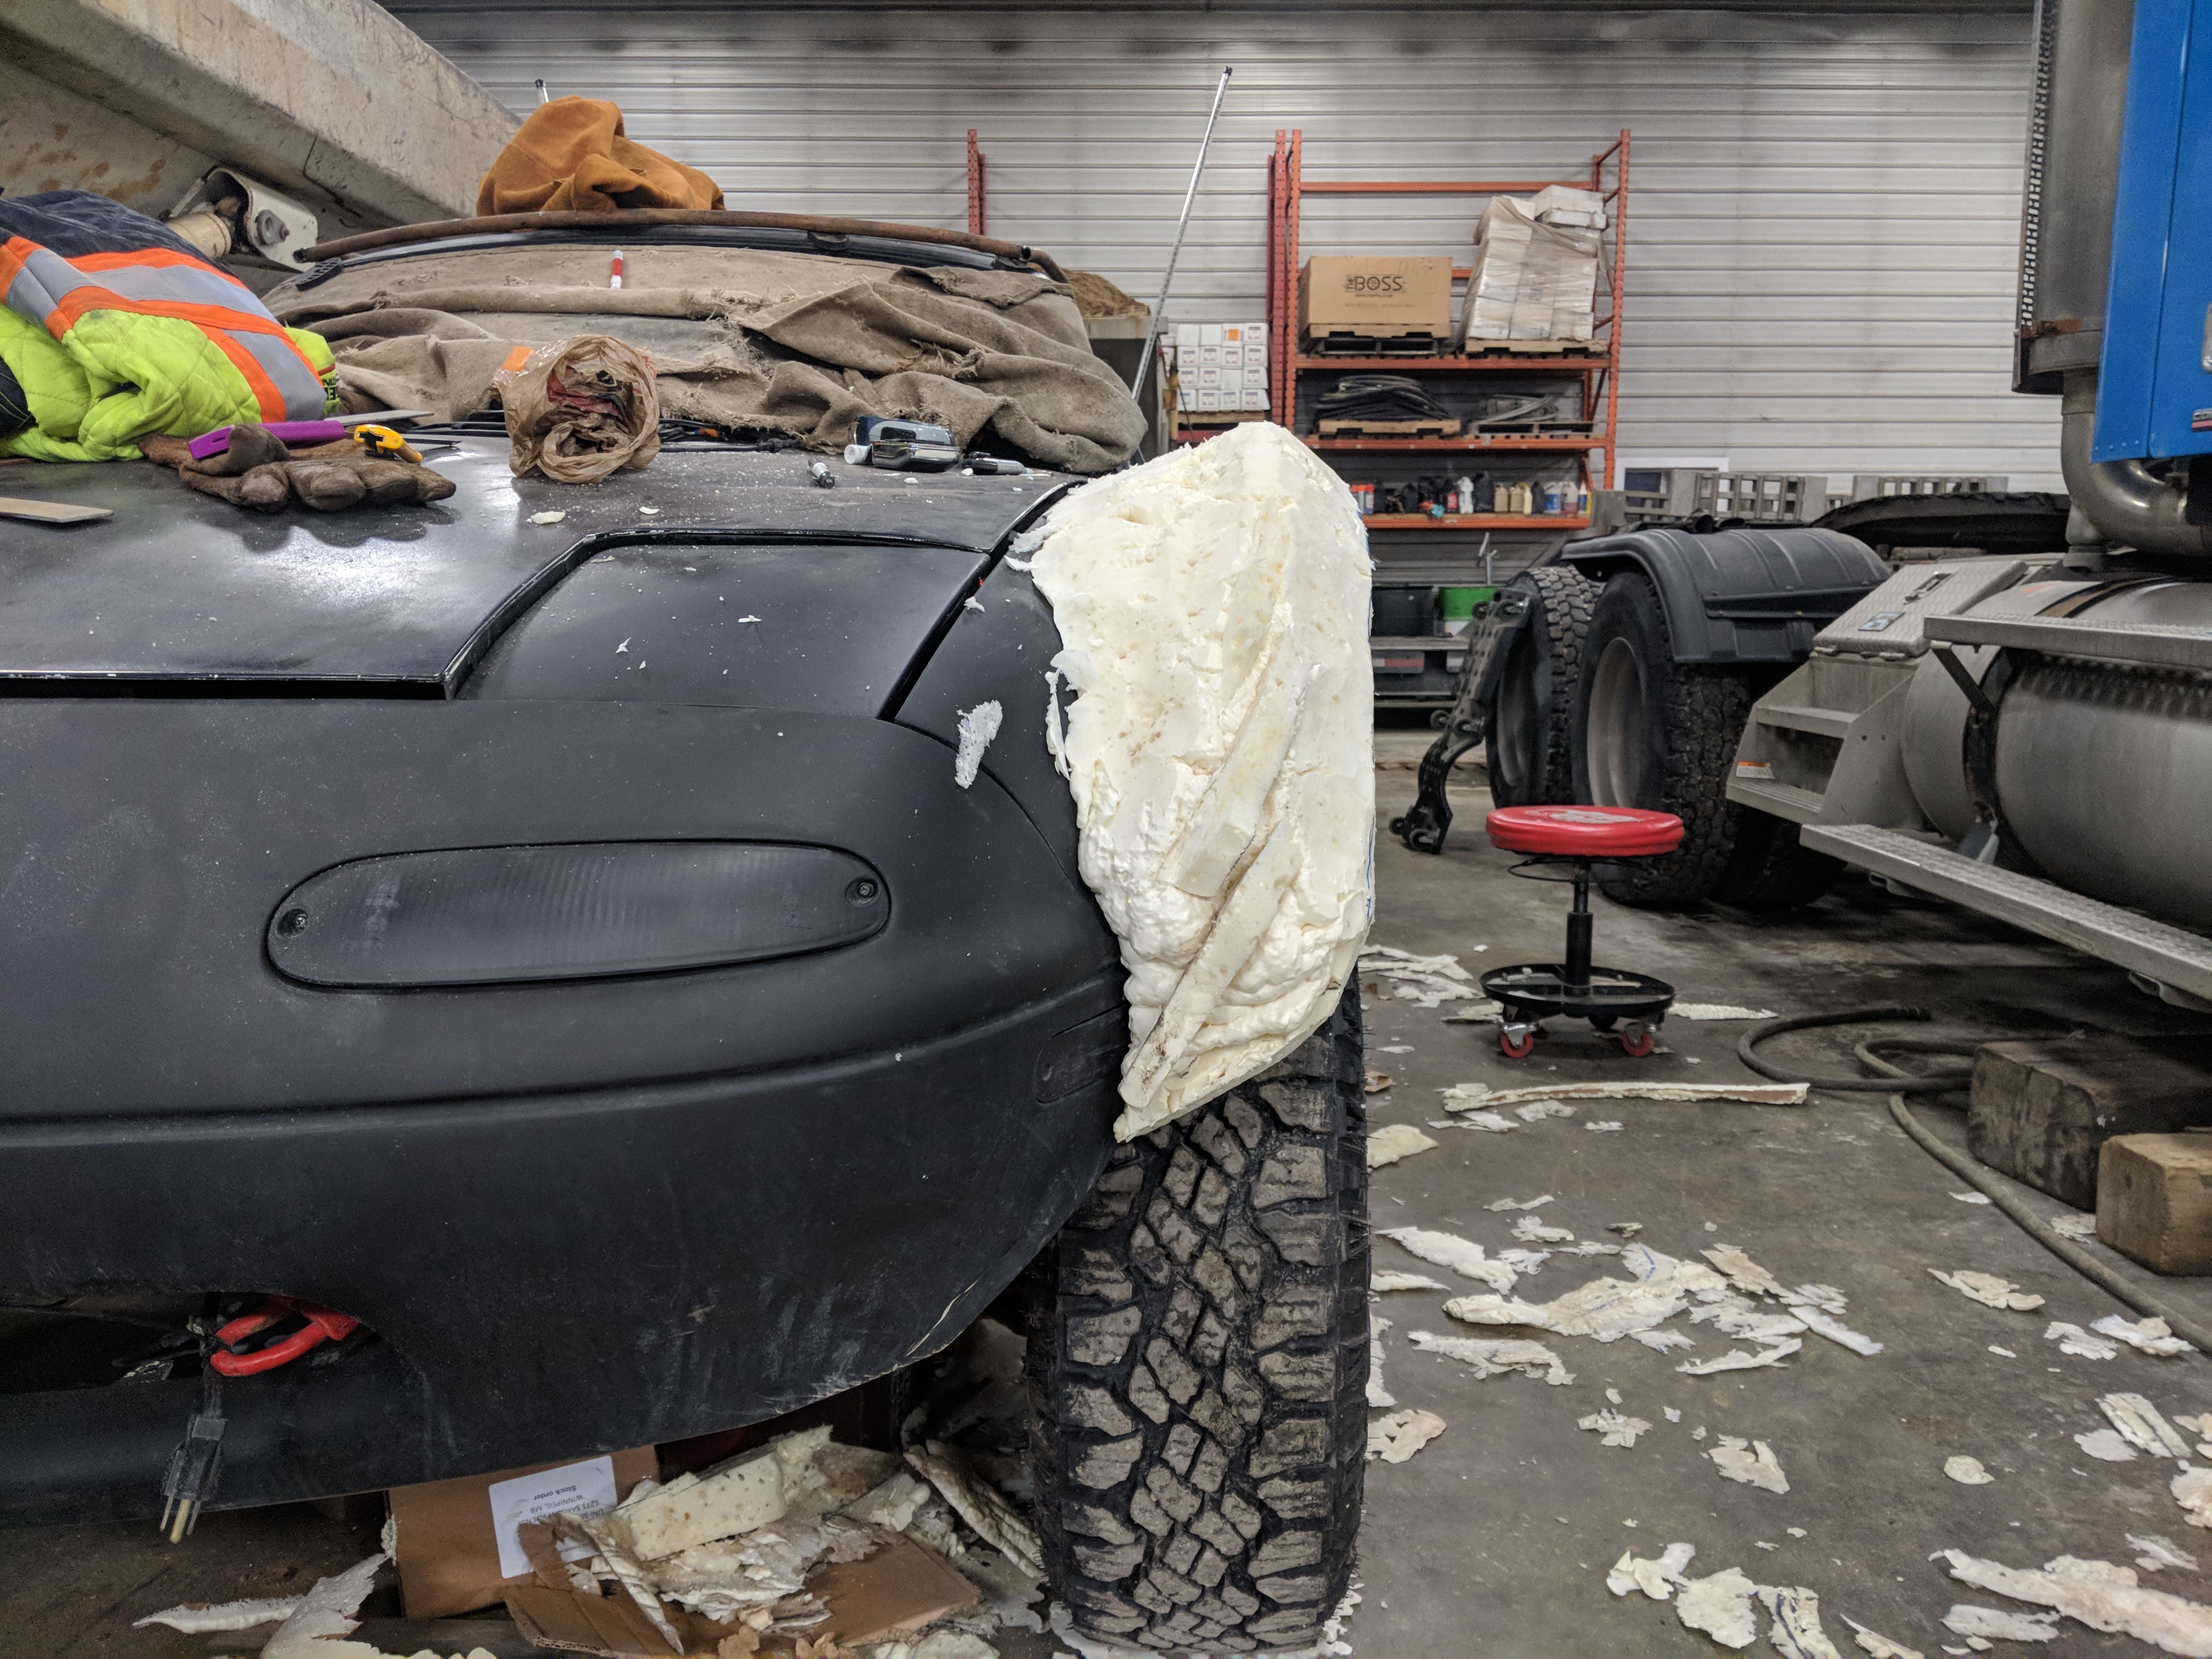
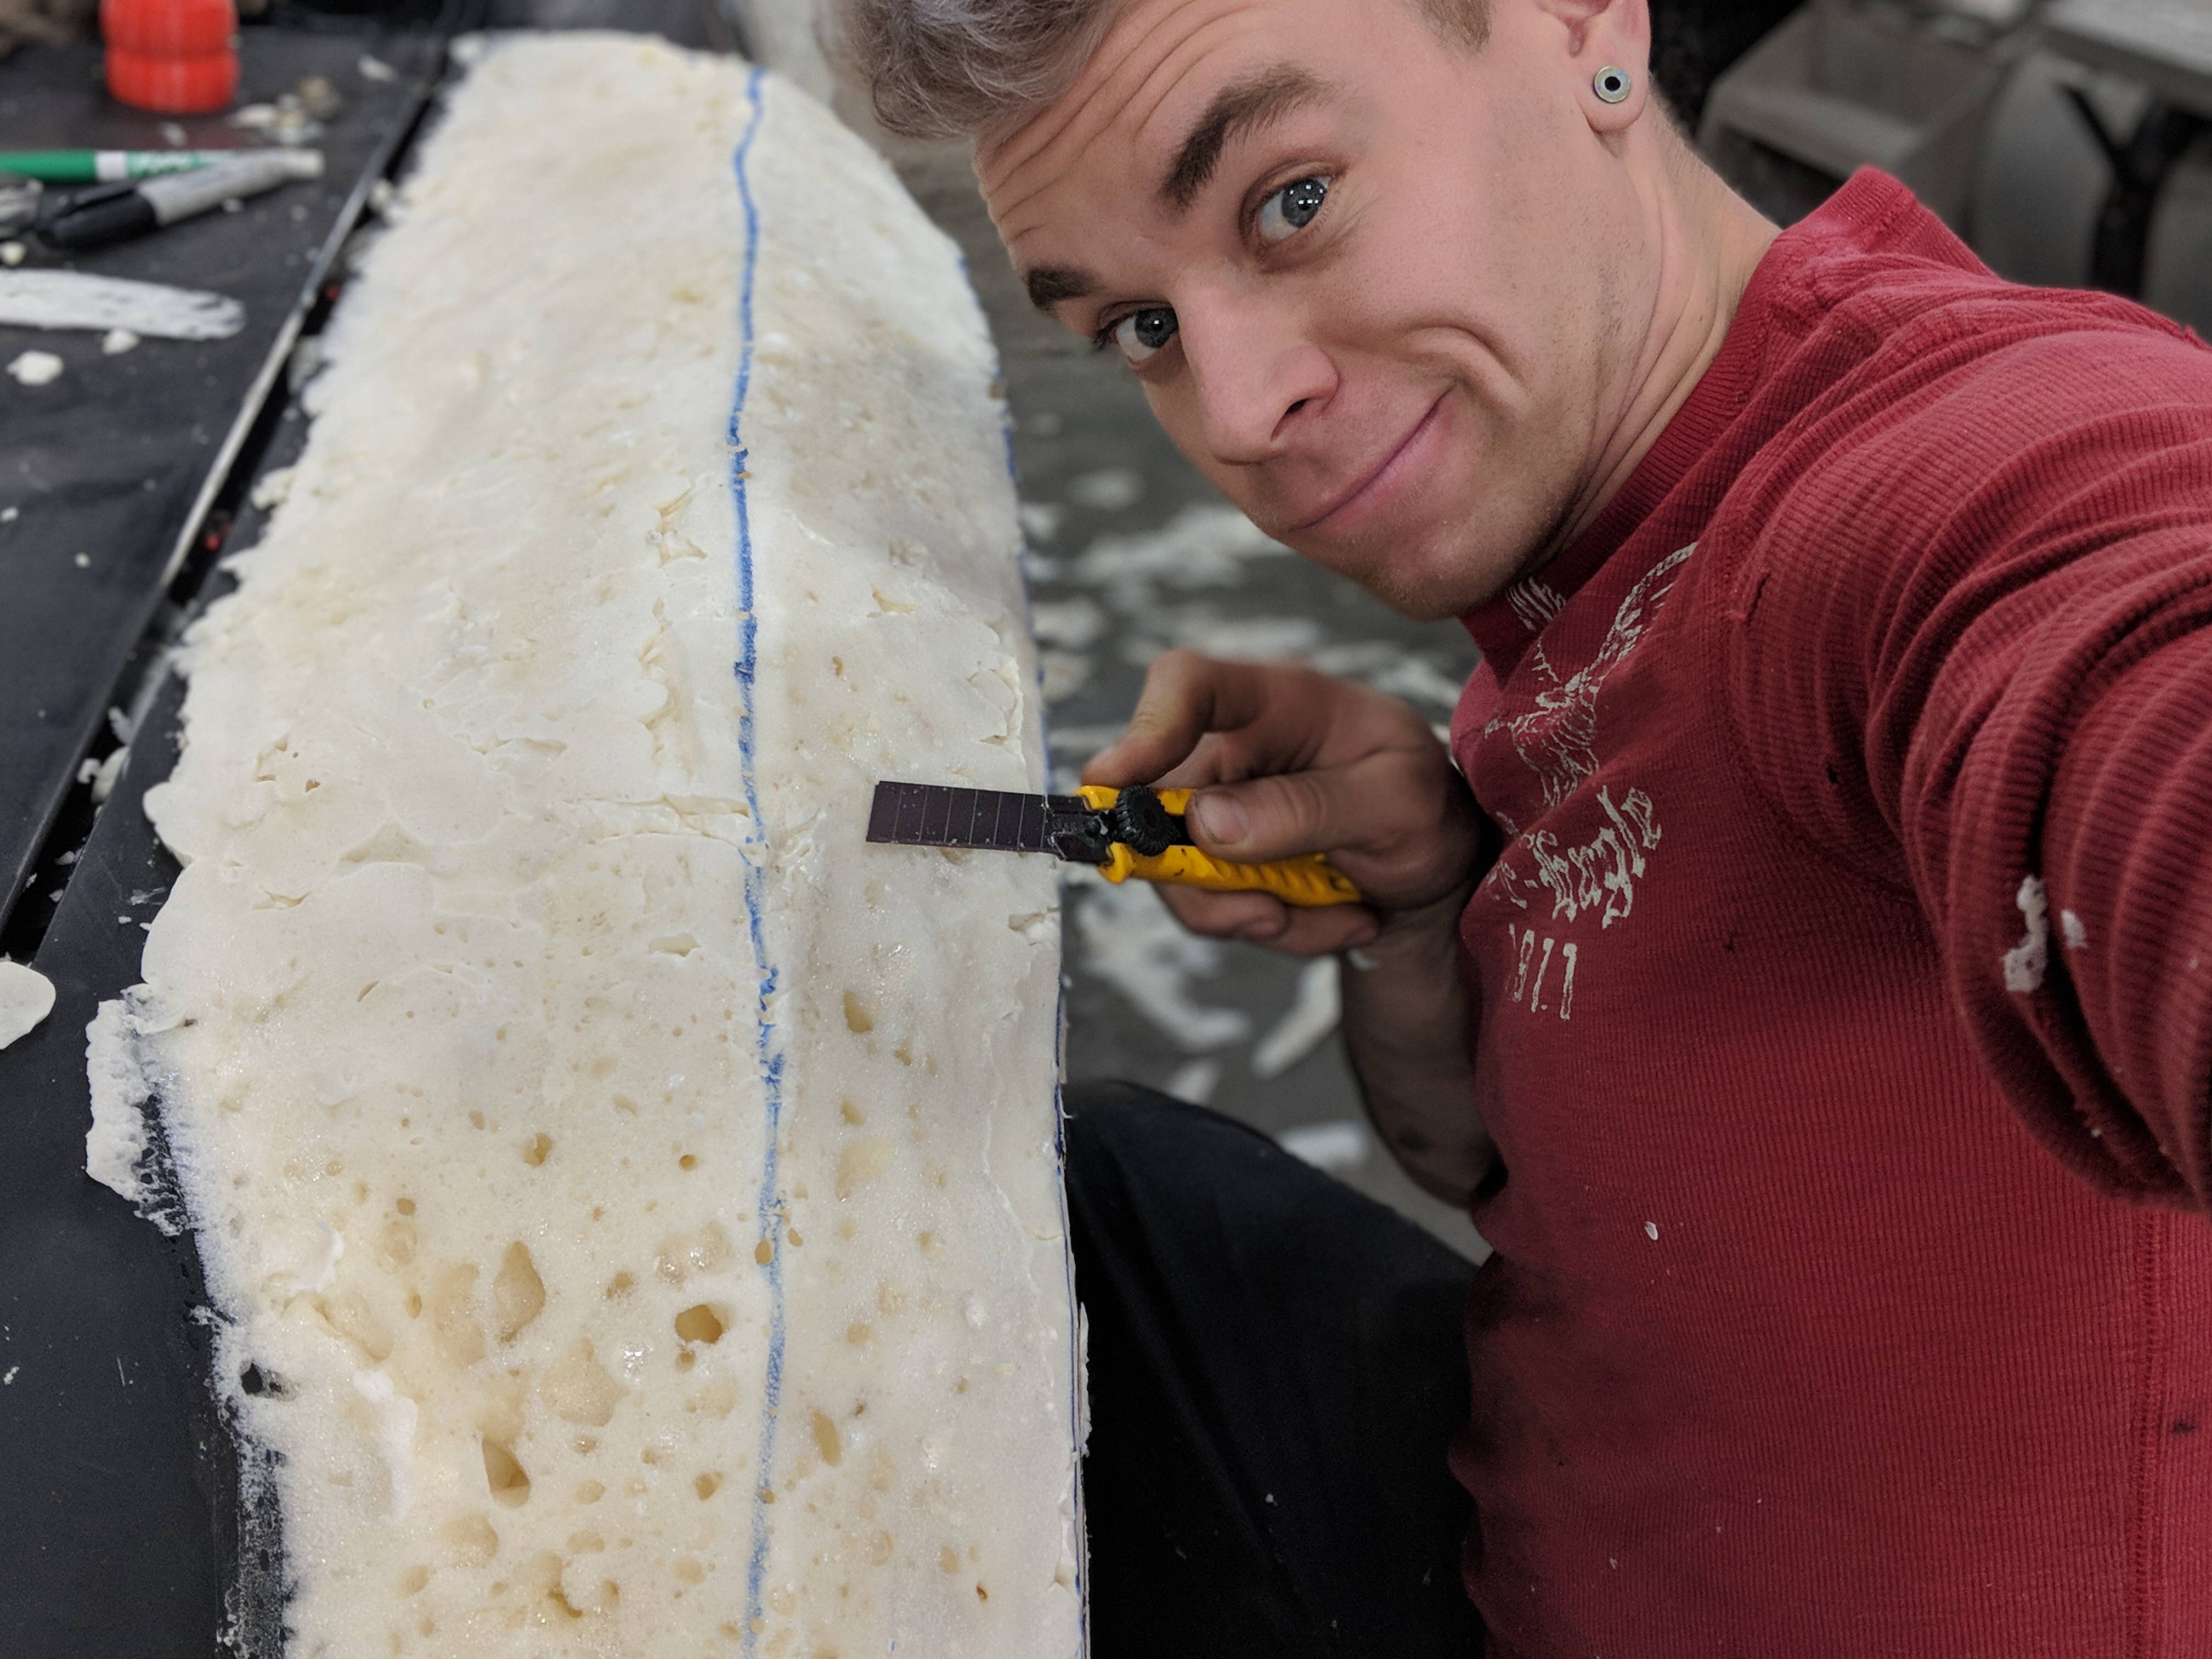
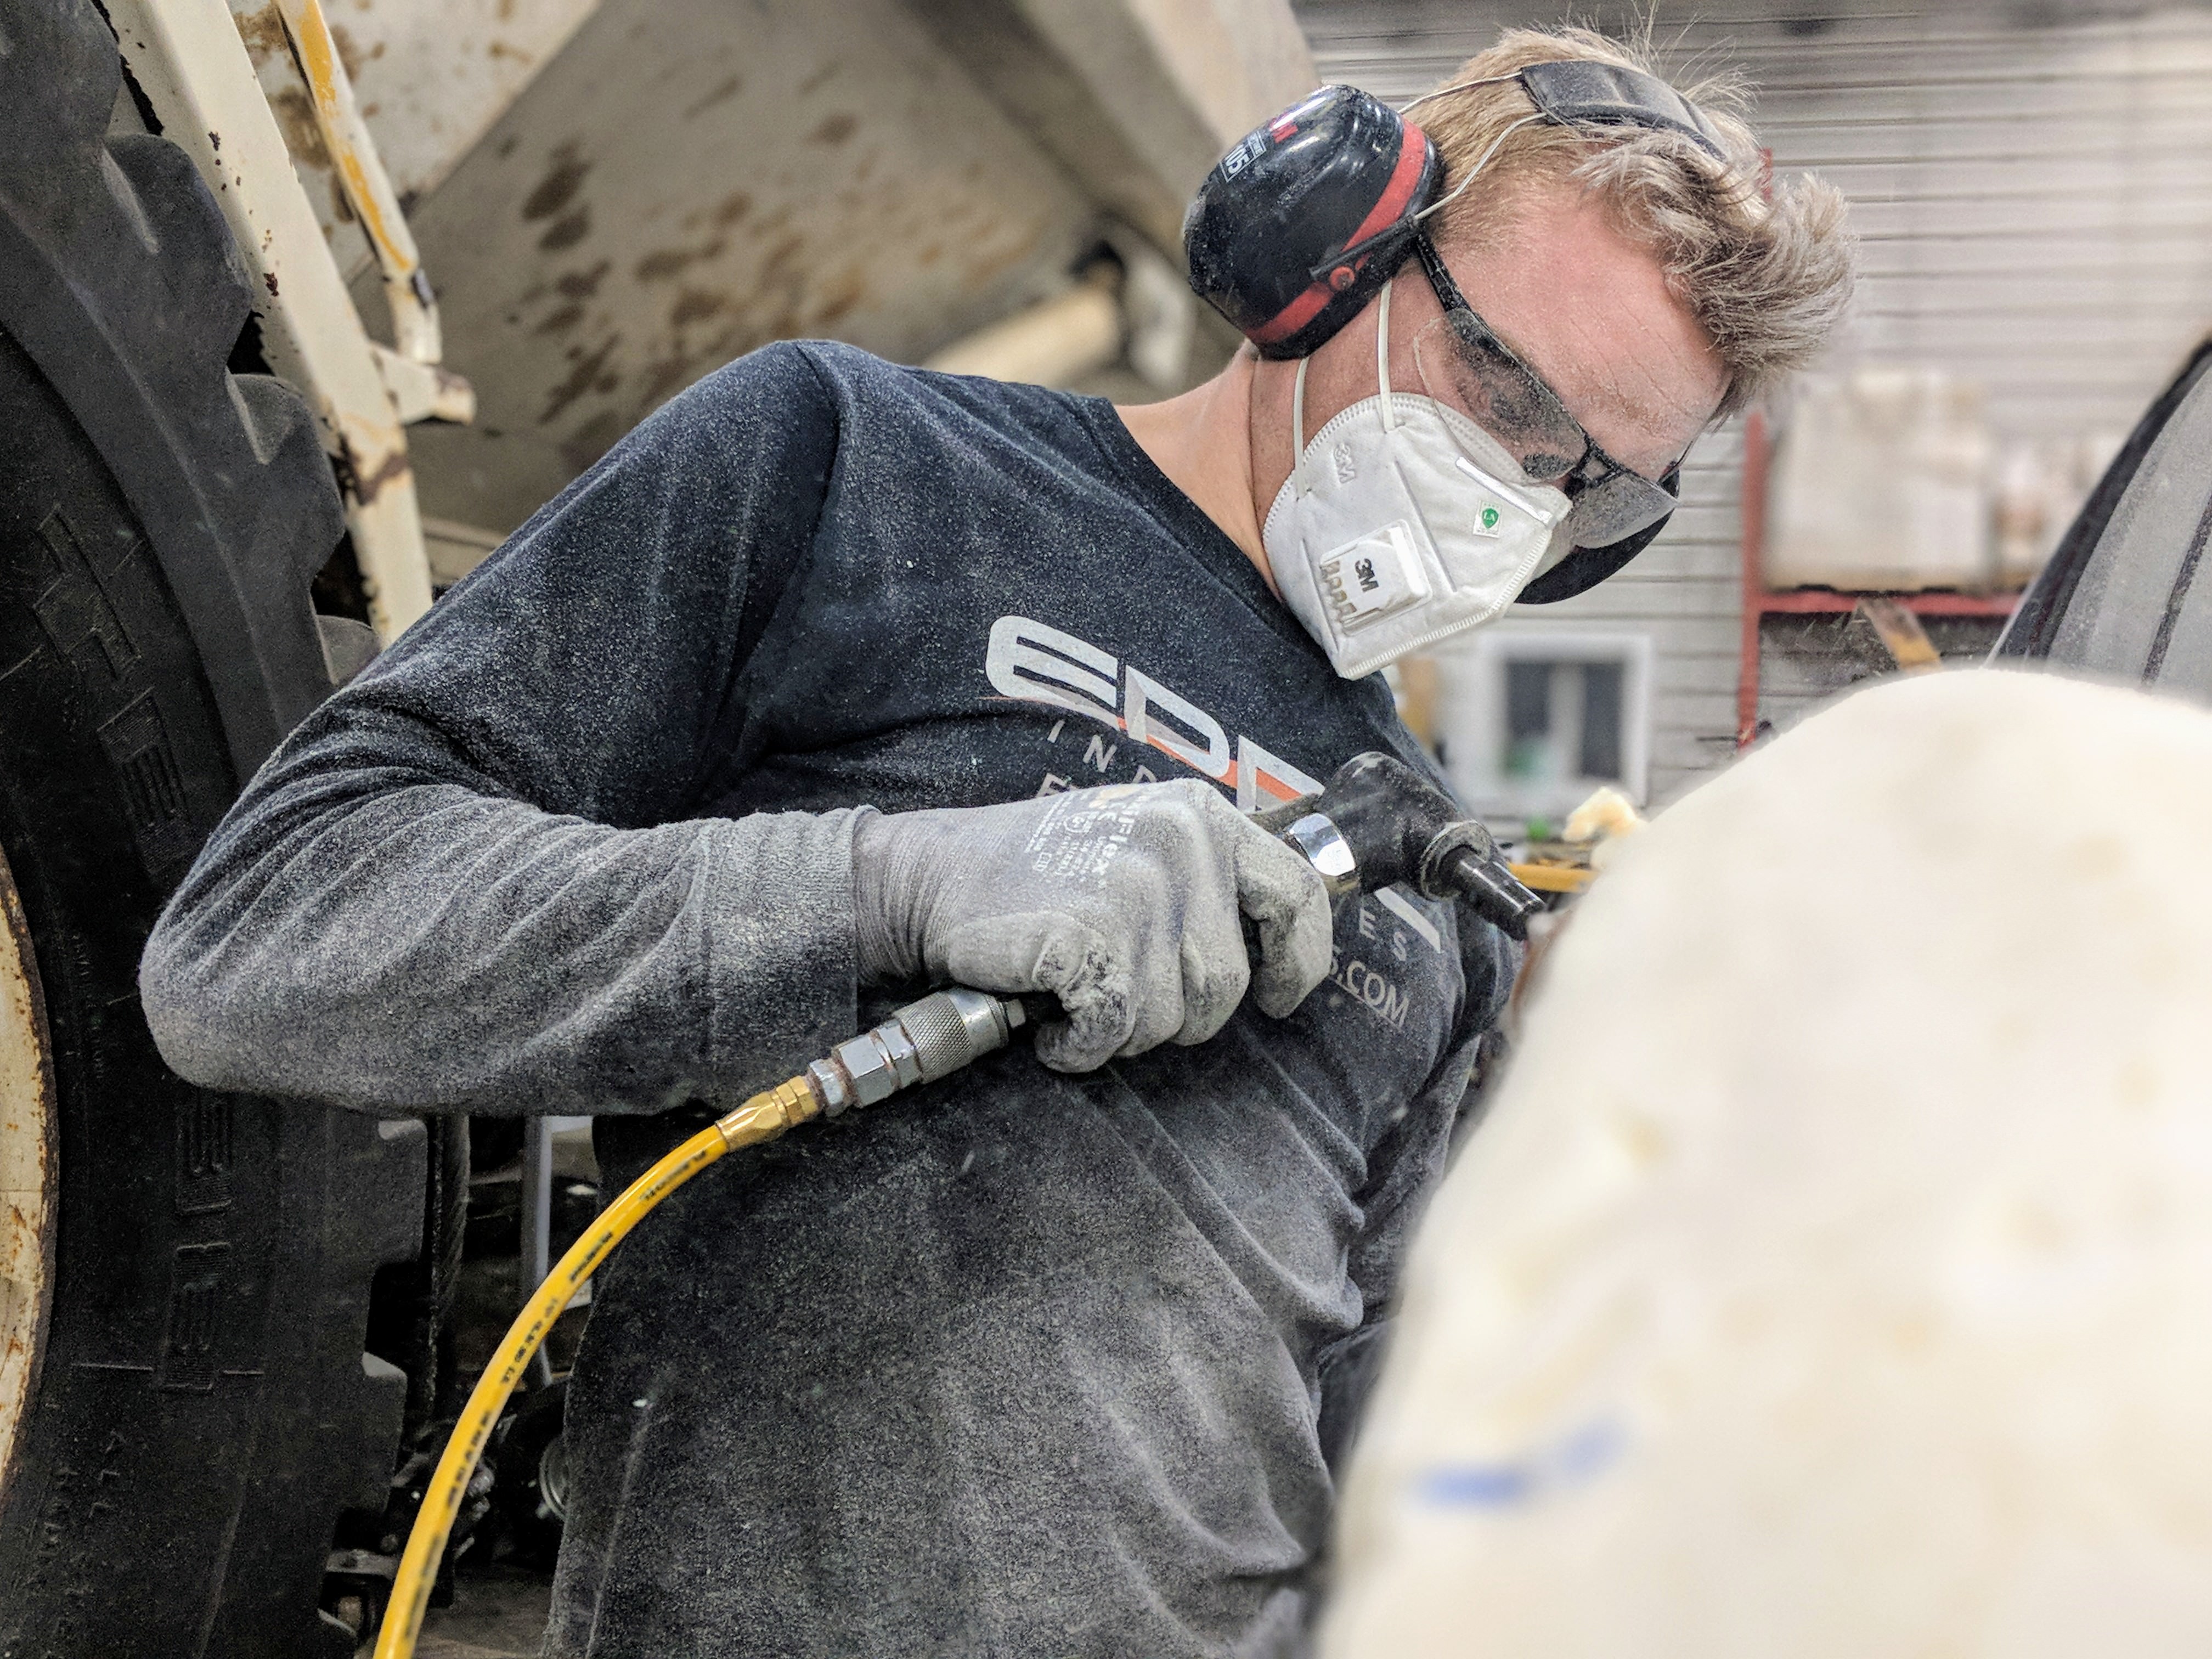
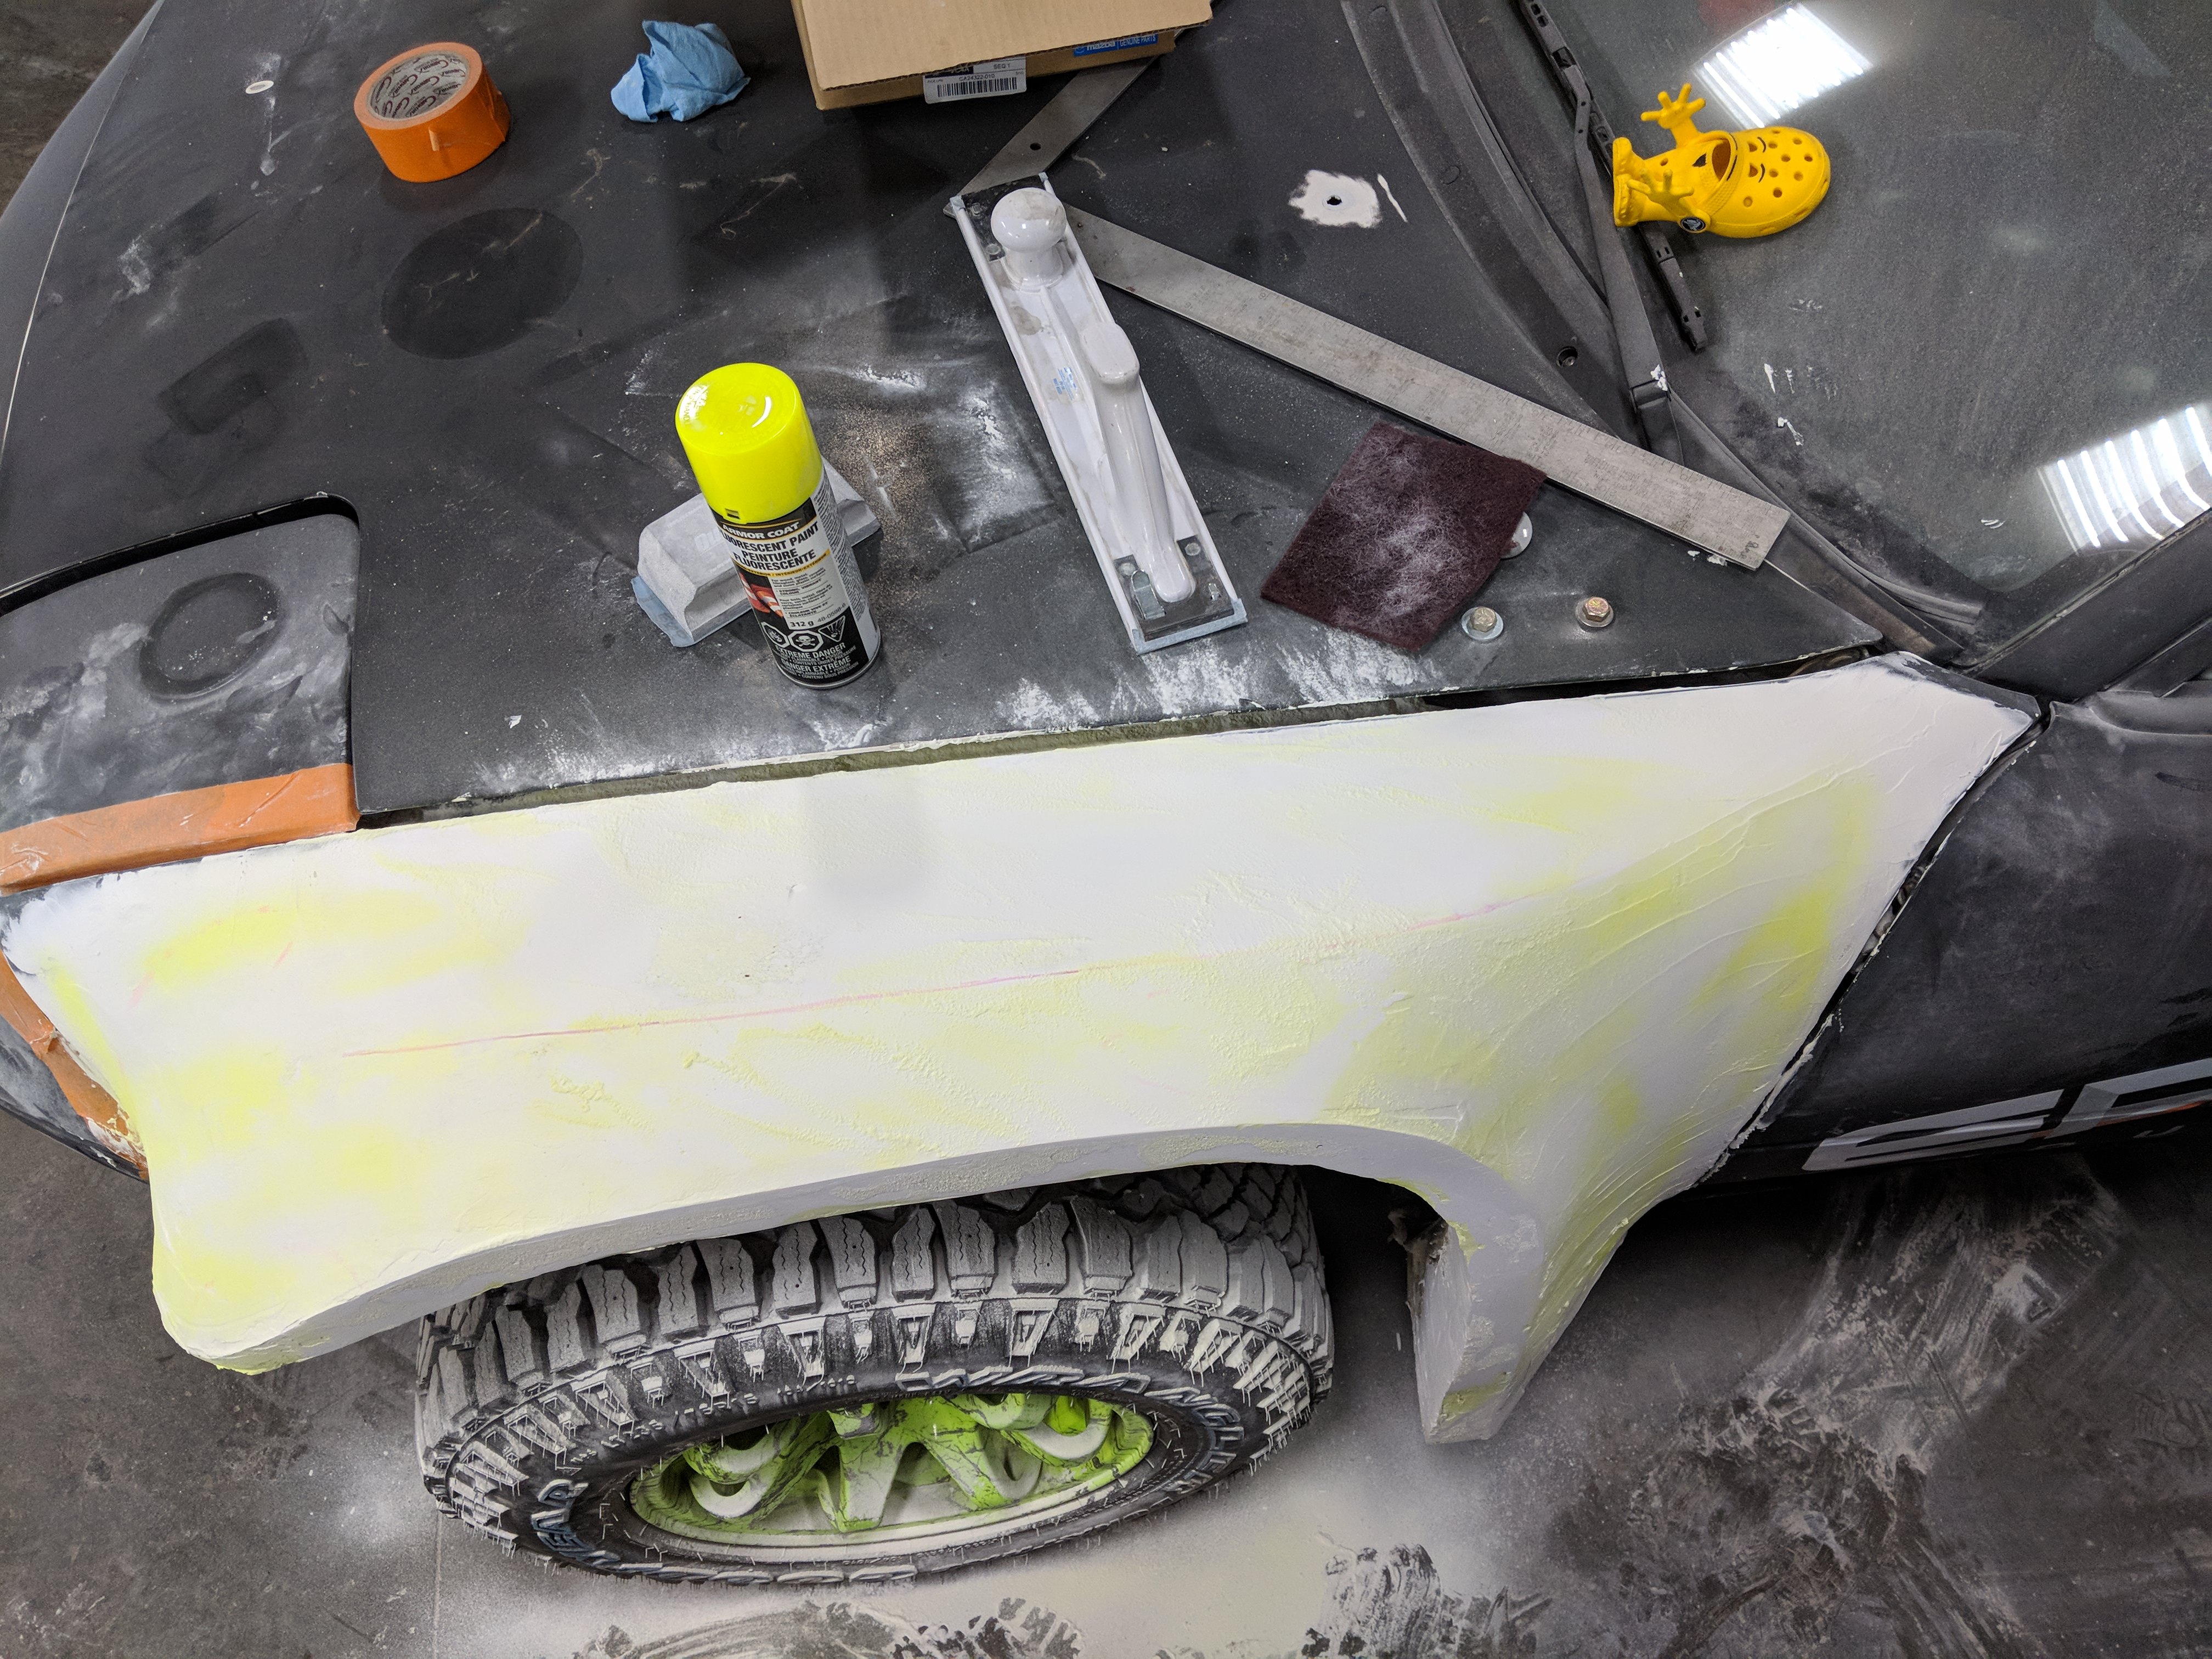
The thing with experimenting is that you don't really know how things are going to go. So it's been a slow process of trial and error. After starting this endeavour, I've done a little research. Apparently this is actually somewhat of a fairly common way to do this task. For those that are wondering why I use expanding foam. It's my base for shaping how I want my fenders to look. Once I have them formed how I want, I fiberglass over the foam. Sand it down. Body filler on that. Sand it down. Then paint the car.
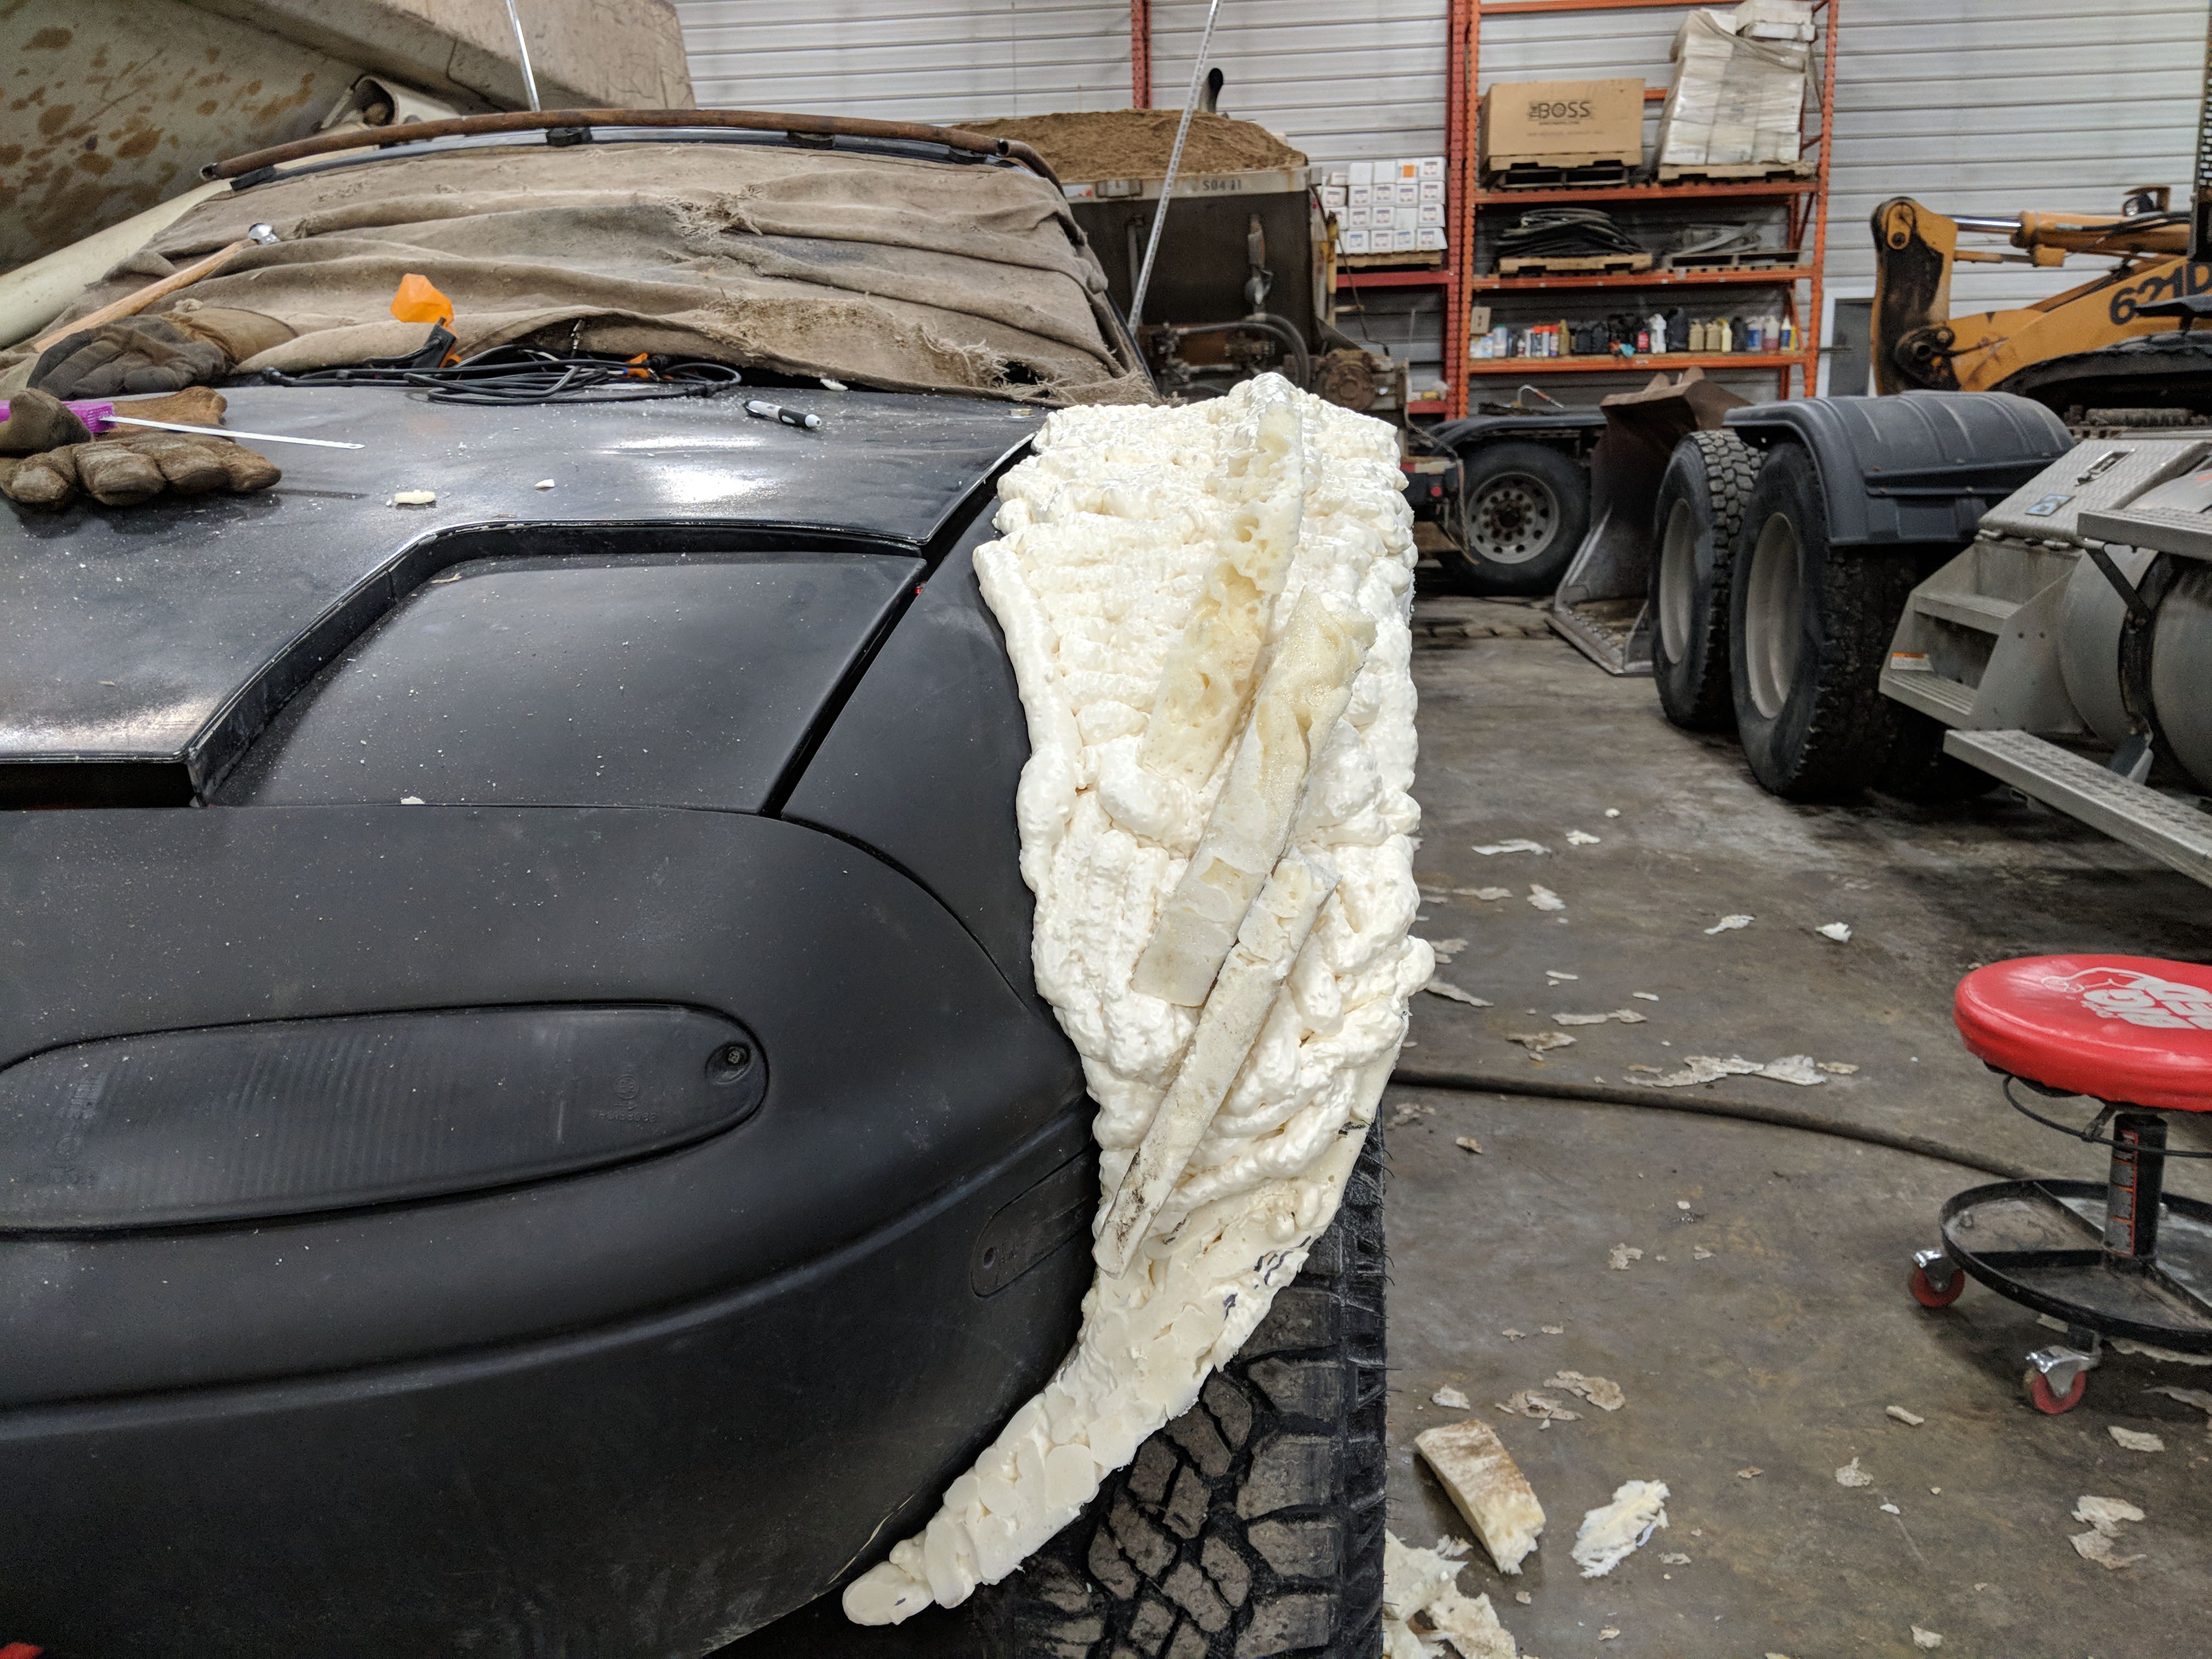
The typical trend this process is taking is add some foam. slice most of it off. Then add some more in other places. And slice that off so you can add more foam in more places again. All this is time consuming as you have to wait for foam to cure. (24 hours) So in the interest of efficiency, I started on some other projects on the car as well.
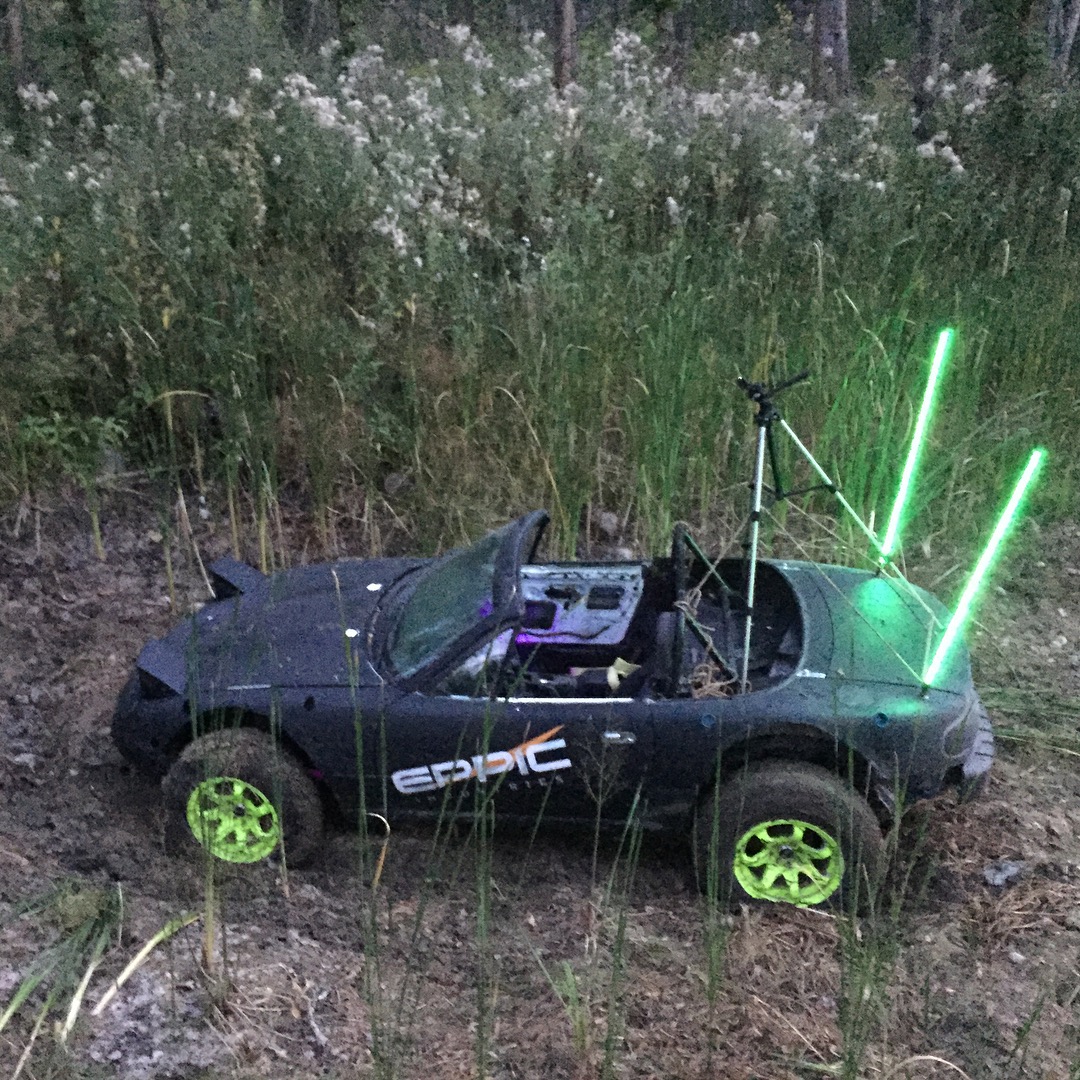
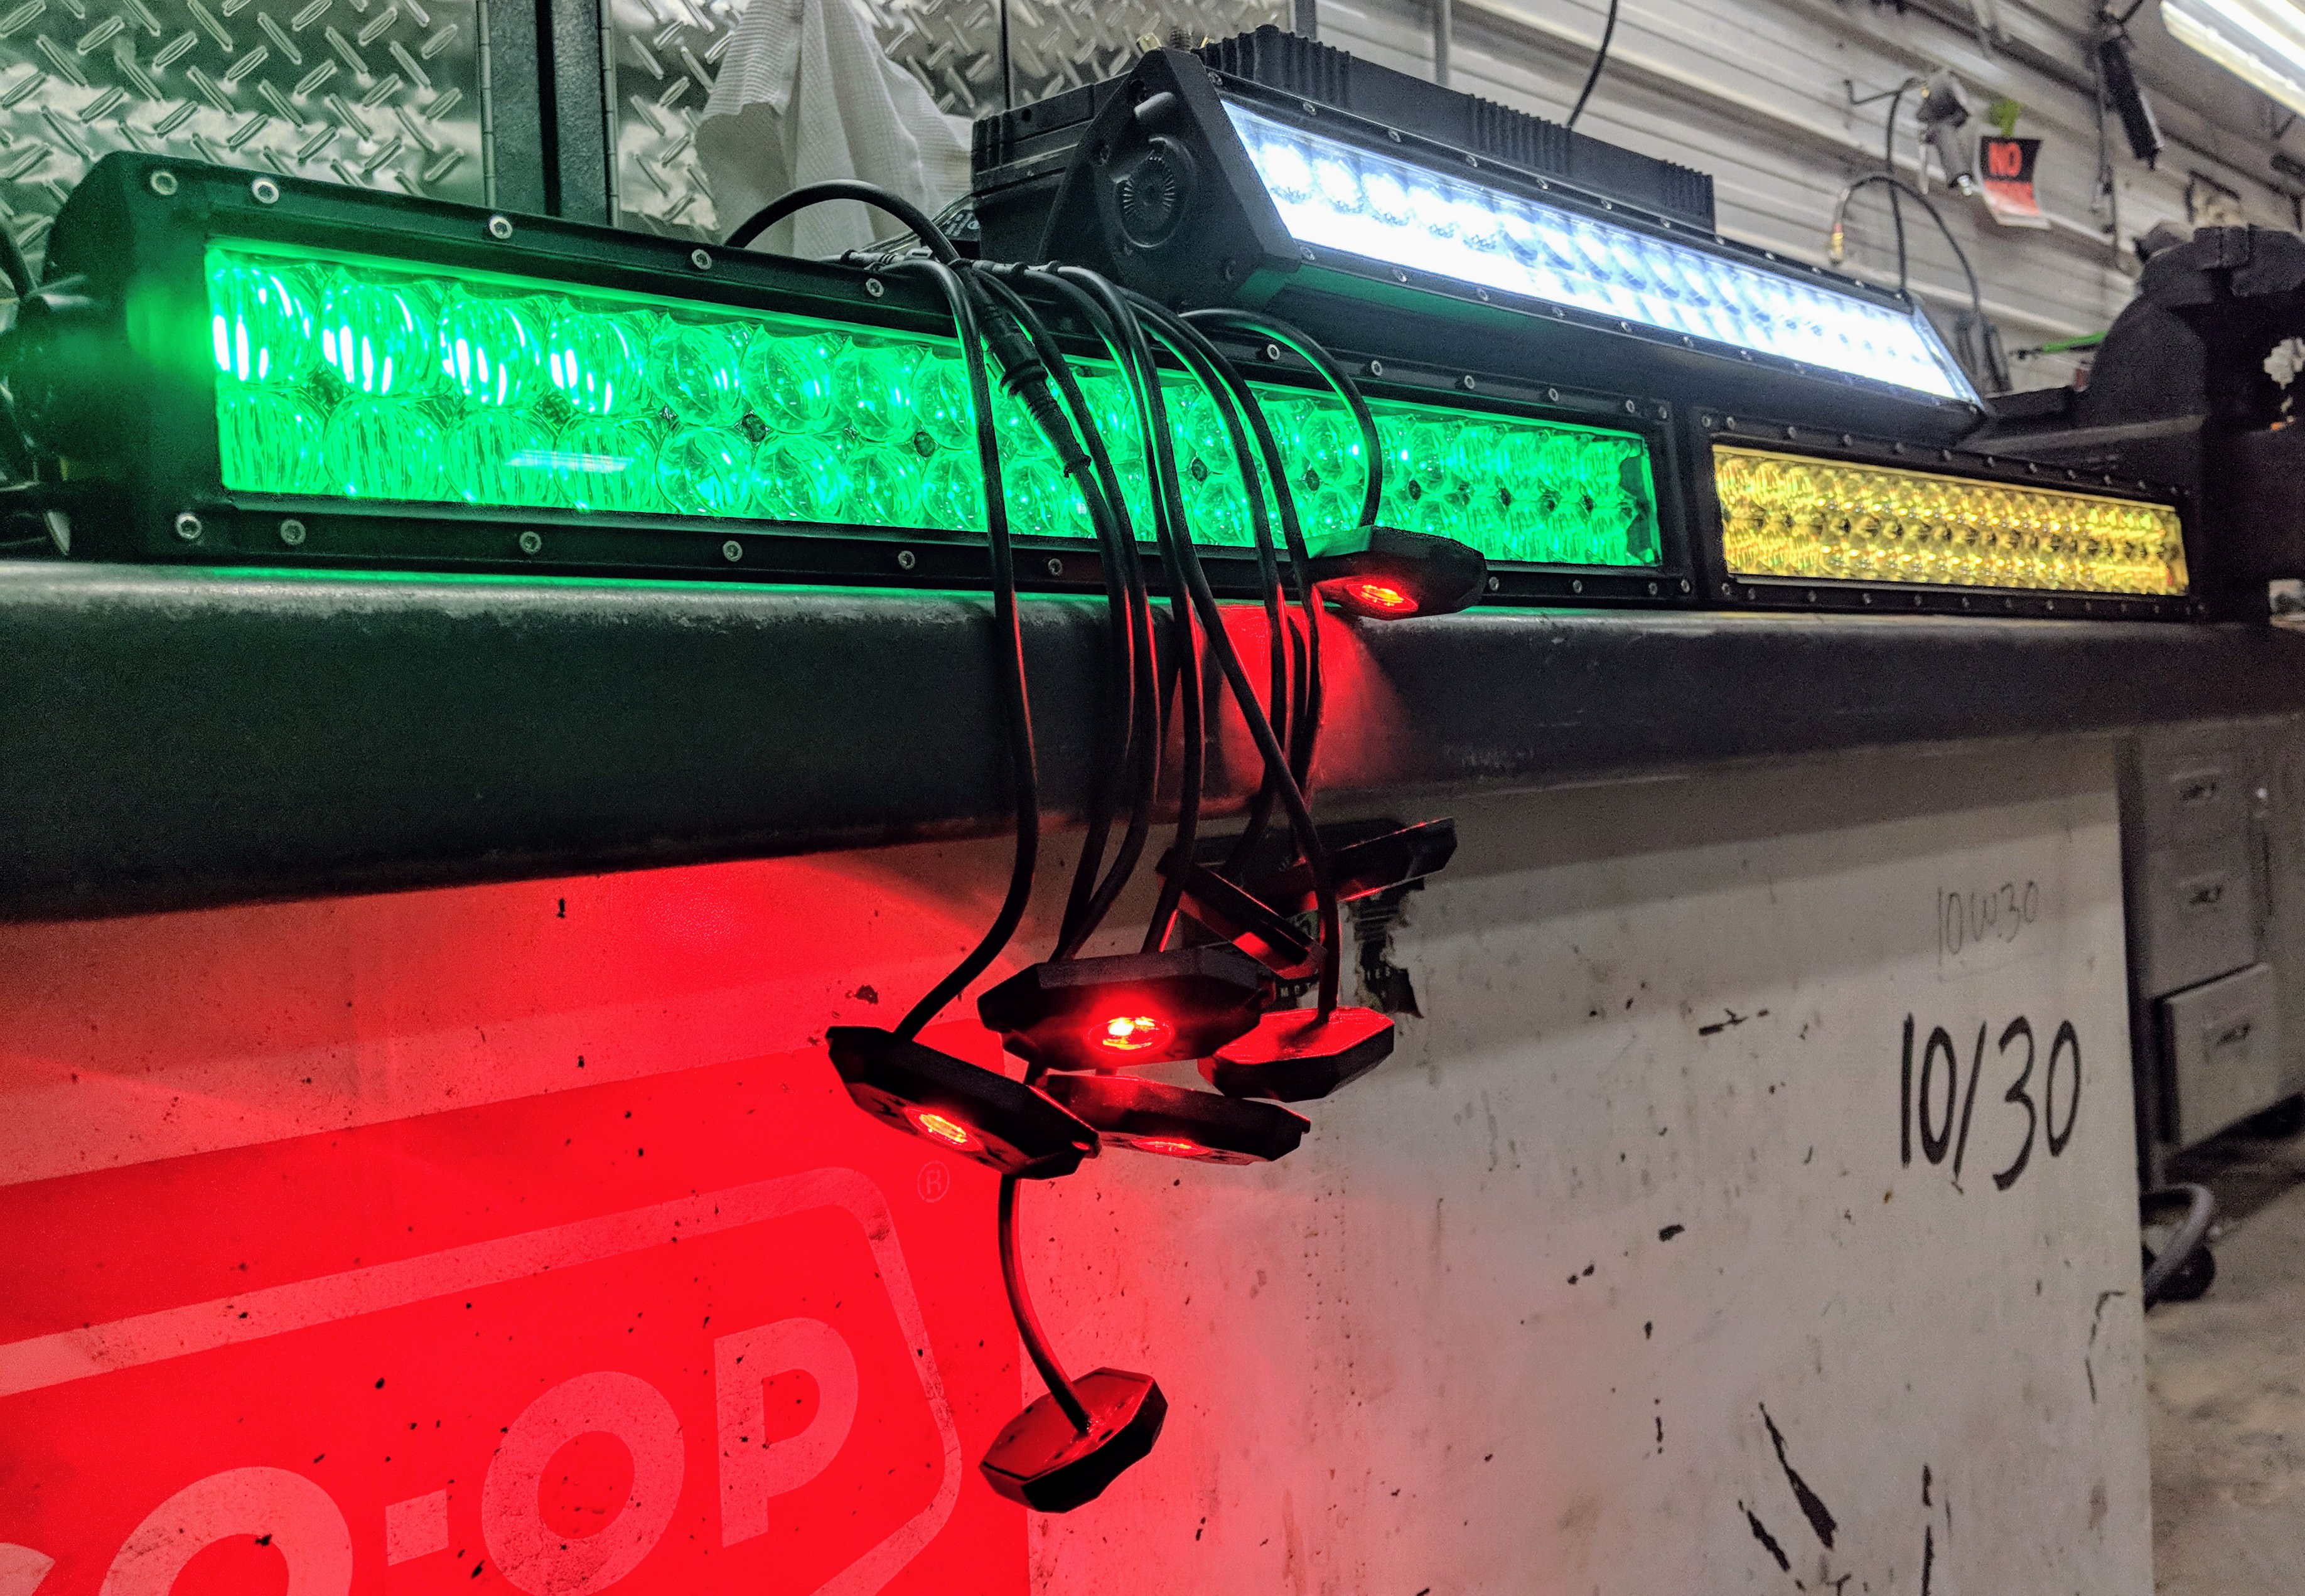
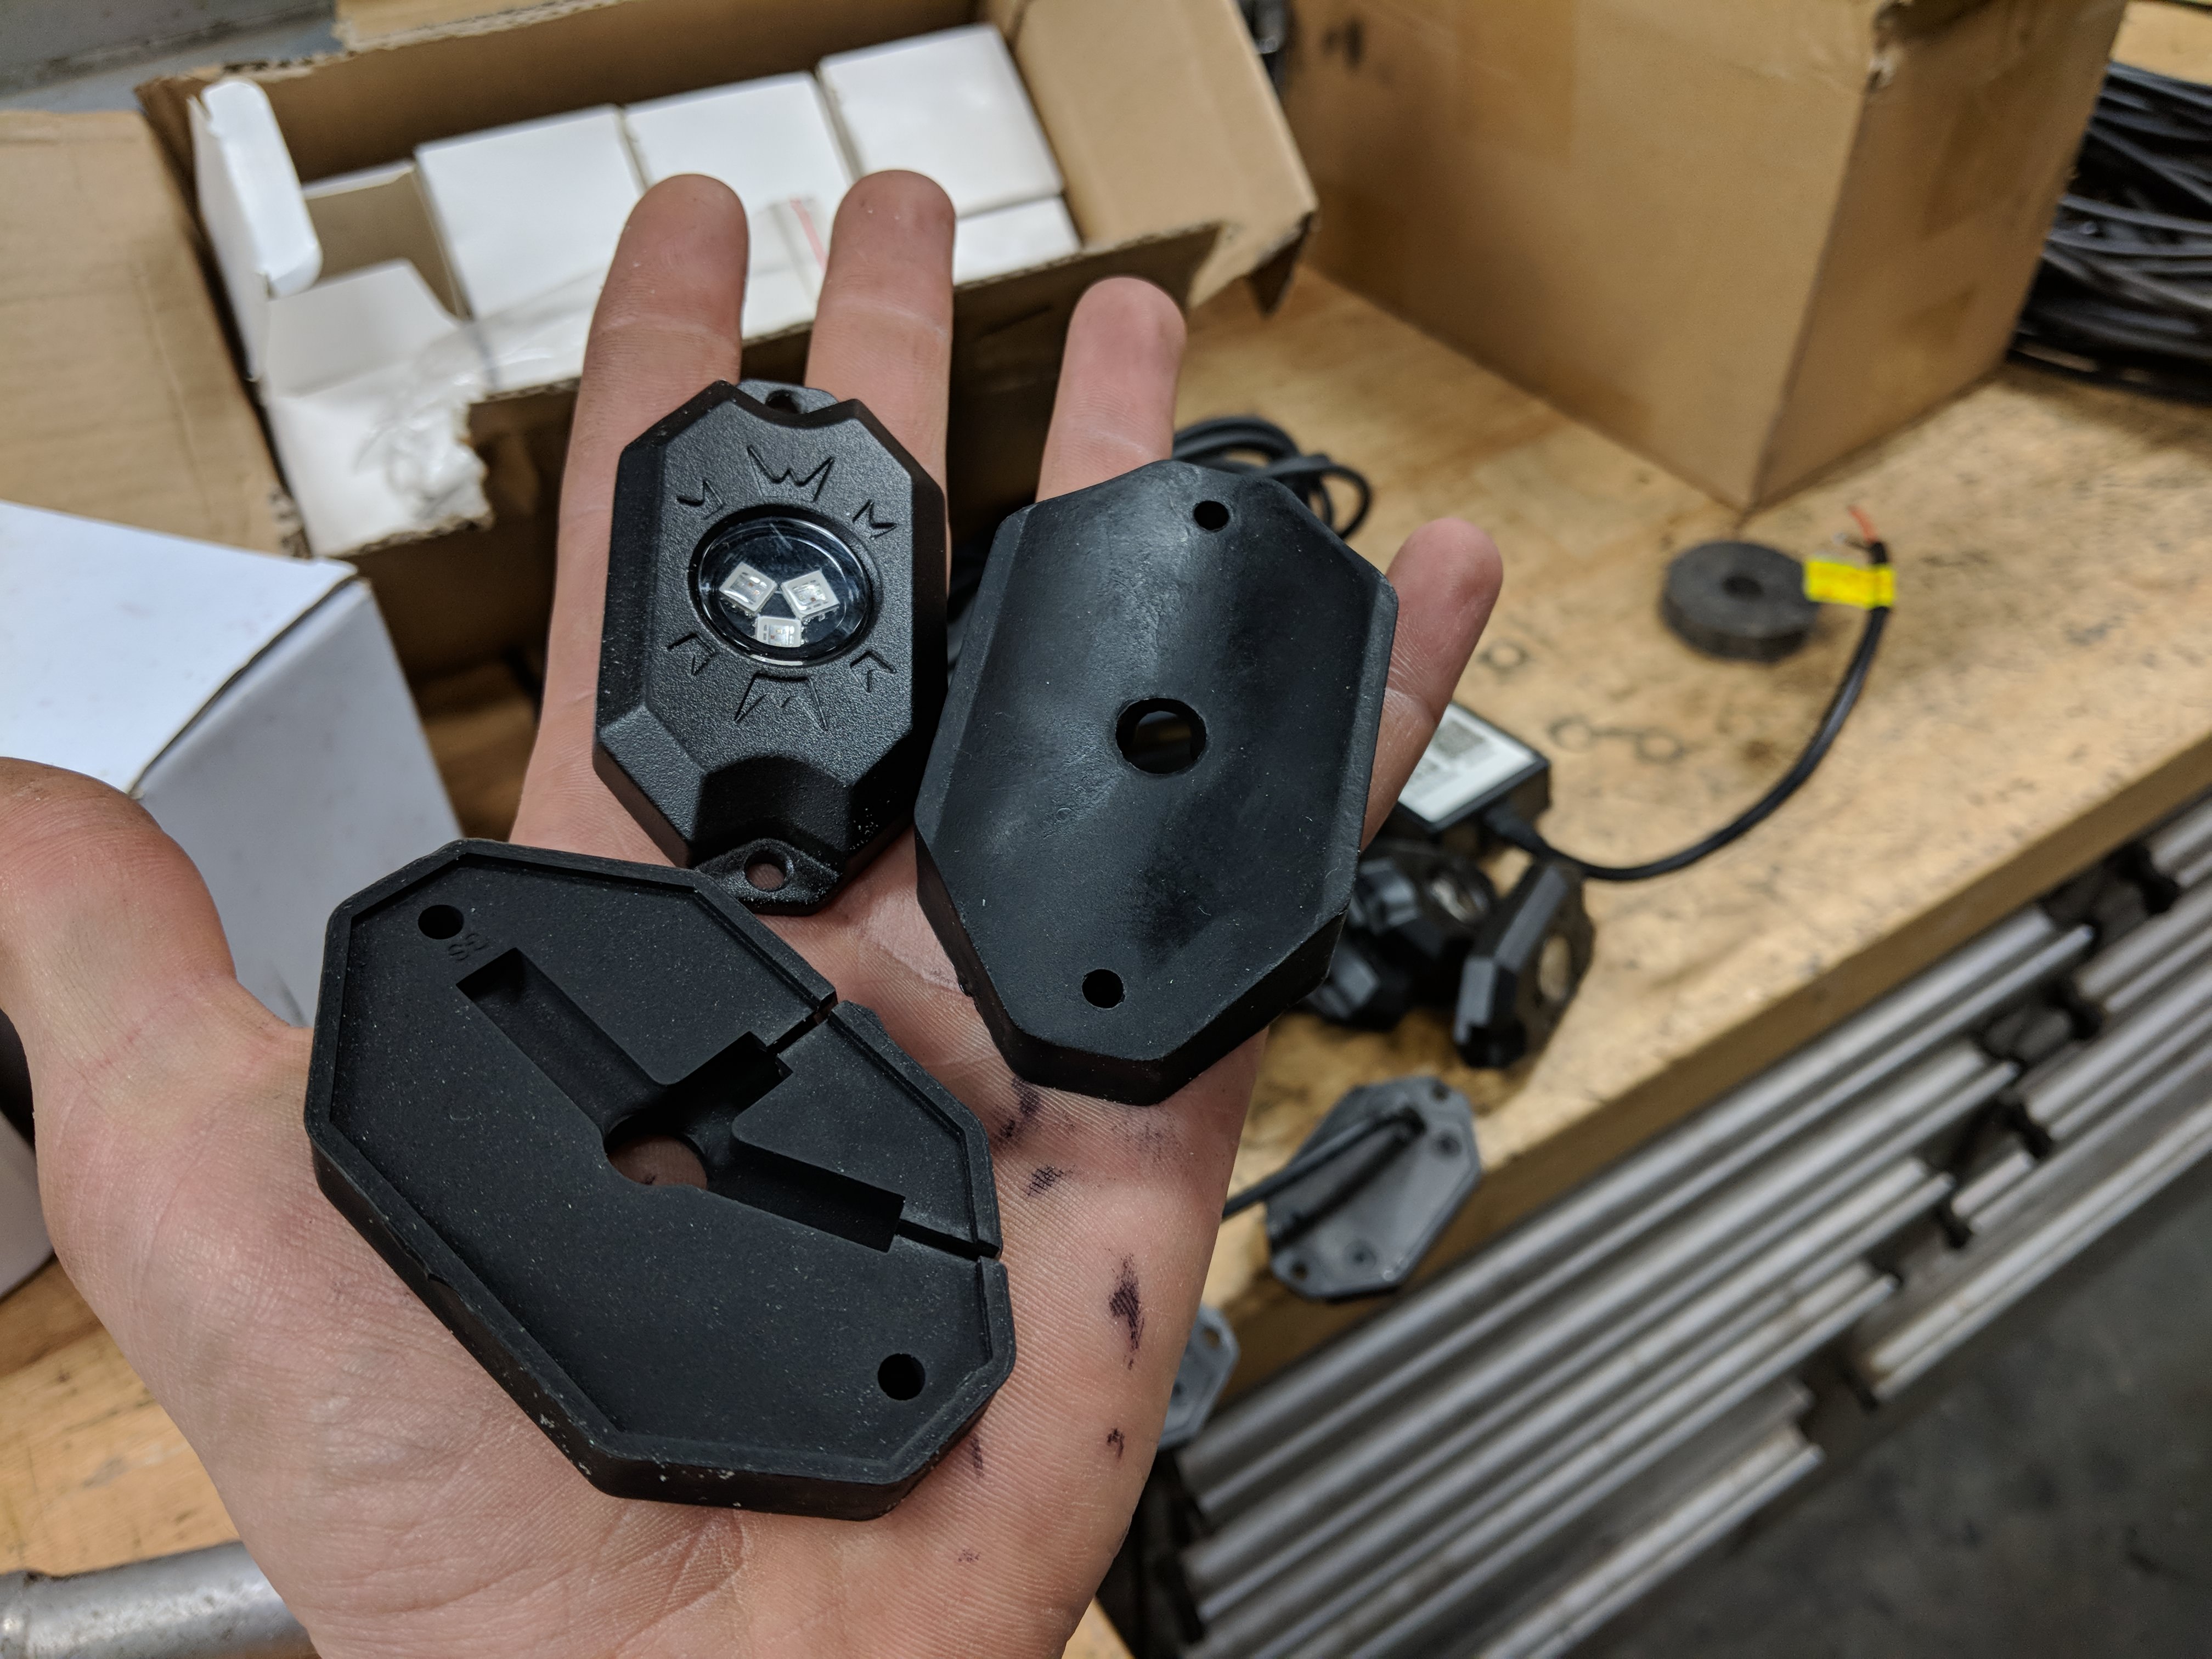
Like rock lights!
and a custom fabbed roof rack
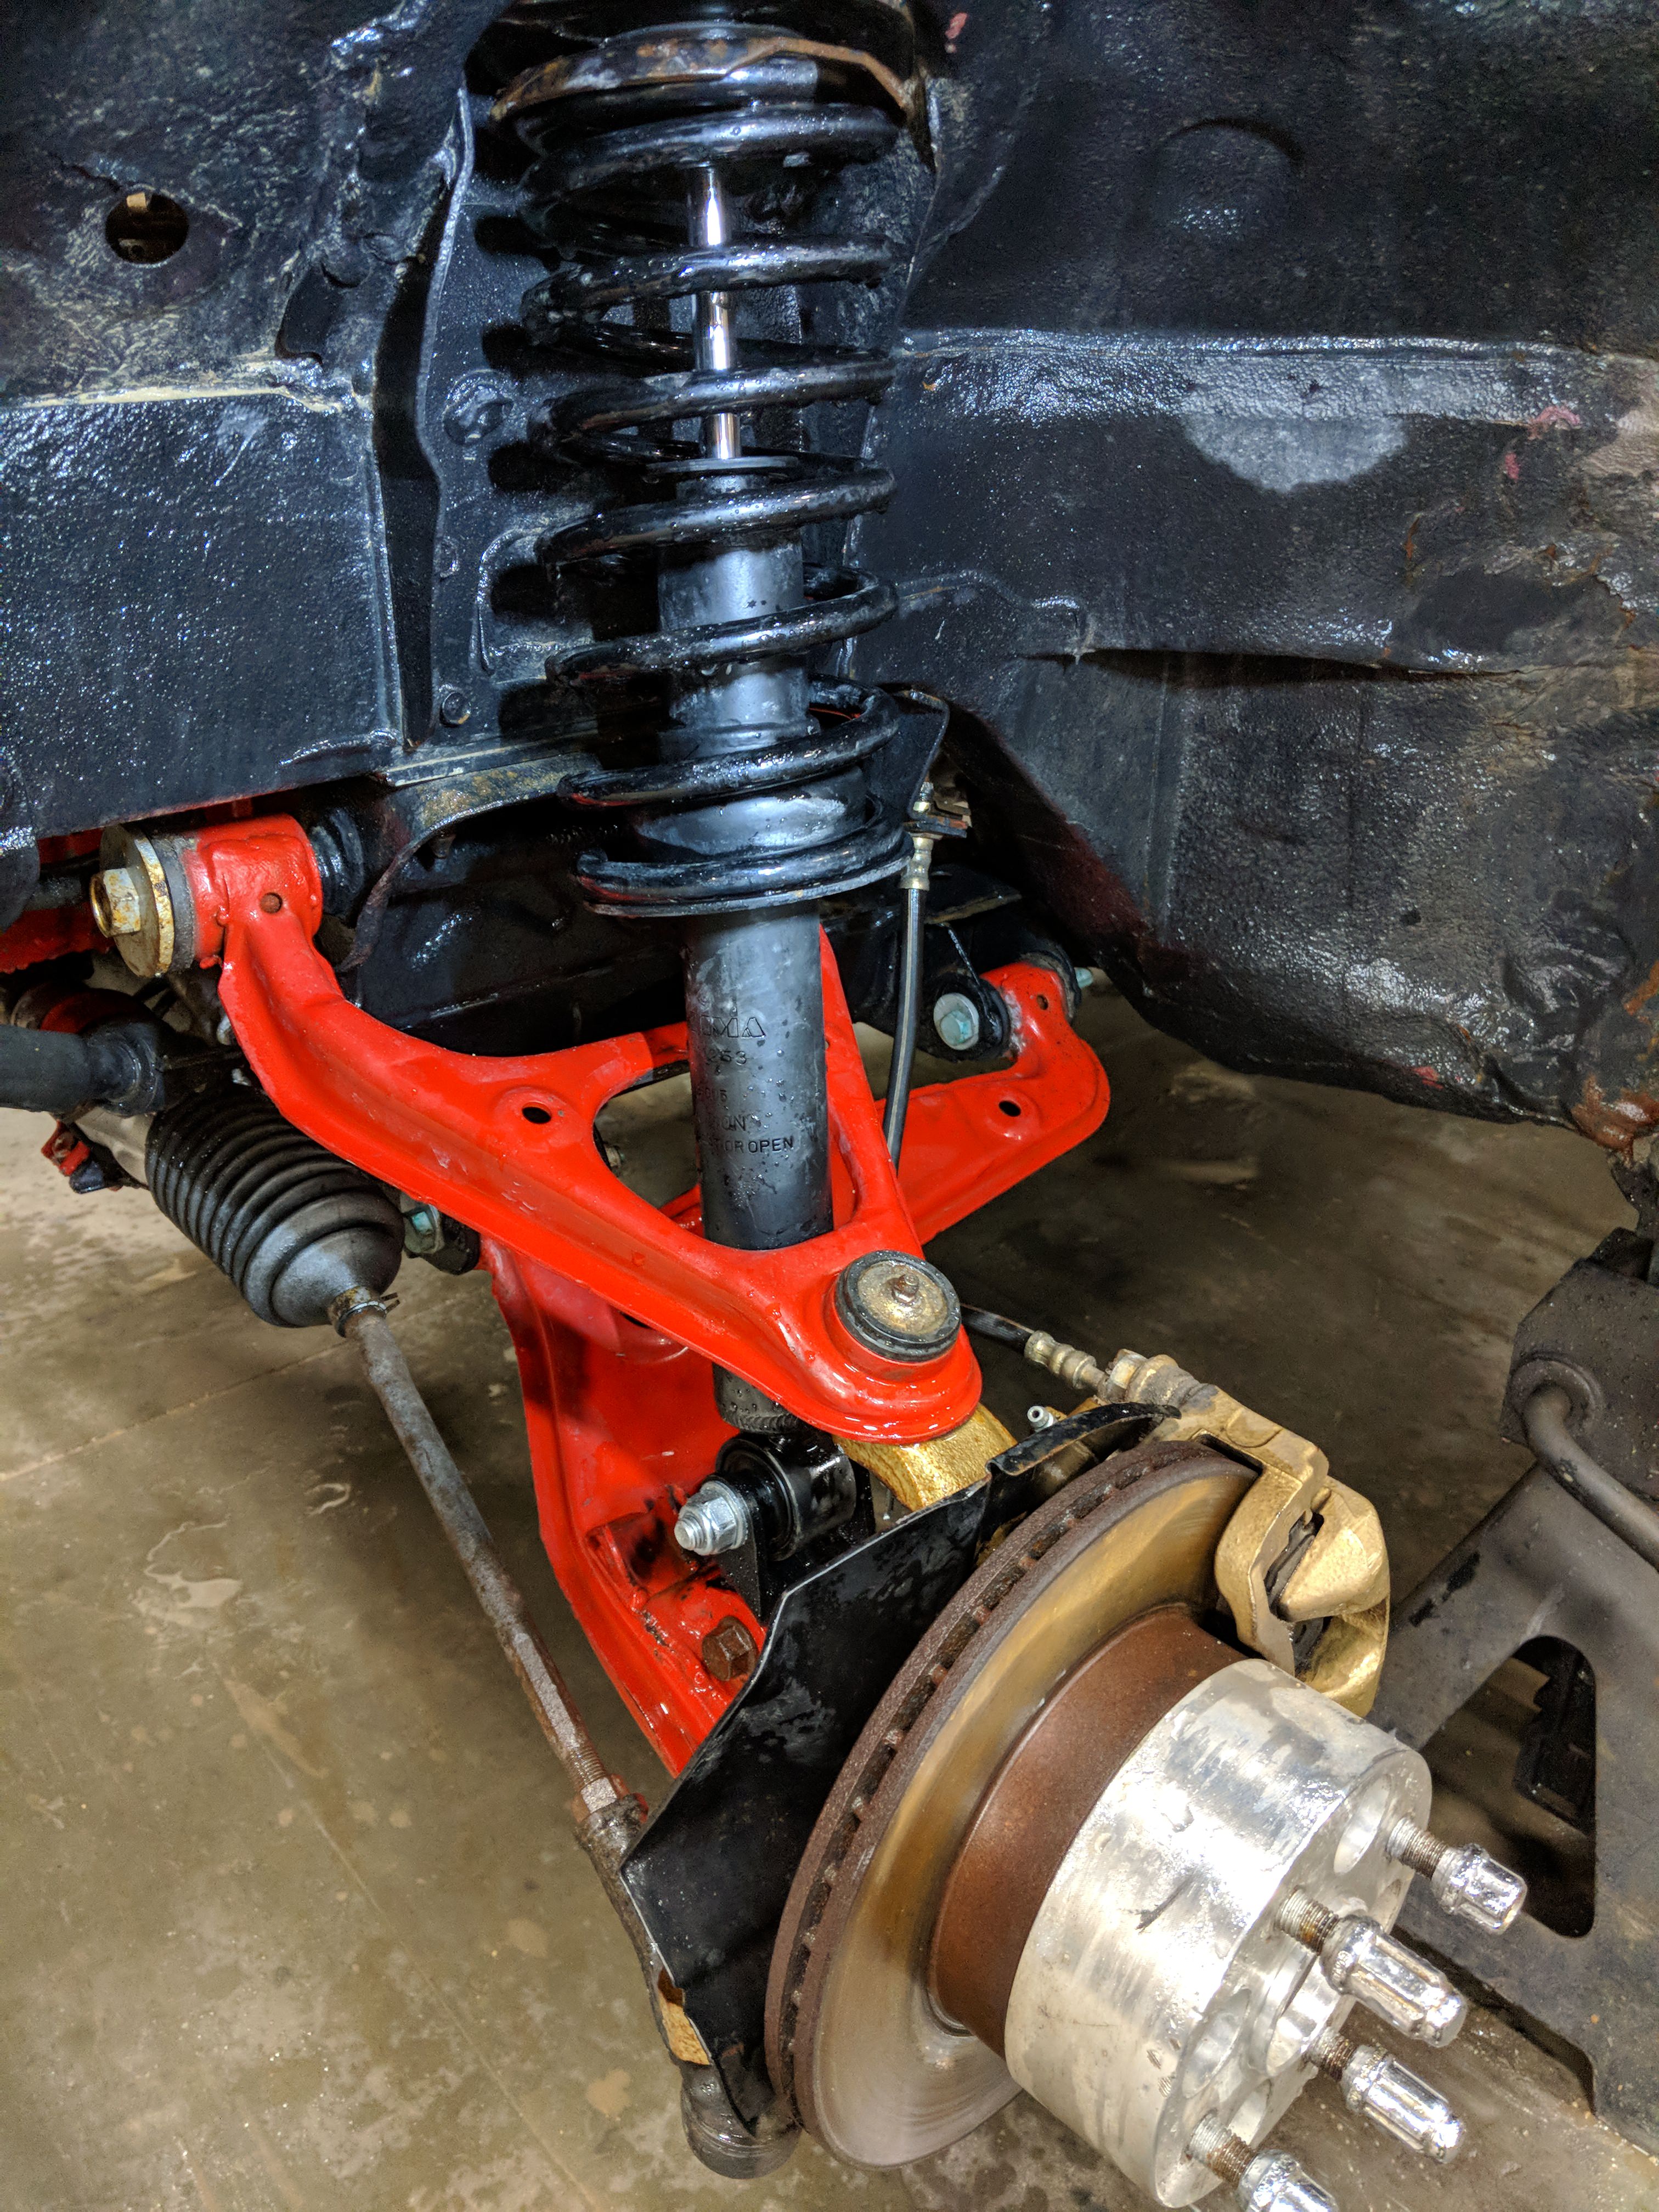
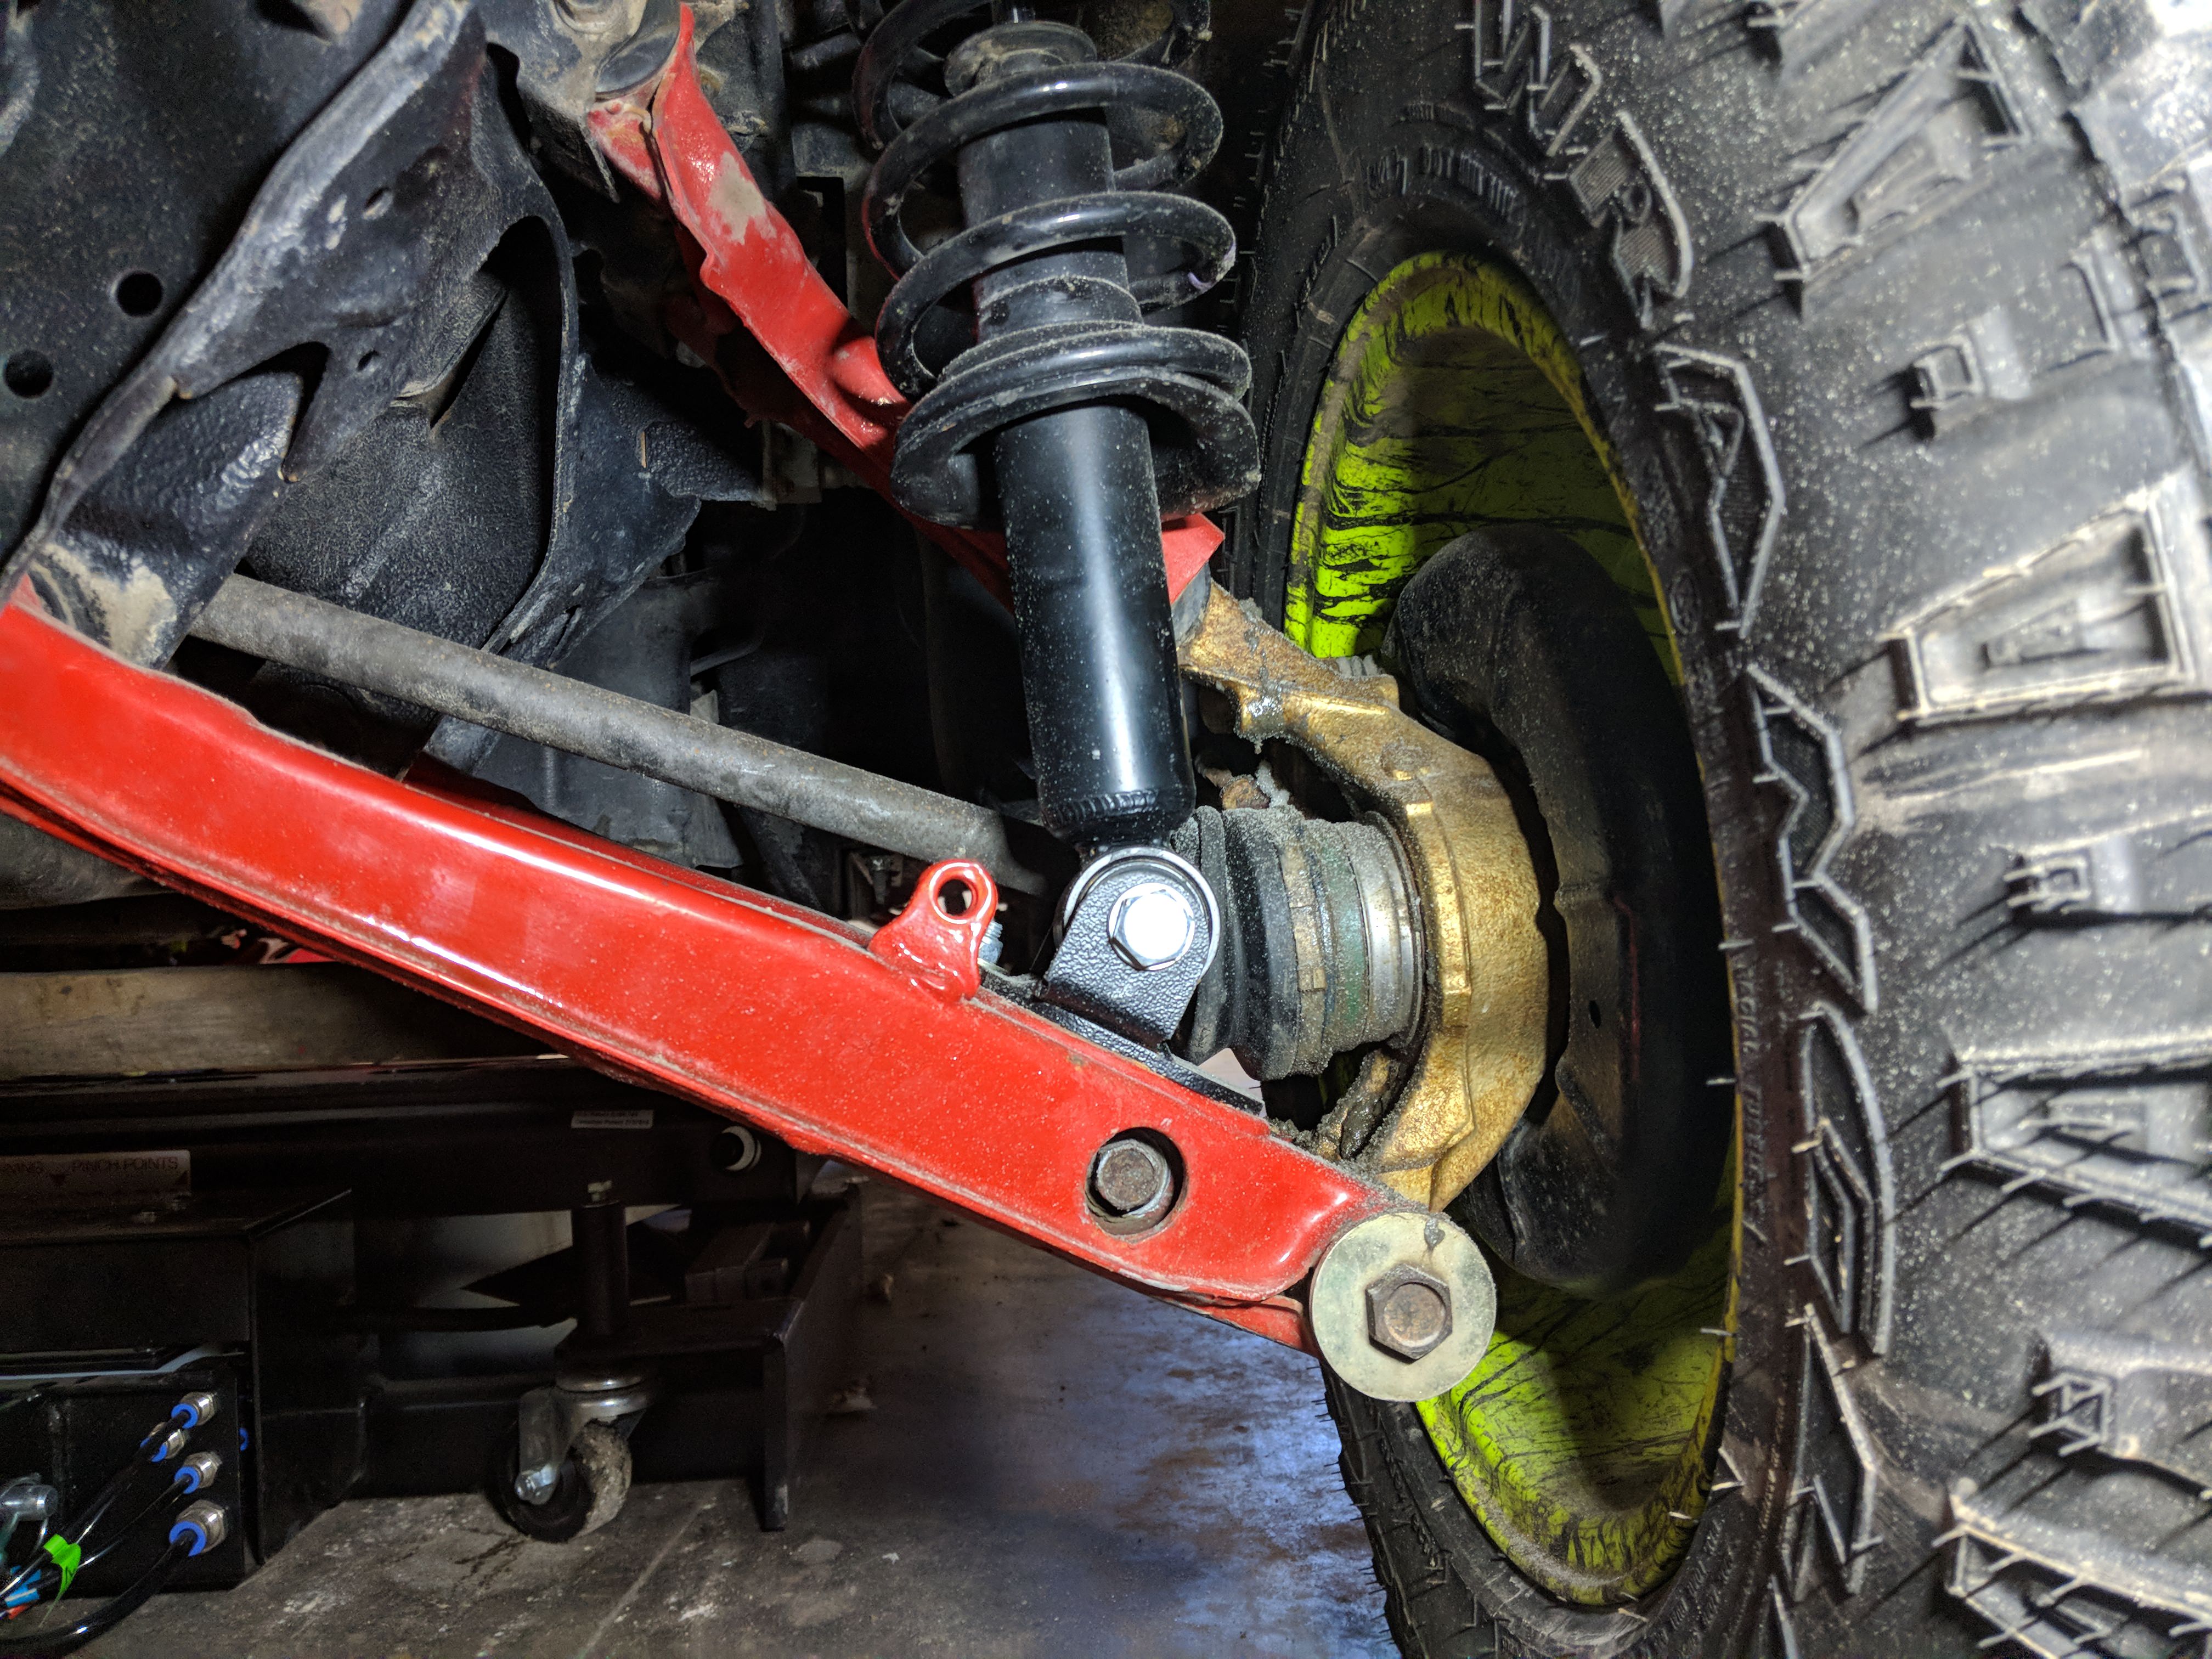
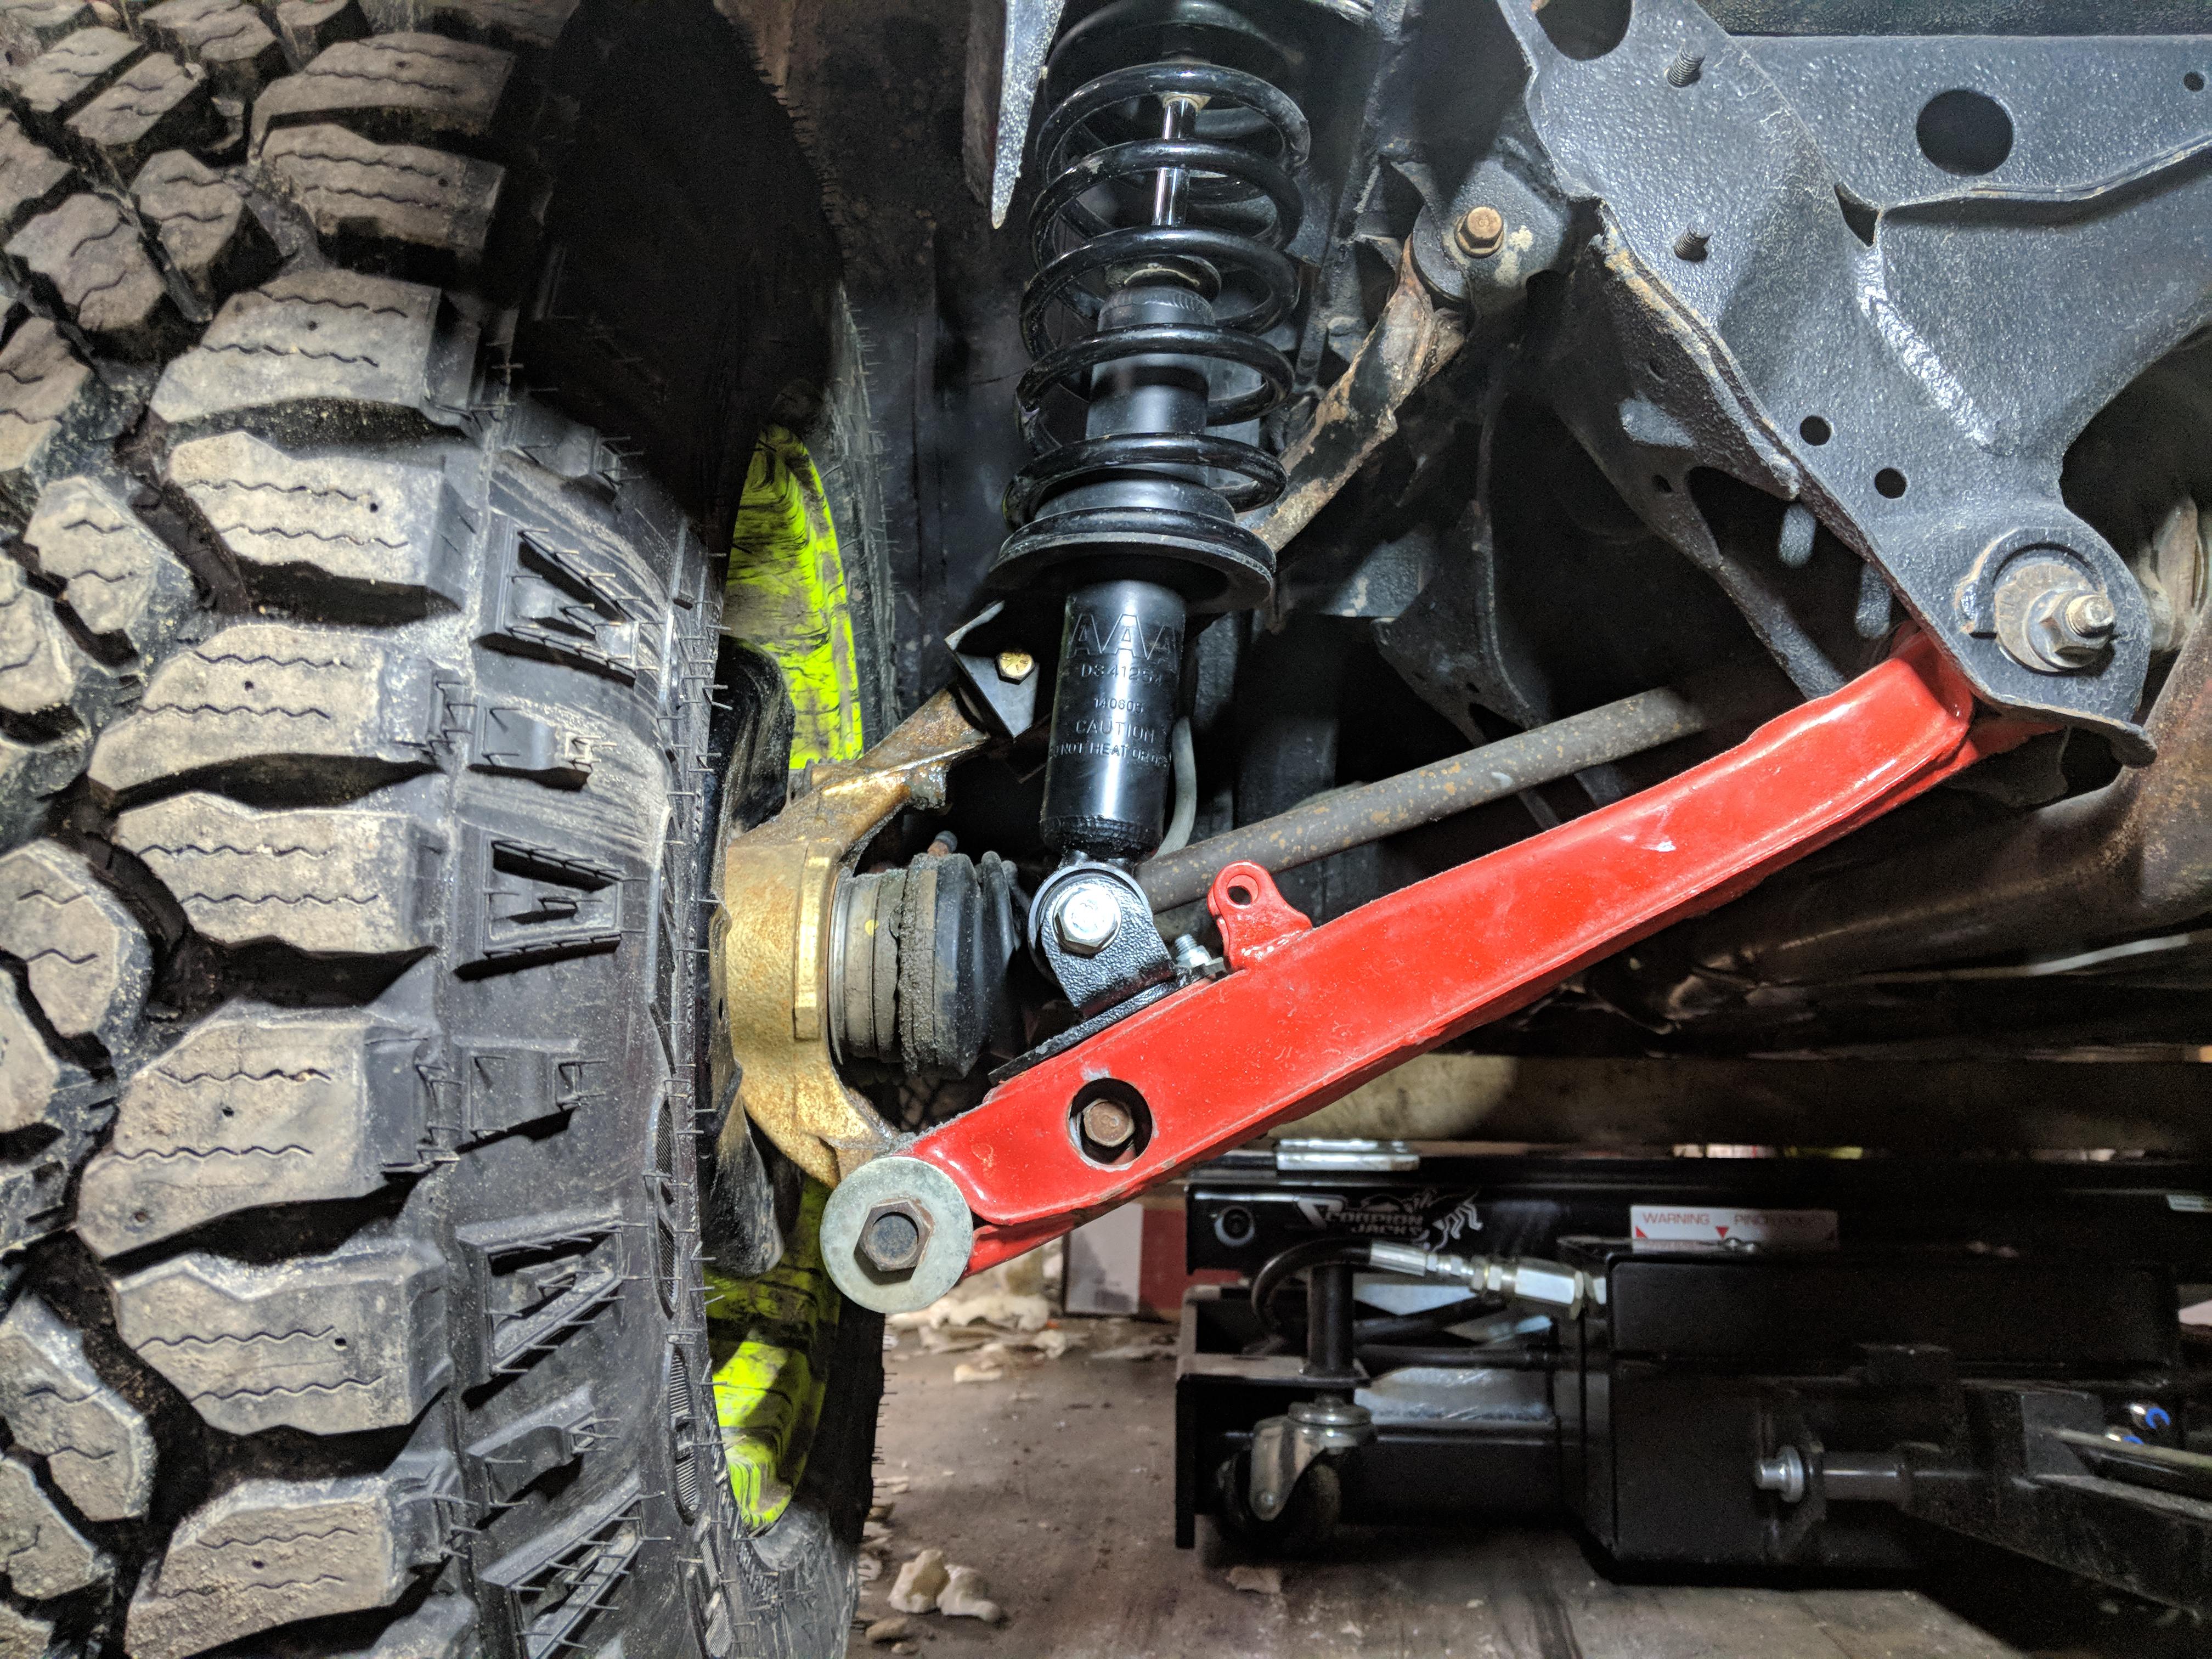
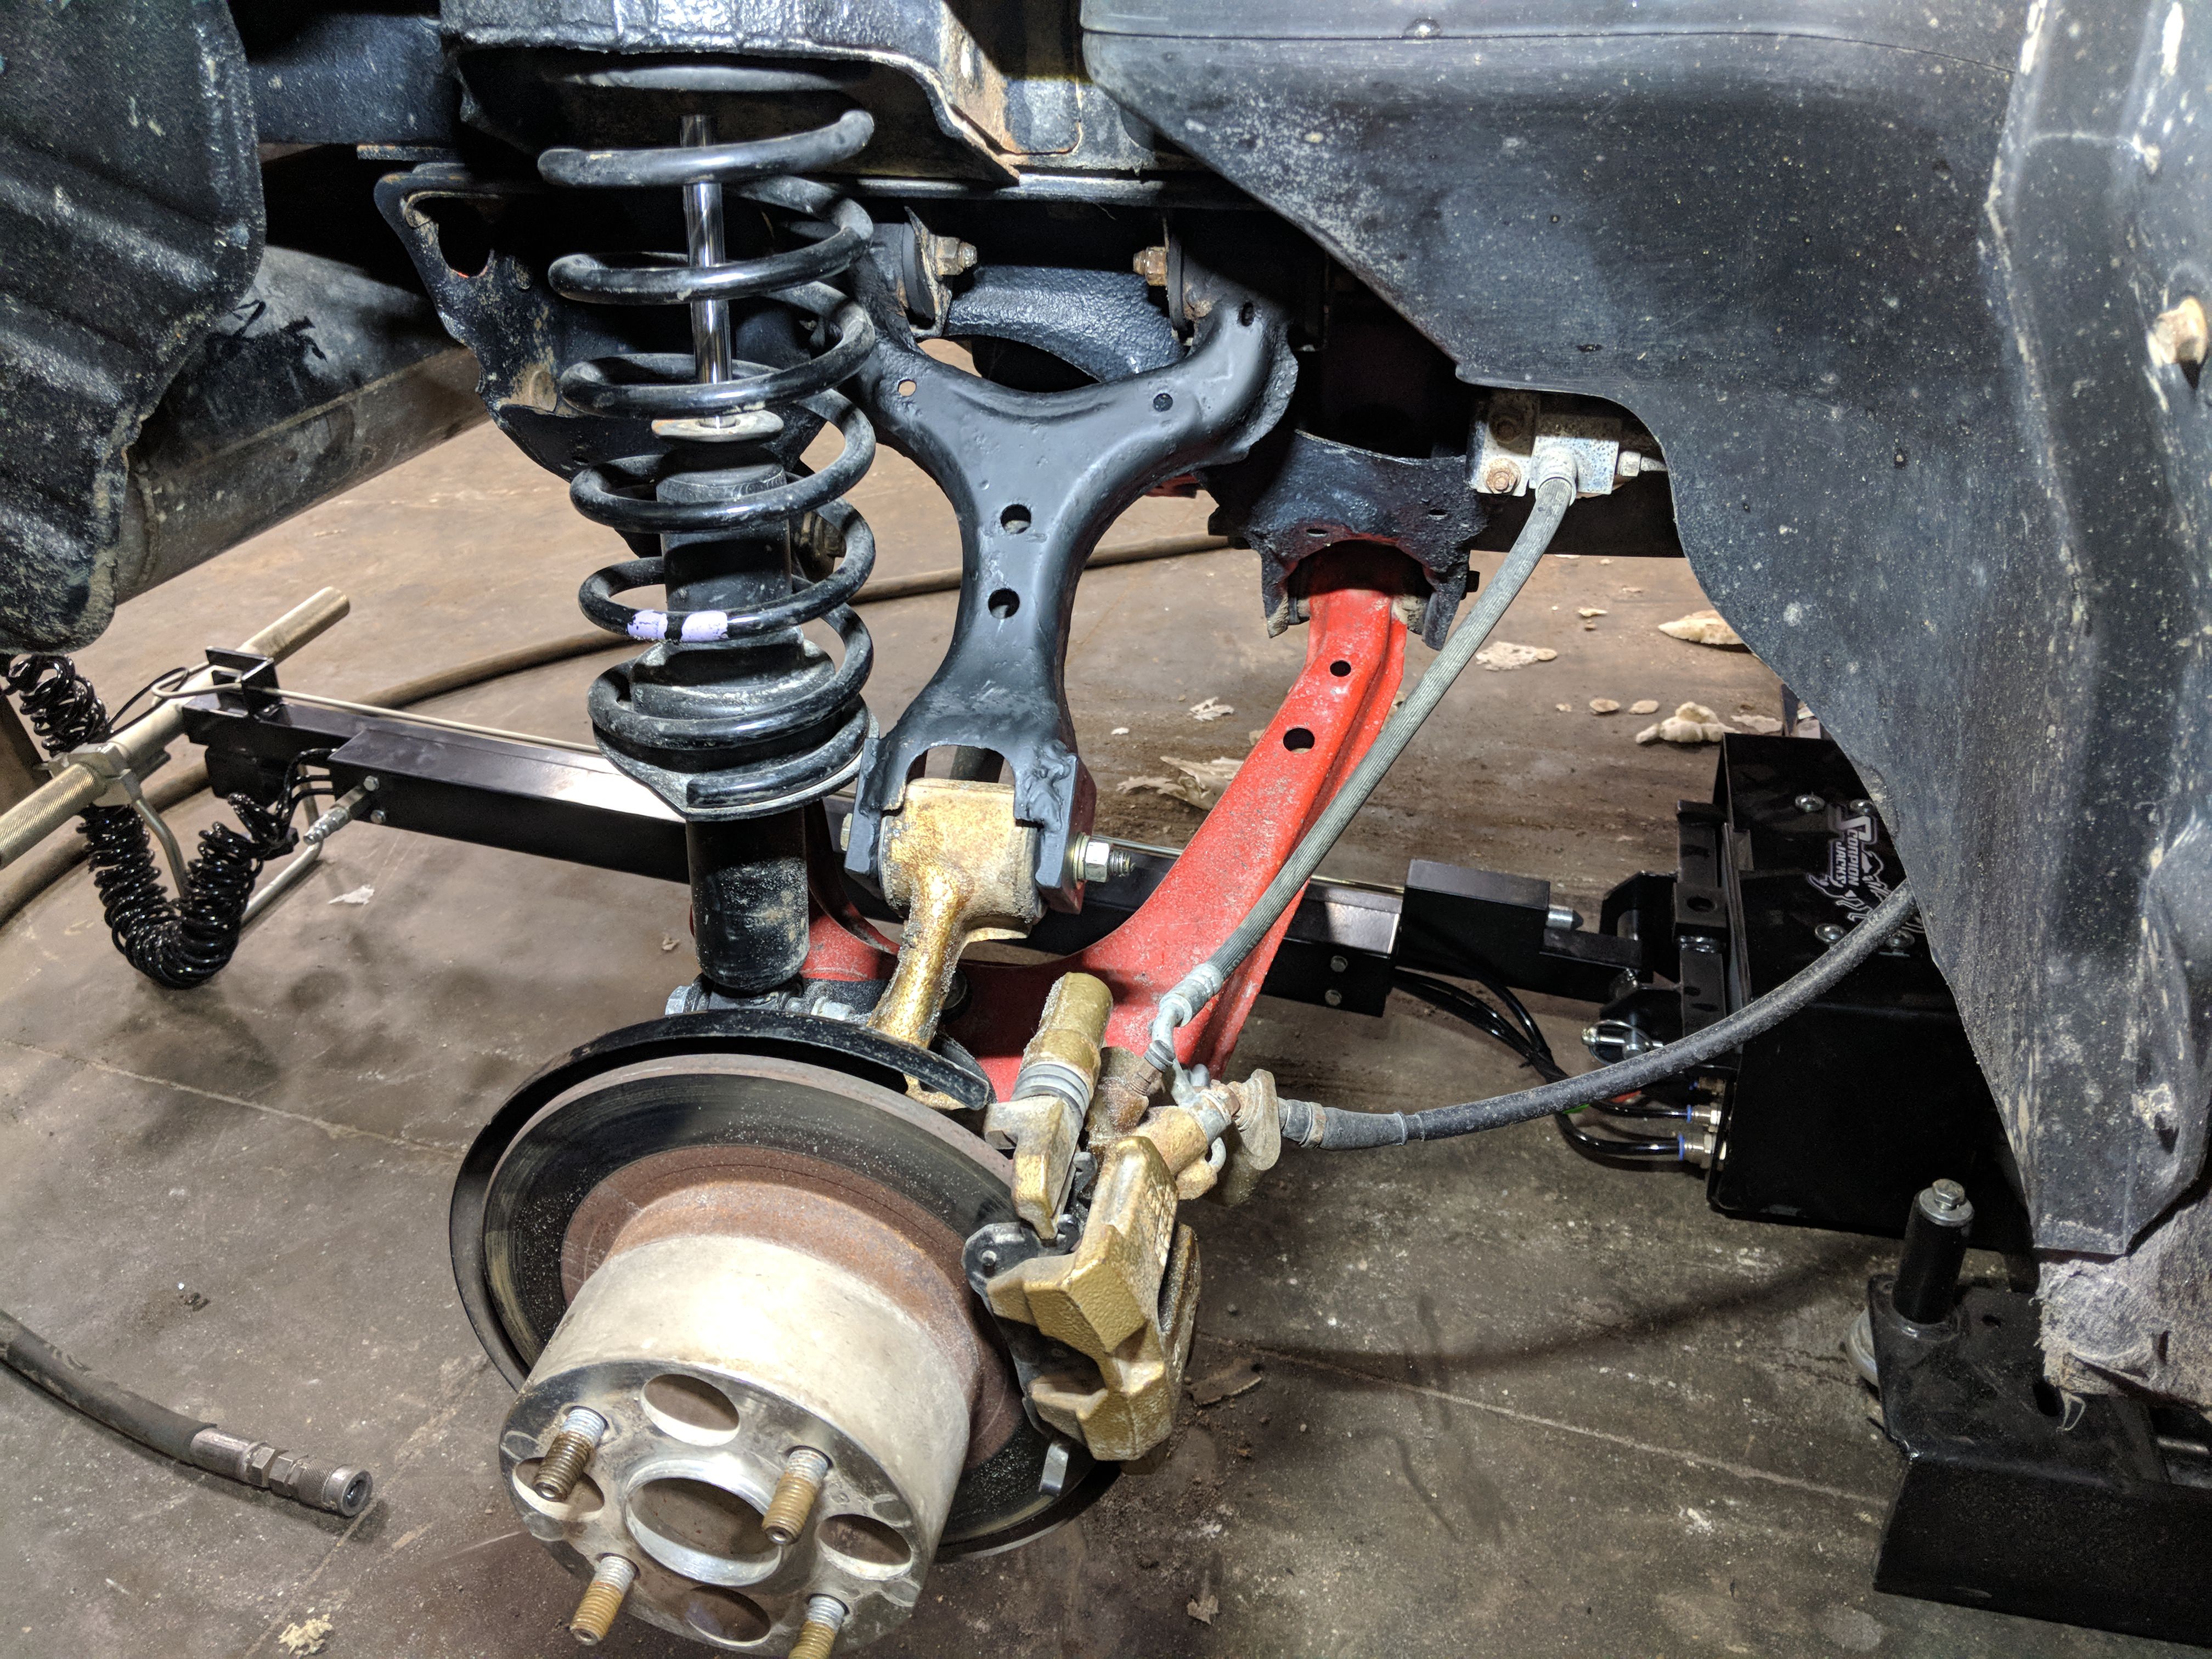
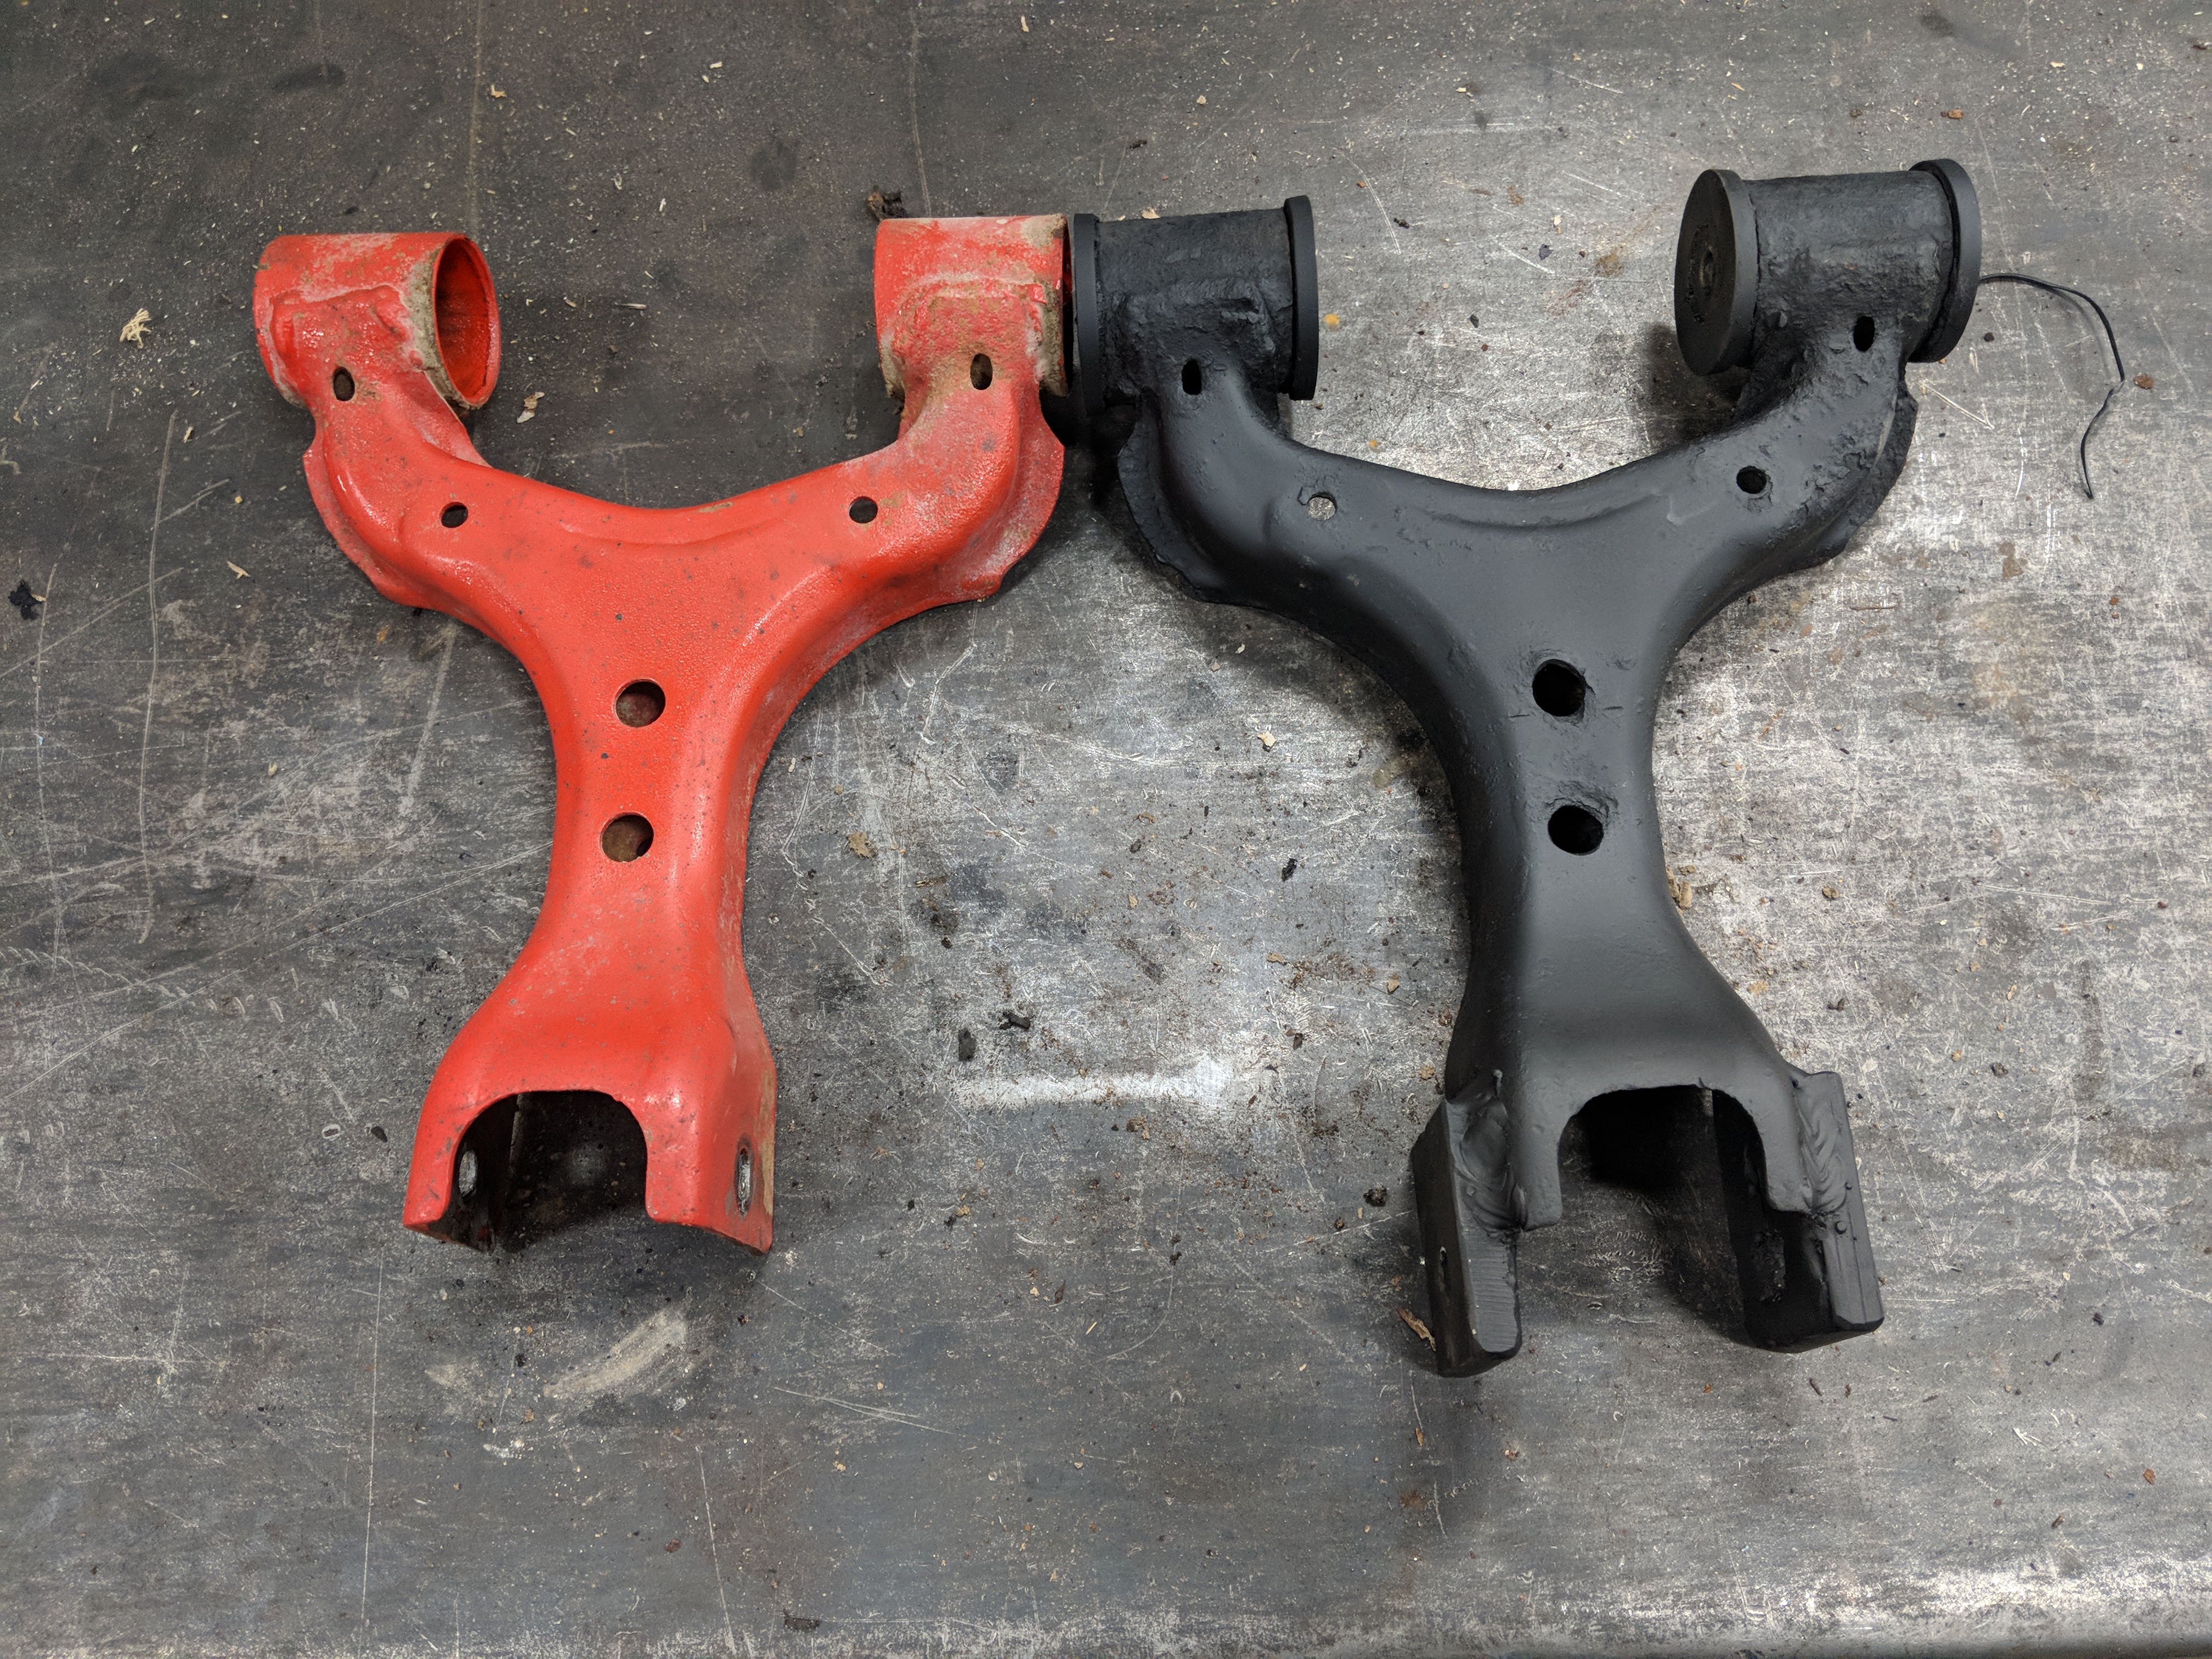
And in order to get my wheels sitting where I would like them, I needed to extend my control arms a tad. This also aids in the correction of my cv angle.
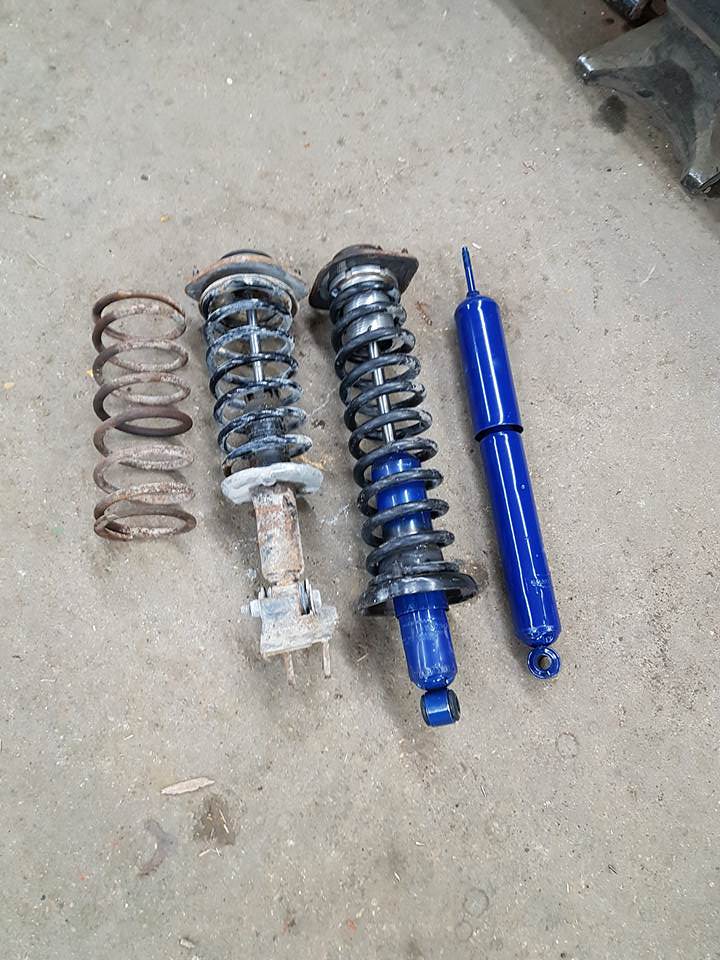
Also coming up with new and different ways of suspending the miata chassis. Mr. Denzel did all the research required and fabbed up some long travel suspension from some ford shocks and honda springs. DIY is the way of life around these parts! That man deserves a medal! I like having him around.
This week my social media all of a sudden was flooded with posts of people sharing a link of my car. Turns out Jalopinik put me on their front page. That's been another adventure of heavy internet activity on my youtube and fb accounts. https://jalopnik.com/this-unholy-chi...r-n-1822236031
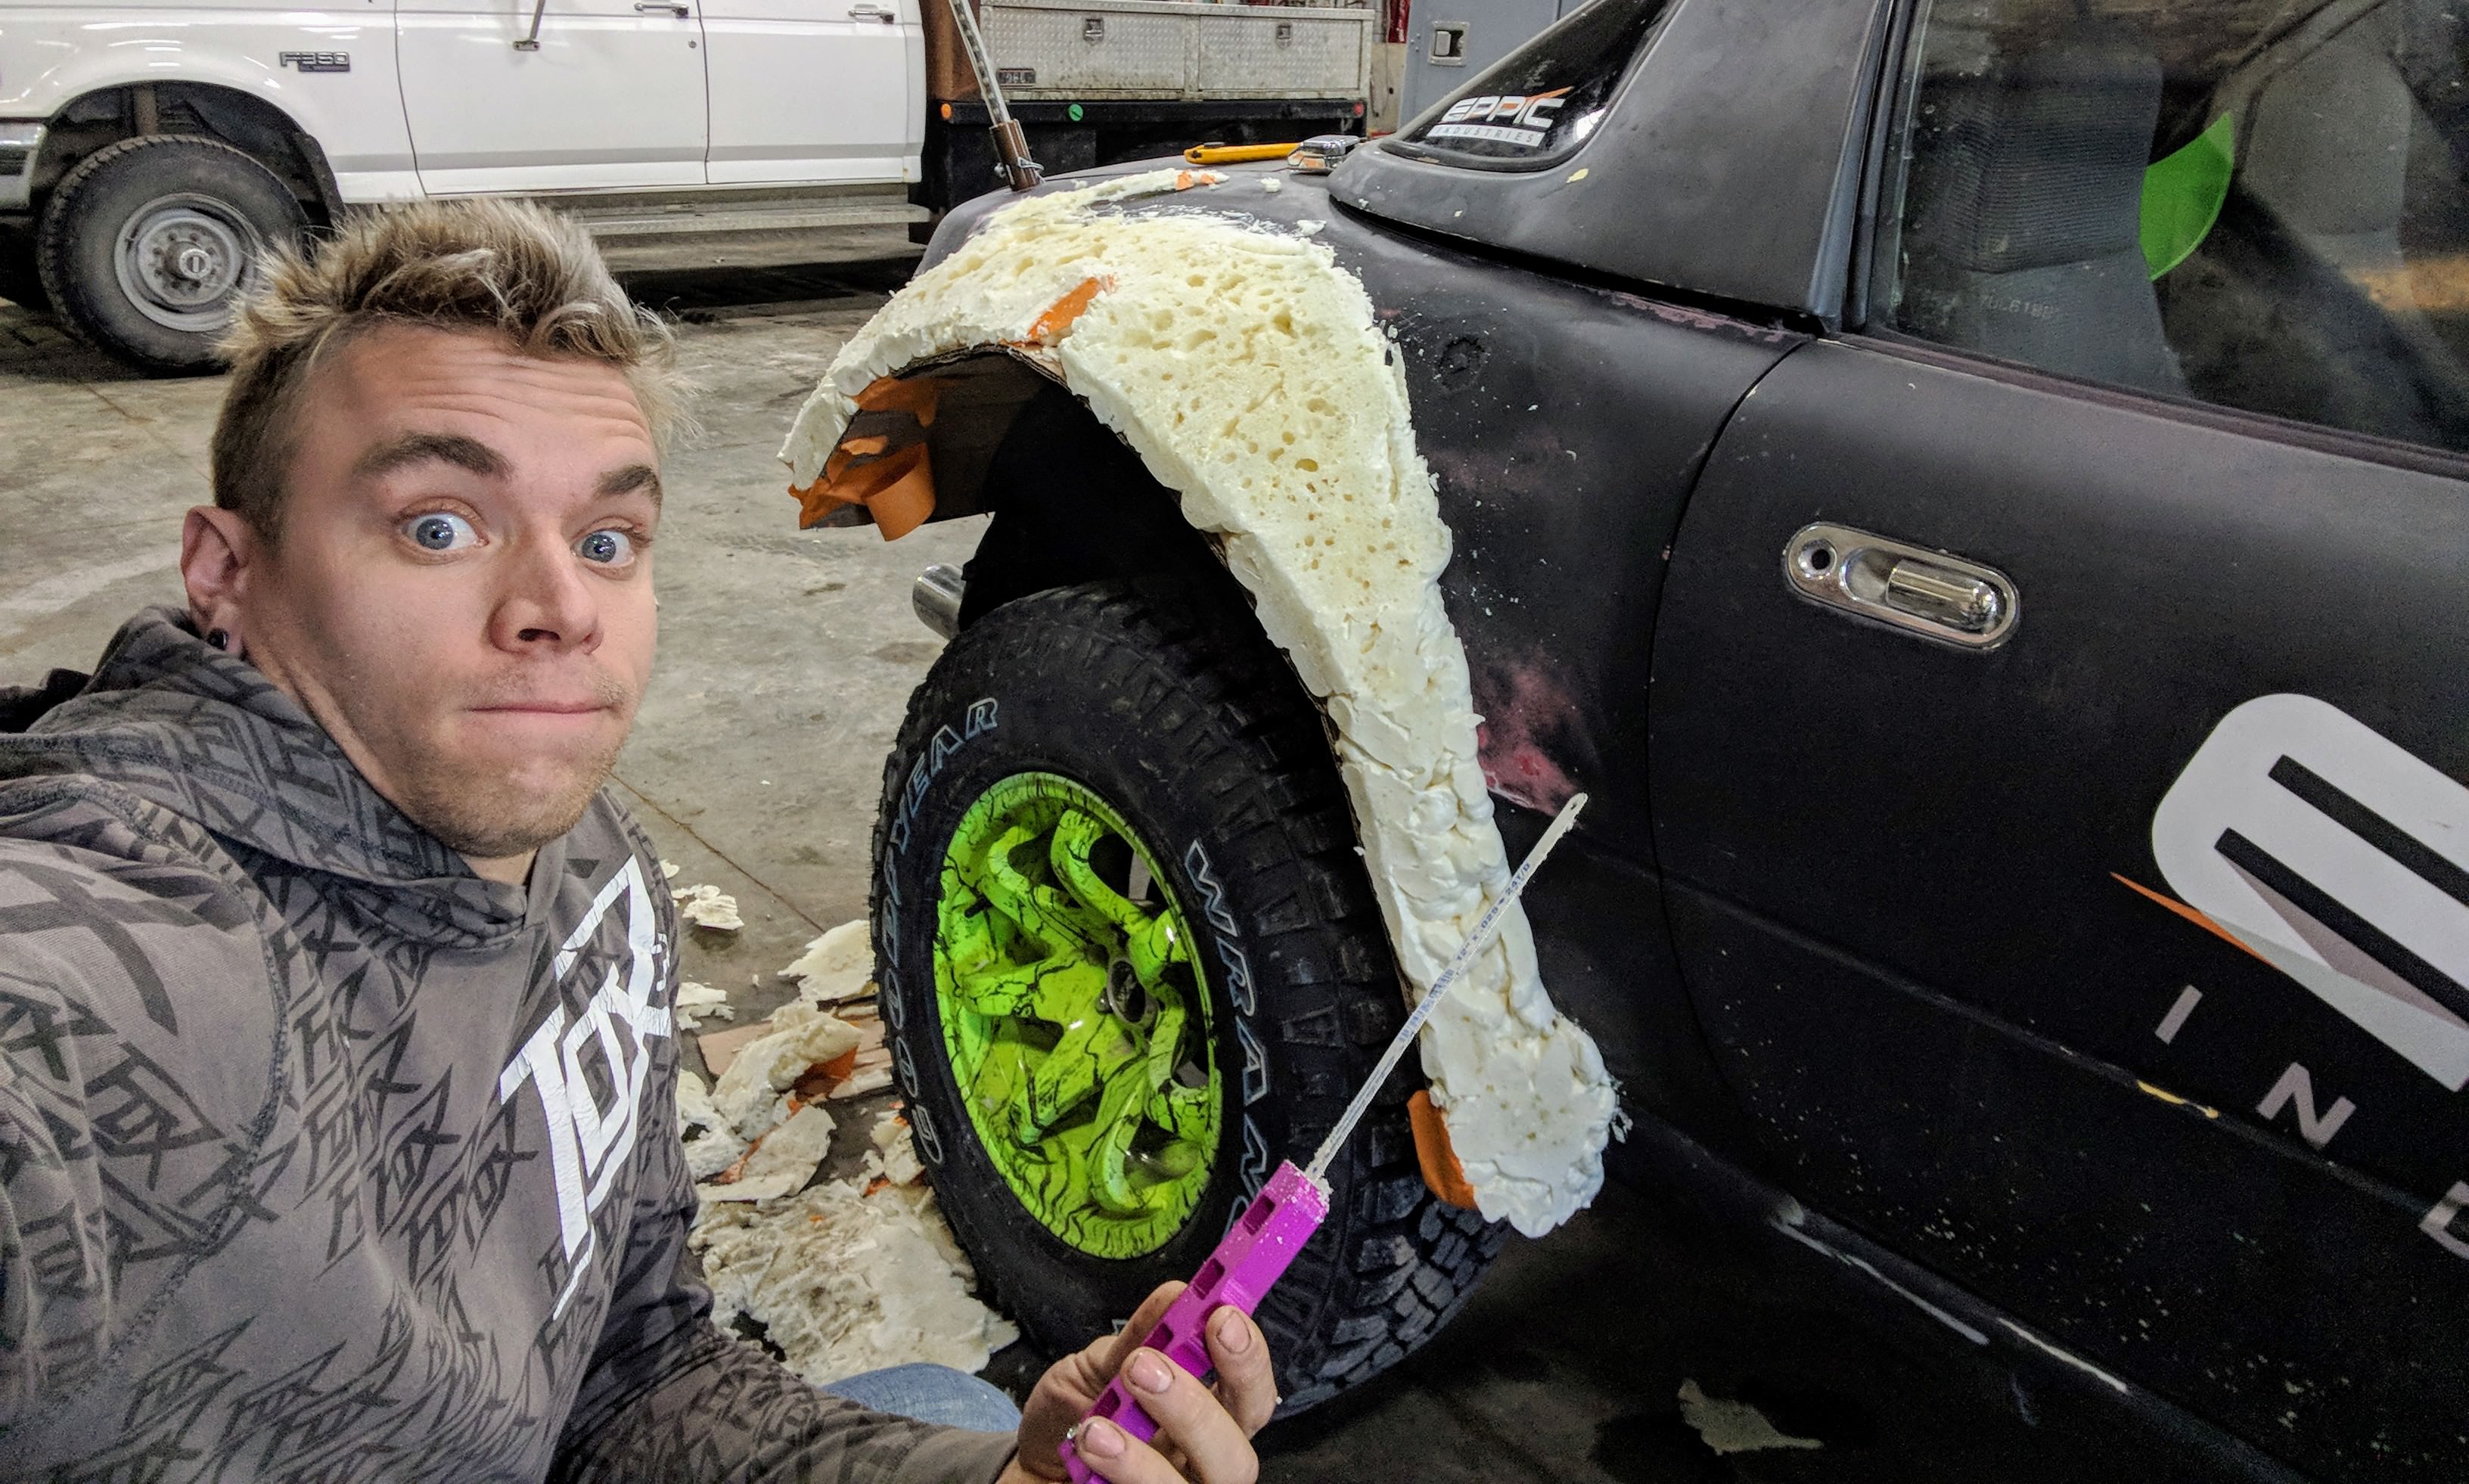
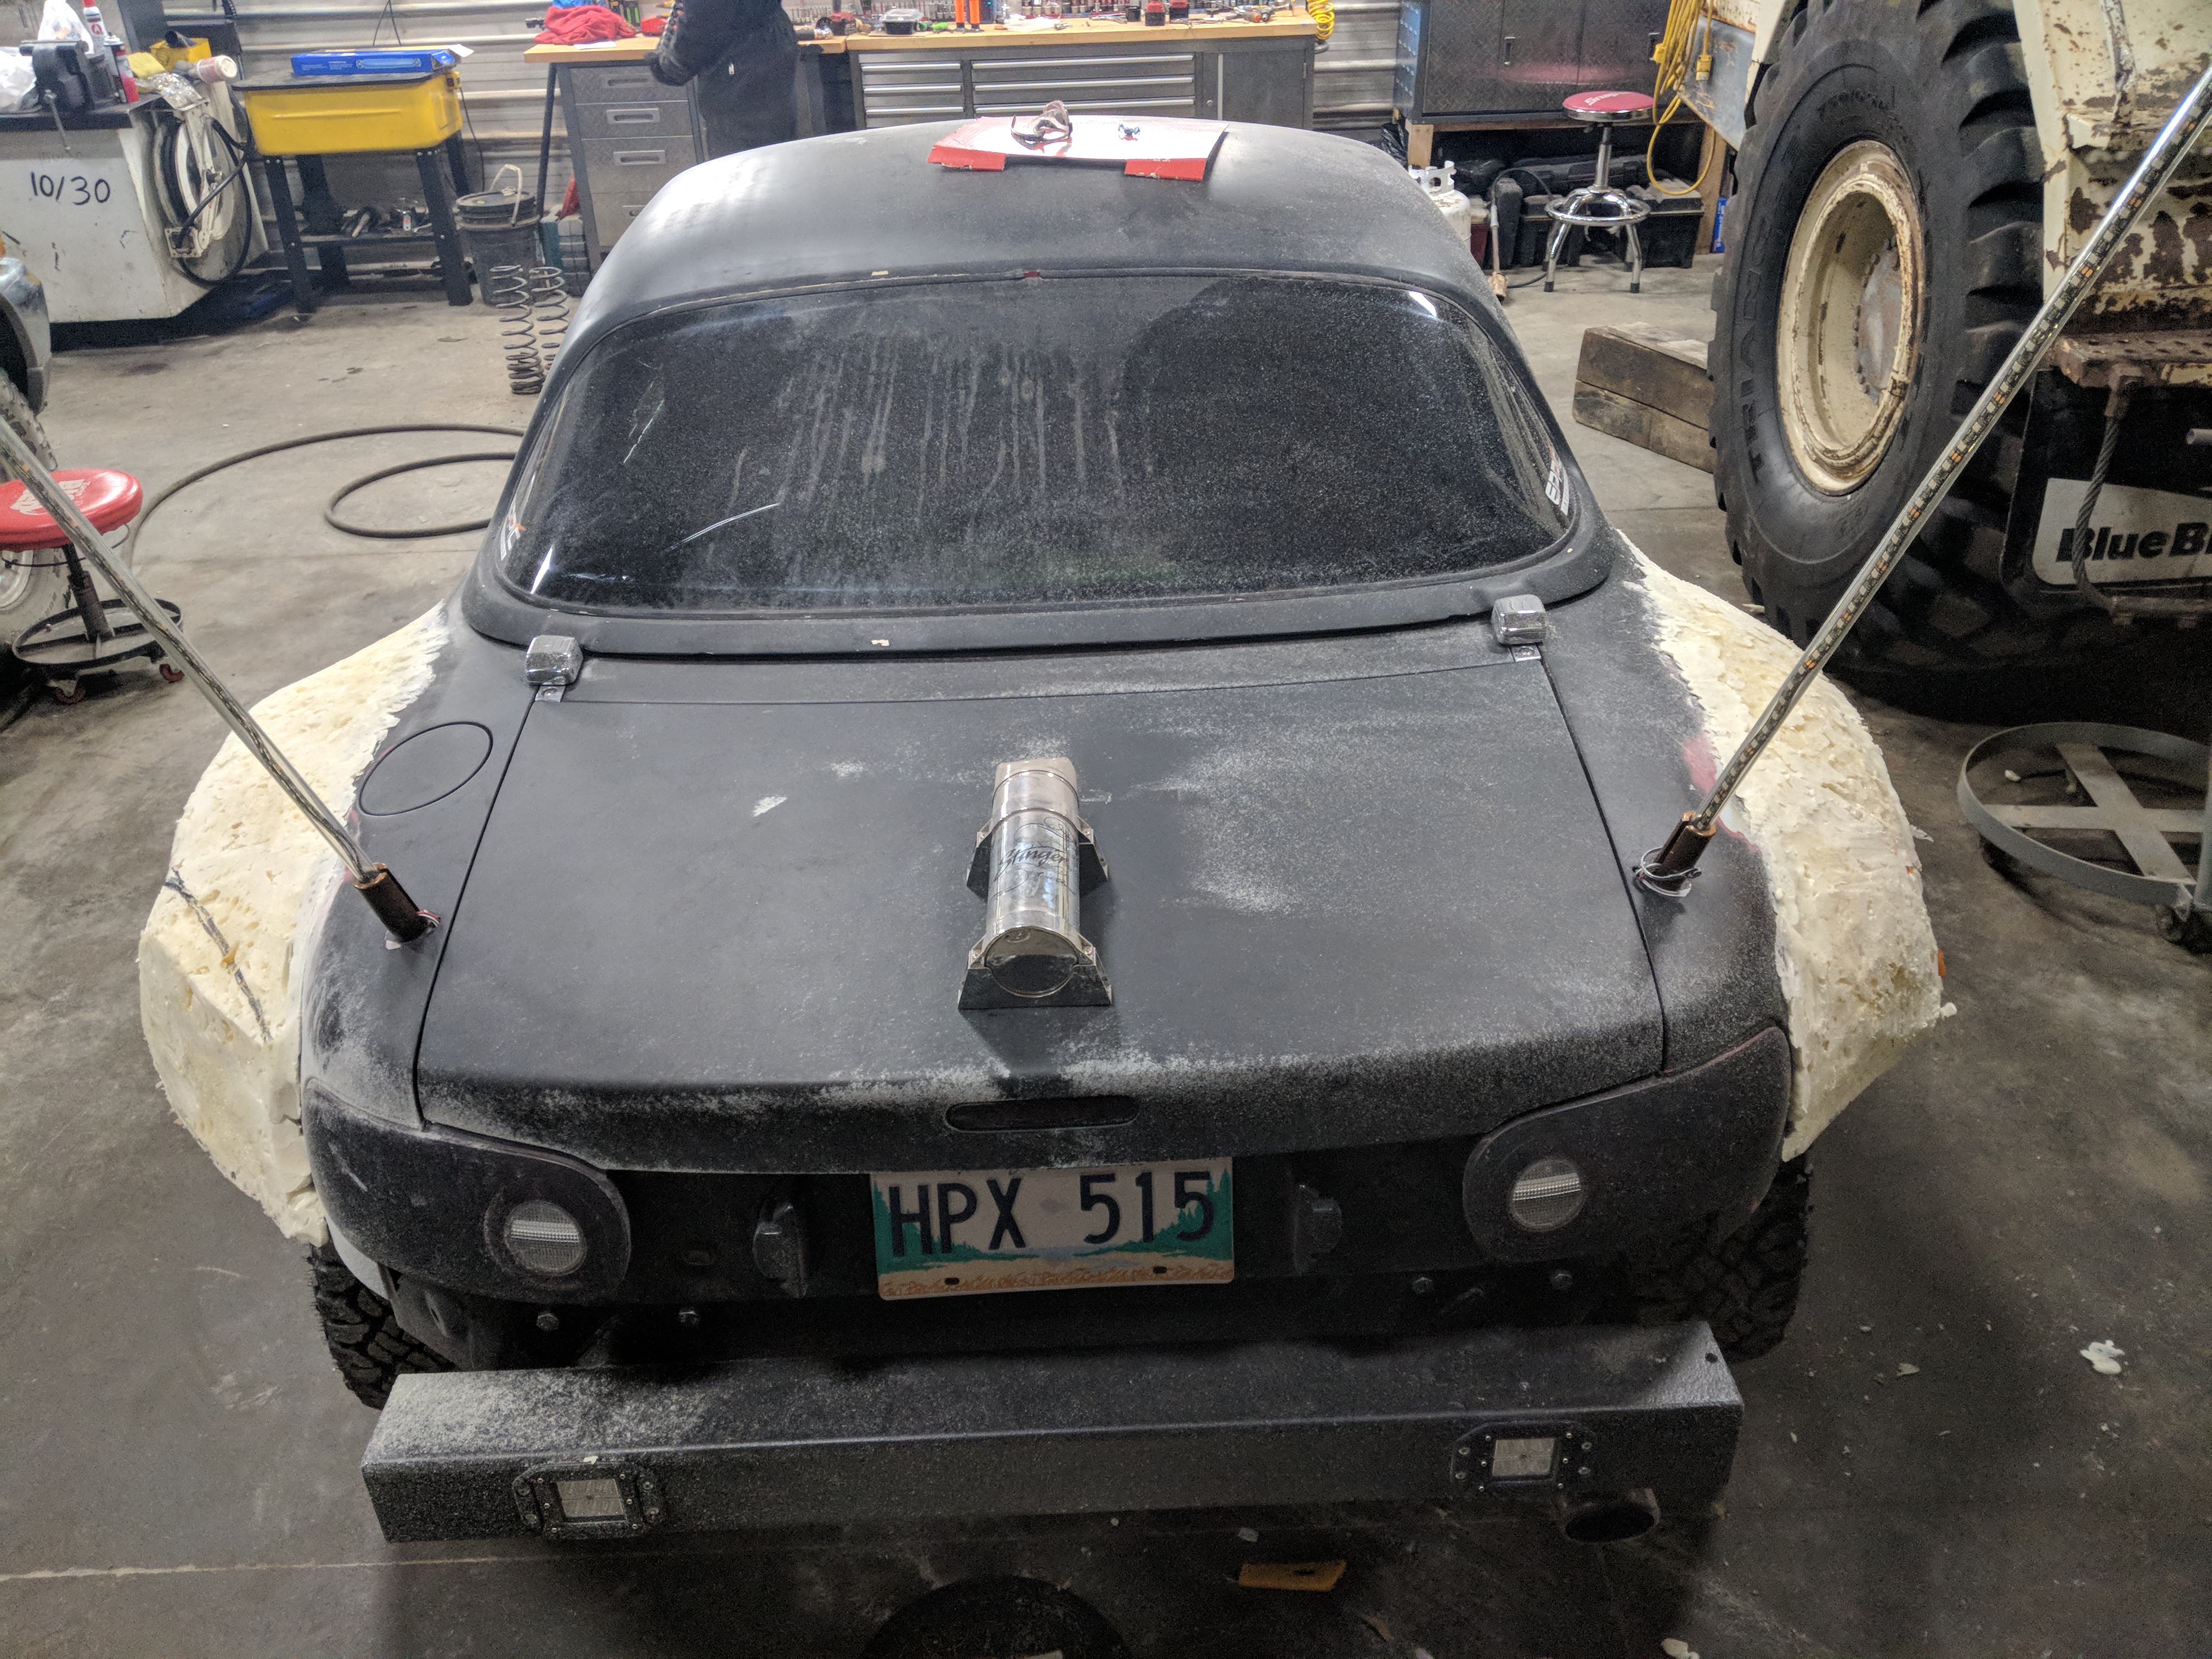
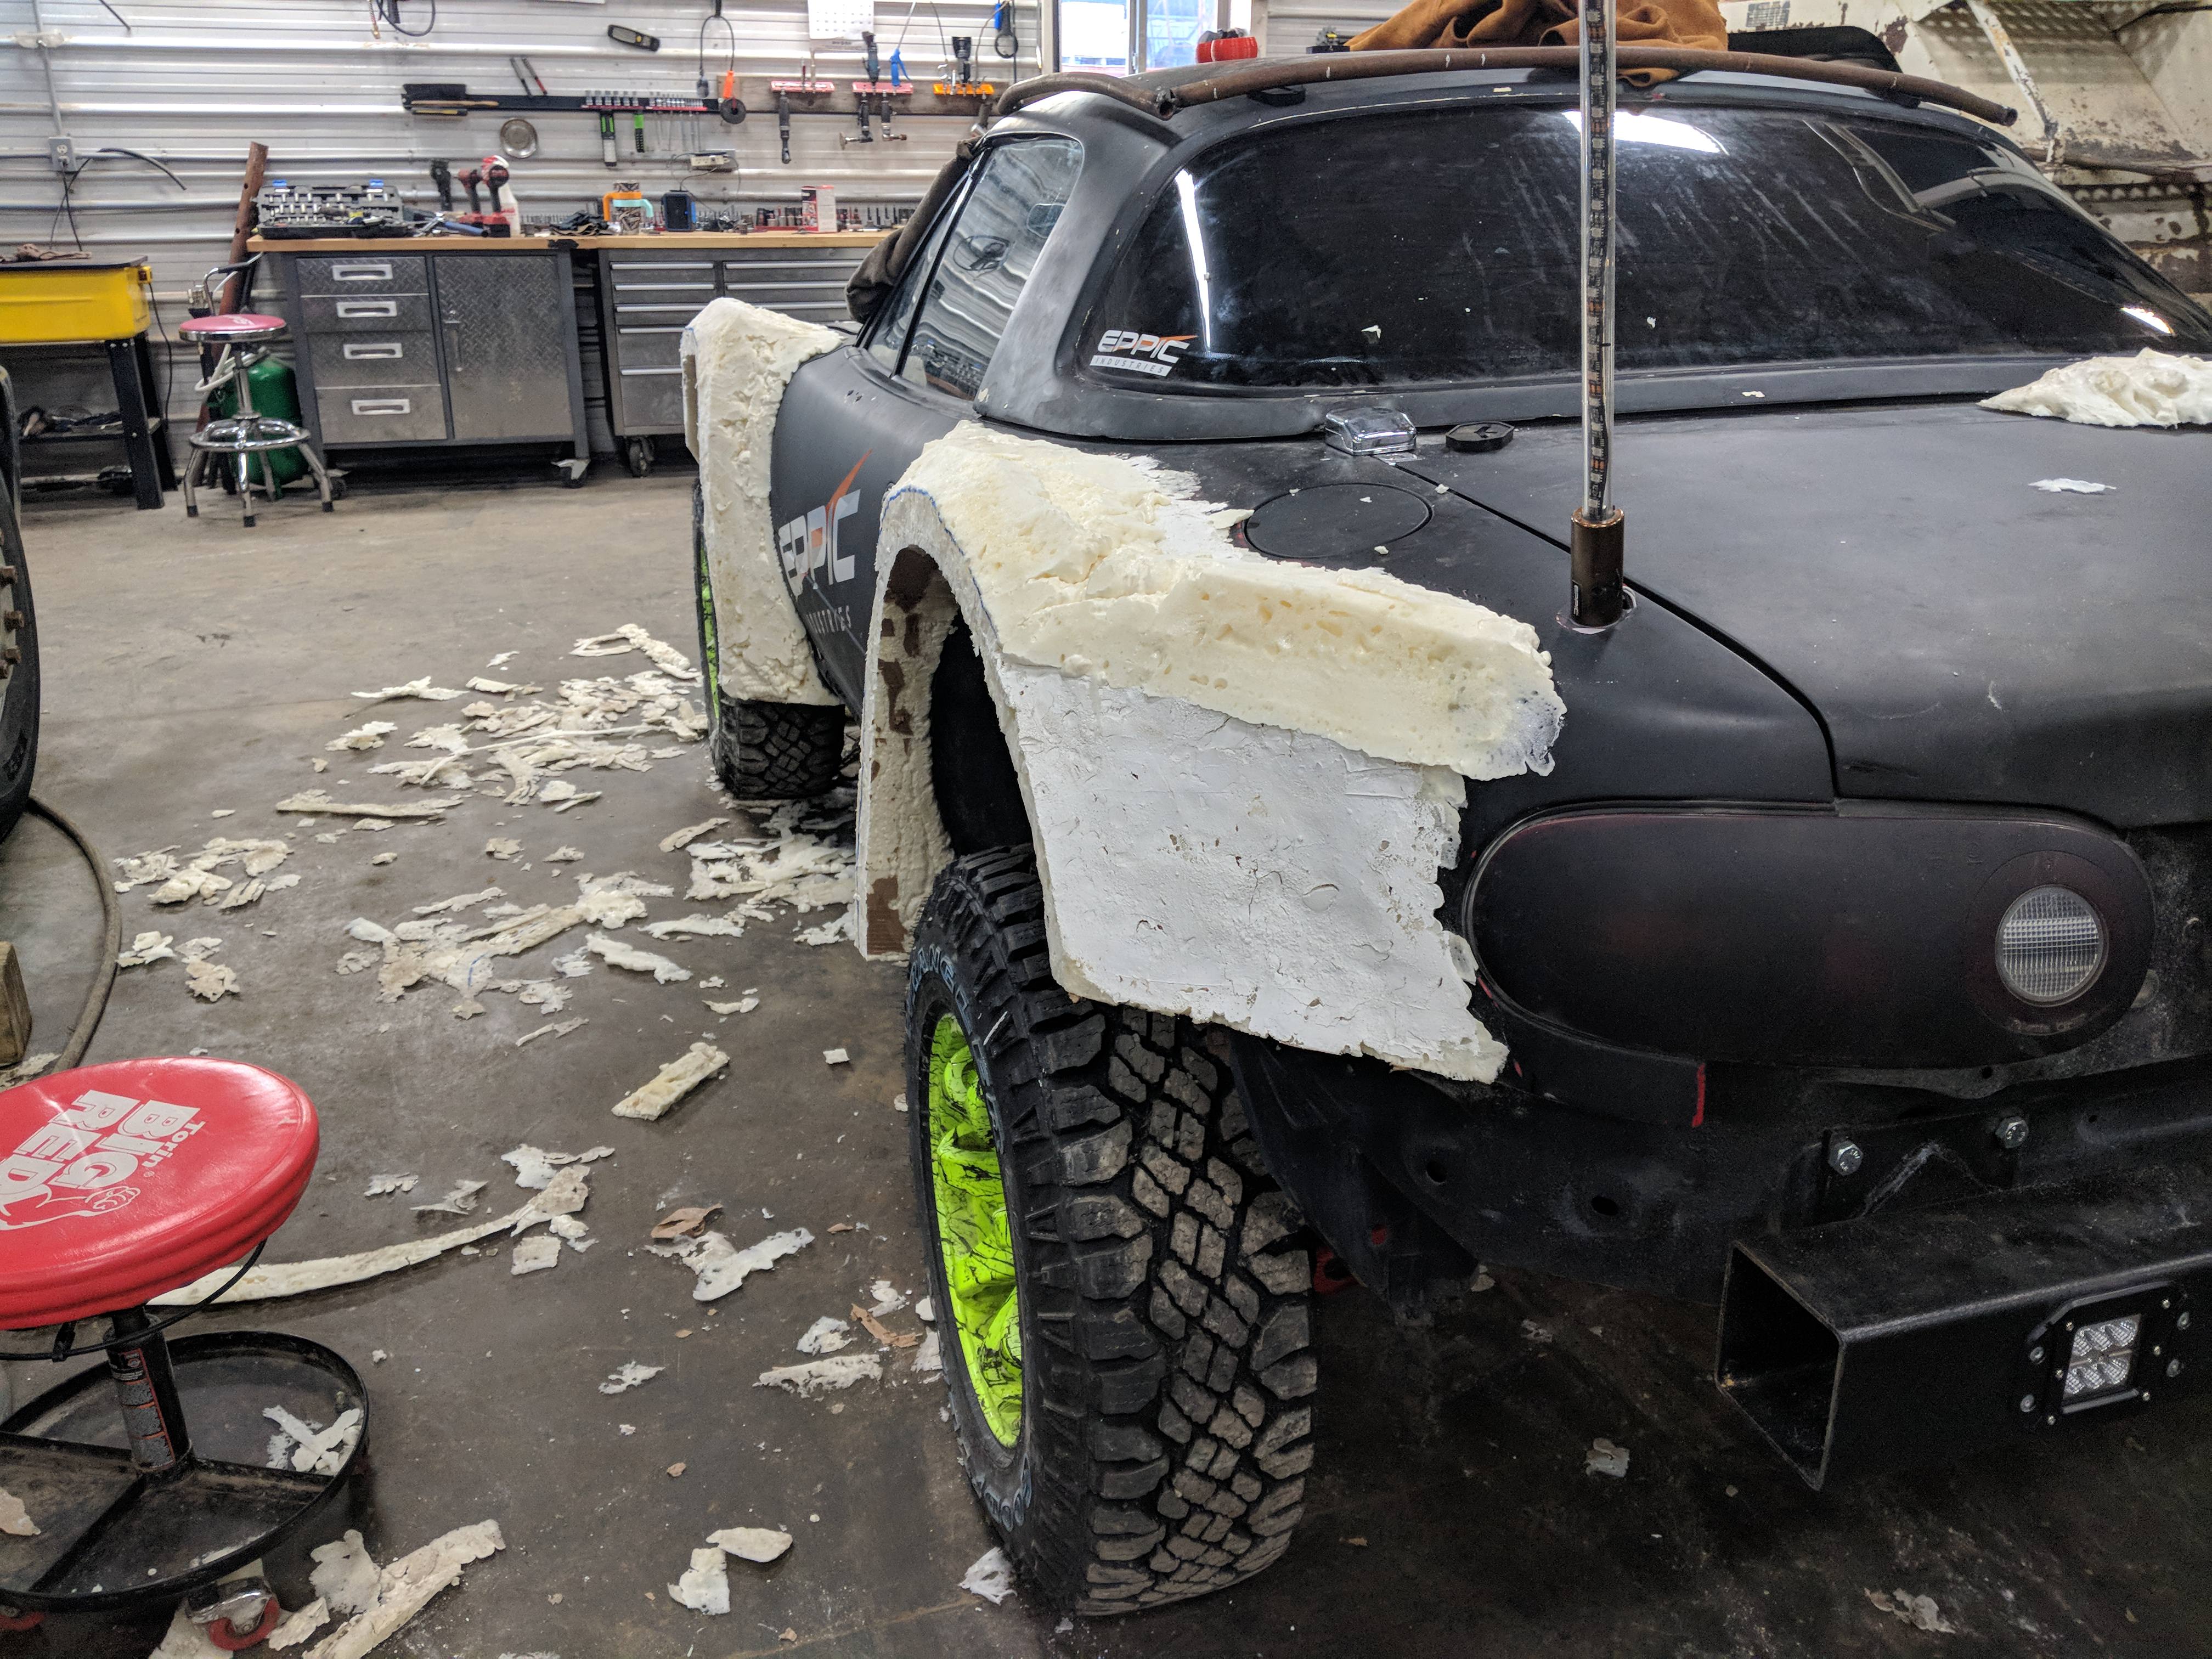
Now came the forming of the fenders and they began to take shape and a vision of the finished product started to appear.
Today was more sculpting. Not a lot of interesting bits. Can't decide on where I want the lines to go though. Front where it meets the bumper isn't right yet. Think I'm pulling a body line from the wrong spot.
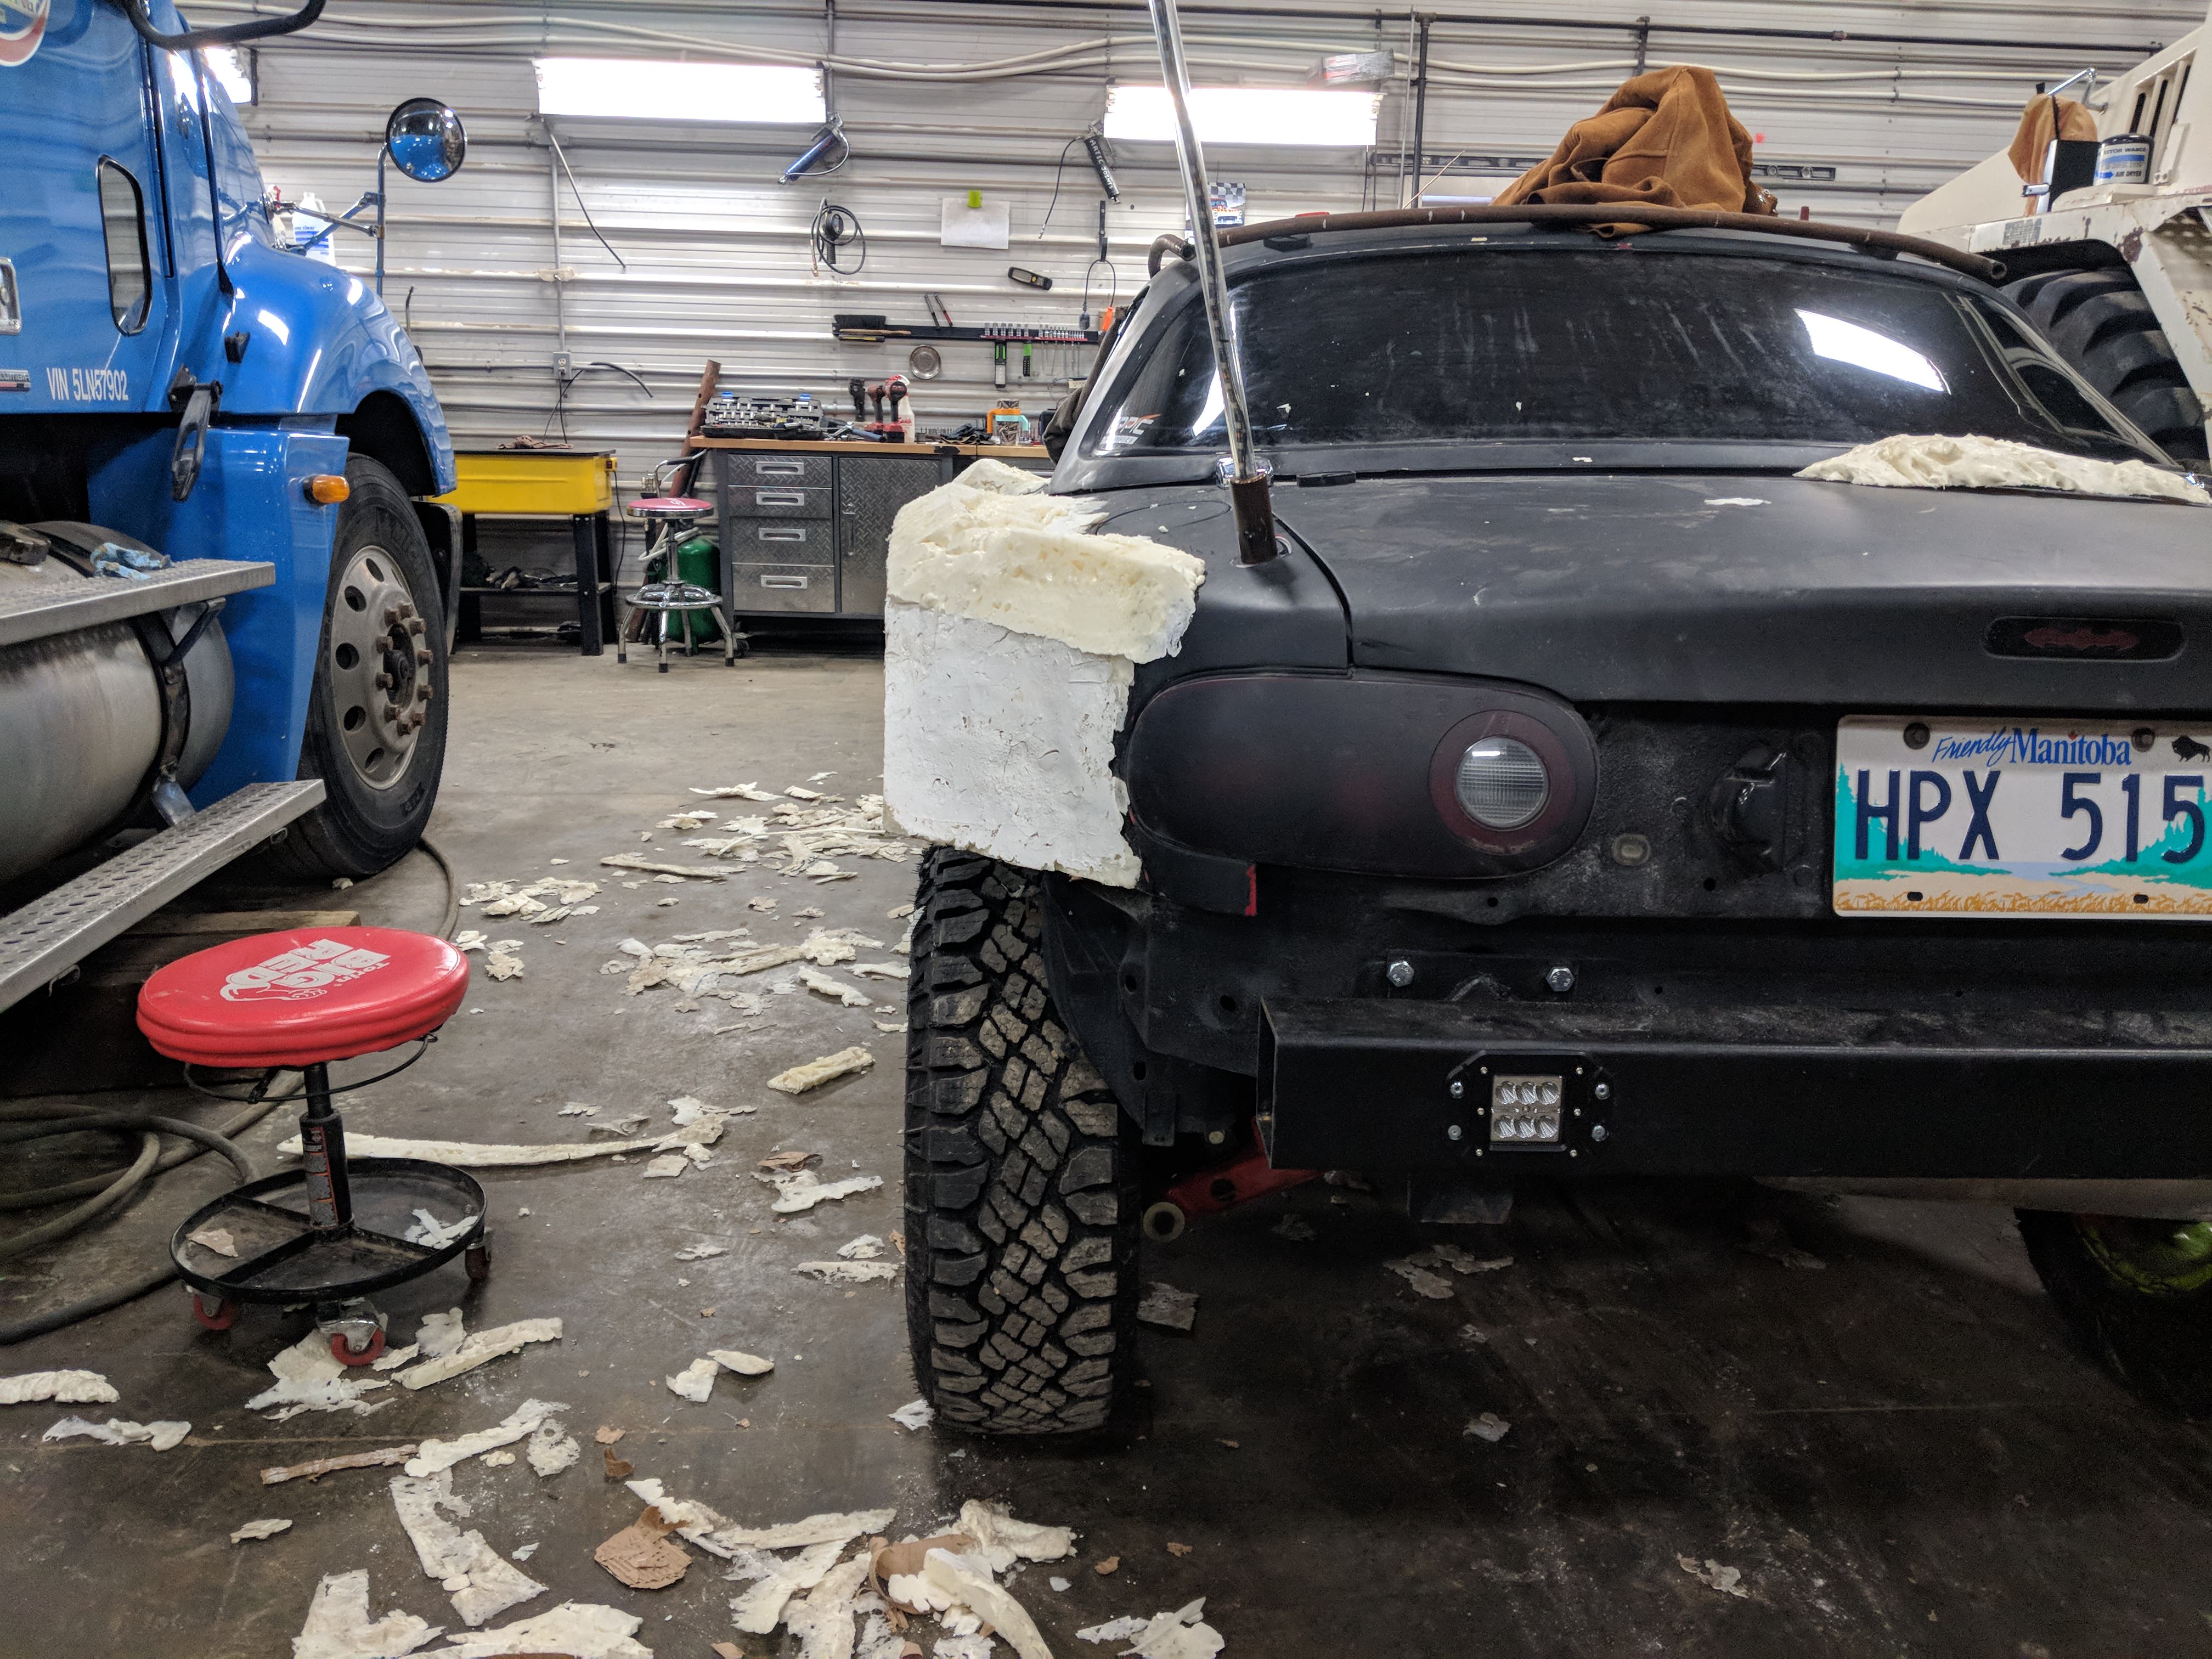
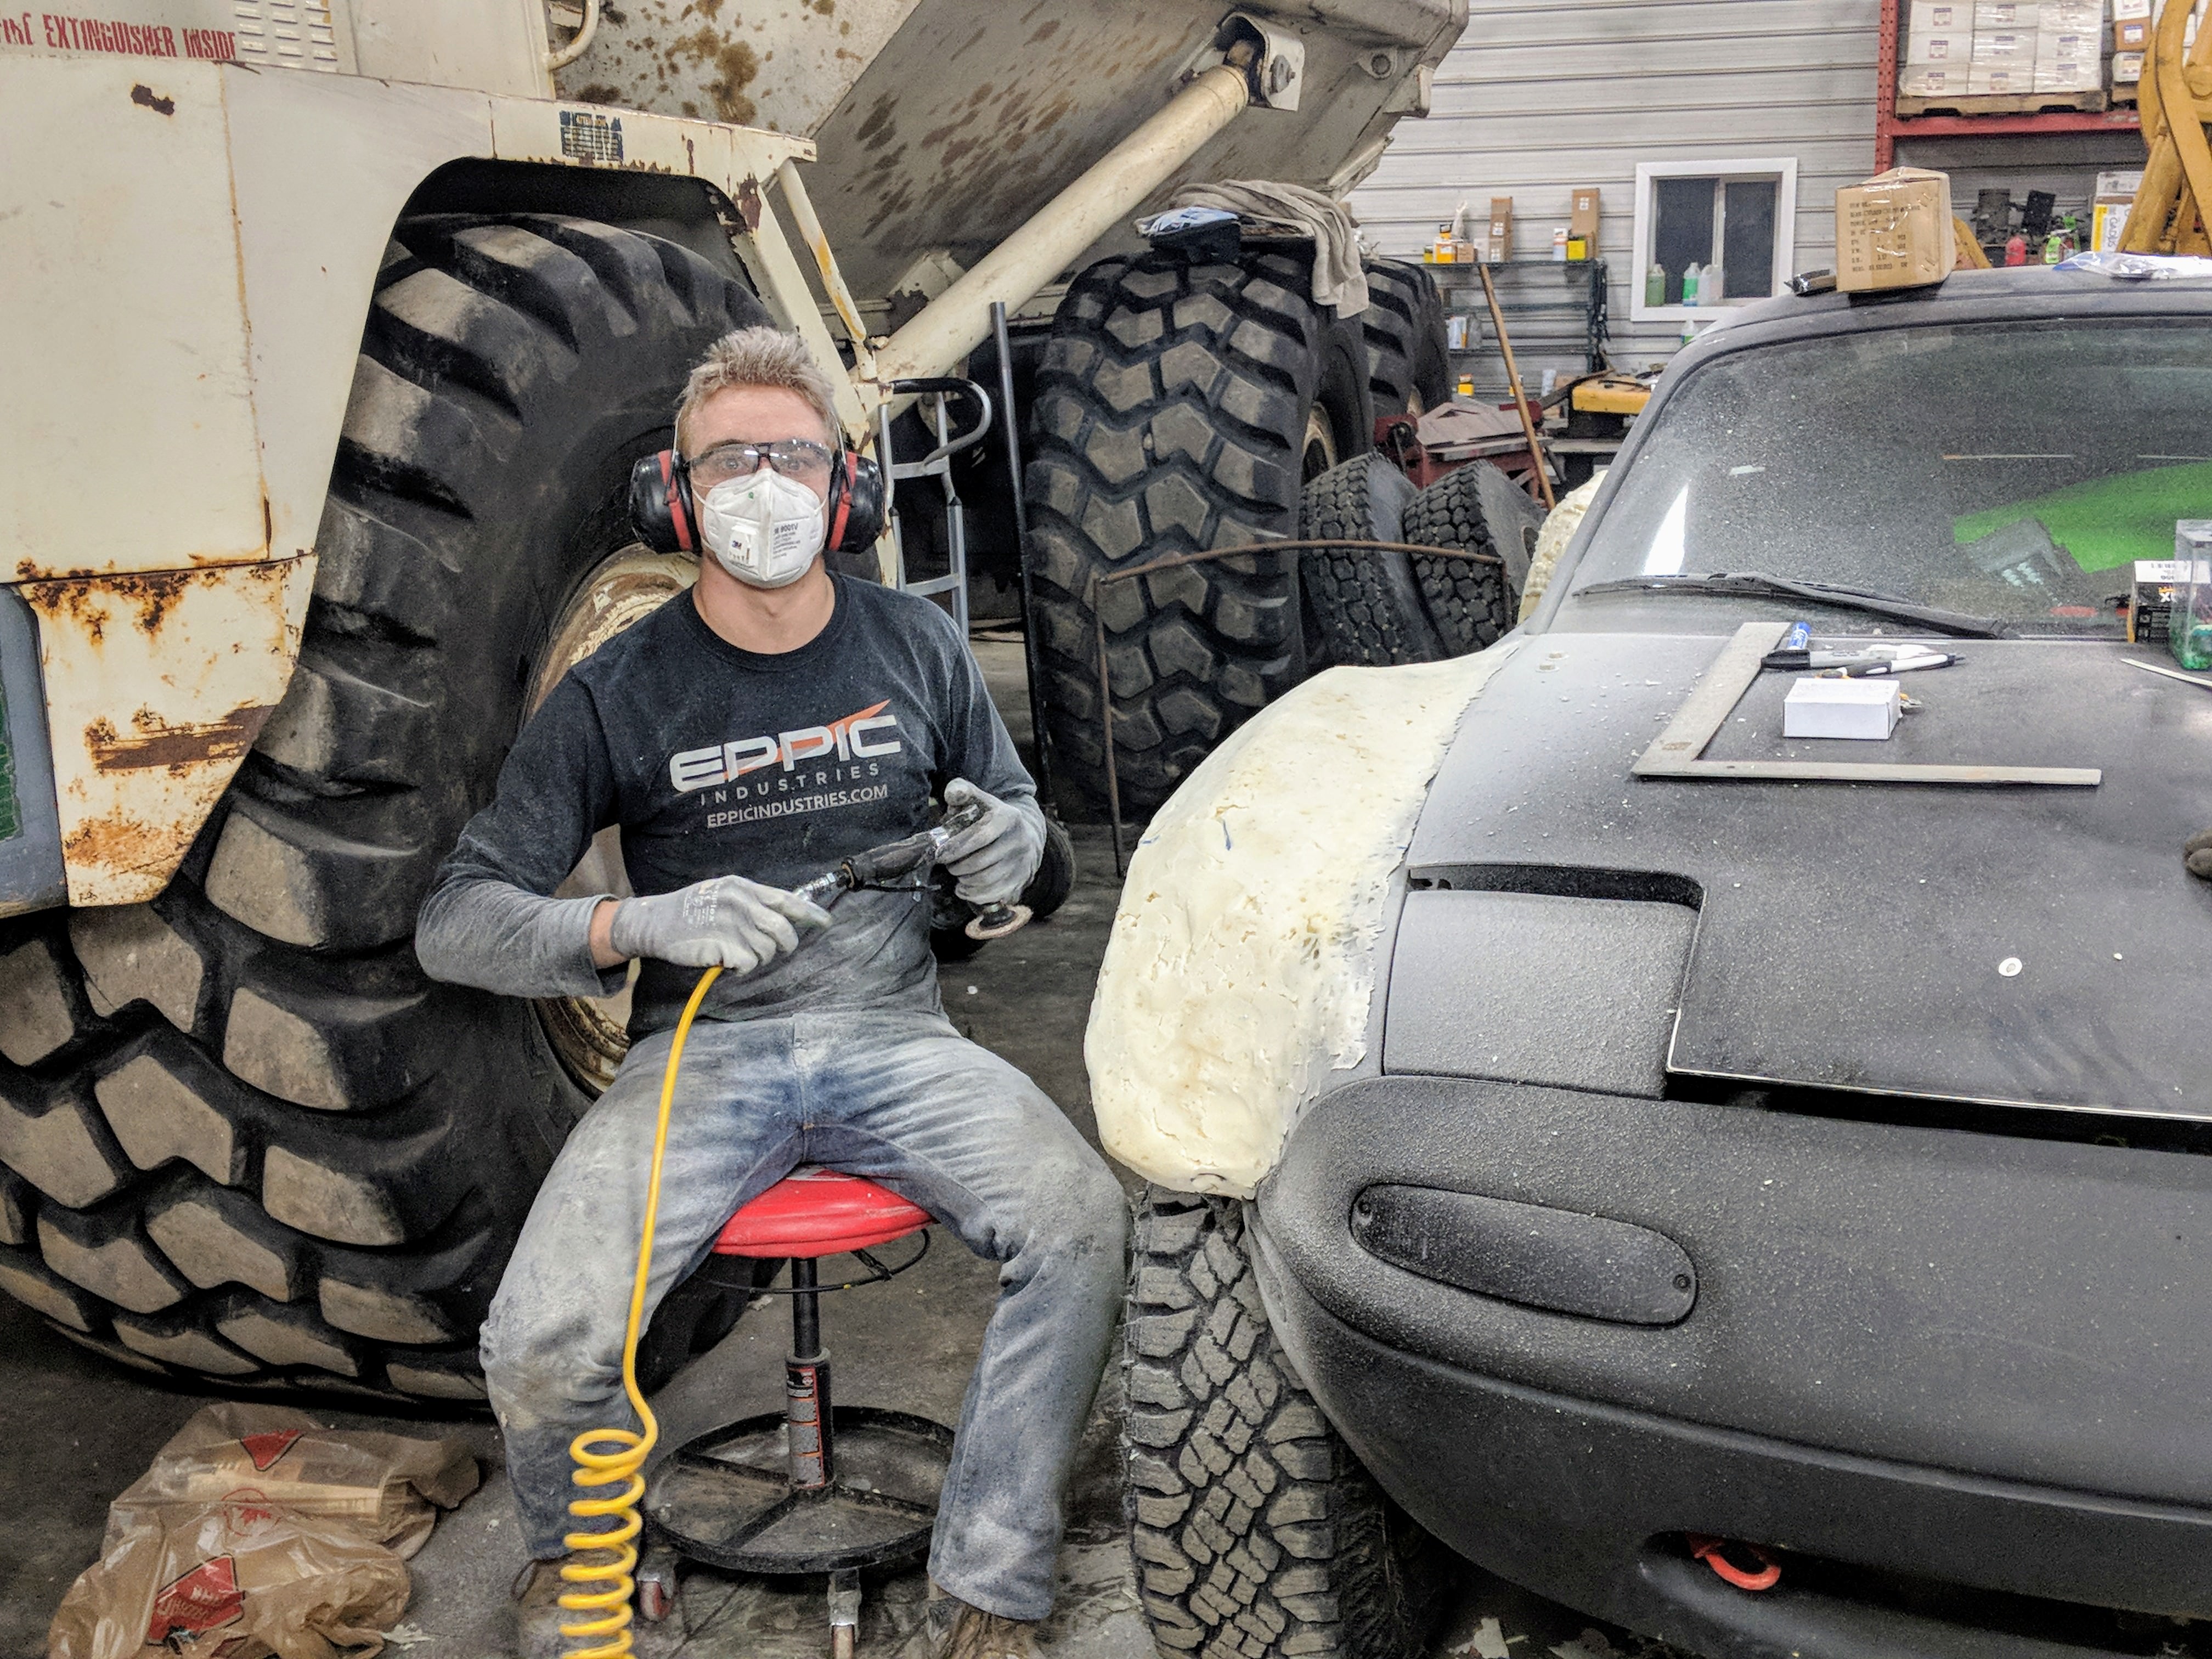
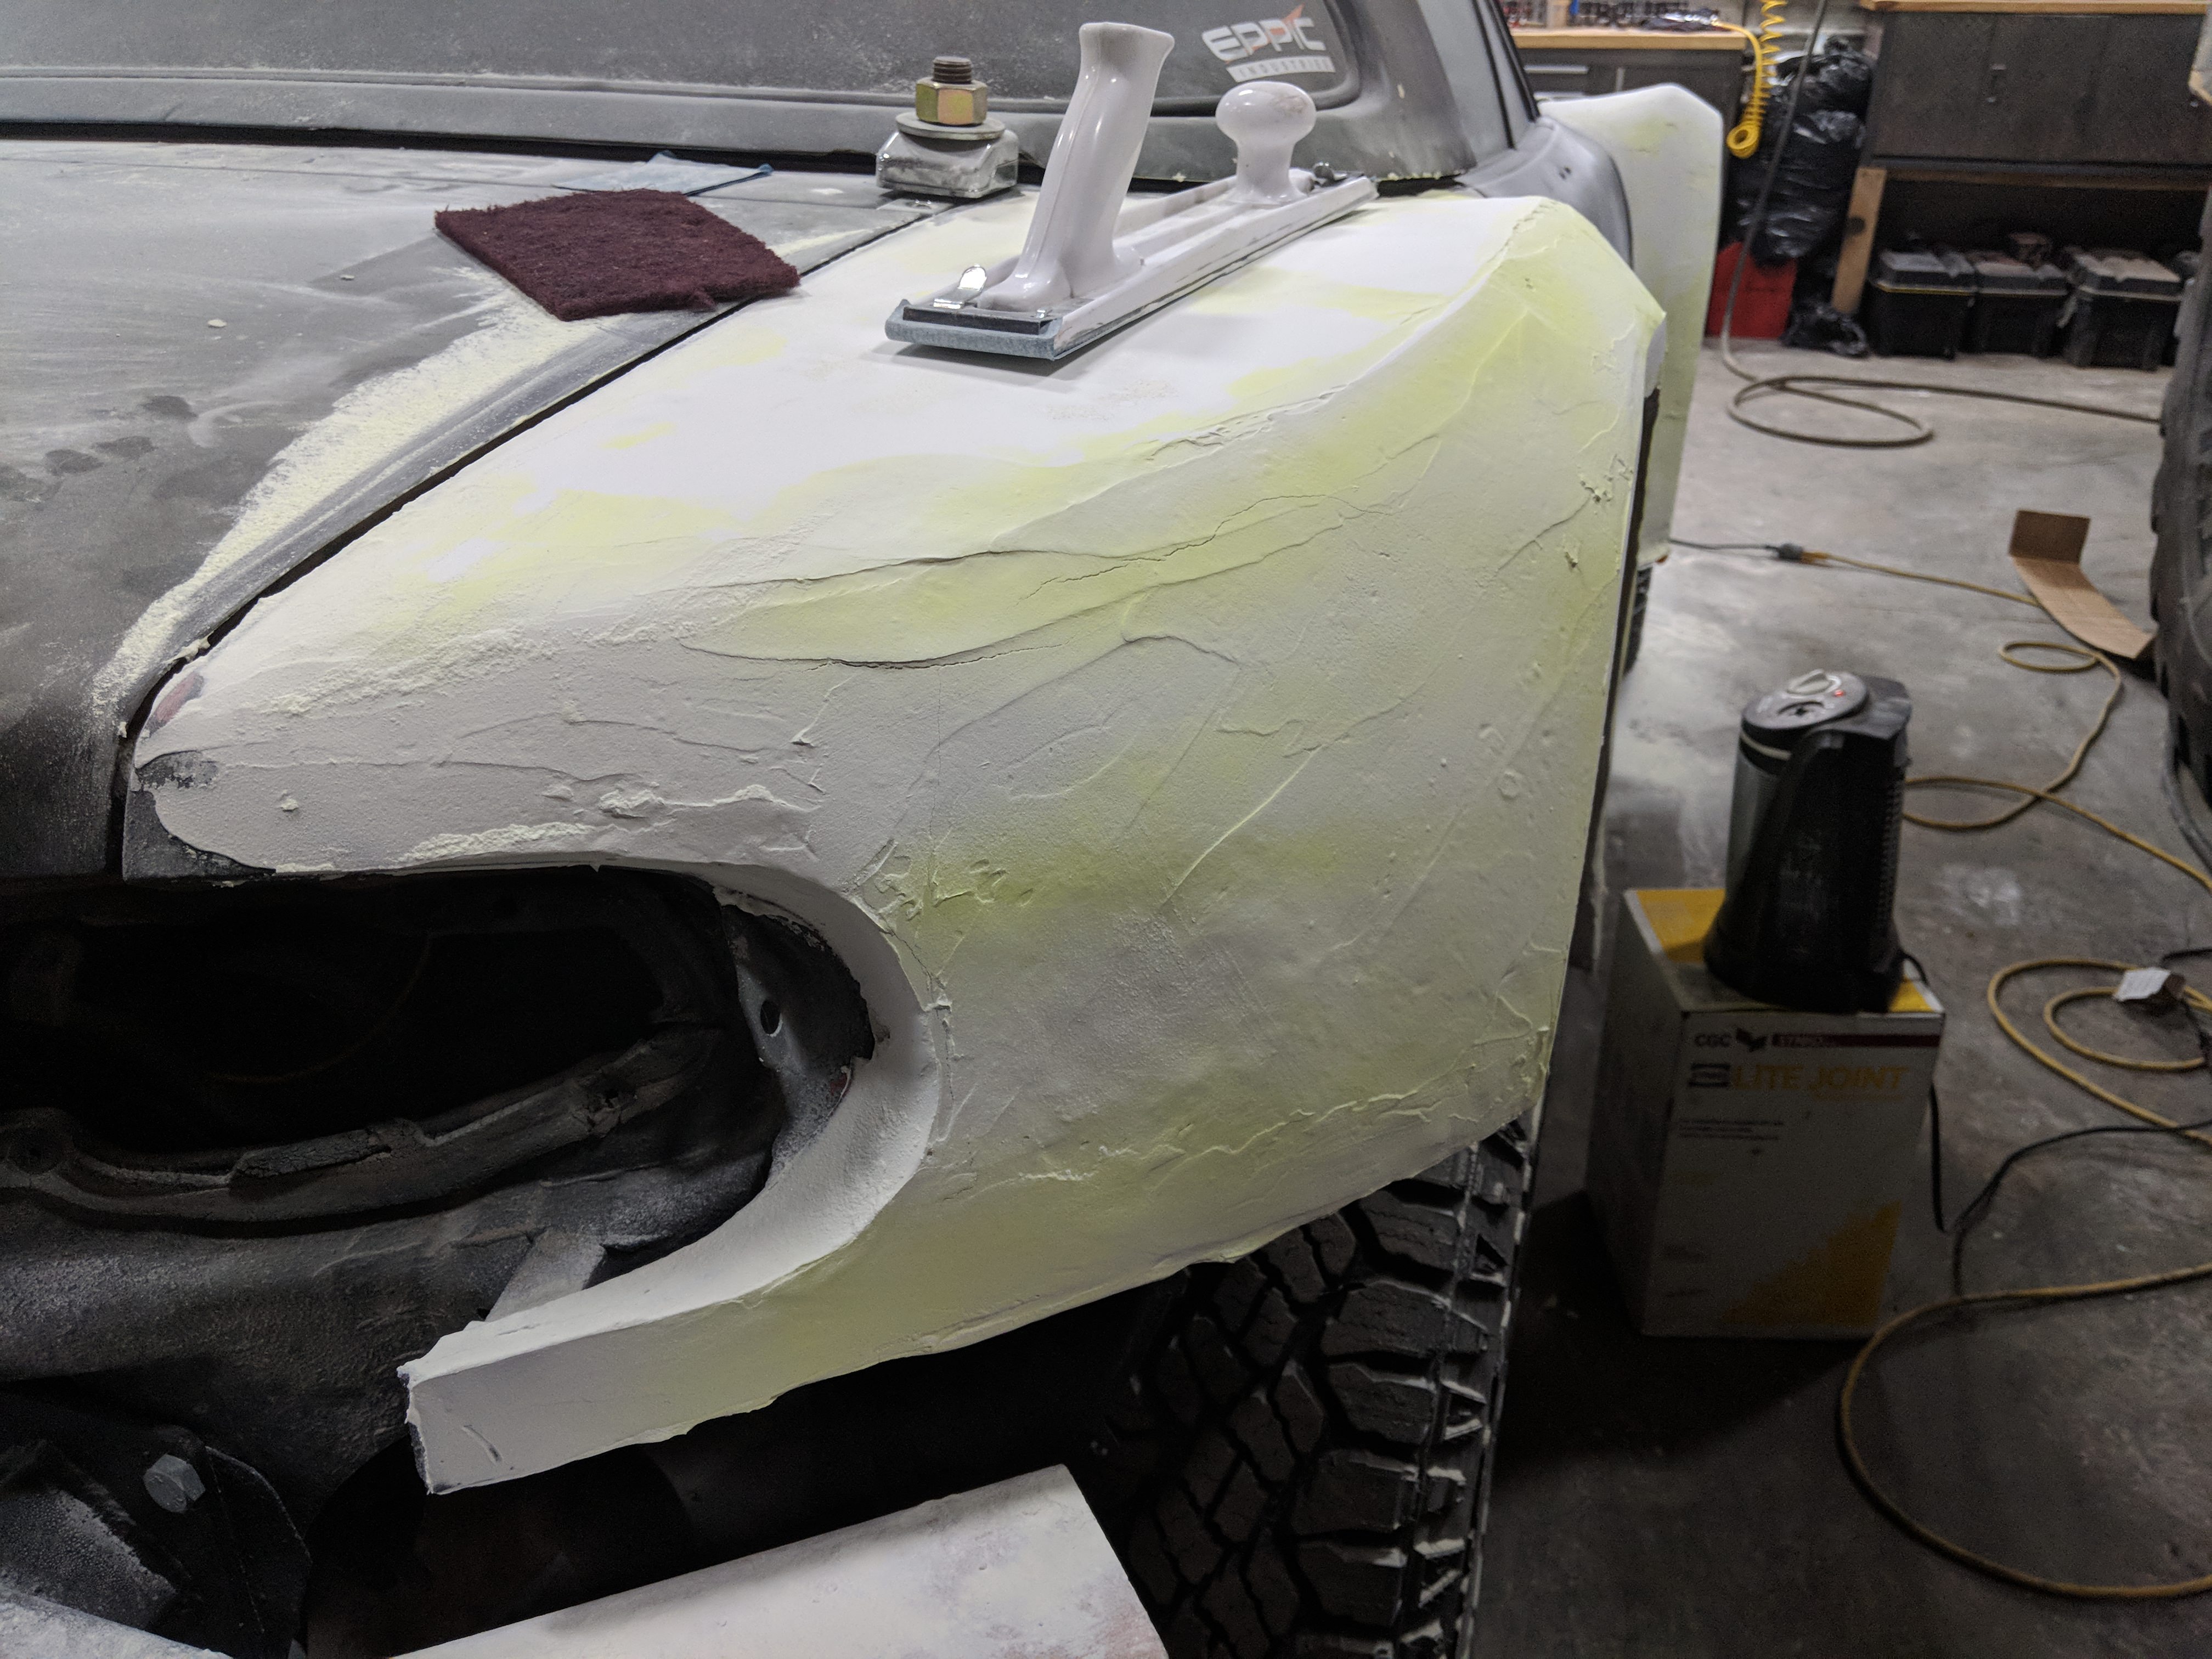
The weekend is here. Time to get some progress happening on this guy. Knifing is almost done, Just have to level my level and then it's onto the shaping with the roloc.
Roloc time
Had one of my co-workers stay late on a friday to help fab up the rear bumper.
After a long hard day, sometime you just need to break wind! Sucker we laughed so hard.
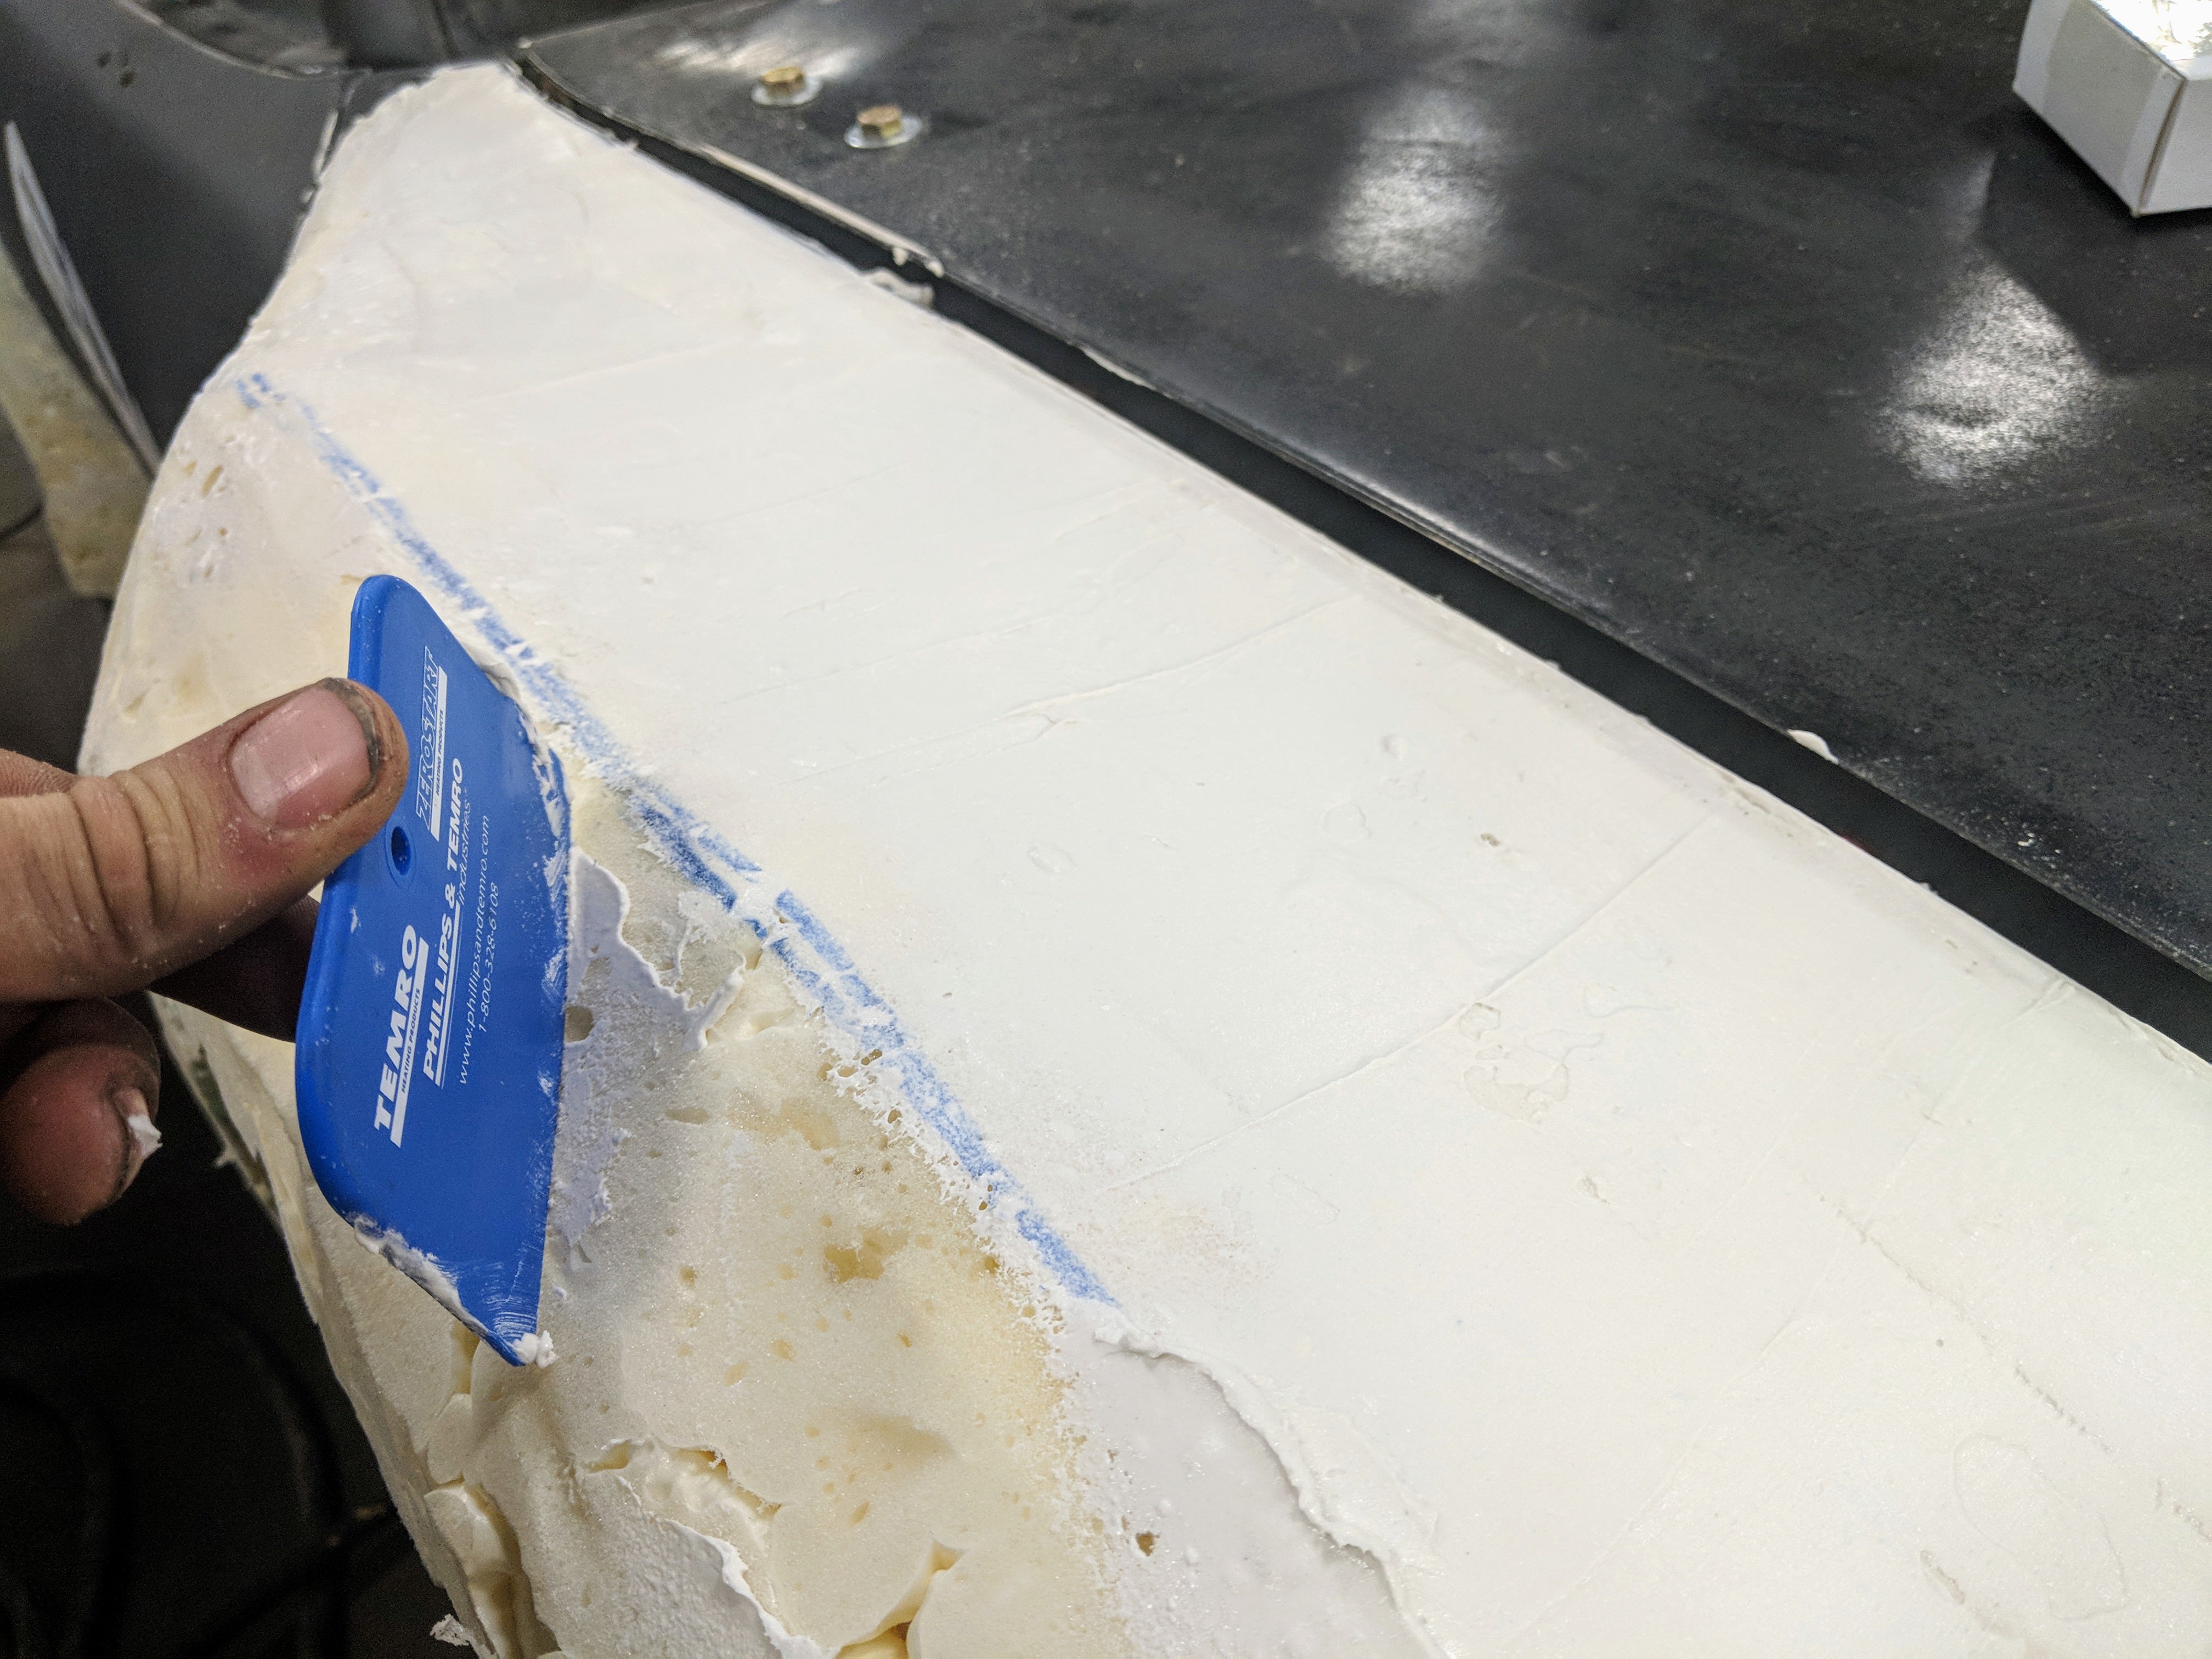
Starting to lay the drywall mud to fill in the holes. Cheaper than actual body filler. Strength doesn't matter at this stage. This is just for shaping purposes.
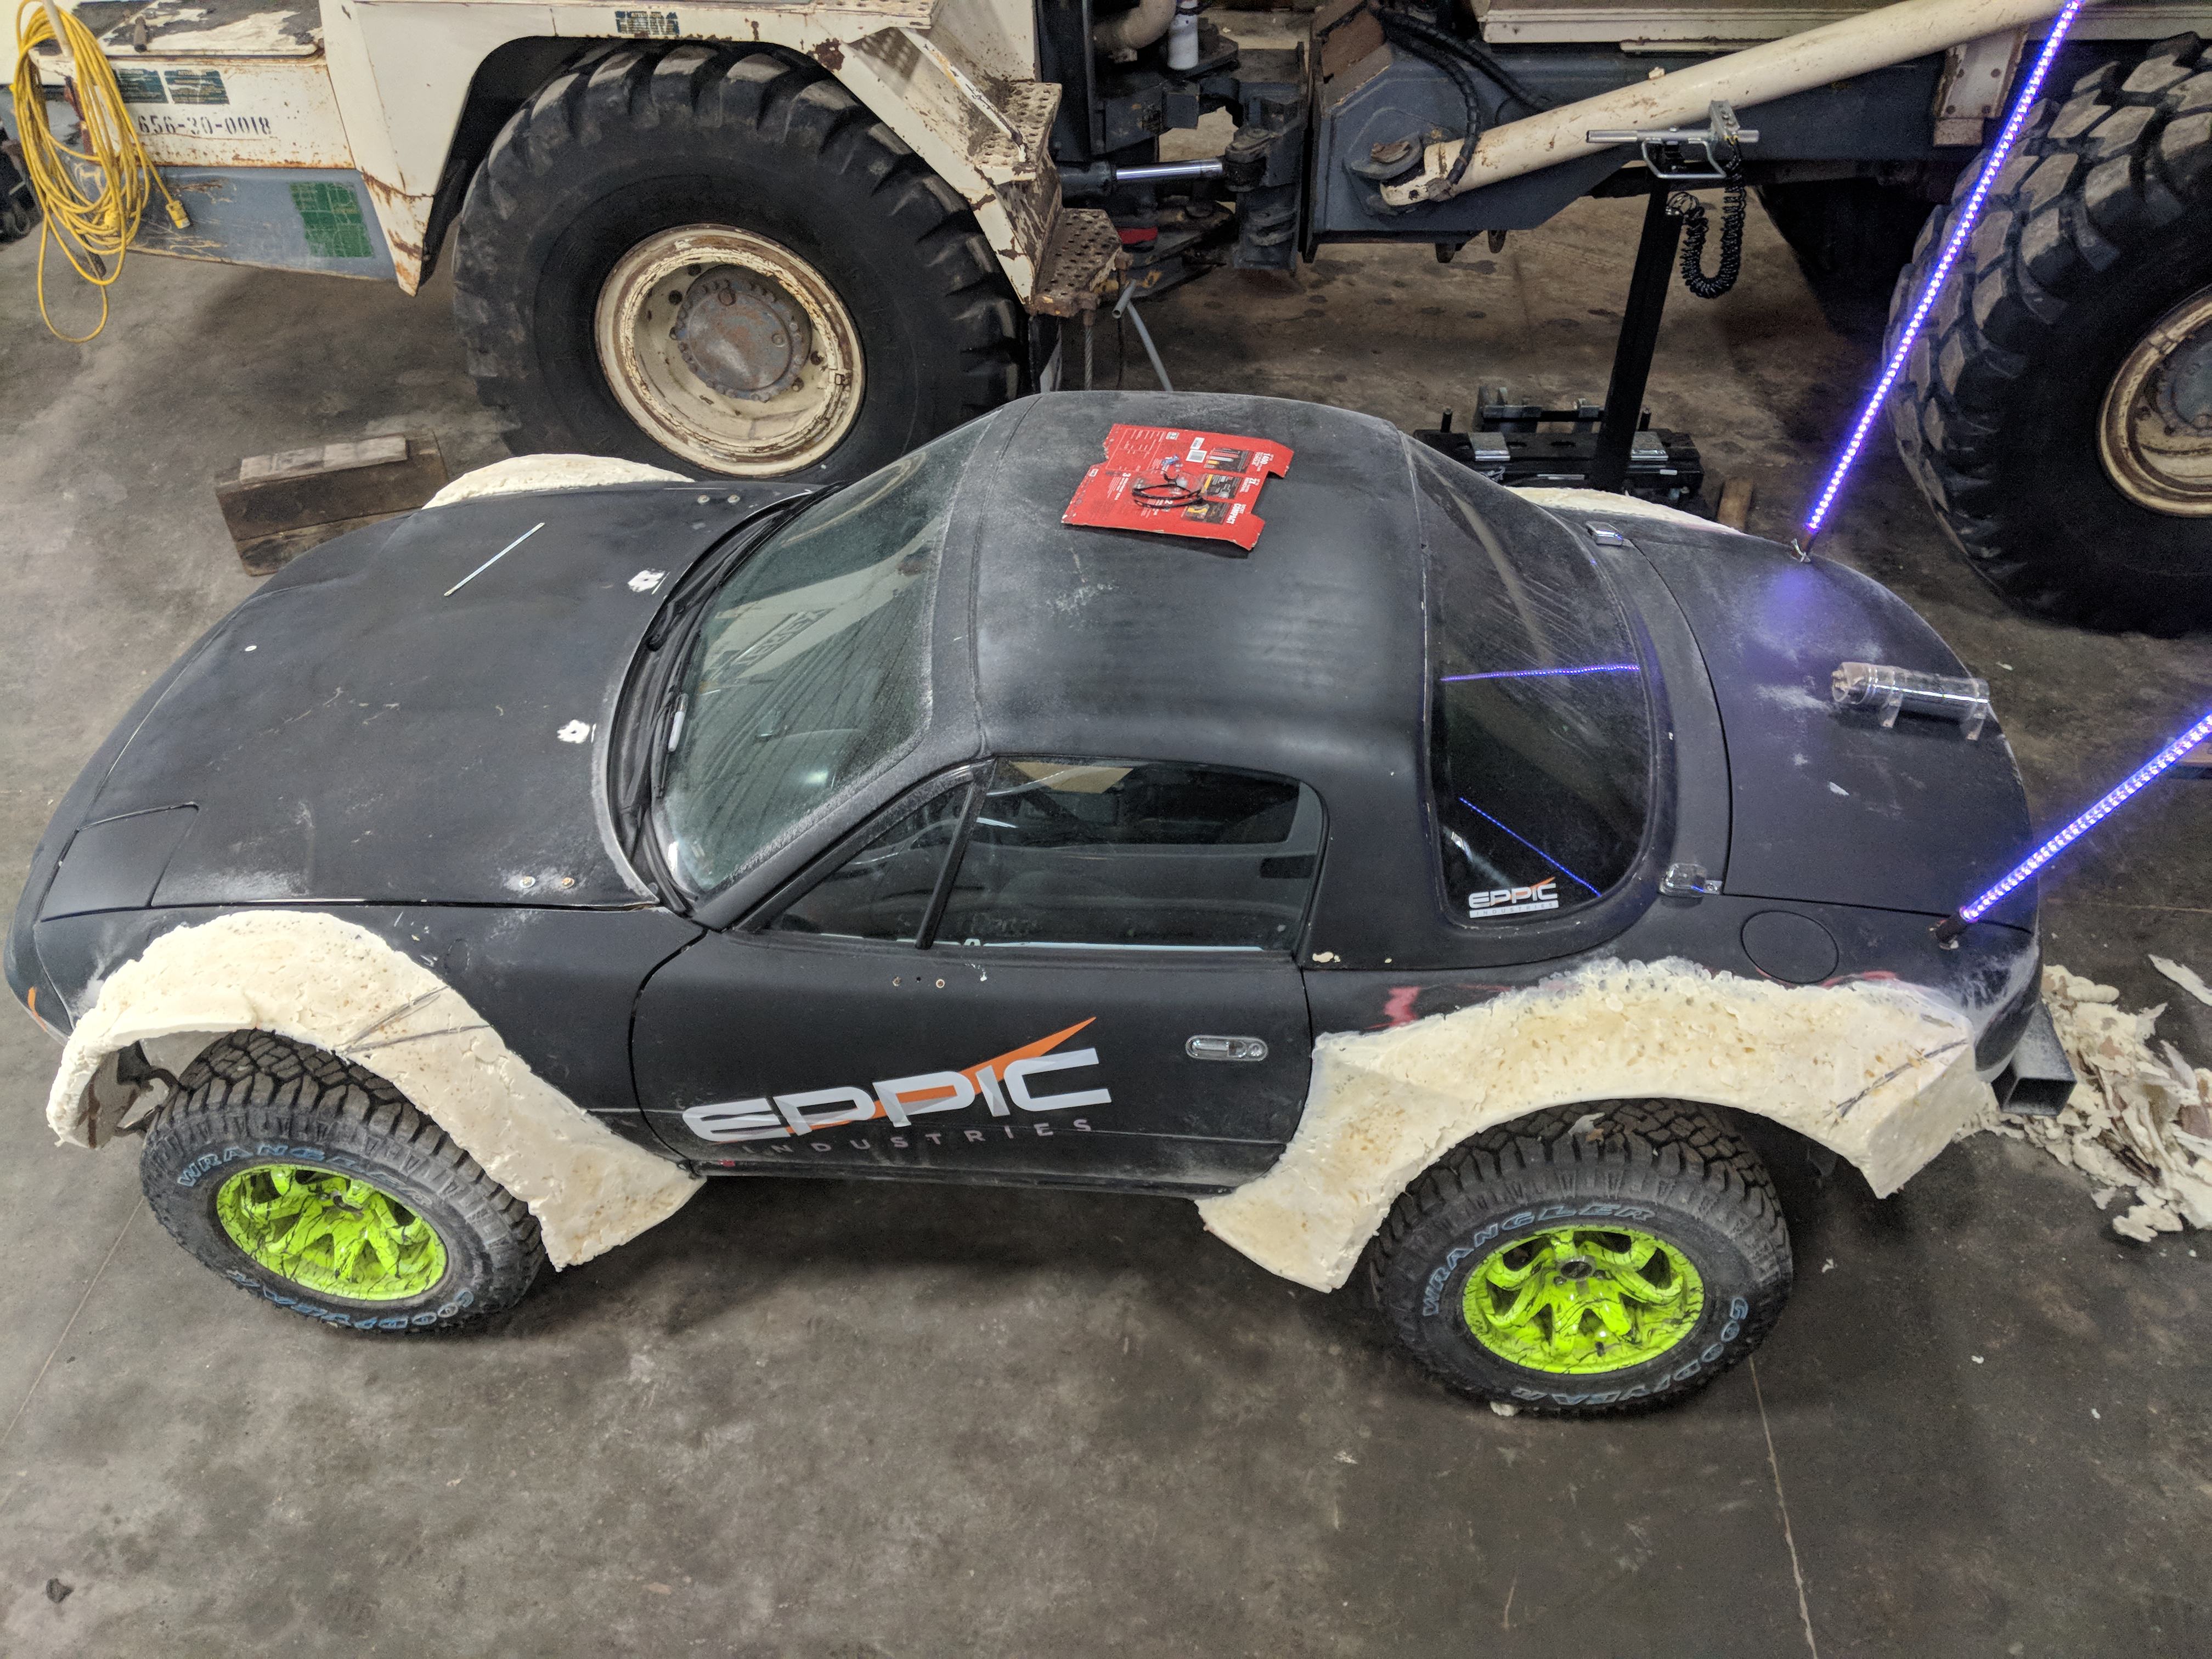
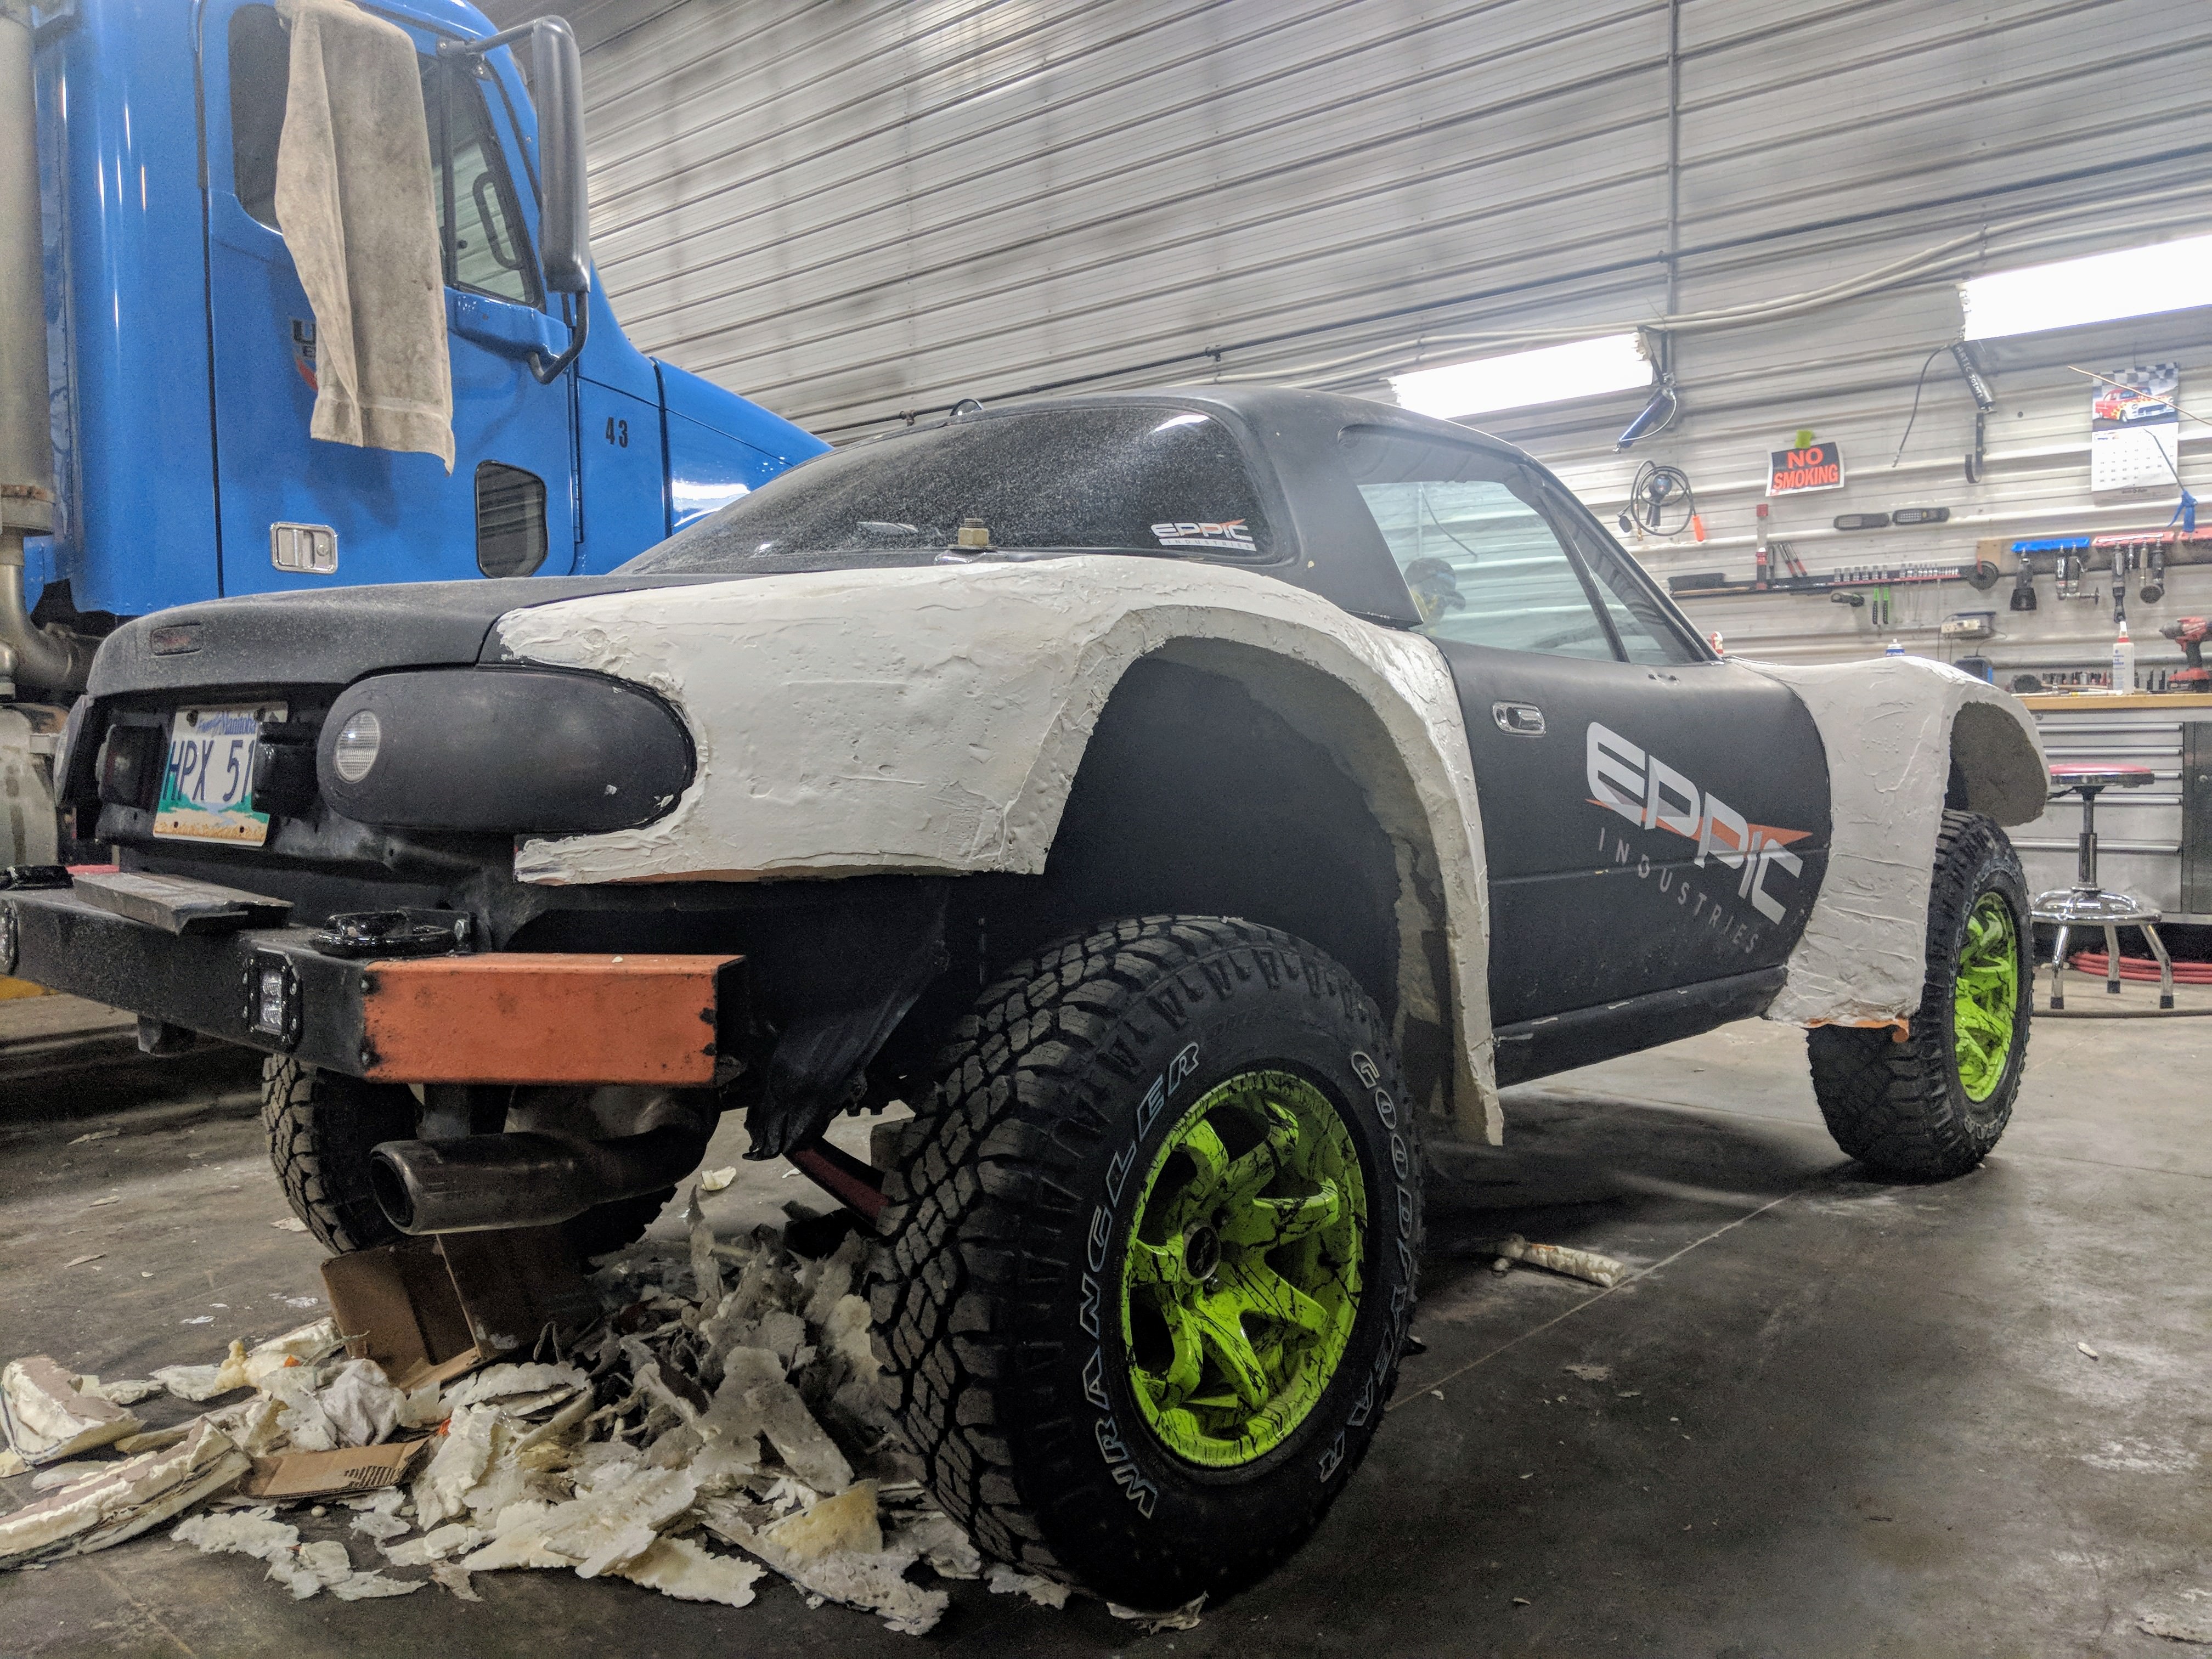
And there we have it. One smoothed out(ish) custom wide body off road miata.
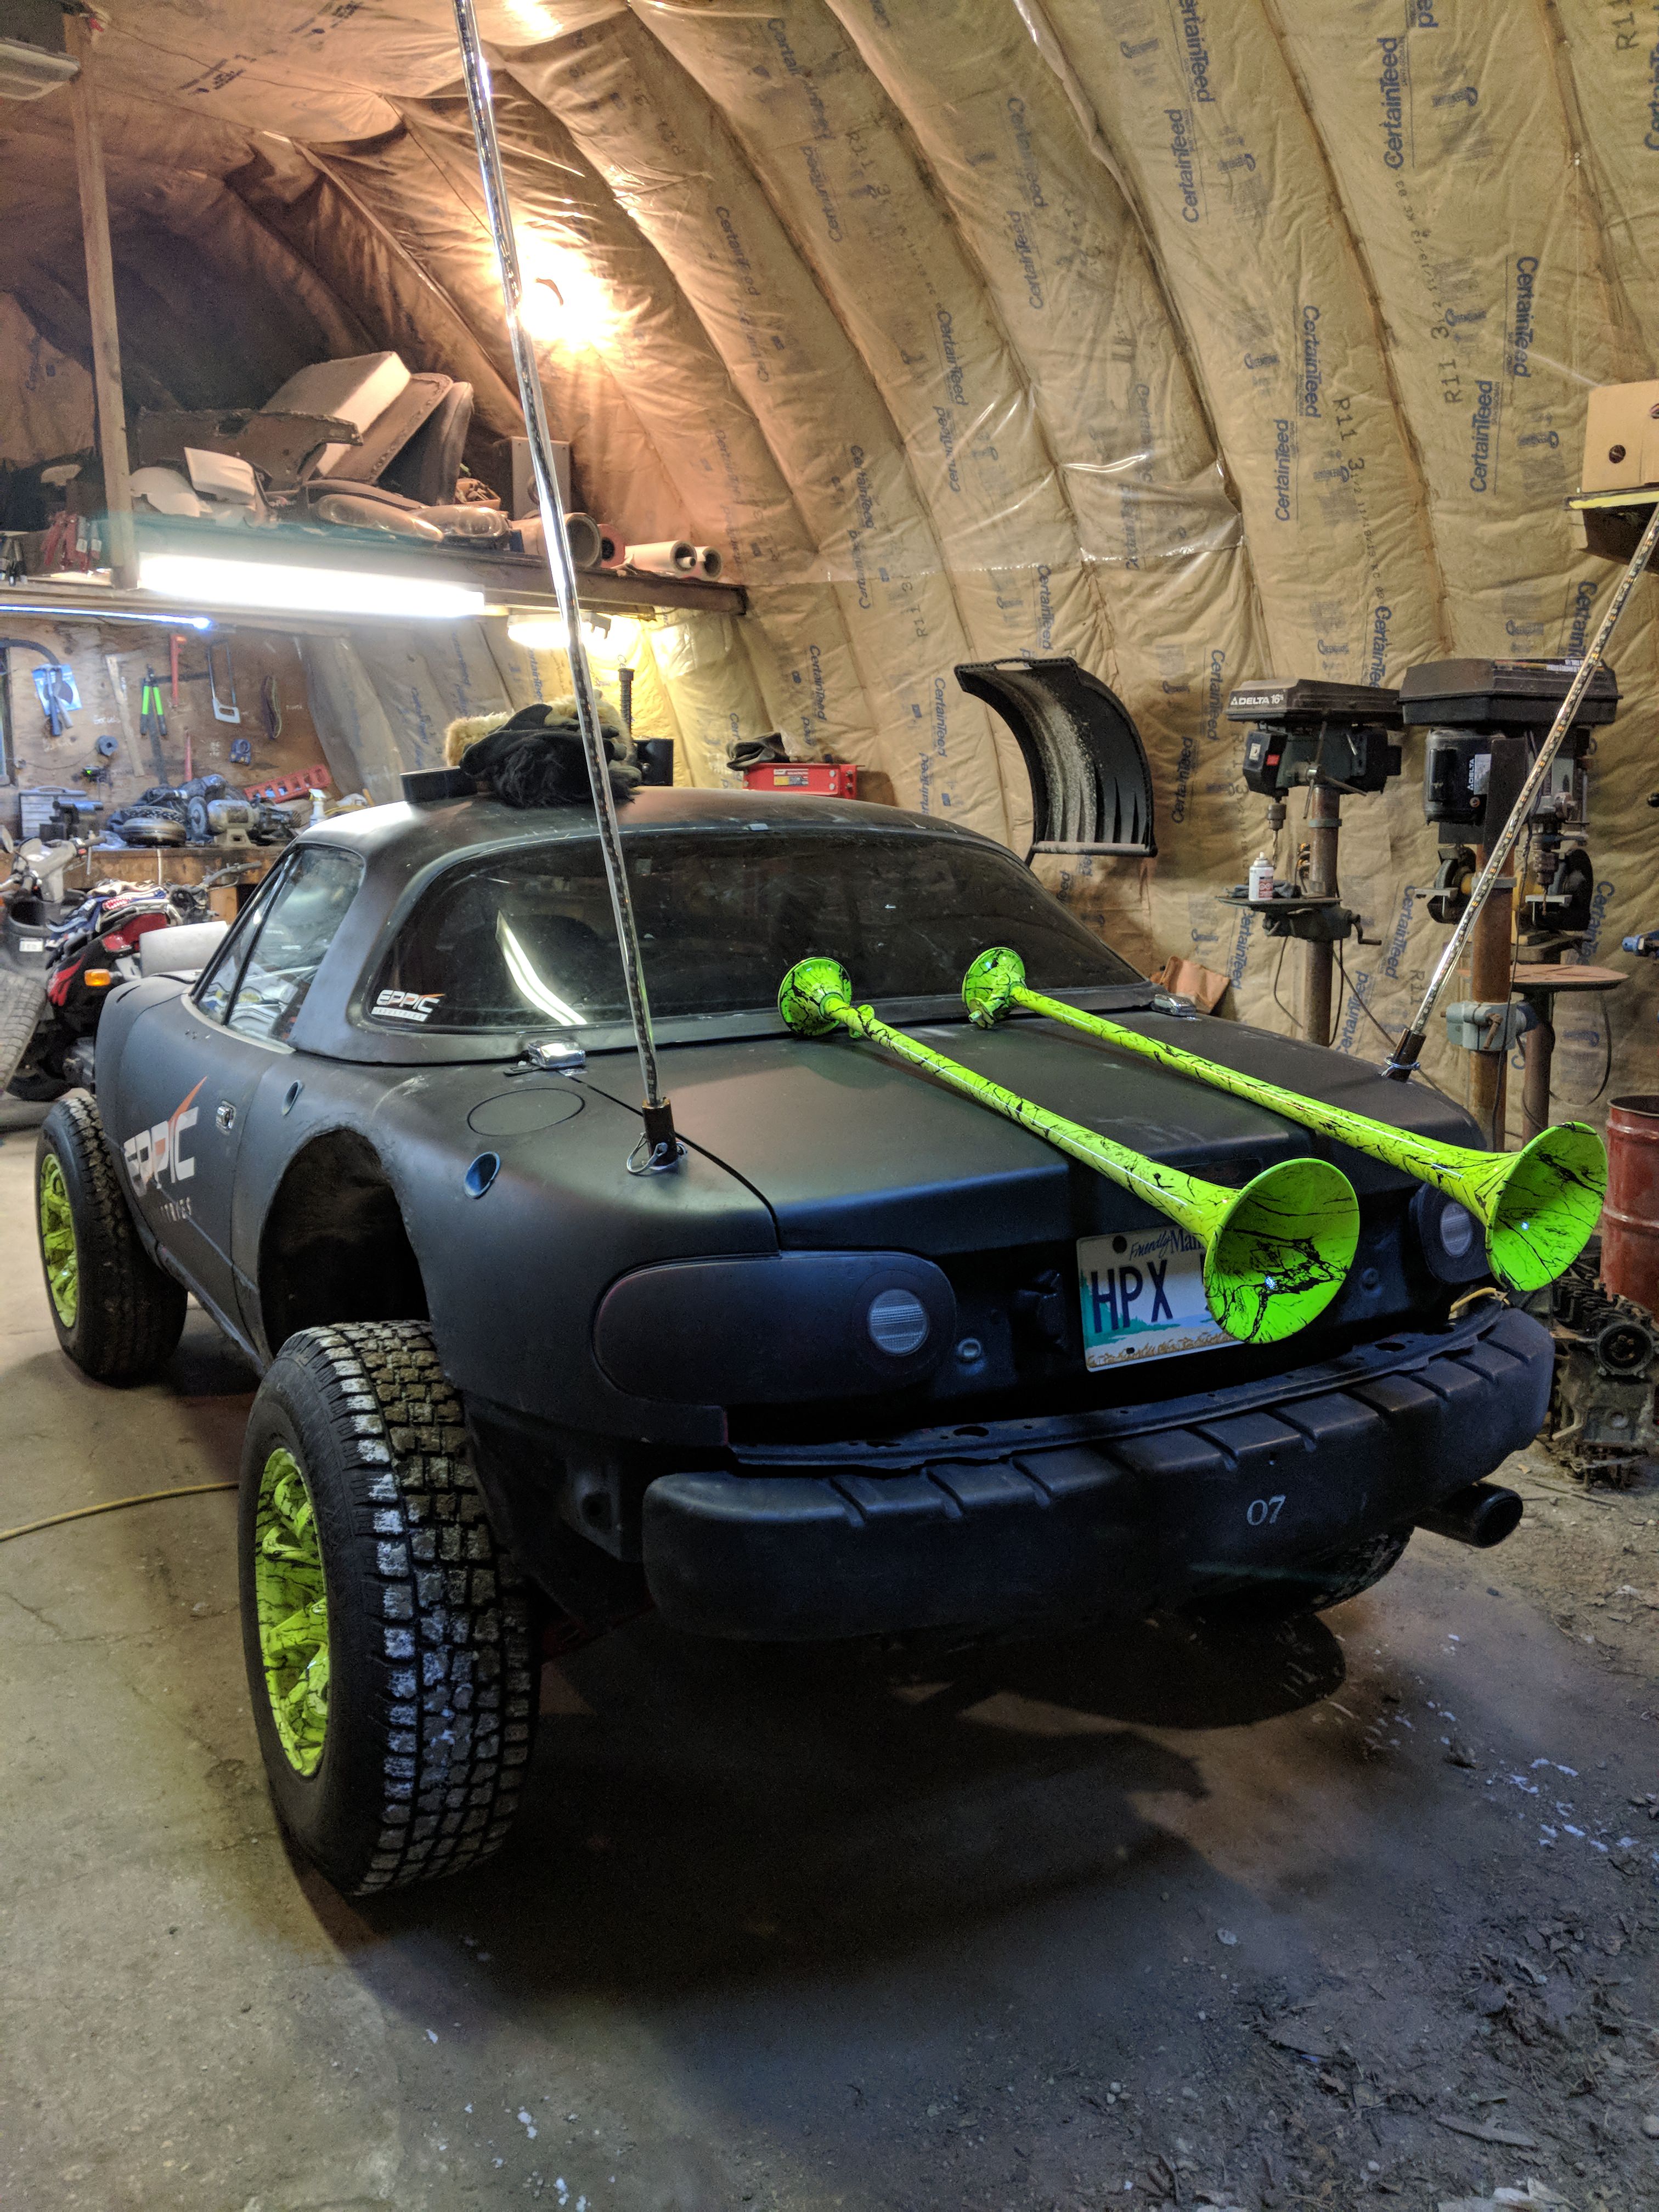
This is not a factory Miata part... It's getting used for something. SUPER excited for ヽ༼ຈل͜ຈ༽ノ ʀᴀɪsᴇ ᴜʀ ᴅᴏɴɢᴇʀs ヽ༼ຈل͜ຈ༽ノ !
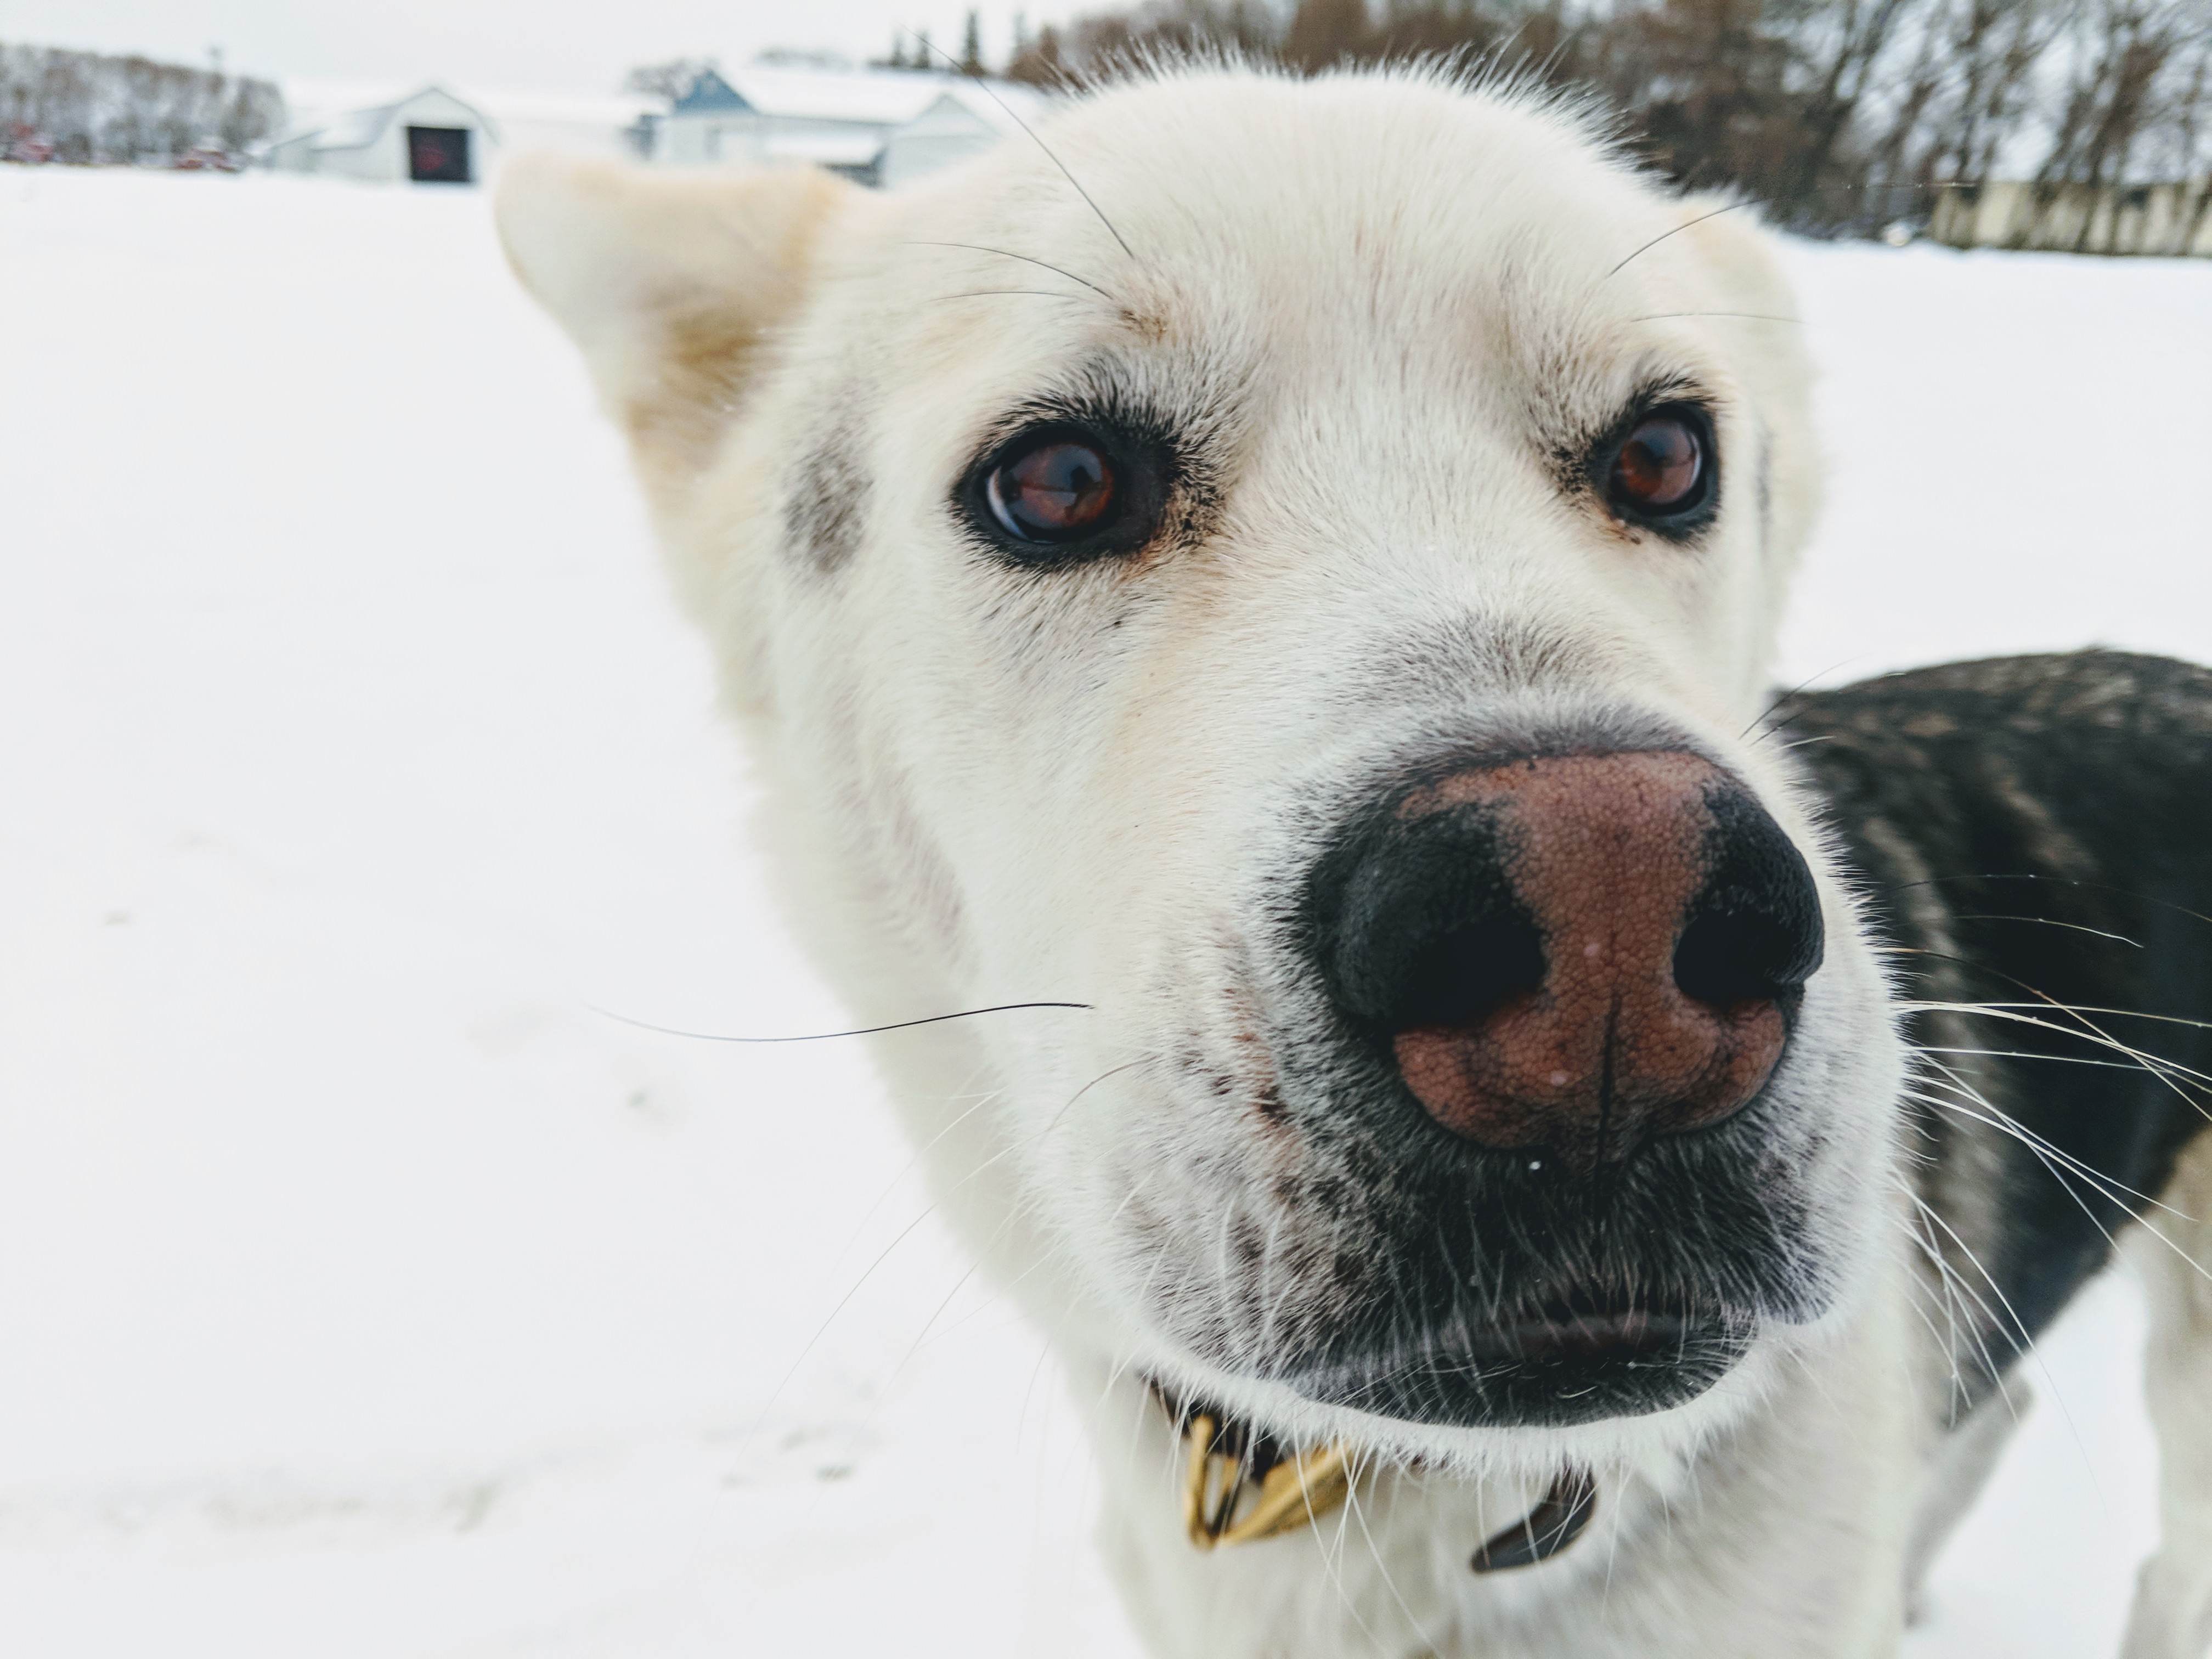
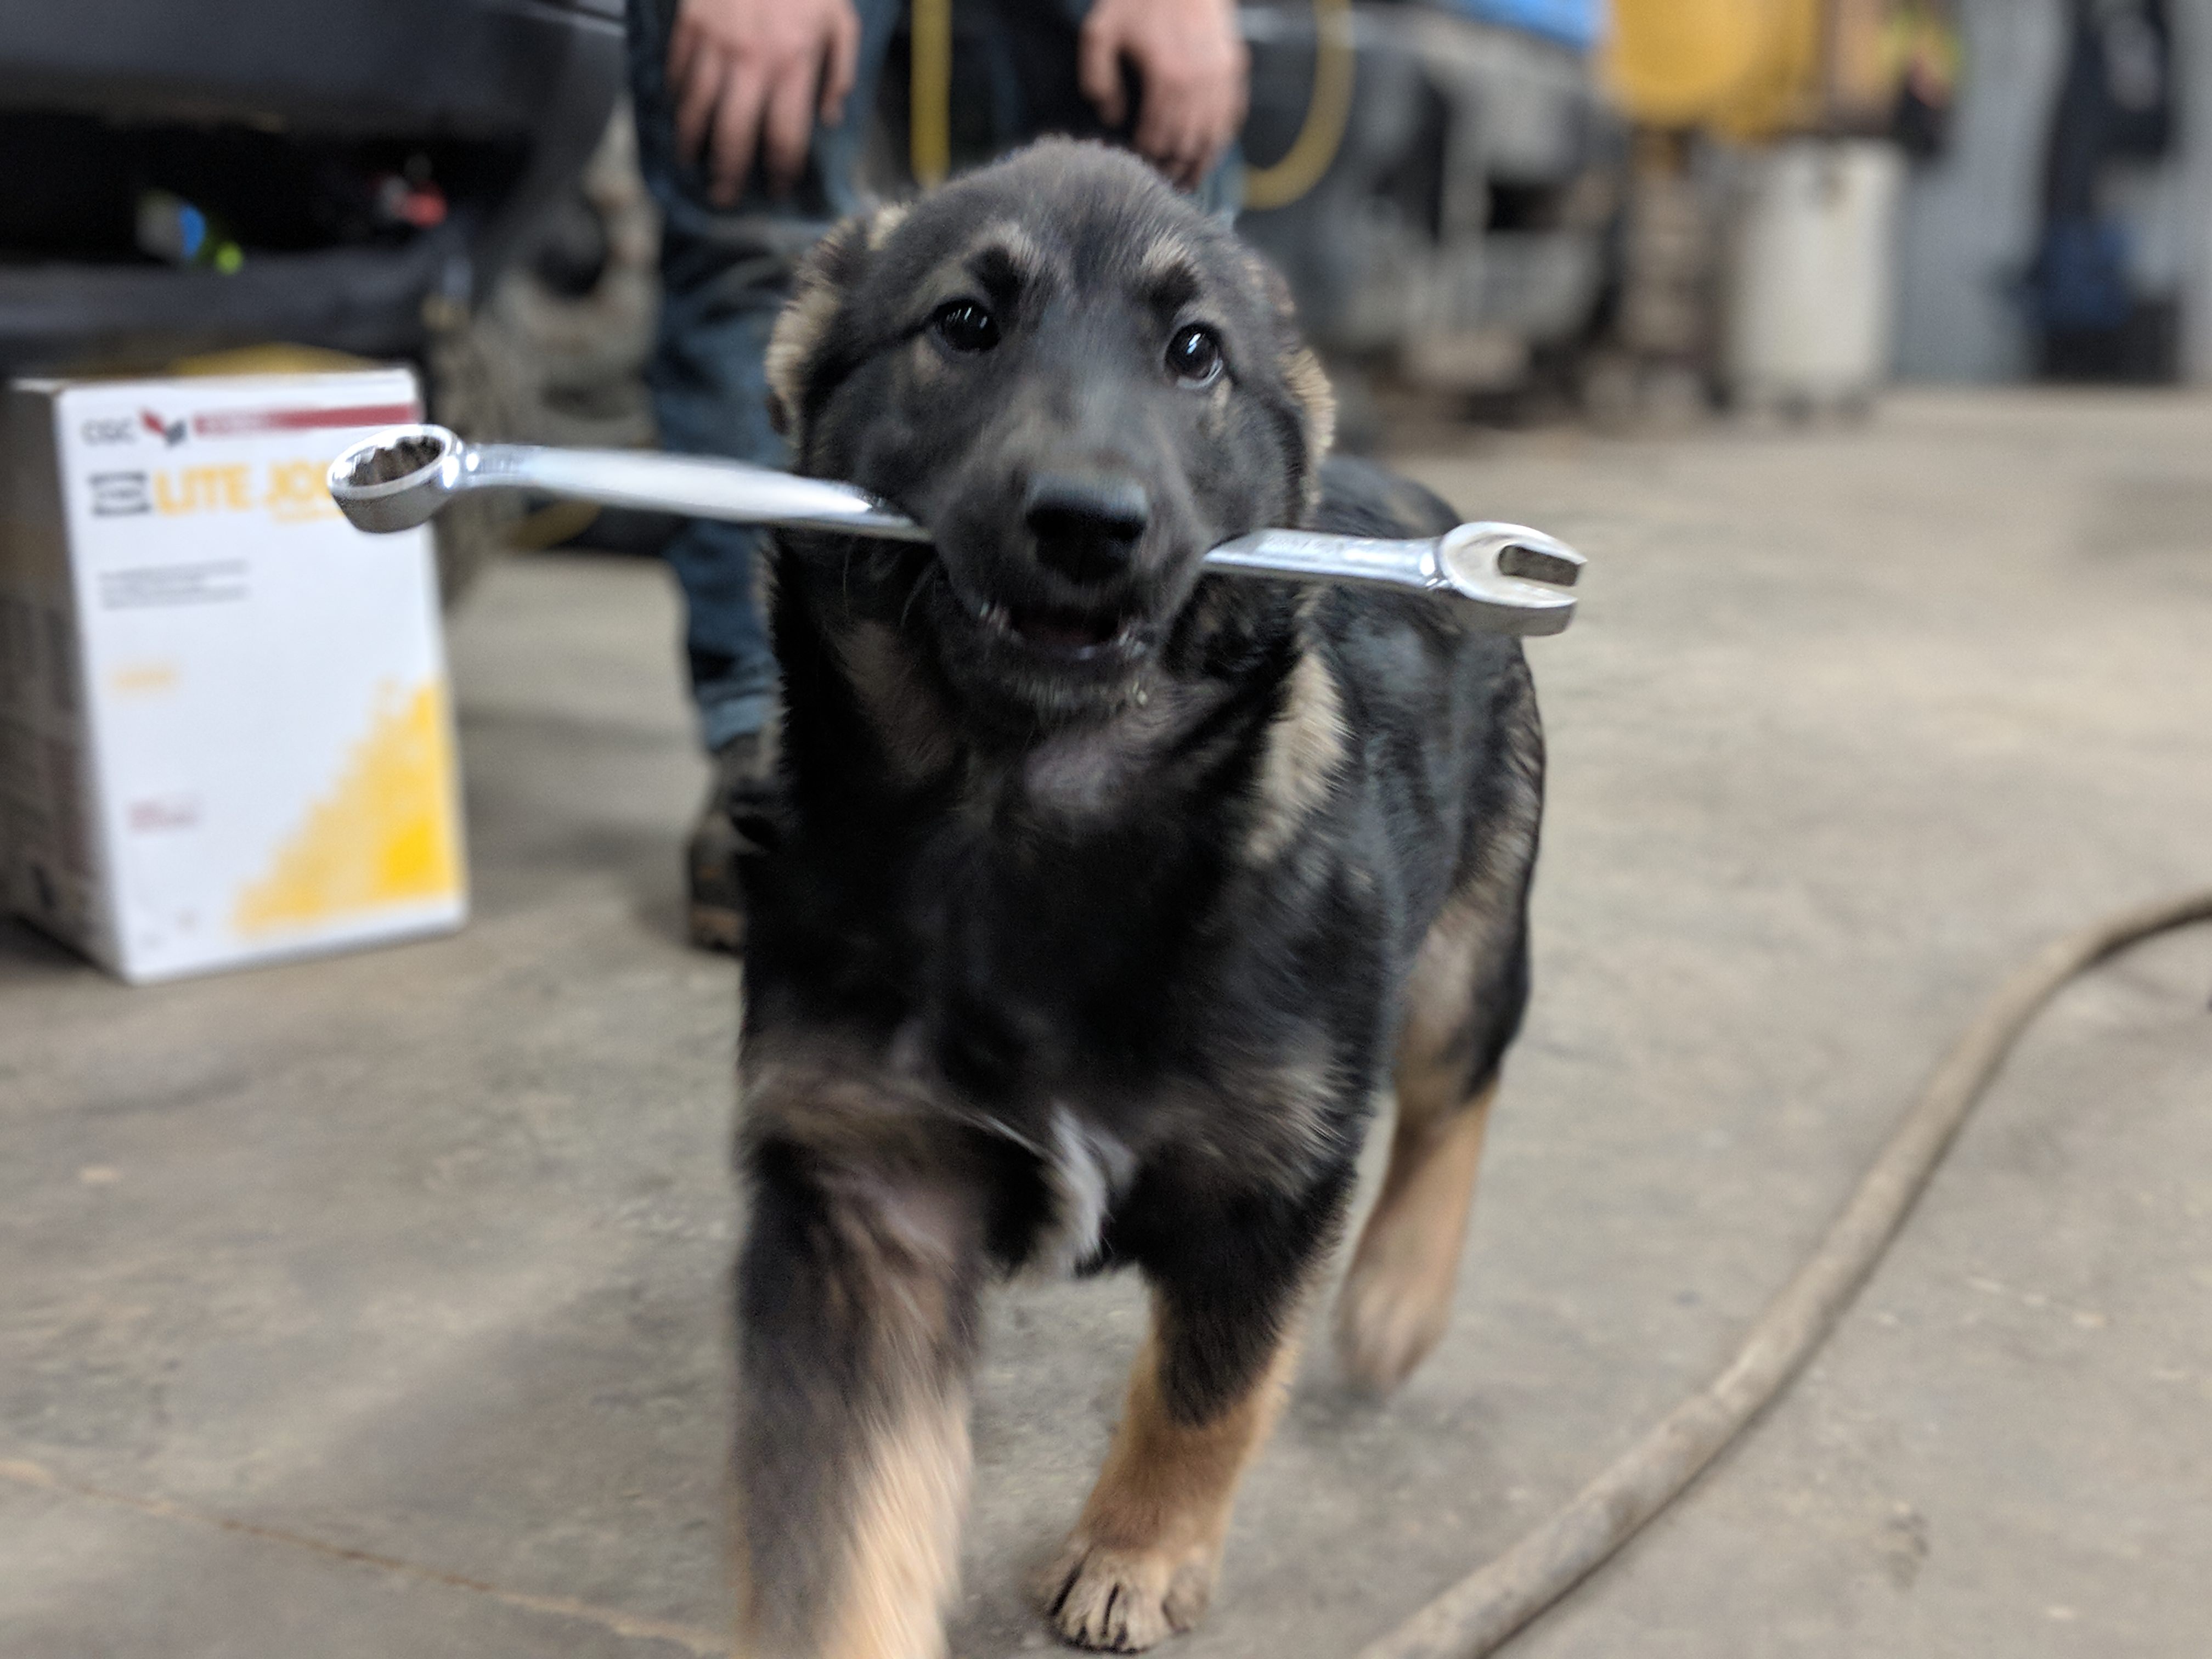
Taught our new shop dog to bring me my wrenches... or at least how to carry them. She did quite well actually. Carried that thing all the way from the tool box across the shop to where I was working.
Will fix previous links soon. Somehow they were deleted off the server.
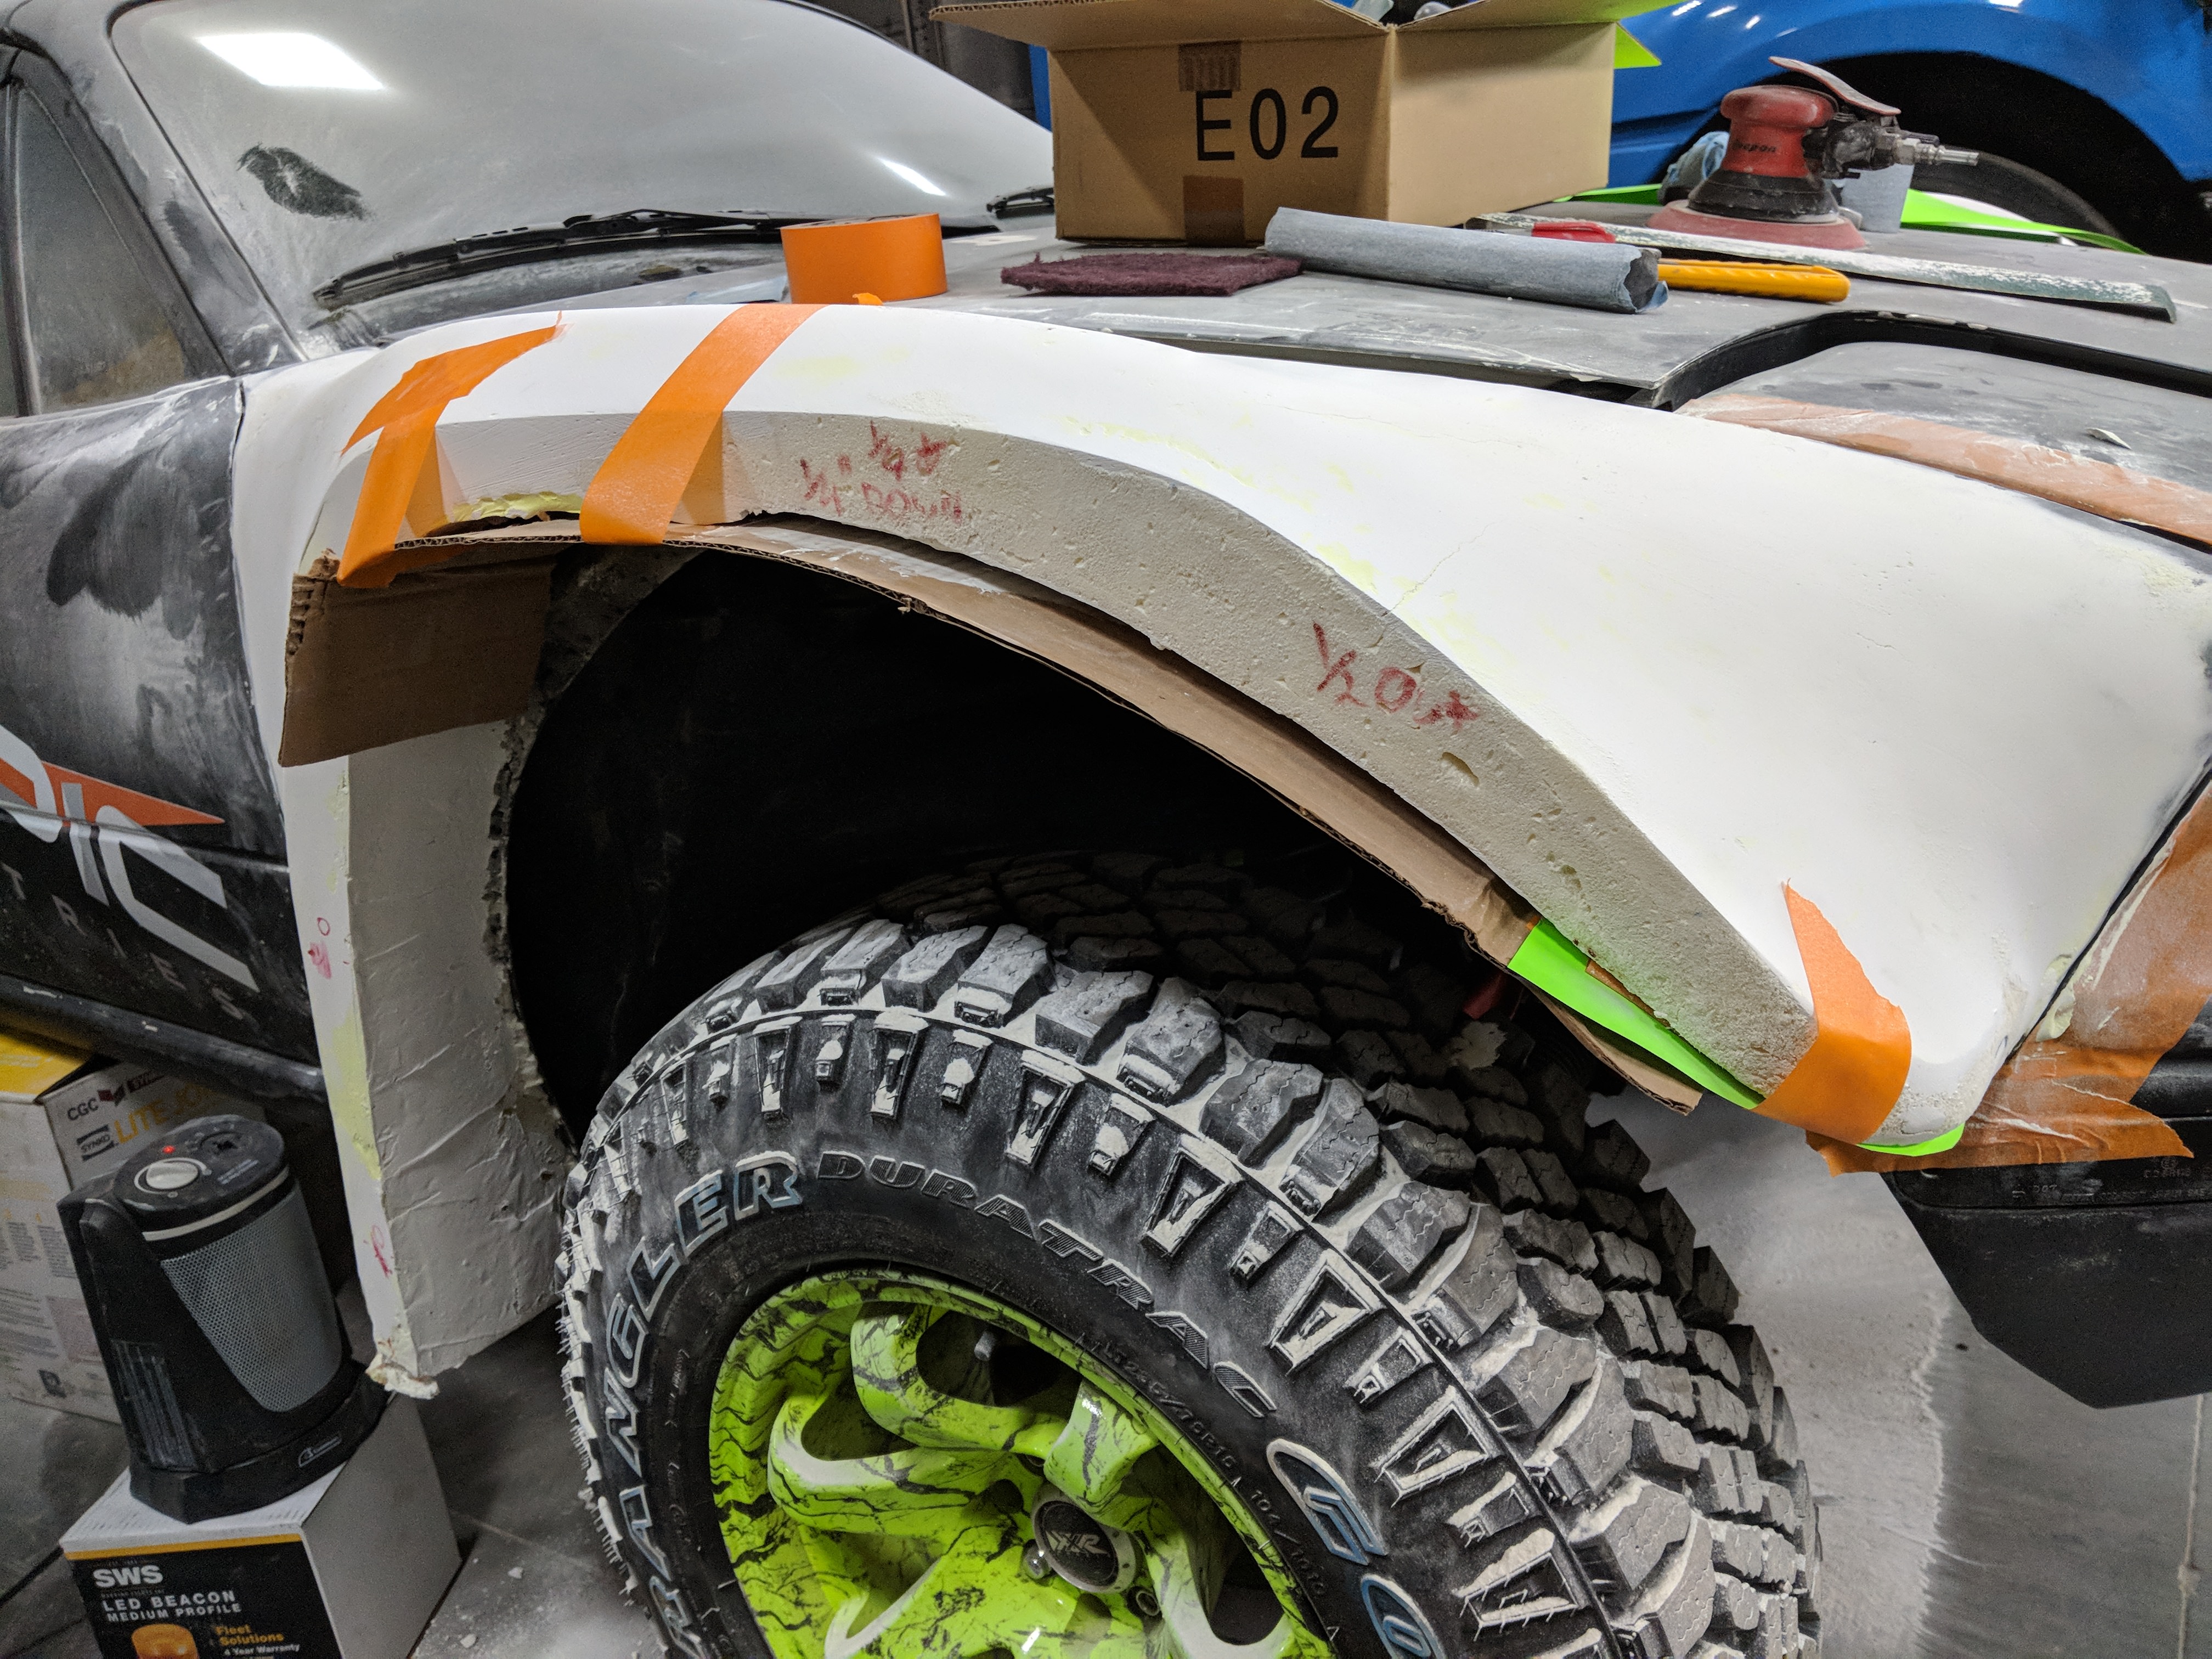
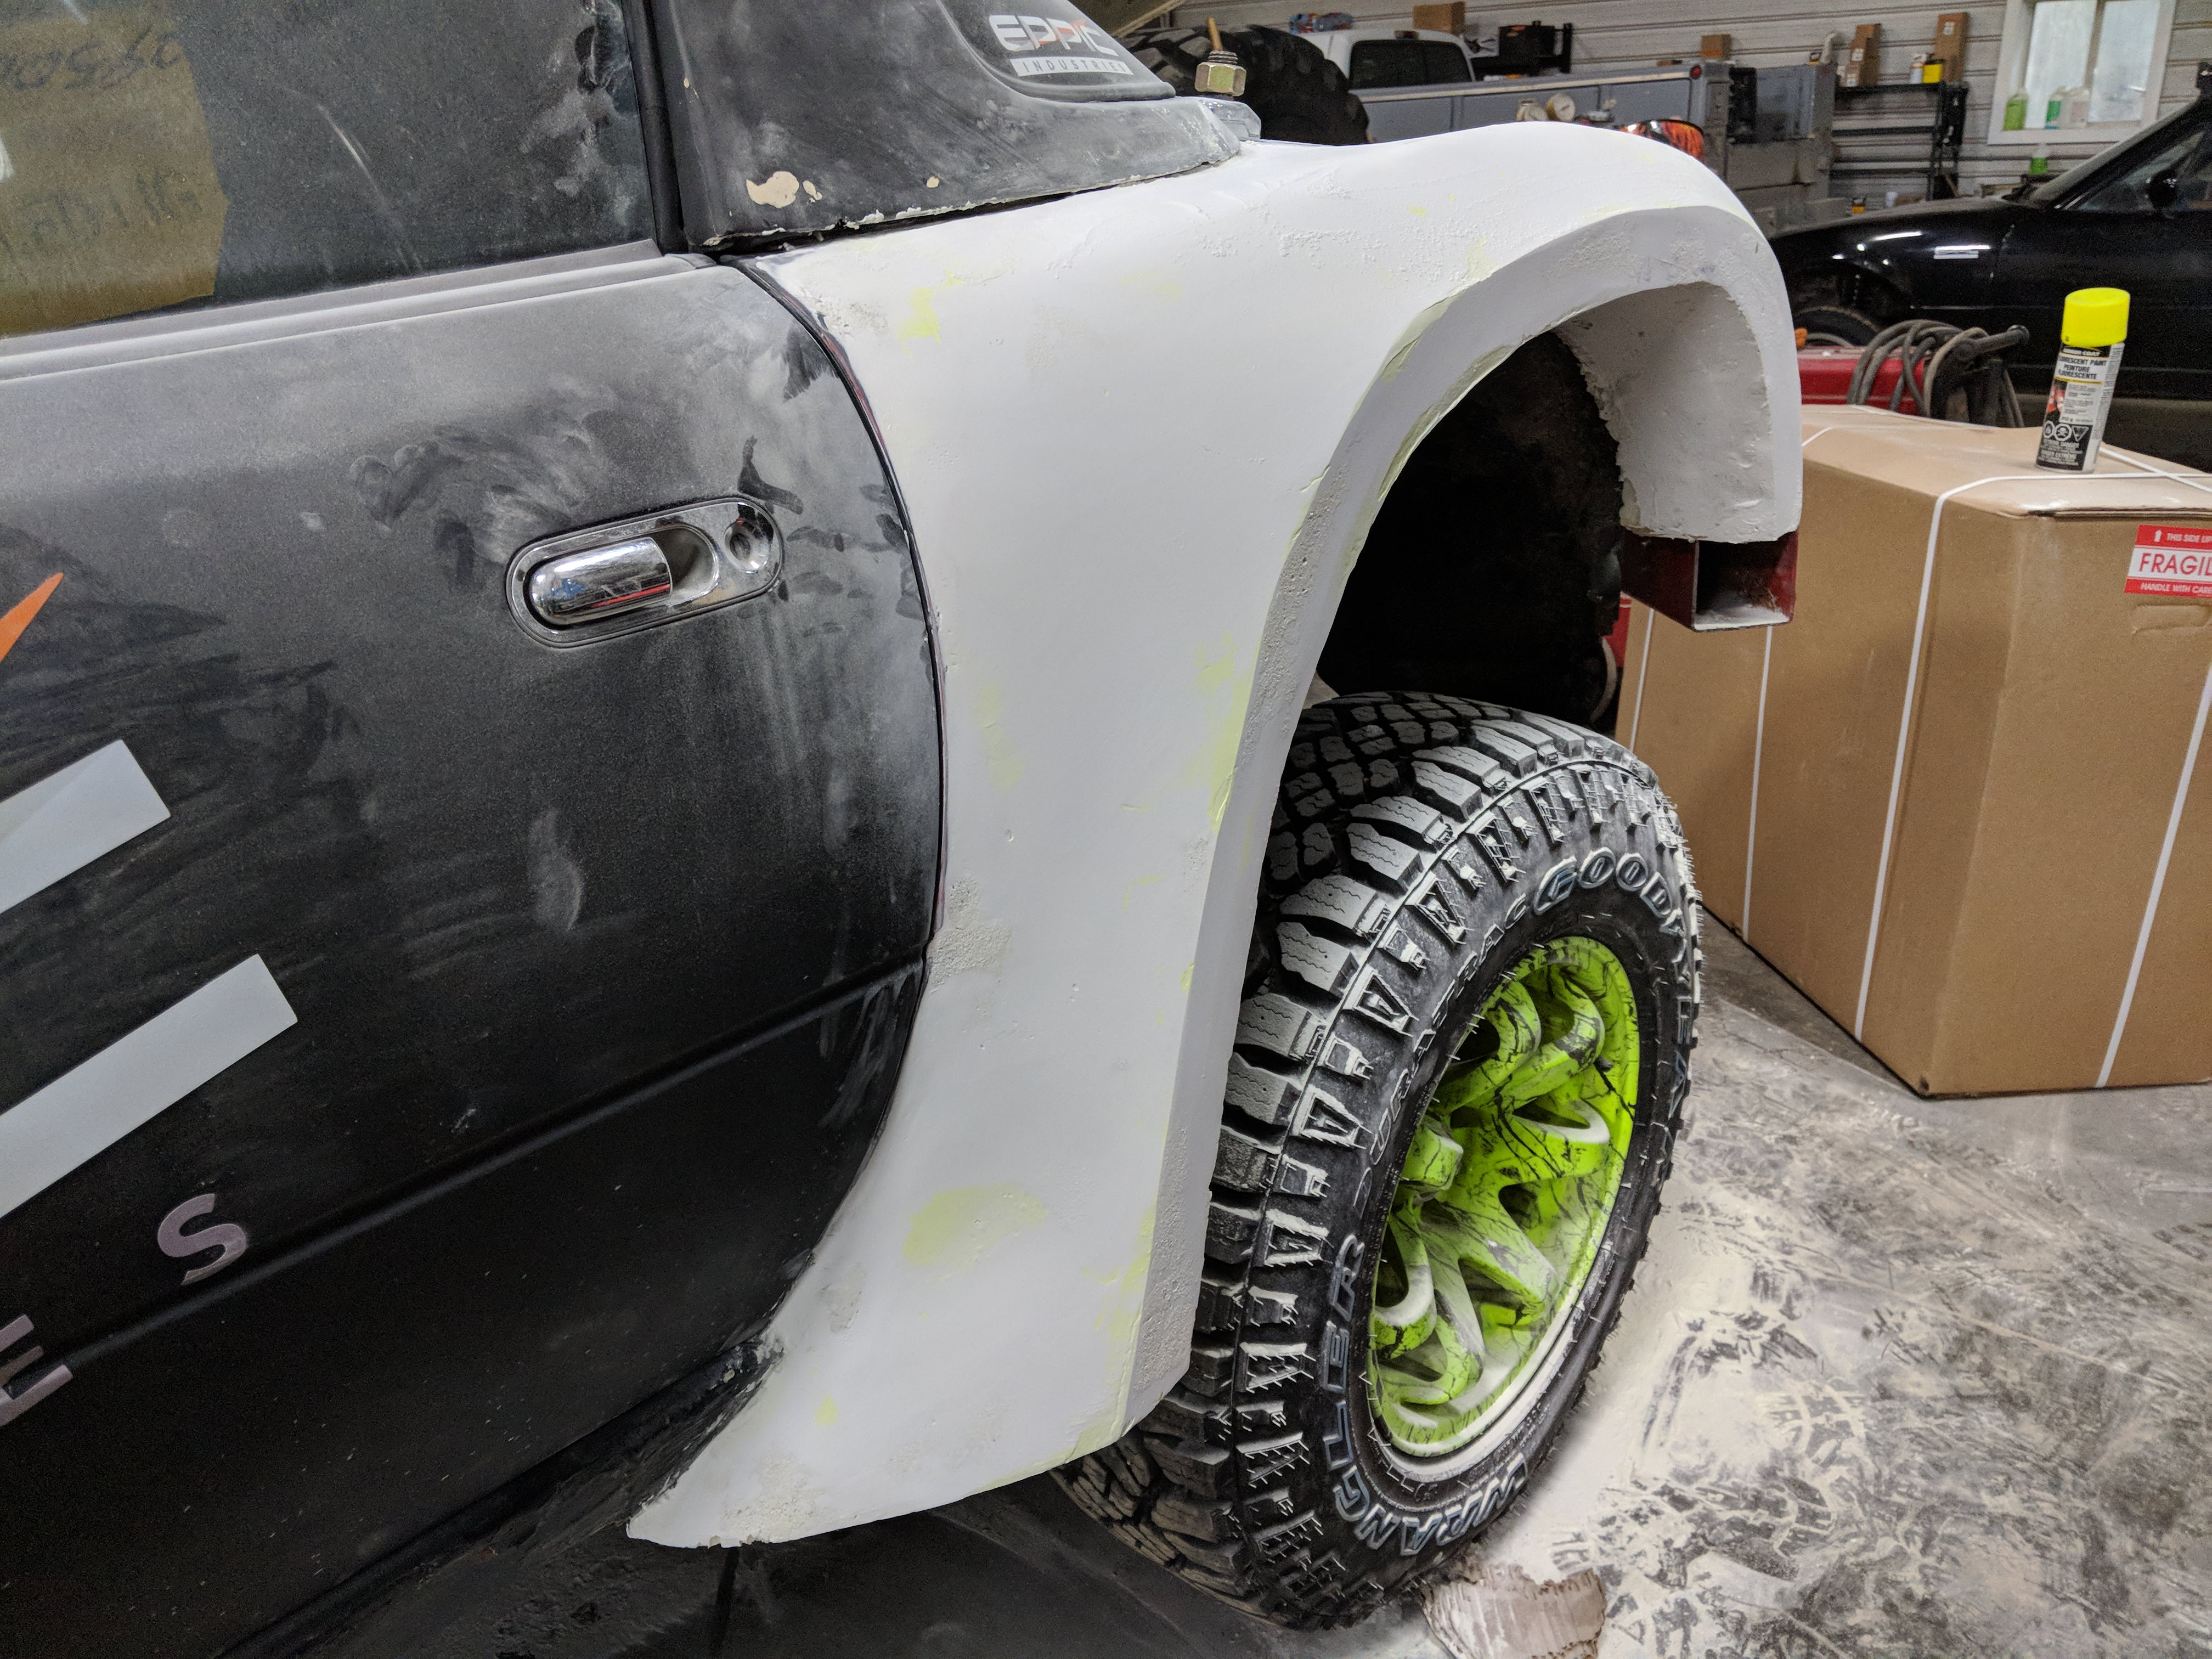
Today we guide coat and find them low spots.
And then once you find those low spots you have to make both sides match.
But it's slowly coming together. Hopefully just a couple more weeks to go.
I've had guys asking if I'm making replications of these flares. If there was the interest I think I might. Anyone have experience with producing fiberglass from a mould that would steer me away from that idea for any reason?
Probably one of the most entertaining threads I have read in a while.. It's not the most bitchin' high tech, high speed roadster that we are used to seeing on here but it IS the most unique and creative.
 05-17-2017, 12:14 AM


 1
1