The Eppic Offroadster

 11-25-2016, 02:15 PM
#62
Junior Member
Thread Starter

Join Date: Nov 2016
Location: Steinbach, Manitoba
Posts: 116
Total Cats: 52
You got it. I had started designing a long arm kit at beginning of summer. Then I saw the paco stuff and contacted them. Seems Mark and I share the same brain waves cause it was about that time he had started too designing his version too. I quit my fabbing on that project cause I'm old school and don't have fancy computers and lasers to make it all super nice looking.
So once this thing is driving and turbo is installed and working good, then we'll get to to really good stuff that I'm excited about.
One thing at a time.
So once this thing is driving and turbo is installed and working good, then we'll get to to really good stuff that I'm excited about.
One thing at a time.

Reply
 0
0

0
11-26-2016, 11:08 PM
#63
Junior Member
Thread Starter
Join Date: Nov 2016
Location: Steinbach, Manitoba
Posts: 116
Total Cats: 52
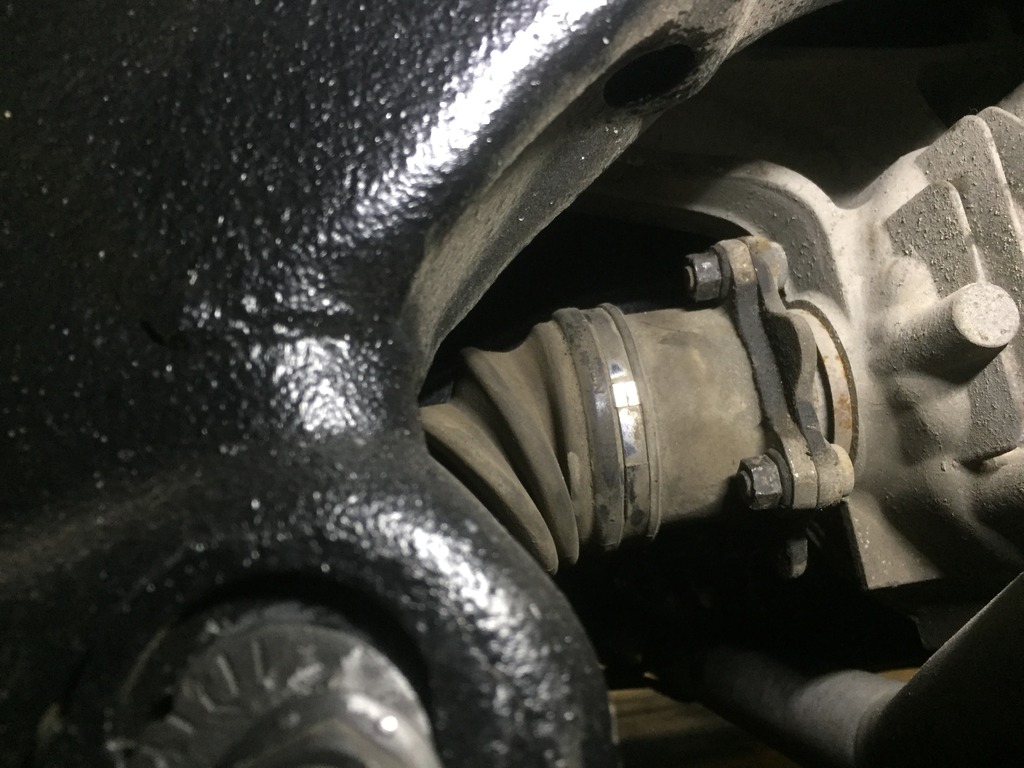
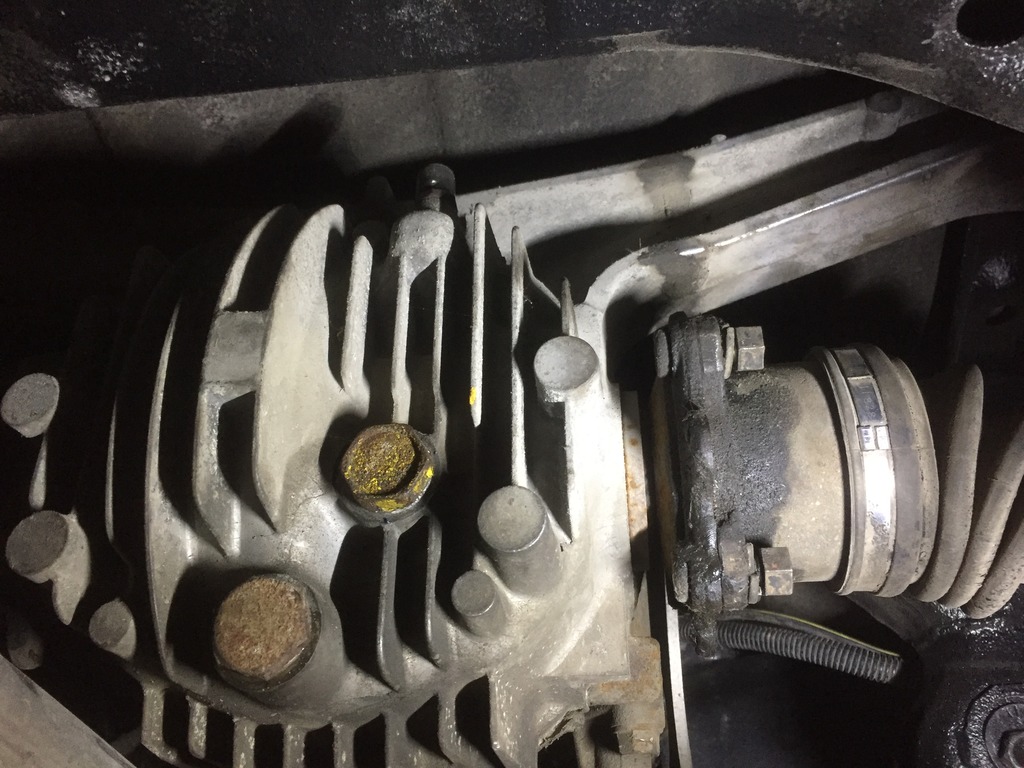
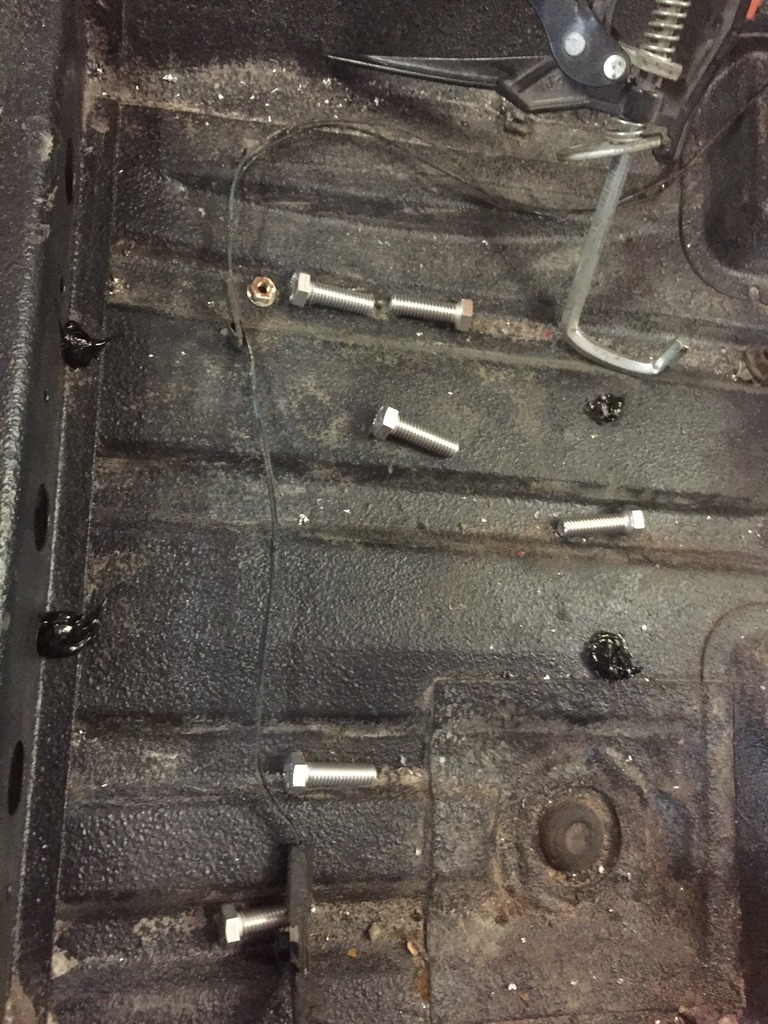
I can't stress this enough to anyone who wants to do a project this big.. double tripple and quadrouple check EVERY bolt on the car before you go anywhere. Every time I slide under the car I just take a look to see if I missed anything. Sure enough... I tightened the axle on one side but not the other. (note driveline is temporary and that's why I've left it ugly and dirty. Upgrades are planned!)
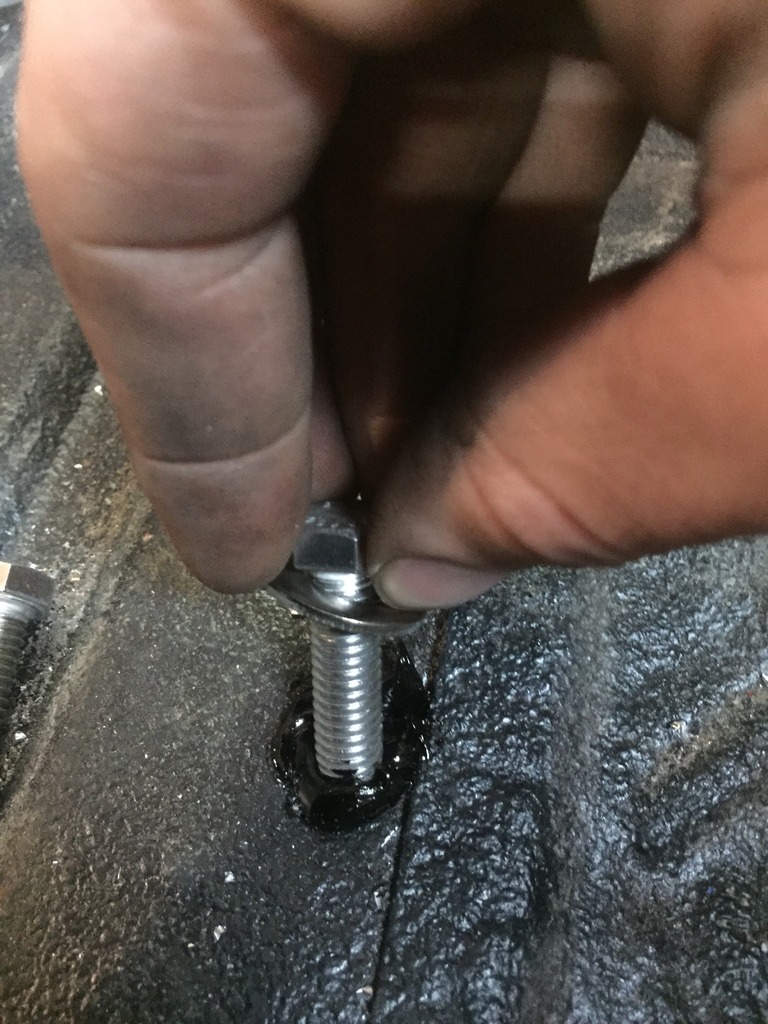
This whole project is a tedious bit as EVERY bolt gets painted with anti-seize. Takes a whole bunch of extra time. But at least my bolts won't ever rust.
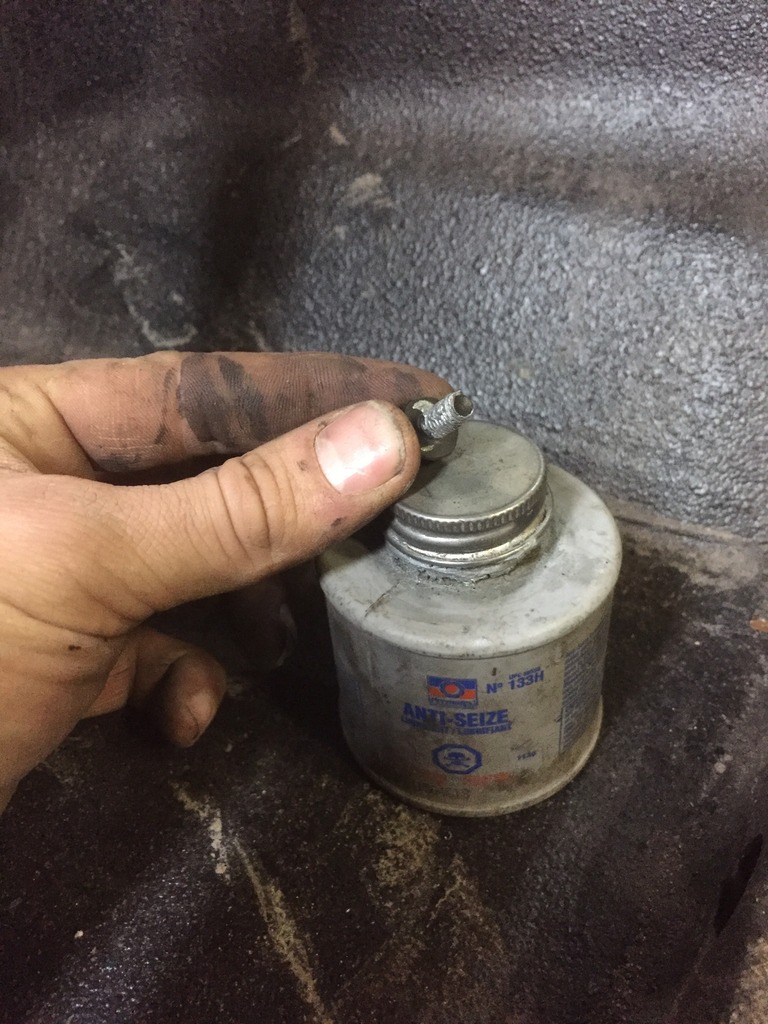
This is probably the most annoying part of the whole build. I need these specialized bolts and spacers for this or that and I've done too much work to just "leave them rusty cause you don't see them" so they get blasted and painted. Just to keep my brain at ease so I can sleep at night knowing I don't have any rusty nuts...
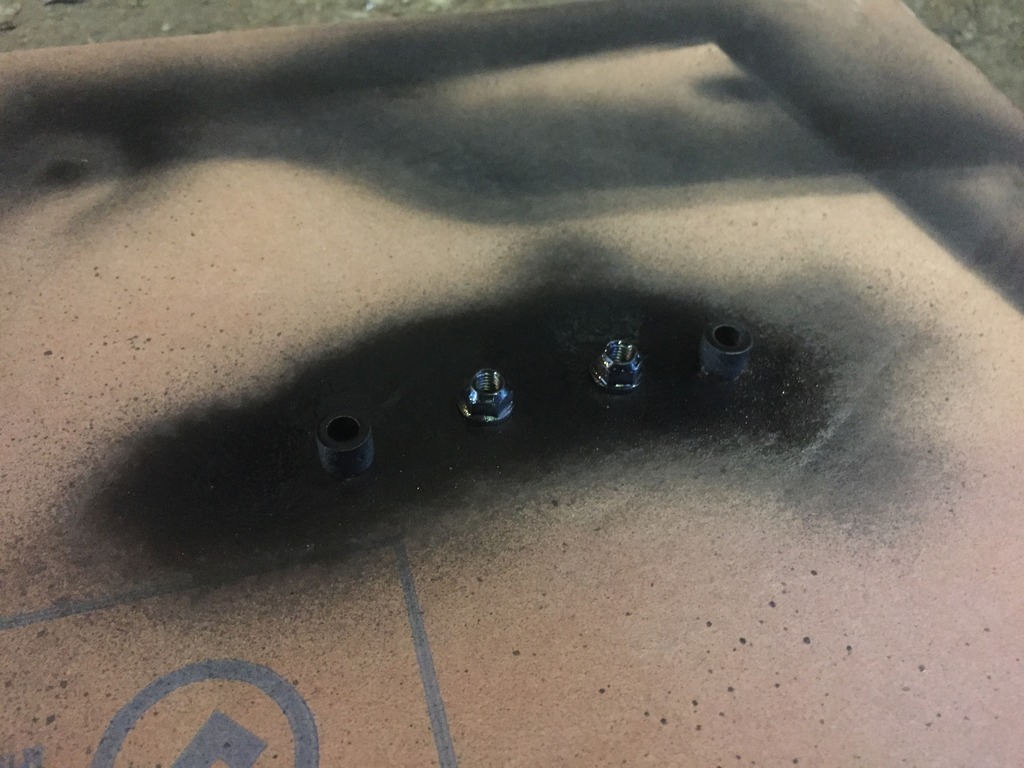
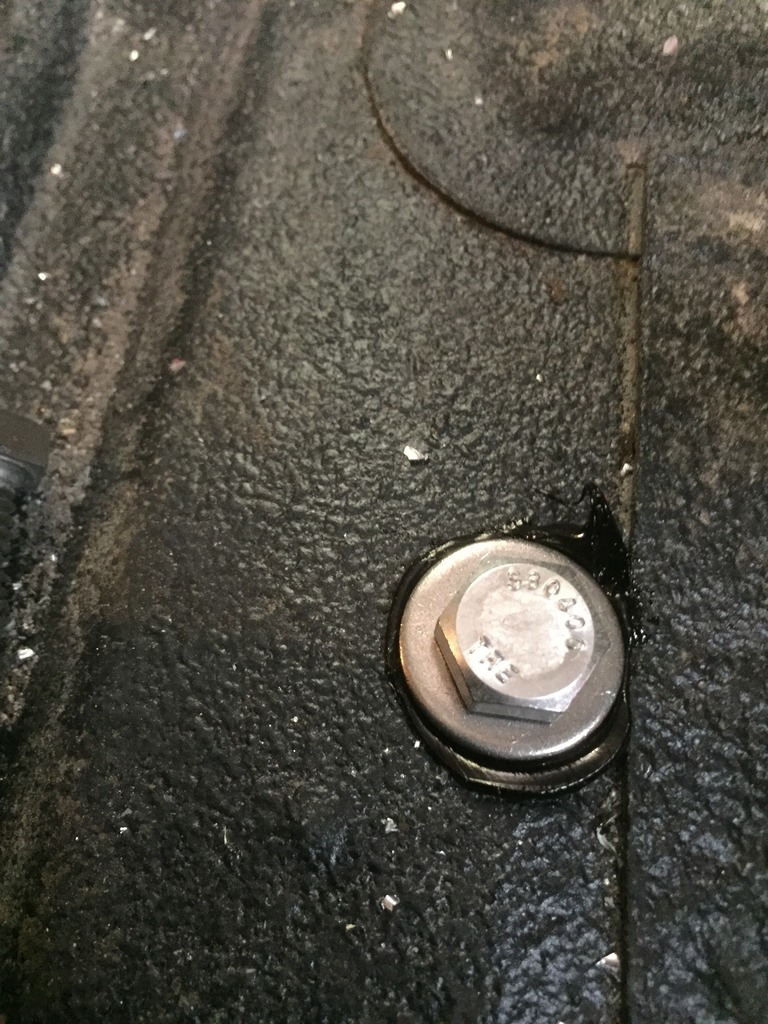
The other thing I'd like to stress for anyone looking to take on a big build like this. If you're going to drill holes in your car, PLEASE SEAL THE HOLES! all your work is just going to go down the tubes if you don't seal your fresh metal! Left over windshield urethane goes into each hole to seal it off from the out door elements. Caution though... urethane is the stickiest and dirtiest substance in the known world.
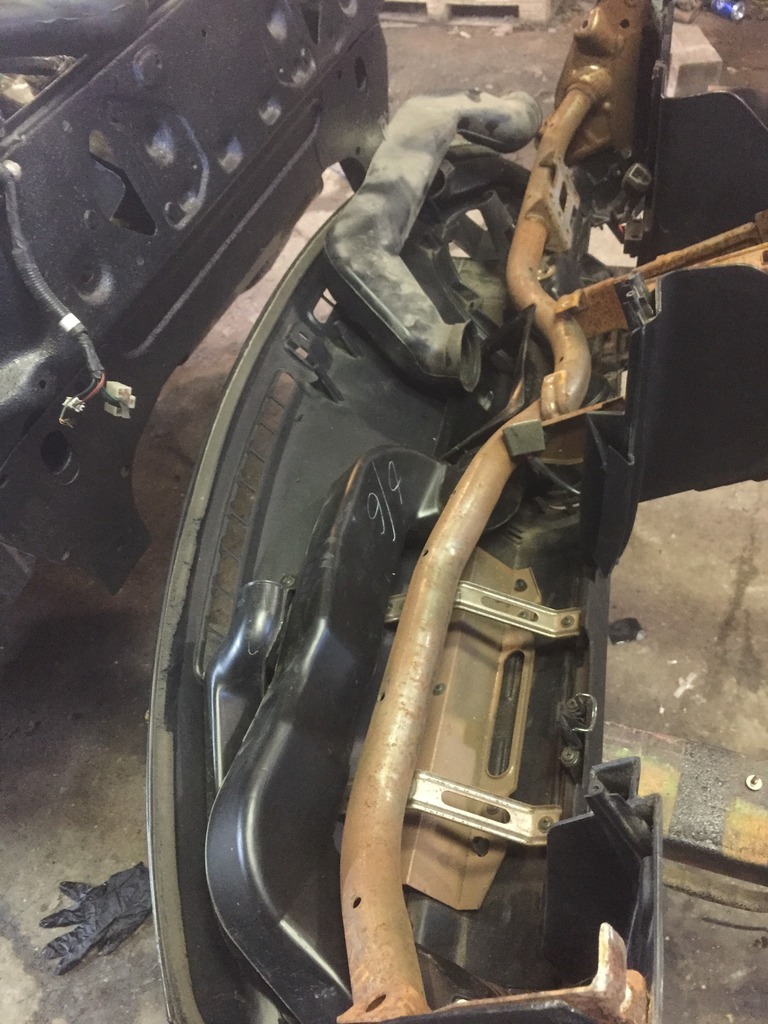
Frame Rail supports getting bolted in.
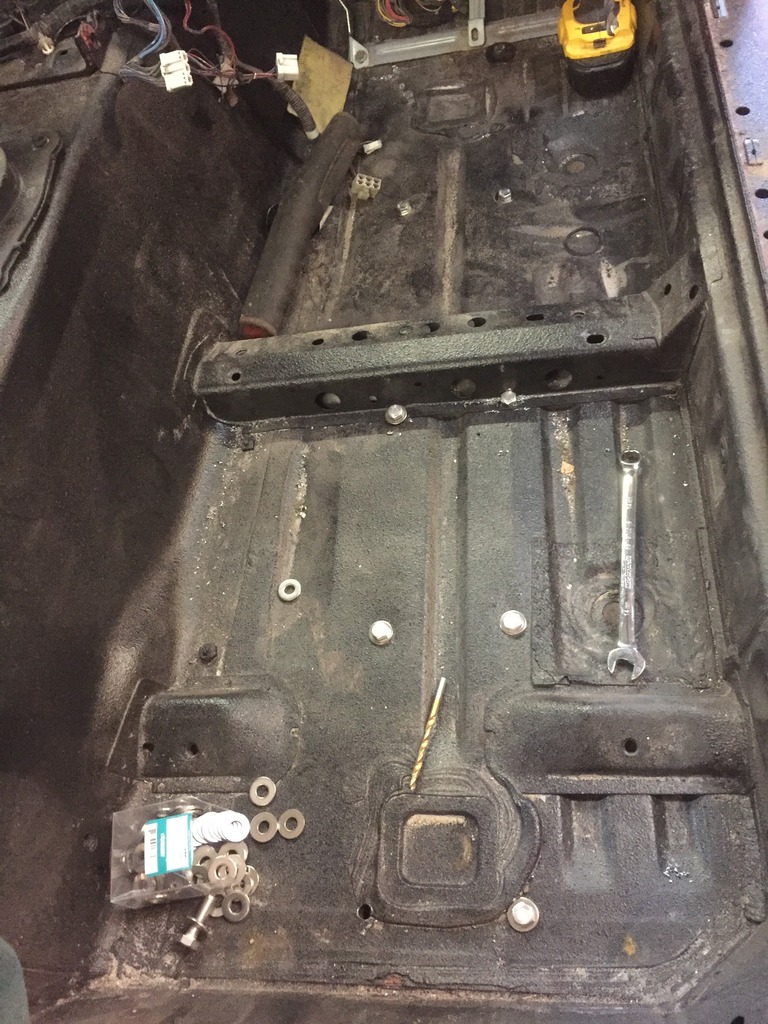
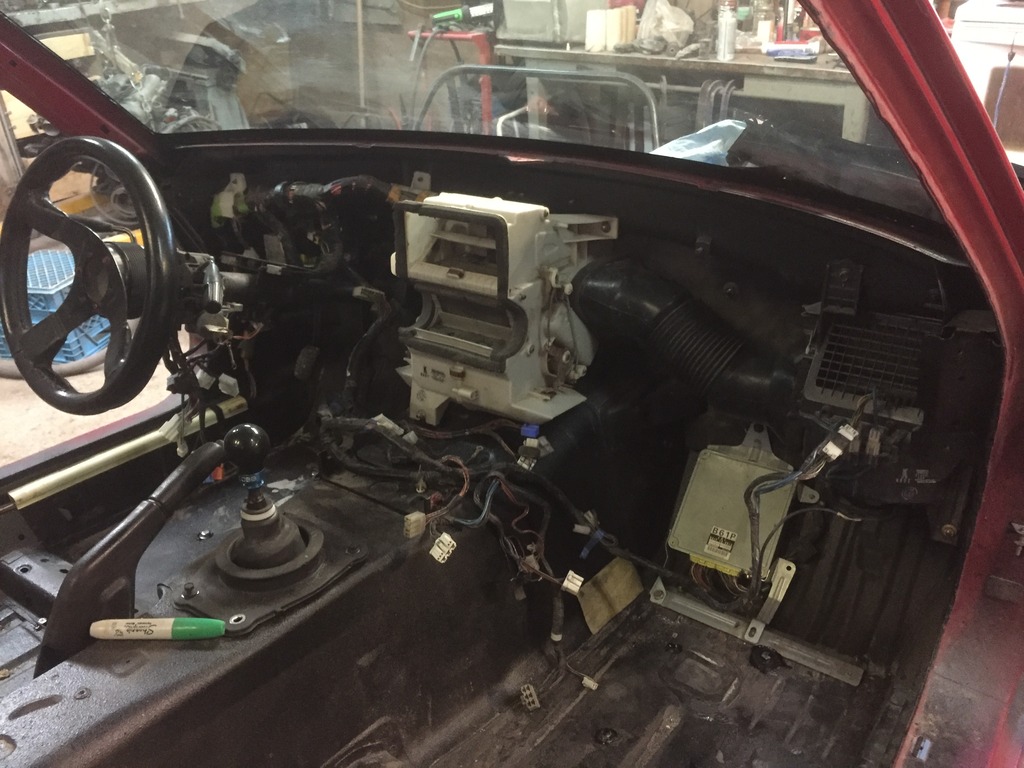
Wiring and behind dash components getting organized and in place.
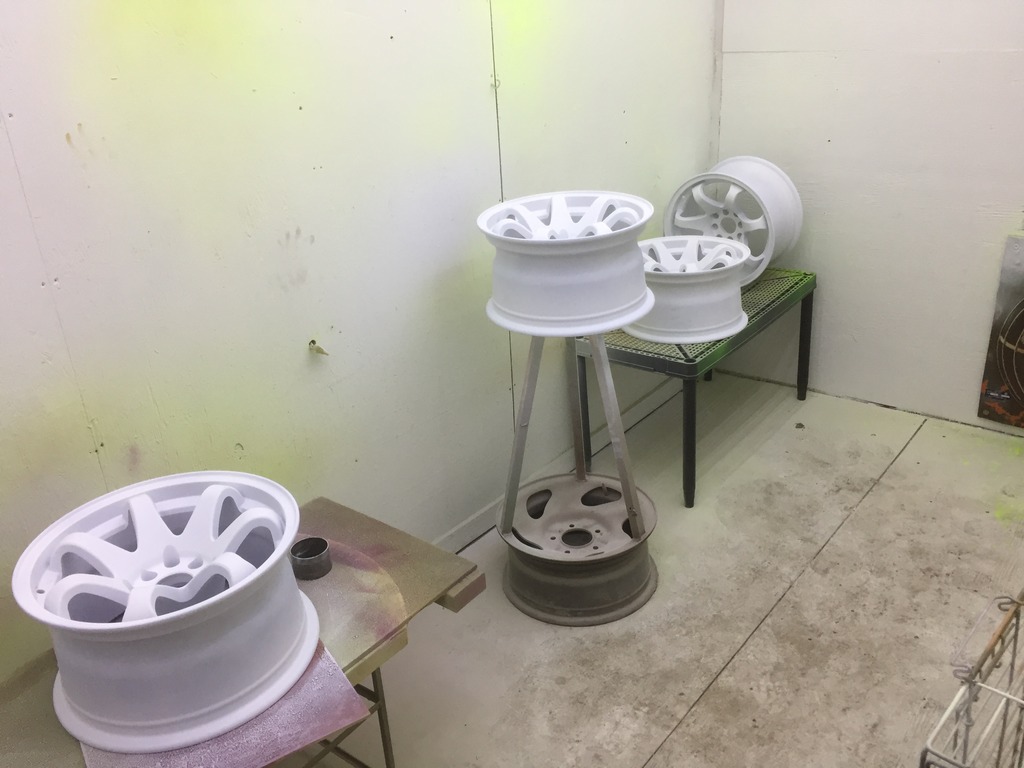
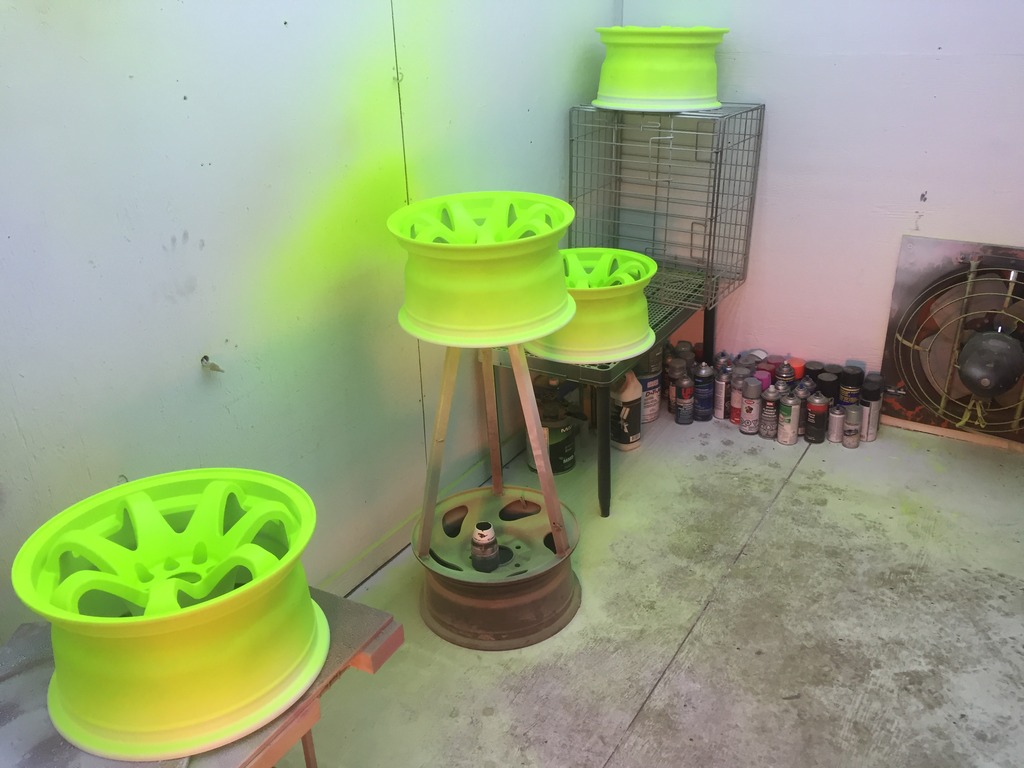
Wheels are painted their first stage. Ran out of the paint I needed to lay over this. More is on the way. (They wont be white)
This whole project is a tedious bit as EVERY bolt gets painted with anti-seize. Takes a whole bunch of extra time. But at least my bolts won't ever rust.
This is probably the most annoying part of the whole build. I need these specialized bolts and spacers for this or that and I've done too much work to just "leave them rusty cause you don't see them" so they get blasted and painted. Just to keep my brain at ease so I can sleep at night knowing I don't have any rusty nuts...
The other thing I'd like to stress for anyone looking to take on a big build like this. If you're going to drill holes in your car, PLEASE SEAL THE HOLES! all your work is just going to go down the tubes if you don't seal your fresh metal! Left over windshield urethane goes into each hole to seal it off from the out door elements. Caution though... urethane is the stickiest and dirtiest substance in the known world.
Frame Rail supports getting bolted in.
Wiring and behind dash components getting organized and in place.
Wheels are painted their first stage. Ran out of the paint I needed to lay over this. More is on the way. (They wont be white)
Reply
0
0
11-27-2016, 08:51 PM
#64
Junior Member
Thread Starter
Join Date: Nov 2016
Location: Steinbach, Manitoba
Posts: 116
Total Cats: 52
Today I am sick again... so I limited myself on how much time I spent working on the car so I could rest.
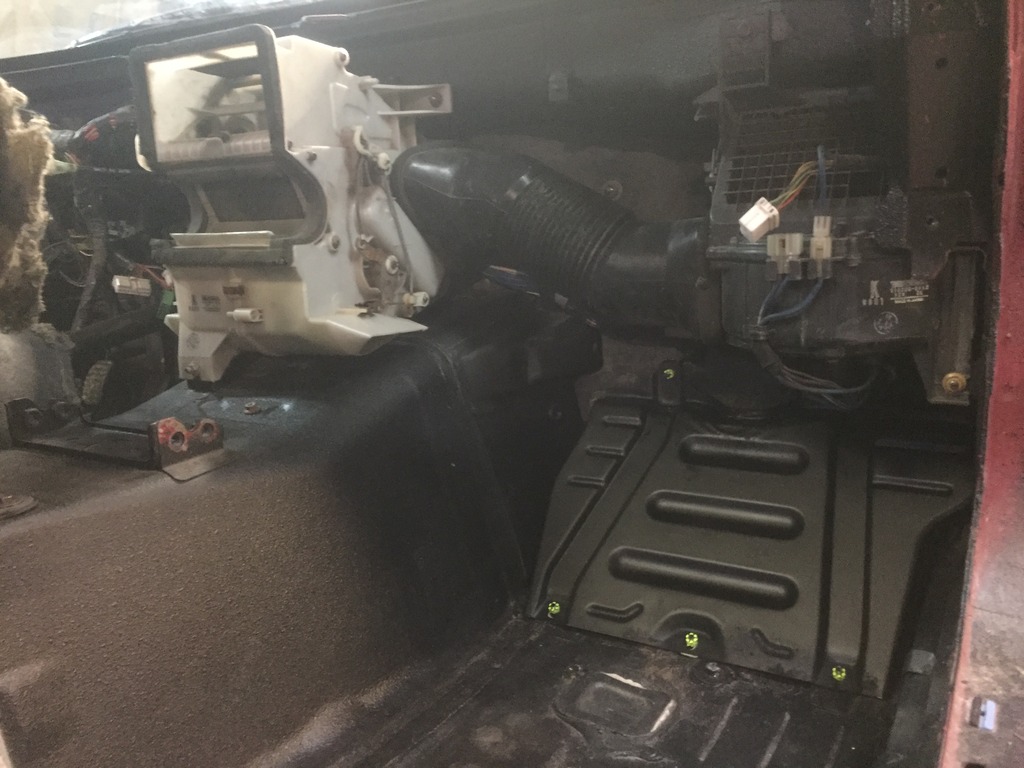
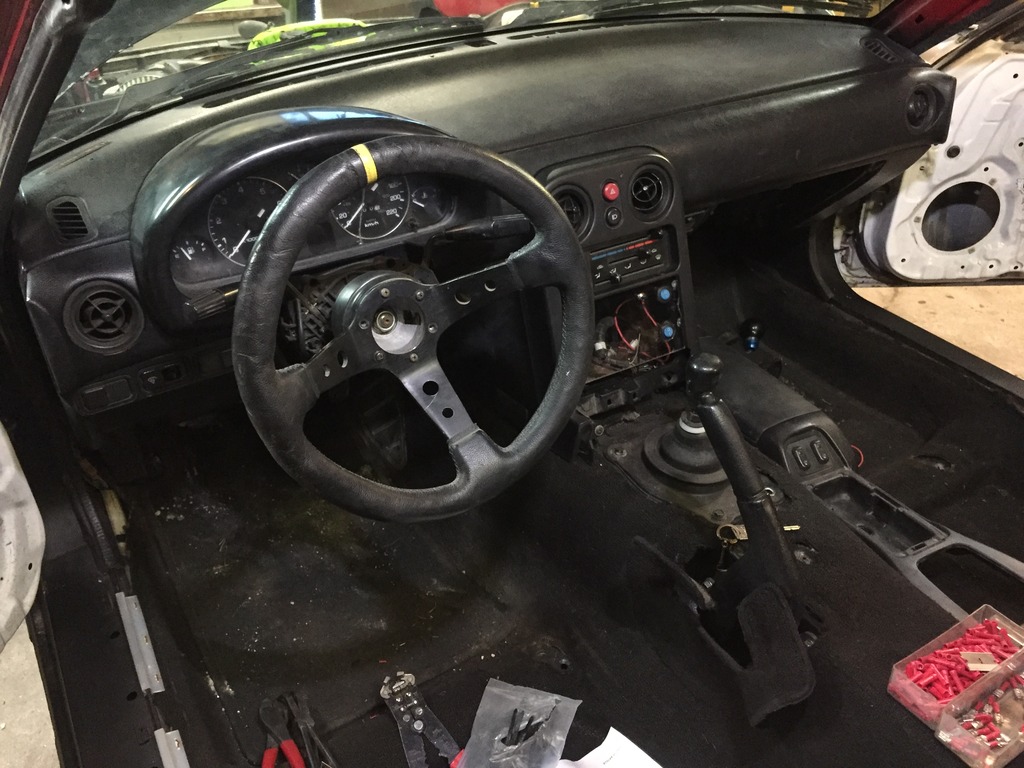
26 years of dust build up, it was time for a good ol cleaning behind the dash.
Forgot the carpet outside in the snow, so I had to force dry it. It goes in before the dash.

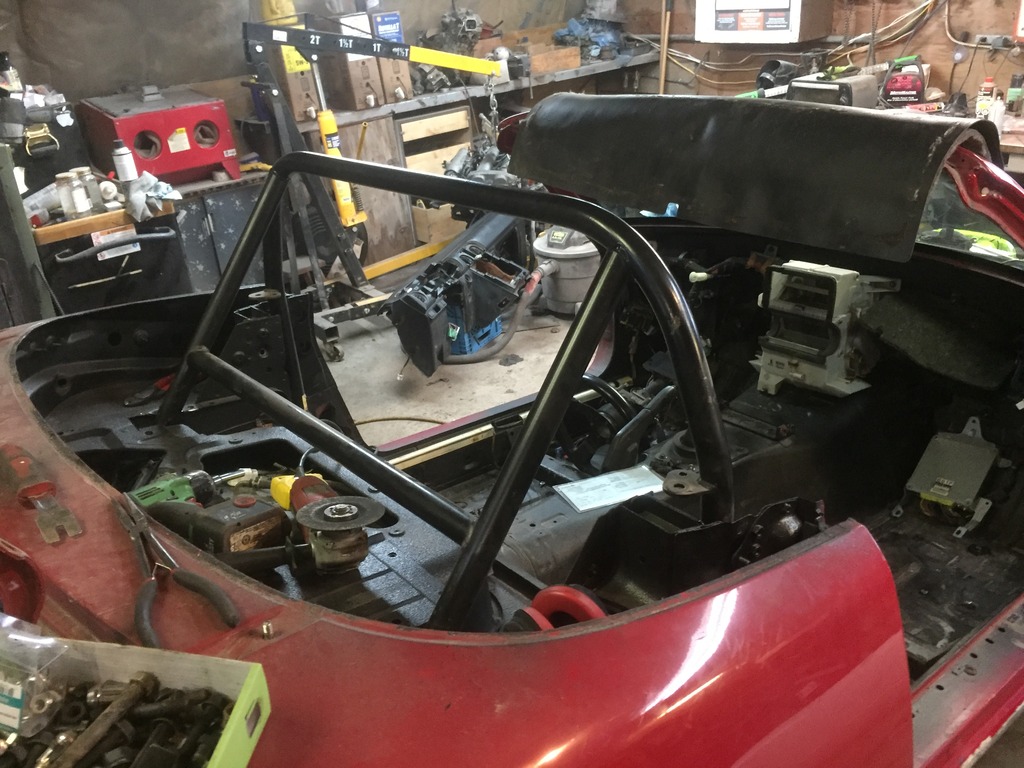
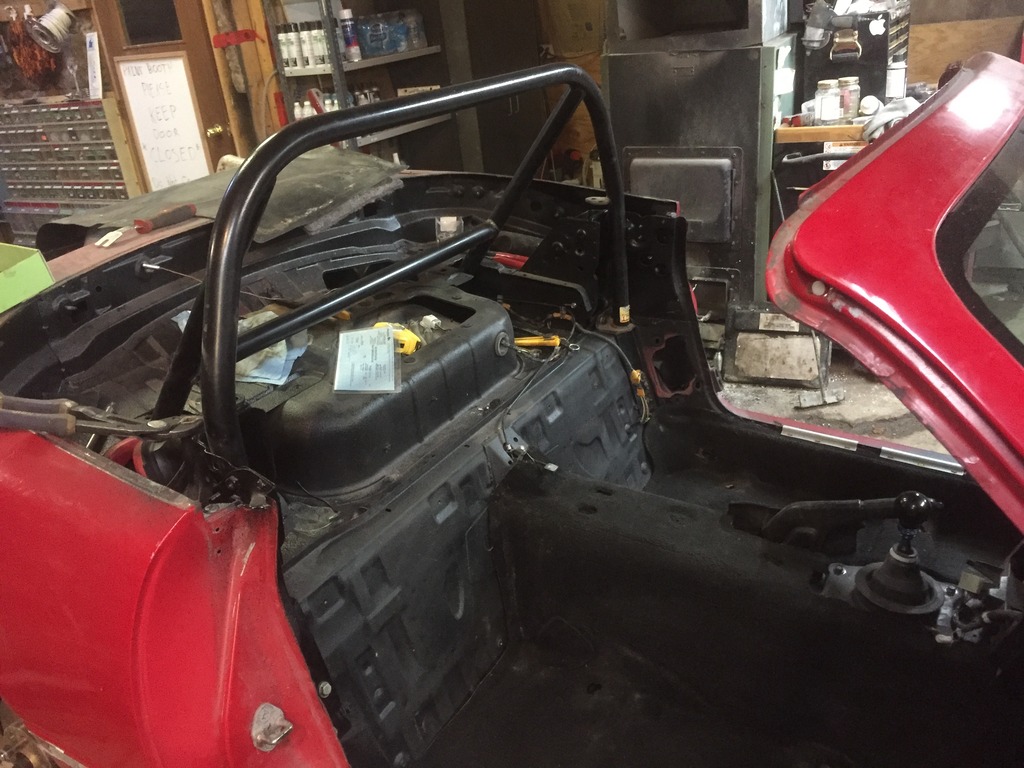
Roll Cage is in.
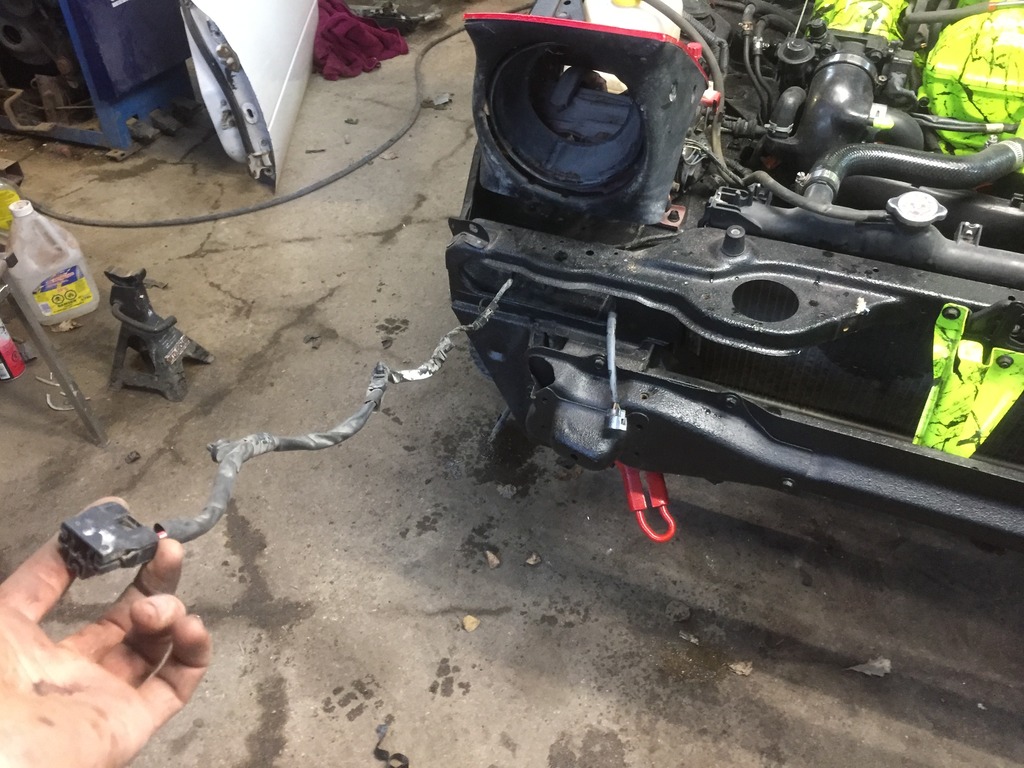
Trying to figure out for the life of my why I have 3' of wire for the headlight. I can't even figure out how to route this wire to take up all that extra wire. I'm just going to cut it shorter.
That kick panel looks totally different painted black. I don't like silver. Had to paint it.
Dash and carpet are installed.
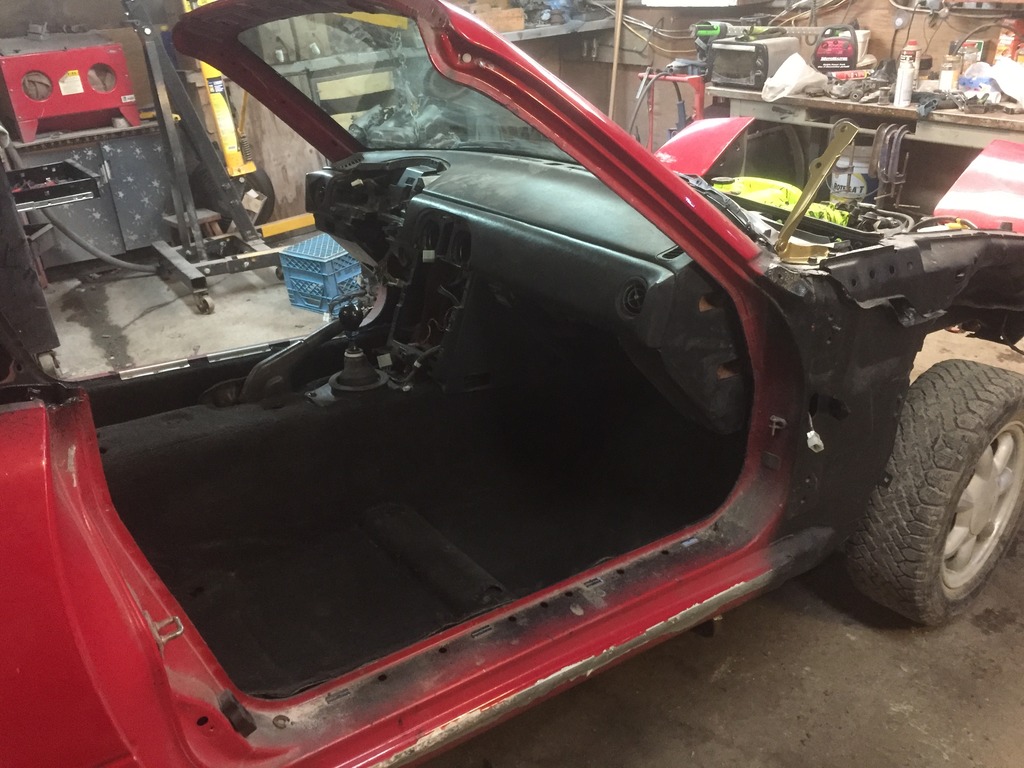
The list is actually getting smaller not bigger. Yay!
Hunger the fenders and now you can see what this thing looks like with the small lift on it. (Already excited to go bigger)
26 years of dust build up, it was time for a good ol cleaning behind the dash.
Forgot the carpet outside in the snow, so I had to force dry it. It goes in before the dash.
Roll Cage is in.
Trying to figure out for the life of my why I have 3' of wire for the headlight. I can't even figure out how to route this wire to take up all that extra wire. I'm just going to cut it shorter.
That kick panel looks totally different painted black. I don't like silver. Had to paint it.
Dash and carpet are installed.
The list is actually getting smaller not bigger. Yay!
Hunger the fenders and now you can see what this thing looks like with the small lift on it. (Already excited to go bigger)
Reply
0
0
11-28-2016, 10:44 PM
#65
Junior Member
Thread Starter
Join Date: Nov 2016
Location: Steinbach, Manitoba
Posts: 116
Total Cats: 52
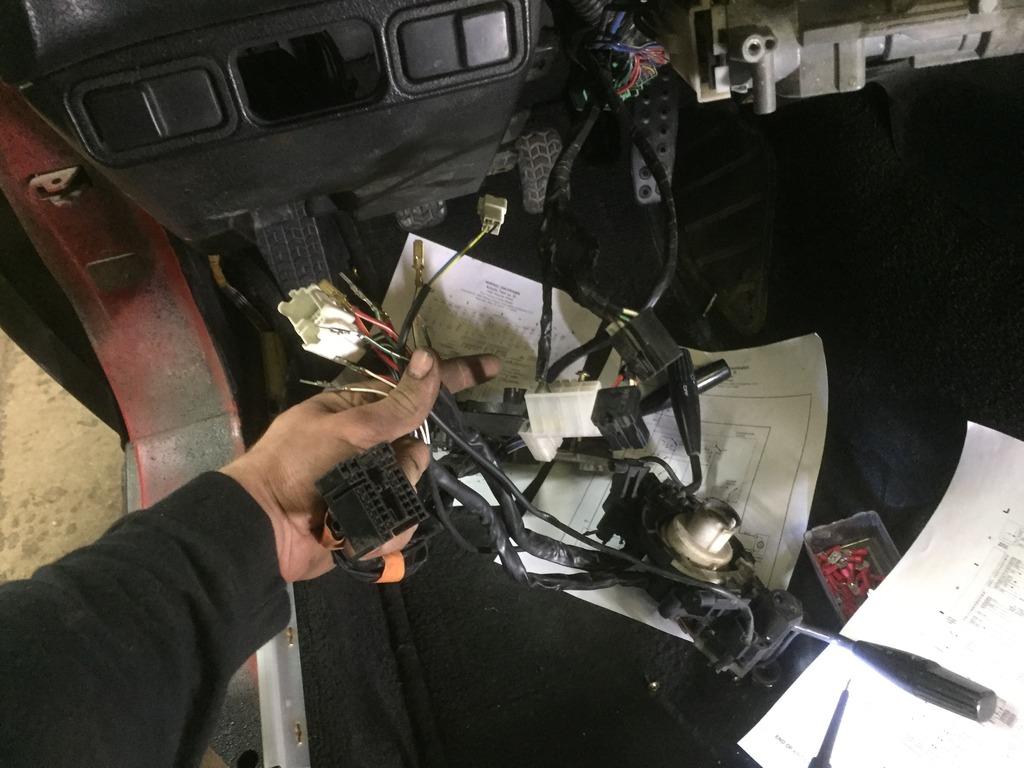
Well, today I spent the entire day trying to mesh 3 wire harnesses together wire schematics that had different wire colors then what I had. Finally just called it quits as I was getting angry that I spent a whole day getting absolutely nowhere.
Reply
0
0
11-29-2016, 01:33 PM
#66
Junior Member
Thread Starter
Join Date: Nov 2016
Location: Steinbach, Manitoba
Posts: 116
Total Cats: 52
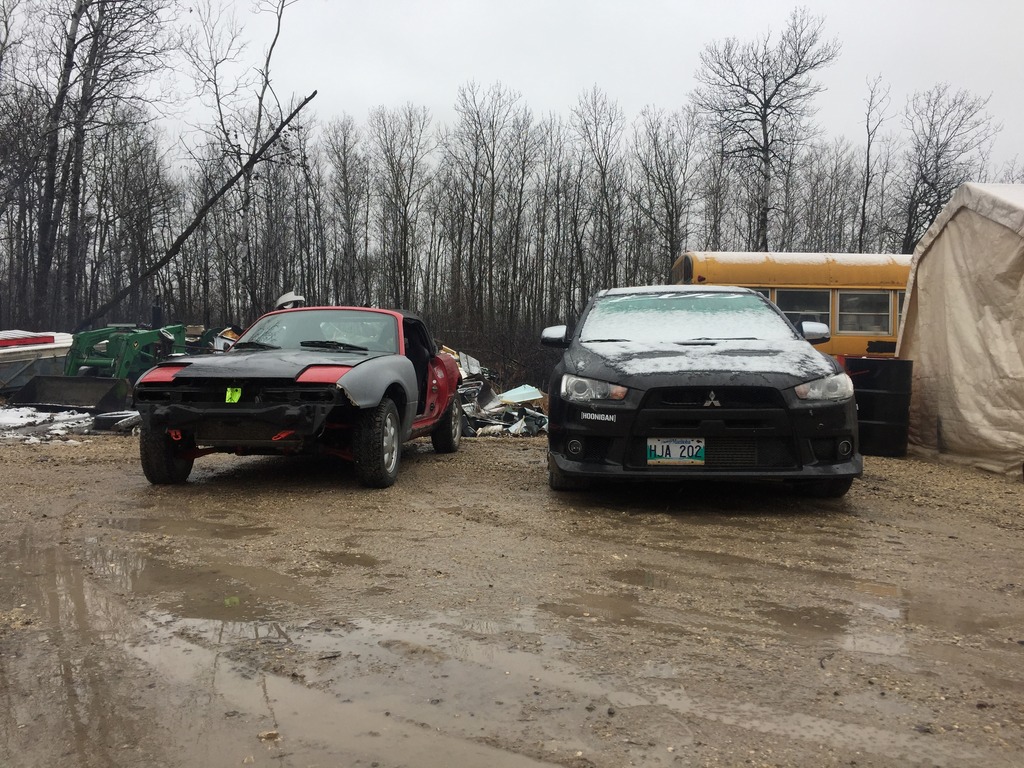
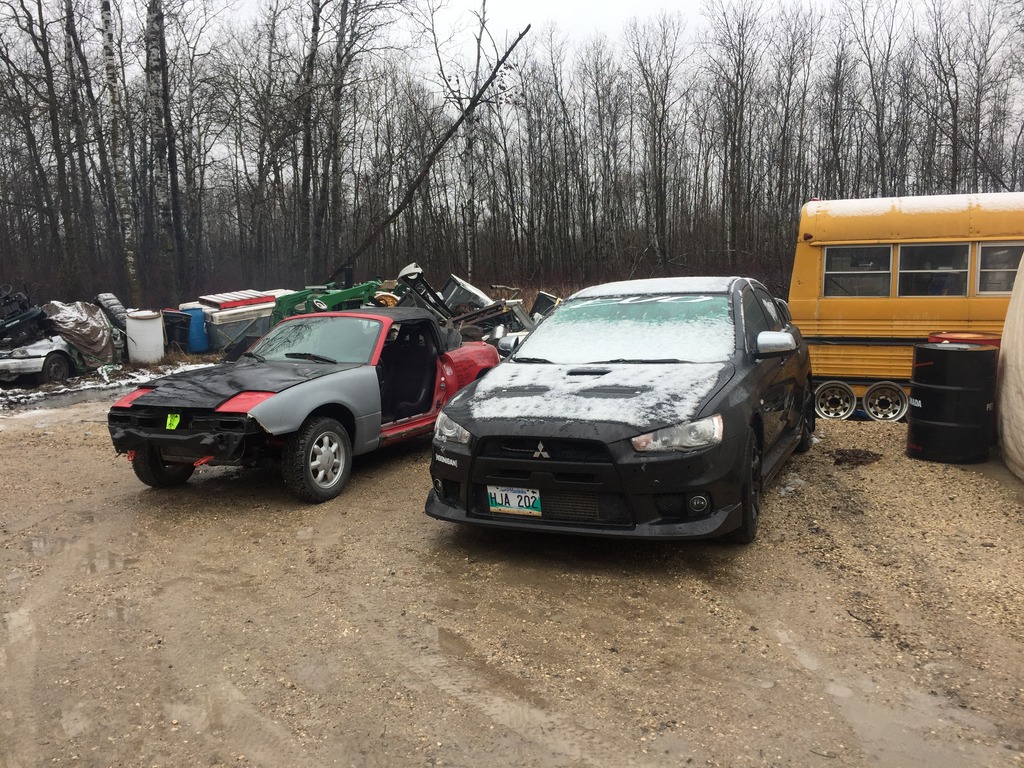
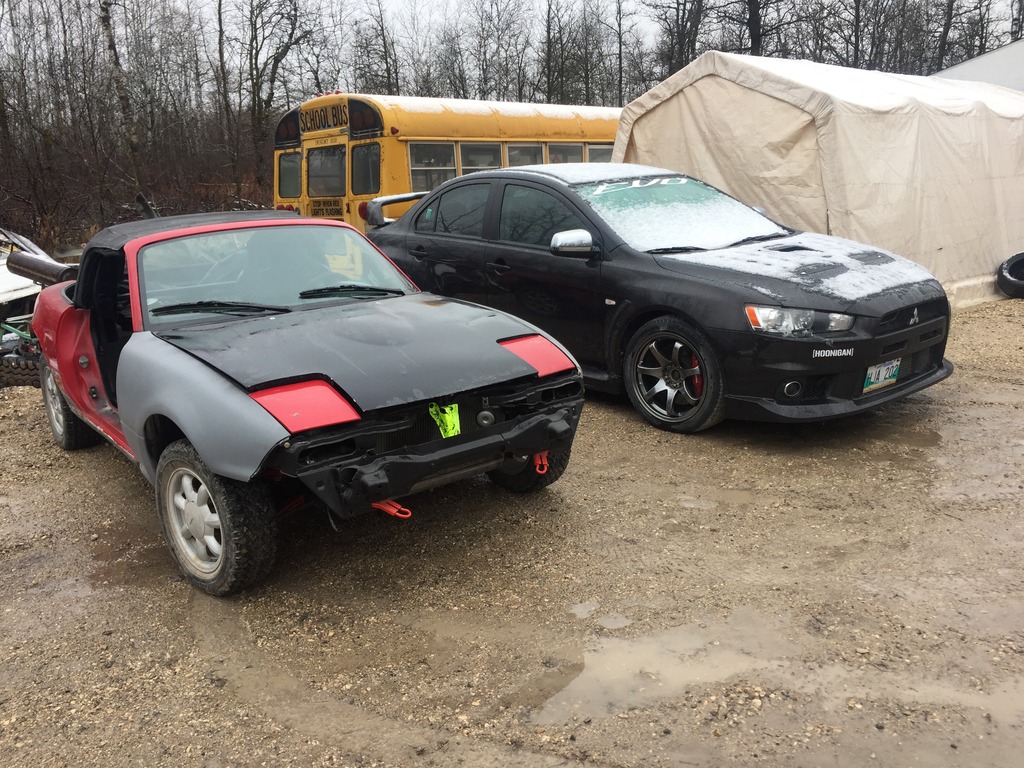
Had to put the Offroadster outside for a bit to actually get some work done on customer vehicles... Parked it beside a customers lowered evo... I kinda laughed when my Lifted miata was still dwarfed by an evo.
Reply
0
0
12-01-2016, 09:23 AM
#67
Junior Member
Thread Starter
Join Date: Nov 2016
Location: Steinbach, Manitoba
Posts: 116
Total Cats: 52
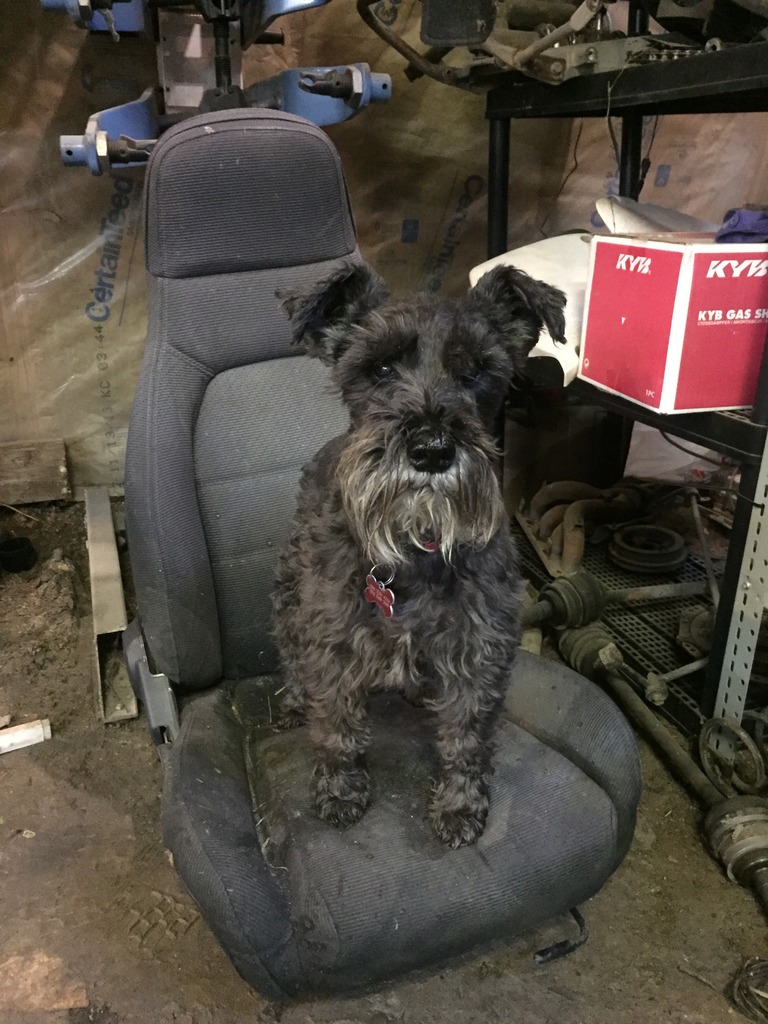
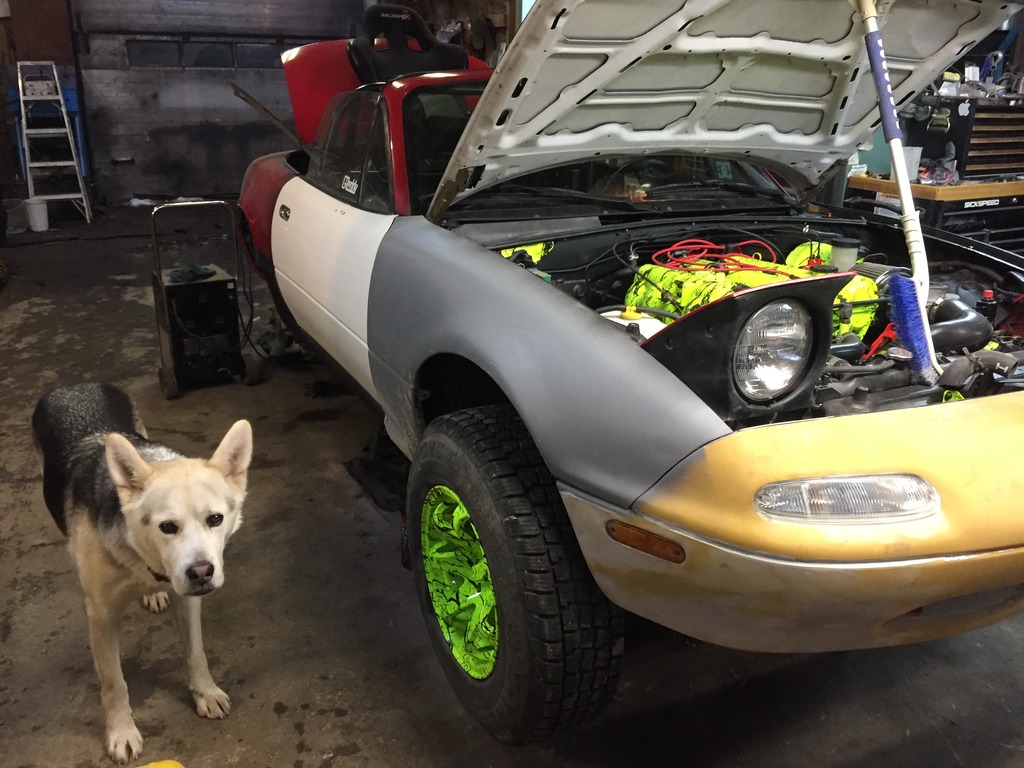
Had some help today from Radar. He may have been slightly confused as seats are normally in cars and if he's on a seat in a car, that means he's going for a car ride and car rides mean excitement.... Never the less, he still manages to get all my seats dirty.
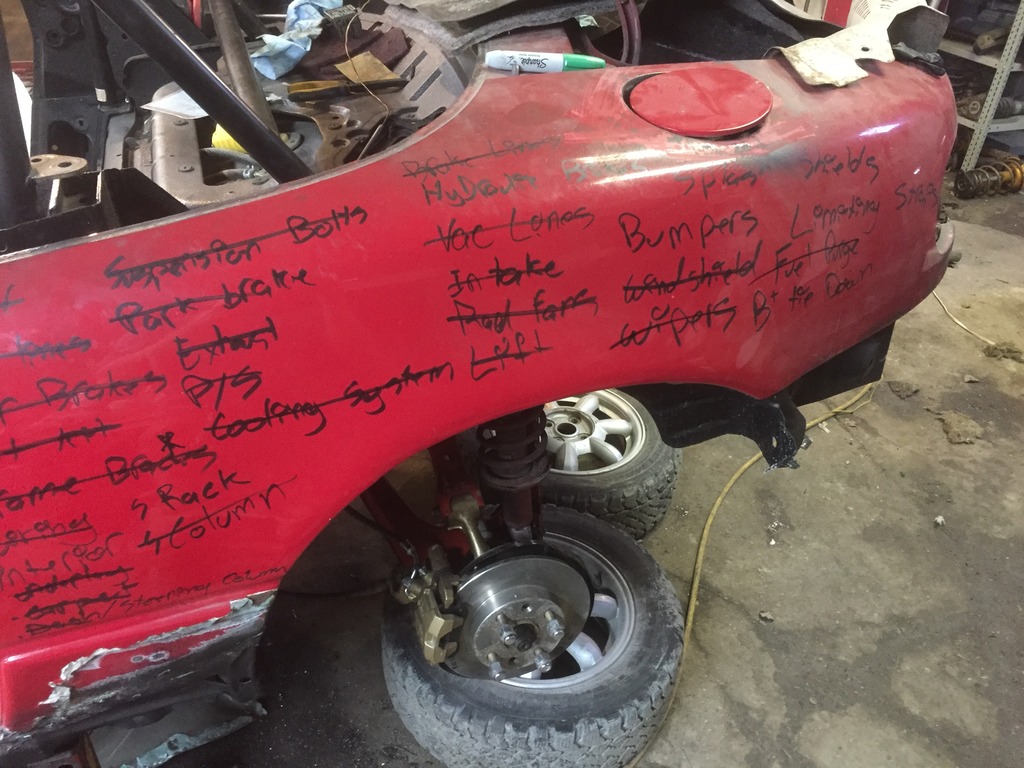
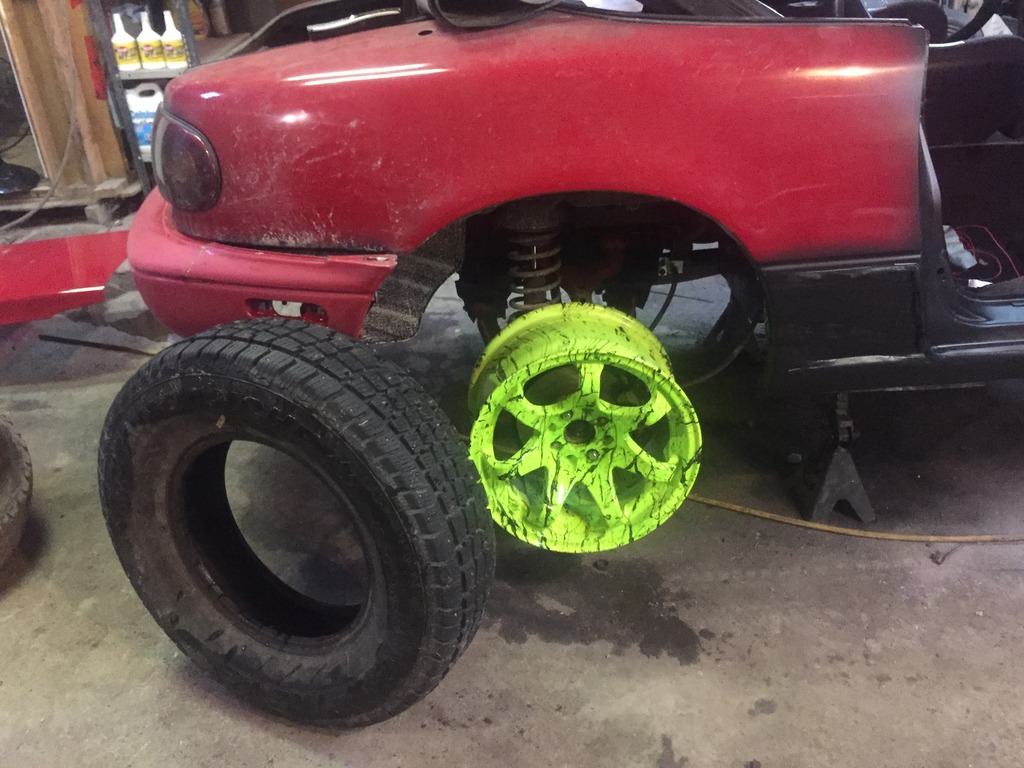
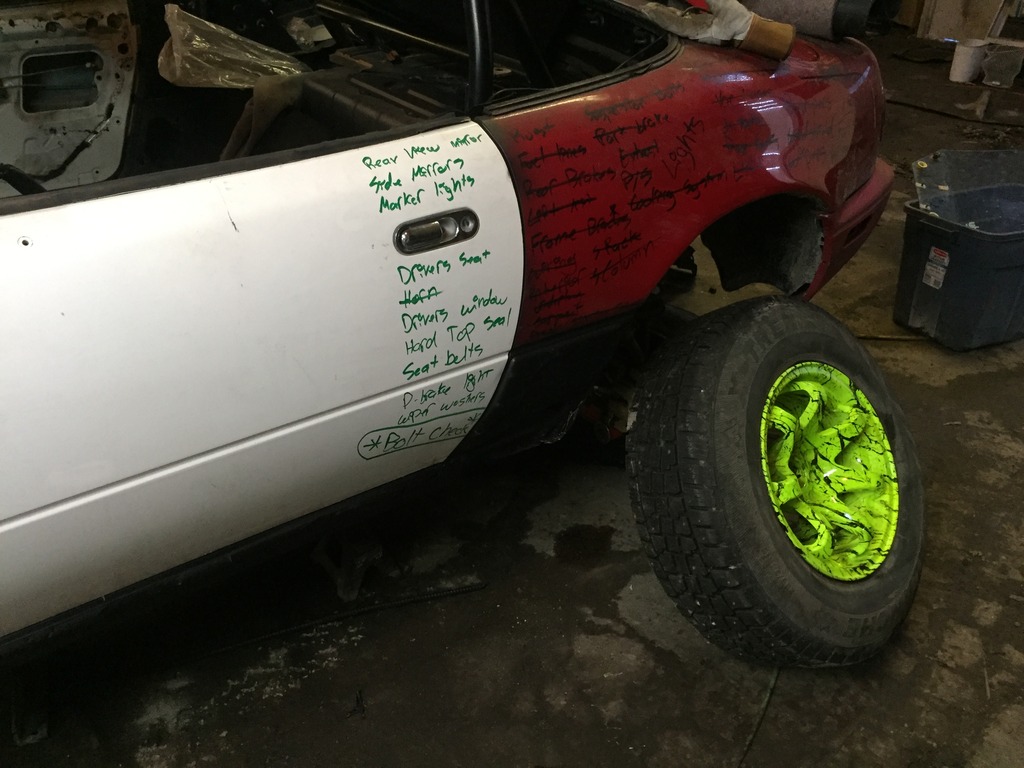
Found me a super good deal on a set of used tires. Picking them up in a couple days. Happened to have one the same size here so I was curious how much cutting needs to be done for the first stage of this offroadster.
Found me a super good deal on a set of used tires. Picking them up in a couple days. Happened to have one the same size here so I was curious how much cutting needs to be done for the first stage of this offroadster.
Reply
0
0
 12-05-2016, 11:53 PM
#73
Junior Member
Thread Starter
Join Date: Nov 2016
Location: Steinbach, Manitoba
Posts: 116
Total Cats: 52
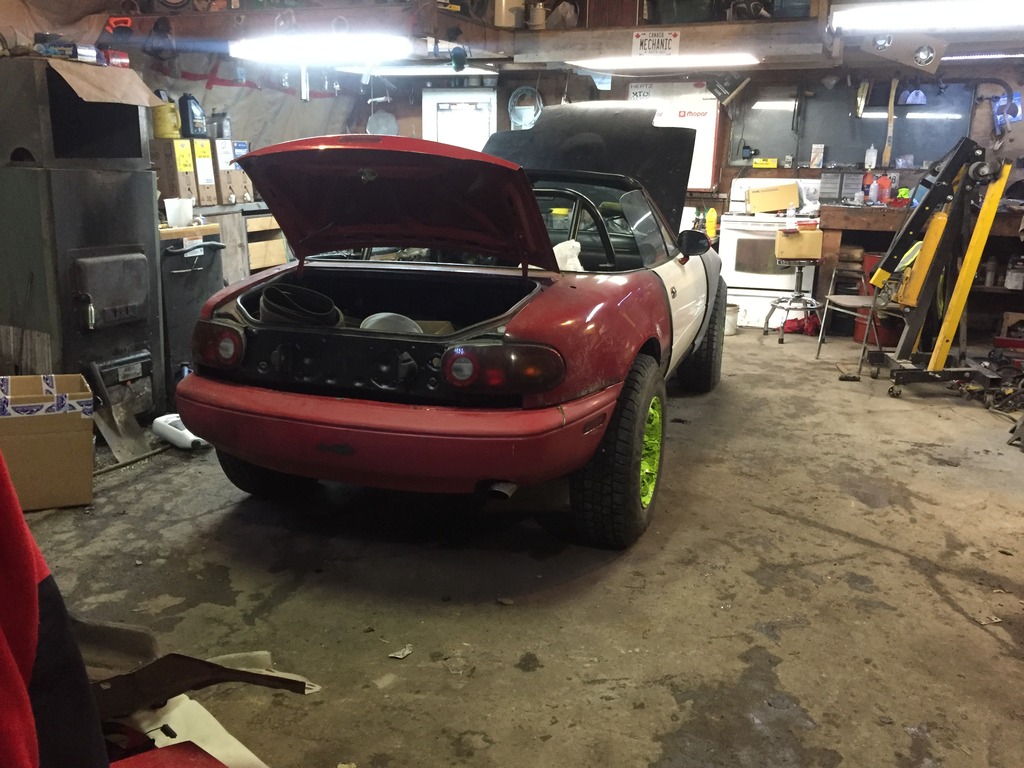
Today's progress.
Body panels are starting to go on. I promise I'm not trying to make it as many colors as I can.
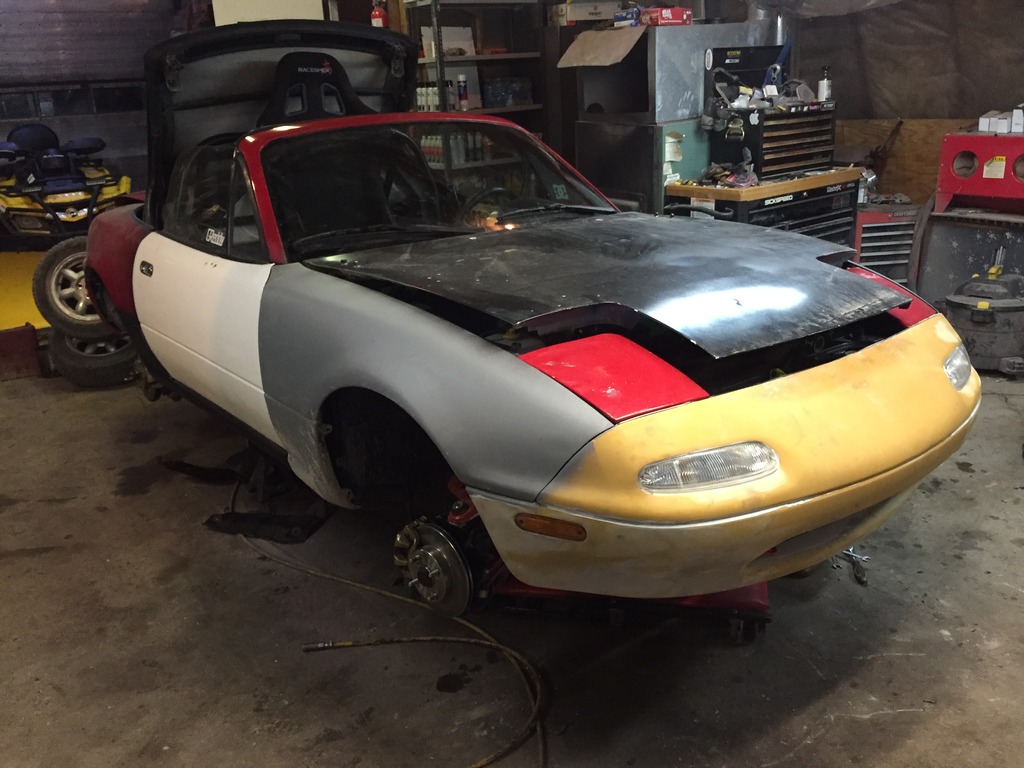

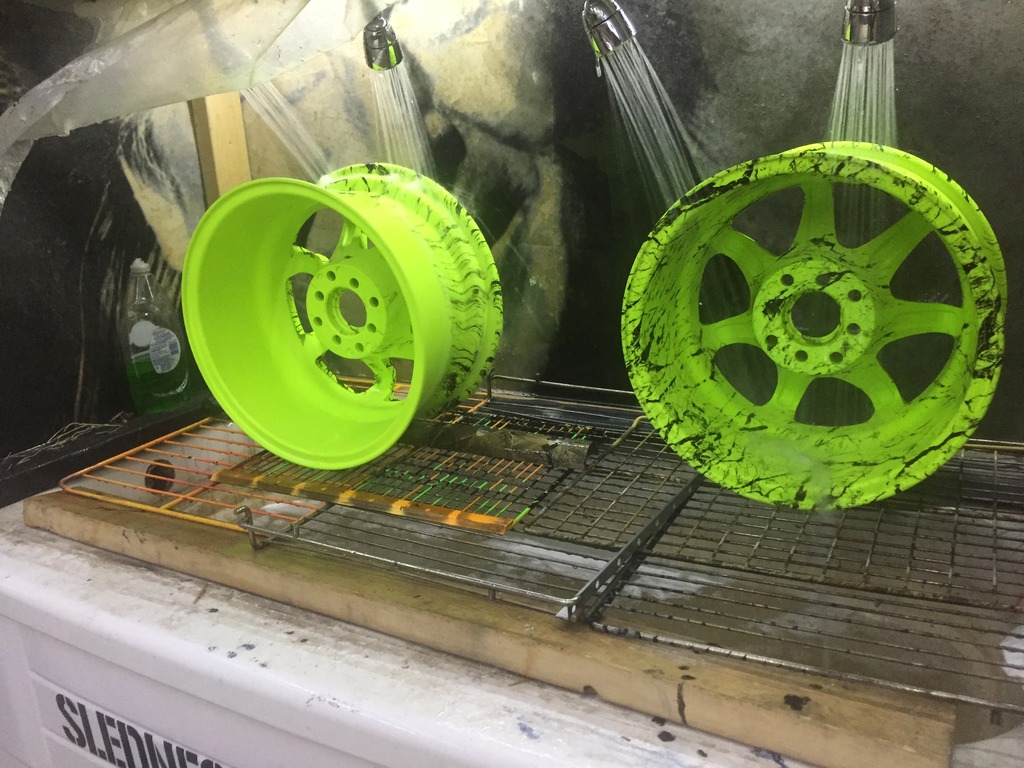
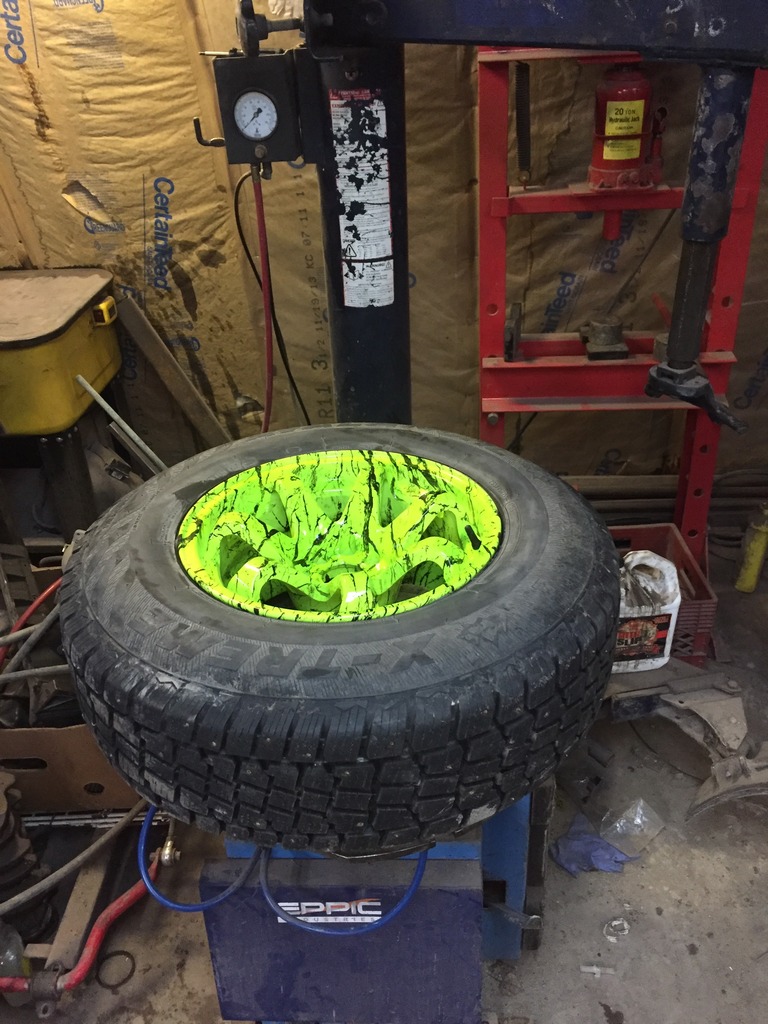
Cleared my wheels today.
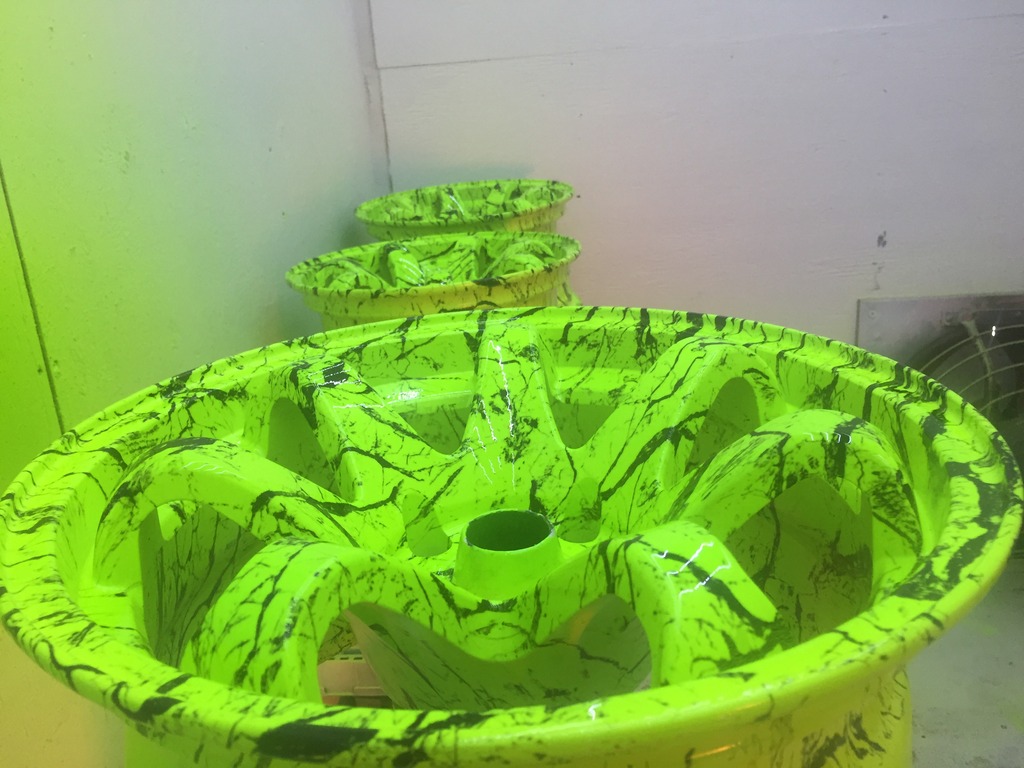
And I just couldn't resist touching them. Not cured enough to mount tires but enough to see that the red looks hideous next to that brightness. I may end up just spray painting that quickly for the time being. Yuck.
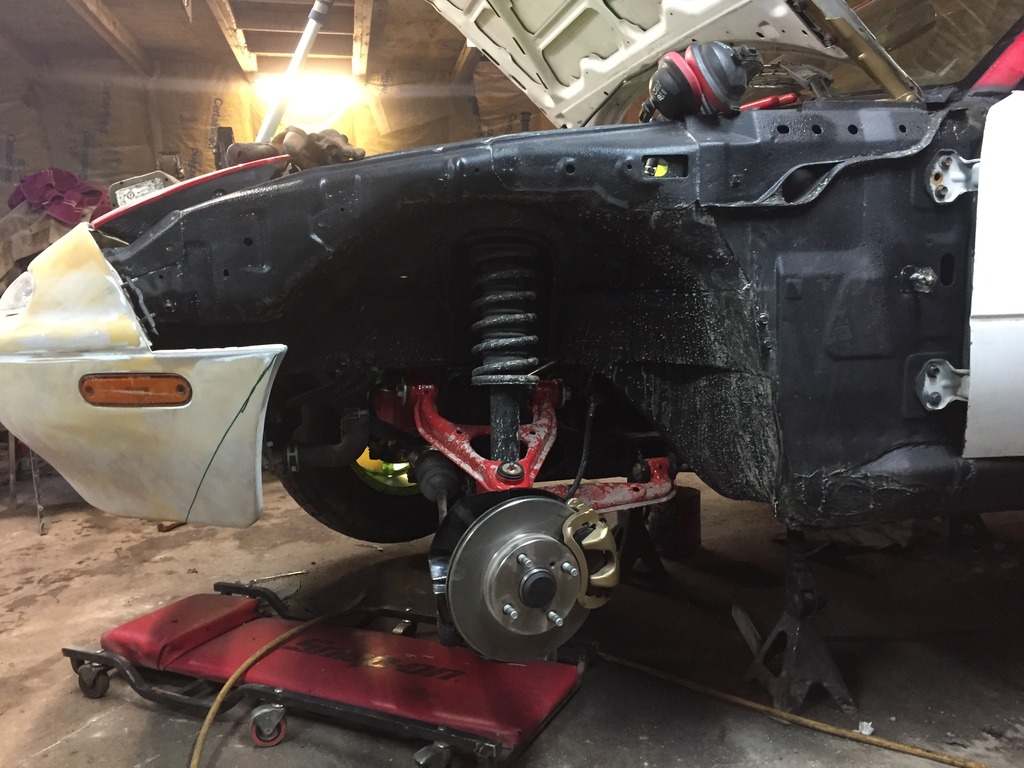
Full droop before some cutting happens....
And I seem to be having problems with my brake master. Not getting any fluid to the rear. Spent the whole evening trying to figure this out. Didn't track it down yet. Probably get there tomorrow.
Body panels are starting to go on. I promise I'm not trying to make it as many colors as I can.
Cleared my wheels today.
And I just couldn't resist touching them. Not cured enough to mount tires but enough to see that the red looks hideous next to that brightness. I may end up just spray painting that quickly for the time being. Yuck.
Full droop before some cutting happens....
And I seem to be having problems with my brake master. Not getting any fluid to the rear. Spent the whole evening trying to figure this out. Didn't track it down yet. Probably get there tomorrow.
Reply
0
0
12-06-2016, 07:30 PM
#74
Junior Member
Thread Starter
Join Date: Nov 2016
Location: Steinbach, Manitoba
Posts: 116
Total Cats: 52
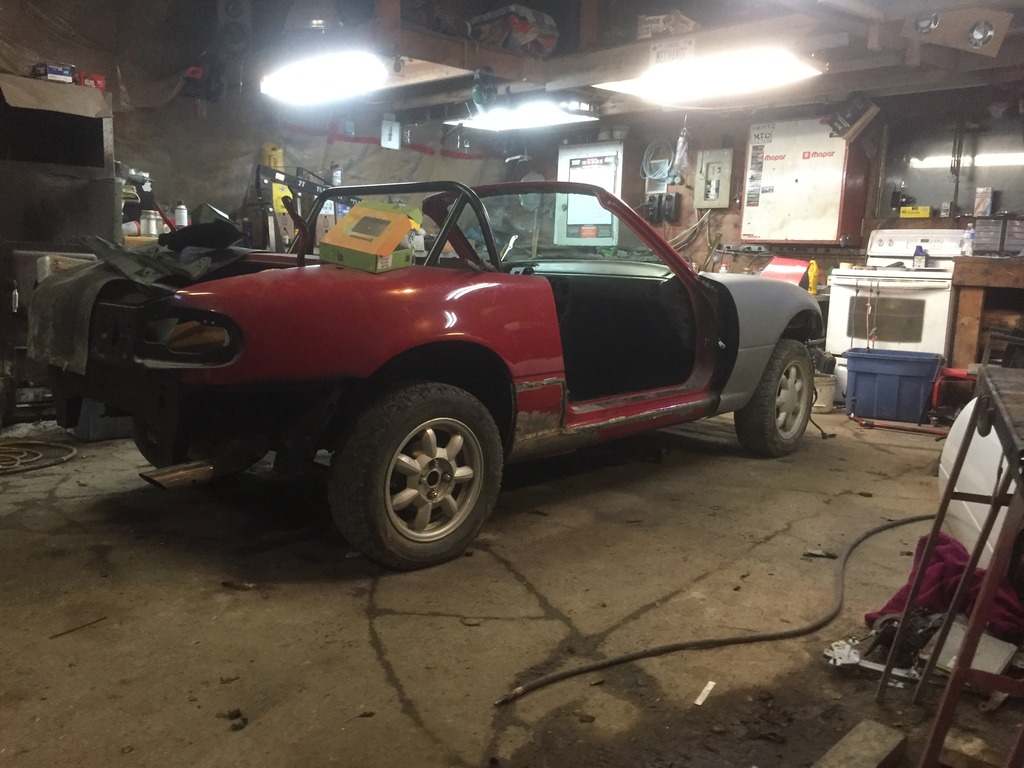
Interior slowly getting put together. Ended up just hard wiring the essentials to toggle switches. 3 different wire colors all trying to get matched up and some how none of those wire colors match the colors on my schematics. So i said screw it, i'm making my own wiring.
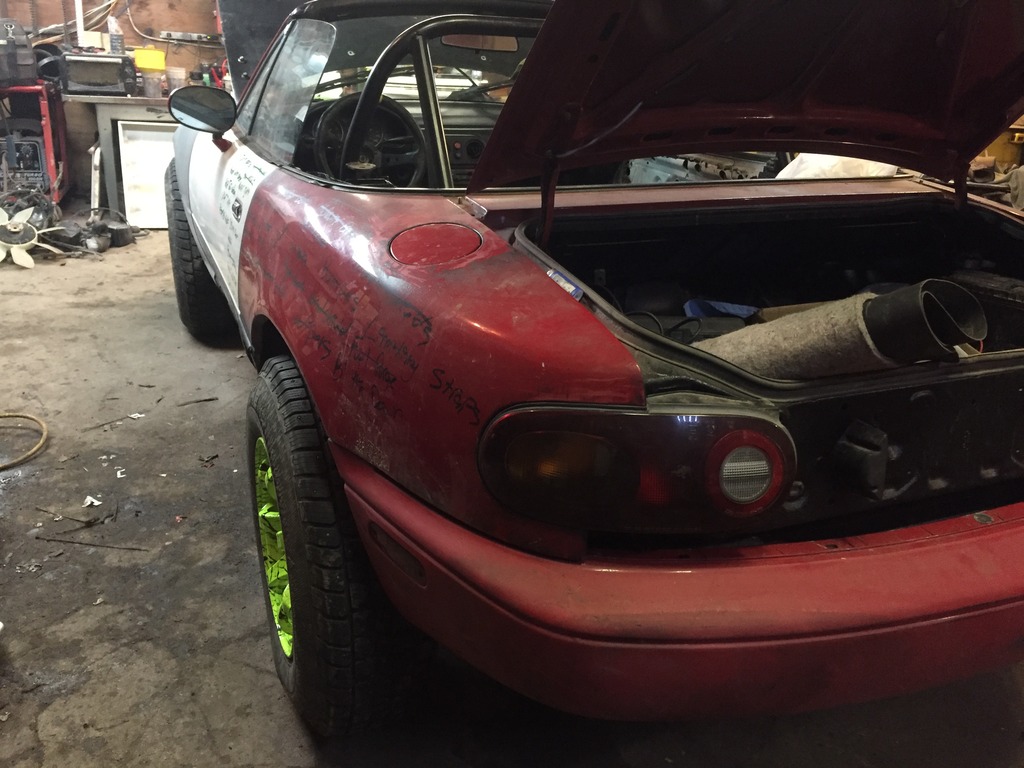
Mounted...
My list of stuff to do keeps growing and growing. I thought I was getting close.
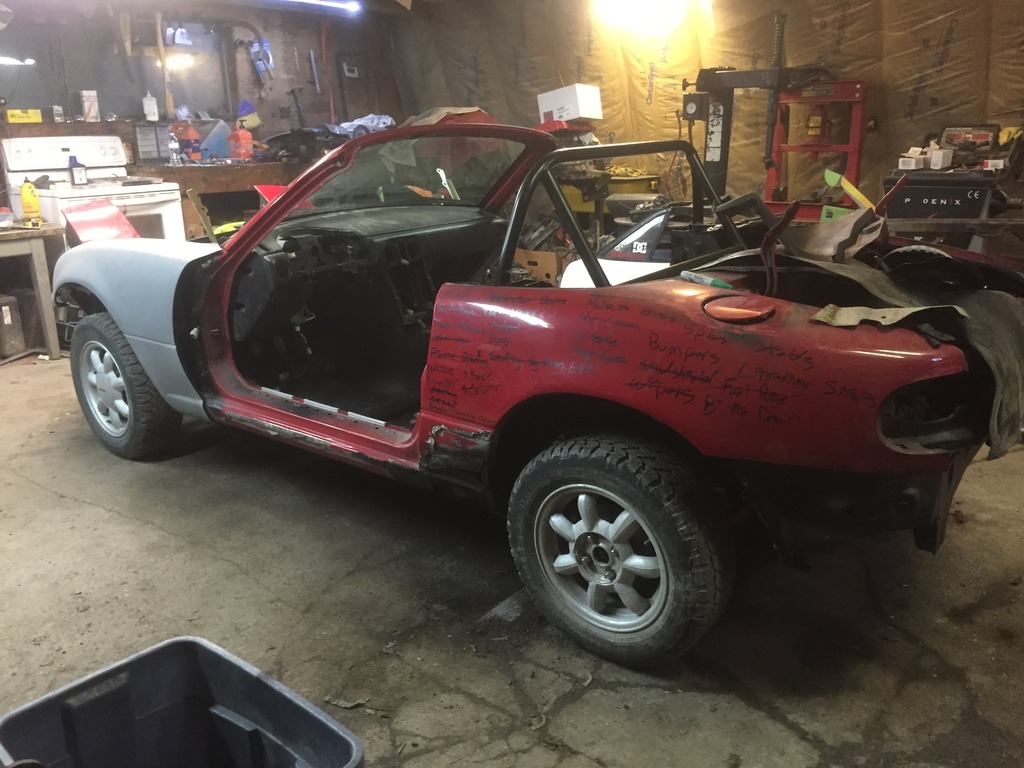
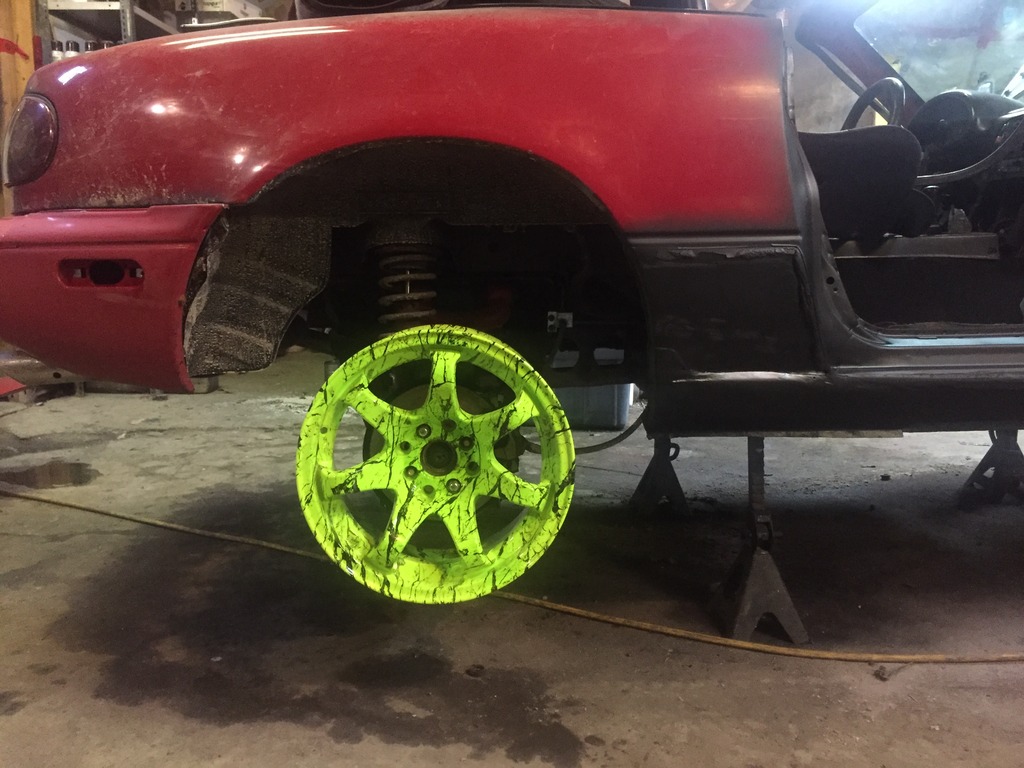
It's on the studs and at full drop. Had to squeeze it on. But now I can see where I need to cut to get these puppies tuckin.
Mounted...
My list of stuff to do keeps growing and growing. I thought I was getting close.
It's on the studs and at full drop. Had to squeeze it on. But now I can see where I need to cut to get these puppies tuckin.
Reply
0
0
 12-06-2016, 10:45 PM
#78
Junior Member
Thread Starter
Join Date: Nov 2016
Location: Steinbach, Manitoba
Posts: 116
Total Cats: 52
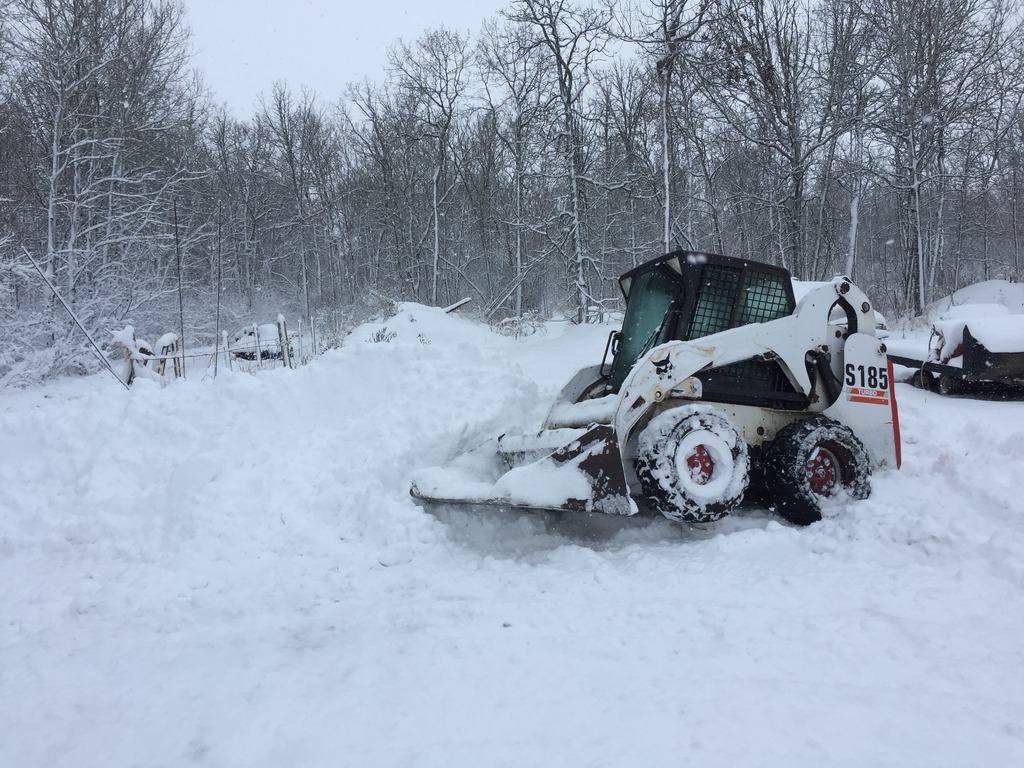
Snow came today.
Got a little too happy doing donuts with the bobcat to realize where my ditch was against the back of my parking lot.
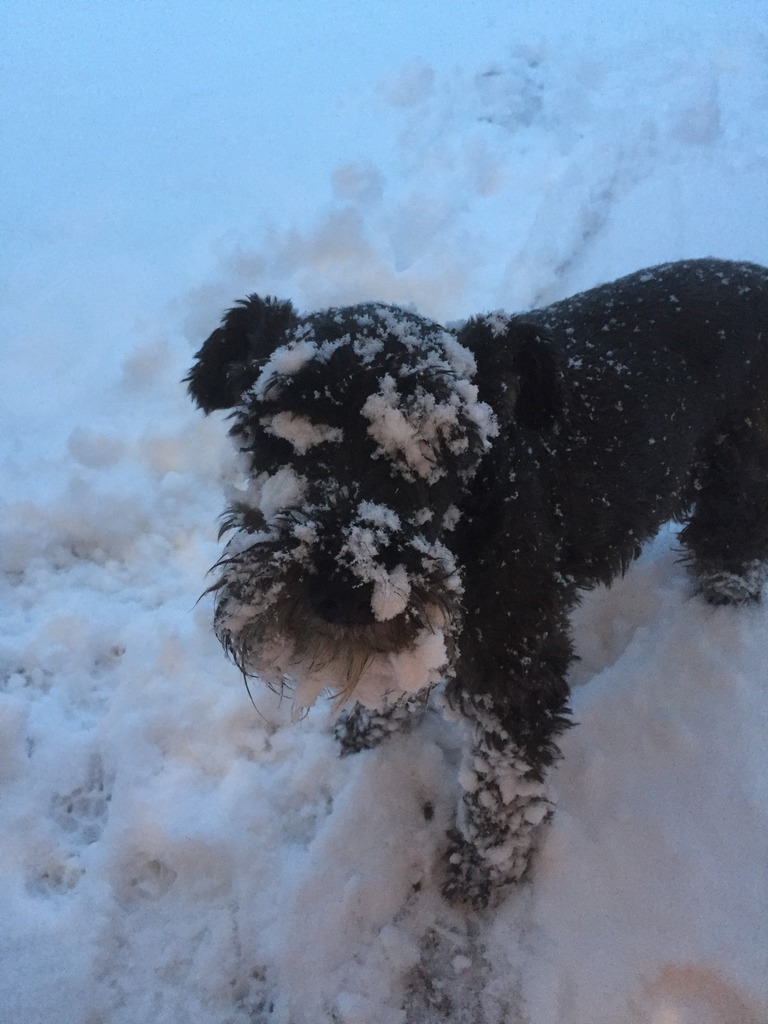
Radar was trying to be a dalmatian. Unfortunately for him, he's black. It won't work.
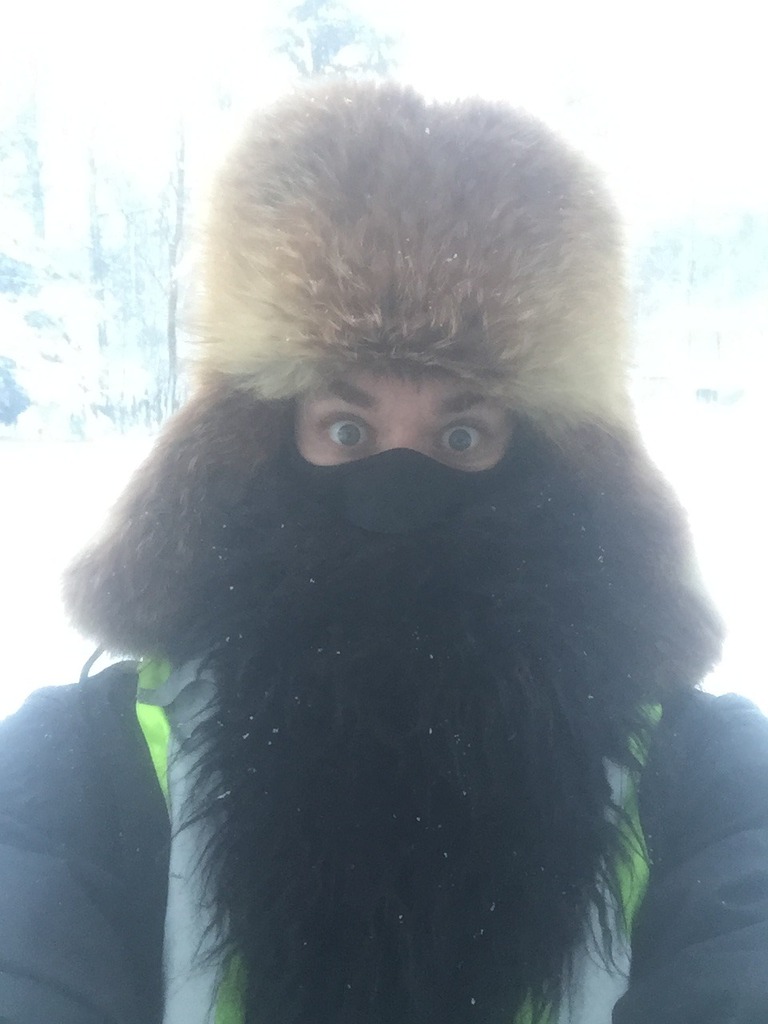
Enjoyed breaking out the beard though. Happy the snow is here... unhappy my vehicle is not operating yet.... ALMOST there. (ish)
Got a little too happy doing donuts with the bobcat to realize where my ditch was against the back of my parking lot.
Radar was trying to be a dalmatian. Unfortunately for him, he's black. It won't work.
Enjoyed breaking out the beard though. Happy the snow is here... unhappy my vehicle is not operating yet.... ALMOST there. (ish)
Reply
0
0
12-07-2016, 11:07 PM
#79
Junior Member
Thread Starter
Join Date: Nov 2016
Location: Steinbach, Manitoba
Posts: 116
Total Cats: 52
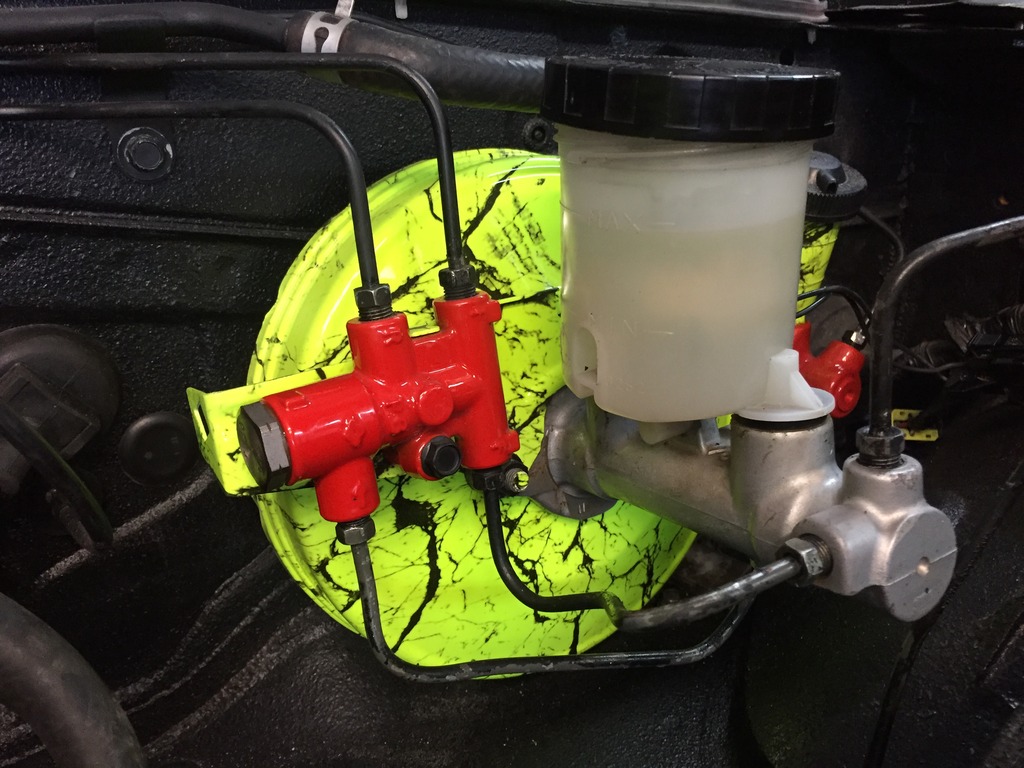
Somehow, I managed to powder coat and dip the wrong master cylinder. Externally they are almost the same but interals are different and can't be swapped sooooo.... I have to put this ugly thing in for now.
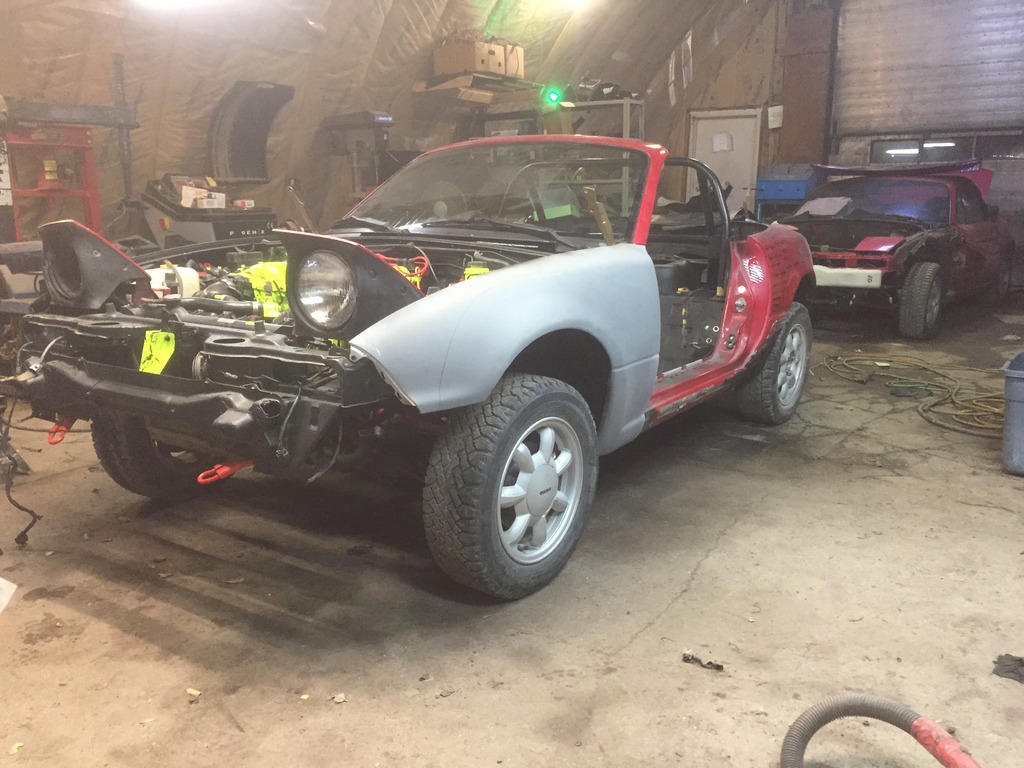
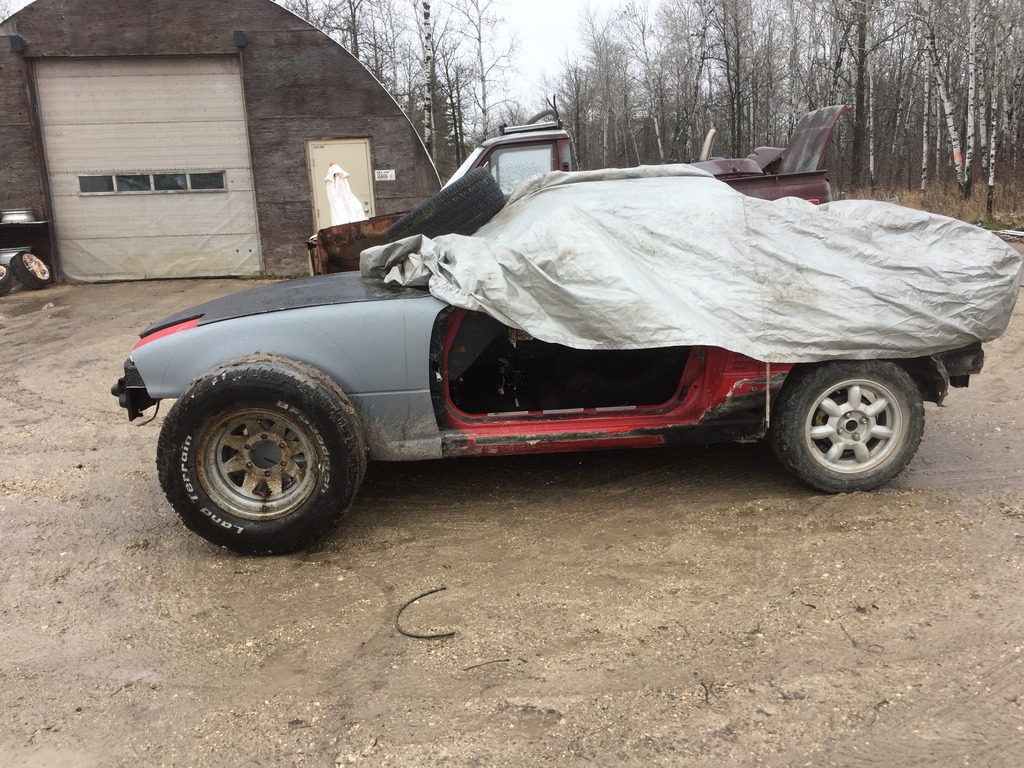
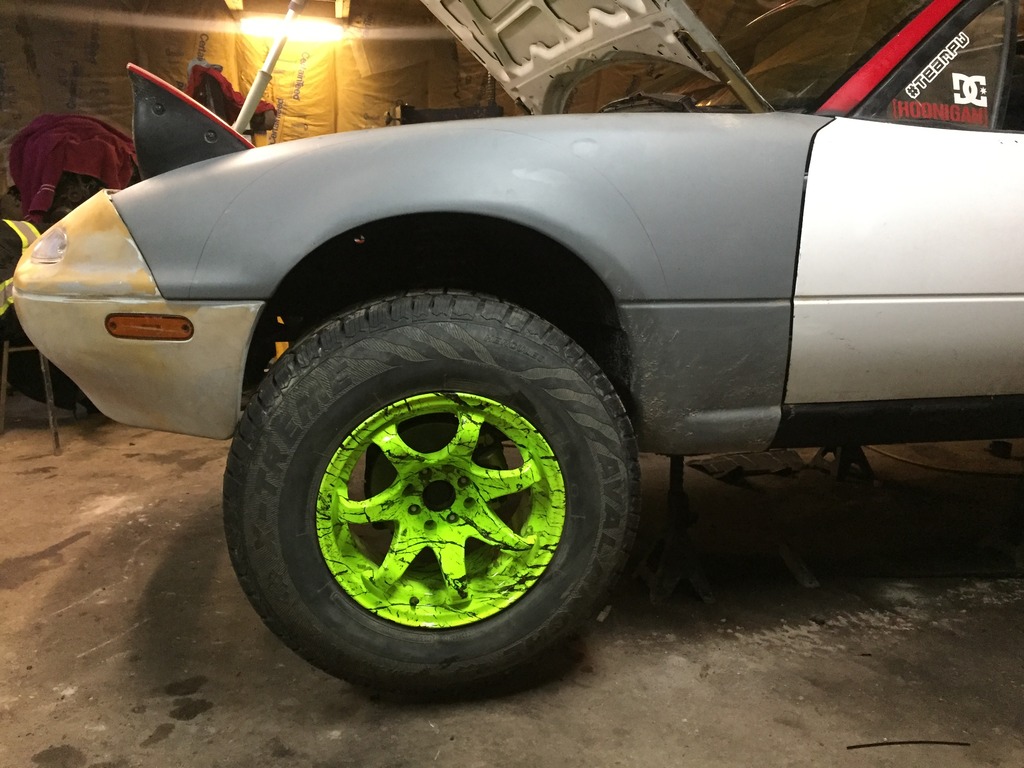
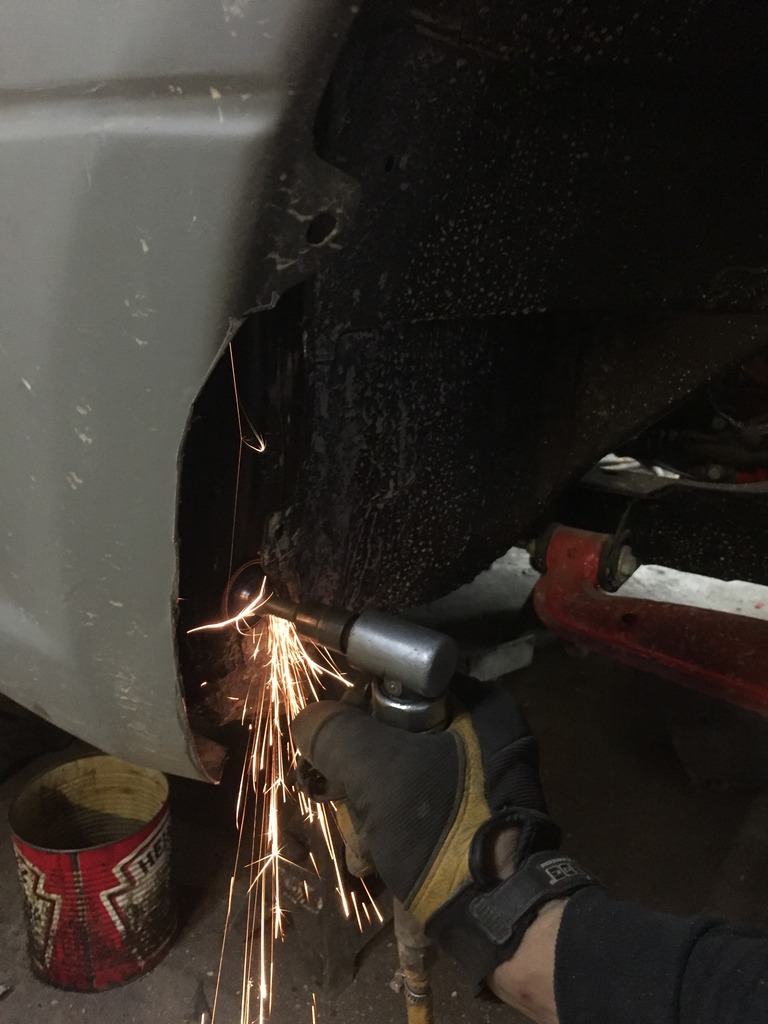
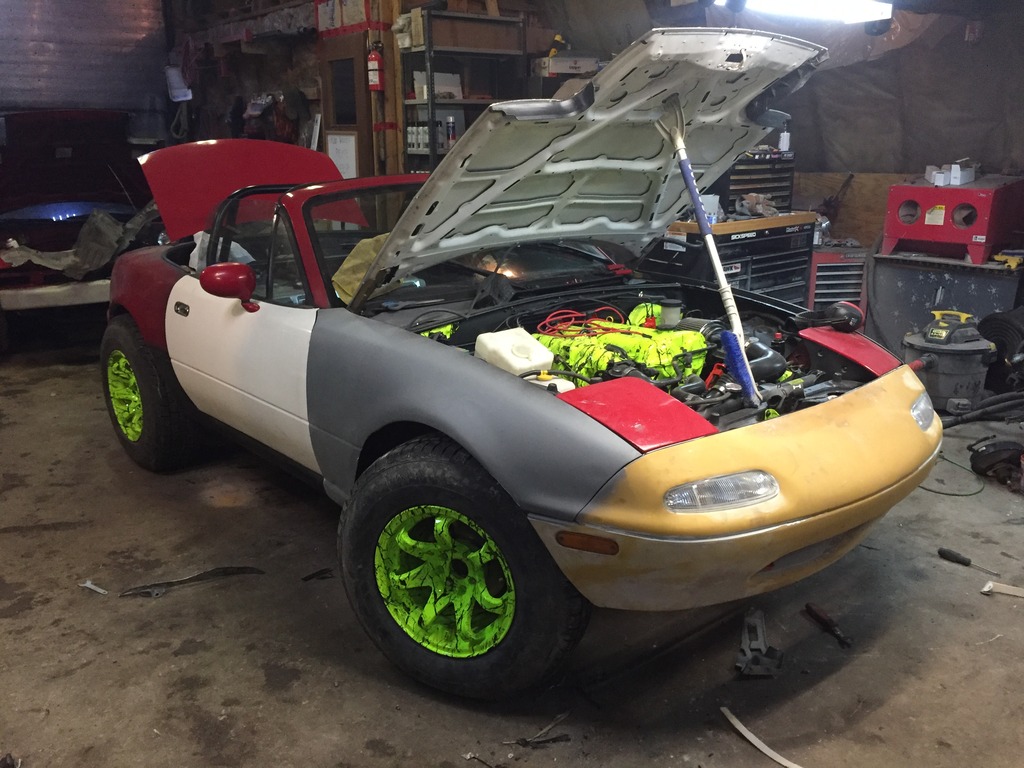
Today was "get the wheels on there day". So the cutting began.
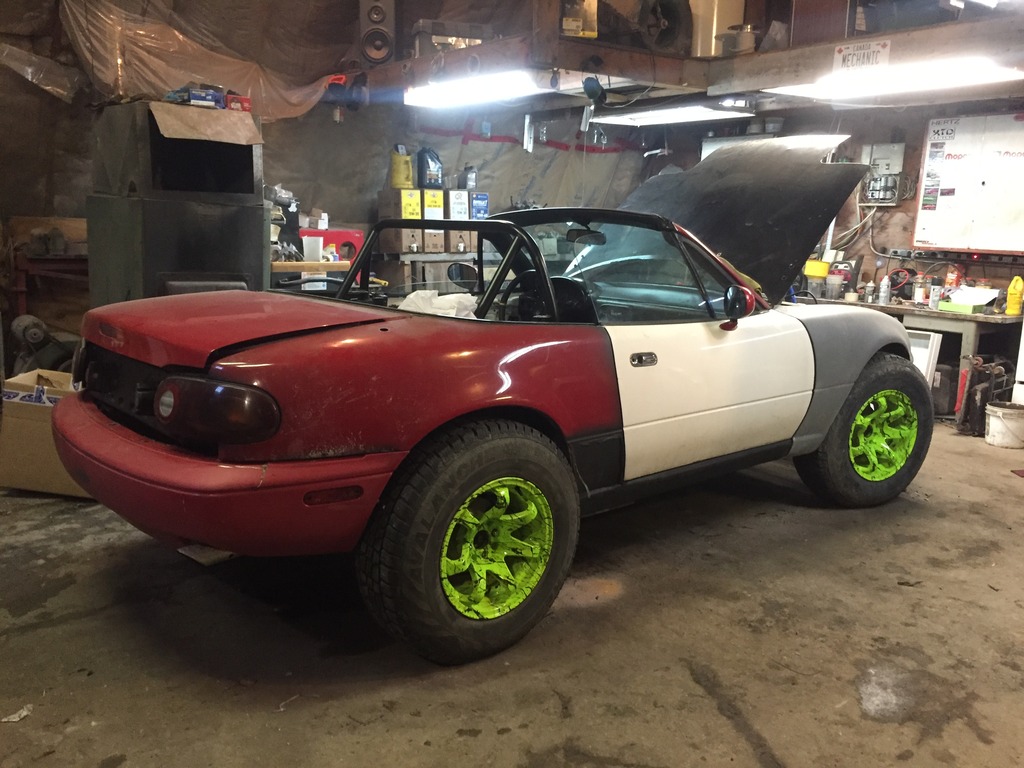
And before I knew it... that landmark point of a build showed up when it's back on all fours and you kinda get excited inside cause you like what you've done. All that hard work and effort just starts to peek around the corner at you and a slight "fizzing" sensation ensues....
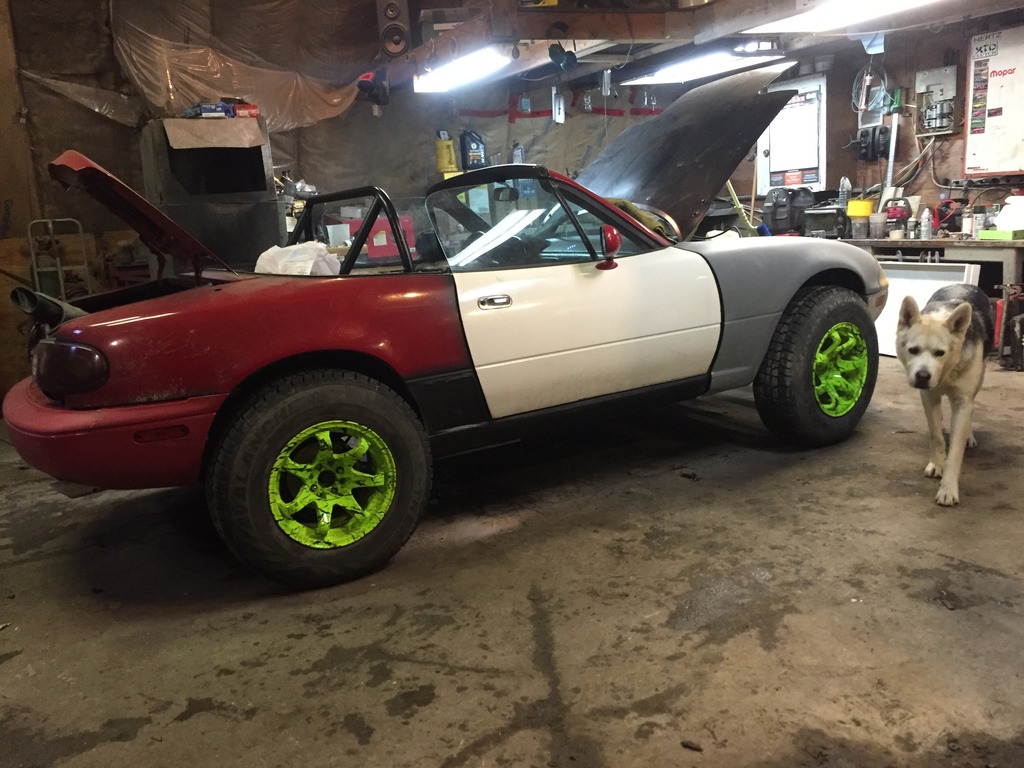
Tried to go all fancy with the wheels. That's actually just as far as I could turn them before they hit things. HaHa. We'll git er sorted out tamarrow
Today was "get the wheels on there day". So the cutting began.
And before I knew it... that landmark point of a build showed up when it's back on all fours and you kinda get excited inside cause you like what you've done. All that hard work and effort just starts to peek around the corner at you and a slight "fizzing" sensation ensues....
Tried to go all fancy with the wheels. That's actually just as far as I could turn them before they hit things. HaHa. We'll git er sorted out tamarrow
Reply
0
0


