Corifto's LoBo

 09-13-2015, 11:34 PM
#42
Junior Member
Thread Starter
iTrader: (1)

Join Date: Jun 2010
Location: Bradenton, FL
Posts: 408
Total Cats: 21
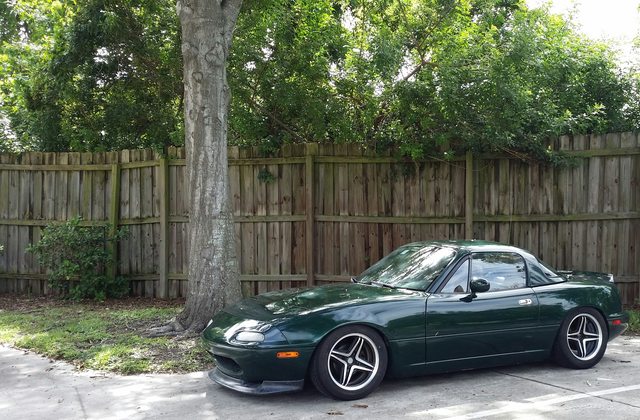
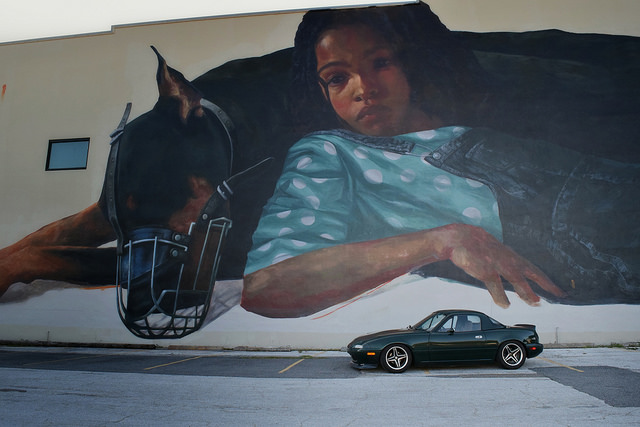
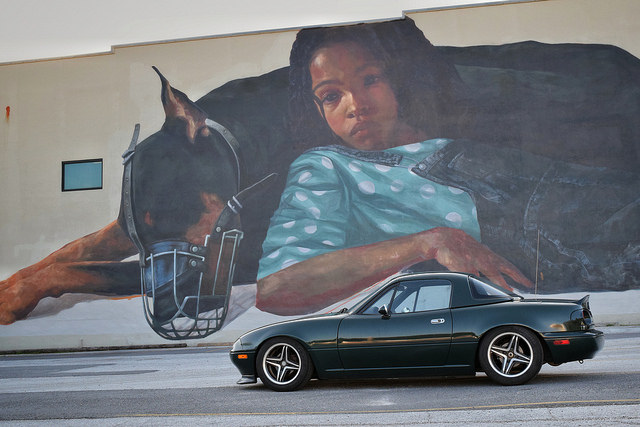
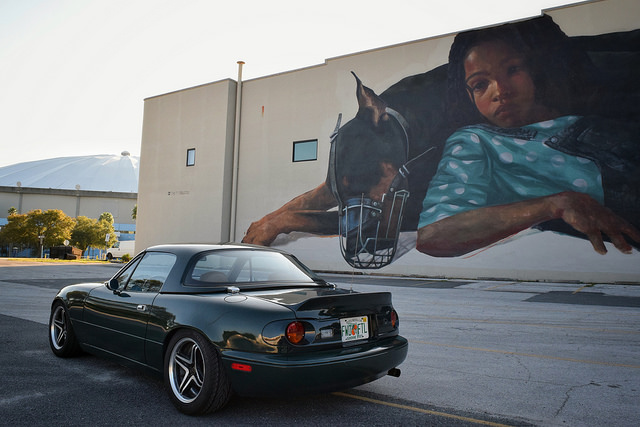
Decided to finally park the Miata at our apartment. (2 vehicle per household rule, between 3 of us, we were already breaking it with each daily. Might as well add one more.)
Got a little artsy with a picture.
Got a little artsy with a picture.

Reply
 0
0

0
09-13-2015, 11:35 PM
#43
Junior Member
Thread Starter
iTrader: (1)
Join Date: Jun 2010
Location: Bradenton, FL
Posts: 408
Total Cats: 21
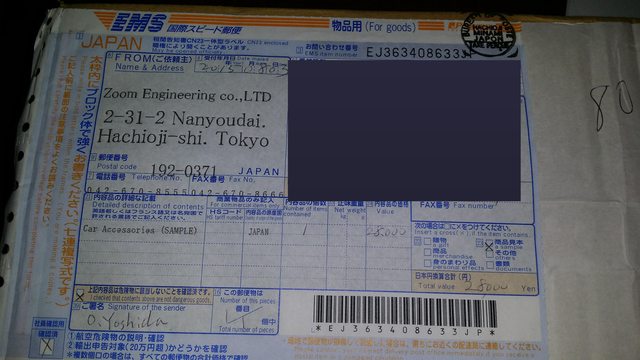
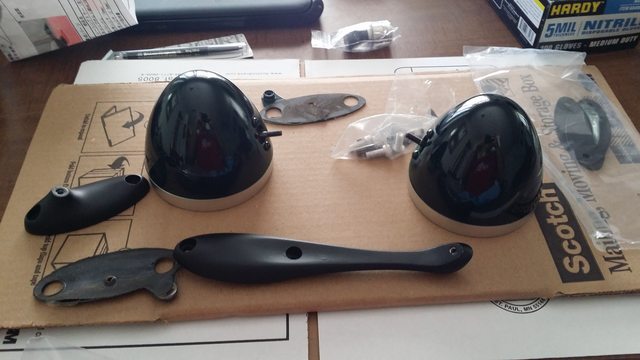
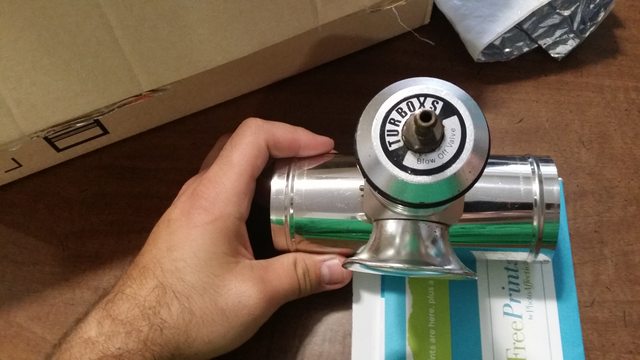
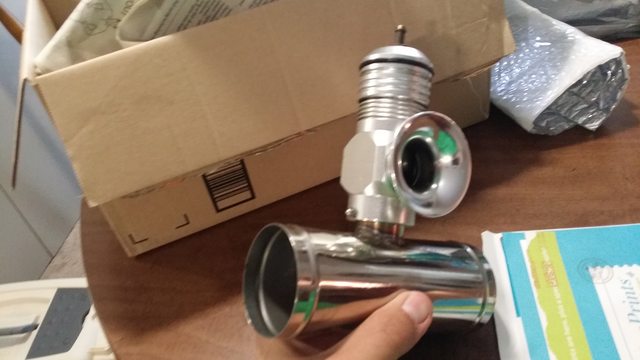
Got a nice package. I have wanted these for at least four years since Stoly bought his for Scrat. Now they're mine. And before anyone asks, they definitely will be heading to paint.
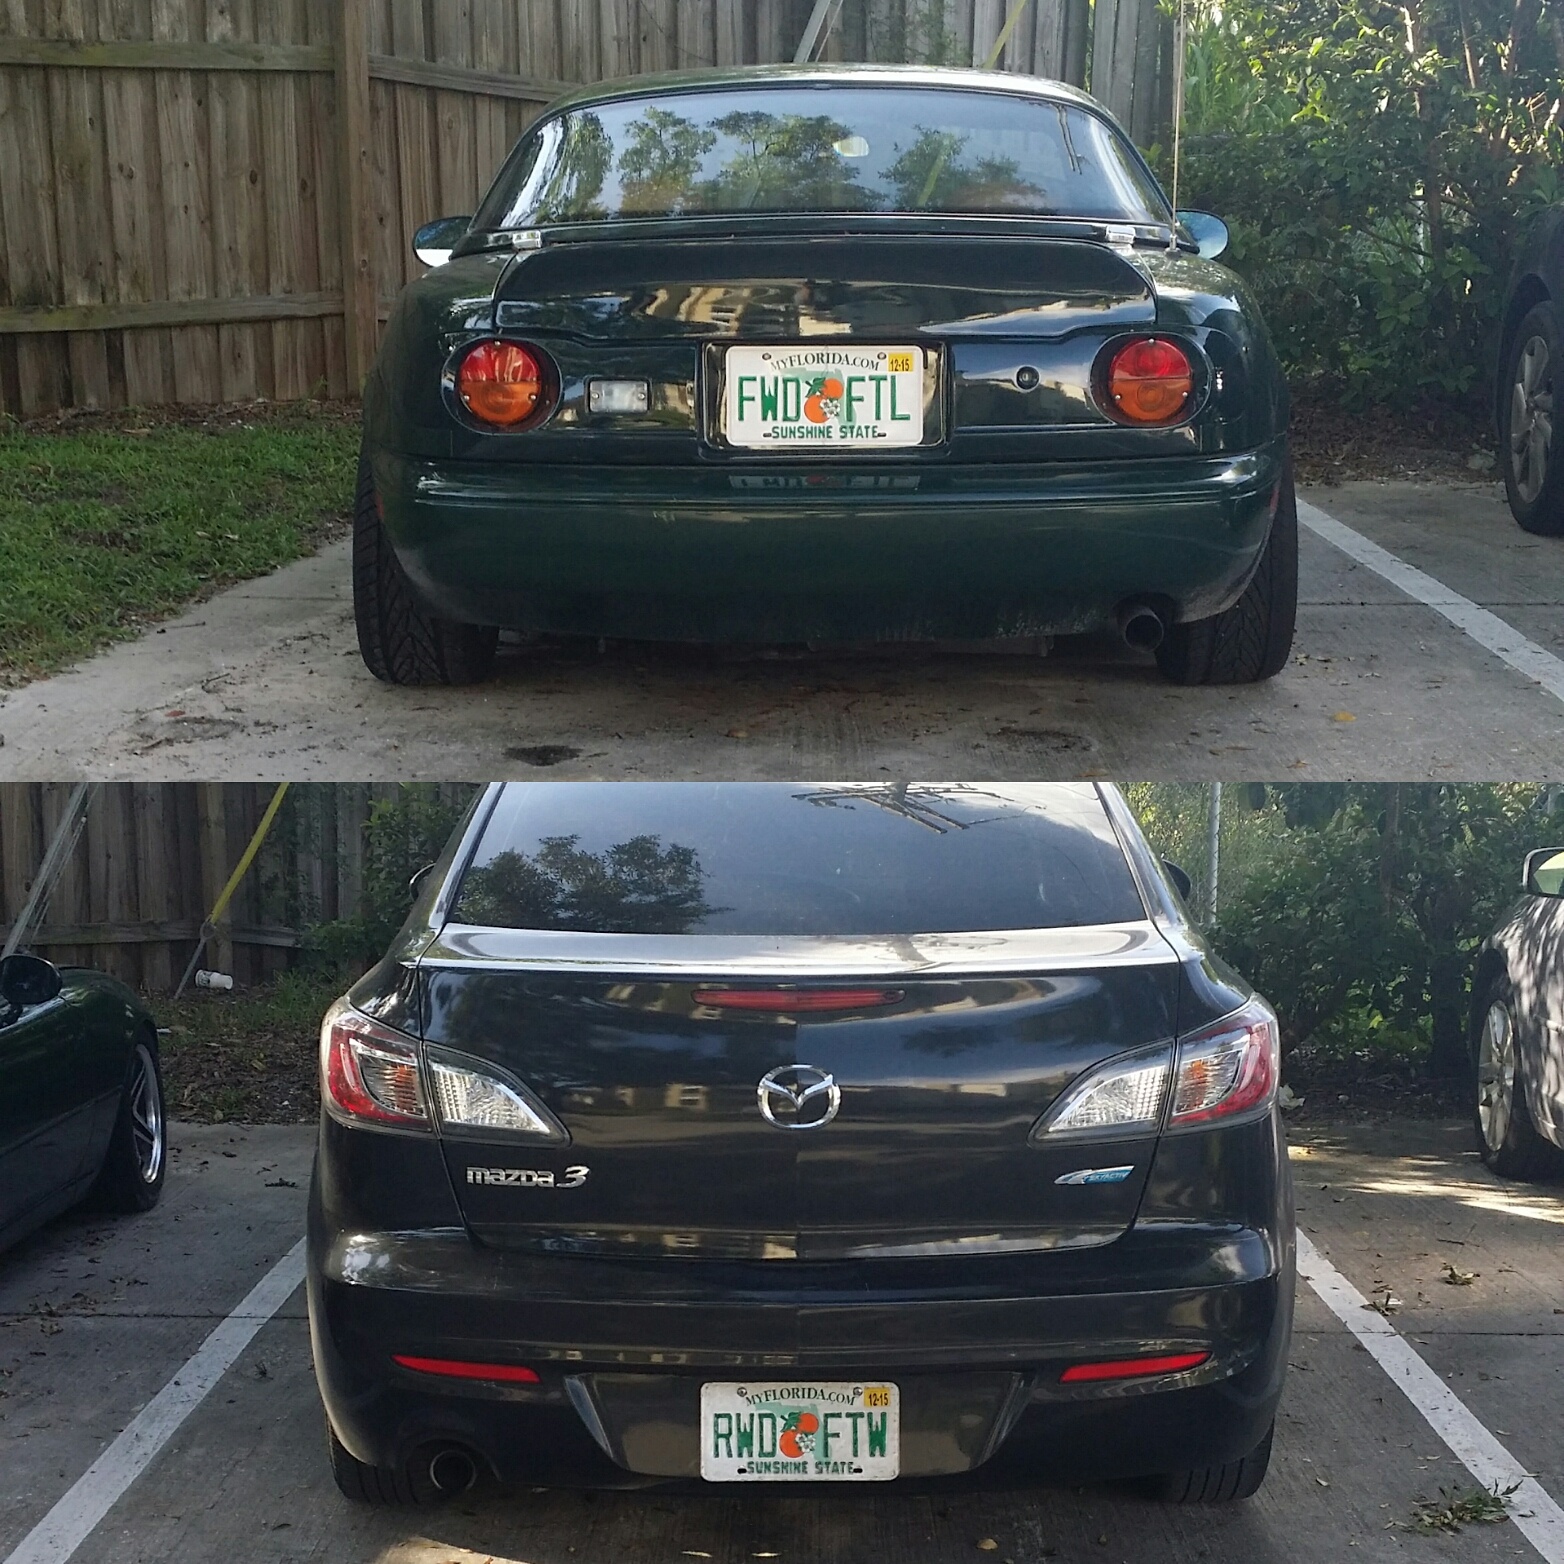
Got my new license plate for the miata in. Happy with the matching set.
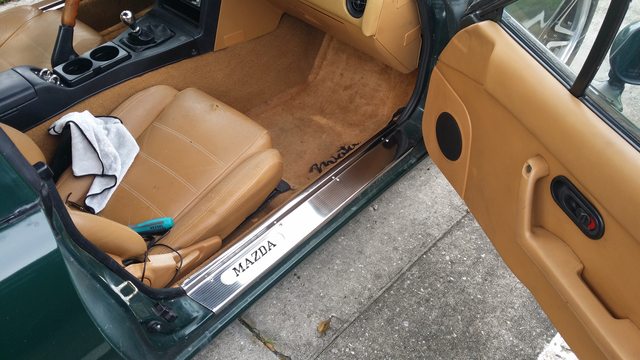
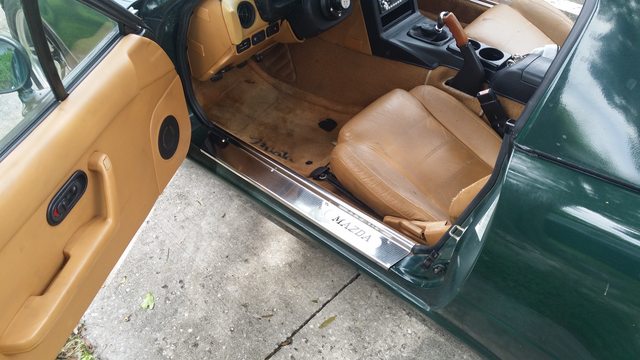
Finally got around to install my RX2 Door Sill Inserts from Adam.
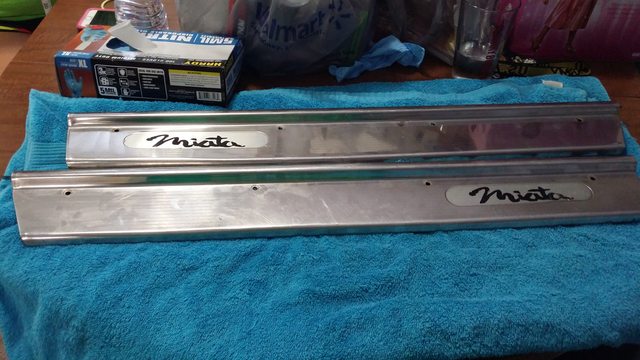
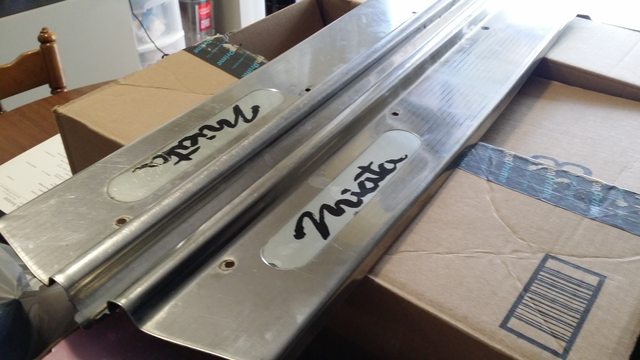
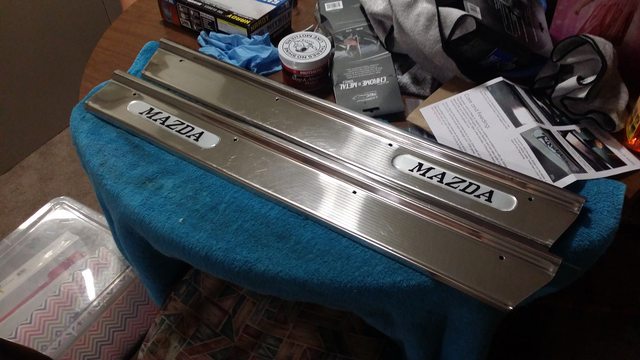
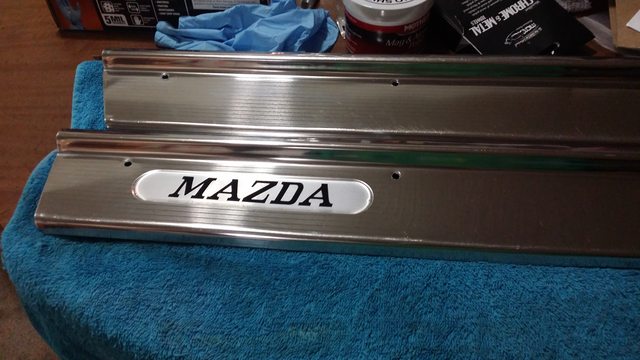
Let it be known I hate polishing stuff.
Got my new license plate for the miata in. Happy with the matching set.
Finally got around to install my RX2 Door Sill Inserts from Adam.
Let it be known I hate polishing stuff.
Reply
0
0
09-13-2015, 11:35 PM
#44
Junior Member
Thread Starter
iTrader: (1)
Join Date: Jun 2010
Location: Bradenton, FL
Posts: 408
Total Cats: 21
So, while it may not be for any parts installed, I believe this may be just as, if not more important than any part on the car.
Many weeks ago, Adam told me this car needed a name. I had never thought of naming a car, but the idea grew on me. That led to weeks of wracking my brain. I was thinking of all kinds of things, but none worked for me.
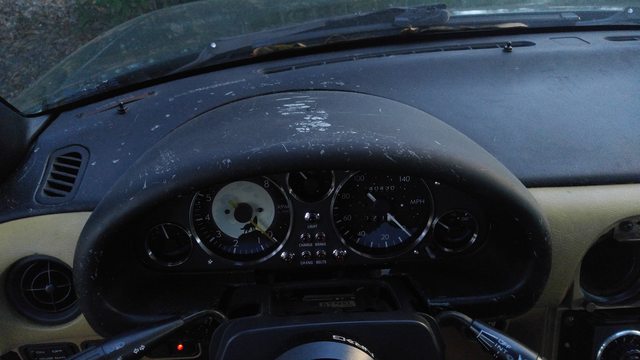
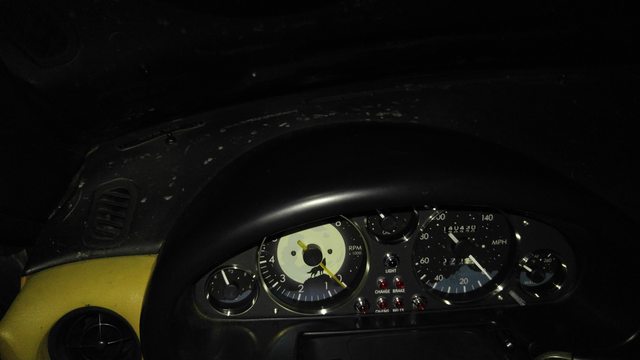
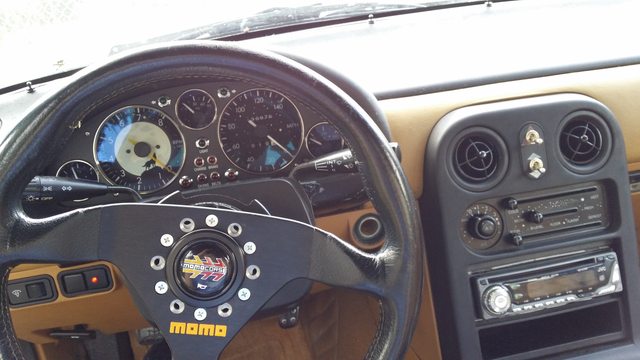
Yesterday, I realized that the name had been there all along. Adam had named it many months before I even bought the car. I believe it was unintentional, but as I looked back at the post, I see it's been there the entire time. And as long as I've owned the car, I've been staring at it the entire time. My gauges.
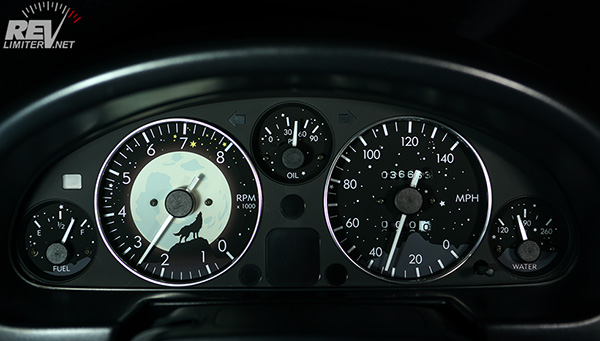
Version Lobo as Adam coined it. Odd or not, the wolf was chosen for my gauges due to having deep meaning for me as a "power animal" if you will. So I feel Lobo suits the car very well. It may never be spoken in the same breath as Sharka, Scrat, the Blue Potato, or Rooster, but it is mine.
Sorry for the ramblings of someone just waking up.
Many weeks ago, Adam told me this car needed a name. I had never thought of naming a car, but the idea grew on me. That led to weeks of wracking my brain. I was thinking of all kinds of things, but none worked for me.
Yesterday, I realized that the name had been there all along. Adam had named it many months before I even bought the car. I believe it was unintentional, but as I looked back at the post, I see it's been there the entire time. And as long as I've owned the car, I've been staring at it the entire time. My gauges.
Version Lobo as Adam coined it. Odd or not, the wolf was chosen for my gauges due to having deep meaning for me as a "power animal" if you will. So I feel Lobo suits the car very well. It may never be spoken in the same breath as Sharka, Scrat, the Blue Potato, or Rooster, but it is mine.
Sorry for the ramblings of someone just waking up.
Reply
0
0
09-13-2015, 11:36 PM
#45
Junior Member
Thread Starter
iTrader: (1)
Join Date: Jun 2010
Location: Bradenton, FL
Posts: 408
Total Cats: 21
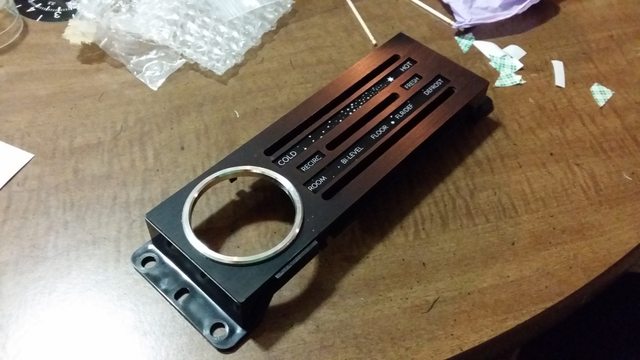
For whatever reason, over today and yesterday I decided to tackle some projects I've been putting off. Yesterday was the sills, today was my HVAC panel.
Went super smooth thanks to Adam's write-up.
The starting product.
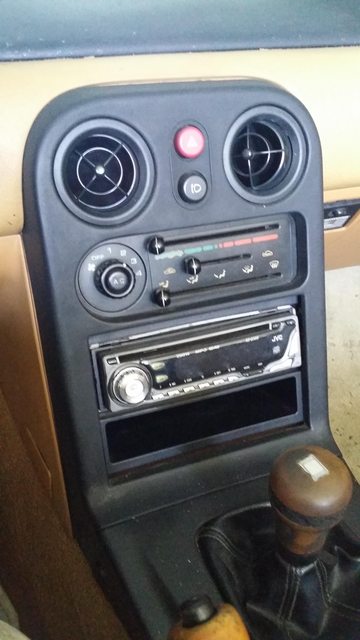
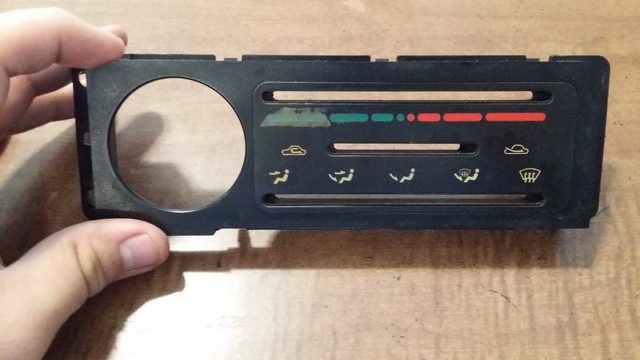

Somehow, it all came off in one piece. Slow and steady. It also helps if you poke through the back. There are holes for the illumination, and you can poke these up to help with the beginning of the removal process.
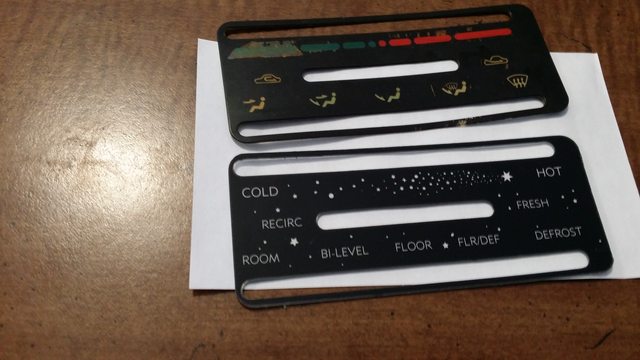
Like a glove.
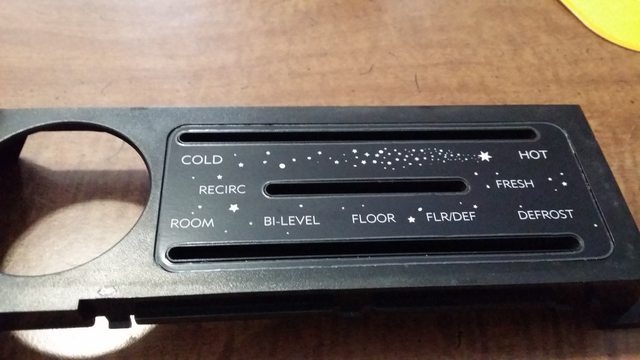
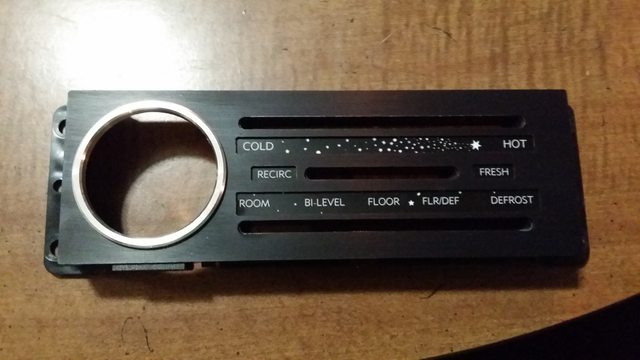
All finished.
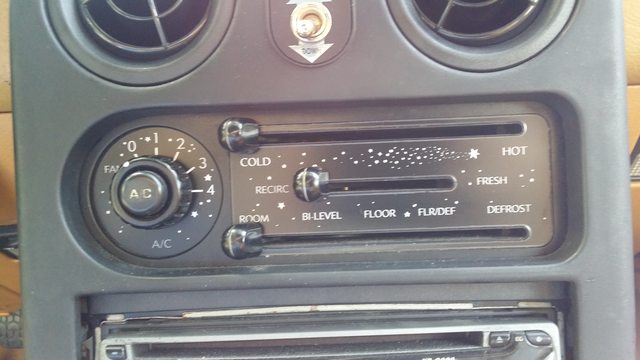
All together now [Note the RevLimiter Hazard Switches also]
I tried to take a shot of the panel illuminated, but the OEM amber doesn't even register with my panel. I need to look into some LED options.
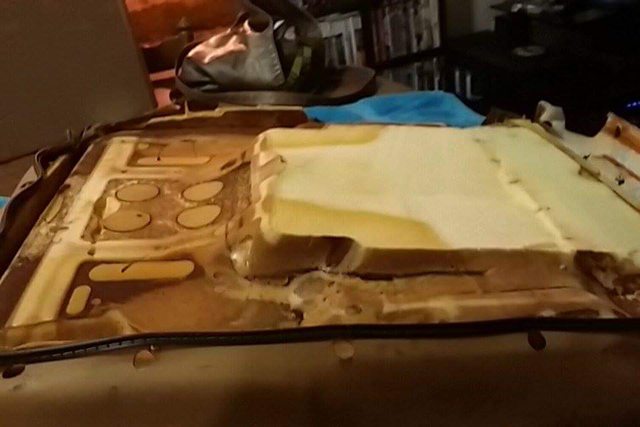
I decided it was time to do a foamectomy. I had been putting it off for a long time.
I'll skip the whole "take the seat out of the car and disassemble it" steps.
Right to the meat of the project.
The unmolested seat. (hog rings taken out)
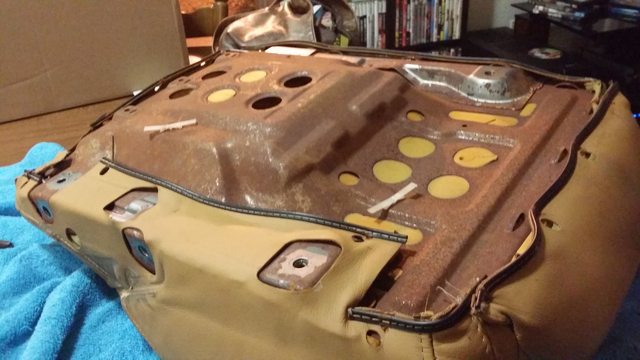
Pan removed.
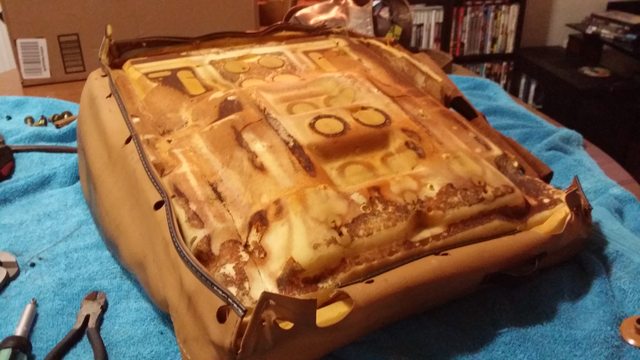
Section I cut using an electric carving knife.
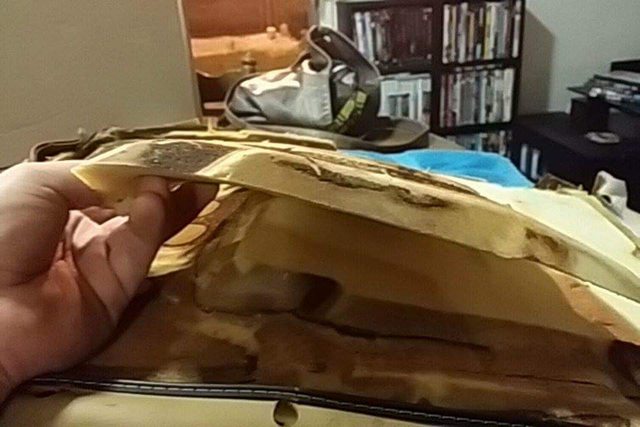
Voila! I decided to stop here, and then test it out for a while before taking more out.
Ziptied back in lieu of hog rings.
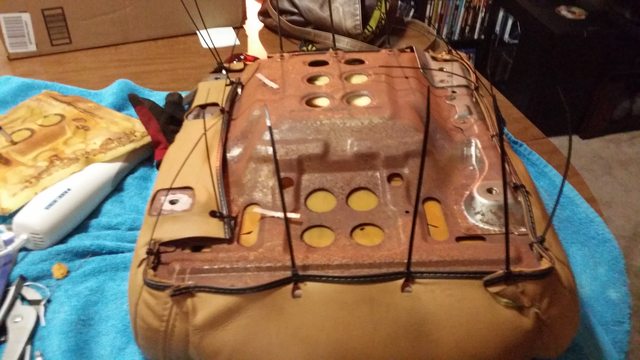
Back together. Time from beginning to end was approximately an hour and ten minutes.

Went super smooth thanks to Adam's write-up.
The starting product.
Somehow, it all came off in one piece. Slow and steady. It also helps if you poke through the back. There are holes for the illumination, and you can poke these up to help with the beginning of the removal process.
Like a glove.
All finished.
All together now [Note the RevLimiter Hazard Switches also]
I tried to take a shot of the panel illuminated, but the OEM amber doesn't even register with my panel. I need to look into some LED options.
I decided it was time to do a foamectomy. I had been putting it off for a long time.
I'll skip the whole "take the seat out of the car and disassemble it" steps.
Right to the meat of the project.
The unmolested seat. (hog rings taken out)
Pan removed.
Section I cut using an electric carving knife.
Voila! I decided to stop here, and then test it out for a while before taking more out.
Ziptied back in lieu of hog rings.
Back together. Time from beginning to end was approximately an hour and ten minutes.
Reply
0
0
09-13-2015, 11:37 PM
#46
Junior Member
Thread Starter
iTrader: (1)
Join Date: Jun 2010
Location: Bradenton, FL
Posts: 408
Total Cats: 21
Put my sills back in after their fresh polishing and with their RX2 inserts.
So, few new updates. I decided my car's interior needed a little more, so I added the Revlimiter retro panel and trim ring to my AC panel. Not installed yet, waiting for LEDs to come in, but you get the idea.
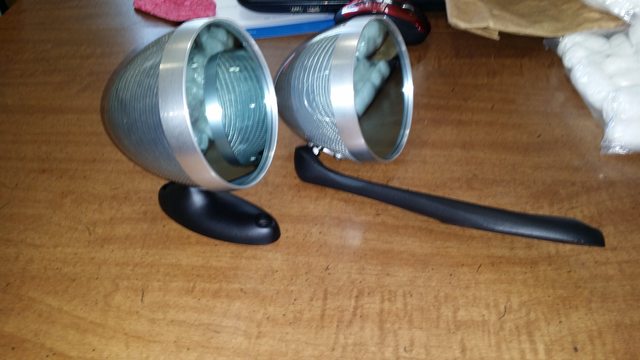
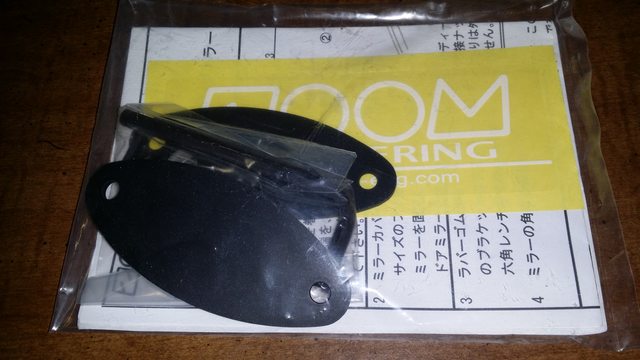
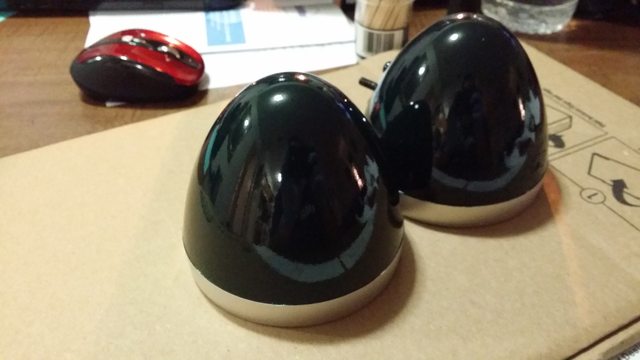
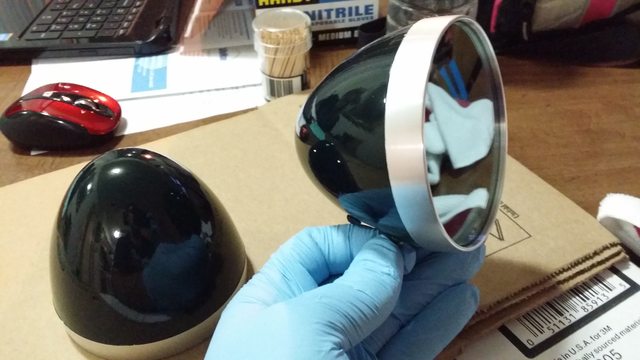
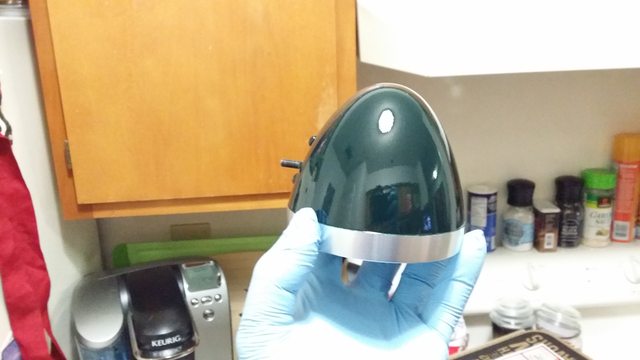
And after many delays, I finally picked up my mirrors from the painter. Like the GV panel and trunk, the paint is a little darker than the car, but at 20 feet, I think it will be fine. Can't wait to install them.
No, not from the comics. The name came from Adam, when he made my gauges. I wanted wolf themed gauges, and Adam named them Lobo, after the legendary wolf.
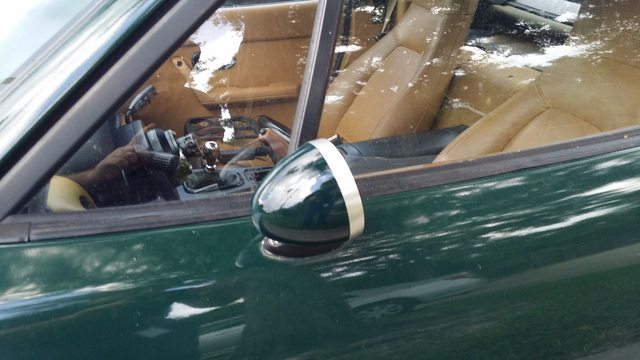
So today I finally installed my Zoom mirrors.

So, few new updates. I decided my car's interior needed a little more, so I added the Revlimiter retro panel and trim ring to my AC panel. Not installed yet, waiting for LEDs to come in, but you get the idea.
And after many delays, I finally picked up my mirrors from the painter. Like the GV panel and trunk, the paint is a little darker than the car, but at 20 feet, I think it will be fine. Can't wait to install them.
No, not from the comics. The name came from Adam, when he made my gauges. I wanted wolf themed gauges, and Adam named them Lobo, after the legendary wolf.
So today I finally installed my Zoom mirrors.
Reply
0
0
09-13-2015, 11:38 PM
#47
Junior Member
Thread Starter
iTrader: (1)
Join Date: Jun 2010
Location: Bradenton, FL
Posts: 408
Total Cats: 21
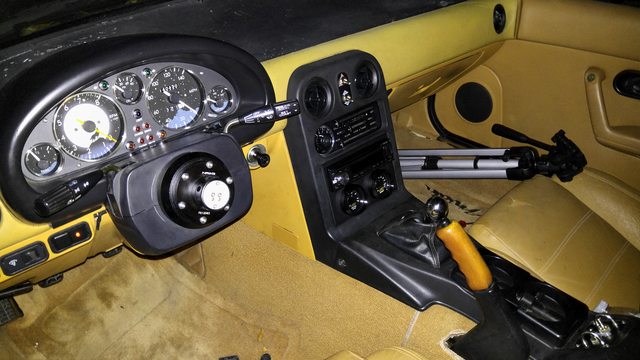
Finally got around to my short shifter. I found out why my shifter sucked.
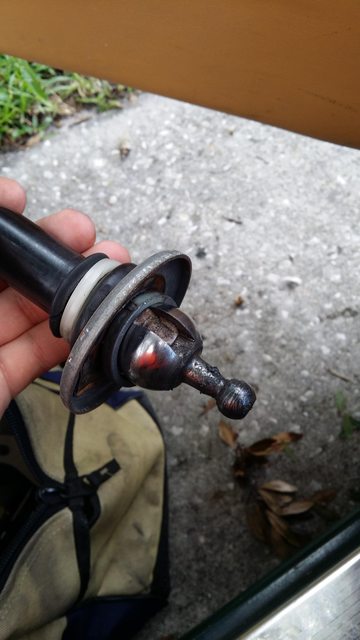
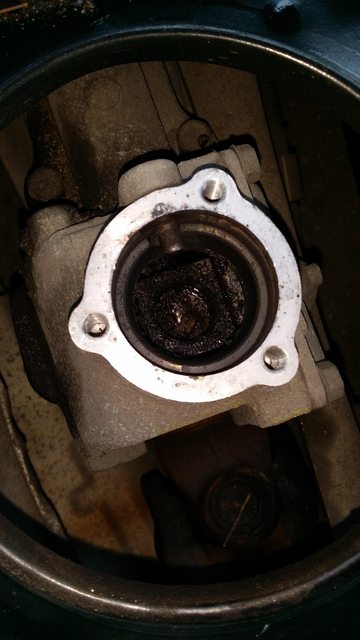
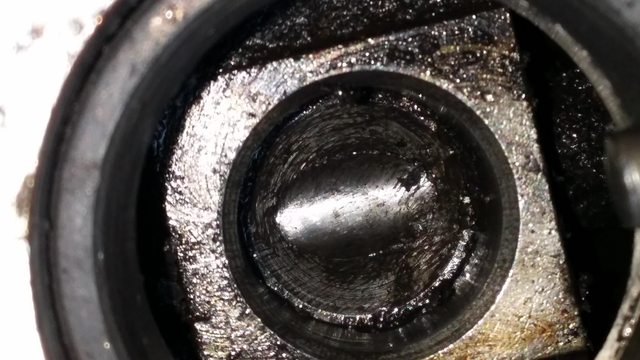
As you can see, not only was there no fluid, there was no tip bushing. I can't wait to drive it Wednesday to feel the difference.
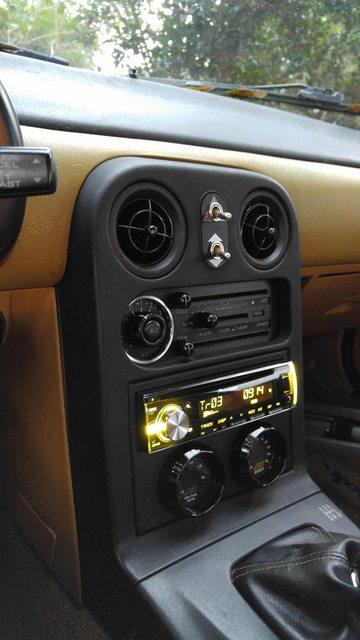
I also finished up my Retro HVAC plate and ring from RevLimiter over my custom panel. Also installed LEDs.
As you can see, not only was there no fluid, there was no tip bushing. I can't wait to drive it Wednesday to feel the difference.
I also finished up my Retro HVAC plate and ring from RevLimiter over my custom panel. Also installed LEDs.
Reply
0
0
 10-28-2015, 08:55 PM
#51
Junior Member
Thread Starter
iTrader: (1)
Join Date: Jun 2010
Location: Bradenton, FL
Posts: 408
Total Cats: 21
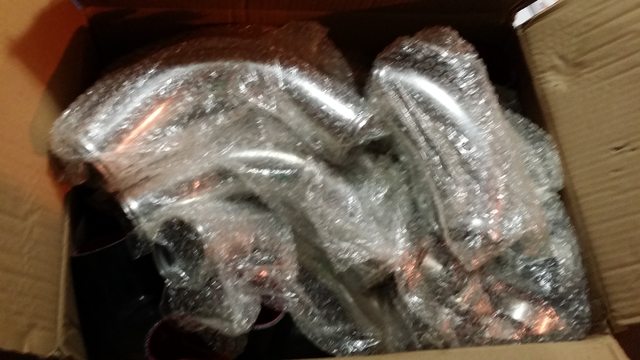
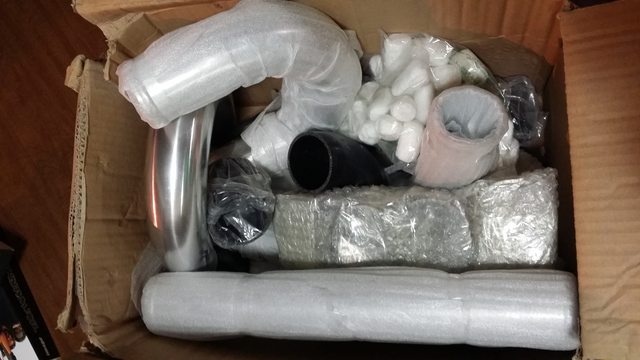
Got some stuff today.
Brand new FM Happy Meal Stage 1 w/10.3lb flywheel.
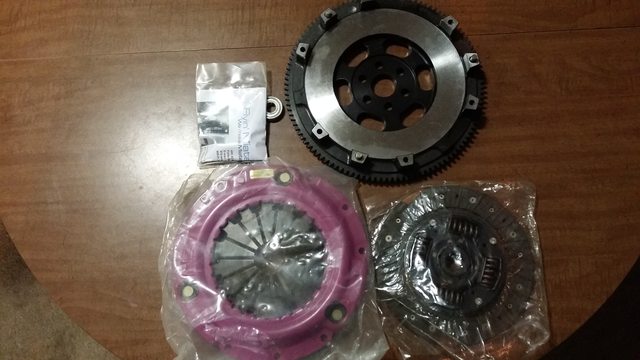
BNIB DW200 Fuel Pump

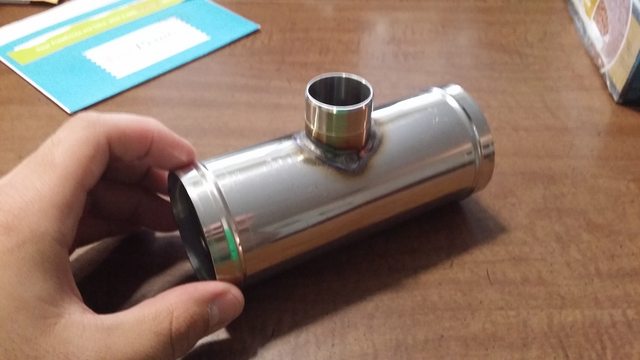
And the ebay piping kit I have has terrible couplers with "JDM" written on them, so I got this kit thrown in with the other stuff. Plain black couplers make me happy.

Since I love good deals, I couldn't say no when I got the price down to $560 for all of this.
Brand new FM Happy Meal Stage 1 w/10.3lb flywheel.
BNIB DW200 Fuel Pump
And the ebay piping kit I have has terrible couplers with "JDM" written on them, so I got this kit thrown in with the other stuff. Plain black couplers make me happy.
Since I love good deals, I couldn't say no when I got the price down to $560 for all of this.
Reply
0
0

 10-28-2015, 08:56 PM
#53
Junior Member
Thread Starter
iTrader: (1)
Join Date: Jun 2010
Location: Bradenton, FL
Posts: 408
Total Cats: 21
So I got this lip. This lip has been on a journey.

The seller of this lip wouldn't ship, but I wanted it. So with the help of friends, I have it.
It started in California, where the seller brought it to MRLS. Fwdtamiya did me the huge favor of picking it up, and then took it one step further by taking it to Formula Drift Irwindale. From there it rode in a friend's race trailer to Willow Springs, and then back to FL, near Gainesville. Finally, another friend picked it up and brought it to my drift event. And then I brought it home.
Reply
0
0
 12-10-2015, 01:10 AM
#56
Junior Member
Thread Starter
iTrader: (1)
Join Date: Jun 2010
Location: Bradenton, FL
Posts: 408
Total Cats: 21
Got some stuff recently.
Brand new FM Happy Meal Stage 1 w/10.3lb flywheel.

BNIB DW200 Fuel Pump

And the ebay piping kit I have has terrible couplers with "JDM" written on them, so I got this kit thrown in with the other stuff. Plain black couplers make me happy.
Since I love good deals, I couldn't say no when I got the price down to $560 for all of this.
Brand new FM Happy Meal Stage 1 w/10.3lb flywheel.
BNIB DW200 Fuel Pump
And the ebay piping kit I have has terrible couplers with "JDM" written on them, so I got this kit thrown in with the other stuff. Plain black couplers make me happy.
Since I love good deals, I couldn't say no when I got the price down to $560 for all of this.
Reply
0
0
12-10-2015, 01:11 AM
#57
Junior Member
Thread Starter
iTrader: (1)
Join Date: Jun 2010
Location: Bradenton, FL
Posts: 408
Total Cats: 21
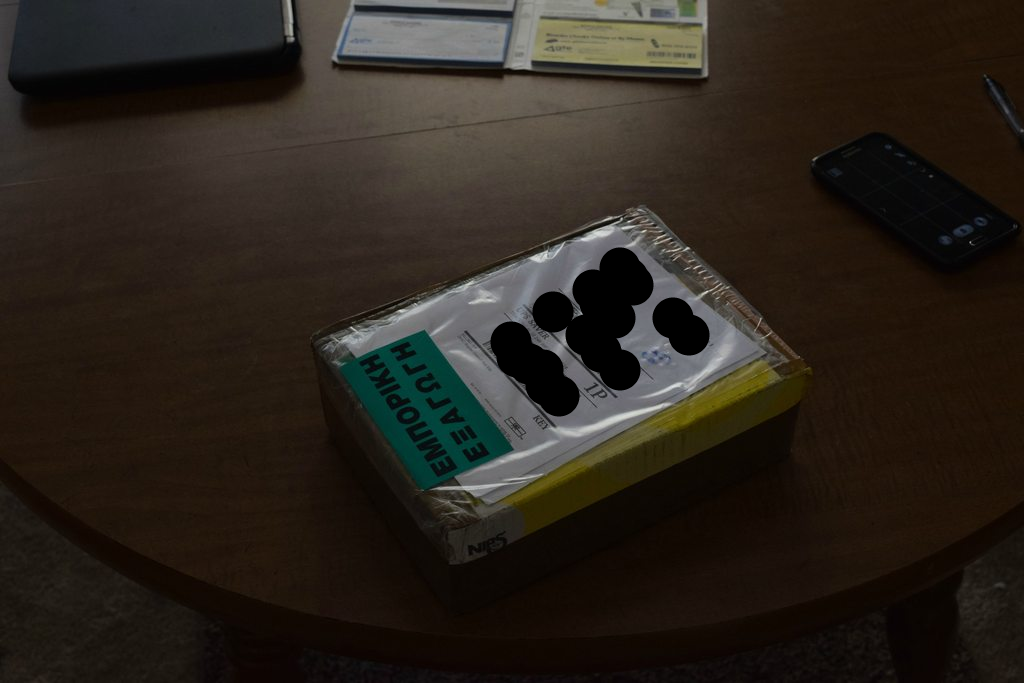
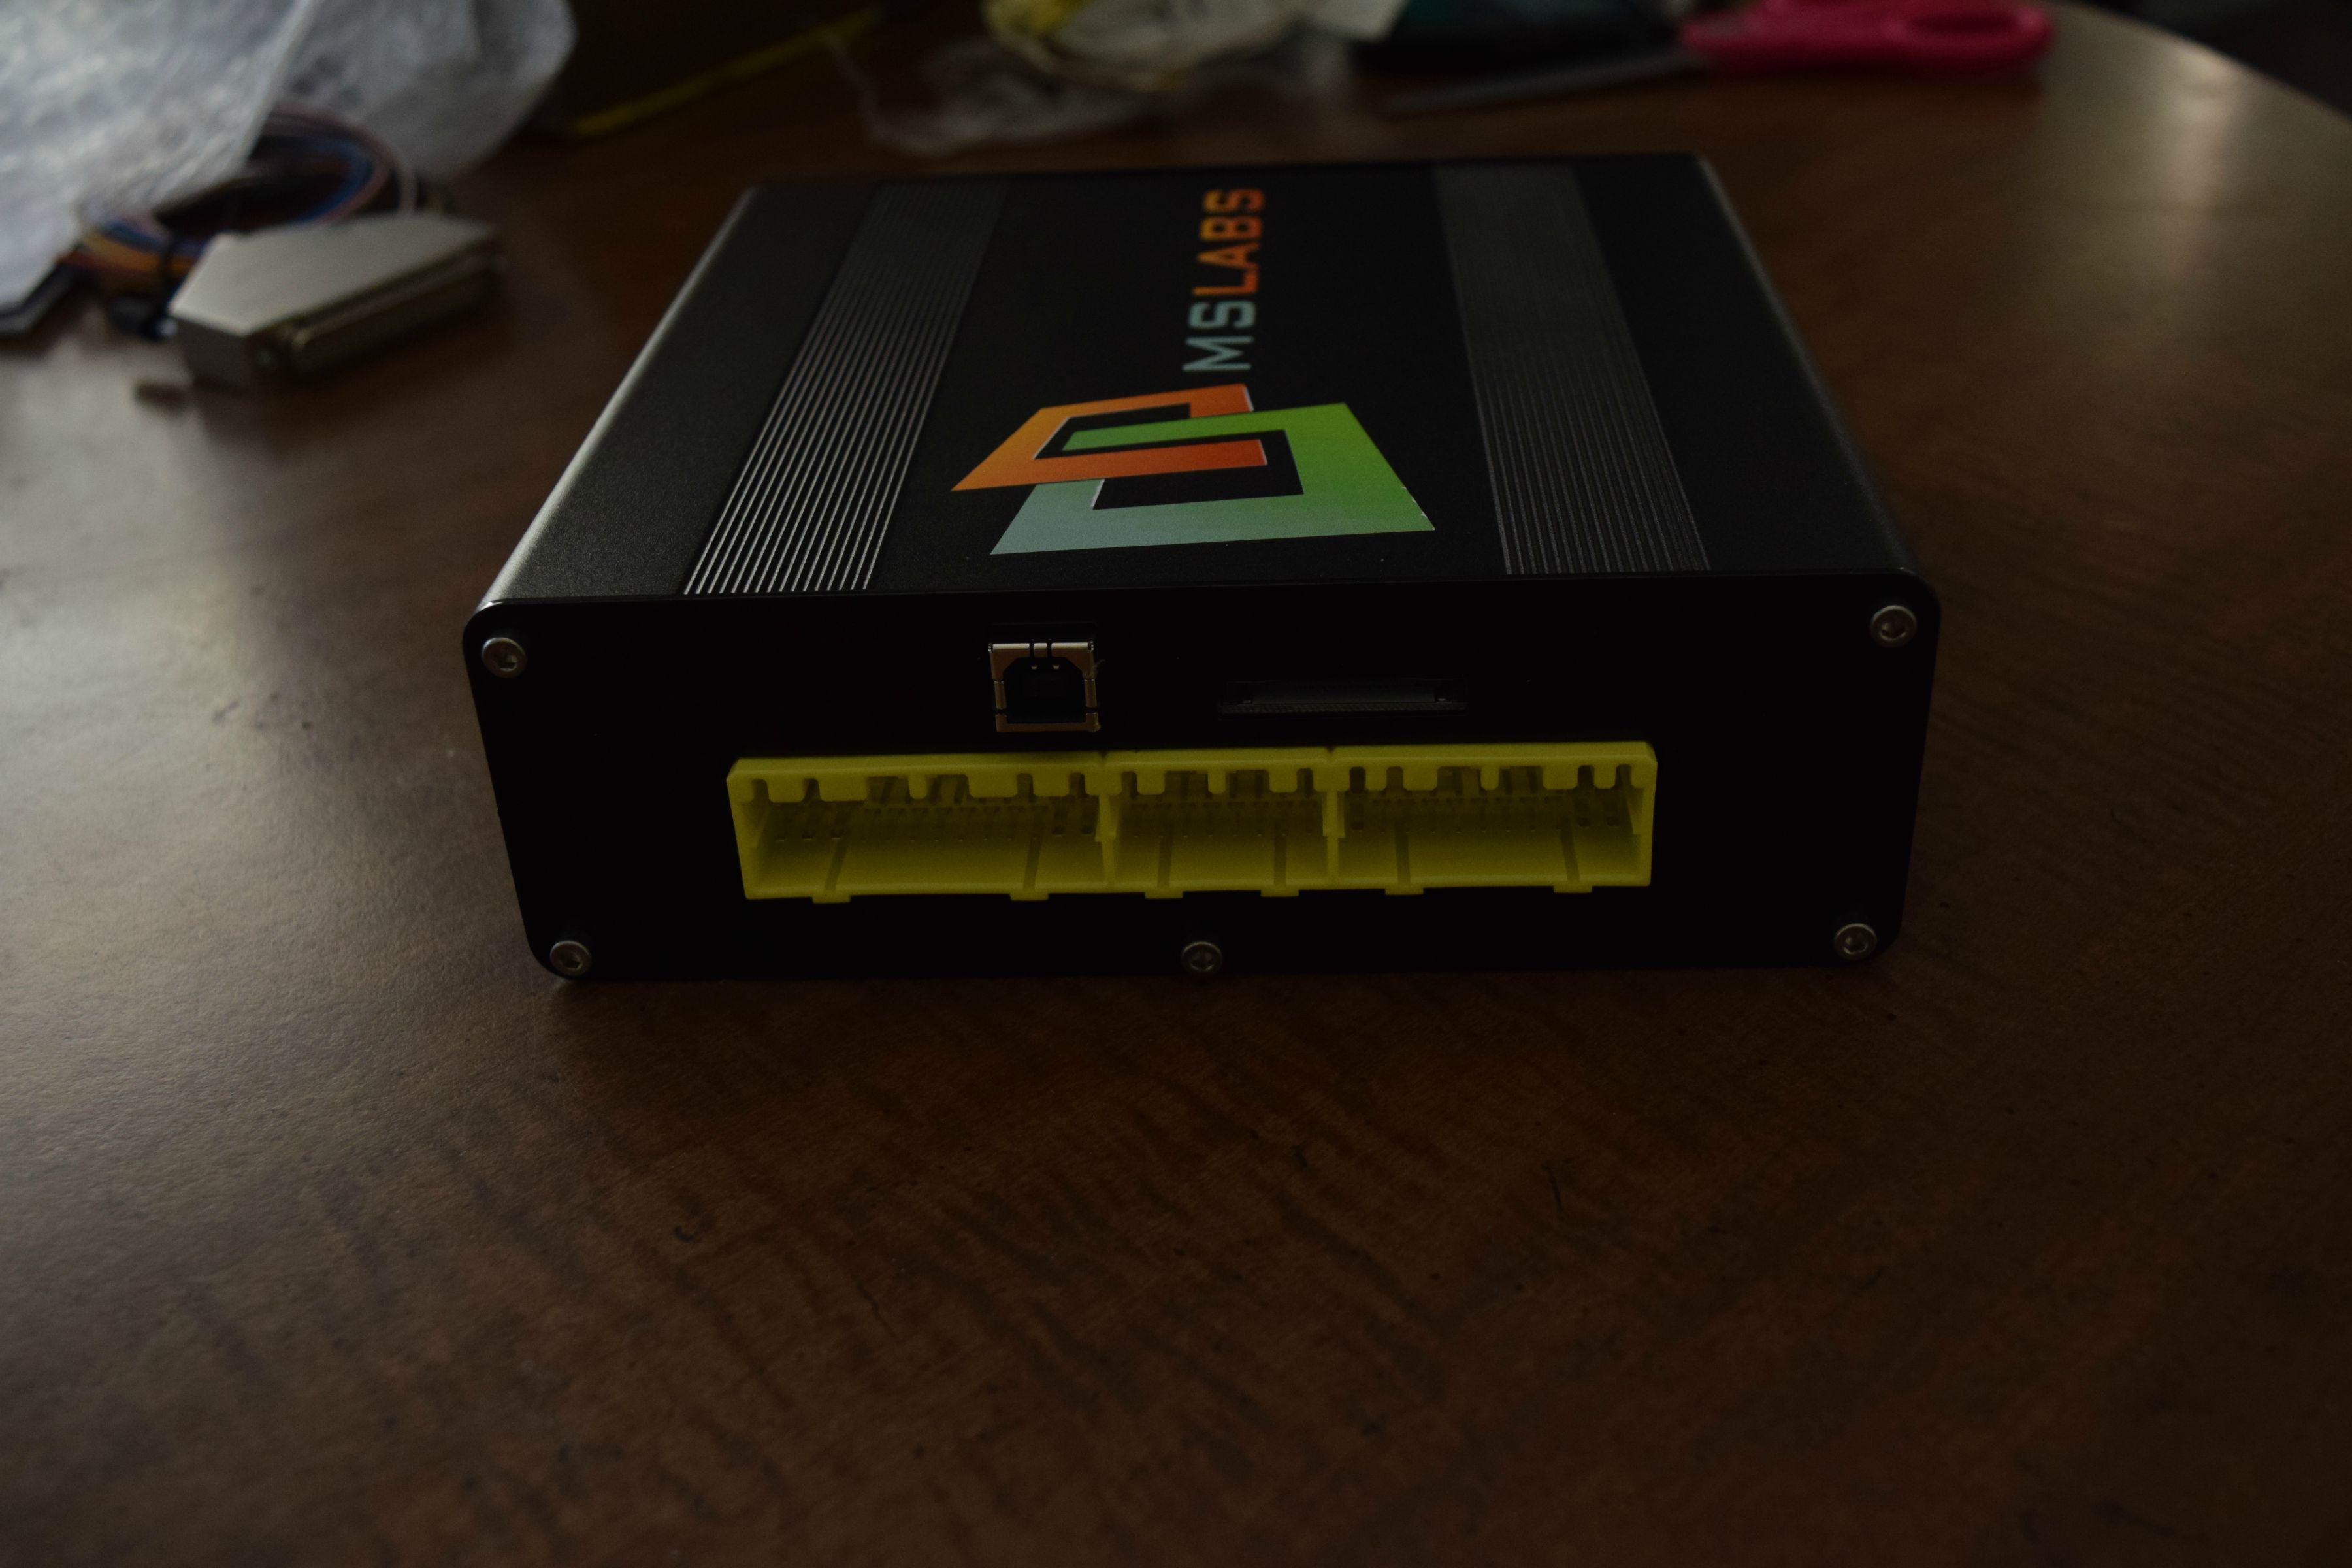
Got some stuff in the mail again.
DDM Works panel for radio and gauges. Ordered this after my attempt to make a panel out of ABS didn't work so well.
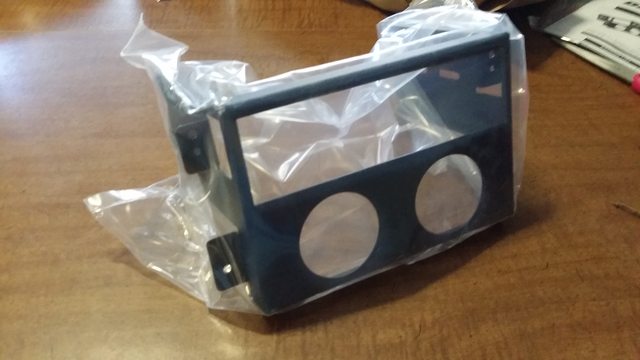
This had its own issues. Apparently AEM gauges aren't exactly 2 1/16".
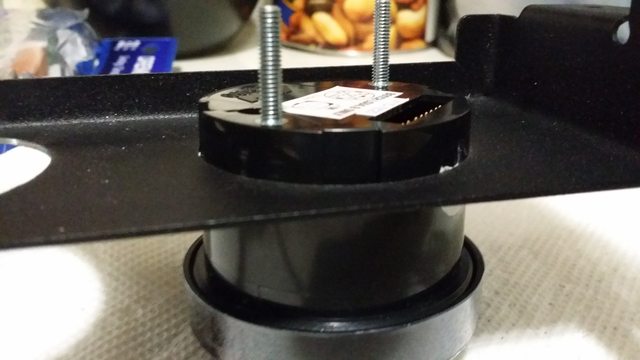
This is as far as the gauge would go in, even with a rather large amount of force.
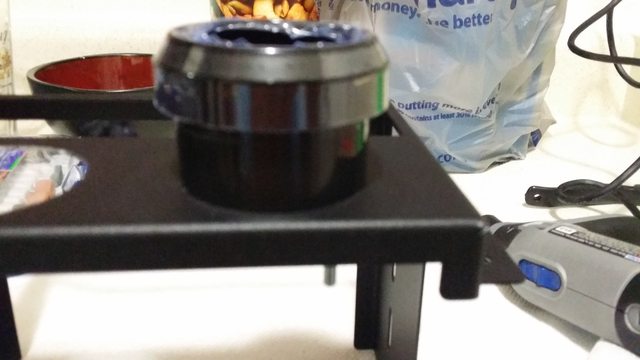
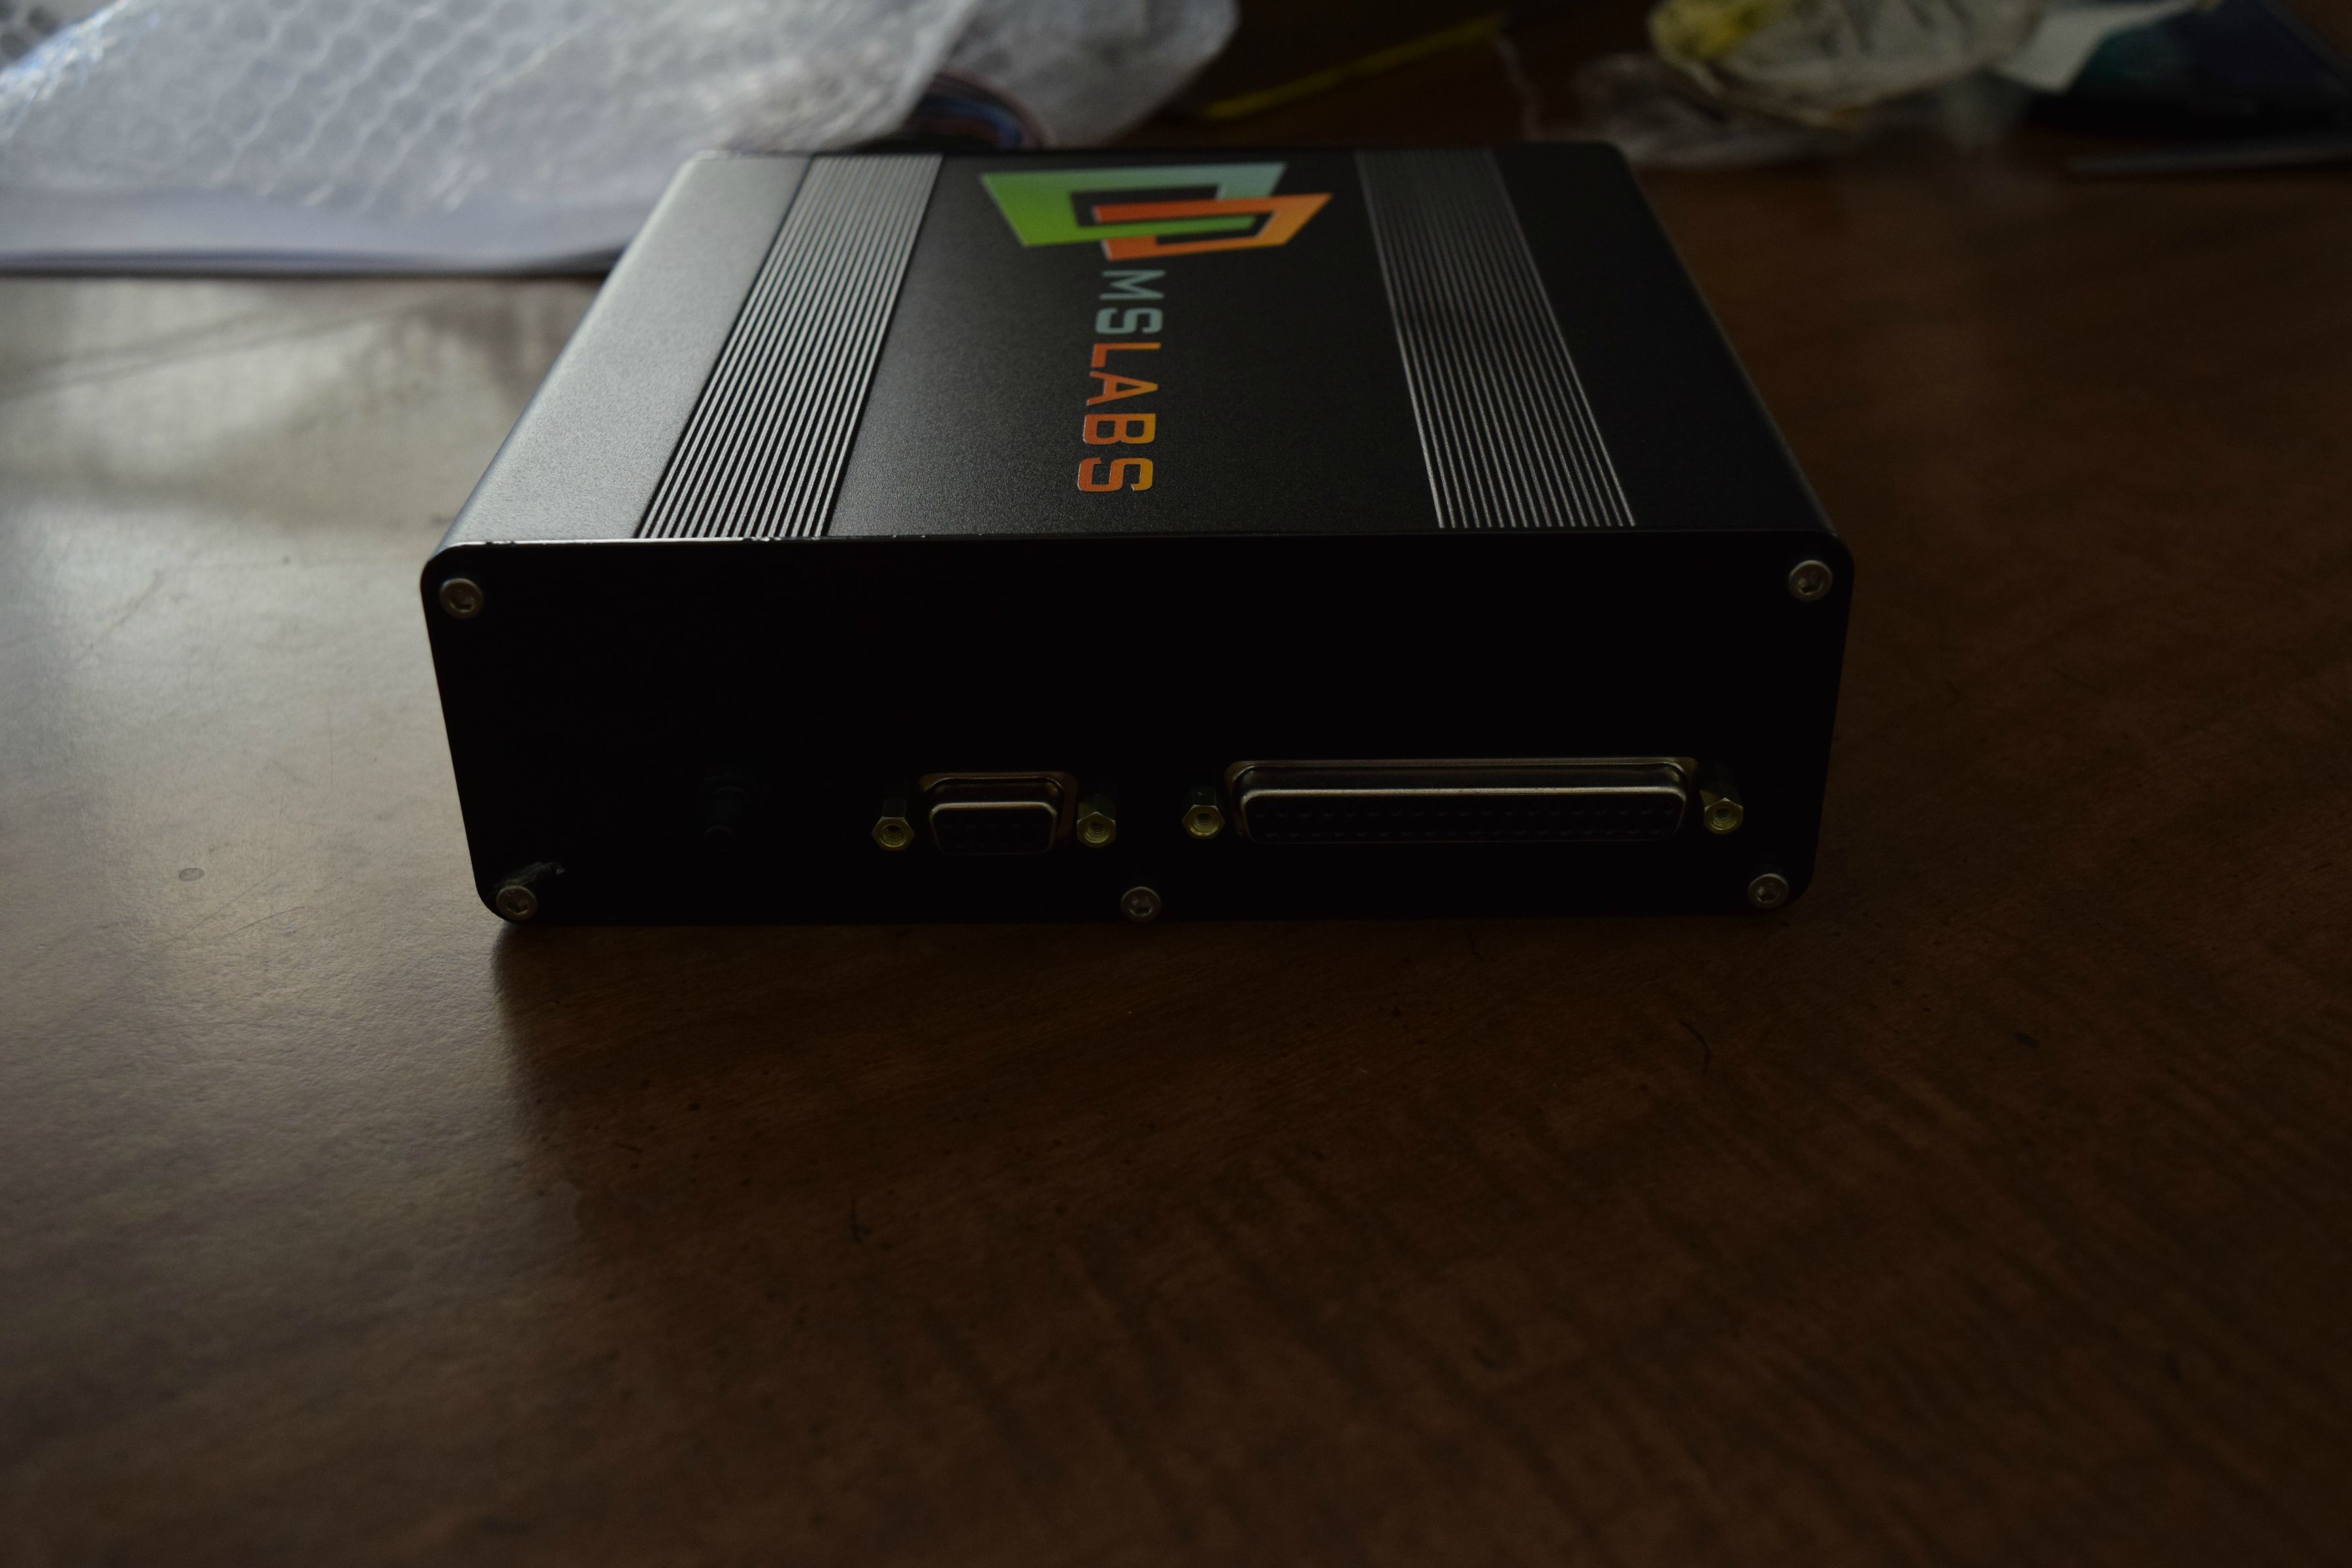
So about 15 minutes with my Dremel, and we got it working.
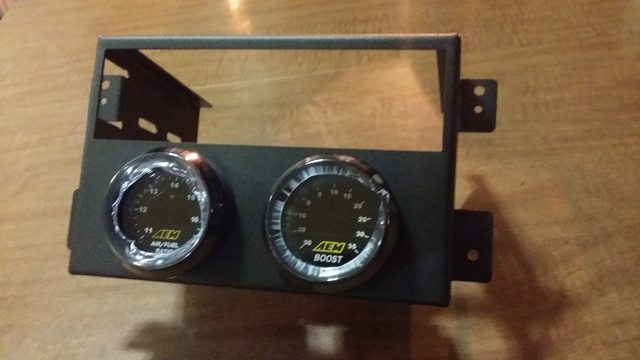
The gauges still need a bit to be set in place, and are somewhat friction fit even though I'll be using the brackets in back.
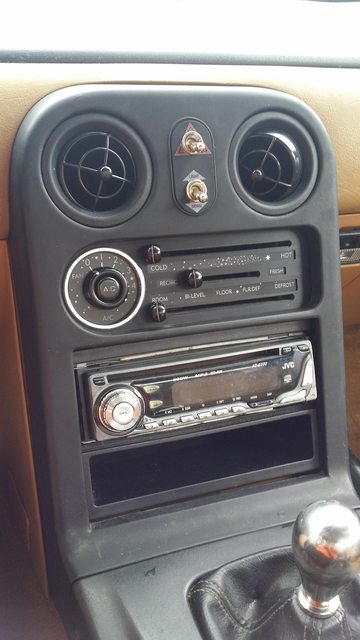
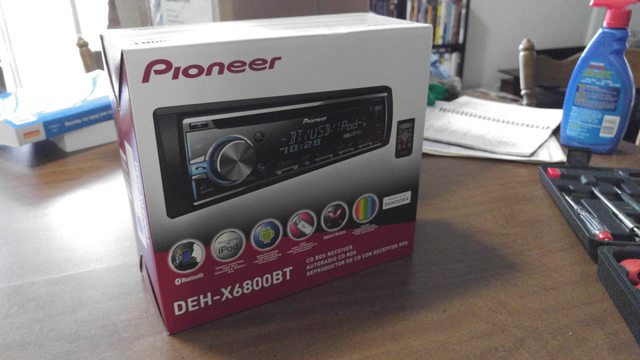
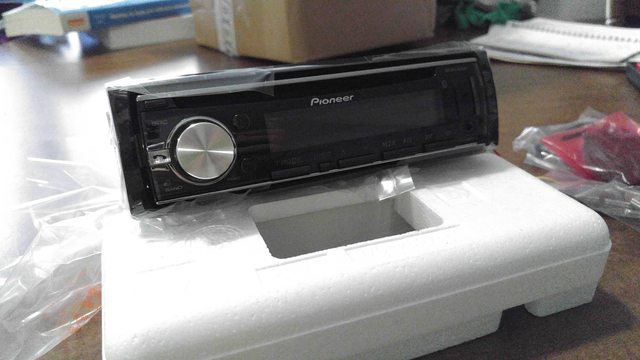
And I've ordered a new head unit to better match the panel, and replace the tired, archaic JVC that came with the car. Sorry Adam, it's not another JVC.
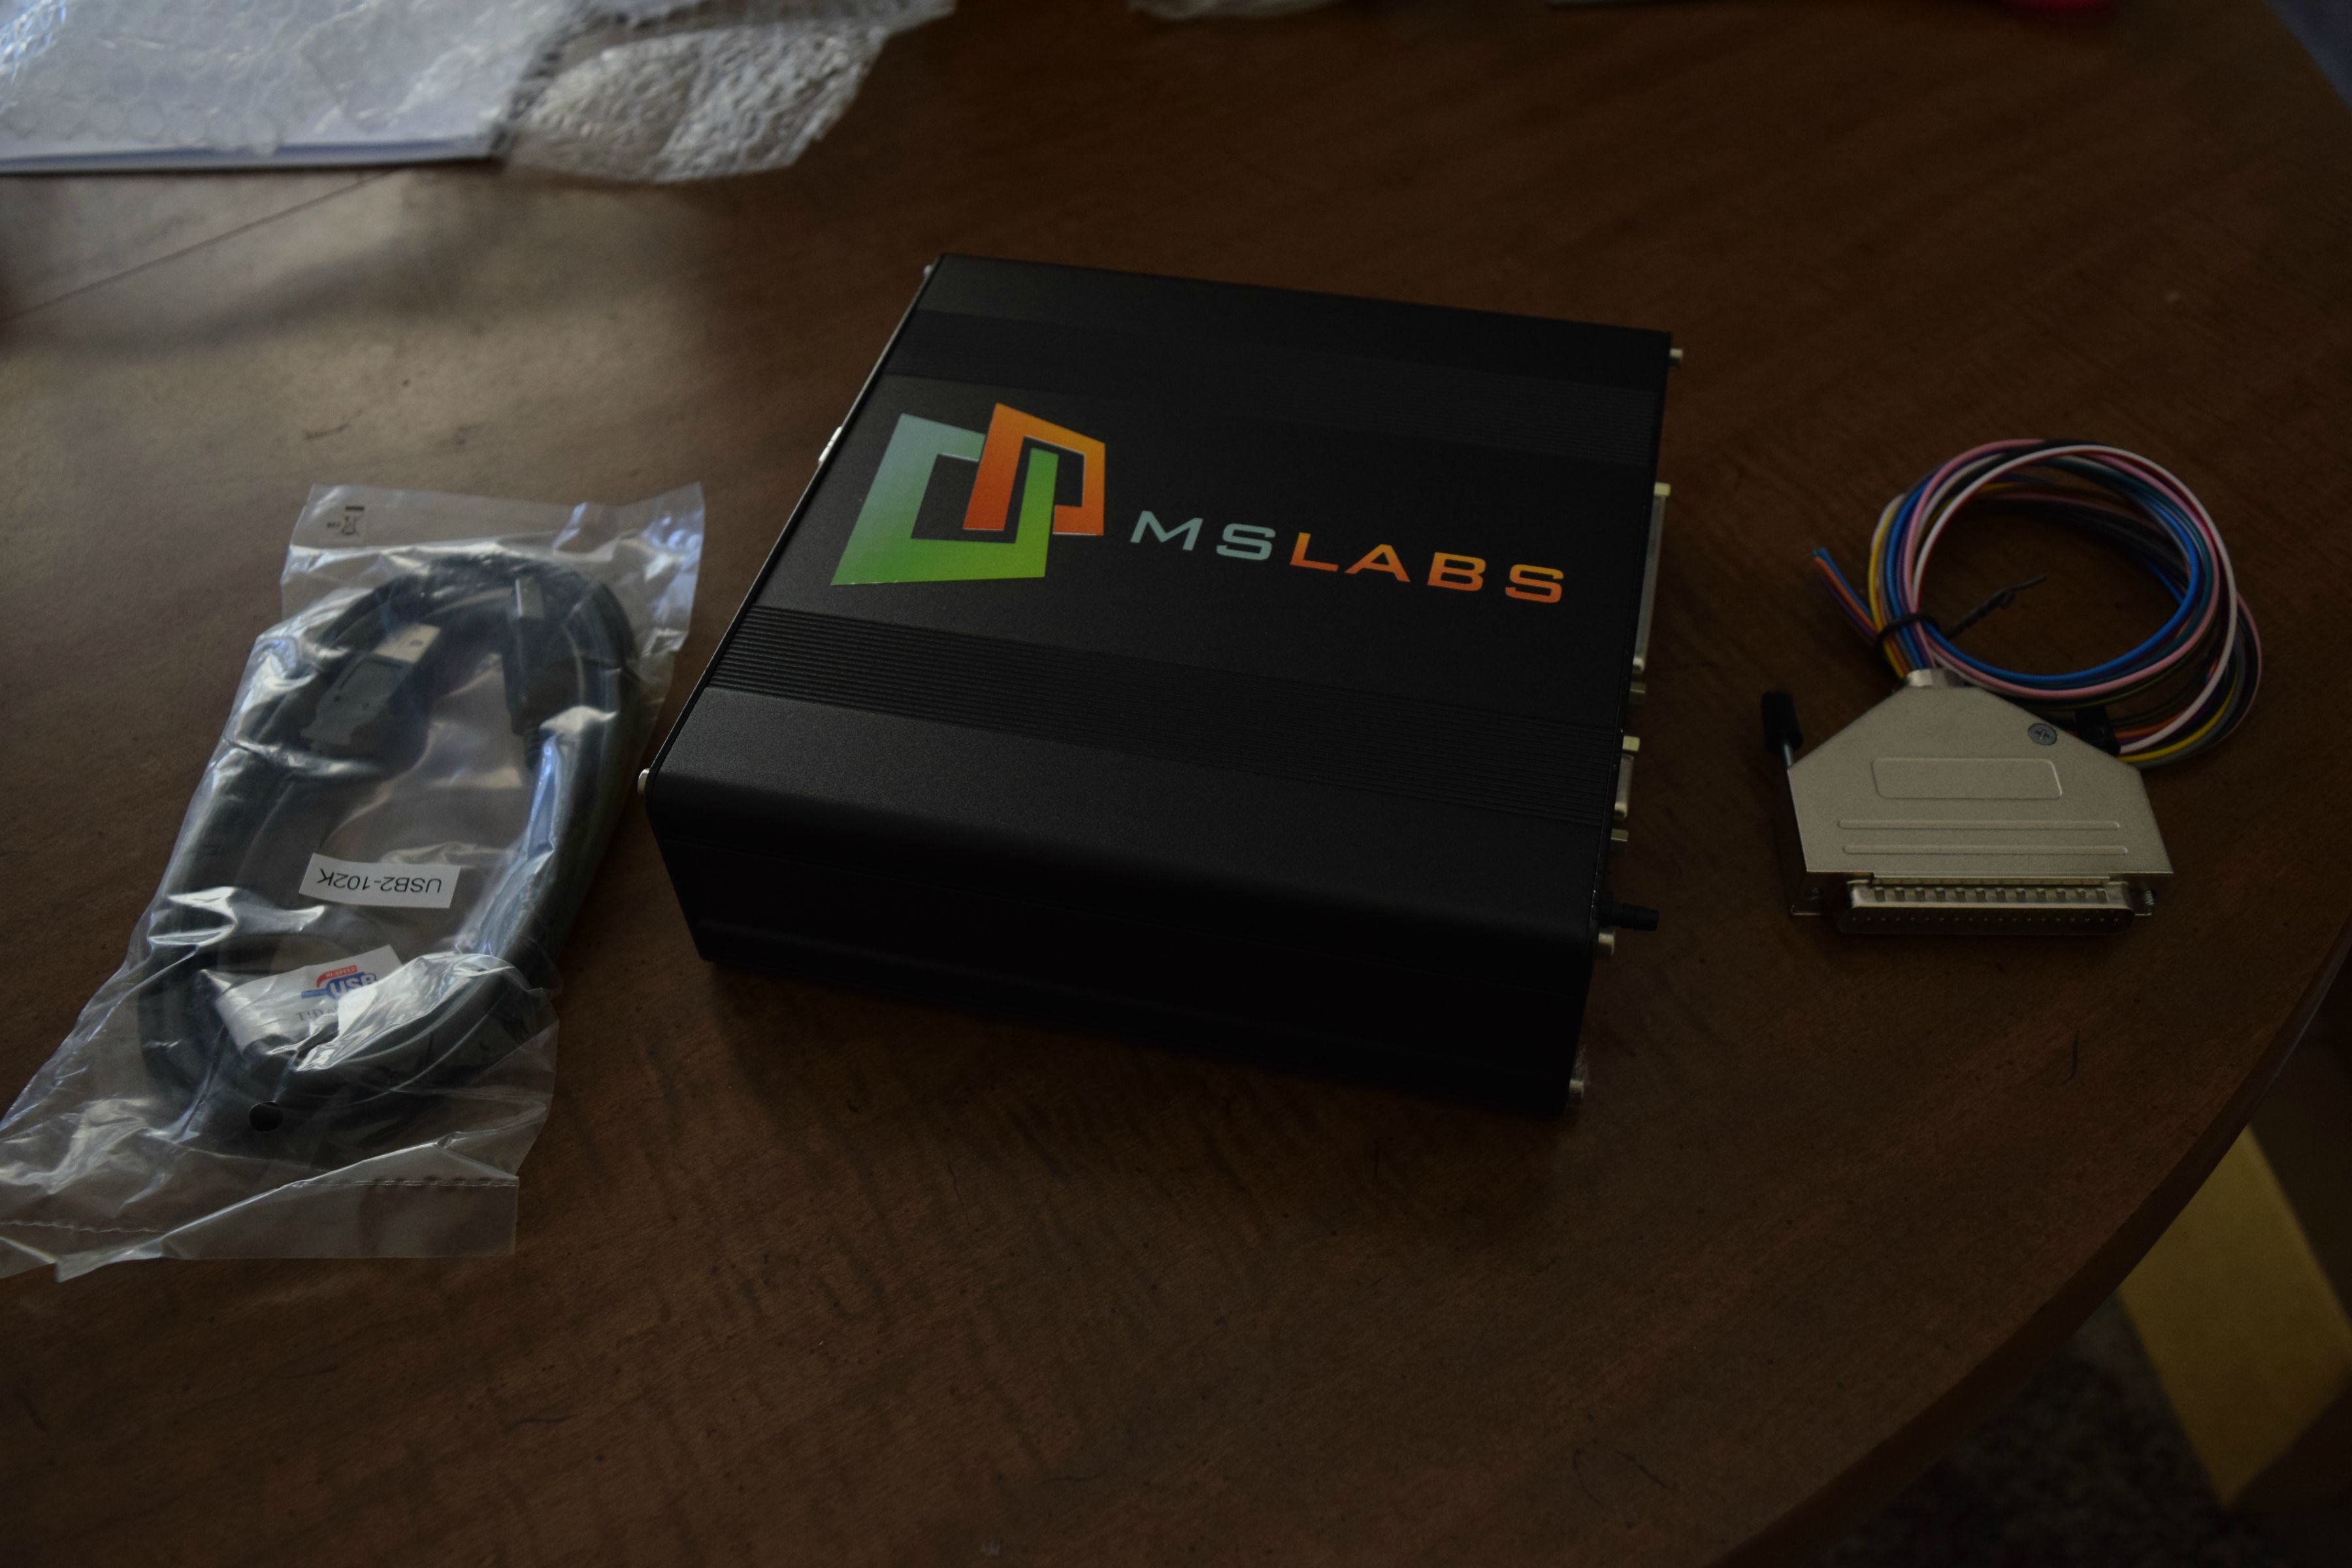
Got my head unit in. All fancy, even has Bluetooth.
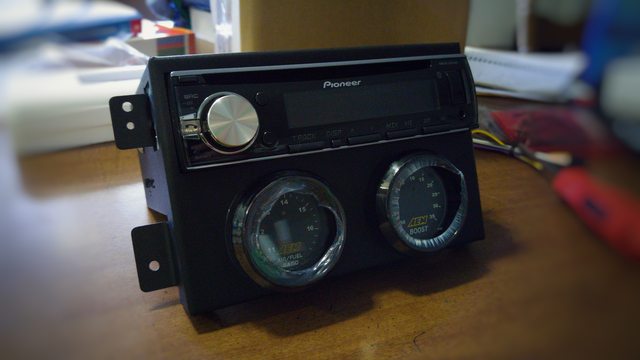
DDM Works panel for radio and gauges. Ordered this after my attempt to make a panel out of ABS didn't work so well.
This had its own issues. Apparently AEM gauges aren't exactly 2 1/16".
This is as far as the gauge would go in, even with a rather large amount of force.
So about 15 minutes with my Dremel, and we got it working.
The gauges still need a bit to be set in place, and are somewhat friction fit even though I'll be using the brackets in back.
And I've ordered a new head unit to better match the panel, and replace the tired, archaic JVC that came with the car. Sorry Adam, it's not another JVC.
Got my head unit in. All fancy, even has Bluetooth.
Reply
0
0
12-10-2015, 01:12 AM
#58
Junior Member
Thread Starter
iTrader: (1)
Join Date: Jun 2010
Location: Bradenton, FL
Posts: 408
Total Cats: 21
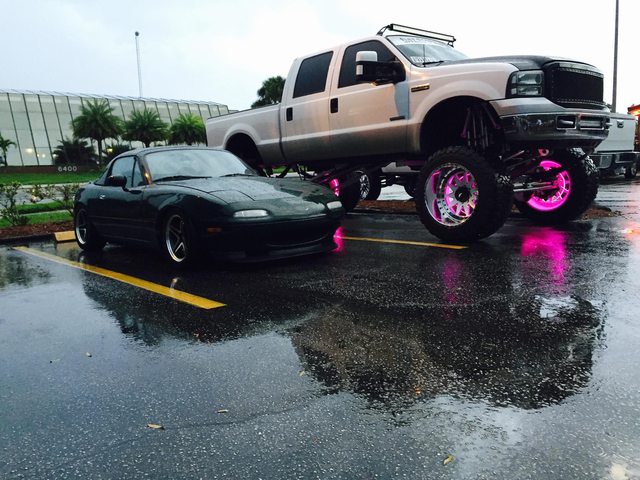
Some edited shots, using Snapseed on my phone.
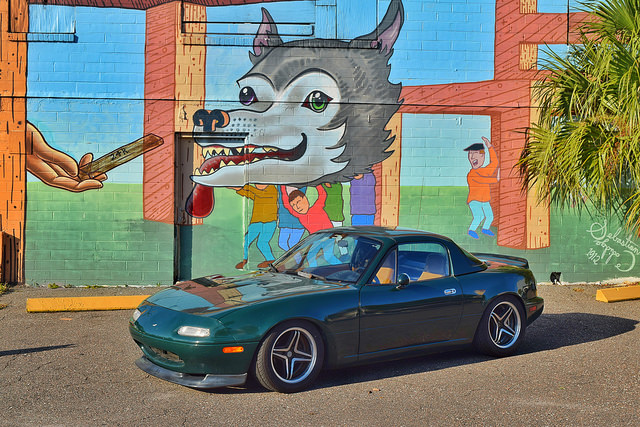 DSC_0624-01 by Corifto, on Flickr
 DSC_0679-01-01 by Corifto, on Flickr
 DSC_0693-01 by Corifto, on Flickr
 DSC_0711-01 by Corifto, on Flickr
DSC_0624-01 by Corifto, on FlickrDSC_0679-01-01 by Corifto, on FlickrDSC_0693-01 by Corifto, on FlickrDSC_0711-01 by Corifto, on Flickr
Reply
0
0
12-10-2015, 01:13 AM
#59
Junior Member
Thread Starter
iTrader: (1)
Join Date: Jun 2010
Location: Bradenton, FL
Posts: 408
Total Cats: 21
Lobo will be much more enjoyable on drives from here on out. Ten year old CD players w/o aux cords make me unhappy.
Installed the radio today, and it's awesome.
But before one can install a radio, we need a harness.
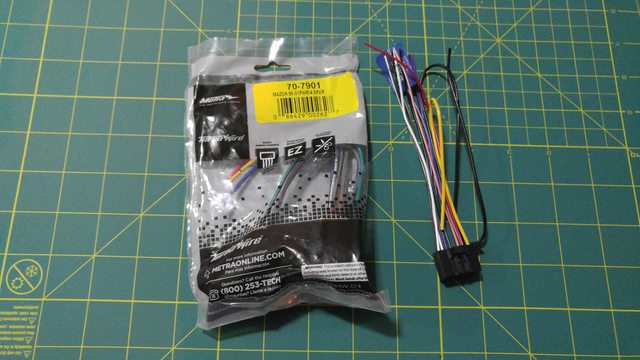
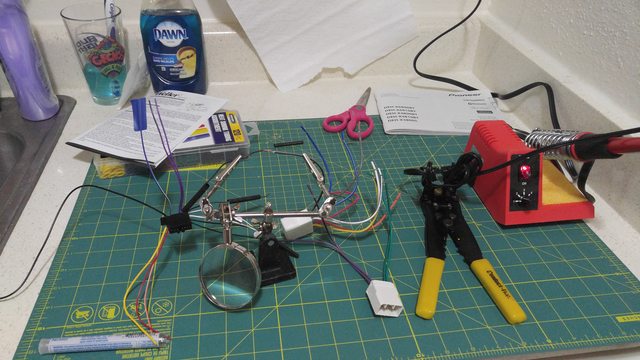
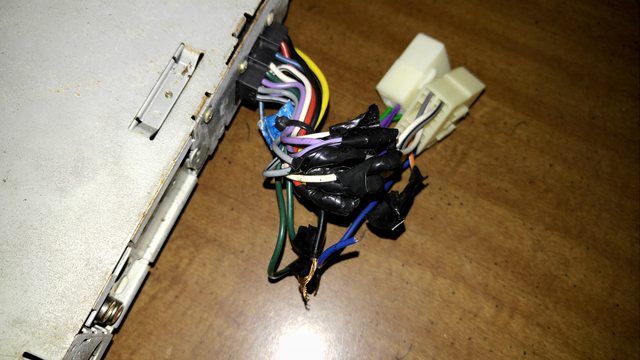
70-7901 is the proper Miata harness. On the left is the pioneer harness. How do we get them together? We can rig it with twisting and taping, like the super awesome previous owner of Lobo, or we can do it correctly. Two main options are crimping connectors, or soldering. I chose soldering, since I'd never done it before, but prefer it on radio harnesses. So instead of paying to have it done, why not just try it myself. So we ordered a soldering iron.
Here we are on the kitchen counter with the iron, a set of helping hands, and the harnesses. I did two at a time, with heatshrink over one side of each wire. Matching wires is easy, as long as you're not color blind, and have a basic knowledge of colors.
Everything all soldered and covered with heatshrink.
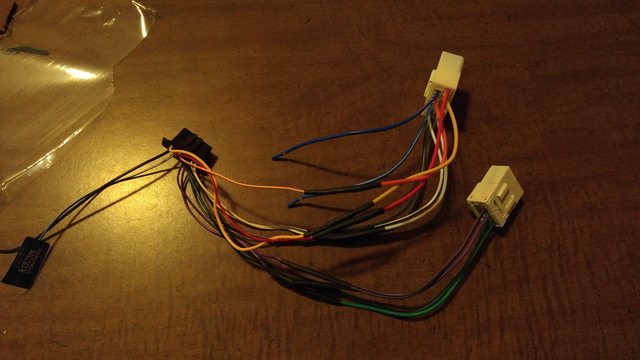
All taped up and neat. Left the remote wire out in case I choose to use it later, and left the ground out to be connected to the factory ground wire.
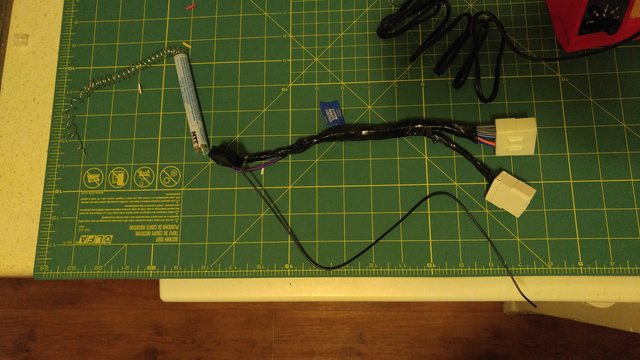
Now that we have a harness, we're ready.
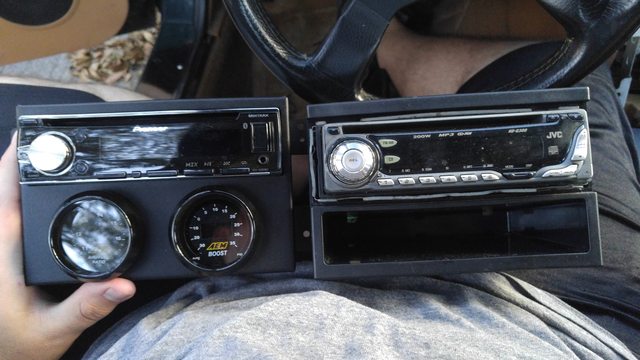
Before:Circa ~2000
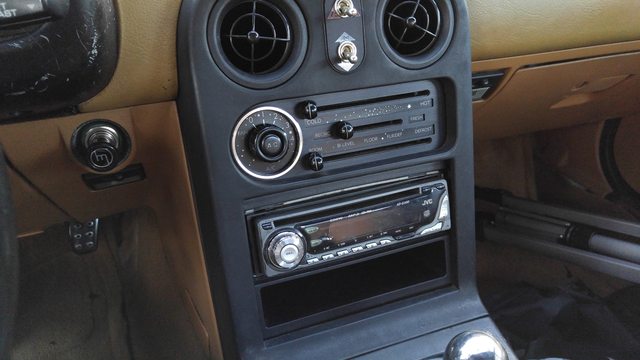
Comparison
Finished
The sound quality is much better, bluetooth works awesome, and I am looking forward to using it on my next trip. I will also be installing new door speakers tomorrow most likely.
The previous radio's great twist and tape harness
Installed the radio today, and it's awesome.
But before one can install a radio, we need a harness.
70-7901 is the proper Miata harness. On the left is the pioneer harness. How do we get them together? We can rig it with twisting and taping, like the super awesome previous owner of Lobo, or we can do it correctly. Two main options are crimping connectors, or soldering. I chose soldering, since I'd never done it before, but prefer it on radio harnesses. So instead of paying to have it done, why not just try it myself. So we ordered a soldering iron.
Here we are on the kitchen counter with the iron, a set of helping hands, and the harnesses. I did two at a time, with heatshrink over one side of each wire. Matching wires is easy, as long as you're not color blind, and have a basic knowledge of colors.
Everything all soldered and covered with heatshrink.
All taped up and neat. Left the remote wire out in case I choose to use it later, and left the ground out to be connected to the factory ground wire.
Now that we have a harness, we're ready.
Before:Circa ~2000
Comparison
Finished
The sound quality is much better, bluetooth works awesome, and I am looking forward to using it on my next trip. I will also be installing new door speakers tomorrow most likely.
The previous radio's great twist and tape harness
Reply
0
0