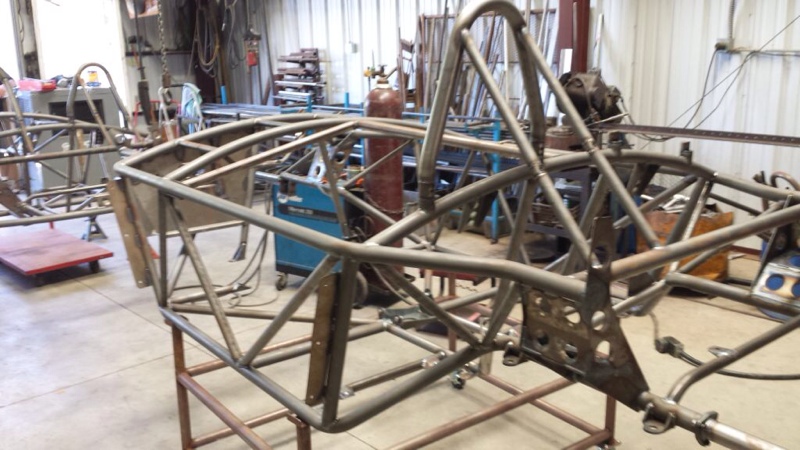
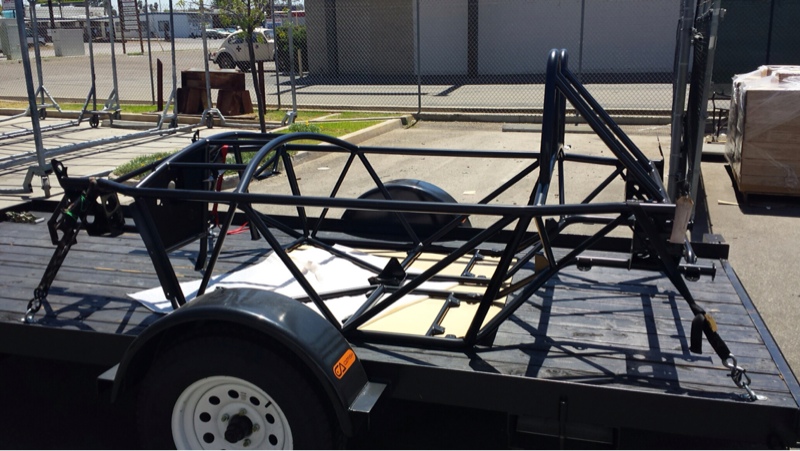
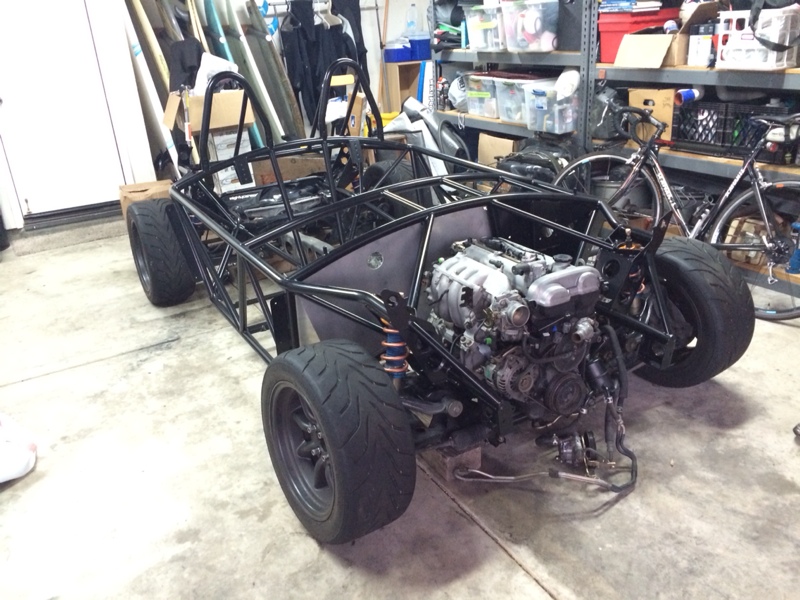
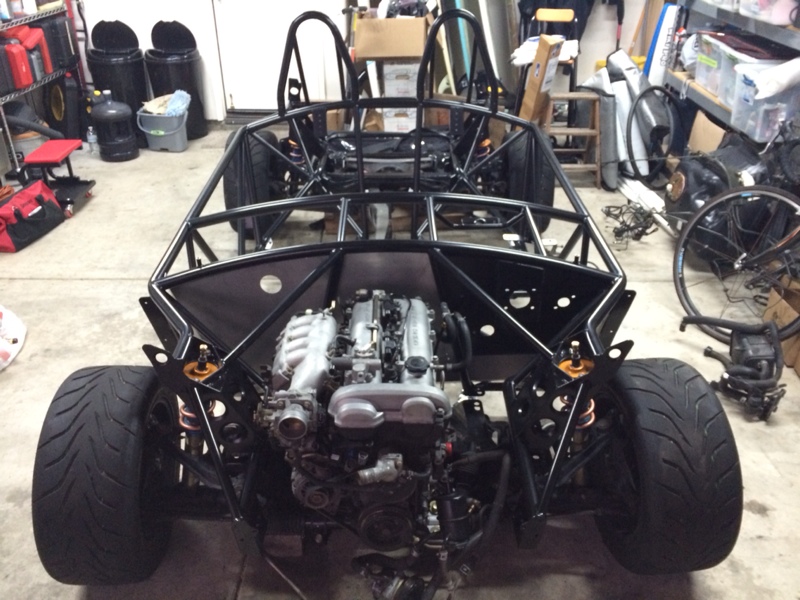
Conquering the Catfish in So Cal: Tales of a Newbie Nothing
#23
The catfish has been an interesting option for my donor 1.7l once I get around to rebuilding/repairing it.
Another point of input for ecu: I have a link Mark I, and ran through the gamut of support toward least common denominator and the cycle of updating/out ddated directions. Faced with replacing it with something, I looked at Hydra, AEM, Mega squirt. The hydra takes considerable dyno time to properly tune. As a comparison, look at the prices Begi charges on their web site (not that I'm recommending them, just an indifferent data point) for the various ecu options.
While I have a local resource for the hydra, I went with the crowd resources and simpler tuning of the MS. Partly this decision was due to FM likely gearing their kits towards supportability and that least common denominator factor. This is something they have to do economically.
It will be intriguing to see where you take this build.
- Miq
#24
I've dyno-tuned three different ECUs in my Miata (Link Piggyback, Hydra 2.5, MS3), and I don't think the Hydra takes significantly longer than MS3. With either of the full ECUs that have a wideband, you start with a base map that has a conservative timing map and use the wideband to get the fuel right on the street, *before* you get to the dyno. Once you're there, tuning the timing is pretty much the same on both ECUs.
The VE-table of the MS3 is a tuning advantage over Hydra 2.5's time-based table, but that shows up more when you're doing things like changing injector sizes on a known-good map.
If you can't drive the car on the street to tune the fuel then I can see an argument that tuning the MS3 might require less dyno time.
I *think* Hydra 2.7 is also a VE-based table but, as I said, I've never used it so I can't comment on how well they did it.
--Ian
#27
Considering that this is a Miata Turbo forum I am going to skip over most of the non-miata and non-turbo details of the build. I figure most people donít care about how I spent the majority of my free time for two frustrating weeks test fitting, painting and coating the aluminum panels, and drilling what seemed like 1,000 holes into the frameÖ. Luckily this is a process most car enthusiasts never need to go through so for this thread I will spare you the intimate details. In short here is what I did:
If you are building a Catfish and/or for some strange reason you want to know the intimate details of how I unnecessarily huffed 5 cans of primer, burned through 10+ drill bits, shed some blood and eventually mocked up all the interior panels you can check out my new blog were I will eventually be documenting my efforts in detail. (Built2track.com)
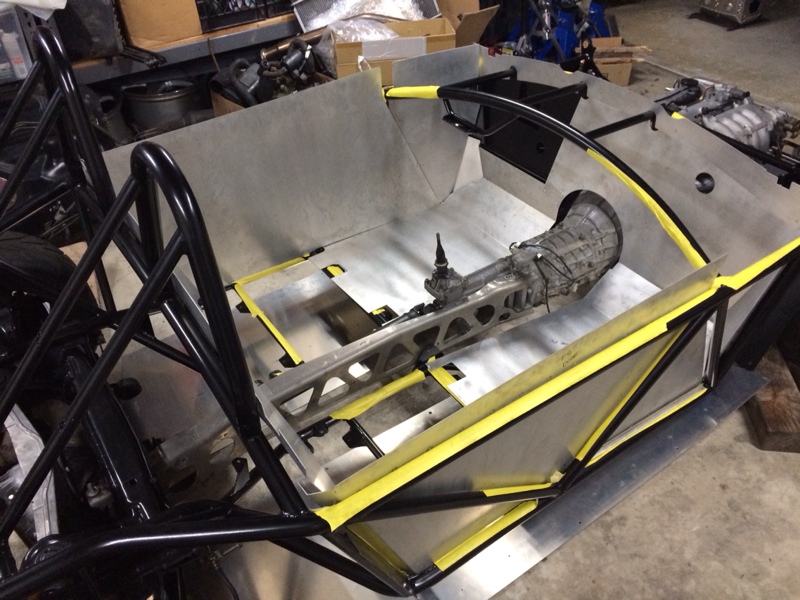
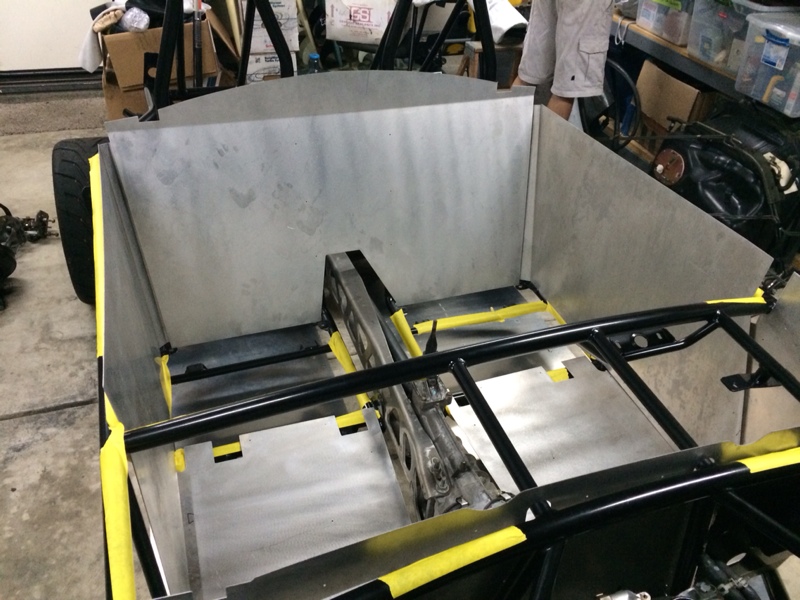
Test fitting the aluminum panels:
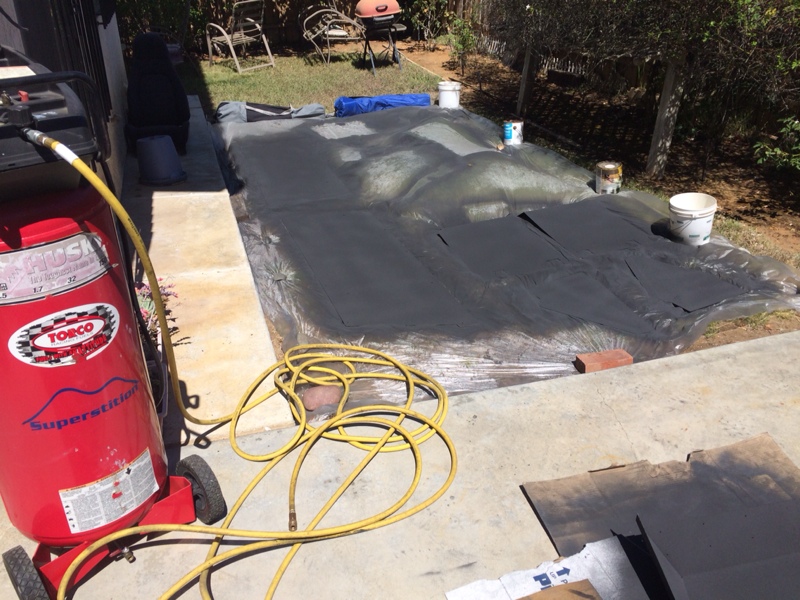
Spraying the panels with Lizard Skin:
Mounting the underpanels:
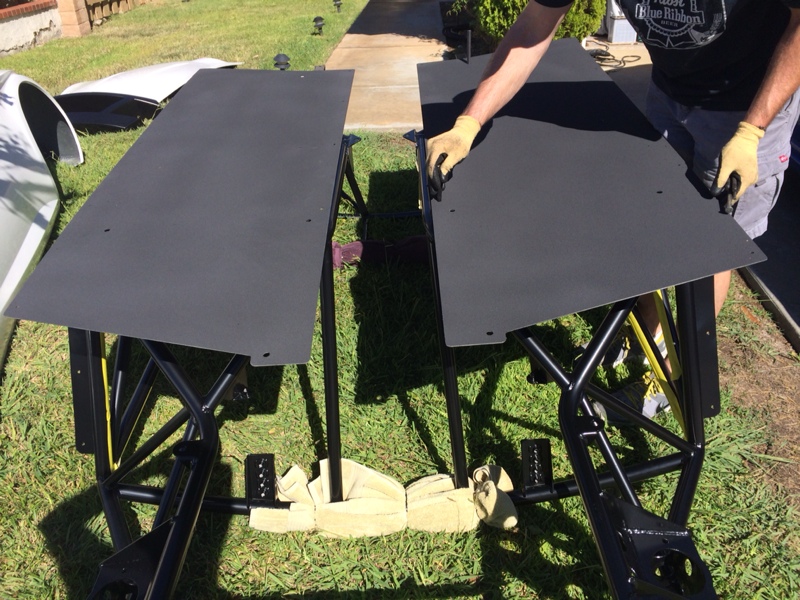
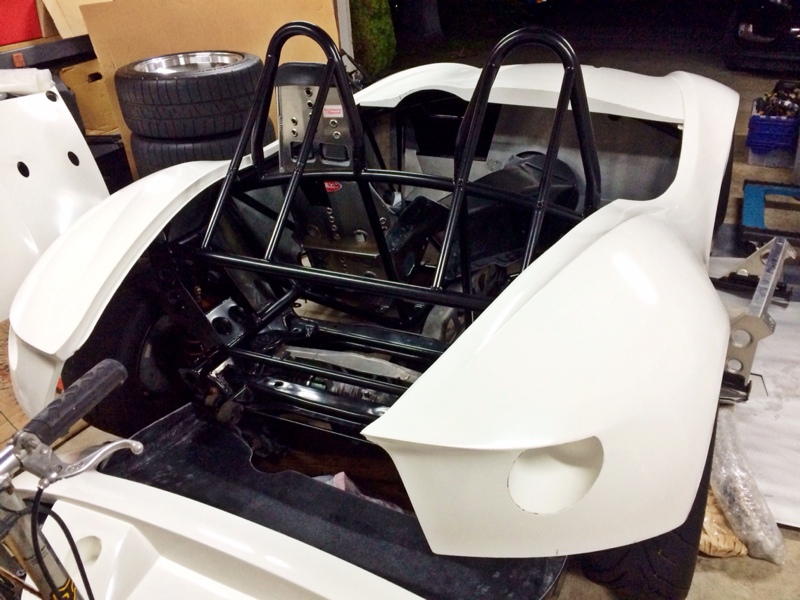
Partial fiberglass body on with underpanels mounted:


- Test fit the aluminum panels (hint: use Cleko temporary rivets)
- Coated the aluminum with carbon ceramic heat insulation (hint: use Lizard Skin and donít bother primering the aluminum first)
- Drilled holes through the panels into the frame (hint: Donít use cheap drill bits)
If you are building a Catfish and/or for some strange reason you want to know the intimate details of how I unnecessarily huffed 5 cans of primer, burned through 10+ drill bits, shed some blood and eventually mocked up all the interior panels you can check out my new blog were I will eventually be documenting my efforts in detail. (Built2track.com)

Test fitting the aluminum panels:


Spraying the panels with Lizard Skin:

Mounting the underpanels:

Partial fiberglass body on with underpanels mounted:


#37
Thanks for the feedback everyone. I will be posting more pics shortly!
Noted! I'll be sure and document more of the "boring" steps for you. 
Yes the hoops are removable and the bolts mount flush. The roll hoops actually need to be removed in order to put on and remove the rear deck. Luckily the only thing under the rear deck is the gas tank (and in my case the battery) so I shouldn't have to access it often.

Yes the hoops are removable and the bolts mount flush. The roll hoops actually need to be removed in order to put on and remove the rear deck. Luckily the only thing under the rear deck is the gas tank (and in my case the battery) so I shouldn't have to access it often.
#38
Now that the aluminum panels are coated with Lizard skin, the under panels (and the firewall) are permanently installed and the mounting holes for the interior panels are finally drilled its time to tackle the gas tank, steering column and pedal assembly. This post also includes a few small random steps along the way.
Installing the steering column and the pedal assembly was a pretty straight forward process. However, after installing it, I decided to remove it and paint it black. The rust color just wasnít workin for me against the clean black powder coated frame (even though it would eventually be hidden).
Steering column (pre-paint):
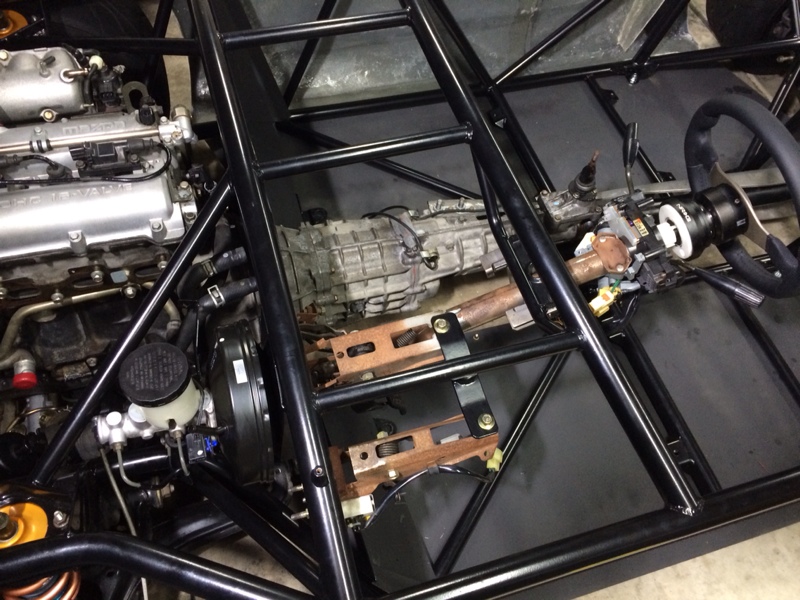

I also cut an initial hole in the the fiberglass transmission tunnel. This will eventually need to be larger depending on what type of shift boot I get but as of right now I havenít made a decision. I also plan on mounting the Willwood adjustable brake proportioning valve next to the shifter so I can access it from underneath the shift boot if needed while driving. If anyone has suggestions on a cool shift boot and ring let me know!

One important (and boring) step that needed to be done was to seam seal the floor panel and the frame. This will help cut down on noise and vibration, and protect the floor from water and moisture. I used DAP clear flexible gutter and roof sealant from Home Depot which was better and less expensive than automotive sealant.

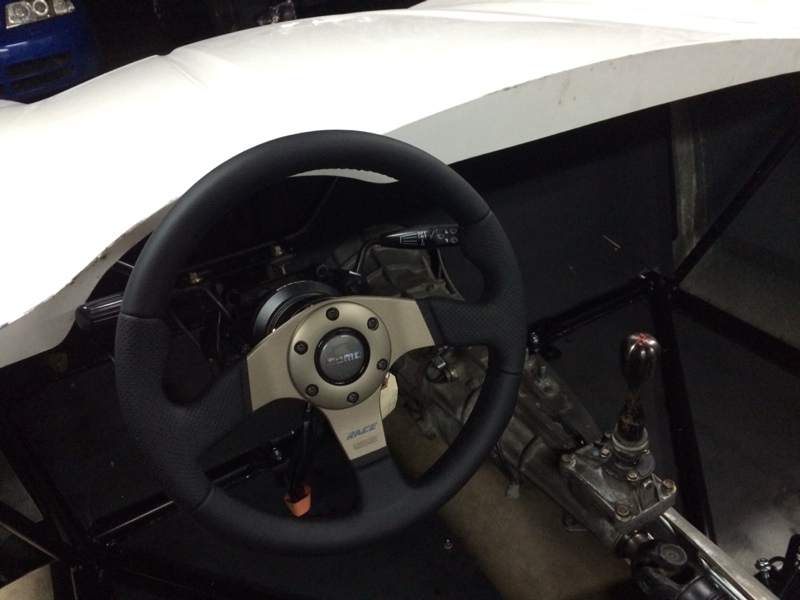
For my steering wheel I ended up selling the Nardi wood wheel from one of the donor cars and replacing it with a Momo Race wheel and an NRG quick release. I checked out a bunch of different wheels at a couple local shops and beyond looking good this one was sized right and had a nice heavy high quality feel:
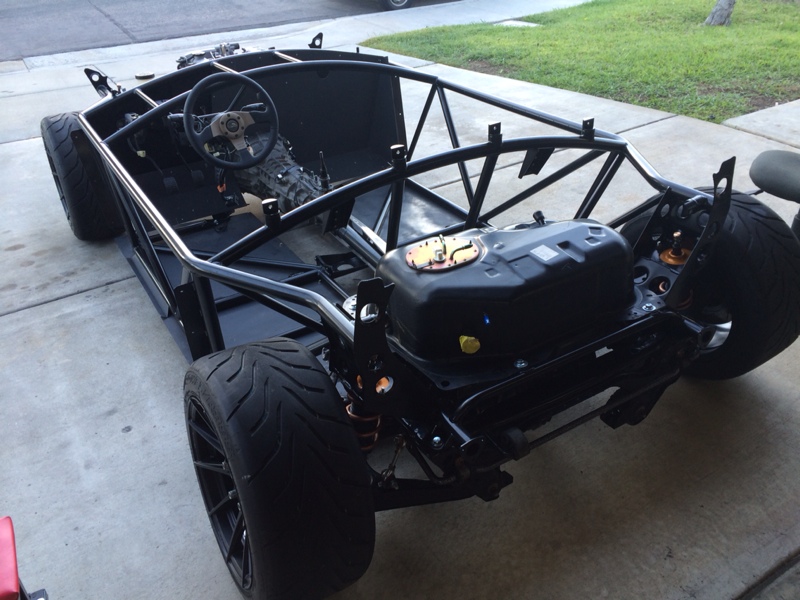
Once the steering was functioning I was able to roll the chassis out of the garage for the first time! (Gotta celebrate the small wins)

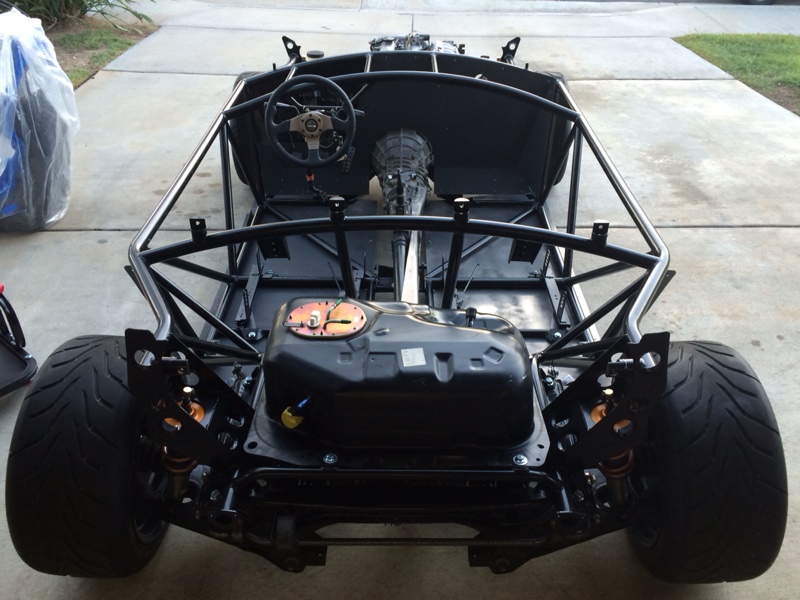
Next steps will be to run the fuel lines and brake lines. Stay tuned!
Installing the steering column and the pedal assembly was a pretty straight forward process. However, after installing it, I decided to remove it and paint it black. The rust color just wasnít workin for me against the clean black powder coated frame (even though it would eventually be hidden).
Steering column (pre-paint):


I also cut an initial hole in the the fiberglass transmission tunnel. This will eventually need to be larger depending on what type of shift boot I get but as of right now I havenít made a decision. I also plan on mounting the Willwood adjustable brake proportioning valve next to the shifter so I can access it from underneath the shift boot if needed while driving. If anyone has suggestions on a cool shift boot and ring let me know!

One important (and boring) step that needed to be done was to seam seal the floor panel and the frame. This will help cut down on noise and vibration, and protect the floor from water and moisture. I used DAP clear flexible gutter and roof sealant from Home Depot which was better and less expensive than automotive sealant.

For my steering wheel I ended up selling the Nardi wood wheel from one of the donor cars and replacing it with a Momo Race wheel and an NRG quick release. I checked out a bunch of different wheels at a couple local shops and beyond looking good this one was sized right and had a nice heavy high quality feel:

Once the steering was functioning I was able to roll the chassis out of the garage for the first time! (Gotta celebrate the small wins)


Next steps will be to run the fuel lines and brake lines. Stay tuned!


