Bulbasaur, evolve to Ivysaur! (budget turbo build content inside)
#1
Thread Starter
Senior Member
iTrader: (8)
Joined: Jan 2012
Posts: 1,407
Total Cats: 116
From: Azusa, CA
A little background on myself. I'm a ME student about to graduate and a turbo noob, but I'm here to learn. I've sourced together a turbo kit last summer and bailed last minute because I was a bitch. But that won't happen again. I'm open to any feedback, good or bad, so feel free to critic my build to keep me in the right direction.
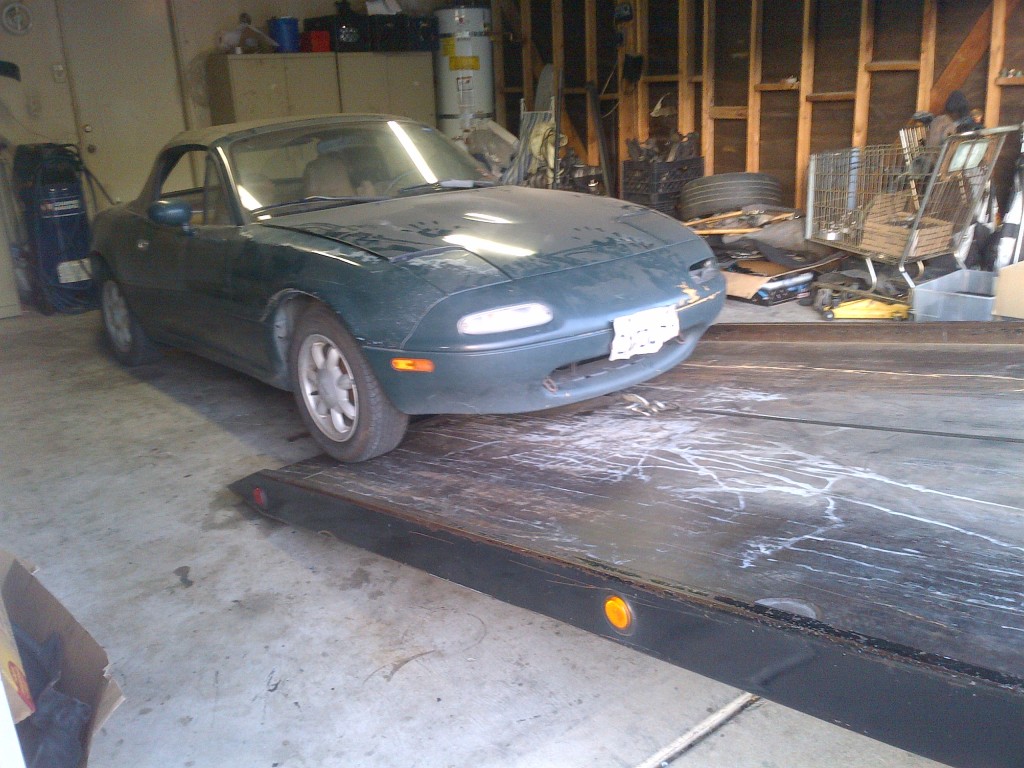
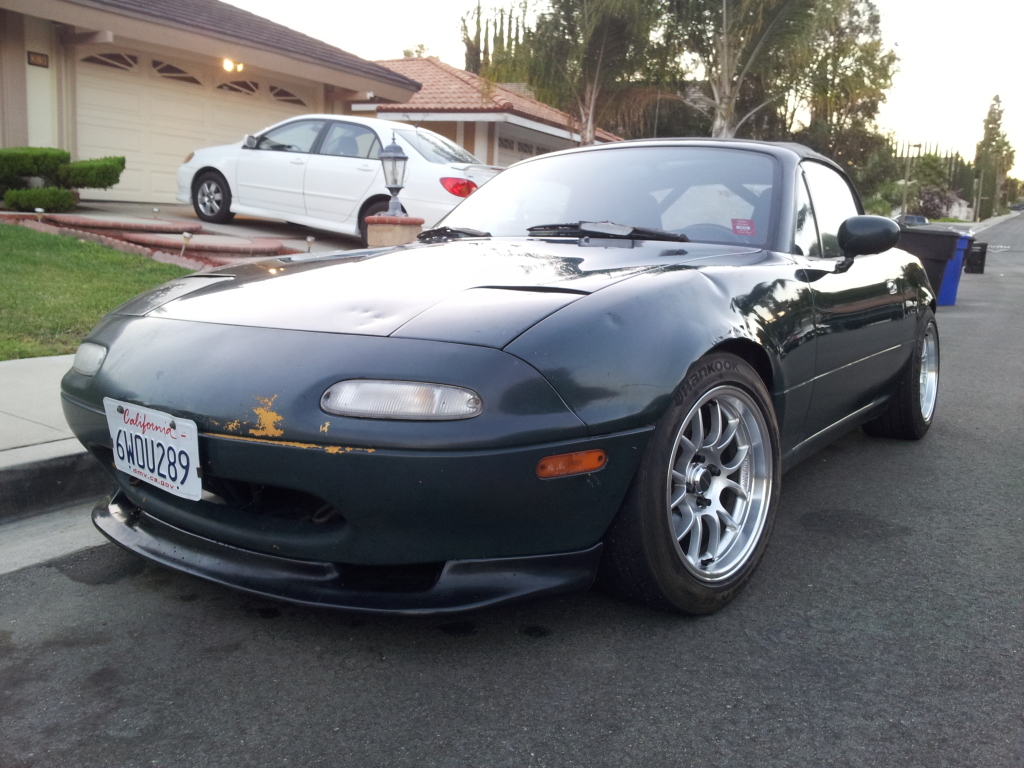
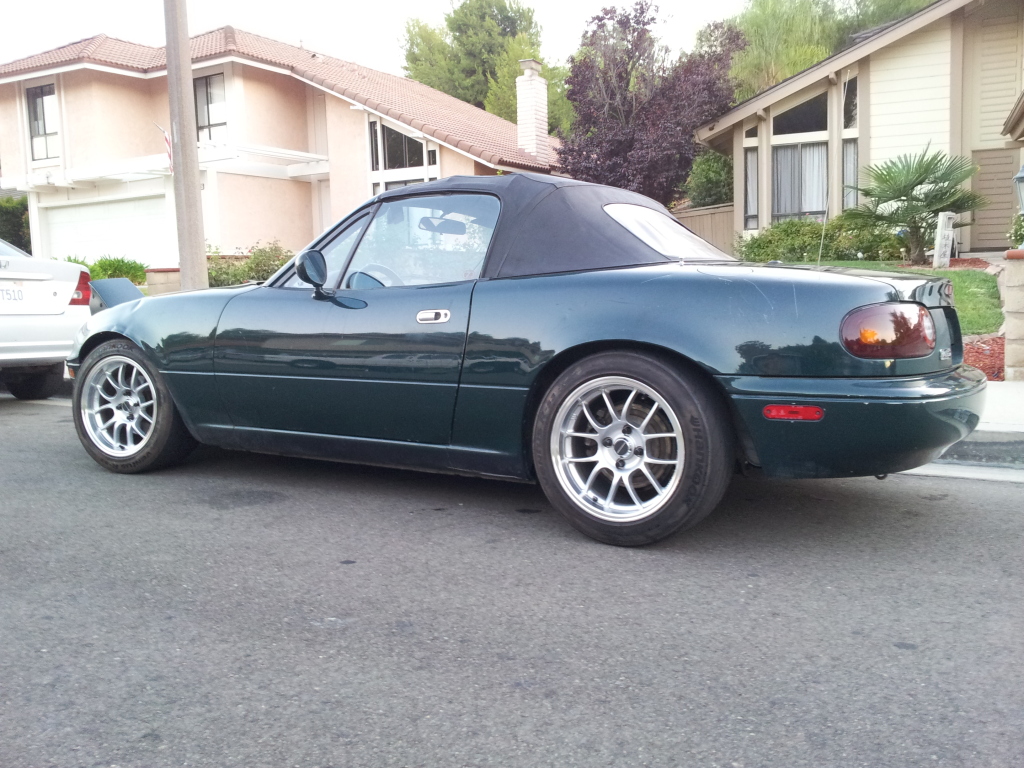
Meet my 1991 BRG miata (aka Bulbasaur). I've done a lot of supporting mods over the past year or so and he is now ready to be turbo'd (evolve to Ivysaur). And in case anyone was wondering, Venusaur evolution occurs when I have enough spare money and fabrication skill to motor swap it (all motor k24 maybe?). And if you guys aren't Pokémon fans... deal with it.

This is my weekend car which I hope to take to the track occasionally so I'm shooting for a pretty reliable 180 rwhp and then go from there. Hopefully the boost isn't as addicting as everyone says it is so I'm not tempted to blow the motor.
Anyway, words < lists < pics.... So i'll save the best for last
Details/Supporting mods:
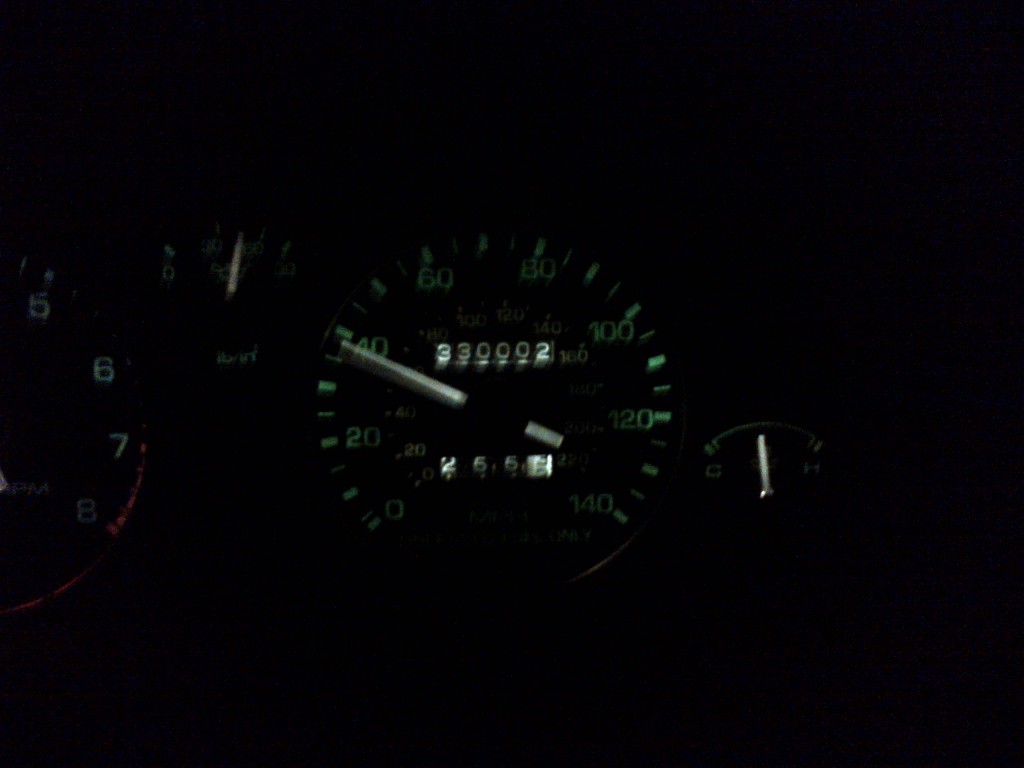
330k miles on chassis
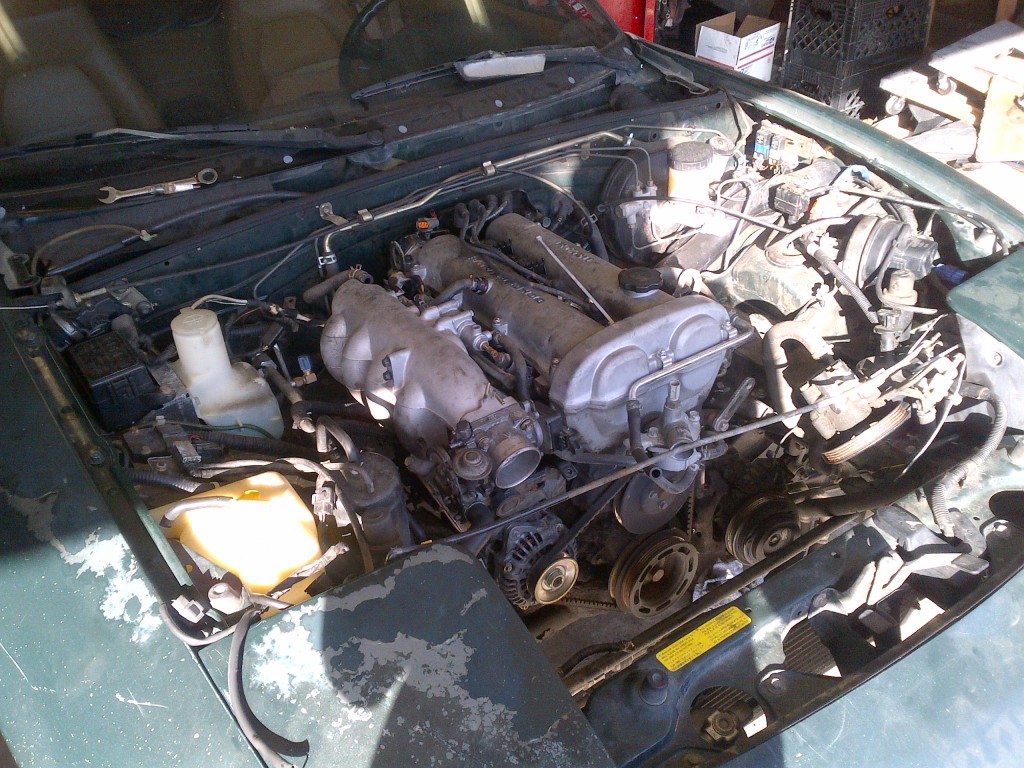
1.6 motor long nose motor (60k miles)
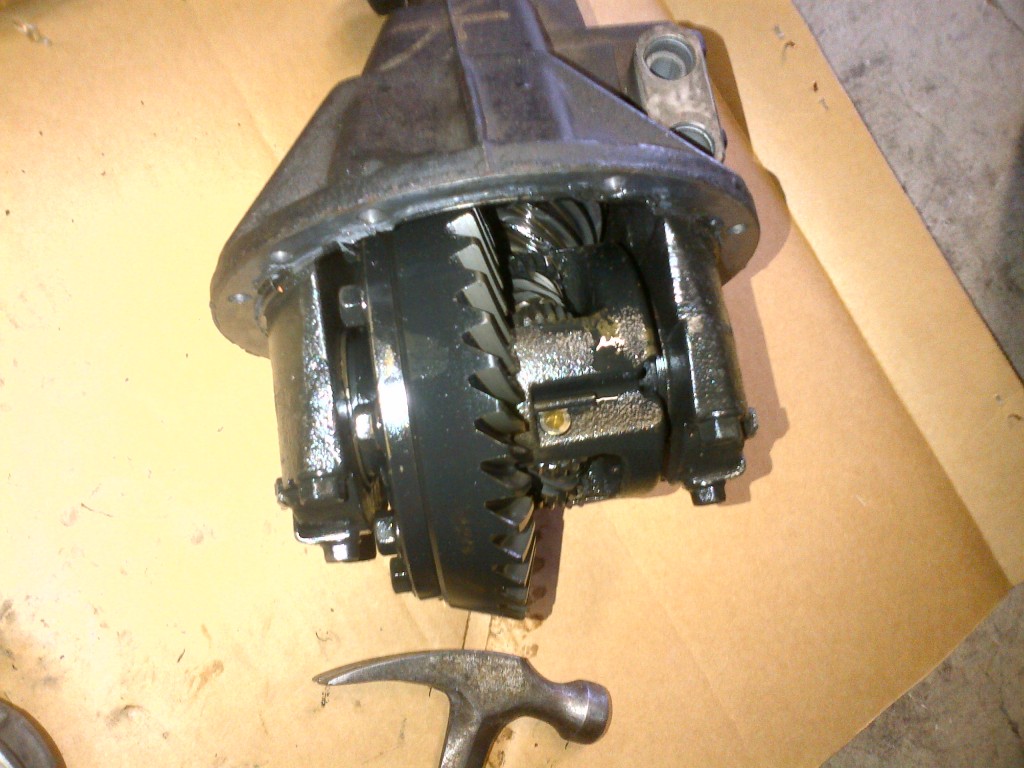
4.1 torsen swap
1.8 brakes with hawk HP+ pads
Mazda Comp Mounts
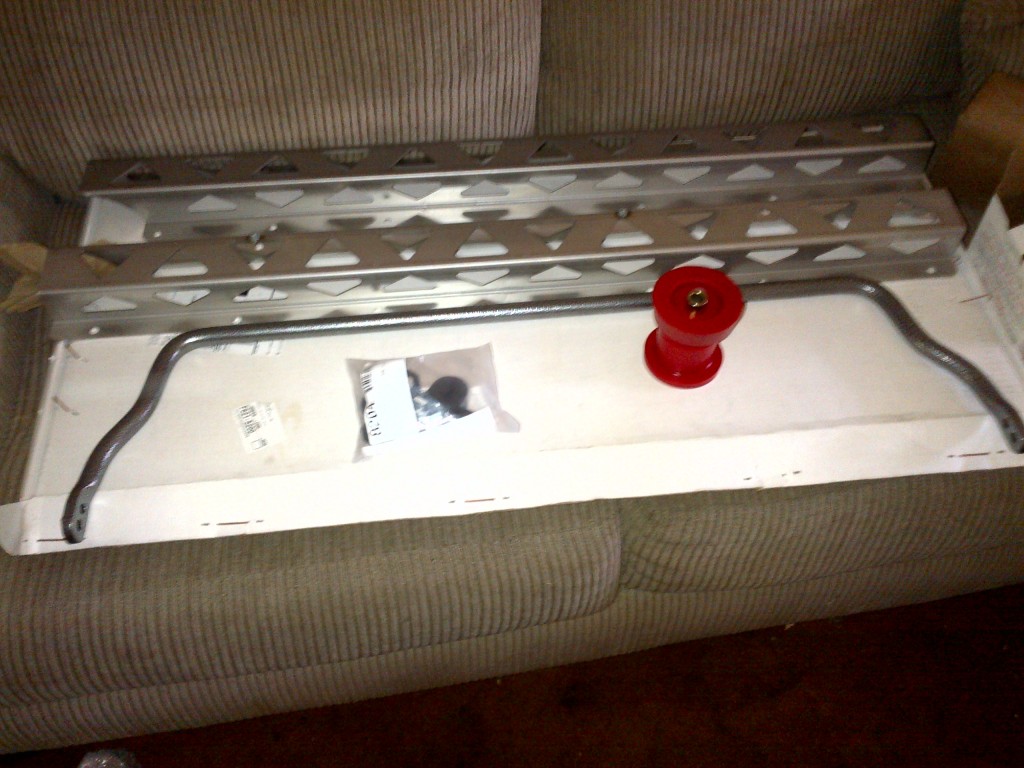
FM frame rails
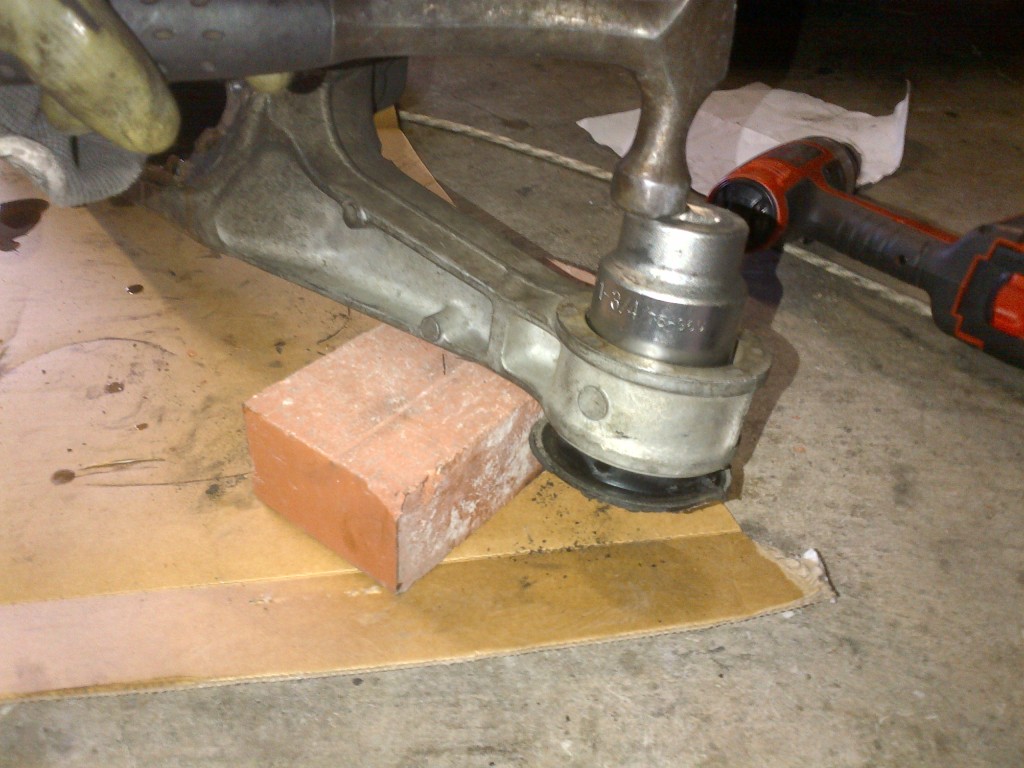
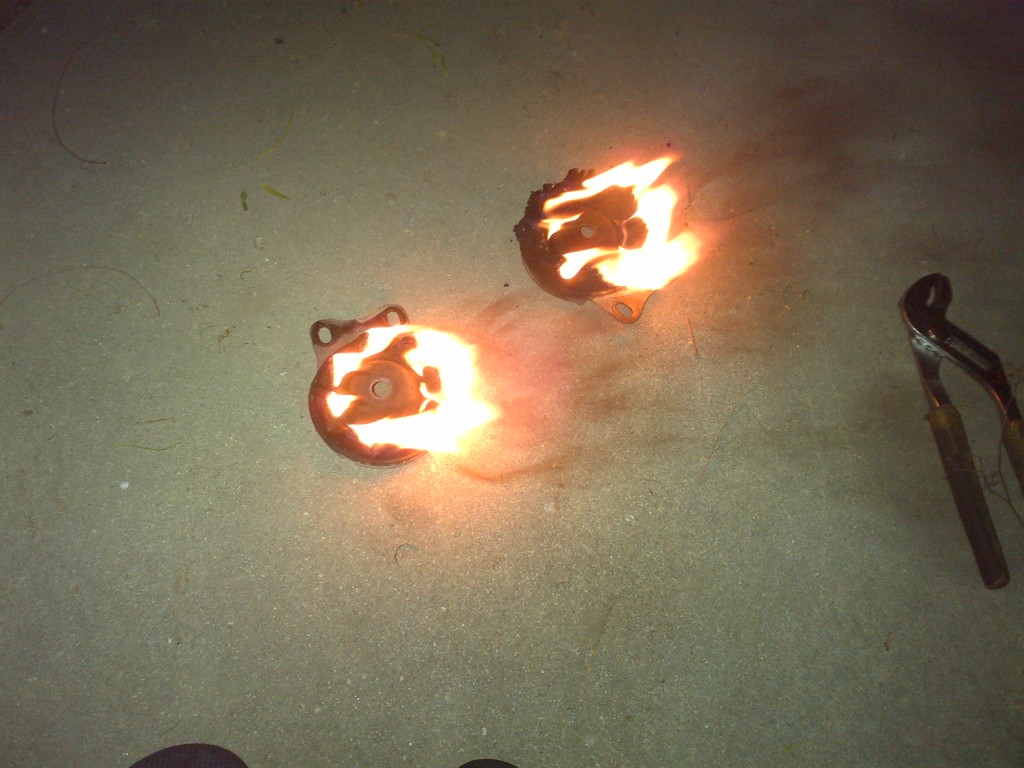
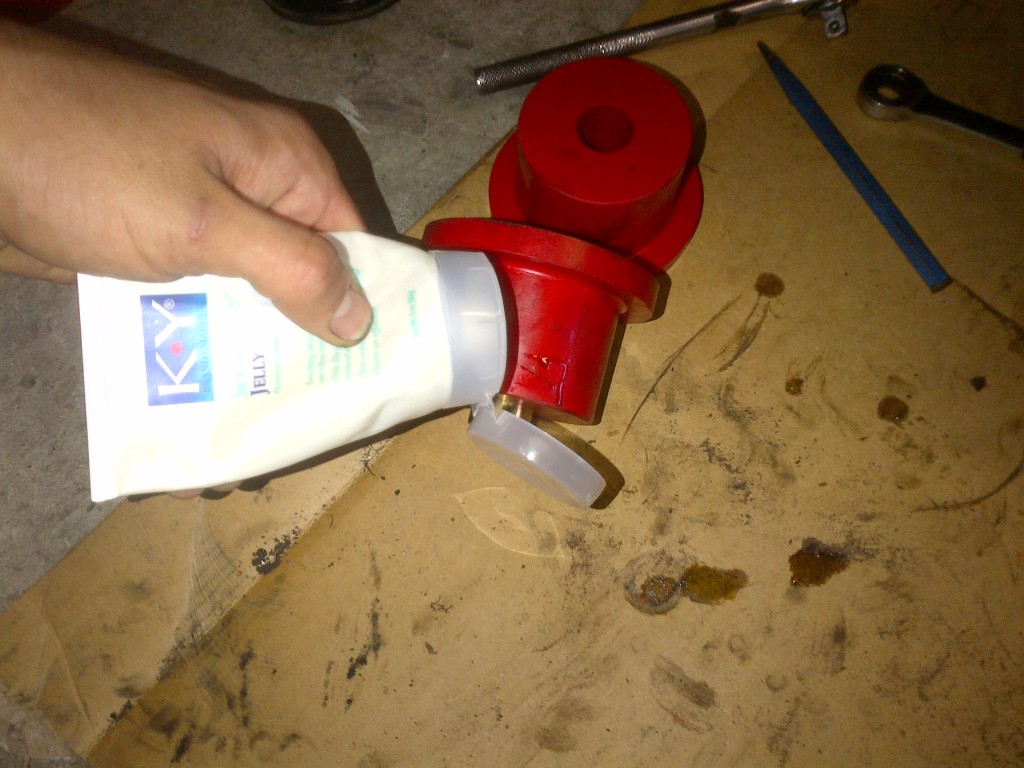
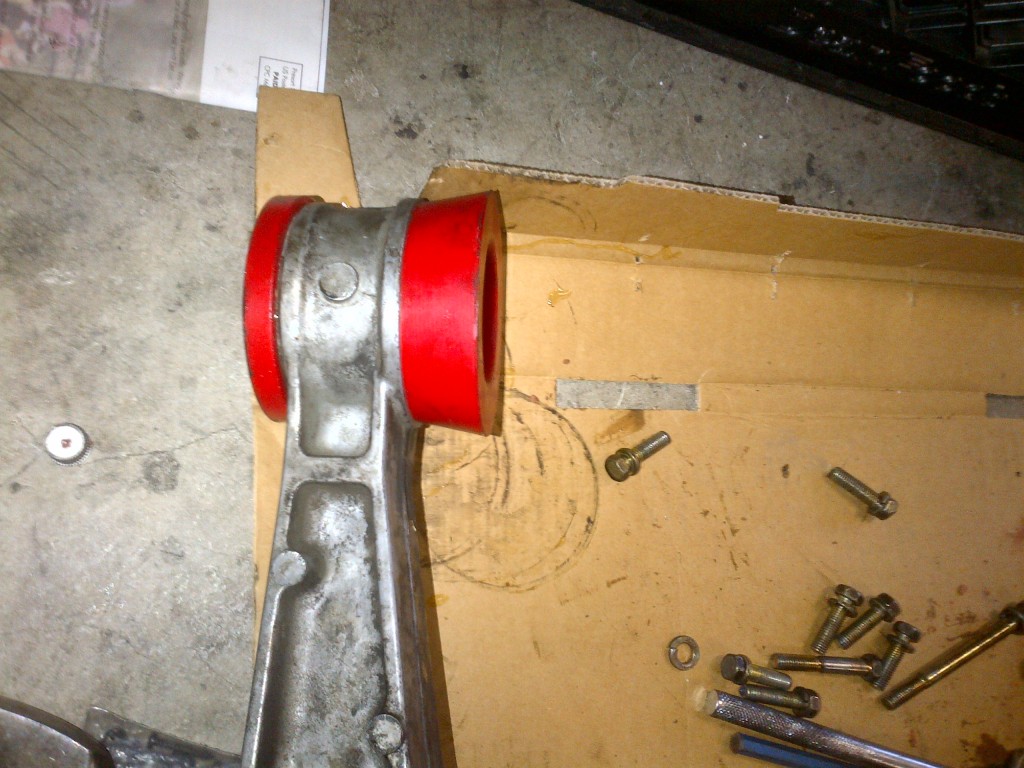
Poly Control arm Bushings
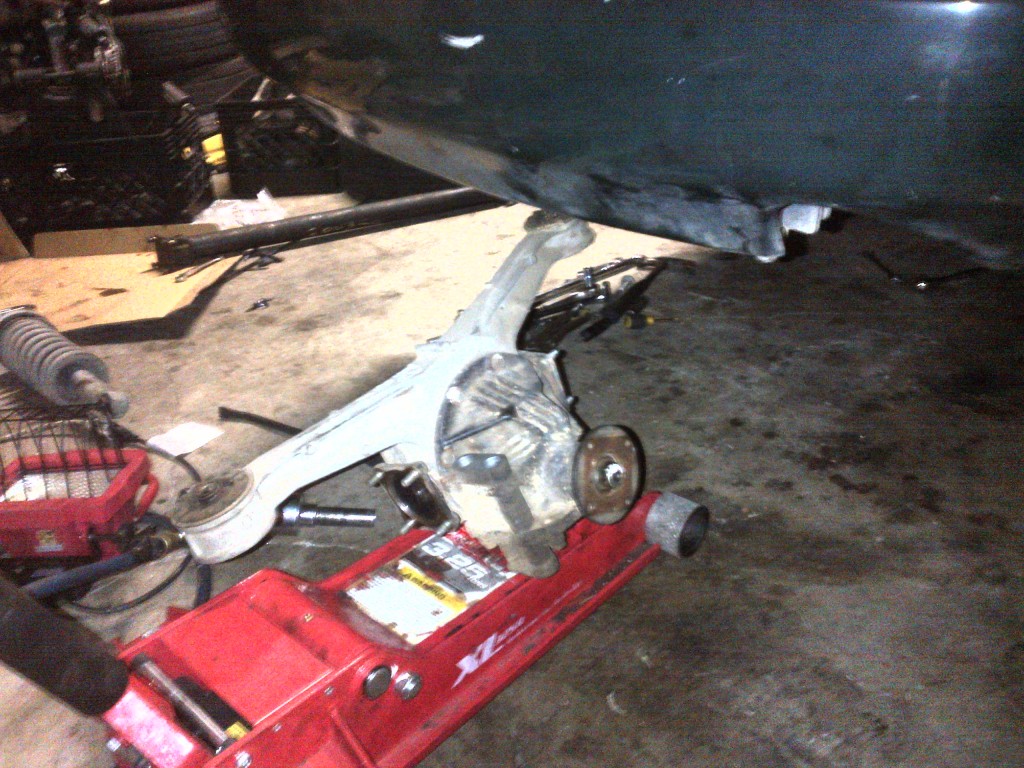
Poly Diff Bushings
M-tuned coolant re-route
Magnecor wires
8 lb F1 racing flywheel
ACT 1.6 Clutch
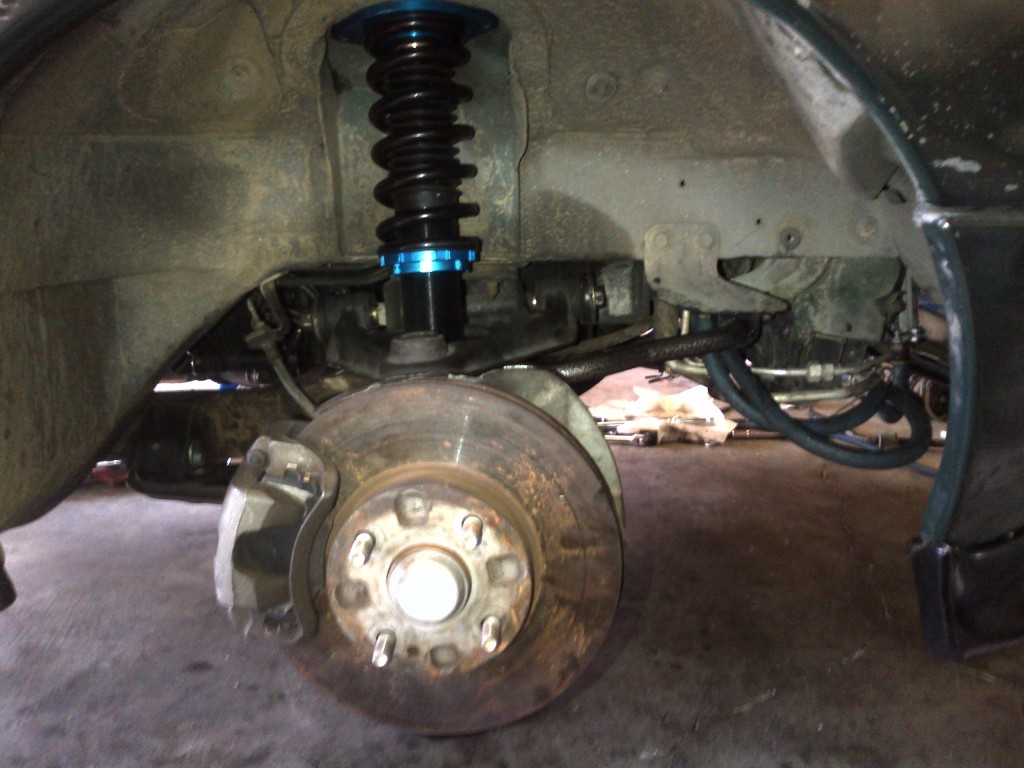
Koni yelow, GC, FCM ISC
FM sway bar
15x9 6ul with 225 RS3
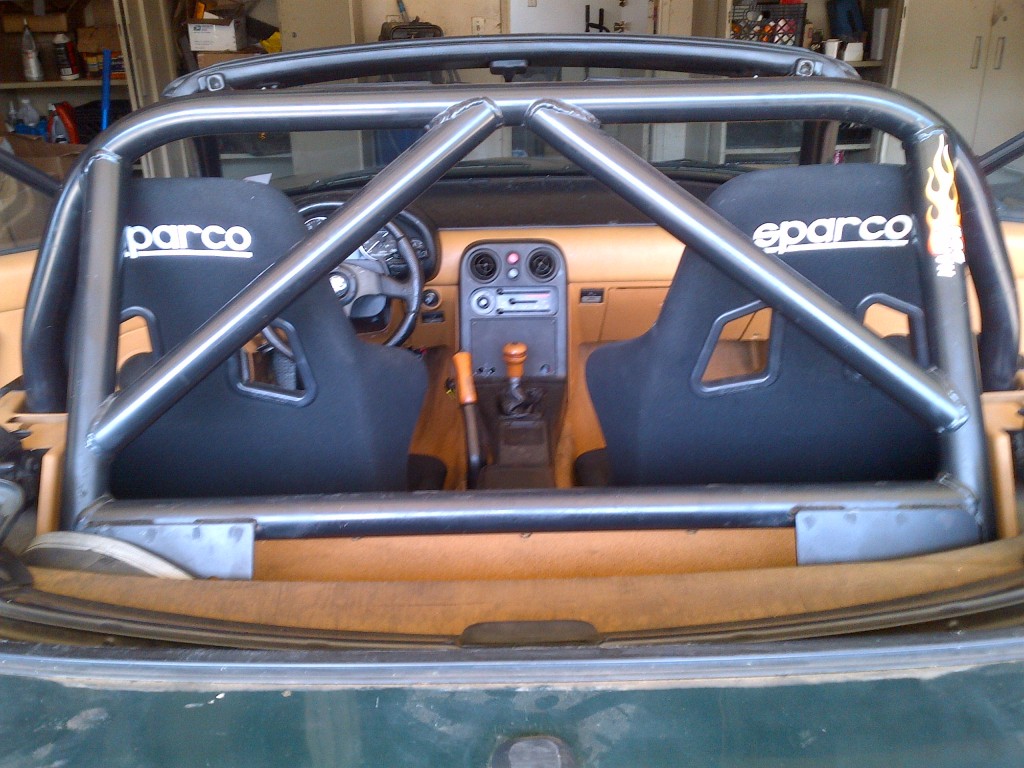
Hard dog double diagonal
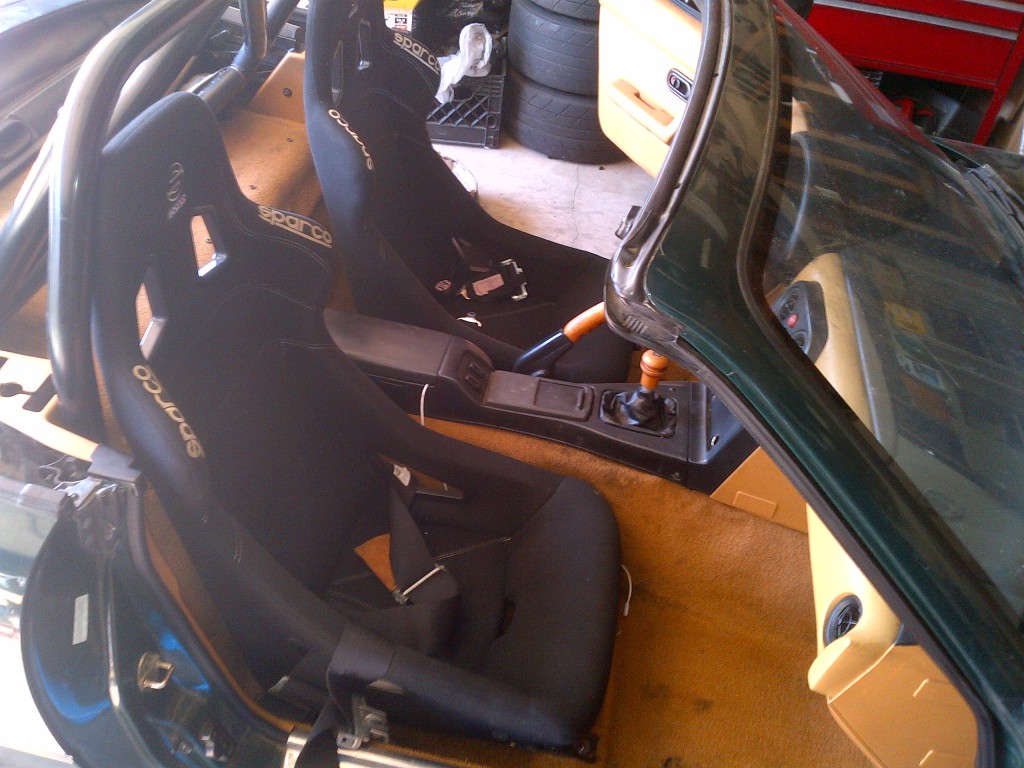
Sprint racing setas
G-force 5-point harness
DNA radiator with fans
Turbo kit Plans:
Old style FM log mani + DP
GT2560
DIYPNP
RC440 or 550 injectors
3 in exhaust
LC1 wideband
CXracing intercooler + piping
Recirc bov
The pics:
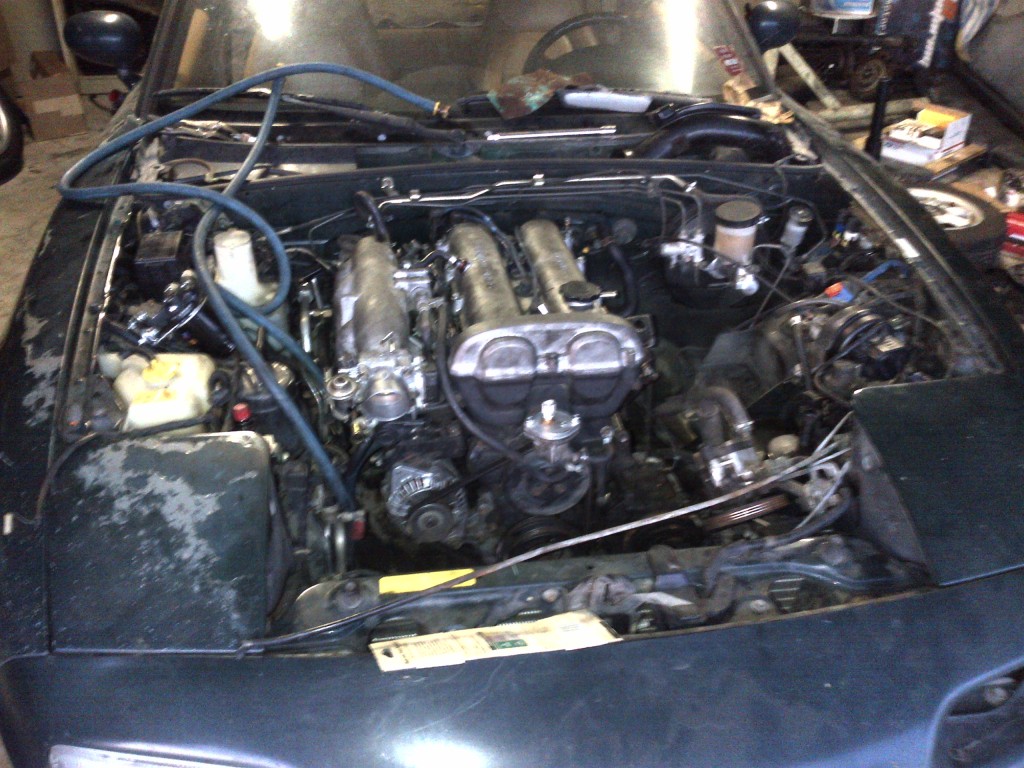
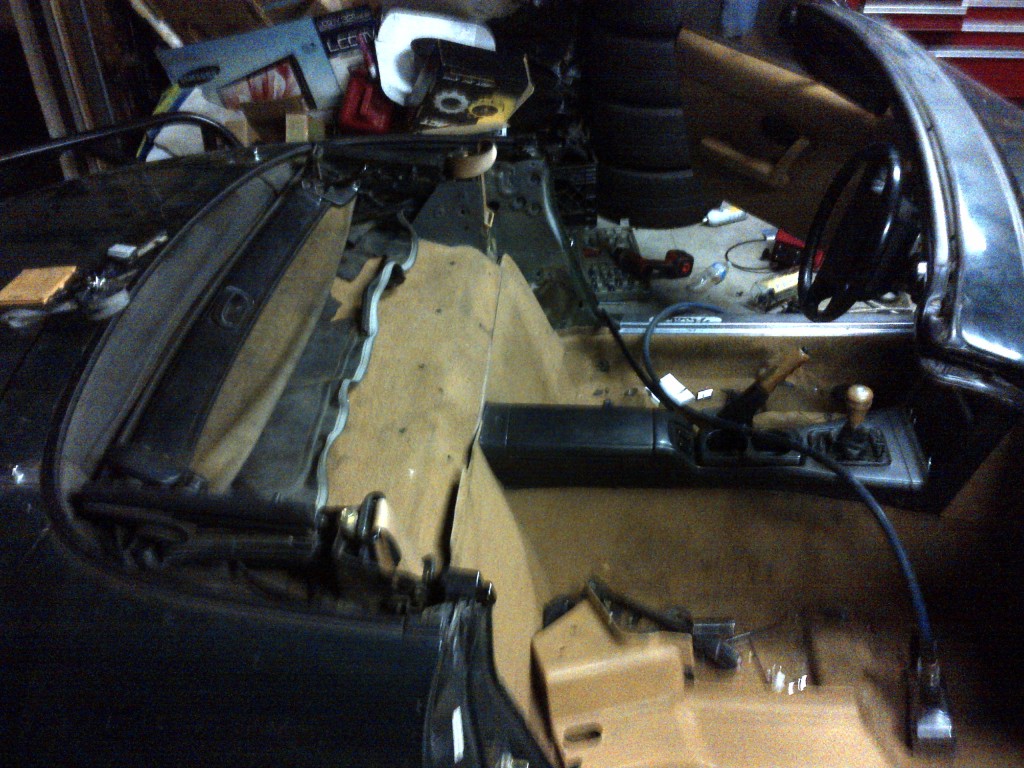
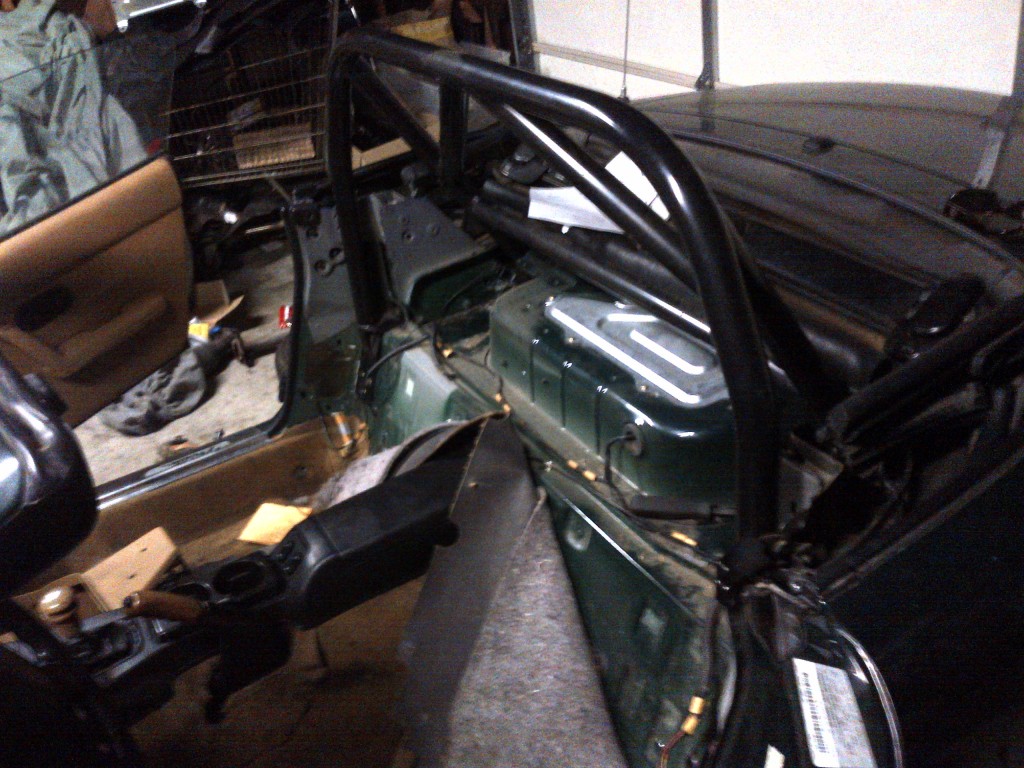
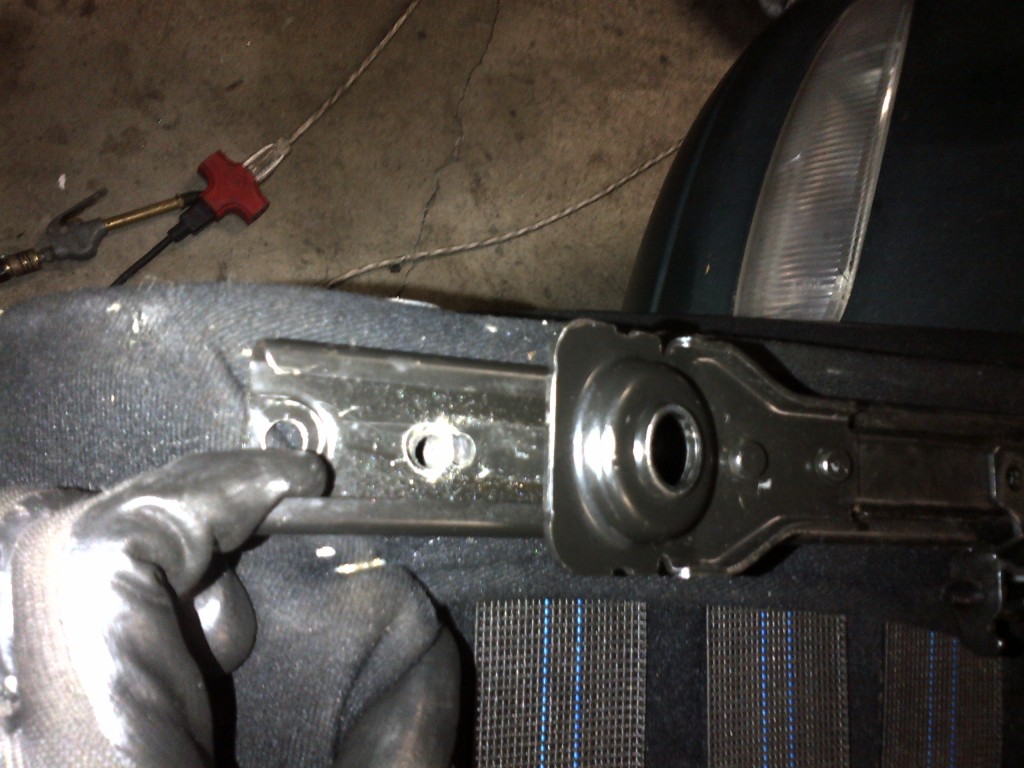
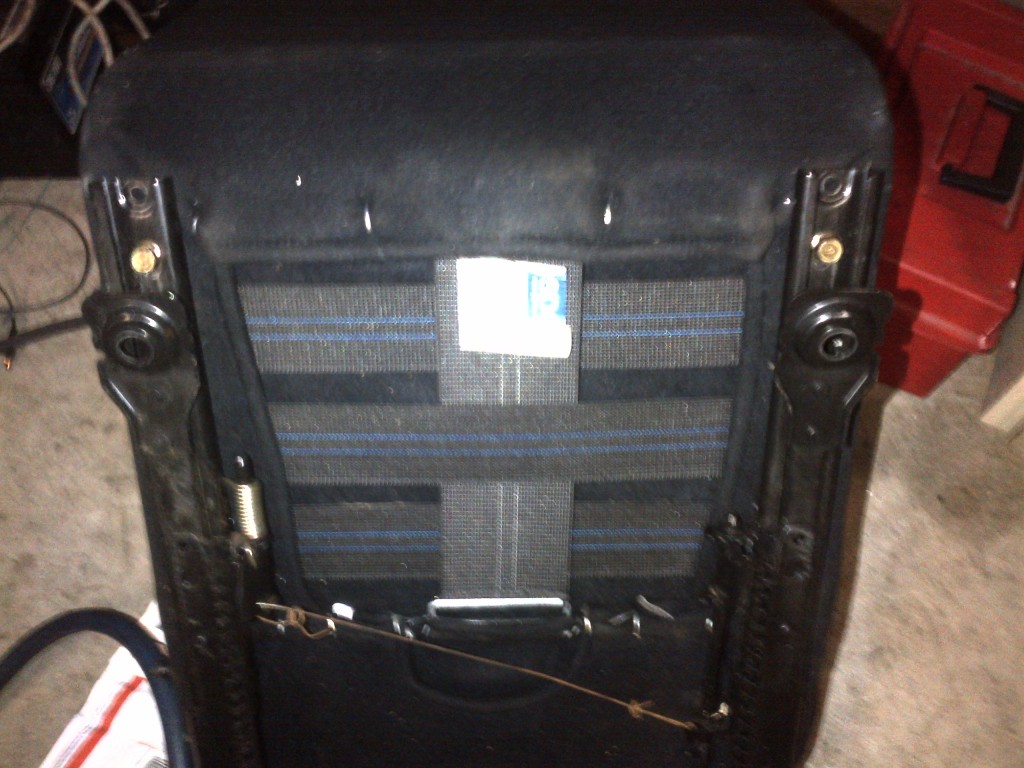
How it sits now:

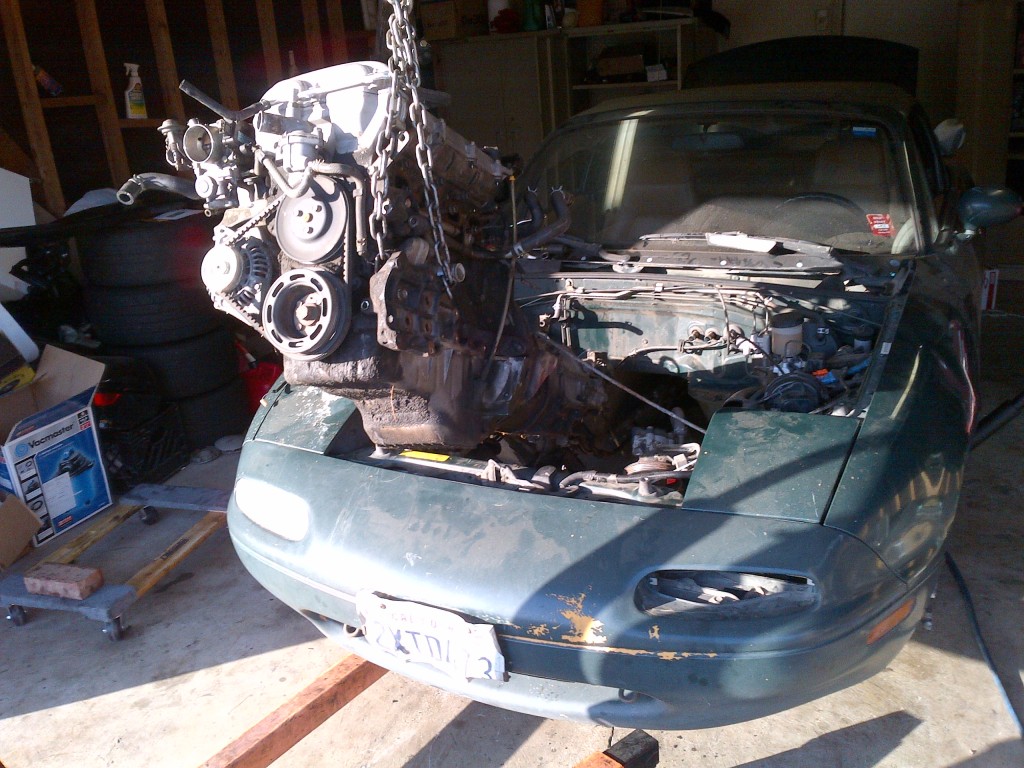
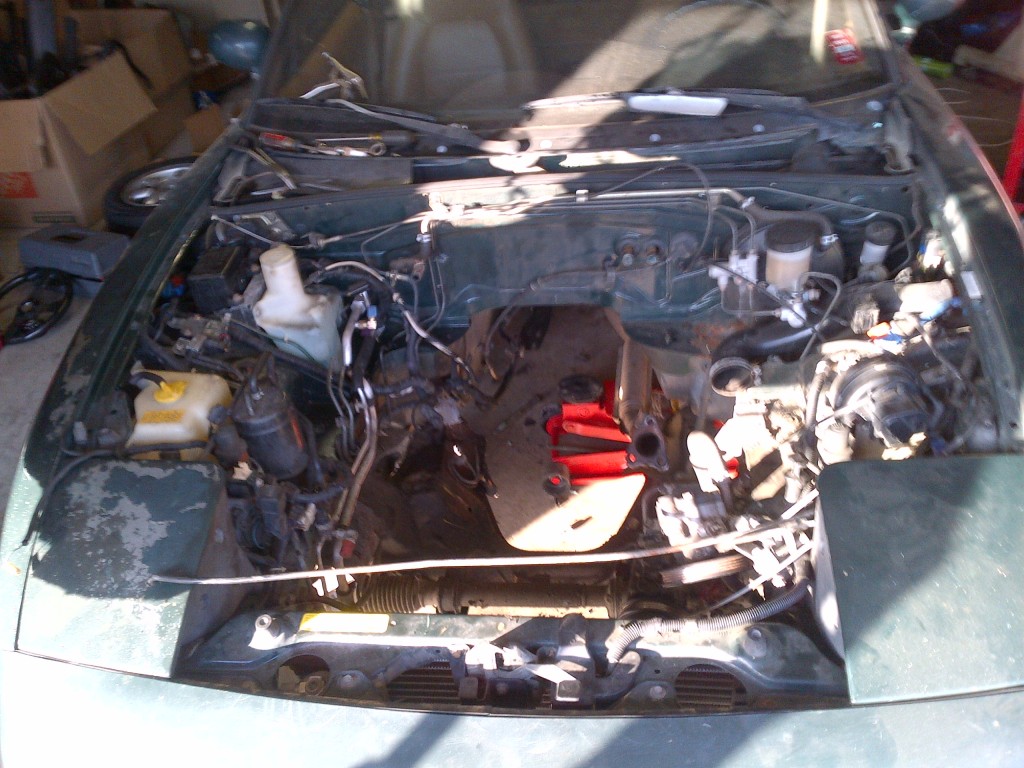
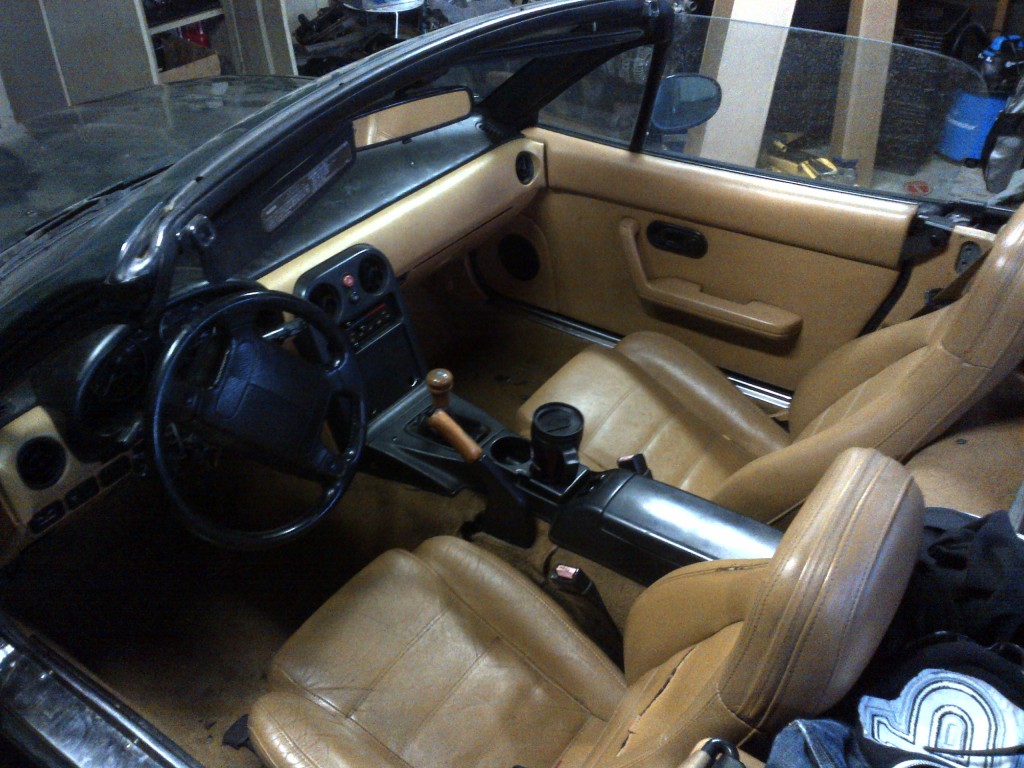
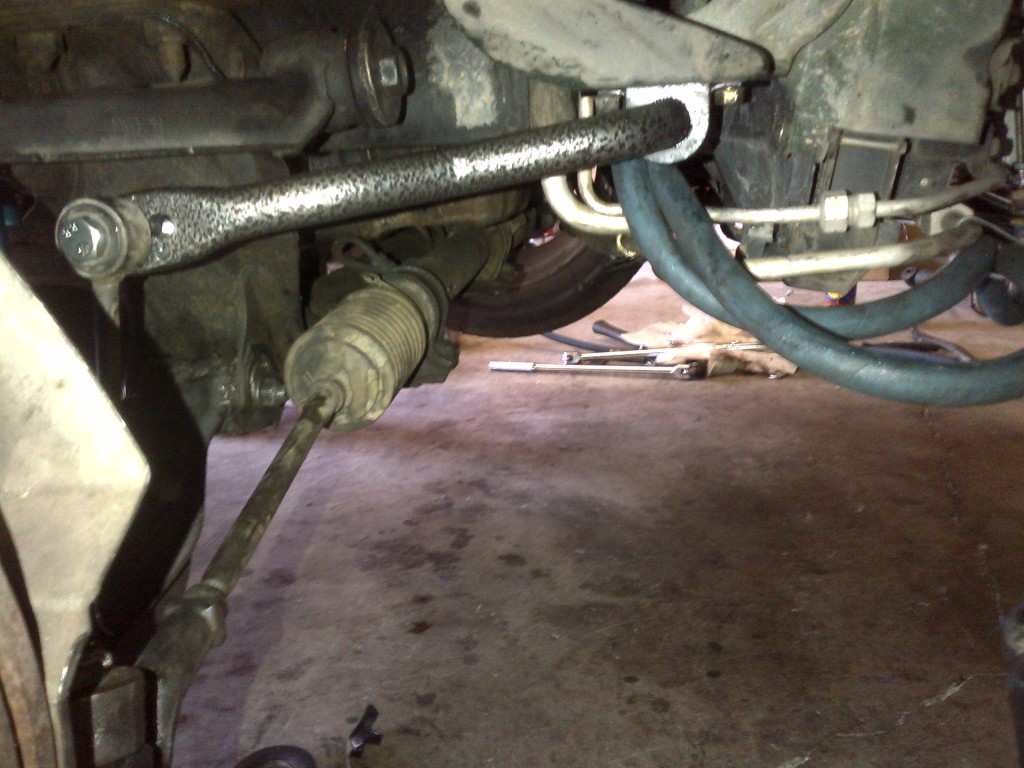
How I bought it:



More updates coming soon
Meet my 1991 BRG miata (aka Bulbasaur). I've done a lot of supporting mods over the past year or so and he is now ready to be turbo'd (evolve to Ivysaur). And in case anyone was wondering, Venusaur evolution occurs when I have enough spare money and fabrication skill to motor swap it (all motor k24 maybe?). And if you guys aren't Pokémon fans... deal with it.

This is my weekend car which I hope to take to the track occasionally so I'm shooting for a pretty reliable 180 rwhp and then go from there. Hopefully the boost isn't as addicting as everyone says it is so I'm not tempted to blow the motor.
Anyway, words < lists < pics.... So i'll save the best for last
Details/Supporting mods:
330k miles on chassis

1.6 motor long nose motor (60k miles)
4.1 torsen swap
1.8 brakes with hawk HP+ pads
Mazda Comp Mounts
FM frame rails
Poly Control arm Bushings
Poly Diff Bushings
M-tuned coolant re-route
Magnecor wires
8 lb F1 racing flywheel
ACT 1.6 Clutch
Koni yelow, GC, FCM ISC
FM sway bar
15x9 6ul with 225 RS3
Hard dog double diagonal
Sprint racing setas
G-force 5-point harness
DNA radiator with fans
Turbo kit Plans:
Old style FM log mani + DP
GT2560
DIYPNP
RC440 or 550 injectors
3 in exhaust
LC1 wideband
CXracing intercooler + piping
Recirc bov
The pics:
How it sits now:

How I bought it:


More updates coming soon

Last edited by cyotani; 07-31-2013 at 12:16 PM.
#3
Thread Starter
Senior Member
iTrader: (8)
Joined: Jan 2012
Posts: 1,407
Total Cats: 116
From: Azusa, CA
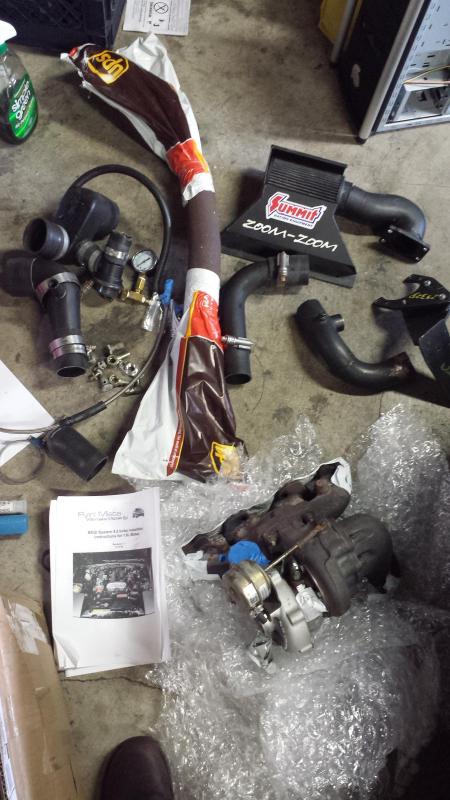
I came home to find this at my door

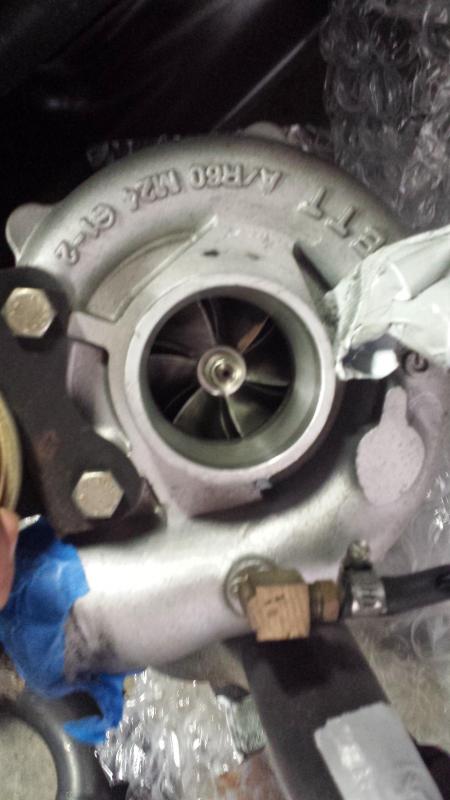
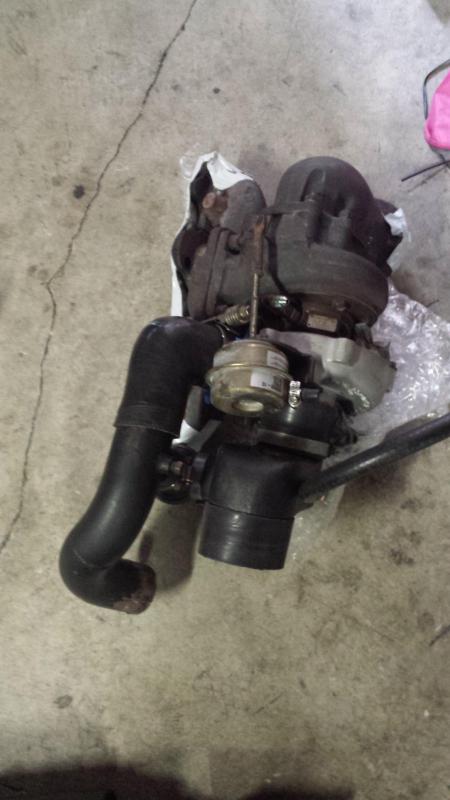
So i opened it to inspect the parts
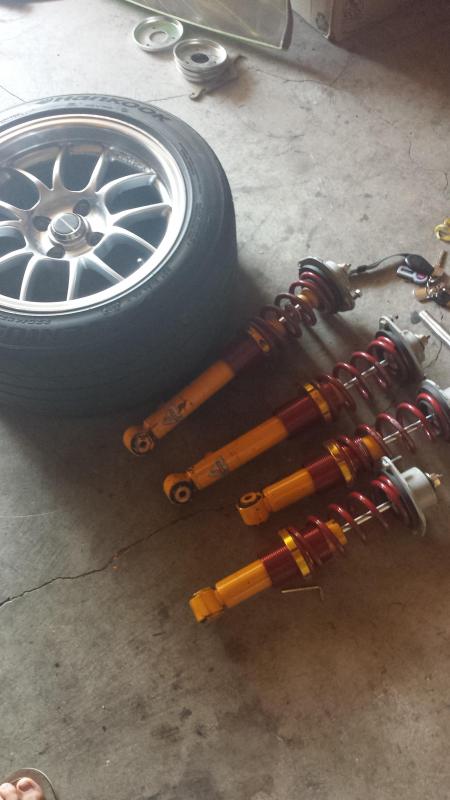
I also replaced these:
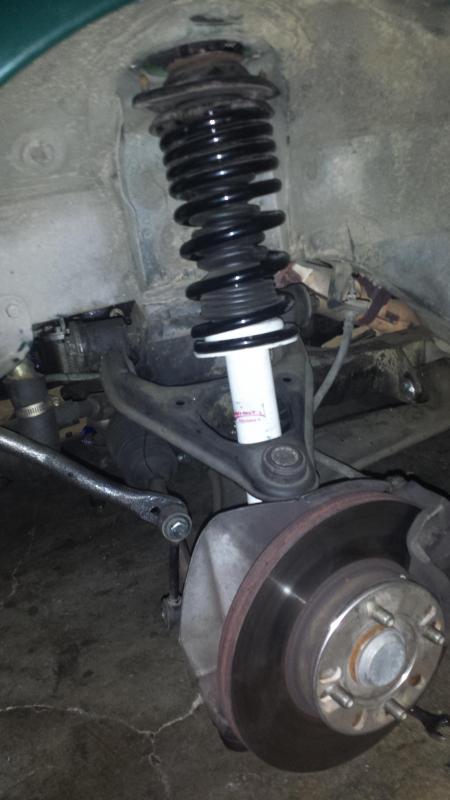
with these:

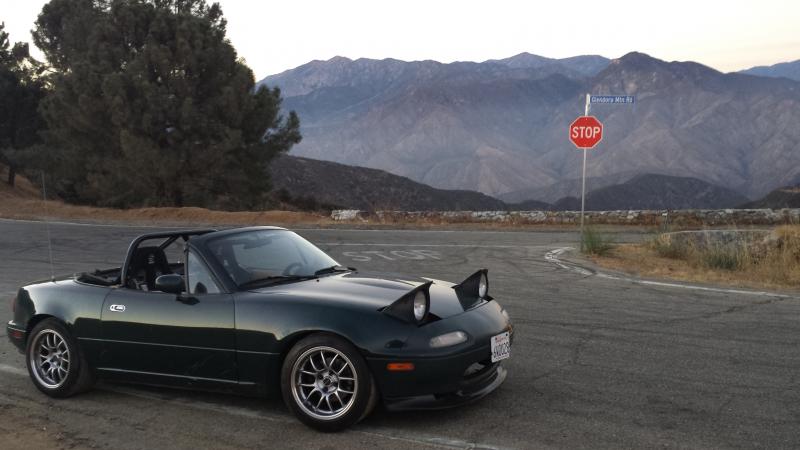
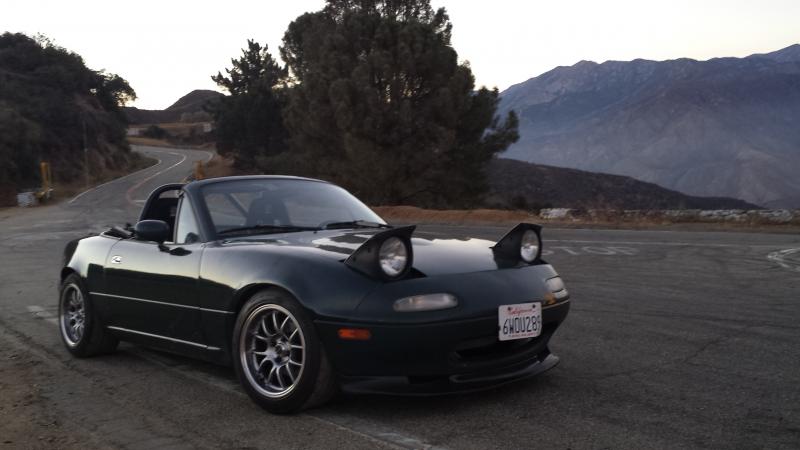
Then took it on a little test drive up Glendora Mountian Rd. The weather was nice so I snapped a few pics (please excuse me extremely amateur photography skills).
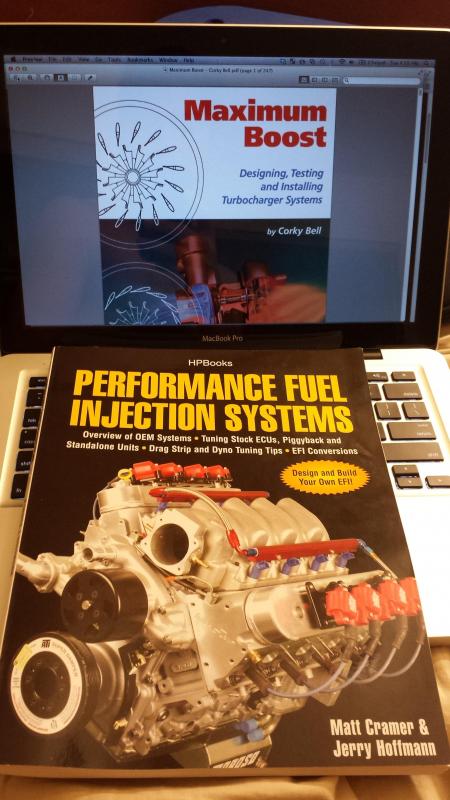
Then I came home and read up on some turbo info. The second read through definitely helped on some more complicated aspects:
The intercooler and piping should be on its way then I just need a few nick nack parts like oil return fitting to compete the kit. My DIYPNP will hopefully arrive some time next week so I can get familiar with the software on a stock car first
Questions:
Does anyone in So Cal know a good local shop to clean and flow test injectors for a reasonable price?
Also, the downpipe has a good amount of surface rust on it. Would it be best to sand it off and self etch primmer then high temp paint it to prevent it from getting more rusty?

So i opened it to inspect the parts


I also replaced these:

with these:


Then took it on a little test drive up Glendora Mountian Rd. The weather was nice so I snapped a few pics (please excuse me extremely amateur photography skills).


Then I came home and read up on some turbo info. The second read through definitely helped on some more complicated aspects:

The intercooler and piping should be on its way then I just need a few nick nack parts like oil return fitting to compete the kit. My DIYPNP will hopefully arrive some time next week so I can get familiar with the software on a stock car first
Questions:
Does anyone in So Cal know a good local shop to clean and flow test injectors for a reasonable price?
Also, the downpipe has a good amount of surface rust on it. Would it be best to sand it off and self etch primmer then high temp paint it to prevent it from getting more rusty?
Last edited by cyotani; 07-30-2013 at 02:20 PM.
#4
Looks like you've done a decent amount of research before starting on the turbo, props for that.
330k miles on the chassis, that's pretty impressive. I assume you got the car for especially cheap?
My kid brother would probably appreciate the Pokemon references....he's also a jobless 25 year old man...
330k miles on the chassis, that's pretty impressive. I assume you got the car for especially cheap?
My kid brother would probably appreciate the Pokemon references....he's also a jobless 25 year old man...
#6
Thread Starter
Senior Member
iTrader: (8)
Joined: Jan 2012
Posts: 1,407
Total Cats: 116
From: Azusa, CA
Looks like you've done a decent amount of research before starting on the turbo, props for that.
330k miles on the chassis, that's pretty impressive. I assume you got the car for especially cheap?
My kid brother would probably appreciate the Pokemon references....he's also a jobless 25 year old man...
330k miles on the chassis, that's pretty impressive. I assume you got the car for especially cheap?
My kid brother would probably appreciate the Pokemon references....he's also a jobless 25 year old man...
I'm 21 and employed and will never be too old for pokemon references.
Last edited by cyotani; 07-31-2013 at 12:15 PM.
#7
Thread Starter
Senior Member
iTrader: (8)
Joined: Jan 2012
Posts: 1,407
Total Cats: 116
From: Azusa, CA
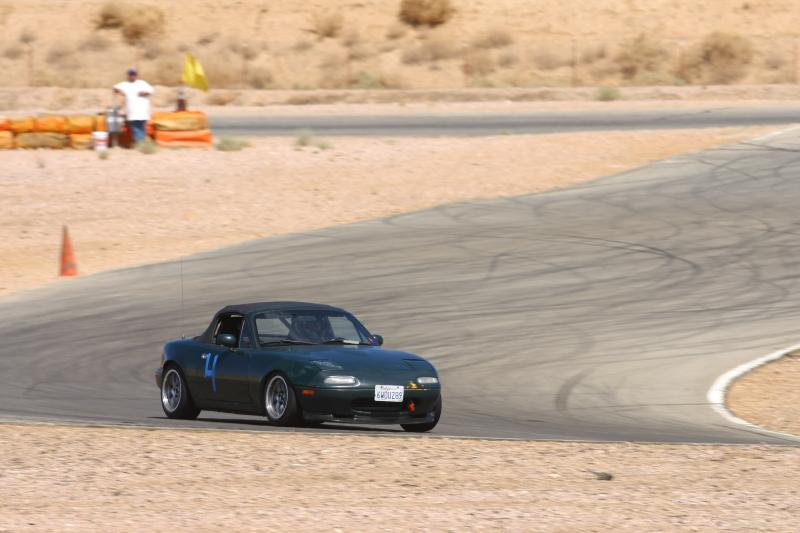
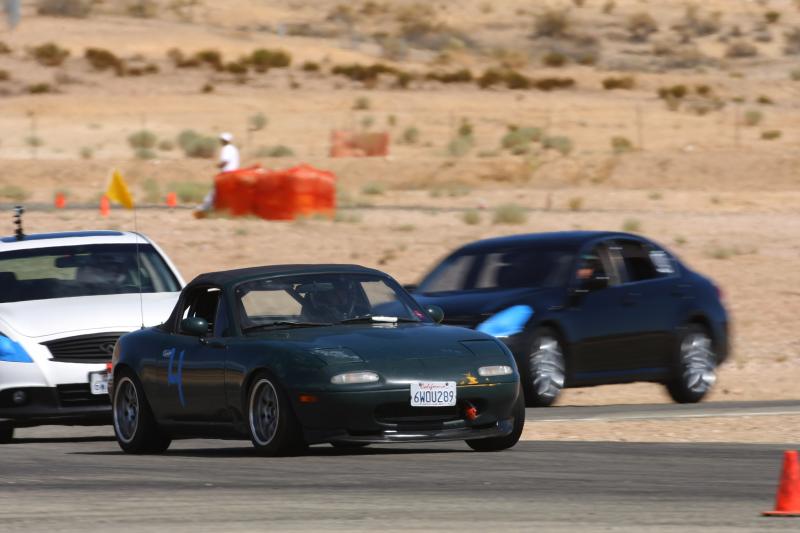
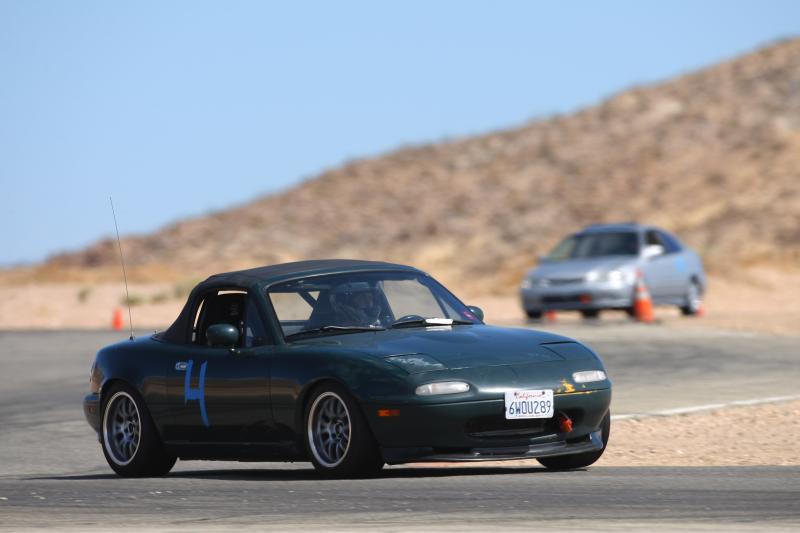
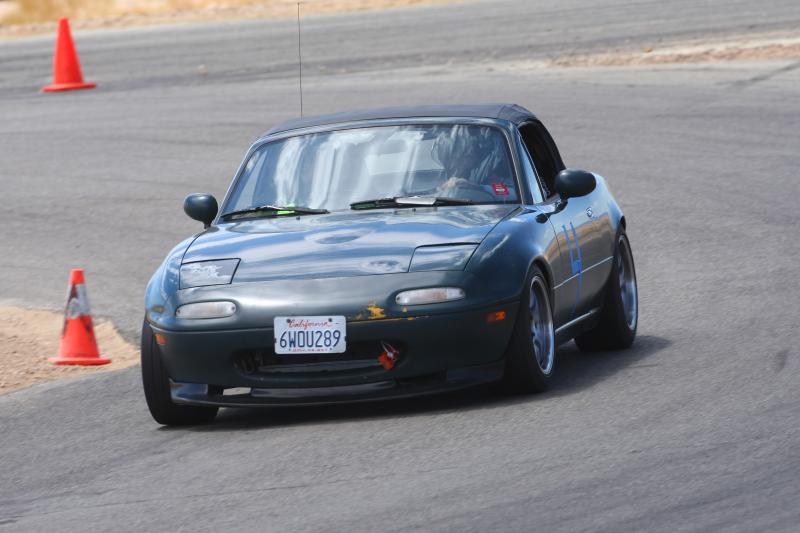
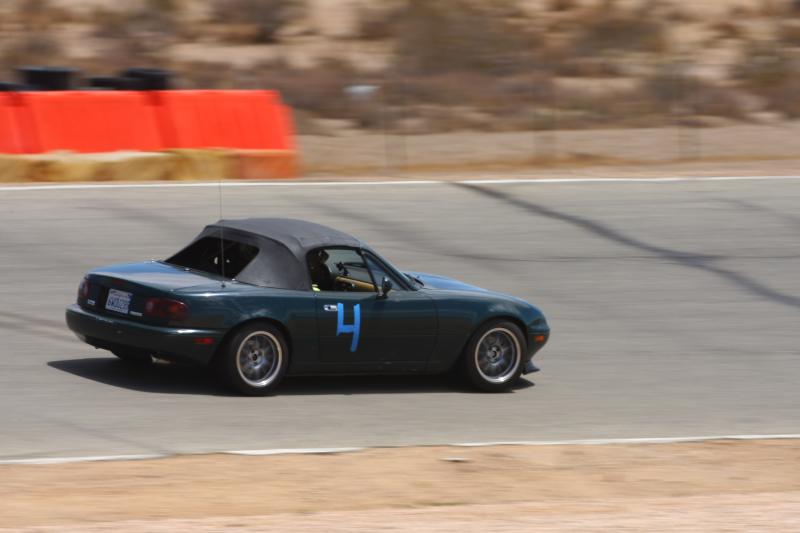
I finally made it out to my first track day and got the chance to push this car to it's limit (well, not really since I'm a very novice driver still) and see how all the hours a put into my car payed off. The track was streets of willow CW and it was blazing hot. I opted to pay for a ride along instructor for the day which was very helpful getting me comfortable out there quickly.
I shaved a second or 2 off each run and got my lap time down to 1:40.9. My rs3s seemed to start giving out after 5 laps tho, but the rest of the car performed great and handled all the abuse. I can't wait to get out there again, while still natural aspirated, and break into 1:3X. Needless to say, It was a blast (besides my speeding ticket I got on the way up going 80 mph in a 70, aka flow of traffic, which is 2 hours from my house if I want to contest it... fml).
Enough rambling, here are some pics:


Last edited by cyotani; 08-05-2013 at 01:26 PM.
#9
Thread Starter
Senior Member
iTrader: (8)
Joined: Jan 2012
Posts: 1,407
Total Cats: 116
From: Azusa, CA
It's tempting to do that and do a more reliable NA build. But I think I'd rather play with boost now and look into a swapped track only car in the future.
It's been way to hot last few weeks to get much done but I believe I'm just about turbo ready. Over the past month I have installed
-DIYPNP (thanks Brain!)
-IAT sensor
-BMW VTPS
-AEM EUGO
-autometer boost gauge
-toyota COPS (thanks FRT_Fun) <-- easiest install of my life
-RC 440cc injectors
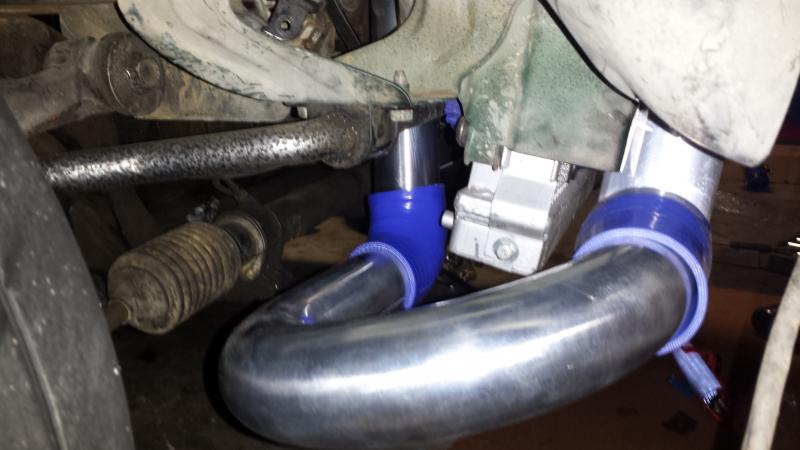
I decided to go reuse the beginning pieces of my old style FM kit for the intercooler piping. The plan is to go 2 in from turbo outlet then bend down and increase it to 2.25, to the intercooler and cut down the 2.5 to 2 in throttle body piece to match the 2.25 piping.
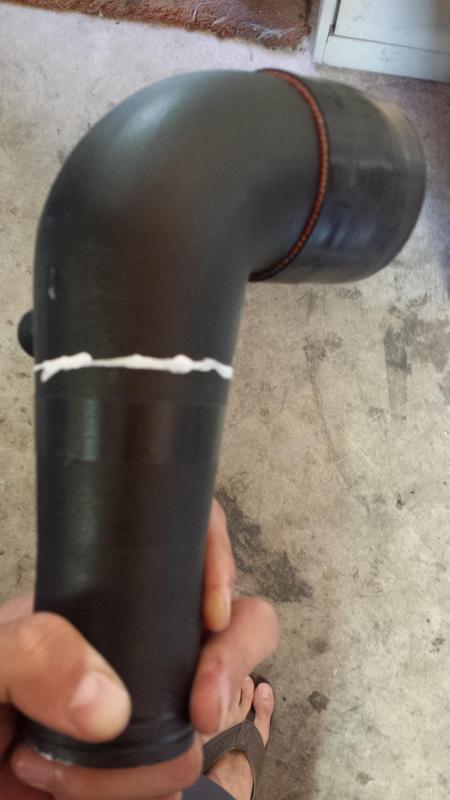
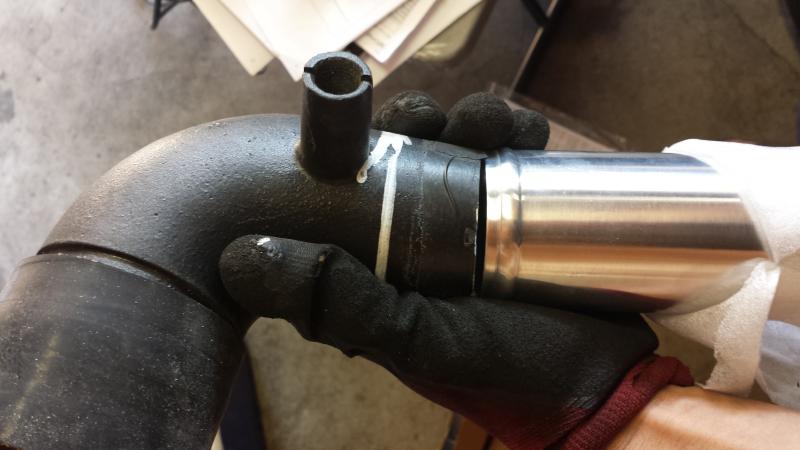
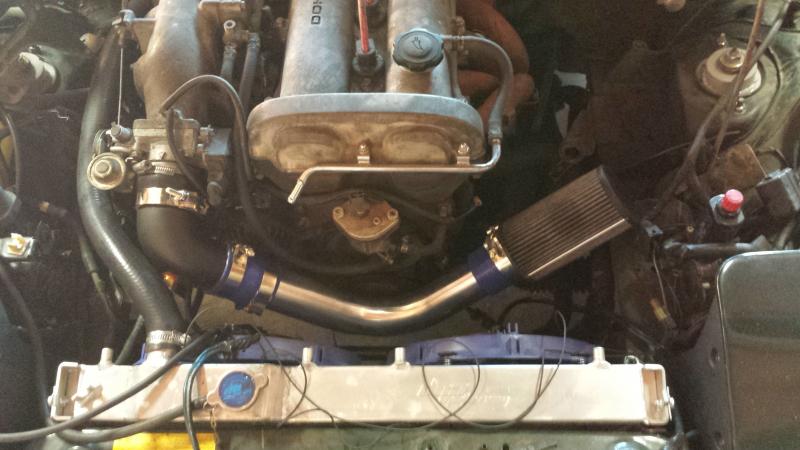
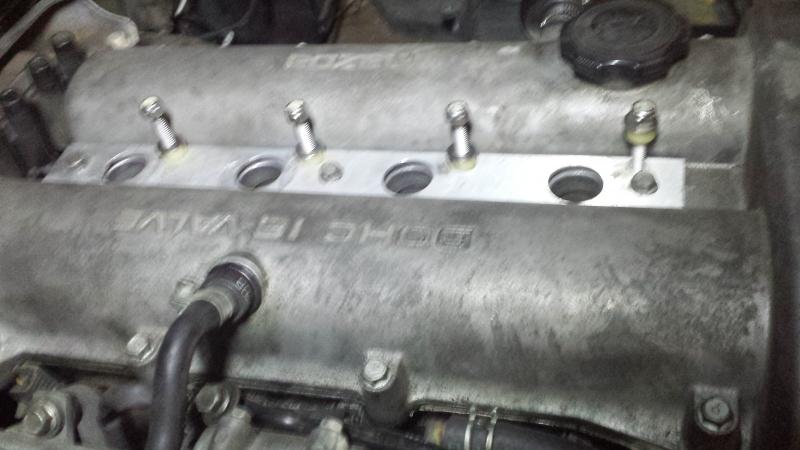
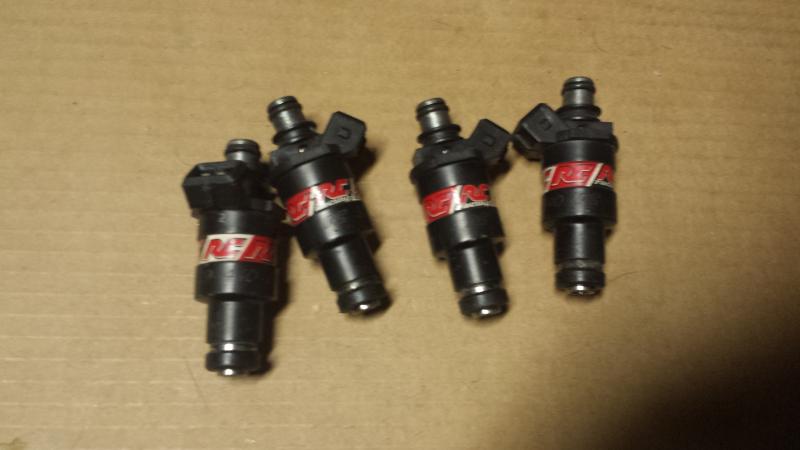
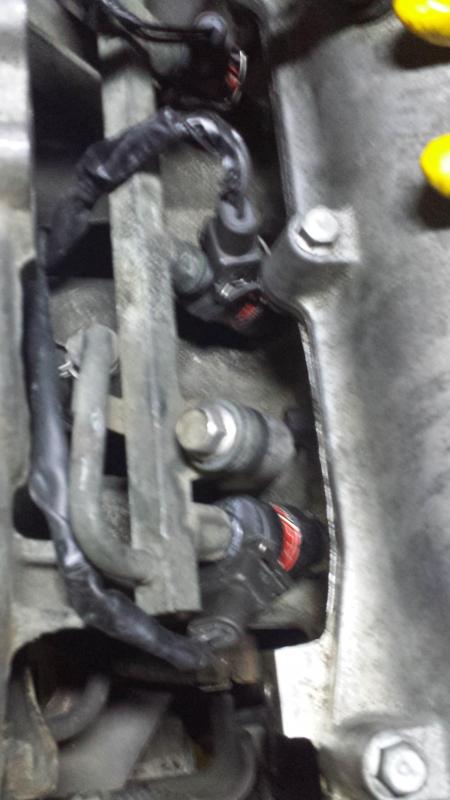
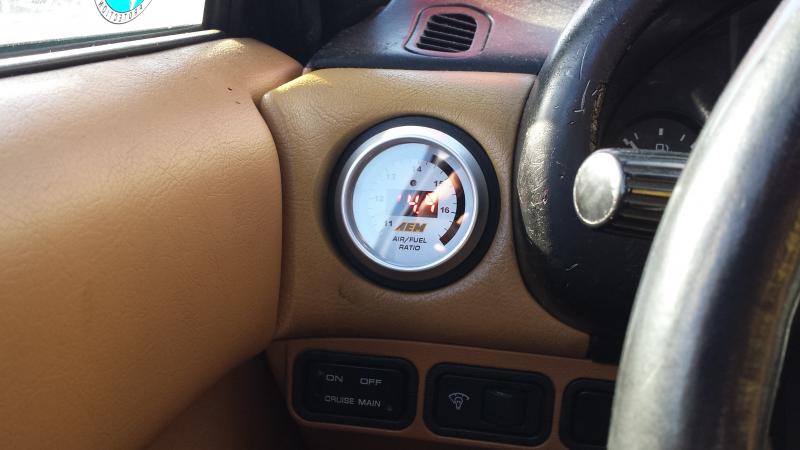
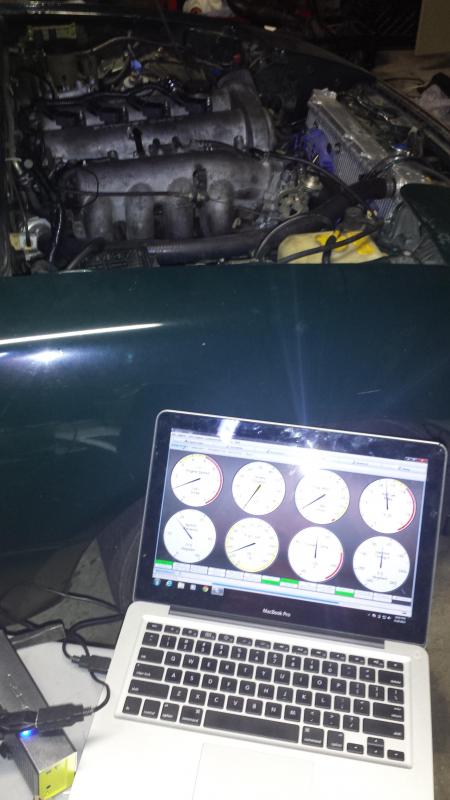
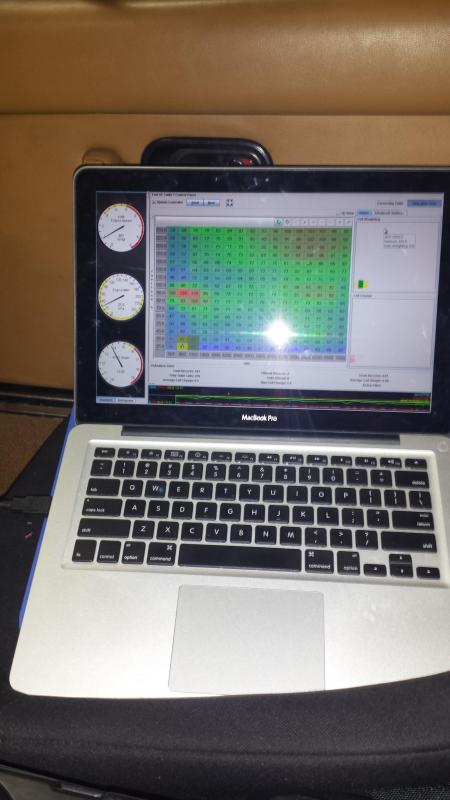
VEAL is an awesome piece of software by the way. It makes tuning air fuel ratios a piece of cake. After only 10 min of tuning the car feels pretty solid with the COP and RC 440s. I just need to fine tune it and then the real fun of the build can start.
Next on the list is mounting the intercooler and routing the piping. 2 weeks to school starts. It's crunch time!
.
It's been way to hot last few weeks to get much done but I believe I'm just about turbo ready. Over the past month I have installed
-DIYPNP (thanks Brain!)
-IAT sensor
-BMW VTPS
-AEM EUGO
-autometer boost gauge
-toyota COPS (thanks FRT_Fun) <-- easiest install of my life
-RC 440cc injectors
I decided to go reuse the beginning pieces of my old style FM kit for the intercooler piping. The plan is to go 2 in from turbo outlet then bend down and increase it to 2.25, to the intercooler and cut down the 2.5 to 2 in throttle body piece to match the 2.25 piping.


VEAL is an awesome piece of software by the way. It makes tuning air fuel ratios a piece of cake. After only 10 min of tuning the car feels pretty solid with the COP and RC 440s. I just need to fine tune it and then the real fun of the build can start.
Next on the list is mounting the intercooler and routing the piping. 2 weeks to school starts. It's crunch time!
.
Last edited by cyotani; 09-04-2013 at 02:46 PM.
#11
Thread Starter
Senior Member
iTrader: (8)
Joined: Jan 2012
Posts: 1,407
Total Cats: 116
From: Azusa, CA
Made some good progress on the build this weekend. Got a lot done on saturday. Then ran my first marathon on sunday and spent the rest of the long weekend recovering. However, it worked out well since I needed to order some parts I was missing. Hopefully the nick nack pieces will arrive by this weekend to complete the build.
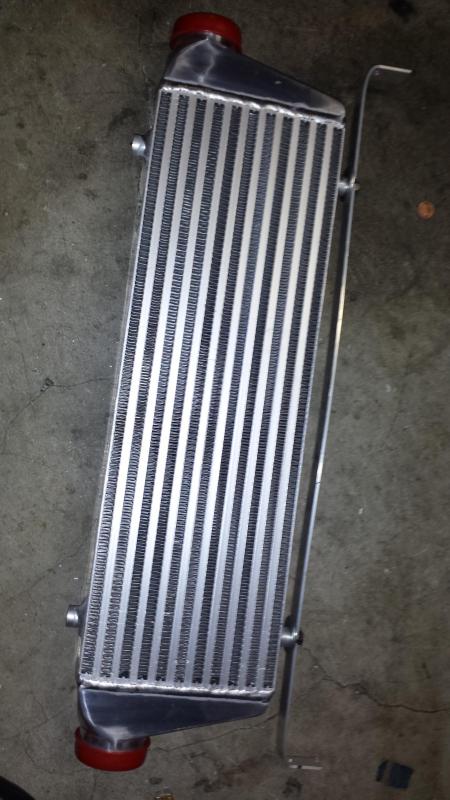
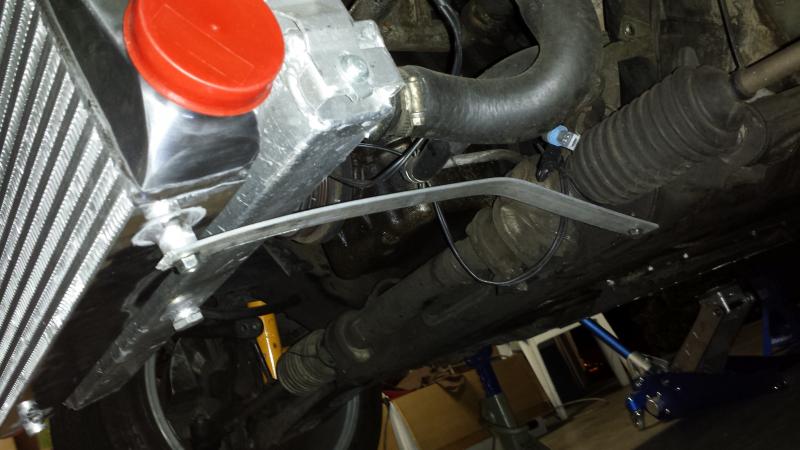
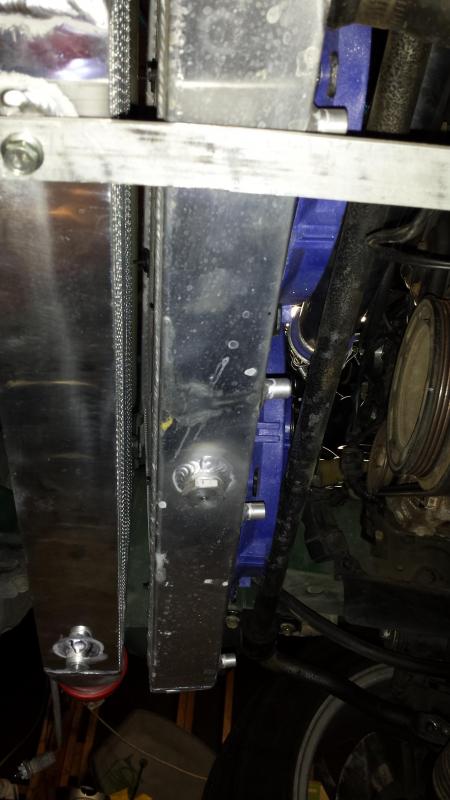
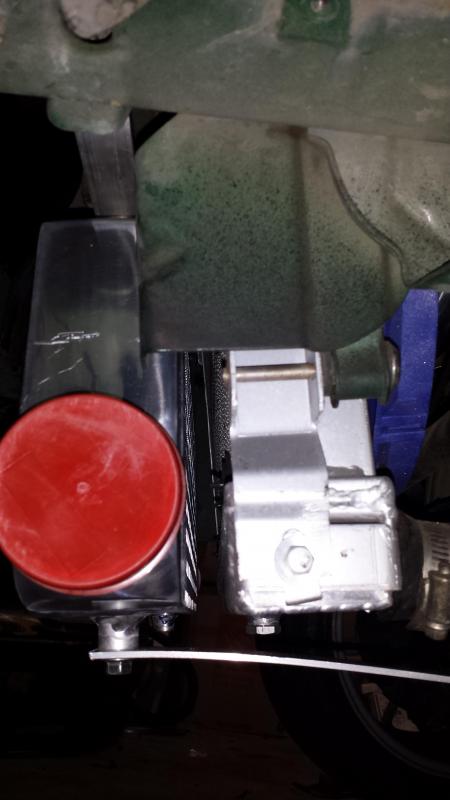
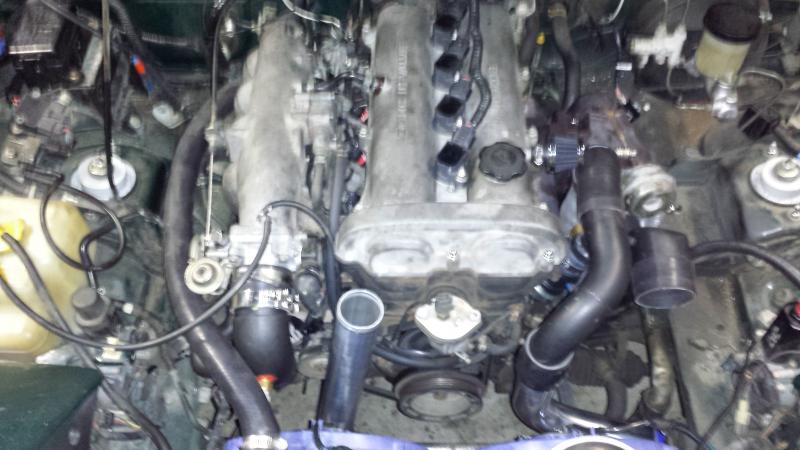
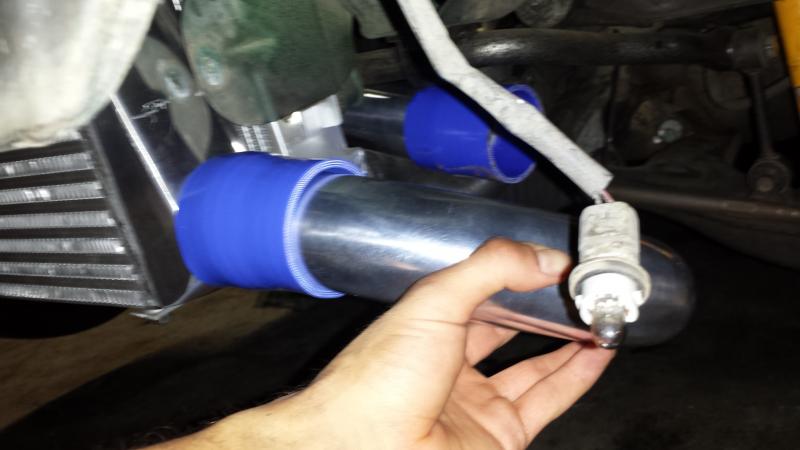
Intercooler mounting wasn't too bad. Just took $12 worth of aluminum, a drill and cut off wheel. The goal was to get it mounted closer to the radiator with the same gap as the AC condenser I removed. I think it turned out well.

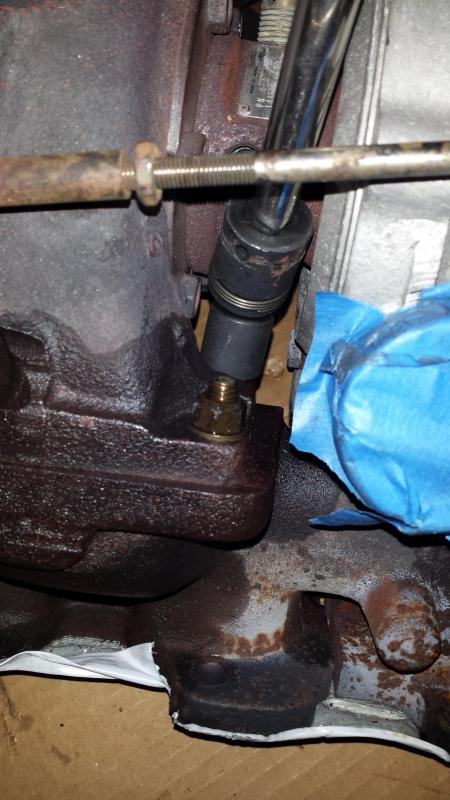
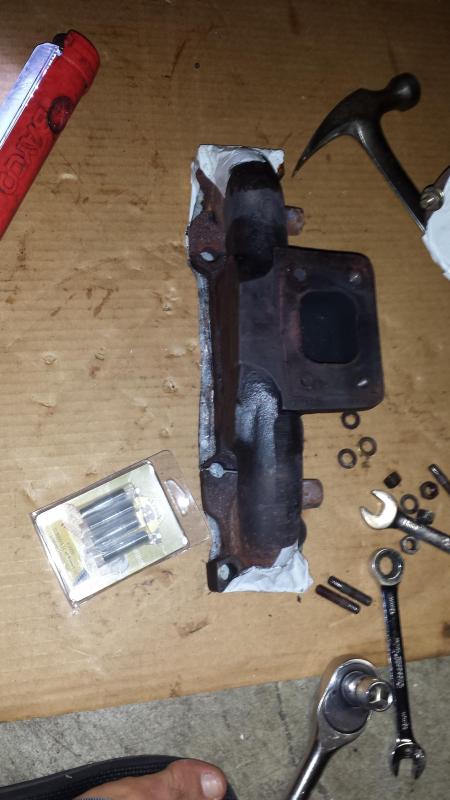
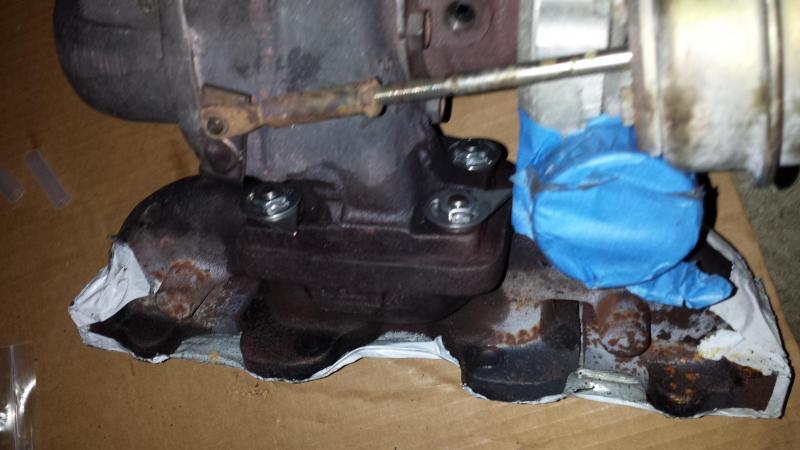
PB blasted the **** out of the old studs. And installed my inconnel stud kit. I don't think I'm fast enough to break studs yet so hopefully the m8 will hold up fine.
.
Intercooler mounting wasn't too bad. Just took $12 worth of aluminum, a drill and cut off wheel. The goal was to get it mounted closer to the radiator with the same gap as the AC condenser I removed. I think it turned out well.


PB blasted the **** out of the old studs. And installed my inconnel stud kit. I don't think I'm fast enough to break studs yet so hopefully the m8 will hold up fine.


.
Last edited by cyotani; 09-04-2013 at 02:55 PM.
#12
So I have the same intercooler as you, and was going to mount it similarly. I was worried about pulling it up as high as you did though in case those tabs that the AC condenser bolted to start rubbing the end tanks. I was going to put some of that rubber covered U channel dealio that you use as trim for sharp metal on it. Just throwing that out there.
Do those 180 bends that came with it clear your tires at full lock?
Do those 180 bends that came with it clear your tires at full lock?
#13
Thread Starter
Senior Member
iTrader: (8)
Joined: Jan 2012
Posts: 1,407
Total Cats: 116
From: Azusa, CA
So I have the same intercooler as you, and was going to mount it similarly. I was worried about pulling it up as high as you did though in case those tabs that the AC condenser bolted to start rubbing the end tanks. I was going to put some of that rubber covered U channel dealio that you use as trim for sharp metal on it. Just throwing that out there.
Do those 180 bends that came with it clear your tires at full lock?
Do those 180 bends that came with it clear your tires at full lock?
I think as is it will clear. But that was just test fitment. I am going to cut them down as much as possible to keep it as inward as possible.
#15
Thread Starter
Senior Member
iTrader: (8)
Joined: Jan 2012
Posts: 1,407
Total Cats: 116
From: Azusa, CA
 I HAZ TURBO!
All that's left is to install my 3 in exhaust, boost gauge and tiddy up some stuff. Then tune, drive and profit.
Because I like pokemons:
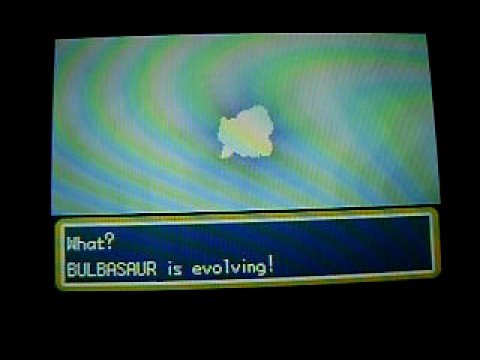
A quick video because I'm so excited- It's upside down for the Australians (too lazy to fix)
EDIT: NVM, fixed
WTF!! why you no oil feed port!!! Bought the adapter and everything from BEGI to find out my block doesn't have the port threaded and plugged. I think this engine might be a Japan import which my explain it. Anyway that caused a big headache of running around sourcing parts over the weekend to tee off the oil sender.
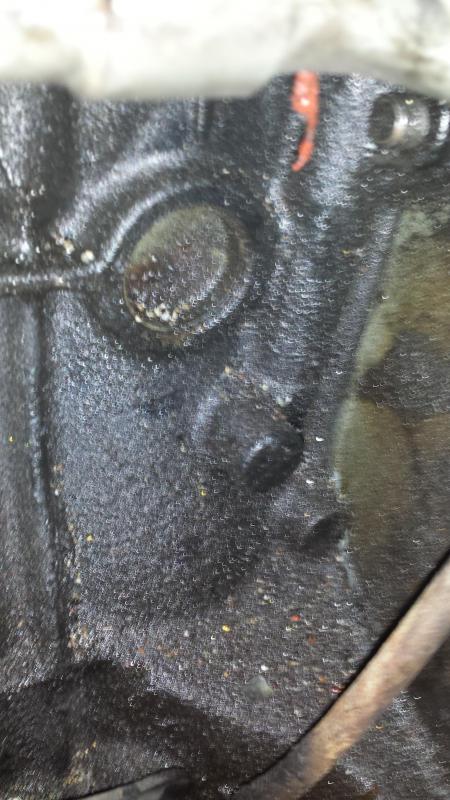
drilled some holes:

Tapped:
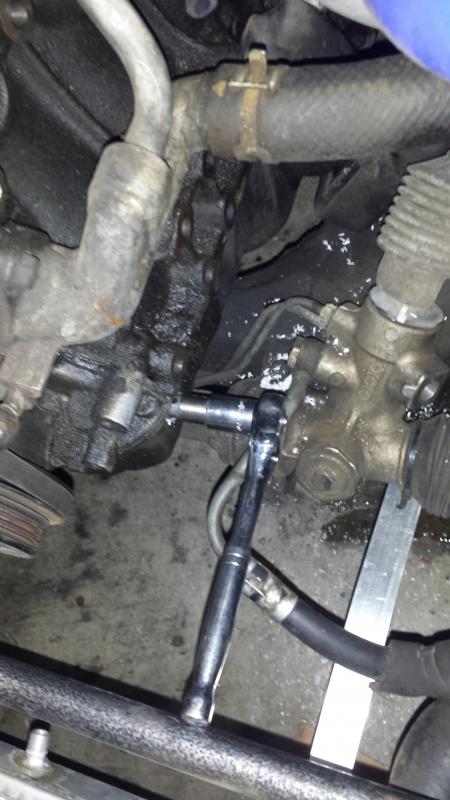
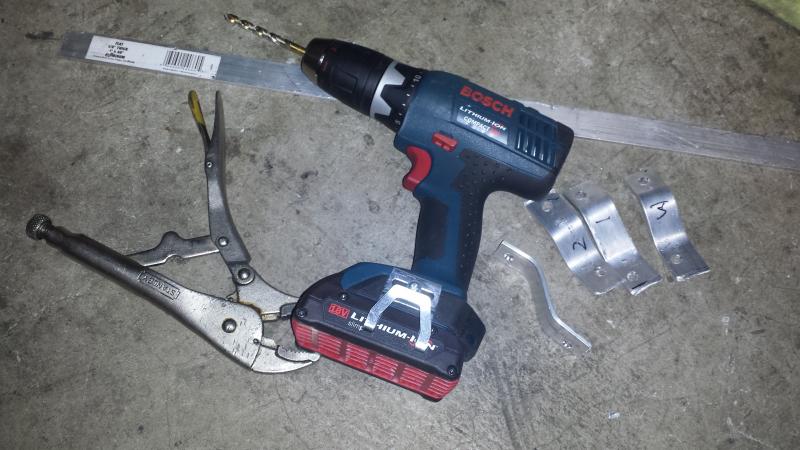
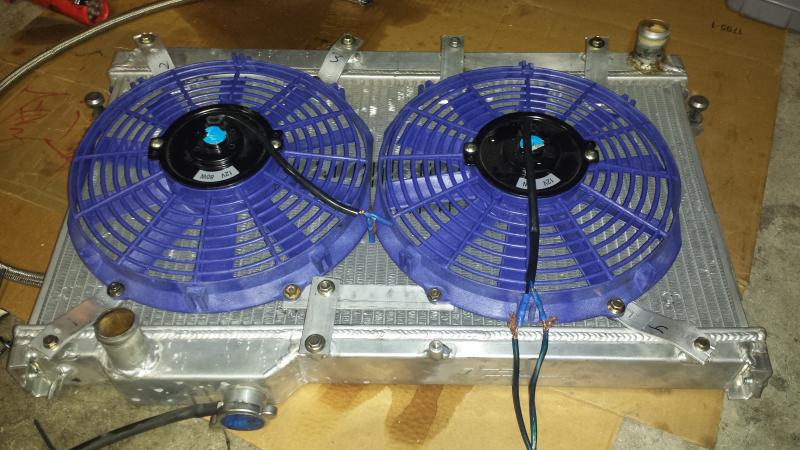
I was sick of breaking those gay plastic radiator fan tabs so I gheto fabbed some brackets out of crap I had laying around. It's ain't pretty but it worked perfectly.
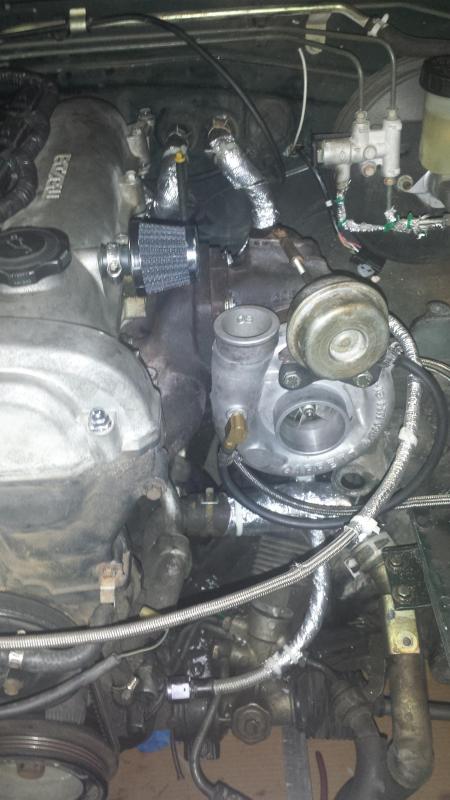
Heat wrapped some crap.

Mounted manifold:
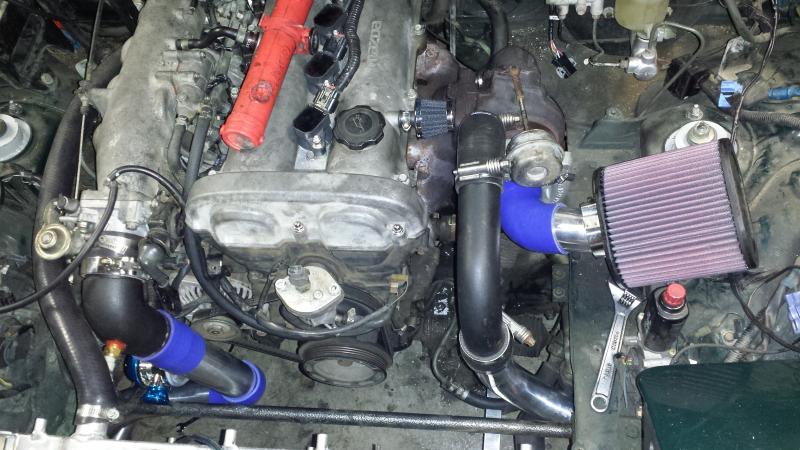
IC piping routed
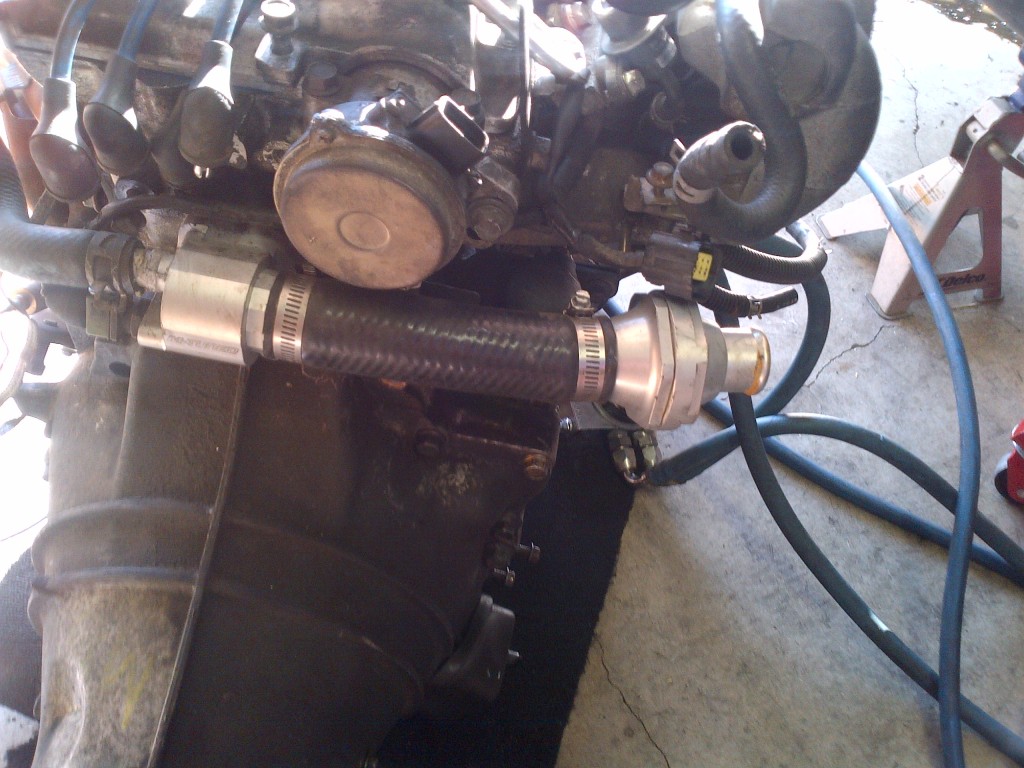
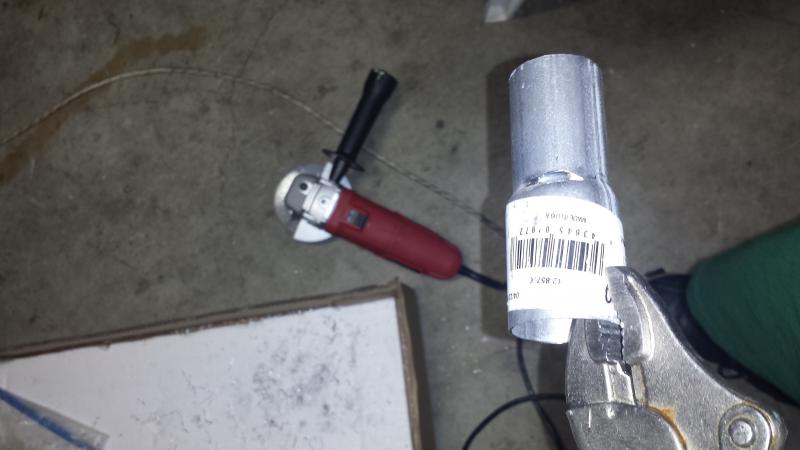
Fixed coolant reroute using a random rad hose and cut this pipe to use as a coupler.

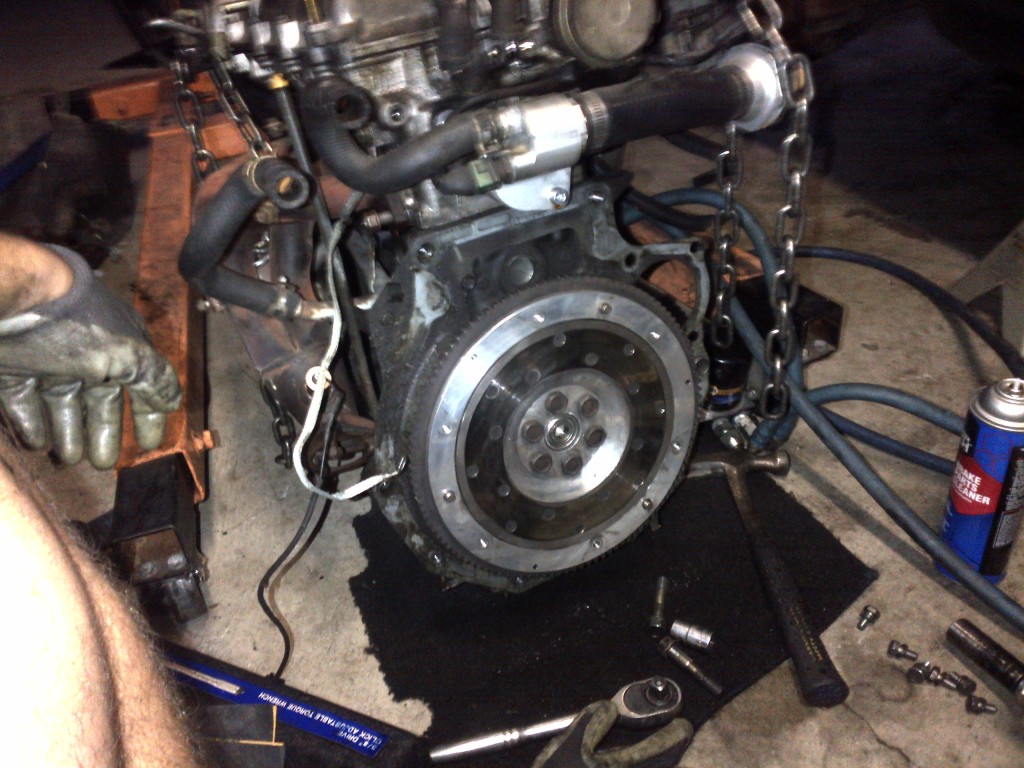
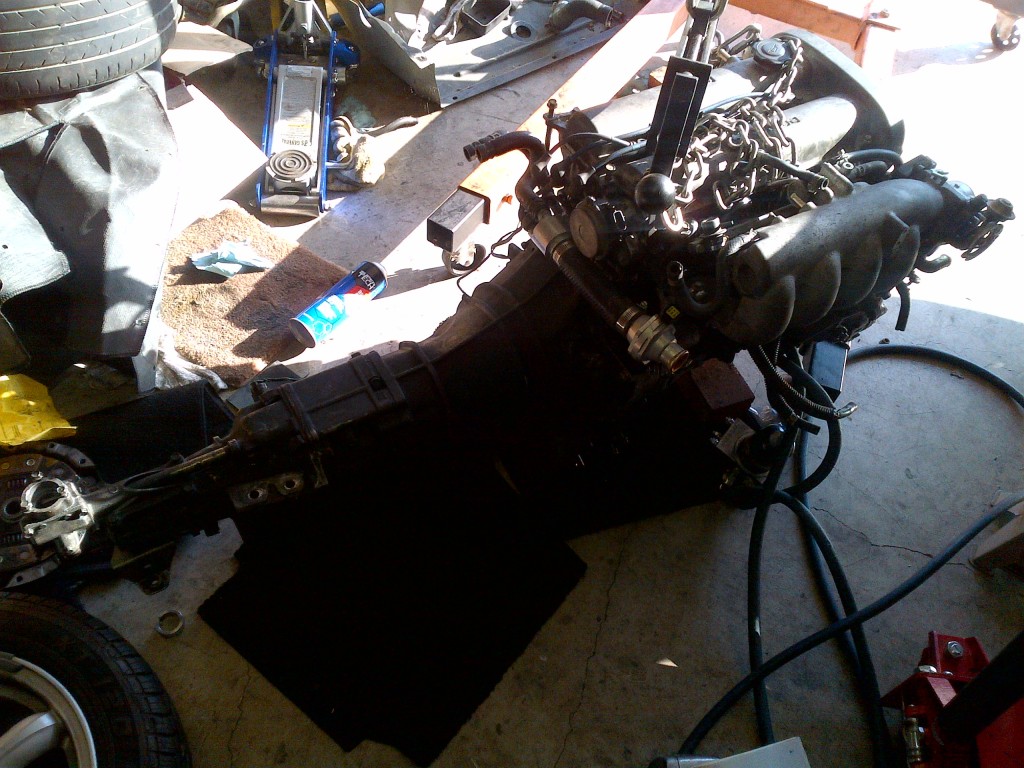
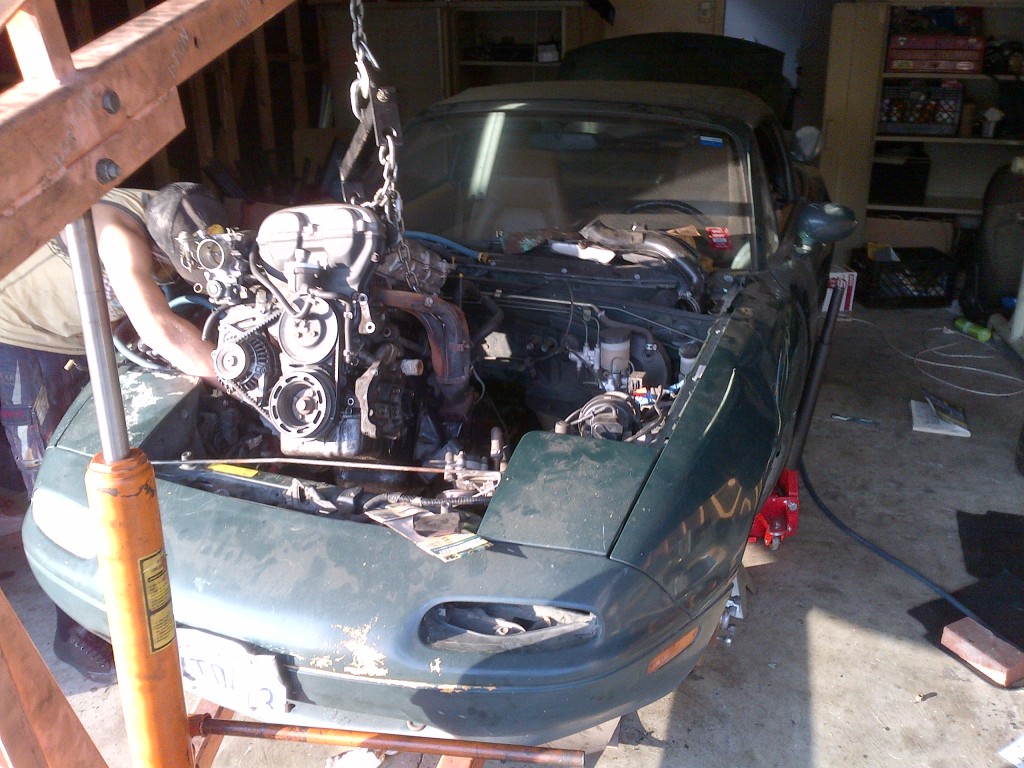
Side note: me and my buddy pulled this engine to replace his blown one. Took us one hour flat in some guys drive way. New record for us.
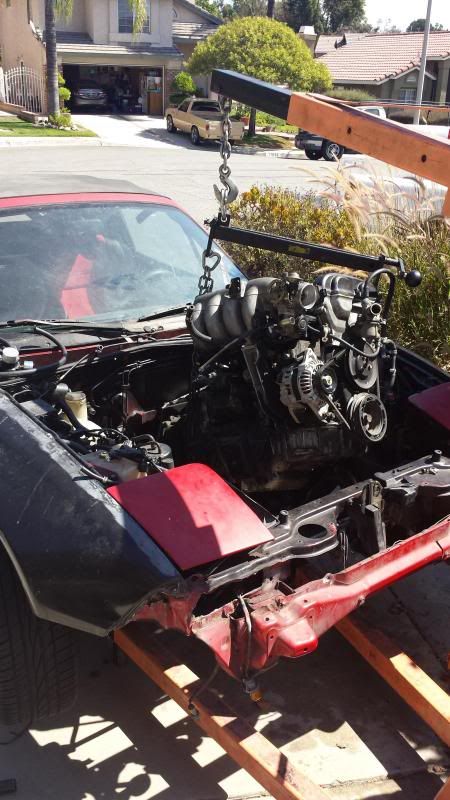

.
Last edited by cyotani; 09-09-2013 at 01:01 PM.
#19
Thread Starter
Senior Member
iTrader: (8)
Joined: Jan 2012
Posts: 1,407
Total Cats: 116
From: Azusa, CA
They came with the suspension. 4.75 and 4.5 pinch weld (IRC). I haven't had any coil binding issues yet. If something does come up I'll make some adjustments.


 PS:
PS:  , Please build me a Megasquirt


