When you click on links to various merchants on this site and make a purchase, this can result in this site earning a commission. Affiliate programs and affiliations include, but are not limited to, the eBay Partner Network.
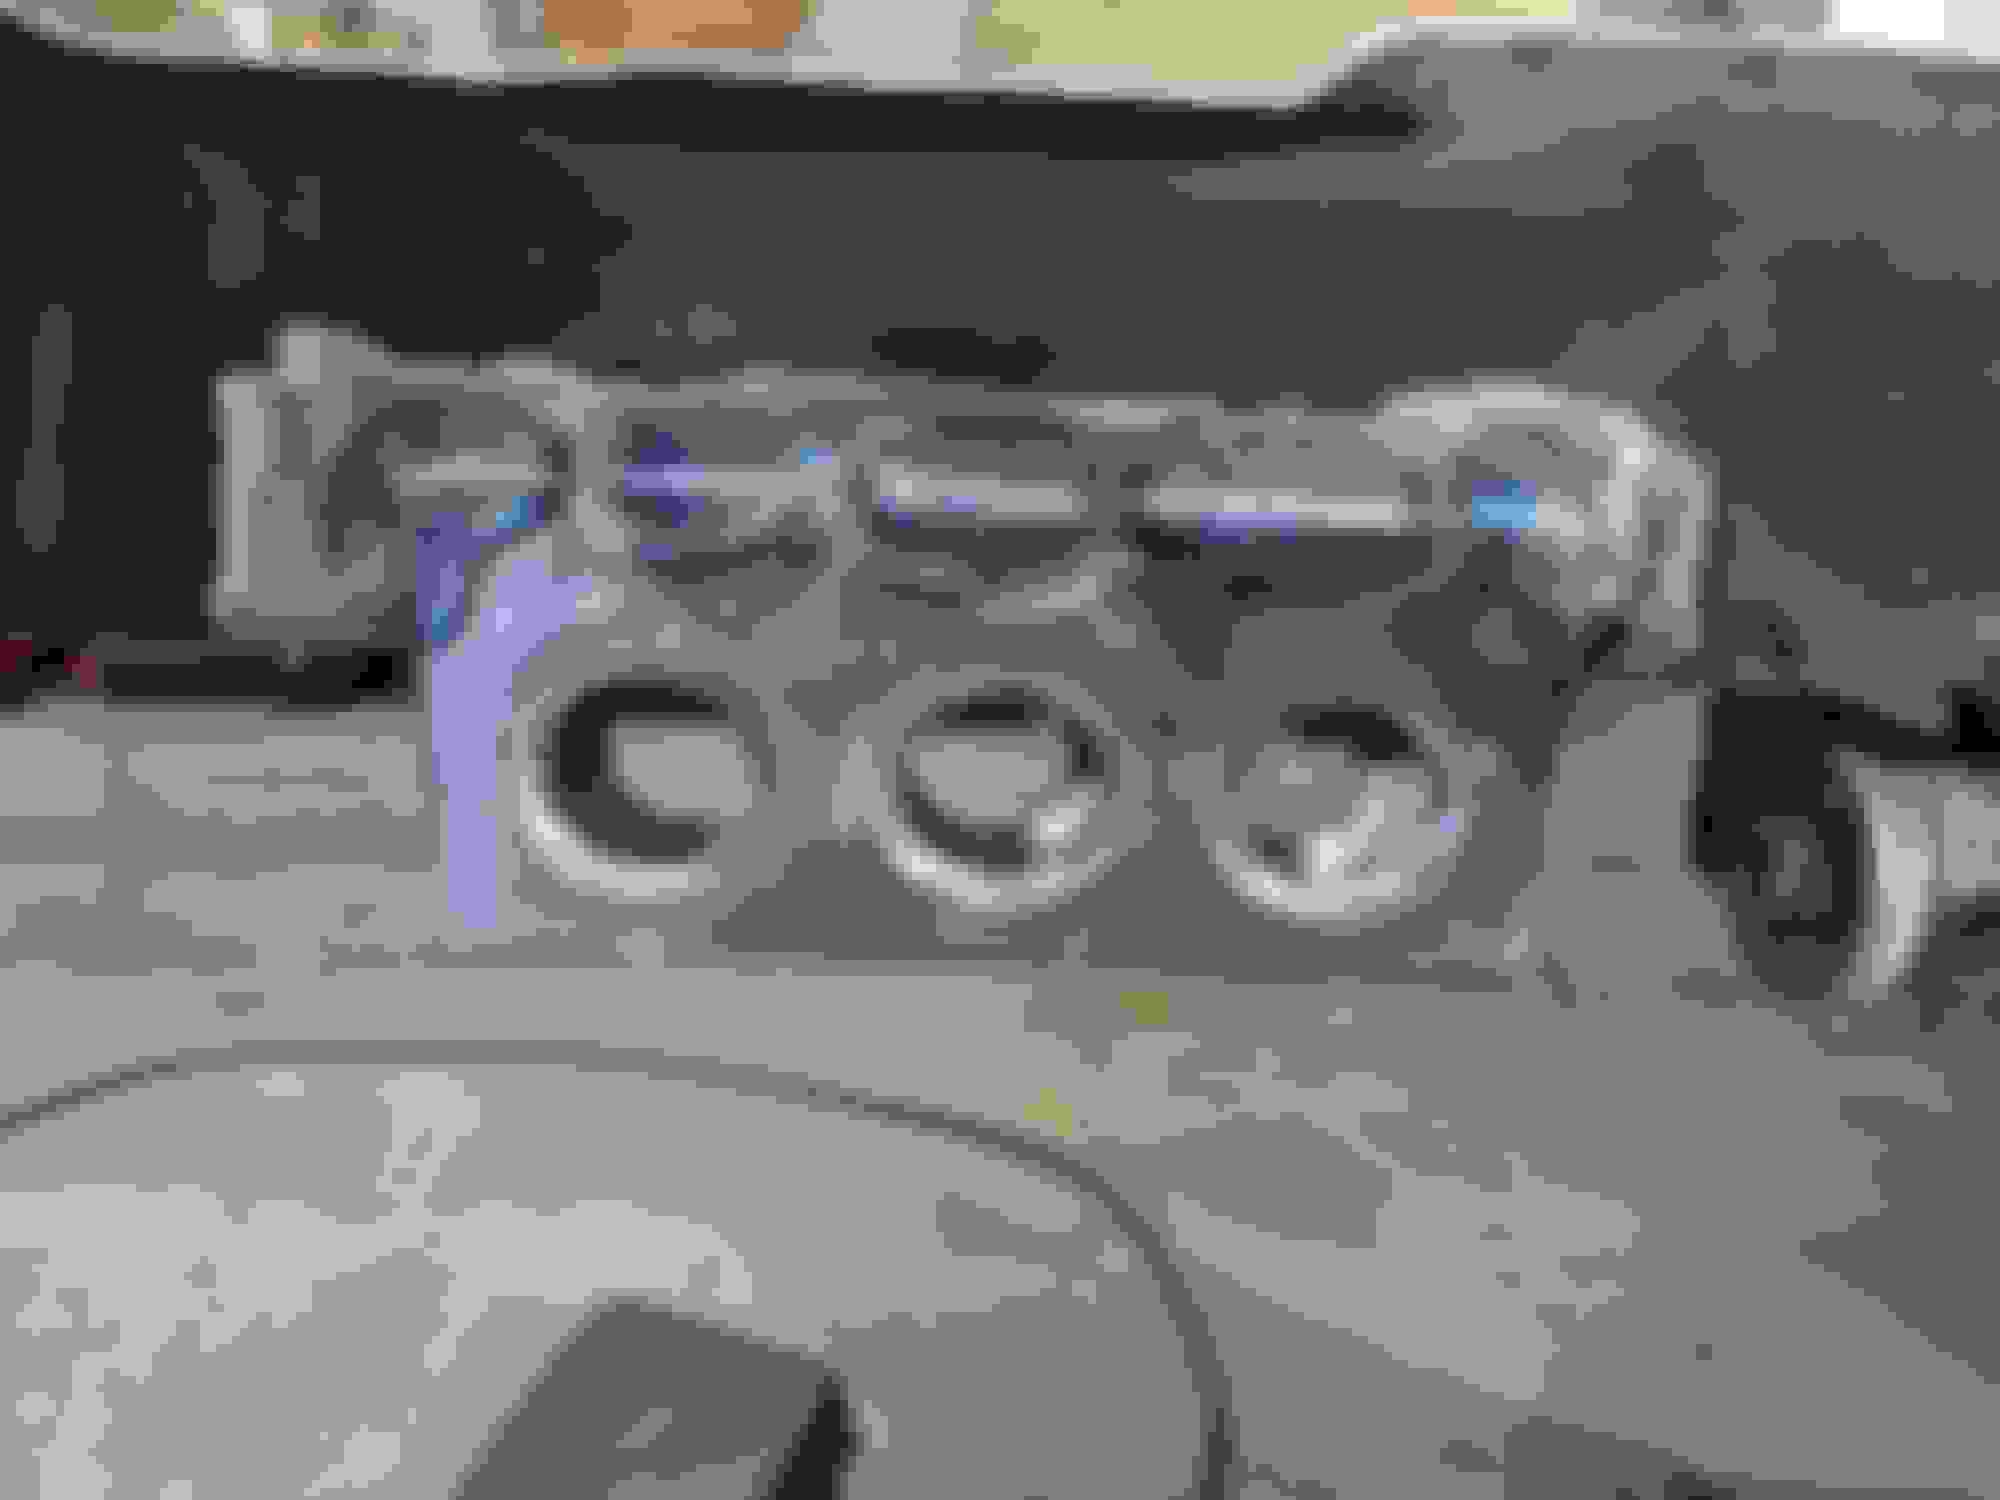
Alright, ordered some more stuff and did some other stuff. Steering rack is in, used the MiataRoadster delrin bushings and polyurethane bushing sleeve. Kind of cool that it came with Nordlocks. Other part of the roll cage got some paint, just need to clean it all up to do a high gloss clear then the lower portion of the firewall is getting DEI Gold Reflect. Also sat the oil cooler and air filter in there just to see, the headlight covers will be fixed in place over the ducting and airbox so they will be kind of hidden for a cleaner look as well. They're filthy but you get the idea. Lastly, got a Jegs aluminum cut to fit dash, will likely wrap it in the 3m textured matte carbon look vinyl.
I've done two K24A2 swaps, and with both of them, those plugs you used on the steering rack will protrude too much, you'll also want to shave down that small casting protrusion that's right where the steel tube meets the aluminum housing. The fitment to the oil pan is incredibly tight, however I'm not sure how the A2 oil pan differs to the Z3, so just an FYI. I would 100% suggest mocking up the motor/oil pan into the subframe before you paint anything else. I may have missed that post if you've already done this.
Jesus those are going to hit? The only place that has plugs is on the housing where the column comes into the rack. All the ports in the center section have been shaved and welded shut and are only like 1mm proud of the steering rack tube. I thought that was going to be good enough...
Well this is the piece I had to shave down, if that gives you any sense of how much clearance you'll have. But with the stock subframe with stock motor mount locations, fitment might be better. The mounts they're welding onto the tubular subframe for instance, are twisted so the tail of the transmission points towards the LH side of the car, so that probably affects steering rack clearance. Your rack may be much more centered.
Chopped the dash to see how it is going to fit, and also to see how the display would look through the wheel. When the display is mounted it will be another inch or so further away because I need to cut the hole for the connector, which should be perfect. Planning on doing a matte carbon fiber wrap on the dash. Hopefully the steering wheel buttons I was planning on using doesn't block too much of the lower corners of the display, this thing is almost too big for a 320mm steering wheel, but I don't think I have enough real estate with my seating position to go to a 350mm.
Waiting on backordered OEM engine parts, mainly seals and gaskets. Also waiting on the ATI balancer tool which is also backordered.
I was on eBay looking at throttle pedals and I saw an ND pedal that was mislabeled as a "dead pedal" and was only 20 dollars shipped. I took a chance that they thought it was an actual left side dead pedal due to how they had it listed in the description, but if it actually is a dead part then oh well, it was worth a shot. It showed up just fine. They're usually around $100 used and looks like this would be way easier to mount. I believe the throttle pedal in my 2014 Mazda 3 Sport daily is the same and I enjoy that for heel toe downshifting and the throw is pretty short, so we'll see how a floor mounted unit works.
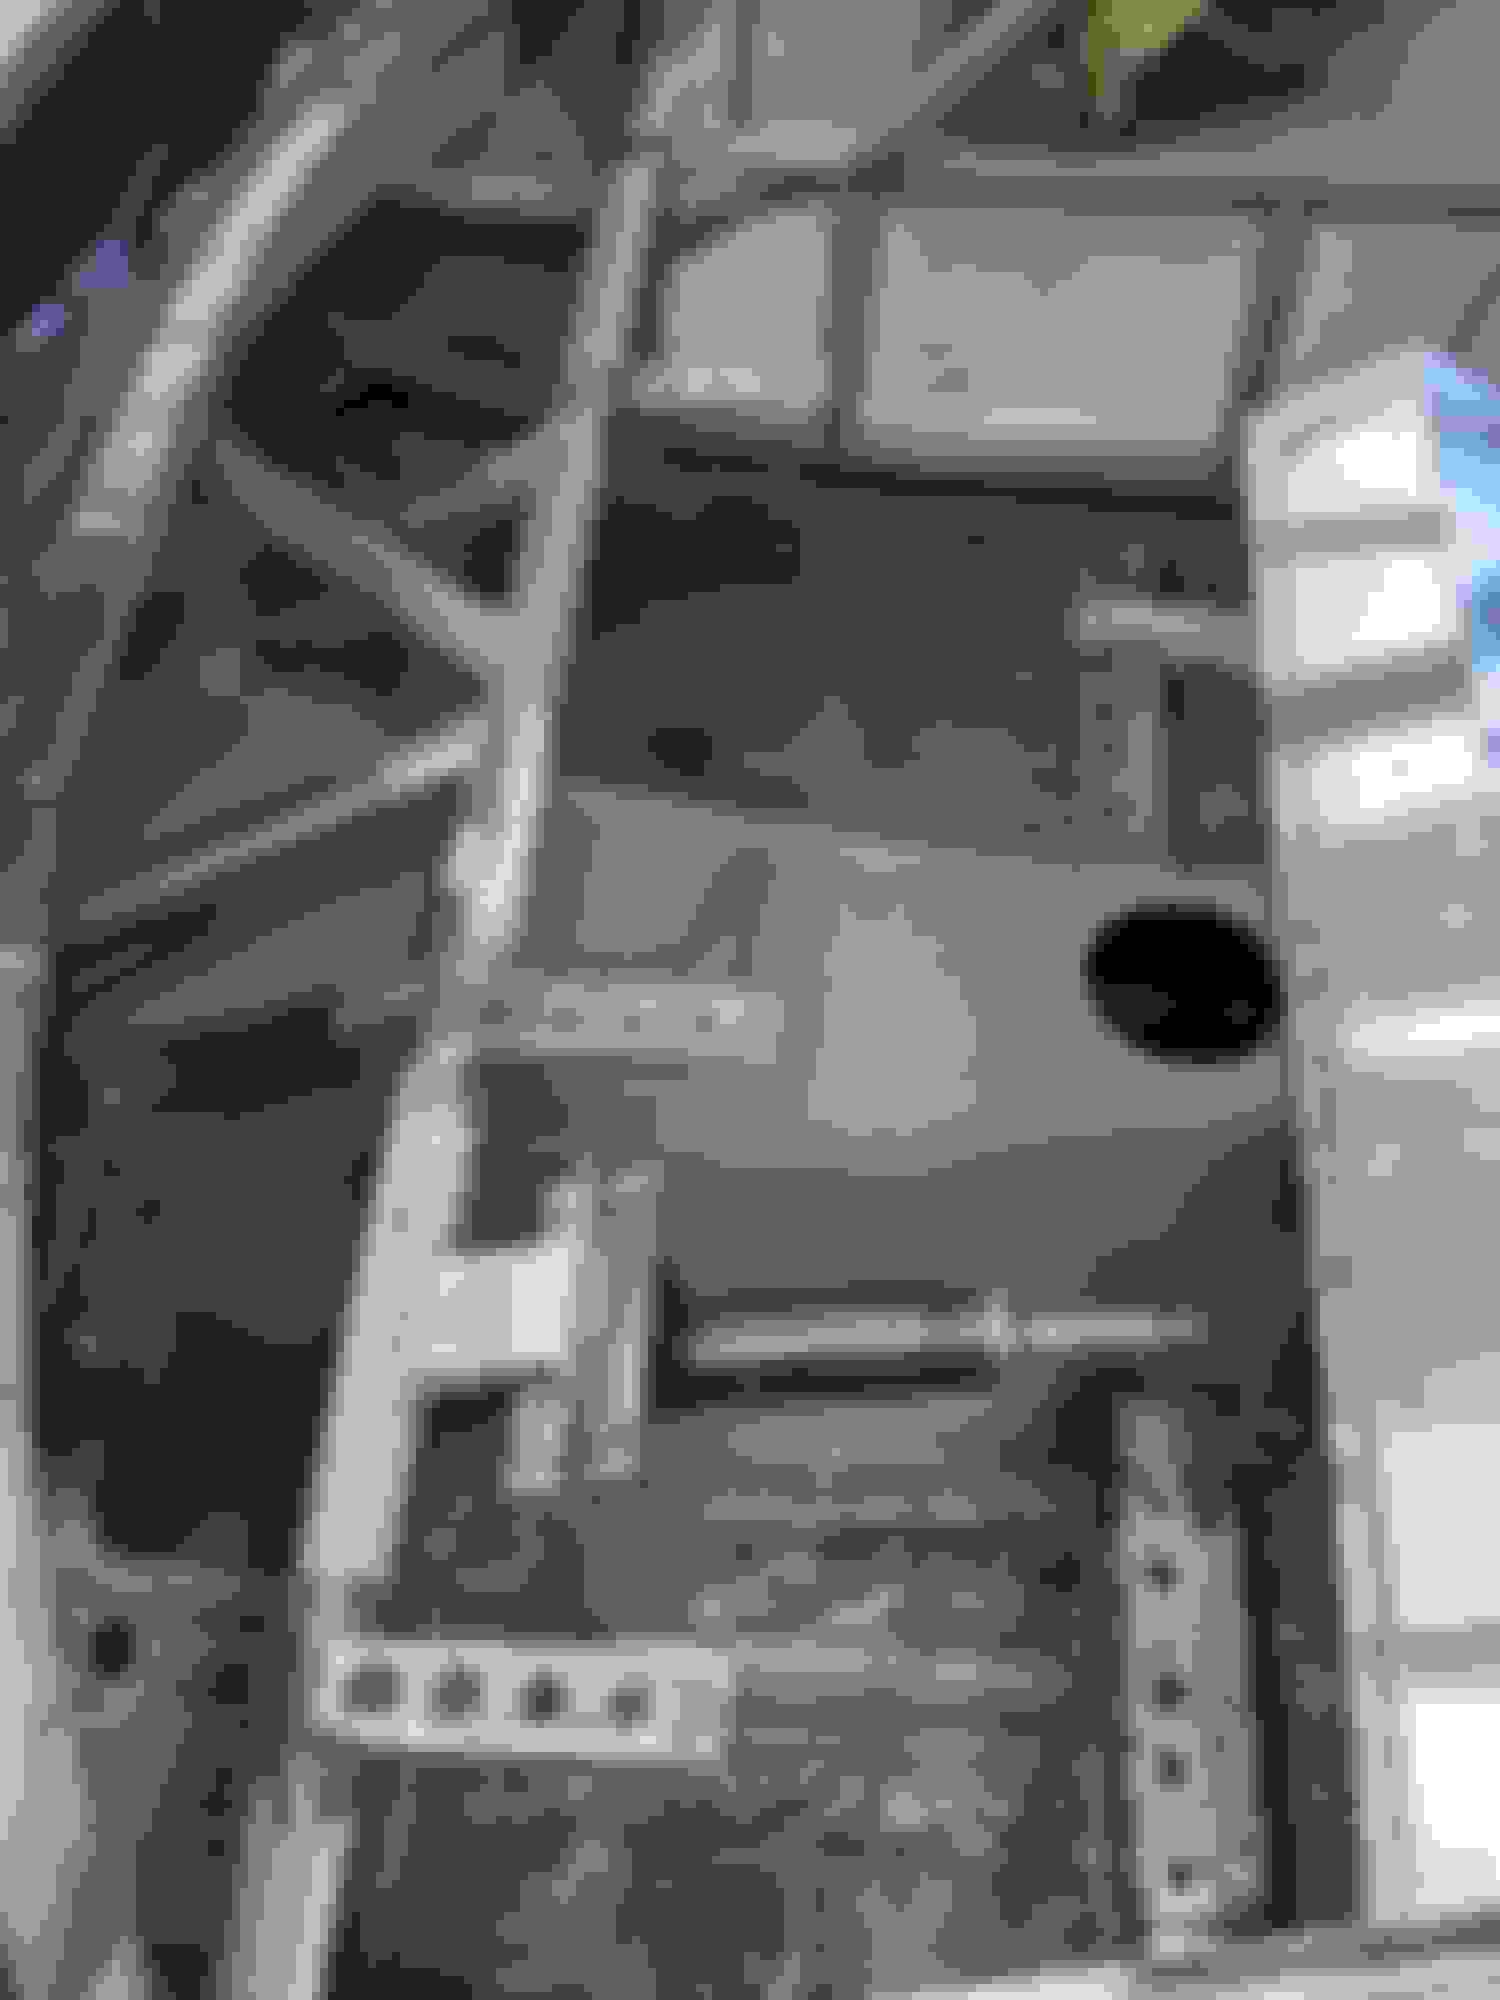
I decided to try to draw out some plans for plumbing and what I need to mount on the firewall. Pictures of some parts I plan on using and my highly technical diagram...
Now, I haven't planned out my breather setup, but your run seems very long, especially for whatever vent it is that comes out of the water pump housing area.
I hadn't thought of putting an inline cap along the rad hose on the passenger side. I can try to take some pictures of how it runs in my bay, but I think that hose is routed lower than the water housing on the back of the head. Are you planning to just run straight hose instead of the pre-formed stuff?
That Racetronix stuff looks nice!
I'm not too worried about the breather line, that's going to be the line off the back of the valve cover. I'm going to cut off the barb and weld on a male AN fitting and that line will be -10an so should be good to go.
The reason for the inline cap is because I'm leaning my SuperMiata crossflow radiator forward quite a bit and then cutting off the rad cap tube on the radiator itself and welding it shut. Should make bleeding way easier this way. The placement of the lines that I drew in is just for approximation so if I'm off by a bit for positioning just ignore that. Only meant to be a rough sketch. My routing for the radiator hose is going to be much higher than any of the typical Z3 builds I've seen because I'm attaching the inline rad cap to the roll cage bar right there.
I'm not too worried about the breather line, that's going to be the line off the back of the valve cover. I'm going to cut off the barb and weld on a male AN fitting and that line will be -10an so should be good to go.
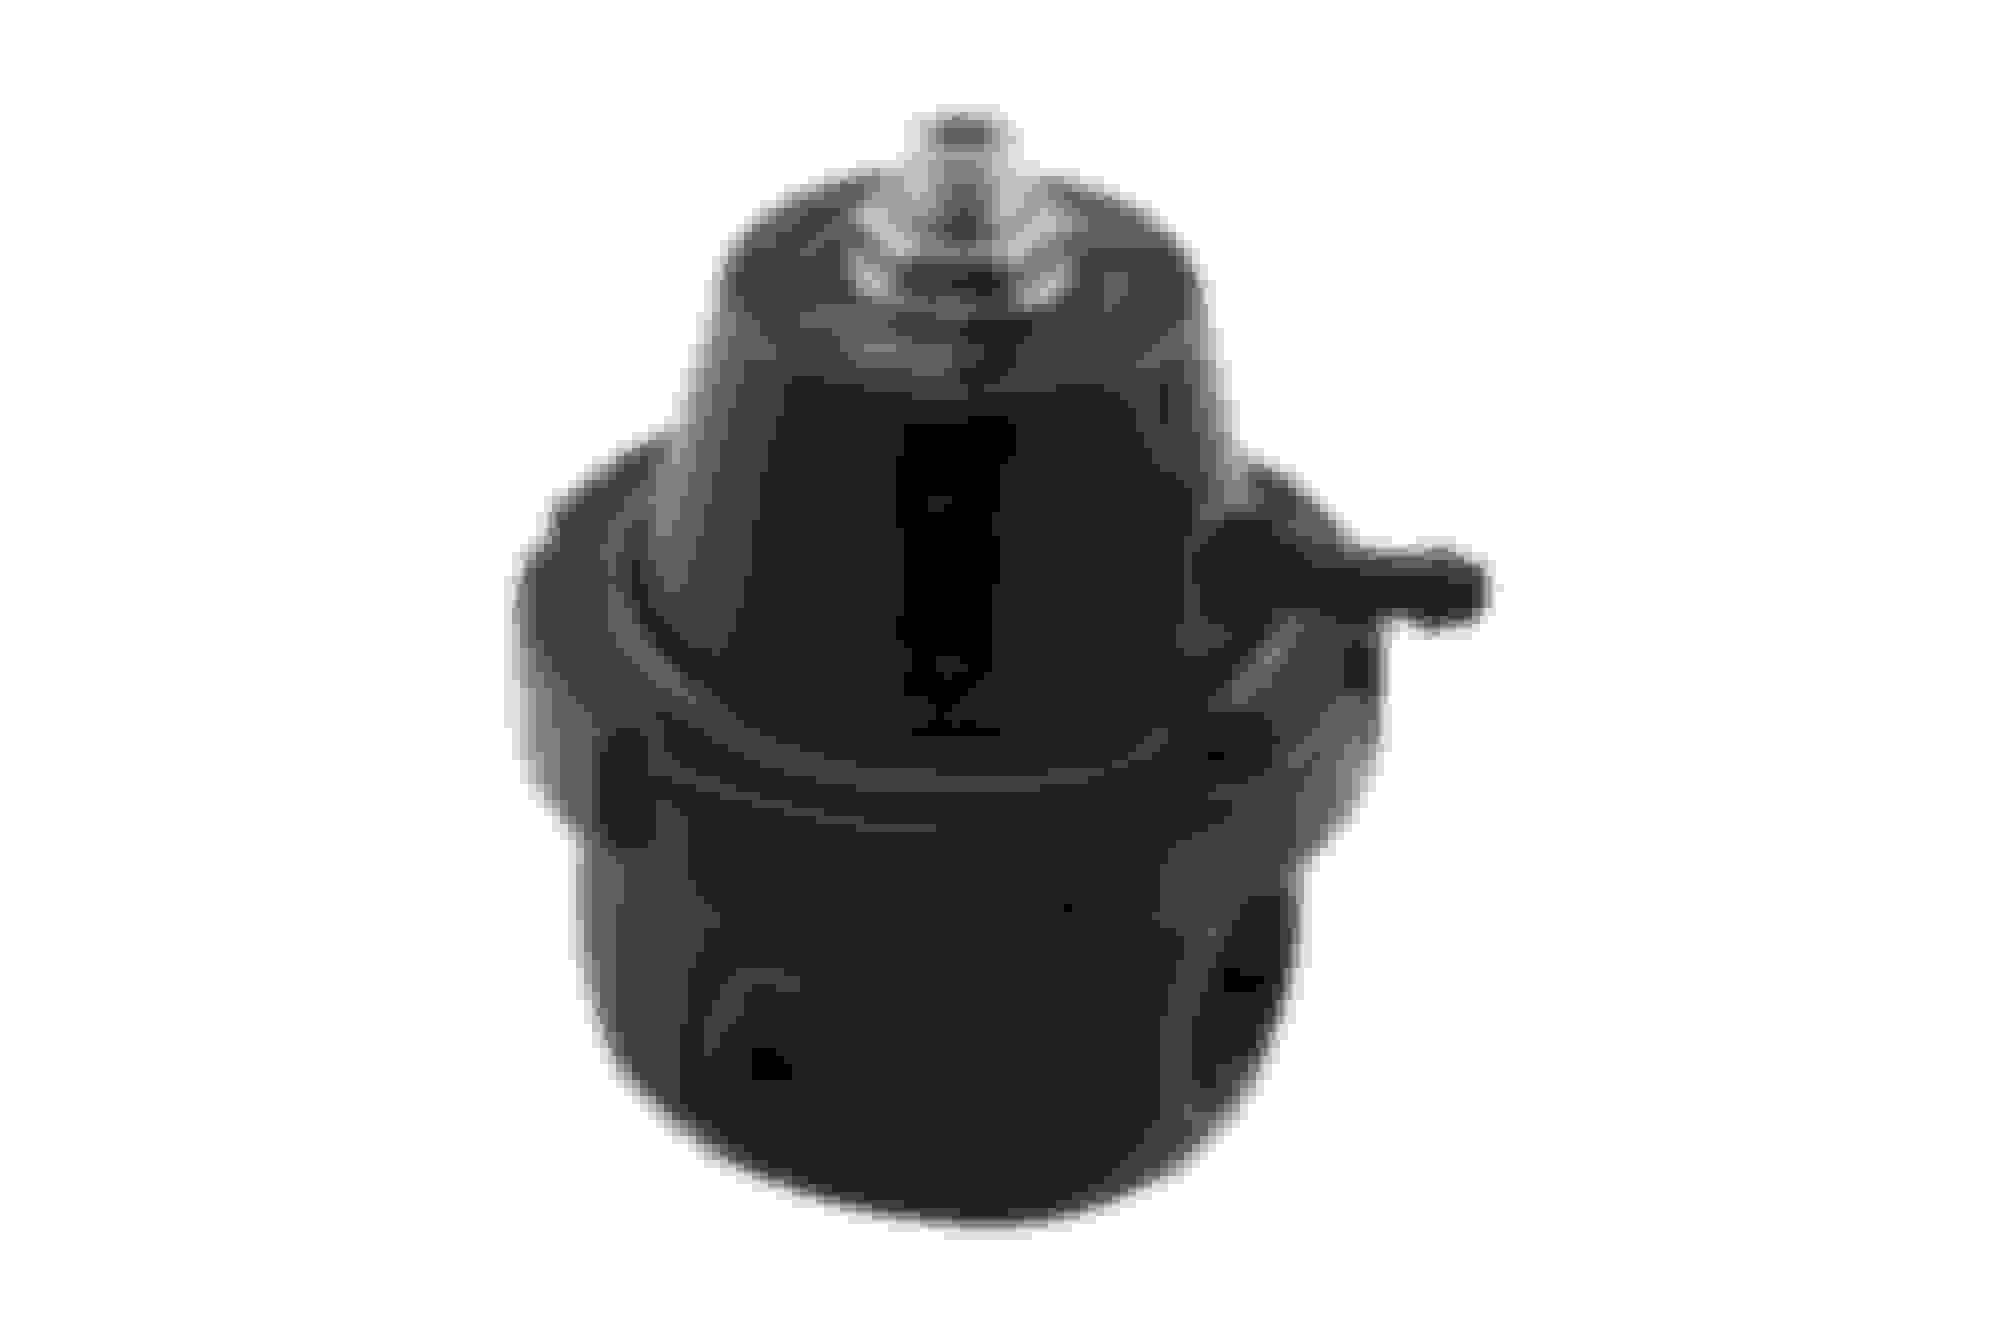
Yeah, that line makes sense to me, but what about the PCV hole near the water pump? (Shown here on left). Are you planning the plug that and run only the valve cover breather? I don't know what approach is correct.
Originally Posted by Arca_ex
The reason for the inline cap is because I'm leaning my SuperMiata crossflow radiator forward quite a bit and then cutting off the rad cap tube on the radiator itself and welding it shut. Should make bleeding way easier this way. The placement of the lines that I drew in is just for approximation so if I'm off by a bit for positioning just ignore that. Only meant to be a rough sketch. My routing for the radiator hose is going to be much higher than any of the typical Z3 builds I've seen because I'm attaching the inline rad cap to the roll cage bar right there.
Oh, I totally appreciate the reason for doing it, more so now that I know about your radiator plans. I just wasn't sure how you're going to plumb it, hose-wise. I may steal your idea somewhat, if I can figure out how to cap off my rad and put the cap inline without totally replacing the existing hose. Because you know, I need to spend more money on a system I've already completed...
Yeah, that line makes sense to me, but what about the PCV hole near the water pump? (Shown here on left). Are you planning the plug that and run only the valve cover breather? I don't know what approach is correct.
I'll have to double check but I think that PCV hole connects to the intake manifold and the valve cover breather connects to the intake pipe before the throttle body. It's so that it's passing air through the engine and actively sucking out any crank case vapors whenever the intake manifold has vacuum. From what I've seen everyone just runs the one breather line off the valve cover.
Also the inline rad cap adapter I'm using is just one of the cast aluminum ones from Moroso.
Dash mounting is done. Just needs vinyl wrap when it goes back in. Could have probably made those bottom mounts out of some thinner metal but oh well. The bends and dimples made them way stronger than we thought they would be.
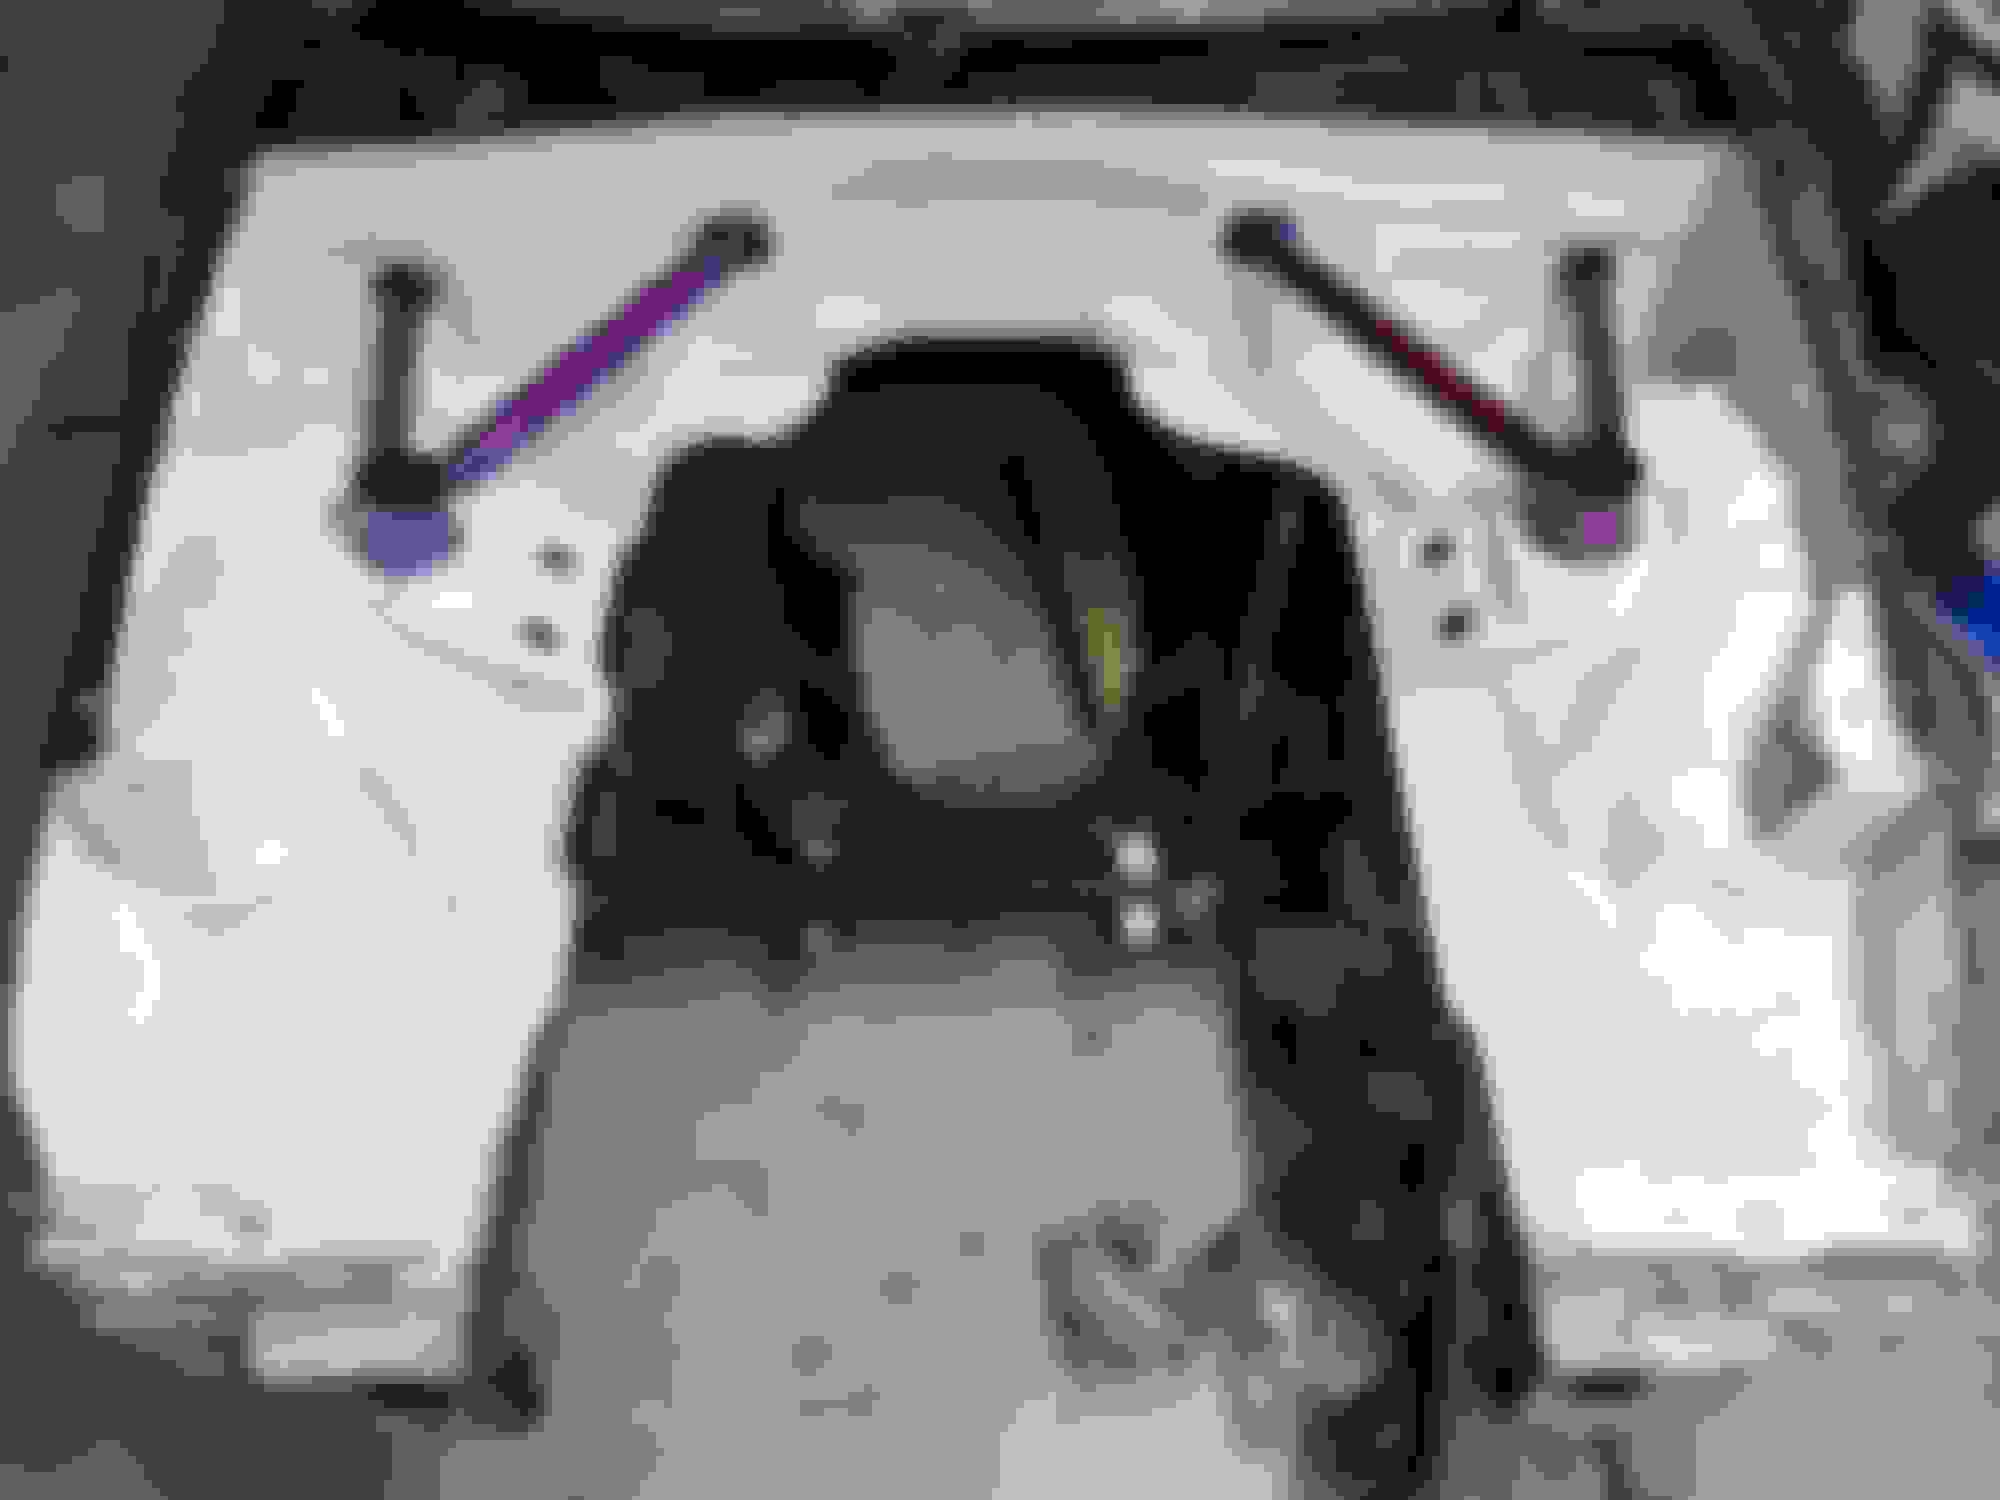
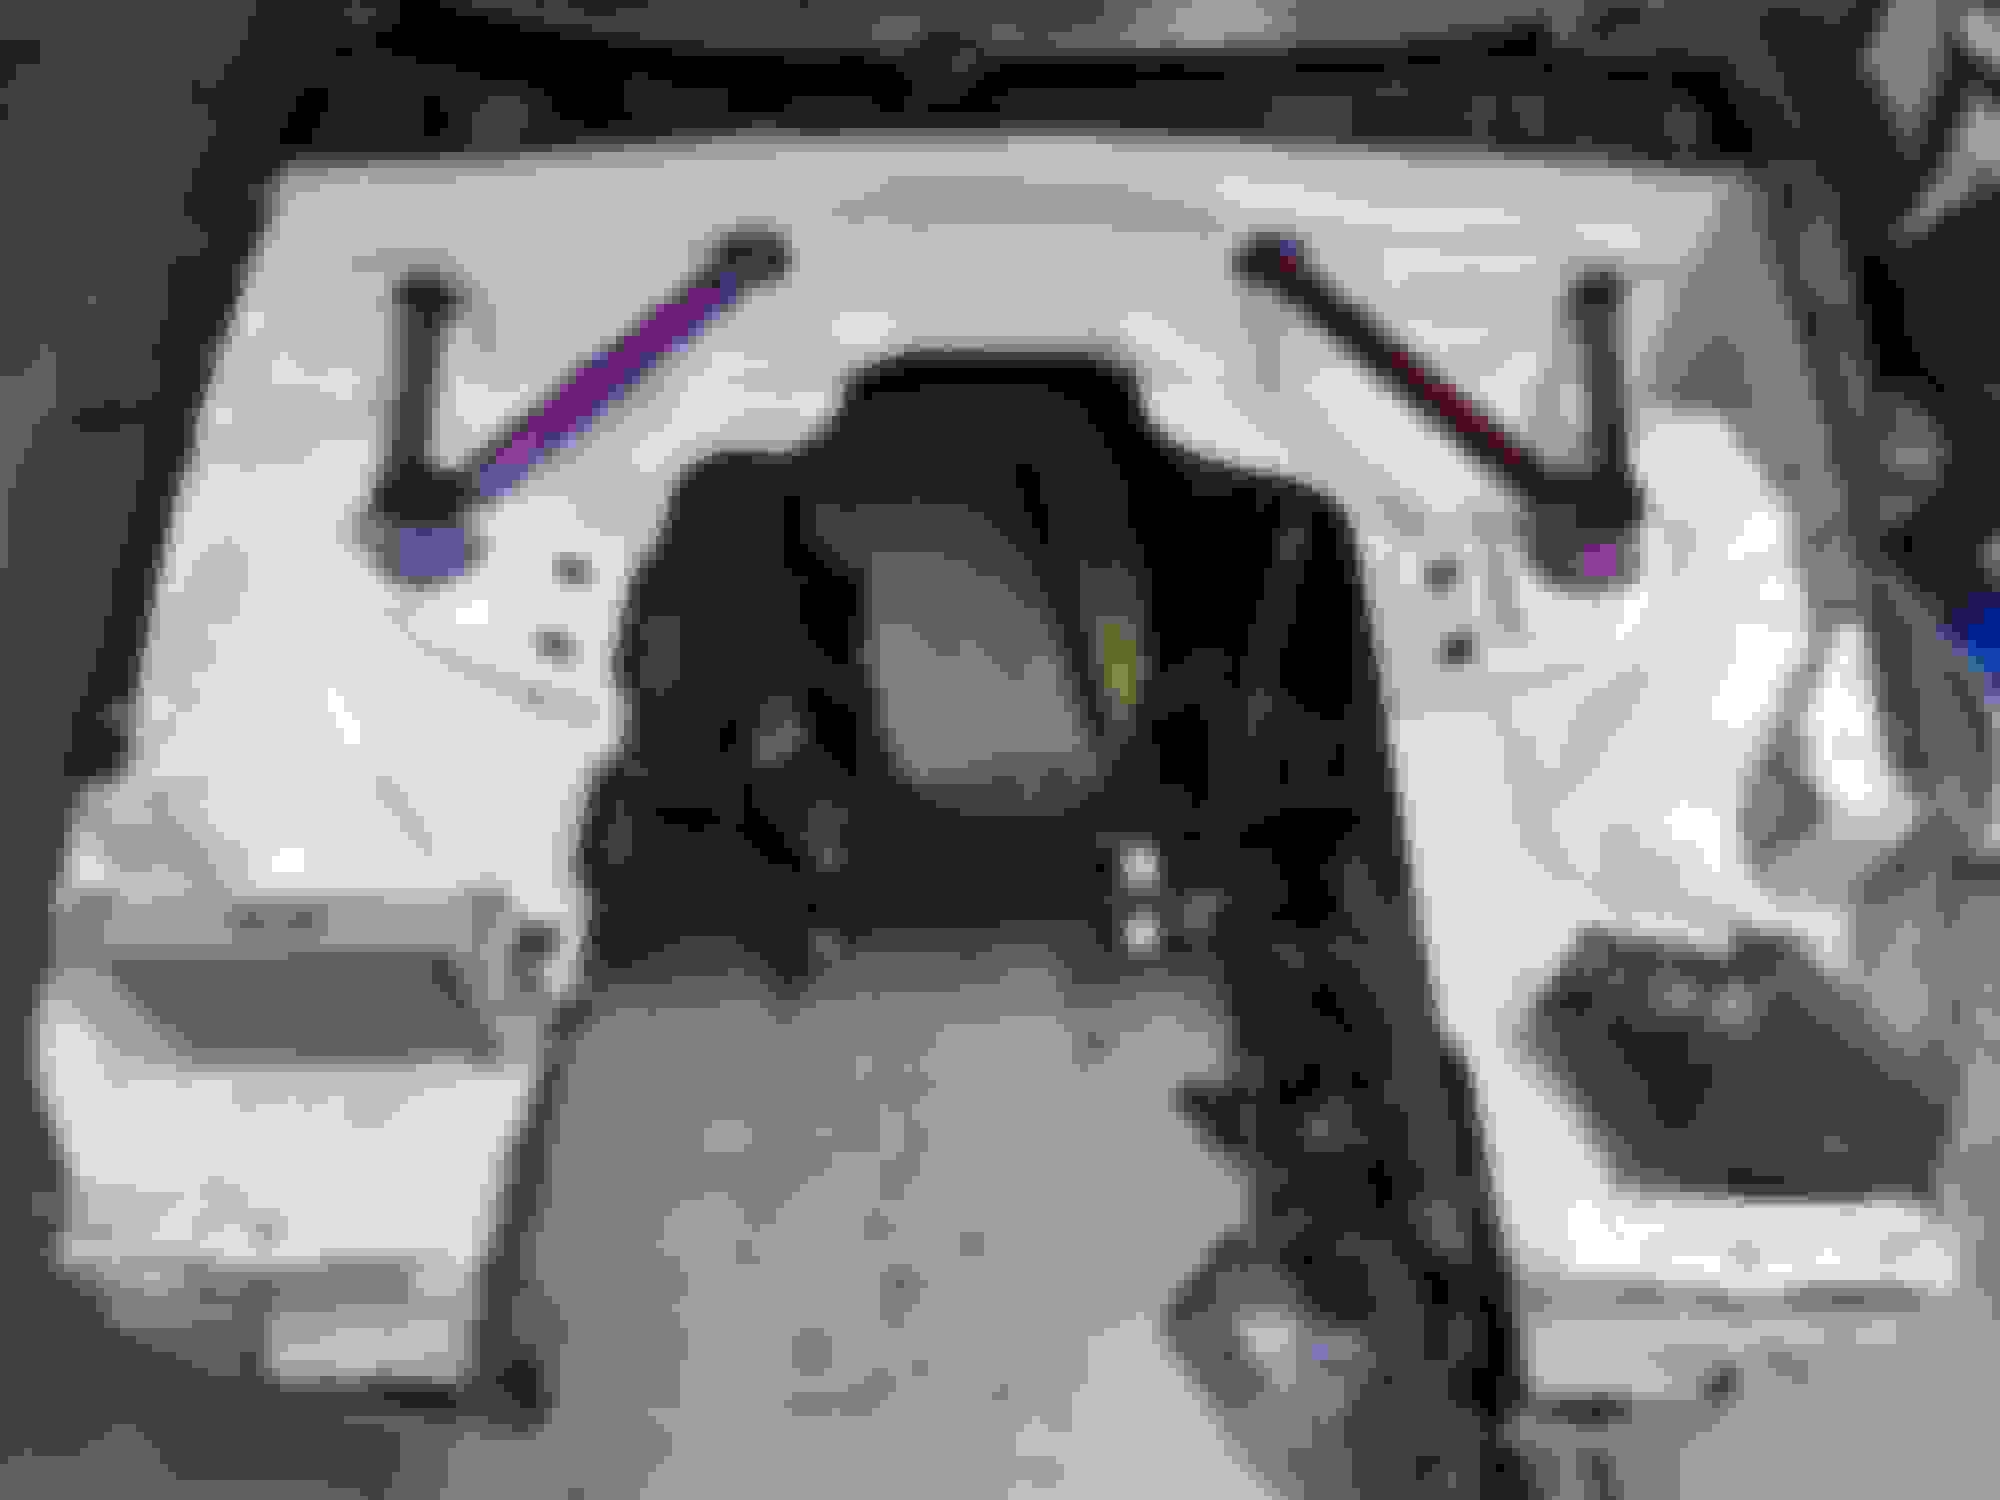
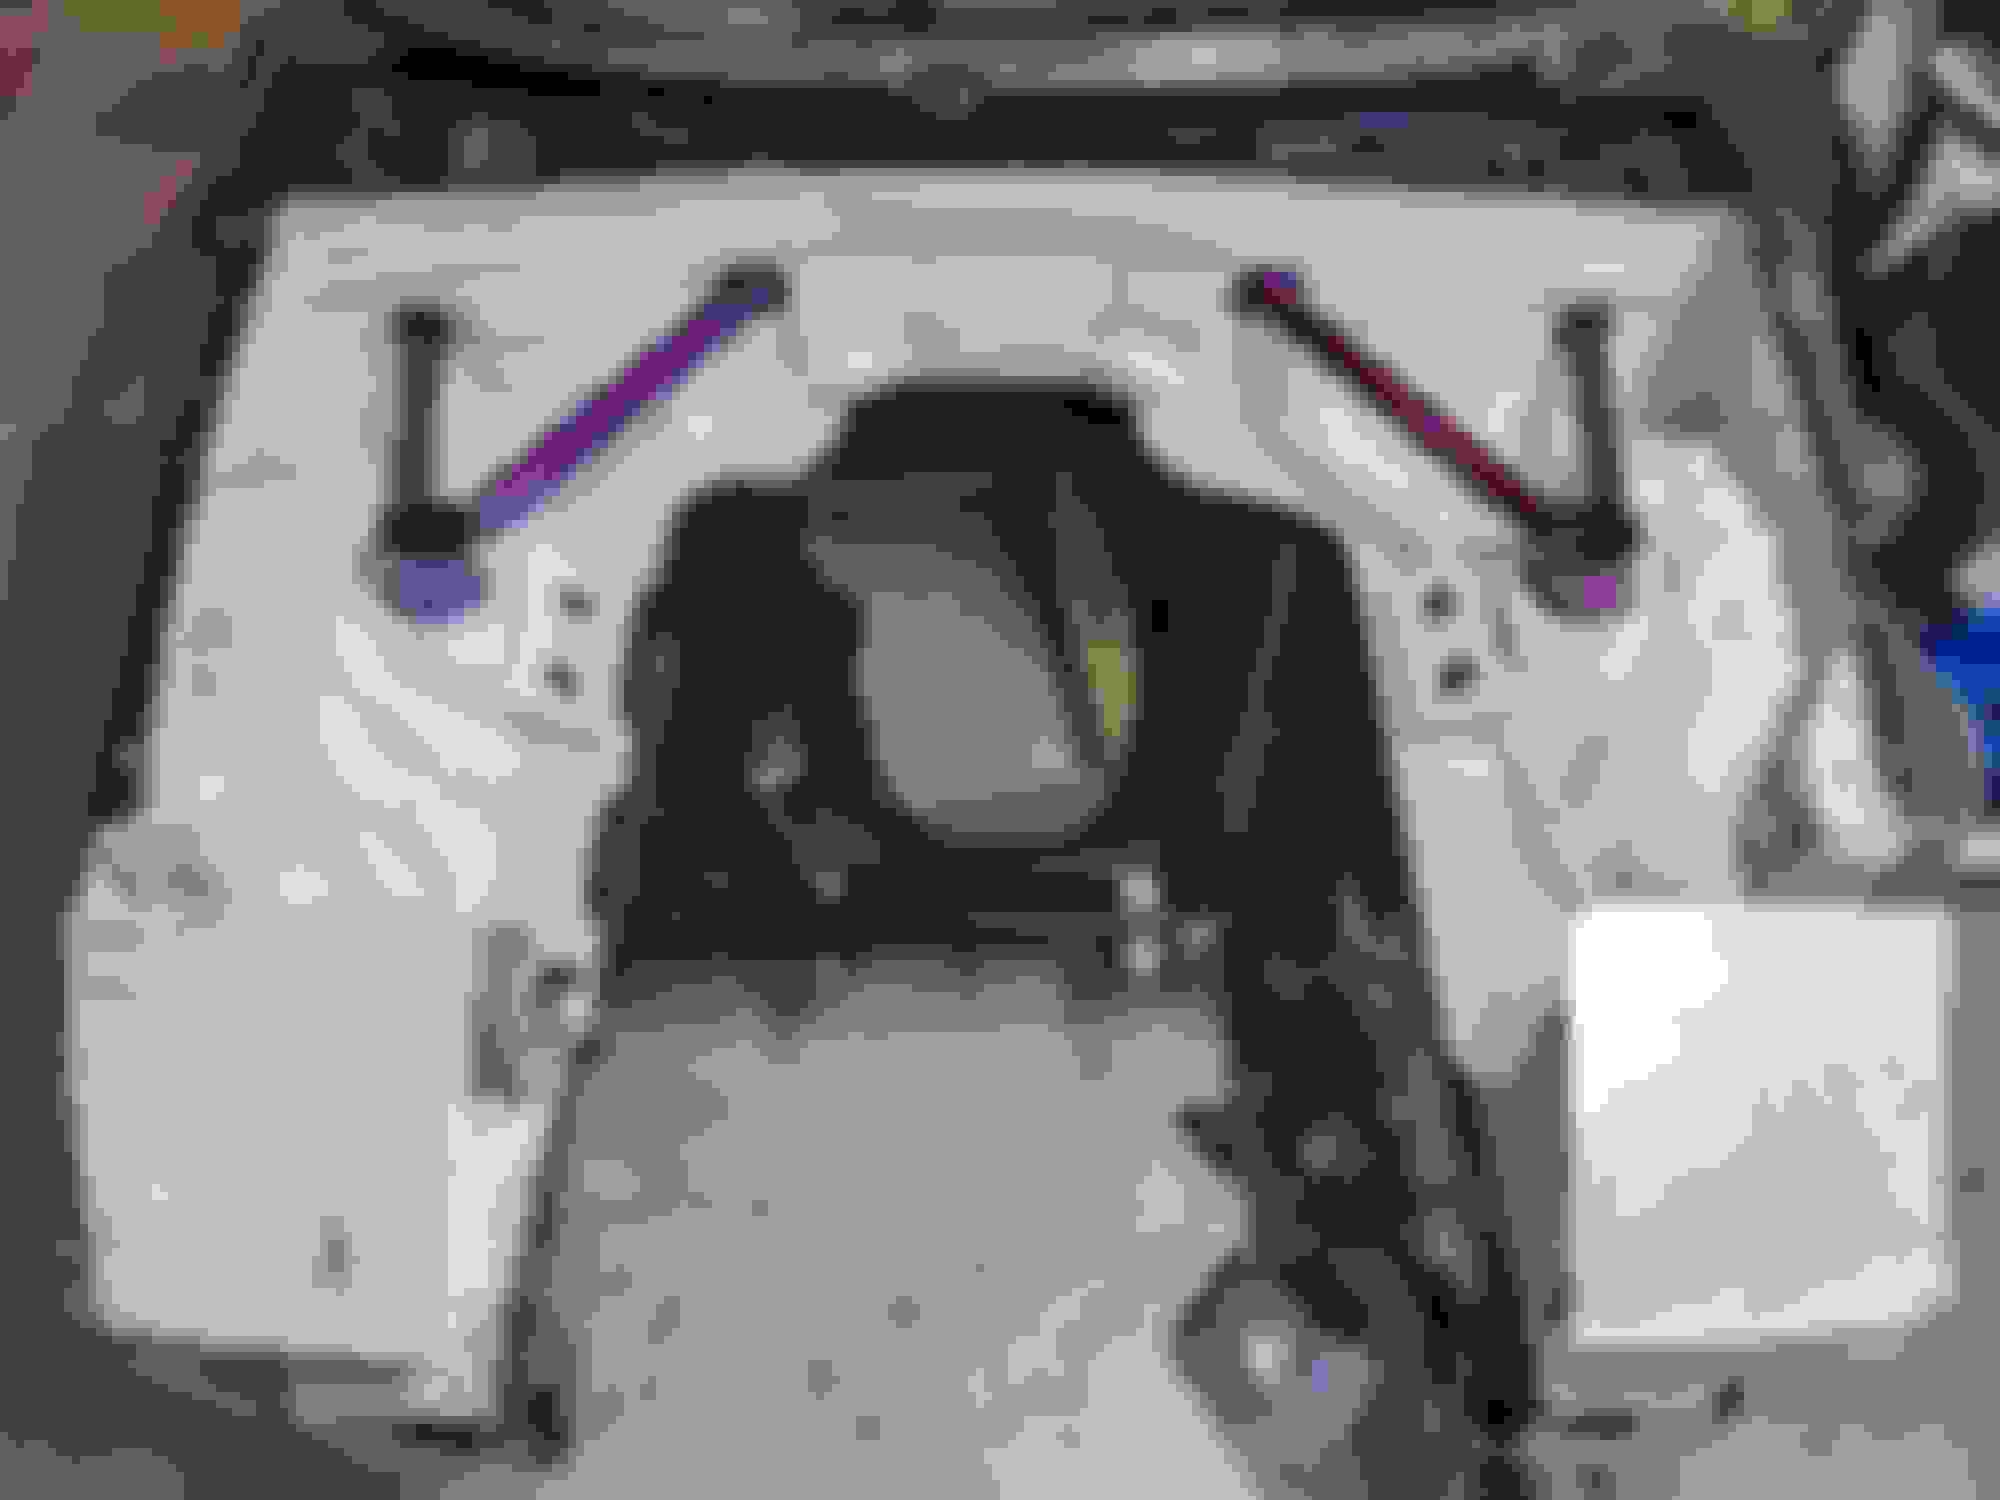
My dad ended up making some sway bar mounts. Not 100% finished yet but we were thinking of possibly manufacturing maybe a dozen bolt on sets and doing a group buy if people are interested.
Well they're in. They are also welded on the bolt hole positions and then ground flat in addition to the stitches. Fought a little bit of crud coming out of the metal but it turned out pretty decent with the Tig.
So anybody interested in these at all? They can be bolted in or welded in.
You might want to consider opening the gap around that reservoir, or using some edge trim to protect it. Aluminum edge + vibration + plastic = holes...

 07-01-2021, 02:55 PM


 1
1