
240_'s Project Paint
 04-07-2012, 06:53 PM
#102
Elite Member
Thread Starter
iTrader: (2)

Join Date: May 2007
Location: Cromwell, Connecticut
Posts: 2,606
Total Cats: 16
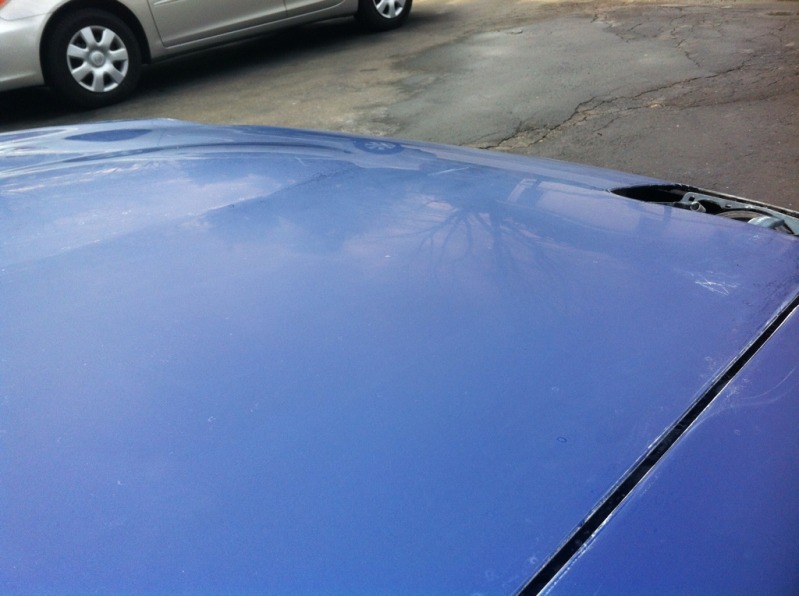
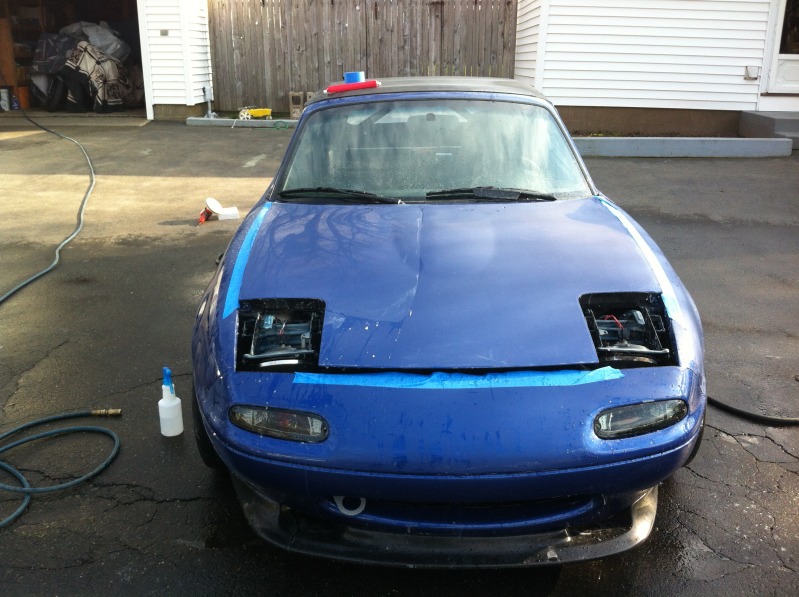
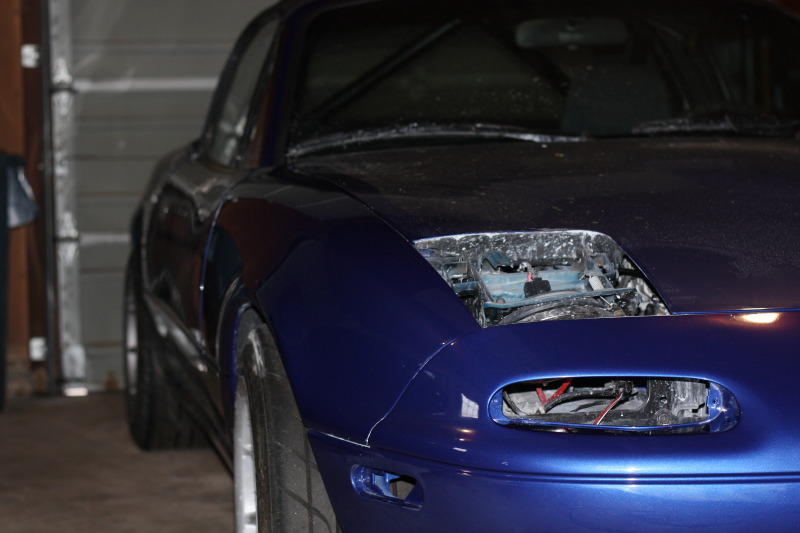
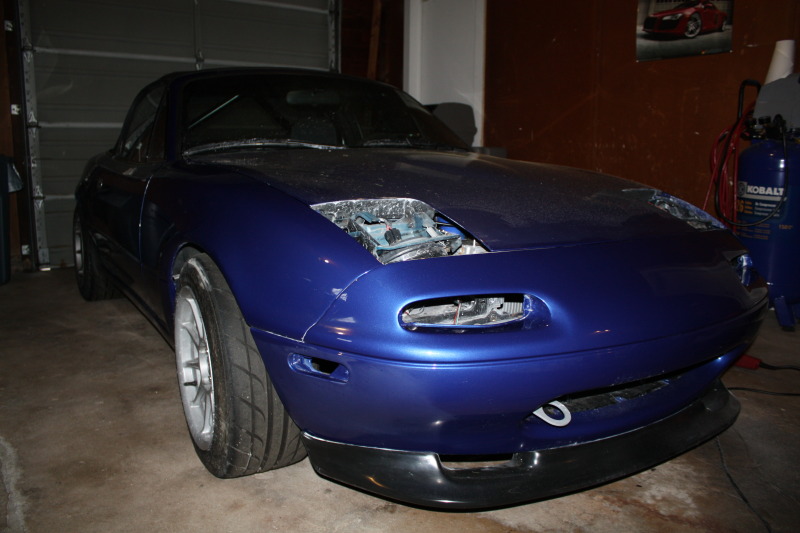
Friday I replaced my turbo coolant lines. Today I cut the entire car in 1500 using my DA and 3m pads with a soft spacer pad. I was a bit nervous because my DA is on its last legs. The bearings sound like ---- and it isnt spinning as nice as it used to. It's had a hard life.
I have to say I LOVE this 3m DA pad system. With zero pressure it will cut through quickly and leave an extremely uniform surface. It was able to take the 1000 grit scratches out like nothing. I am very glad I did originally cut with 1000 though cause it saved me A LOT of time today. I didn't have to deal with drips or orange peal. I simply had to get everything uniform and cut out some of the dust nibs the best I could. The only issue I really had was that if I didnt clean and wet the pad enough I would get some curly q scratches from the DA. All I had to do to remove them was throw on a new pad and go across the area again. Oh yeah... it also made a HUGE mess.
Tomorrow I am going to hopefully cut with 3000 grit, but I have a cold and feel like crap so we will see.
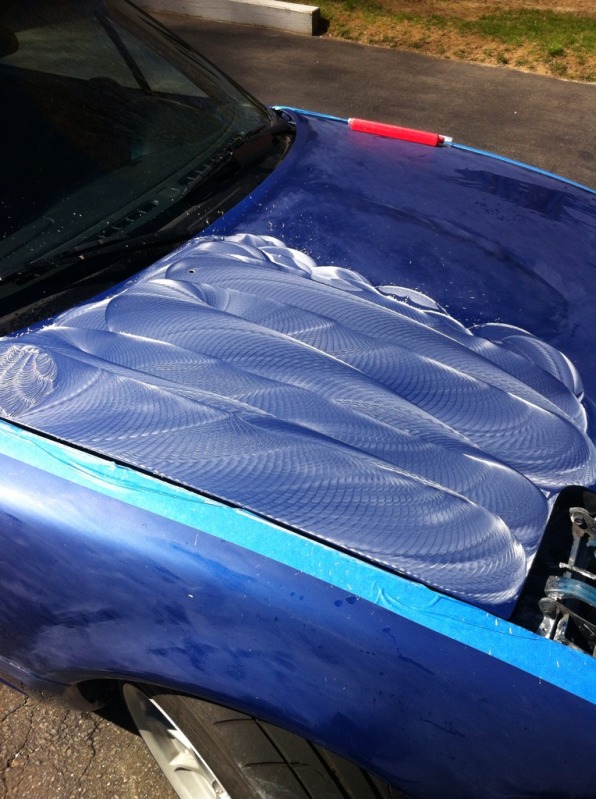
1500 grit is upper left corner:
I have to say I LOVE this 3m DA pad system. With zero pressure it will cut through quickly and leave an extremely uniform surface. It was able to take the 1000 grit scratches out like nothing. I am very glad I did originally cut with 1000 though cause it saved me A LOT of time today. I didn't have to deal with drips or orange peal. I simply had to get everything uniform and cut out some of the dust nibs the best I could. The only issue I really had was that if I didnt clean and wet the pad enough I would get some curly q scratches from the DA. All I had to do to remove them was throw on a new pad and go across the area again. Oh yeah... it also made a HUGE mess.
Tomorrow I am going to hopefully cut with 3000 grit, but I have a cold and feel like crap so we will see.
1500 grit is upper left corner:

Reply
 0
0

0
 04-07-2012, 07:00 PM
#104
Elite Member
Thread Starter
iTrader: (2)
Join Date: May 2007
Location: Cromwell, Connecticut
Posts: 2,606
Total Cats: 16
No. I thought I did in one spot where I was going over somewhere that I already had a paint error (fisheye on the rear panel next to the frank bolts)
its 3000 and polish now...so hopefully (fingers crossed) my chances of burning through are pretty much over.
its 3000 and polish now...so hopefully (fingers crossed) my chances of burning through are pretty much over.
Reply
0
0
04-08-2012, 10:53 AM
#105
Elite Member
Thread Starter
iTrader: (2)
Join Date: May 2007
Location: Cromwell, Connecticut
Posts: 2,606
Total Cats: 16
Martin, Looks like there is no way I'll be taking this to the Uconn show next weekend. I have a bad cold so I am not touching the car today. I hope to have it ready for polish by saturday but that depends on weather and work.
I might end up taking the MINI to autox that day, or maybe convince Evan to let me co-drive his NB.
I might end up taking the MINI to autox that day, or maybe convince Evan to let me co-drive his NB.
Reply
0
0
 04-09-2012, 07:42 PM
#108
Elite Member
Thread Starter
iTrader: (2)
Join Date: May 2007
Location: Cromwell, Connecticut
Posts: 2,606
Total Cats: 16
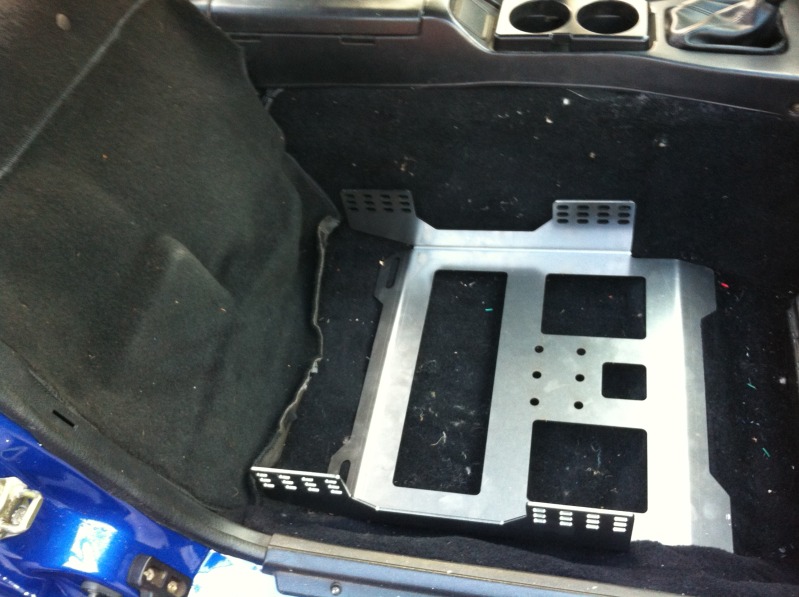
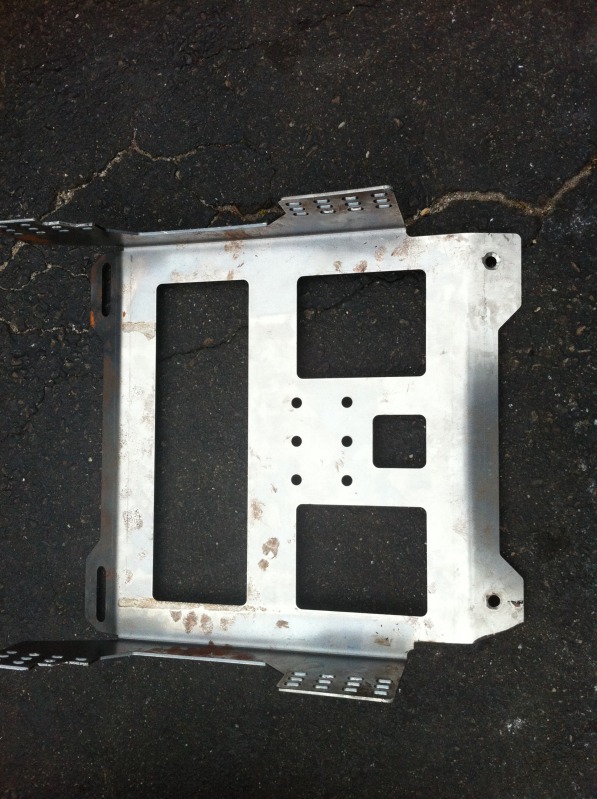
Got my seat brackets from the shop today...
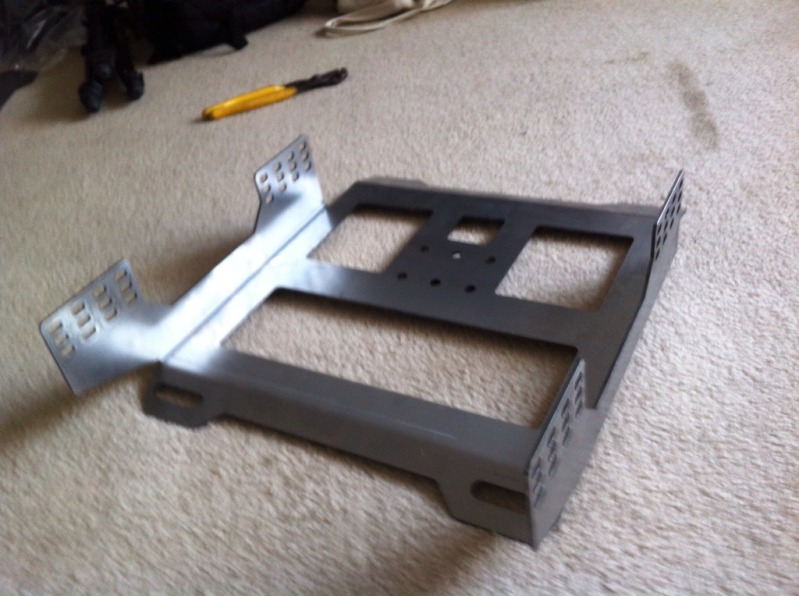
I test fit them on the seat and they are a bit tight on the front but should work. I didnt realize the seat had a slight taper to it when I drew up the brackets. I cant wait to get them in the car and see how they fit.
I test fit them on the seat and they are a bit tight on the front but should work. I didnt realize the seat had a slight taper to it when I drew up the brackets. I cant wait to get them in the car and see how they fit.
Reply
0
0
 04-10-2012, 08:48 PM
#111
Elite Member
Thread Starter
iTrader: (2)
Join Date: May 2007
Location: Cromwell, Connecticut
Posts: 2,606
Total Cats: 16
Yeah I wish it was going to be done, but i still feel like crap, and I am traveling for work a day or 2 this week.
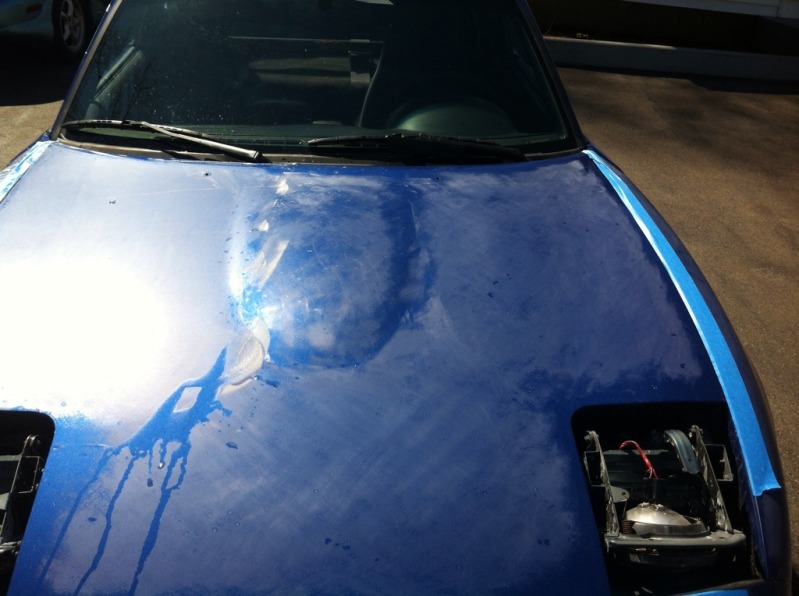
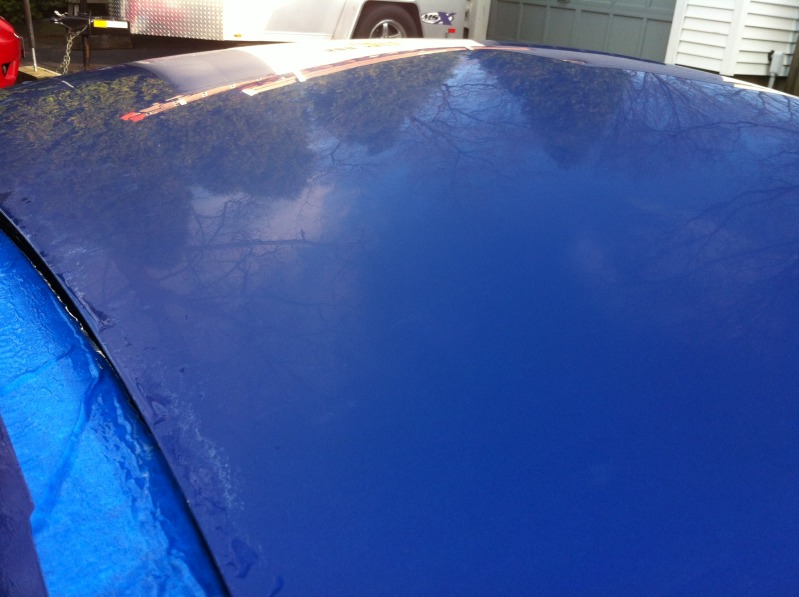
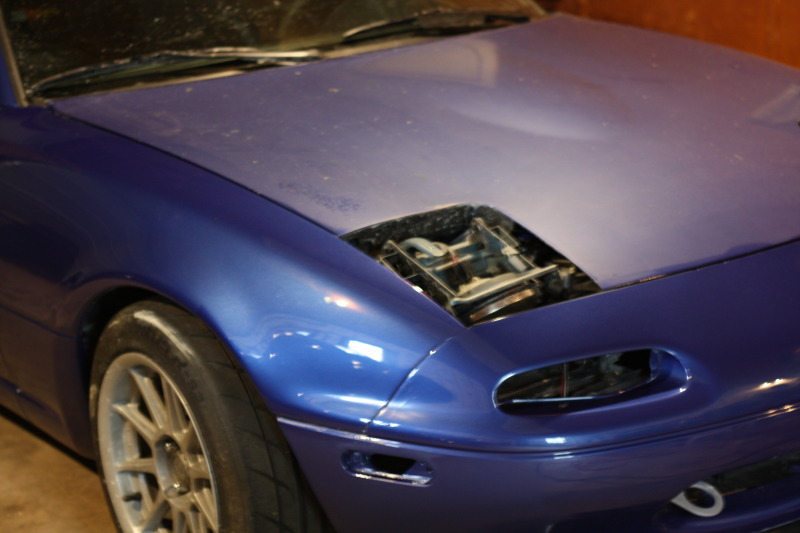
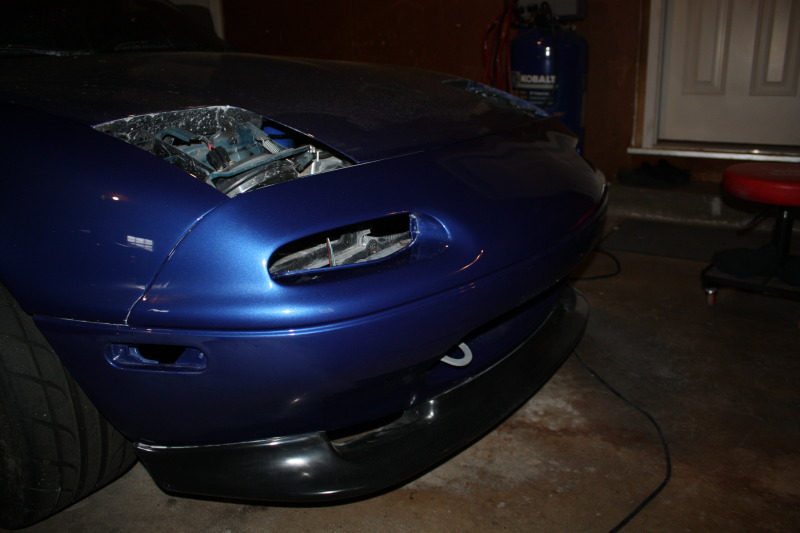
Did a bit of 3000 grit today. Hood & trunk lid...
upper left corner is 3000
whole hood
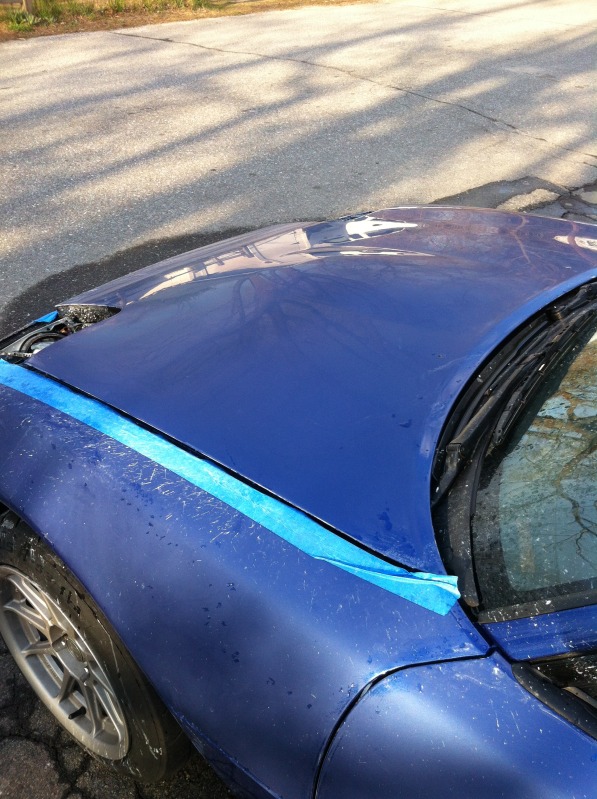
Trunk
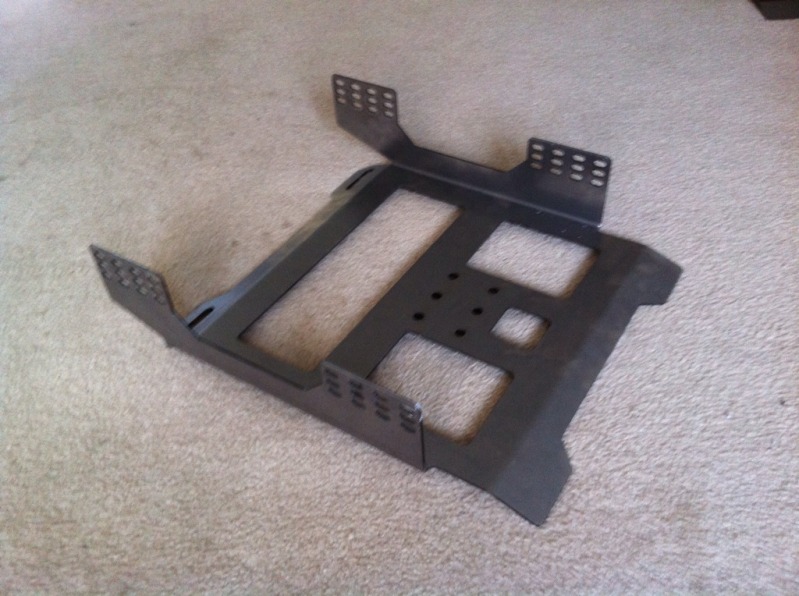
Set bracket just sitting there. Still have to drill the front holes. Ignore the dirty carpet.
Did a bit of 3000 grit today. Hood & trunk lid...
upper left corner is 3000
whole hood
Trunk
Set bracket just sitting there. Still have to drill the front holes. Ignore the dirty carpet.
Reply
0
0
04-20-2012, 09:33 PM
#112
Elite Member
Thread Starter
iTrader: (2)
Join Date: May 2007
Location: Cromwell, Connecticut
Posts: 2,606
Total Cats: 16
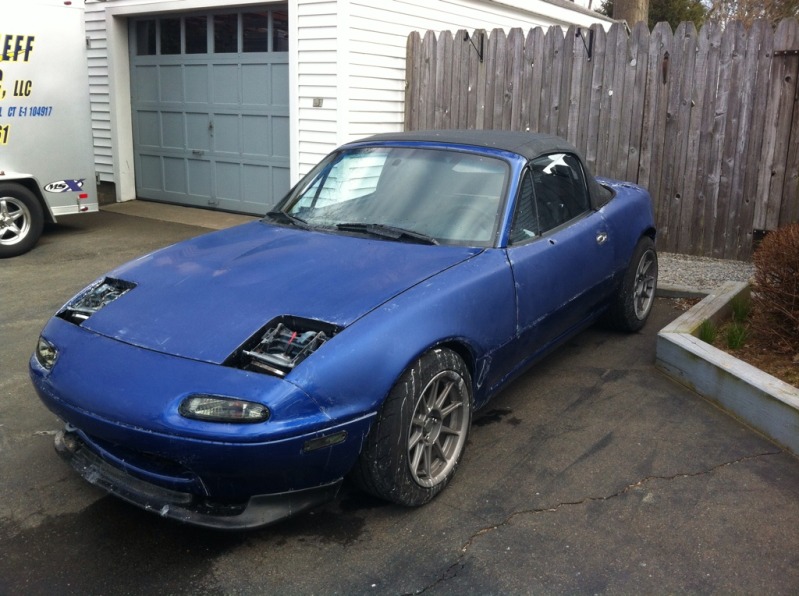
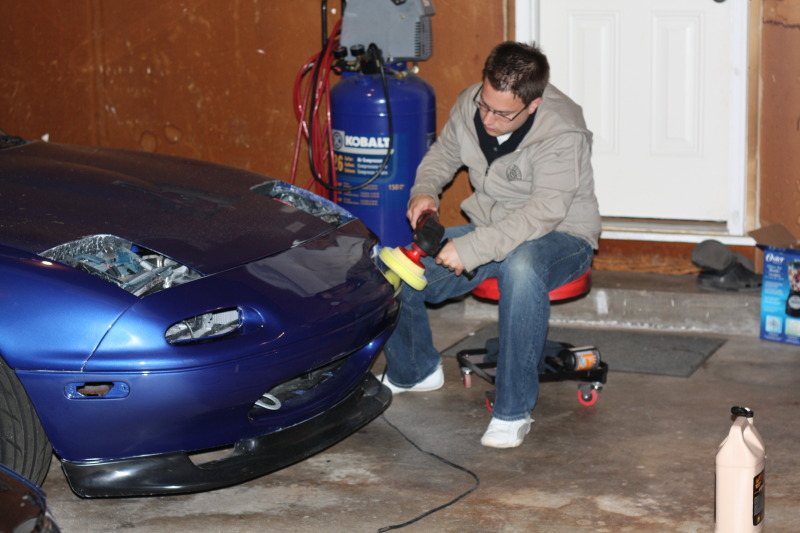
I test fit my seats and modified the brackets as needed. I am going to paint them at work next week.
I also drove the car up to my friends garage so we can begin buffing it. I cant wait!
I also drove the car up to my friends garage so we can begin buffing it. I cant wait!
Reply
0
0
04-21-2012, 08:35 PM
#113


Not to hi jack your thread, but that seat bracket is awesome. I would like more info on it, and if they can be purchased. I need one for my passenger side.
Also, I took on the body work of my Miata, except I went with just plain white. Actually the car is still in primer, kinda swaying towards going with a pearl white of some sort. Doing the high build and guide paint after all the hammering and body filler was pretty rewarding. Like you said, some of the lines arent as crisp as I'd like, but it looks 100% better. The hardest part for me was in the passenger door. It got hit and it was right in that line that runs around the car. That was a PITA. But yours looks great! Did you match the engine bay? What about bottoms of the hood and trunk?
Also, I took on the body work of my Miata, except I went with just plain white. Actually the car is still in primer, kinda swaying towards going with a pearl white of some sort. Doing the high build and guide paint after all the hammering and body filler was pretty rewarding. Like you said, some of the lines arent as crisp as I'd like, but it looks 100% better. The hardest part for me was in the passenger door. It got hit and it was right in that line that runs around the car. That was a PITA. But yours looks great! Did you match the engine bay? What about bottoms of the hood and trunk?
Reply
0
0
04-21-2012, 08:55 PM
#114
Elite Member
Thread Starter
iTrader: (2)
Join Date: May 2007
Location: Cromwell, Connecticut
Posts: 2,606
Total Cats: 16
Great to here someone else doing body work. The engine bay is black. I hate body colored engine bays. The under side of the hood and trunk lid are matched tho.
As for the seat brackets, I took rough measurements, and came up with a design that would work for both the driver and passenger. I designed them as "blanks" with the intention of cutting and drilling as needed at assembly. I took my dimensions and drew it up in Autodesk Inventor (3d cad) and then sent it to one of our suppliers at work to be laser cut.
I wasn't planning on selling any purely because I took some "inspiration" from a vendor on CR.net and I didn't want to stomp on any ones parade.
http://clubroadster.net/vb_forum/sho...=seat+brackets
I only made 3... 2 for me and one for my friends NB. I don't know if that guy offers passenger side seat brackets. If he doesn't, come back to me and I will see what I can do. Only issue is that I can't get these in a rush. They get put in cue behind all of my companies parts so they tend to take forever.
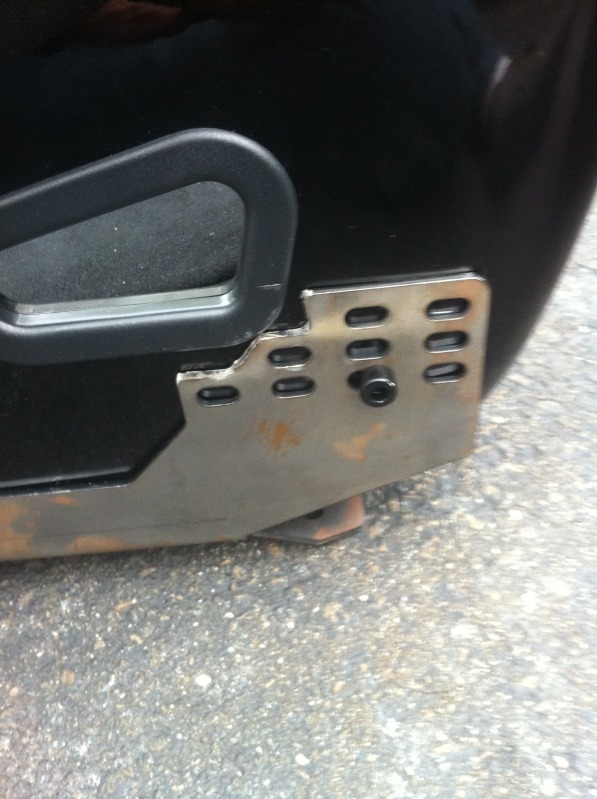
Here are some pics of my hack job mods to the seat brackets:
unmodified pass seat: Didn't drill holes yet in this pic

drivers seat with the holes drilled and corner trimmed to fit around the tunnel.
Clearing around the seat belt hole. Wasn't necessary, but I didn't want to rub.
Head clearance with my seat in the bottom hole... I might have some bolt clearance issues on the floor mount, but I love how low it is so I will probably end up modding the seat to fit or using button heads.

I will post more pics when I paint the brackets and mount the seats for good.
As for the seat brackets, I took rough measurements, and came up with a design that would work for both the driver and passenger. I designed them as "blanks" with the intention of cutting and drilling as needed at assembly. I took my dimensions and drew it up in Autodesk Inventor (3d cad) and then sent it to one of our suppliers at work to be laser cut.
I wasn't planning on selling any purely because I took some "inspiration" from a vendor on CR.net and I didn't want to stomp on any ones parade.
http://clubroadster.net/vb_forum/sho...=seat+brackets
I only made 3... 2 for me and one for my friends NB. I don't know if that guy offers passenger side seat brackets. If he doesn't, come back to me and I will see what I can do. Only issue is that I can't get these in a rush. They get put in cue behind all of my companies parts so they tend to take forever.
Here are some pics of my hack job mods to the seat brackets:
unmodified pass seat: Didn't drill holes yet in this pic
drivers seat with the holes drilled and corner trimmed to fit around the tunnel.
Clearing around the seat belt hole. Wasn't necessary, but I didn't want to rub.
Head clearance with my seat in the bottom hole... I might have some bolt clearance issues on the floor mount, but I love how low it is so I will probably end up modding the seat to fit or using button heads.
I will post more pics when I paint the brackets and mount the seats for good.
Reply
0
0
 04-22-2012, 09:20 PM
#119
Elite Member
Thread Starter
iTrader: (2)
Join Date: May 2007
Location: Cromwell, Connecticut
Posts: 2,606
Total Cats: 16
Still haven't decided. I have the ebay one's that are shown in some early pics. They look good and match the front lights I have, but they don't fit well. I might tint the stock ones and then decide.
Sorry I missed your call. I want to get up to your place and work on your car soon.
Sorry I missed your call. I want to get up to your place and work on your car soon.
Reply
0
0
04-23-2012, 01:31 PM
#120
Looks like he does do a passenger side. I appreciate the link to that. I wasn't planning on installing a passenger seat so I never made brackets for one before I painted the roll cage and interior. A part of me sees your car after some buffing and makes me want to go with a pearle white. The metallic looks great. My plan was just plain white, no metallic, no pearle. I'm torn what to do. My hardtop is in great condition and it's just plain white, that's where I got the idea. Just color match that so I don't have to mess with reprinting it. What are your thoughts on pearle vs. plain Jane white...
Reply
0
0


