
2000 SE Turbo

 12-27-2011, 07:12 PM
#23
I'm a terrible person

Thread Starter
iTrader: (19)
Join Date: Apr 2009
Location: Arizona
Posts: 7,174
Total Cats: 180
Officially ***** deep.
I knew knew knew this was going to be a problem. The rear lower control arm, outer bolt. IT"S ALWAYS A BITCH .
.
It was on my last car, and it is on this one. Completely seized. I tried like hell the other day to get this thing loose, and even with my huge muscles it wasn't enough.
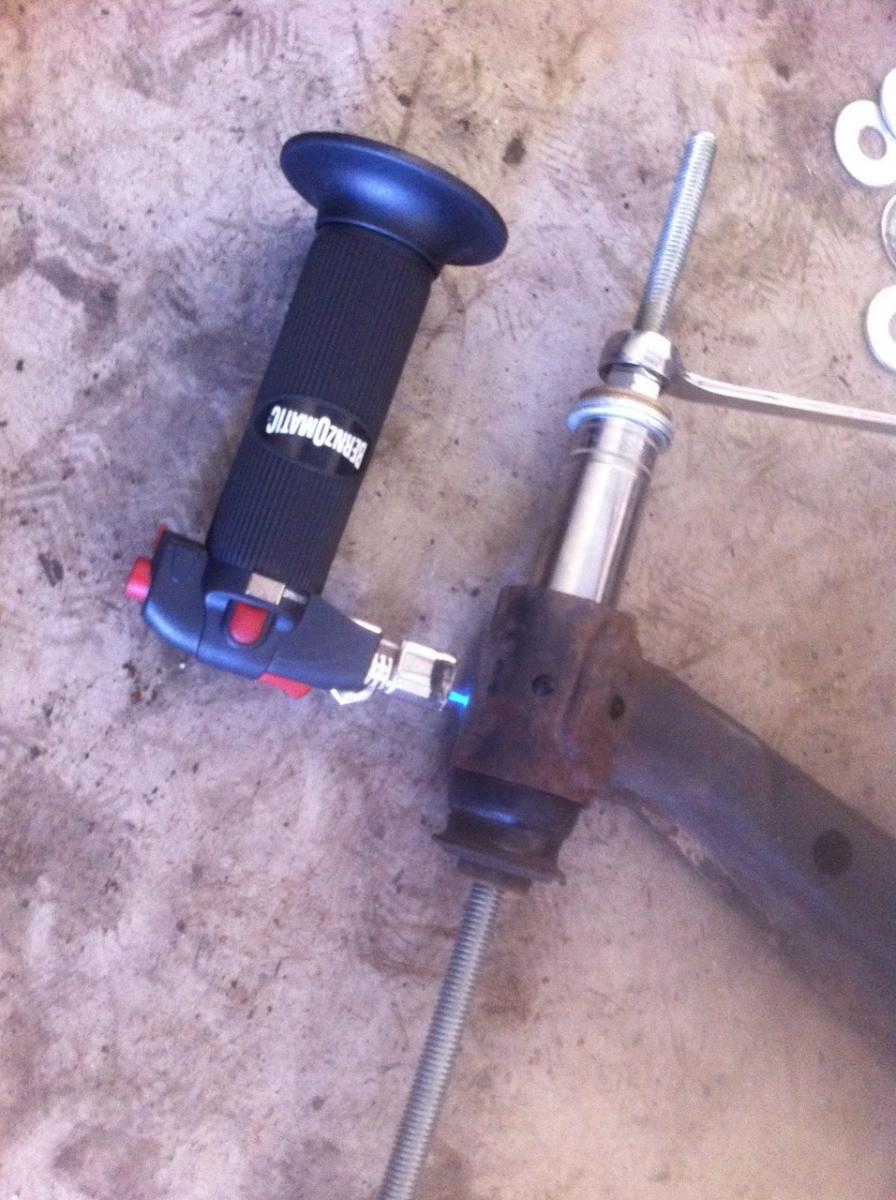
Well today I came prepared. Went to lowes today and spent $150 on random ****. But of that 150, 20 was spent on one of those butane torch things. **** YES. Well I get to the shop, whip out the torch and ******* get torching. I rotated between torch, impact, and hammering the **** out of it. Sometimes I would switch it up and torch/impact at the same time. Or impact/hammer at the same time. It was pretty sexy. It would have probably turned half of you homos on. Here is a picture of fire:

After 30 min of that I had 2 of these:
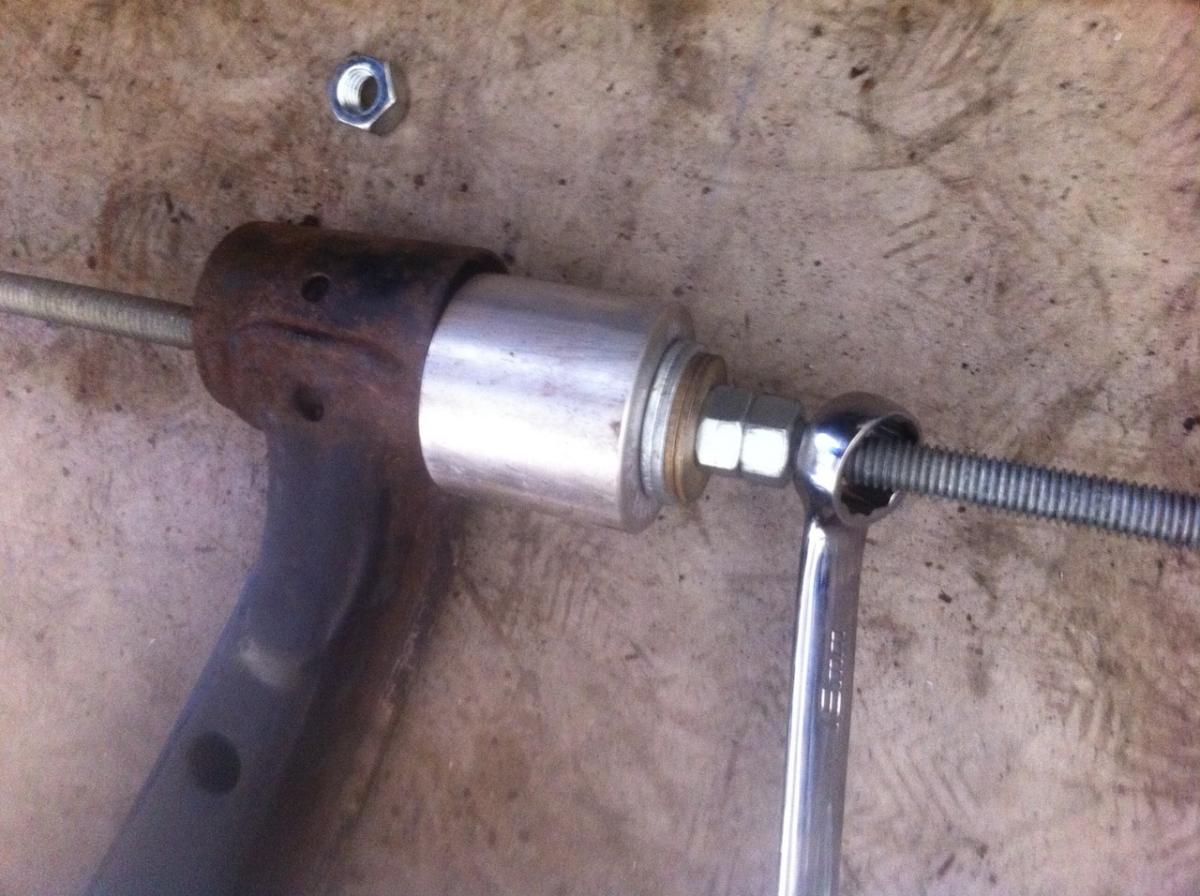
Part of the $150 also bought me some cool **** to rig up one of those bushing... pusher... things. It called for 3/8 threaded line. It seemed a bit small at the store, but that is what the tutorial stated, and I didn't want to change it up. Well I set up the pusher and got pushing. Here is a picture:
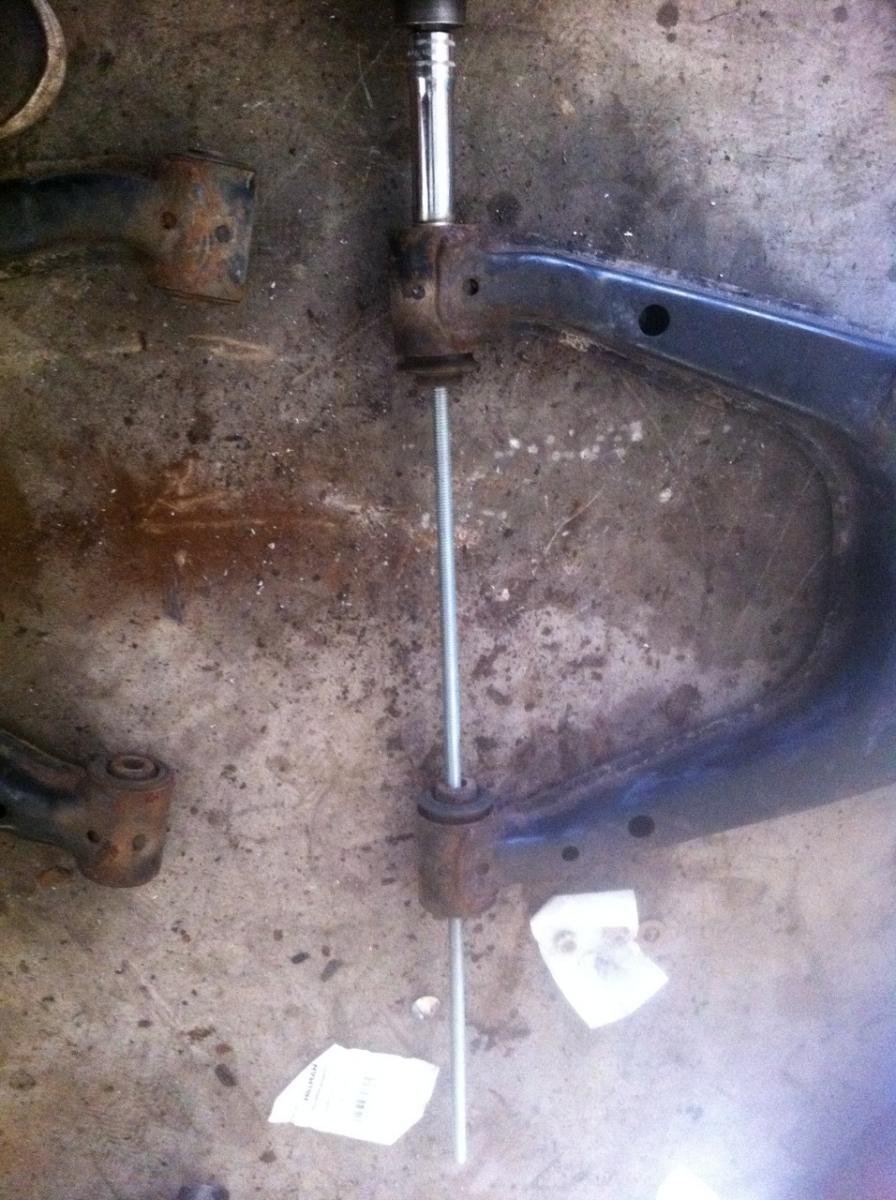
Seems to be working. Picture:
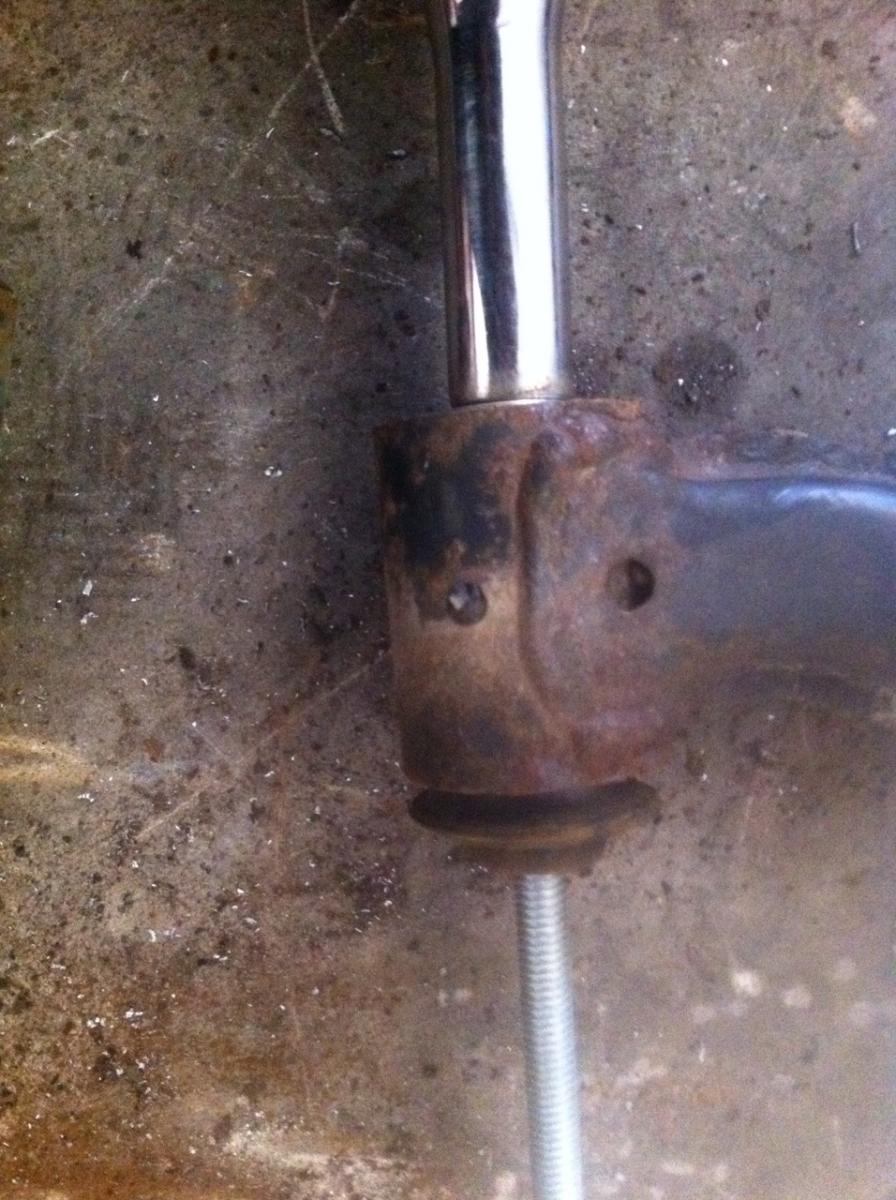
Oh **** son. WTFUUUUUUUUUUUUU. By looking at this picture:
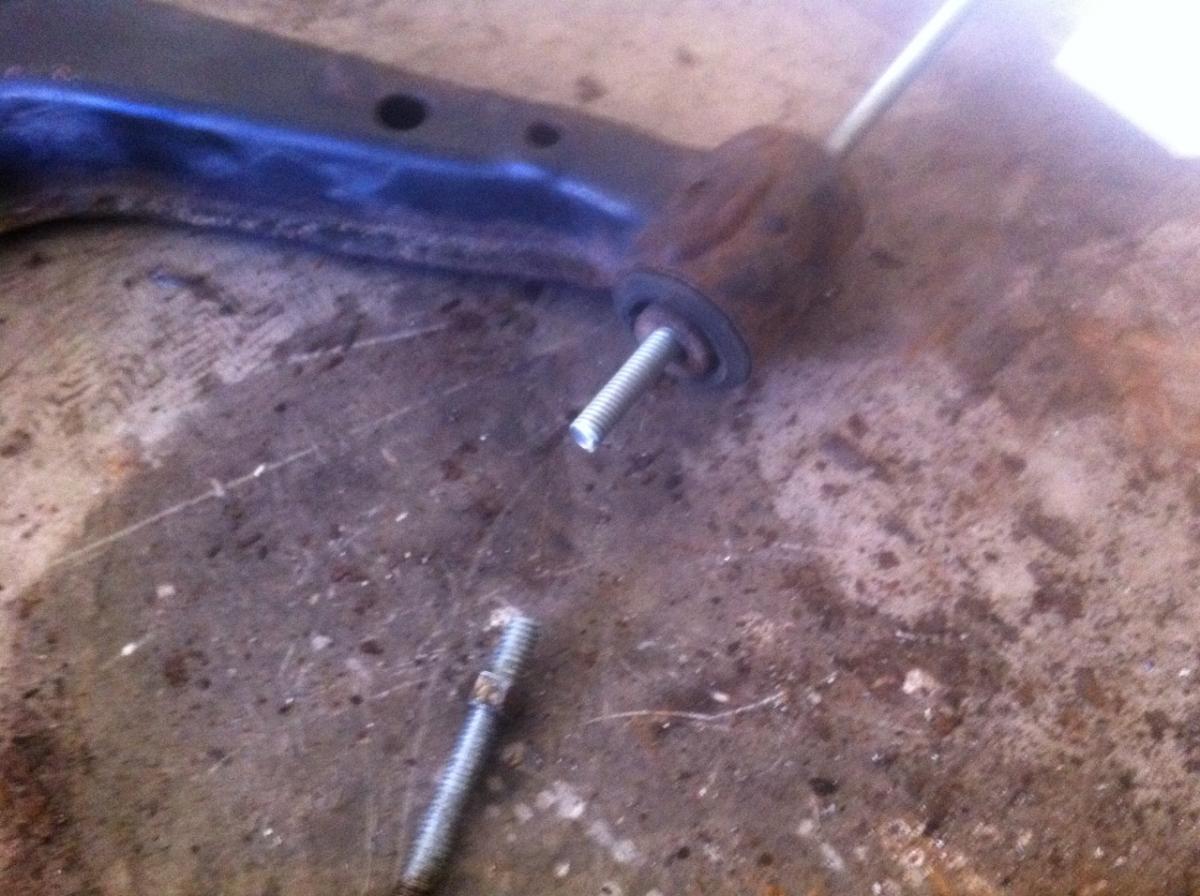
You can see 1/2" thread will probably fit. So tomorrow I will go and make this **** again. On the bright side I did manage to get 3 of the bushings out. Picture: J/K I don't have a picture of that.
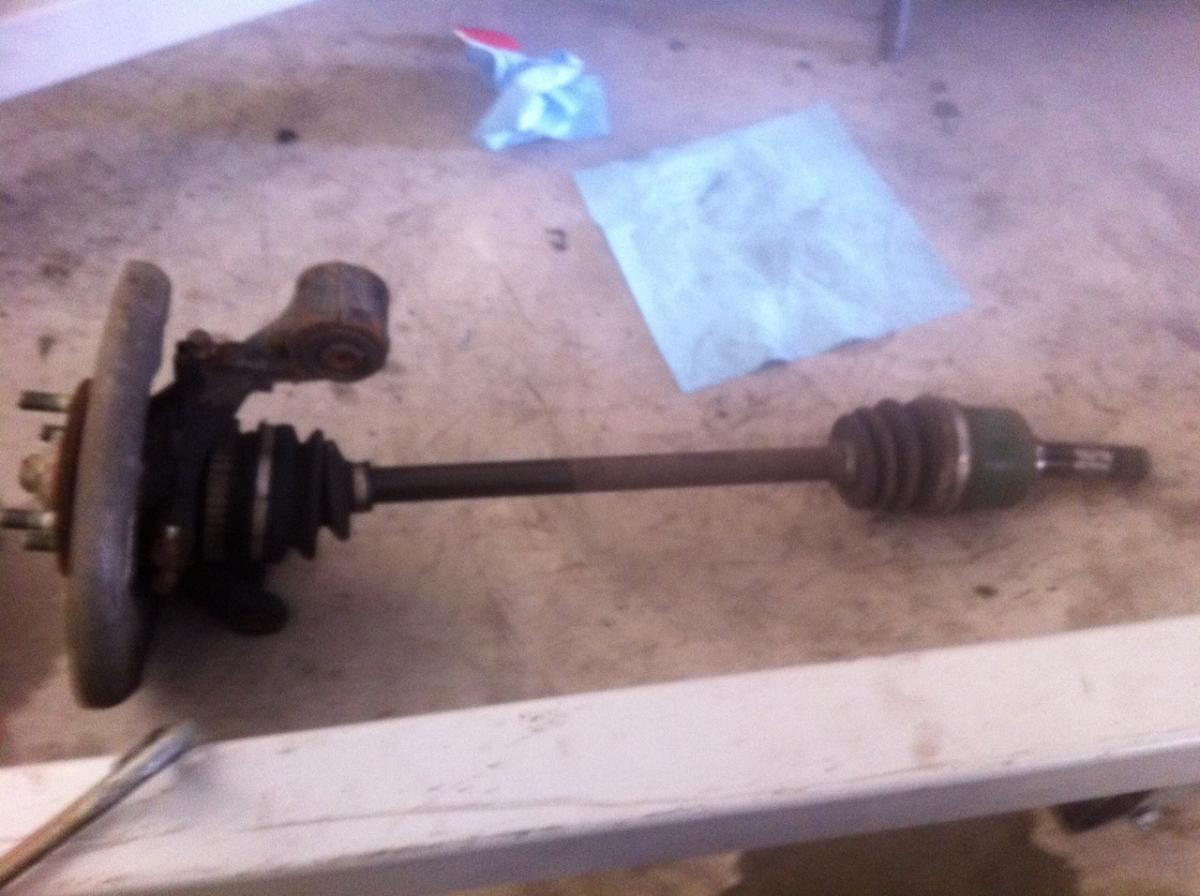
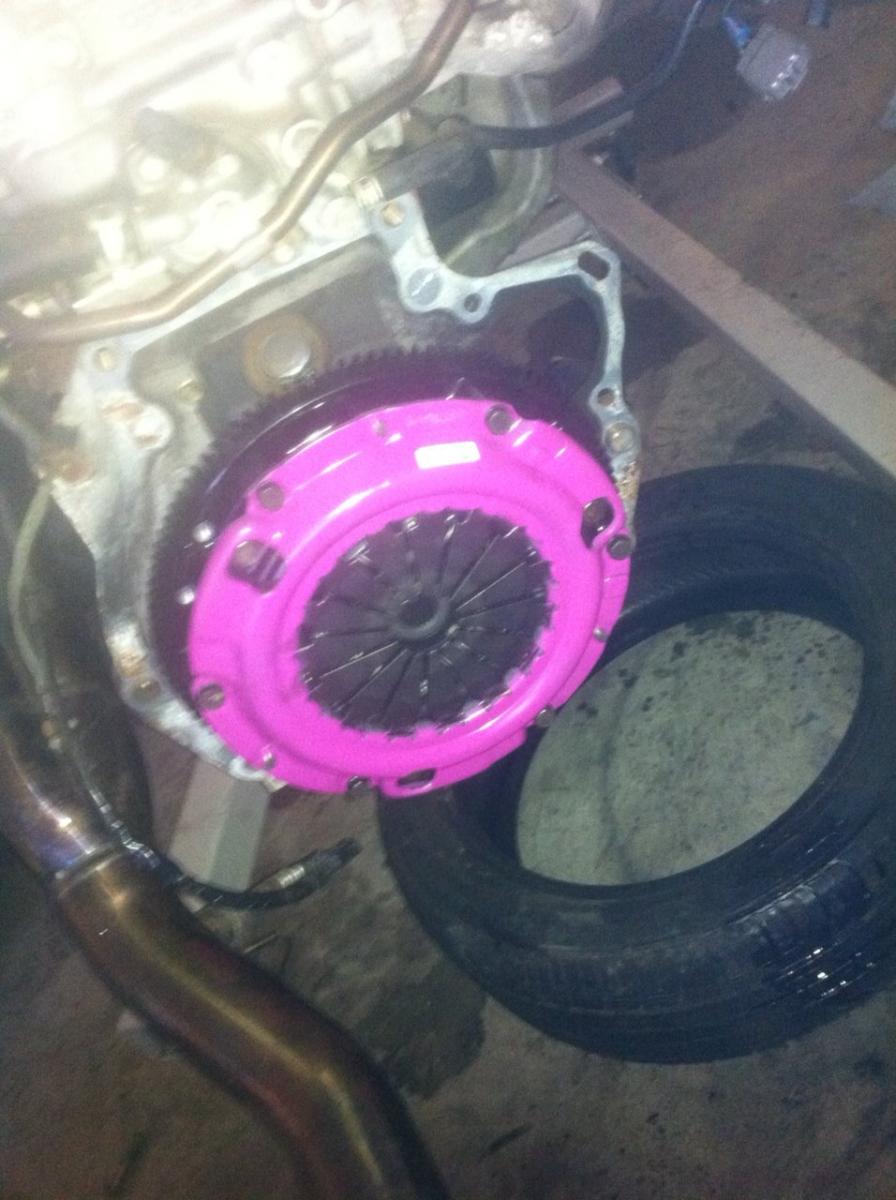
Giving up on the bushings I moved over to the engine and started pulling **** apart there. To be more specific, I started removing the transmission to do the clutch and flywheel. All went smooth. Here is a picture (for real):
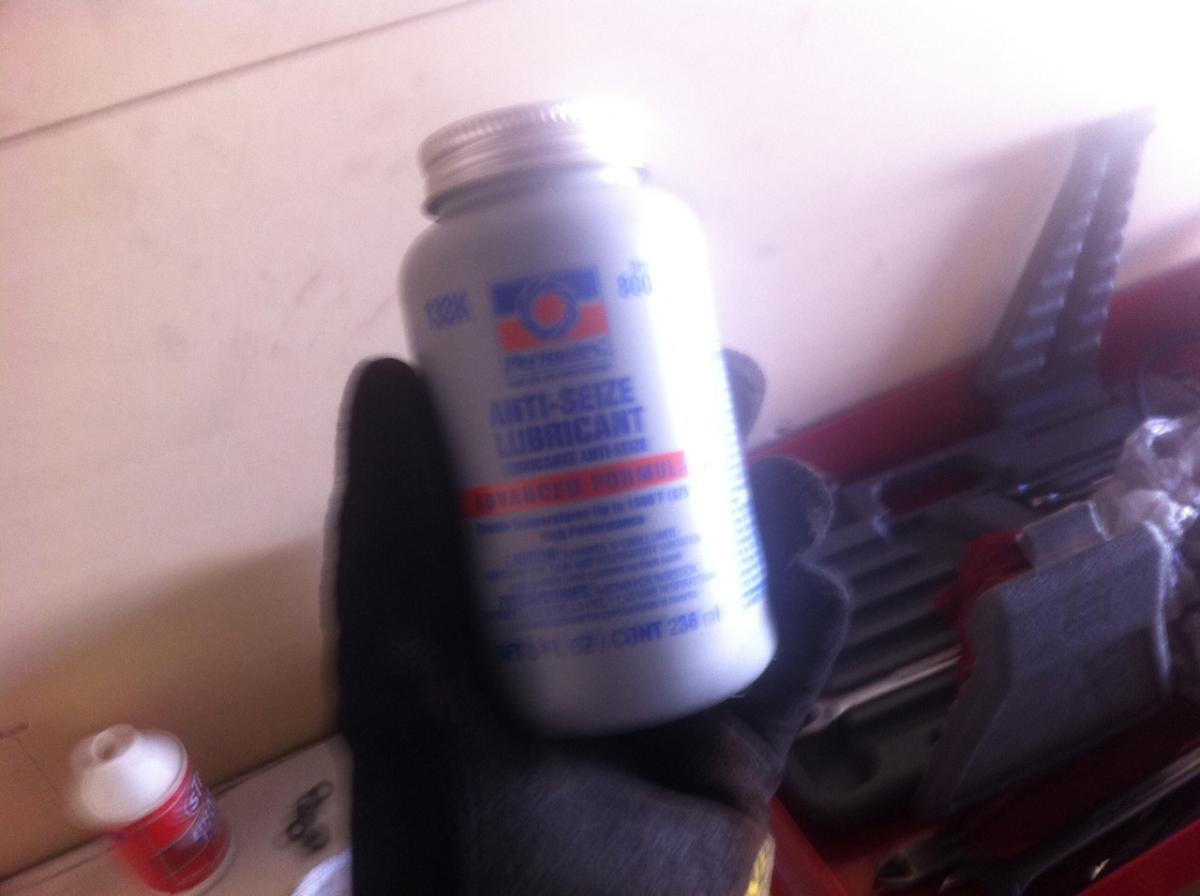
That is really about it for today. I worked on it about 3 hours. Tomorrow I will get the bushings from Renown Performance, and hopefully remove the rest of the bushings from the control arms. That is really the last big thing I have to do. On reassembly I will be using a ton of this:
I knew knew knew this was going to be a problem. The rear lower control arm, outer bolt. IT"S ALWAYS A BITCH
. It was on my last car, and it is on this one. Completely seized. I tried like hell the other day to get this thing loose, and even with my huge muscles it wasn't enough.
Well today I came prepared. Went to lowes today and spent $150 on random ****. But of that 150, 20 was spent on one of those butane torch things. **** YES. Well I get to the shop, whip out the torch and ******* get torching. I rotated between torch, impact, and hammering the **** out of it. Sometimes I would switch it up and torch/impact at the same time. Or impact/hammer at the same time. It was pretty sexy. It would have probably turned half of you homos on. Here is a picture of fire:
After 30 min of that I had 2 of these:
Part of the $150 also bought me some cool **** to rig up one of those bushing... pusher... things. It called for 3/8 threaded line. It seemed a bit small at the store, but that is what the tutorial stated, and I didn't want to change it up. Well I set up the pusher and got pushing. Here is a picture:
Seems to be working. Picture:
Oh **** son. WTFUUUUUUUUUUUUU. By looking at this picture:
You can see 1/2" thread will probably fit. So tomorrow I will go and make this **** again. On the bright side I did manage to get 3 of the bushings out. Picture: J/K I don't have a picture of that.
Giving up on the bushings I moved over to the engine and started pulling **** apart there. To be more specific, I started removing the transmission to do the clutch and flywheel. All went smooth. Here is a picture (for real):
That is really about it for today. I worked on it about 3 hours. Tomorrow I will get the bushings from Renown Performance, and hopefully remove the rest of the bushings from the control arms. That is really the last big thing I have to do. On reassembly I will be using a ton of this:

Reply
 0
0

0
12-28-2011, 12:22 PM
#24
I'm a terrible person
Thread Starter
iTrader: (19)
Join Date: Apr 2009
Location: Arizona
Posts: 7,174
Total Cats: 180
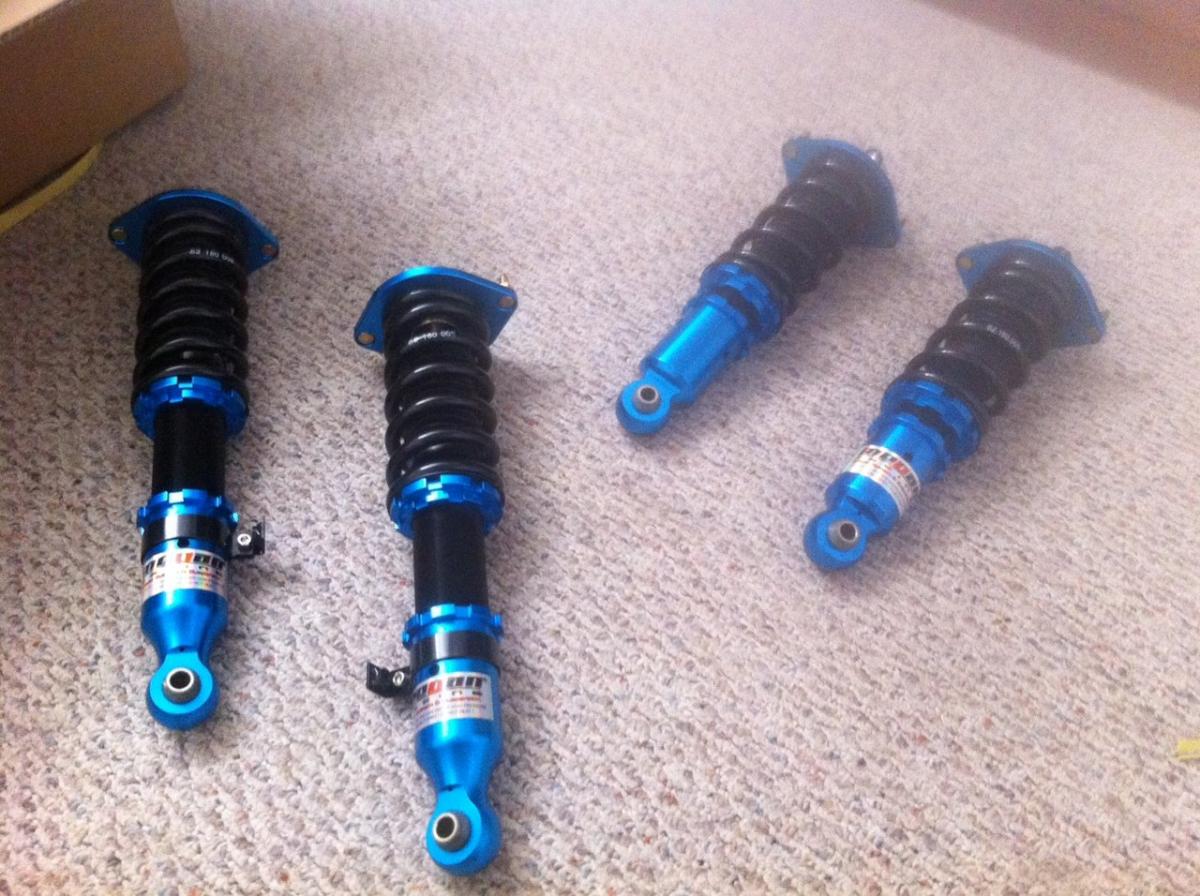
Yea yea I know megan racing. One day I'll buy some real stuff, but this will do for now. They sure do look pretty though.
Bushings arrived too. About to walk over and grab em at the leasing office.
Bushings arrived too. About to walk over and grab em at the leasing office.
Reply
0
0

 12-28-2011, 04:54 PM
#30
I'm a terrible person
Thread Starter
iTrader: (19)
Join Date: Apr 2009
Location: Arizona
Posts: 7,174
Total Cats: 180
Shelf queen? All the gear? lol what?
This is a daily driver that I plan to have some fun with on the weekends. So if you are asking if it will be sitting in my garage, the answer is no. It will be driven every damn day.
This is a daily driver that I plan to have some fun with on the weekends. So if you are asking if it will be sitting in my garage, the answer is no. It will be driven every damn day.
Reply
0
0
12-28-2011, 05:02 PM
#31
I'm a terrible person
Thread Starter
iTrader: (19)
Join Date: Apr 2009
Location: Arizona
Posts: 7,174
Total Cats: 180
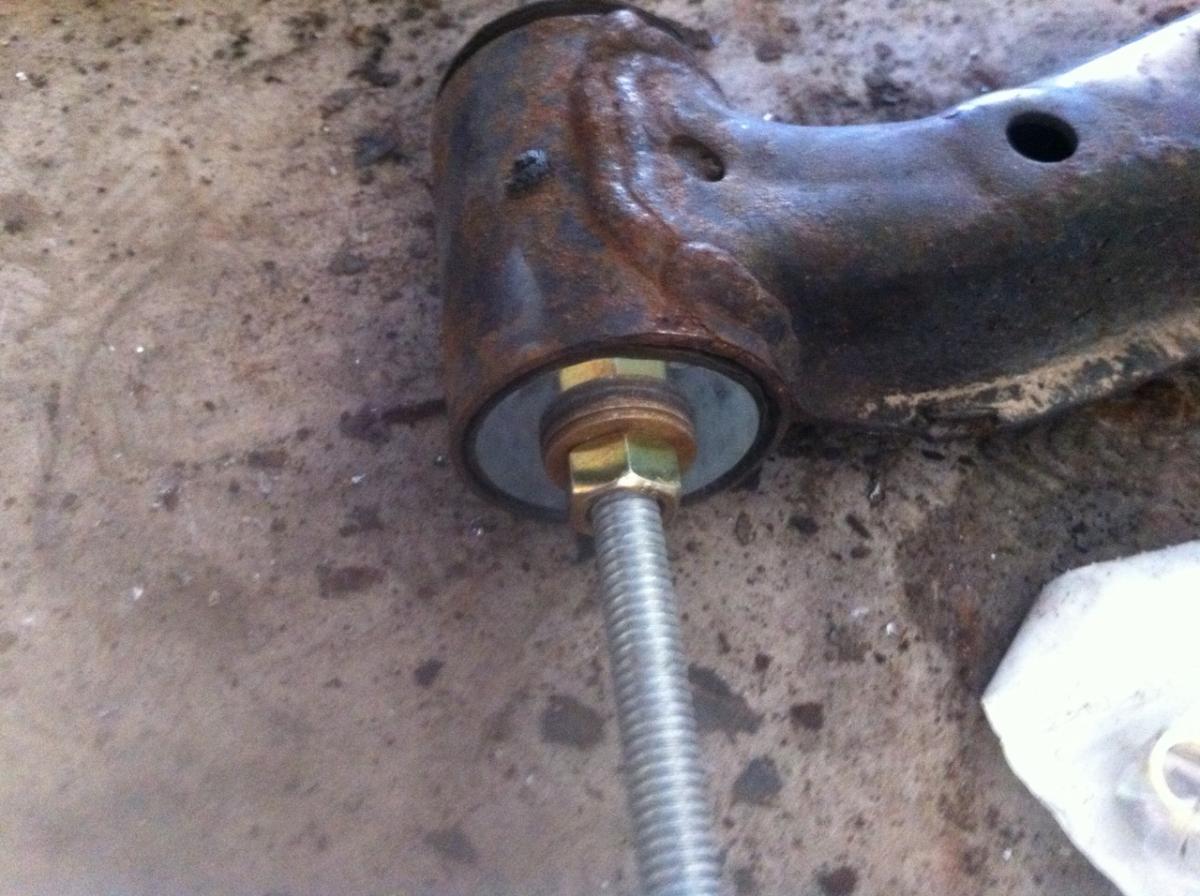
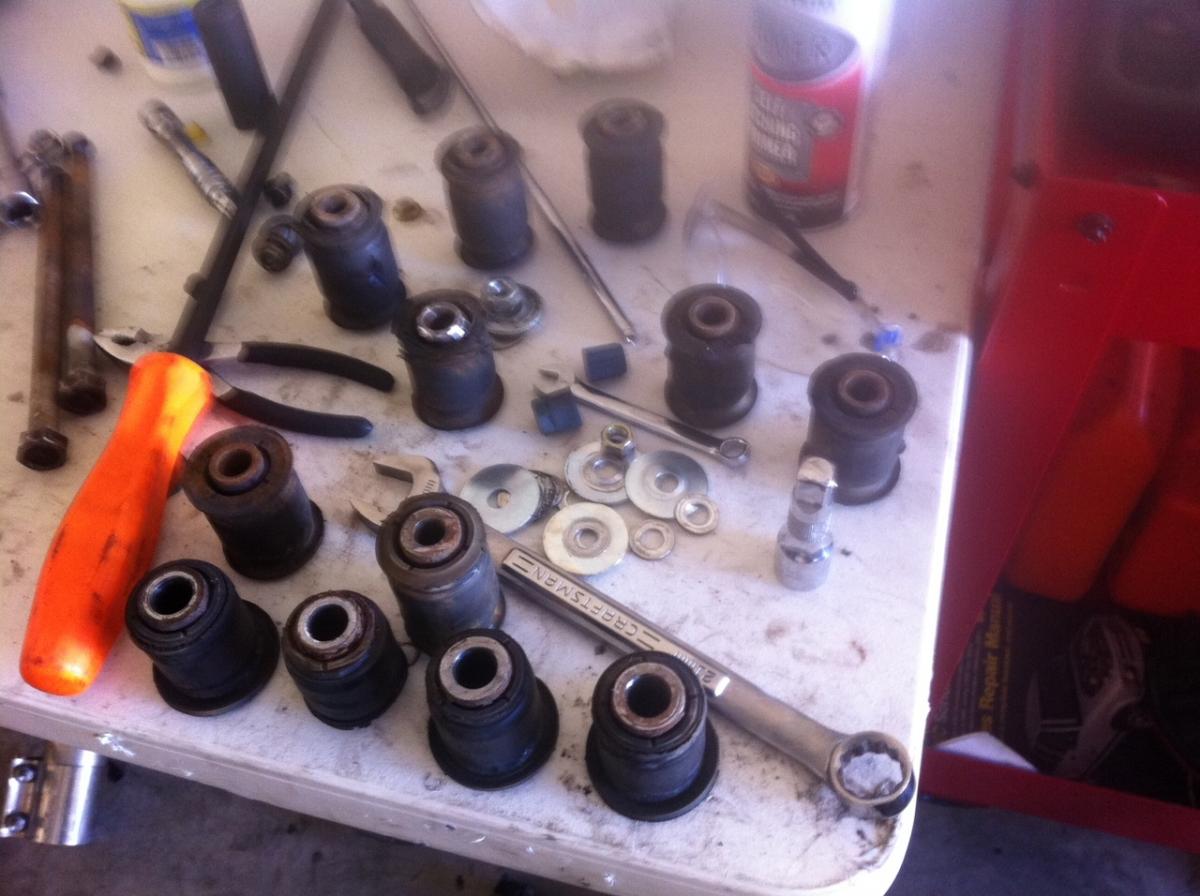
Went and bought some new threaded rod. This time 7/16". It worked great on everything but the rear upper control arms, which have a bolt diameter of 3/8ths.... now I see why. Anyways got all the rest of the bushings out with a bit of fire and an impact gun. The front upper control arms flexed a bit which scared me, but they look fine now. Here is a picture:
The first try actually sent the nut off the end and flying half way across the shop... it just stripped all the threads on the nut. So I put TWO nuts on, aw yea:
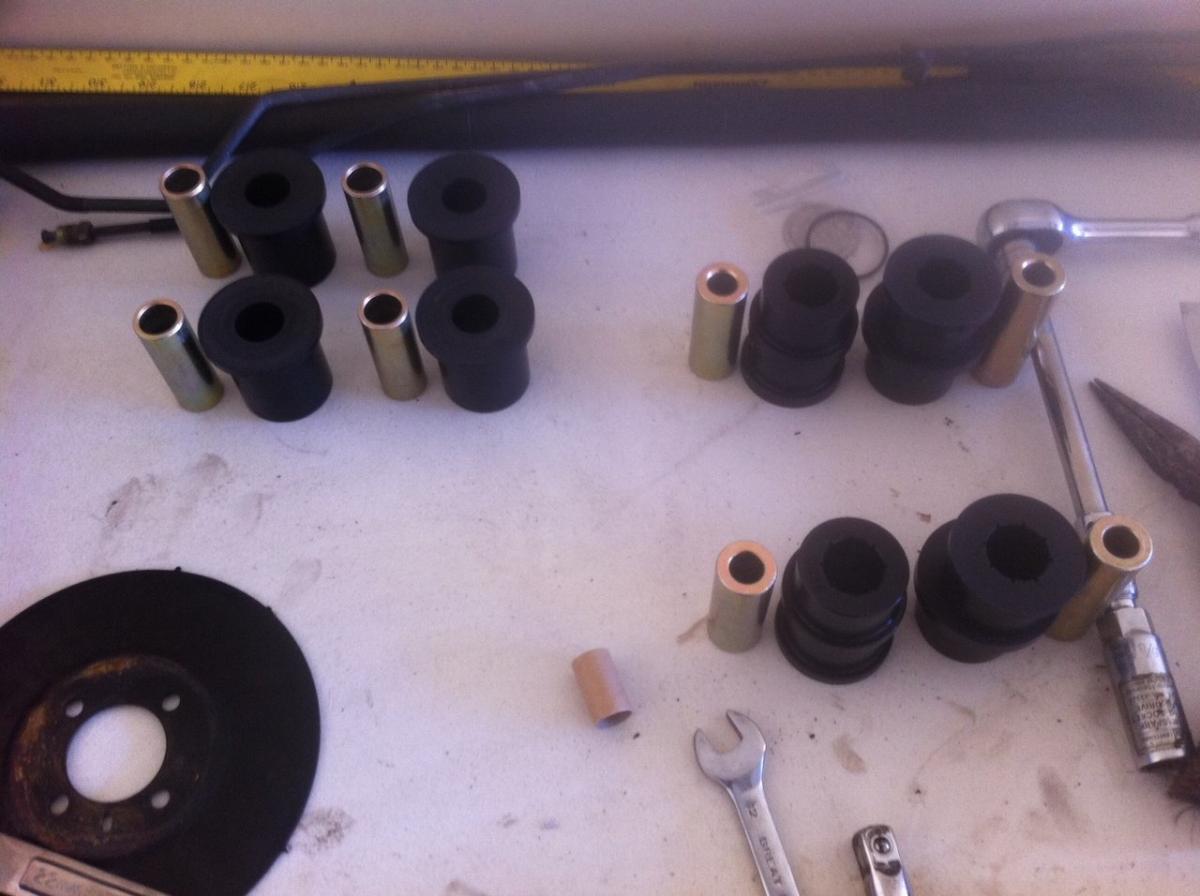
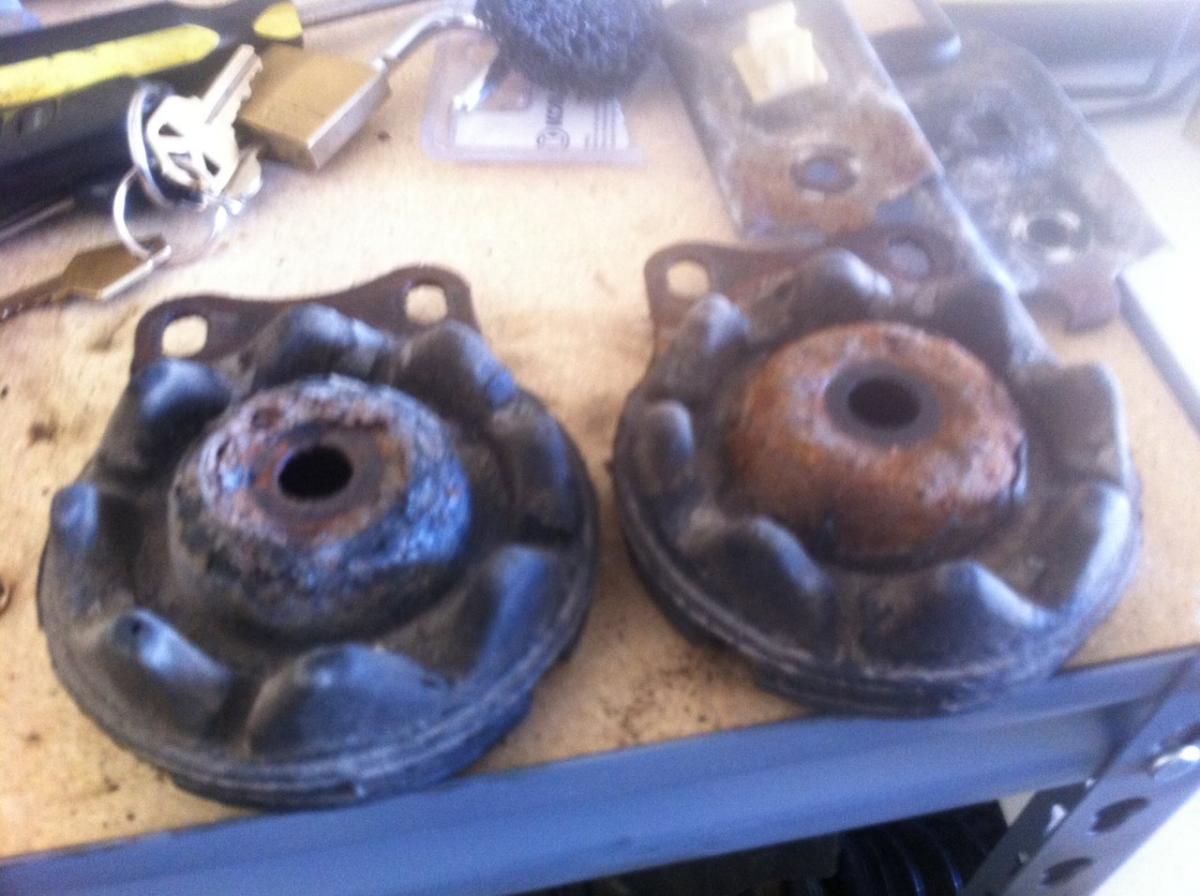
Bushings were definitely shot:
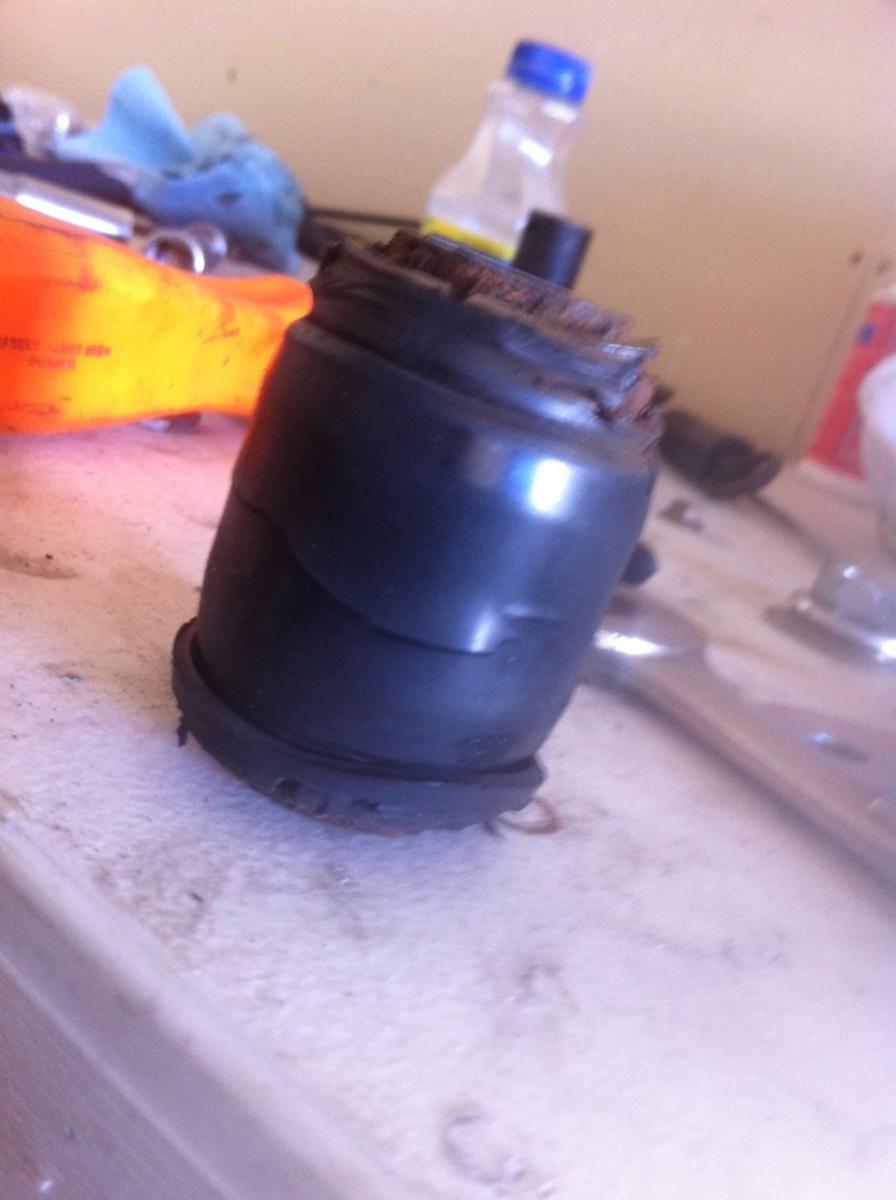
Why are there so many bushings?!
Ended the day with paining the top of the front subframe:
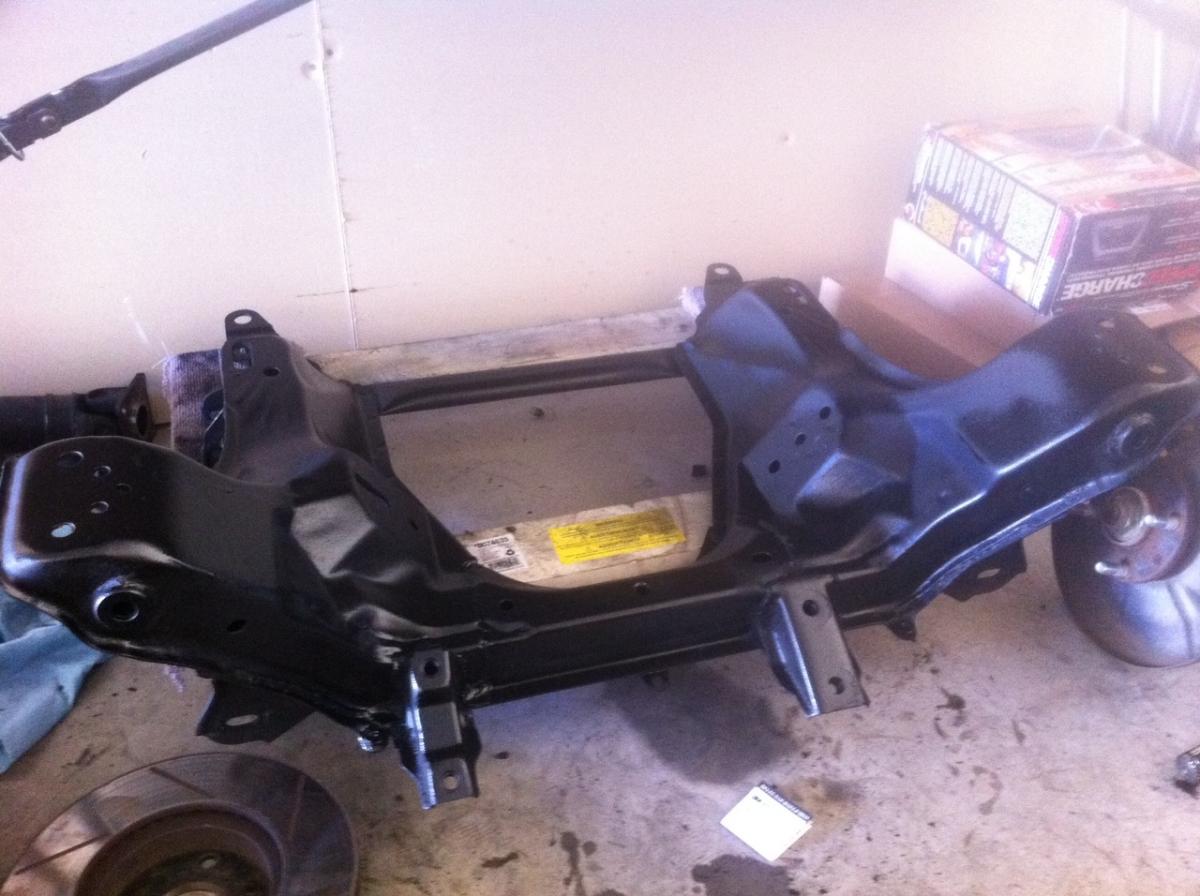
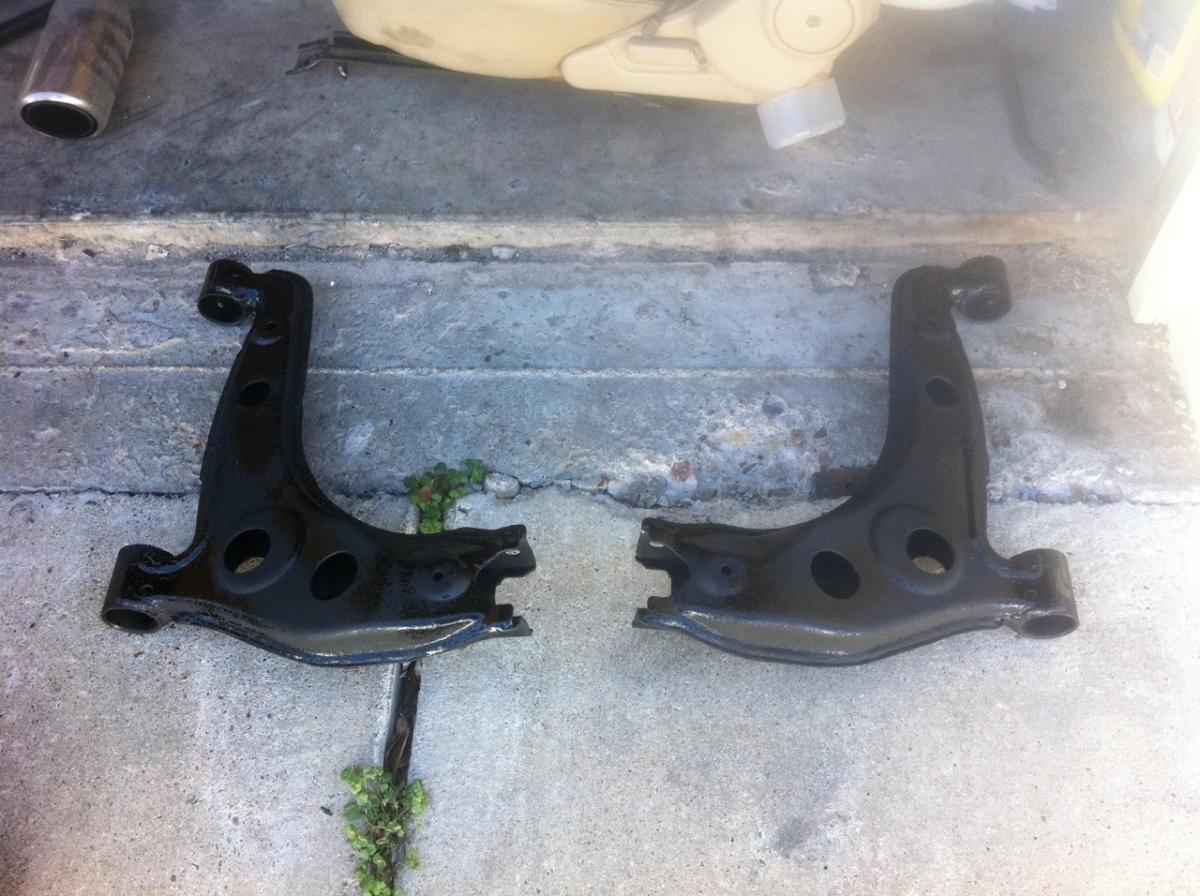
And the front lower control arms:

I spent a good bit of 2 hours removing the rust from the front subframe and control arms. It sucked.
The shop is dirty as hell, so I decided I will finish the front subframe/control arms/rack/suspension and bolt it back up to the car before moving to the rear. Once the rear is done I will install that ****. And finally put the engine back in. I MAY have it done by Monday. That assumes my bolt extraction works out.
The first try actually sent the nut off the end and flying half way across the shop... it just stripped all the threads on the nut. So I put TWO nuts on, aw yea:
Bushings were definitely shot:
Why are there so many bushings?!
Ended the day with paining the top of the front subframe:
And the front lower control arms:
I spent a good bit of 2 hours removing the rust from the front subframe and control arms. It sucked.
The shop is dirty as hell, so I decided I will finish the front subframe/control arms/rack/suspension and bolt it back up to the car before moving to the rear. Once the rear is done I will install that ****. And finally put the engine back in. I MAY have it done by Monday. That assumes my bolt extraction works out.
Reply
0
0
12-28-2011, 05:05 PM
This message has been deleted by shuiend.
Reason: thread crapping, cleaning things up.
12-28-2011, 05:13 PM
This message has been deleted by shuiend.
Reason: thread crapping, cleaning things up.
12-29-2011, 03:15 AM
This message has been deleted by shuiend.
Reason: thread crapping, cleaning things up.
12-29-2011, 07:23 AM
This message has been deleted by shuiend.
Reason: thread crapping, cleaning things up.
12-29-2011, 09:02 AM
This message has been deleted by shuiend.
Reason: thread clean up.
 12-29-2011, 09:31 PM
#33
I'm a terrible person
Thread Starter
iTrader: (19)
Join Date: Apr 2009
Location: Arizona
Posts: 7,174
Total Cats: 180
My advice, get a butane torch, 7/16th threaded pipe, and 3/8th. Use the 7/16th for all but the rear upper control arms. Crank a few times, use the torch, then crank a few times. If you don't you may bend the front upper control arms. Mine flexed quite a bit.
Reply
0
0
12-29-2011, 10:45 PM
#34
I'm a terrible person
Thread Starter
iTrader: (19)
Join Date: Apr 2009
Location: Arizona
Posts: 7,174
Total Cats: 180
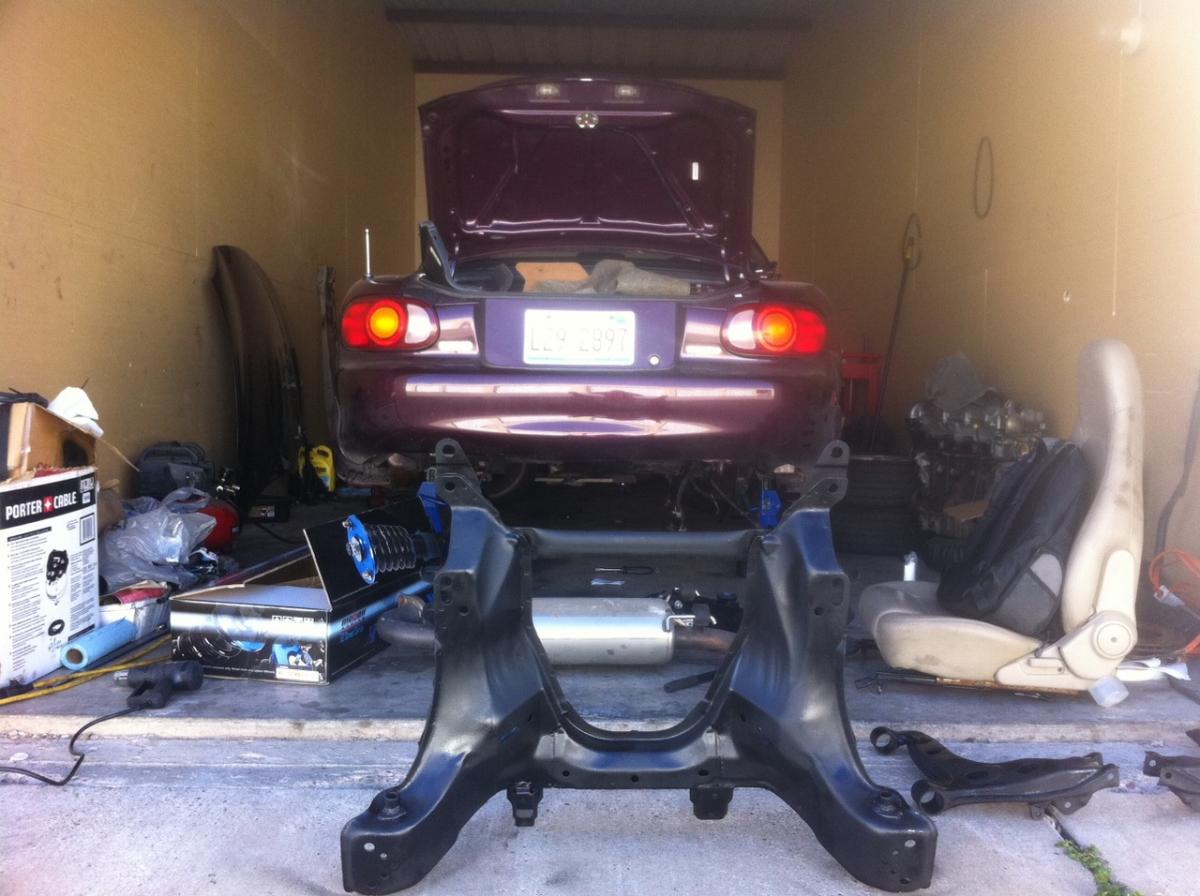
Got some work done today. Please enjoy the ride:
Started out with some painting and grinding today. Hit a few spots on the subframe and front lower control arms. They are looking pretty fine:
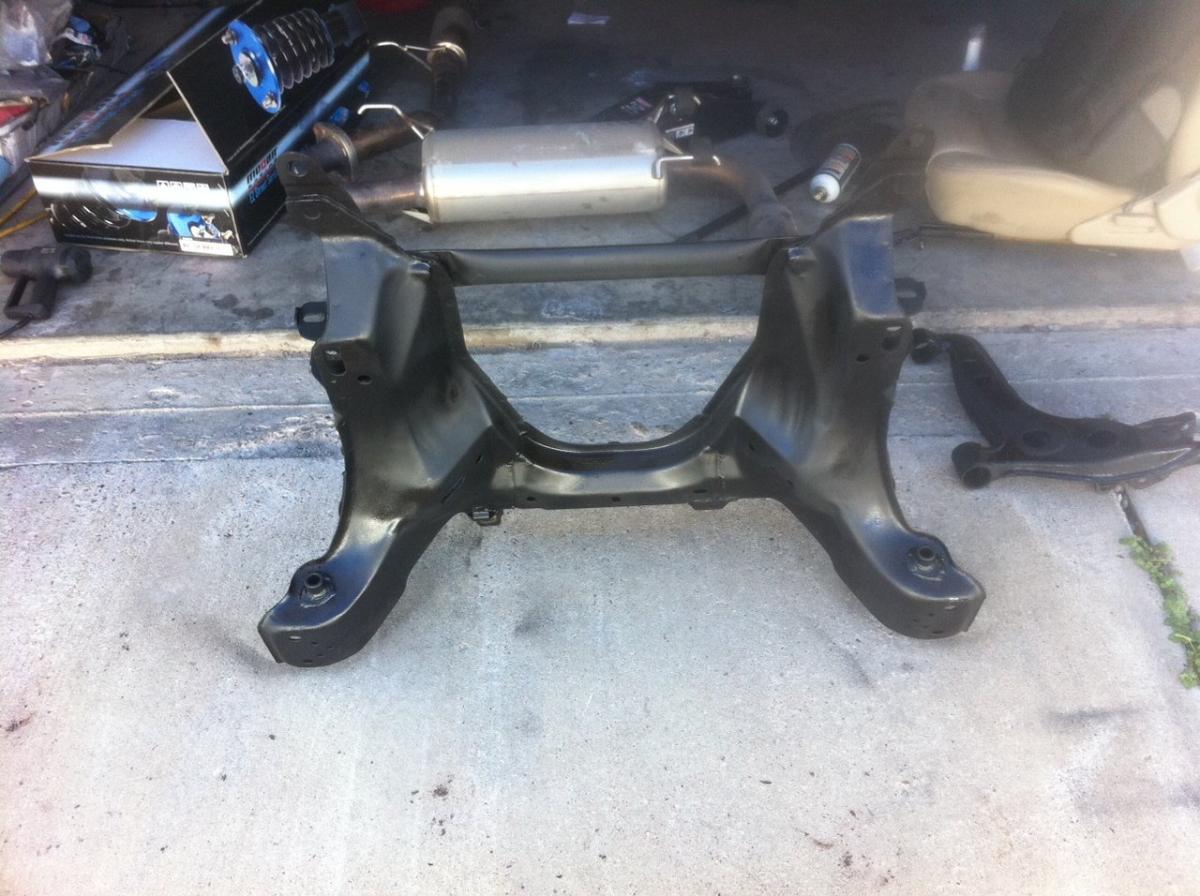
Next I took a good look at the front end and decided it was best to replace just about everything. It was all one big rusty piece. So new tie rods (inner/outer) and ball joints are in store. Also might be picking up a properly depowered rack to go along with it. The upper ball joint seems to be in okay condition. We will see, might get new upper control arms.
I installed the lower control arm energy suspension bushings and it went pretty smooth. I found it works best to install the bushings, then hammer in the middle cylinder/spacer thing. That is where I stopped with the front end.
I moved on to the rear and boy is that going to be a job. Got the diff ready to pull and really that is where it ended. Short day, but I have the next 4 days to work on it.
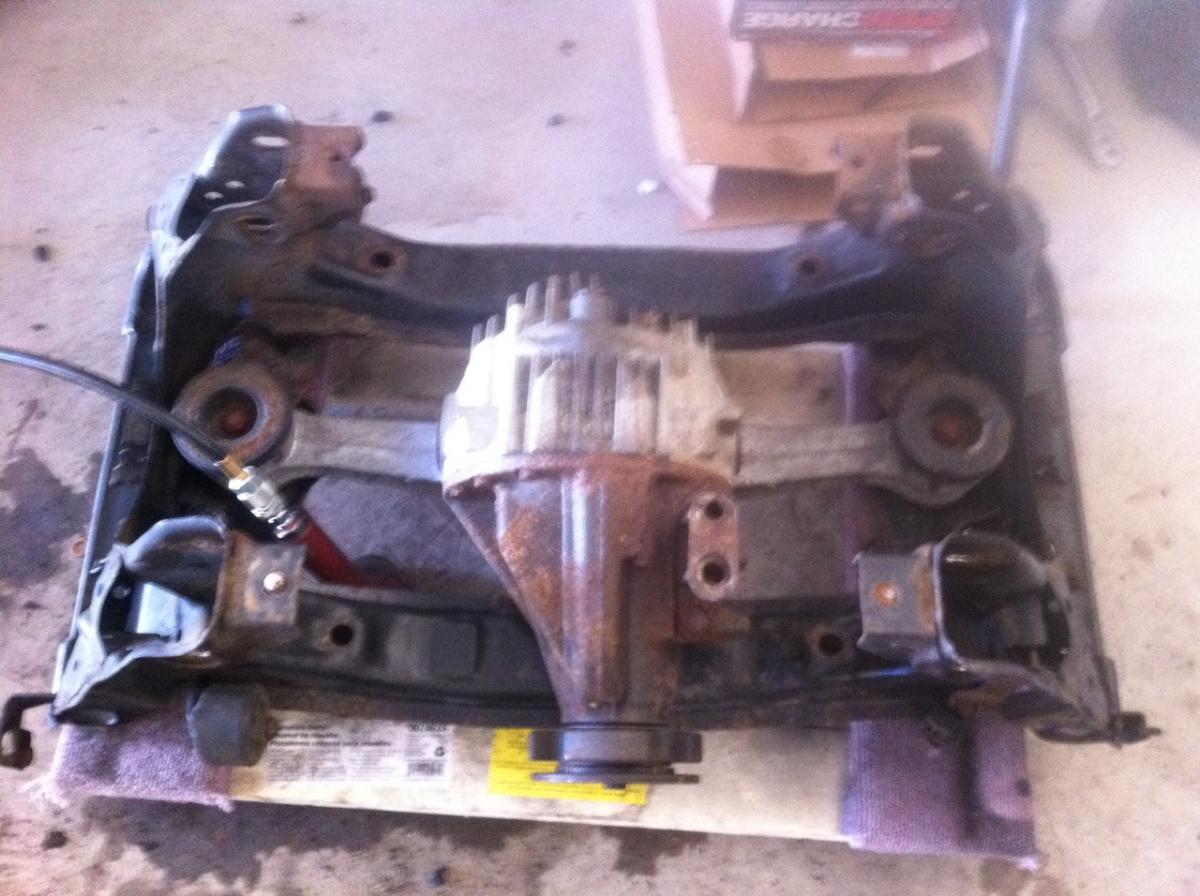
I'll be removing all that rust from the diff, as well as the subframe and repainting.
Started out with some painting and grinding today. Hit a few spots on the subframe and front lower control arms. They are looking pretty fine:
Next I took a good look at the front end and decided it was best to replace just about everything. It was all one big rusty piece. So new tie rods (inner/outer) and ball joints are in store. Also might be picking up a properly depowered rack to go along with it. The upper ball joint seems to be in okay condition. We will see, might get new upper control arms.
I installed the lower control arm energy suspension bushings and it went pretty smooth. I found it works best to install the bushings, then hammer in the middle cylinder/spacer thing. That is where I stopped with the front end.
I moved on to the rear and boy is that going to be a job. Got the diff ready to pull and really that is where it ended. Short day, but I have the next 4 days to work on it.
I'll be removing all that rust from the diff, as well as the subframe and repainting.
Reply
0
0
12-30-2011, 12:15 AM
#35
Slowest Progress Ever
iTrader: (26)
Join Date: Oct 2007
Location: The coal ridden hills of Pennsylvania
Posts: 6,028
Total Cats: 304
Lars, thanks for cleaning up this thread.
Alex, I wish my suspension looked as good as yours. Where did you buy the bushings from? I need to re-do my suspension, as I have highly noticeble vibration at around 80mph+. 159,000 miles, and all I ever replaced was the shocks, springs (junk Racing beat's...they're called that cause they're the most "beat" spring you could use), and FM sways. There is no way my stock control arm bushings are still good.
Alex, I wish my suspension looked as good as yours. Where did you buy the bushings from? I need to re-do my suspension, as I have highly noticeble vibration at around 80mph+. 159,000 miles, and all I ever replaced was the shocks, springs (junk Racing beat's...they're called that cause they're the most "beat" spring you could use), and FM sways. There is no way my stock control arm bushings are still good.
Reply
0
0
12-30-2011, 01:02 AM
#36
I'm a terrible person
Thread Starter
iTrader: (19)
Join Date: Apr 2009
Location: Arizona
Posts: 7,174
Total Cats: 180
Glad you asked. I got the bushings from our forum sponsor renown performance. They had a group buy sale. I went with the energy suspension, a bit more expensive than the super pro ones or whatever they are called. But I've heard ES is much better.
Reply
0
0
12-30-2011, 09:15 AM
#37
Elite Member
iTrader: (14)

Join Date: Sep 2009
Location: Birmingham, AL
Posts: 2,101
Total Cats: 180
Your pics of removing the bushings are better than the sticky, thanks! Will using the 7/16" rod after seeing your 3/8" sheared. I'll be removing mine today - so was renown the cheapest, or were you just supporting a MT vendor? Both is great, but I'm not one to bitch over much of a price difference.
Reply
0
0
12-30-2011, 09:53 AM
#38
mkturbo.com

iTrader: (24)
Join Date: May 2006
Location: Charleston SC
Posts: 15,193
Total Cats: 1,685
Your pics of removing the bushings are better than the sticky, thanks! Will using the 7/16" rod after seeing your 3/8" sheared. I'll be removing mine today - so was renown the cheapest, or were you just supporting a MT vendor? Both is great, but I'm not one to bitch over much of a price difference.
Reply
0
0
12-30-2011, 09:55 AM
#39
I'm a terrible person
Thread Starter
iTrader: (19)
Join Date: Apr 2009
Location: Arizona
Posts: 7,174
Total Cats: 180
Your pics of removing the bushings are better than the sticky, thanks! Will using the 7/16" rod after seeing your 3/8" sheared. I'll be removing mine today - so was renown the cheapest, or were you just supporting a MT vendor? Both is great, but I'm not one to bitch over much of a price difference.
Also found that when using an impact the threads would strip a bit on the threaded pipe. So I recommend just going slow with a wrench.
Reply
0
0
12-30-2011, 06:51 PM
#40
I'm a terrible person
Thread Starter
iTrader: (19)
Join Date: Apr 2009
Location: Arizona
Posts: 7,174
Total Cats: 180
Holy poop stain. Installing these bushings is actually harder than the removal. Even after thorough cleaning these bushings do not want to go in. And getting the metal cylinder in there involves me physically abusing them with a hammer for 10 minutes. Then I usually have to use a bolt to clamp them all the way in. And even then they barely fit back into the subframe. And getting them into position involves more whacking. My back is killing me.
I'll probably have some pictures up of todays work in a bit. Need food and rest.
I'll probably have some pictures up of todays work in a bit. Need food and rest.
Reply
0
0


