When you click on links to various merchants on this site and make a purchase, this can result in this site earning a commission. Affiliate programs and affiliations include, but are not limited to, the eBay Partner Network.
Not to be Captain Obvious here, but did you try adjusting the spoiler to lower AOA?
The splitter would be helpful regardless, of course
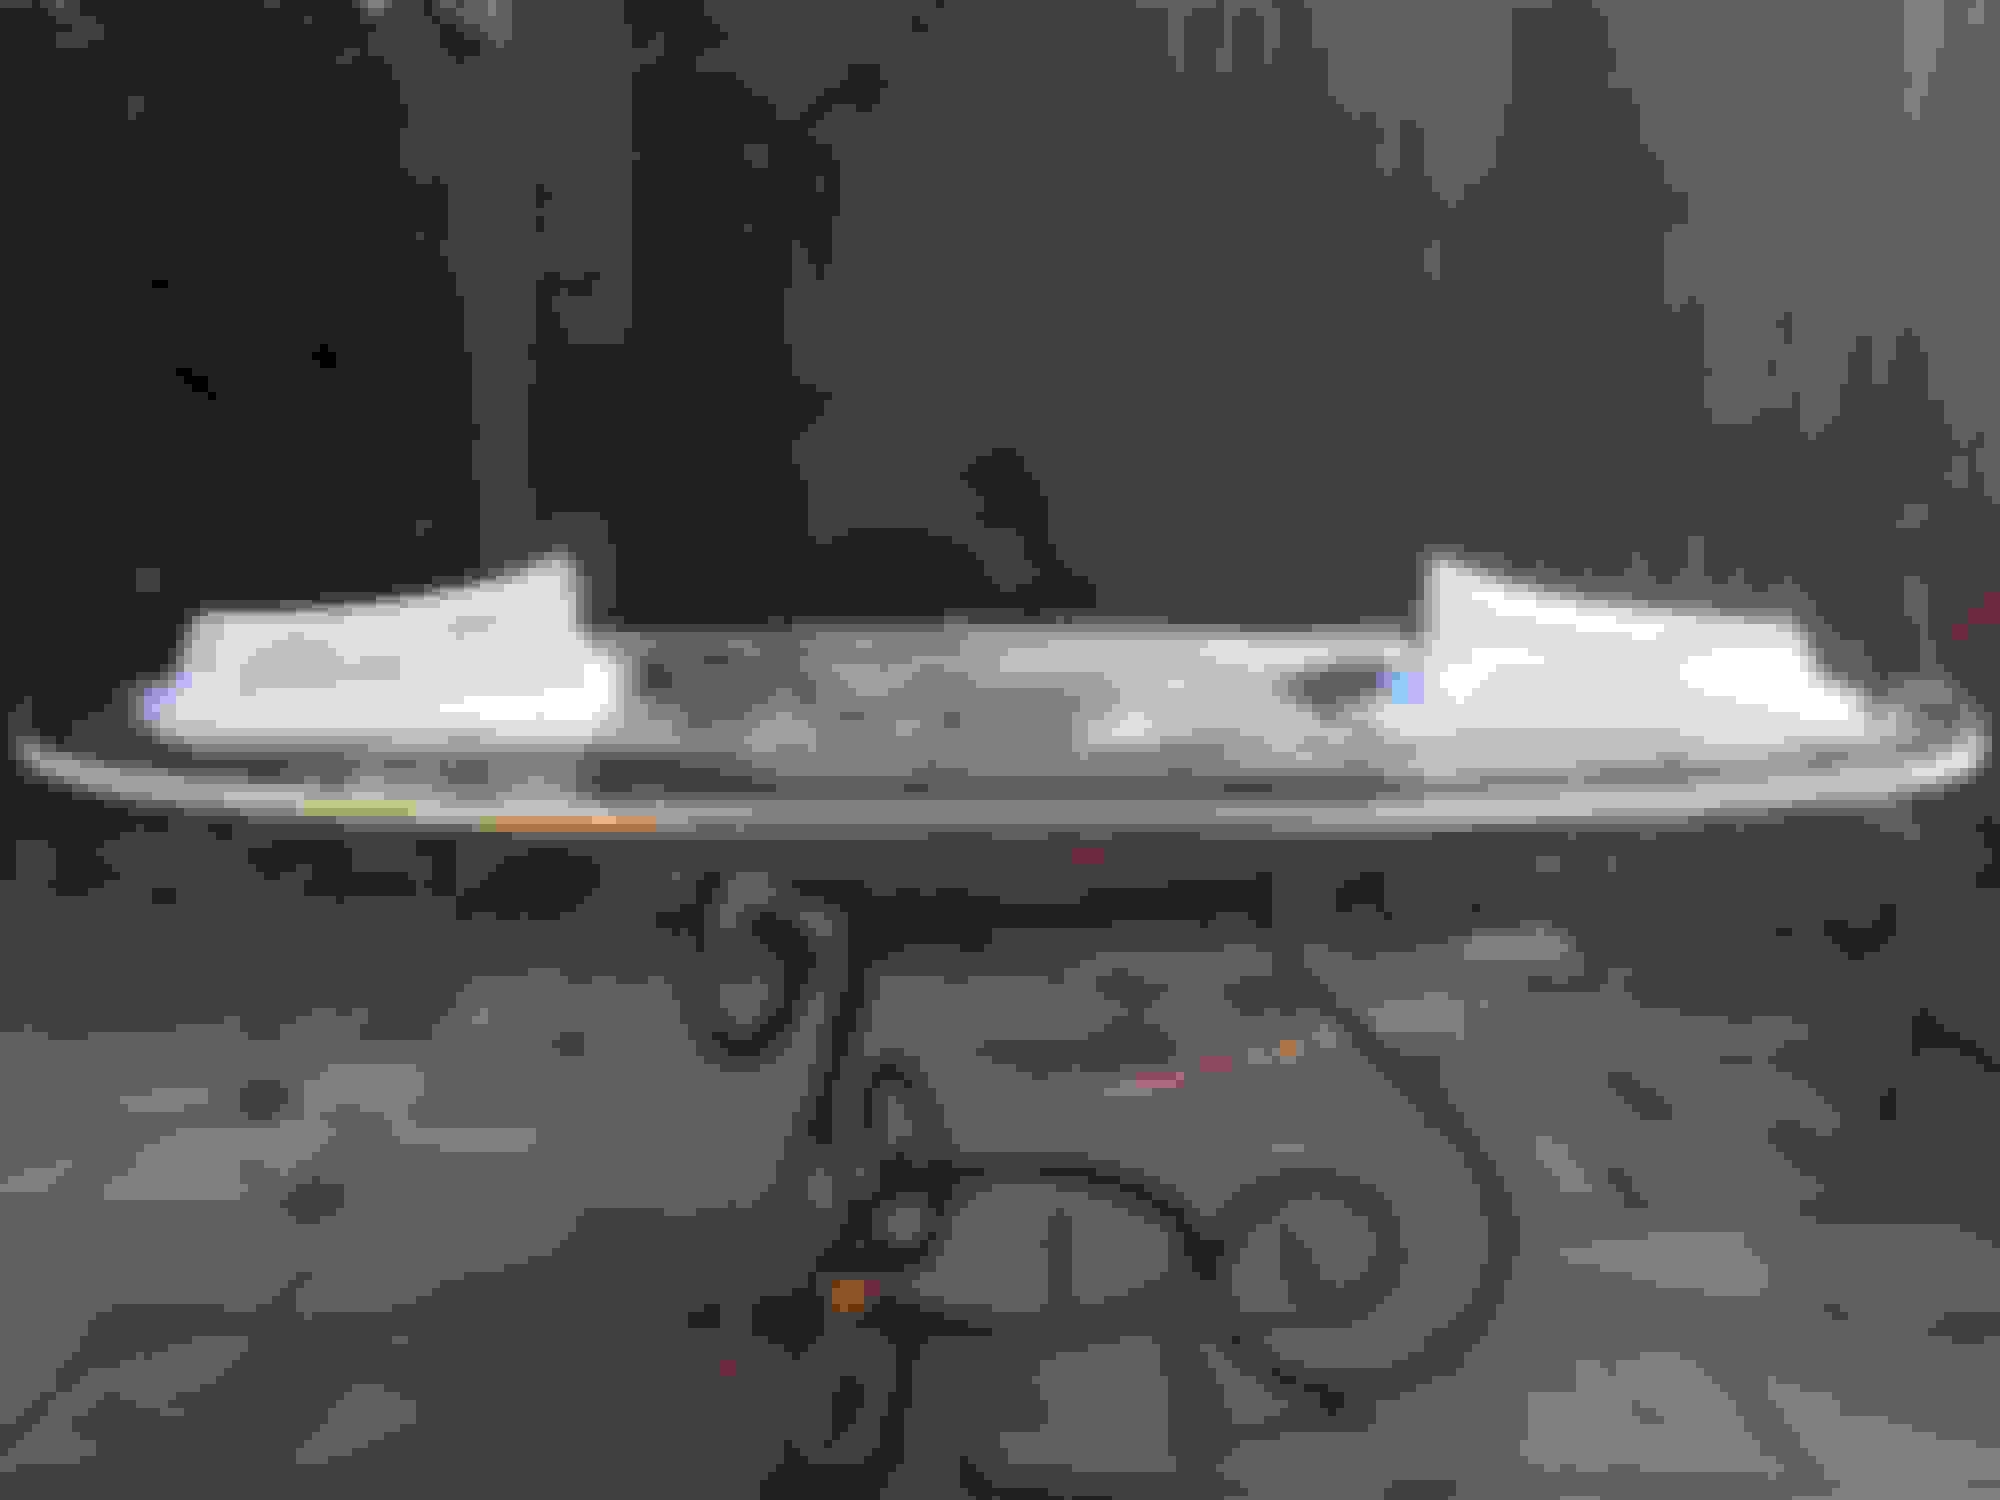
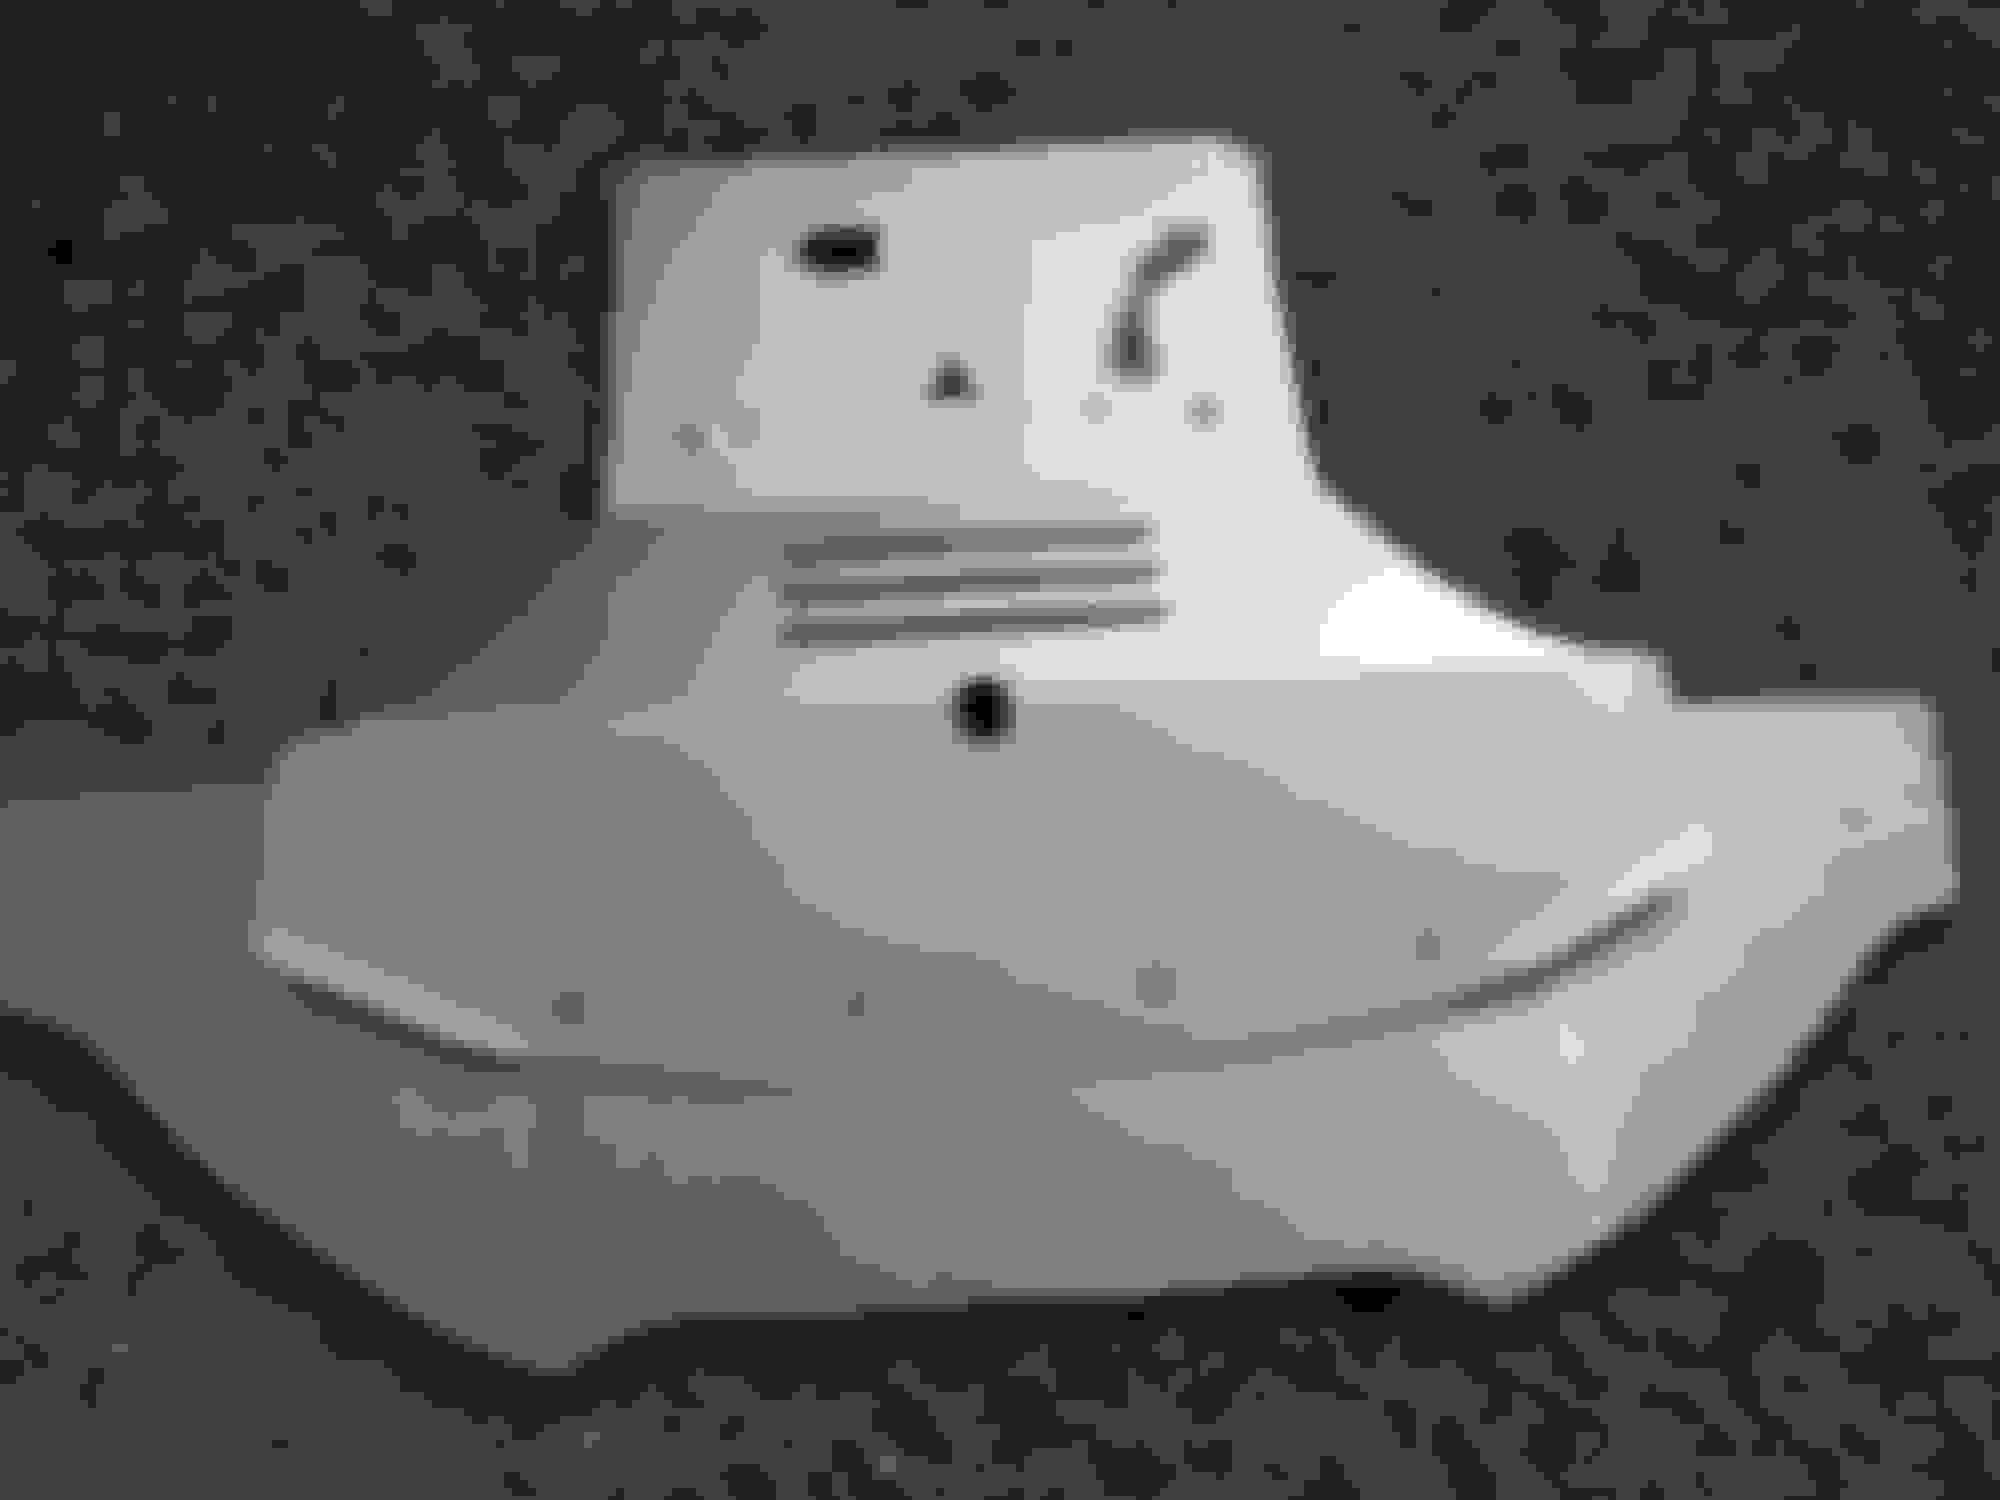
It was fairly close to bottomed out. Can't remember the exact angle. This was an older spoiler that I bought used, I had to drill the extra holes to get the lower NA angles according to your template. Here's a bad picture of where it was set:
Finally have got the new plug almost ready to mold.
As per previous suggestions I have taken the time to sculpt the shape of the diffusers with some roundedness.
I also removed the middle rise and the front rise. If I were running a flat floor I would have kept the front rise and given it a crack, but at a guess I'm thinking the benefits may be lost without a flat floor/tunnels. (Really just guessing)
Should hopefully be molded this weekend, then a part pulled from it some time in the week following.
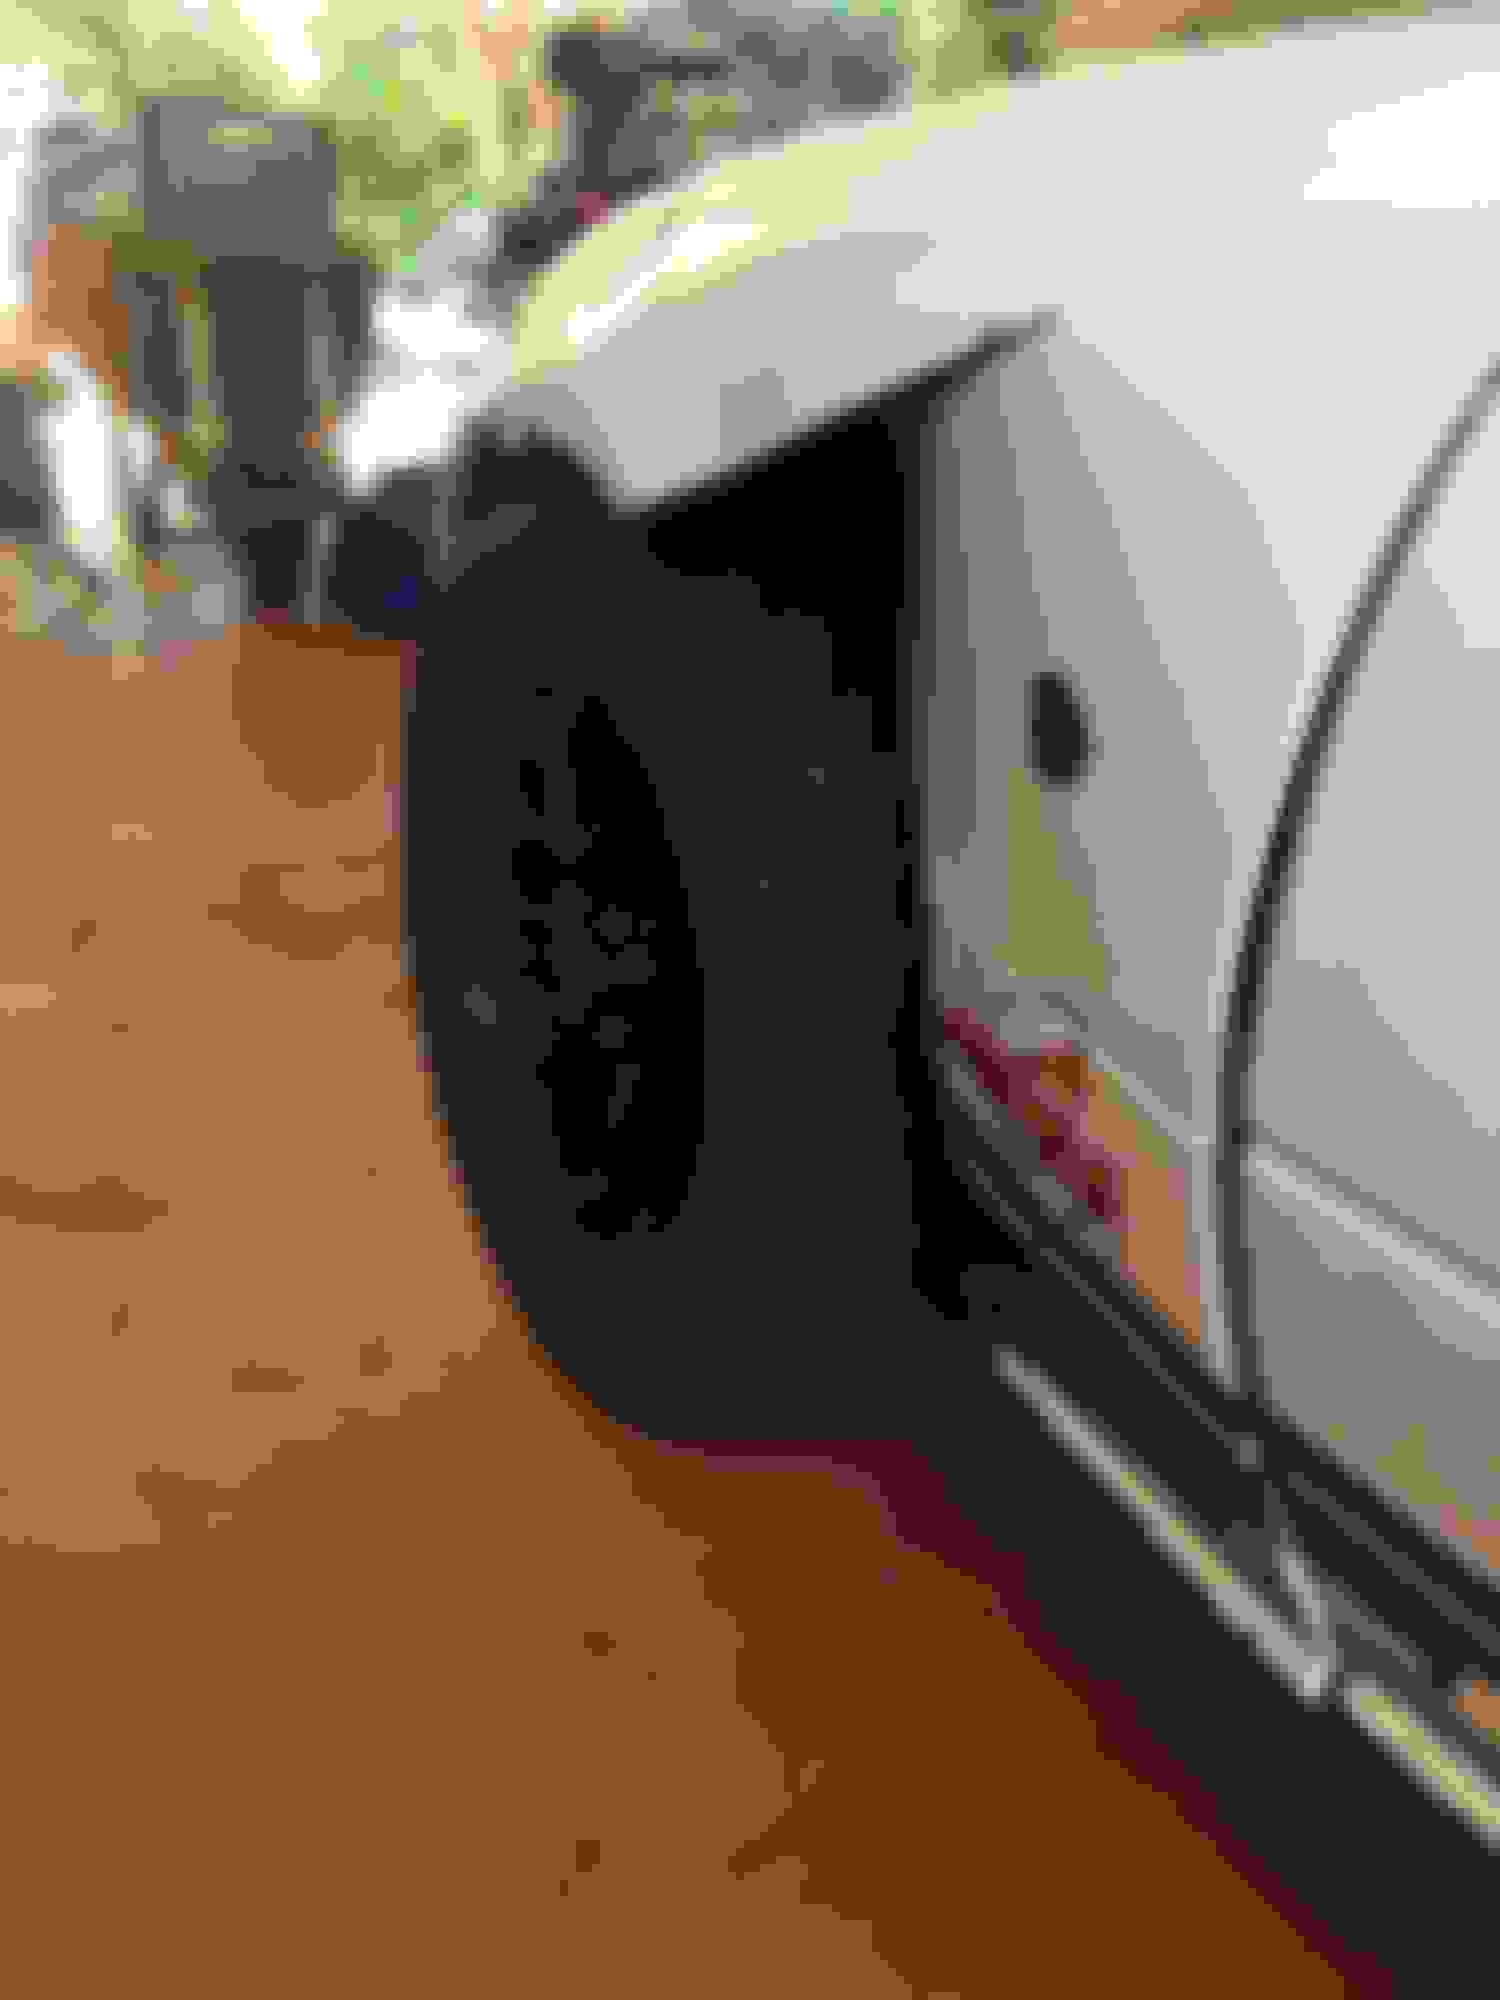
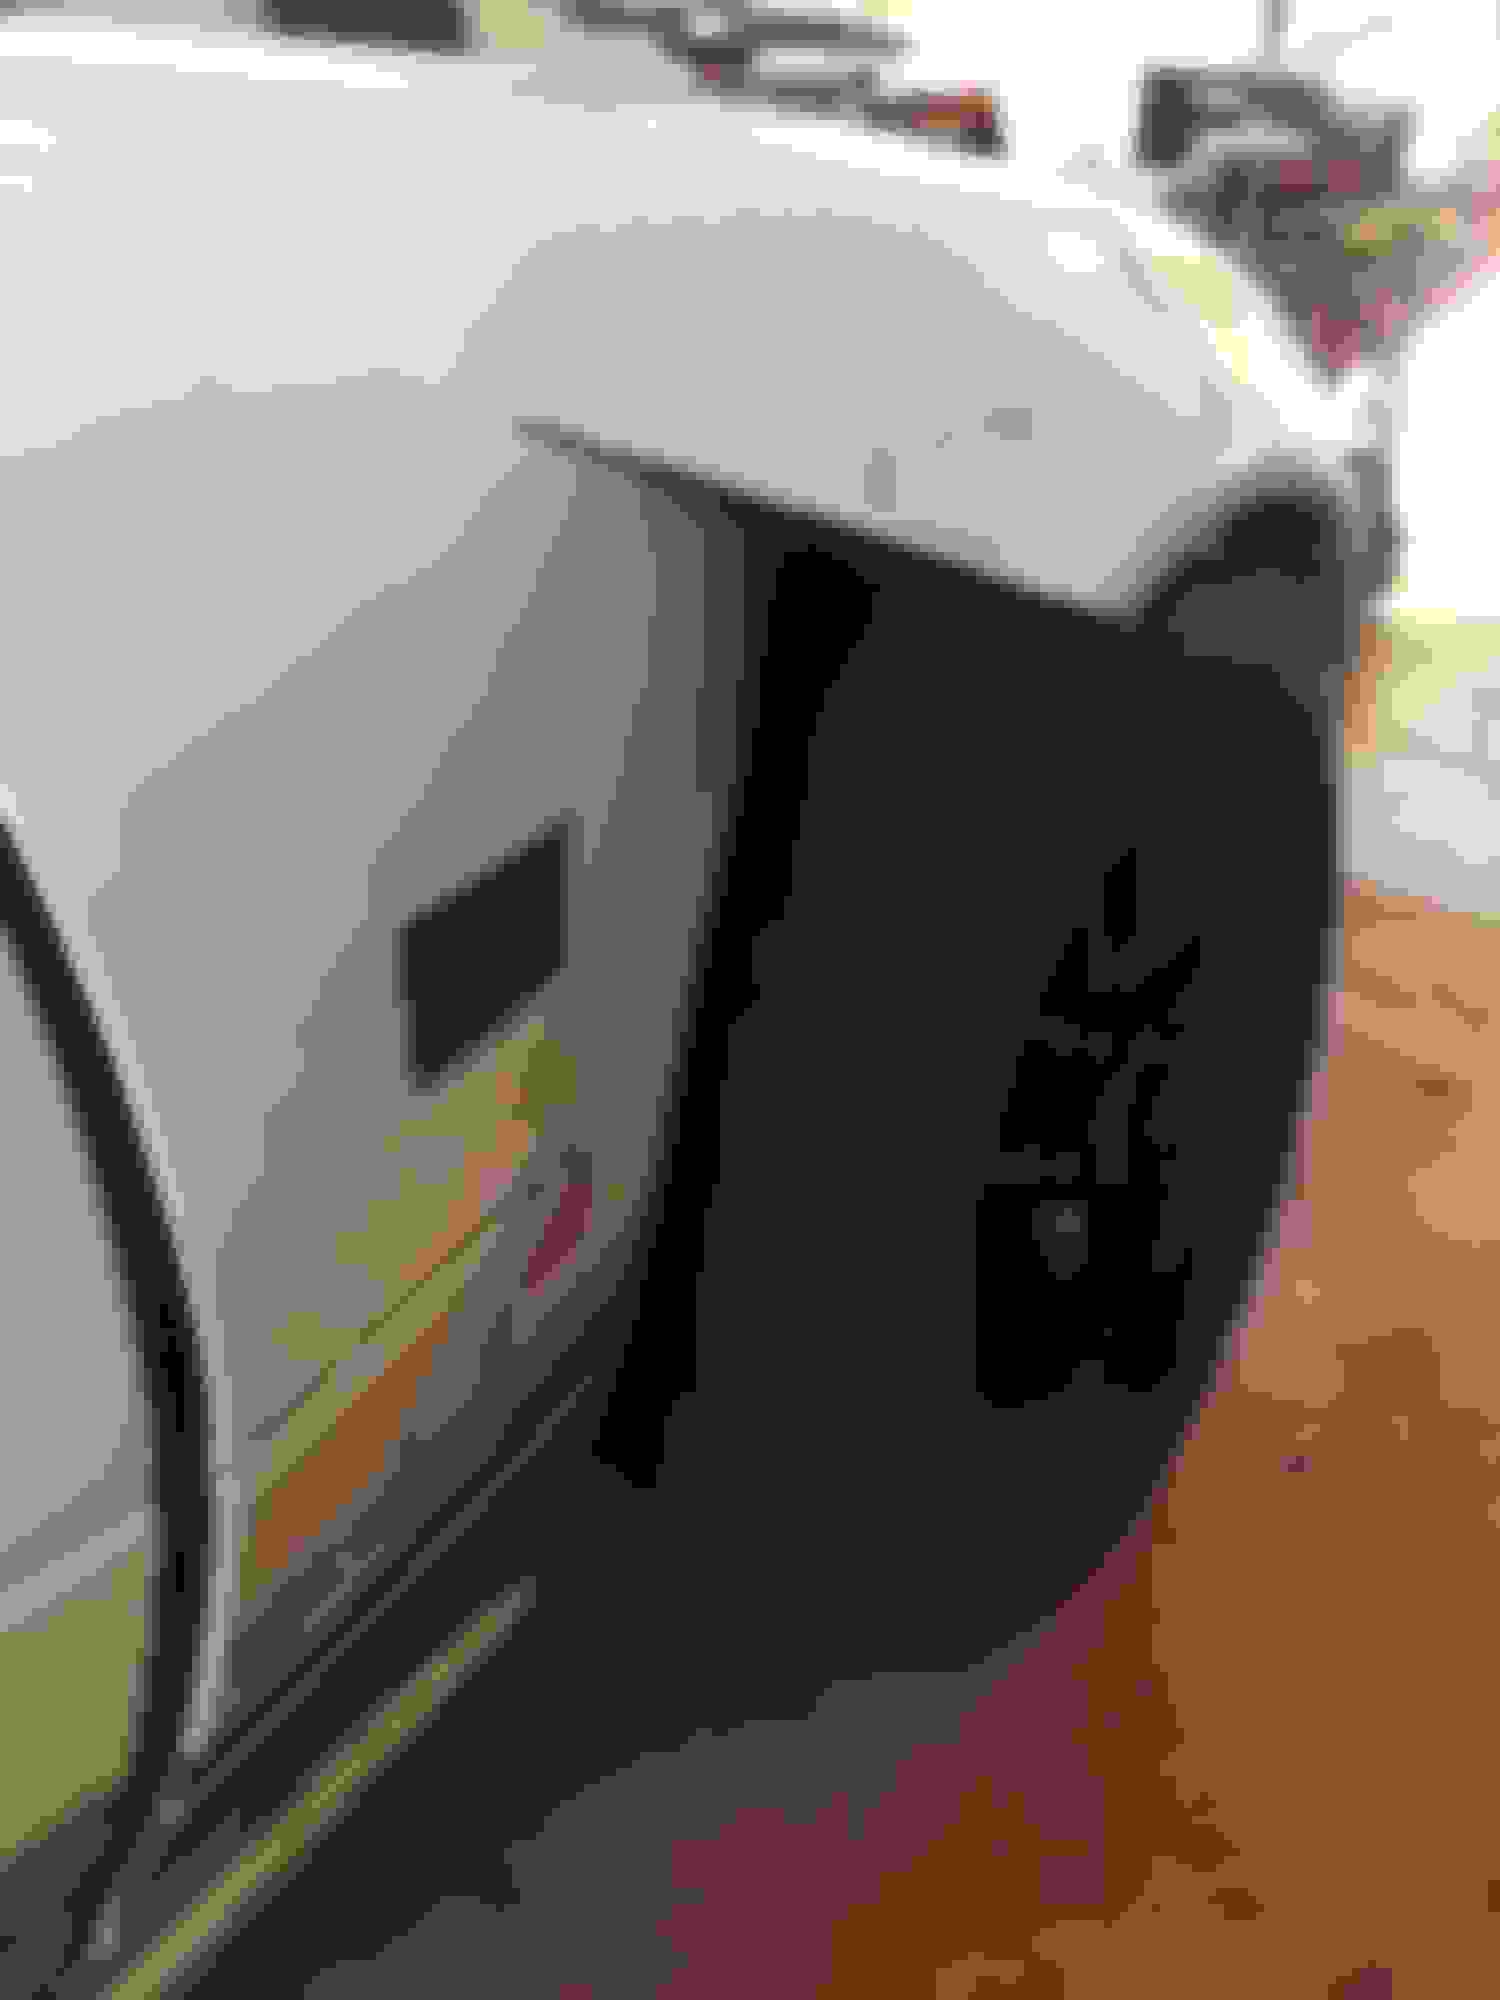
I thought I would throw up my fender mod also.
Inspiration/copying of Moti's and Ryan's.
As you can see I can barely cut anything straight/measure two things the same so I went a simpler option with using just one guard and pushing it in.
There will probably be a piece of ally or carbon between the cut to reinforce or at the very least a stay to push the front part out and hold it so it doesn't flap around.
No testing yet.
There are also side skirts being made in conjunction with these fenders and the splitter, pictures to follow. (once I confirm they match the fenders)
Last edited by Tim_Aus; 12-02-2016 at 03:11 AM.
Reason: Added fenders
Dollars spent: about $200 but not at final iteration yet
Hours spent: at least 8 but as much as 12 and not done yet
How effective: Rather subjective but car feels much more planted at speeds where aero is supposed to work at autox speeds and since only one autox so far on this, not much to objectively compare it to. Did PAX 1st against guys who normally beat me but again, just one event.
Materials used: sheet aluminum for rear spoiler, angle aluminum and wood for splitter but wood to be replaced with alumalite
Size/thickness of materials: .060 for rear spoiler, 1/4" for splitter
Bracket location: angle alum sliced/cut to contour trunk lid and front bumper, rods from body to edges
Tracks tested on: Buckingham Airfield in Lehigh Acres with Gulfcoast Autocrossers
How effective: Rather subjective but car feels much more planted at speeds where aero is supposed to work at autox speeds and since only one autox so far on this
Looks about right to me. Make sure the splitter will survive cone strikes. We're on rev 4+ and still trying to perfect that part.
Here's a fun trick: Get the car dialed-in with the aero bits, and then pull either the front or rear off and take a run. We took off the spoiler. Spun the car on the first fast sweeper. If anyone wondered if aero matters at autocross speeds, we have no doubt. Even with the limited allowances on SP.
I'll see your action pic. Big thanks to Becky Rash form Gulf Coast Autocossers for snapping some sweet pics of the car.
And I'll raise you a video clip
On the trip out we lost a support rod for the outer edge of the spoiler. We thought it was a bit flimsy. I think you can see the spoiler outer edge flexing in the vid. That was a fairly fast section. The spoiler itself seems plenty rigid being .060" plus the curvature has to help strengthen it but the edges just seem to need a bit of help.
The front splitter still needs some support. We have left it only supported to the bumper skin for fear it would destroy itself and being too secure it would take out a tire or worse. But after Oliver hit the last cone on course, which is twice the size of regular cones, dead on with the front of the car doing 60 mph and nothing happened to the splitter I think we are ready to stiffen the mounting and changing to a more solid material than wood.
On the trip out we lost a support rod for the outer edge of the spoiler. We thought it was a bit flimsy.
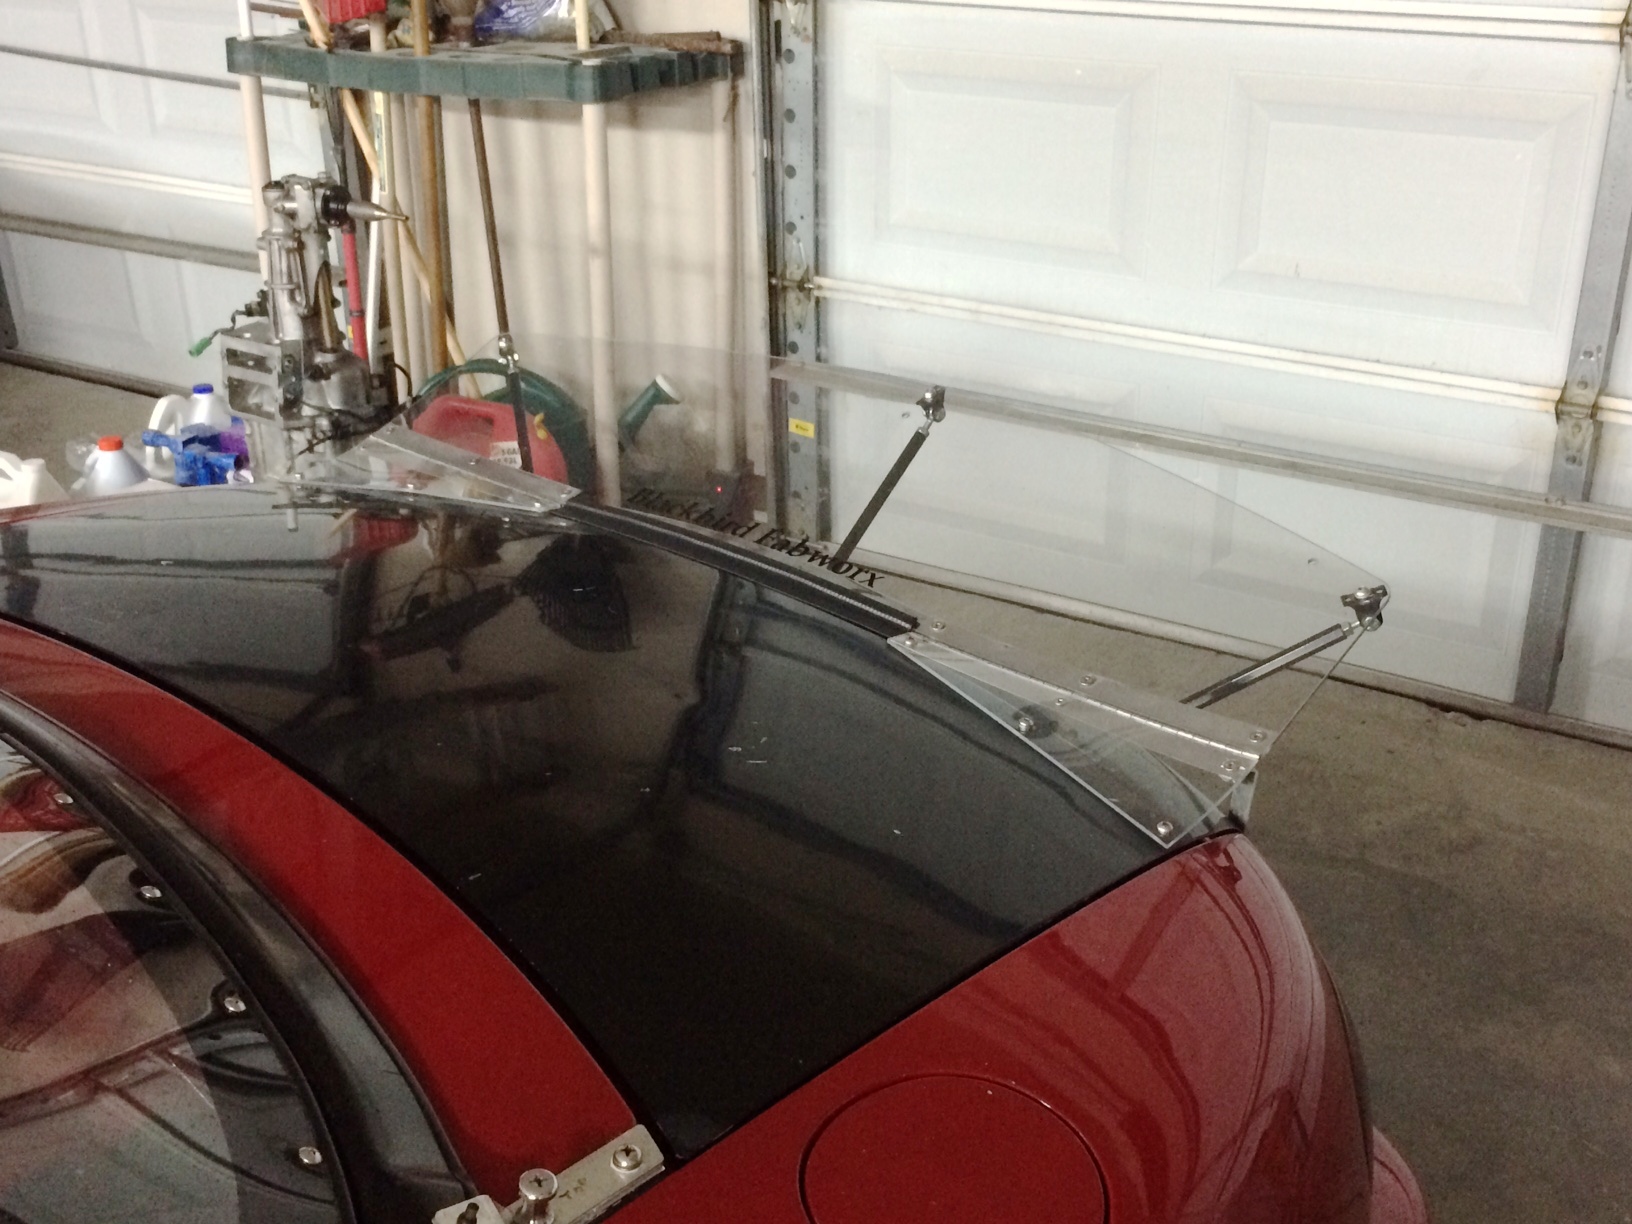
My spoiler is Dibond, and I'm incredibly happy with it. I've also got some aluminum supports I fab'd up, shown in this pic. The first version of the brackets was functionally to this, but was simply two strips of aluminum flat stock, triangulated between the upper and lower holes, instead of a single "L" bracket. That version was done with nothing more than a hack saw and a drill. I only upgraded because...well...TiG welder.
Originally Posted by hector
The front splitter still needs some support. We have left it only supported to the bumper skin for fear it would destroy itself and being too secure it would take out a tire or worse.
I'd be interested in collaborating on this. But FWIW, our first three iterations all involved trying to make something stiff. They all resulted in bent supports within a few events. We finally just removed all the supports we'd made, and left it hanging from the bumper skin. This eventually did rip (right after my first run at Nats, of course!), but had lasted nearly the whole season. So flexibility has been a good thing, so far...
Hi
I am Marc from France
Some pics of my aero build. Not all done by myself but the splitter
D�tail of my splitter
Design with help of Beatbrush one
And on the track
I look at all what you do (I try, there is a lot of work!!!)
Marc


 11-29-2016, 12:33 PM


 0
0